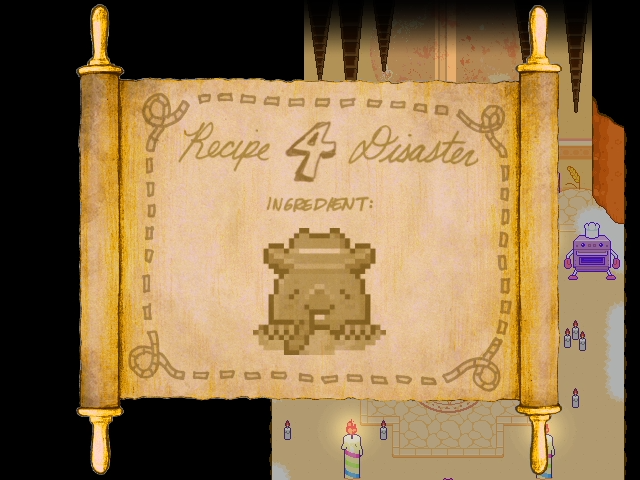
Part 37: The Guardians of The Orange Oasis
UPDATE 37: The Guardians of The Orange Oasis
LOST AT A SLEEPOVER
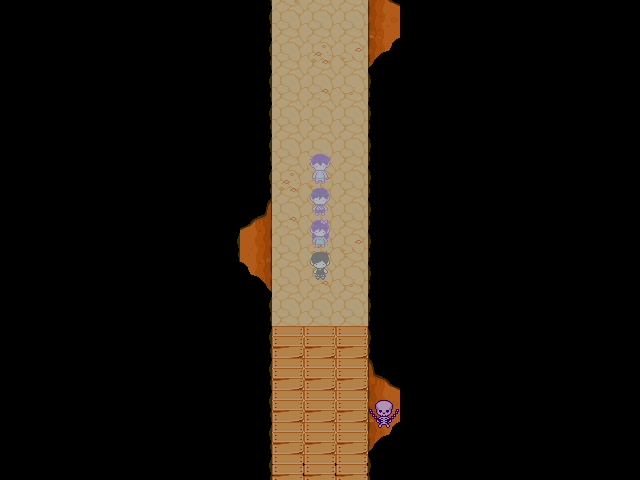
Welcome back to Neighbor's room! No, you didn't miss anything. If you look behind Omori, you'll see a little eye poking out of that cabinet. That takes you back to Deep Well as a quick and easy way back to Humphrey... Though we can't go back and see Humphrey since he's gone. There's nothing new in White Space, and going back to the real world doesn't have any new scares for us yet.
Now then, the unknown voice told us to explore this world until there is nothing left, and it meant it! Welcome to the endgame of Omori! Heading to Basil's house will lock us into the final stretch so make sure you're 100% happy with what you've done in the game before that.
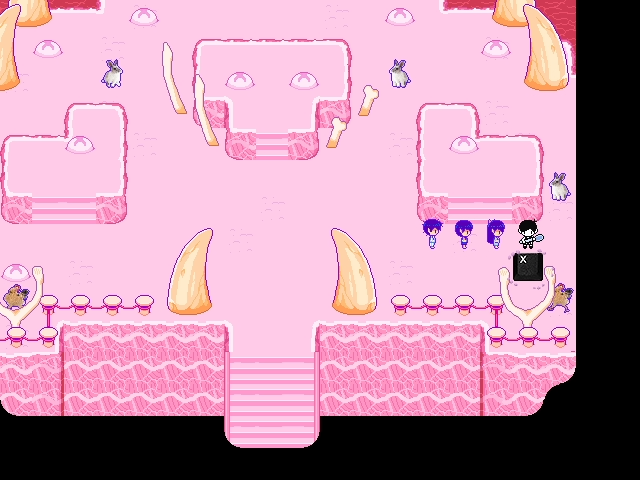
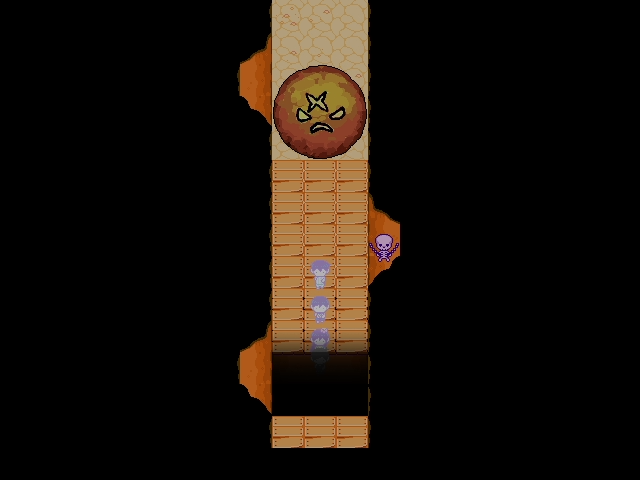
While there's a bit of endgame activities to do in every area. The predominant endgame stuff we need to take care of is in Orange Oasis. It's been 20 updates since we've seen this place! I told you we'd be back to finish everything someday!
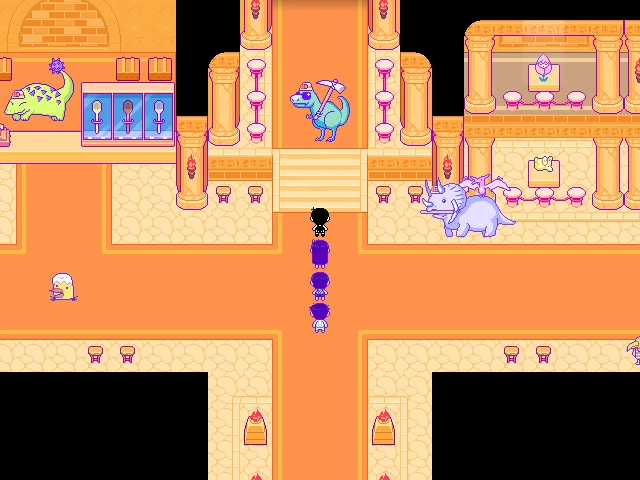
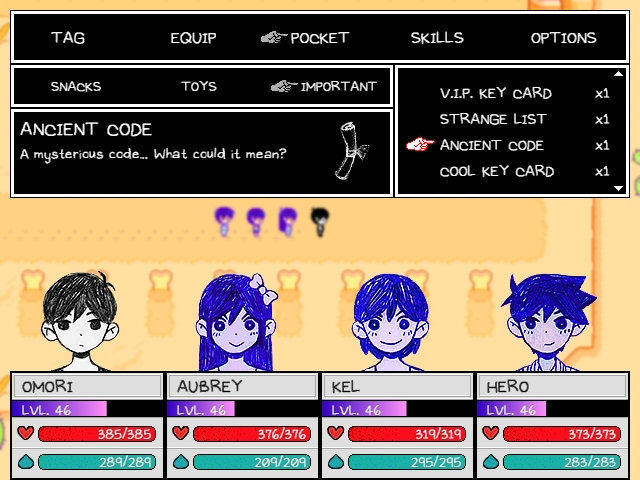
This comes after a lot of off-screen grinding to get the money I need for another endgame sidequest, as well as doing a bit of achievement hunting on my own (killing 99 squizzards is quite profitable!). So now we can easily fight the enemies in Dino's Dig.
An Archaeic Resonance

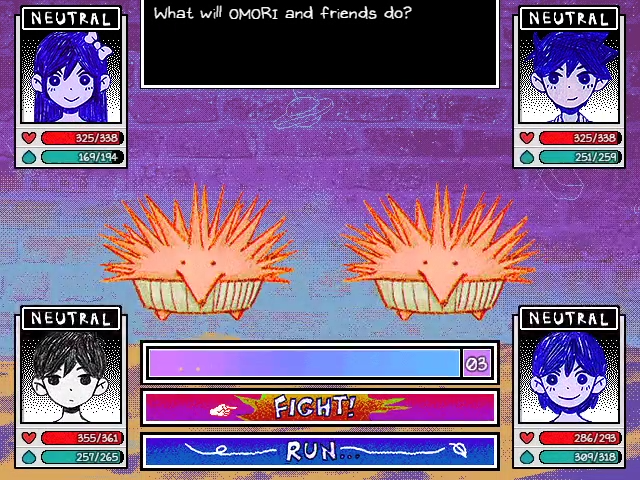
First up is the S.S. Snake (stands for Strawberry Short Snake not... anything else). The snakes like to slither around and make themselves happy, and then bite. They don't last more than one round against us at this point - which is level 42. Though you should be good to fight the enemies at level 30 or so.
The Porcupie reminds us that deserts are not good for us, whether they raise our cholesterol or jab our throat with spikes. Otherwise, they're pretty easy.
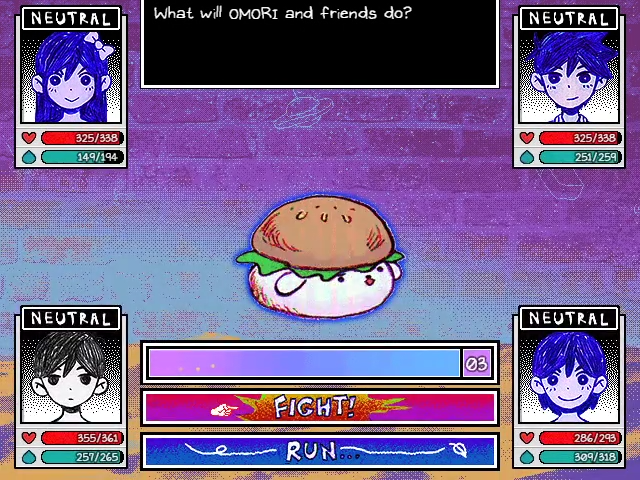
We round out our bunny enemies with the Burger Bunny. I can't imagine rabbit meat would be good in a burger...
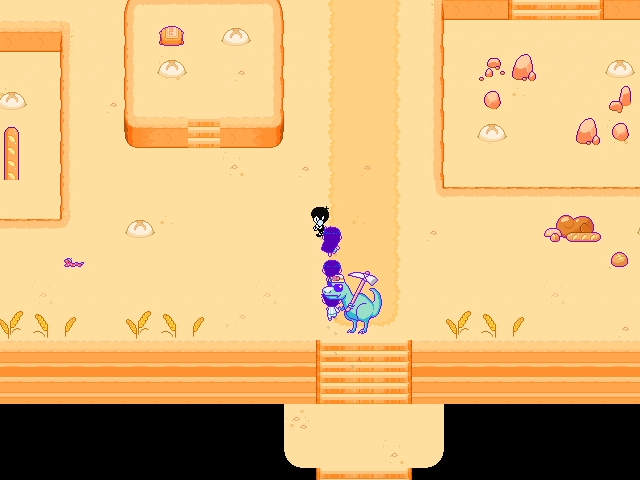
Moving up to the second floor of the place unlocks better items to get from the dig spots, as well as more dangerous enemies. These enemies you'll want to be closer to level 35 to safely fight them without worrying about a random crit one-hitting a party member.
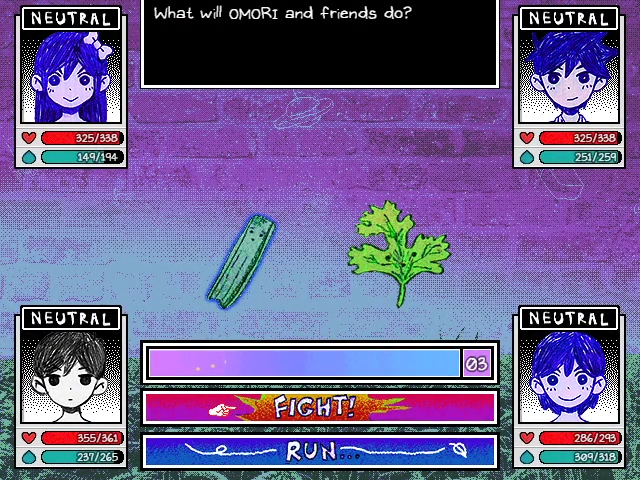
Because really, is anything more dangerous than celery and cilantro?
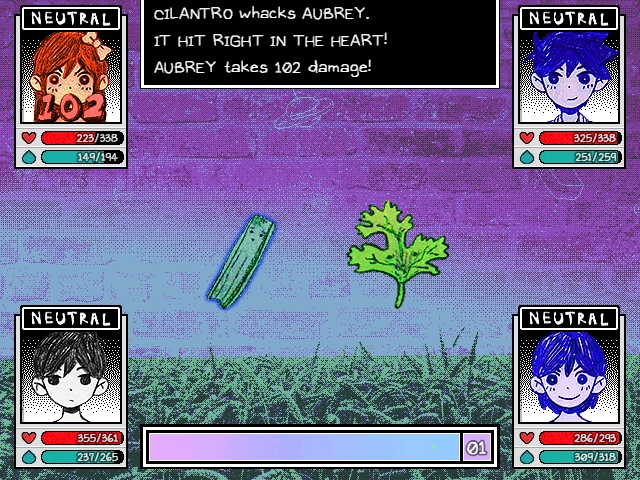
... Ok, apparently it is quite dangerous. I guess Aubrey has the gene that makes cilantro taste like soap.
The final two enemies on this floor are some ginger and another bunny enemy - Sprout Bunny. The Sprout Bunny is actually a bit tough, though it doesn't always attack every turn. The ginger also does a move that will calm a character down, in that they go back to neutral state. I haven't seen this move used outside of this ginger root, which feels underused. The Sprout bunny also likes healing itself, which is why it's the worst enemy in the game.
The third floor unlocks some of the near-best healing items in the game. You'll start to see a lot more full-heal or full-juice items. Of course, we're here for something special...

X
Yes, we've already gotten them all but still, no harm in continuing to get letters, right...? Now then, with some of the best items to find on this floor... comes some of the most powerful enemies...
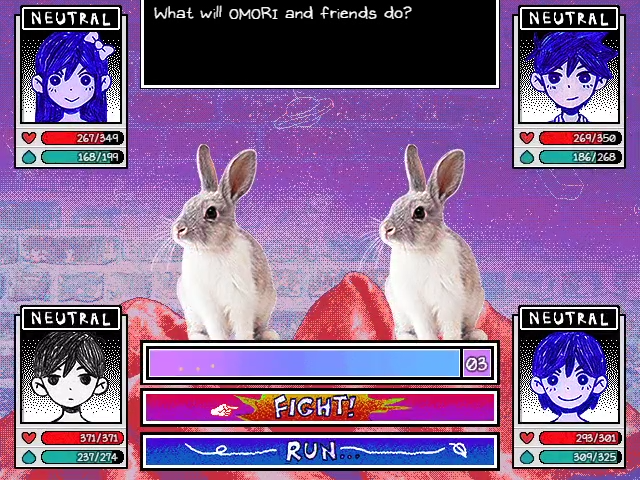
Yes, they're ACTUAL rabbits. These things are fucking terrifying. You definitely need to be in the high 30s to avoid getting random oneshots from these things.
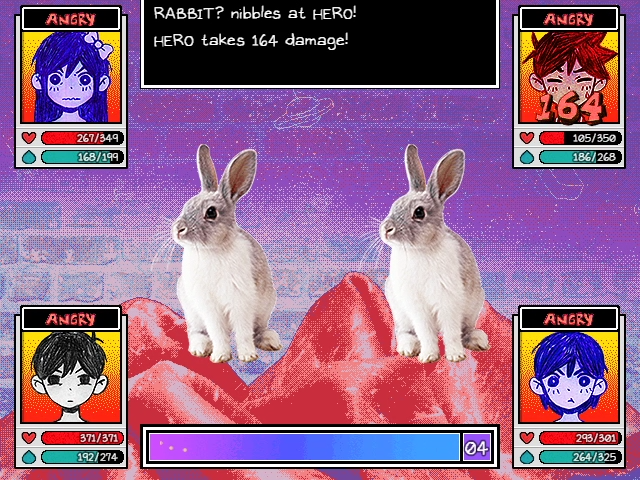
I'm at level 44 and this was from a rabbit? that I lowered the attack of. They are tough as hell and you should try and stay away from them, or try and kill them ASAP. That said, they do drop 10K XP and 1K clams, in case you need levels here at the endgame.
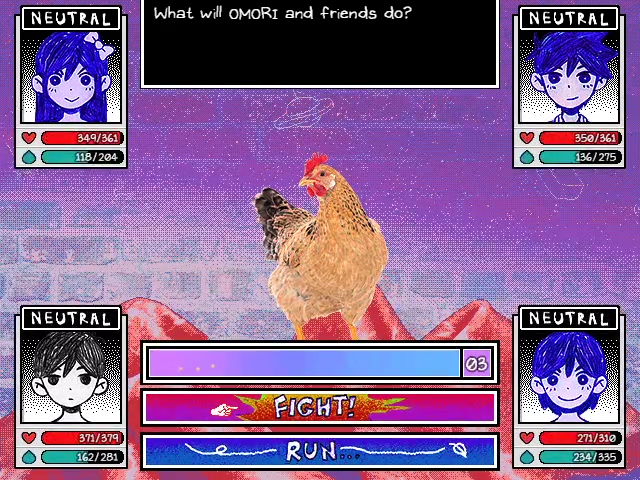
And here's the final enemy of Dino's Dig - a chicken?! I, no joke, laughed upon seeing it again to take the screengrab of it. It's such a good enemy, in the same way the rabbit is a terrifying enemy. Anyway, the chicken loves to run away - so you need to kill it quick to get any benefit.
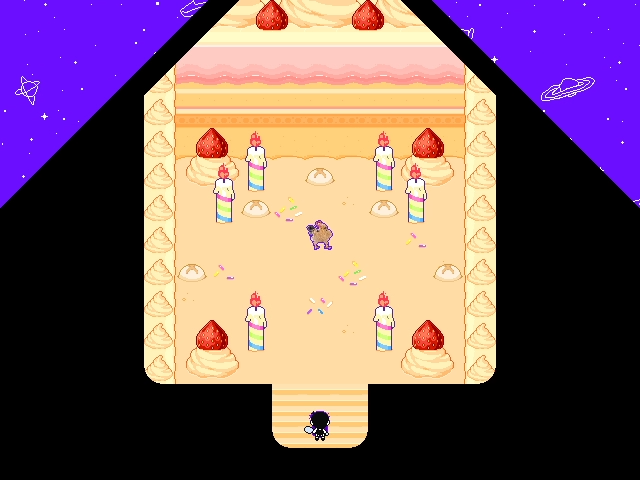
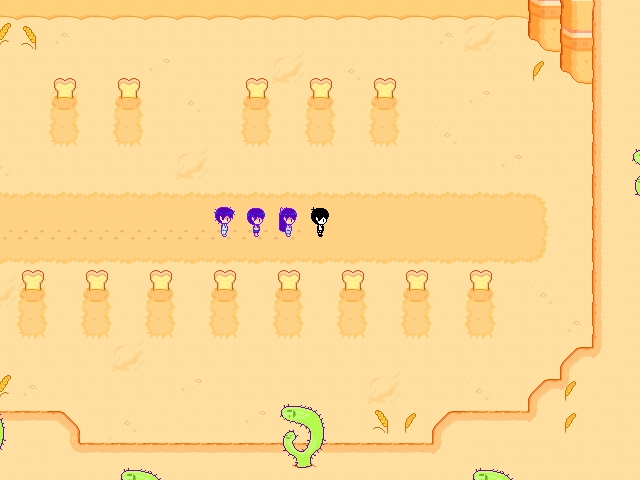
And here's the top floor of the pyramid. Four of these spots contain the best healing items in the game - full HP & Juice items, and even Dino Jam: which fully revives downed members. All of which is of course useless to us because we're so powerful.
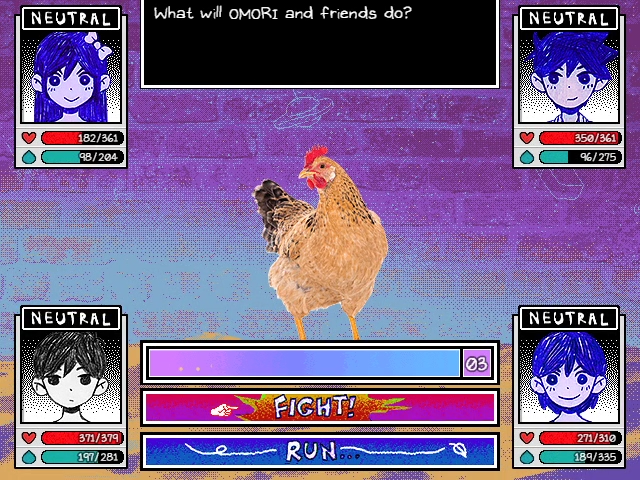
Now then, this chicken looks just like the chicken from downstairs. But this one is special. It's first move in battle will ALWAYS be to run away, and it has the fastest speed in the game among all non-boss enemies. You must alpha strike this chicken to get a very powerful item.
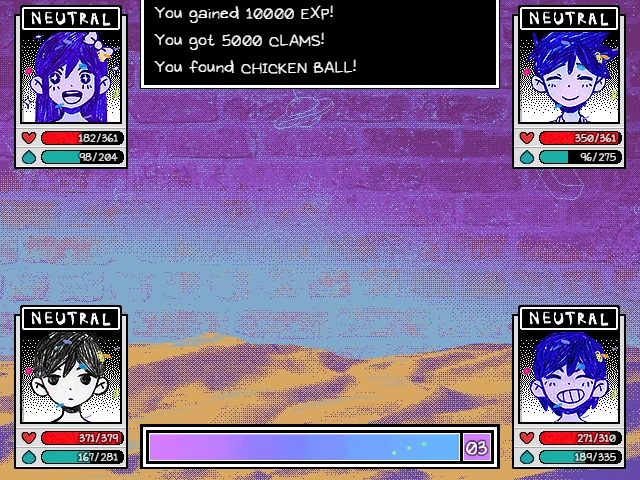
The XP and clams are quite nice, though useless to us at this point. The chicken ball though, is Kel's ultimate weapon. Now, considering Aubrey's ultimate weapon is pretty meh, you may think this one will be too... well...
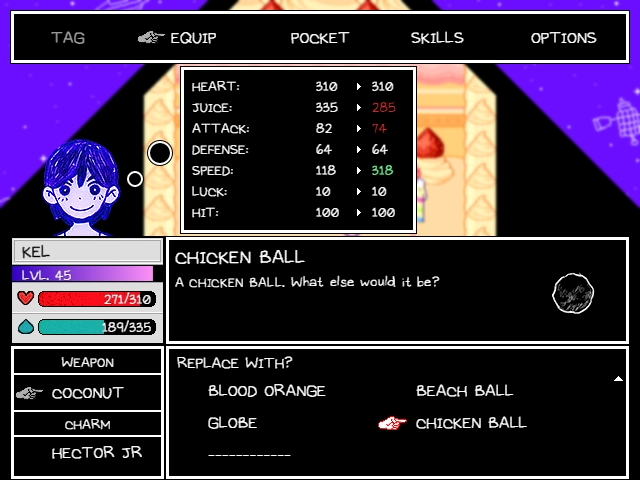
Hey, remember how run-and-gun uses speed instead of attack to determine the damage? And did you know that flex doesn't affect the attack stat, but the damage dealt? Welcome to Kel's end game!!
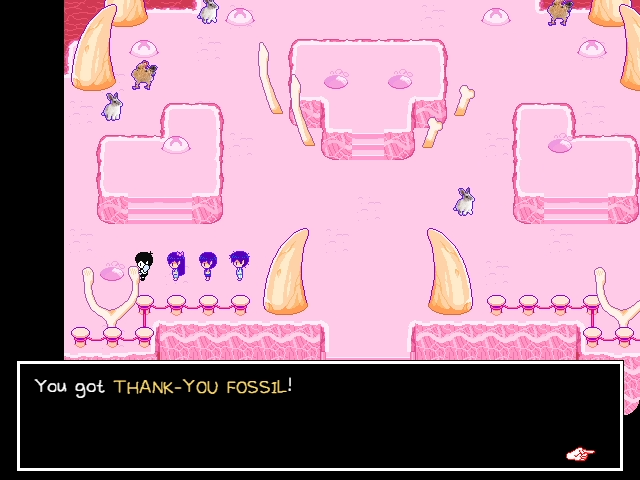
Finally, we head back down to the third floor to pick this item up. It's what Jelly wanted to give to her caretaker as thanks for taking care of her. Which is as sweet as a PBJ.
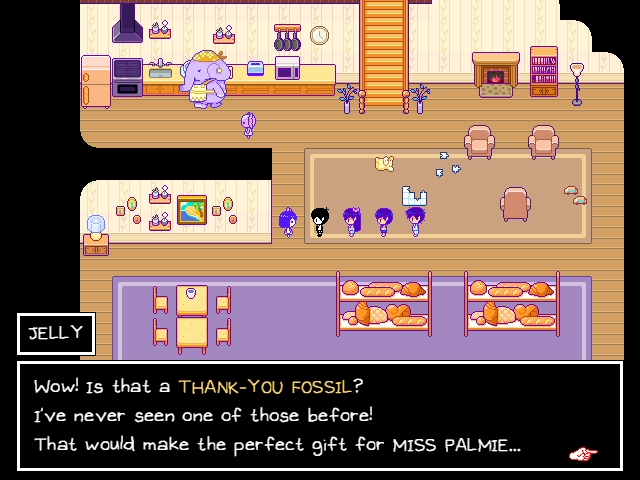
JELLY: You're giving this to me!? Wow... Thank you! I found this in the fireplace earlier! Maybe you can use it!
Jelly gives us a Sno-cone ticket - which we can redeem for a Sno-cone that we will never use. Still, it's nice to help out a sweet little girl.

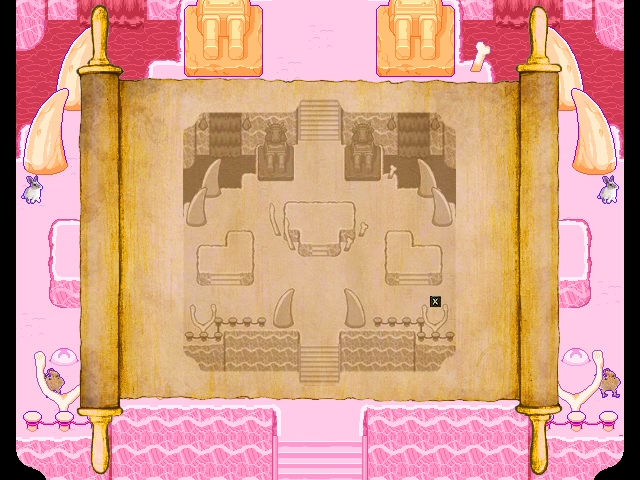
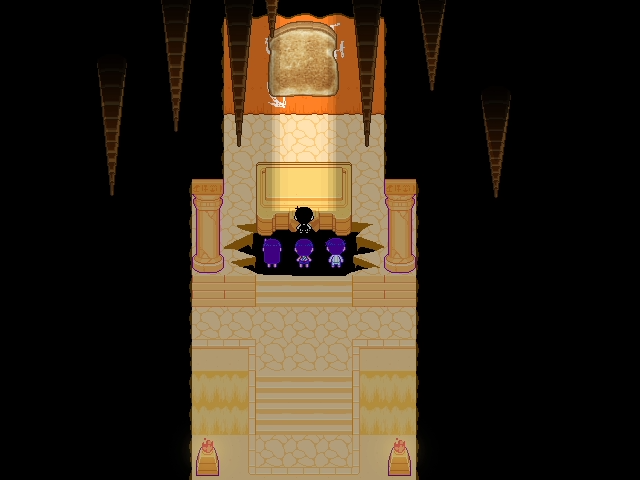
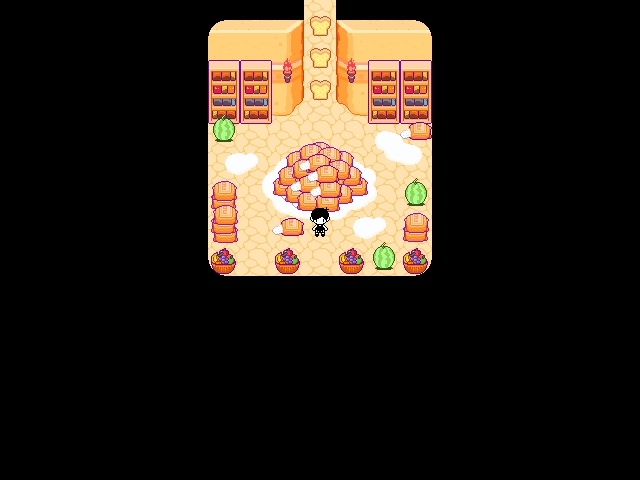
We visited the Breadyard earlier, but we had no way of doing anything so we had to leave... but guess what we found in Dino's Dig?
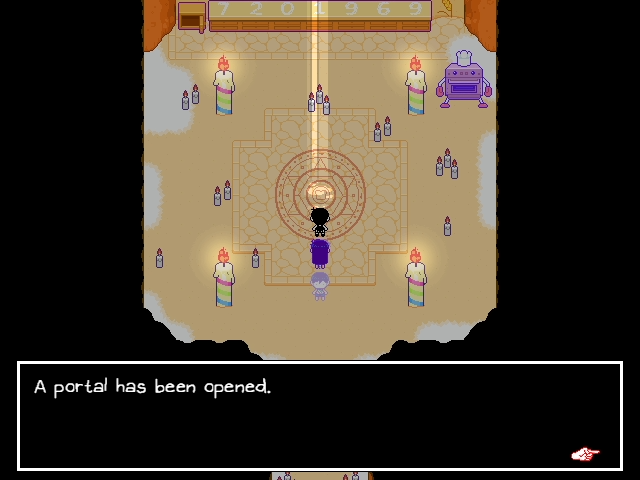
And just like that, we've unlocked the secret dungeon.
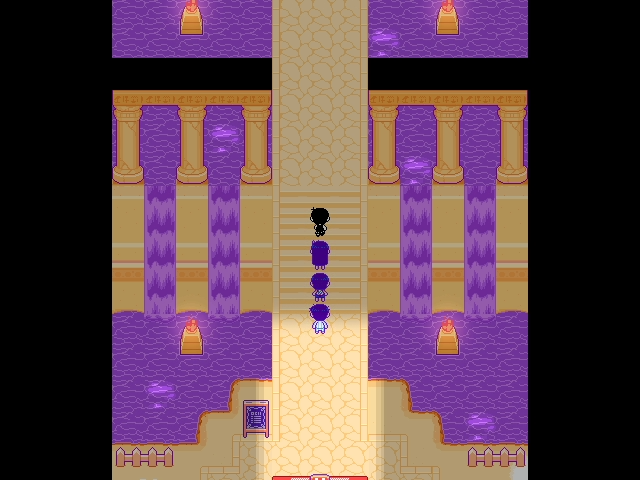
Just in case you do manage to find this place early, here's another roadblock to make sure you stay away until much later.
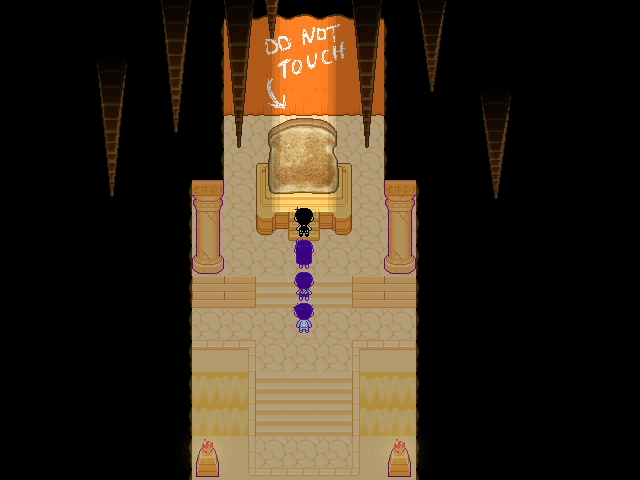
... Well, we've got to touch it now. How can we possibly resist?
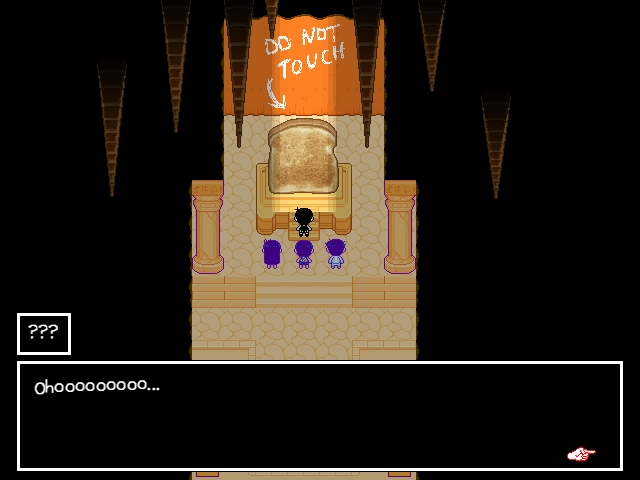

...Okay, we should have resisted. I'm a big enough man to admit my mistakes.


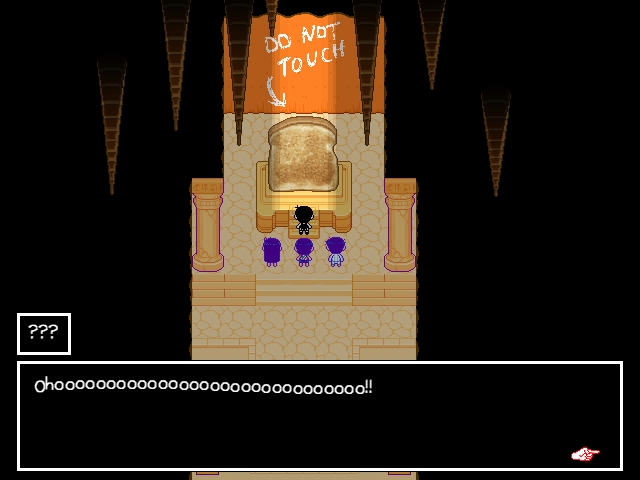
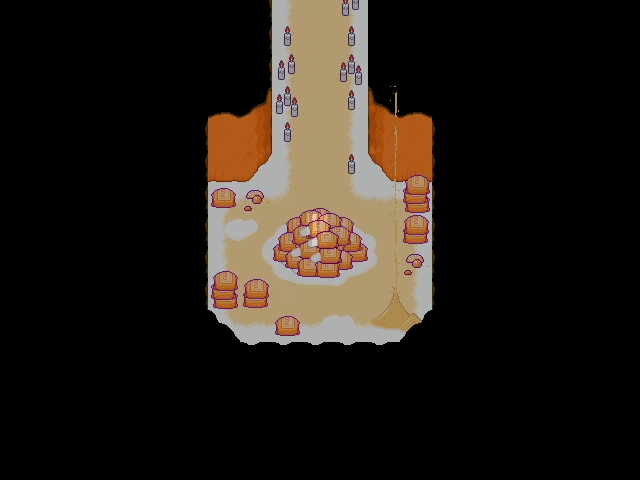
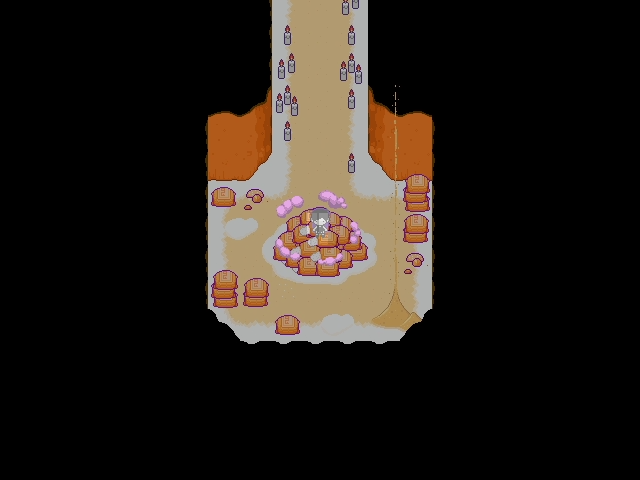
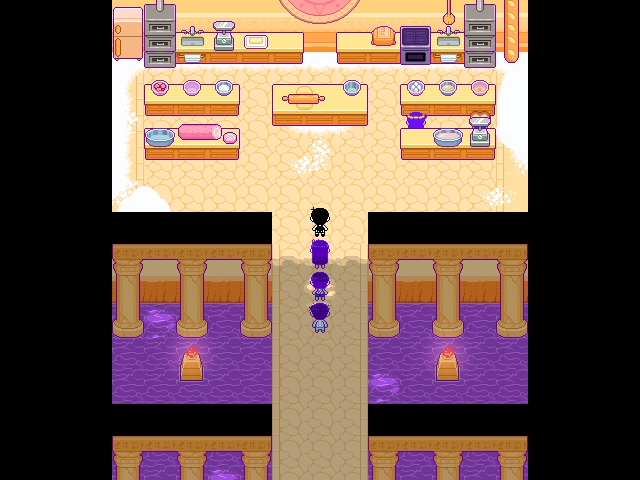
Fermentation Disorientation
 PWWEEEEHHHHH!! Ewwwwwwwwww... What is all this?
 This... This is all-purpose flour!
 ACHHOOOOO!! Urgh... My nose is all itchy...
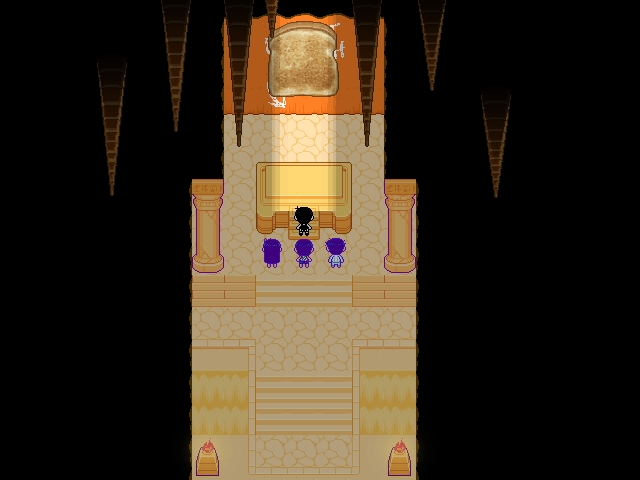
And sure enough, the entire party is all white from the flour. They could probably use a bit of a shower to be honest. Also, those candles have to be a HUGE fire hazard.
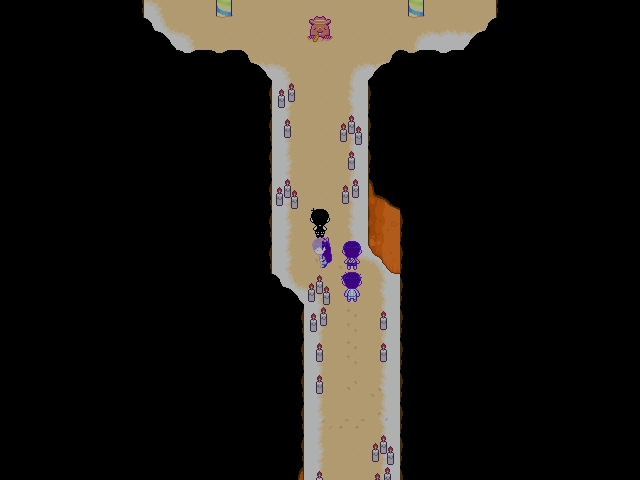
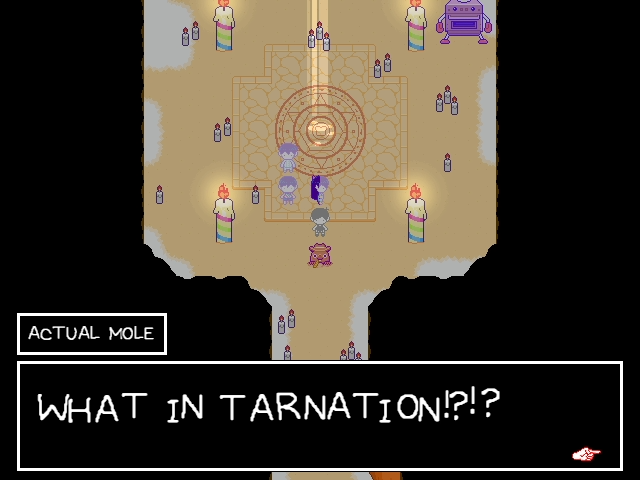
... WHAT.
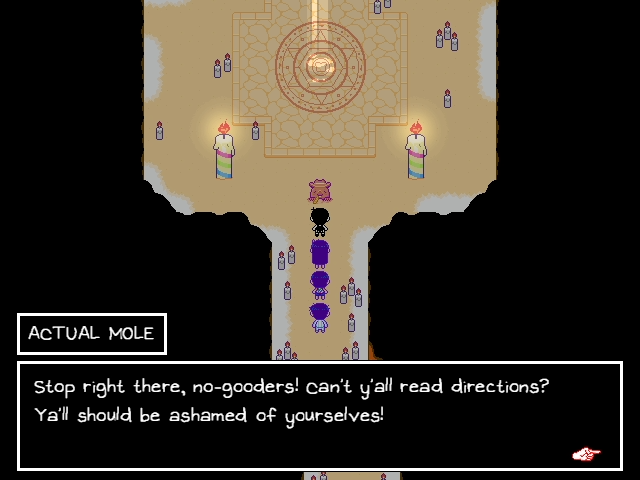
ACTUAL MOLE: My family and I have been guardin' this crypt's treasure for generations... but guardin' ain't easy 'cause of people like you! I may be old and frail now... and my eyesight may not be so good... and I may be the only one left... But I've spent a lifetime doin' this, and I've gotten real good at guardin', I reckon! I can't even remember what I'm guardin', but it's probably whatever's hidden in that important-lookin' safe in the left corner of the room! Anyway, I'm gonna have to ask y'all to leave peacefully. Being an actual mole and all, I can dig my way out of here in 3 seconds flat!
He actually does offer to take us back to the surface... though why you want take that offer, I'm not sure. Well, if you have trouble with the enemies at Dino's Dig, then you should take his offer. Otherwise... keep on, keeping on.
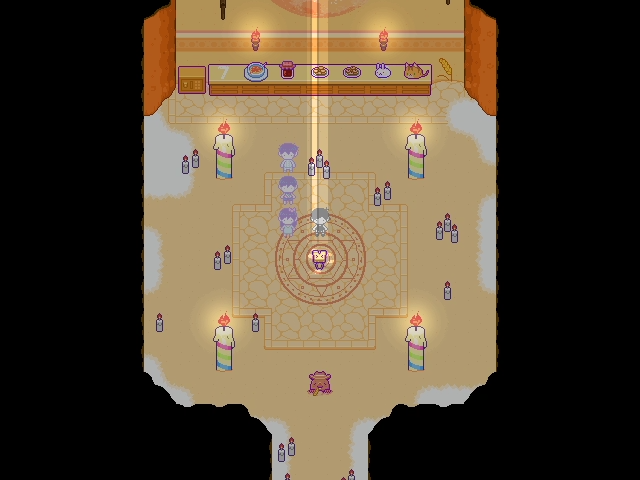
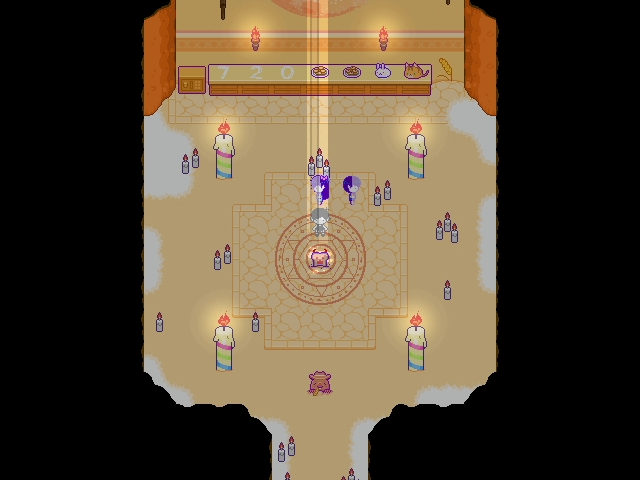
ACTUAL MOLE: You wanna stay and enjoy the place? Alright, if you insist! Feel free to look around and all... This summoning circle may be old, but it still works like a charm... but no funny business... or else!
... I'm not sure 'Summoning circle' and 'No funny business' belong in the same sentence.
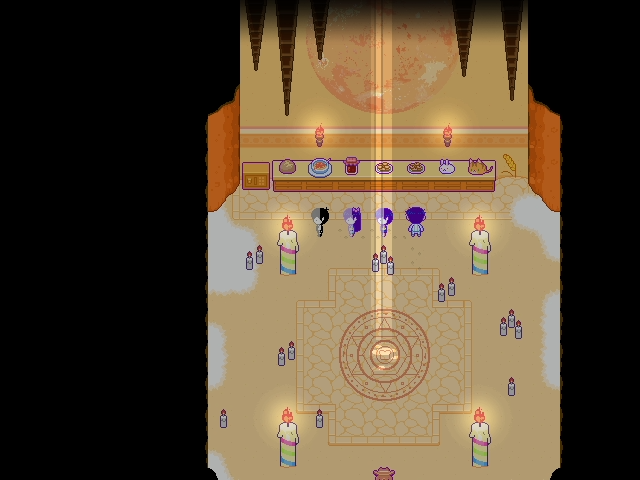
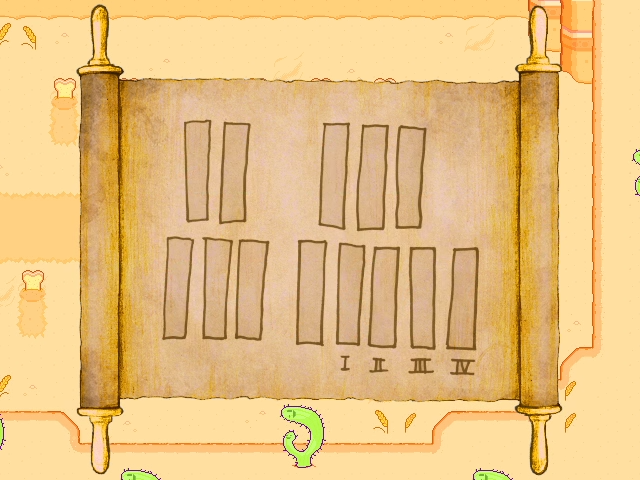
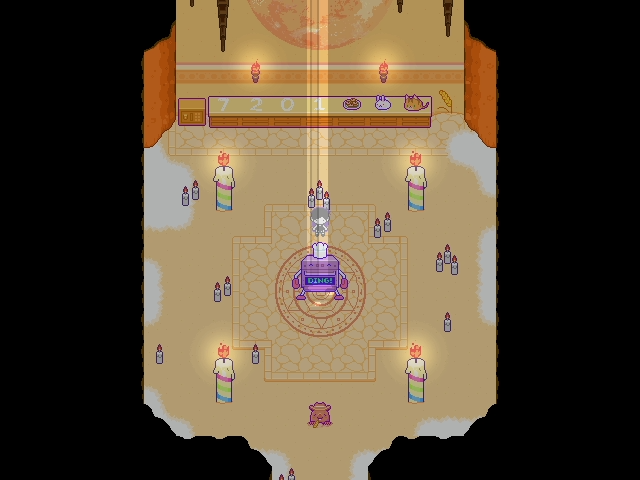
So here's what we're dealing with. Trying to access the safe will have the mole yell at us once, then give up because he's the worst guard in the world. Still though, we don't have the code so there's nothing we can do...
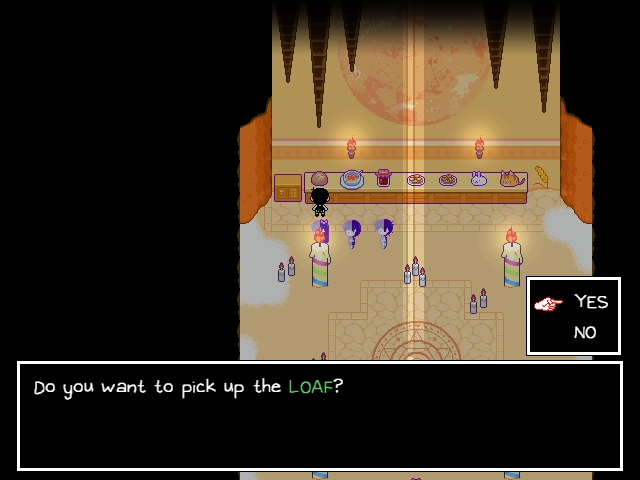
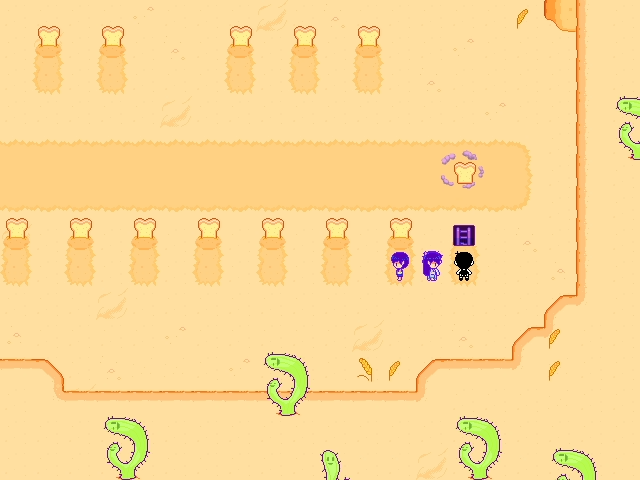
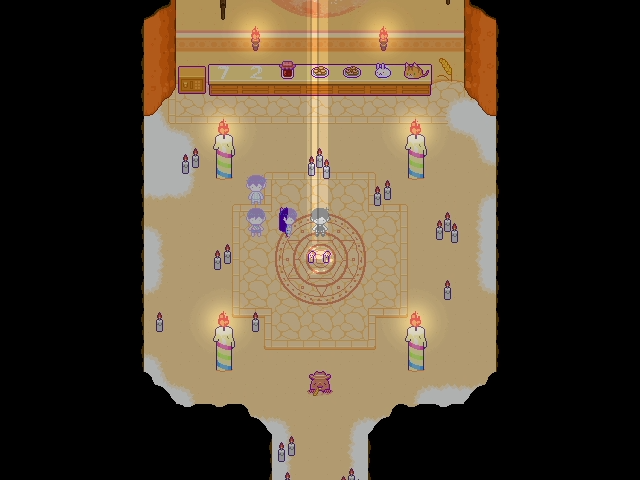
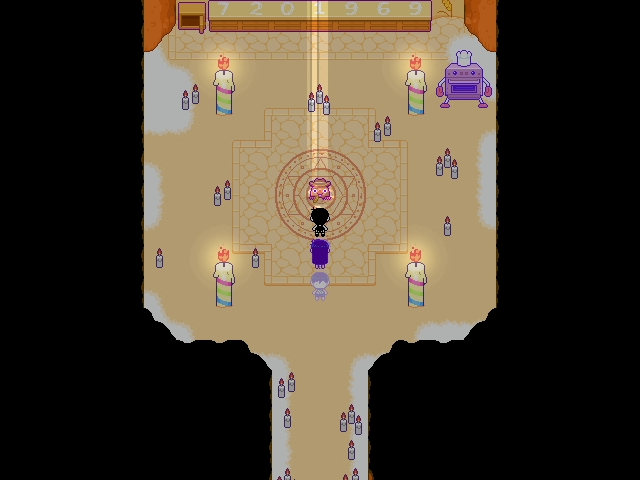
...Oh! That'll help! If you're boring, you can take each item down to see the number and then put it back to get the code for the safe and move on... but you'll miss some fun encounters. Here are the summoning results for each item:
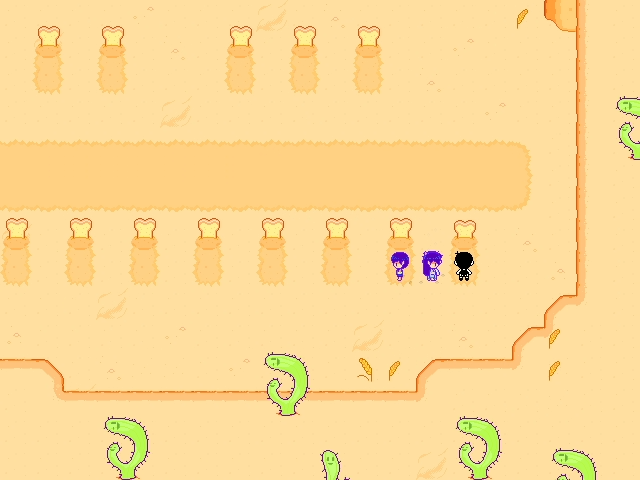
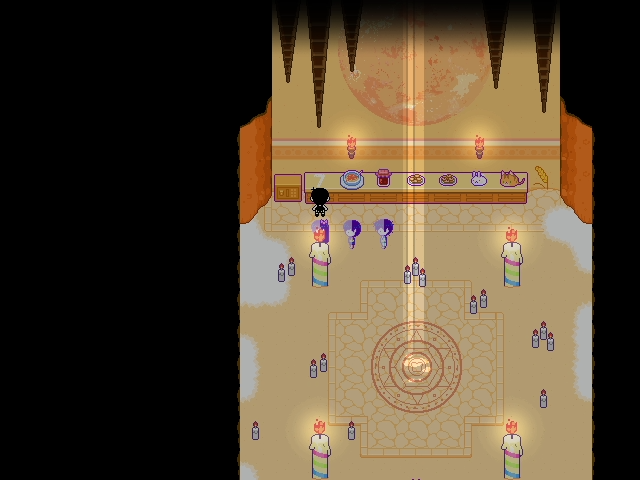
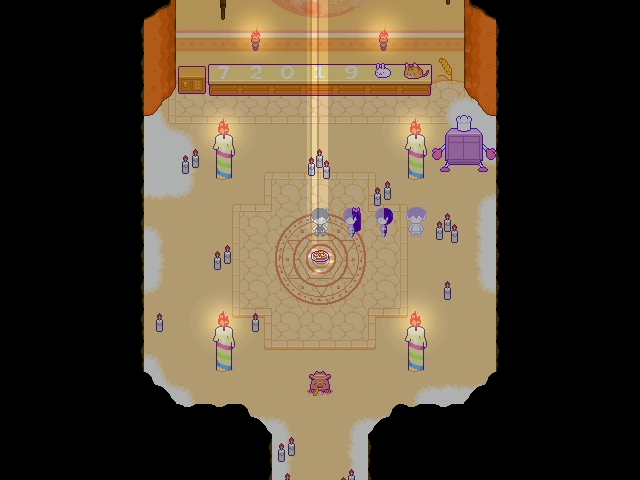
LOAF

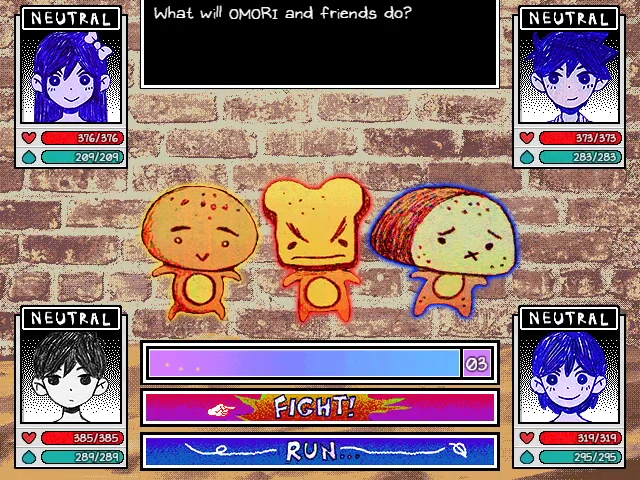
Say hello to Sesame, Slice, and Sourdough! They're only found by sacrificing the loaf, but are pretty easy at my level (late 40s). They each start with a different emotion but you can change it if you want. They're quite adorable though, especially since you can only see them here at this optional little fight.
SPAGHETTI

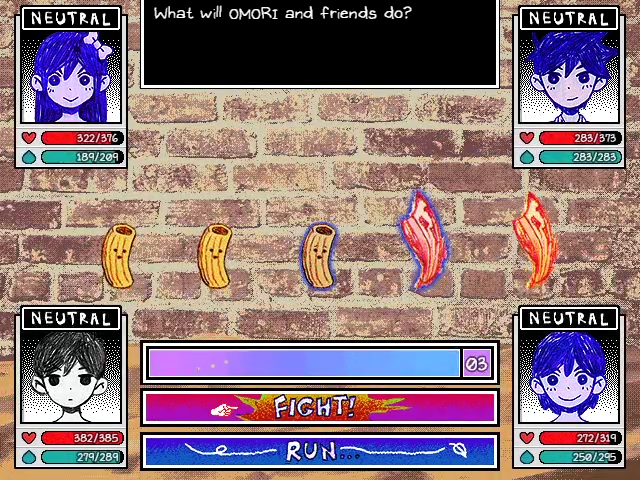
The first three enemies are copypastas and the latter two are creepy pastas. The copy pastas love to make duplicates of themselves which can drag the fight out. The creepypastas... do nothing, but did it in a photorealistic manner... ooooh!!
LIFE JAM

Here's some living bread, they're uh easy and die in like one hit. They're quite cute though!
COOKIES


... Well, the Pet Rock had to come from somewhere I guess. He does give us a loaf of bread, but a 60 heal item is basically like giving a potion to a party on the way to fighting Kefka.
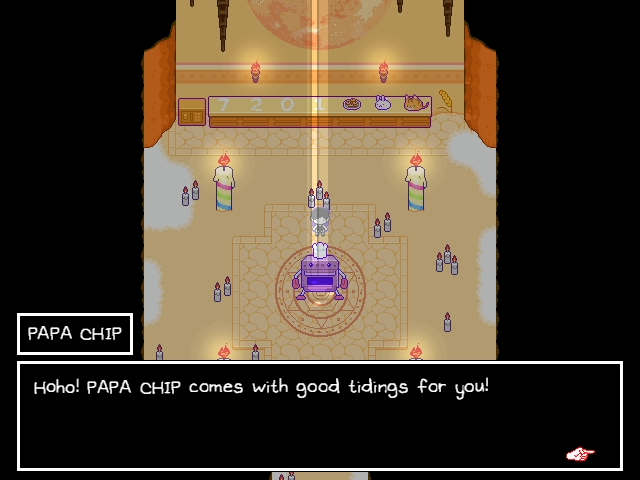
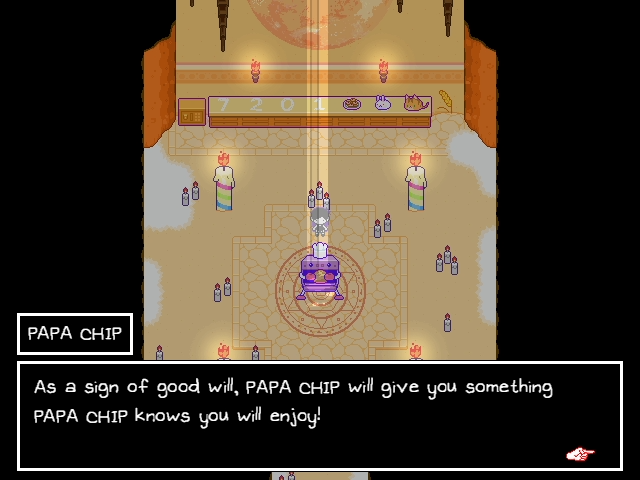
OATMEAL COOKIES
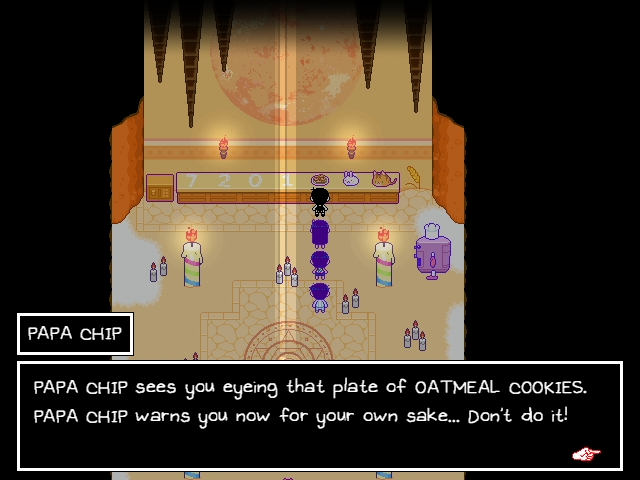
Hmm... Papa Chip doesn't like it when we touch these cookies. He'll continue to warn us after each time we touch the cookies.
PAPA CHIP: Now listen here... Papa Chip has saved a great deal of explorers by warning them of the plethora of dangers in these tombs. You'd best listen to Papa Chip's advice. Step... away... from the oatmeal cookies. Please, travelers... Papa Chip is begging you! Don't do it! Do not waste your precious young lives on something so fruitless!
Buddy, I'm on update 37 of an LP of a JRPG. You have no idea how much of my life I'm willing to waste.


Those Who Forget History
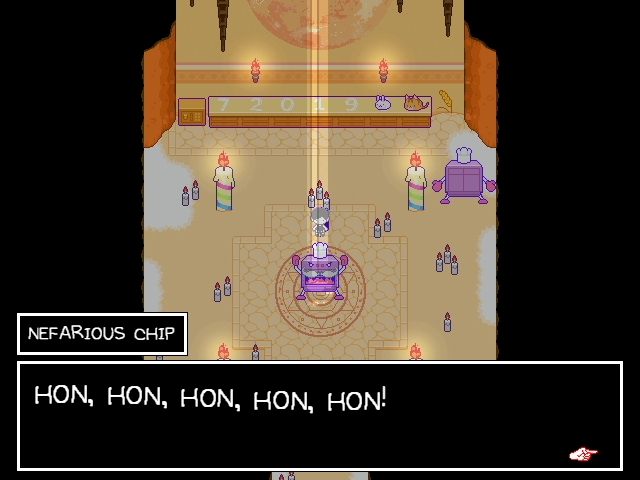
We're fighting a French Oven with a giant mustache... This is an optional boss, inside an optional dungeon, inside an optional area, and he's not even why we're here! Good reminder that this game took 7 years to make, in case you needed it.
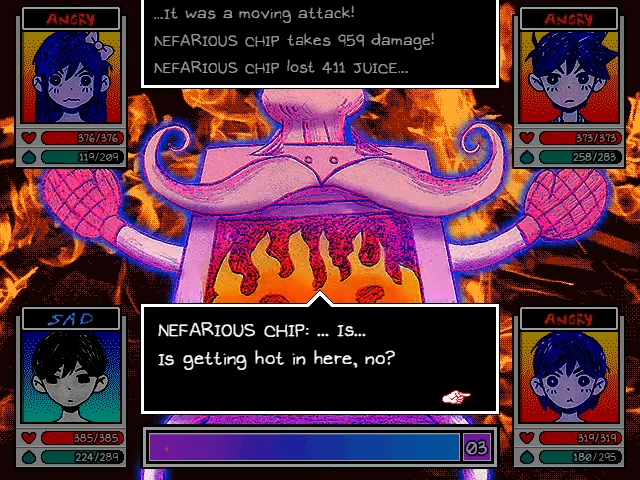
Nefarious Chip looks scary but is pretty easy. I take him down in the middle of the third round. He spent the first two rounds twirling his mustache while I slammed into him with my best skills.
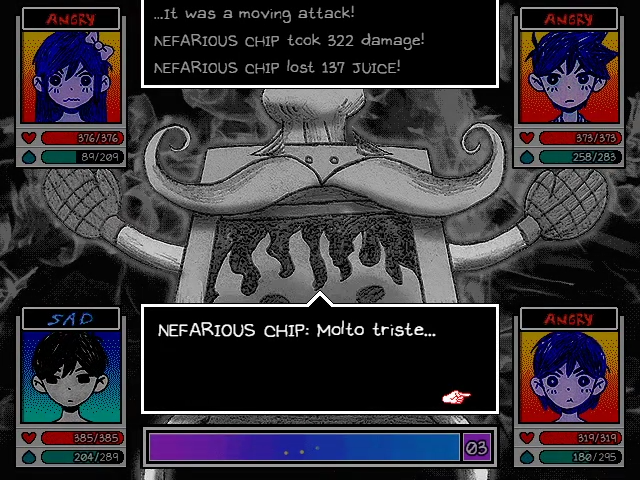

Not sure what you were worried about. Maybe you didn't expect someone to be at level 47?

FOREST BUNNY

So THAT's what's creating them. We should shut this thing down, or at least, have it create the milkshake without sacrificing the bunny.
STRAY CAT


FADE
Yeah um... these Hushpuppies are not happy about that cat being sacrificed. They aren't deadly, but they do make me want to hurry up and kill them so the light filter and music go away. You have to beat all four to progress. You can't interact with anything until they all die.
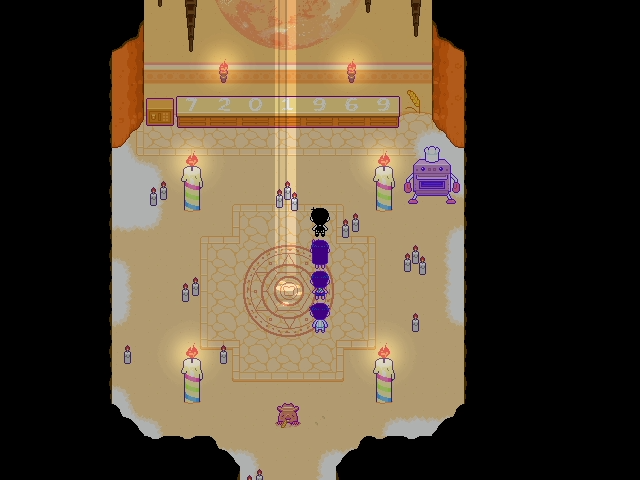
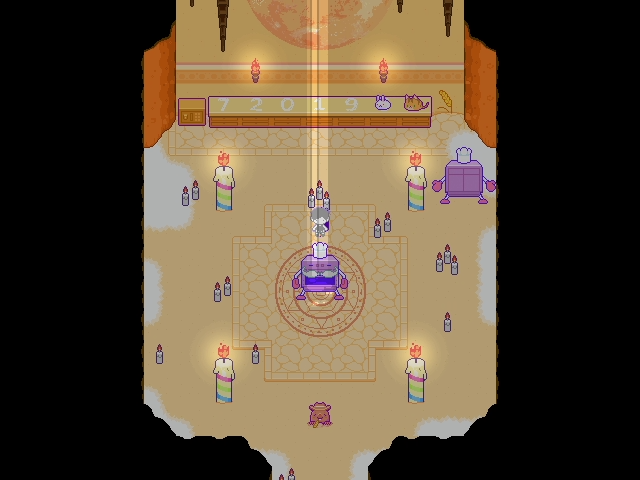
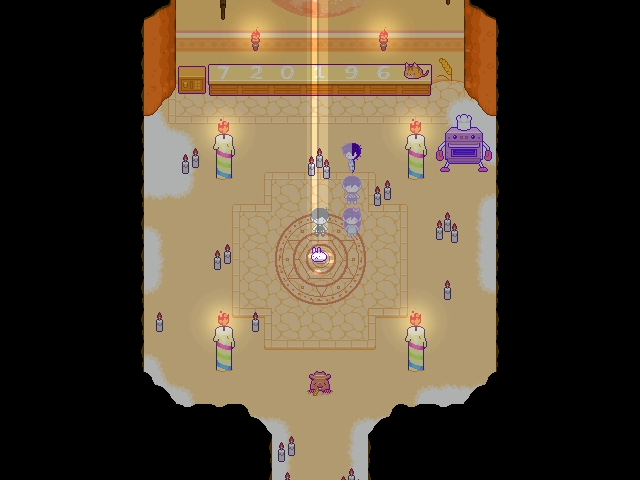
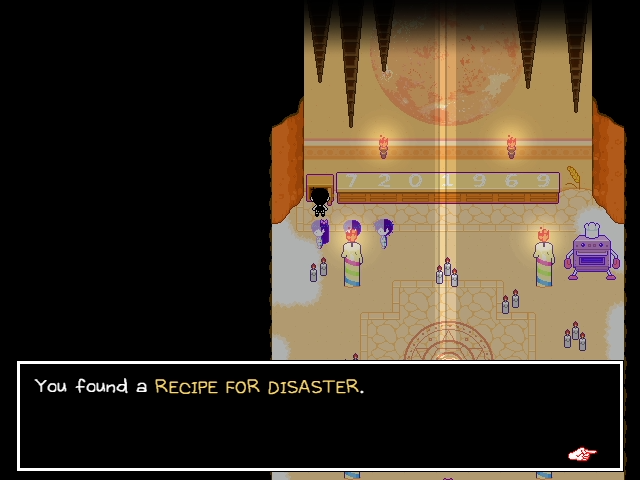
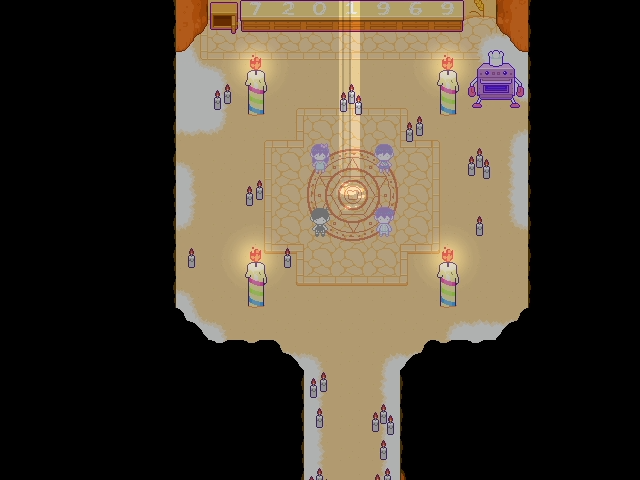
And there's the code - 7201969. I do believe you can use this code on the safe before you see it, but if not it doesn't take long to see it and unlock it.
... Well, I didn't like that guy anyway.
Thanks for the assist Mr. Mole! Hopefully you enjoy wherever you went to.

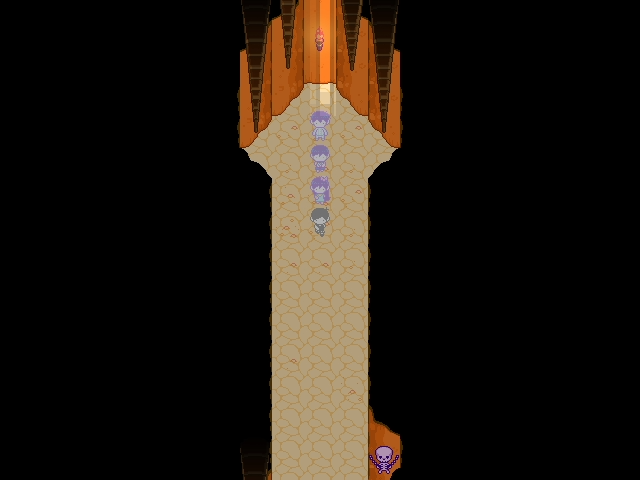
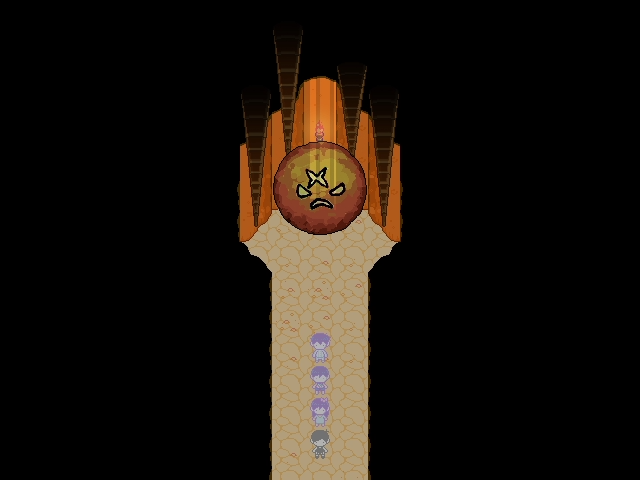
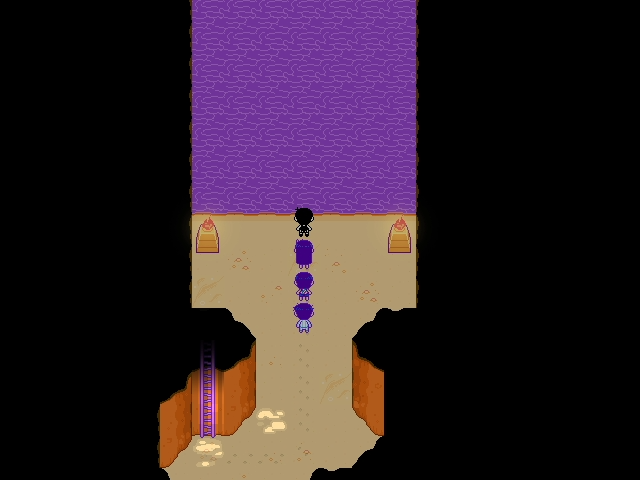
The situation has not developed to our advantage.
If you try to turn and look at any of the alcove areas - you will die because the boulder will still be able to touch one of the party members and thus kill us. You have to run as fast as you can...


...Or we can just die either way, thanks game!
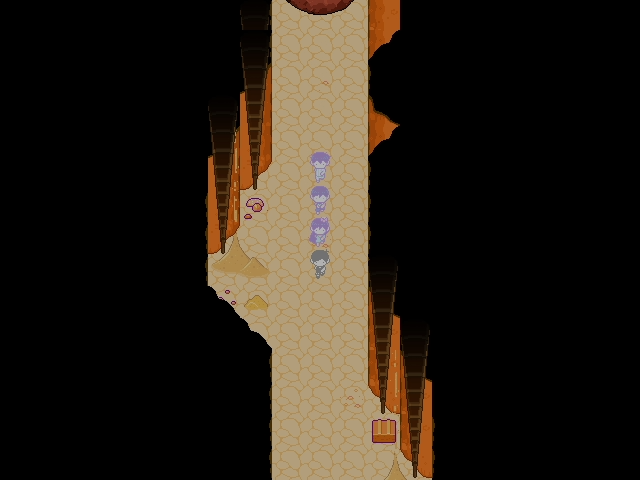
Respite
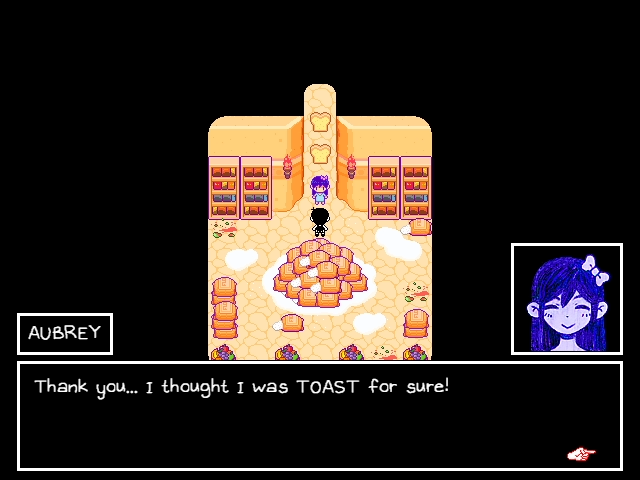
Inside the three watermelons are some Life Jam for us to revive our TOAST comrades. Nice enough of the game to not make me use my own stockpile of like 20.

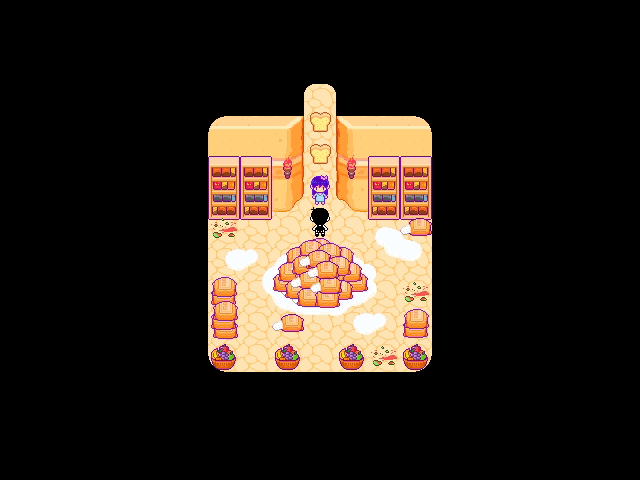

 Welcome back, Hero! How are you feeling?
 I feel... dizzy...
 W-Whoa! Hey, where are we?
 I dunno... Maybe a place where all abandoned Toast goes... Well, we sure as heck aren't Toast anymore! Let's hurry and find a way out of here!
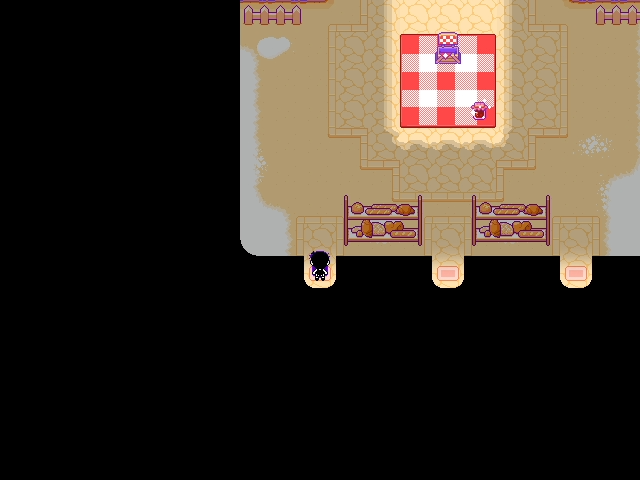
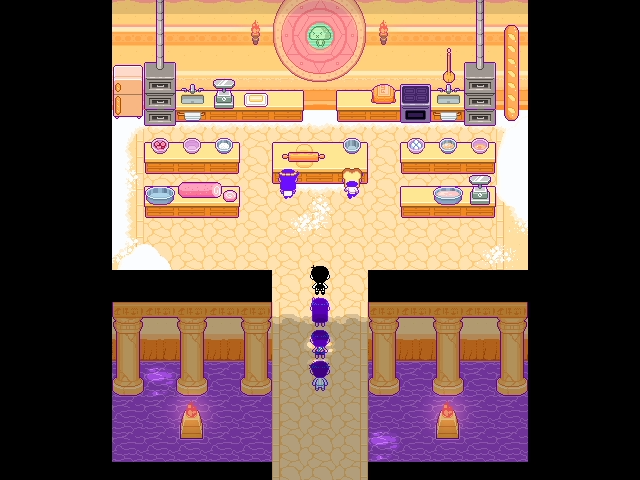
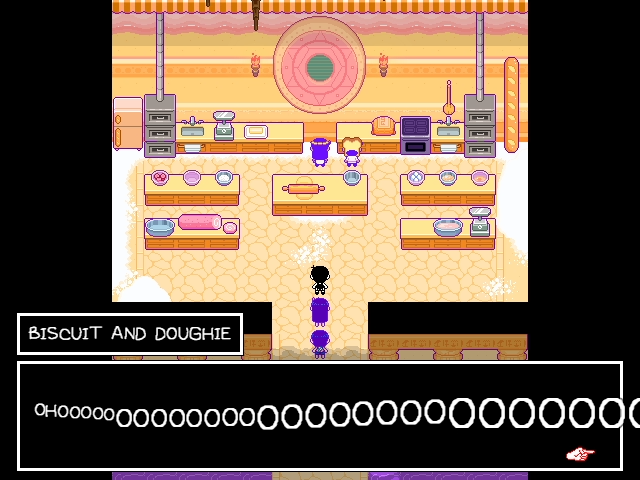
Welcome everyone... to Breaven. The land of the holy baker, where good little Toasts go. The two rooms to our right contain actual moles that tell us about how the masters grow tired of making fresh bread every day, and tell us that we do not belong as living toast. Sounds like we should pay these masters a visit...
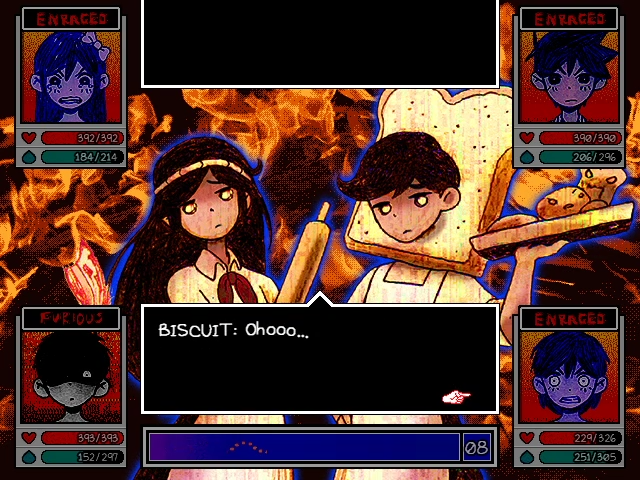
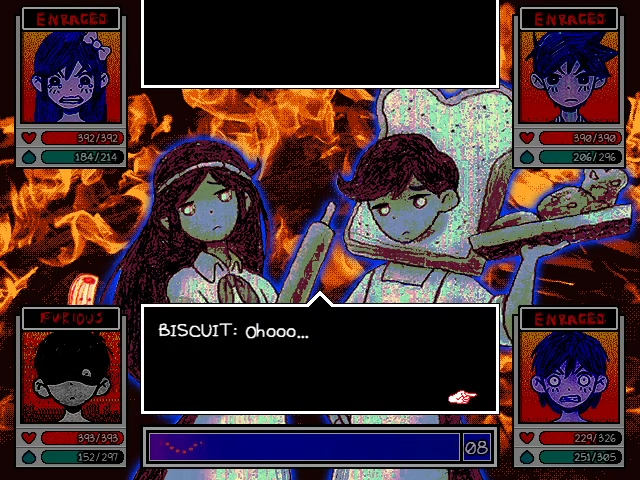
 Ohoooooooooo...
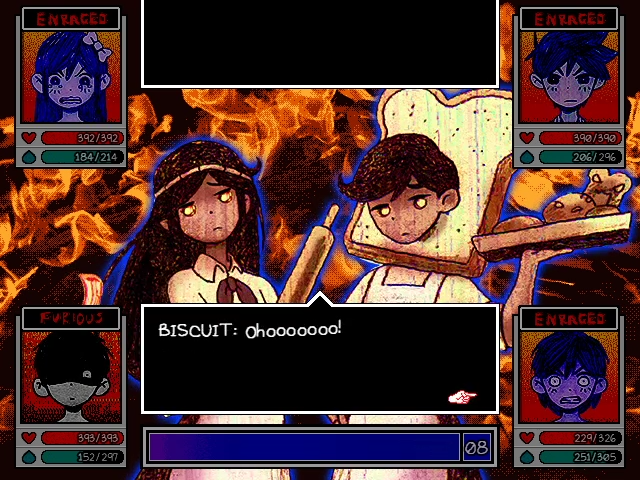
 Ohooooooooooooooooooooo...
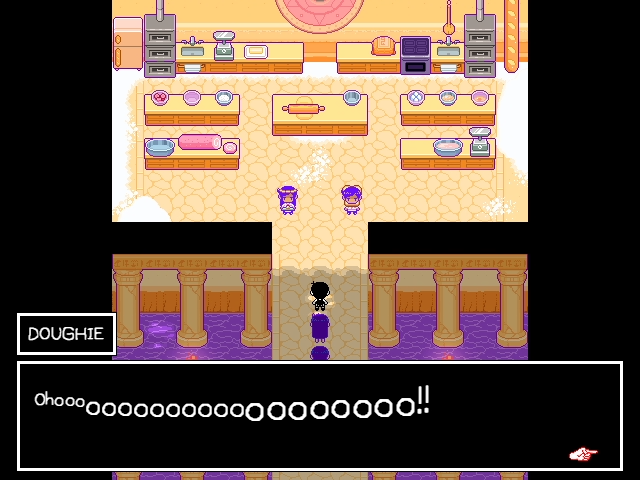
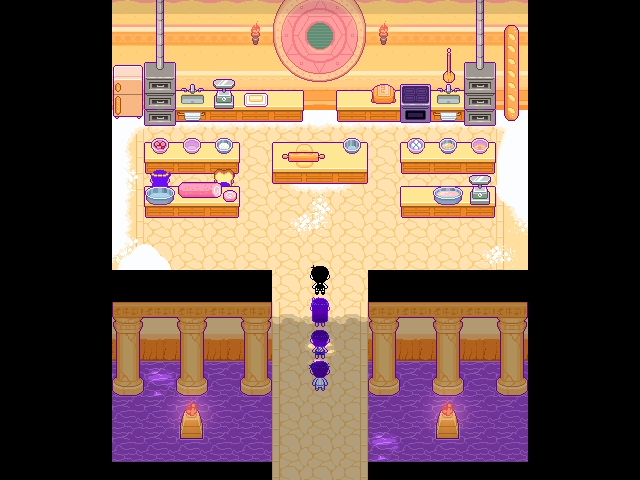
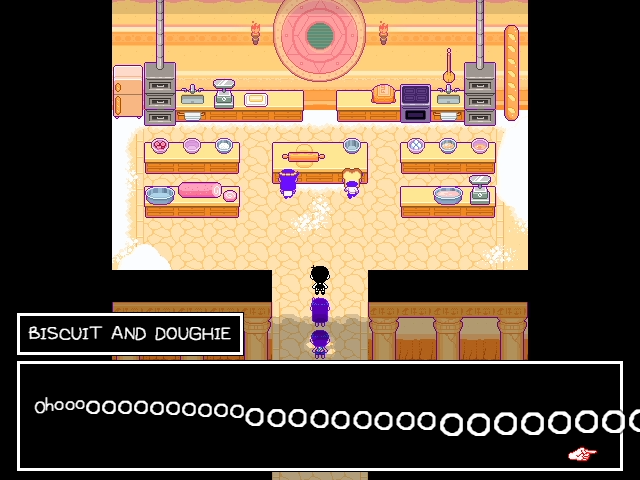
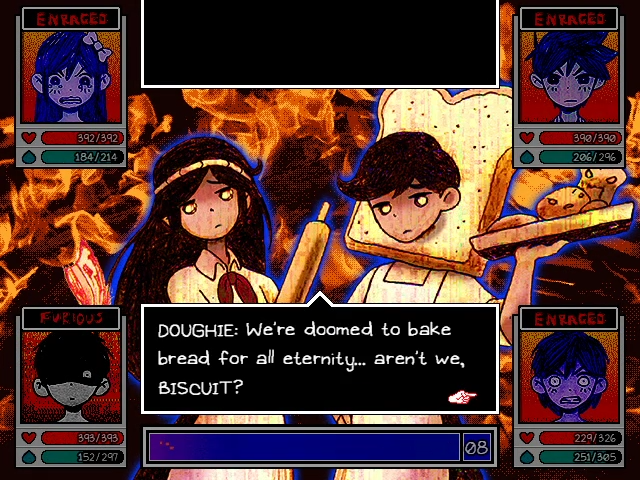
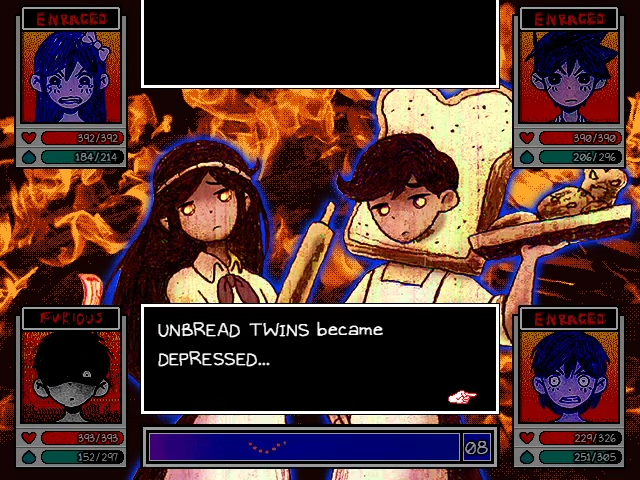
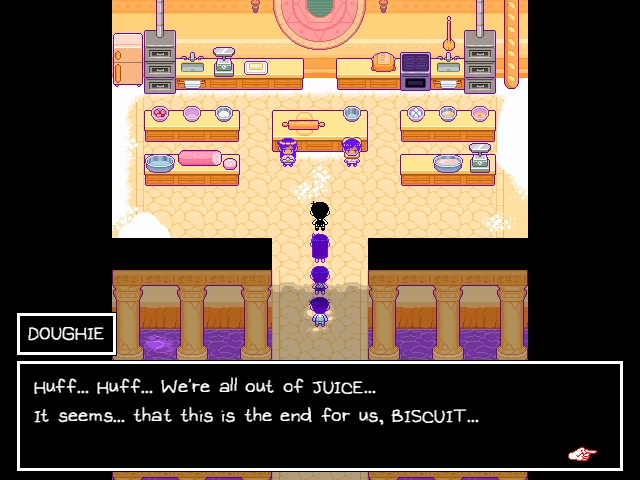
 We were born to make bread forever, day in and day out... Fresh bread... Fresh bread... Fresh Bread... It's a hard life... and it's not very rewarding... but this is all we have... We just have to be grateful, right Biscuit? Ohoo... That's right, brother... This has always been our life... trapped in an endless circle of bread. Ohoooooooooo... Ohooooooooooooooooooooo...
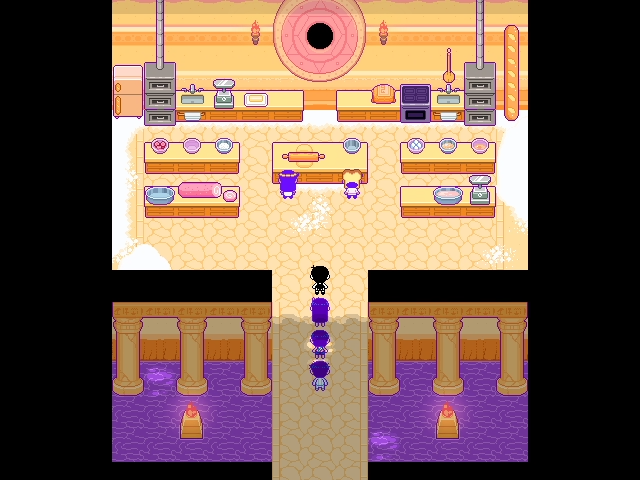
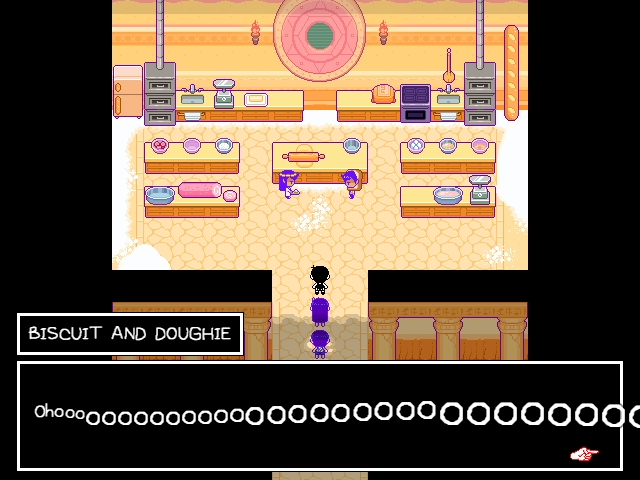
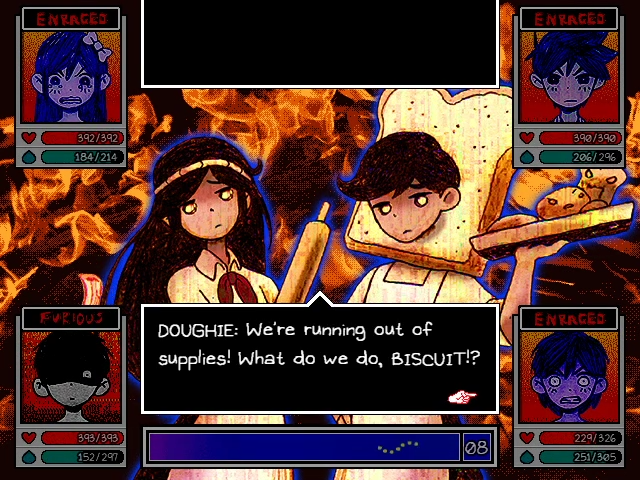
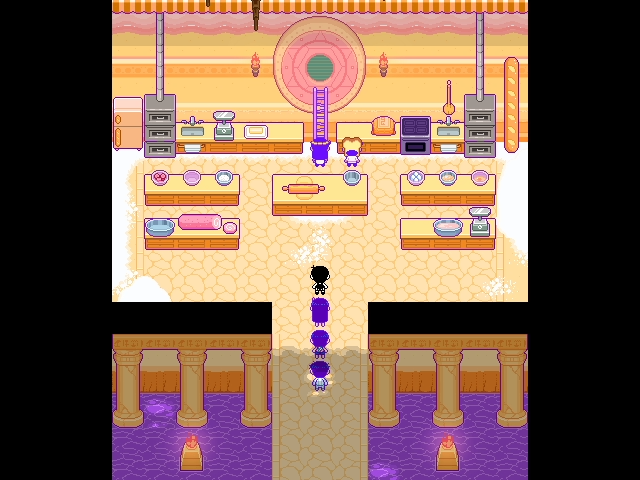
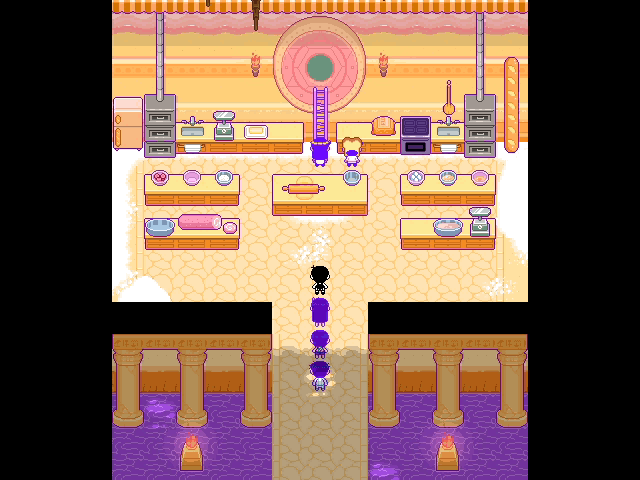
 So this is where the wailing was coming from! Ah! The bread... It has spoken! I knew that our bread would come back to haunt us eventually... Come, biscuit! We must destroy them before they destroy us first! Wait a sec... We're not-
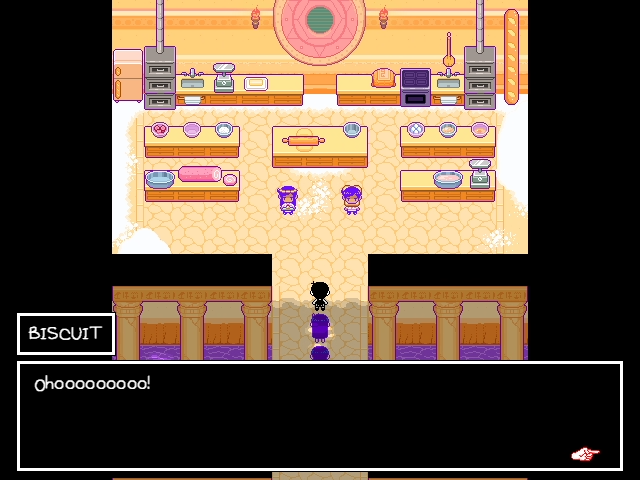
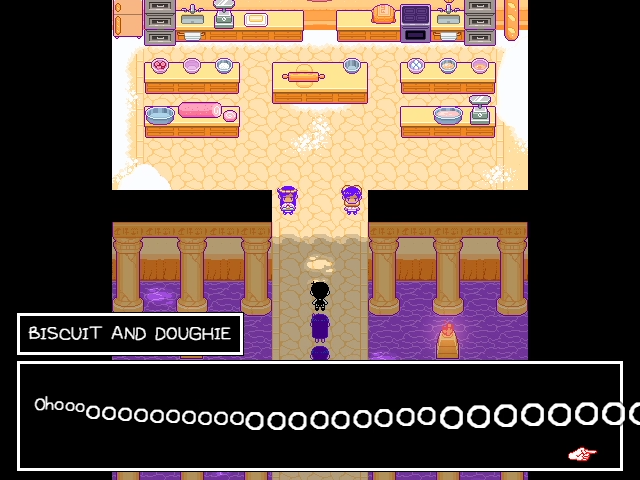


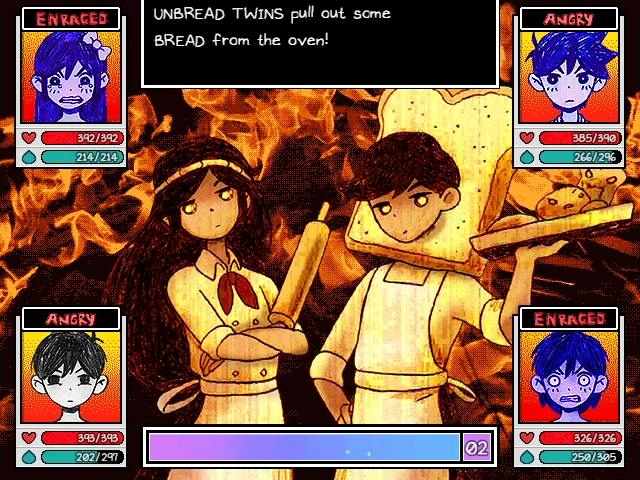
Unbread Twins
 BREADY STEADY GO
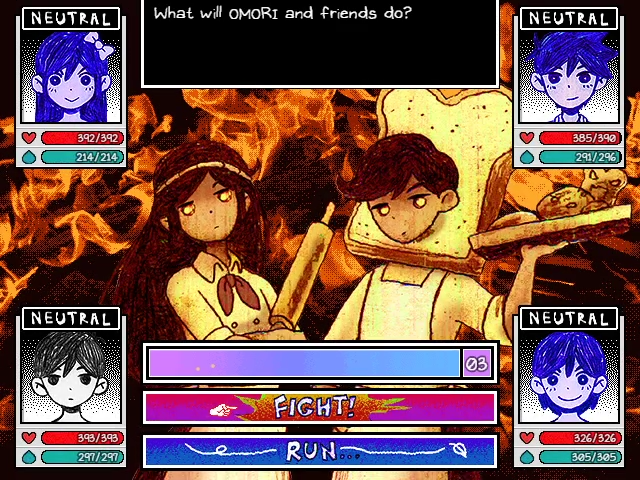
It's time for the optional boss fight of the game! This is probably one of my favorite fights in the game. The art is really on point and the music is phenomenal. I really love how different the styles of the music have been. There have been songs related to Mari that do all still sound like they have the same structure, but otherwise you can have a variety of styles for boss fights and area music and it's been a joy to listen to.
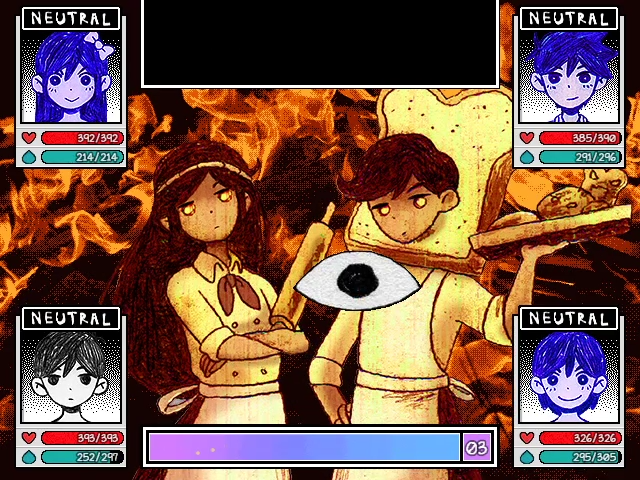
Anyway, standard opening so far. First two turns are everyone laying down all their buffs and debuffs to make this a bit easier... even if it ends up not being necessary.
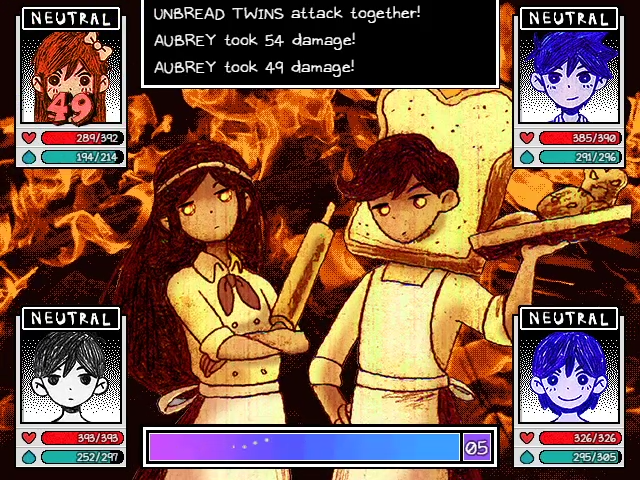
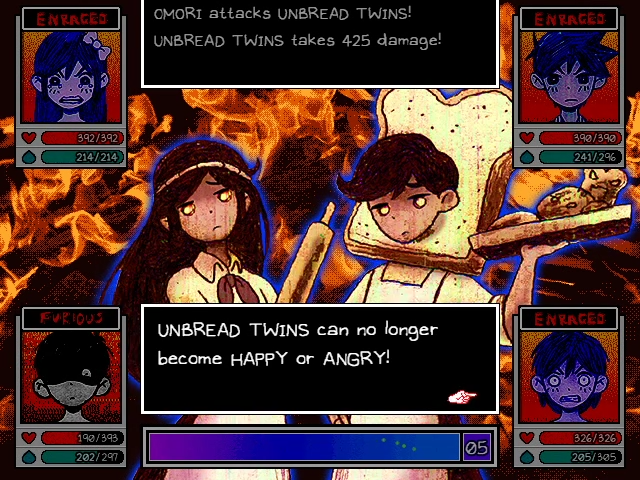
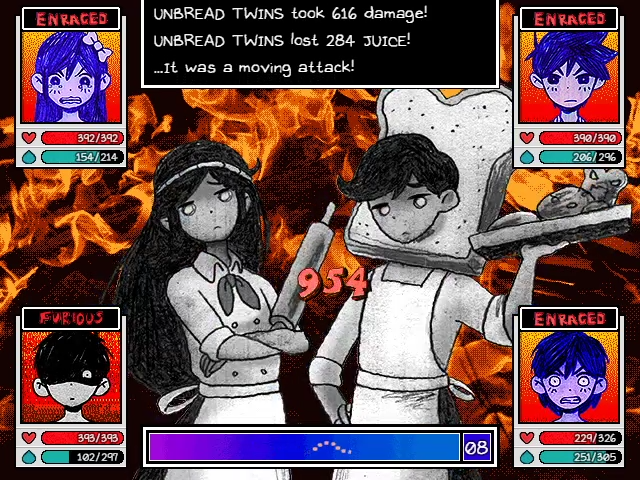
The twins love doing duel attacks, and at lower levels - this can be quite dangerous! You definitely don't want to fight these guys if you aren't at least level 30.
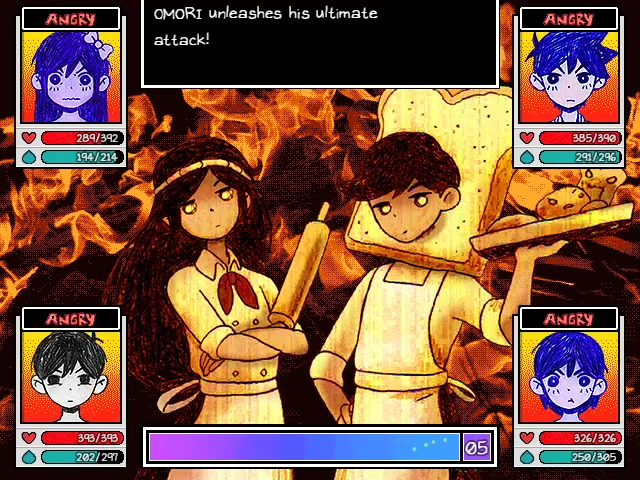
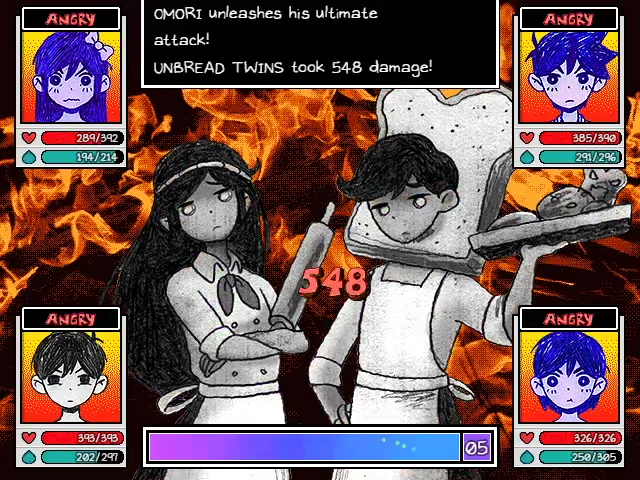
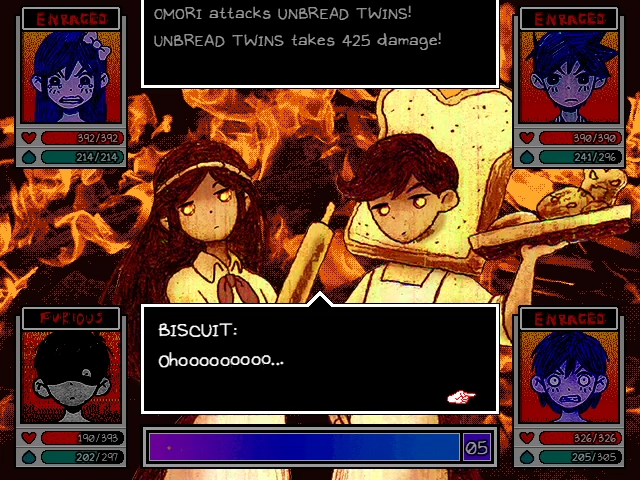
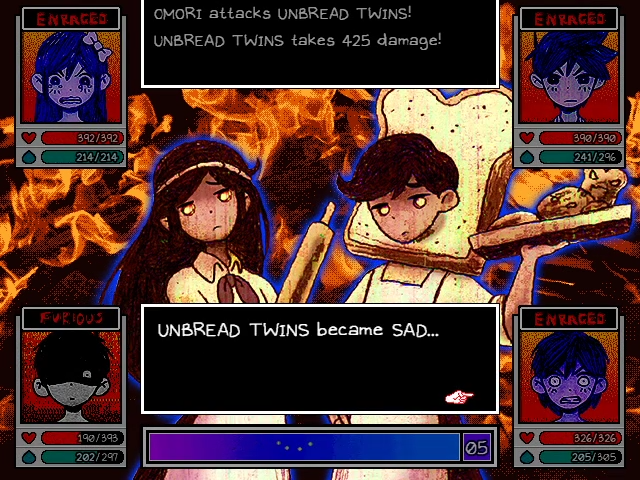
At level 35, Omori unlocks his ultimate ability - Final strike. Instead of striking three times at random enemies, Omori attacks one enemy for about the same damage. For boss fights this isn't much different... but the catch is Omori does more damage if his emotion is of a higher state than the enemy. So if the enemy ends up as an emotion of a lower and opposite state than Omori - then he does a crapton of damage!
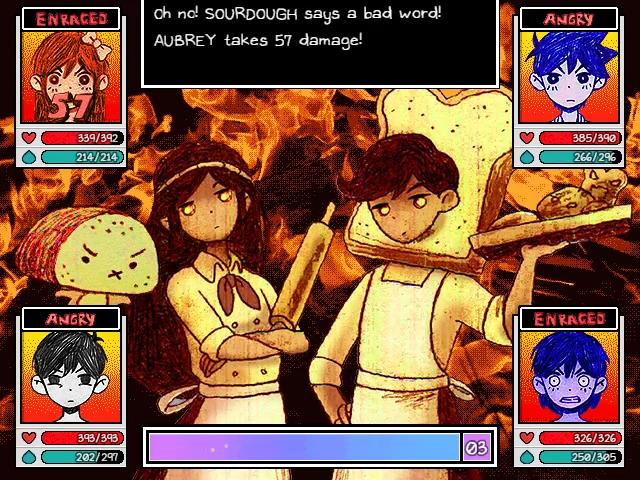
Ok, I was wrong a bit earlier. The Sourdough triplets can show up here as minions for the Unbread Twins. You don't need to target them down, but it'd be nice if they aren't being a mosquito the entire fight.

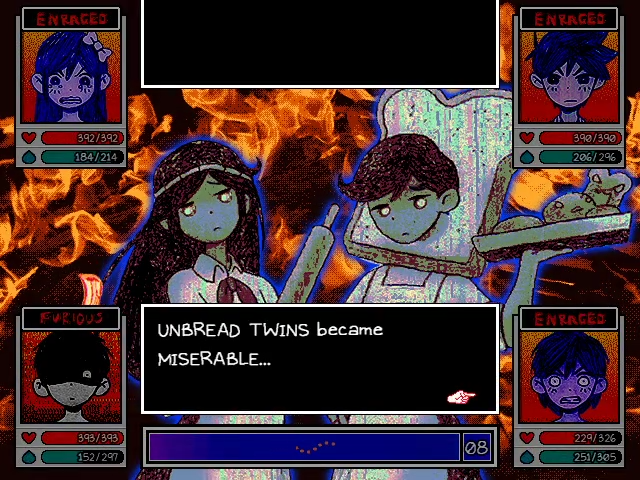
And here's the final emotion fight. Welcome to the sad boss! These guys love being sad and will not ever change away from it. And while that is a big ol
 we are ready for it... as you can see.
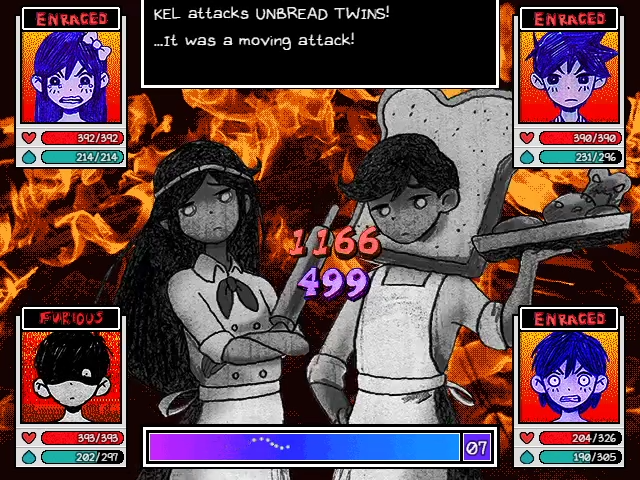
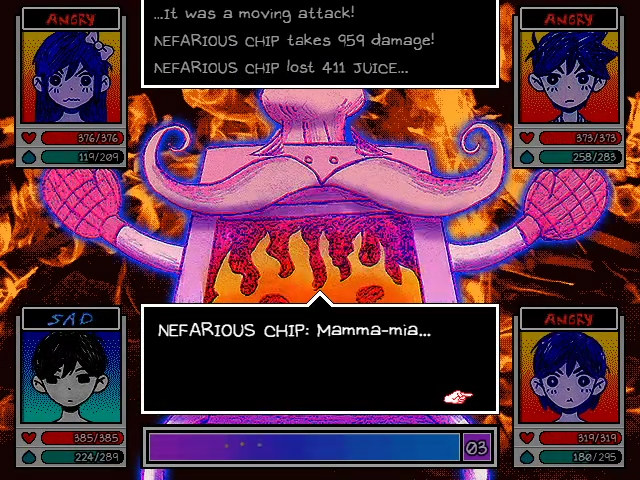
Hey, here's a Kel run-and-gun after a flex. This is what he deals every two turns now, in case you thought the chicken ball was unimpressive.
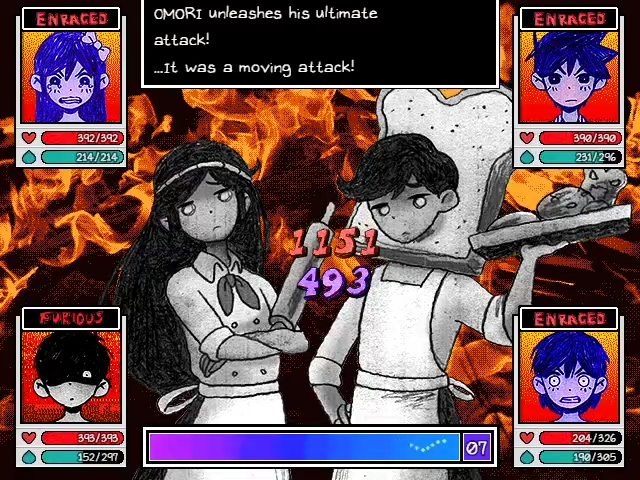
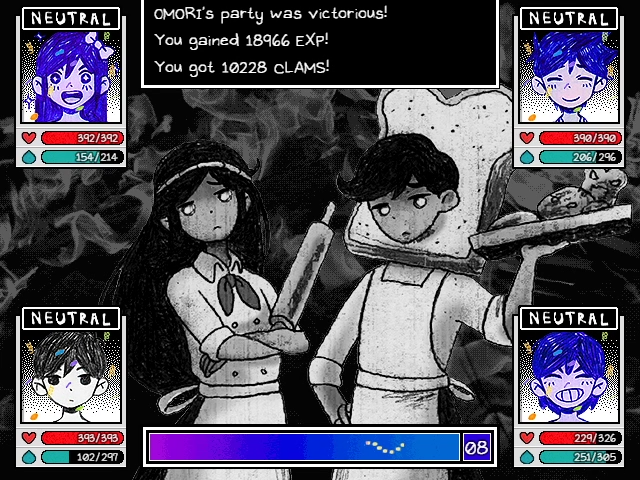
And here's a regular unbuffed final strike from Omori. I uh, may be destroying this boss that took me 30 minutes to attempt on my first go round.
Not to be left out, Aubrey did a total of 2k damage from beatdown. Just in case you thought she wasn't good anymore.
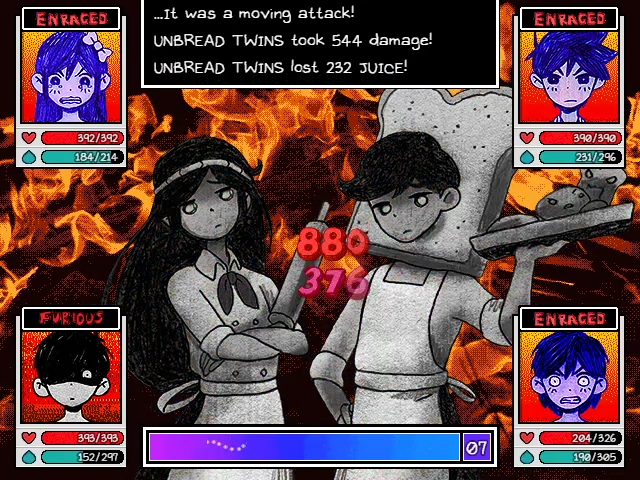
Now you may be thinking, that was a quick escalation to go from phase 3 to phase 4 that quickly. Well uh, that's because we did so much damage that we forced them past phase 3 already. I may be overpowered as hell by this point


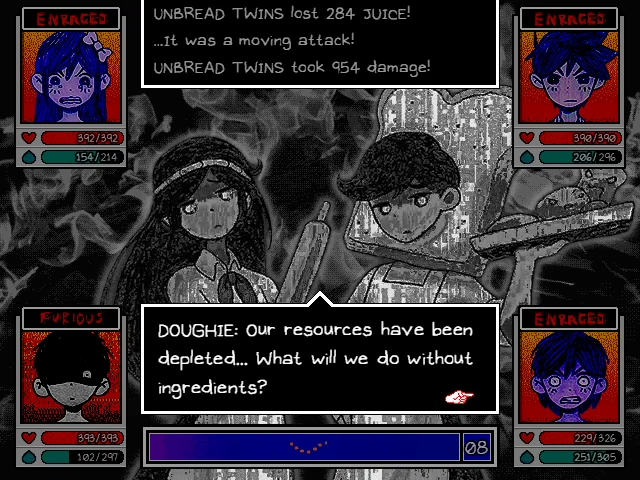
Once the twins hit the miserable stage, the fight really becomes one of attrition. You will be dealing no damage to their health and have to whittle down their massive juice pool first. Or well, it would be one of attrition if my team weren't throwing out 1500 damage a pop.
This is actually a very tough fight if you were to come here straight after Humphrey in the early 30s, late 20s level range. But I decided to treat myself after all the griding for clams I did.
 Ohoo... Wait! We're not bread... We're kids, just like you! You... You mean you're not here to destroy us? Of course not! We would never attack unprovoked!
 ... Ye Olde Sprout Mole's memory has already been forgotten.
You hear that, Biscuit? We're saved! Now it's back to baking... Fresh bread... Fresh bread... Fresh Bread... Ohoo... Hey... so... How long have you guys been baking bread here? Don't you want to go outside and get some fresh air? Ohoo... If only that were possible... We've been trapped here since the inception of the universe...
 Wow... That sounds like a pretty long time. I think you both deserve a break!
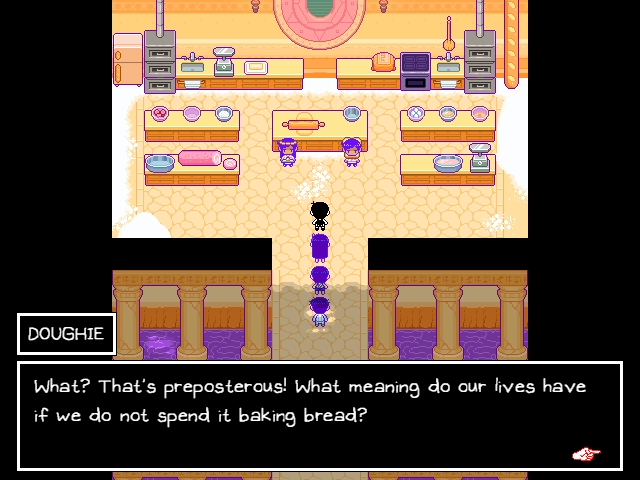 Ohoo...? If we were to leave our bread-making stations... what would we do with ourselves? This the only life we know... And yet... My morbid curiosity overwhelms me... That portal up there is able to transport us out of this place. We've used it countless times to fulfill our bread summonings, but we have never seen the other side for ourselves... Well, we have! And let me tell you... It's a big, awesome world out there! I think it's about time that you guys start exploring new possibilities! Hmmm... Tempting... Well... what do you think Biscuit? Ohoo... Mhmm... I'm listening... Mhmm... Yes... But... Ah... That is true...
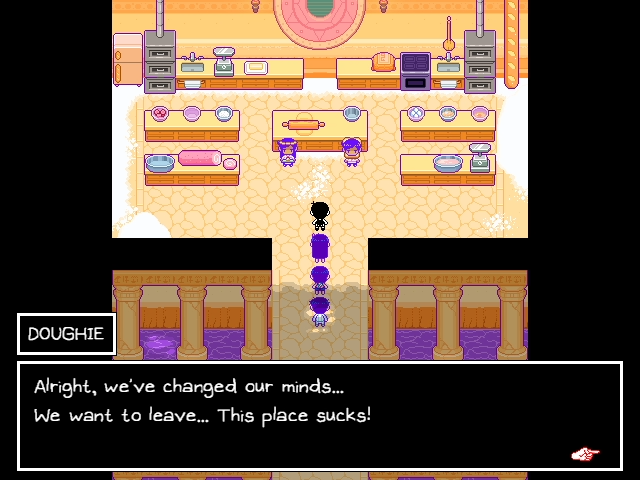 Ohoo... Biscuit... We've always been afraid to use the portal... But perhaps it's time for change...
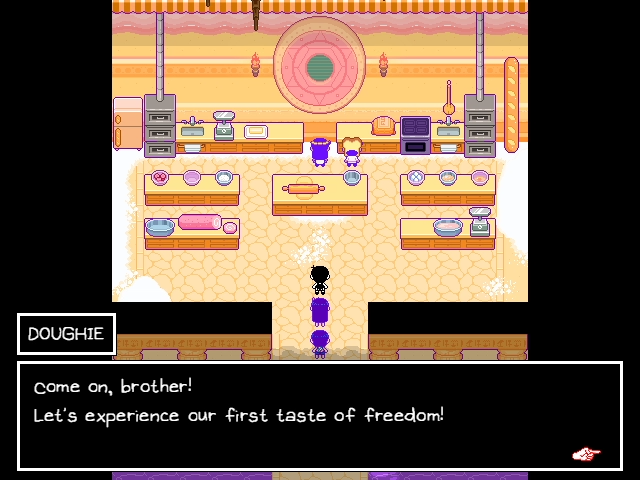
And so ends the tale of the Orange Oasis Guardians. They took a trip to Last Resort and blew all their clams gambling the days away. And no, I'm not joking - they literally do that.
That's it for Orange Oasis! We've finished everything there is to do, like I said 20 updates ago... Jeez that was a long time ago. Regardless, we've still got more endgame things to wrap up and show off before we're ready to head to Basil's house. Plus trust me, you may want me to be putting that off a little bit longer...