Part 26: Persia: August 13, 1942
We appear to be caught in yet another time loop. We could swear we sailed up into the Persian Gulf over a week ago, but it turns out it's only been a day since we landed. It's probably going to help us if we can get to Tehran before any sign of winter appears. Although sometimes I think the Germans would welcome some reprieve from all the air strikes in the desert.
Axis Turn 6: August 13, 1942
Fair (Dry)
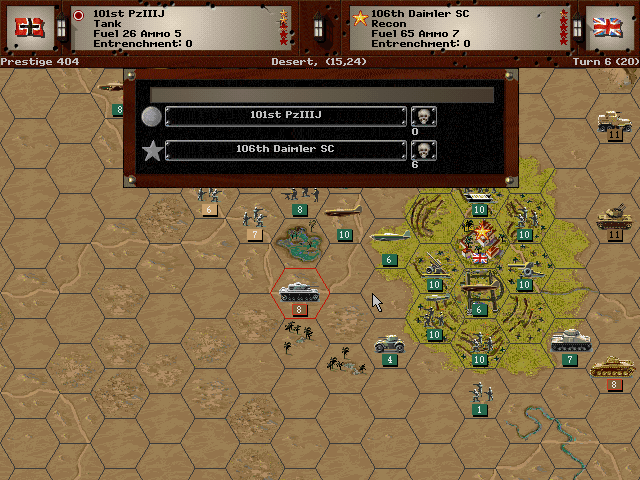
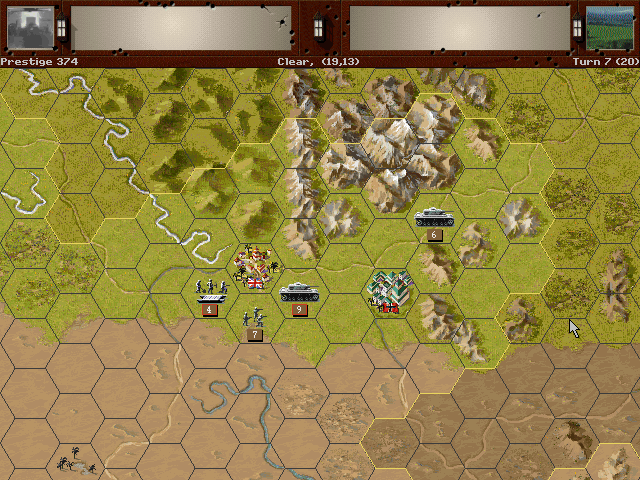
As our forces stay put on the east side of Baghdad, the German forces begin to approach from the west.

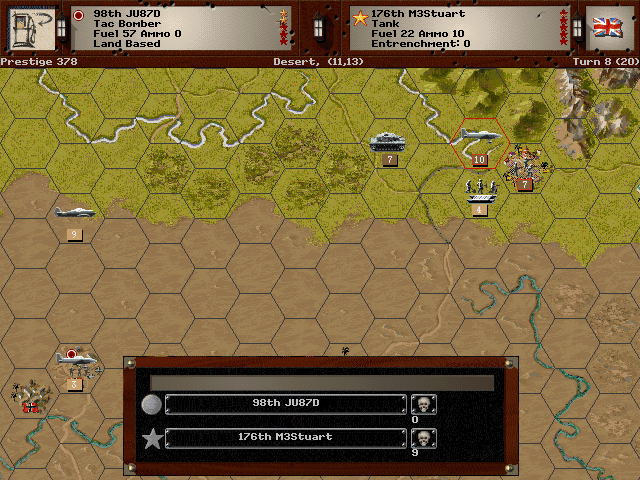
Elsewhere in the desert their units are somewhat scattered, and they need to use their bombers to suppress the British tanks threatening their supply depot.
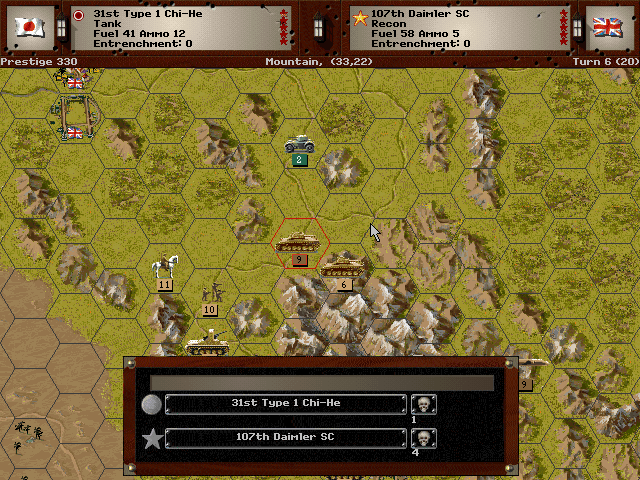
After prolonged fighting, we finally get rid of the scout cars, and we're through the first pass.
Allied Turn 6: August 13, 1942
Fair (Dry)
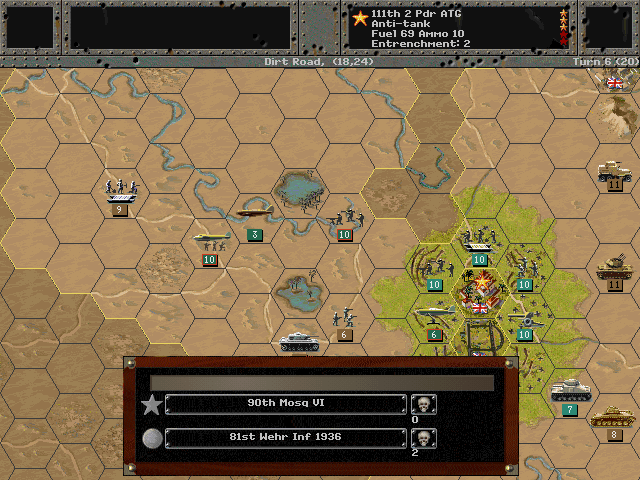
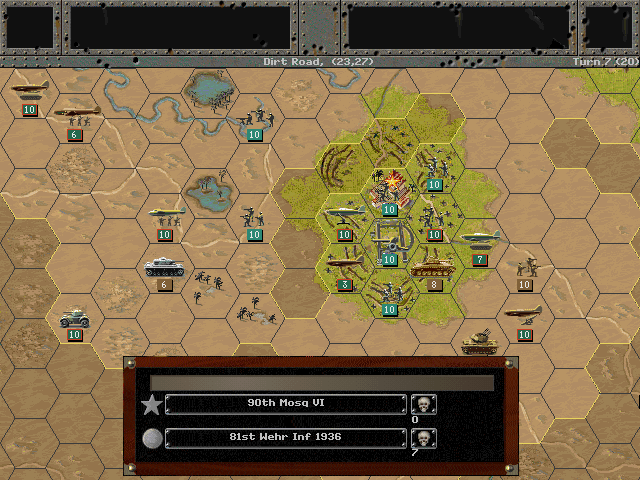
Allied planes have control of the skies around Baghdad. We can't get enough planes up against them.
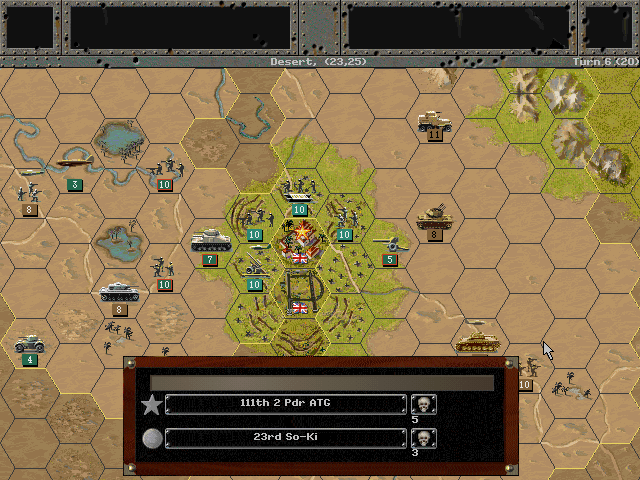
The So-Ki appears to have finally met its match.
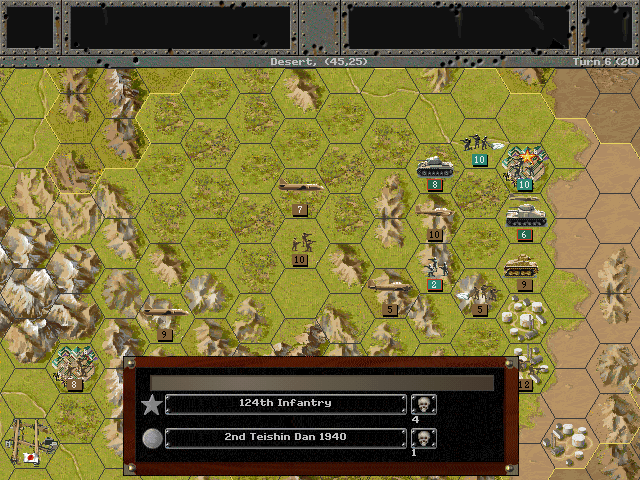
At Esfahan, the paratroops are barely hanging on, but they are still fighting with vigor.
Axis Turn 7: August 13, 1942
Fair (Dry)
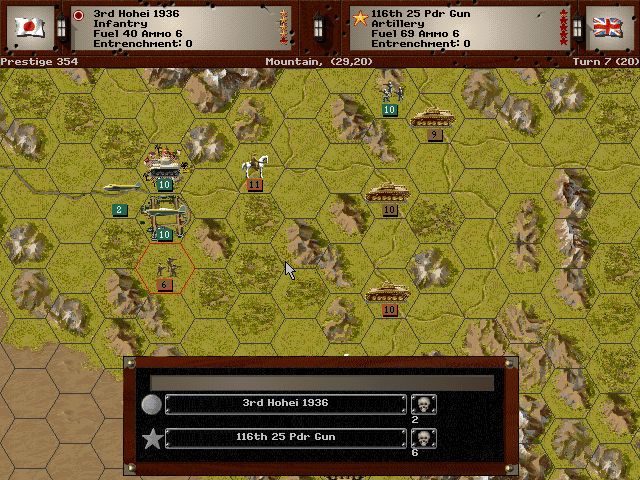
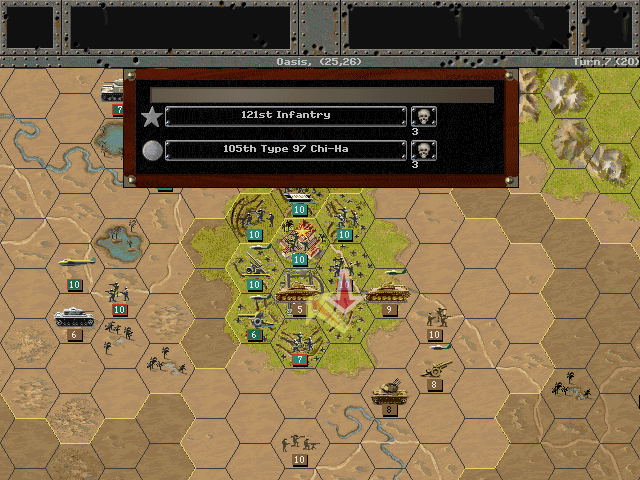
To reduce the enemy air presence, we send some forces to capture one of the airfields in range of the desert.
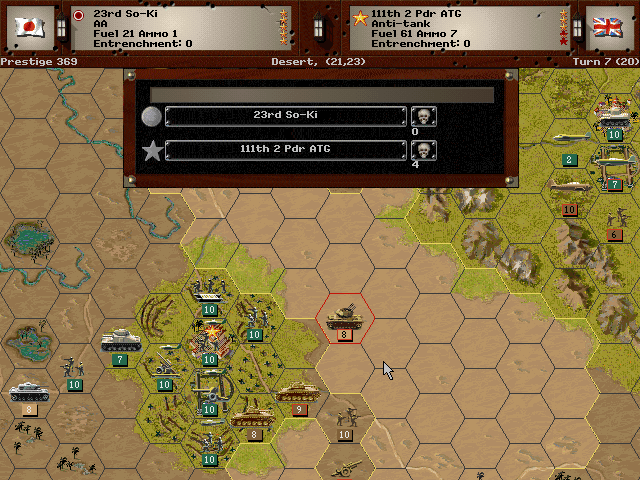
The So-Ki strikes back, knocking out the AT gun that dared to damage it.
More German units are committed to Al-Musil, and the city is finally rid of its defenders, even if it's not totally under German control yet.
Allied Turn 7: August 13, 1942
Fair (Dry)
There are still way too many attack aircraft near Baghdad.
In a bizarre turn of events, the tanks on the east side end up retreating into an empty and undefended airfield at Baghdad.
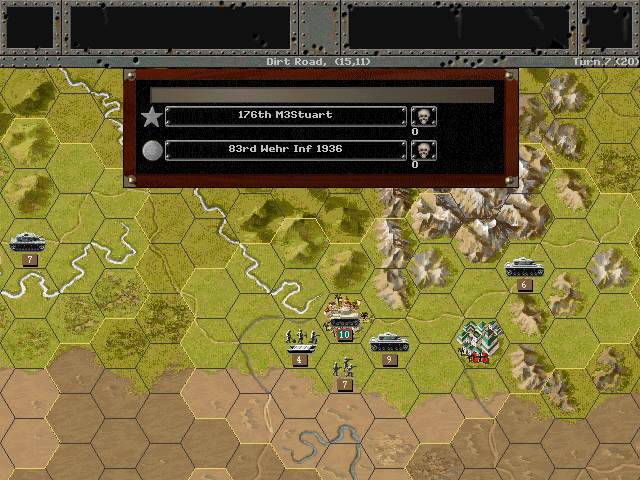
A hitherto undetected tank arrives to keep the Germans out of Al-Musil for a little while longer.
Axis Turn 8: August 13, 1942
Fair (Dry)
The tanks are pushed aside, and the town is finally secured by German forces.
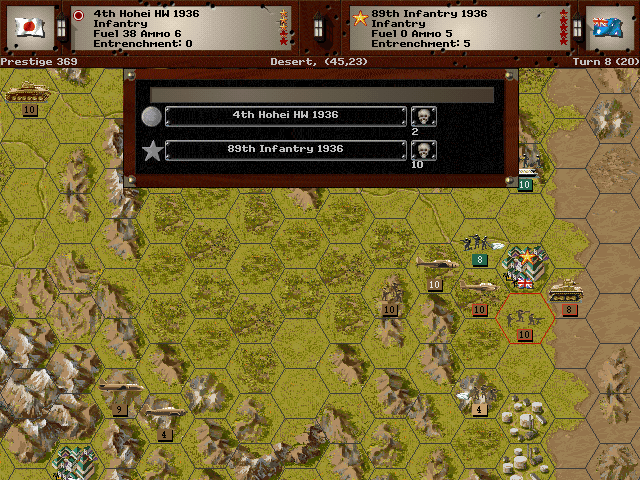
Heavy infantry arrive to relieve the advance forces at Esfahan. Their initial assault drives out the defenders.
Our core forms up to move on Hamadan.
Allied Turn 8: August 13, 1942
Fair (Dry)
Baghdad is rather quiet for once, but the air raids continue.
Axis Turn 9: August 13, 1942
Fair (Dry)
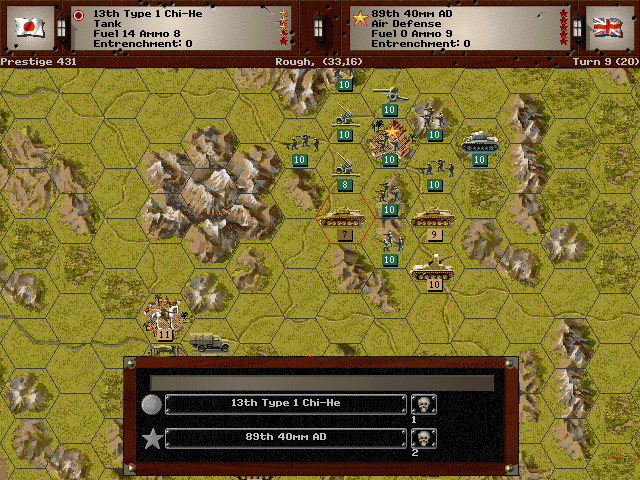
Esfahan is taken, and we can probably push ahead from there.
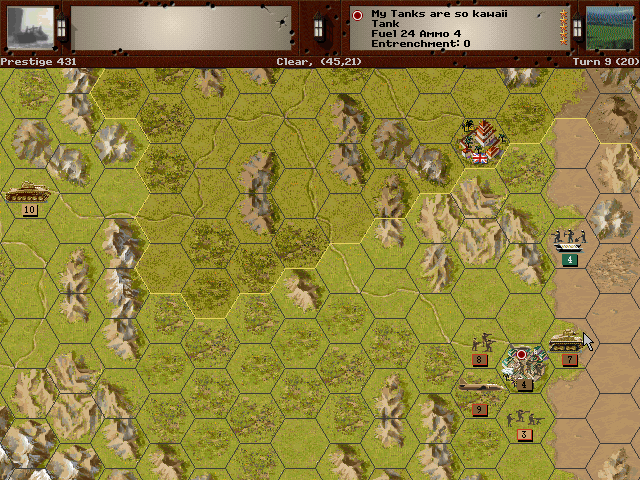
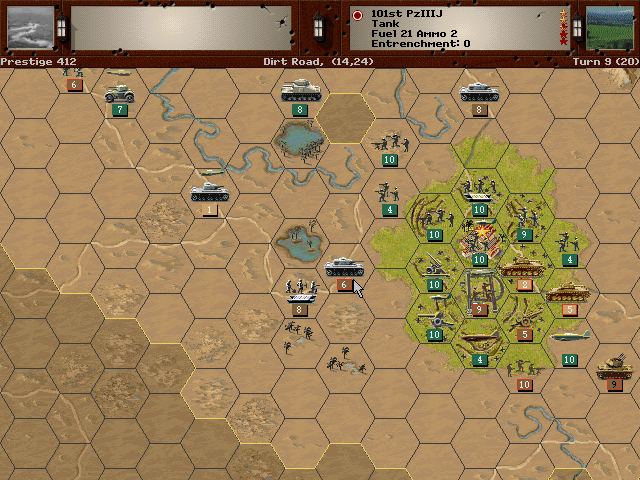
Hamadan has considerable defenses. It will take some time to wear it down.
Our position in Baghdad is still holding, but we desperately need the Germans to get their troops organized.
The Germans are now encountering Soviet troops to the north.
Allied Turn 9: August 13, 1942
Fair (Dry)
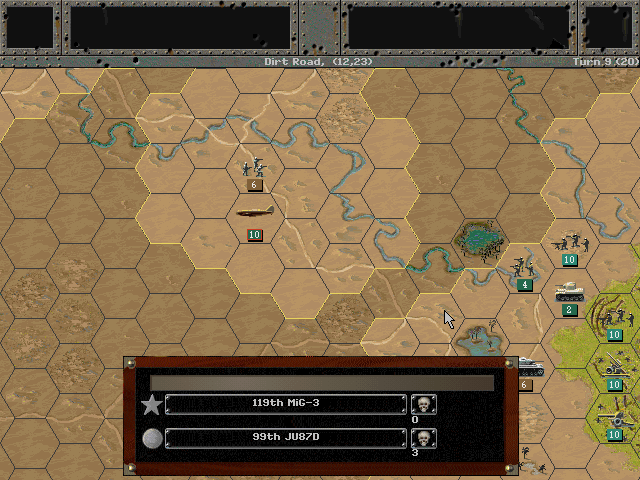
The Germans lose one of their bombers. We also lose one of the auxiliary bombers on the other side of Baghdad.
The British forces are worn out near Baghdad, and are unable to fight off the advancing Germans.
Axis Turn 10: August 13, 1942
Fair (Dry)
German units are starting to reform in the desert near Baghdad, but the Afrika Korps is looking quite the worse for wear.
The Zeros arrive to help clear the skies over the city.

Hamadan's troops are being ground down gradually.
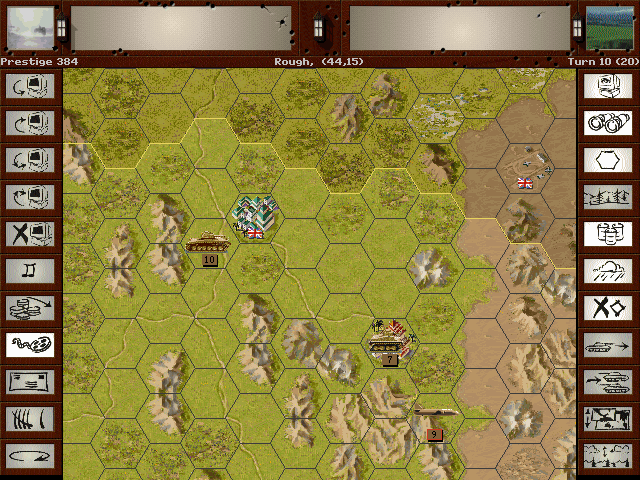
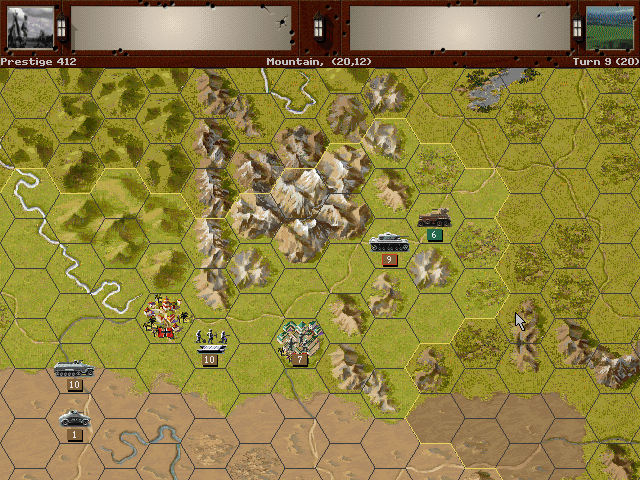
Farther east, we aren't spotting any enemy units south of Tehran.
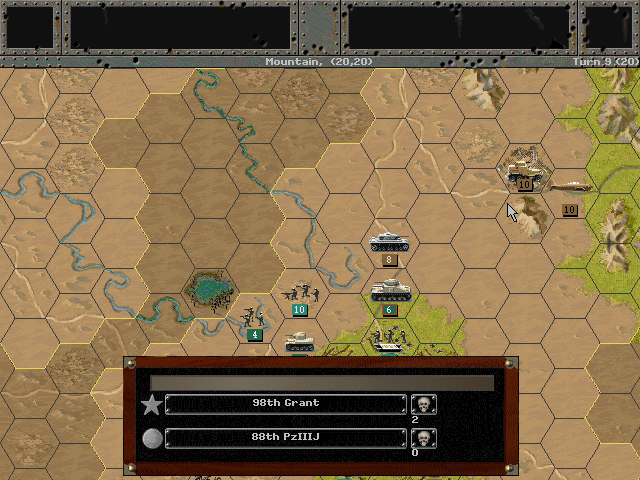
Allied Turn 10: August 13, 1942
Fair (Dry)
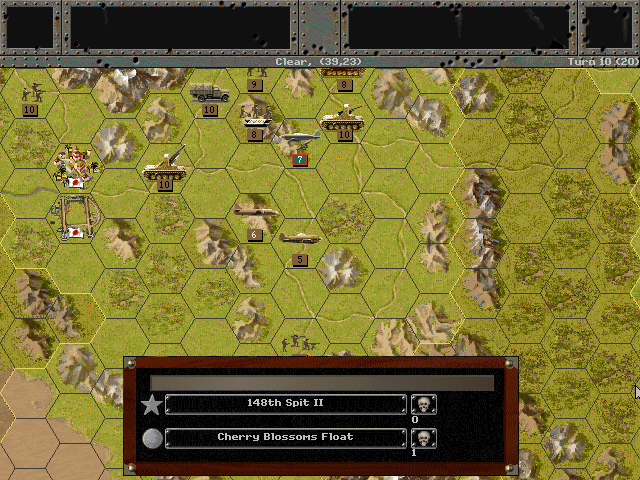
The British planes have moved away from Baghdad, but they're still a danger to any ground units.
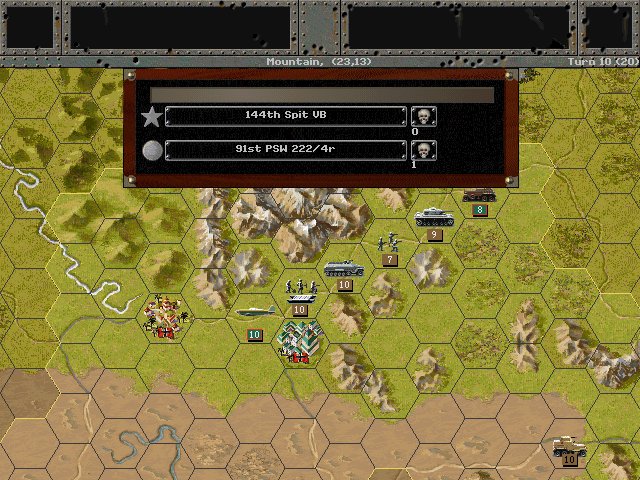
On the northern side, they hit the line of Germans as well.

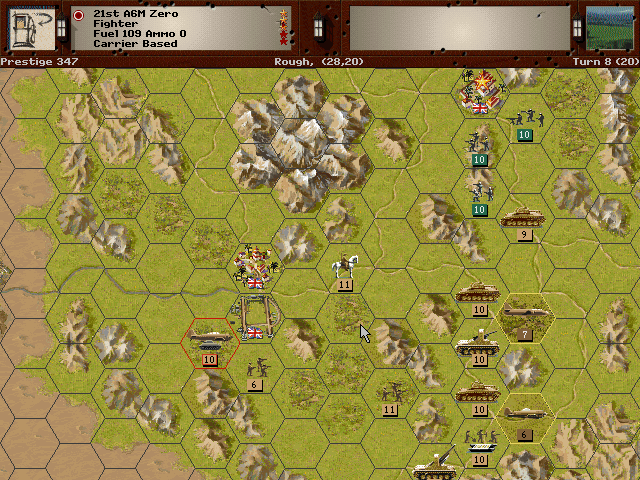
It turns out that there are some tanks and even Russian forces ready to block the roads to Tehran.
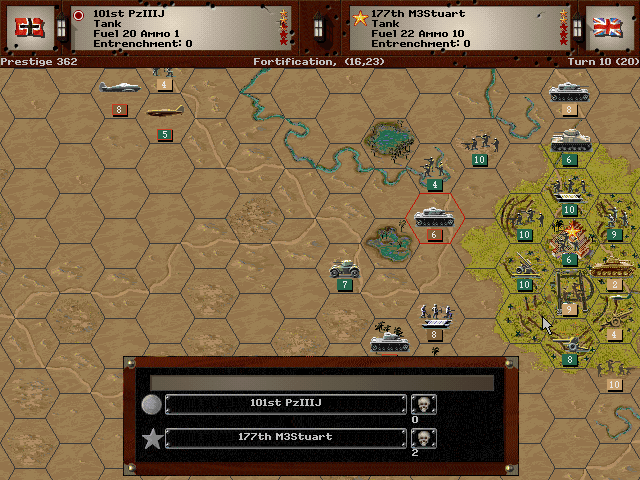
Axis Turn 11: August 14, 1942
Fair (Dry)
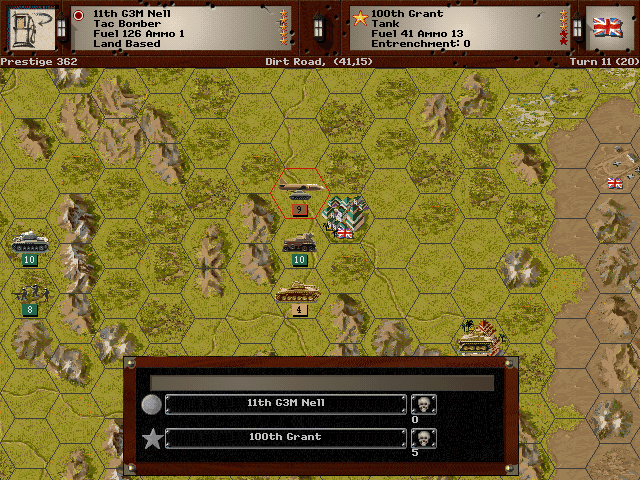
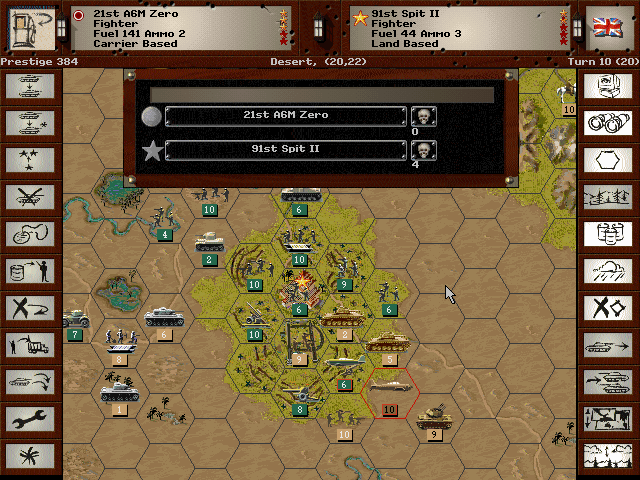
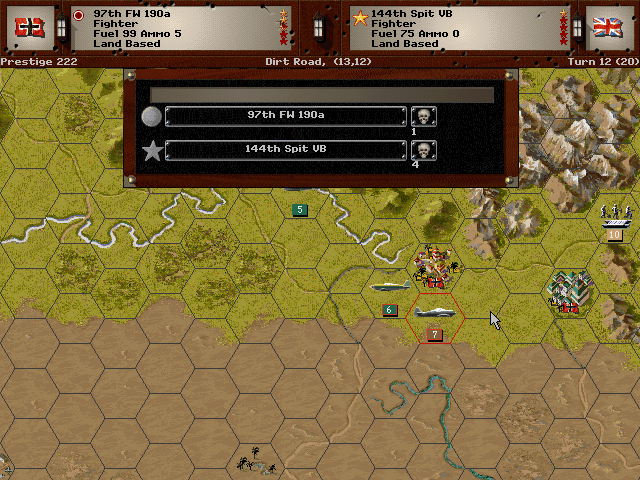
Bombers strike at the enemy armor to allow our little tanks to pull back from those Grants.
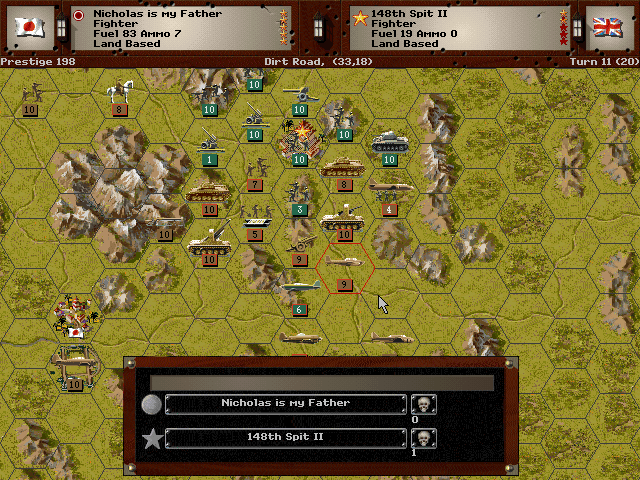
Our fighters engage the Spitfires -- the Ki-45 is proving very effective against anything it chooses.
The Germans have reached the edges of Baghdad and are now engaging in combat. Most of our forces have had to pull back, but we are maintaining a position on the south side.
Allied Turn 11: August 14, 1942
Fair (Dry)
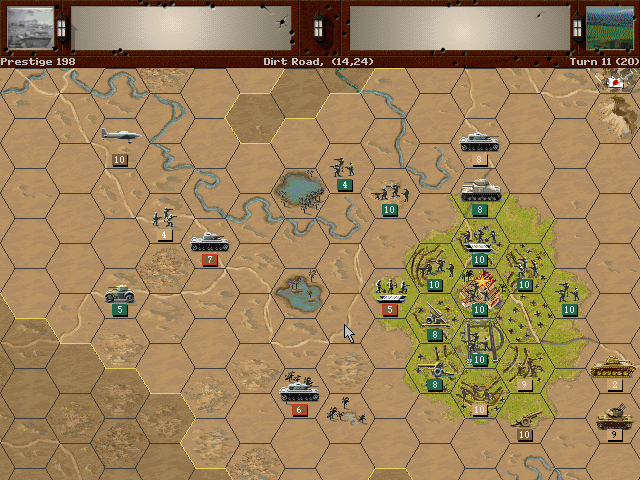
Allied aircraft are hitting the Germans more frequently as they push northward to Tabriz.
Although the Germans are fighting hard, they aren't really in condition to attack.
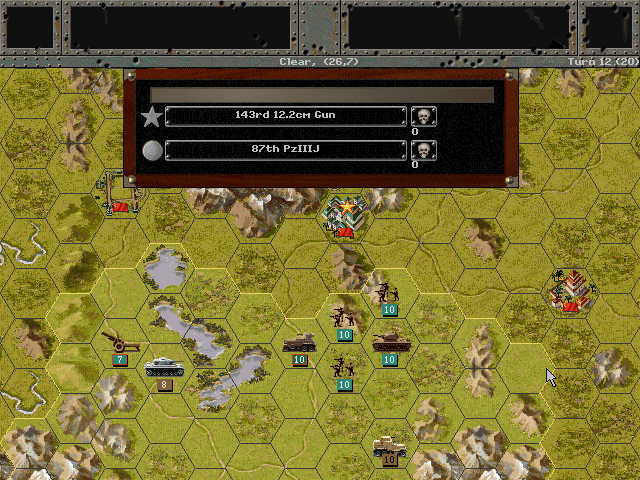
Axis Turn 12: August 14, 1942
Fair (Dry)

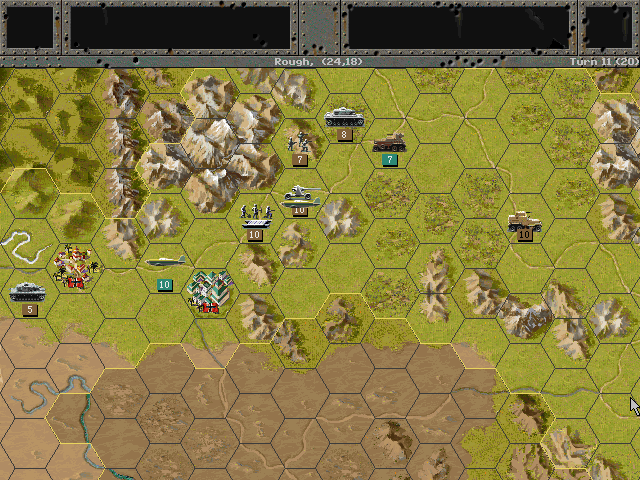
The eastern battle reaches a standstill.
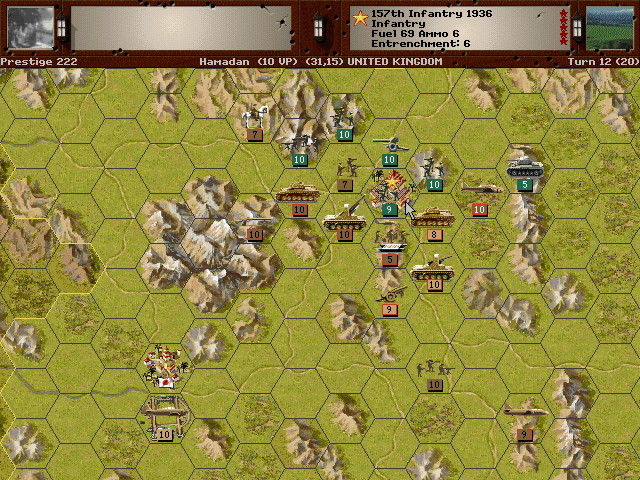
We're gaining the edge at Hamadan.
The Luftwaffe is not totally out of the fight.
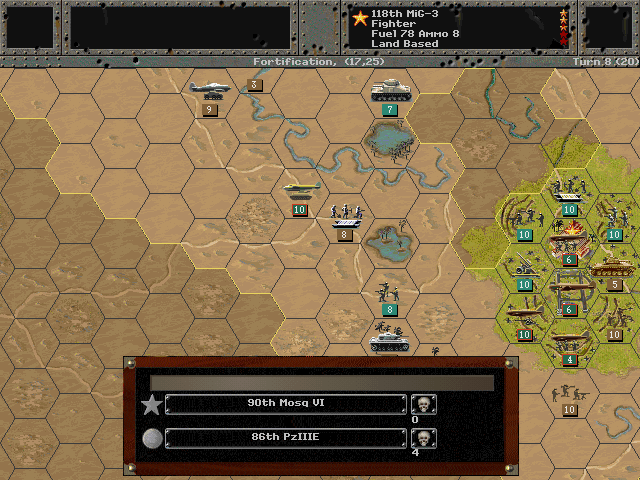
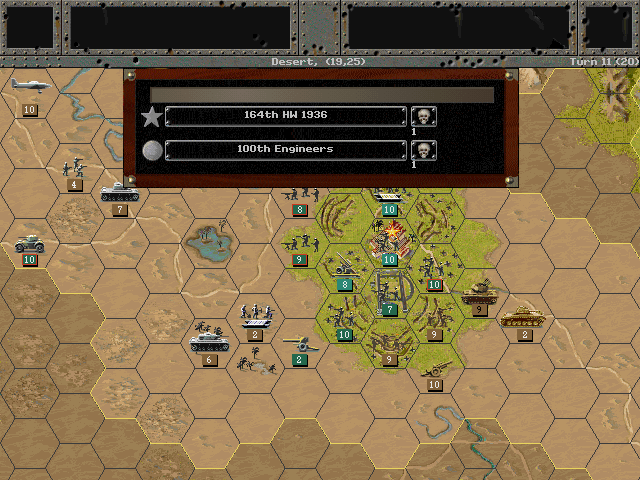
The battle for Baghdad is going in an unexpected direction -- as the British shift to deal with the Germans, they're leaving the city vulnerable to attack from the eastern side. We strike, and nearly capture the airfield.
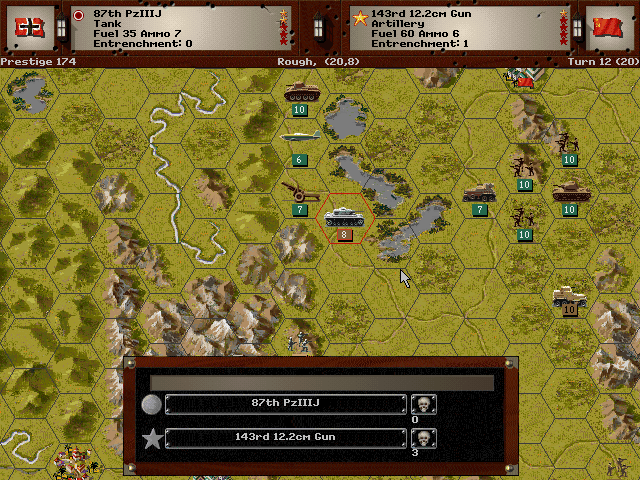
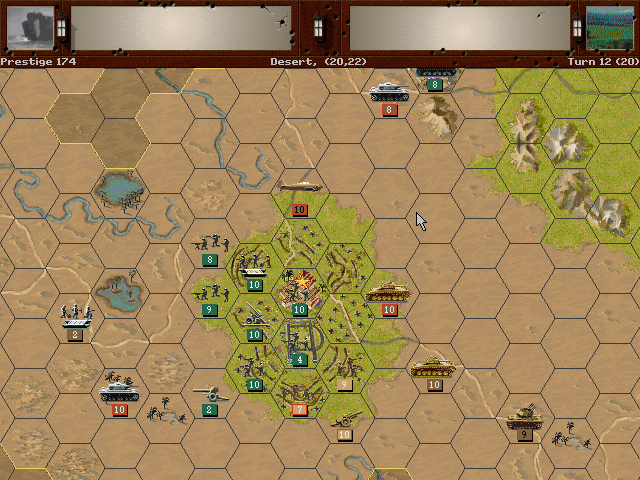
The Germans find some unprotected Soviet artillery.
Allied Turn 12: August 14, 1942
Fair (Dry)
The Soviet guns fail to disrupt the German tanks.
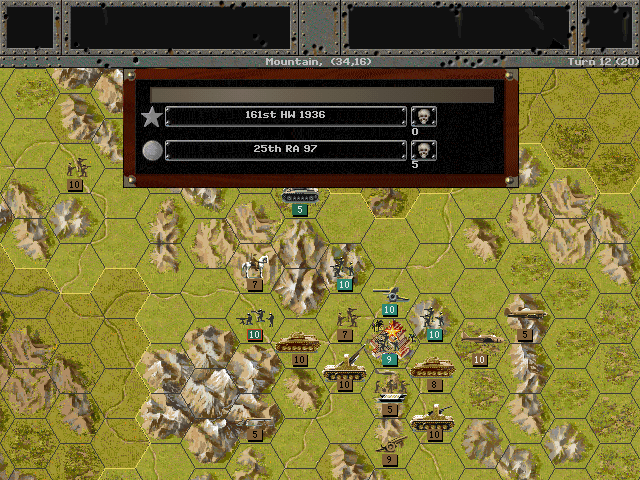
Hamadan looks like it will fall soon enough, but the British do push back a bit on our weaker flank.
Unit Spotlight
Teishin Shudan (Army Special Forces/Airborne)
PG Name: Teishin Dan 1936/1940/1943 Type: Infantry
Effective Date: 1/36 - 1940/ 1/40 - 1943 / 1/43
Value:11/12/13 Cost:132/144/156 Spot:2 Move:3 MM:Leg Trans:Airborne Fuel: -
Init:1 SA:8/8/8 HA:2/4/6 AA:0 NA:1 GD:8 AD:9 CD:0 TT:Soft Ammo:8
Special: Banzai (1940/1943 only)
The Teishin Shudan was a division-sized unit of the Japanese Army trained for airborne drops. There were additionally 'paramarine' airborne units that were part of the SNLF. While Japanese airborne troops were deployed in some battles in the East Indies in 1942 (most notably at Palembang), they did not play a significant role elsewhere in the war. These units, like many of the German airborne units, were instead used in a light infantry role as the war went on.
In-game analysis: I rather like the versatility of airborne units. They combine the mobility of basic infantry with the combat power of the better units (at least against soft targets). Of course, the primary reason to use them is for drops behind enemy lines. If there aren't too many enemy tanks to fight they can be used as regular ground troops fairly effectively. The Japanese units are statwise on par with the German FJ.
Nakajima Ki-45 "Toryu" (Nick)
PG Name: Ki-45 Nick/Kawasaki Ki-45 KAIc Type:Fighter
Effective Date: 2/42 / 2/44
Value:26/29 Cost:312/348 Spot:3 Move:10 MM:Air Trans:No Fuel: 102
Init:5 SA:5/2 HA:4/2 AA:10/11 NA:3/0 GD:7 AD:12 Ammo:8
Special: -/Radar
This twin-engined plane was intended to be a long-range escort fighter. The development process was lengthy and when it proved to be unsuited for attacking other fighters, it ended up being used for ground attack, or for going after the heavier Allied bombers. Thanks to better armament and protection than most other Japanese fighters, it served rather well in this role. The KAIc was a night fighter variant that also added two extra machine guns.
In-game analysis: While not a great interceptor, this does indeed make for a rather good fighter-bomber. Its fuel capacity is great and it can even attack naval targets with some success. The air defense is decent (even better than the Zero), so it should be able to fly in and soften up ground forces without fearing enemy fighters. The night fighter variant isn't worth it unless you really want the radar, since it loses the ability to carry out its primary role of ground attack.
Ryujo-class Carrier (1 built)
PG Name: Ryujo Type:Carrier
Effective Date: 7/36
Value:15 Cost:270 Spot:2 Move:6 MM:Deep Naval Fuel: 89 Capacity: 3
Init:3 Range:0 SA:3 HA:6 AA:[11] NA:8 DA:6 GD:15 AD:2 TD:12 Ammo:40
The Ryujo was originally constructed in 1931, but underwent modifications (first to add a hangar deck, and then to deal with the instability that occurred because of the new hangar deck) in the mid-1930s. It has an unusual design for a carrier. The flight deck was pushed toward the back, and the bridge just below it, which meant no island on top and a prominent 'bow deck' below the flight deck. It was kept as a reserve carrier initially, but in the Pacific War it did see a lot of action before being sunk in the Battle of the Eastern Solomons.
The existence of the depth charge attack may be a conflation of this ship with the Ryuho, a light carrier that was outfitted with depth charge launchers and sonar.
In-game analysis: If the Hosho is the bargain-bin carrier you really don't want to get, this is the discount one that's a fantastic deal. The capacity is as good as you realistically need, and it's got the nifty ability to fend off subs. The only place it's really lacking is in air defense. As part of a strong fleet with a decent CAP, this is a great little carrier.