Part 47: Hawaii '44: October 15, 1944

We're gaining the upper hand on Oahu now, but we need to actually capture some important objectives if this operation is going to be a success.
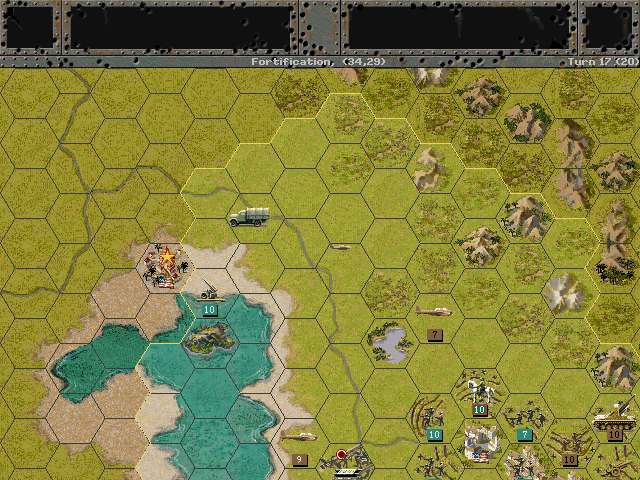
Axis Turn 17: October 15, 1944
Fair (Dry)
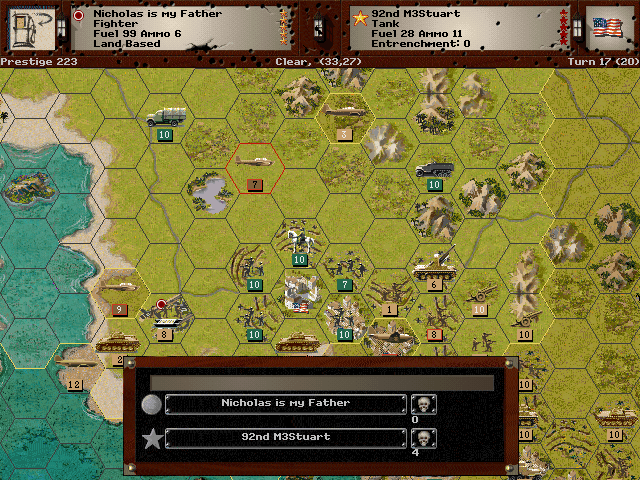
Our planes, now able to base out of Hickam Field, knock out many of the reinforcing troops.
Part of the city center of Honolulu is cleared out.
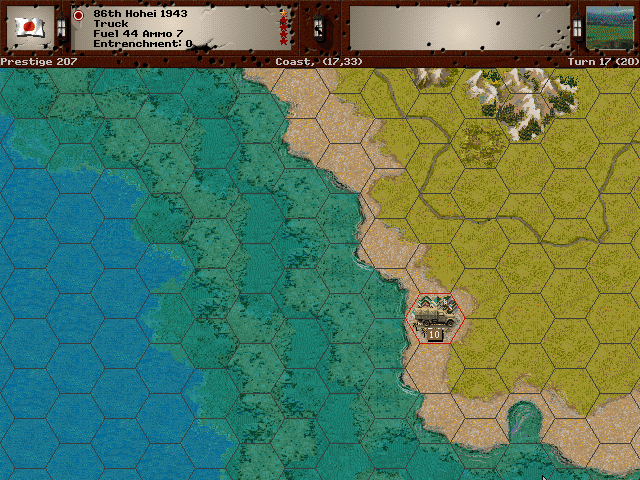
On the other side of the island, the Japanese town of Molekoli is captured unopposed.

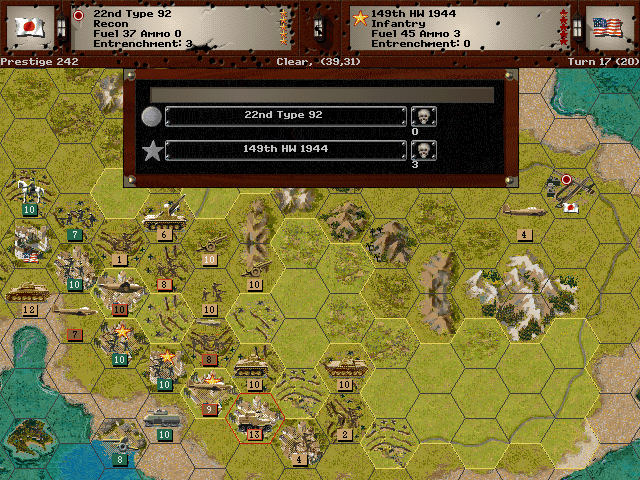
We push southward with more force, and nearly knock out the guns at Wahiawa.
Allied Turn 17: October 15, 1944
Fair (Dry)
The tanks receive a barrage of artillery, and they also fire on our advancing infantry.
Perhaps it was the push on the north and east, or perhaps they've decided that Honolulu is a lost cause, but either way, the Americans pull back from the north of the city.
Axis Turn 18: October 19, 1944
Fair (Dry)
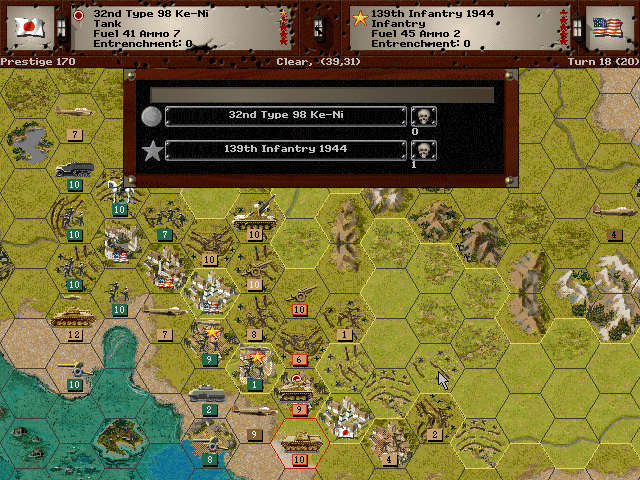
We can afford a bit of time capturing the city, and concentrate on air raids.
The forces on the north end of Honolulu are pretty well dug-in, and they might take a bit longer to eliminate.
There's a chance we can take one more airfield, since the western side of the island is clear.
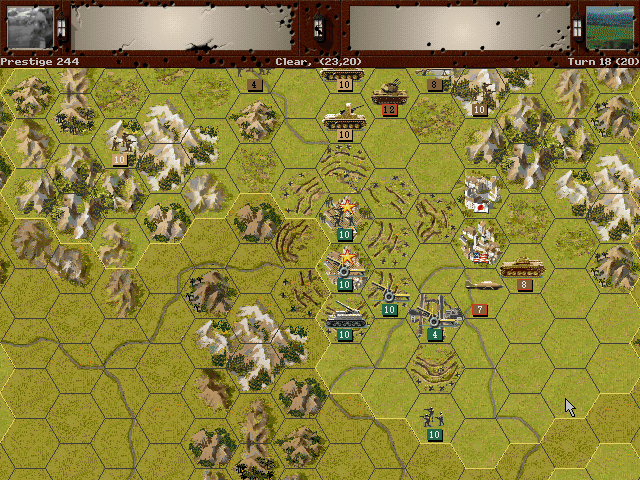
The barracks probably can't be captured soon, but we are closing in on them.
Allied Turn 18: October 19, 1944
Fair (Dry)
Continued artillery fire is about the only thing the Americans can muster.
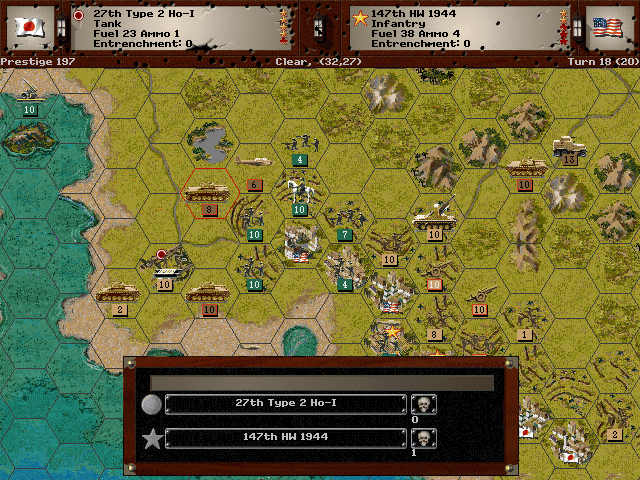
Axis Turn 19: October 19, 1944
Fair (Dry)

Honolulu's center surrenders, and we've achieved a definite victory on the island now.
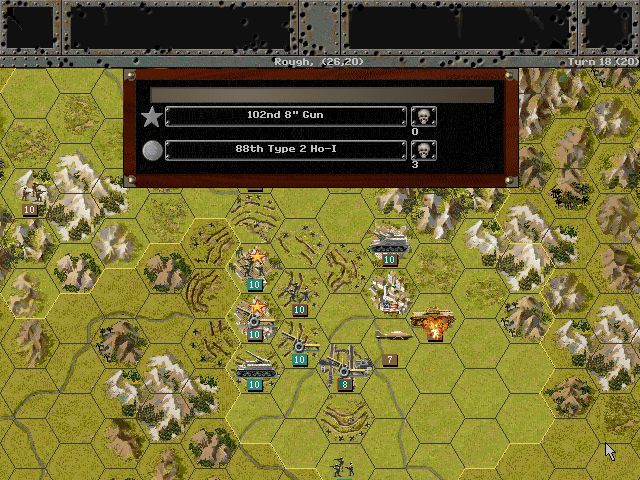
The few holdouts withstand our tank assaults.
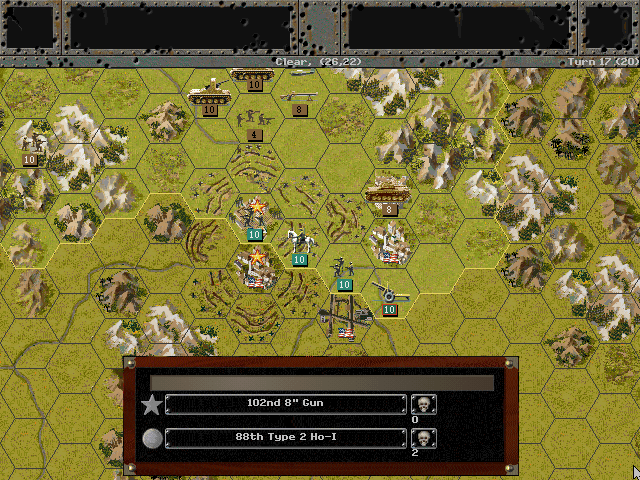
It seems a bit safer to stay east of the Scholfield Barracks themselves; we can likely use air attacks to soften up the guns if we need to capture them.
Allied Turn 19: October 19, 1944
Fair (Dry)
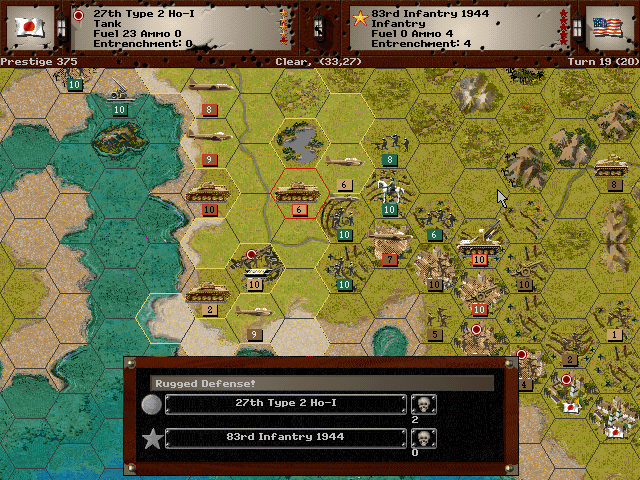
The Americans make a counterattack and actually force our armored units back for a bit.
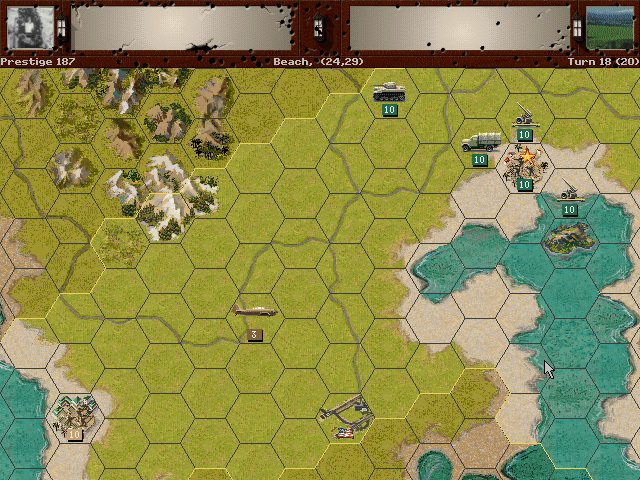
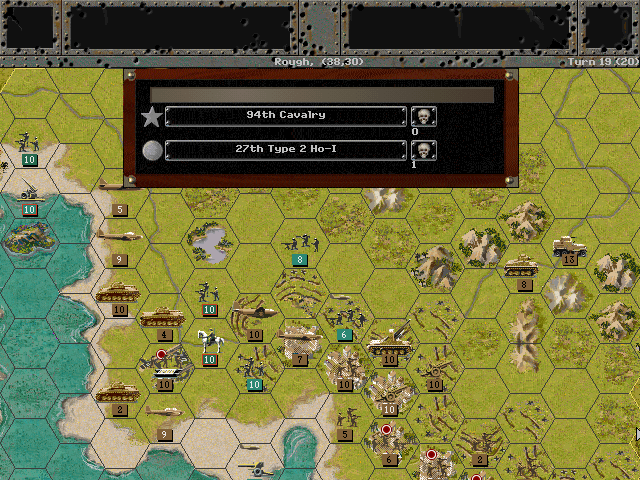
Axis Turn 20: October 19, 1944
Fair (Dry)
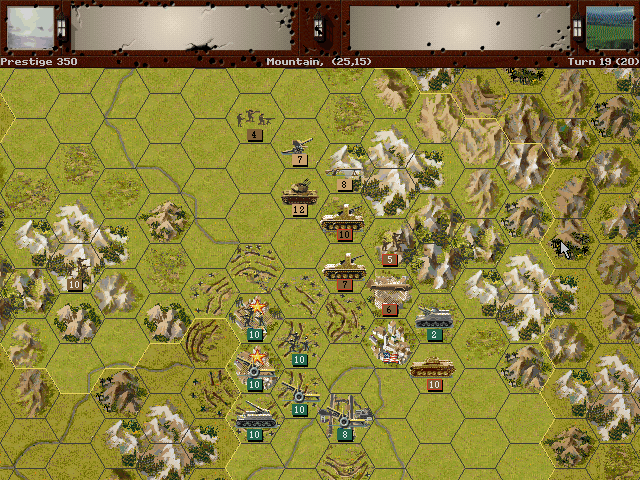
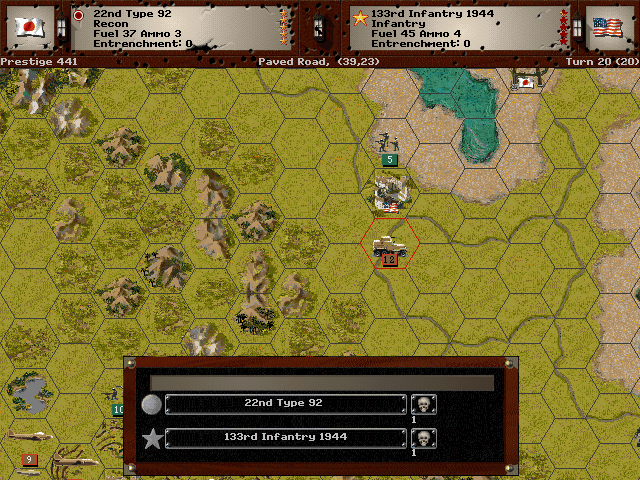
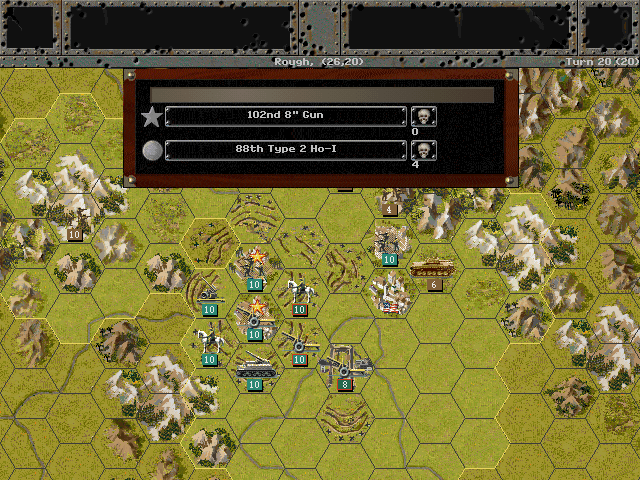
The battle for Wahiawa goes on as our planes harass the artillery. It appears they do have air defenses in place, however, so we can't get too close with the weak fighters.
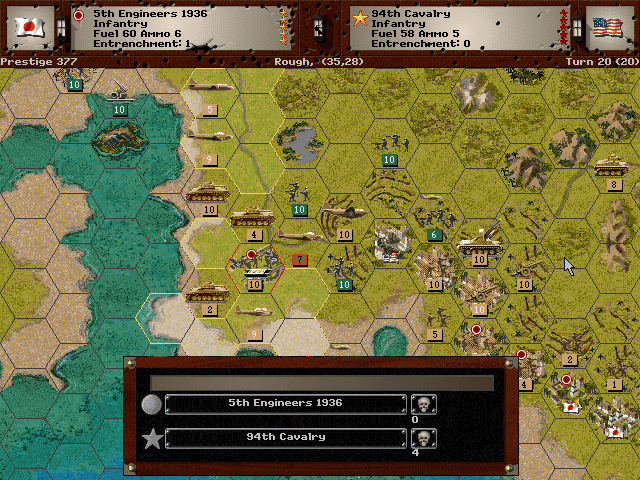
Air power allows us to put a quick stop to the counterattack at Honolulu.
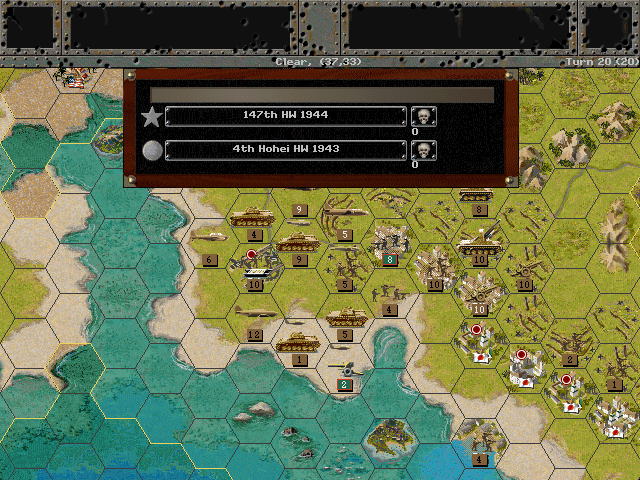
With the city center secured, we began to squeeze the last few American forces from the other side now.
One unit of Americans managed to sneak over and capture Kanehoe. It's not too critical that it's gone, as long as they don't get to Bellows Field.
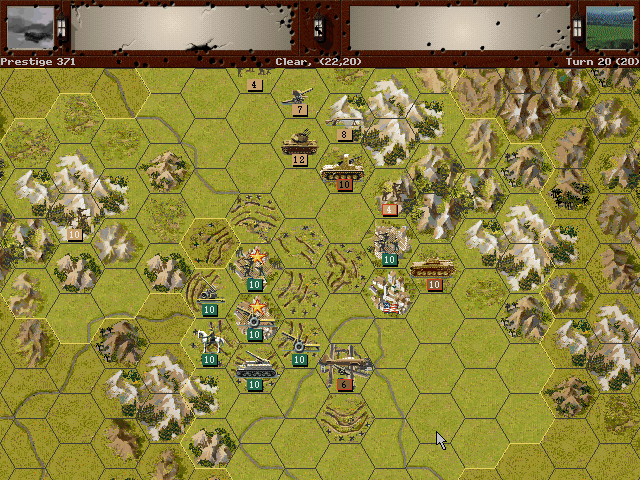
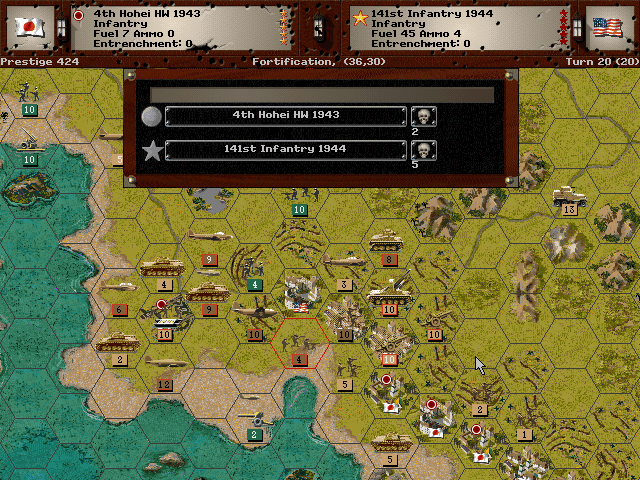
Allied Turn 20: October 19, 1944
Fair (Dry)
Unfortunately we ventured too close to the barracks -- the Ho-Ni AT unit is lost.
One last attack comes at us, but it ends up dealing few casualties, and the rest of the core survives.
It took us some time, and although we didn't capture all the points we wanted, we've destroyed enough of the enemy force to earn a commendation for our efforts here.
This was undoubtedly the toughest battle to date, especially after the ease with which Australia fell. It actually wasn't too hard to beat -- my first attempt managed a Marginal win -- but the trick is keeping the core alive. That attempt drained all prestige and resulted in a loss of several key units as we strained to push directly south to Honolulu. This alternate route of swinging east first seems to be the safest option. I actually was going to take a lesser win after a successful attempt, but realized I'd played the whole scenario without purchasing/upgrading anything, so I replayed it. This lead to kind of a lucky result, as a whole lot depends on what the enemy fighters choose to do, and whether the Allied side manages to block the attack toward Hickam Field.
Result: 1774-1061 (Decisive Victory)
Final Prestige: 1441
Unit Spotlight
Type 1 Ho-Ni I [Self-Propelled Gun Model D - I]
PG Name: Ho-Ni 1 Type: Anti-Tank
Effective Date: 7/43
Value:12 Cost:144 Spot:1 Move:3 MM:Track Trans:Naval Fuel: 40
Init:10 SA:11 HA:10 AA:[1] NA:0 GD:10 AD:8 CD:1 TT:Hard Ammo:10
The Ho-Ni was a tank destroyer; it put a 75mm gun on a Type 97 chassis. Since the gun was so heavy, there was no turret, and the vehicle was open-topped. The result was something that worked reasonably well, although the priority for the guns apparently sent most of the ones in this size to be used for artillery pieces.
This vehicle was originally developed in 1941, which as previously mentioned makes me think that this unit is mislabeled and should actually be swapped with the Ho-Ni 3 (I think this is especially the case because the in-game Ho-Ni 3 has lower Air Defense).
In-game analysis: This one is not all that bad for an AT gun. Because Anti-tank units in the game typically only fill the role of defending against armor or attacking soft targets, the relatively poor Hard Attack is not much of a downside (and that said, it's decent). The biggest flaw is the low speed. Other than that rather major deficiency this is on par with its near-contemporaries like the StugIIIf, and well-suited to defend against mid-war Allied armor.
Mutsuki-class Destroyer (12 built)
PG Name: Mutsuki/ Mutsuki 1944 Type:Destroyer
Effective Date: 12/41 / 1/44
Value:8/10 Cost:72/96 Spot:1 Move:7 MM:Coastal Fuel: 87
Init:3 Range:2 SA:3 HA:6 AA:[3] NA:10 DA:8 GD:14 AD:4 TD:16 Ammo:40
Special: Night Optics,Sonar/ +Radar
This is a design dating to the 1920s, although the late appearance here is likely to reflect a refit of the guns that occurred in 1941-42. The Mutsuki-class ships were an important part of the smaller-ship fleet in the 1920s, and continued to be used well into the war. Every one of them was sunk in the 1940s.
In-game analysis: The low defense values of these ships make them something of a bad buy. The Kagero class is a significant improvement for the same price, so there's not much sense in purchasing this one unless you really want radar (which you don't).
Kawanishi H8K [Type 2] Flying Boat (Emily)
PG Name: H8K Emily Type:Level Bomber
Effective Date: 6/43
Value:38 Cost:456 Spot:3 Move:8 MM:Air Trans:No Fuel: 152
Init:3 SA:1 HA:4 Size: 30 AA:[12] NA:5 GD:15 AD:12 Ammo:12
The H8K was a seaplane, intended as a successor to the H6K (Mavis). It had decent protection for the crew, especially relative to most other Japanese planes, and a very high cruising range. While normally used for reconnaissance, some of them were used on bombing raids, including an ineffectual attack on Pearl Harbor in mid-1942.
In-game analysis: As level bombers go, this one is quite good. There aren't too many level bombers for the Japanese side, and the Emily is really the only one needed through to the end of the war. It has acceptable offensive power and good defense. The best features are a healthy ammo supply and extra spotting range; the one downside is that it isn't any faster than the older bombers.