Part 48: San Francisco: September 12, 1944

After the conquest of Hawaii, the Americans retreated to their mainland territory, and all areas became heavily defended and patrolled by aircraft. What they did not expect, although their top scientists may have guessed at it, was that we have a secret weapon - we can travel through time!
When we attacked Oahu in October, the bulk of the American fleet escaped safely to the western harbors of the United States. But what if those harbors were already under our control? Once more, we were asked to go through the process that would send our invasion fleet back. If we jumped to just a few months ago, we'd arrive when the Americans were only just preparing their defenses in earnest. It should give us the advantage we need to gain a foothold on the North American continent.
Our target: The San Francisco Bay. Its large natural harbor made it a prime location for construction and launching of naval vessels. Attacking here was determined to be the ideal location to cripple the enemy and give us a good, defensible position for future expansion.
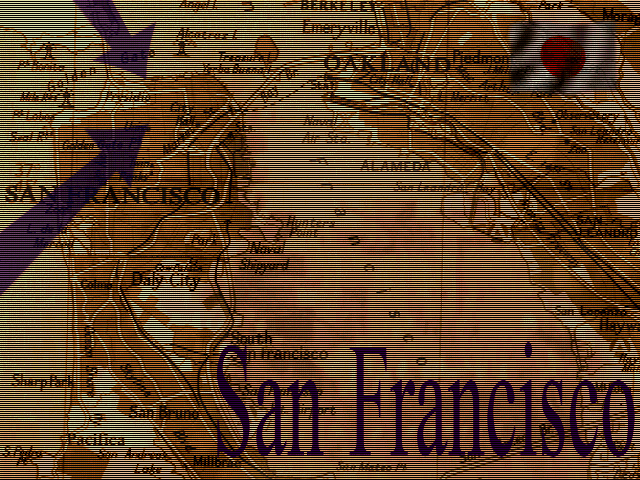
San Francisco
September 12, 1944
Objectives: San Jose [100x3], Moffett NAS [50], Palo Alto [100], Livermore [10], Fort Mason [100], Presidio [300], San Francisco [200], Oakland Airport [100], Alameda NAS [100x2], Richmond Kaiser [100], Mare Island [100x2], Napa Kaiser[10], Suisun Air Base[10]
Starting VP: 0 - 2647
OOB
pre:
Unit Name                   Unit Type [Transport]         Exp

Land Units
1.1st Engineers 1943        Engineers 1943 [Isuzu]       *****
2.2nd Hohei 1943            Hohei 1943 [Ho-Ha]               -
3.3rd Hohei 1943            Hohei 1943 [Ho-Ha]           *****
4.4th Hohei HW 1936         Hohei HW 1936 [Isuzu]        *****
5.5th Engineers 1936        Engineers 1936 [Isuzu]       *****
6.26th Hohei 1940           Hohei 1940 [Isuzu]              **
7.29th Hohei HW 1940        Hohei HW 1940                    -
8.6th Bicycle Inf           Bicycle Inf                      *
9.My Tanks are so kawaii    Type 95 Ha-Go                *****
10.13th Type 1 Chi-He       Type 1 Chi-He                *****
11.27th Type 2 Ho-I         Type 2 Ho-I                   ****
12.31st Type 1 Chi-He       Type 1 Chi-He                  ***
13.32nd Type 98 Ke-Ni       Type 98 Ke-Ni                    *
14.22nd Type 92             Type 92                      *****
15.25th RA 97               RA 97 [Isuzu]                    -
16.The Emperor's New Hos             Ho-Ni 1                         -
17.Steel Death              Ho-Ni 3                        ***
18.28th Ho-Ni 2             Ho-Ni 2                          -
19.Cherry Blossoms Float    Type 91 105 [Isuzu]             **
20.24th 94 Mtn Gun 75mm     94 Mtn Gun 75mm                  -
21.23rd So-Ki               So-Ki                        *****

Aux (by qty)
1                           Hohei 1943 [Isuzu]               *
1                           Hohei 1943 [Ho-Ha]              **
2                           Engineers 1943 [Ho-Ha]          **
1                           Senpaku Kohei [Ho-Ha]           **
1                           Teishin Dan 1943                **
1                           Type 2 Ho-I                      *
1                           Type 2 Ho-I                     **
1                           Type 91 105mm                    -


Air Units

22.Hirohito's Hieneys       Ki-61 Tony                  *****
23.Sabai's Flying Circus    J2M Jack                    *****
24.Nicholas is my Father    Ki-45 Nick                  *****
25.21st A6M Zero            A6M Zero                    *****
26.Remember Remember Eni    A6M Zero                       **
27.11th P1Y Frances         P1Y Frances                 *****
28.33rd H8K Emily           H8K Emily                       -

Aux (by qty)


1                           Ki-61 Tony                      **
1                           Ki-41 Tojo                      **
1                           Ki-41 Tojo                     ***
1                           J2M Jack                        **
1                           J2M Jack                       ***
2                           A6M Zero                        **
2                           A6M Zero                       ***
2                           P1Y Frances                     **
1                           D4Y Judy                        **


Naval Units

29.Katori                   Katori  (CL)                    **
30.Asashio                  Asashio (DD)                     *
31.18th Takao               Takao (CA)                       *
32.20th Takao               Takao (CA)                       *
33.Kaga                     Kaga (CV)                        -
34.Fuso                     Fuso (BB)                      ***
35.34th A-C Midget          A-C Midget (SS)                  -


Aux

'Shinyo'                     Shinyo Boat (DD)                    *
'Asashio'                    Asashio 1944 (DD)                  **
'Kagero'                     Kagero (CL)                       ***
Mogami                       Mogami 1944 (CL)                   **
'Takao'                      Takao (CA)                         **
'Takao'                      Takao (CA)                        ***
Oyodo                        Oyodo (CA)                        ***
Agano                        Agano (CA)                         **
Tone                         Tone 1944 (CA)                      *
Soryu                        Soryu (CV)                         **
Kongo                        Kongo 1944 (BB)                    **
Starting Prestige: 197 after purchases/upgrades
Prestige is still tight; we have to make the most of our experience and the element of surprise. Sabai's planes do get an upgrade, to the J2M, our best interceptor. The Emperor's New Hos take their place in the line of AT units; hopefully they can last a little longer than their predecessors. Finally, we release a mini-sub to guard the landing forces.
In addition to our landing force, we're getting some extra support in the way of tanks and infantry. A good number of cruisers are coming along, and that should allow us to bombard the landing area as well as crush any American warships that are in the area.
While San Francisco itself has a decently large beach, landing there would be daunting proposition - it's almost certainly the most heavily defended location. Entry into the bay is only possible via the narrow Golden Gate, and we can't possibly do that undetected. Therefore we need to choose a location along the coast. However, much of this coastline is forbidding bluffs and rocky shores that, even if they aren't as well-guarded, would put our troops in a difficult position once they needed to move out.
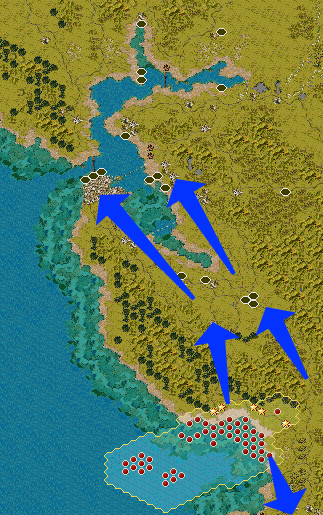
The location we've chosen is instead a fair way south of our eventual target, at the northern end of Monterey Bay. The shoreline there is generally less broken up, and there are long stretches where we can get forces ashore without trouble. Additionally, we can strike southward and capture a military base at Monterey, giving us a land-based airfield and more port capacity for the invasion. This plan has its risks, of course - we'll need to move as quickly as possible northward and reach the interior shore of the bay before the Americans can react. Once we take San Jose (and a second military airfield), we can split some forces toward the city of San Francisco itself, while sending others to capture points on the eastern side, especially Oakland and Alameda.
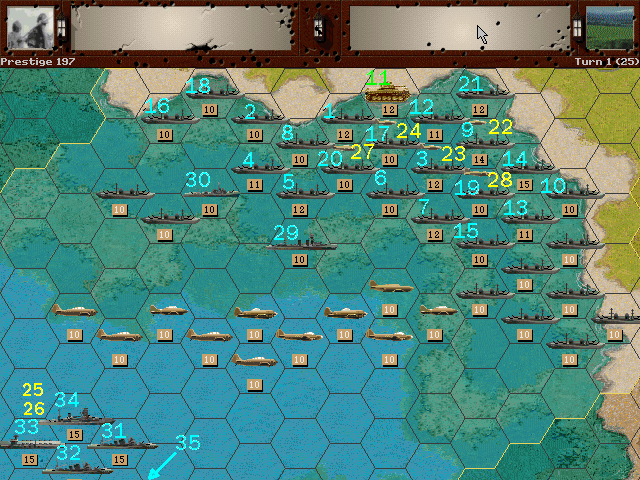
Most of our units will land directly near Santa Cruz and along the beaches a bit to the southeast of there. They can then split as needed to get northward to San Jose as quickly as they can. The auxiliary will be tasked with capturing Monterey, and for the first phase our naval units will provide cover while searching for the enemy fleet.
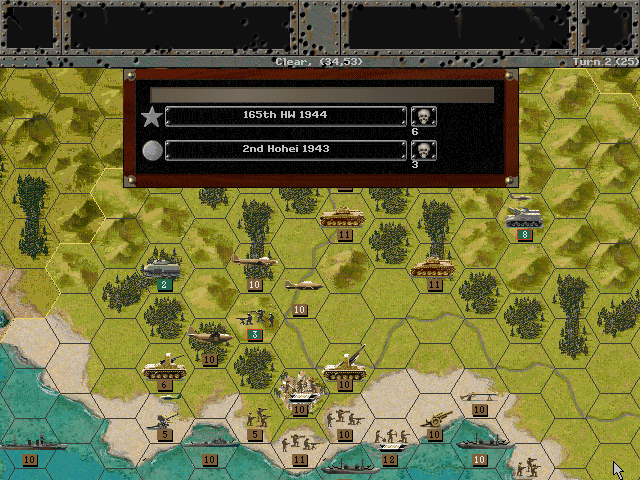
Axis Turn 1: September 12, 1944
Fair (Dry)
Air strikes and the advance landing of the parachute troops gives the forces hitting the beaches a slightly easier time getting ashore.
Our fighters head toward Monterey to tie down the enemy air units there.
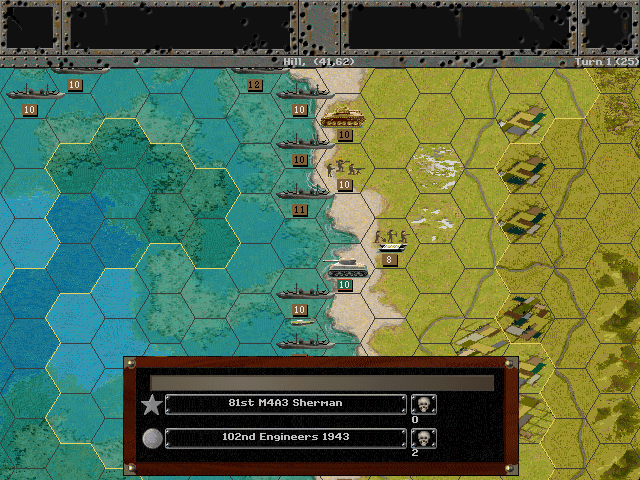
Santa Cruz aside, the shoreline is lightly defended, and we get the first wave in easily.
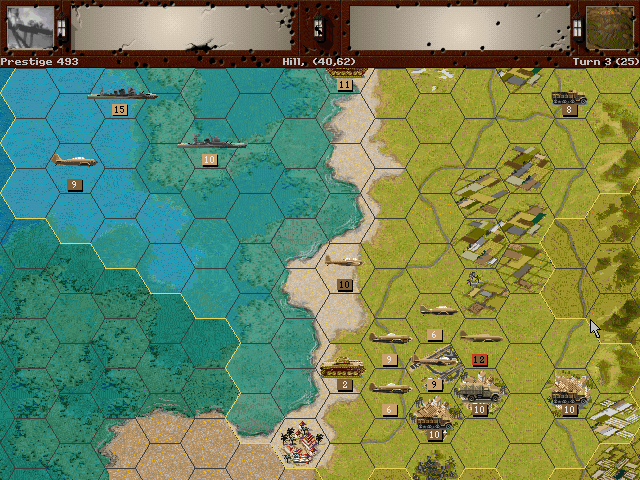
Allied (USA) Turn 1: September 12, 1944
Fair (Dry)
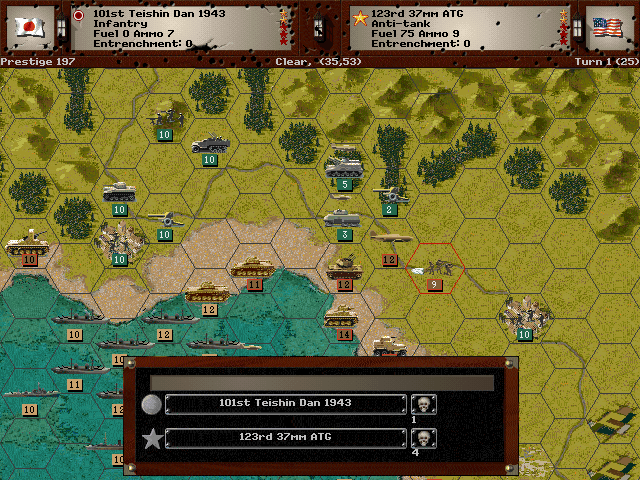
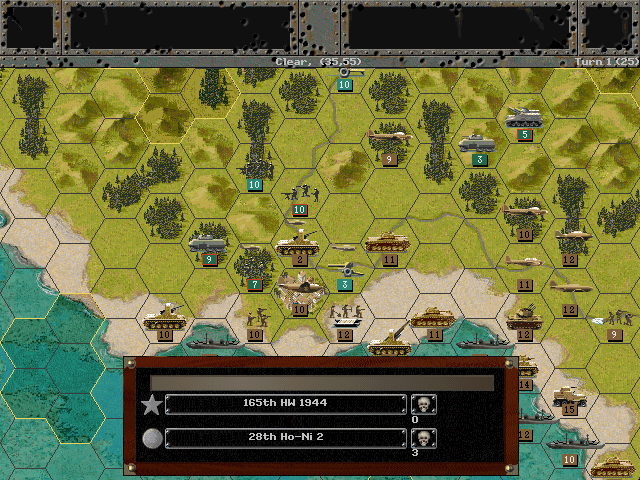
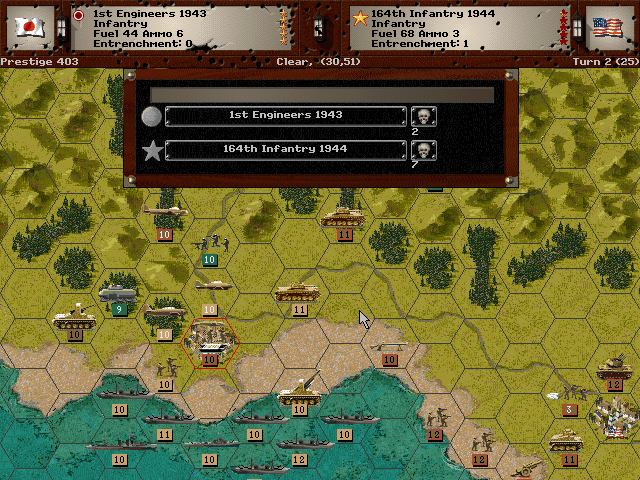
Armor from Monterey rushes to engage the units landing there.
Infantry and recon units trap the Ho-Ni 2 and destroy it in the hills above Santa Cruz.
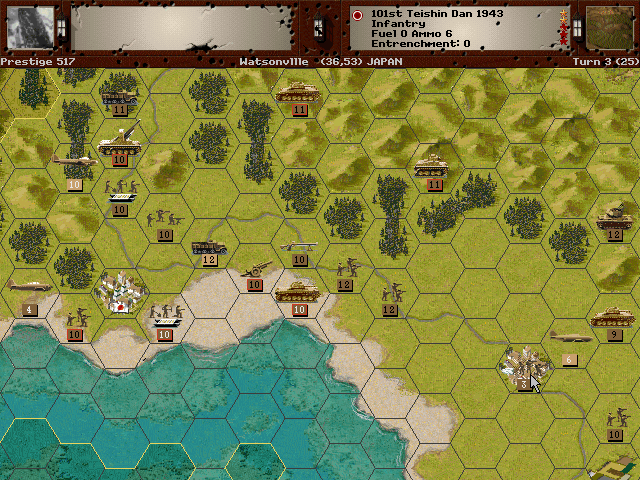
Axis Turn 2: September 12, 1944
Fair (Dry)
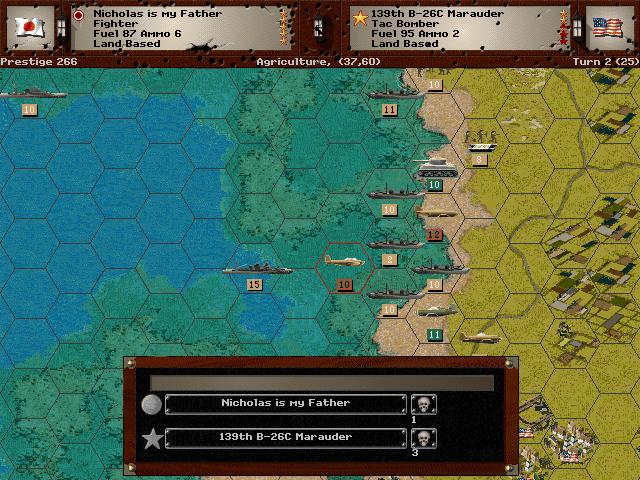
The American bombers dared to attack our landing craft, and we get revenge by shooting them all down.
The paratroops have a difficult time trying to capture Watsonville, but the town later surrenders as more forces arrive.
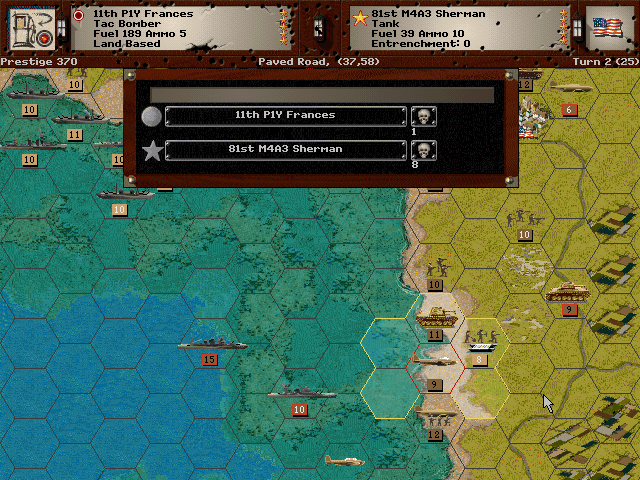
The ground forces have it tough when going after the American tanks. Our bombers are the quickest way to eliminate the armored units.
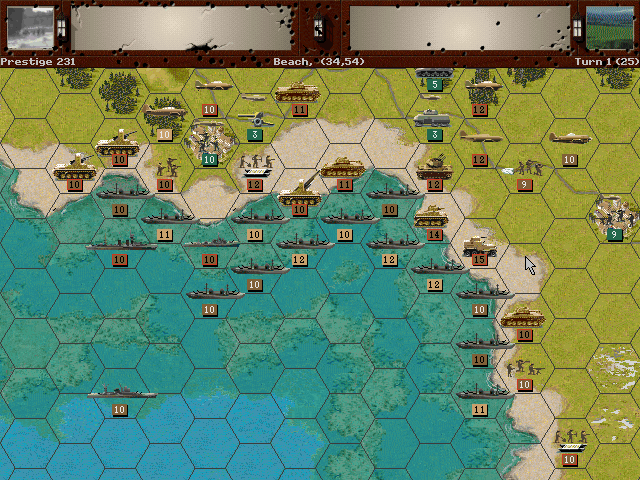
Santa Cruz is taken and our beachhead is secured.
So far no opposing naval forces have been detected.
Allied Turn 2: September 12, 1944[/b]
Fair (Dry)
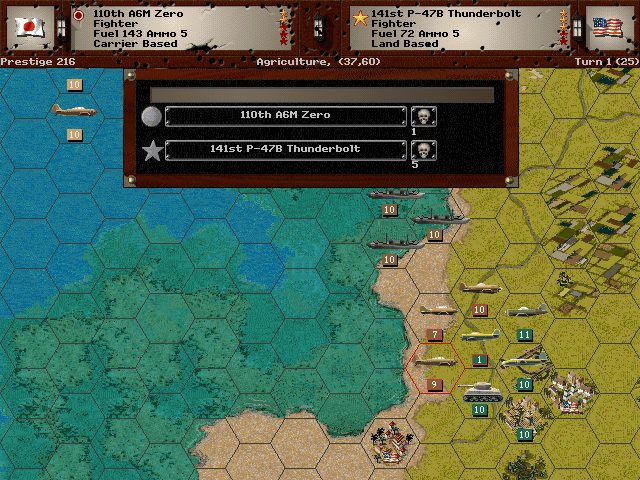
American fighter craft make a few passes at our ground troops.
The hills around Santa Cruz remain the only place where the Americans are putting up a defense.
Axis Turn 3: September 12, 1944
Cloudy (Dry)
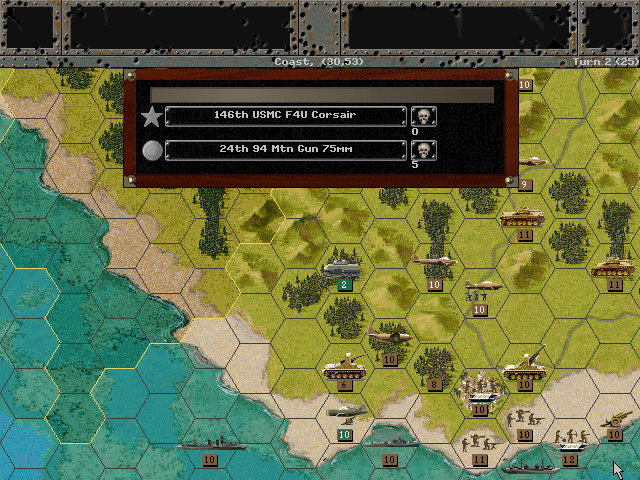
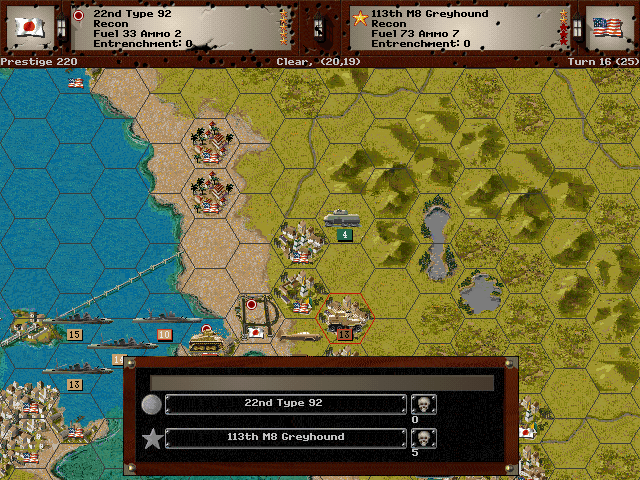
With the meager forces that advanced out of Monterey eliminated, the naval base there is undefended; we rapidly take control.
It's fairly quiet as we mop up along the coast, and begin to march inland.
Allied Turn 3: September 12, 1944
Cloudy (Dry)
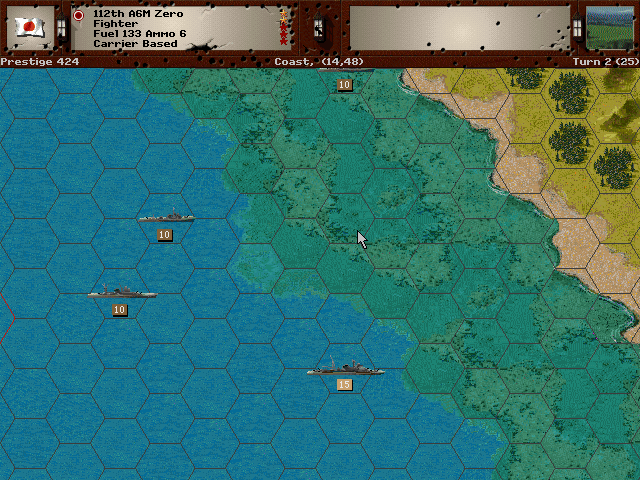
The enemy is the first to find us on the seas. The Asashio is later sunk after taking hits from multiple directions, including from a battleship.

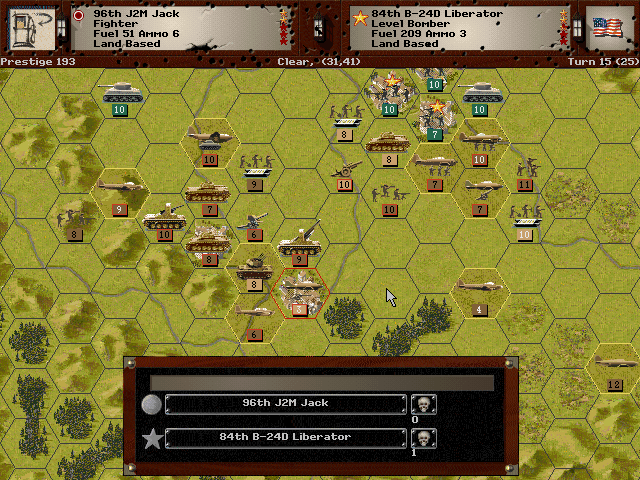
We used our bomber in a recon role, and a whole bunch of American fighters respond by attacking it.
Axis Turn 4: September 12, 1944
Rain (Dry)
A light rain starts to fall and our aircraft are unable to operate.
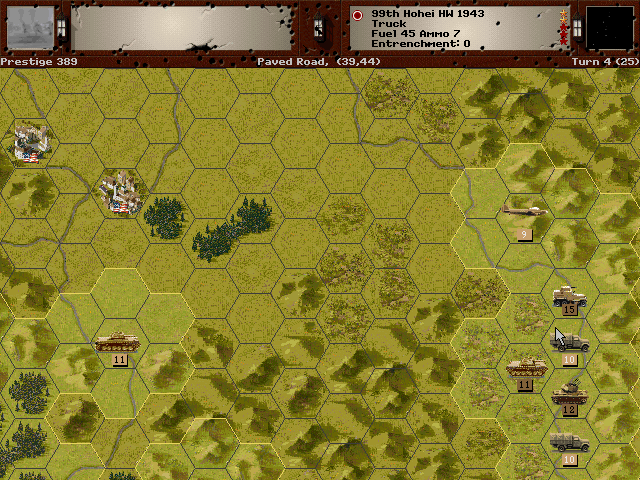
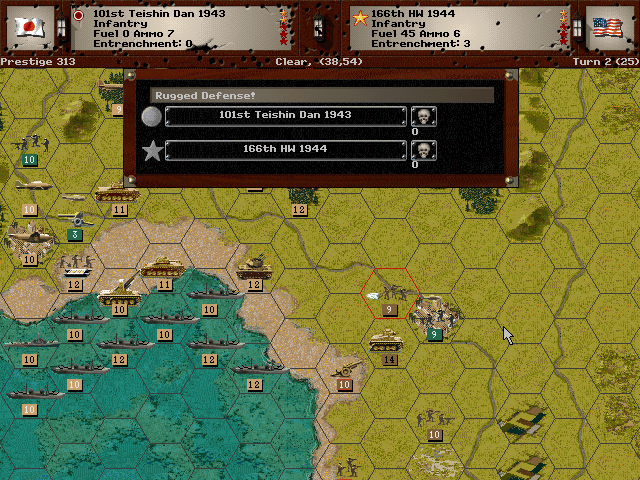
The road to the Santa Clara Valley is found to be clear.
At the end of the other route, through the mountains, we find an unprepared artillery unit.
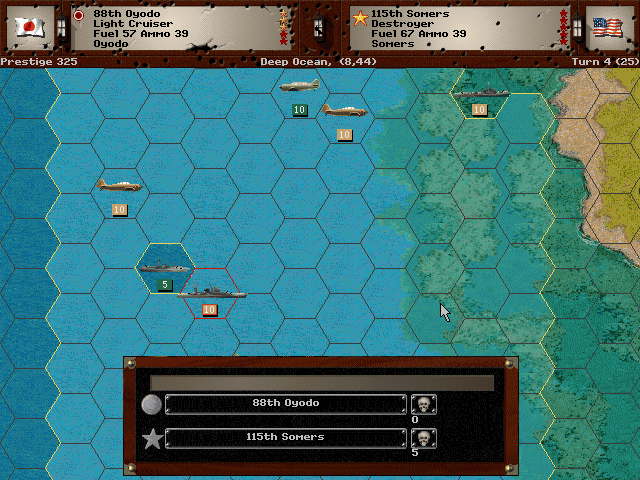
A destroyer is found and promptly sunk.
Allied Turn 4: September 12, 1944
Rain (Dry)
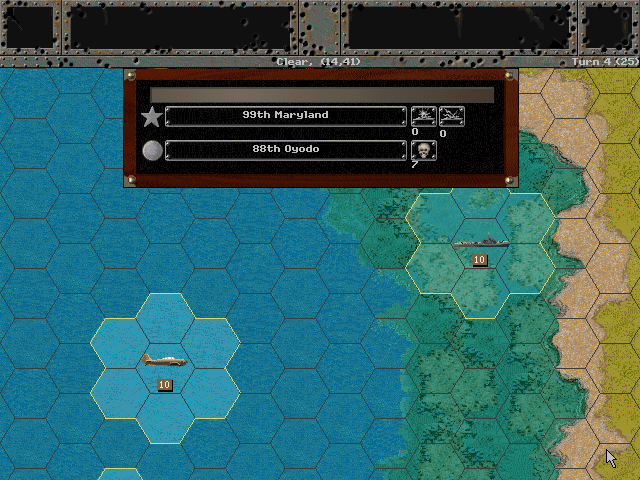
A second American battleship opens up on our lighter ships. We need to respond to this rapidly.
The assault on the American mainland has begun. The initial landings went off without difficulty, and we're making good progress. The only question is how long we have before the Americans organize their response.

Unit Spotlight
Today's theme: Kamikaze! Near as I can tell none of these are purchasable, but we did get a Shinyo boat in the auxiliary, and the Americans will see plenty of them I imagine.
AT 'Lunge Mines' / AT Grenades
PG Name: AT Kamikazes Type: Infantry
Effective Date: 7/44
Value:10 Cost:120 Spot:1 Move:2 MM:Leg Trans:Air Fuel: -
Init:6 SA:1 HA:10 AA:0 NA:1 GD:3 AD:10 CD:0 TT:Soft Ammo:1
Special: Banzai, Fearless, Kamikaze
Unlike the Kamikaze units that were specifically trained to carry out a specific plan of attack, this unit represents some suicidally dangerous equipment that was issued to the infantry late in the war. Essentially just a warhead on a stick, the 'lunge mine' would almost surely kill its user (and likely the tank, if successful). A thrown AT grenade was another weapon developed by the Japanese, but it was considerably weaker. Another AT grenade/mine was meant to stick magnetically and could conceivably be thrown, but usually required manual application to be effective. The main problem with any such weapons is that they required getting right next to the vehicle in question, which generally could only happen in limited ambush situations or in desperation when being overrun.
In-game analysis: While the Banzai special makes them more powerful than they appear, it's not like these can knock out a tank unit in one blow. If you're only dealing with a single, moderately-armored tank, then maybe these have a chance to take it down -- assuming they can even reach it before they are themselves killed. If you had the chance to buy them, you shouldn't, since an AT unit or even a weak tank would be preferable and last longer.
Shinyo Manned Explosive Motorboats
PG Name: Shinyo Type:Destroyer
Effective Date: 9/44
Value:15 Cost:96 Spot:2 Move:7 MM:Coastal Fuel: 99
Init:3 Range:1 SA:0 HA:0 AA:0 NA:13 DA:0 GD:12 AD:9 TD:16 Ammo:40
Special: Kamikaze
As the war situation grew desperate, the Japanese Navy turned to alternative measures in an attempt to make up for the lack of availability of airplanes and ships. The Shinyo boats were small craft that either had bow-mounted bombs or depth charges rigged to them. Either way, the crew would not be expected to survive. While they could be produced in high numbers (several thousand were made), they weren't all that effective in practice, except possibly as a distraction for the American gunners and pilots.
In-game analysis: Most kamikaze units are far too overpriced to be worth purchasing, and this one is no exception. Consider that for the exact same price as this you can get an actual destroyer unit. Of course I doubt these are meant to be purchasable anyway. As a combat unit, they're not terribly effective either (if they were about half this price it might be worth considering actually purchasing them, and only then if there are no other options to get rid of an enemy ship).
Kamikaze aircraft (various fighters & bombers)
PG Name: Kamikaze Type:Tac Bomber
Effective Date: 9/44
Value:10 Cost:120 Spot:3 Move:9 MM:Air Trans:Naval Fuel: 140
Init:7 SA:0 HA:0 AA:[8] NA:28 GD:8 AD:12 Ammo:1
Special: Kamikaze, Torpedo Bomber
These, the most well-known of the suicidal weapons, were planes loaded with explosives or bombs that pilots would deliberately fly into enemy ships. I've always felt that regardless of other concerns, the kamikaze attacks did not make much sense from a logistical standpoint (which is definitely true in-game). However, these did often use airframes that were already outdated or ineffective, and the pilots probably required less training. It doesn't seem as though they provided much more than a way for someone to die in the glory of battle rather than suffer the ignominy of defeat. Of the various suicidal attack methods developed by the Japanese, these were certainly the most effective, and caused the loss of quite a number of American warships.
In-game analysis: In something of a mirror of real life, these are in fact the one kamikaze unit that is actually effective. The devastating offensive power of these units could prove useful if there is some ship that absolutely can't be eliminated any other way. I have to imagine you might need to use several of these at once to ensure a hit, however, and that can get awfully expensive very quickly. It'd probably be best in a situation where a unit is already weakened, and one of these could finish it off.