Part 53: Leyte Gulf: October 20, 1944
We've taken over the Mariana islands and handed the Japanese a big defeat when they tried to halt our invasion. Now we're ready to finally return to the Philippines.

We're eager to continue naval fights, so we're going to lead the attack from the sea.
This could be a long fight, and we'll need to be on our guard against any remaining naval vessels. The Japanese will be desperate to defeat us, since if they lose these islands it's going to cut off their supply lines to the south.
Leyte : October 20, 1944

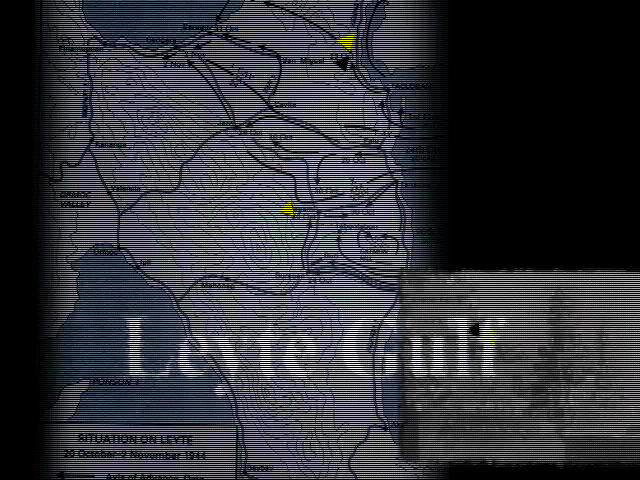
Objectives: Carigara [100], Burauen [100], Tacloban [100], Ormoc [500], Airfield (near Burauen) [100]
Victory Points at start: 0 - 1800
OOB
pre:
Unit Name                      Unit Type [Transport]        Exp

Land Units

1.12th USMC Engineers 1943     USMC Engineers 1943 [M2]     ****
2.Stay Frosty                  USMC Marines 1943 [M2]        ***
3.15th USMC Marines 1941       USMC Marines 1941 [M2]        ***
4.17th USMC Paramarines 1943   USMC Paramarines 1943         ***
5.26th Seabees                 Seabees                         -
6.31st USMC Marines 1943       USMC Marines 1943               -
7.21st M3 Stuart               M3 Stuart                     ***
8.29th M5 Stuart               M5 Stuart                       *
9.Boondoggle                   M3A1 Lee                      ***
10.14th M4A1 Sherman           M4A1 Sherman                   **
11.32nd M4A3E8                 M4A3E8                          -
12.30th M10 Wolverine          M10 Wolverine                   -
13.18th M15A1                  M15A1                          **
14.19th 75mm Pack Howitzer     75mm Pack Howitzer [M2]         -
15.20th 75mm Pack Howitzer     75mm Pack Howitzer              *
16.11th 105mm Howitzer         105mm Howitzer [GMC]            -
17.25th M7                     M7                              -
18.33rd 155mm Gun              155mm Gun                       -

Aux (by qty)
2                              Infantry 1944 [GMC]             -
1                              Rangers 1943 [GMC]              -
1                              USMC Raiders & Dogs [GMC]       -
1                              USMC Engineers 1943 [GMC]       -
1                              Phi Scout [GMC]                 -
1                              M4A1 Sherman                    -
1                              USMC Sherman POA             ****
1                              75mm Pack Howitzer [GMC]        -
1                              105mm Howitzer [GMC]            -
1                              M12 GMC                        **
2                              M15A1                          **

Air Units

19.7th F6F Hellcat             F6F Hellcat                     -
20.8th F4U Corsair             F4U Corsair                   ***
21.9th F4F Wildcat             F4F Wildcat                    **
22.Pretty Pixel Pilots         P-38 Lightning                  *
23.10th SB2C Helldiver         SB2C Helldiver                 **
24.1st TBM Avenger             TBM Avenger                     *


Aux (by qty)
3                              F4U Corsair                     *
2                              P47D Thunderbolt                -
2                              P51D Mustang                    -
1                              SB2C Helldiver                  *
1                              TBF Avenger                     *
1                              B-25H Mitchell                  -
1                              B-24D Liberator                 -

Naval units

25.3rd PT Boat                 DD PT Boat                      -
26.24th PT Boat                DD PT Boat                      -
27.23rd Somers                 DD Somers                       *
28.Northampton                 CA Northampton              *****
29.Yorktown                    CV Yorktown                     -
30.Independence                CV Independence                 -
31.16th Iowa                   BB Iowa                         *
32.Atlanta                     CL Atlanta 44                   -
33.Gato                        SS Gato                         *


Aux

DESRON 2                       DD Sims                         -
'Somers'                       DD Somers                       -
Boise                          CL Brooklyn 44                  -
Bennington                     CV Essex                      ***
Core land-air:naval/aux slots: 4:4/0
Starting Prestige: 522 after purchases
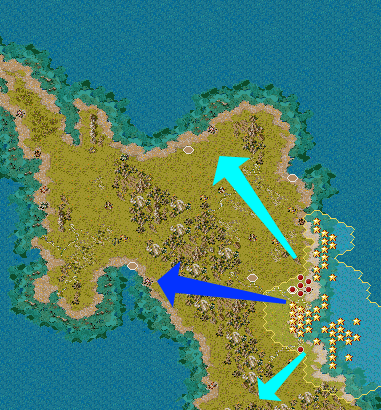
While control of the whole island is important to us, the primary target here is Ormoc. We take that port, and the Japanese are finished on Leyte. Secondary to this is pushing northward, as it will allow us to get to the
We've decided instead to head straight through the mountains on the narrow road above Burauen. We'll still push northward with a sizable force to take the secondary objectives. Another group will head southward; their goal is to draw off forces from Ormoc in that direction, so once we break through it'll be an easier time for us.
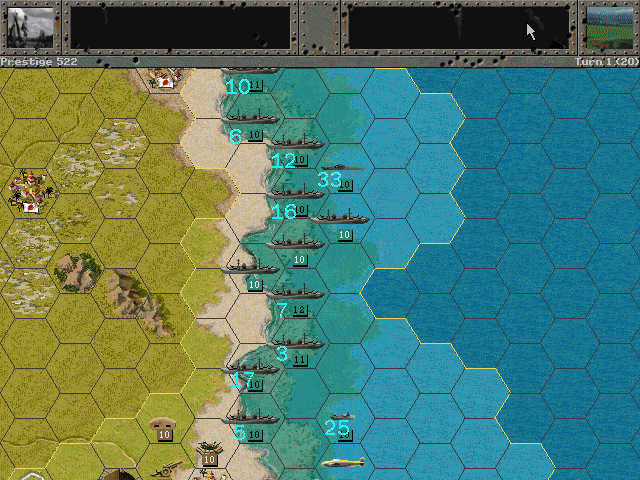
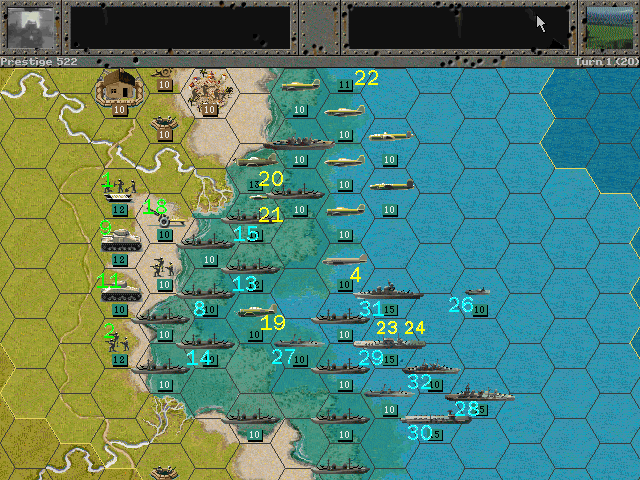
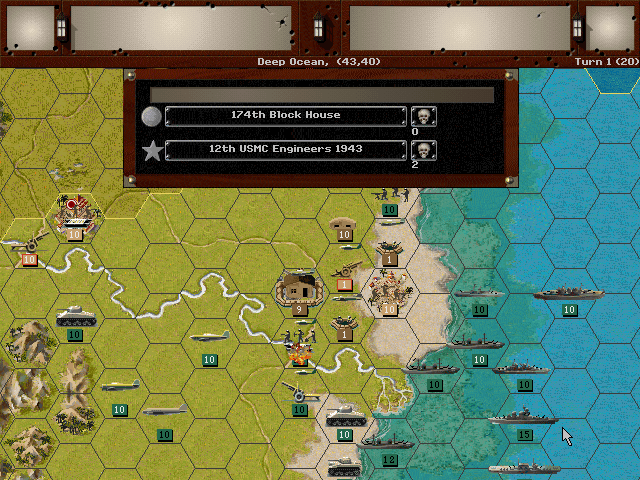
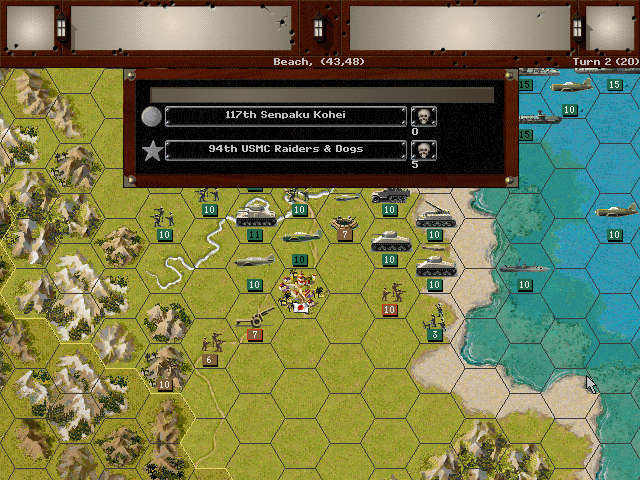
The bulk of our landing force will arrive just south of Burauen and the Marabang river. This group doesn't need to make the crossing, as the mountain route is south of the river's headwaters. More forces will land to the north of here, with the goal of getting our troops ashore as quickly as possible. We don't want to lose anything to any naval or air units that may remain nearby. Once we've got a beachhead, the groups can shake out in the direction they need to go.
Allied Turn 1 (USA): October 20, 1944
Fair, Dry
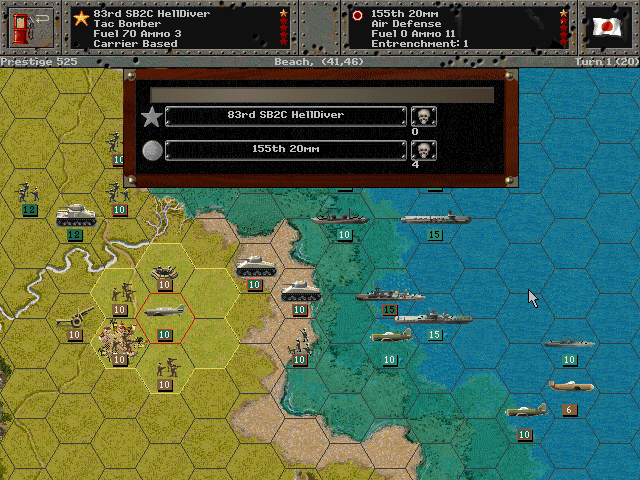
We begin by knocking out the air defenses, so that all our bombers can hit any location they wish.
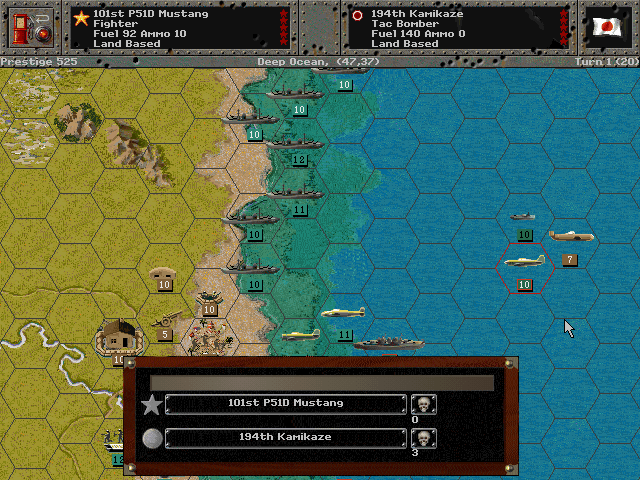
Out over the water, kamikaze suicide planes are spotted attempting to disrupt our landing.
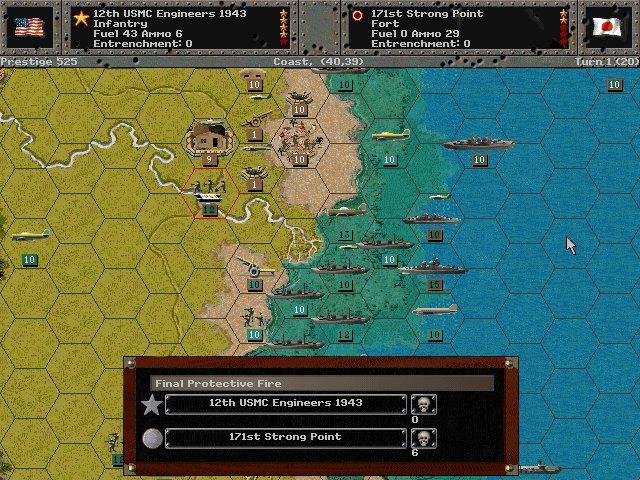
The first units to get ashore start to attack near the airfield.
Axis Turn 1 (Japan): October 20, 1944
Fair, Dry
Artillery fires on our forces, but to no effect.
The airfield doesn't manage to repel our engineers.
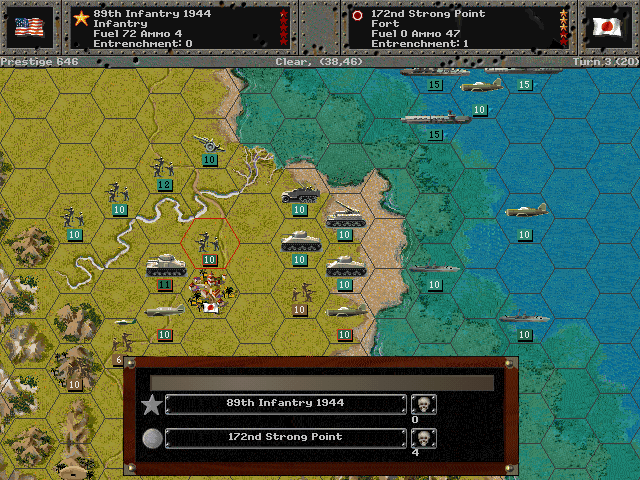
Allied Turn 2 (USA): October 24, 1944
Fair, Dry
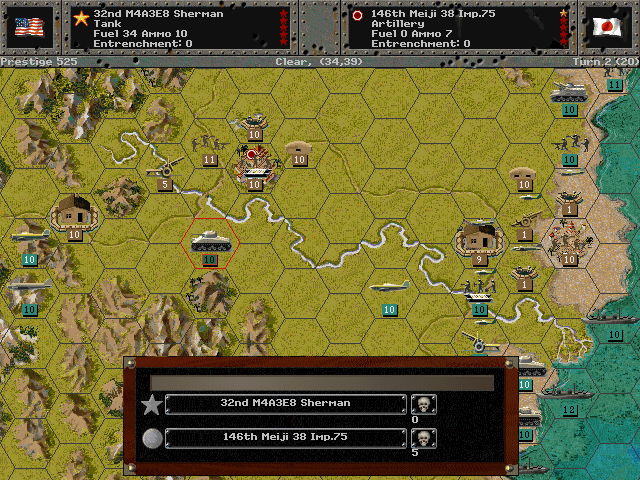
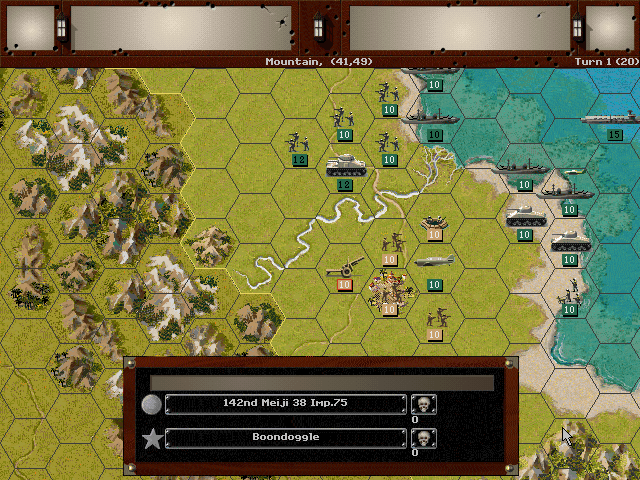
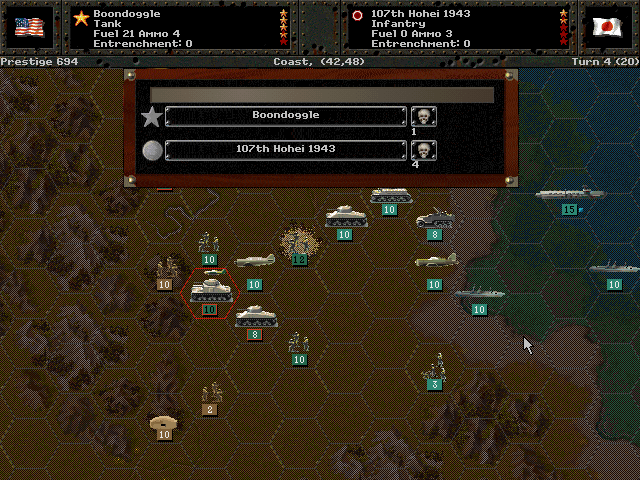
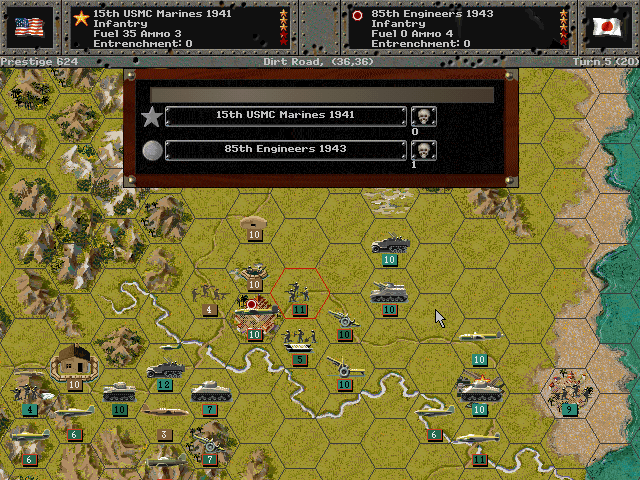
The tanks have rushed ahead, and hit Burauen from the south.

We clear out everything around the airfield, and it should fall within a week.
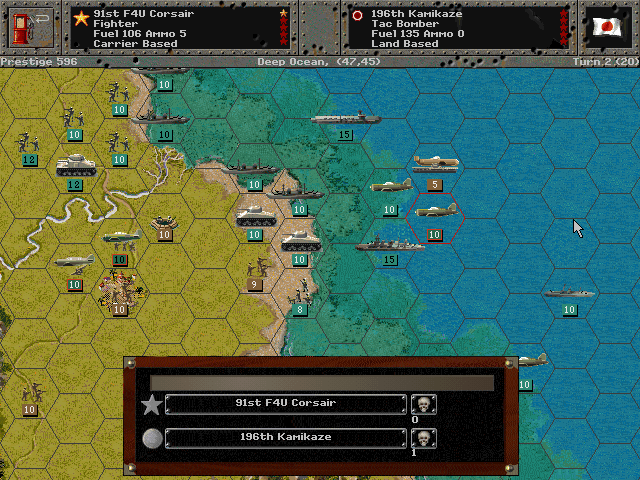
Kamikaze planes are shot down before they can hit our carriers.
It's fairly clear the AI is bugged for kamikaze, as it doesn't ever use them for attack. This is probably because it considers the loss of the plane to not be worth the damage it can cause.
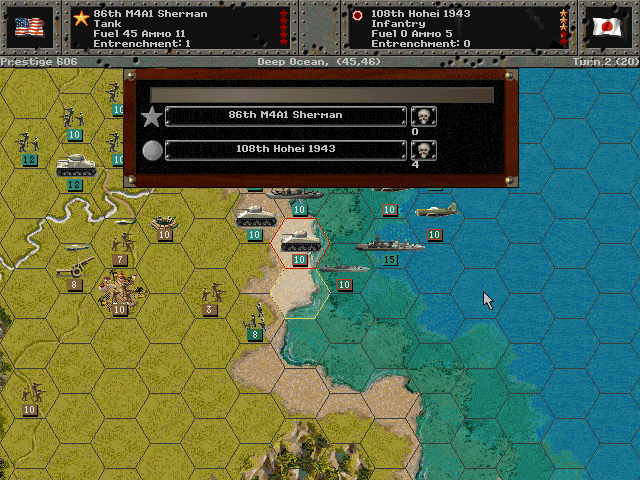
The landings south of the Bito River clear a bit of space.
That allows our core forces to make the crossing southward more safely.
Axis Turn 2 (Japan): October 24, 1944
Fair, Dry
The Japanese have some better fighters now, and we nearly lose a whole squadron.
Unsure of which way to strike, the defenders of Abuyog head toward the coast.
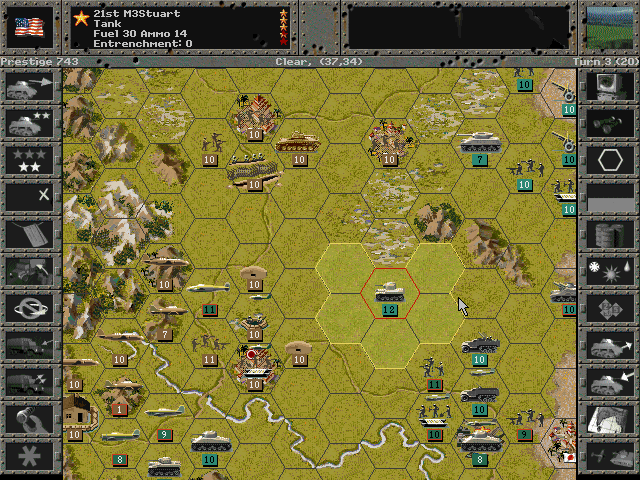
Allied Turn 3 (USA): October 28, 1944
Fair (Dry)
We capture Abuyog with ease.
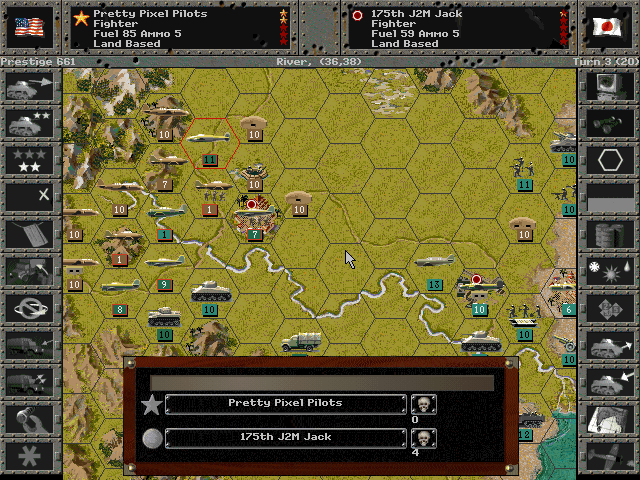
It's a real furball over Burauen, but we come out generally better.
A key airfield is secured, and we scout out the heavier defenses farther inland.
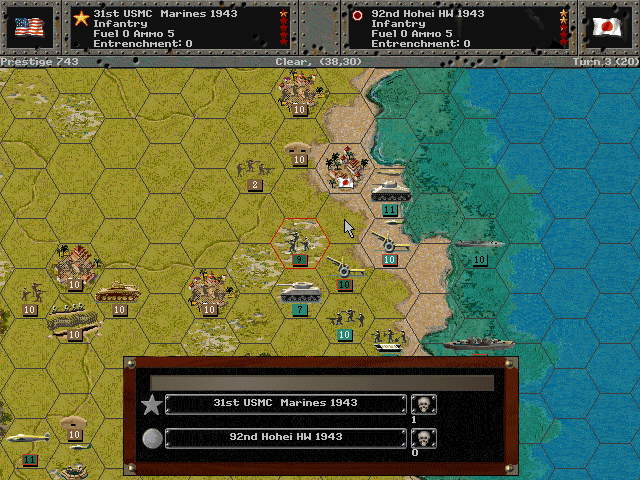
We also push northward along the coast.
Axis Turn 3 (Japan): October 28, 1944
Fair (Dry)
The Army Rangers take heavy casualties near Tabontabon.

In the south, soldiers come out of the hills and hit our flank.
The paratroops come under heavy fire as well.
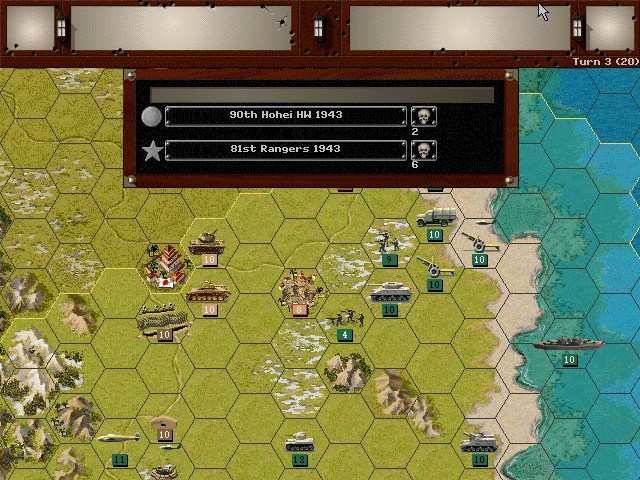
Allied Turn 4 (USA): November 1, 1944
Cloudy (Dry) NIGHT
A sneak attack at night allows us to take out one pillbox on the outskirts of Burauen.
The tanks come up to the front lines in the south.
Axis Turn 4 (Japan): November 1, 1944
Cloudy (Dry)

Heavy defenses along the narrow road make life hard for our paratroops.
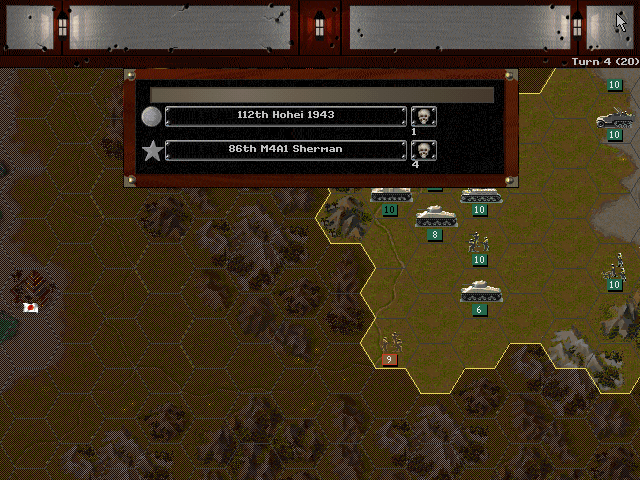
The tanks maybe moved too far ahead, and the cover of night lets the enemy infantry hit them at close range.
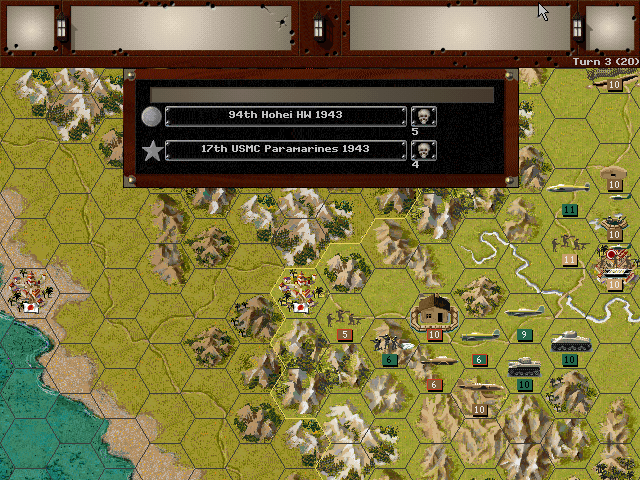
Allied Turn 5 (USA): November 5, 1944
Cloudy (Dry)
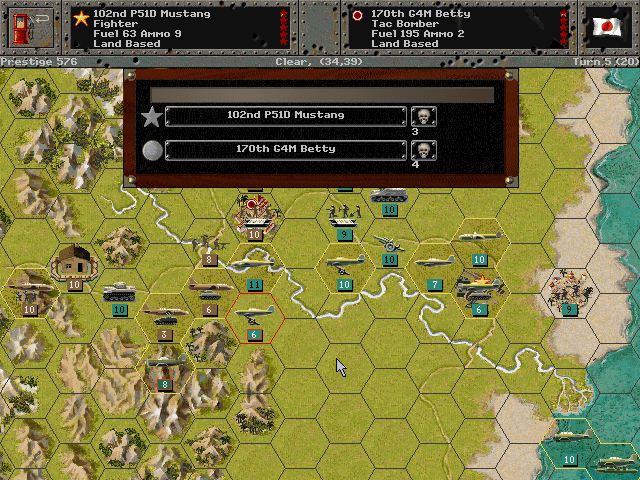
We've shot down most of the fighter escorts, and can now work over the bombers.
It's easy to block off Burauen, but we're having trouble getting units up the narrow road to the hills.
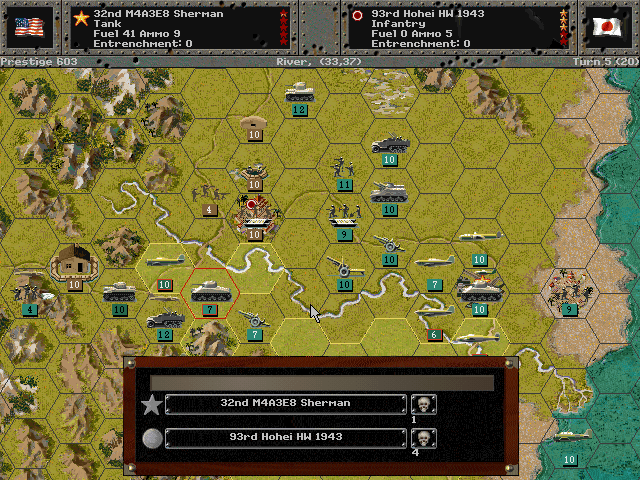
A frontal assault lets us clear out the town itself.

An attempt to break out goes poorly for the isolated paratroops.
Axis Turn 5 (Japan): November 5, 1944
Cloudy (Dry)

The southern end of the island is covered well by Japanese artillery.
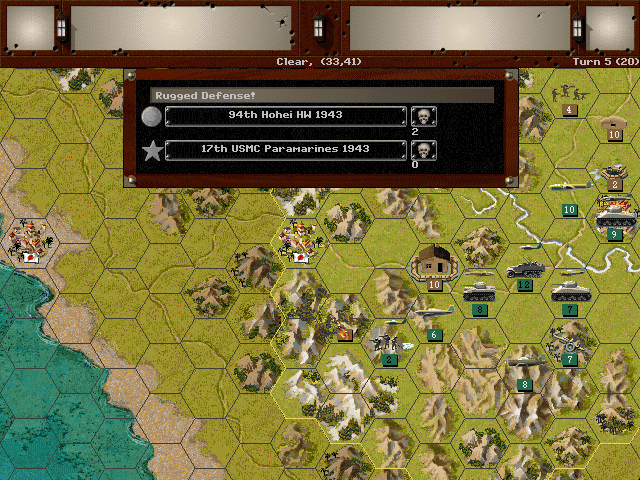
Our brave paratroopers fend off an assault.
Unit Spotlight
M8 GMC Armored Car 'Greyhound'
PG Name: M8 Greyhound Type: Recon
Effective Date: 7/43
Value:10 Cost:120 Spot:5 Move:8 MM:ATV Trans:Naval Fuel: 81
Init:7 SA:3 HA:7 AA:[2] NA:0 GD:7 AD:1 CD:1 TT:Hard Ammo:9
The US lacked a real scout car in its forces at the start of the war, so in 1941 called for a design that might be usable as a fast anti-armor unit. A 6x6 vehicle with a 37mm gun from Ford was the result. While it ended up not really being strong enough to duel with enemy tanks, its sleek profile and high speed allowed it to be quite effective as a reconnaissance vehicle. It stayed as the primary scout car for the US for some time, and also saw use by the British, who gave it the 'Greyhound' moniker. Many were shifted to the Pacific from Europe, where the relative lack of enemy tanks meant they could be even more valuable on the battlefield.
In-game analysis: The American recon vehicles value speed and scouting ability most of all. These aren't terribly great as mop-up units, but they are good at the role of scouting in places where aircraft can't reach. Usually that's only near the start when the planes are busy. I find this a tad overpriced, although it's not bad for what it is.
Allen M. Sumner-class Destroyer (~70 built, not all as destroyers)
PG Name: Sumner Type:Destroyer
Effective Date: 1/44
Value:7 Cost:84 Spot:1 Move:7 MM:Coastal Fuel: 72
Init:3 Range:1 SA:3 HA:6 AA:[9] NA:10 DA:8 GD:16 AD:6 TD:14 TT:N/A Ammo:40
The Sumner class destroyer was intended to improve on the highly successful Fletcher class (which is inexplicably absent from this game). While it did improve firepower somewhat, it ended up slower than desired, and was not quite the upgrade the Navy had been hoping for. After most had been built, Admiral Nimitz recommended that some be designated as minelayers. The thinking was that they would be fast enough to slip into enemy waters and drop their mines in secret; none that were built as such were ever actually used for that mission.
In-game Analysis: This is one of the better escort ships for the money. It's not too expensive, but can shake off air attacks and also assist the capital ships when dealing with surface vessels. As long as enemy subs aren't too numerous, this one is a decent ship to have in the core.
Vought F4U Corsair
PG Name: USMC F4U Corsair / F4U Corsair Type:Fighter
Effective Date: 8/43 / 5/44
Value:39 Cost:468 Spot:3 Move:10 MM:Air Fuel: 114
Init:7 SA:5 HA:4 AA:17 NA:0/2 GD:11 AD:16 TT:No/Naval Ammo:6
The F4U Corsair was expected to be a carrier-based fighter, but its poor landing performance (in part due to bad cockpit visibility) kept the Navy from selecting it. The intent of the designers was to have a small airframe built around the most powerful engine available. It did manage to have a high top speed and great climbing ability. It was regarded as the first Allied plane that could definitively best the Zero in a match-up. The British were able to show that it was indeed usable as a carrier-based fighter despite the difficulty in landings. In 1944 the US Navy also allowed it to be used for carrier operations. It went on to serve admirably post-1945, all the way into the Korean War.
In-game Analysis: I called the Hellcat 'almost' the best multipurpose attack aircraft; this is the one that beats it. It is identical to the Hellcat except for better Initiative and Air Attack. Those slight improvements make this a truly fearsome craft, and yet it's still less than 500 prestige. There are few planes that can beat it to the punch, which means it can knock back almost all contemporaries and still be reasonably effective by the war's end.