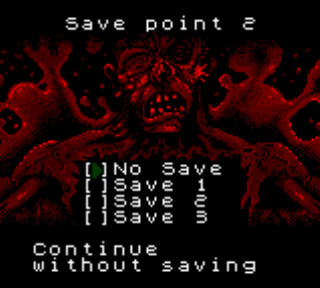
Part 2: - Deadly Silence
Part 2 -- Deadly Silence
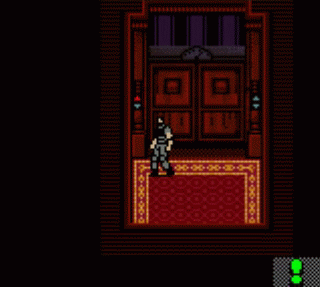
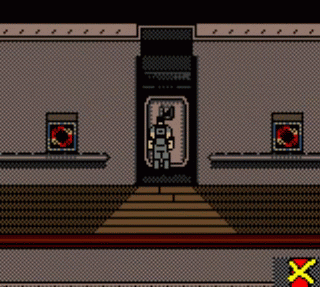
When we last left off, our hero Barry Burton, ex-S.T.A.R.S. supercop, was about to take the elevator.
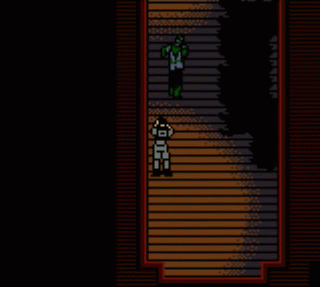
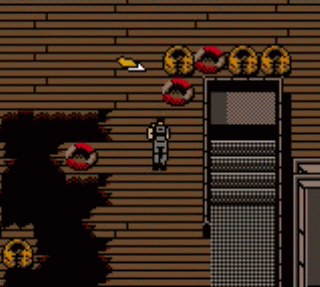
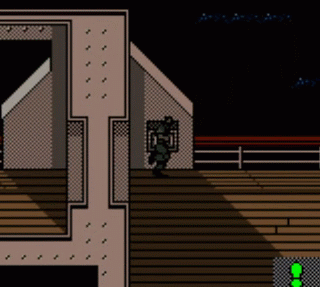
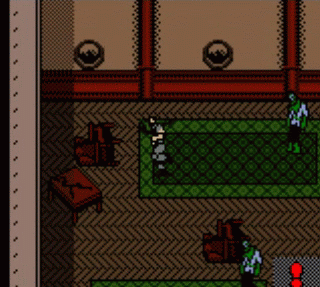
Now we're one floor up. This zombie can be a bit tricky to walk past, as the zombies have apparently torn up roughly half the floors on the ship. Luring them where you want them is easier if you realize that zombies will tend to rush at you if you draw your weapon. You can herd them around this way while keeping a little distance.

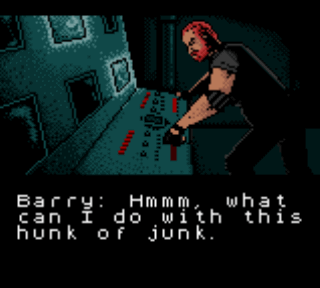
This file, the Targeting Doc, is the most useless one so far. It tells you how to draw your weapon and attack zombies. It gives you literally no information that radio man didn't tell you before you fought your first zombies. In fact... it's the exact same explanation, word for word.
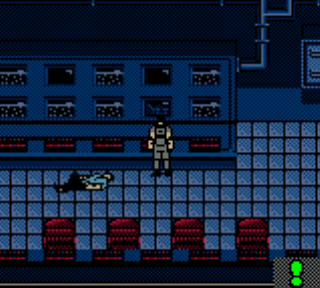
Finally reaching the upper deck, Barry realizes:
 The security room will probably be locked. I should probably find a key.
Of course, the only one happens to be in the hands of a zombie with no defining characteristics who just happened to wander somewhere into the vicinity.
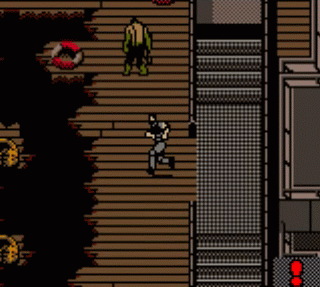
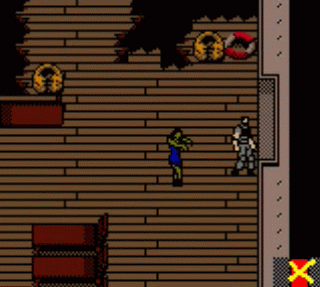
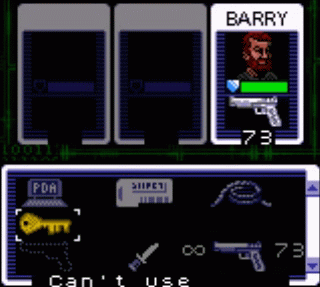
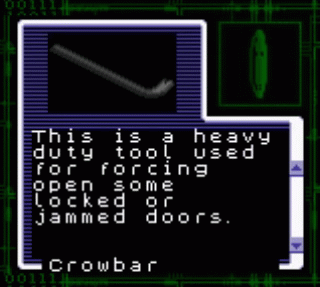
Speaking of zombies, is that one holding a crowbar? I didn't sign up for any crazy Japanese zombies.Good of you to notice, Barry. What we have here is the last regular enemy sprite in the entire game. Let's take a closer look.
These are tougher than normal zombies, but they don't actually use those crowbars. They just bite like a normal zombie. No weapon-using zombies here. Nope. That would defy RE canon.
Aaaand here's another file.
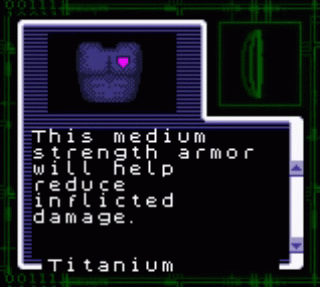
Armor Doc
Be on the lookout for armor. Equip yourself with the armor you find to protect yourself. The stronger the armor, the less damage you will suffer when you are hit in battle. Remember, useful items such as armor may be left around the ship by the crew and passengers. Look out for these items and always watch out for the alert icon.
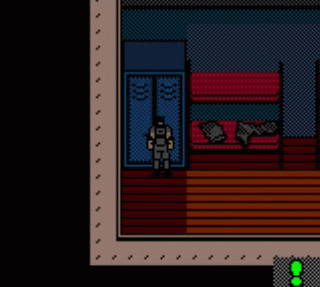
"Honey! Remember to bring the Kevlar! You know how I like to wear it while sunbathing!"
Seriously, someone left Kevlar on a deck chair.
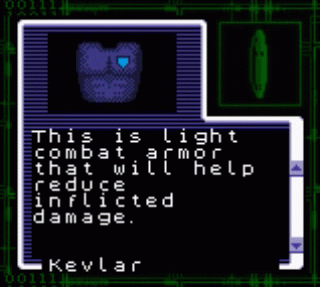
This would be very effective armor provided the zombies all tried to bite you in the chest or, failing that, shoot you.
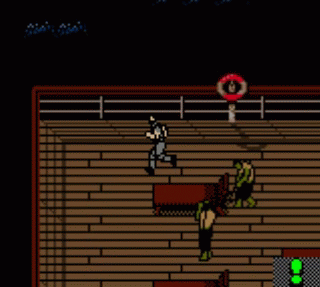
This is the zombie that carries the security room key. He's by the north exit from the deck, so if you chose to use the south exit to get to the pool, you would miss him. Then you'd wander around like an idiot for an hour. That's pretty much what you'll be doing anyway, come to think of it.
Just inside the pool area you can find this cupboard.
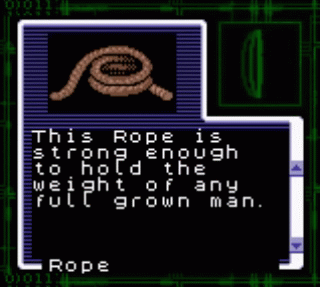
This is inside. You do NOT want to miss this one. The place you'll need to use it is neither soon nor close by.
Now, the security room is just a little bit south of the rope. I could go there now, but as I said previously, I'm going to be going around most of the ship early and grabbing a few items. It shouldn't make a big difference to the viewers, but it will make things much less painful for me, and I suppose things will move faster in future chapters. Alright, here goes:
The door to the bar, on the east side of the pool room, is actually locked, but one of the female zombies has the key. I just hope one of the zombies I shoot in this game is the guy responsible for locking half the doors in the ship in the middle of an emergency.
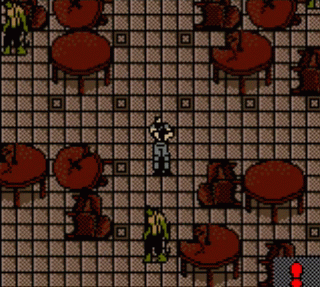
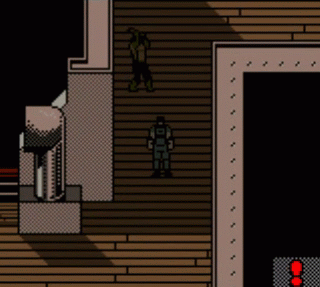
Here's a tip: if I fight this zombie now, I'll have the other two to contend with as well. Instead, it would be best to move so that the other ones are completely off-screen, and I can take the one with the item down on his own.
In the elevator lobby, the upper hall contains about 5 zombies, and...
Armor made of good ol' 22. Keep in mind that even if I was not sequence breaking, this is still three rooms away from the Kevlar, and you'd get it less than five minutes afterwards.
A little more East is the sun deck and the rather sparsely-furnished suites. A zombie here has the key to the elevators we just passed. They provide a quick route down to the second floor. From there, it's only a short walk past a dozen women zombies to the side-deck, where the game began.
Stopping at the first door, Barry uses the crew key to-
...
Stopping at the SECOND door, Barry uses the crew key to gain access to the crew area. You can head down to the cargo bay from with the elevator here.
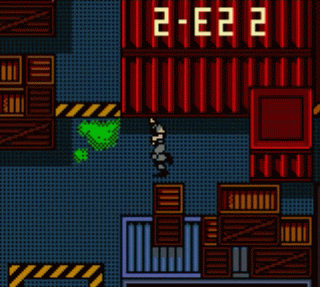 Looks like somebody spilled their green soda. I hope it's not Leon's green soda.
There's a key item here, just off screen on the north wall. No, it is not marked in any way.
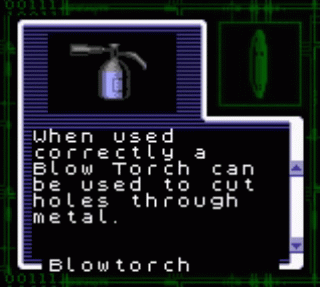
The keys have been lost for the special storage area on 1F. This Blow Torch may be useful there.
It's a blowtorch. That can be used to open a door. One specific door. In other words, a key. The best part is that the door you need it for is literally one room over. Even with zombies, this adds about five seconds to the playtime. I guess you can't say M4 didn't keep true to the spirit of the series.
Anyway, there's a Storage Bay and a Special Storage area, but they both look exactly the same as the cargo bay. Stashed in unmarked crates are two key items: a keycard for the computer control room on 3F, and...
Maybe this could be used to open the jammed crew room door on 2F.
...another key masquerading as a non-key. Both of these rooms are close at hand, right next to the elevator on their respective floors.
The crew room has only one thing of note, as this locker contains a fire extinguisher.

"But under no circumstances should it be used on relatively benign fires, such as camp fires, boiler fires, or lighters. Cigarettes are fair game."
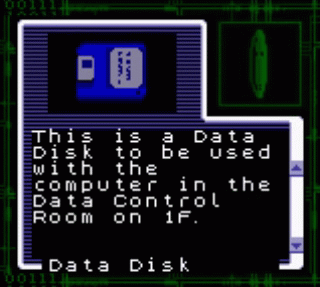
The computer room has another fucking file.
Computer Doc
You need the operator password card to reboot the computer. The operator crewmen can often be found socializing in the piano bar on 2F.
Hey, an actual in-character file for once. Things are looking up. In addition, this room has a keycard for the Data Control room back down the storage bays. That's the next stop.
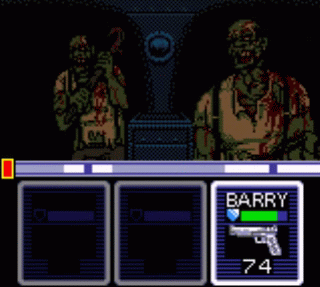
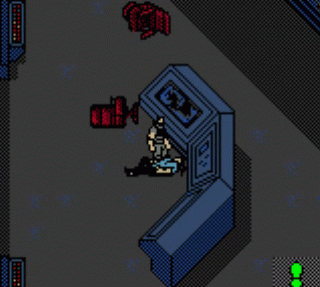
The Data Control/Giant reel-to-reel room contains an example of the most powerful zombie in the game. Since I'm not "supposed" to see this guy yet, I'll cover them when I actually come across them, but I will show you how much damage this single zombie did to me.
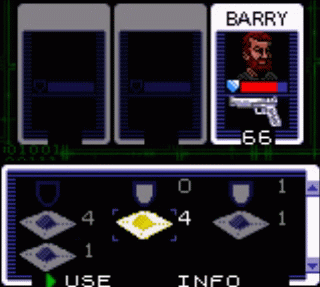
You have a green then yellow, then red bar of health. This guy got me from green to red, meaning he took off two thirds of my entire health on his own. He also had a key card for the fourth floor door of the nearby elevators, but I don't expect you to be keeping track of all these keys at this point.
Also in the Data Control room is this:
A key item. A key item meant to be used in the same tiny room it was found in. There is literally no reason why this thing needs to exist at all. It's not even hard to find within the room itself. Someone, possibly even multiple people, decided that this key item was a good idea.
Alright. Upstairs to the fourth floor with the key I got. The only thing of note in the crew section is the bridge,
The captain is holding onto a key to the boiler room, located on the other end of the ship. I could go, but since it only has ammo, and I'll end up there sooner or later, I'll skip it today.
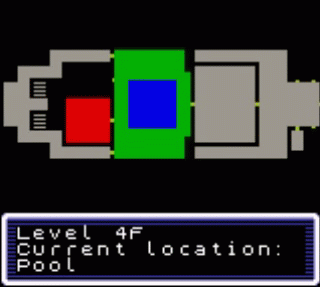
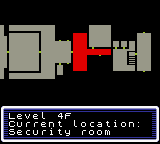
With all my errands for this point complete, I can finally make the journey to the security room. The map of 4F is provided to aid in your visualization.
Alright, after all that, you will be pleased to know that the plot starts now. There'll be lots of poorly-drawn cutscenes and Umbrella has an evil plan and everything.
 Question mark. That was a question. I was thinking of a period when I said it but... it should actually be a question.
Barry searches through the switches on the control console, trying to find Leon or at least check his email.
Wait a minute, this doesn't look like one of those creatures!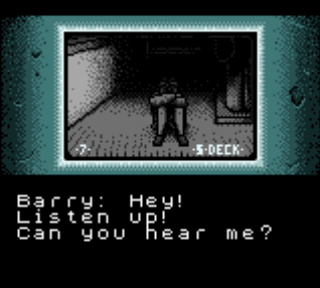
 Leon? Is that you? I'm afraid you have a wrong number. Wait, you know Leon? Who are you? I'm special agent Barry Burton. I'm a friend of Leon's. Kinda. Well, we used to work together. Well, not really. We worked at the same place at nearly the same time. I met him at the last anti-Umbrella Christmas party. I'm Lucia. Leon went off to find the horrible monster that is turning everybody into... into... Zombies! Leon rescued me and told me to wait here until he gets back. He just left you in the middle of a zombie-infested ship? He mentioned something about hating escort missions. ... Where is Leon now? I don't know, he left here ages ago. I'm scared- I keep hearing noises!
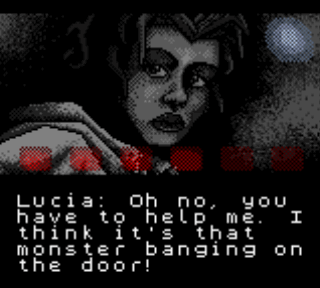 He's here! PLEASE HELP ME !!! Don't Panic! Calm down! Where are you? I'm on the sun deck! Please hurry! I don't think the door will last much longer! Hold on, I'm coming! Wait, the sun deck? He left you on the middle of the deck? What is WRONG with Leon?
Now, I'm not going to complain about how I already passed through the Sun Deck and didn't see anything, because that was out of sequence. I am going to call Leon a moron for leaving her in the middle of a wide-open area teeming with zombies, and no hiding places.
As Barry races to rescue Lucia, this section draws to a close. What sort of creature could be chasing her? Can Barry make it time? The answers to these questions and more are obvious, but they will be answered in the next episode nonetheless.
...
...
...
...
6 Years Later
 I need someone to rescue my daughter. Any volunteers?
 Oh! Oh! I'll go! You? Aren't you that "sun deck" guy? No deal! Dammit!
...
...
...
...
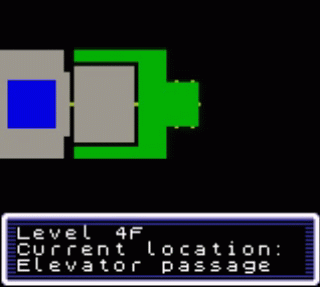
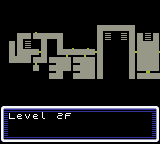
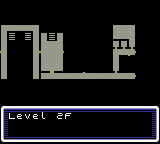
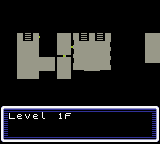
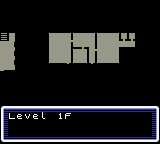
Map Corner!
I know that I haven't given you guys a good idea of the layout of the Starlight up to this point, so I'm going to show everything up to this point now, from the top going down. If you don't care, then simply skip this bit and I'll see you next time. Starting on 4F...

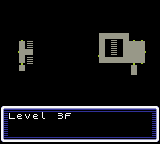
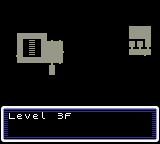
This floor is made mostly of big, open decks. The green area is the computer room, and the red one is the sun deck, where I need to go. The blue square actually represents the pool, which you can't enter or do anything with. The suite is the large square room connecting only to it. Now, you'll note that the far-right area is cut off from the rest. That is the crew-only area, which is accessed from 2F. The only thing of note there is the bridge on the far right. The smallest rooms you see throughout the map are elevators.
Most of this floor remains unexplored. The left part is the area that began this update. It connects to the deck on 4F. The middle area is the lobby balcony, and the stairs there go down into the lobby itself. The crew area doesn't have much of interest, aside from the computer room, which is the large L-shaped one.
This floor is where the game began, and I've seen most of it. The start point is that long stretch on the lower right, which is the side deck. It connects to the crew area on the right, and the lobby on the left. Just below the computer room on floor 3 is the identically-shaped crew room on this level, where I found the fire extinguisher. Most of the left of this floor is composed of long, annoying hallways. The leftmost room is the boiler room, which I didn't actually show yet.
Finally, we have the bottommost level. I never actually showed you them, but since I can go there, engine room is filled in on the far left. Right next to that is the kitchen, which connects to the large dining room. On the right, in the crew area, are the cargo holds.
So that's everything so far. Hope you found it useful.