Part 33: Beauty is the Beast
Glazius posted:
If you were using Kururu but also trying to complete the doll sidequests you'd be leveling them anyway, right? Don't a lot of their quests pretty much require them being a certain level?
The duet ones require both puppets involved to reach a certain level, others (like Flare's) contain mandatory fights anyway and you're likely to level up either on the way there or due to them and Knightspawn's requires him to outright be involved in a specific number of fights so he's all but guaranteed to level up a bunch just from that alone. Not to mention that even puppets not used in the party will still gain XP; they just gain half of what the fight gives rather than the full value.
I do believe it is about time that we ended this. We have the five Heartstones, we know what we have to do, and there's no distractions. Yup, nothing else to do.
So... remember how way, way back in the very first update I bitched about how the very first chapter was a prologue? Well, in hindsight that is relatively fitting. Relatively. It makes more sense than calling this the epilogue when we haven't even gone to the final dungeon yet.

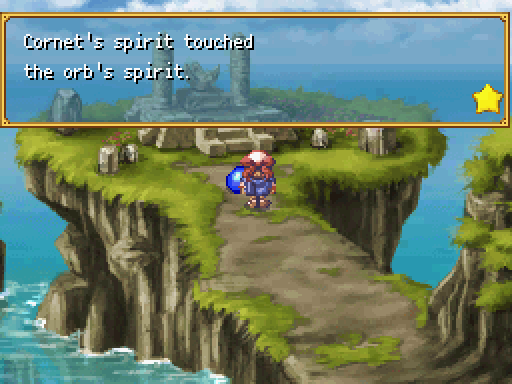
That's located in here; we need all five heartstones to be able to do anything here and even then we need to have visited Polin! Without doing that last bit, you can come here in chapter 5 and something will be missing...
The mini-bosses won't appear. You need to beat each one to place the matching heartstone. Now, you can only get 5 stones in a playthrough, but there's 6 different fights. The Thunder/Holy split is the reason for this one as well.
The fights themselves aren't too challenging, but going over each of 'em seperately would take a while. Instead, I just recorded the whole lot of 'em and lamented over how the Cape Hope music isn't on the OST either. But it is in here, between the fights and at the start, so there's that.
Anyway, the dragons are all ridiculously easy. The White Dragon put up the biggest fight, because Cornet et al. were a little under 20 levels below their Thunderstone path counterparts, not particularly because it was a harder fight. If anything, it's an easier fight (to the Thunder Dragon equivalent) if you just bring Terra, Knightspawn or Ledgem since it actually has a weakness. Aside from that one minor variation, there's nothing remotely interesting about them.
With the five stones all placed the giant teleporter in the middle of the first screen is now active and we can head on off to Beauty Castle.
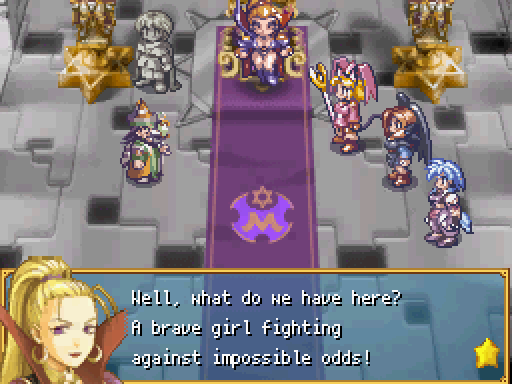
...Yes, that is Golonzo stood there. It's far less surprising than it could have been. But, it was pretty much destined from the moment we met him anyway.
 : Myao, Gao, Crowdia! Stop her at all costs!

 : Yes, ma'am!!
 : (I should resurrect it before anything else gets in my way...): Golonzo!: Y-yes ma'am!!
Mayhap we ought get back to Cornet et al. before things get weird...er.
So, anyway, here we are; the final dungeon. The only thing standing between us and Marjoly. And, goddamn is it a doozy. Not only is it ridiculously long (either second or third longest, despite being a mere 4 floors!) it also has some tricky battles. And I do mean tricky. Whilst the enemies in Chapter 6's limited combat area were a little stronger they were also easier because they were all dark elemental. No such luck here. Also, the layout...
Every room. Aside from a few VERY limited exceptions.
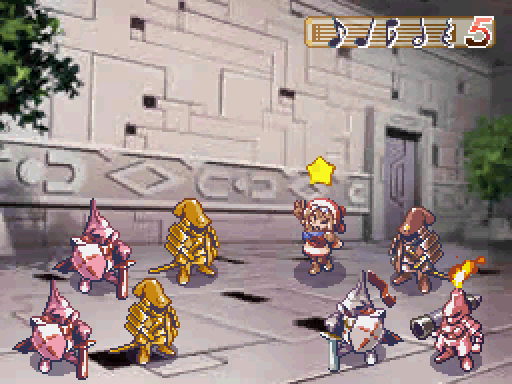
Note how the enemies here were actually worth commenting on.
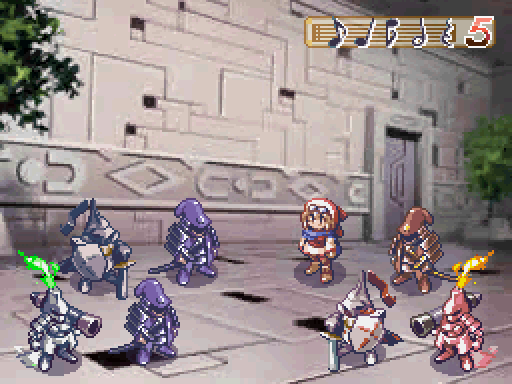
You see this fight here? Pray you get this one a lot. Everything here is Dark elemental and so this fight gives you the least trouble by virtue of sharing a weakness.
Oh, and, every random encounter here is a palette swap of Duke, Chiba and Albatross. The dungeon and enemy design both got super lazy the further the game proceeds apparently.
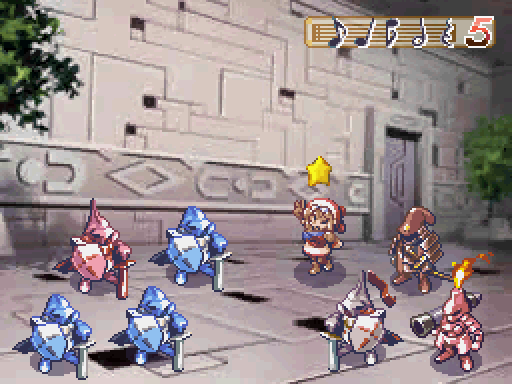
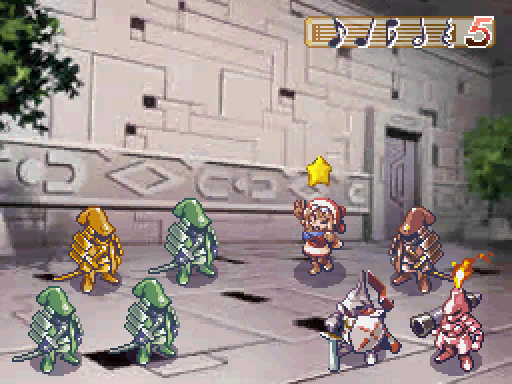
This fight is just plain mean if you're not prepared. Not only do they have the complete opposite weaknesses (so if you use Fire you hit the weakness of 3 but get massively resisted by 1 and vice-versa). They also hit hard. Every enemy here can hit hard if they get a chance. I really should have swapped Knightspawn in just to make things go quicker and stop them getting turns. Oh well, hindsight is 20/20 and such.
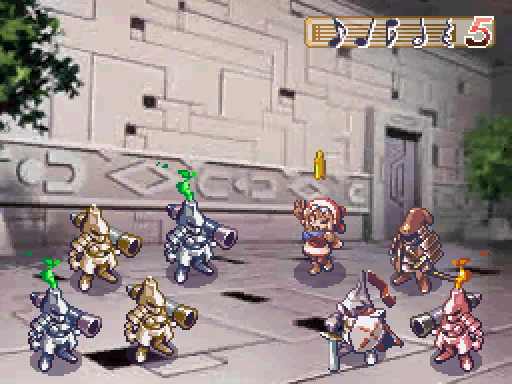
This fight is a tad annoying but unlike the above at least they aren't weak to each other. Sure, they still have different weaknesses, but they're merely different and nothing else.
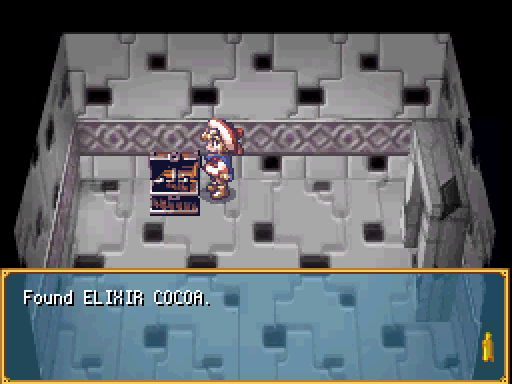
Most of the items here are pretty handy. If you didn't actually buy any supplies to bring with you (I didn't so I'm carting around like 40k at this point, but there's nothing to spend it on) free shit is helpful. Why?
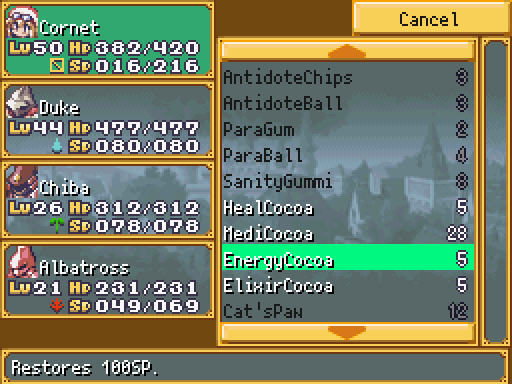
Fights here WILL burn through your SP like no tomorrow... if you do what I do at least and just spam puppet quest skills. You really need the Holy Charm on Cornet to make this remotely feasible and even then you'll be praying for the occasional level up. You could auto them, sure, but that makes them take even longer and you end up having to heal occasionally since you don't kill things fast enough otherwise. Note that this problem is primarily caused by Chiba and Albatross being about 20 levels too low to make everything hilariously easy.
Once again, alternative but not outright opposing weaknesses. This is the one other recurring theme of the battles here (with but one exception as shown above).
...Yet again, if you don't see it coming this fight can be an utter dick move. Unlike the Fire-Water fight above, this one is Wind-Earth but it's the same thing in essence.
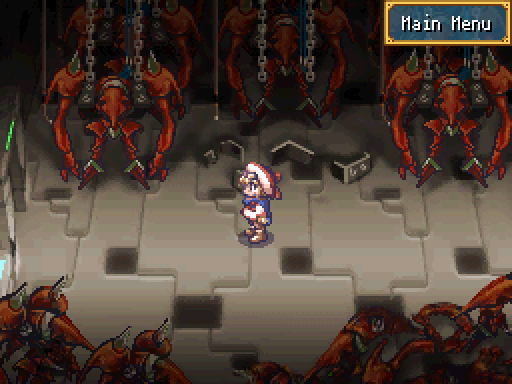
Most unique dungeon room in the entire game right here. Best part is that by seeing this storeroom full of Ancient Weapons, you're actually going the wrong way!
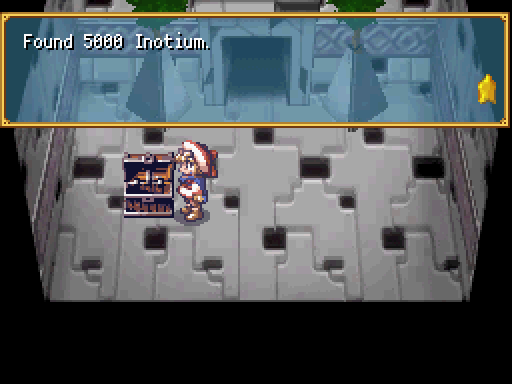
Just in case you really didn't get the message that you should leave and pick up a shit load of supplies after the thirthieth random encounter or so, this really drives the point home. We're in the final dungeon. It just handed you the second largest amount of free money possible. There's nothing else to do with it other than buy items to use here.
Eventually, you'll manage to fight yourway through this awfully designed maze of a dungeon and find yourself on the fourth floor. But there's no way to reach the obvious boss room in the middle. That's because you need to descend on the fourth floor back to the third to go up a different staircase that's only accessible this way. ...The map never makes this apparent. Ever.
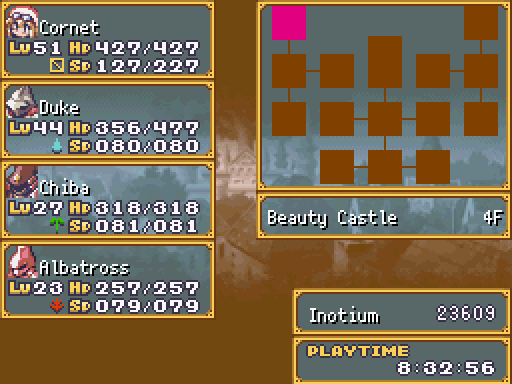
The levels you see here at what I'll be going into the final battle with. Cornet is over-levelled, Duke is about right/slightly over-levelled, Chiba and Albatross stayed massively under-levelled. This fight might not be a complete massacre!
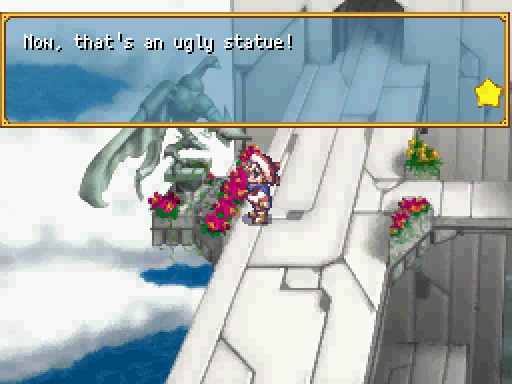
This statue is very nearly unique! Not only does it not heal you, it doesn't give you any kind of benefit whatsoever.
Also note how we're outside again. Much like the assembly room of Weapons, room is pretty much unique and just for this one dungeon.
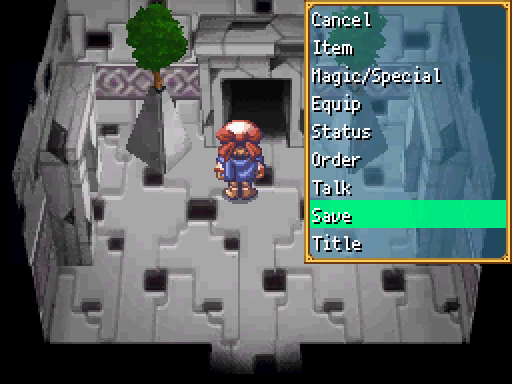
Anyway, you see this? Yes, I'm saving before entering the final boss room. This is what we call "A Good Idea"TM. Why is this the case, you may be wondering. Well, keep watching (er, reading even) and you'll soon find out.
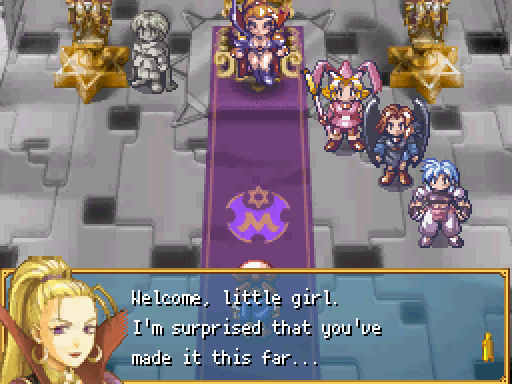 : No one in Marl's Kingdom would dare challenge me in my own castle.
 : Hand over the Prince, or else!: ...I don't think so, peasant girl. If you want him back, you must defeat me. The winner gets to keep the Prince...
 : Whose side are you on, anyway!?
 : Come on, little girl!! I'll show you what I'm made of!! Behold the power of Marjoly!!!
Time to kick a-
...What just happened? Was... was I supposed to lose, only they masked it as a fight you could win for a change? Y'know to represent the increase in power since the last encounter? Gotta give them credit for that then.
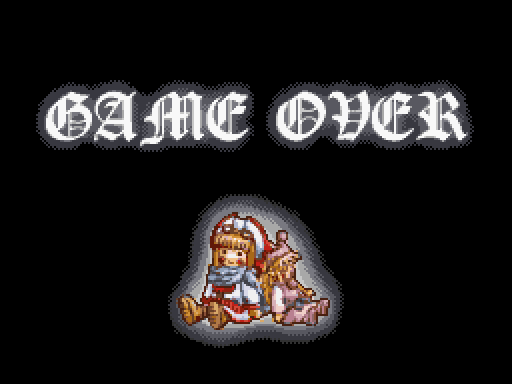
...
...
WHAT THE FUCK?! NO. This... this does not happen! I refuse to believe that just happened! I did not... this is not possible. This game.... the easiest... I...
Okay, yeah, fine. This fight is notable for three reasons; that being one of them. Hardest fight, most challenging fight and... most fun fight. No, really. Unlike just about every other fight which is an out and out massacre in either your favour or the enemy's, this one is actually balanced. You get to fight Marjoly (and the rest) on even terms, with a full team of 4 each and neither has a clear power advantage over the other. Also they can heal too. For 300 HP at that.
You can, however, tip the balance in your favour by bringing Knightspawn and, I swear I am not making this one up, L. Yes, L. He is otherwise completely useless but he has one spell that makes this fight so much easier; Miracle Wall. A few monsters you run into can cast this too, and it reduces all magical damage received. Incidentally, it turns out this is also what Happy Horn does; I found that out by finally testing it in this fight. There is also an item that makes this fight so much easier that it stops being fun but we can't get that without going out of our way to do so.
Anyway, after Game Over'ing - in a recording at that - I decided to test the fight to see if I could do it with the two dead weights I was carting around.
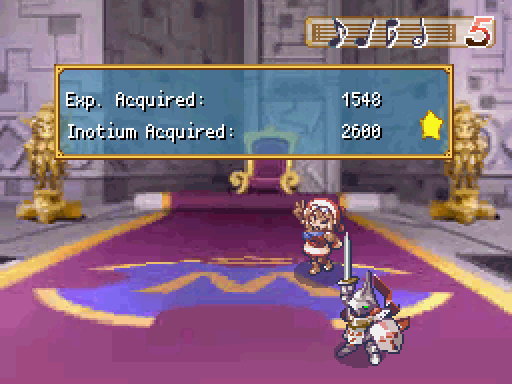
Yes, yes I could. Without grinding, without changing my equipment, without changing my party, without doing anything else I managed to win this fight the first try after getting slaughtered. Whilst I wasn't recording. So I had to do it again.
...I then proceeded to die twice more. Did I mention that Charm, and by proxy Mega Charm, is ridiculously good? Because Myao loves Mega Charm. A lot. And the rest rely on some pretty powerful spells and skills. The best way to handle this fight, without making it a joke, is to bring Sharte. She can heal upto 300 HP in a turn, whilst Cornet is stuck with 150 at best. She's also the only other unit with healing skills, that isn't called Kururu at least, and helps alleviate the damage received. Also, never focus on more than one at a time if you can manage it. This is another reason why Charm sucks; if your units don't kill themselves, they'll end up attacking various other opponents and never the one you want (very, very, very random good luck not included).
In the end, nothing works quite like good old fashioned brute force. If you don't win, you're just not trying hard enough! That's not to say this fight went exactly perfectly either (see me using the HEAL EVERYONE'S HP! item right off the bat and... only Duke ended up getting hit among various other fun things), and I learned one thing that will annoy me forever; if you choose to use an item but that item ends up unused for whatever reason (like, say, Albatross getting murdered) then you still lose the item.
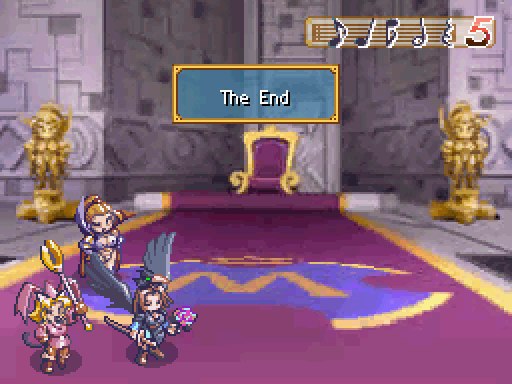
Next time: The End?