Part 31: Way Past Cool
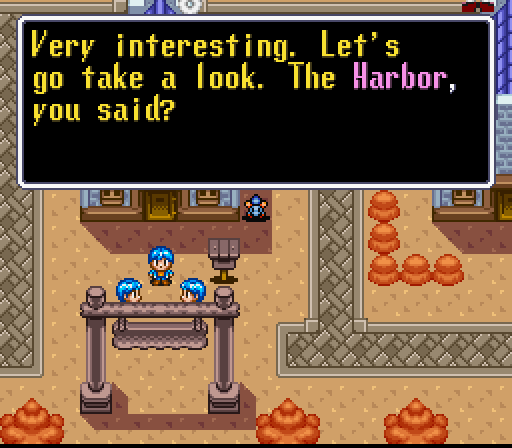
So, apparently there's an interesting crab at the Harbor. A good enough plot hook as any, I suppose. Just as long as Brain doesn't end up in an underwater castle for a hundred years or something with his years kept in a box.
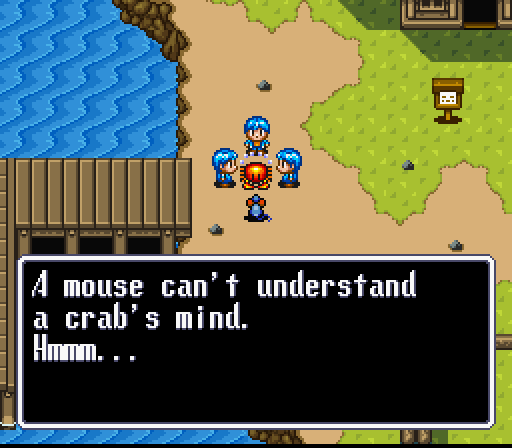
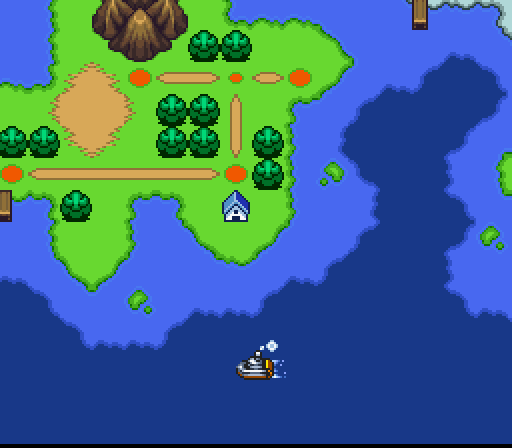
Japanese mythology aside, it turns out that it's Meta Crab that the kids are talking about. After chasing off the youngsters by giving them the Surprise Horn, Brain finds out that his missing father is being held at the Hackers' Base. He hooks our mousey main character up further by getting the creepy fisherman to lend him a boat.
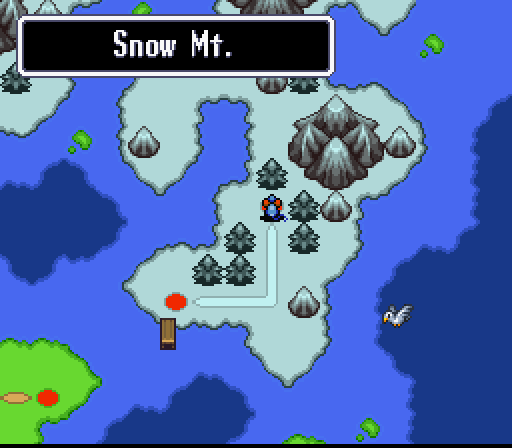
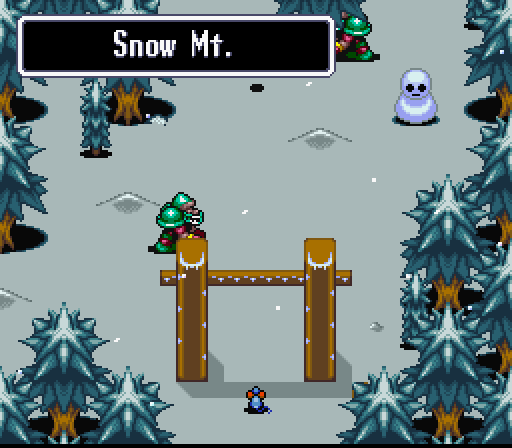
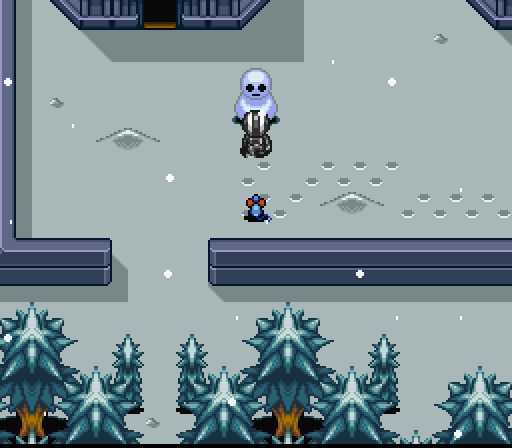
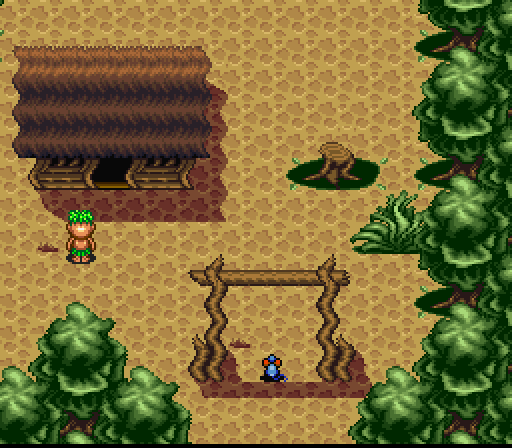
Which brings us to a snow-covered continent with our next set of locations, starting with the aptly named Snow Mountain. Unlike the previous new area Brain visited, this one doesn't have a town to stop at - our hero gets thrown right into the fray with birds and gorilla quarterbacks. No, I don't know why there's gorilla quarterbacks either.
Anyway, the way to continue the game is north, but going west leads to a cave with some loot. Also, it should be noted that walking around on the snow leaves little footprints - it's a quaint touch. Doesn't have different prints between human and mouse, but hey.
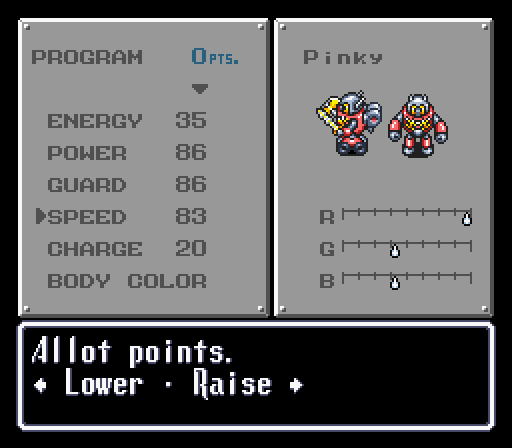
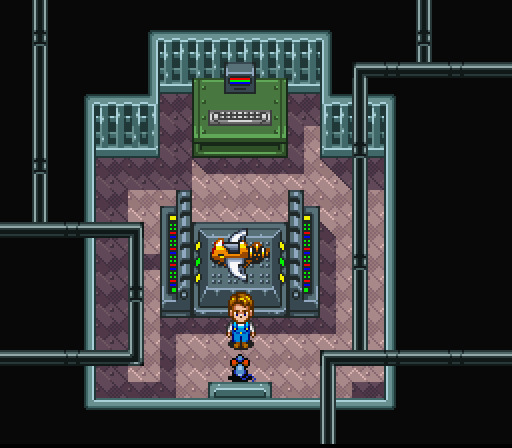
And this spot our hero can't walk through. This is one of the few instances where having the Chameleon Glasses would actually help. There's a robot here that introduces itself as one of the game's developers. He goes on to warn you to be careful in deciding what to do with Scraps 9 and 10, because they're very important. Considering Pinky has the strongest shield in the game right now, I think we've made the right choice with ours.
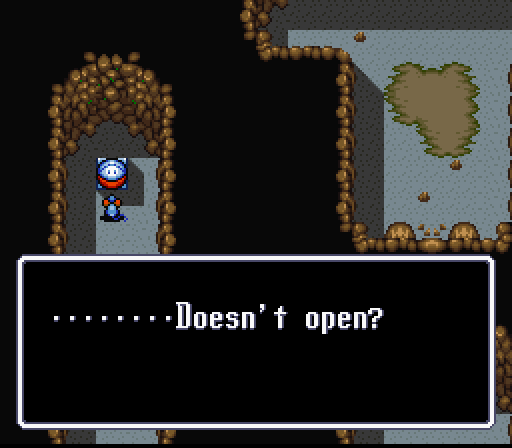
With that out of the way, our hero would be free to loot... but the capsules seemed to be sealed by a mysterious force. Fortunately, pendants and time travel aren't involved.
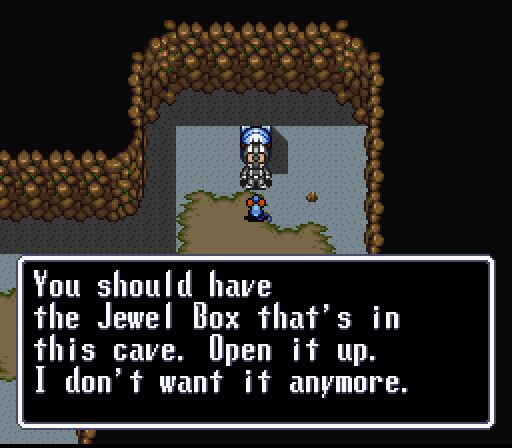
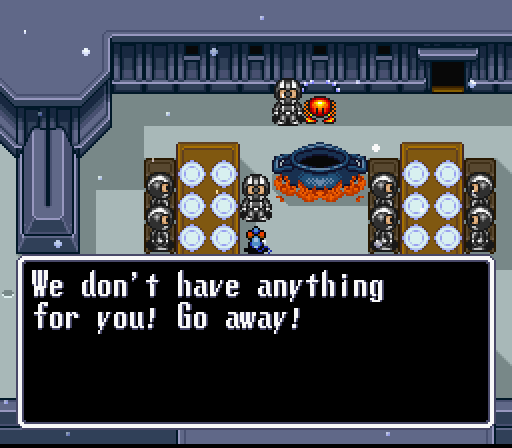
Instead, Brain needs to talk to this Hacker deserter. Apparently the baddies have built a massive laser and the destructive potential of such a thing scared this guy off. Once we have his permission to loot the capsules - or Jewel Boxes, as he calls them - our hero can get the prizes inside.
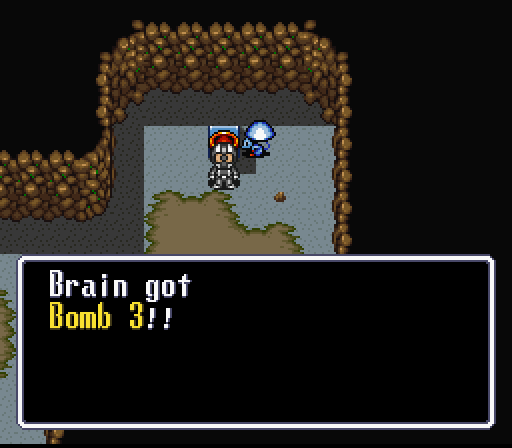
The aforementioned loot consists of a Bomb 3, Boots 3, and a Cure. Not that bad of a haul for just talking to a guy. Had we been using more than one bot, this would definitely helped kit them up. Bomb 3 - like Bomb 2 and its top tier Bomb 4 counterpart - hits all enemies. Handy, but not worth dropping the Solar Pack for. Especially with Sword 4 doing all the heavy lifting needed in regards to generic mooks.
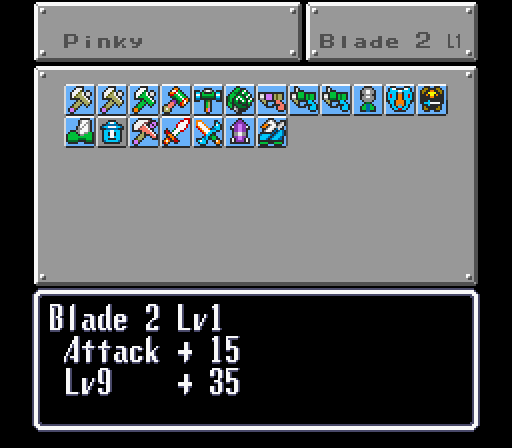
Returning to the proper path results in a chassis-changing level as another Guard marker is passed. Pinky's looking pretty posh now. This is also when I first notice that the bots don't have a different front shot to go with different Boots. Not sure how I missed that for so long. But this game is proving to me that there's always something I don't know about it.
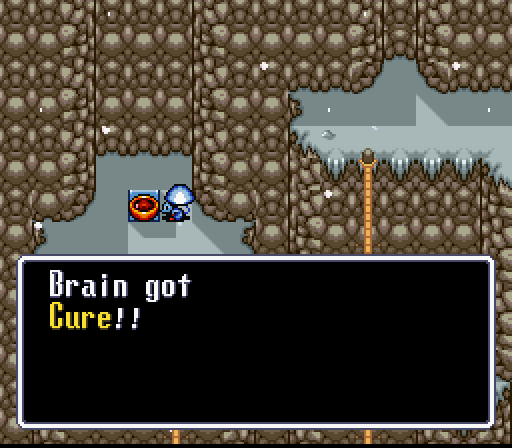
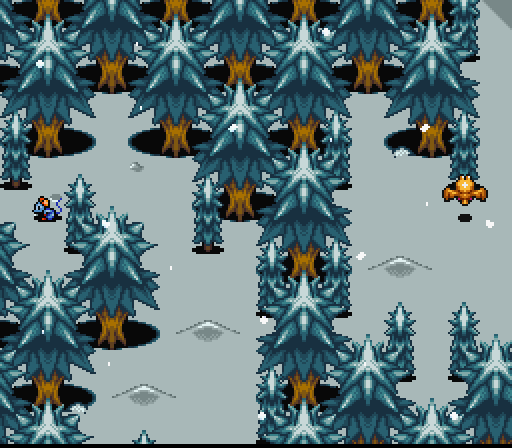
Heading north leads to a mountain climb. There's two times where a choice has to be made - one is between continuing and a dead end, the other is between continuing and nabbing this Cure. Sticking to the right ropes (literally) leads to one last rope that heads up and out of the area.
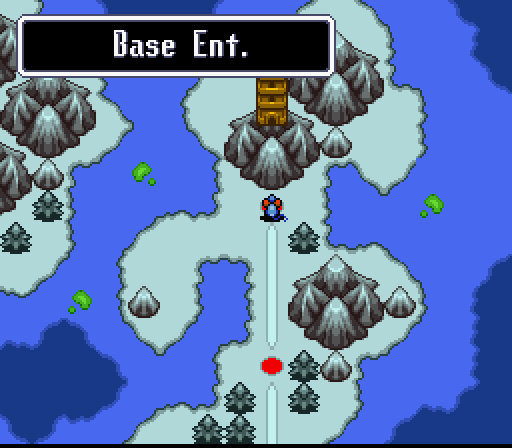
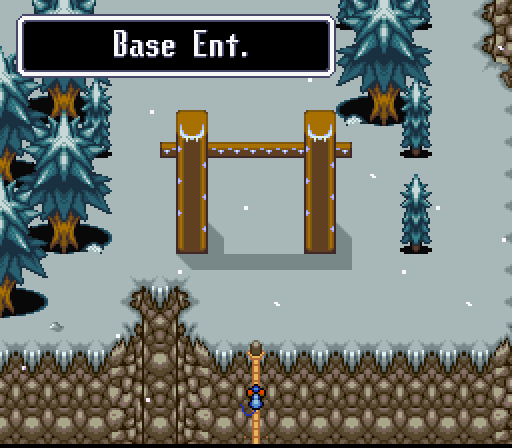
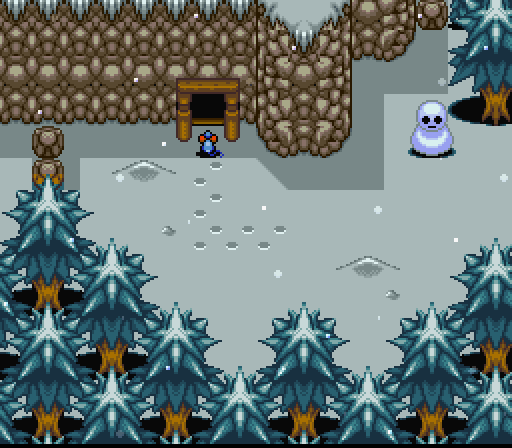
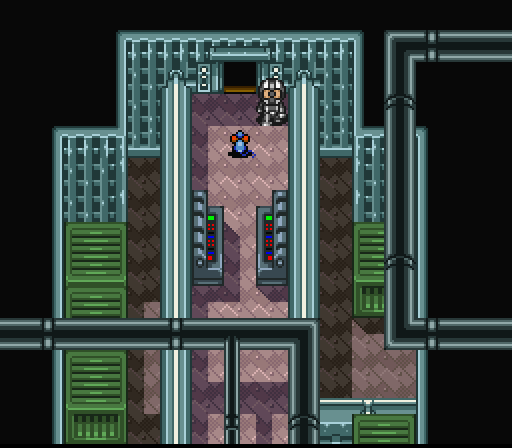
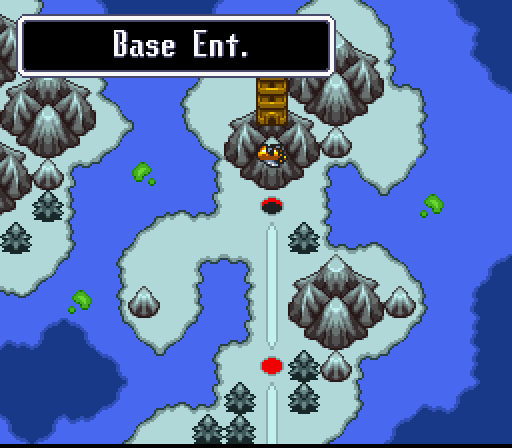
And to the entrance to the Hacker Base. The fact that our hero comes up via rope is a nice touch considering this facility is apparently supposed to be up high in the mountains. Despite being the Hacker base, though, the front gates are surprisingly under-manned.
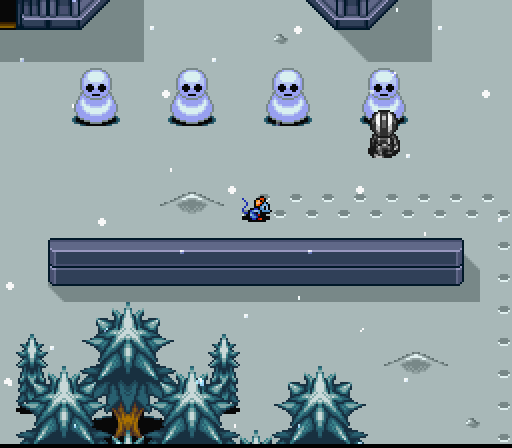
There's no one outside other than this guy, who probably rates as my favorite Hacker in the game. He's just focused on making a snowman, and I can respect that.
Heading inside results in our hero's first experience with this strange floating robot. It works like the invisible trip wires back in the Volcano Hideout, summoning enemies from the doorways if it sees Brain. It can't be attacked or destroyed, so the best course of action is try to sneak past when it's looking the other way. I suppose using a Vanish would work too, but I didn't think to try at the time. We'll be seeing more of them soon, though.
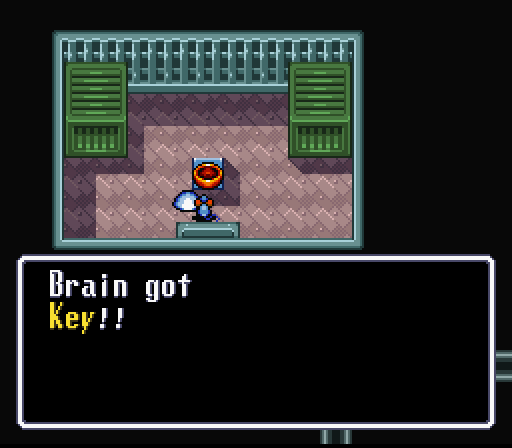
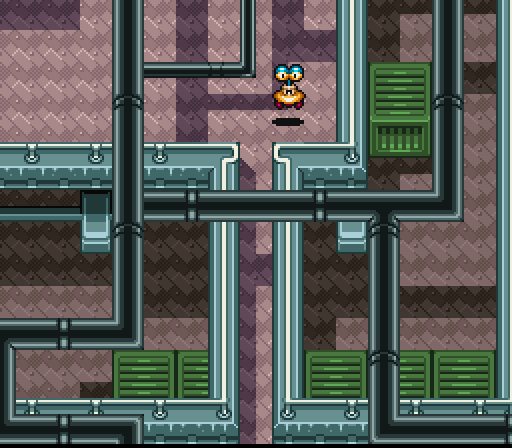
Getting past the floating security camera nets our hero the key he needs to continue on. He has to go past the alarm-bot a second time to get to the door, but doing so gets him into the base proper. It's nothing overly spectacular, though, mostly just hallways patrolled by the next level of Hacker soldier.
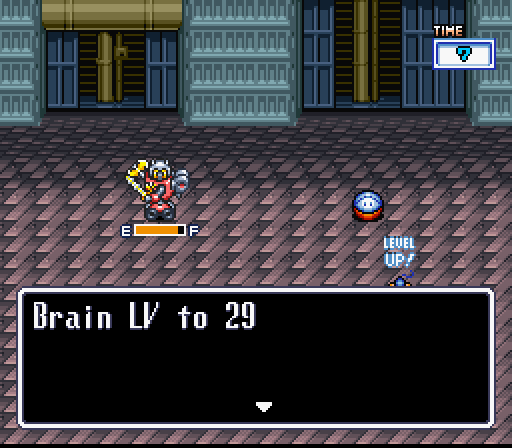

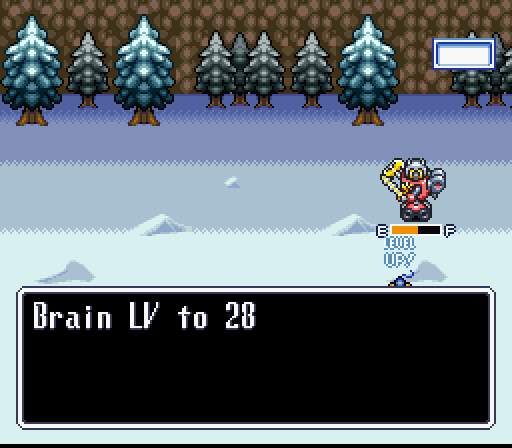
The sparse guards do give enough experience to nab Brain another level, though. While I was off on my guess of maxing Power and Guard by Level 30, having them both at 99 before 35 is still going to be pretty impressive. Especially considering the max level is 99 - something we definitely won't be hitting by the end of the game.
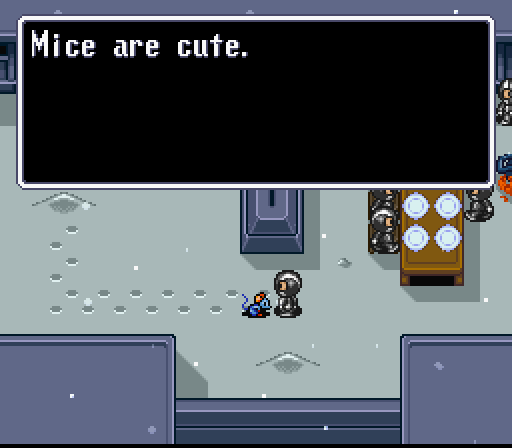
Anyway, despite the drab decor of the Base, one of the side doors leads into a bathroom - this one thankfully bereft a hidden toilet elevator. Instead, it has a Hacker that refuses to speak to our mousey hero. However, should he try and use the facilities, the soldier glances over. He ellipses the first time, but will look every time you're facing the urinal. Anywhere else and he'll just face forward.
The ramifications of such things are obvious.
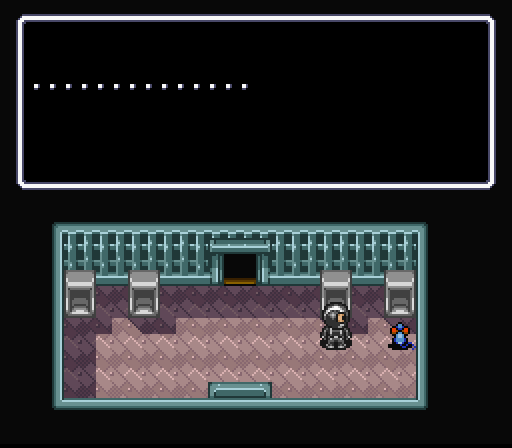
Once we're done with our little bathroom boogie, our hero continues onward and ends up back outside in the snow. This guard would stop our hero if he was human. However, since he's not, he lets us scamper on by to crash this rather unseasonal company picnic.
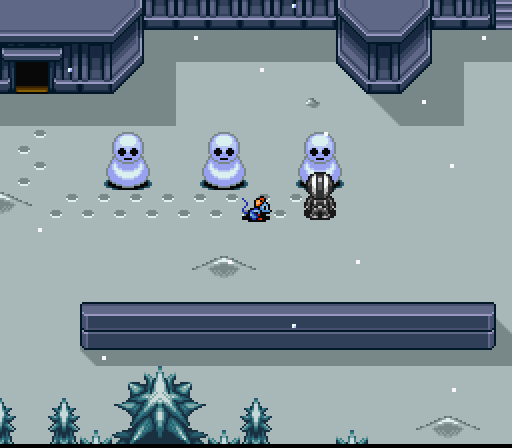
Turns out the Hackers caught Meta Crab somehow and are planning to cook the horribly unlucky little guy. As delicious as that might be, though, our hero just can't let that happen. Brain reveals himself and defeats the hungry soldiers to save his karma-challenged crustacean cohort.
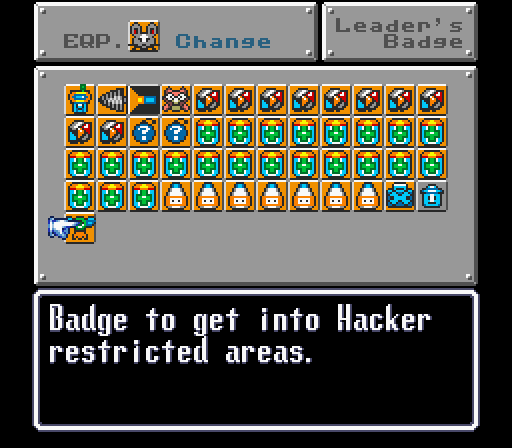
This nets him the Leader's Badge from the grateful crab, which is needed to get past the guard at the end of the next hallway. Beyond THAT is, unsurprisingly, another hallway of baddies. It's not all bad, though, for the point of the journey lies just at its end.

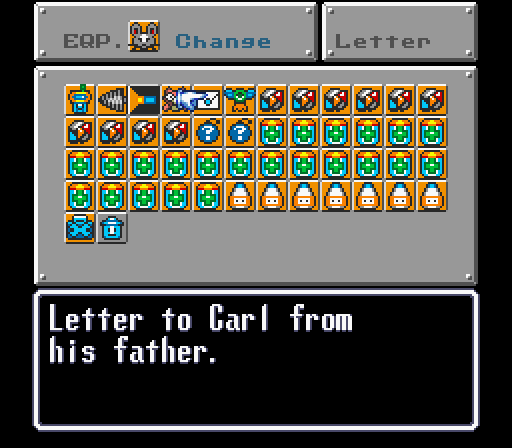
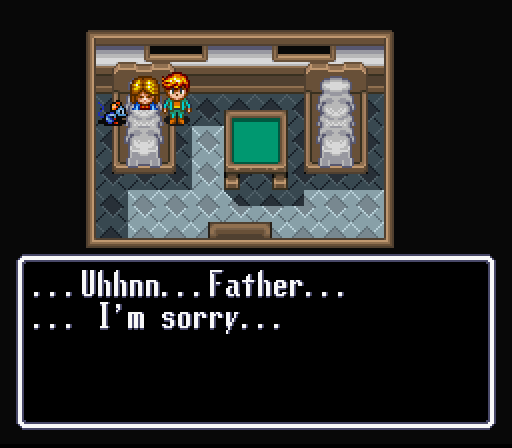
While it's not Daddy, Brain meets with Carl's father, who has been missing for a long time. Apparently he's been stuck working here since he was kidnapped, and was around when Brain's father was transferred from the Base to the Hacker's main Fortress. Unfortunately, the Fortress can only be reached from the air and the machine he's working on isn't ready yet. Since Brain's in the area, though, he has our hero deliver a letter to his son.
Outside at the gate, the Best Hacker just keeps doing what he's doing. Rock on, buddy.
Most people complain about the Volcano or the Sewers as the "worst" or "dullest" part of the game. I have to disagree - this part is probably my least favorite part of the game. Sure, there's backtracking and whatnot at the other two areas, but this little bit of necessary plot requires backtracking back through the Base and onto the boat...
Talking to Carl and getting a return letter on that tablet-thing he got back in the Cave...
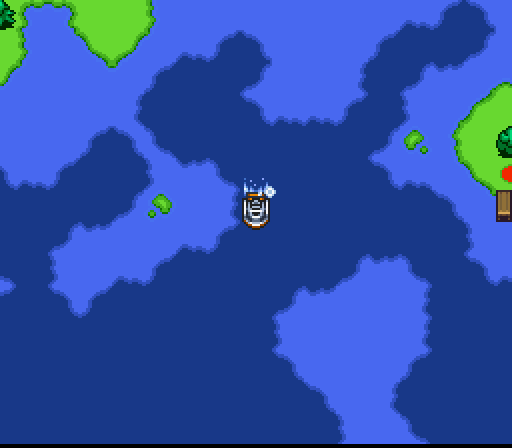
And then taking the boat BACK to the snow-covered island and trudging through the Base again to deliver it. It shows the trip both ways in its entirety, including landing at the docks on both sides.
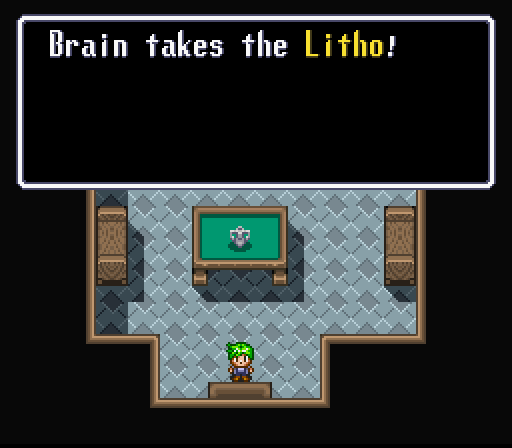
At least this guy's here to take some of the edge off.
Anyway, turns out that the Litho is actually an ancient blueprint for an engine, which means Carl's dad can conveniently complete his flying machine. He enlists Brain's brilliant brain in finishing the invention, and gives him the oddly named "Blimp" once it's finished.
Which means our hero can now travel the skies at his leisure. We could go straight to the Fortress and continue the plot, but there's a few other places Brain can hit up for some extra dialogue and loot. Some of them could've been knocked out sooner, but a couple require having the Blimp to access them. Let's do the latter ones first.
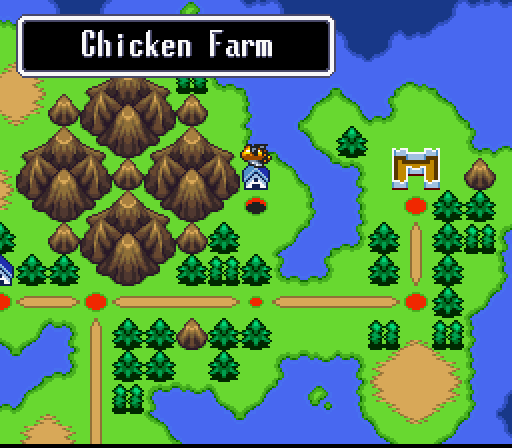
First one just happens to be a chicken farm.
The farmer is a big fan of chickens, unsurprisingly, and is upset that his favorite one has apparently gone missing.
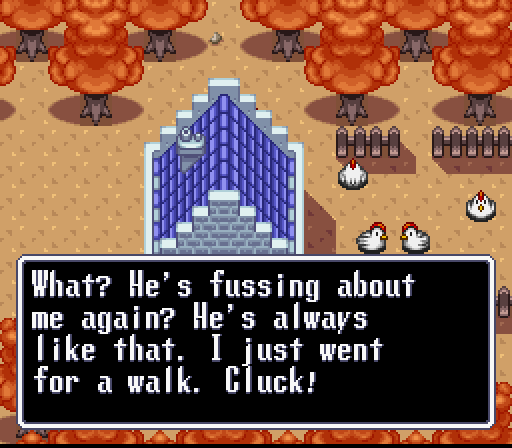
Talking to the chickens with the Relay results in one saying that the missing chicken is actually just chilling out behind the house. Talking to her and bringing her back to the farmer results in a reward - something the chicken apparently found lying around the farm. Which happens to be a sword that shoots lasers. Right, moving on.
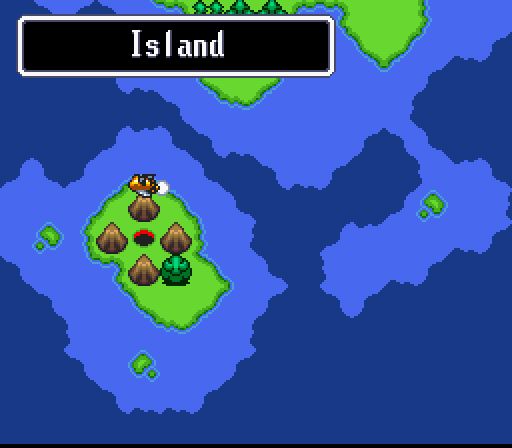
Next stop is a tiny island on the bottom left of the world map.
Here is where the two lovebirds from Rococo eloped to during the incident on the tropical island. However, the little lady has become very ill and only a certain island flower can supposedly save her. Unfortunately, it doesn't grow on this island. Or on the one with the volcano.
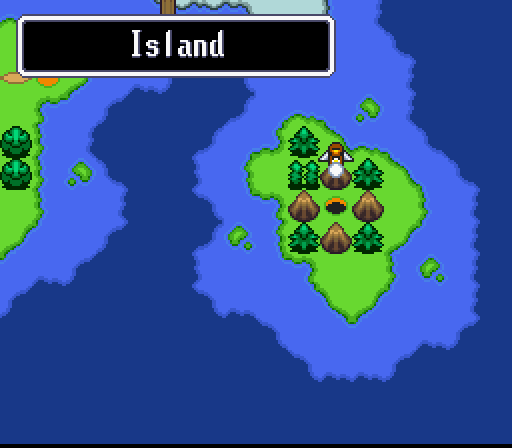
Instead, it's on this similar-looking island on the bottom right of the map.
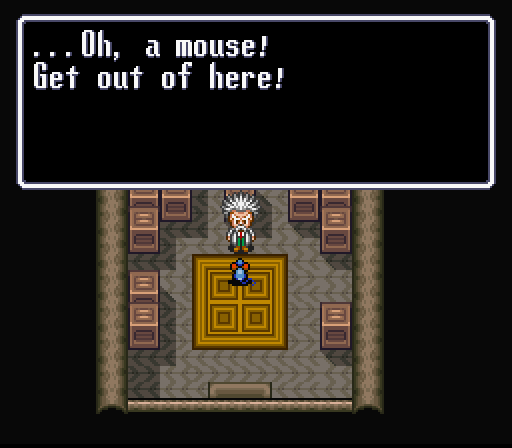
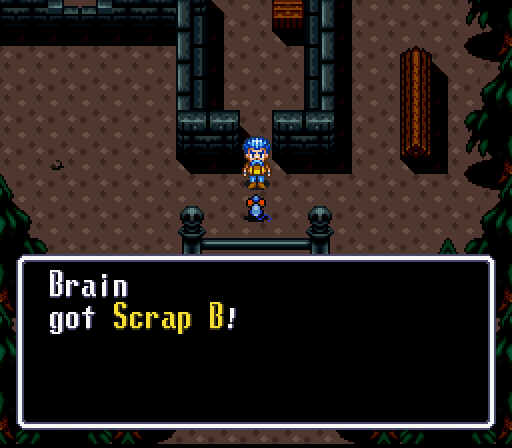
Where a certain someone crashed his boat. Talking to him gets him ranting and raving about how this is all Brain's fault. Our hero can't find out where the flower is with the jerk going on and on about how his life is ruined now, so he forks over a Scrap 7 so the baby can fix his boat.
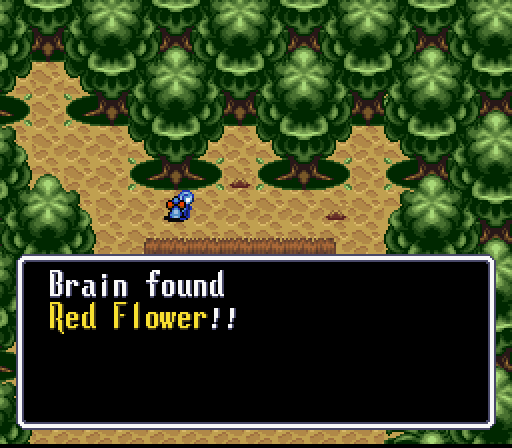
Doing so gets him the location of the flower, which he brings back to the couple for their eternal gratitude and 3000G. Since we're doing some island-hopping, let's head back to the Village and see how all the tribesmen are doing.
Turns out to be not very well at all. The island is suffering from an insatiable heat wave and drought. Our hero can fix that, though, with an item he learned to make recently - the Weather. It was used to make the Solar Pack in the Sewers, but also can be equipped and used to either summon (or chases away) rainstorms.
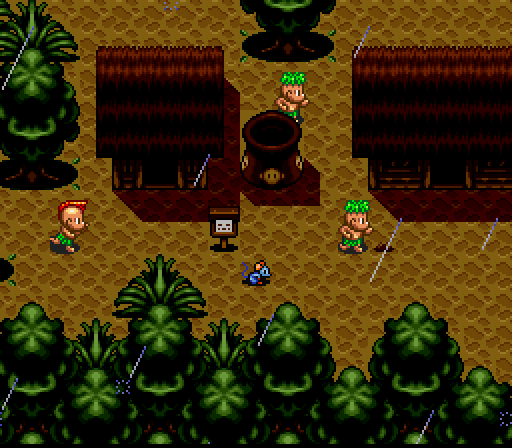
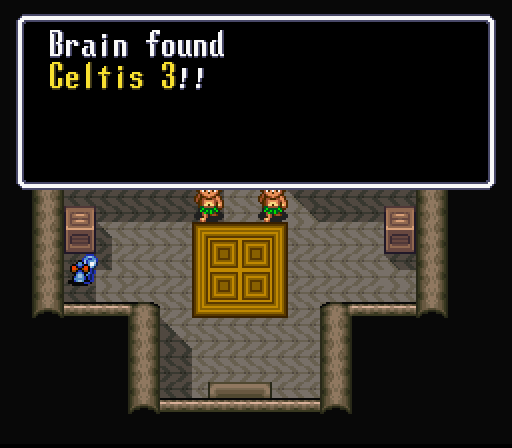
Doing so ends the dry spell, and all the villagers dance with joy. The Chief is also overjoyed that the messenger of the Deity has saved the day again, and directs Brain to check the two boxes in his hut. Doing so nets our hero a Celtis 3 - the highest tier of Celtis - and a Laser 1. Neat.
There's another hidden prize for doing this as well - the shop closed down due to the intense heat, but has reopened again with the rain. Checking the inventory reveals two new items for sale - Scraps 5 and 6. There's only one Scrap I'm looking for right now - and won't actually be getting for a bit - but the option is nice to have.
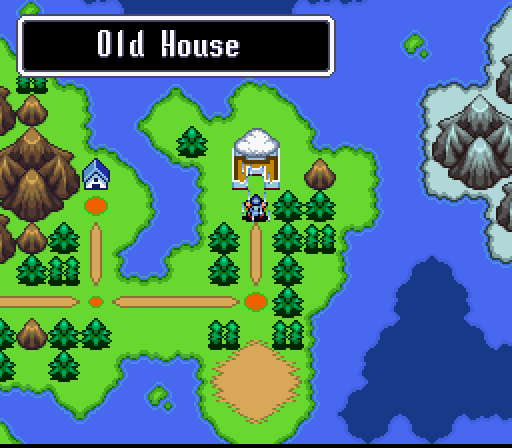
The last location to hit is another spot our hero's been to before, the Old House. After defeating Marumana, the mansion vanishes and is replaced with an unfinished foundation. There's a guy wandering around here, and we're about to rain on his parade. Literally.
Once the Weather is used, all our hero has to do is leave and come back to give enough time for some rain to fall. Doing so, however, allows the guy there to stumble across a strange item revealed by the storm. A short chat with him and he gives it to our hero: another mysterious lettered Scrap. How intriguing.
Oh, and we get our Horn back from those meddling kids.
And with that, we've basically covered all the sidequests that can be completed right now. All that's left is finishing any preparations that might be needed before assaulting the Hacker's fortress in search of Pops. It's time to bring him home.
Next Time: Plugging in Your Mouse