Part 33: Mini-Update: Baddy Breakdown 5
I remember when it was a series of tubes.With the defeat of Blackmore and the destruction of the Fortress via laser, it's time for another rundown on the enemies Pinky has cut his way through to get to that point. We've gone through through three new areas, all toting their own new enemies. So, there's a decent chunk of baddies to go through.
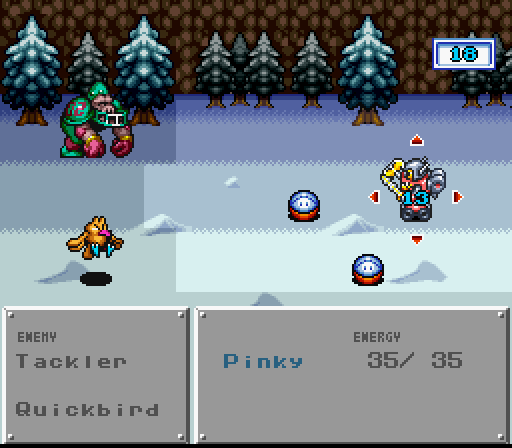
Tackler
HP: 65
Megs: 1.6
Run Resist: Major
Drops: 250G, 300G, 320G, 1000G
Gorilla quarterbacks. The first enemies you come across on Snow Mt. are football-playing apes. And, as can be expected from this bizarre combination, these suckers hit HARD. They throw footballs at range and do a knockback-causing tackle up close. Both of which are highly damaging and will tear through your bots quick. Even though they have major Run Resistance, a triple-hit Run with a properly leveled Sword 4 will still one-shot them. Otherwise, just try and kill them before they eat through too much of your robot's energy.
Quickbird
HP: 30
Megs: 1.0
Run Resist: None
Drops: Cure, Shield 2, Shield 3
I'd say that these guys should've shown up back at the Volcano, but apparently they can pop up there - just as extras in battle like the Hacker medic. However, the pattern for them is just like all the recolors back then: same attack styles, with their egg attack able to inflict Stop now. While they're tougher than the original Rushbird, your bots should be even tougher. Wipe the floor with them. It should be noted that they seem the most likely to drop capsules - usually with Shield 2s in them - so I suppose they'd make good farm targets if you're low on cash for whatever reason.
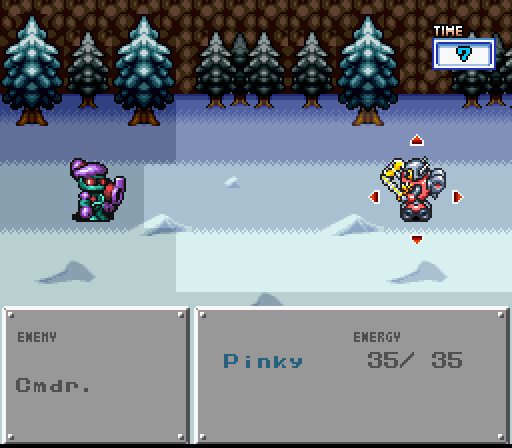
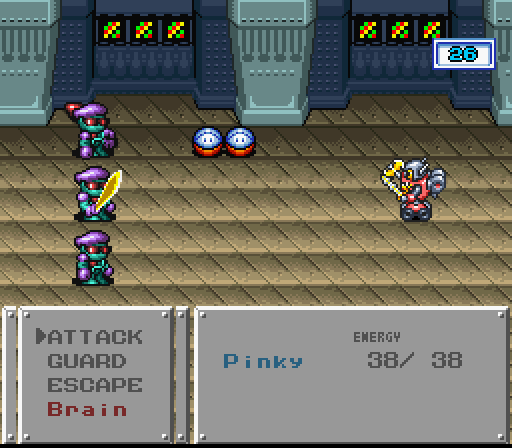
Cmdr. Berets
Blade
HP: 50
Megs: 0.9
Run Resist: None
Drops: 200G, 1000G, Cure, Blade 1, Blade 2
Kung Fu
HP: 30
Megs: 0.7
Run Resist: None
Drops: 140G, Blow 2
Launcher
HP: 45
Megs: 1.0
Run Resist: None
Drops: 180G, 500G, 1000G, 7500G, Clean, Repair, Shot 3
Bazooka
HP: 44
Megs: 1.0
Run Resist: None
Drops: 160G, 640G, 1000G, 7500G, Cure, Shot 2, Shot 3, Bomb 3
We're cycling through Hacker types pretty quickly, aren't we? Shortly after meeting the two scuba Hackers in the sewers, they've been replaced with the final tier of Hacker baddies. Each of them are like a previous Golden Hacker predecessor, though some of them are more obvious than others. The Kung Fu one, for example, is a close range knockback opponent like the Helmet, and the Bazooka's like the Rifle Cmdr. All of them maintain the ability to summon more, while Launcher and Bazooka are the two "retreating" types. However, they're still generic Hacker mooks, and thus not much of a threat.
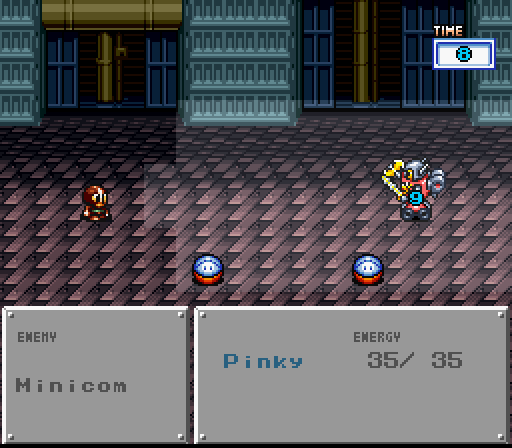
Minicom
HP: 8
Megs: 0.6
Run Resist: None
Drops: 300G, 360G, 1000G, 7500G, Smoke, Empty Pack
And just after saying that, we get greeted with the return of the Minicom. A STRONGER version. It still shares the same amount of hit points as it did before, but it hits harder and has an even higher evasion rate. If there was an enemy I would think didn't need to show up again, it's this guy. Deal with him at range and do not close to engage him. I recommend a little Sword 4 electroshock therapy.
Pumpy
HP: 60
Megs: 1.5
Run Resist: Minor
Drops: Cure, Clean, Repair, Scrap 1, Scrap 2, Scrap 3, Scrap 6, Scrap 7
An odd looking enemy, but don't take them lightly. It swings its bat for some damage and a knockback, and can fire lasers out of its eyes that pierce obstacles. It also has a high melee resistance, taking only 50ish damage from a maxed out Axe 3 swing. Best course of action is to - shockingly - attack with Sword 4 or a Run command that uses Sword 4.
Faceman
HP: 120
Megs: 2.0
Run Resist: None
Drops: 500G, 1000G, Cure, Sword 2, Sword 3, Axe 2
As mentioned, this is the Franken analogue for this part of the game. Slow moving, hard hitting, and something you don't want getting in close range. Its sword hits for frightening amounts of damage, and it can blow your robot a kiss that can Confuse it. Take it out with Run commands to ensure it dies quick, preferably one that involves not getting close.
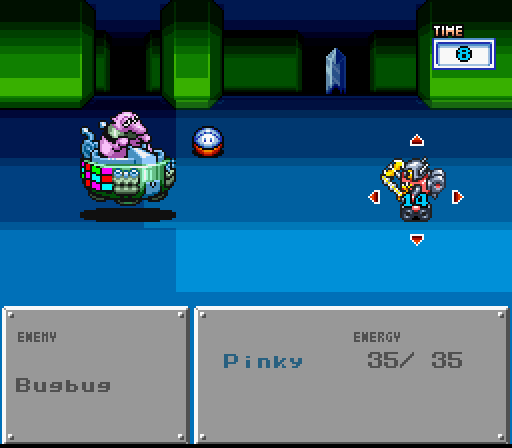
Bugbug
HP: 700
Megs: 40.0
Run Resist: None
Drops: None
The first of two bosses in the Fortress, though Bugbug is more of a mini-boss more than anything else. His shockwave and cannon attacks can do some decent damage, with the latter also capable of inflicting your bot with Stop, and he tends to flee after attacking. However, his absolute lack of Run resistance coupled with a good Shield and high stats will mean he drops in short order. Just make sure that you face him with a bot that has high mobility, otherwise you'll spend a lot of time chasing him around.
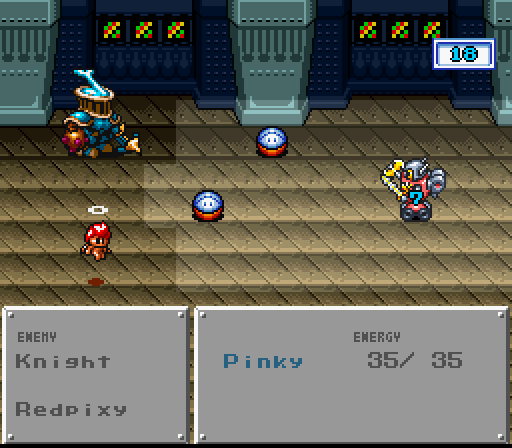
Knight
HP: 80
Megs: 1.8
Run Resist: Major
Drops: 800G, 1000G, Repair, Scrap 6, Scrap 7
As mentioned, these guys are toughies - good defenses all around and they possess a chance to straight up block an attack entirely. They can also emulate Papamecha by jumping in the air and landing on your bot to knock them back, and mace them if they're close. If that weren't enough, they have a second ranged attack in a crossbow shot that can disable Run commands. The best course of action, counter-intuitively, is to get in close and use a melee Run command. The Knight might block one of the swings, but the other two should land and kill it.
Redpixie
HP: 20
Megs: 2.0
Run Resist: Extreme
Drops: 200G, Bomb 4
For right now, this annoying little fairy only shows up as an assist, like the Medic Hacker. However, they are not welcome company either here or when you can start seeing them on their own. They have a magical horn that can either Confuse your bot or call down pillars of fire from the sky that attack all rows. To make things worse, they take single digit damage from Run commands, so the best course of action is to get in and melee them. Prioritize them if possible to avoid them sticking a Confuse and freeing your bot to do Run commands without risk of multiple free attacks on the pixie's end.

Beret
HP: 10
Megs: 2.6
Run Resist: Extreme
Drops: 1000G, Shot 3
The first of the two new super invisible soldiers, this Beret is just as dangerous as its same-name kin. It uses its tiny crane-like vehicle to shove your robot back or smash the ground to cause tremors. Both of these do massive damage to your bot, with the second attack doing 50 damage straight up on Pinky at 99 Guard. As with its kin, go in with a shield or avoid them straight up if there's more than one.

Masker
HP: 10
Megs: 2.8
Run Resist: Extreme
Drops: Smoke, Bomb 3
The second of the new super invisible soldiers, it uses wacky antics just like its predecessor to damage your robot. In this case, its universal remote can summon down sumo wrestlers and giant feet from the sky to severely damage your bot, if not outright killing it. If that wasn't enough, the foot has a chance to inflict the Rust effect as well. Treat it like any other of the cloaked enemies - shield or run.
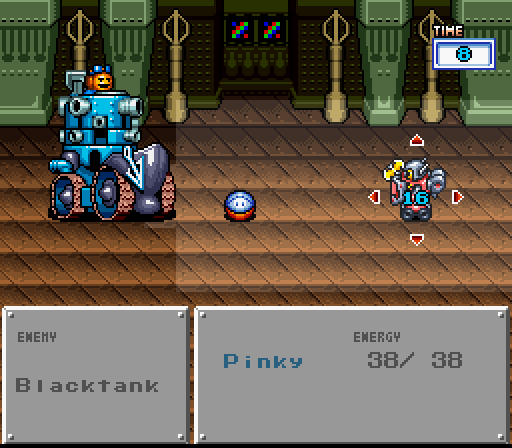
Blacktank
HP: 1300
Megs: 90.0
Run Resist: None
Drops: 1000G, 2500G
The real boss of the Fortress, and he's packing four digit's worth of HP and a bevvy of attacks. He can fire down all three rows, launch missiles on each row, and summon mini-bots to swarm each row. If that wasn't enough, he also has a knockback charge for dealing with robots that get in his face. He hits very hard and has a lot of health to chew through, It actually took two tries for Pinky to take him down. If you're not wearing Shields for boss fights by this point, you should be. Other than that, it's the same tactic as with all the bosses that have little to no Run resist - backstab the hell out of him.
The next area doesn't have that many new enemies. So, instead of providing an enemy primer, there'll be an update all on Scraps and what you can do with them.