Part 2: Bandits of Gareh
Update 2: The Bandits of Gareh(Or, "Baby Steps")
It has been a month since Serdic's flight from Egvard into Darsin's care at the Shalem Federated Emirates. Darsin, his son Ansom, and the Na tribe welcomed Serdic and his men warmly. The camp from Bretwalde passed the time peacefully, never seeking retribution.
Meanwhile, rumors of bandits in the Gareh Mountains began to reach Serdic. Known as the Wise Bandits, they have begun to attack travellers and raid the villages of Shalem.
 Oh, it's Ansom, Emir Darsin's son.
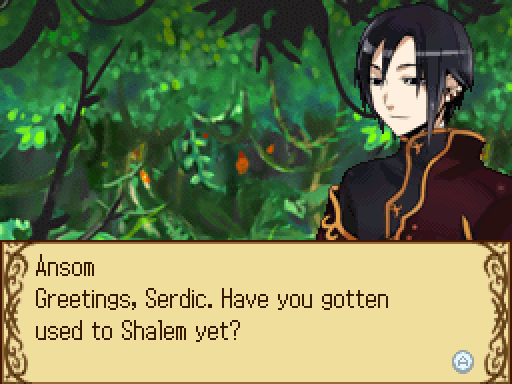
 Ah, Emir Ansom. Shalem is a fine land... I could happily live out the rest of my days here.
 Emir Ansom sounds so distant! Don't you remember when we played in the fields as children?
As a body double, 'Serdic' has likely spent the last few years living in secrecy. He was obviously trained to fight (very well, if he's keeping up with the Knights entrusted with the Prince) and likely briefed on basic knowledge of the kingdom's political affairs, which would be supplemented with more knowledge on a case-by-case just before a job. As someone with amnesia, he hasn't had much other life experience. Now he's been flung out into the wild for a role he was never prepared for, forced to fake his identity among people who share history with Serdic he's ignorant of, one of which is Serdic's sister. The moment he fails and the ruse is discovered, he loses all authority among his men and allies and all power to fulfill Serdic's last wishes. And since the Spanta is the royal emblem of Bretwalde, he'll also lose his bitchin' holy sword in the bargain. He might even be killed, because Margus and Kay already suspect that there's a traitor and he's a very good suspect.
And if he succeeds, he has to rule a kingdom. He has no training, no idea what his duties are, and no exit plan.
Poor ???. His life really, really sucks right about now, doesn't it?
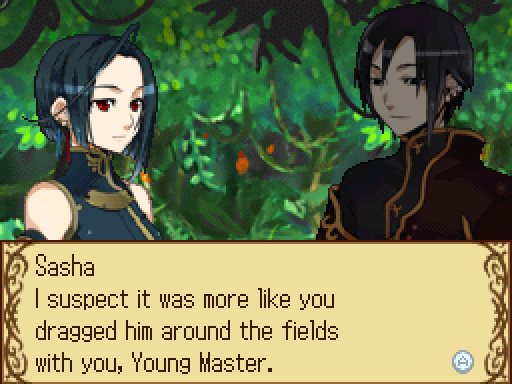
Meet Sasha. She's a servant of Ansom and his bodyguard, not that you'd know it from the way she talks to him. They're very relaxed in Shalem, aren't they?
Now, now, Sasha... I'm sure you've forgotten by now, Serdic. Distant memories are best refreshed with new, equally pleasant ones. ...Now who's saying too much, Young Master? A-Anyway, to what do I owe the pleasure of your company?
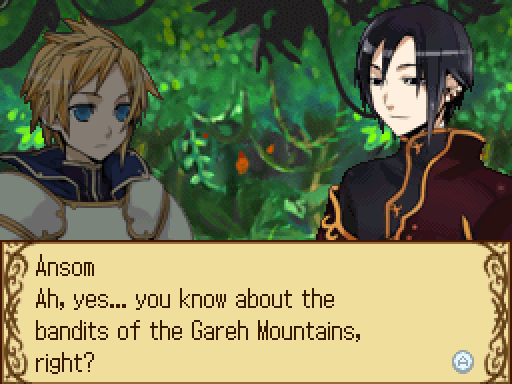 Yes. I'm given to understand that they've begun attacking travelers and nearby villagers. Thankfully, there haven't been any major incidents, but... We can't just leave them be. ...Then, would you mind allowing us to deal with the situation? Is that all right with you? Think nothing of it. Consider it payment in kind for the Emir's hospitality.
??? is well-versed enough in politics to sense a request-that-isn't-a-request, at least.
Fade to black, end of scene.
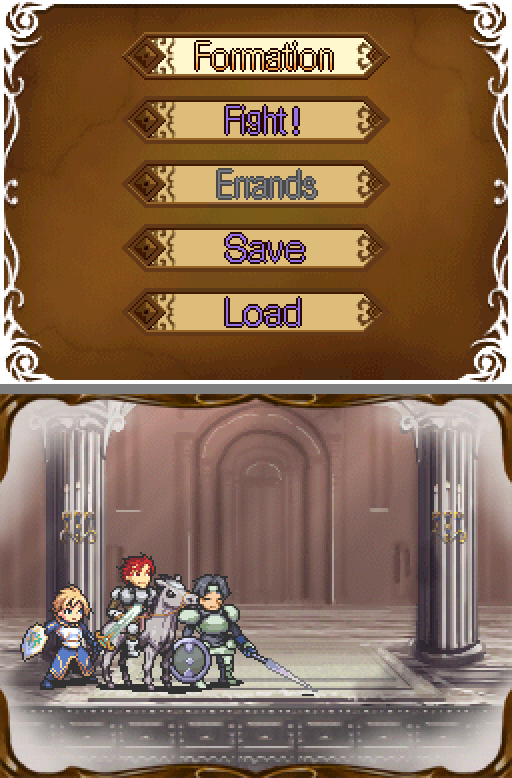
This is the preparations screen. Fight!, Save, and Load are all what you'd expect. Errands allows you to send units out to shop, train, and complete quests, but it's currently locked.
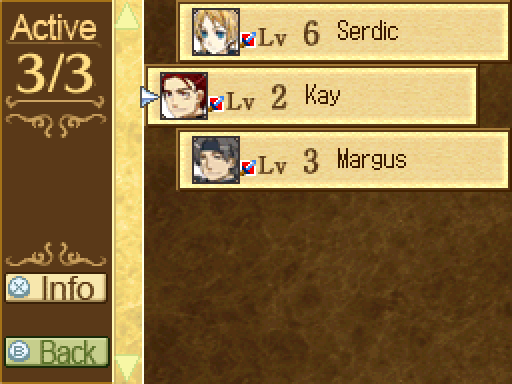
Selecting Formation allows you to select and deselect units. Right now, we can take all three of our units into this battle.
Unfortunately, "go into further menus" is X and "select/deselect" is A. This is going to cause me no end of aggravation until I retrain my muscle memory.
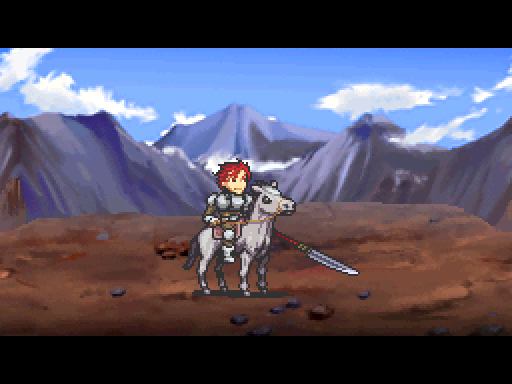
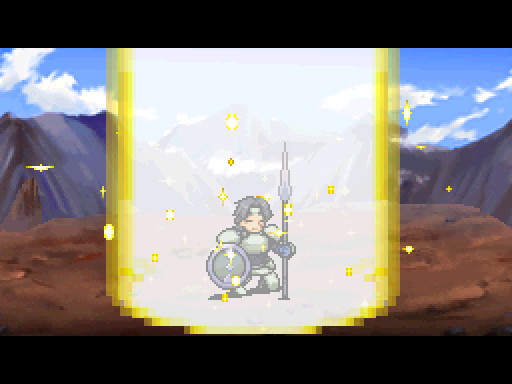
If you deselect and reselect a unit, they say a quote and run in from the left, using their movement battle animation. Serdic is required, so no quote.
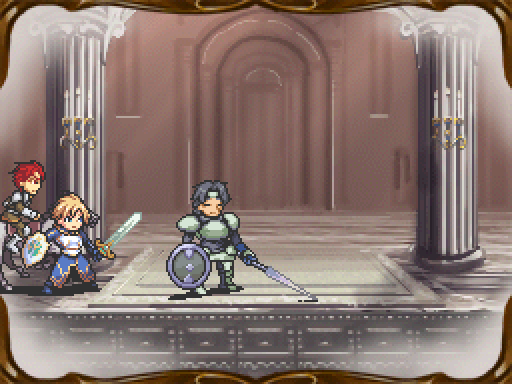
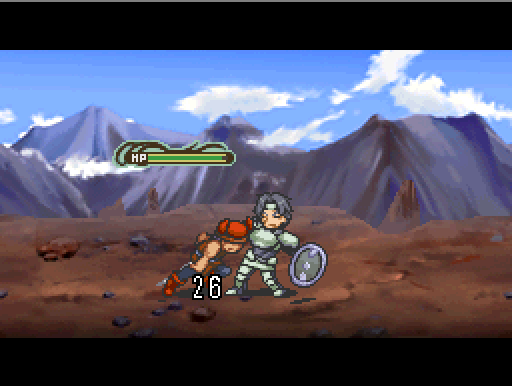
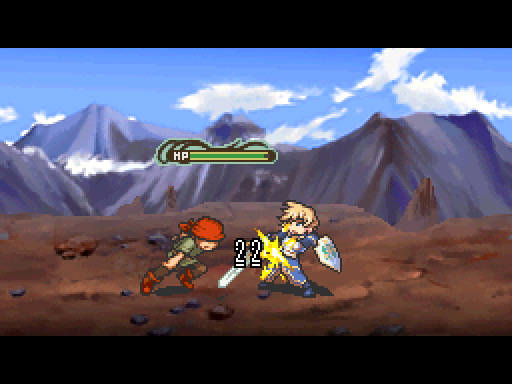
 You face a Knight of Bretwalde! Easy does it.
(And at this point in the writing, I realize I've gone through the first two updates with my screens flipped. Somehow. Um, oops? Pardon our technical difficulties; it'll be fixed next update onward.)
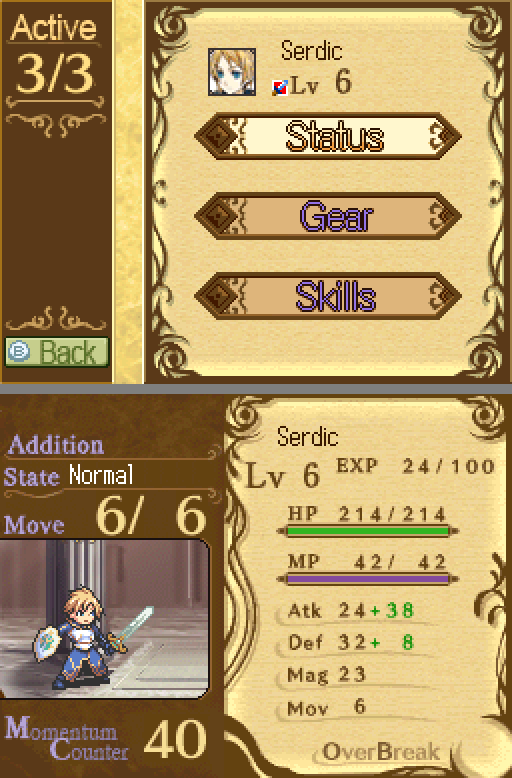
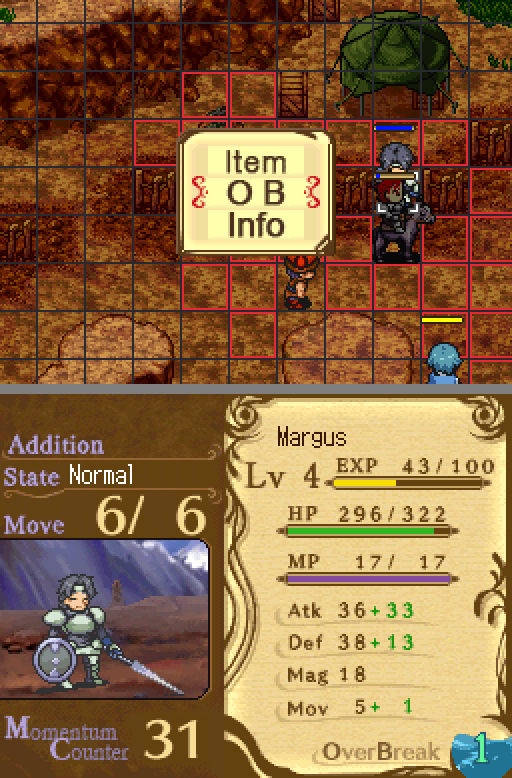
After selecting "info," we get this screen. Status brings you to the same set of screens as it does in-battle, Gear lets you change accessories and equipped consumables, and Skills sets you level and equip skills.
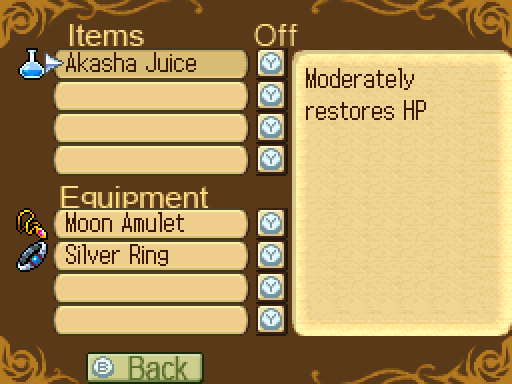
You have four item slots and four accessory slots per character. There aren't any fixed-slot accessories or items.
By "moderate HP," they mean "60%." Consumable items are ranked in 20% increments, with HP going Raka's Juice -> Pulpy Juice -> Akasha Juice -> Alchemiracle -> Amrita. MP healing items work the same way -- Moon Weed -> Moon Dew -> Peach Nectar -> Hamao Water -> Soma Droplet. Since items can only be used before your turn and end your turn immediately, they don't see much use.
Amulets are +defense items; the Moon Amulet gives +7. The Silver Ring increases MC by 3 points. Generally speaking, you'll be buying as many amulets as possible and cramming them into every available slot. Tanks! Rogues! Healers! Mages! Archers! It's all amulets for everyone all the time! You could get other accessories, but the vast majority of them suck and amulets help you not die.
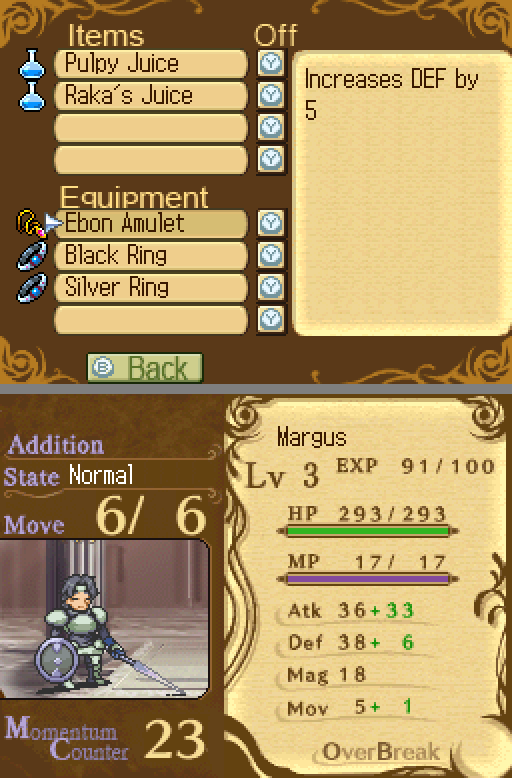
Margus gets the Black Ring, along with Serdic's Silver Ring. Enemies are already attracted to Serdic's succulent imitation princeflesh, thanks to his high base MC; slathering him with enemy-attracting honey is overkill. By default, Margus comes with a +5 Defense Ebon Amulet, a Raka's Juice, and a Pulpy Juice.
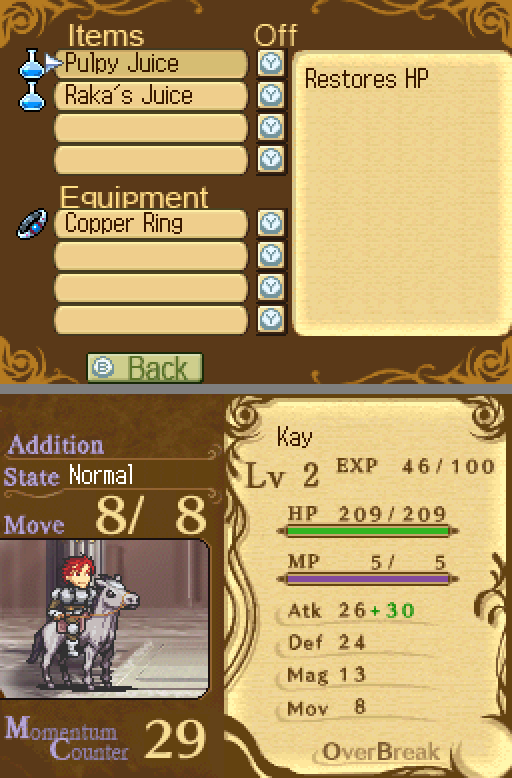
Kay, meanwhile, has the same two consumables and a Copper Ring, because Kay is young and stupid and has not learned the value of amulets. Copper Rings are part of a line of red-colored +attack rings, going +2/+4/+6. You might notice we have a +7 Defense Amulet right now. The strongest amulet is +25 Defense, but you'll have an entire army's worth of +12-+17 amulets by endgame.
The Prosecution rests, Your Honor.
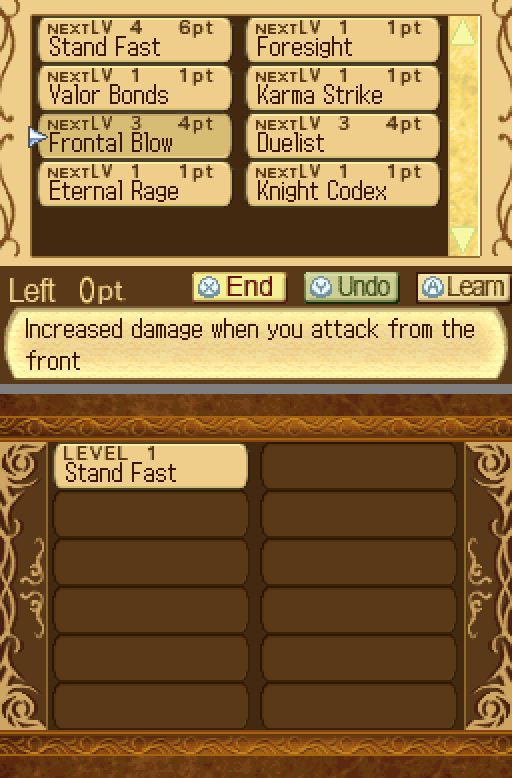
Selecting Skills brings you to two submenus, which allow you to learn and to equip skills. You get a certain number of skill points every time you level, the amount increasing as you level, while characters learn additional skills as they level. As the highest level character, Serdic has the most skills and skill points, so we can buy a pretty sum right now.
Learning skills costs 1/2/4/6/8 points, and as you'll see at the bottom, you can have a maximum of 12 skills equipped at one time. Most characters have about 30 skills to learn, with learnable skills split roughly equally across their class promotions. (It still isn't time to talk about how or when you promote.) All non-spell skills scale linearly. As a result, it's much more efficient to spread your points out among your available skills, buying a broad base of weaker skills -- after all, going from level 3 to level 4 only costs one point less than going to level 3 in another skill.
Serdic's skill list is roughly split. He learns to be equal parts damage and tank, with each of his promotions jiggering the balance a little -- the more naturally offensive promotion gets more tanking, the more naturally defensive promotion gets more offense.
The exact numbers are provided for the curious.
Ultimately, I decide to buy these skills:
Stand Fast (Level 3): Increases base defense (before Amulets) by +6%/12%/18%/24%/30%
Frontal Blow (Level 2): Increases damage when you attack from the front by +6%/12%/18%/24%/30%
Duelist (Level 2): Increases damage when attacking one (and only one) enemy unit by 10%/20%/30%/40%/50%
(And no, Rondo of Swords doesn't tell you the percentages. Frontal Blow says "increased damage when," while Duelist says "deals more damage when." Figuring out that Duelist provides bigger numbers requires either 1) testing, 2) genre savvy or 3) a guide. There's an excellent one on GameFAQs, which I'm using for all my numbers here.)
The other available skills, for reference, are:
Foresight: Increases evasion chance (exact numbers unknown)
Valor Bonds: Increases Support (run through an ally) skill effects received by 10%/20%/30%/40%/50% (multiplicative, not additive -- 10% is turned into 15% by VB5)
Note: There's a dummied out skill, War Cry, that does the same in the other direction -- it improves the Support bonuses that others receive from you. They stack additively! 100% more effect! ...still not very impressive.
Karma Strike: Increases counter attack damage (again, exact numbers unknown)
Eternal Rage: Restores HP and MP after leveling by 20%/40%/60%/80%/100%
Knight Codex: Increases MC gauge by +5/10/15/20/25 (active ability; requires a turn to use; the action of using an active ability gives you +3 MC, so add 3 to these numbers)
Margus is a good example of the "spread your points out" philosophy. He has four skills right now, and he has just enough points to put a few in all of them.
As the tank, Margus receives no skills to improve his attack or damage. His attack base and growth are good but the lack of skills means he'll eventually lag behind quite a bit. In return, he learns just about every defensive skill that isn't dummied out. Margus never dies!
Margus's level is very important right now. Margus needs to be level 9 by the start of stage 6 -- failing to do so is going to make that one a great deal more aggravating. I'll be working on it.
Stand Fast (Level 2): Increases base defense by +6%/12%/18%/24%/30%
Rook (Level 2): Increases base defense by 5%/10%/15%/20%/25%, lowers counter attack rate by (unknown)
Note: Yes, it's strictly worse than Stand Fast, having both lower numbers and a penalty. They stack, so who cares?
Invoke Life (Level 1): Increases max HP by 8%/16%/24%/32%/40%.
Rally (Level 1): Support skill; increases ally critical rate by 2%/4%/6%/8%/10%.
(He comes with the point in Rally, and he doesn't have twelve skills yet; it's useless, but it's not actively offensive to me, so I keep it. For the curious, critical hits do about 1.25x damage and ignore defense.)
Kay, being the lowest level, only has two skills available. He came with both skills at level 1. I go ahead and raise Will of War to level 2, saving the rest of his points.
As you might expect, most of Kay's skills focus on improving his damage output. He will eventually, however, get a surprising number of defensive skills. His defense growth is initially only a little worse than Margus, and it catches up the moment they promote, so his survivability remains solid.
Invoke Might (Level 1): Increases base attack (before weapon/accessories) by 5%/10%/15%/20%/25%
Will of War (Level 2): Support skill; heals allies by 5%/10%/15%/20%/25%
I'll summarize skill names and numbers in future; you won't get big number lists like this every time our party levels and there's suddenly six new skills. I just wanted to give you an idea of the usual scale of the numbers involved.
Unless you all like the numbers and say so, I guess? Lord knows that anyone into SRPGs has a certain amount of number fetishism. I'm not here to judge.
Right! With that done, it's time for the map.

This map is meant to be your first "real" map. Last time, the focus was on running away. Now you're supposed to fight.
It's a complete pushover. Even Kay can nearly kill the enemies in one hit when attacking from the side, and it's nearly impossible for Serdic or Margus to die with any degree of intelligent play. (Kay might if you're dumb about his OB. It hurts him, remember.) We're still a few levels from a real challenge.
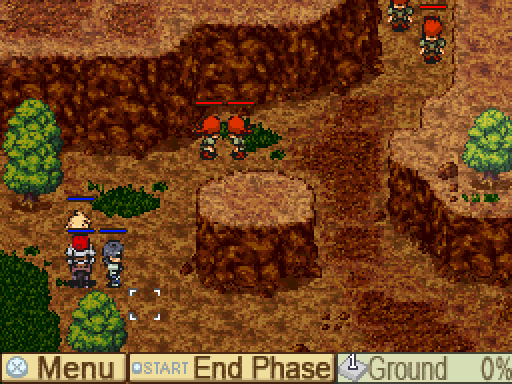
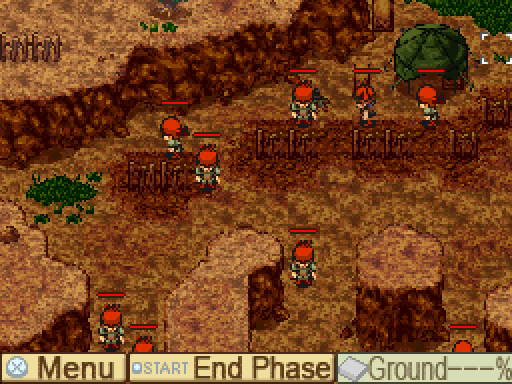
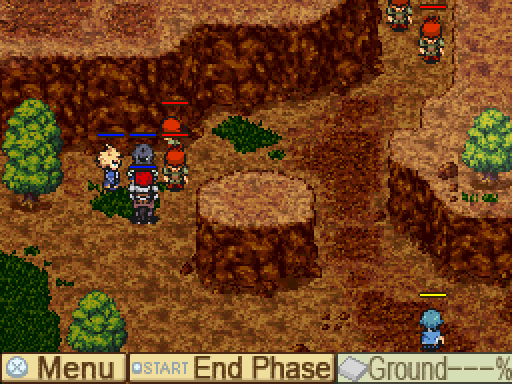
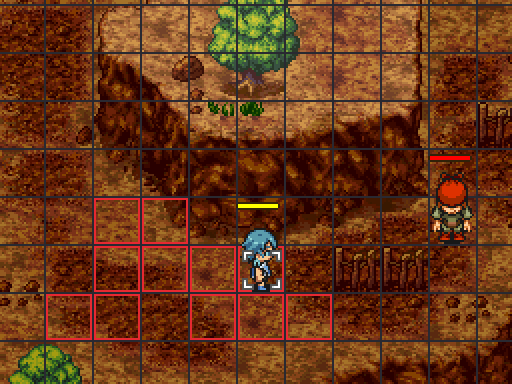
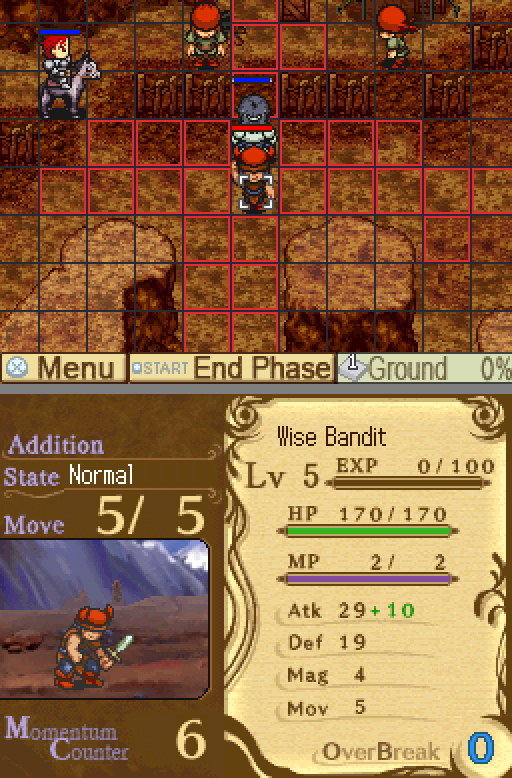
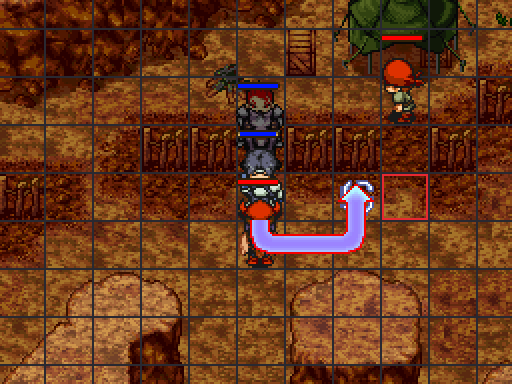
We start in the bottom left. To our right is a few bandits and a whole lot of nothing. There is even more nothing at the top left! The enemies are largely clustered up in the top right, standing around in a bunch of wasteland. That's the dark brown tiling. This map serves as your introduction to terrain.
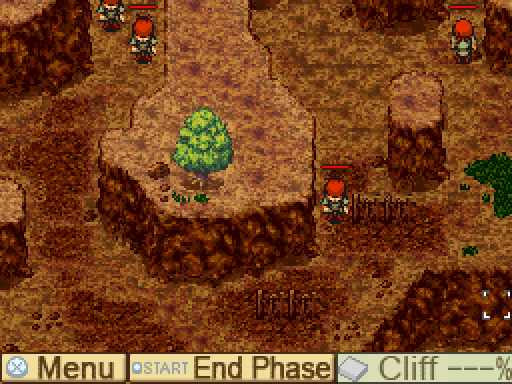
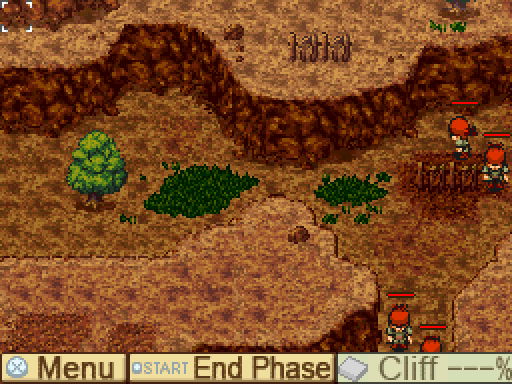
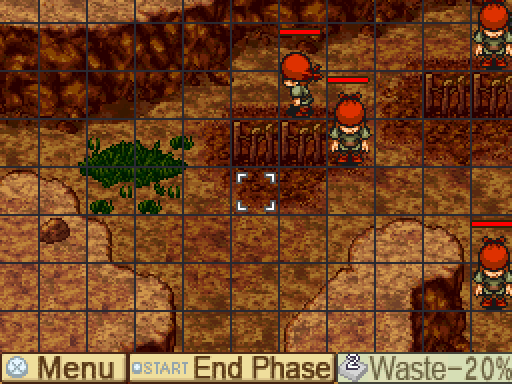
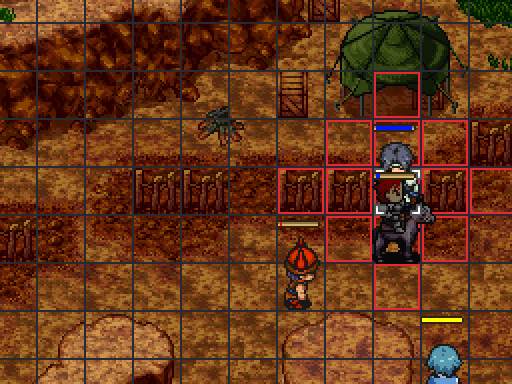
Take a moment to look at the bottom right of the following two screenshots.
(Pay no attention to the placement discrepency in this screenshot; it isn't important.)
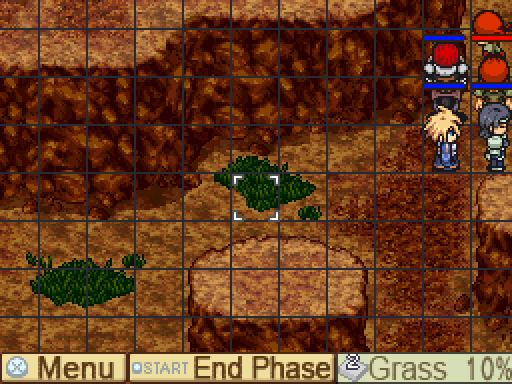
See the "2" on the tile picture? "Waste" tiles cost 2 movement to enter and provide a 20% defensive penalty. "Grass" costs 2 to enter and provides a 10% defensive bonus. Unlike most strategy games, mounted units do not face increased movement penalties from obstructing terrain. As I recall, there is exactly one flying unit in the entire game, and she's a mage. It's not really a big thing.
Terrain can be very useful, much more than Fire Emblem or Advance Wars or the like. This stage is good at showing you that.
By the way, since I forgot to show it off last time, the Menu option button:
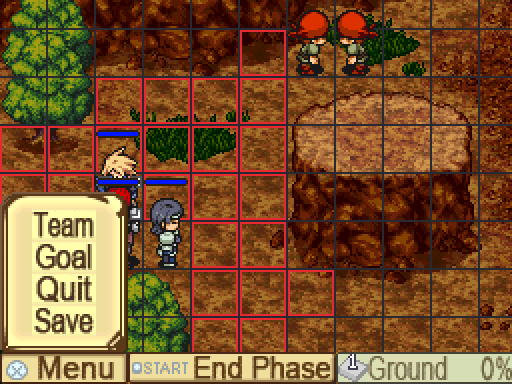
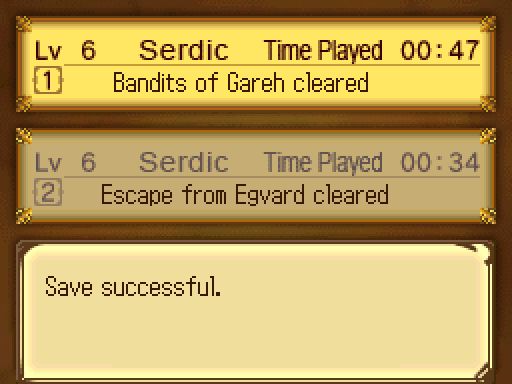
"Save" is the standard DS suspend save; you're returned to title, you pick "continue" instead of "load," the suspend save is deleted. "Goal" shows you the objective screen again. "Team" is a little more interesting.
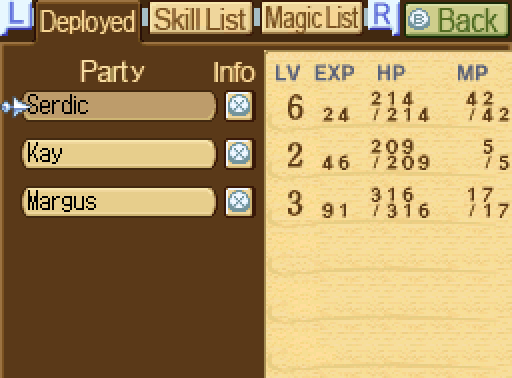
It's a basic little status summary. "Info" brings you to the status screen. Afterward, that character will be selected. It's useful if you manage to lose someone, I guess?
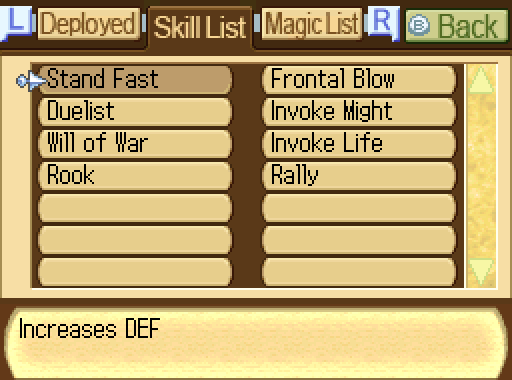
The "Skills" tab shows you all of the skills your characters have equipped... But not who *has* them equipped. I am trying to think of a way to make this useful and failing. The "Magic" tab is that, but for magic. That's more useful, I guess -- character spell availability is limited enough that you can tell who has what. (More on that later this update.)
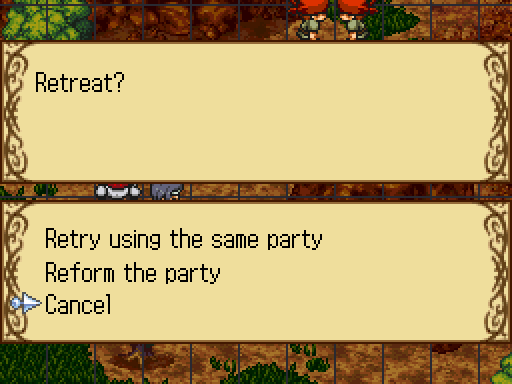
"Quit" is, surprisingly enough, the most useful option. A retry button! Isn't that beautiful? Better yet, the "Reform the party" option lets you return to the preparations screen with all options available, letting you select skills and characters for the enemies on the map. It's not as ideal as just giving the player an FE-style "see map, arrange formation" option on the preparations screen, but it's still nice.

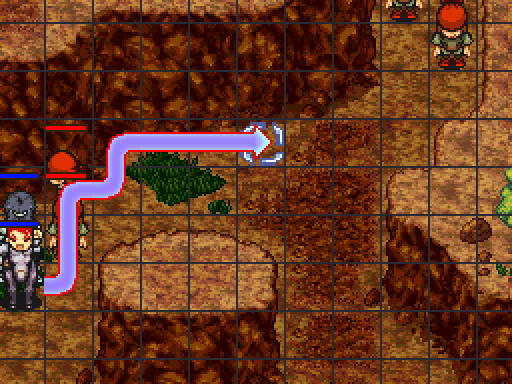
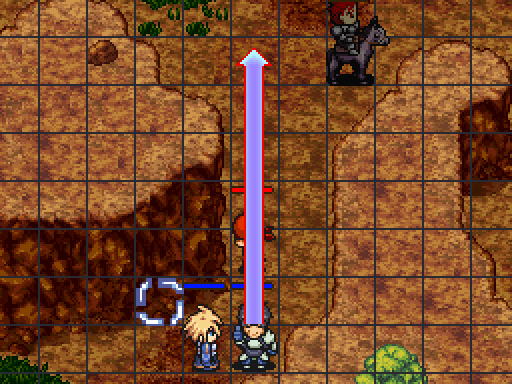
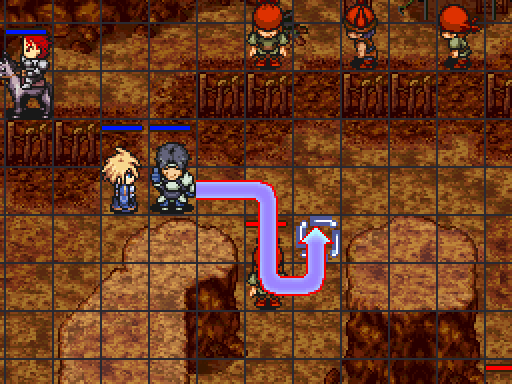
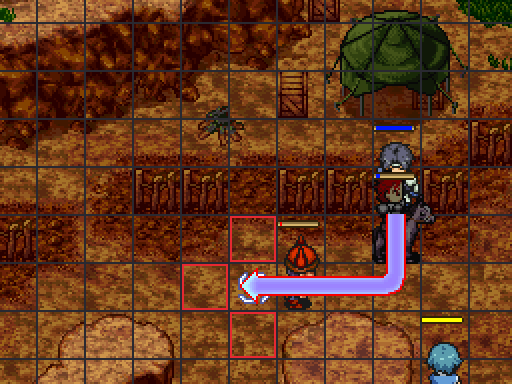
For our first move, I advance Serdic. See the enemy movement range displayed? He's on the last tile of that enemy's movement in his direction. Remember, enemies need to complete a movement action to attack, and they can't backtrack. This means that if I position Margus or Kay on the tile to the right, his positioning will protect them from any attacks.
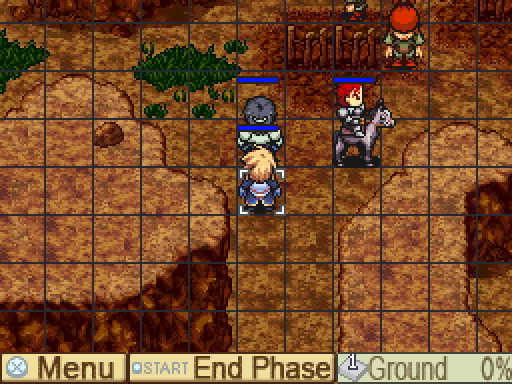
Since someone's taken an action, the game checks for available conversations, and Kay and Margus are right next to each other.
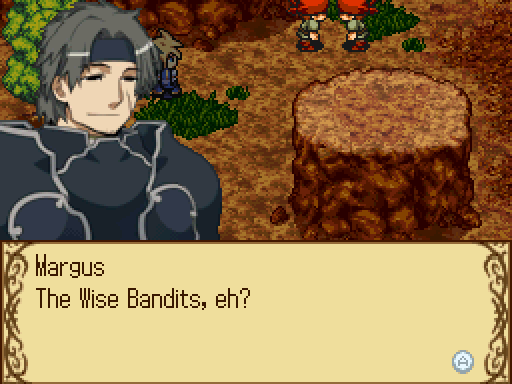
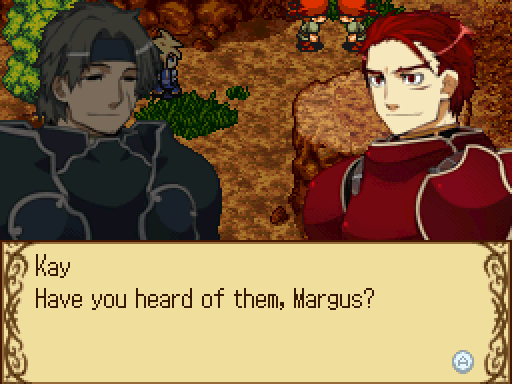 Yeah. They're hoodlums who work out of the Gareh Mountains. They claim to be "gentleman thieves." Gentlemen thieves, huh? Yet they raid villages... I've heard their boss frowns on that kind of thing, but it looks like he's not around these days. Sometimes when you try to reach out, your hand gets slapped back. It happens pretty often. Uh... who are you talking about?
The first two maps establish a trend -- Margus, as the older knight and Kay's mentor, will often explain the situation in greater depth to Kay. While totally optional, these are some of the more important conversations; even if you drop Kay later on (you will never drop Margus, not ever), you should bring him into each map and see if Margus has something to say.
We end turn.
Down at the bottom of the map, someone walks in.

For those who have yet to develop anime genderdar, that's a boy.
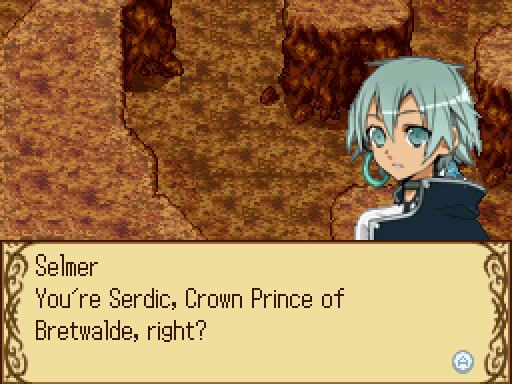
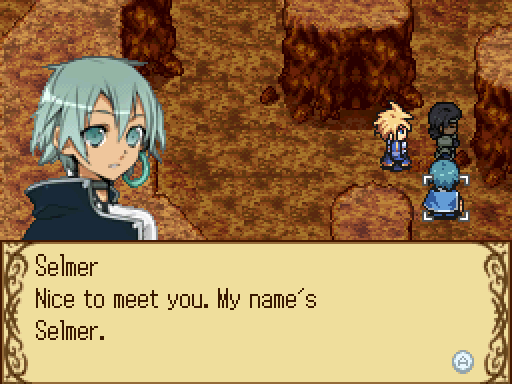
 Looks like they're taking on some bandits. I should help...
Meet Selmer, our first allied mage. Right now, he's an Other unit, under computer control.
next player phase.
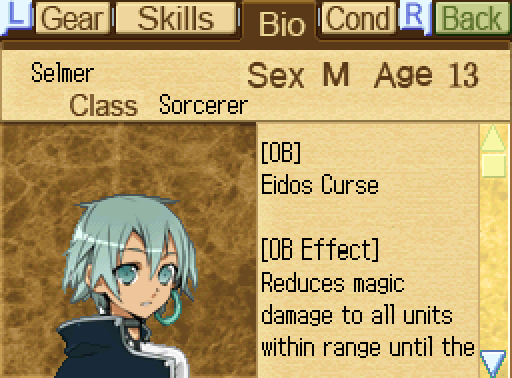
[Bio]
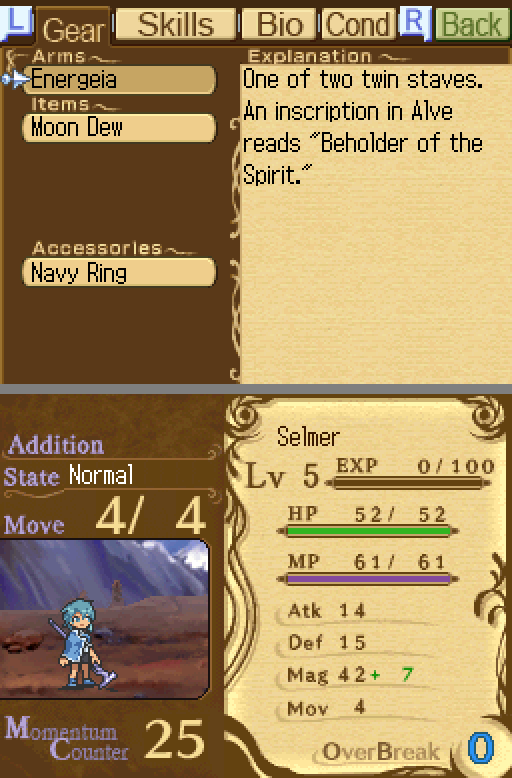
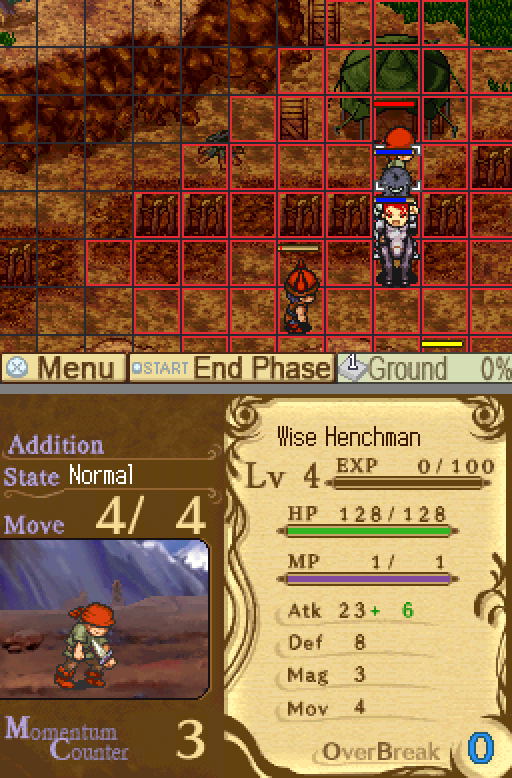
An Ice warlock from Almeria. He joined the Bretwalde Army under the orders of his master, Arios. Though a boy, he is one of Almeria's preeminent magicians.
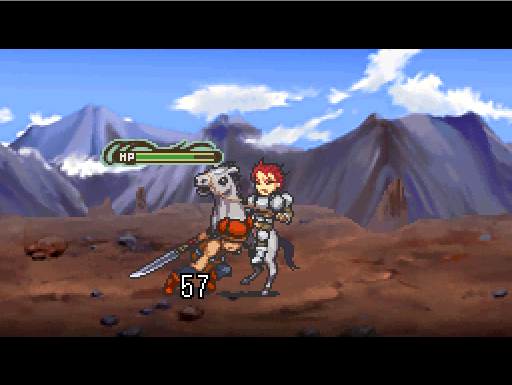
Holy shit, that durability. Wow.
(Word from the future, to give you a frame of reference: Right now, the pathetically weak enemies hit a level 3 Kay for 57 damage. Kay has 160% Selmer's defense, and "high defense growth" is "nearly a point every level." Bases are important.)
As you can tell by the defense score and especially the HP, mages in this game are made of tissue paper. Mages or healers that can survive one physical hit are durable by mage standards. Since Magic is the main stat used in calculating spell defense, allied mages can usually survive one spell, but two is unlikely. Be careful with them.
(This might change later in the game, but it's a good rule of thumb. Remember how I said that you can't see the damage an attack will do any time before it hits? Yeah. By the time a mage might get to "survives two hits," you've learned not to try your luck.)
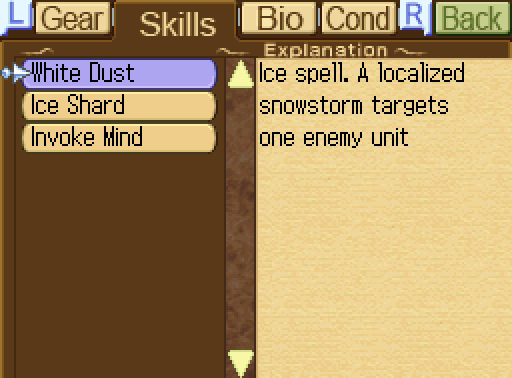
Now that we have an allied mage, let's talk about magic! Mages can only cast spells before moving, and most of them can't attack directly -- if you move through an enemy, nothing happens. Think of them like Advance Wars indirects and you'll get the idea. As you'd expect, spells cost MP. If a Mage is out of MP and they have no MP restoration items, then they're done for the map; MP does not regenerate naturally. Spell MP cost, range, and power are determined by skill level, and spells advance the same way as other skills. Each spell also takes up one of the mage's 12 skill slots. Right now, Selmer has level 2 White Dust, which has 6 range and costs 16 MP.
There are five elements: Ice, Lightning, Fire, Darkness, and Light. The game's four healer characters specialize in Light, and there's one mage character for each of the other four elements. (Well, the final healer is special, and there's three other mages with different rules, but we'll get there.) The four elemental mages all have the class of Sorcerer, which promotes into Warlock and then Rune Master. There's four spells per element available to the Sorcerers, with the ultimate spell of each element being locked to the third class (fourth Sorcerer excepted) and each Sorcerer getting a smattering of other spells.
Poor Selmer is hamstrung by his join time. He would be okay, maybe even good, if he just joined later in the game! Ice is a good element, having the undisputed best multi-target spell (outside of a special mage, who cheats) and a good long-range ultimate, and he's the only one who gets Ice Shard to strengthen his Ice spells and Arcane Ice to make them cheaper. He's also one of only three mages to get the powerful Torus Spell ability, allowing him to regenerate up to 20% MP every single turn, and he gets it earlier than anyone else.
Unfortunately, he joins at a point where he can only cast three spells before he's out. A level or two will bring it up to four, but if you level his attack spell up to level 3, he can cast two. We have a grand total of one MP healing item, and Selmer joining brings the list of MP healing items up to two. With both of them, he can get 60% of his MP back. Two spells! To add insult to injury, he doesn't get that useful multi-target spell until promotion, he's one of two Sorcerers who doesn't join as a Warlock, and he's actually the only Sorcerer who has no access to other elemental ultimate spells -- the second Sorcerer has one of them, the third (first Warlock) has two of them, and the fourth (second Warlock) has all of them.
(This is actually pretty far down on the list of reasons to use her. It's a long list.)
So at this point, his magic isn't very long-ranged, using it slows your advance, he has no durability, he has MP issues, and he is worse than useless once he's out of MP. Sure, Selmer might be good if you stick with him, but it's really hard to justify doing that when other mages are ready to go from the moment they join.
The enemies advanced right into our faces during their turn, because the CPU in this stage is set to "stupid."
Kay and Margus teach them the error of their ways, bringing Margus to level 4. Serdic had his moment of glory last map, so he'll mostly be sitting this one out.
Selmer advances. He'll go to the right side and advance up there.
"But wait, my dear fellow!" You may cry, fearfully adjusting your monocle. "Mages are fragile and the AI is stupid! However shall he survive without our aid?"
See how he's surrounded by wasteland? He has a ranged attack, they don't. Selmer is going to be just fine.
More importantly, we don't have to talk to him to recruit him, chasing after him is slow going with the wasteland there, and Other units don't get experience from kills. If you go north and circle around, you can kill the two bandits in the middle left before they kill themselves on Selmer.
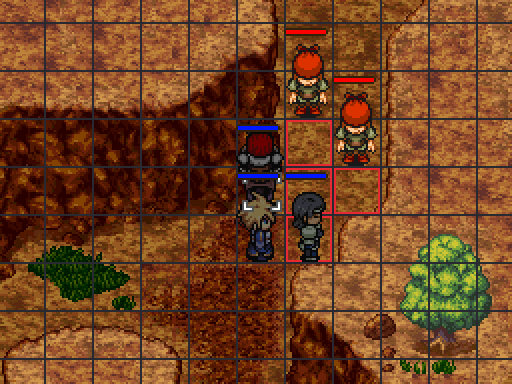
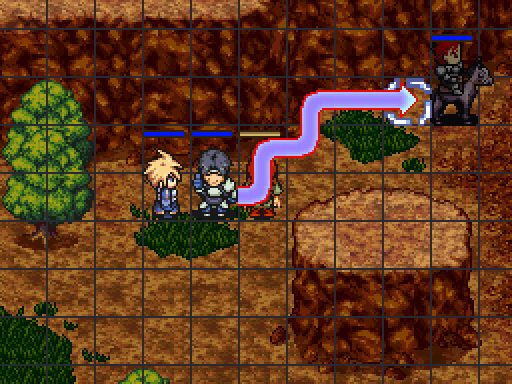
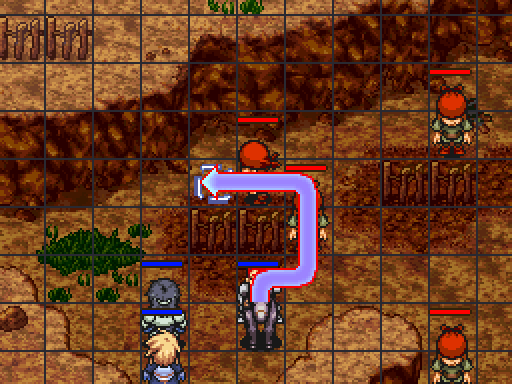
We repeat the earlier trick with enemy movement ranges as we approach the next group of doomed bandits.

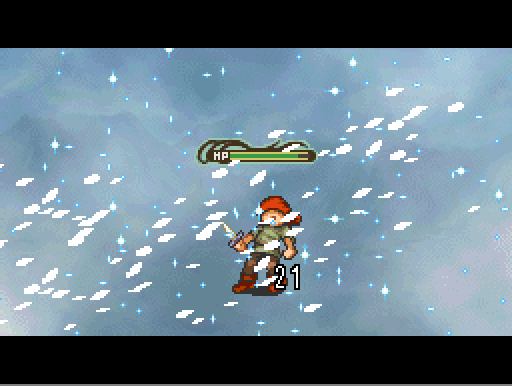
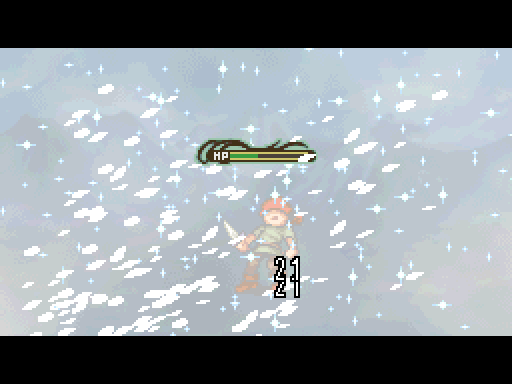
 Spirits!
Selmer kills a man by summoning dozens of little shards of ice. White Dust is a multi-hit spell, and it's strong enough to one-shot this bandit.
Now, because I'm LPing this, I had time to look at this spell frame-by-frame and think about how that'd actually work.
...yeah, don't do that. Wow. White Dust should be illegal, and I'm not talking about powder.
Let's distract ourselves from this brutal child soldier murder by acts of brutal adult-on-adult murder.

That's better.
I already know Kay will kill any of the bandits he hits from the side, so I have him kill one and have Margus take the other. Serdic follows up behind. Our young war criminal continues moving up the right side.
On our next turn, Kay begins our assault on the upper right. Random variance allows him to kill both, gaining another level.
The bandits haven't moved, so Margus is able to kill one of the two Bandits in the path of Selmer. It's a mercy, really, compared to what was awaiting him. Serdic will kill the last one down there, while Margus and Kay will kill the ones up top.
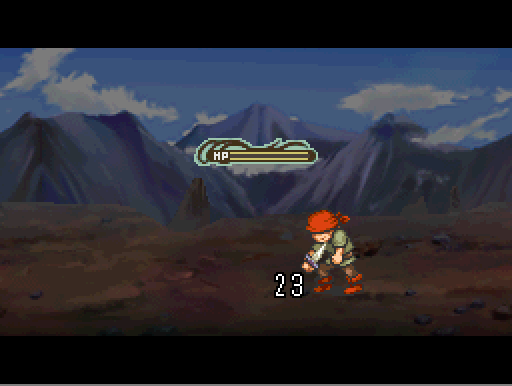
After a turn of moving and preparation, they hit Serdic and Margus for utterly laughable damage. Yes, that's *after* the health bars finish scrolling.
And Margus was hit by the "boss" when he took that much damage, even. Look at the little guy. He's so ineffective but he looks so happy! Look at that sprite grinning down there.
(Each unit has a "when selected" sprite, for those who haven't noticed before. Serdic and Kay raise their fists, Margus gives you a thumbs-up.)
Maybe he wasn't really trying to attack Margus. That would certainly explain the damage.
Margus attacks The Happiest Bandit. Serdic's already killed the one who hit him.
The boss high-fives Kay with a little too much enthusiasm. Kay's kinda fragile compared to Margus; it's not really his fault.
Plus, you know, the horse. He had to jump.
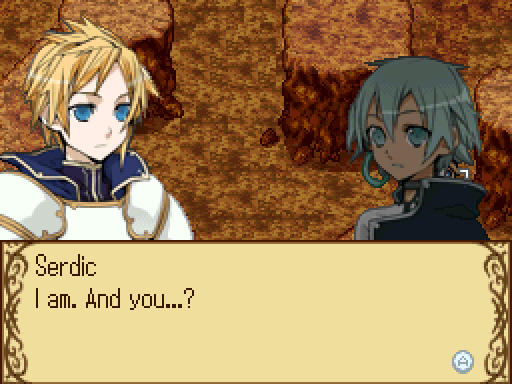 I'm Selmer, a magician from Almeria. My master Arios ordered me to find you and help as best I can.
 Almeria's mages have taken an interest in me? You've previously been a friend to us quite often, Prince Serdic. We cannot sit idly by while you're in danger. I've... helped you, have I? Is something the matter? In any event, your aid is appreciated. It's a pleasure to meet you, Selmer.
Serdic talks to Selmer. Again, this isn't required; Selmer will join regardless. But hey, Serdic doesn't have anything better to do. We're just about done.
Edit: Additionally, Margus has his own conversation with Selmer.
 My, my, what a cute young lady... Wh-Who...?
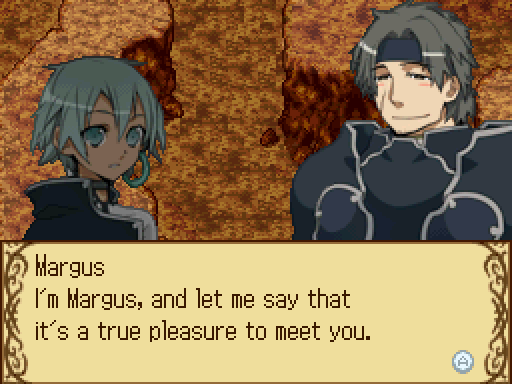
Note the new expression, then forget it exists. It's better that way.
Ummm, I'm a boy. You--I--Wha--a BOY!? ...You don't have to act THAT shocked... Sorry... I need to be alone now. R-Right... Of all the... Is my judgment that off nowadays?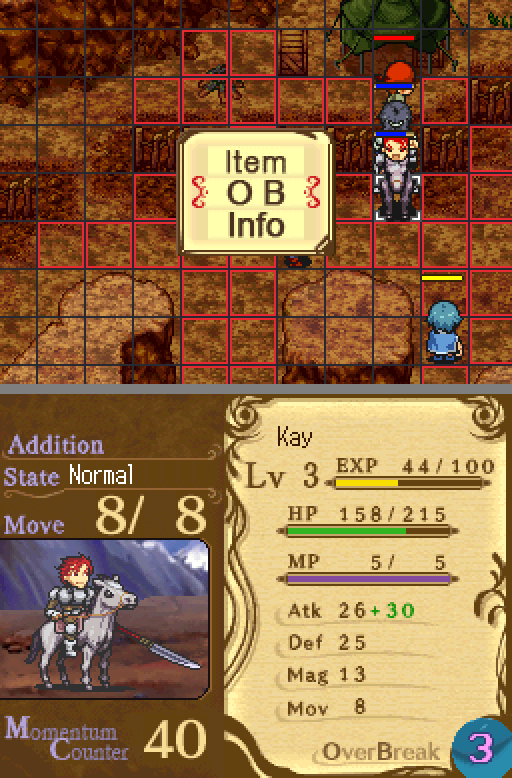
It's at this point that I realize:
1) Kay has 3 OB.
2) Kay has very nearly full health.
3) There's a bandit above Kay that needs to die, and nothing can attack Kay afterward. If this kills, anyway. It should kill, it's 3 OB!
...well, there's never going to be a better opportunity to show this off, is there?
You'll notice the range is much larger than I remembered. The fact I didn't remember its range says a lot about it, really.
 I won't be stopped!
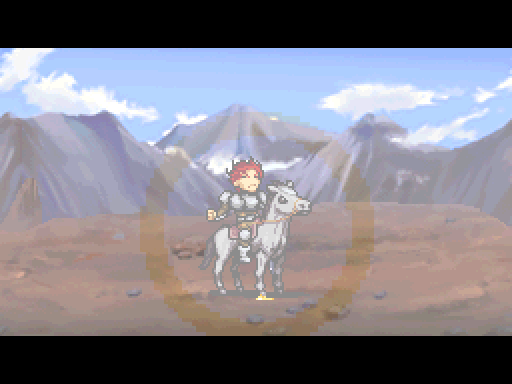
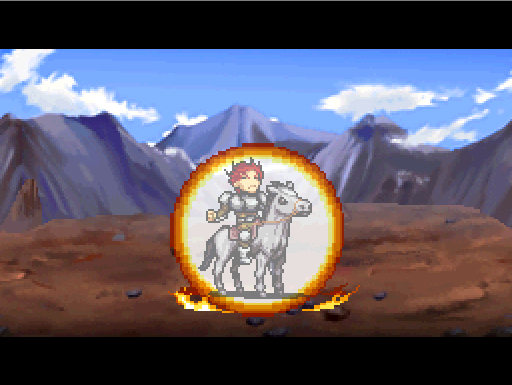

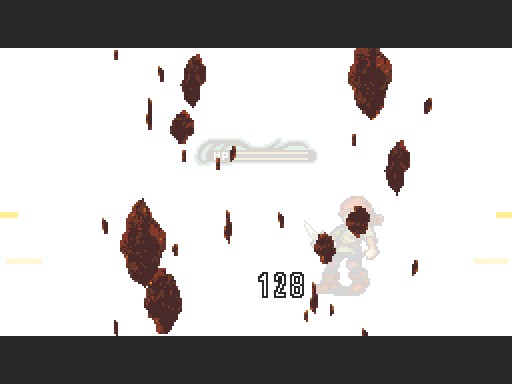
The attack does 128 damage, capped at enemy max HP. Kay also loses 128 HP, going down to 30 HP.
Testing against Happy Bandit shows that it does 129, or 60% of Kay's max HP, to both himself and the target. Additionally, it can't kill Kay -- if 60% of max is enough to drop him, then he'll do enough damage to drop him to 1 HP instead.
Yes, the damage is 1:1 health lost:damage dealt, and it's just barely enough to kill a bandit. I told you Kay's OB is bad. It's less dangerous to him, yes, and yet it's somehow even more useless than I remembered.
(Watch it somehow save my bacon later. Killing an archer, maybe? We'll see.)
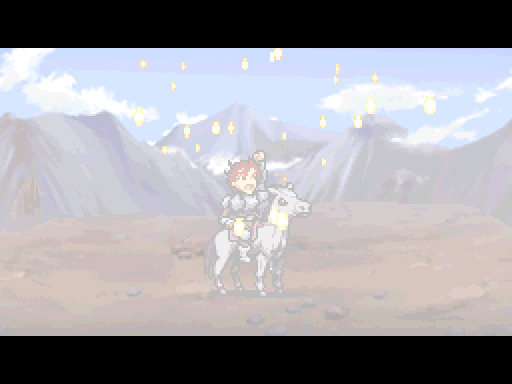
In one leg of the Trousers of Time, I realize that Kay is hurt, Margus has nearly full health, and Margus has 1 OB.
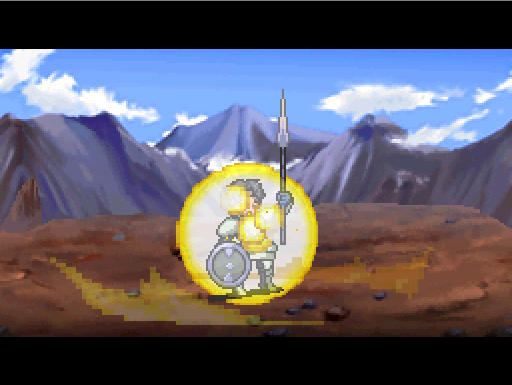 I'm prepared for anything.
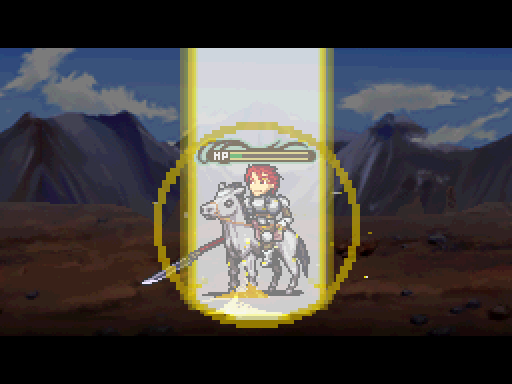
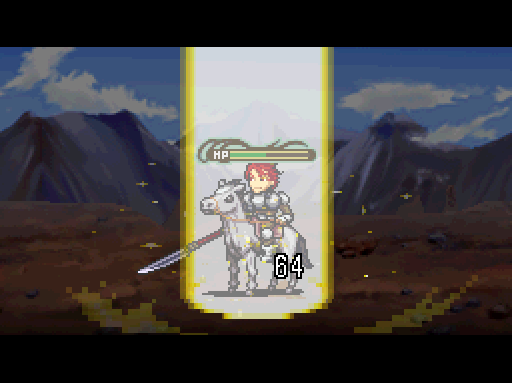
It healed 64 to Kay and did 64 to Margus. So, 20% of Margus's max HP at level 1. Not awful, provided a good number of people are close to him... At least, if it doesn't split the healing. Kay's OB gives us strong reason to suspect it won't kill him, after all. Of course, if higher levels don't improve the ratio of damage:healing, then it's not ever going to be good; that's not a very large range.
In our leg of the Trousers of Time, I don't, because that's dumb and alternate-universe-me is willing to front some screenshots. Thanks, man.
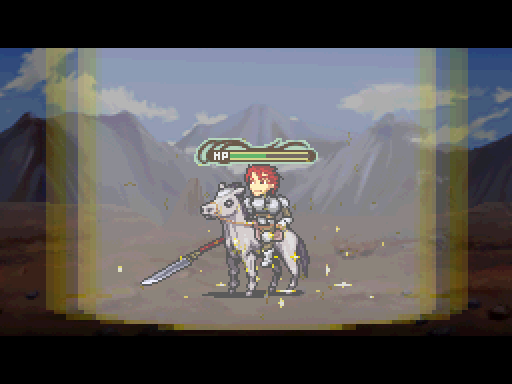
Wait, Margus. That's Happy Bandit! No, Margus, don't--!
MARGUS NO
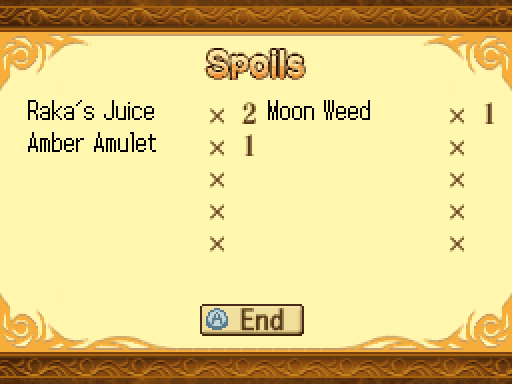
Amber Amulets give +2 Defense.
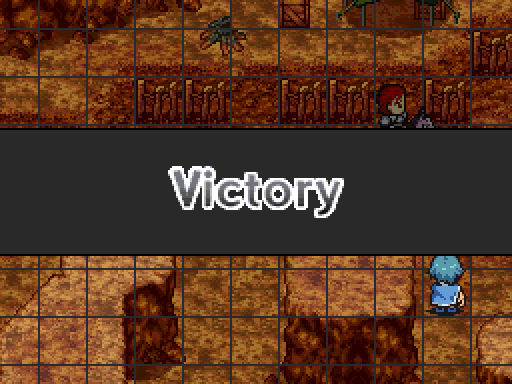
And that's that for that map!
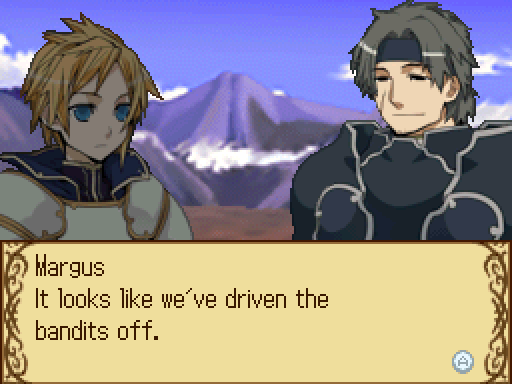

Next time: A Kidnapping