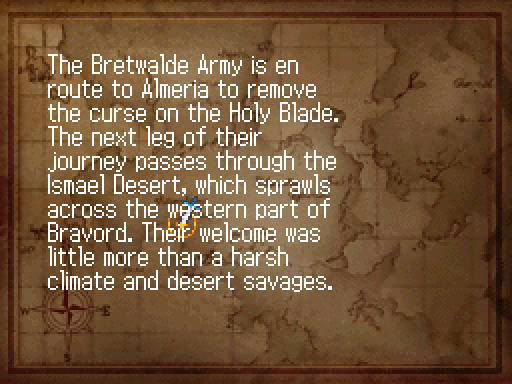
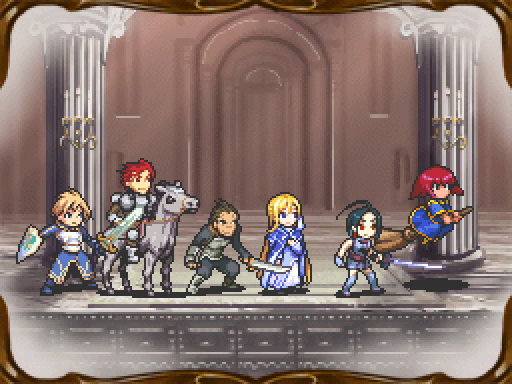
Part 12: Across the Desert
Chapter 10: Across the Desert(Or, "Self-Imposed Challenge")
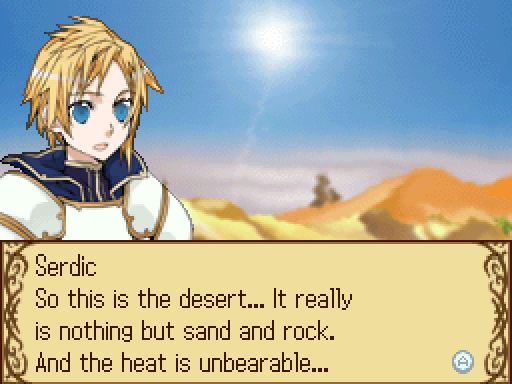
This level is filler. It's short, there's not much opposition, and there's not much need for tactics.
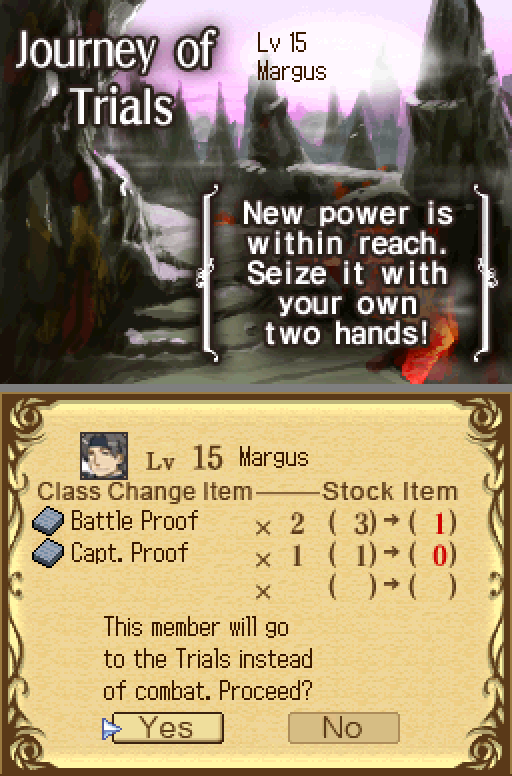
Which is great, actually, even if it's boring LP material. A breather level makes for an excellent opportunity to send Margus to his promotion Trial!
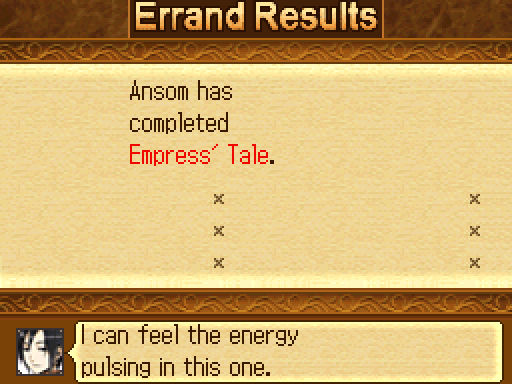
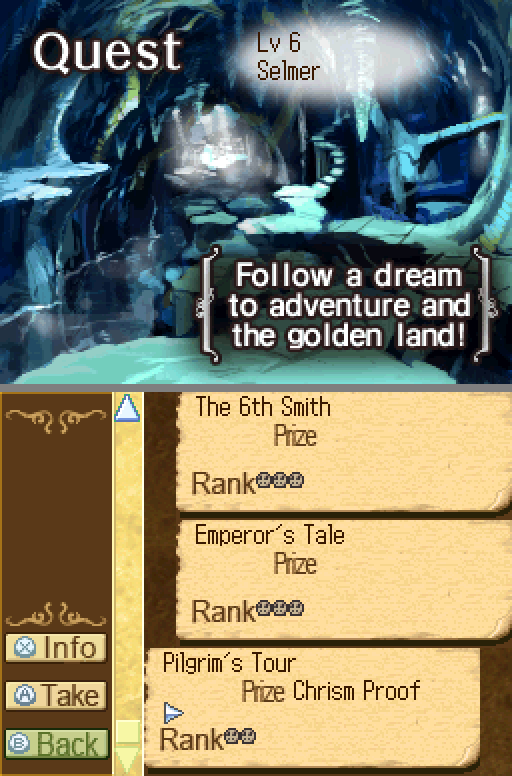
We send Selmer and Ansom off on the usual Quests.
Ansom card quests: 5. We're almost there!
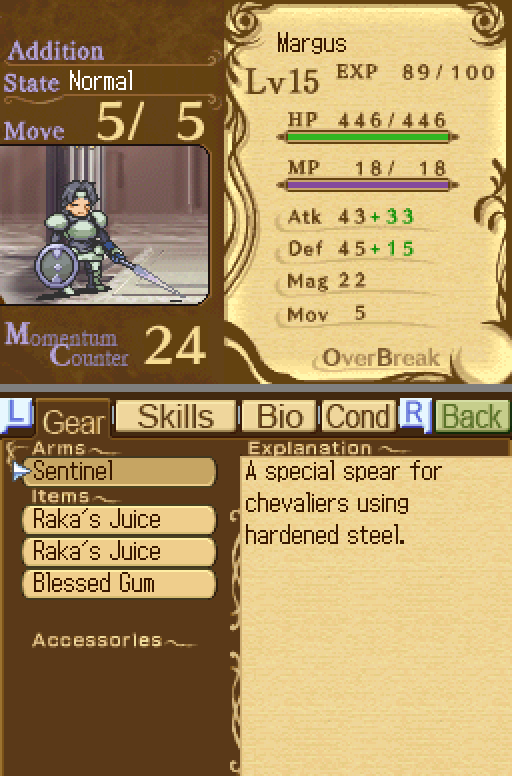
Of course, Margus won't need his gear. I distribute his amulets between Serdic and Kay, while Serdic gets the Angel Medal and Marie gets the Black Ring to help her keep up.
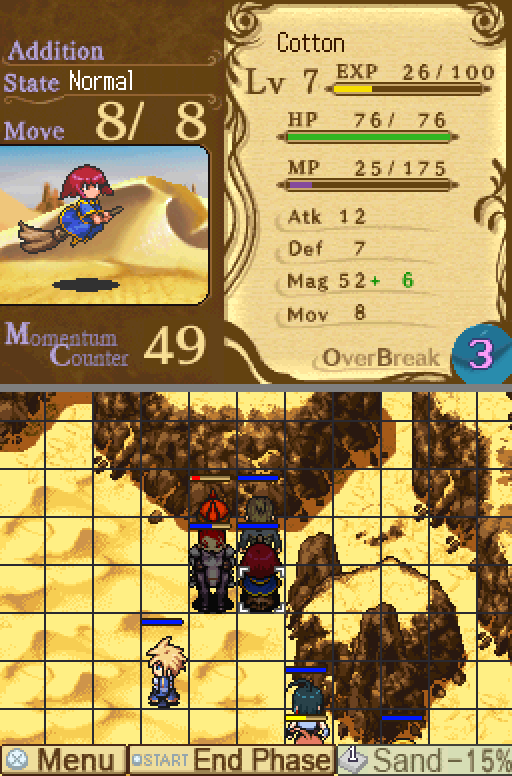
Marie learns Invoke Mana 3, bringing her to 182 MP and 18 MP regen. Cotton learns Invoke Mind 1, Invoke Mana 2, and Blessing 1 (increase effects of healing items by 20% per level). Fire Dragon is as strong as it needs to be right now and MP is precious, so it'll stay at level 3 for some time. Owl learns Sprint 1, bringing him up to 8 Move.
Marie excepted, this is a really fast team.
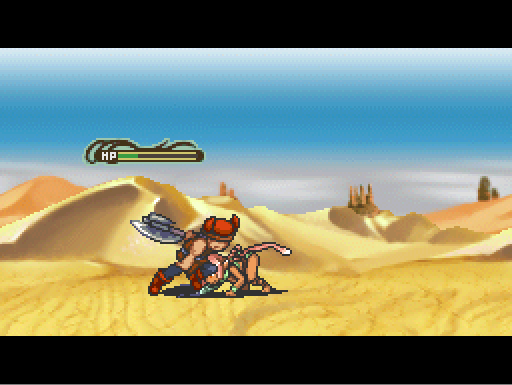
(camera pans between each of the groups of "savages")
 It doesn't look like they'll simply let us through... But there's no real need to fight them.
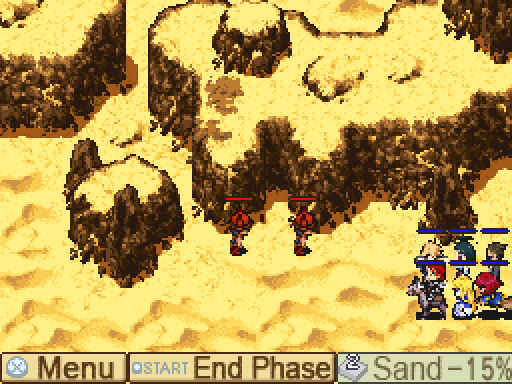
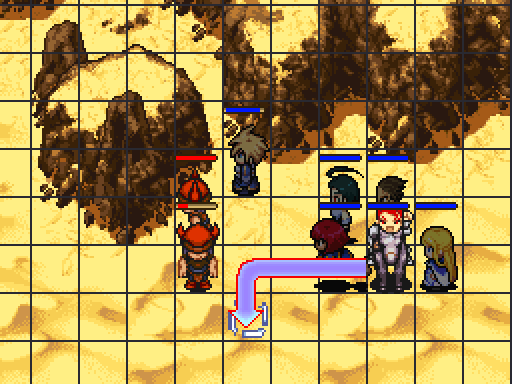
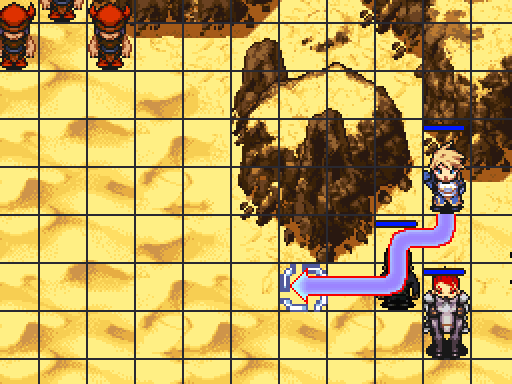
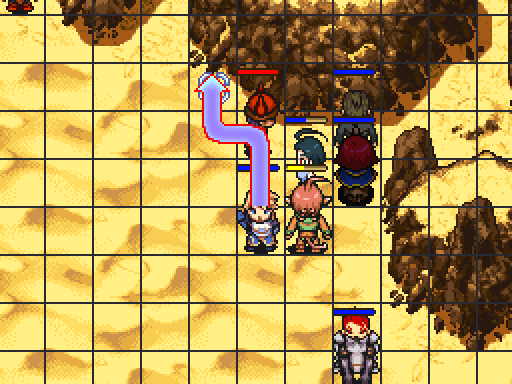
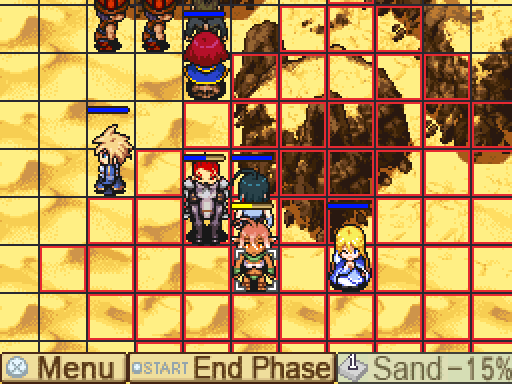
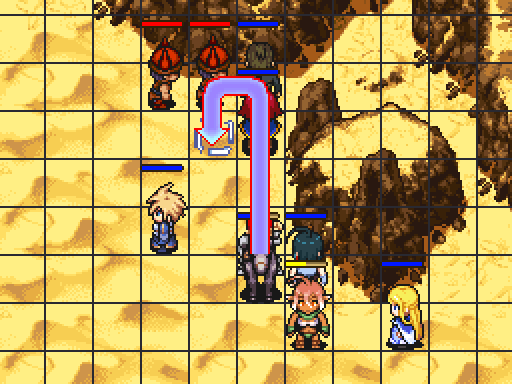
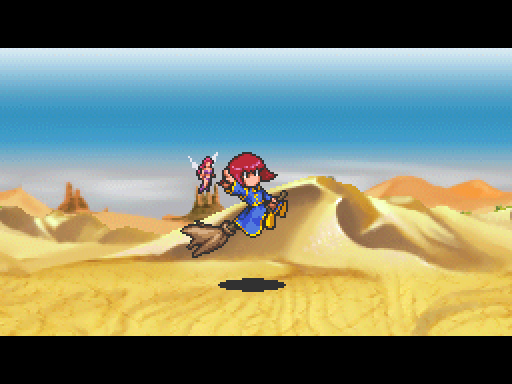
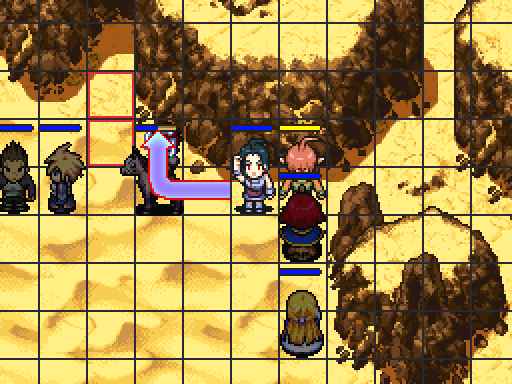
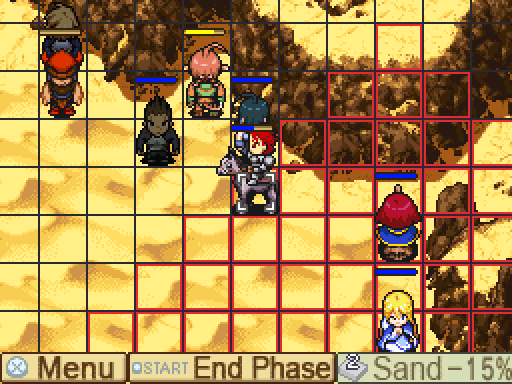
Do you see the less-textured sand near the cliffs? That's normal 1-move terrain, while the textured sand is 2-move terrain. All of the field is -15% defense terrain, so watch out for that.
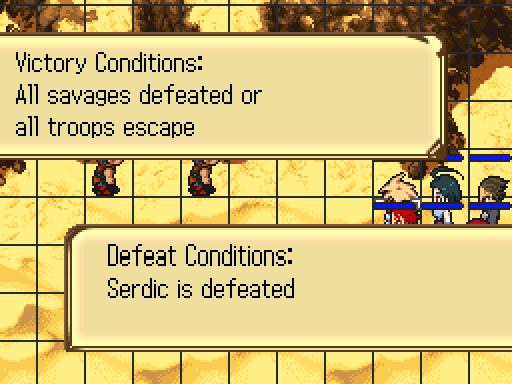
All of the enemies shown are the "savages" of the objective. To be honest, it's much more difficult to do the "escape" objective than the "murder everyone" objective; to move at any decent speed, you need to stick close to the wall, which runs you right into the savages, and you're probably bringing Marie, who only has four Move.
There's one additional wrinkle to the stage, but we'll get there when we get there.
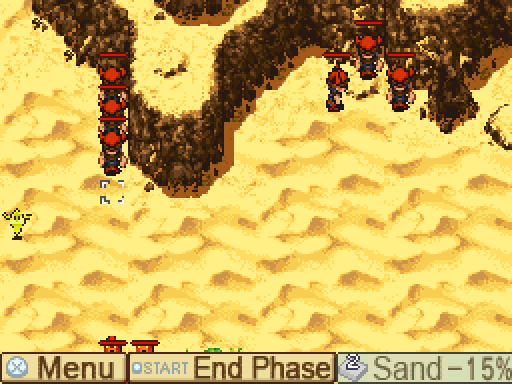
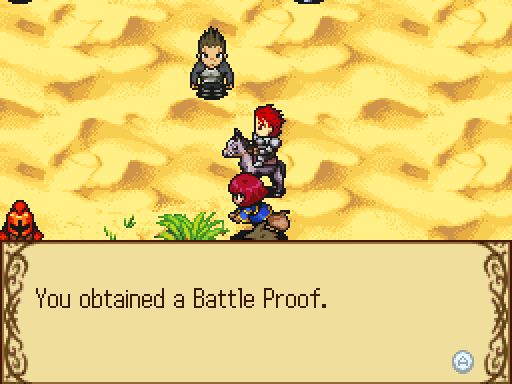
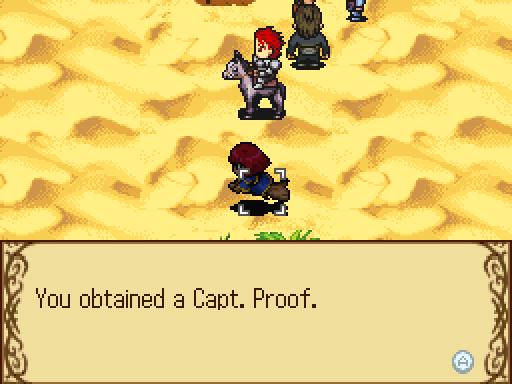
The two enemies at the bottom here are an interesting optional objective. They're the low-tier and high-tier type of mounted enemy, the Jouster and the Trooper, and when defeated, they drop a Battle Proof and Captain Proof. Since they're not "savages," they don't need to be killed to beat the level... Or, to put it another way, defeating them requires some maneuvering, since defeating all of the savages first will result in the stage ending.
It'd be nice to get their items, especially if you plan to use Sasha or Kay long-term; combined with the Battle Proof from the tournament Quest, we'd have 2 Battle Proofs + 1 Captain Proof for another Promotion. But since we're not, it's a luxury. Even if we don't, we'll almost certainly have the Proofs to promote Margus by the time he reaches the appropriate level.
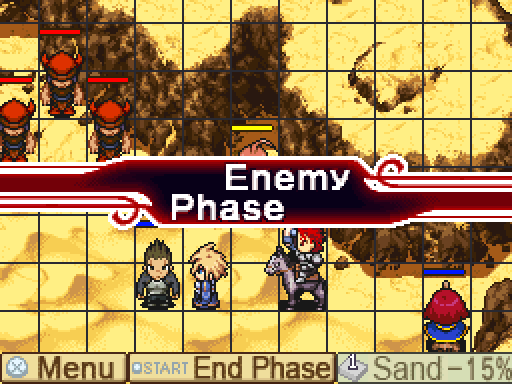
Preferred strategy for dealing with them: Laser Sword, Fire Dragon, clean up with fast-moving units. Desert terrain is ideal for that kind of long-range strategy.
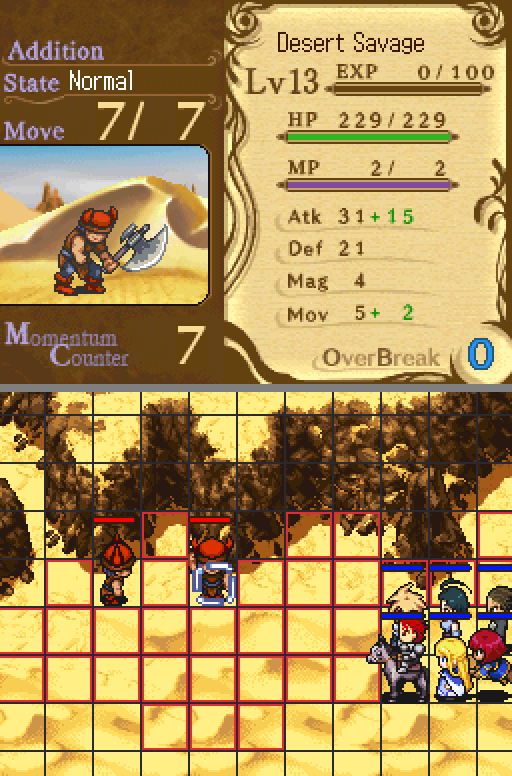
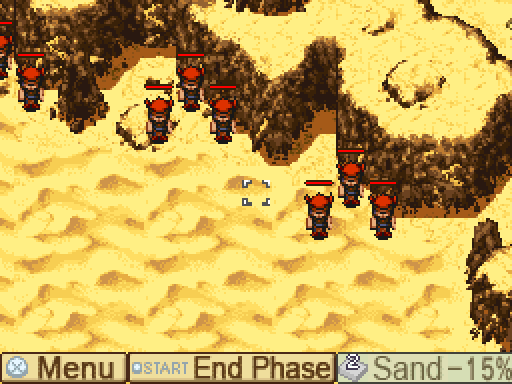
The Savages, while relatively weak, are more complicated to deal with than you'd expect -- see that Movement score? The movement base for that Infantry class is 5, so they have Sprint 3 or Sprint 4. (+1 move at levels 1 or 2, +2 move at levels 3 or 4, +3 move at level 5.) Without ZOC available, we're going to need to be careful here if we want to avoid massive enemy attack chains.
Thankfully, the desert provides us with a convenient way to keep this high-Move batch of enemies from running roughshod over us. Just stick to two-movement tiles and they're not very scary at all.
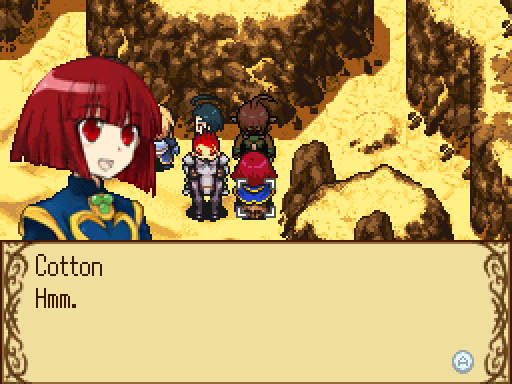
There's only one conversation initially available in this map.
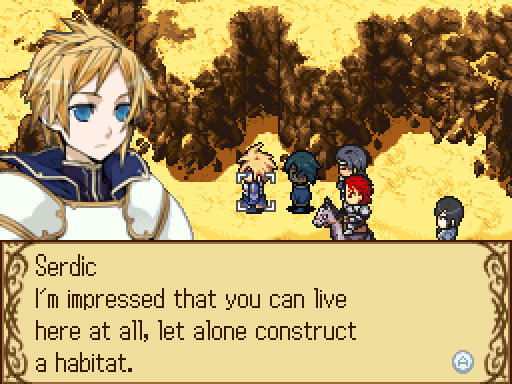
 It's thanks to the huge oasis at Almeria City. It's cooler there than you'd expect. Then, too, with so many magicians, we can alleviate some of the more severe aspects of the climate. Magicians... intersting. Of course, that doesn't reach beyond the city walls. The noontime heat, the nighttime cold, sandstorms, savages... There are many things to beware of out here. Can't you use magic to do something about it? As I said before, somewhat. But there's no one alive with magic powerful enough to change the environment itself...yet. Meaning... it could be possible someday? The study of magic advances every day. That is one of the many subjects being researched. Hmmm... So magic may someday change our world. Alas, at this rate, it's unlikely you or I will live to see the day. Ah. If only...
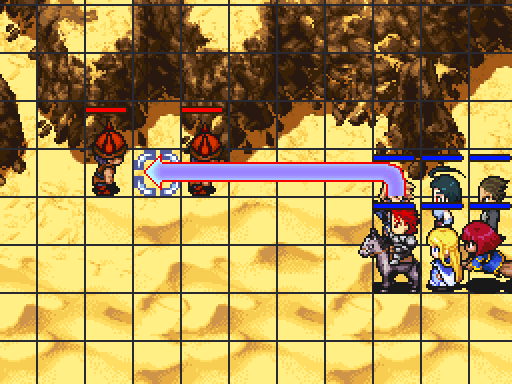
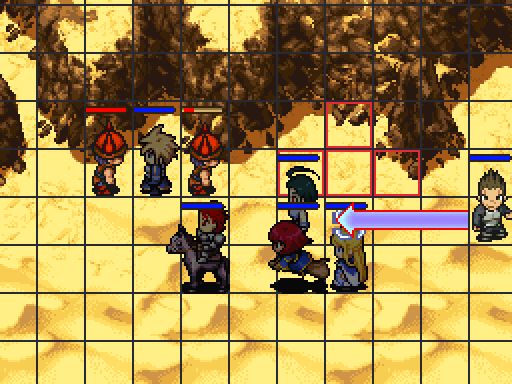
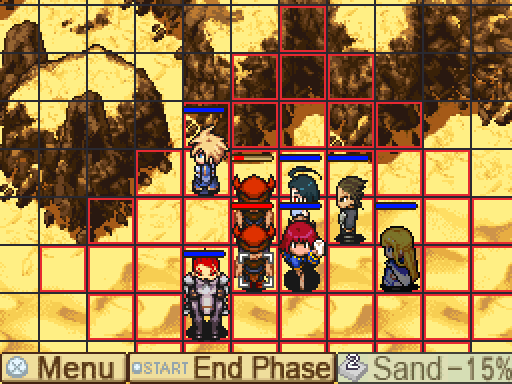
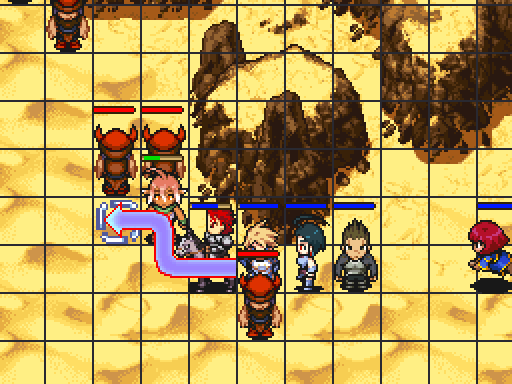
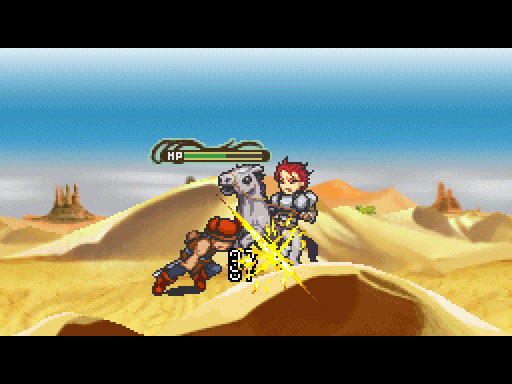
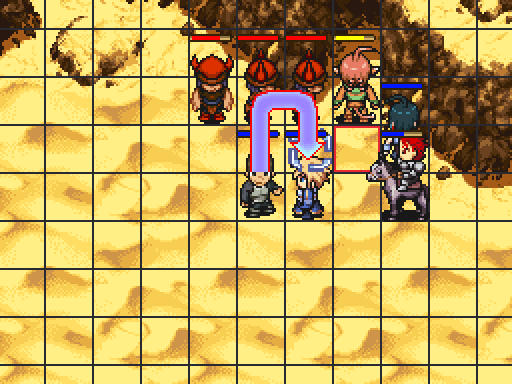
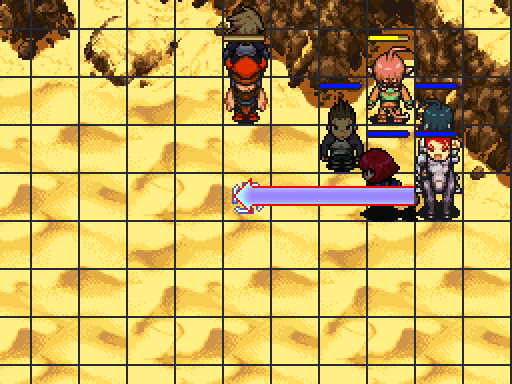
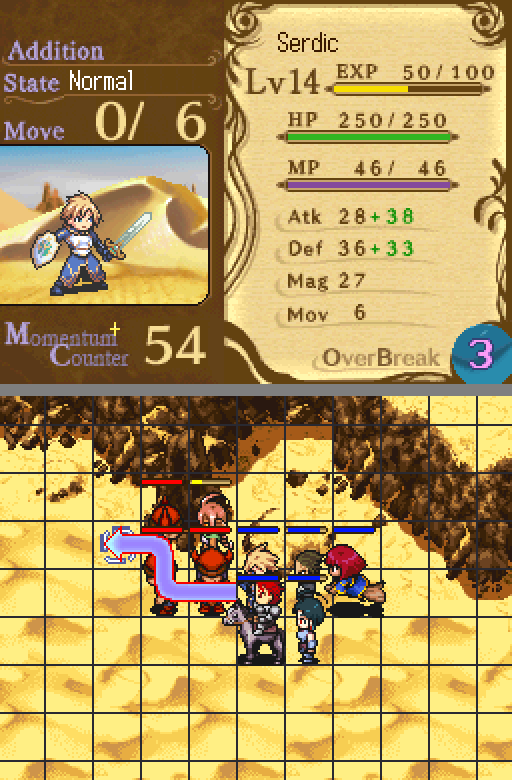
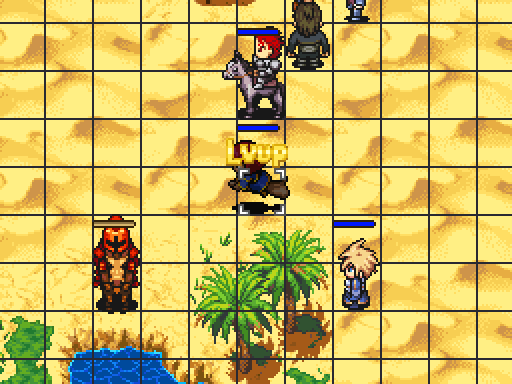
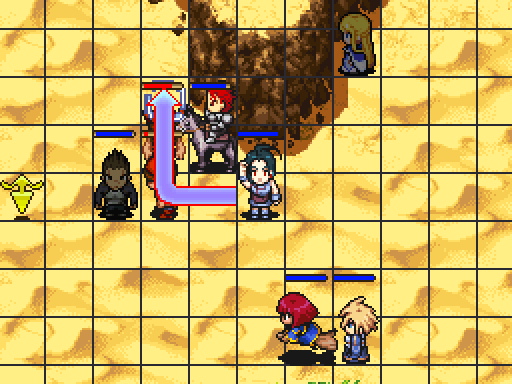
Serdic opens the fight.
Unfortunately, no one else is in range. If it wasn't for the stupid formation-by-character-order system, I'd switch Sasha and Kay and have him finish just above Serdic, taking out the first enemy.
Interestingly enough, the AI is very generous here; there's a number of alcoves like the one above Serdic on this map, but the AI seems to refuse to enter them. This is a really good thing! If they did, it'd massively slow your advance, since you'd have to wait around for them to exit while keeping fragiles out of their attack range. It's a nice bit of developer attention.
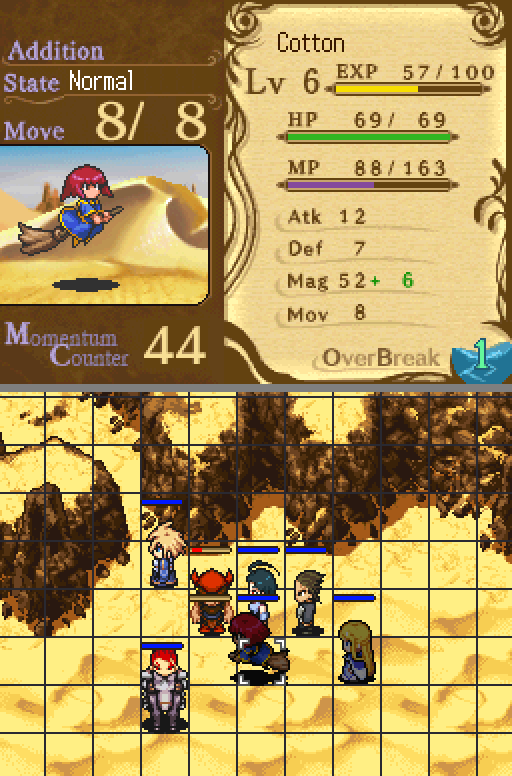
As mentioned, everyone sticks to the sand. Marie has 5 movement with the Black Ring, so she can only move two tiles of sand every turn. If I was using Sasha long-term, I'd give it to her instead to bring her to eight and make her more useful here.
It's worth noting that the same enemy type can have slightly different weapons. There's no real benefit to the Dagger the first Savage is using, though; it's flat-out worse than the Tomahawk.
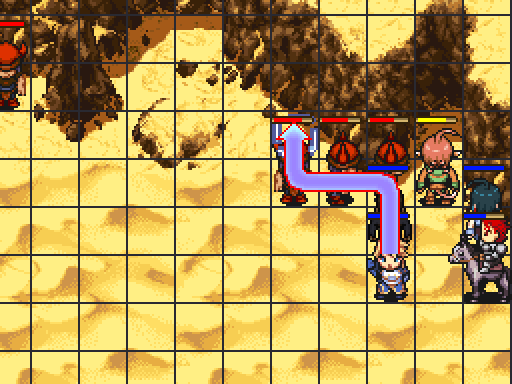
The enemies have seven move, so I place Cotton three tiles away. The enemy doesn't have the Move to attack both Kay and Serdic, so they'll prioritize Serdic. Everyone else is just as close as they can move without being attacked (or as close as they can move, in the case of Marie).

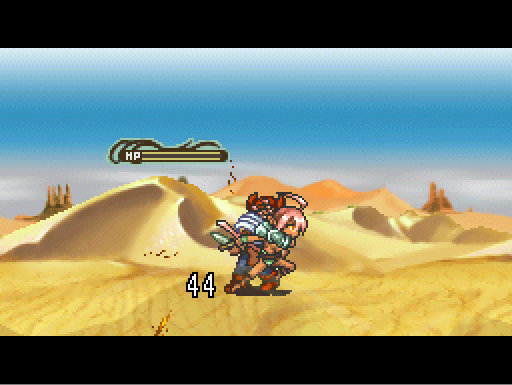
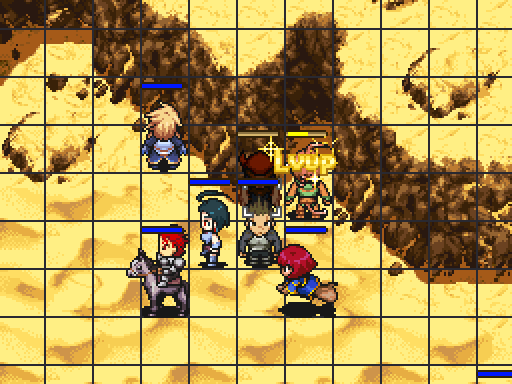
As expected. Marie heals Serdic and levels up to 11.
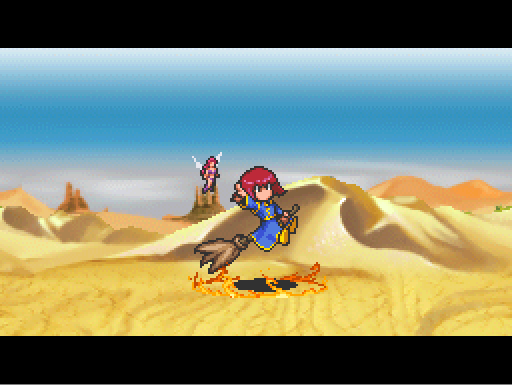
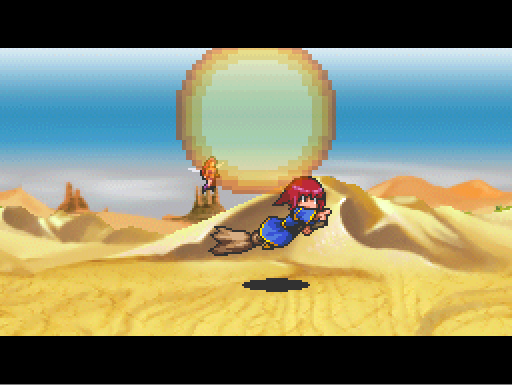
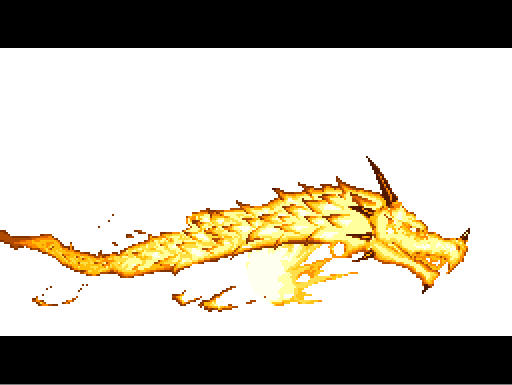
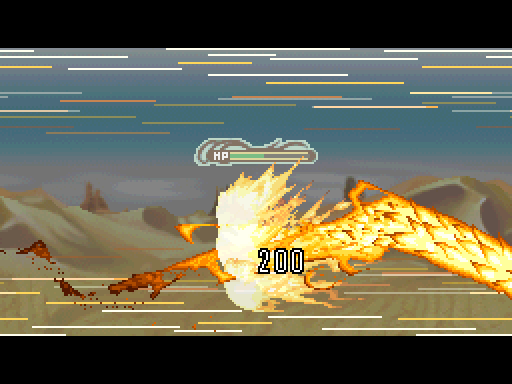
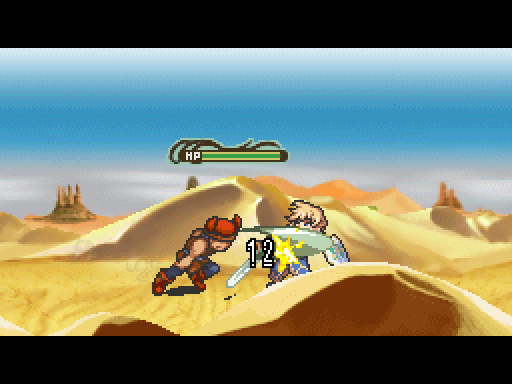
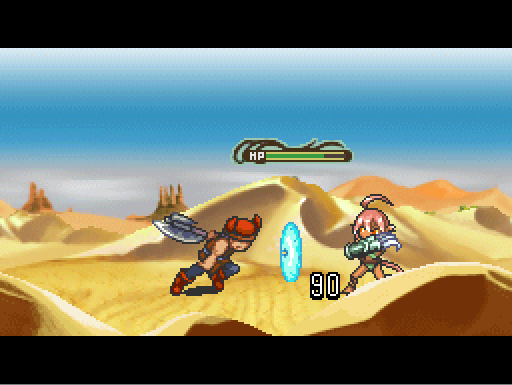
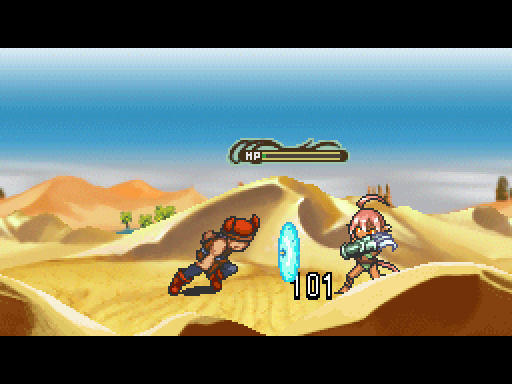
Fire Dragon is one of the cooler spells in the game.
If Cotton one-shots two enemies, she'll usually get just enough OB meter to reach level 3. This is incredibly convenient!
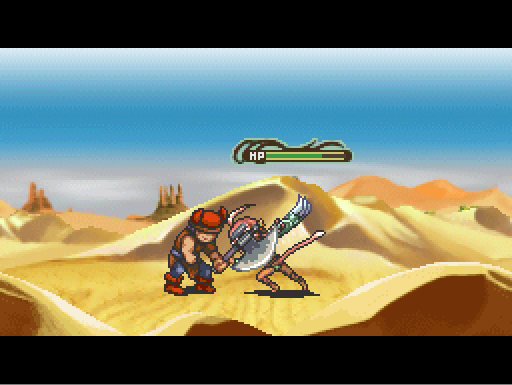
Owl takes the kill.
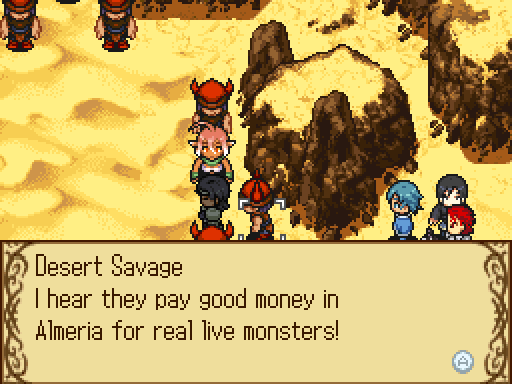
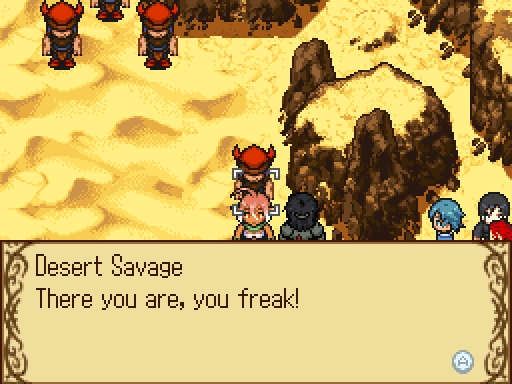
Serdic moves up toward the next group of Savages, triggering a map event.
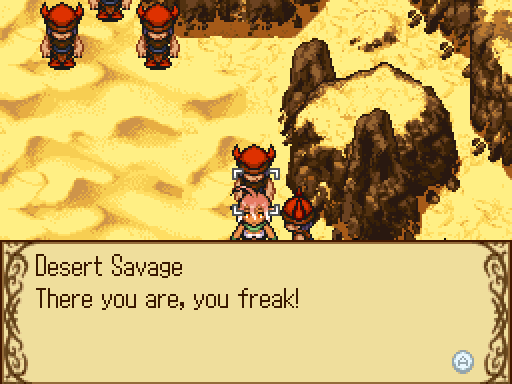
Desert Savage: I hear they pay real good money up in Almeria for real live monsters!
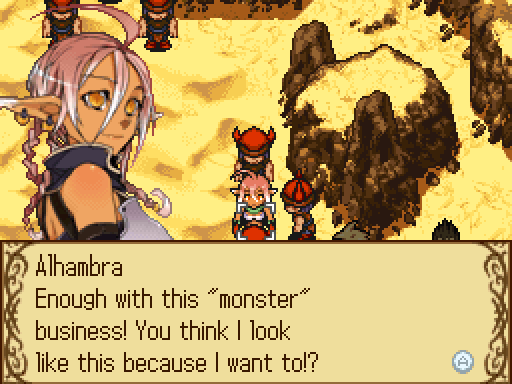
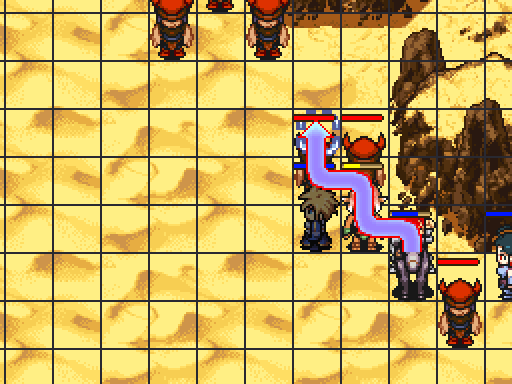
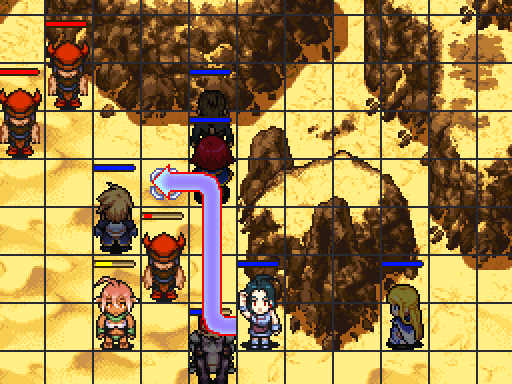
To recruit Alhambra, we need to move Serdic next to her. She won't move on her first turn, so it's fairly easy to accomplish. Thankfully, she's more than tough enough to survive a round... But it doesn't hurt to attract a little attention away from her.
That said, there's a conversation you can only see after she appears but before she's recruited; if you recruit her, it no longer activates.
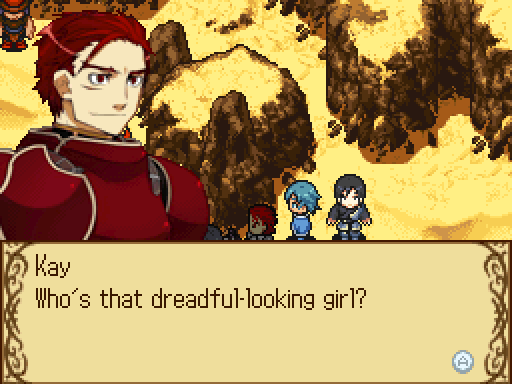
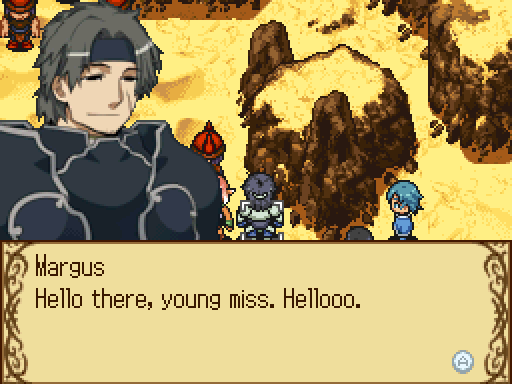
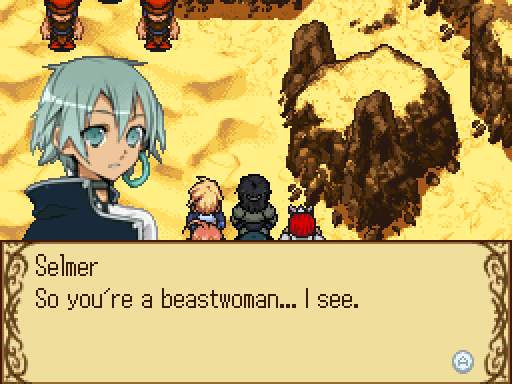
 Shush, Kay. She's a beastwoman.
 You know about them, Margus? Kind of. Long ago, there was a tribe whose strongest wish was to become unstoppably powerful. At first, they sought the height of human potential in physical fitness and swordsmanship. Then one day, it occurred to them... The limits of the human body weren't enough to attain the power they wanted. And so... They looked to animal bodies. Exactly. In the end, the other tribes feared their prowess and scattered them to the ends of the earth. Let that be a lesson -- don't seek power for its own sake. No kidding.
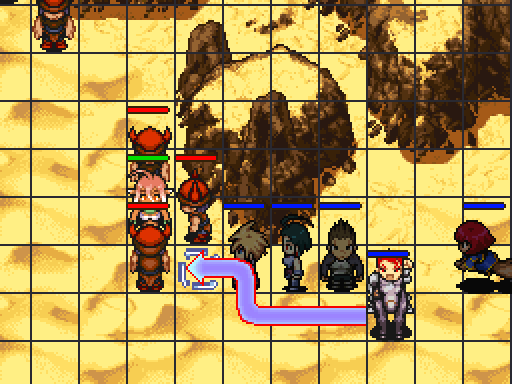
The distraction is partially successful -- one attacks just her, one attacks Serdic and Kay, one attacks Serdic and Alhambra.
Serdic initiates the conversation.
 You saved me. Who are you? No one of importance. I'm only glad I could help. We're in a hurry, so if you'll excuse me... Hold on...! You didn't say anything about how I look. Should I have...? No... I didn't mean that. Well... I will allow that you have pretty ears. Pretty? Very much so. Haaaahahaha! That's the first time I've ever heard that one! You guys going to Almeria City? We are. And you? Same. I'm trying to research this body of mine. You know, it's like fate, you rescuing me here.
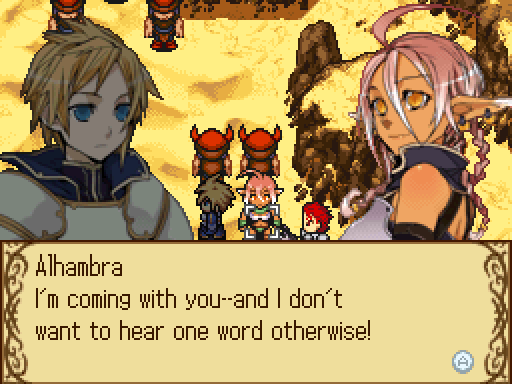
That conversation is kind of adorable.
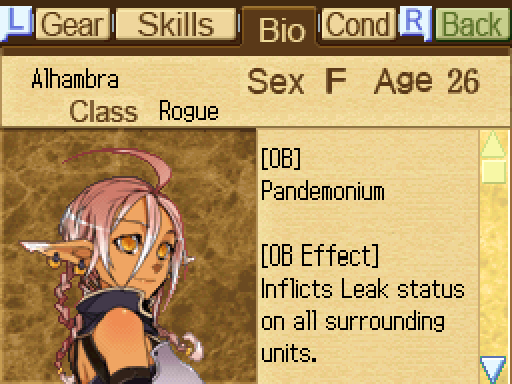
[Bio]
A beastwoman from a tribe who altered their bodies to be better warriors. She has a complex about her body, and searches for a way to "cure" her condition.
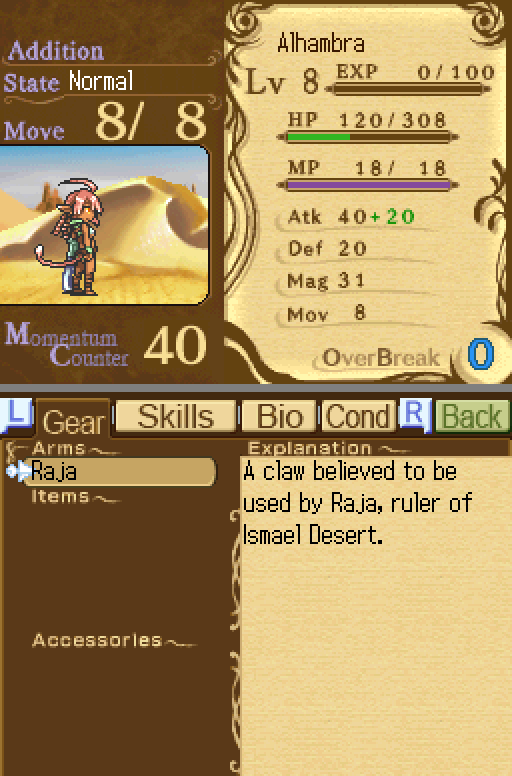
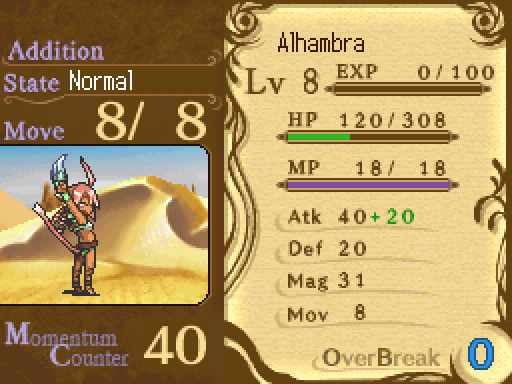
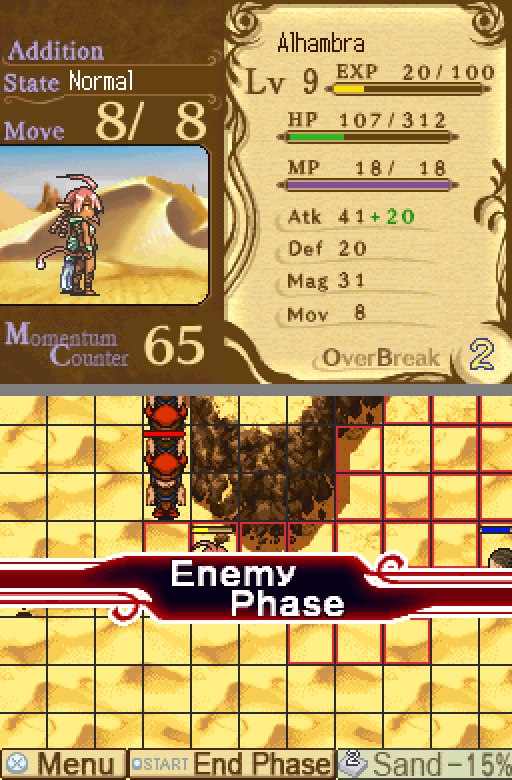
Meet the best rogue-type character in the game. Hell, meet one of the top five characters in the game across all categories. Alhambra is absolutely amazing.
First, note the... Well, the everything in her stat screen. Those are really damn good stats. Sure, her weapon isn't very good, but Alhambra would be Serdic-level tough if she had the amulets and skills. Not Margus-level, mind, but still pretty impressive! About her only downside is her incredibly high base MC -- using Alhambra requires you to manage enemy aggro, because she's going to be attracting a lot of it even before she swoops in and murders goddamn everything.
And she does that. She does that kind of a lot! Alhambra has the best two Card Quest abilities in the game. I'm keeping the sixth card ability under wraps -- she shares it with Ansom, and it's not time for its dramatic unveiling yet -- but her first one is 100% accuracy. Alhambra will not miss, ever, under any circumstances. (This is Sasha's 6 Card ability, and it's the only one Sasha gets. Poor Sasha.) Skill-wise, she has a very good skill list. Vital Strike and Retaliation (+counter odds) are good skills, and it's nice to have them on a first class. The moment she promotes, she can learn Sprint (maxed, it brings her up to 11 Move, the highest in the game without items) and Lateral Blow, and she soon learns Stand Fast and Rook, moving her out of "can take a hit" and into "legitimately tough." Her second promotion gives her Invoke Life, Foresight, Abyss Ward (-dark elemental damage), Back Stab (+critical rate from behind) and a really interesting activation skill, Desperation. Desperation reduces base defense by 10% per level while activated, but in turn grants ZOC for 1-3 turns (depending on skill level). It's not very important, but having a single level in it gives you some good tactical options.
Alhambra has three disadvantages. One, her stat growths are low to average in all stats. Sure, those are really good base stats, but she has to stand on them. This would be bad, except that Rondo of Swords growth rates don't actually matter very much -- having 5 Attack growth instead of 8 will only cost you 12 stat points over 40 levels, and that's just 24 damage. The highest non-HP growth is 10, and there's only one 10, so I'd take good bases over good growths any day. Two, her OB is bad. That doesn't mean much, though. Good OBs are the exception, not the norm. Three (and this one actually kind of hurts), Alhambra is dead last in the Seal priority ranking. If you recruit everyone, there's a good chance that you won't see her Seal at all, let alone get to use it. That's unfortunate, but Alhambra doesn't get anything she really needs in her third class -- the skills help, the stat growth is nice, but Alhambra can finish the game in her second class just fine.
If you're not playing a challenge run, then send Alhambra to six Card Quests and never take her out of the party again (well, aside from sending her to promote). You really won't regret it.
Also, note the age. Alhambra is twenty-six. Generally speaking, I like the ages in Rondo of Swords. Margus is 27, Kay is 22, Ansom and Owl are in their twenties... It's a nice change. Most of the mages are ridiculously young, and Serdic is only 18, but most Rondo characters are old by JRPG standards.
Also, a note: To my knowledge, Alhambra is the only one with a special idle image in her status screen: She yawns and stretches. It's a neat detail! It's also a little easier to see the claw gauntlet on her left hand in this shot.
As a note: The spawning event either has no time trigger (or a very lax one). It makes it easy to run in and disrupt the enemy formation, and you can recruit Alhambra immediately with very little effort. I just usually don't bother.
(Margus is here because this was from a second, shorter run I used to check for conversations. I have a script, but it doesn't hurt to have my own screenshots.)
Three more conversations are available after you recruit Alhambra.
 Who're you? I'm Margus, one of Prince Serdic's faithful knights. Oh, you're with the boy... So, out with it: what do you want with me? Just to talk. What would you say to a nice, private sit-down in one of Almeria's tea houses? ...Doesn't my body concern you at all?
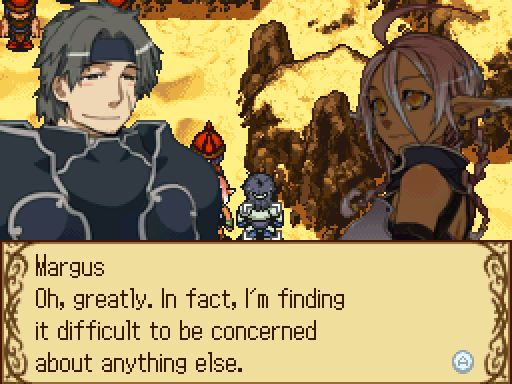 ...... What's with that look? Have you fallen for me?
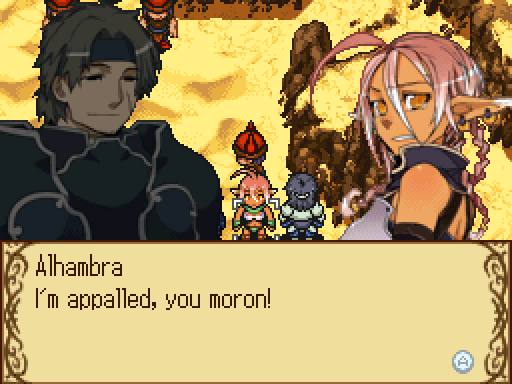
Okay, most of Margus's women-oriented banter doesn't really amuse me, but his screenshotted line above makes me laugh.
 You want to make something of it, magician boy? I apologize if I sounded confrontational... I'm genuinely interested in your condition. Ugh... that still sounds uncouth. Oh... that's fine, then. But yeah, you're right that I don't really want to show it off. I understand you want to change your current form? Yeah. Can you do it? I can't... But my mentor in Almeria may be able to help in some way. He takes a special interest in extranormal matters. Really? That's the best news I've heard all day! I can't guarantee anything, mind you. I'd be happy to get any information at all. I think you misunderstand... You're likely to see results. But I can't guarantee his behaviour... ......
The last conversation came up naturally during the map, so I'll show that when it happens.
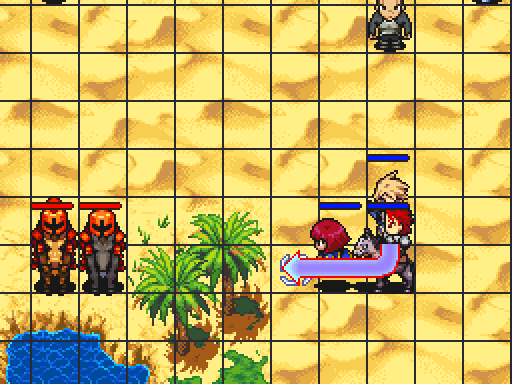
Kay weakens the two Bandits above Alhambra. She should attack them next turn.
Owl weakens the enemy, Sasha claims the kill. Marie is lagging behind a bit, unfortunately. This will be a common theme of "run across the level" chapters.
Two kills bring her up to 8.56.
Kay takes a hit and returns it next turn, weakening the first Savage of the next group.
We move on up. There's a bit of sand between our units and the enemy, so Sasha is the only one they can attack, and only one of them can attack her.
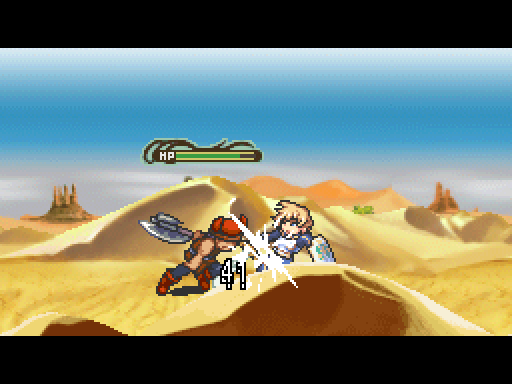
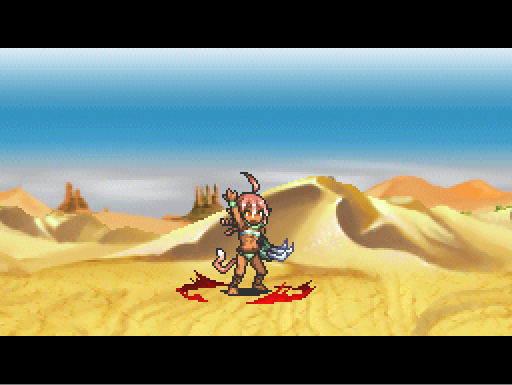
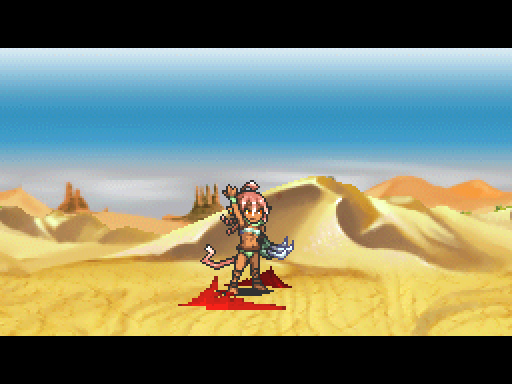
Alhambra claims another kill.
Like Owl, Alhambra is recruited as soon as you talk to her, and it doesn't matter if she dies here -- she won't be Hurt next map, and there's no other penalty for dying. That's good, because Alhambra charges like a madman every single turn after you recruit her, heedless of risk to life or limb. I've never actually managed to have her survive the whole map.
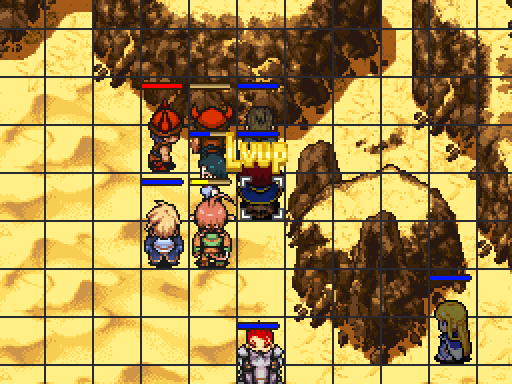
Cotton blows up one of the two bandits, reaching level 7 and level 3 OB, and Serdic attacks the other. Alhambra should level up after one more kill.
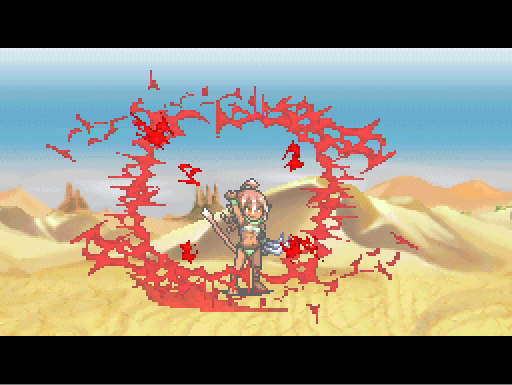
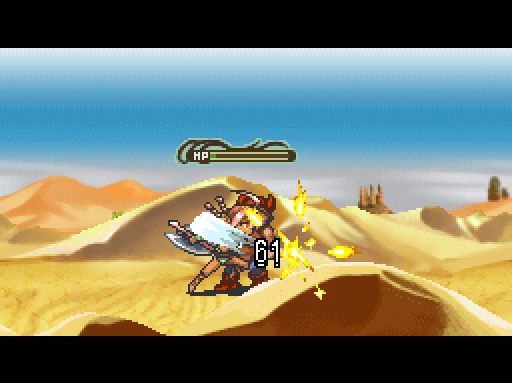
This is Pandemonium, Alhambra's OB. As displaced, it has friendly fire. And Alhambra just decided to use that incredibly useless OB instead of attacking.
WHY WOULD YOU DO THAT, ALHAMBRA.
(Yes, she will do this every time she has at least one level of OB and an enemy is in range. Yes, she will do this even if there's five to six of your units in range and none in theirs. And to add insult to injury, it doesn't give experience either, at least so far as I can tell.)
And thanks to that, we ended the turn with Cotton in attack range. Predictably, she dies.
(Does that Cotton sprite remind anyone else of the "OUCH!" power icon from the Kirby games?)
 (voiceover, no text) Retreat!
...yeah, no, not accepting this one. Having Cotton in the next map is actually kind of important!
+1 reset.
On the next run, things go fairly smoothly. Tiny tweaks to strategy result in Marie moving up faster and Alhambra moving further right when attacking the first two Savages, letting Marie heal Alhambra, and Serdic getting an additional kill toward his OB meter on the way to recruit her.
Cotton vaporizes one of the bandits again. This time, I have Kay and Owl kill the other. Alhambra has OB meter, and that means I can't trust her not to do something stupid.
During her turn, Alhambra moves next to Cotton, triggering another conversation.
 What're you looking at me like that for? They look delicious... Huh!? Hey, could you let me chew on your ears a little? I think it could help jog my memory...
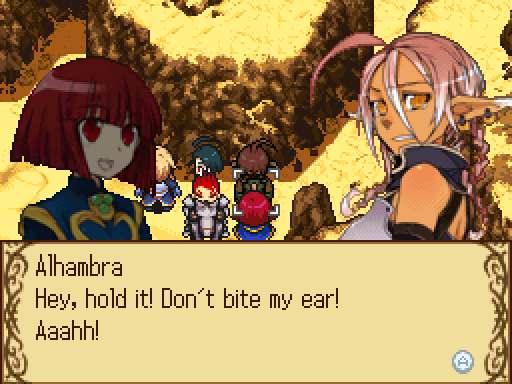
The true mark of character importance: Having more than one portrait. I think Cotton's kind of justified in gnawing her ears a little, considering how Alhambra got her killed once.
As we move towards the next set of Bandits, Cotton takes the opportunity to use her OB to restore her MP.
It restores 87 of her 175 MP (25->112), so it must be 50% MP; probably the same percentage of HP.
We move up.
There's a lot of reasons to try to keep Alhambra alive a while in this stage. 1) She's tough and does pretty good damage, 2) it does not matter if she dies, 3) her reckless charging draws enemies out at no risk to anyone else, and 4) it helps to get her a little more experience.
Her counter rate is surprisingly high too. It's a nice bonus when it happens!
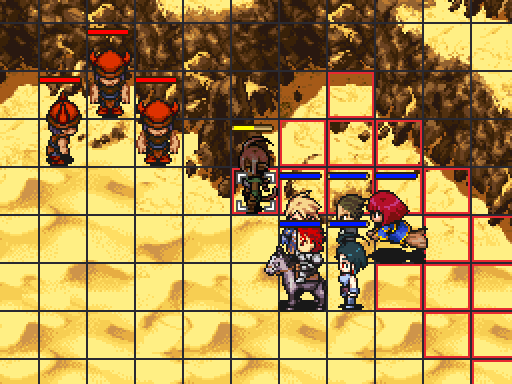
Owl weakens, Serdic kills two of the three.
Marie is still lagging behind, but I deliberately let Kay lag behind a little last turn so he'd stay in healing range.
Unfortunately, that means Kay isn't in range to attack this turn.
Alhambra could kill that enemy, but...
Yep.
She hits Owl and Sasha with Leak. No one else...
She does Counter the enemy to death, though, which is almost as good. And since she stayed where she was, that gives Marie more time to reach and heal her.
Marie doesn't move much for the rest of the map; she heals Sasha and Owl of the damage from Leak, but that's about it.
So in retrospect, Alhambra using her OB here was a net benefit. Huh. Weird...
Next group, same story.
The bandits come to kill Alhambra. One hits, one passes their turn, and the last...
...isn't fast enough, allowing her to live another day! Marie is able to heal her afterward.
All three were in range. Remember how I said that the AI plans out its turns? If it read ahead enough to see misses, then it'd know to attack Alhambra with all three. It didn't. The AI doesn't cheat.
Rondo of Swords AI is surprisingly good. Even its most common bit of stupidity -- running enemies up into your face instead of waiting for you to approach -- is for the player's benefit, making the game faster-paced instead of initiating a turtle war. While that would increase the value of mages and archers, it'd also be really boring!
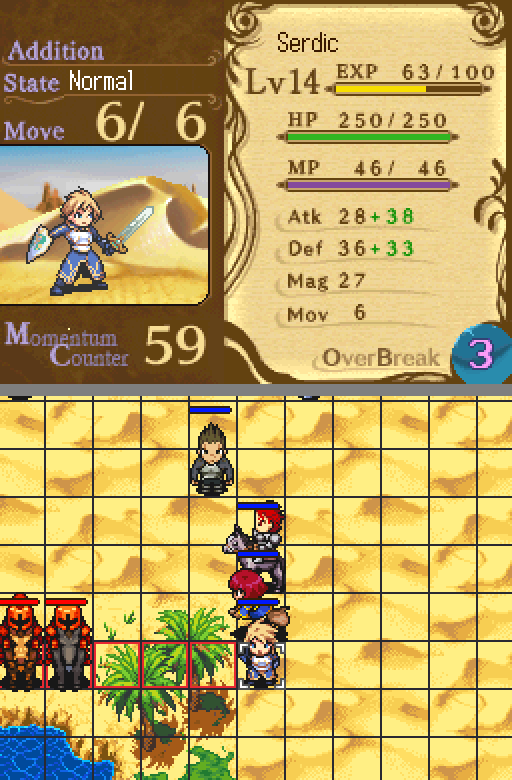
You'll notice that Serdic is at 3 OB, even before this attack.
Kay kills two, Owl kills the last.
(Note the lost HP. He hasn't been hit, so that's all due to one turn of Leak -- I'm pretty sure it's 20% max HP per turn.)
There's a turn of movement. Alhambra is still charging suicidally ahead.
And her counter rate is still really high. This is an aberration, but even so, she's still countered more than any one person on my team has in all of the maps so far. And this is before Retaliator, I might add -- she learns it at level 12.
A high enough counter rate is ZOC but better. I'd be glad to see this continue once I recruit her.
She uses her last turn to use her OB. Again. Despite it being utterly awful.
Oh, AI, never change.
Anyway, after that last group of Savages, Serdic, Kay, and Cotton have been moving toward the oasis. Kay's there to finish off the Jouster, should both of them survive the opening attack.
Those trees are impassable terrain. Impassable terrain does not stop Brave Ray. The enemies are immediately adjacent to the trees, and the trees are three tiles wide.
Man. I'm really tempted to go back and edit out what I said about Brave Ray. I feel silly every time I remember yet another use for it.
But hey, laughing at dumb things I do and/or say is part of the fun, right?
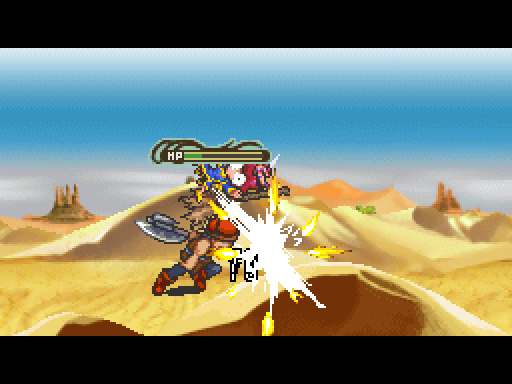
Brave Ray instantly kills the Jouster and leaves the Captain at 11 HP.
Cotton takes care of that next turn. Kay isn't needed, so he heads back up towards the final group of three.
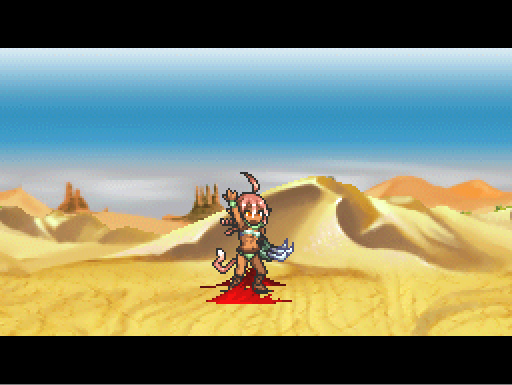
They killed Alhambra, by the way. She'll be back soon enough.
(voiceover, no text) I guess I... messed up...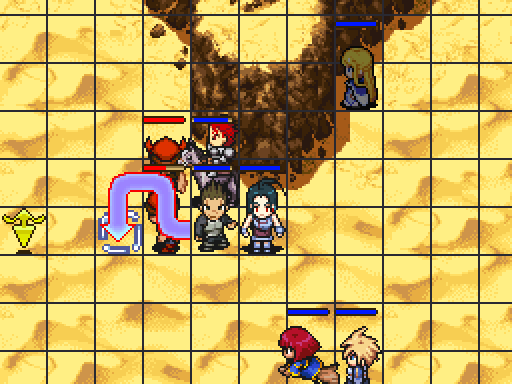
And that is that.
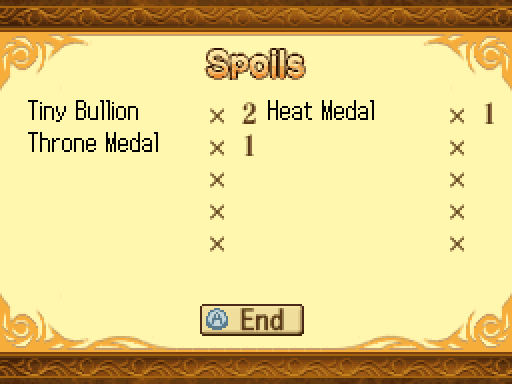
The Throne Medal slightly accelerates status effect recovery. The Heat Medal slightly weakens fire damage... And my sources are right, the effect is about 4%. The strongest accessory anti-element effect is 10%.
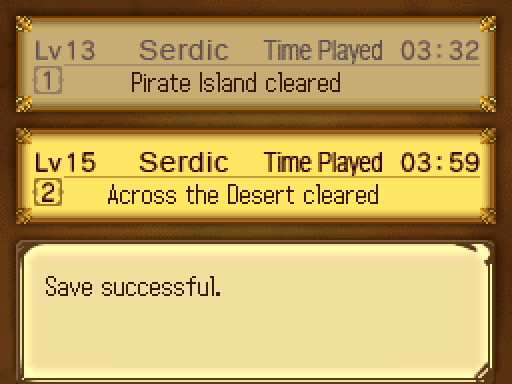
Resets So Far: 7 (+1)
[b]Next time: Fatima Fortress