Part 51: Misfit Run Catch-Up, Part 2
The Fated Hour tomorrow, then back to the every-other-day. I'll post a current character status rundown at the end of The Fated Hour's update.Misfit Run: Chapters 12 Through 19
(Or, "Everything Old Is New Again")
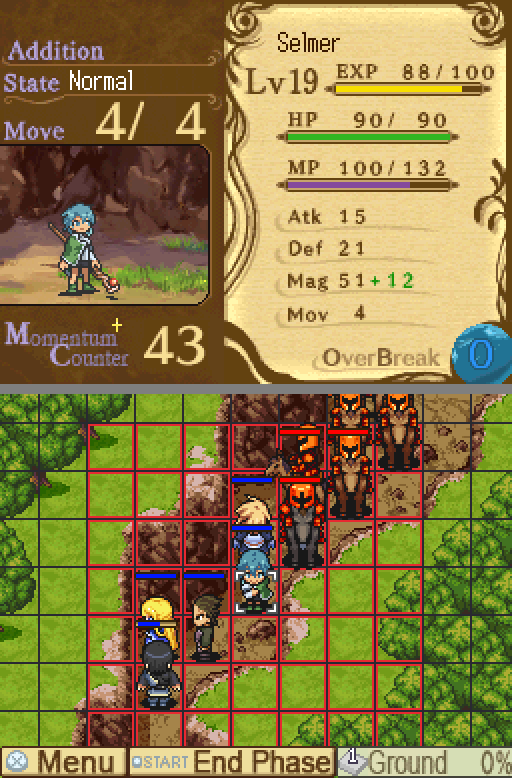
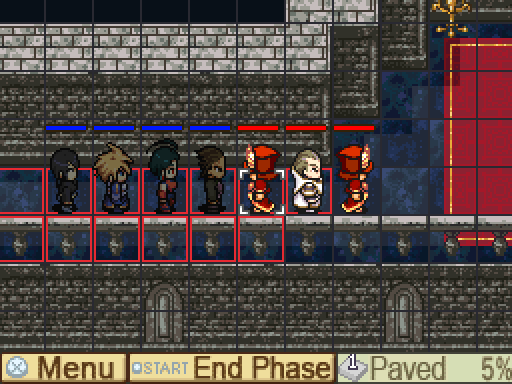
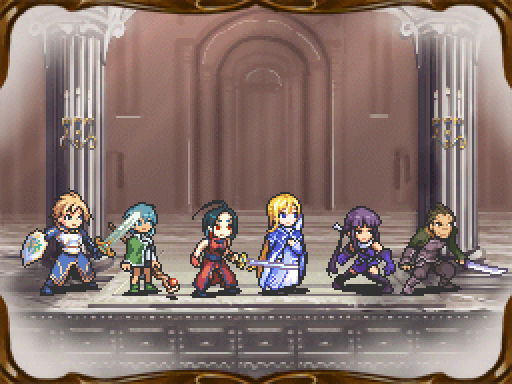
Last time, we got Selmer, Sasha and Owl trained up and two of those three promoted.
Between beating up Clotho again and this spectacular success by Cotton, we can even legitimately promote Owl now! It's pretty great.
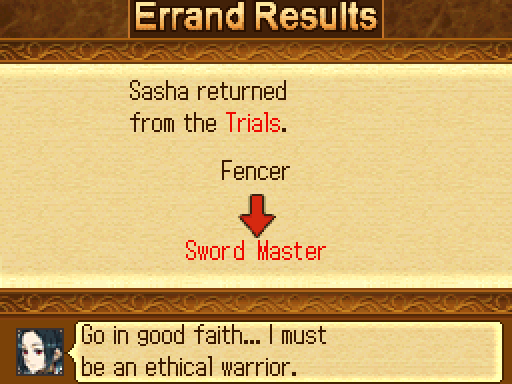
But first, Sasha.
Sasha is one of the rare cases where someone gets nothing particularly special on promotion, at least mechanically; none of the three skills available to her now are very good, though Foresight has potential. Visually, Sasha takes the "Sword Master" title to heart and gets an awesome coat, making it one of the more visually distinct promotions. I approve.
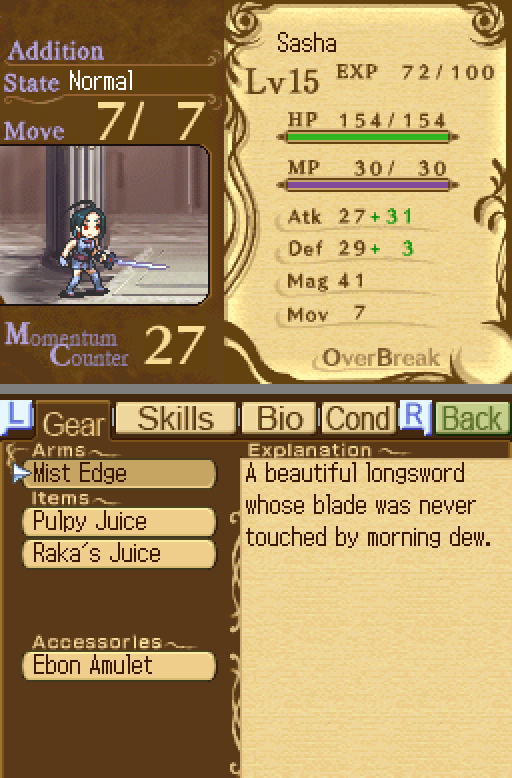
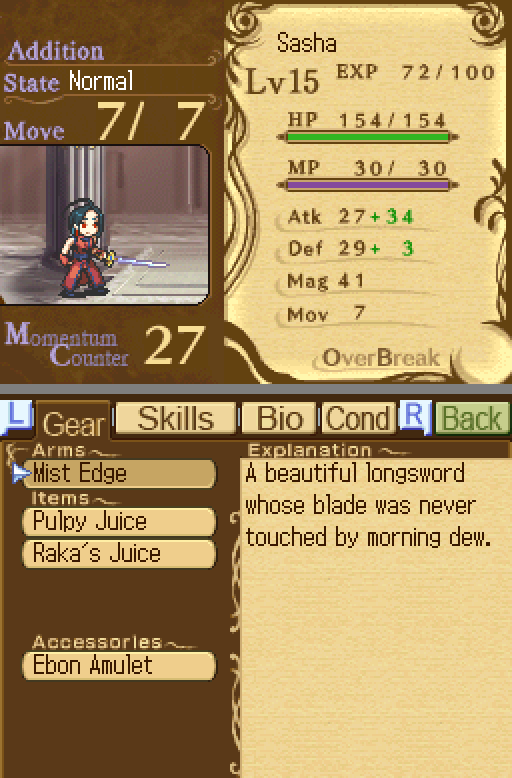
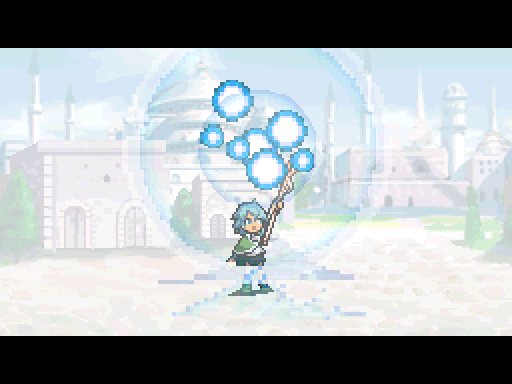
Marie learns Holy Favor 4 and Arcane Light 2. Owl is sent off to promote, and Sasha gets the Black Ring, because I want her mobile this time.
You may remember, way back, that I talked about Sasha-as-mage-tank when she first joined.
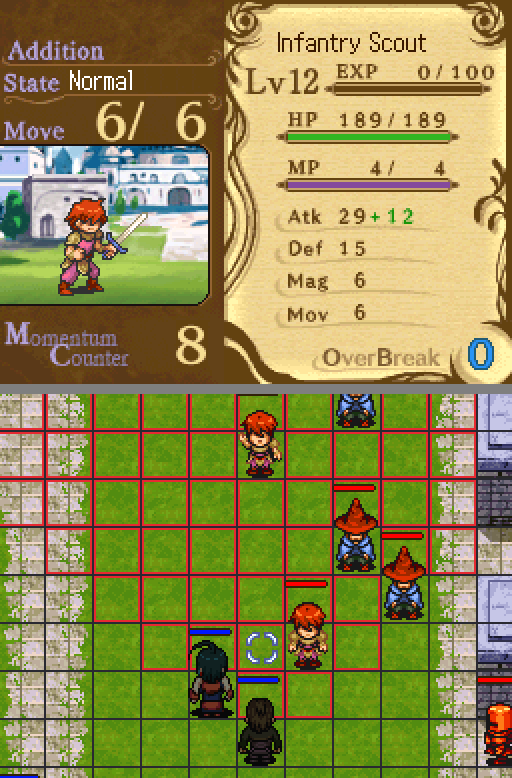
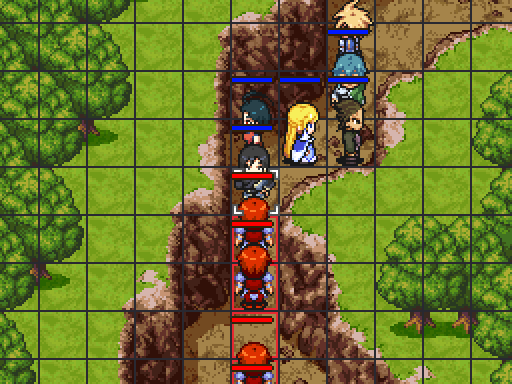
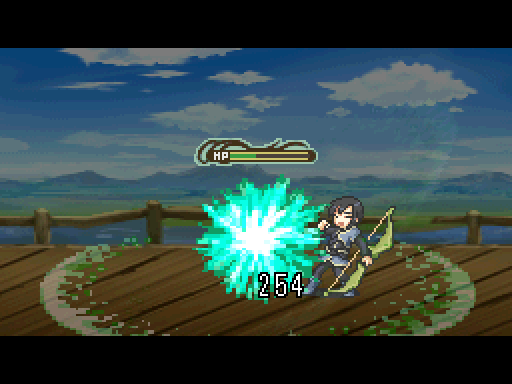
The first shot is Serdic with +27 defense from Amulets. The second shot is Sasha with +5 defense from Amulets. He has 27 Magic, she has 41.
If only she had about 30-40% more HP. Three fireballs and she's done, as you can see.
Owl also has a surprisingly good magic base and an okay growth. Combined with his okayish HP, he's not bad at taking spells.
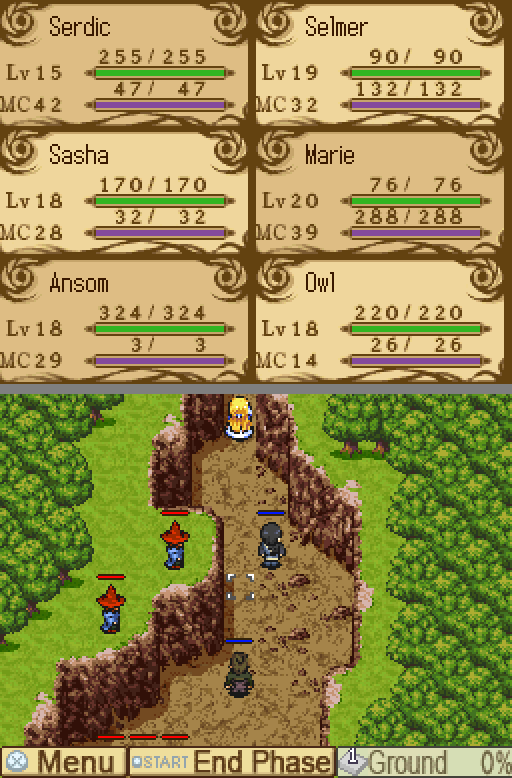
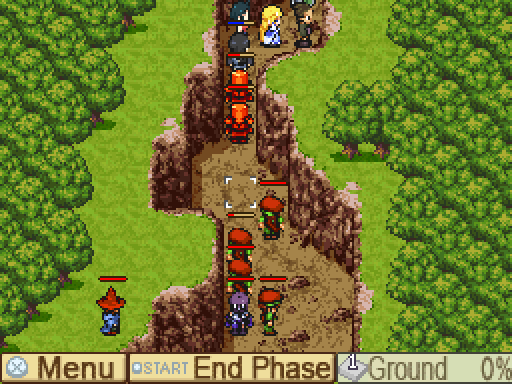
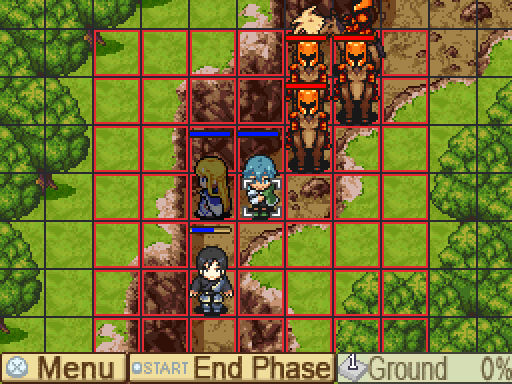
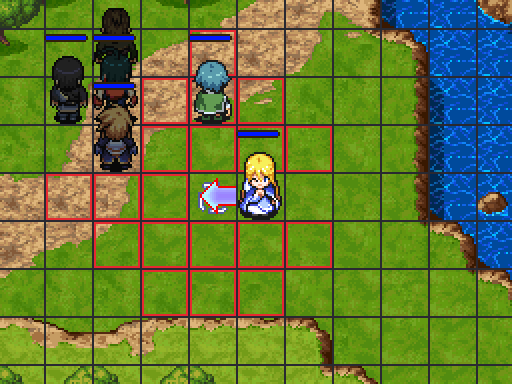
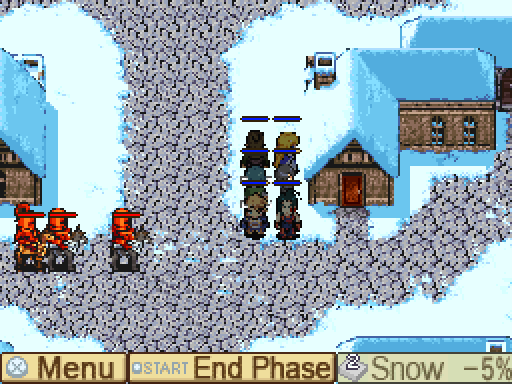
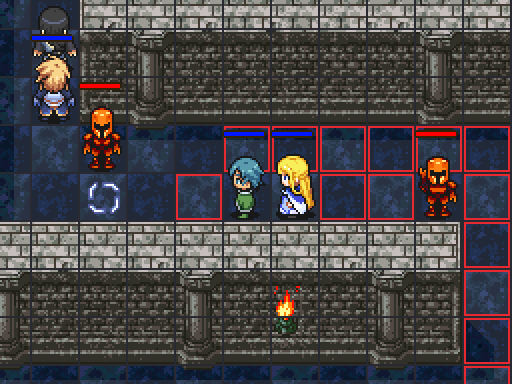
Finally, an enemy that Selmer can one-shot. Sasha and Serdic ignore the two Mages above the start, heading up. Sasha goes left towards Elmer, Serdic goes right to kill the two Mages over that way. Kay and Ansom head to the left alley, with Selmer following along after he takes out the two Mages he can reach. Ansom performs basically identically here, even without cards; he doesn't need doubled attack to kill mages in one hit.
All movement actions are subject to ZOC and counters, even when you can't actually attack.
Aside from that, not much happened. Ansom took a couple of spells to the face to make enemies cast on him instead of running from Selmer, Selmer killed a lot of mages, Ansom shot people, Sasha was surprisingly good about not dying to magic. Then I spent about ten turns herding Elmer towards Selmer, who was out of MP and therefore not registered by the AI as a threat.
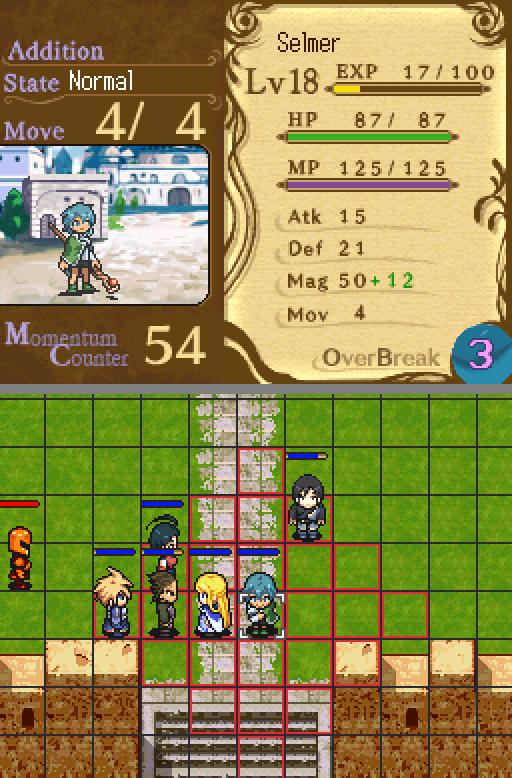
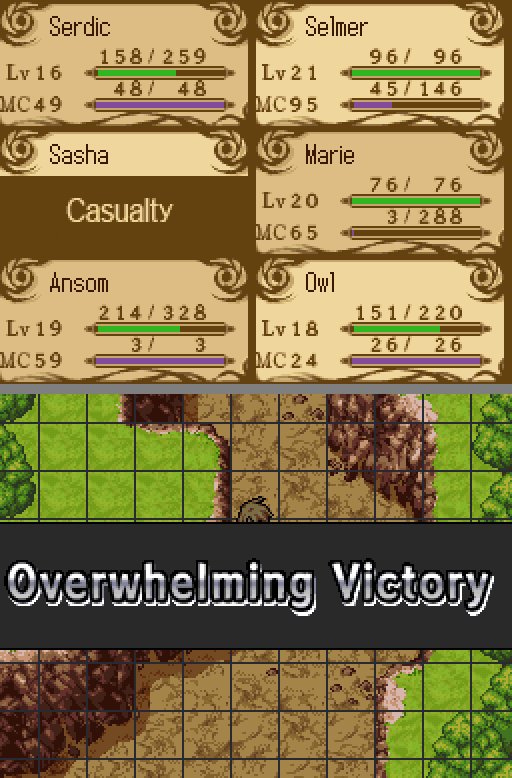
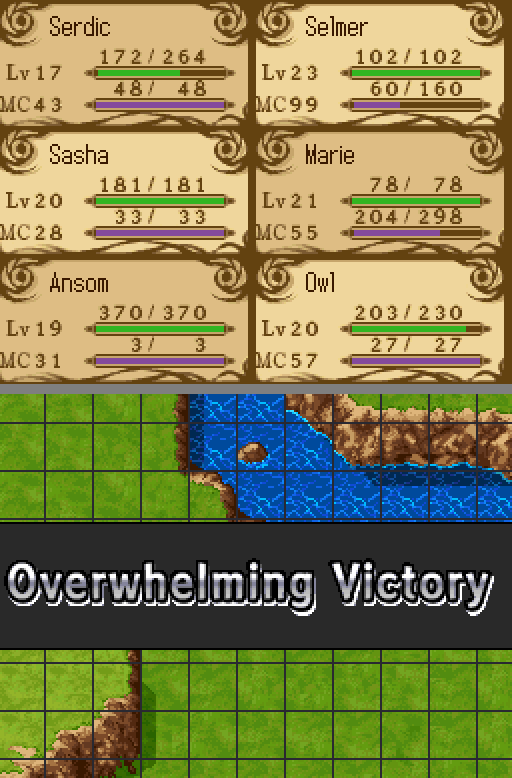
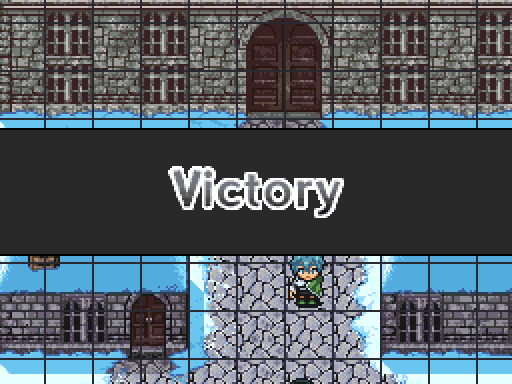
At least I still got a Victory out of it. Marie's level 18 too, so Selmer is marginally less useless!

Owl is promoted! Annnd it's basically just a palette swap. He has a little more armor, I guess! (He may also be under the control of the Black Chronicle, but we won't know until he turns into sand.)
I know I'm a bit spoiled by Sasha's entire outfit change, but... Still.

Probably not.

In less creepy news... Marie learns Martyr 1, Sasha learns Null ZOC 3, Owl learns Lateral Stab 2 and Back Stab 2.
Sasha gets +20 of amulets, Serdic gets +7. This does not end up mattering very much.
Discovery:
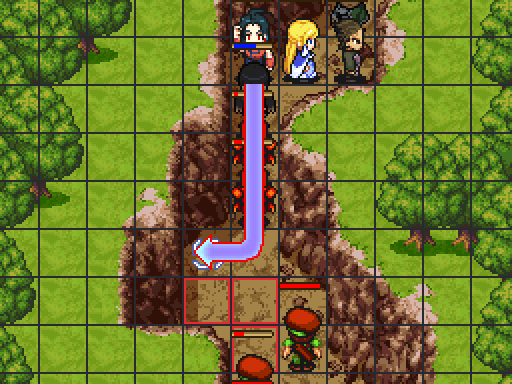
This specific enemy's movement seems to be the trigger for whether or not the right side moves turn 1. If he can attack you, then the entire right side will aggro and you'll have problems.
I spent a few resets experimenting with this to discover what I could and couldn't get away with, discovering that Sasha and Owl absolutely must kill the front two mages on turn 2. If you approach was closely as you can, it's easy enough to kill the two Fire Raid Mages and their Scout first turn, leaving only the upper Scout and two White Dust Mages.
Ansom, meanwhile, spends his first few turns moving around and shooting up the left side indiscriminately, presumably because there's some similar trigger on the left side and he's perfectly capable of being a pest without triggering it.
This is after two White Dusts. It's kind of an awful spell, no matter who's using it. They're easy enough to clear out afterward.
On turn 4, Ansom gets hit for 1/4 of his health (the Scout near the two top-center Mages, who he's just finished clearing out) and the Armors near Arios move.
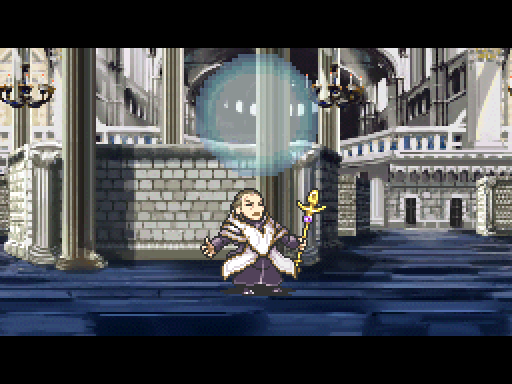
Marie uses Martyr on Selmer.
I had to weaken them that much because they had Magic Guard, but... It still feels really nice to be doing this again! Even if it took exactly 80% of Selmer's max MP to do it.
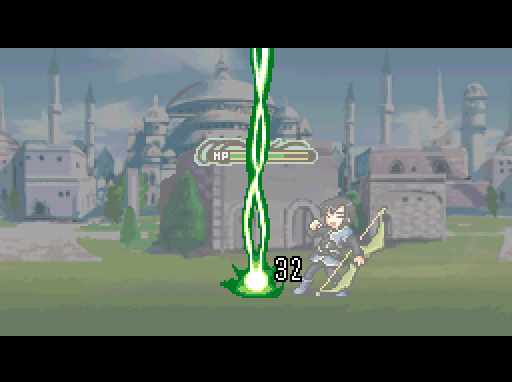
This is to get Selmer's meter up. It's time for another cunning plot.
Do you remember how I talked about Divine Seal utterly invalidating mages?
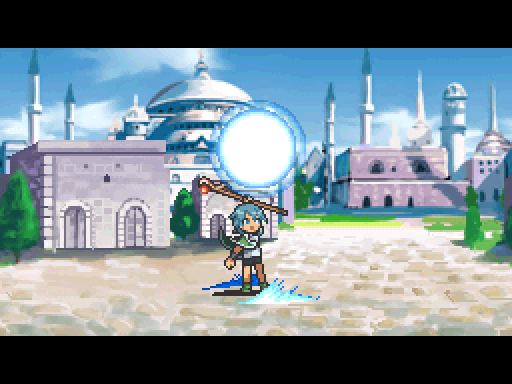
Selmer's OB, Eidos Curse, is designed to reduce received magical damage. It lasts one turn and multiplies damage received by (4-lv)/5, where lv is the level of OB.
It's enormously specialized, and not least because it's on Selmer. But there's definite uses for one turn of 80% magic damage reduction.
I guess this is another way to defeat Mephreyu back in Route B, but... Selmer.
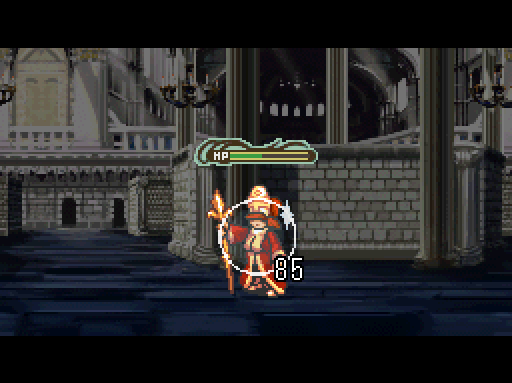
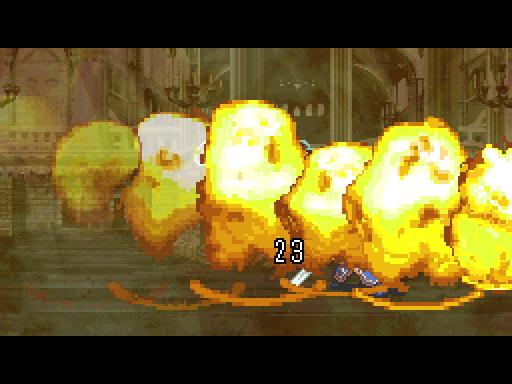
Ansom killed a War Mage five tiles to his left. The Mage four tiles to his left has Sedna Prison and I have arranged appropriately.

The results are rather beautiful.
Then I kill them all.
Ansom gets hit repeatedly while everyone else kills the Armors in front of him. Marie heals half life, Ernest does half life, Ansom hates both of us profusely.
I've mentioned before that Ernest can attack. To my knowledge, only he and the enemy Priests/High Priests can, and I'm not sure about the latter two.
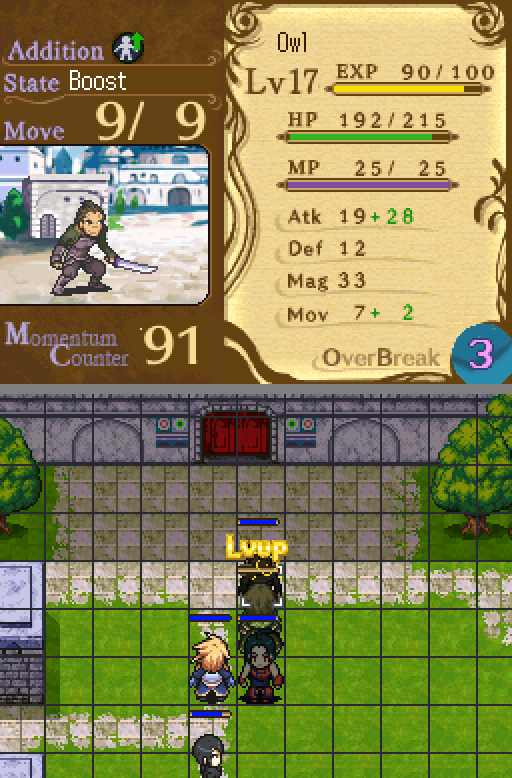
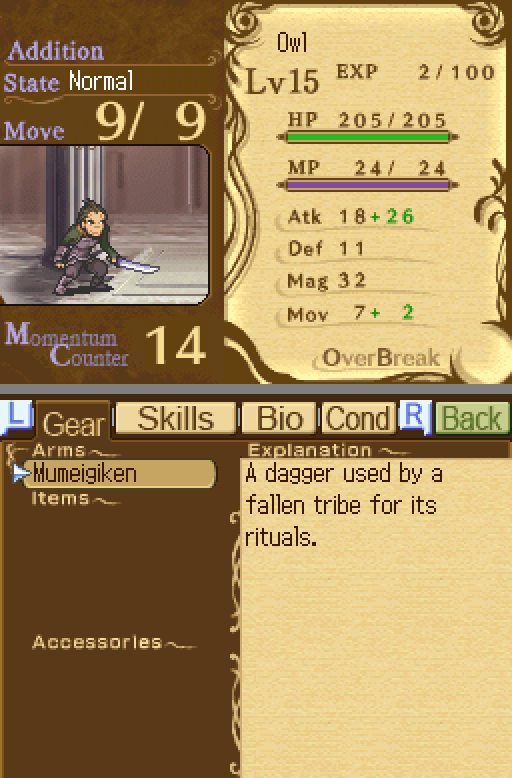
And Owl gets to level 18! (After the end-of-level experience, anyway.) He's got at least a 50% critical rate at this point; pretty respectable. Lateral Blow 4 will help a lot. Sasha's almost to level 18 and Duelist, though she's much further away from Lateral Blow.
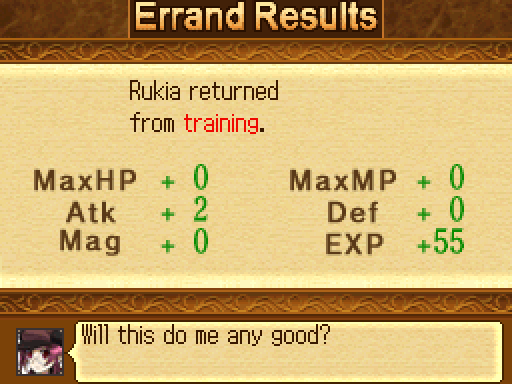
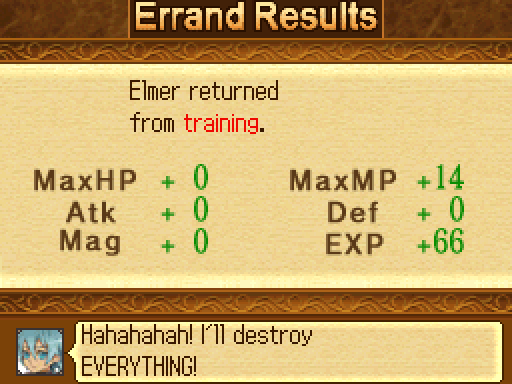
Elmer and Rukia are training desperately (but futilely) to actually be useful. (This is the Training feature in the Errands section.)
Also:
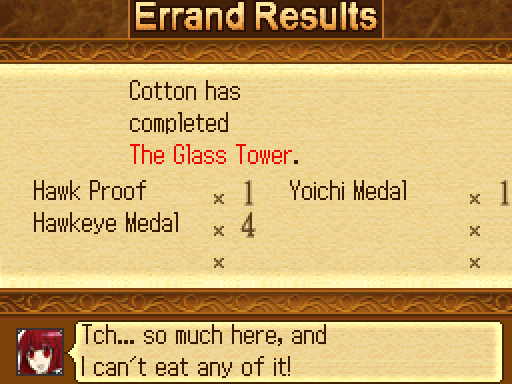
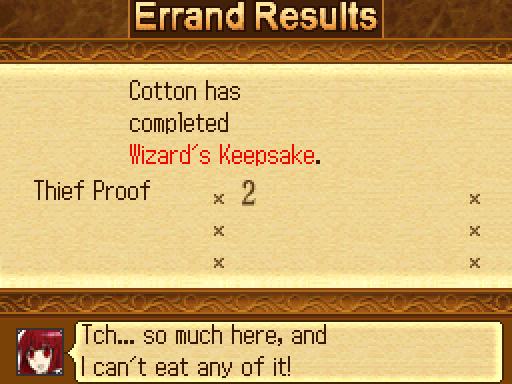
Good lord, Cotton.
It's a shame those Medals are only worth 100 a pop. Good hustle, though!Selmer learns White Dust 4 finally; now he has the MP to cast it four times (or White Dust 4 once and Sedna Prison 4 once, since he has exactly 132 MP), and he has just enough points for both Torus Spell 4 and Yumil Magna 4 once he hits level 30. Owl learns Vital Strike 3 and Lateral Blow 4, giving him +28% damage on top of the usual +28% from attacking an enemy's side.
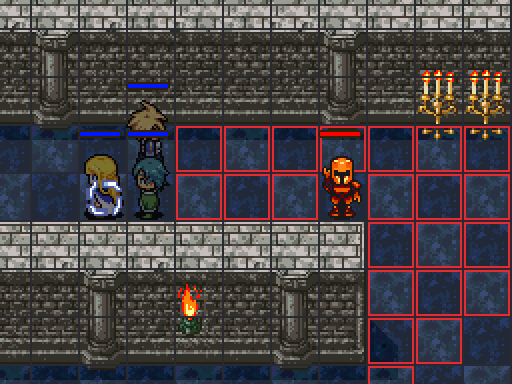
Igraine's recruitment goes the same as it did last time; the only difference is that this time, Sasha's tanking the spells instead of Margus or Serdic. This is after one Abyss Gate and two Hell Warriors, still with +20 defense from Amulets.
On average, assume most levels take me two tries. It's pretty easy to slip up and have someone die; for example, Sasha died here in my first attempt.
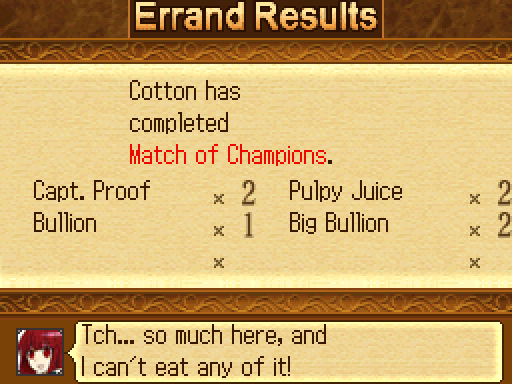
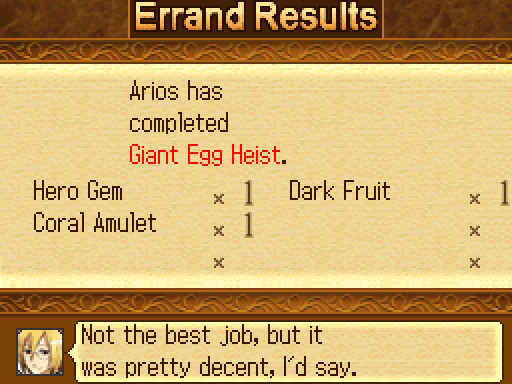
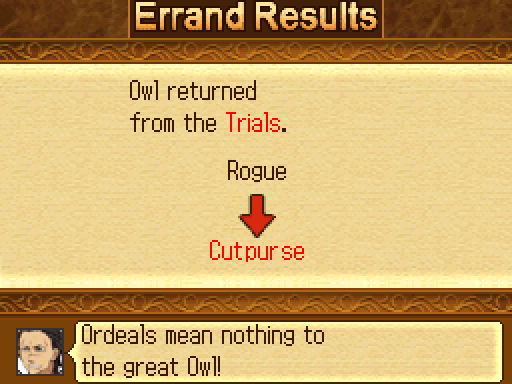
Arios has the Charisma skill at level 4, giving him a higher success rate for Quests. Cotton is just... Cotton. I can only assume she has a hidden success rate boost, because she's three for three on ridiculous quest returns.
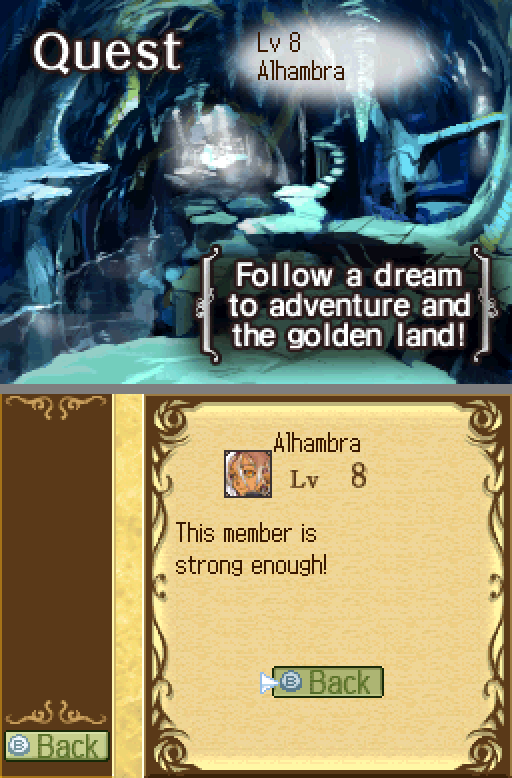
Alhambra's up to three cards.
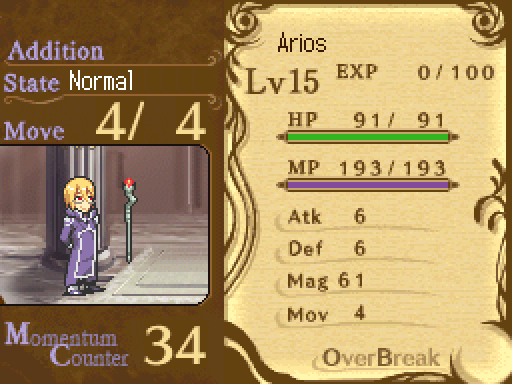
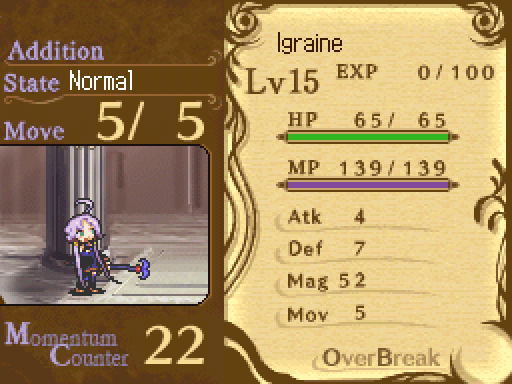
Now that we've got both Arios and Igraine, now's a good time to compare them against Selmer. We don't have current stats for Elmer, but I'll show his growths anyway.
code:
Class	Growths	Attack		Defense		Magic		HP	MP
Warlock Selmer	1		5		8		30	67
Warlock Elmer	1		4		7		55	50
Warlock Arios	1		1		8		18	75
Warlock Igraine	1		3		7		18	60

Rune M.	Selmer	1		6		9		36	77
Rune M. Elmer	1		5		8		60	58
Rune M. Arios	1		2		9		23	92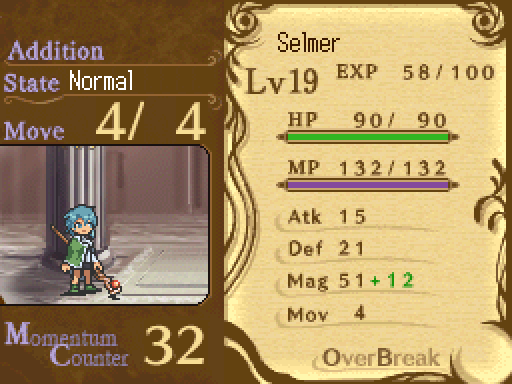
Rune M. Igraine 1 4 9 23 76Selmer apparently thinks "HP" and "Defense" are things he needs, and he's wrong, because he'll never have enough of it to matter. He's not Cotton or Aegil. His growths are basically equal to Arios and Igraine otherwise but his bases are worse by kind of a lot -- at the same level, Igraine will have about 30 more MP than he does! And this is with Selmer having a +MP ring on. That's ridiculous.
Selmer is poorly optimized, but Elmer's growths are pretty okay... Once he's a higher level and has Magic Guard, letting him put that higher HP to use. They really don't help with his awful start.
As for the level itself...

Don't do this map without ZOC. It's trivial with it and a complete pain without.
Selmer and Marie can't quite reach each other on turn 1, but Marie is able to show off Martyr 3 here -- it reaches one more tile out in all directions, letting her keep Selmer topped off.
History repeats, more or less... Although Ansom's much lower OB gain rate does mean that the bottom isn't completely invalidated. In fact, it's downright problematic.
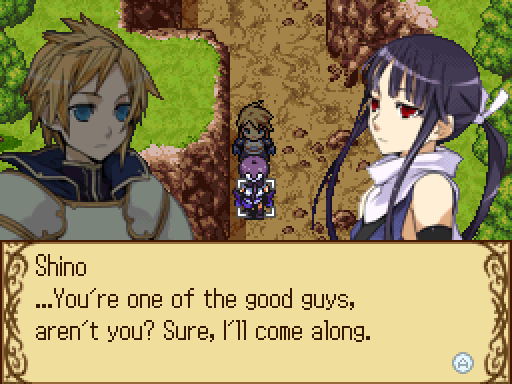
The problem is the Archer at the top, directly below Marie. He's within six squares, and if he doesn't die this turn, then he'll shoot her and she'll die. That would be fine, except that this disqualifies me from recruiting Shino (Marie needs to be on the map), which means I can't recruit Izuna, and I still need to kill all of the cavalry up top. I want Sedna Prison for that.
Sasha can't kill that Archer in one hit without Duelist or Lateral Blow. Ansom shoots the top Armor and Selmer hits the lower with White Dust, but even White Dust 4 can't take the Armor down to a point where Owl can kill it without a critical. He's got a better than 50% shot at that, but if he fails, the bottom Armor has ZOC. Then the Archers shoot him to death.
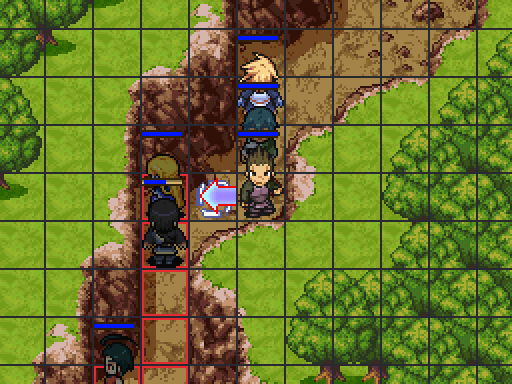
This is my compromise position. Sasha takes the majority of the fire from the Archers, but Arrow Guard and her Amulets keep her alive. (5 HP. It's a very close call.) Marie moves out of the way of the Archer, Owl prepares to help.
But if you thought we were out of the woods then you really don't get the Misfit Run.
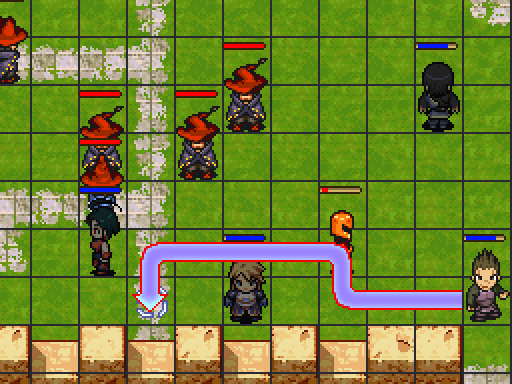
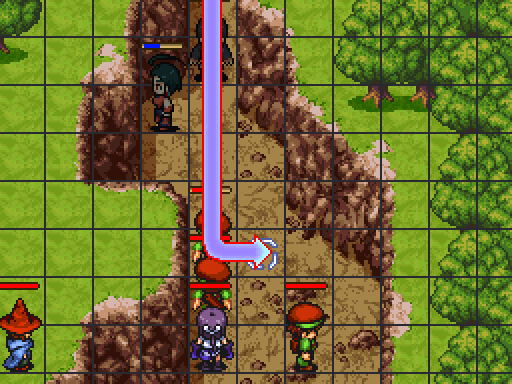
All of these enemies need to die and they need to die now. We don't have a Margus to buy us a turn or two, and if they run through us then we're screwed. Serdic has to kill the Jouster; the rest are Cavaliers and die in one spell. Serdic does a loop and ends up in the space above his current location, which ensures the enemies funnel through the chokepoint and end up in Sedna Prison's killzone.
Of course, after that happens, there's still a gap behind Selmer. I can Holy Favor Selmer, which will bring him into Martyr range and let me use Sedna Prison to destroy the top. Sasha has a Pulpy Juice (+40% HP, bringing her up to 75), but is that going to be enough? Even if I send Owl down to finish off the weakened Archer and have Ansom kill the top one, someone's probably going to die.
Or I can have Sasha attack the bottom and then use Holy Favor on her, plugging the gap but ensuring that Selmer can't Sedna Prison next turn. If the cavalry are close enough, then they can run through and kill someone this way; I doubt I'll be able to hit them hard enough to stop it. On the other hand, this could turn out well.
So, do I play it safe and likely sacrifice someone, or do I hope for the best?
Optimism is for individuals. When you're deciding for a group, be a pessimist.
Of course, if I'd given her Serdic's Akasha Juice, she would have lived. At this point, though, I'd reset about six or seven times trying to find a solution and I really wasn't looking to do it again.

Thankfully, Ansom kills the last Mage left over and plays arrow magnet for Owl, keeping this run from having two casualties instead of one.
Then I wander Owl right into Jinrai Slip's x-shaped radius and nearly lose him anyway. I'm good at video games.
Selmer kills the rest of the Cavaliers.
Thank goodness that's all over. Now it's time to do another level that ZOC trivialized, only this time without ZOC!
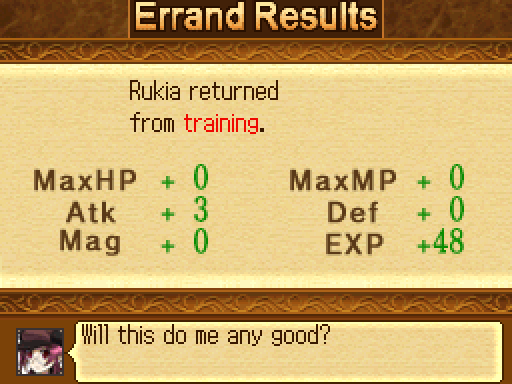
This is the best result you can get from single-stat Attack training. If you're absolutely set on making Rukia useful, then... This isn't going to do it, sorry, but it might be a good first step? Better than actually trying to use her in-level.
Selmer gets the Black Ring. Sasha may be Hurt, but I want her to get experience, and with Duelist and Tiger Fangs she may be able to deal some damage anyway. To that end, I give her both of my Hero Gems; if all else fails, "lure Alberich into Tiger Fangs" is a perfectly viable strategy.
This is one of those levels you want to do well, because when you do it badly then you have to do it over, and large groups of enemies take goddamn forever to move.
The strategy is fairly simple: Have Selmer nuke all of the cavalry with Sedna Prison, then use Martyr to get his MP back and do it again. Then run like hell towards Ernest. I want this map over pronto, and I don't really need the South Medal in this party.
Stage one complete. Selmer's current position keeps him safe from the rest of the enemies, so it's fine if he stays put.
Ansom kills the Armor, everyone else inches forward.
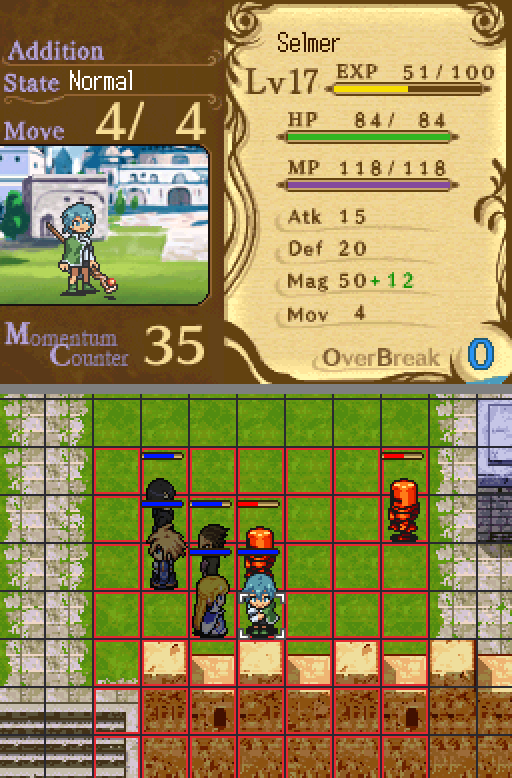
You know, I'm really down on Selmer. He's hard to use, and even when he's fully leveled he doesn't do anything Igraine can't. Sure, he does more damage with Sedna Prison and Yumil Magna, thanks to Ice Shard, but she gets everything he does and earlier -- second in Seal Order, remember.
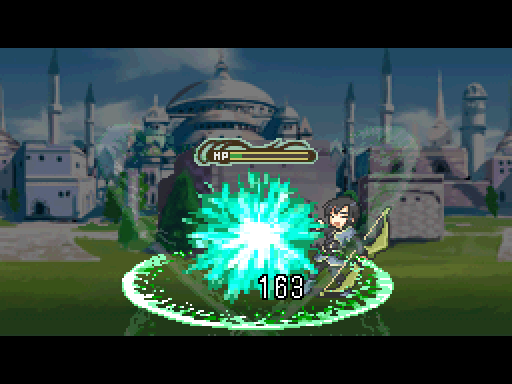
That said, Sedna Prison is one of the best spells in the game and Yumil Magna isn't far behind. Selmer currently has Sedna Prison 4 in a part of the game where the difficulty is not designed for it, and Invoke Mind 2 and Ice Shard 2 help. That alone makes Selmer one of my best tactical assets right now. Frankly, I'm pretty sure you need that gamebreaking power to do this without 1) ZOC, 2) overleveling, or 3) massive casualties.
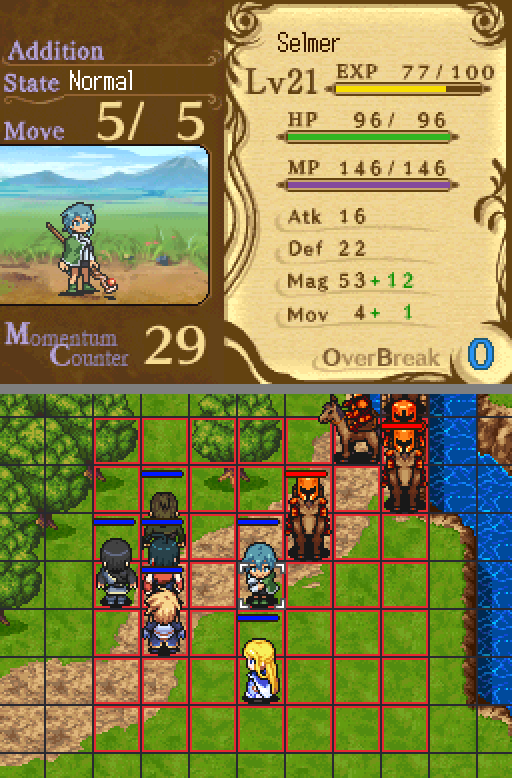
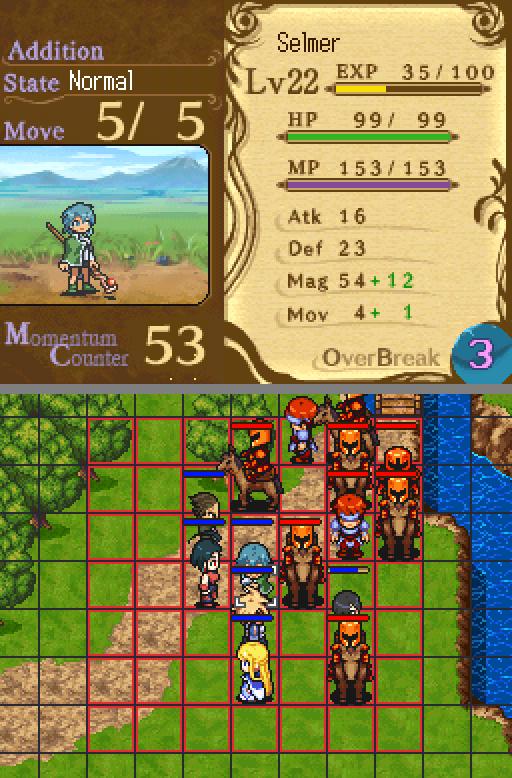
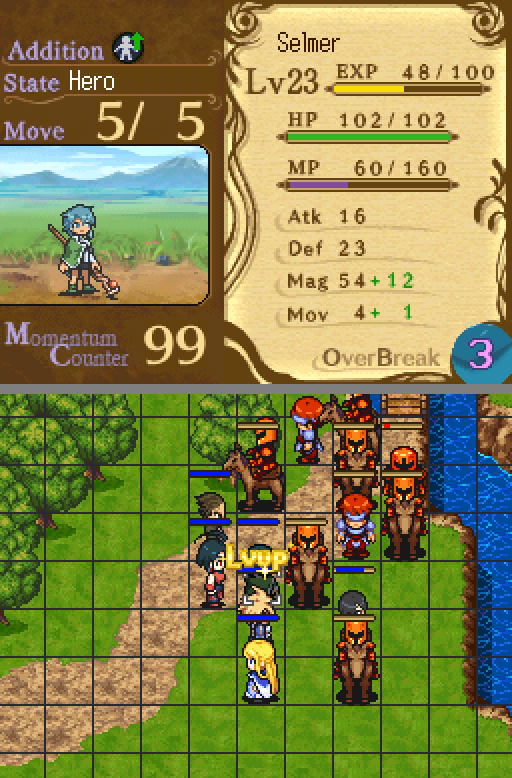
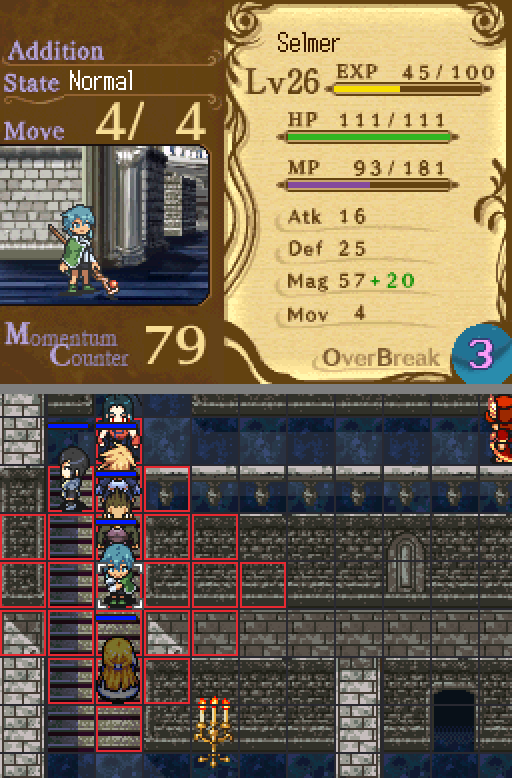
Selmer is now level 23, and he'll be 24 after the map experience is factored in. He'll have Torus Spell soon.
Want to know a benefit of never promoting Ansom? He has nothing else to spend points on, so he gets Invoke Life 5 very early on, and Ansom already has pretty good HP. He's about as durable as Serdic right now, and if he got any Amulets then it wouldn't even be a competition.
Selmer uses his level 3 OB on Owl and Sasha, who run towards Ernest. Owl gets the kill. He needs the help.
Alberich is courteous enough to run away, despite the fact that he'd absolutely stomp me if we fought. Sedna Prison 4 is letting me punch above my weight class, but I really don't have time to get Selmer to another good chokepoint.
Whew. This only took two or three tries, contrasted against the five or so for last map. I was honestly afraid I'd be stuck here for a while.
To briefly delve into serious analysis... The game needs more stages like the last two, where the enemy is continually advancing with superior numbers. These two stages present a kind of challenge that the combat system is well-suited to -- clashes of large groups against your smaller one, where magicians and high-move attackers and especially tanky units get a chance to shine. Maps like this and the last one can be difficult, and they require a good plan, but they're also very fun. There are choices, lots of choices, and they're interesting ones!
This is what made Fatima Fortress, the last map of the last update, difficult and interesting. Four horsemen + four Armors (some with ZOC!) is a scary combination, especially that early, and their aggression puts a serious time pressure on you. Route B's chapter 23 (it's on page 7, look it up) is probably the pinnacle of this idea, surrounding you with enemies on all sides and offering no defensive cover. That one is a little too hard, but it's a good example of the goal. Even the last chapter of Route B has this design midway through, with enough powerful enemies attacking to put even Margus at serious risk.
Instead, you're usually allowed to take your time, letting you pick apart enemies piecemeal and totally squandering the enemy's numerical advantage. This is understandable -- large clashes are hard for players to control, and the margin between "can kill all of those enemies" and "can very nearly kill all of those enemies" makes the difference between victory and disaster. Damage really adds up in this game, and multi-target healing is rare. So small unit clashes are the norm in this game as an anti-frustration feature, ensuring you don't need to be very good at this game to progress through it. Even so, small scale action utterly squanders the Route Maneuver attack system, rendering it a curiosity instead of the dominating feature that it rightfully should be.
But enough talk of what Rondo should be; that's depressing. Back to what Rondo is! Unfortunately, the next stage is a very good example of my point.
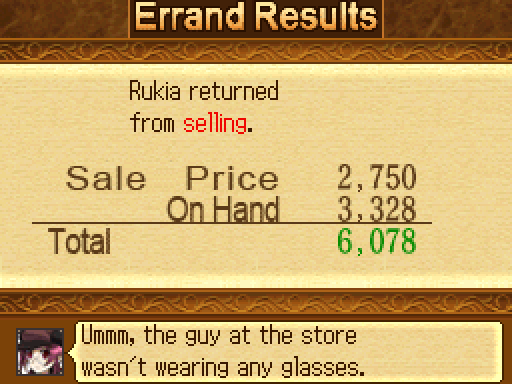
That was basically all of my bullion. I hate you so much, Rukia. And with Selmer in the team, I'm not sure who else to sell with. Shino, maybe? She's got the "good shopper" icon and she can sell five at once... But she also has no "double price" ability, so far as I know. Hmm.
If you want to know whether or not a character has six card quests, check whether this screen comes up. Despite the quests saying you can get nine cards, you can only get six.
Even if you're not using Aegil, you should recruit her in-stage. She comes with a lot of stuff.
I advance slowly. Lure in, kill, move on. There's not much to really show off; "put unit in range, gang up on lured enemy, put next unit in range" is really basic, and you've seen it plenty. There's exactly one point where I'm dealing with more than one or two units at a time, and that's the horse reinforcements. For those, I put everyone in a snowbank and use Sedna Prison. There's never any reason to rush, none at all, and that means it's easy to utterly trivialize this stage.
Well, aside from the way Aegil tends to rush into danger head-first, which works a hell of a lot better when she's got orbital bombardment. But I'm not leveling her, so that's not really my problem.
I'm using Sasha for a variety of reasons this playthrough, and Tiger Fangs factors into most of those somehow. Like Naji or Alberich, a very large portion of her utility is invested in her OverBreak, and in Route B you don't get Seven Sins or Naji. We're not using Ansom either. Point-and-delete is at a premium here, and Sasha's one of the very few sources.
I've said it before and I'll say it again: Whenever your enemy wins in mobility, entrench yourself in poor movement terrain and wait. Let the aggressive AI handle the hard work of approaching.
Aegil's ended up sitting in the top intersection area for about ten turns. Her AI charges her towards enemies but it's not quite stupid enough to put her in attack range of enemies she can't actually hurt.
...
Discovery of the day:
Aegil's allied AI prioritizes MP restoration over basic survival functions like, say, MOVING OUT OF THE WAY.
She just used up a Soma Droplet, the game's 100% MP restoration item. Dammit. I don't need to actually tell you that she dies, do I? That item was utterly wasted.
True, I wouldn't have used it anyway (both of my magic users have regenerating MP, or will very shortly), but it's the principle of the thing.
I advance about as slowly as you can while still making actual progress and still get a Victory.
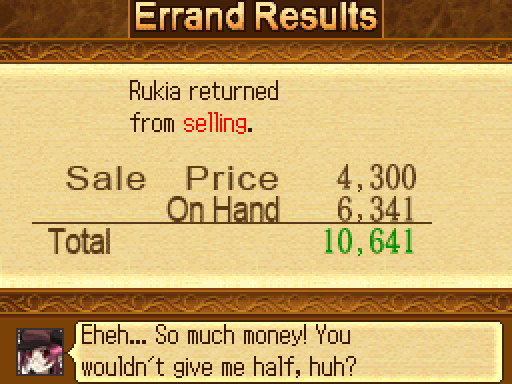
A double selling price result! ...when I'm only selling 2000 gold of stuff.
Even when Rukia is successful selling things, she still pisses me off.
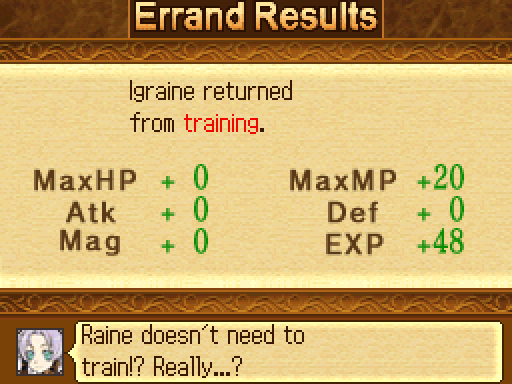
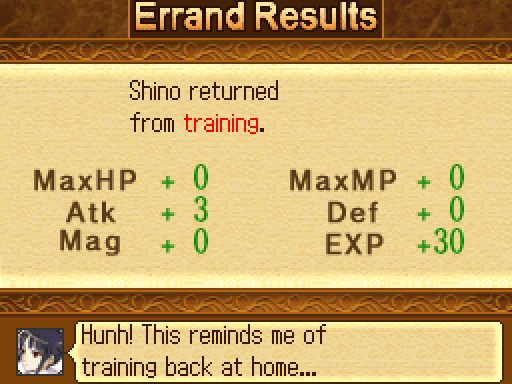
I'm throwing people in training just for kicks, really; there's no reason not to if I'm not using them for something else.
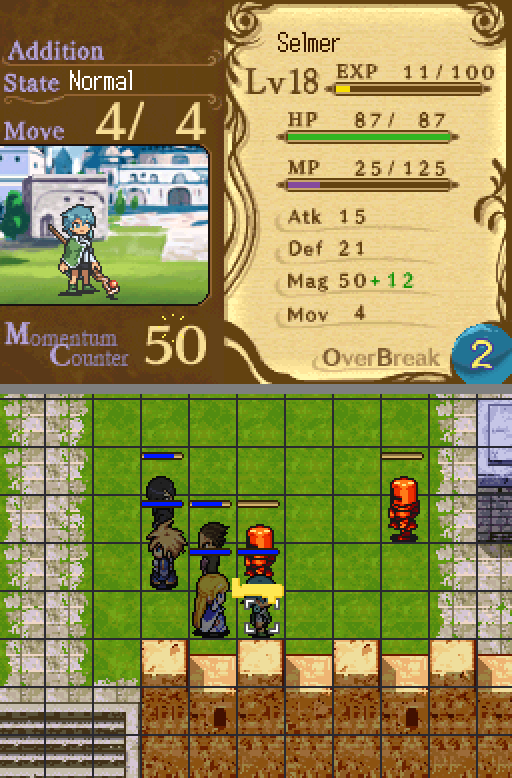
Selmer gets two levels in Arcane Ice. Having Yumil Magna 3 instead of Yumil Magna 4 for a map won't hurt; YM3 is already as strong as Seven Menace 4. -12% MP cost makes Sedna Prison 4 88 MP -- if he levels once more, then he can cast it twice in a row. Not necessary, but very nice.
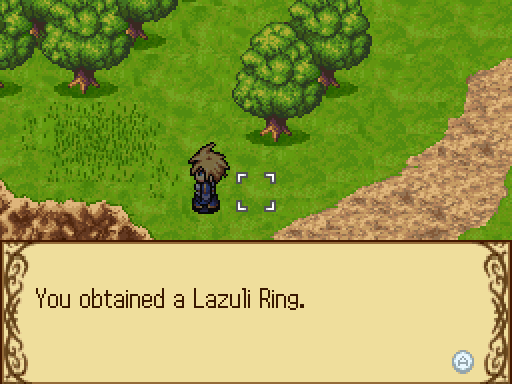
Sasha gets the Black Ring back; Selmer gets Aegil's Lazuli Ring (+6 Magic) to replace it, bringing him to +16 Magic from Rings. Not bad.
No Errands this time, sadly.
I talked about using large numbers of aggressive enemies before, but really, even less aggressive enemies work so long as you have a reason to rush. Rondo doesn't often give you time pressure, because there's no mechanic to do other than "rescue this person." More levels like this one would have been good, where you're motivated to get to a point quickly before something happens.
(I don't count the different types of Victory as incentive to hurry. The rewards aren't good enough.)
This time, instead of pushing a character to the left, I have everyone move to help save Simon and Yumiluna. I'm in a hurry.
...crap, messed up my placement.
It's a fixable problem, though.
Thankfully, between Selmer's level, the +magic rings, and Ice Shard, Sedna Prison one-shots the Attackers.
The rest goes smoothly. Owl takes 60% life from a single Attacker hitting him, but Selmer levels, letting Marie take a break from Martyr duty to heal him.
This is a terrible idea. I know it's a terrible idea. This will not end well at all.
Doing it anyway! The next stage should make a good intermission for everyone to heal from their impending laser injuries.
Ansom shoots the High Priest in the front. I have a suspicion about their AI setting...
Suspicion confirmed! Uther moves first and prioritizes healing the High Priest over fiery laser death.
And from the sounds of it, he about puts his back out doing that. His voice acting is... certainly a thing. Yeah.
The High Priest at the rear of the group is afraid of hitting her two allies, which marks the first time I've seen the AI actually care about friendly fire. This means that only the one at the front attacks.
Not very scary.
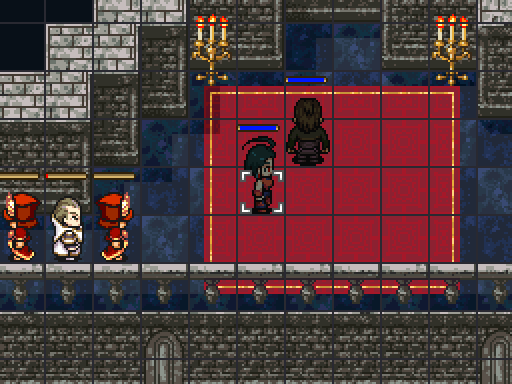
I delay killing Uther a turn to find...
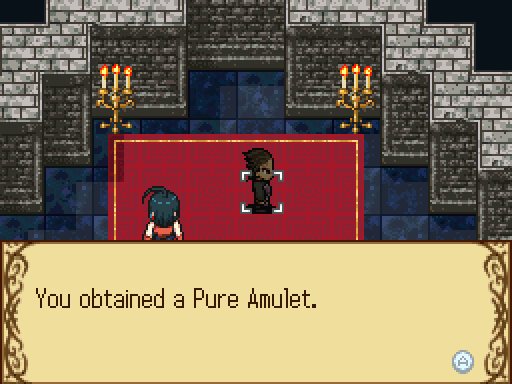
...this. +14 defense is nothing to sneeze at; I haven't got a boatload of Topaz Amulets yet, and I'm working with a fragile team.
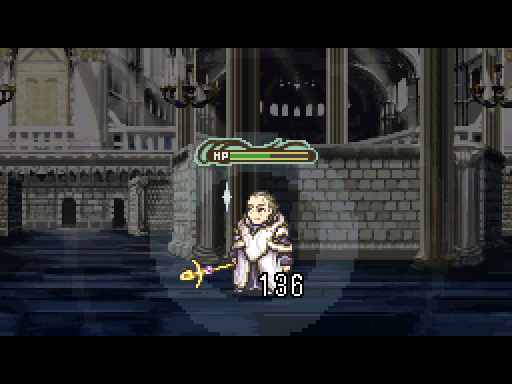
A problem with making a boss who's a healer class: He has healer AI. Uther will just stand around healing until he has no one that needs healing, even if that means letting you hit him in the face repeatedly.
Sasha ends it. I want her to get to level 27 quickly.
Another level done on the first try!
Slight benefit of going on Route A: You don't need to take both Yumiluna and Shino into level 19. On Route A, you should talk to Alberich with Serdic instead of Yumiluna.
As before, the level itself is pathetically easy. I let Sasha get the majority of the kills; a Complete Victory won't get to level 27, but it'll ensure she gets there after chapter 21.
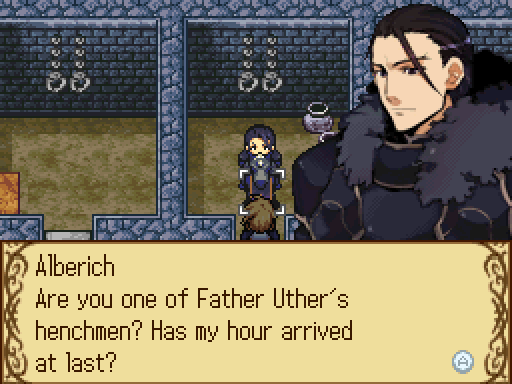
 I am no one's underling. My name is Serdic, Prince of Bretwalde. Are you the one known as Ulberith?
 ...... It's Alberich. So... I suppose I can take this to mean that Father Uther has been defeated. Either way, my fate remains the same. No. I have no intention of harming you. I'm here to set you free. Why? I'm a general in the Imperial Army that overran your kingdom.
That is an incredibly ugly sentence. The structure is just awful. The extra comma in the next sentence pains me as well.
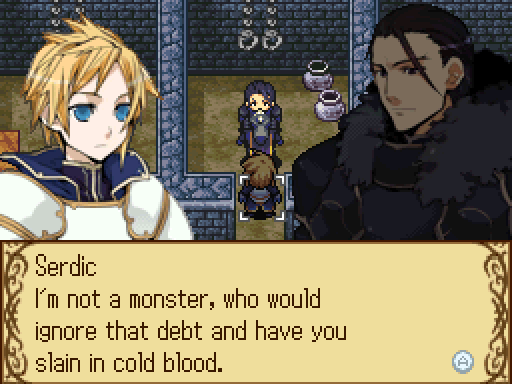 You're quite lenient. Am I? I appreciate your help. But when we meet on the battlefield, duty will prevent me from holding back. No mercy, eh...? Mercy is not in my nature. Farewell, now.
I mentioned in chapter 34 (page 9) that the Alberich conversation with Serdic here is referenced there, even if you never see it here -- the comments about no mercy and such. I find that odd and nearly nonsensical, because I don't see Serdic doing this. ???, yes, but not Serdic.
As I see it, you don't make a big value choice like ??? and Serdic do in The Fated Hour, they're the sum of all your earlier, lesser choices. You make small choices, but you are big choices. Serdic would always choose to put his duty first, even if it meant killing Marie; ??? would always refuse to kill Marie, even if it meant abandoning his duty. That's who they are. This is why the writers keep the character's mask on until after chapter 20 and release it afterward, choosing to leave him a cipher so they can reveal his true nature through his later actions.
Serdic wouldn't ever release an enemy general when he's losing a war; that's simply incompatible with the mindset of someone resolute enough to do the things he does. Setting Alberich free is going to lead to the deaths of people that he's here to serve, and it might just turn the war. ??? might, because it's the Right Thing To Do.
I miss Serdic already.
(Yumiluna frees him if they talk, but that's a morally neutral action; she has no idea who he is. It makes sense.)
Next time: The Fated Hour