Part 3: Cyanide
In which we run a science delivery mission, discover a bonus weapon shop, and board raider ships time and time again.Having resolved the Koshol-Warhaku dispute and heard weird things about a "light" as well as a great "evil" down below, we can now focus on whatever next mission the Federation has in store for us. First, however, let's make that Science Foundation delivery we picked up last time. As you may remember, we were asked to bring a monitor unit to Ceyjavik.
Ceyjavik is the downmost planet on the Caldorre System map.
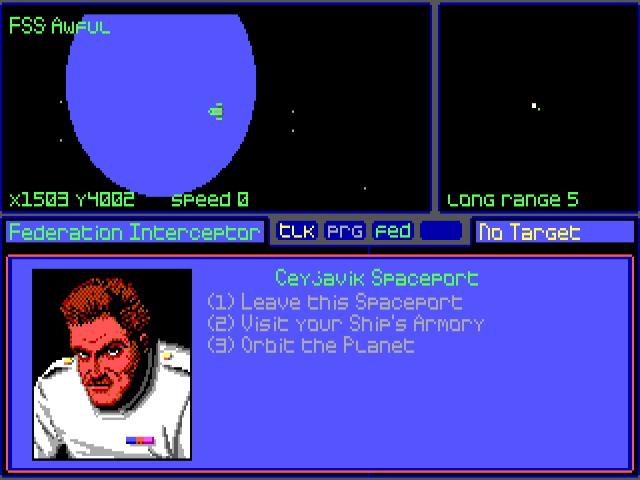
It is a research planet which, unlike Caldorre, has no spaceport facilities.
Manual posted:
The following Information is excerpted from the Official Report of the Federation Survey Party of 2990.
6.3 Ceyjavik
Ceyjavik, the most remote planet in the Caldorre system, has a wild and inhospitable climate that makes it ill-suited to human colonization. However, the fragile system of animal life that manages to survive such conditions is of interest to science, and so the Federation has established a biological research laboratory on Ceyjavik.
6.3.1 Geography and Lifeforms
Ceyjavik's surface is mostly ocean, with two polar continents that are home to numerous live volcanoes. These volcanoes continually spew molten debris, which congeals in the frigid sea to form the scattered bergs of buoyant lava that are the other major landforms on the planet. The volcanoes also spew vast quantities of a bluish gaseous sulfur compound which is harmelss when it reaches the surface, but is toxic when concentrated in the volcanic caves.
The planet is subject to intense and long-lasting seasonal storm systems. Winds can reach 200 to 300 kph during a severe storm, and a meter of snow frequently falls in the course of a standard day. This heavy precipitation coats the floating bergs with a thick layer of frozen snow, so that they appear as icebergs by the time they reach equatorial latitudes.
The following life forms are found on Ceyjavik:
Ice Tiger: Large, white and roughly tigerlike. It lives in the coves of the larger and more stationary bergs and eats sea creatures which it captures by swimming. The ice tigers are normally amiable.
Bush Rat: This small rodent protects itself by remaining still, whereupon its thick scrubby coat causes it to resemble a small shrub.
Seals: These are peaceful, intelligent creatures that live primarily in the water and occasionally on the beaches.
Early accounts also contain unsubstantiated reports of such creatures as blue fliers, red lizards, and lava snakes.
6.3.2 Politics and Culture
The only inhabitants of Ceyjavik are the 50 or so scientists who staff the BORKIN Laboratory (Biological and Research Kinetics). The station consists of a base camp with a landing pad for orbital vehicles, and two outpost labs that are carved into stationary bergs. These outposts consist of a cat observation facility, and a sea life/aquarium area. They are linked by an underwater tunnel.
Ceyjavik has no facilities for supplying or repairing space vessels. Federation ships are advised to bring their own supplies when visiting Ceyjavik.
We'll visit the BORKIN Lab later, but for now, let's focus on the delivery mission.
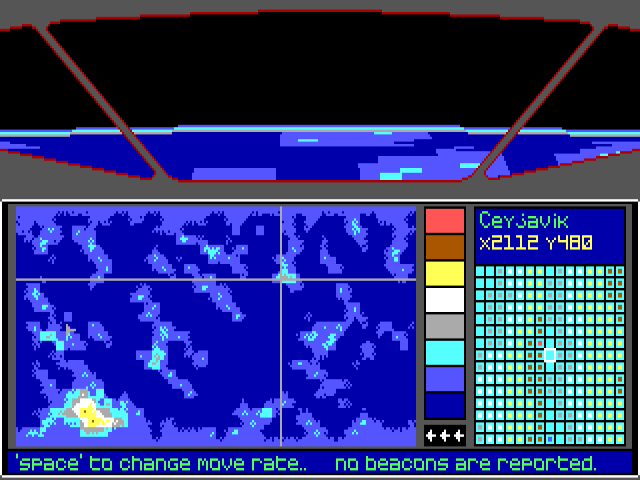
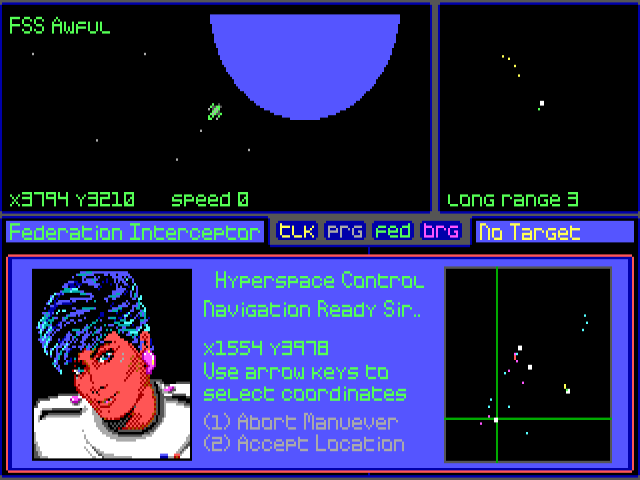
The coordinates we need are x2112 y480.
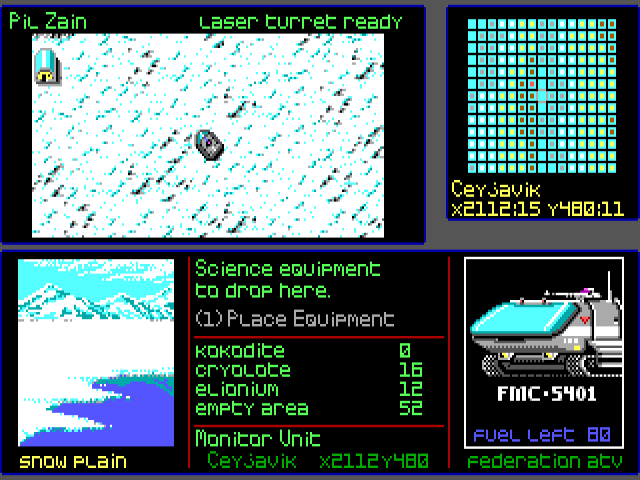
As soon as we've arrived there, the option to Place equipment appears. We do just that.
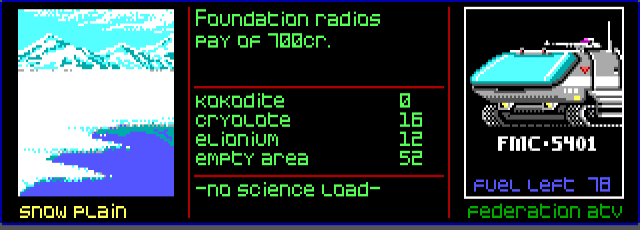
That done, the Science Foundation tranfers the promised 700 credits. Easy peasy. Let's now explore around a bit. (Am I the only one thinking of Mako whenever I see the ATV?)
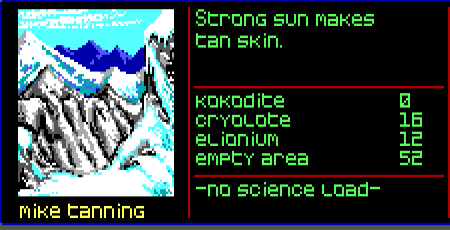
The sun is strong on Ceyjavik; no wonder the planet is barely colonized.
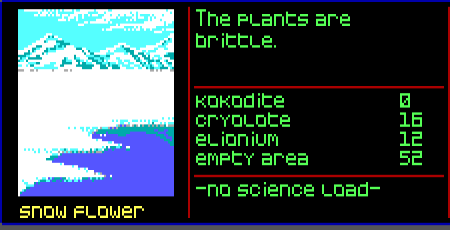
Amidst the surrounding snow, plants are few and far between.

Sure harsh around here.

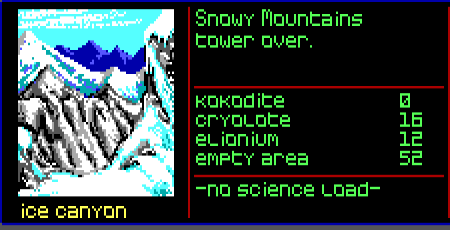
Nothing but ice, rock and snow.
Truly a horrible place.
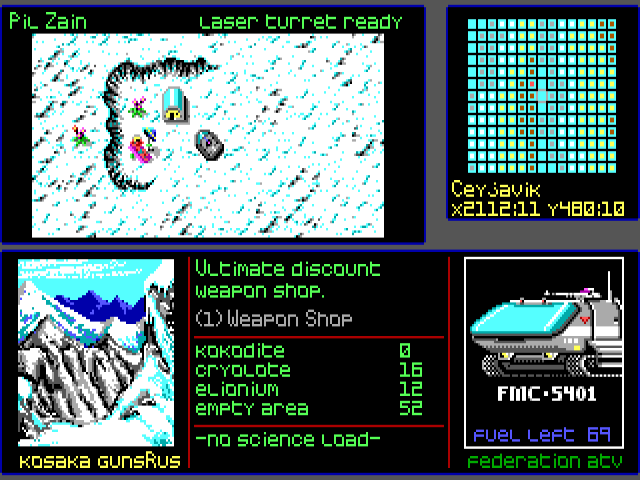
We got lucky, however, and the science delivery mission got us landed right near a lone weapon store. No idea why a weapon store would be located here in the wilderness, of all places.
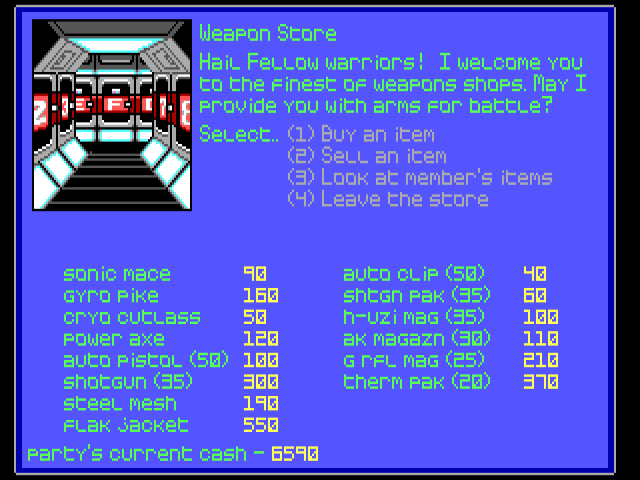
The store is in fact pretty nice, with a wide selection of basic weapons and ammo. Gyro Pike is a moderately powerful contact weapon, dealing 4-16 damage, so we buy one for Beth. Power Axe is a good edged weapon (3-12 damage); we buy two, for Aleph and Gimmel. We also acquire new armour as well as some auto clips.
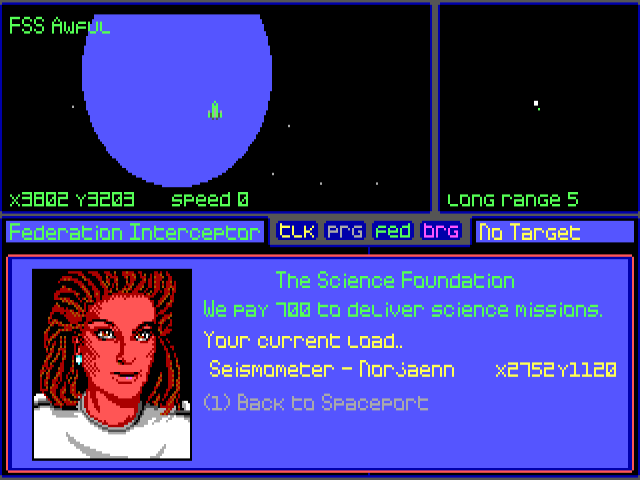
Back on Caldorre, we're free to pick up a new Science Foundation errand. This time it involves delivering a seismometer to Norjaenn. All science errands are basically the same, so no point in covering them all in the LP.
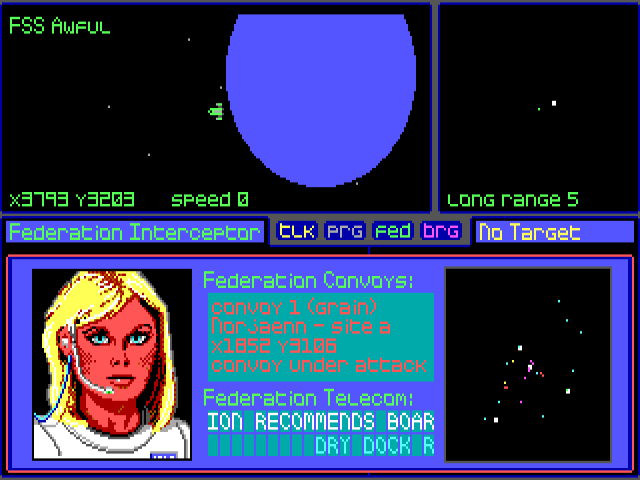
Meanwhile, a new main plot mission pops up on the Telecom:
FEDERATION RECOMMENDS BOARDING OF RAIDER SHIPS TO INTERROGATE RAIDER CREWS
With this, Sentinel Worlds' probably most tedious and at the same time exciting mission begins. The concept itself is exciting, and it does start off exciting, but ends up tedious and pointless, for reasons I'll soon explain.
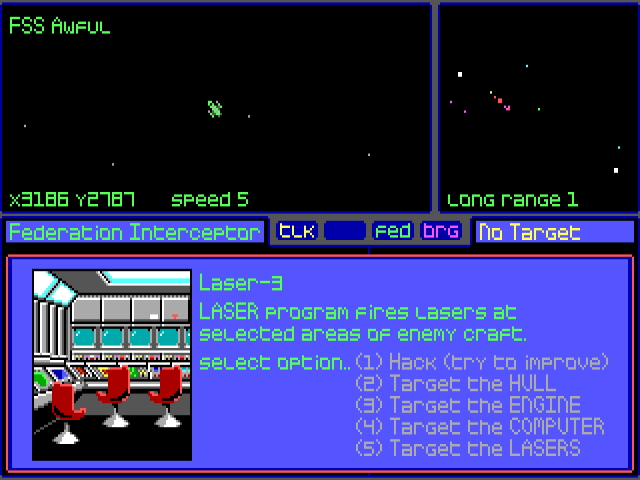
The mission itself is best approached in this manner. First, we programme our lasers to only target the engine of enemy ships. Next, we target a raider vessel and shoot our lasers until the enemy's ENG stat reaches 0. After that, the enemy ship becomes motionless and we can press B to board it.
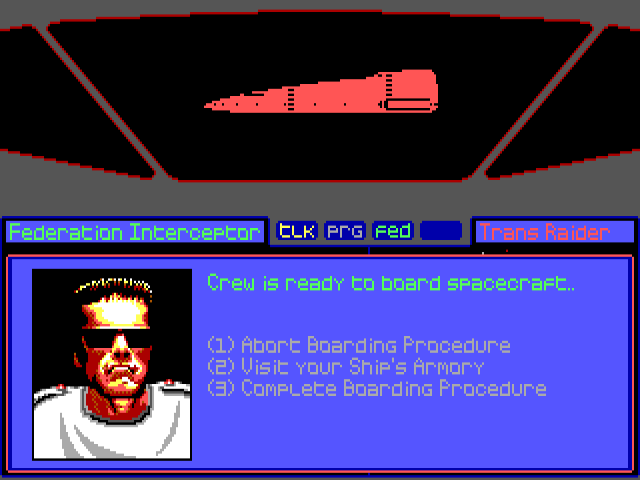
Above is the boarding menu; as you can see, it is no different for a raider ship than it was for Grager's Yacht.
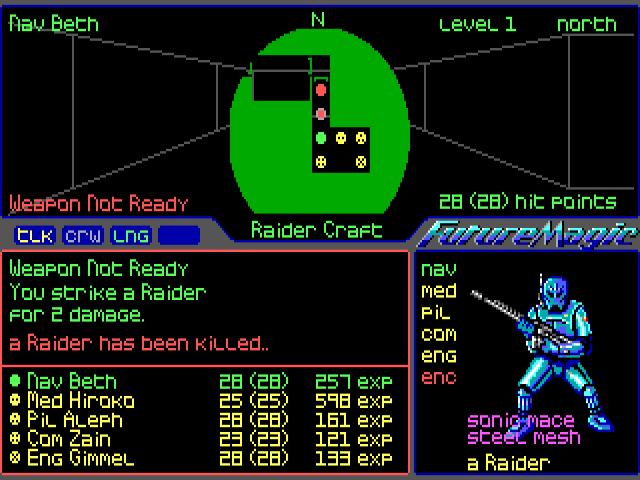
As soon as we've boarded a ship, raiders start coming at us. Our task is to make them surrender so as to interrogate them, and I assure you that ain't an easy task. A raider can only surrender when he's only got a few HP left, and on top of it that seems to only happen randomly. Which means that more often than not we simply kill a raider before he even has the chance to surrender; and given that our to-hit chance is very low, seeing a raider killed becomes frustrating soon.
Still, sometimes a raider does surrender. Thankfully.
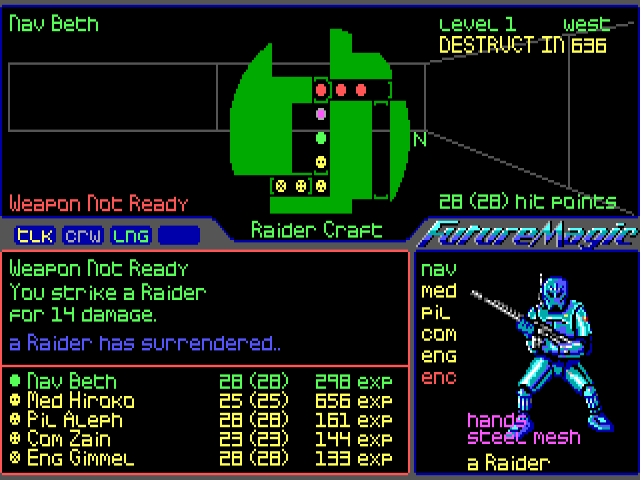
Things are further complicated by the fact that, as soon as we exit the air hatch and enter deeper into the ship, the self-destruct mechanism kicks in, giving us only 999 in-game seconds (ca. 2 minutes in real time) to make a couple of raiders surrender and leave before the ship explodes. That also precludes us from exploring raider ships properly, so I guess it'll make sense to try boarding them again later when our to-hit percentages are higher, if only out of curiosity.
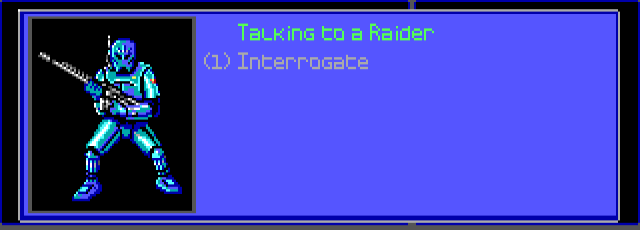
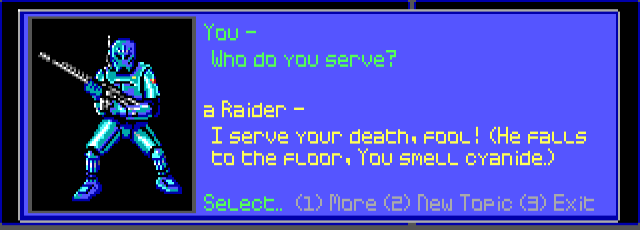
Once a raider has surrendered, we can talk to him to attempt an interrogation.

Most raiders smile when raising their hands. I guess that's meant to show just how fearless they are. After that, we can choose between two questions to ask them, "Who are you?" and "Who do you serve?"
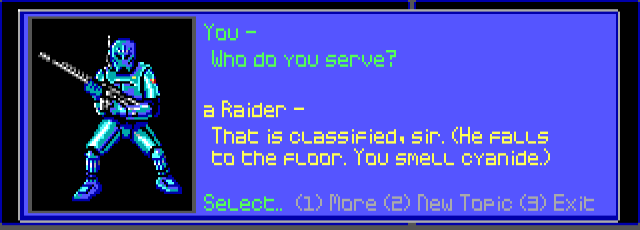
Unfortunately, all they do is commit suicide.

Which is the most frustrating thing about this mission: not only do we need to interrogate 20 to 30 raiders to complete it, which takes a lot of time, but it is also completely pointless in the end, as interrogating them brings no result. I understand the point the game is trying to get across with that, but the mission could definitely have been designed better.
BUT! There's a nice exploit-ish tactics available, courtesy of ulmont:
ulmont posted:
If you don't exit the air hatch, you can go back to your ship and then immediately re-board the raider ship, and the raiders respawn. The net result is that you can fight 2-5 raiders in the air hatch each trip without having to fight another raider, making this mission go more smoothly.
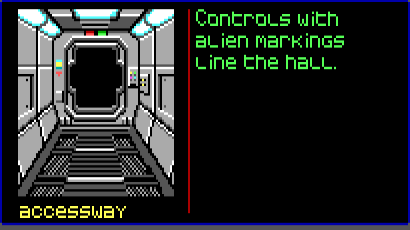
Another point we get from this mission is that the raider ships are probably of alien origin.

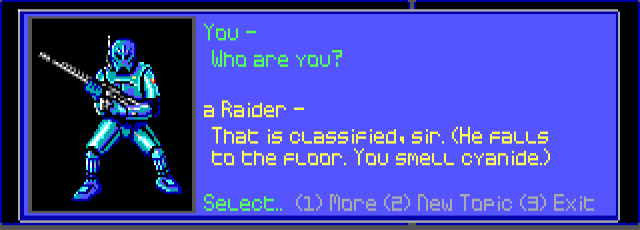
Sometimes we manage to get a different line from a raider...

...but, alas, with the same end result.
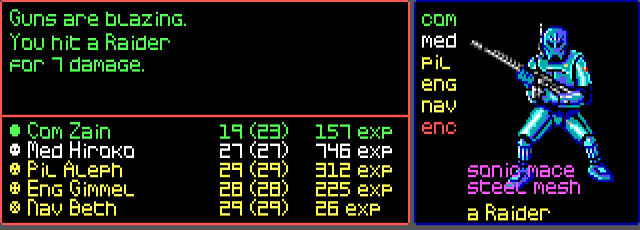
As far as other details go, "Guns are blazing" is the standard combat message when controlling a ranged character.
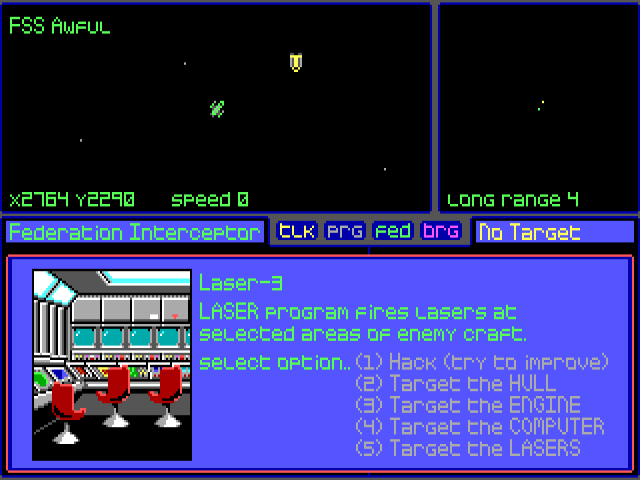
We also get Zain to Hack our LASER programme to improve its functionality.


Whenever a hacking is successful, the function in question goes up one level; whenever a hacking fails, it loses one level instead. Our lasers are level 4 now, allowing us to disable and destroy enemy vessels more efficiently.
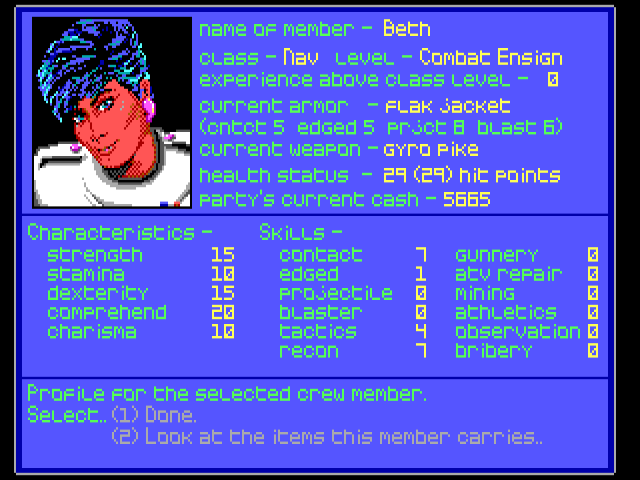
In the meantime, Beth has reached the rank of Combat Ensign, concentrating in contact weapons for now.

Aleph is Senior Ensign now, Gunnery and Edged weapons being his forte.
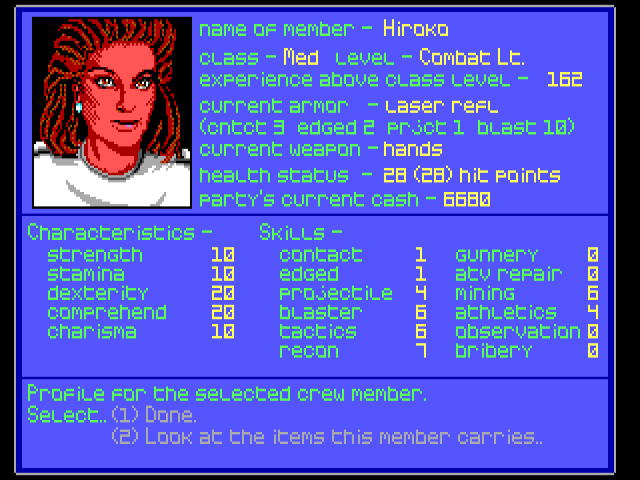
Hiroko has made Combat Lt already, since Medics tend to receive a lot of experience by healing other party members.

And Gimmel is lagging behind a bit. Same goes for Zain.
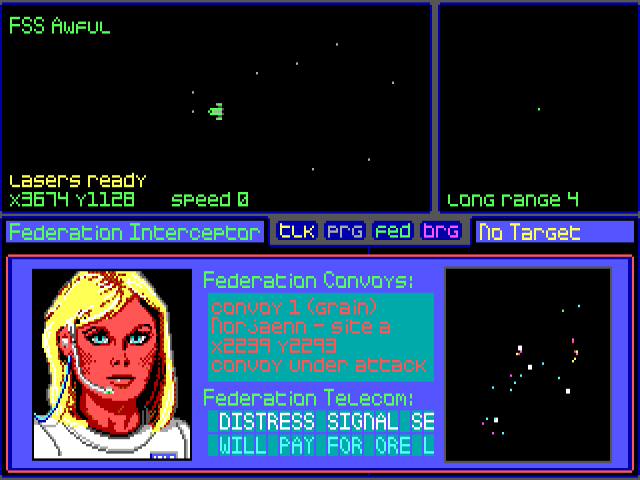
Finally, having witnessed many - too many - raiders take cyanide, we receive a brand new Telecom message:
DISTRESS SIGNAL SENT FROM SHIP ORBITING CEYJAVIK BEACON LOCATED NEAR LAST SIGNAL
Onwards to new adventures we go! High time alredy.
P.S. Also, I guess I should post the weapon list found in the manual so everyone can have an idea of the game's arsenal, which may come in handy when reading the future updates. Here it is:
Manual posted:
Appendix 1: Weapons
This section describes weapons commonly used in the Caldorre system. The going price and damage range are listed for each weapon. Purchase or sale of weapons marked with an asterisk is not allowed under Federation Regulation M-435-B3N, subparagraph L.
Contact Weapons (Range: 2 moves):
Weapon / Damage Range / Price
-------------
Hands / 1 - 4 / ---
Power Fist / 2 - 10 / 40
Sonic Mace / 3 - 12 / 90
Gyro Pike / 4 - 16 / 160
*Neuron Flail / 10 - 30 / ---
Edged Weapons (Range: 2 moves):
Weapon / Damage Range / Price
-------------
Dagger / 2 - 6 / 20
Cryo Cutlass / 4 - 8 / 50
Power Axe / 3 - 12 / 120
Energy Blade / 5 - 20 / 200
*Edged Spinner / 14 - 28 / ---
Projectile Weapons (Range: 4 moves):
Weapon / Damage Range / Price
-------------
Auto Pistol / 2 - 8 / 100
Shotgun / 3 - 12 / 300
*HyperUzi / 6 - 24 / ---
*AK 4700 / 7 - 28 / ---
*Gauss Rifle / 8 - 32 / ---
*Thermocaster / 10 -40 / ---
Blasters (Range: 4 moves):
Weapon / Damage Range / Price
-------------
Hand Laser / 6 - 30 / 900
*LR Laser / 8 - 40 / ---
*Plasma Gun / 10 - 50 / ---
*Neutron Gun / 20 - 60 / ---
Ammunition:
Item / Rounds / Price
-------------
Auto Pistol / 50 / 40
Shotgun Pak / 35 / 60
Uzi Magazine / 35 / 100
AK Magazine / 30 / 110
Gauss Magazine / 25 / 210
Thermal Pak / 20 / 370
Crysprism / 25 / 900