Part 7: Manipura ~ The Second Movement
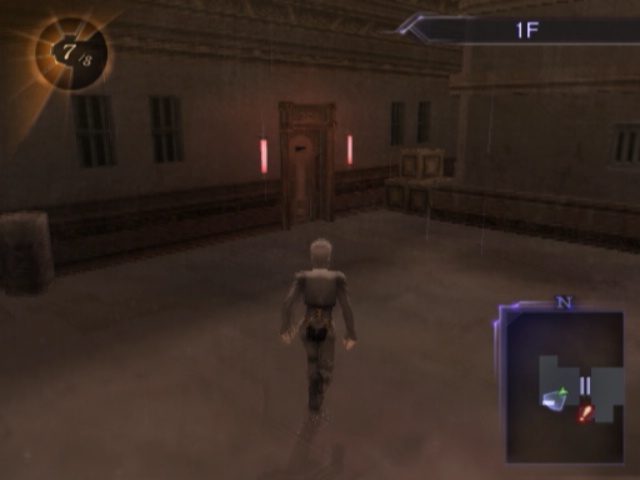
 Return to Manipura
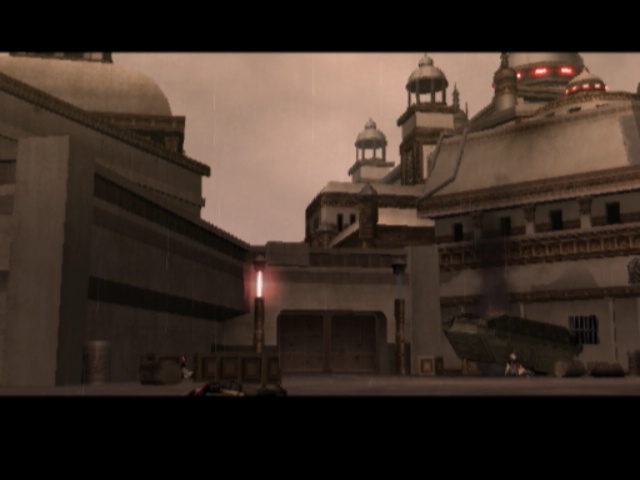
Looks like we're a bit too late to stop Mick from kicking the shit out of the remnants of the former Maribels.
At least we've got some reinforcements now!
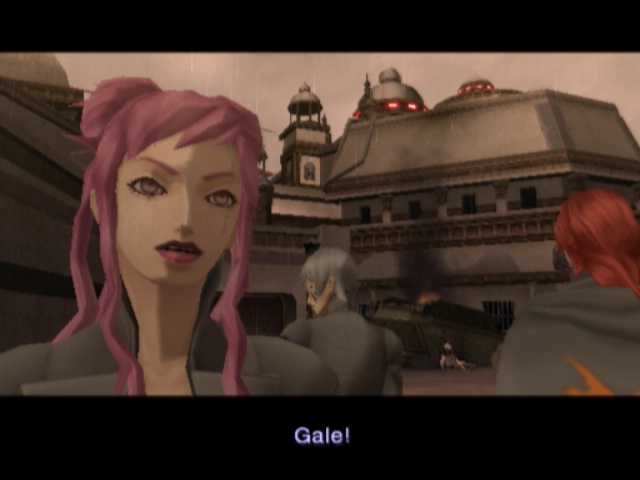
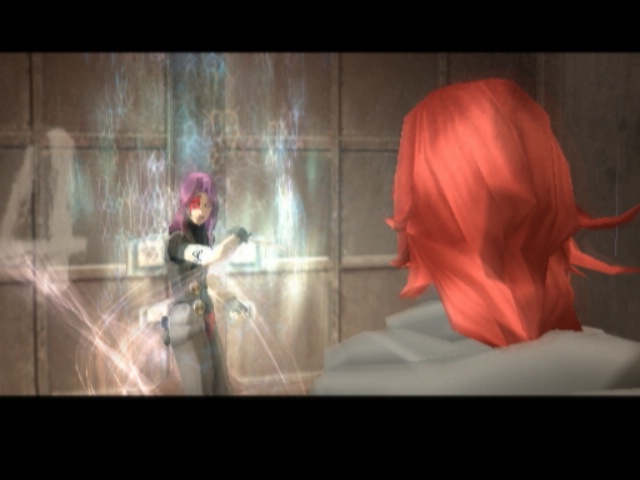
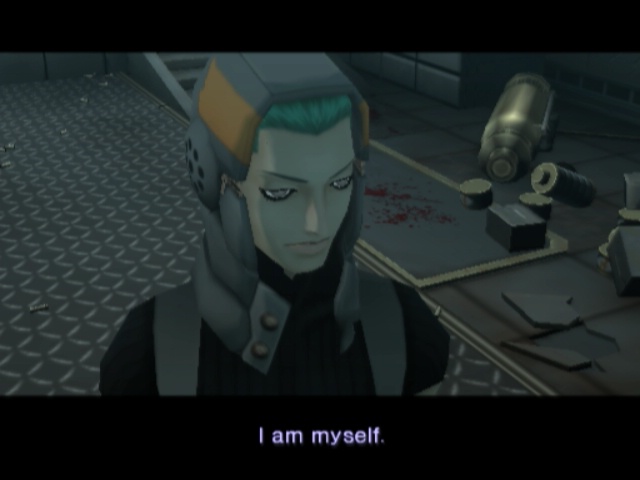
 Why're you here?
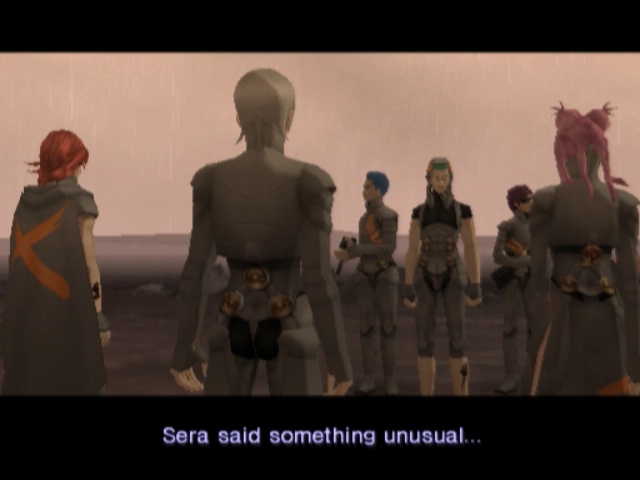
 ...that you were in danger.
 Sera said that? But, how--!? She couldn't have known... What transpired?
One quick fade to black later...
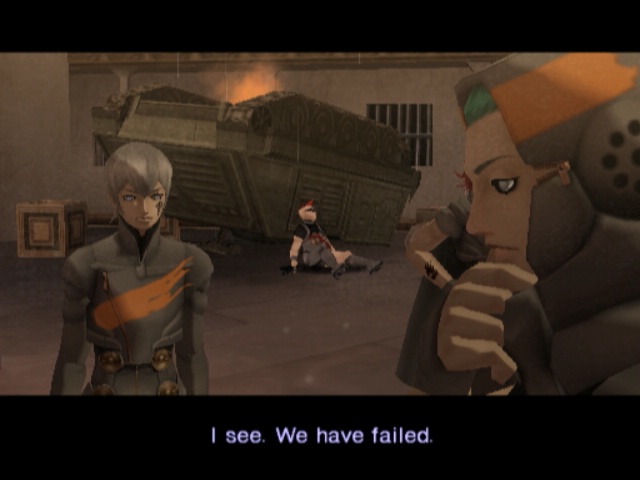 Let us devise a new plan.
 How can you be like that!? Our comrade died!
 I do not comprehend.
Argilla takes this opportunity to just let go of Gale and walk away. It was pretty sudden after all.
Just ignore her.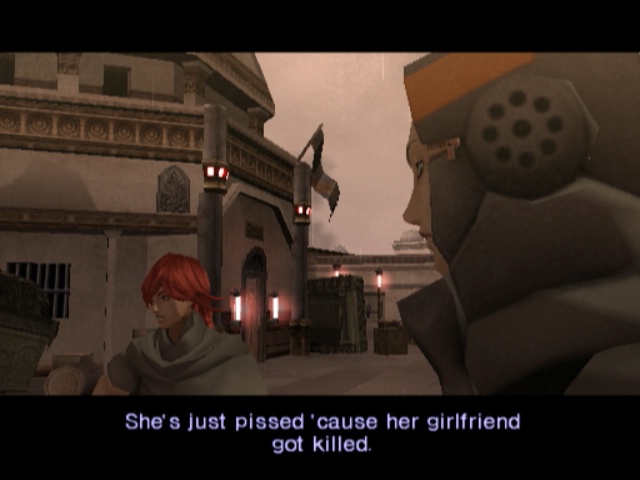
 Embryon
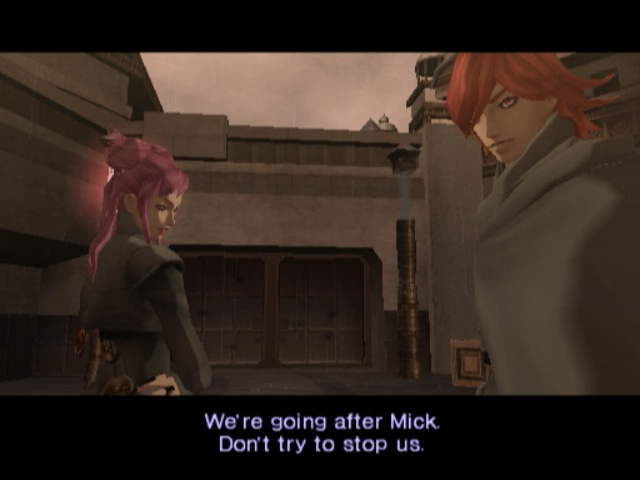 You have a point. I believe it may still be feasible, now that he has left the Citadel.
 End Manipura
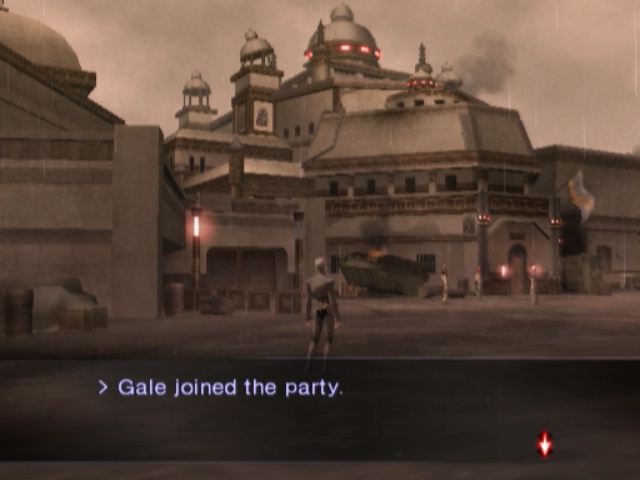
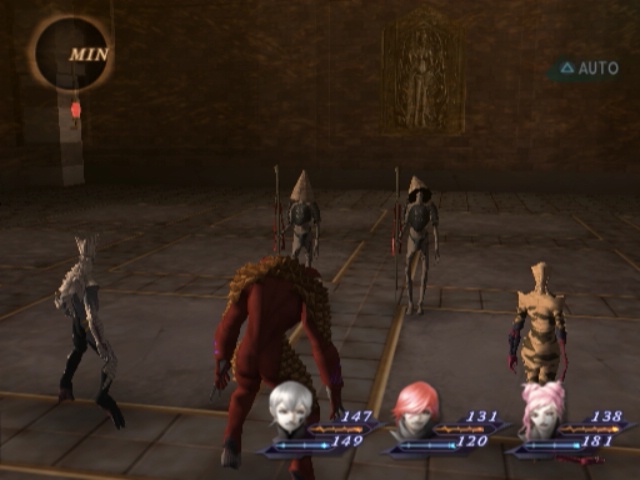
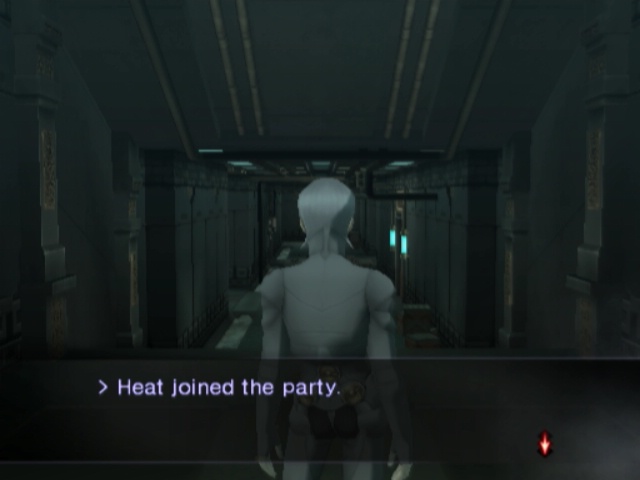
Just like that, our party size has grown to four! Sadly, we can only field three members of the Embryon at a time so someone has to sit this one out. They still gain AP with everyone else, but no Karma.
Gale's our requisite balanced dude; he doesn't particularly favour anything in particular but leans a bit more towards magic. He's just there to slot in and fill whatever role you want him to. In case you couldn't tell from his name already, yes, Gale is our Force oriented party member. He even starts out with Zanma and everything! Since he just turned up, he can stay on the bench for now; he's same level as everyone else but his initial skills aren't too stellar. Well, aside from the Zanma. If we really need good Force damage, we can sub him in mid-fight anyway.
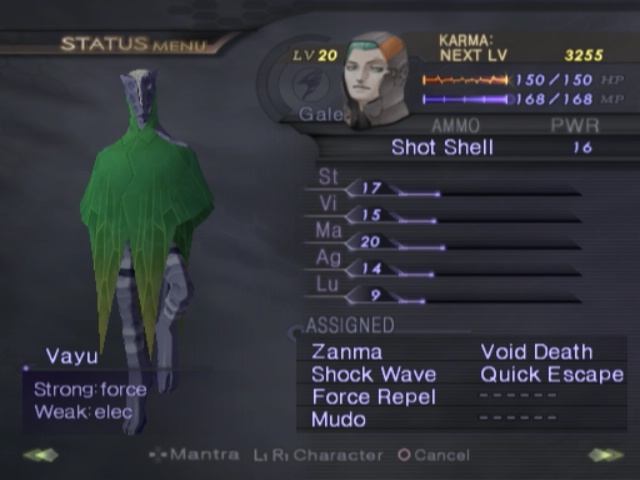
Vayu, fittingly enough, is the lord of the wind, to the point of being one of the five great elements. Oh, and he's the father of Hanuman (well known monkey dude who played a key role in the even more well known tale of Ramayana).
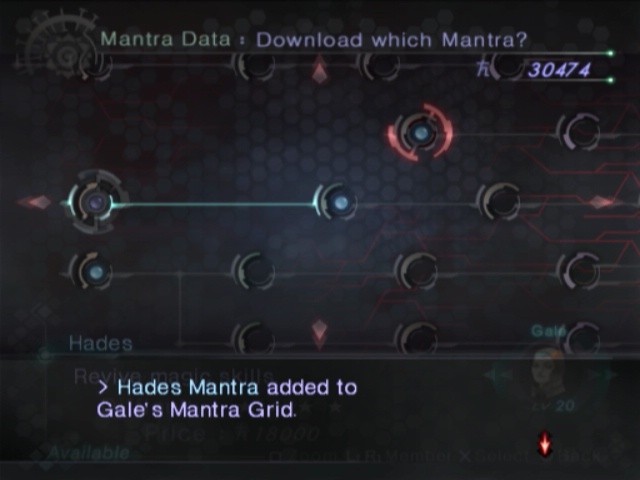

Since he has Zanma's mantra mastered by default, he gets access to two new ones that currently no one else does. Hades and Mitama both only have one skill but they're quite useful. Hades teaches Recarm for 18,000 Macca (revives someone with half HP) and Mitama teaches a passive called Shared Karma. Anyone with it equipped that's sat on the bench when a fight ends gains half the Karma of a fight instead of nothing. The only real reason to bother with it though is that it only costs 20,000 Macca.
Hunting Fields ~ The Second Movement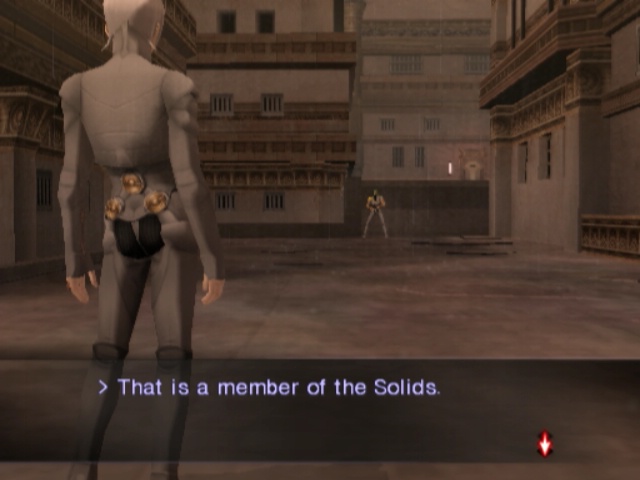
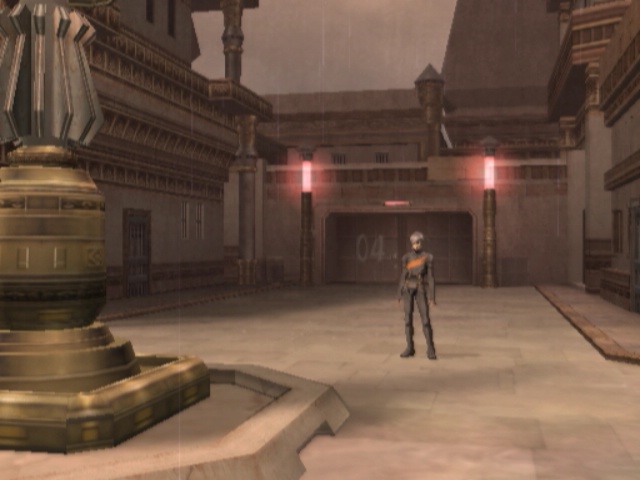
So, let's head on through the base proper. Once we step a little past the entrance, we see a random Solids dude chilling in the distance.
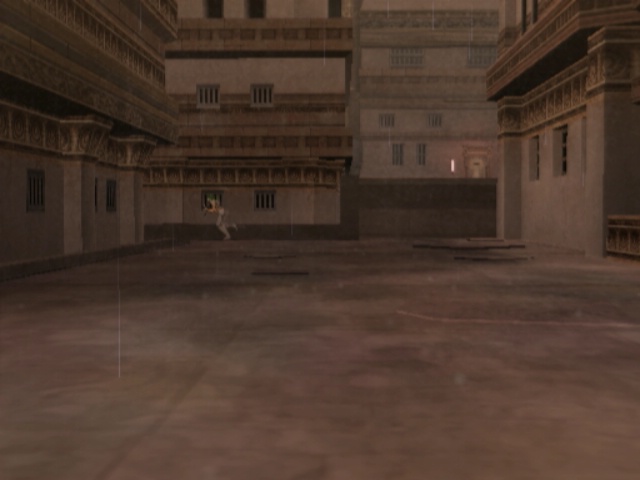
The instant he notices us, though, he turns and bolts towards Gate 05. Curious that.
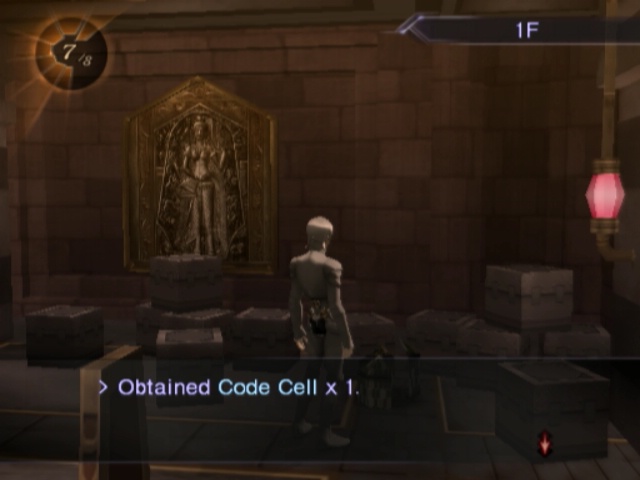
We'll give chase in a minute; first we need to sell off these Cells cluttering our inventory.
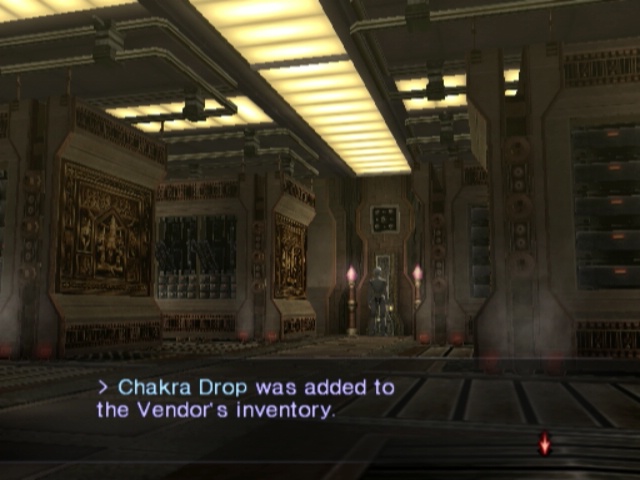

In doing so, two new items are added to the vendor. We've got a fair few Chakra Drops but the drawback to buying them is that they cost 3k a pop. Yeahhhh not worth it right now.
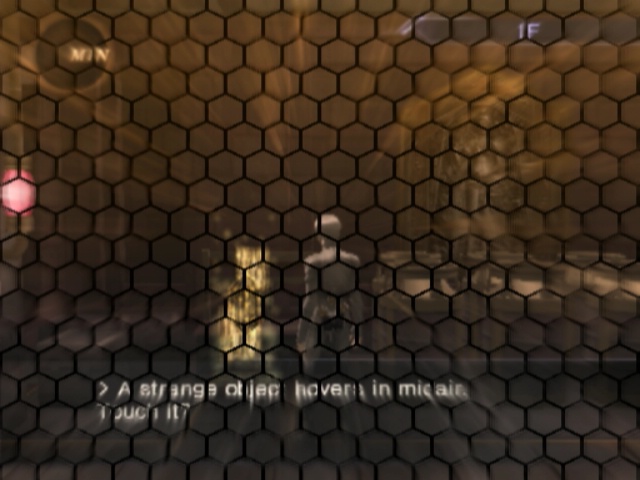
Magic Reed is a bit more interesting though; it also costs 3k a pop, but whenever you use it the encounter rate increases for a short time. The exact duration varies since it wears off as soon as Solar Noise hits the Minimum level. It has its uses and there is a special time and place for it; that time, however, is not now.
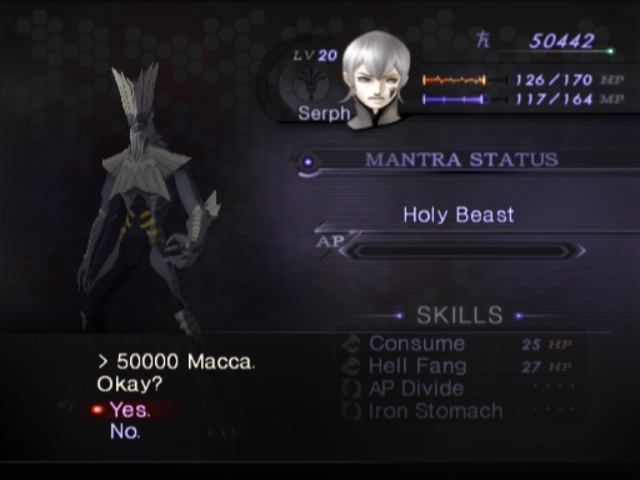
Good news is, from selling off those Cells, we finally broke 50k (the current amount is after getting Mantras for everyone else) and can get Holy Beast! This is going straight to Serph since he's the only person who's basically guaranteed to be in the party at almost every occasion.
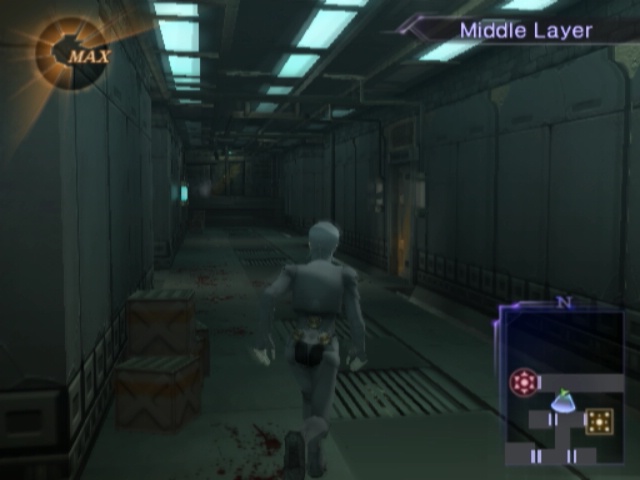
Hunting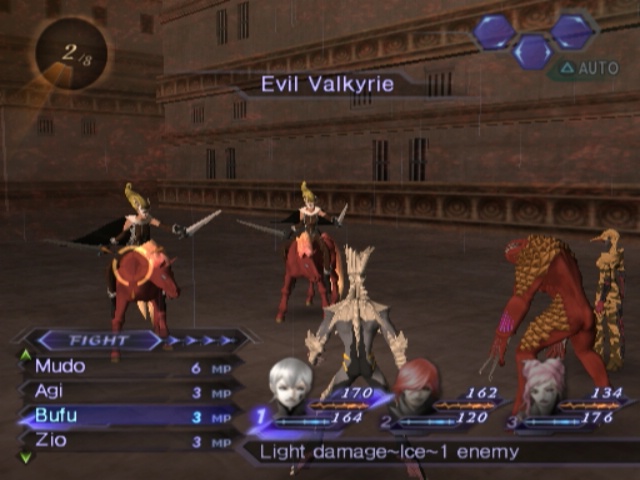
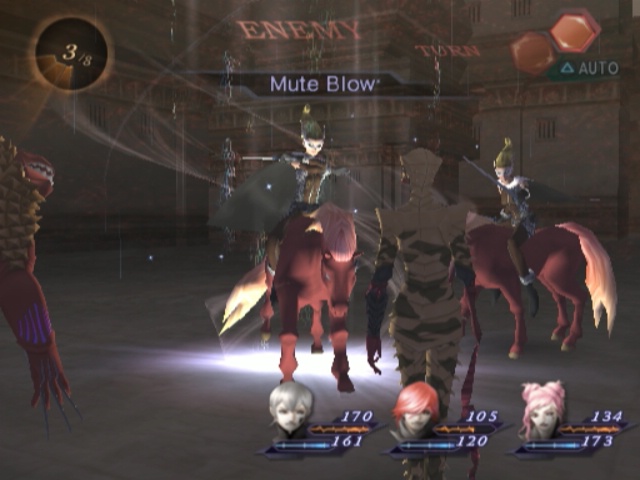
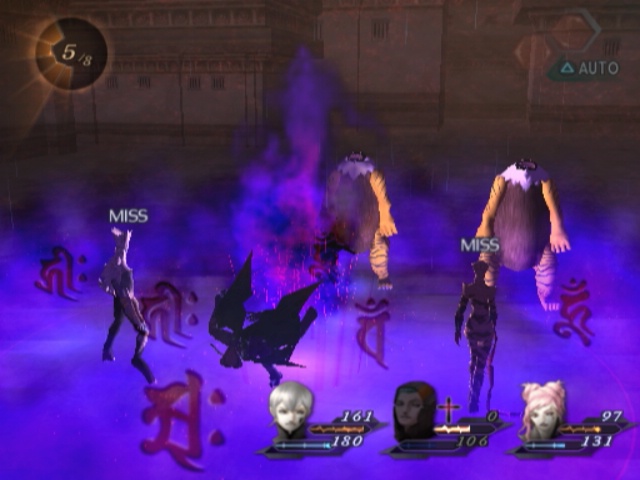
Since the Solids have taken over, the random encounters in the area have changed to accomodate this fact. Rather than fight remnants of the Maribel ourselves, or just a bunch of Rookies, we get to fight the slightly-more-competent Solids.
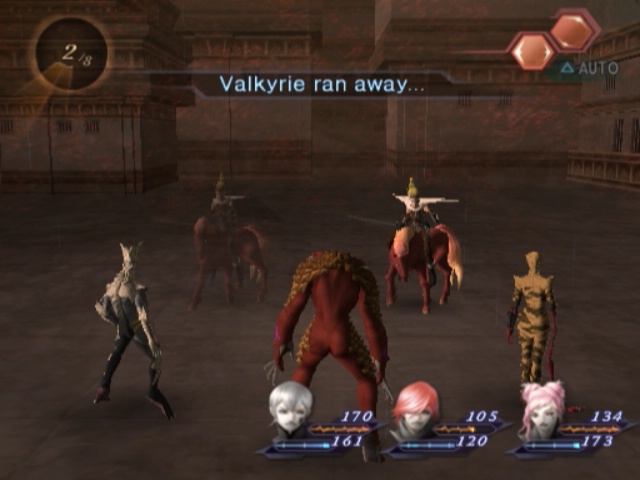
Strangely, though, they mostly spend their turns running away from us. Curiouser...
That's not guaranteed though; they can just decide to try and stab us for a turn or two before running off. And Valkyries in particular have a chance to counter if we try and pick a fight with them too.
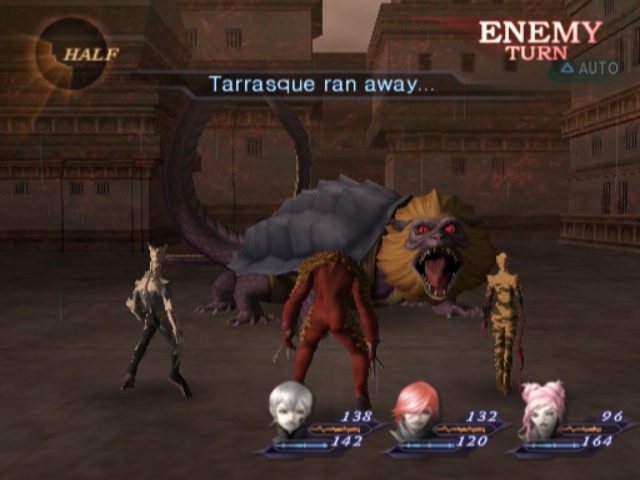
The escaping thing gets pretty silly when you run into a random Tarrasque though. The camera zooms in ominously, he slowly appears... then he gets the first turn and runs away on the spot.
Hunting Fields ~ The Second Movement
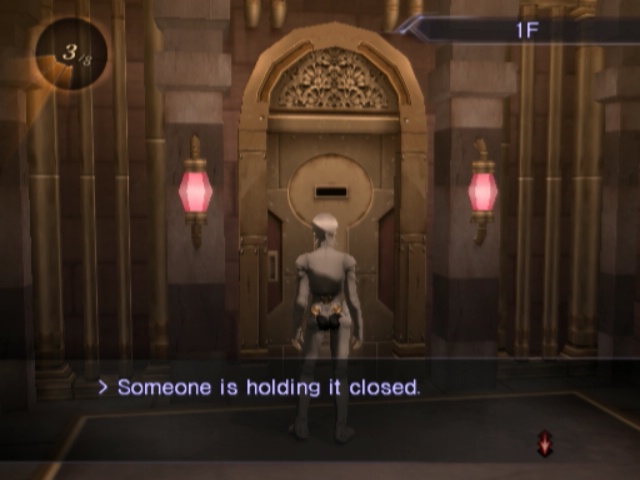
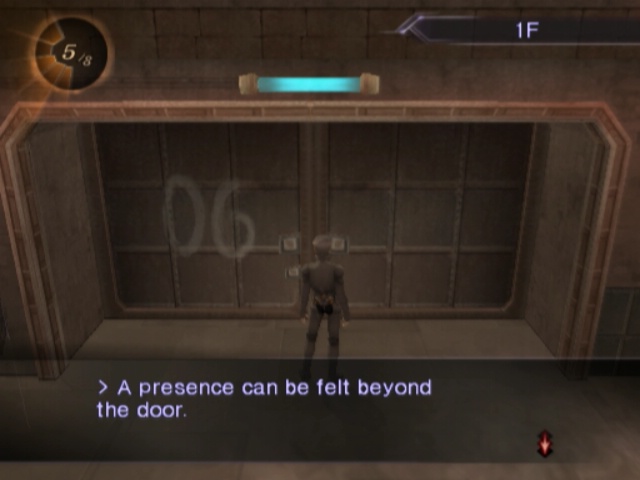
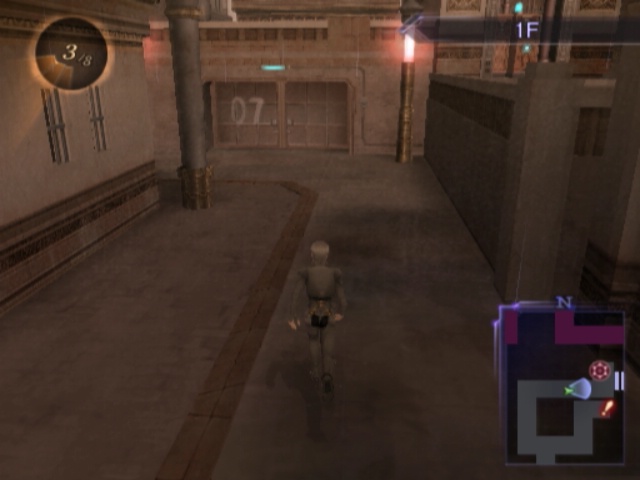
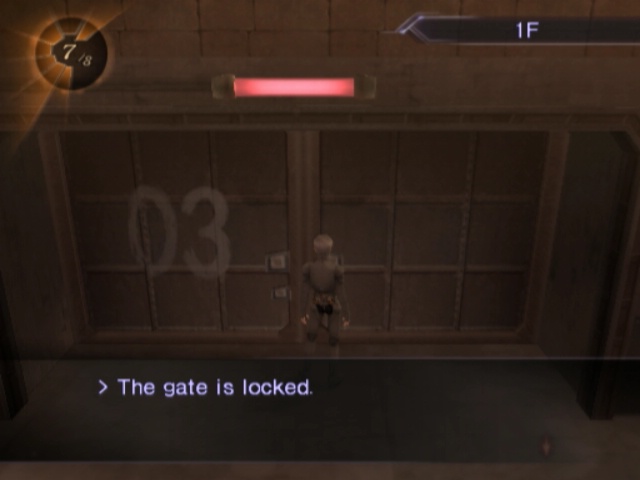
It's still kinda easy to kill off the odd Solid or two as you make your way through here though. Could go the longway, but we'll follow that random Solid through Gate 5 before taking a detour over here. We WERE in the area after all. Near the Field Hunt is Gate 7 which is locked and only opens from the other side, but there's also a door here.
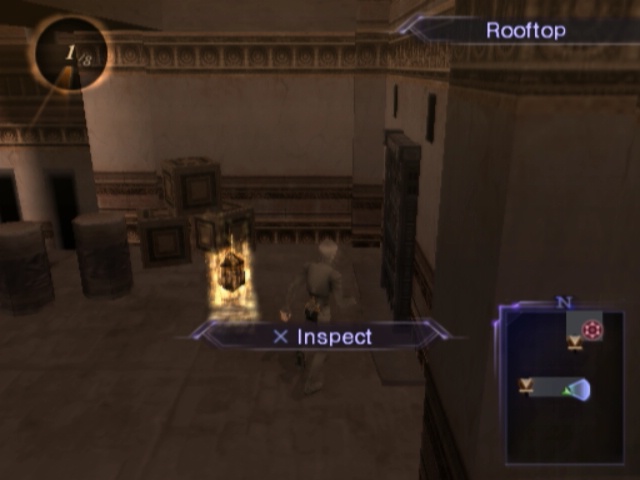
I just straight up forgot this was here, until I saw it missing on the map. It just contains a golden chest with a fight in it.
Said fight is two Ikusas. Could've been hard if we did this when it was relevant (i.e. before kicking the shit outta Bat) but now it's pretty simple.
Heading back to Gate 5, we can run into this guy again just for him to run right towards Gate 4 when we get close. There's not much past there, so we'll follow him.
Hunting ~ Rare Devil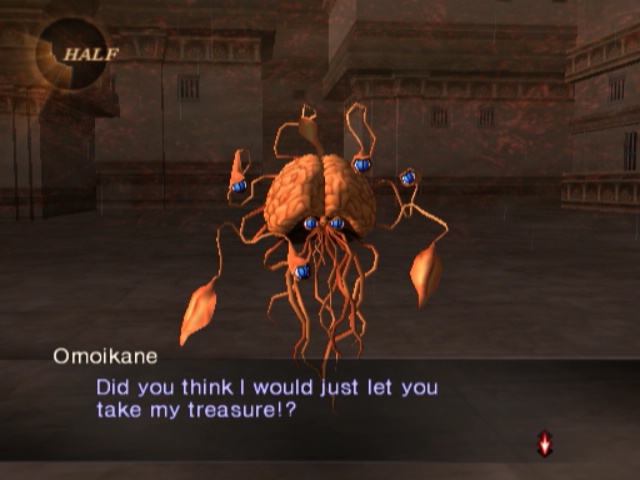
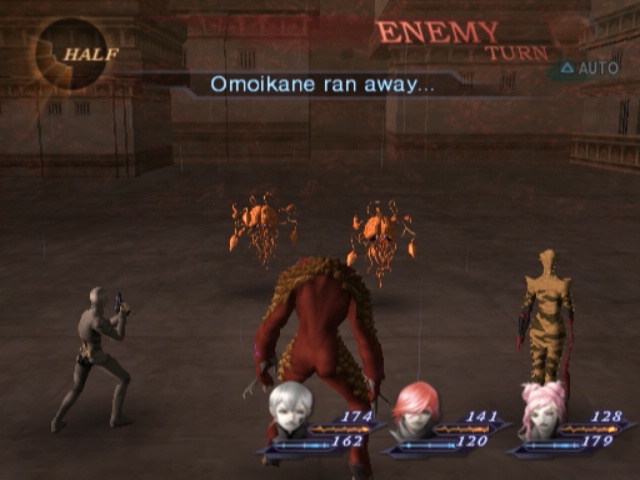
And as soon as we follow, we finally run into our first Omoikane! Omoikanes are this games equivalent to Metal Slimes/Golden Frogs/etc. They're tough blighters to kill but give great rewards when doing so. Naturally they are super-rare, but in a nice change of pace they are in every single dungeon. Naturally the ones in later dungeons are hardier than the ones in earlier ones though.
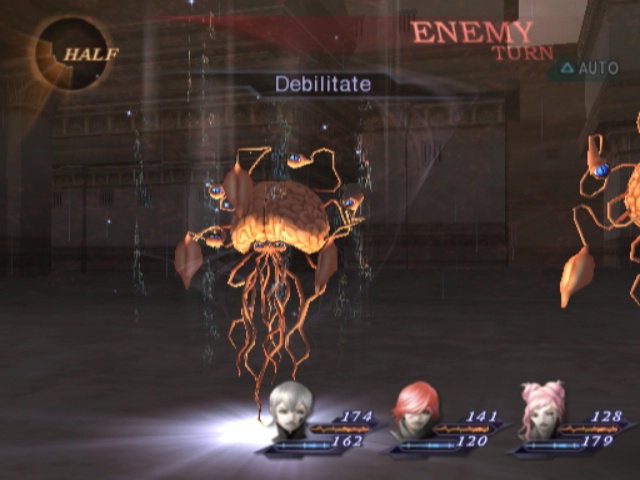
Omoikanes have one real trick, and that is that they cast Debilitate.
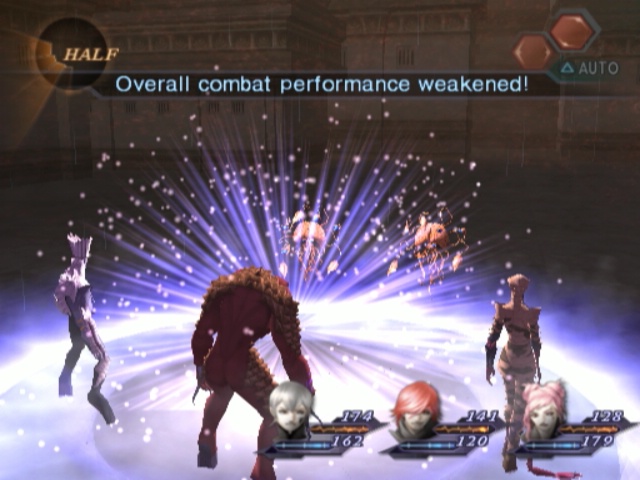
Naturally, this affects the full party and it reduces attack, defence, magic, accuracy and evasion. It's all four debuffs in one spell!
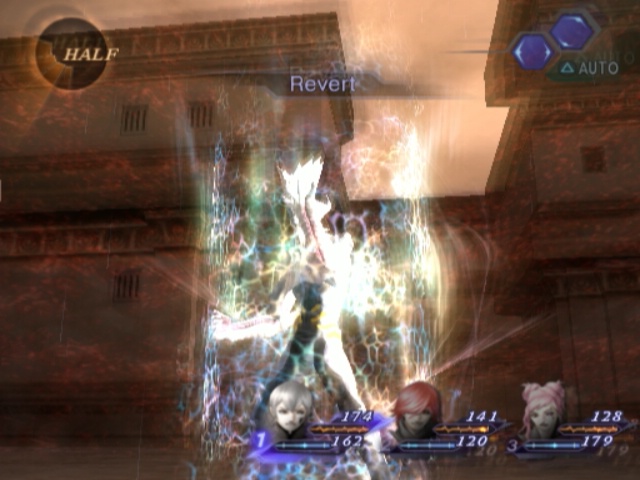
The best way to handle these guys is to revert to Human. Best person to have do this is Serph or maybe Gale if you're that desperate.
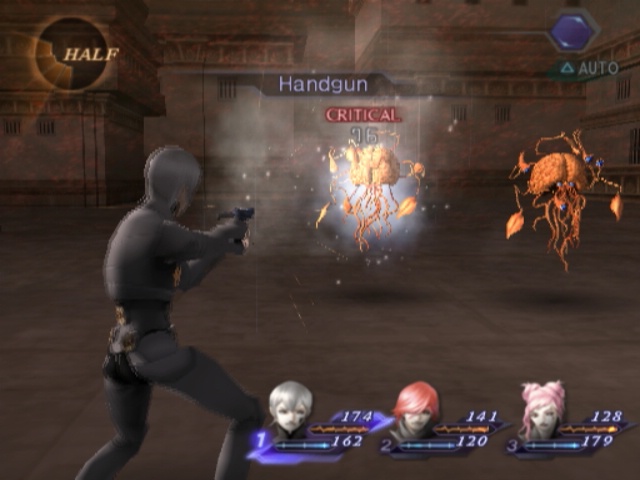
You want to go Human, because Omoikanes resist everything... except Guns. You generally want really good ammo to take them down easily, though. You'll also want debuffs of some kind yourself. Best way to handle these guys is to have Serph revert, then Heat (or whoever's in Slot 2) follow up with a Taunt and then have Argilla (or whoever's in Slot 3) pass. Then Serph shoots.
With a good enough bullet, you can hopefully drop them at that point. We don't have anything near good enough for that yet though. Even if we bought better ammo from the Vendor (I am bad about upgrading my ammo, since I seldom use it) it wouldn't be sufficient yet.
You essentially need to oneshot them, since they basically always run on their second turn.
...But, of course, the best bullet is not enough to drop late-game Omoikanes in one go either. You have to pray for a critical. No, really. Omoikanes in the last area are that badass you need a crit to maybe drop one of them.
So, we aren't handling any Omoikanes yet.
Alright, let's see where that guy wanted to lead us.
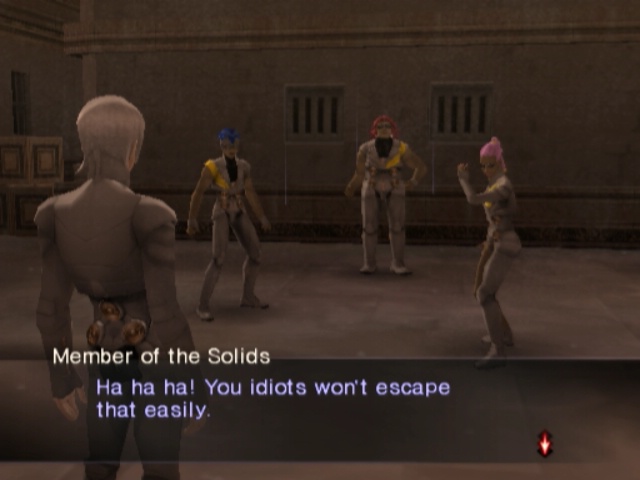
A Solid Plan
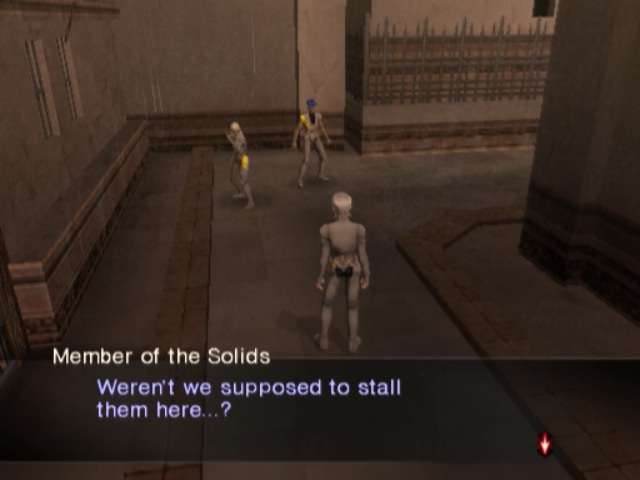
Having seen that we've come through the gate now, the guy we chased here comes out from hiding. As do a few of his mates...
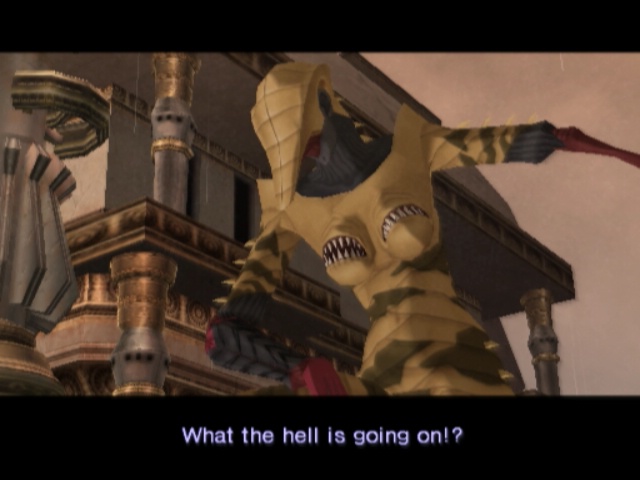
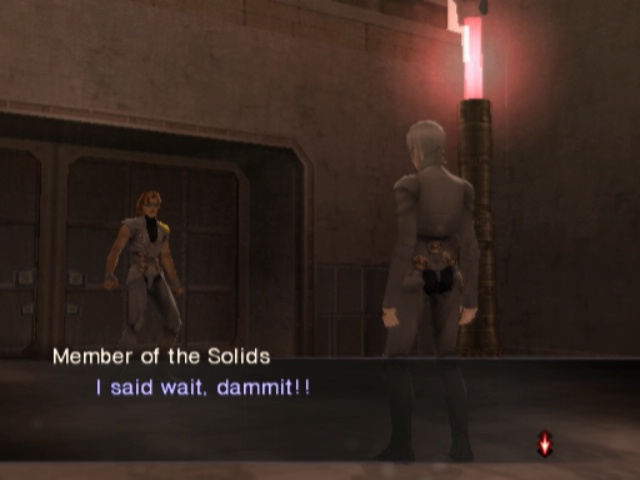
Feint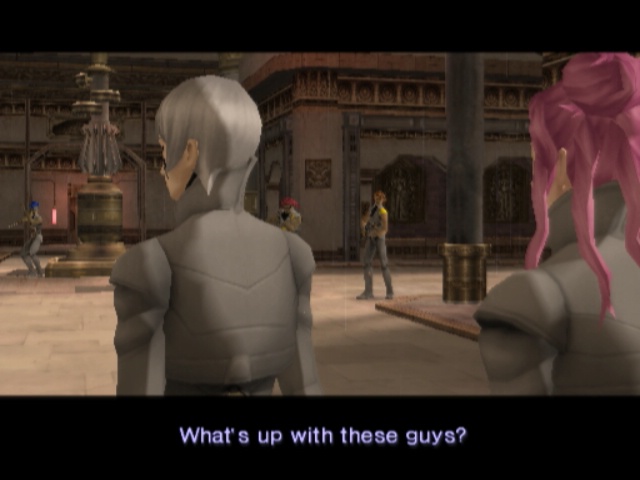 Where the hell is Mick!?
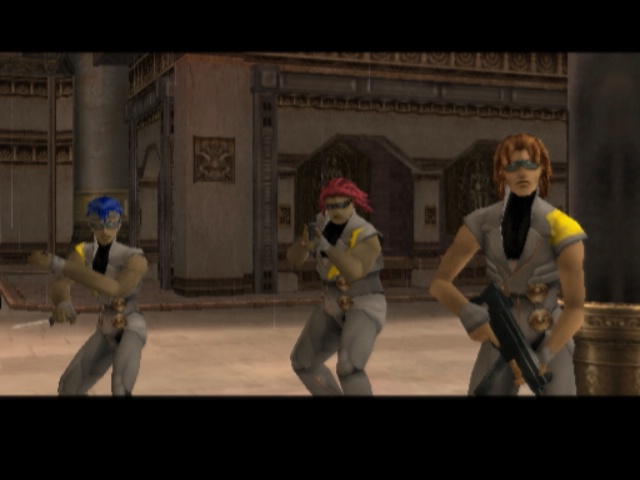
As Heat even so much as looks menacingly in their direction, never even mind try to approach, these guys just back off. Immediately.
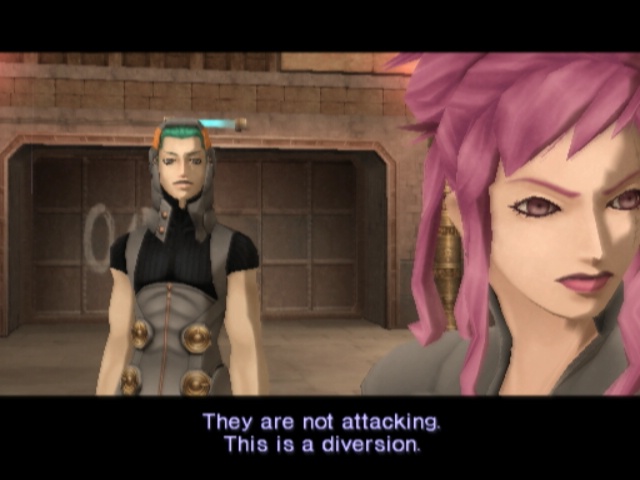 A diversion...? What do you mean? We're outnumbered. Silence
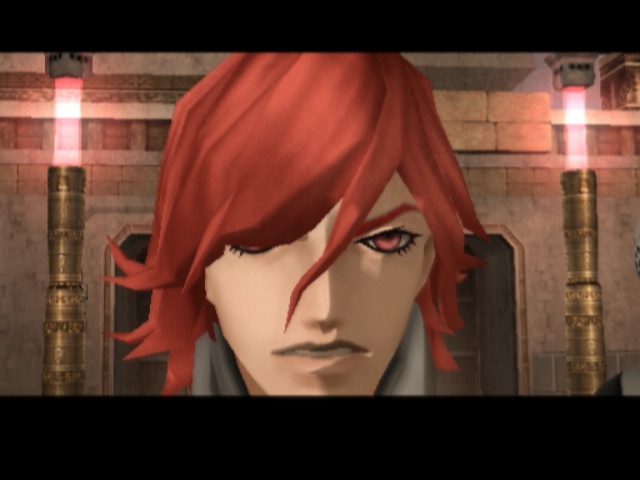
Serph and Heat aren't complete slouches, so they figure out what's going on here. Heat in particular isn't happy about it, so he turns to leave...
Sonic Wave Bastard...
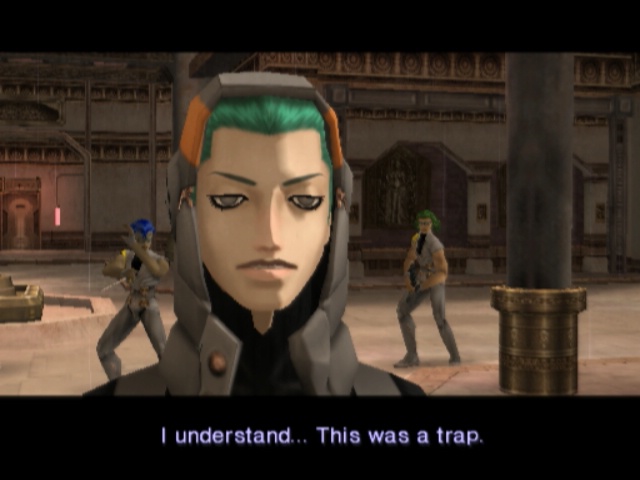
Not just any ol' trap though.
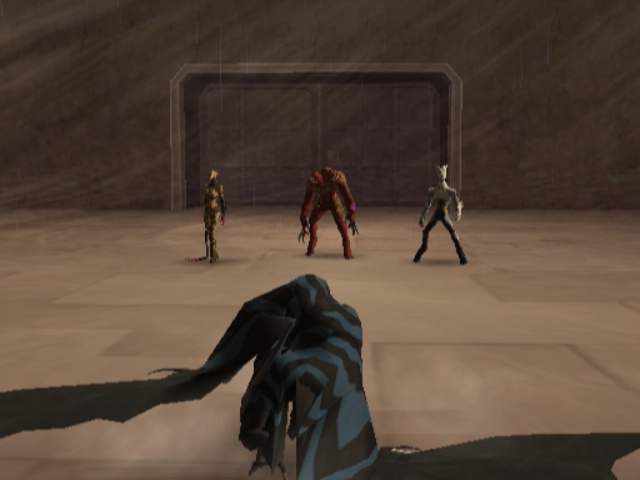
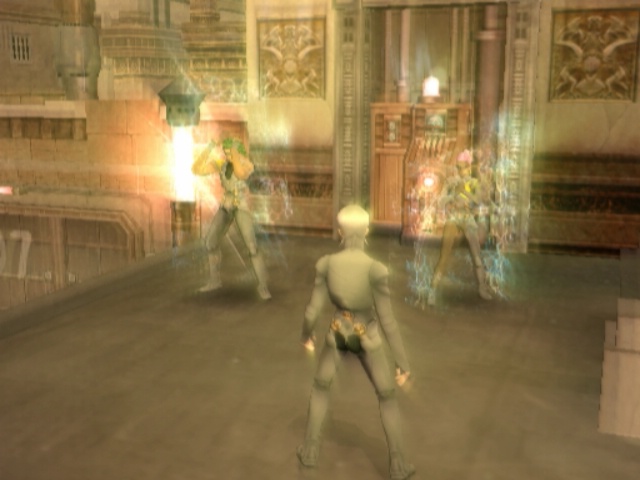
One that immediately leads into our next boss fight. And, uh, it's this guy again!
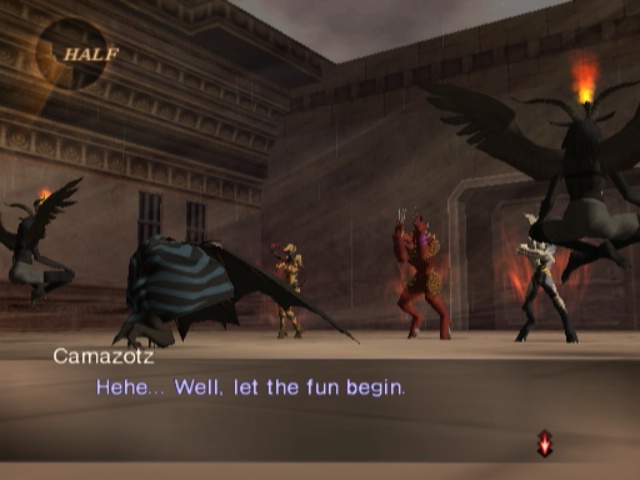
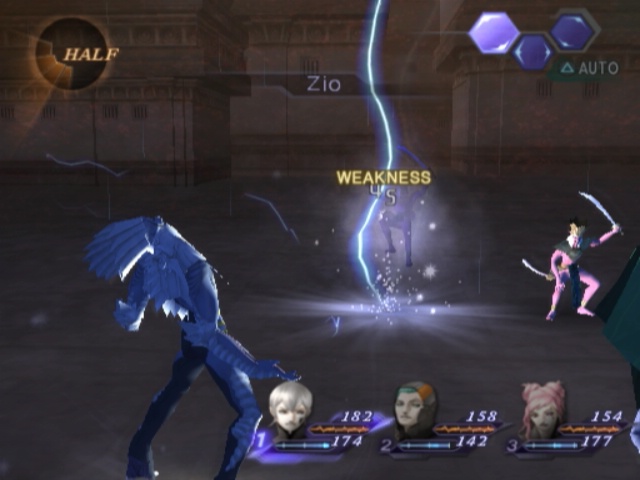
Boss: Asura Camazotz (Round 2) Big Battle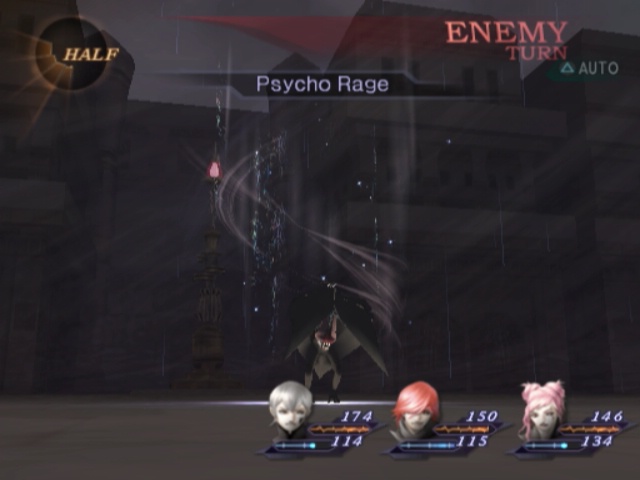
Since we've kicked Camazotz's ass once before, he's decided to shake things up a bit. Disappointingly, in doing so he's gotten easier.
He's upgraded one of his old techniques, so he uses Psycho Rage now instead of Rage.
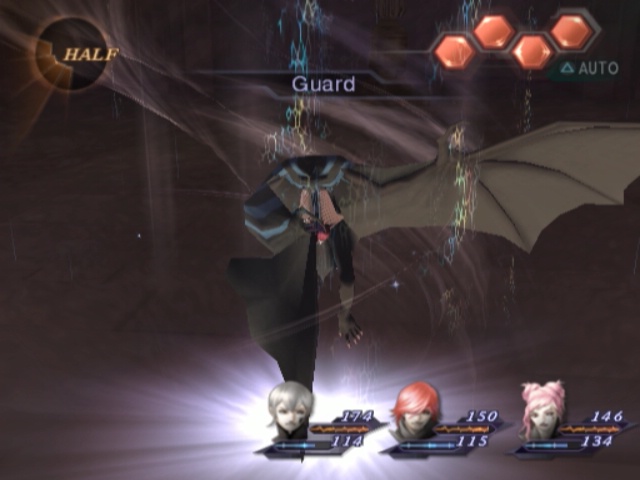
This takes his one move, and gives him four half-turns instead of two. He then immediately Guards without attacking.

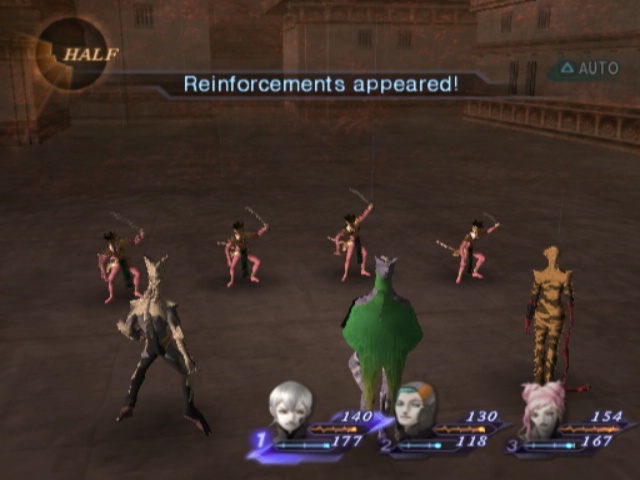
His third turn is used to summon Backup of his own. Unlike Usas, though, he doesn't bring in a Unicorn. No, Bat aims a lot higher.
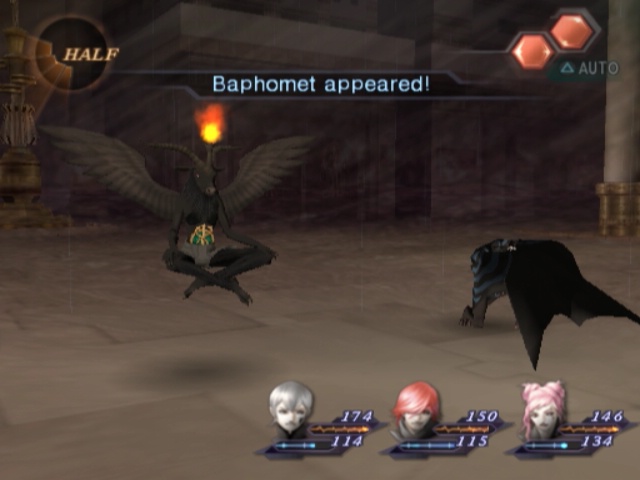
He brings in a friggin' Baphomet to fight with him. It doesn't end there though! That Baphomet gets its turn next, and uses it to...
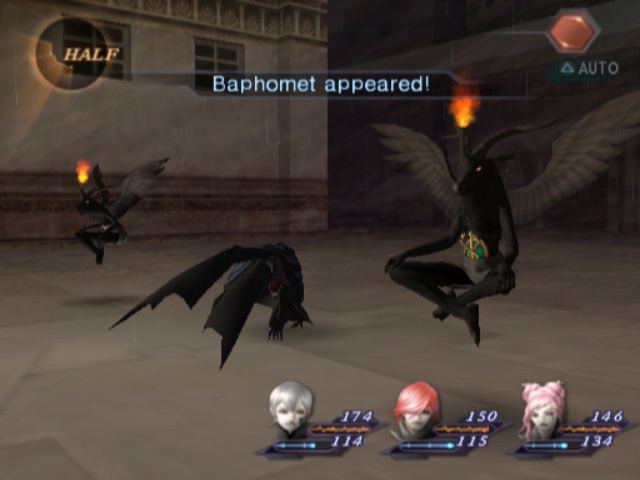
Summon a second Baphomet. Everything up 'til here happens in the same order every time in this fight. The next move goes back to Camazotz and can change a bit.
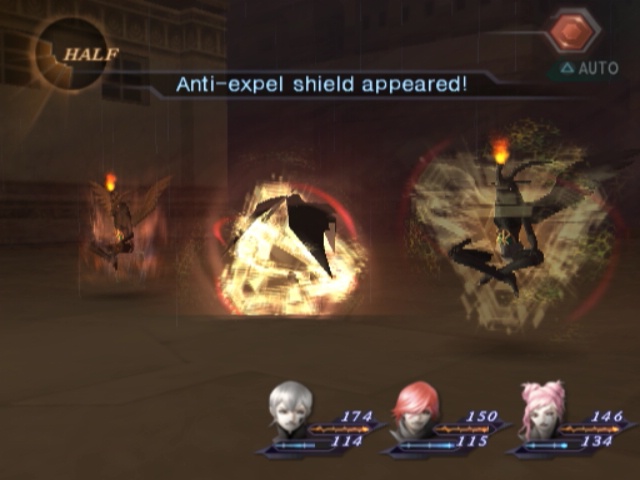
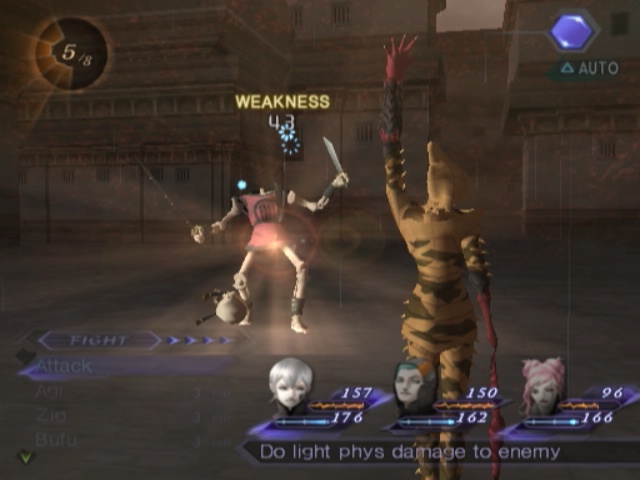
Thankfully, he opted to use Void Expel though. That's going to be a problem for him.
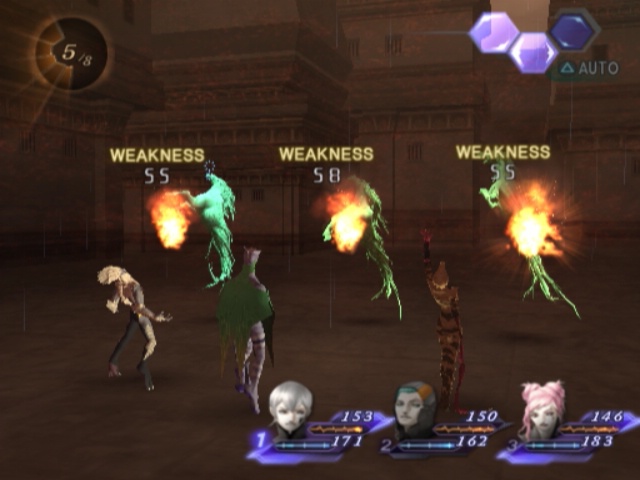
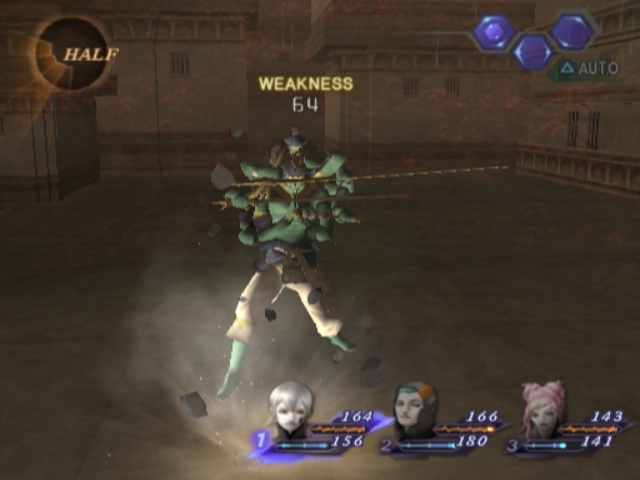
Much like before, whenever Camazotz is guarding, he's weak as hell to Earth spells. Unlike before, just hitting him with one does not break his guard!
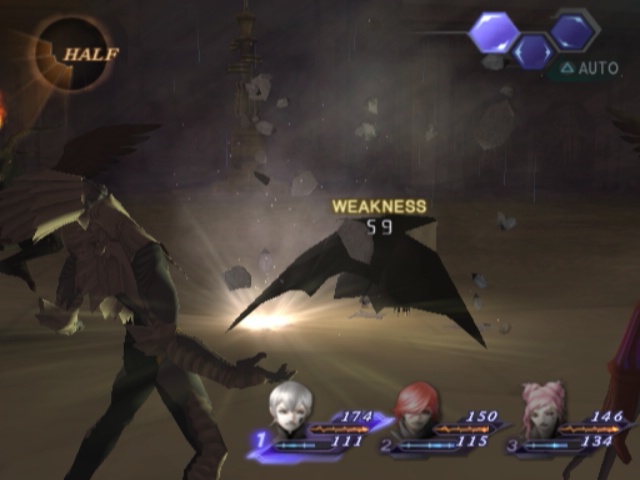
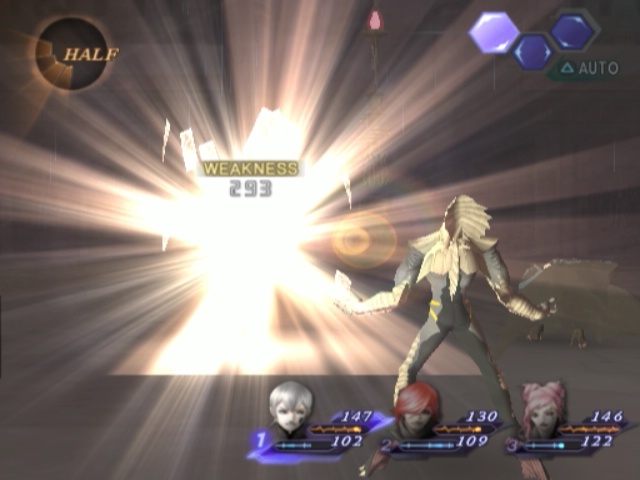
And wouldn't you know it? Argilla just happened to pick up the second level of them just in time to hurt Bat with it.
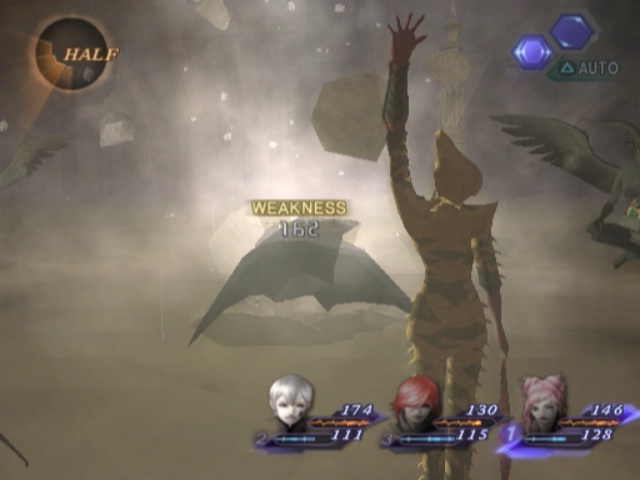
In case you can't quite see it, she just dealt 162 damage.
Camazotz has 900 HP. That's over 1/6th of his HP gone in one hit. Without Taunting, because Camazotz doesn't deserve it.

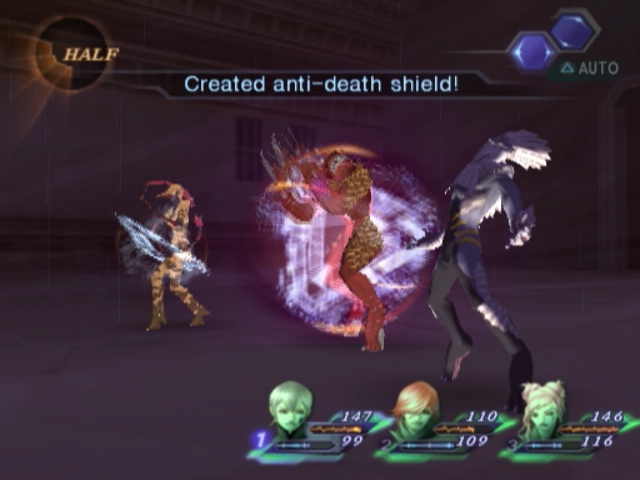
I made a judgement call here to have Heat cast Void Fire. The Baphomets can use Agilao and I'd rather not have Serph get blasted with that.
Couple of times through the fight, Camazotz tries to goad you with lines of dialogue. It just makes him look like even more of a smarmy dick though.

It's only natural that he can cast Void Earth too. A boss that couldn't cover its weakness would be a pretty shameful boss. Even friggin' Harley had Void Ice.
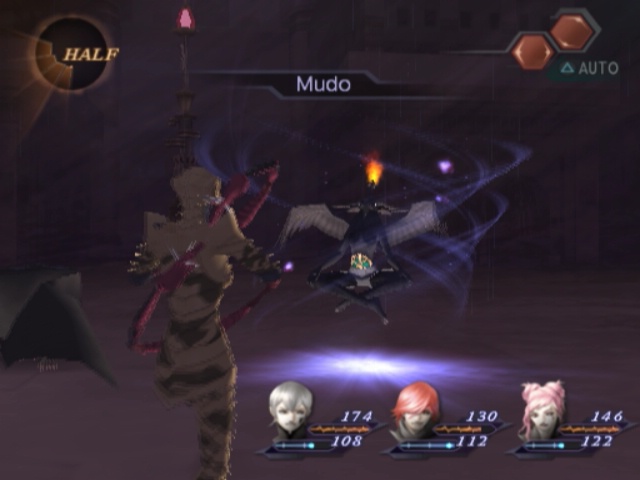
...Shoulda gone with having Serph use Void Death though. The Baphomets do love their Mudo too. The "ideal" way to deal with this fight is have Gale in instead of Serph, since he comes with Void Death and the only elemental weakness the Baphomets can exploit is Fire.
But, eh, they're not a threat.
Mudo doesn't land that often anyway.
Plus, since Camazotz quite likes to cover his own weakness, he's not covering theirs. Expel-weak enemies still can't be killed by Hama, but it does make it all but guaranteed to hit.
And I remember to cast Void Death occasionally sometimes too.

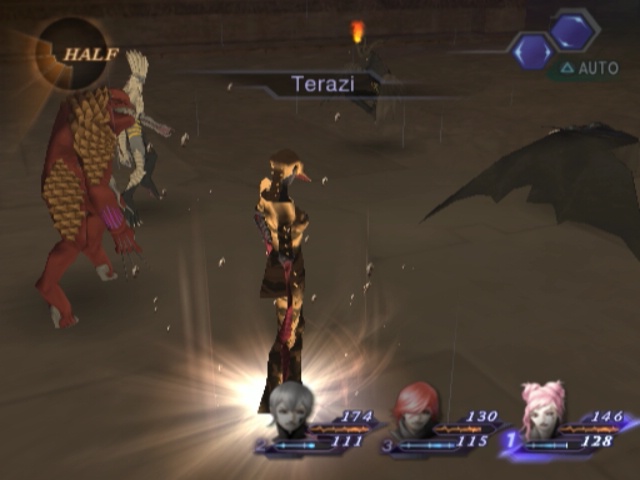
 Not so fast... You gotta eat your vegetables before you can dessert!
He does have a third line of dialogue, but he probably won't survive long enough to get to use it. You need to take out both his Baphomets for that to happen (that's also how you break his guard this time around).
Which is kinda unnecessary; once you drop him, the fight ends immediately. It's quite telling how amazingly worthless he is, when he gets taken out in two rounds of being able to damage him. If he didn't have Void Earth, you could win in like a minute or so.
Even with it, he's quite a non-issue though. Just stops you pounding the shit out of him from the word go. Not a hard fight, but one that takes longer than it should.
Once again, he gives absolutely no AP whatsoever. His Baphomets don't either if you kill them, because he'll spawn in more and if they did give AP you could farm them. Atlus is onto you!
With Bat's ass kicked for the second time in one afternoon, Heat turns around and leaves.
Thankfully, Argilla's still in Prithivi's form so she has Bat pinned down quite easily.
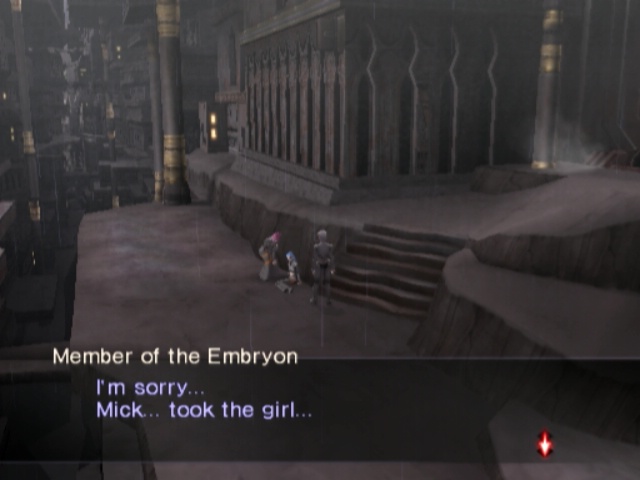
Hehehe... hahahahaha! You're too late.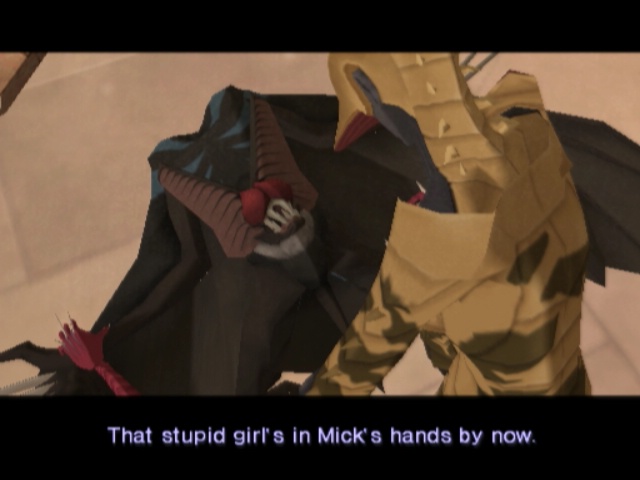
 How do you know about Sera!?
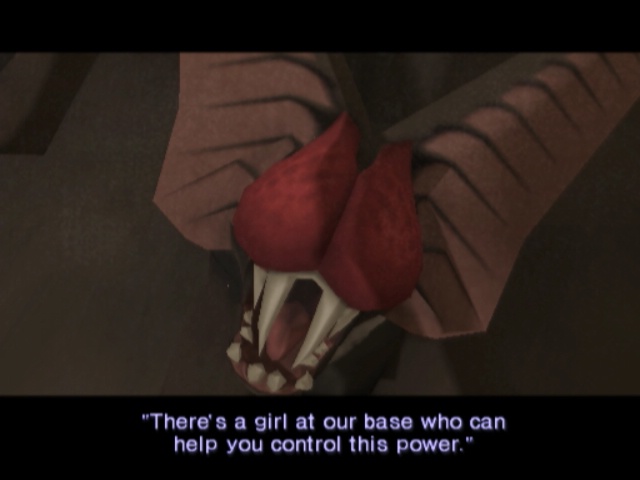 "Come with us... Come and see Sera... Please...?" You... son of a-- They are a step ahead of us... if they knew that much.
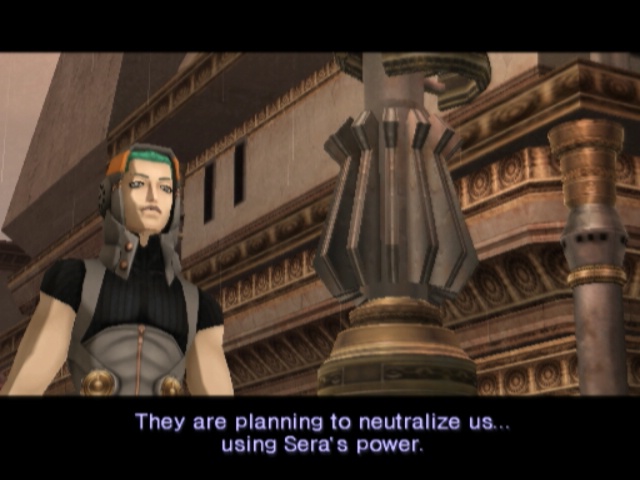 How do you know that? Don't tell me that you...
 Too Late She's just a girl who can sing. How dare you drag her into this mess! I do not comprehend. Logic demands the most efficient response to... No!
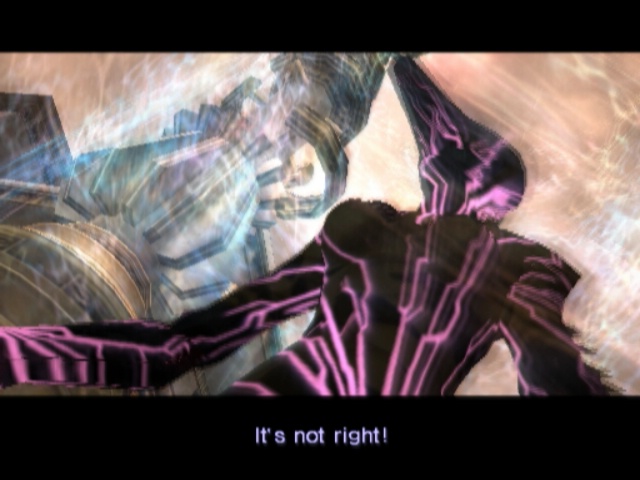 Silence
Argilla picks the worst possible moment to revert back to her human self, I swear.
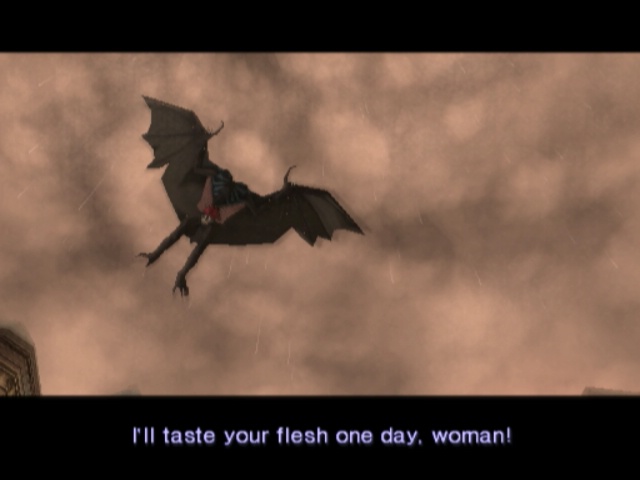
Because in doing so, Bat takes the opportunity to get out from underneath her and fly off. That's twice we've kicked his ass and twice we've failed to finish the job.
It may be too late. We should return to base. End Hunting Fields ~ The Second Movement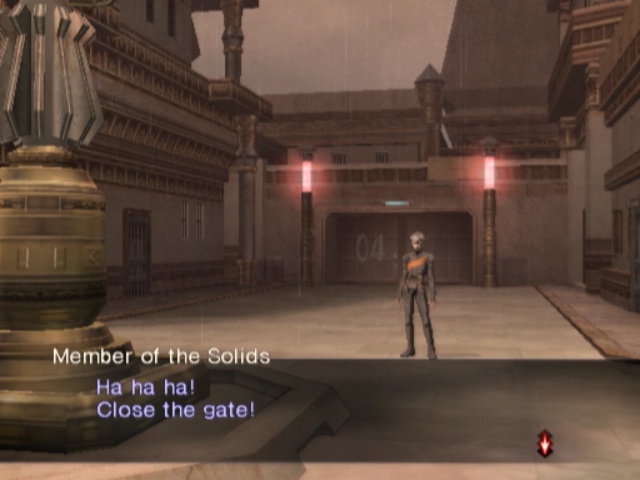
Heat's bolted, we want to turn around and leave ourselves. Unfortunately, that's not going to be easy.
Gate 4's the easiest and most direct route to the entrance, and it gets locked before we can even move. Great, now we have to find a new route outta here.
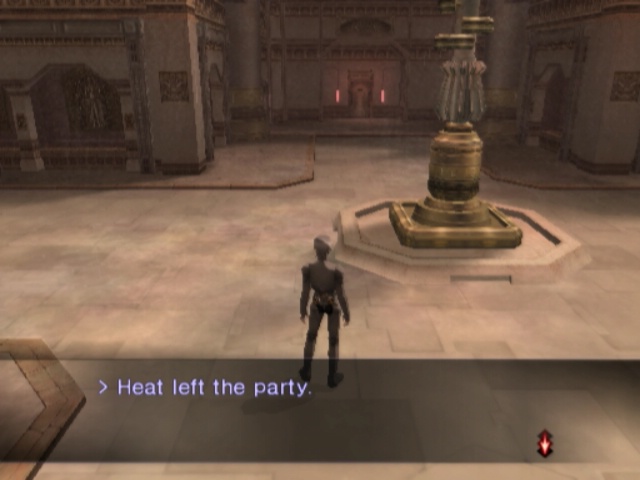
Naturally, since he pissed off on his own immedaitely after the fight, Heat is out of action for the moment. A minor note with this is that if Heat was in the active party at the time, whoever's on the bench is not automatically added in to fill the slot.
Easy enough to fix, and we can pick us some Poison cures while we're here.
The door to the entrance that we couldn't get through before is also available from this area, so it's a lot easier to escape than you'd think. Just go through here and we're done alrea-
Goddammit. There's always something isn't there?
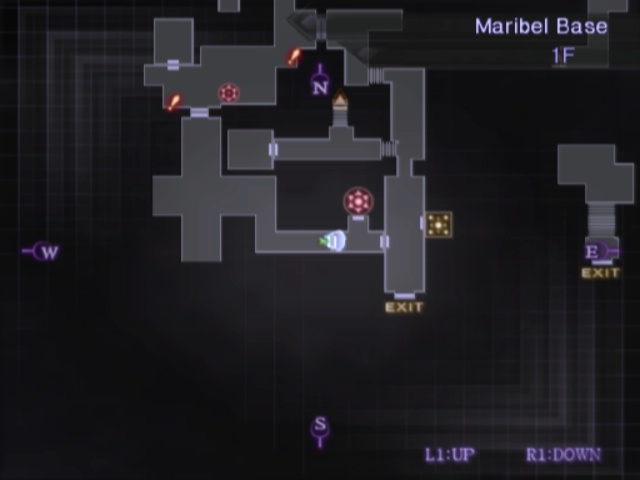
So back to the courtyard we go, then. To the south, there's a door here but this area isn't all that necessary to be honest.
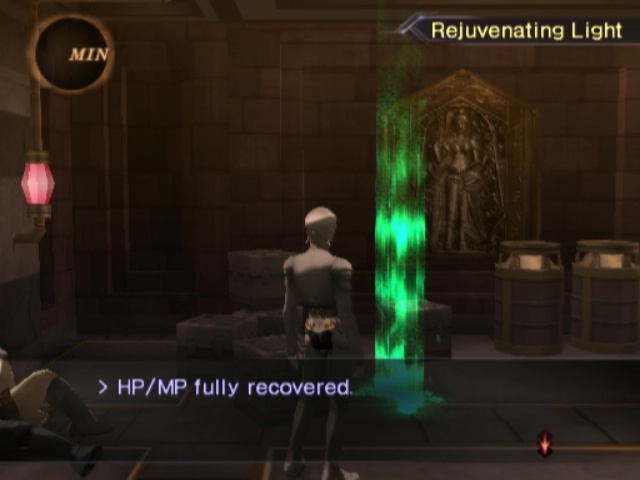
It has something that isn't overly common, a Rejuvenating Light. This is basically a free, infinite, Healing Terminal and it works on the entire party simultaneously. There's a small Karma terminal in this room too, but, again, the large one is just around the corner. You can grind pretty easily in this room, since random encounters do still happen in here, but there's no need to.
We can't get through Gate 4, but Gate 6 is in the courtyard area too. And we can open that at least.
There's very obviously either someone waiting to ambush us, or someone trying to trick us into thinking they're going to ambush us. Let's see which one it is.
 Attack!
Oh, it's an actual ambush. Okay then.
Hunting ~ Compulsion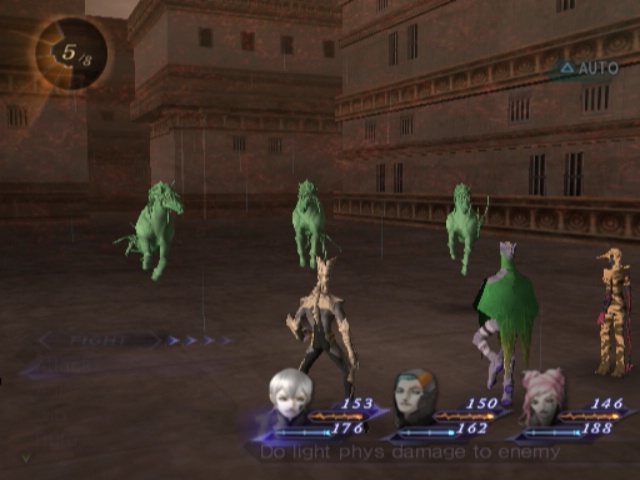
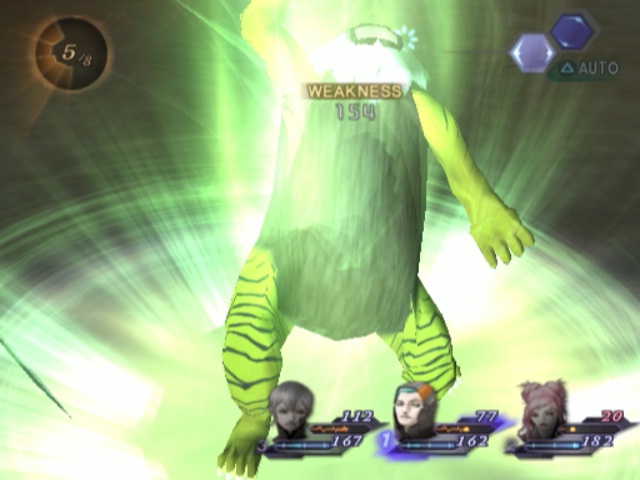
So, this fight just pits us against a lot of one enemy. We've seen something similar before, but this just ups the ante a fair bit. This is also a technically new enemy.
Thankfully, Kelpies are weak to Fire. This lets us just ruin them without much hassle.
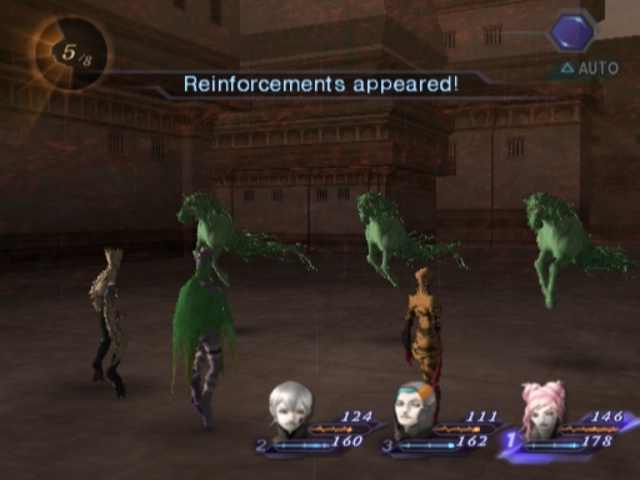
Oh, and when I said there was a lot of them I meant it.
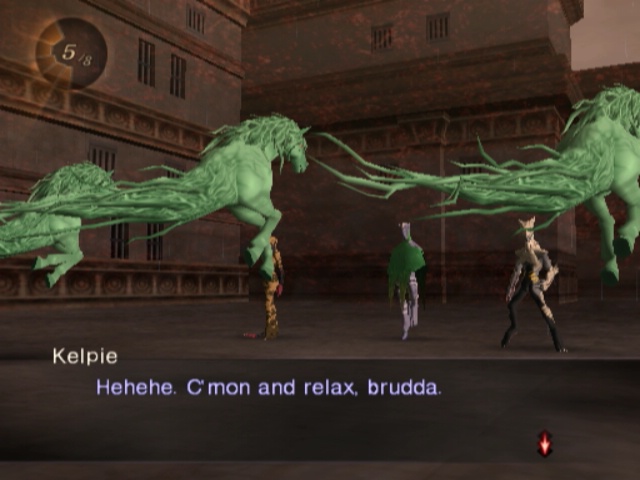
There's 10 of these blighters to fight through. They're not even difficult; just mildly tedious.
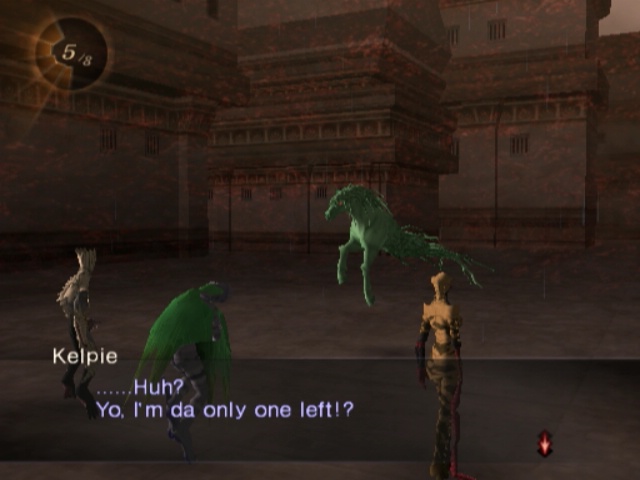
Thankfully, you'll know you're basically done because the last one tells you as much.
Hunting Fields ~ The Second Movement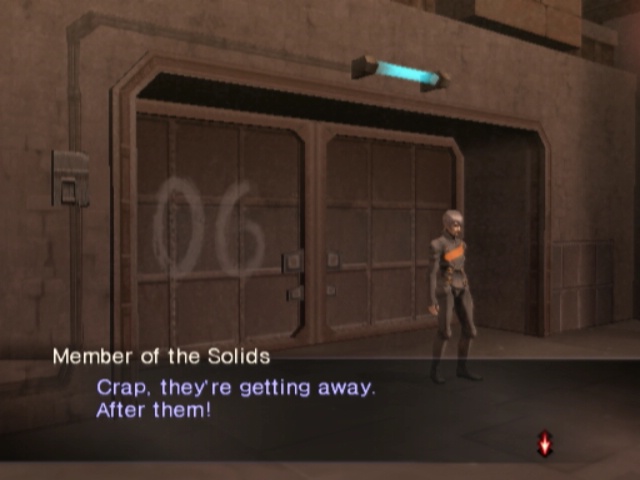
Those guys dealt with, we can continue onwards now to a technically new area of Manipura. We could've come here between beating up Bat for the first time and storming the Citadel, but there's not much of a reason to.
Due south of the gate, we can find an optional side area. It doesn't even take us off the beaten path, really.
It's just an alternative route that has a bonus Cell in it.
And, uh, another yellow wall. Sooner we find the yellow key to get past these things, the better; we've run into a fair few of 'em now.
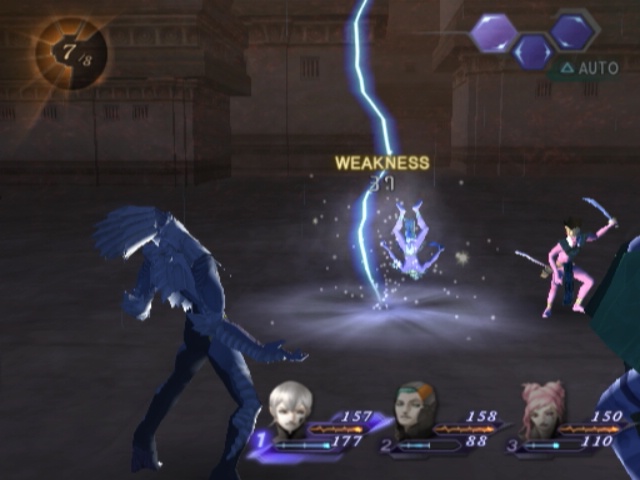
Oh, right. We only fought Nues in a trapped chest before, but here they run around like it ain't no thing. They're still cripplingly weak to Force, but don't seem to want to use Taunt any more.
Turdak's running around too. In addition to Panic, he's also nice and weak to Expel.
But, yeah, the side-area just loops around to the end of the main road anyway. It just takes a little longer.

Either way, we get to the same ladder. Very ho hum.
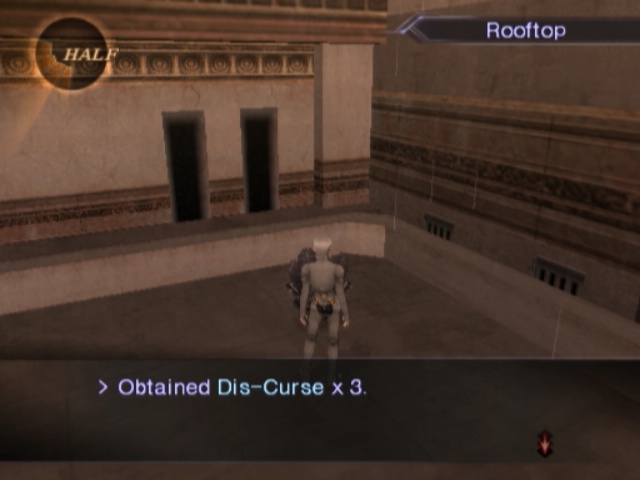
At least there's a chest with some Dis-Curses in it right away. We'll be making good use of these later. There's nothing else up here, but a ladder leading down to a new area.
Which, in turn, has an optional ladder right away. We've seen what's above this one before though.
This golden chest; we could see it from the small terminal to the north before, but couldn't get here.
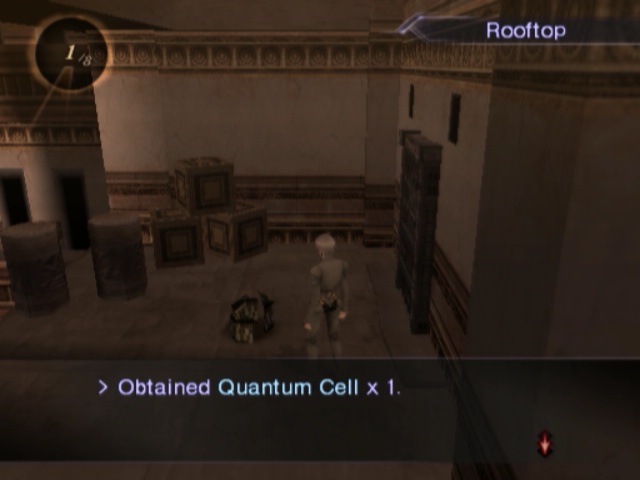
...Okay, this might be a valid reason to come here after Camazotz 1. Quantum Cells are on the lower end of the Cell scale, barely, but they're still way better than anything else we've picked up so far.
Double back a bit, and find ourselves at Gate 7. In a nice change, this one is actually open already.
...You didn't think it was really going to be that easy did you?
 We almost missed 'em... Good thing we were in a hurry.
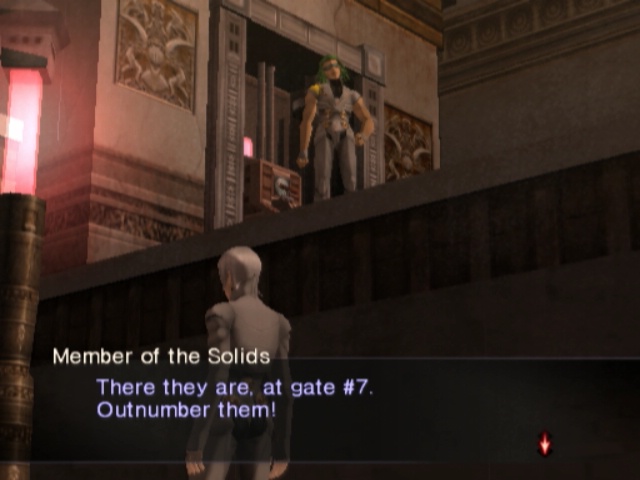
Solids guy here locks Gate 7, so now we gotta run around the wall to a ramp that leads up there.
He's gotten a fair bit of a backup in that ~15 seconds too. Like, a lot of it.
Hunting ~ Compulsion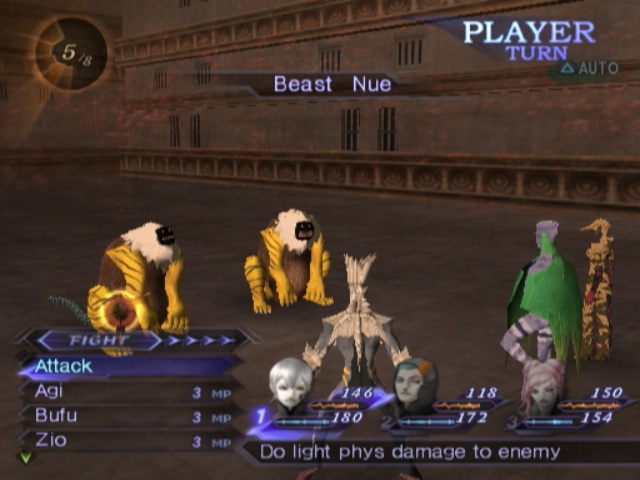
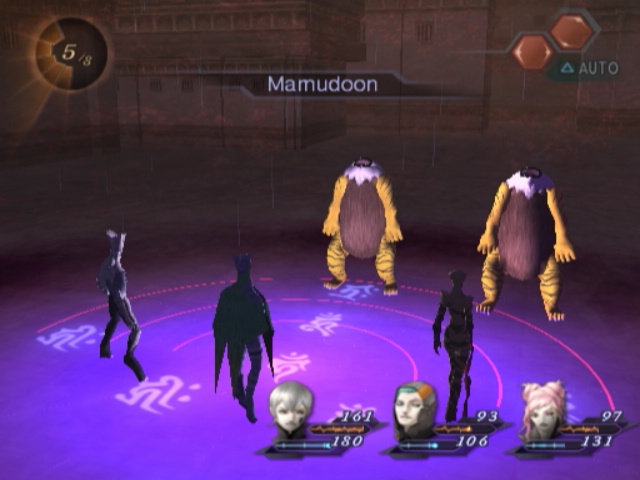
Like before, we just have to fight through a generic enemy from the dungeon. Nues are a step up from Kelpies, but that's not saying much. There's also more of these buggers.
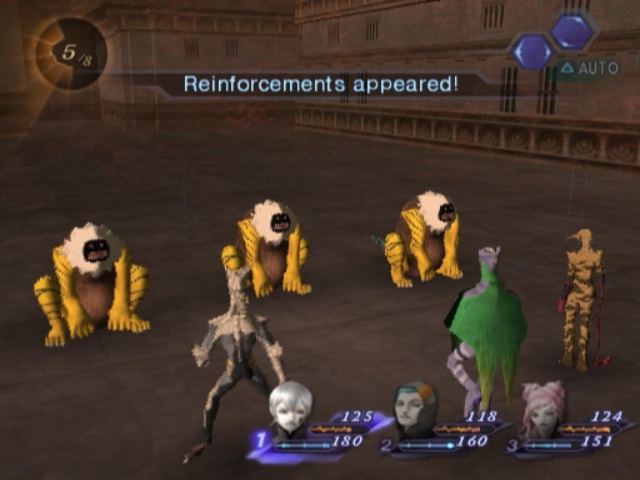
Yes, there are more Nues than there were Kelpies. We've gone up from 10 to 12 for this marathon.
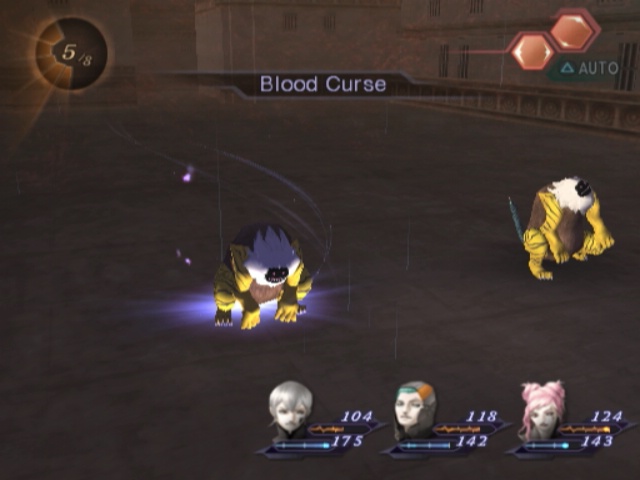
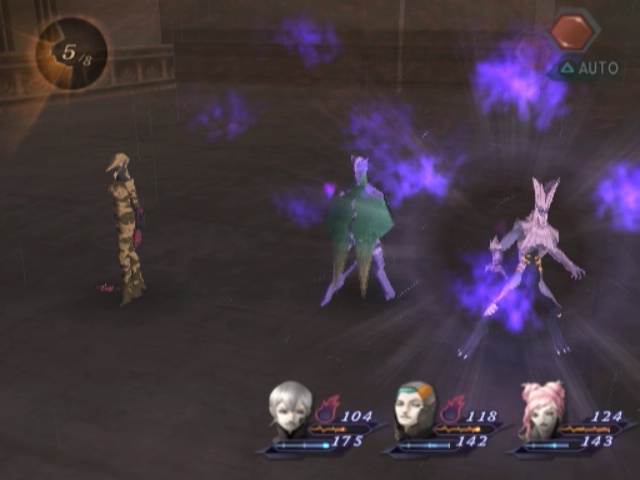
Nues also put up way more of a fight. They're definitely done trying their Taunt tricks and instead opt to fling around ailments. Blood Curse tries to inflict, well, Curse on the entire party.
Curse makes whoever's inflicted take equal damage to however much they deal. So if you hit a dude for 50 damage, you also take 50 damage. Naturally if you just don't attack, then nothing happens. Nicely enough if you kill whoever you hit with that blow, then nothing happens either.
And because Gale has the worst Luck (seriously, it's friggin 9!) this basically always works on him.
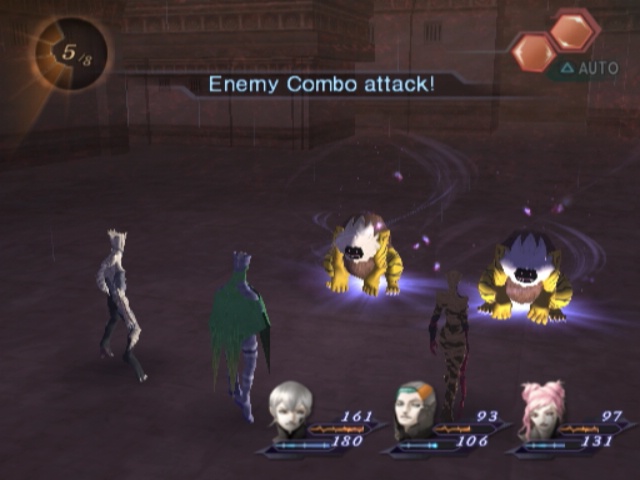
The only other trick Nues have up their furry sleeves is a Combo attack of their own. Unlike Seraph Lore, this isn't unique to these guys.
Also unlike Seraph Lore this one is a proper threat on its own merits.
It's only the multi-target version of the upgraded instant death spell. Y'know, no big deal.
Except they don't use it all that often so you'll never have a shield up for it. And Gale has shit Luck so it'll basically never miss him.
On the other hand, they don't use it often so it's not much of a big deal in the grand scheme of things either.
Hunting Fields ~ The Second Movement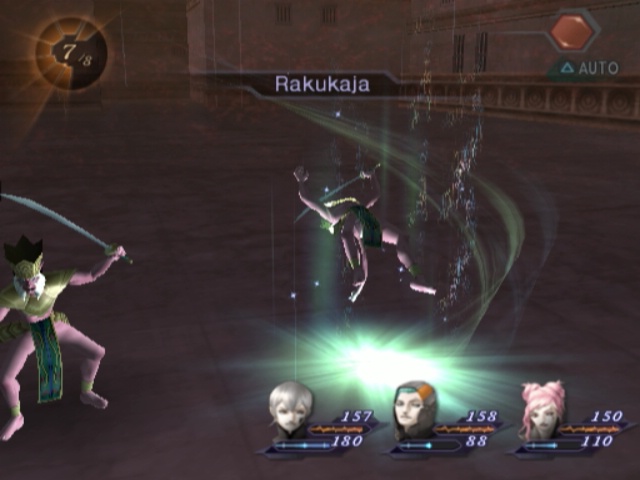
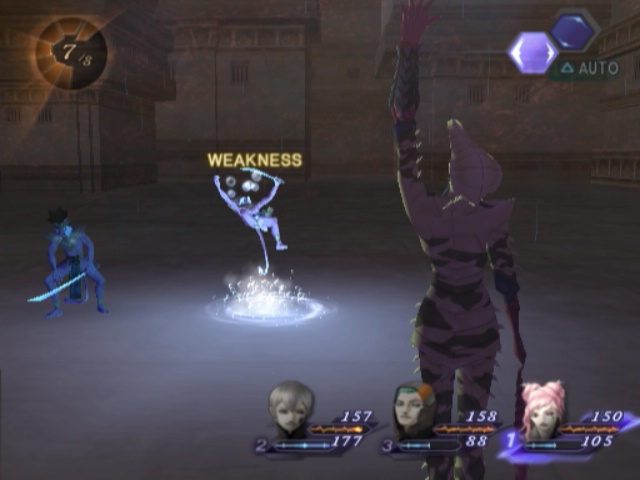
With the Nues beaten and the Gate open again, we run into a pair of tiny monkeys. Said monkeys are Onkots and their sole resistance is just a regular resistance to Physicals. They also like to cast Rakukaja to buff their defense higher.
On the other hand, they're easy enough to beat anyway. They have barely 100 HP and are weak to Electricity.
They're also weak to Nerve spells, and Charm too! We don't have any way to inflict the latter right now, though. Should probably work on that really.
Ah well, as you might've noticed in the minimap earlier, Gate 7 leads to just outside the Field Hunt. That puts us near Gate 3, which is locked and the switch is on the other side.
So we just have to run around to Gate 5, like we did the first time we were here, and then we get attacked by a bunch of dudes just outside of it.
Again.
This time around, we fight 9 Onkots in 3 waves. 2 of them, then 3, then 4.
It's probably the easiest one because, y'know, weak to Sleep. Kinda renders them ineffectual super easily.
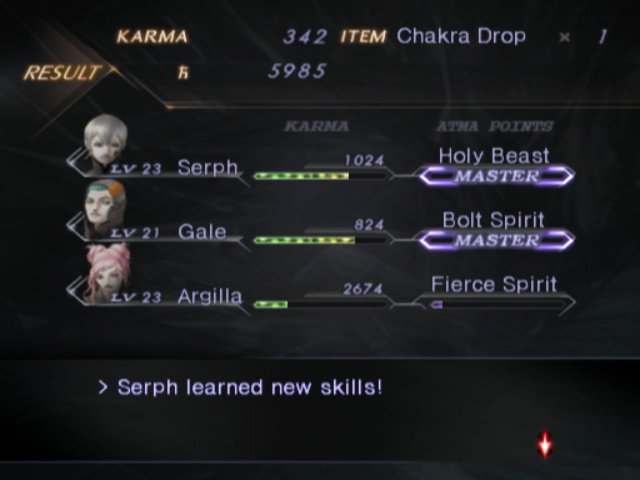
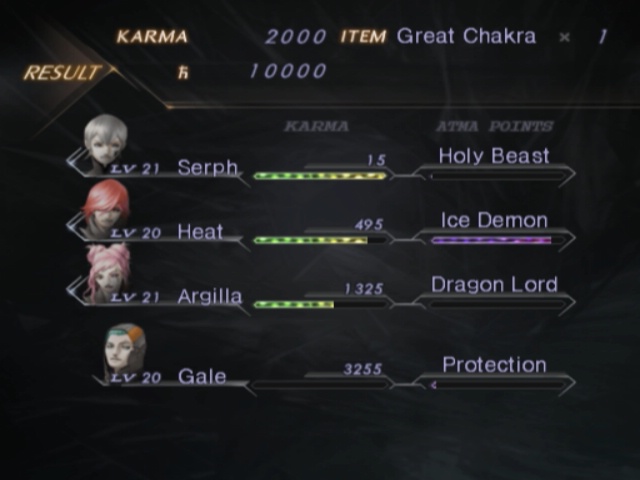
Between all the forced fights against Lots of Dudes, as well as all the pretty frequent randoms too, Serph manages to master Holy Beast just in time for it to be of no help for the remainder of the dungeon.
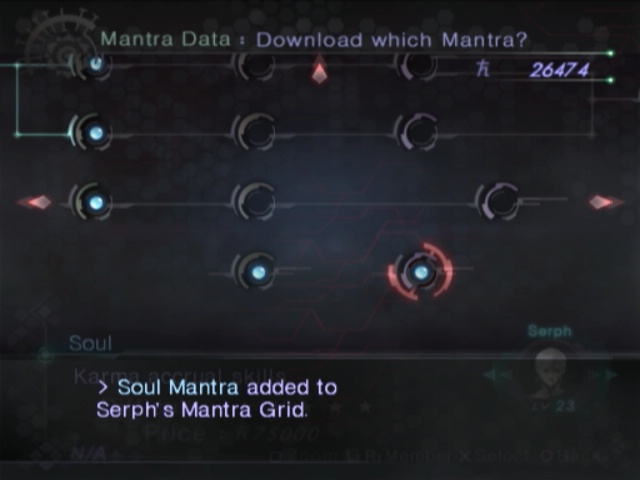
In the process, though, since he mastered a 4 star Mantra, he gets Soul added to his grid. Soul is basically Mitama But Better since it teaches Mutual Karma. Give that to someone on the bench and they earn full EXP. So twice as good as Mitama, but takes a little longer to learn. Also it costs 75,000 Macca. So nearly four times as much as Mitama. Worth it, though.
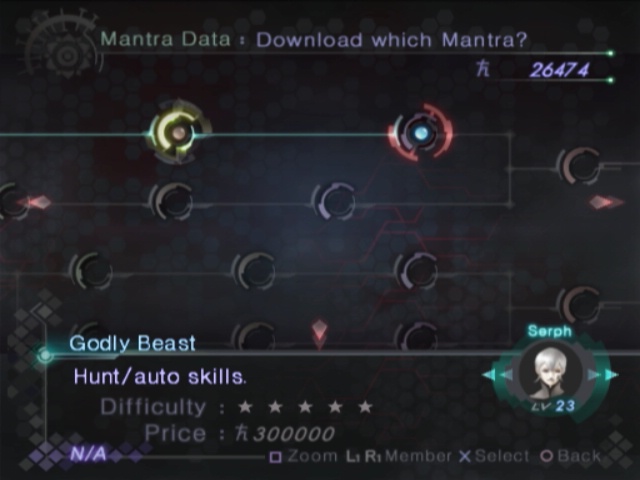
Besides, uh, we'll be getting that way before Godly Beast. We aren't seeing 6 digits in our wallet for quite a while (barring good luck with random drops), never mind 300k.
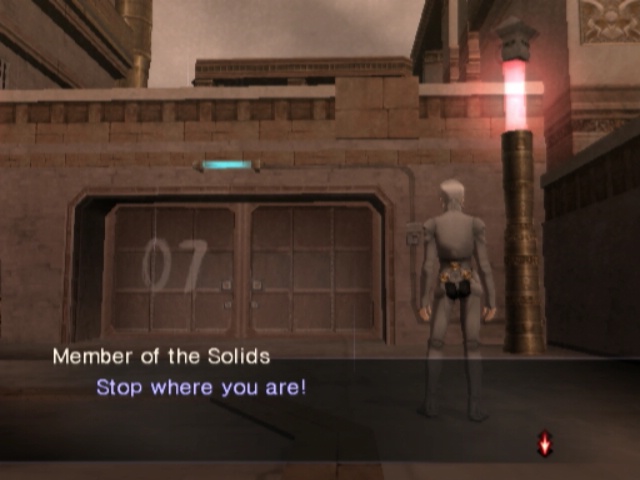
So, yeah, managed to pick up the best passive for random encounters right at the end of the dungeon. Past Gate 5 is the entrance, and there's a dude blocking it of course. He doesn't trigger until you get closer than even the door to the terminal is, though, so you can buy from the vendor and stuff if you want.
You know the drill here by now, though. We get close, he picks a fight, we fight a whole bunch of generic enem-
Mini-Boss: Evil Atavaka Hunting ~ Compulsion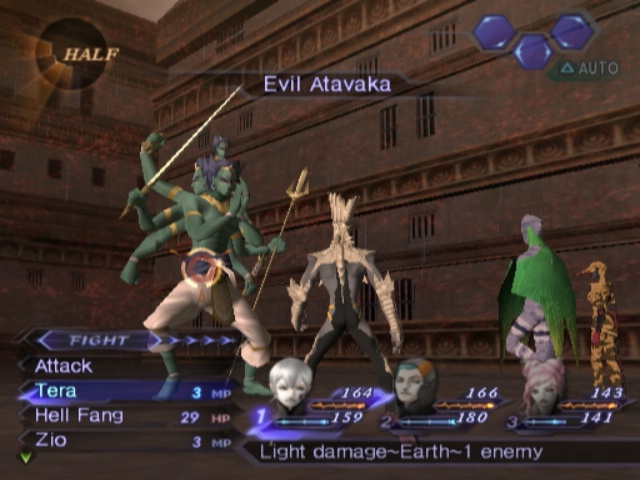
Well.. that's different. Atavaka is sort of our end of dungeon boss, but not really. Dude has 1500 HP, so he's hardier than Camazotz but that's not saying much.
Speaking of Camazotz, Atavaka just so happens to also be weak to Earth. How convenient!
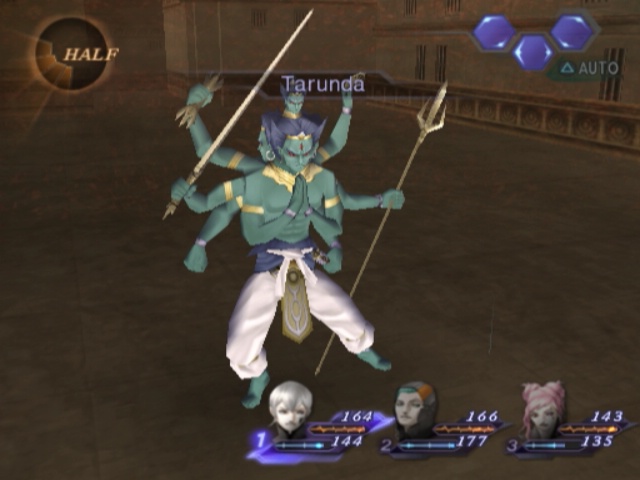
It's probably a good idea to cast Tarunda on the guy a couples times too, since he just loves using physicals.
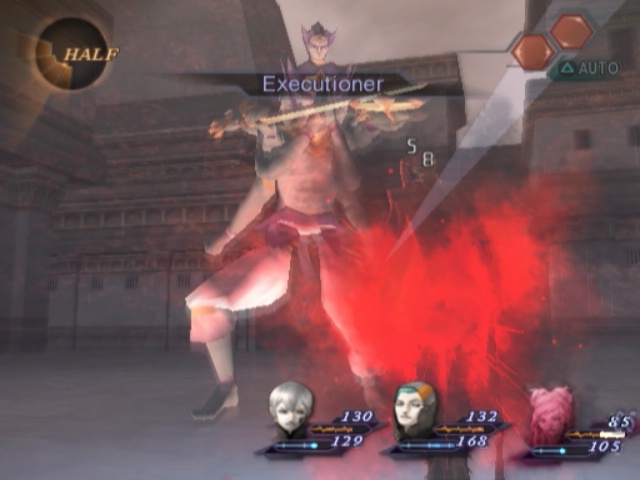
Executioner in particular can be a bit of a bastard at first if you're unprepared. That 58 is after casting Tarunda a full 4 times by the way. At that point, all of his physical attacks deal half their usual damage. So, uh, yeah, without it he'd just drop someone superquick.
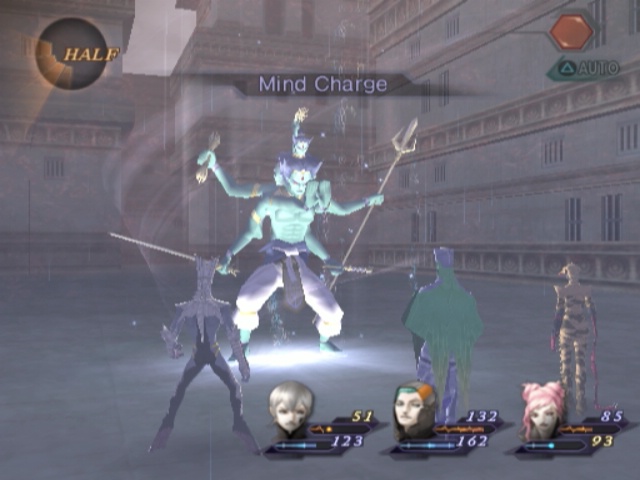
He'll also cast Mind Charge occasionally to buff up his next magical attack and if given the chance he will capitalise on this.
To drop a superpowered Megido on you. Fuck that noise.
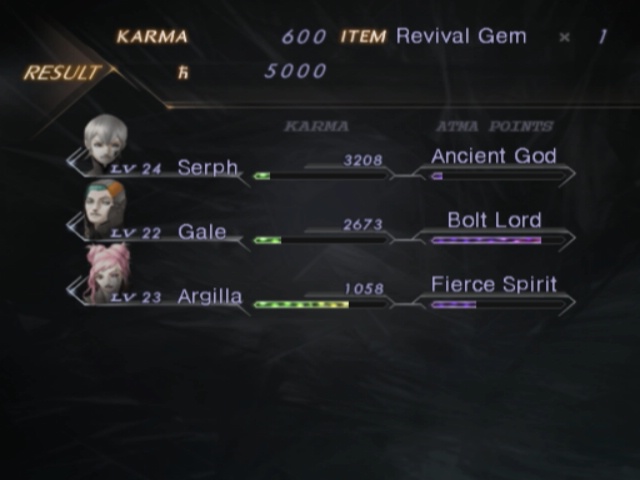
At least he gives pretty okay Maccca for a miniboss, and we actually get AP from him too.
End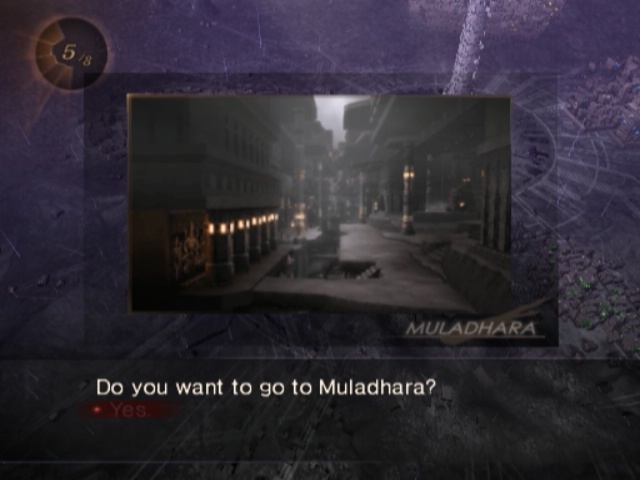
Atavaka slain, we can leave Manipura at last and return to Muladhara.
Muladhara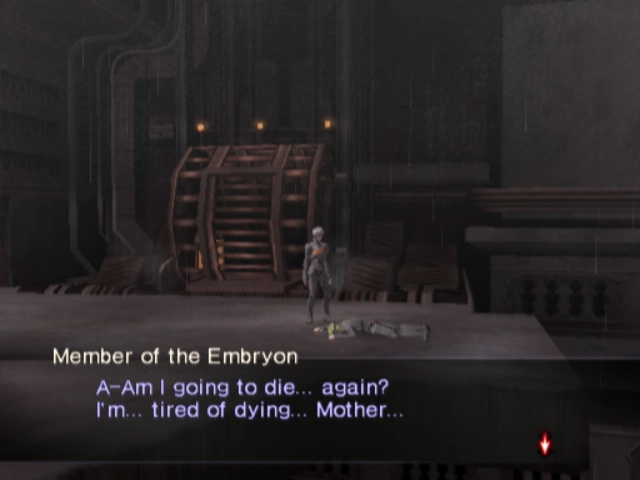
It, uh... we're too late. Again. We're really good at getting to these places just after the Solids have ransacked the place, jeez.
Like, they apparently came in, kicked the shit out of everyone, kidnapped Sera and left all before we could get back.
Aw man, they even got blood all over our nice, clean hallways. If we ever needed an excuse to move into Svadhisthana for real, this is a damn good one.
But, hey, silver lining: it's at Max Solar Noise and we're right outside the Vendor.
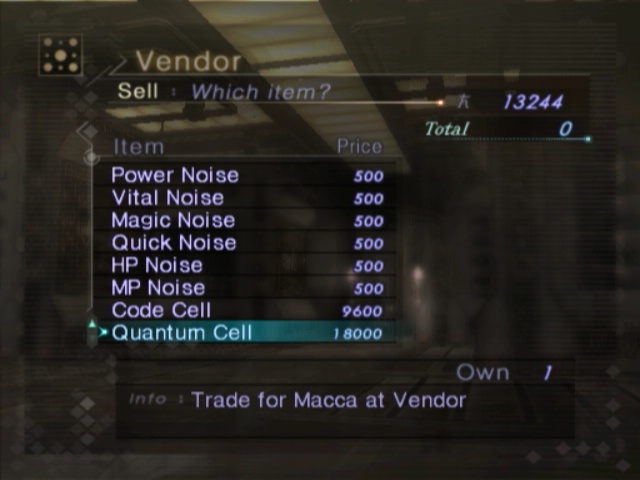
Quantum Cells are very nice indeed. 18k at max is not too shabby at all. Even at minimum, they go for like 12k so that's a nice step up.
...Goddammit, first the soldiers, then the blood and now you're telling me there are bullet holes all over the walls and doors? The Solids are a bunch of friggin' rude jerks.
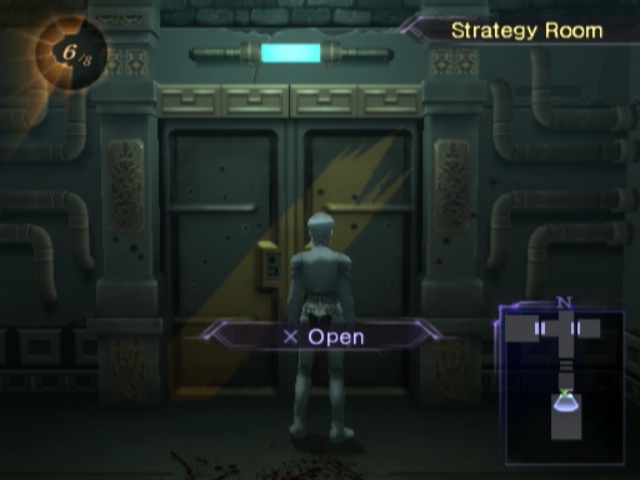
 A New Destination
The Strategy Room has been well and truly ransacked as well. Fan-friggin-tastic. When we find Mick, he's paying for the repairs of all this stuff I swear to God.
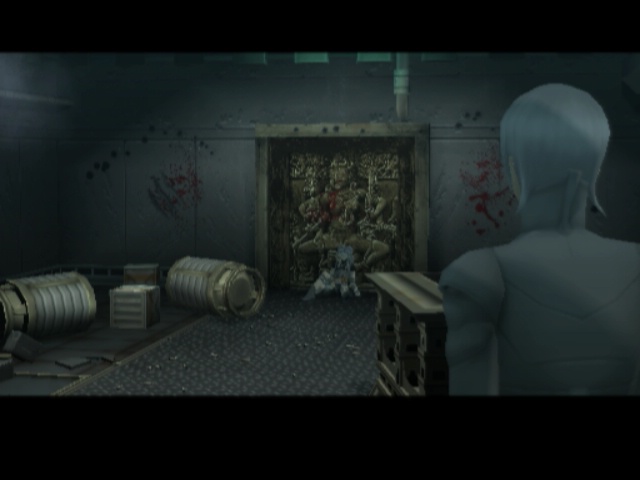
Also Cielo got the shit kicked out of him. Yeah, that was kind of a given. Dude WAS basically alone against at least two named characters.
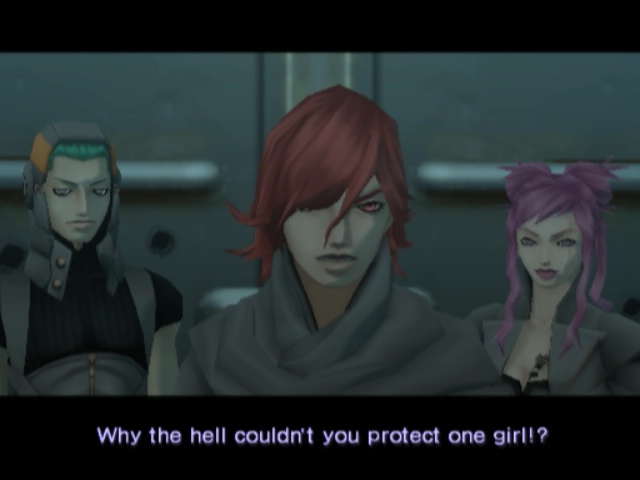
Heat doesn't take it all that well though...
Huh!? Why are you so concerned with Sera?
 That's enough!
 You may be confused, but do not blame Cielo. Cute little speech... but what about you, huh? I have not changed.
Of course, the instant he says that, the crying woman from before immediately appears again and then disappears just as fast.
 Instead of simply lashing out, let us think.
 They allowed you to live in order to give us that information. Where is she?
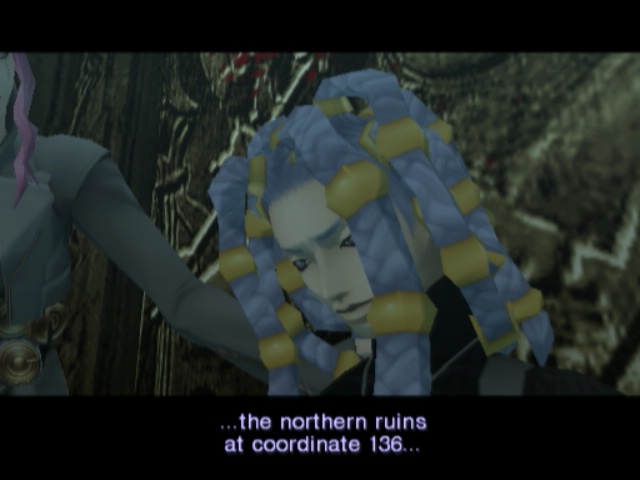 Embryon
Of course, he turns around and bolts out as soon as Cielo even mentions the place.
He cannot succeeed alone. We should follow.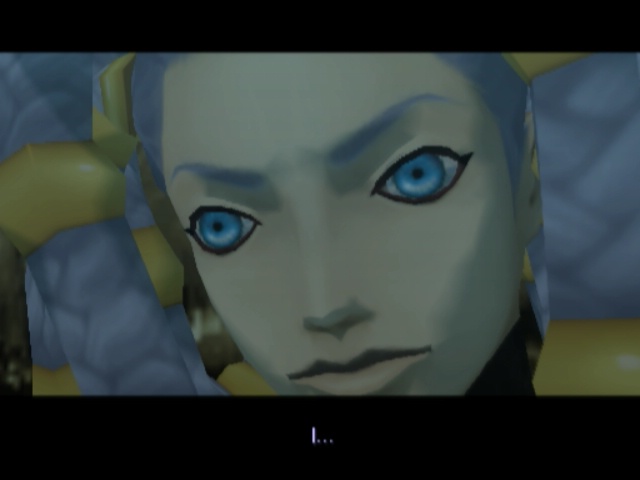
Strangely enough, from this line onwards, Cielo's accent changes drastically.
 I gotta redeem myself for all dis! You should rest here. You won't be much help if you're hurt.
Poor Cielo gets left behind again, though. Argilla does have a point; not like he's going to be in fighting condition right now.
Plus side is, we've got Heat back already. Even better: whatever Mantra he was learning when he left is Mastered when he gets back regardless of what it is. How nice.
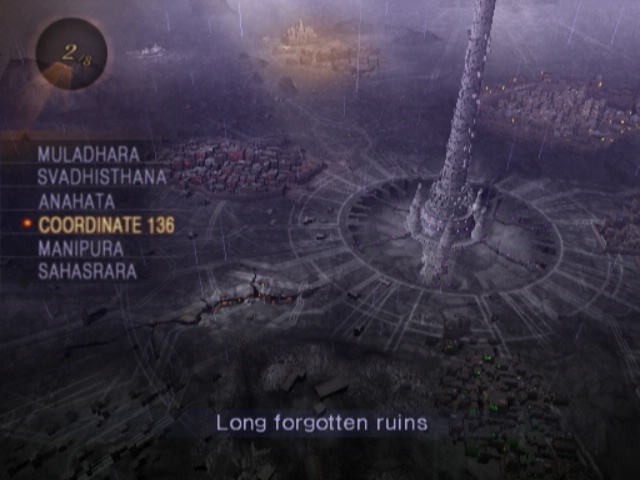
So, next time we'll head on off to Coordinate 136 and hopefully do something that resembles rescuing Sera.