Part 12: Samsara Tunnels
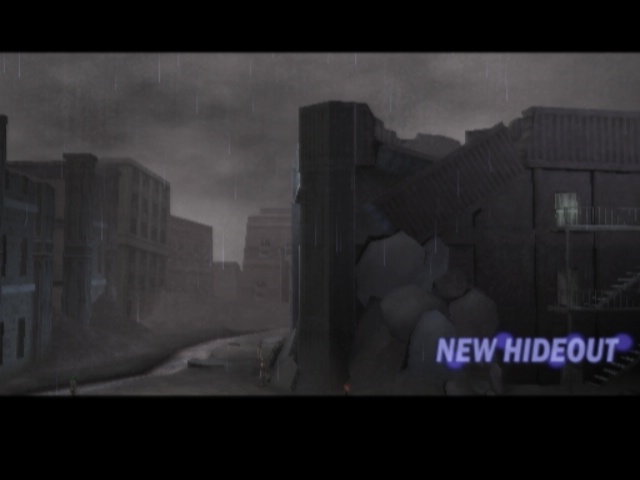
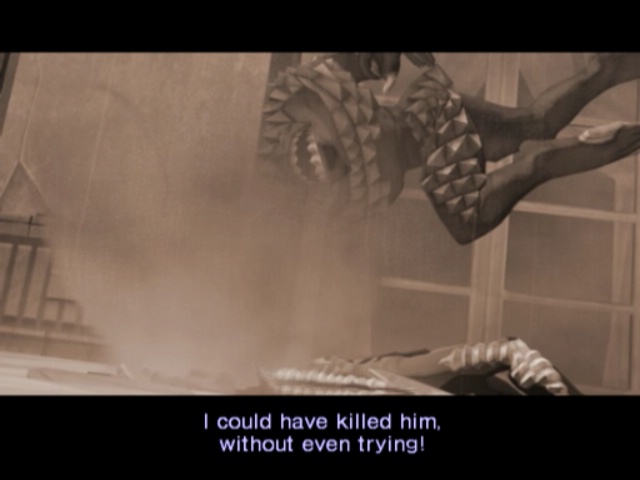
With the ship blown apart, we immediately get moved to our new hideout.
 Pray -A Capella Version-
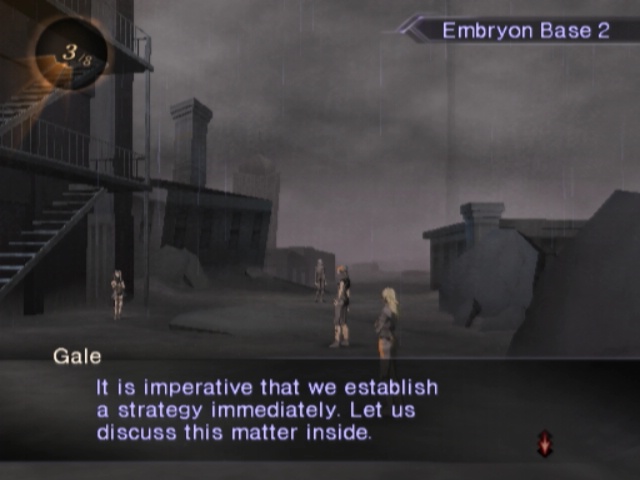
We can't just fuck off right now, either, so I suppose we'd better just go inside.
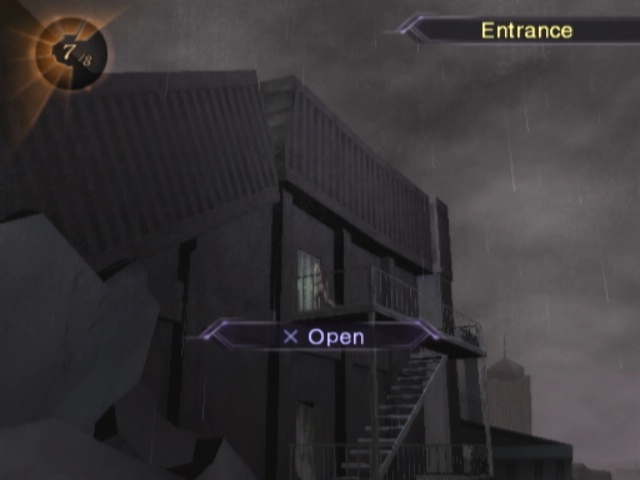
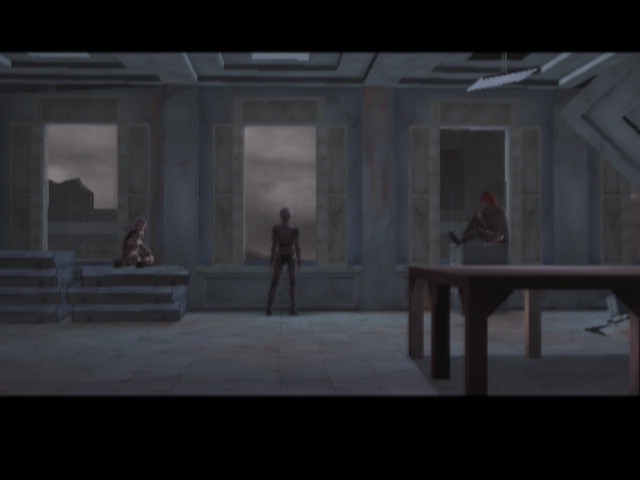
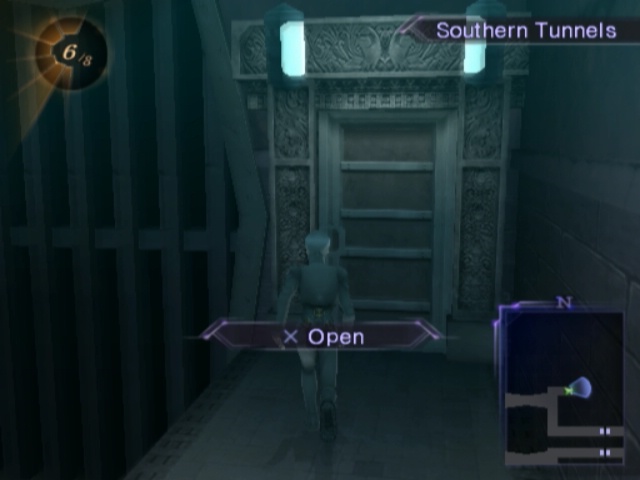
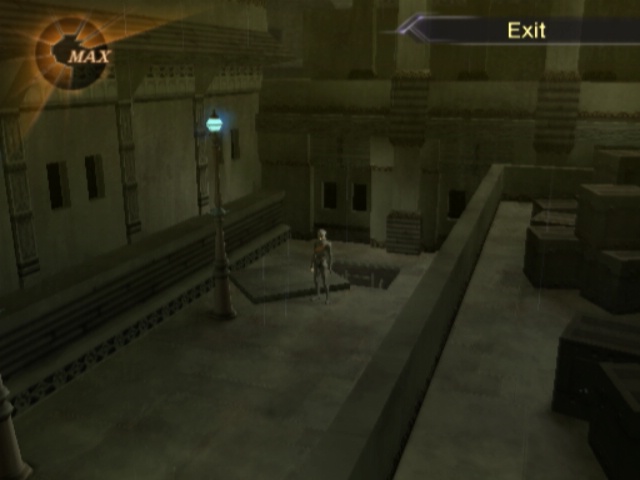
There's only one entrance to the new, significantly smaller, base.
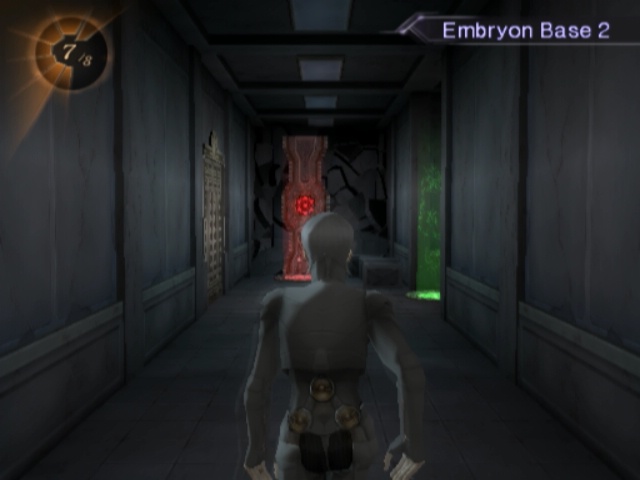
Like, this place is a lot smaller to the point we have no Large terminal nor a Vendor here. At least we get a Life Terminal right next to the small one I guess?
...Still think we should move into Svadhisthana though.
 At The New Base
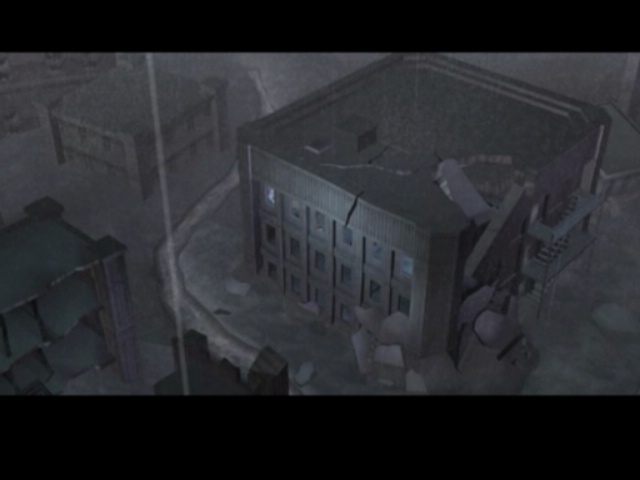
 Light shines on heaven. Earth and spirit, light brings glory and grace.
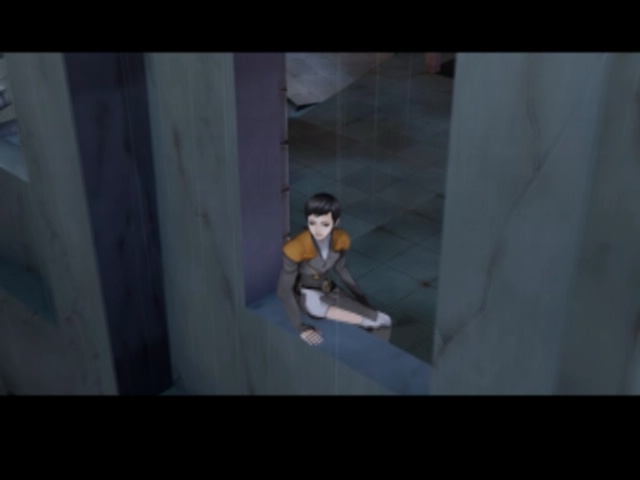 May it open our eyes, to the truth...
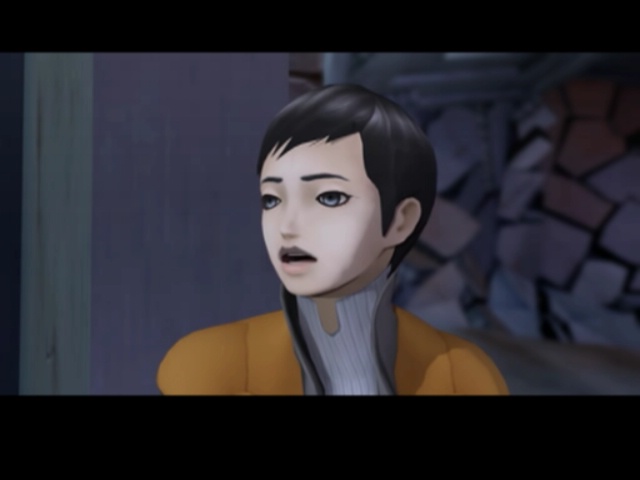 Shanti. Shanti...
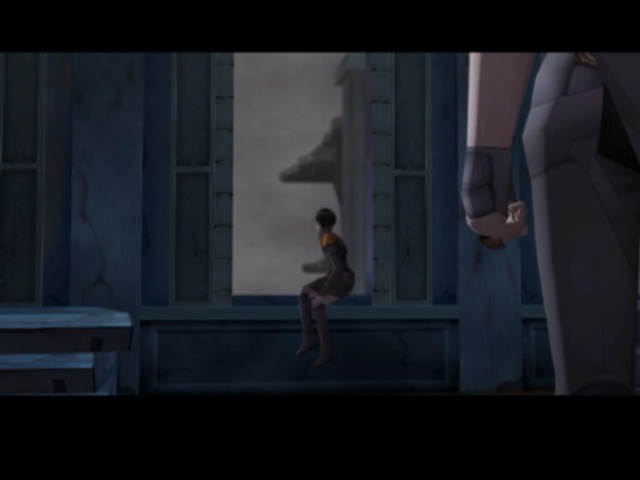 Divine light, our heart cries out to you. Deliver us-
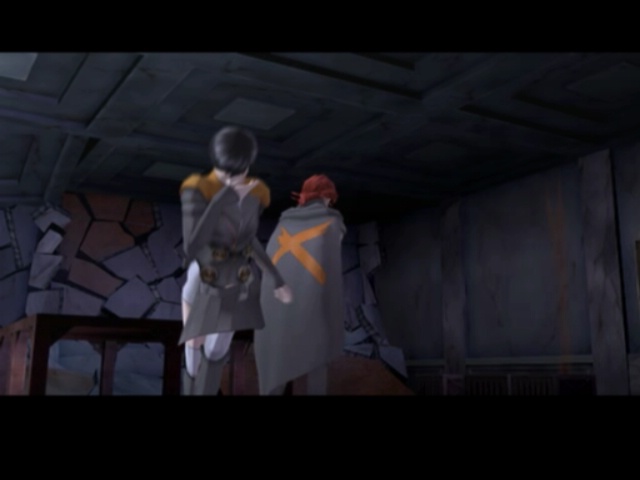
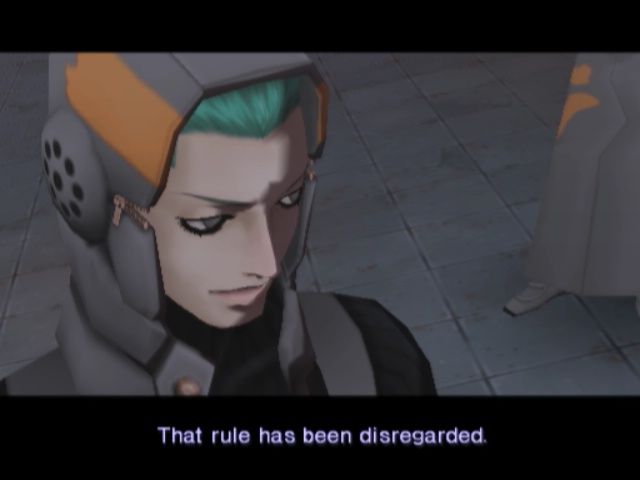
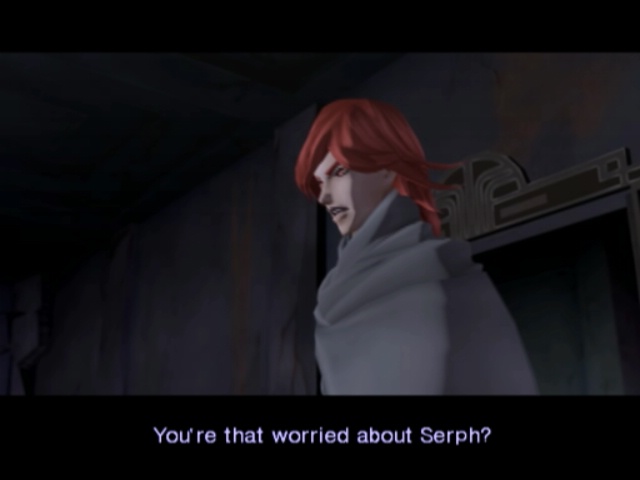 Hm...? We're comrades.
 That's not what I meant.
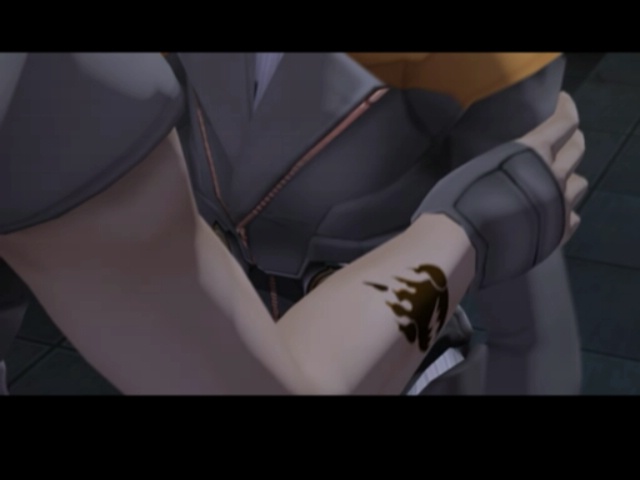
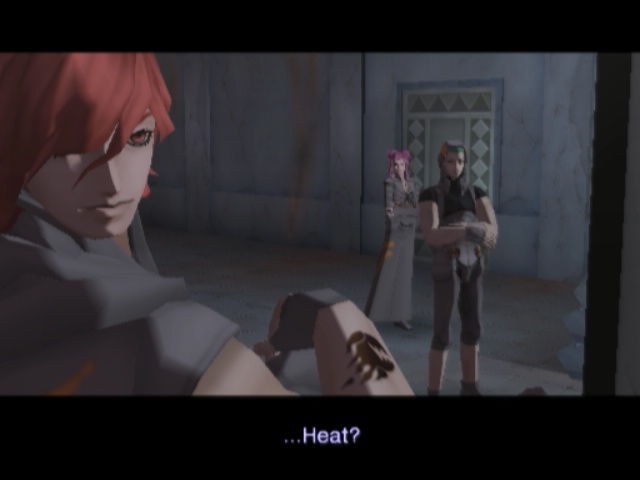
 Heat, you're hurting me.
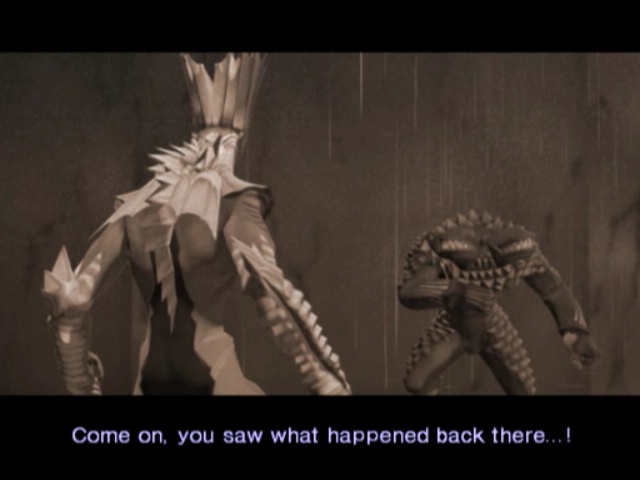
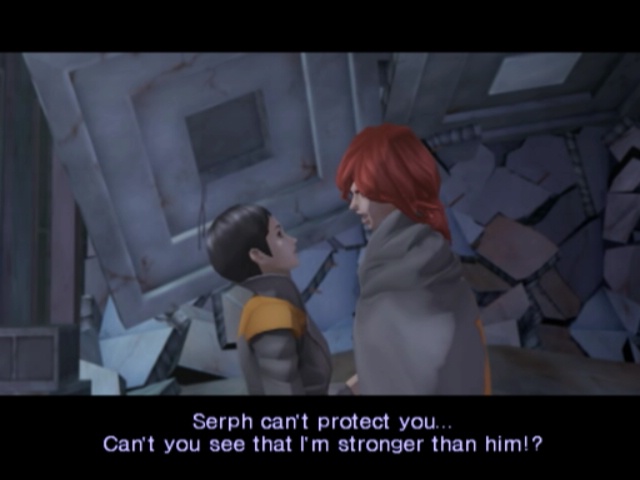
 I already know you're strong.
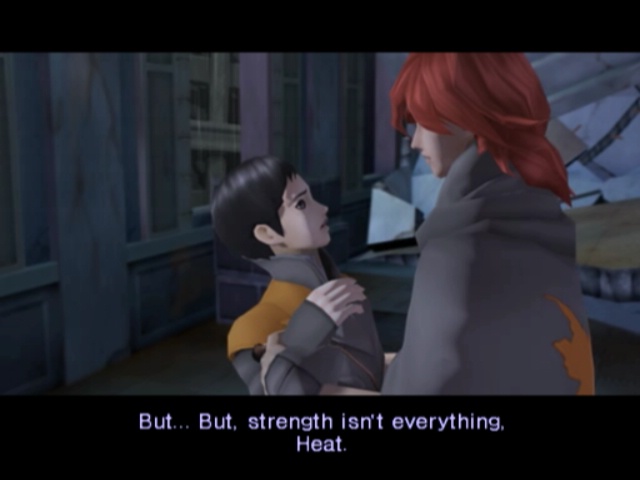 Serph--
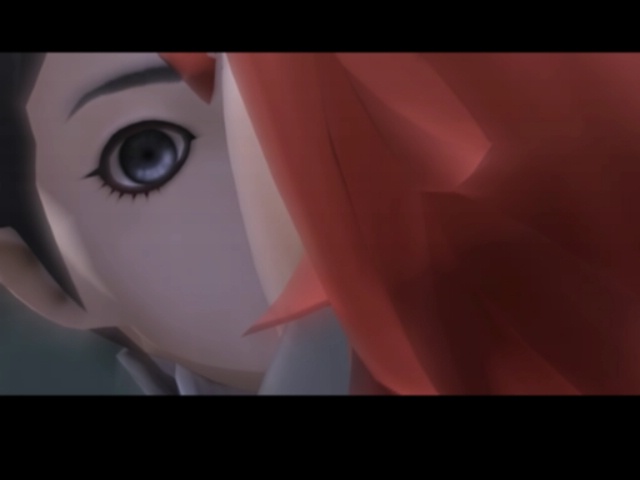

Well, Heat just got a hell of a lot worse!
 Sera...
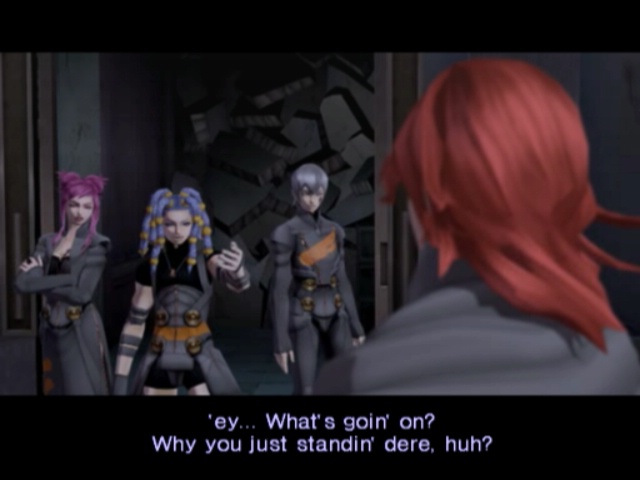 It's nothing.
...At least he seems to know he fucked up big time?
Still, one quick fade to black later.
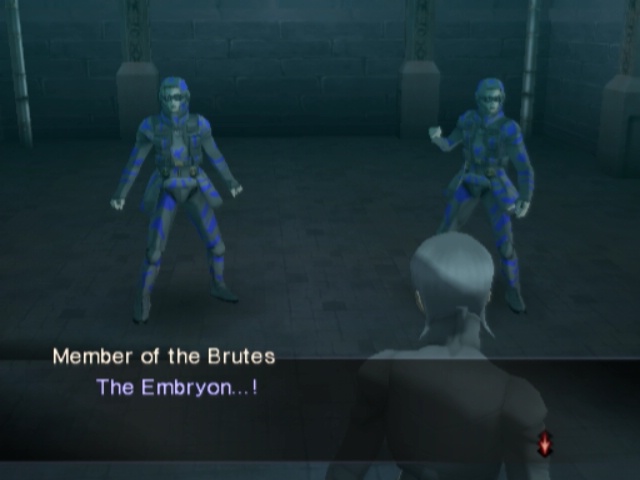
 Brutish
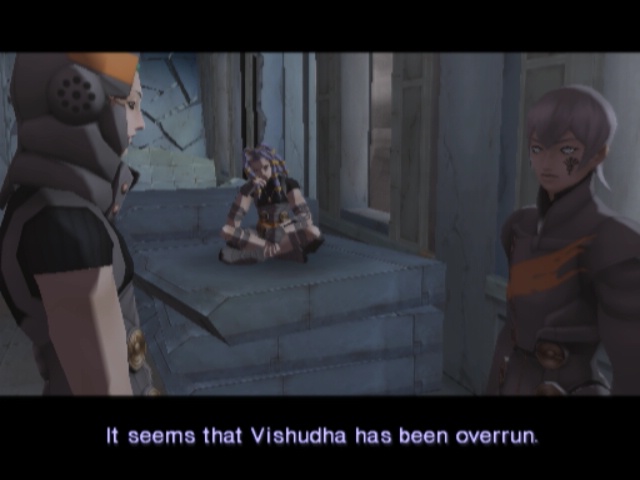
 You said da Wolves would last longer dan dat!
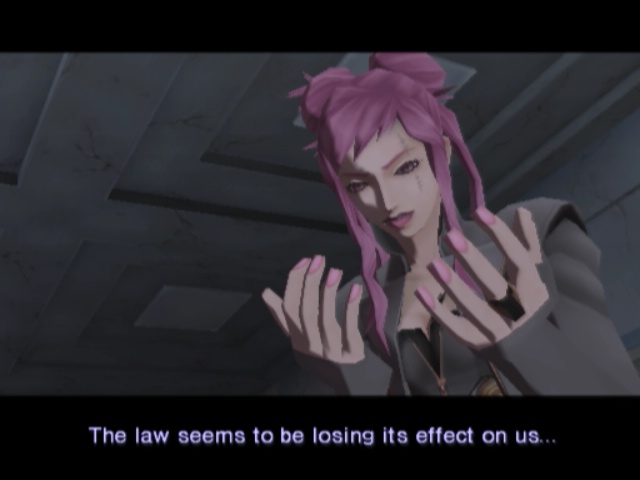
 Thought it defies probability, the fact is undeniable.
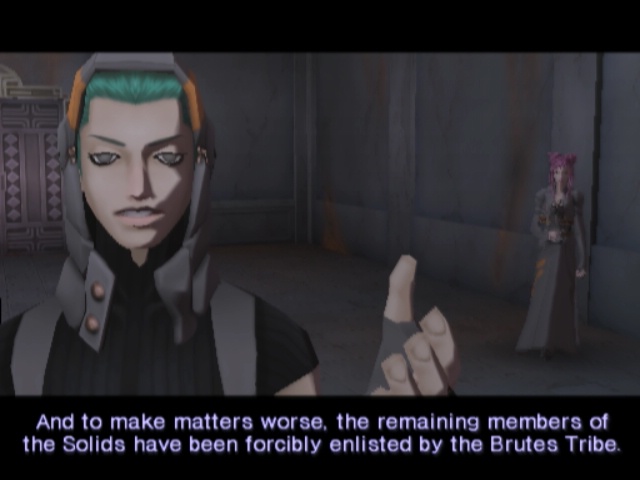 At this rate, I am afriad they will destroy us all.
 Aww, gimme a break!
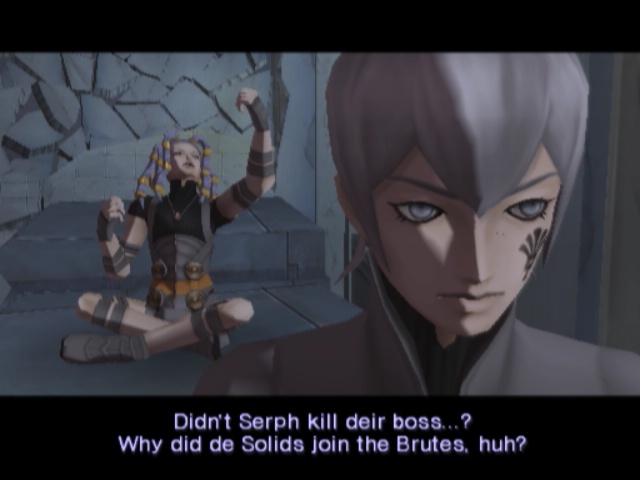 Argilla... Tell me, would you follow Varin if he defeated Serph?
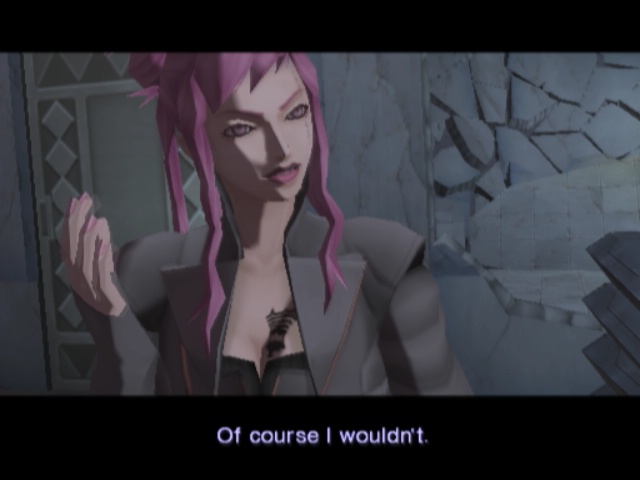
 Huh?
Huh?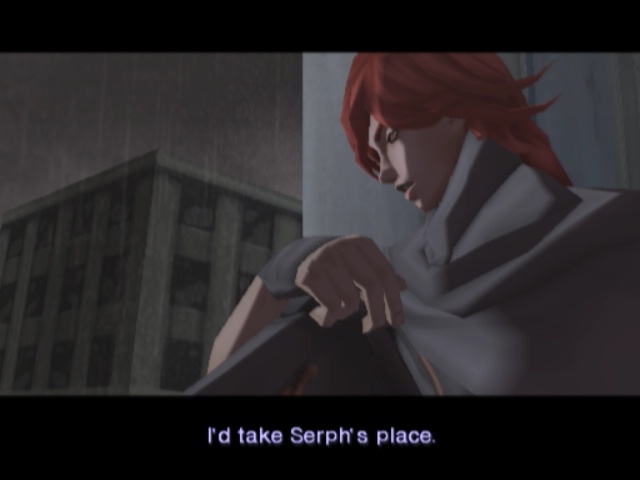 Exactly.
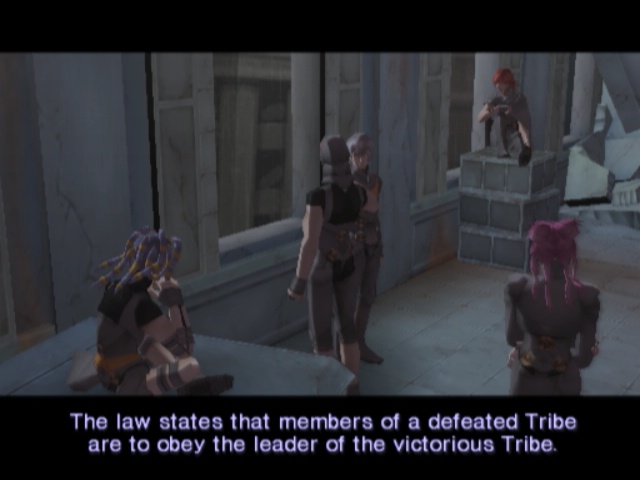
 But, why could that be? Everyone has changed, just as you have.
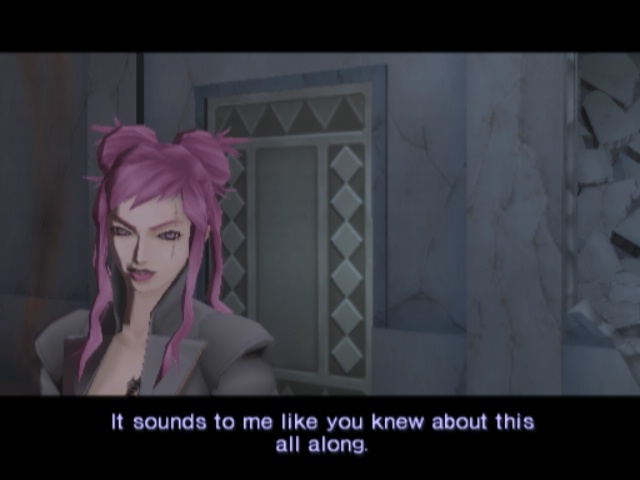 What were you planning to do?
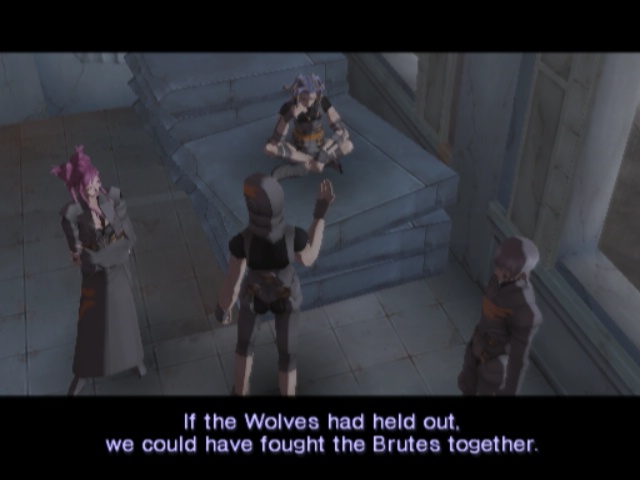 That is why this is so unfortunate.
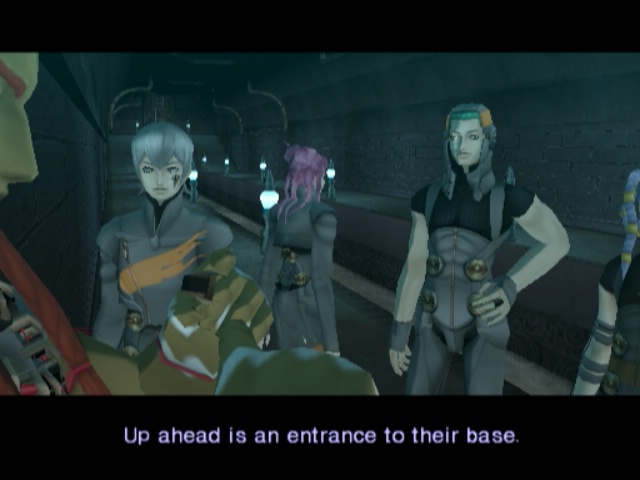
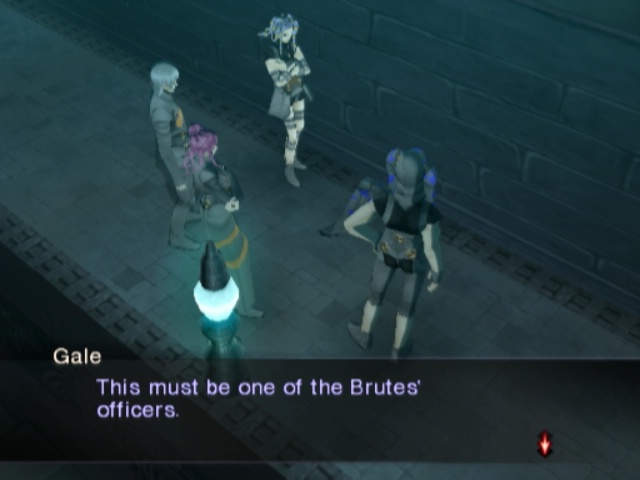
 Boss! Silence
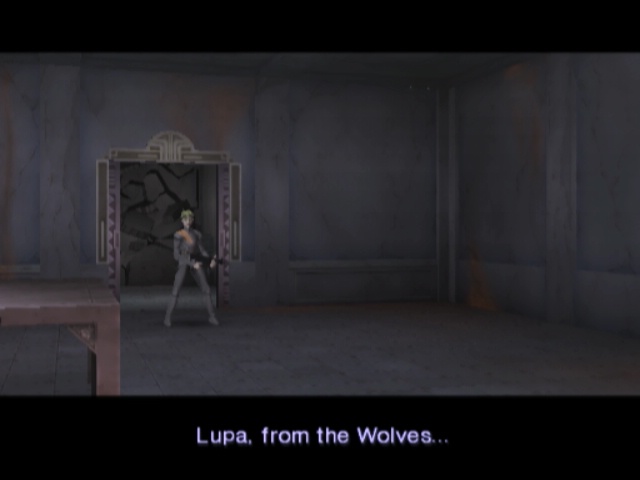 He's asking to see you. Did you say Lupa? Where did he come from? Well, you wouldn't believe it if I told you.
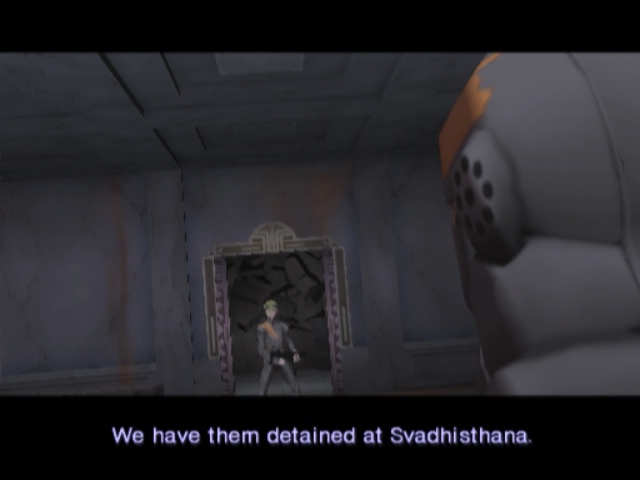 Let us go, Serph. End
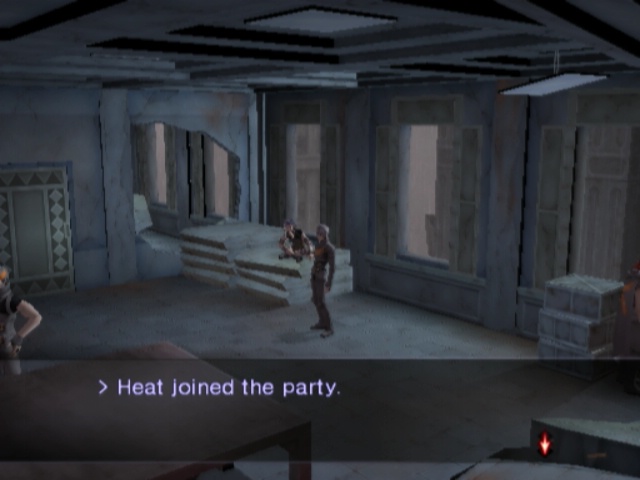
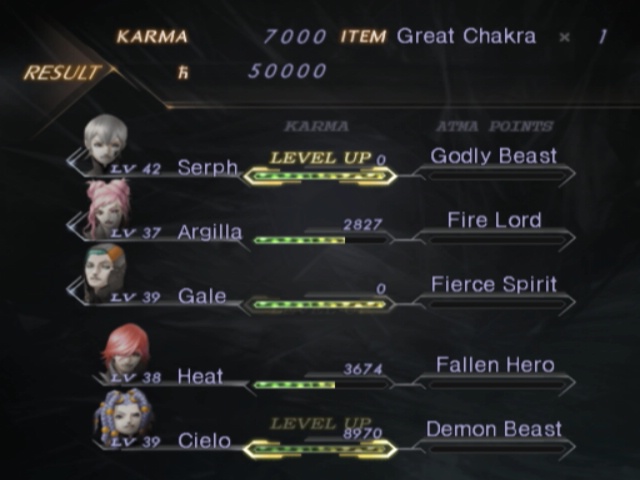
Much like before, Heat comes back with whatever mantra he had equipped Mastered. How nice.
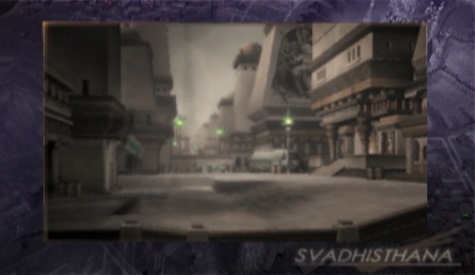
And back to Svadhisthana we go!
Svadhisthana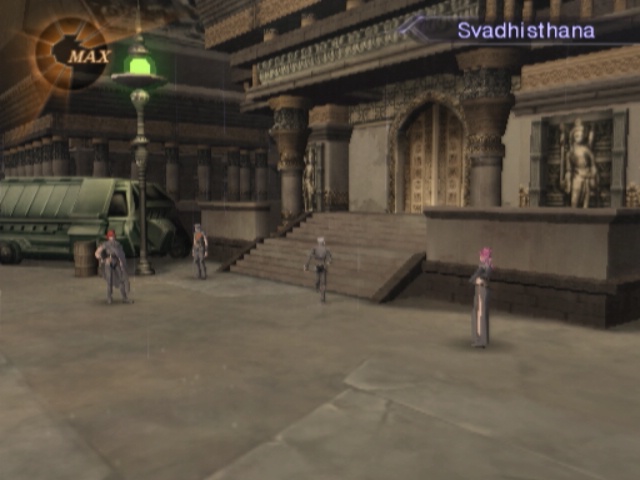
Nothing happens at first, and finding Lupa can be mildly inconvenient if you don't know immediately where to go. No one tells you where he is, and the only hints are stupidly vague and dumb.
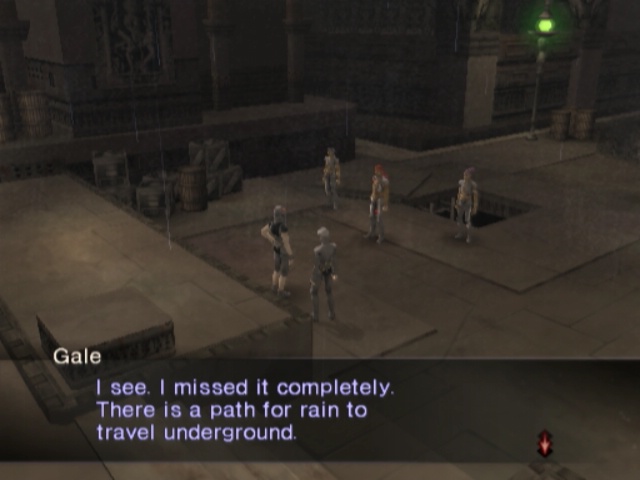
 ...Still no match for me, though.
You go through the basement, and come out in the area that had no wall guarding it. That's it.
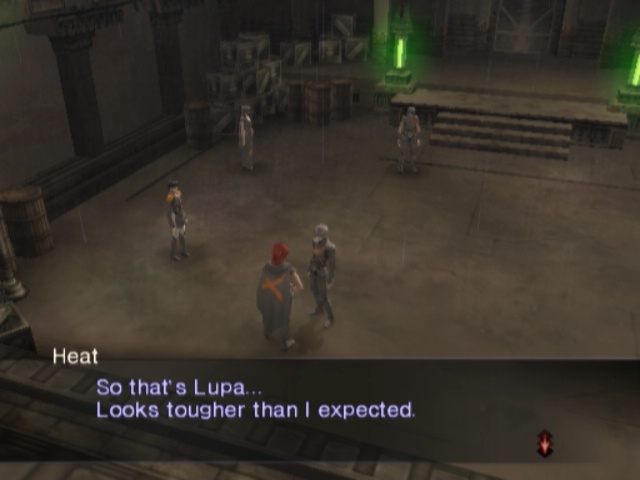
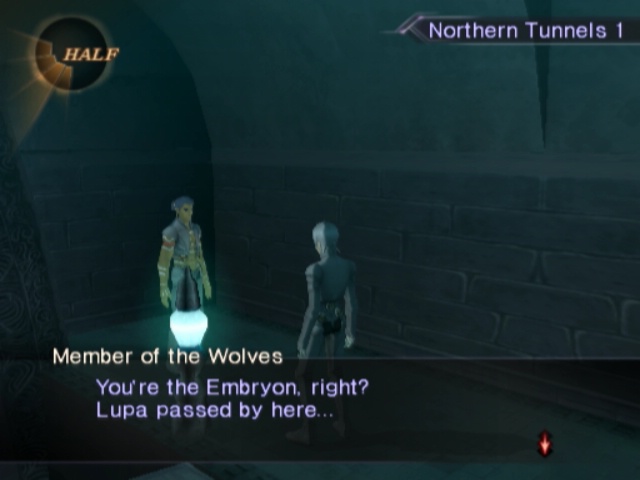
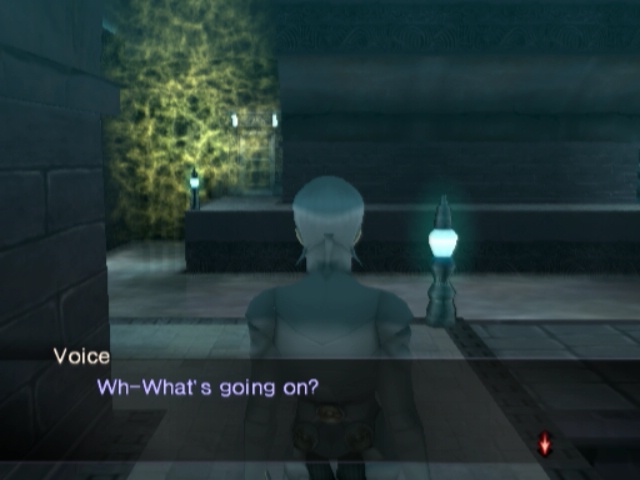
Nothing immediately happens when we get here either; we just go talk to Lupa...
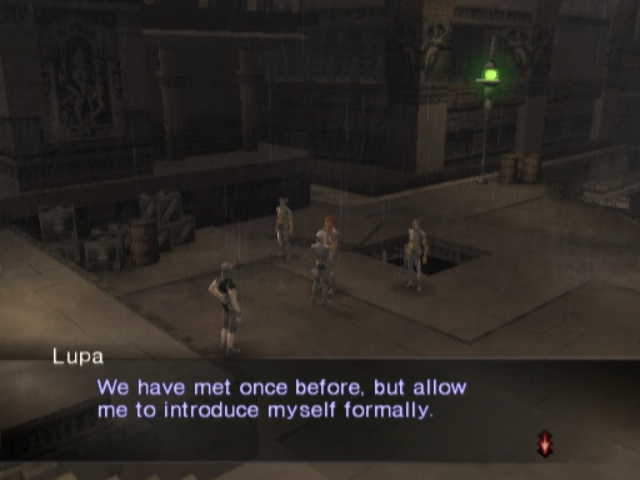
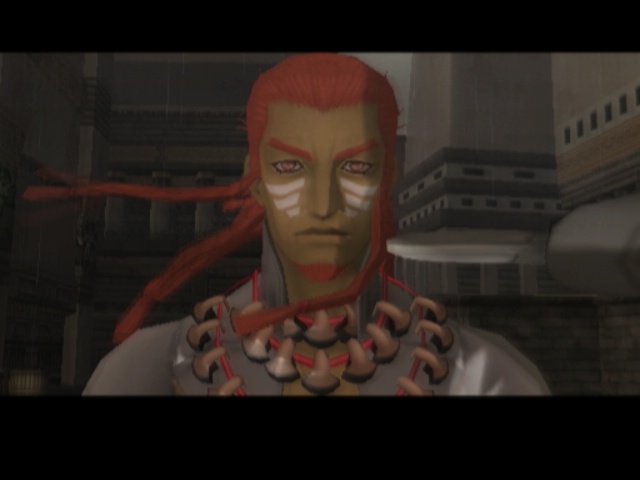
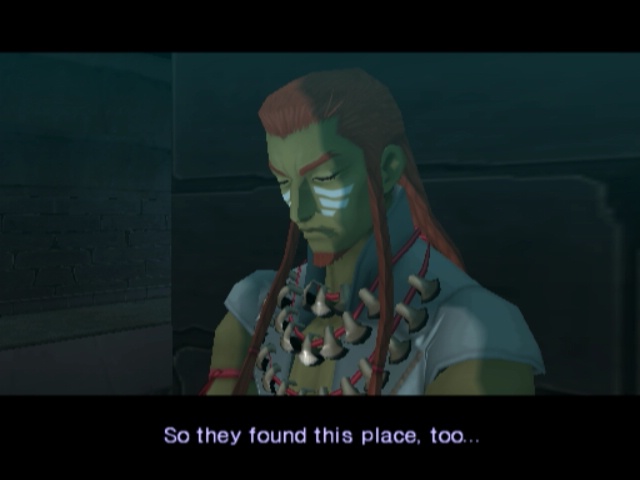
 I am Lupa, leader of the Wolves. I am sorry for my previous discourtesy. I should have known you are a reasonable man. I trust you will forgive me. Meeting Lupa
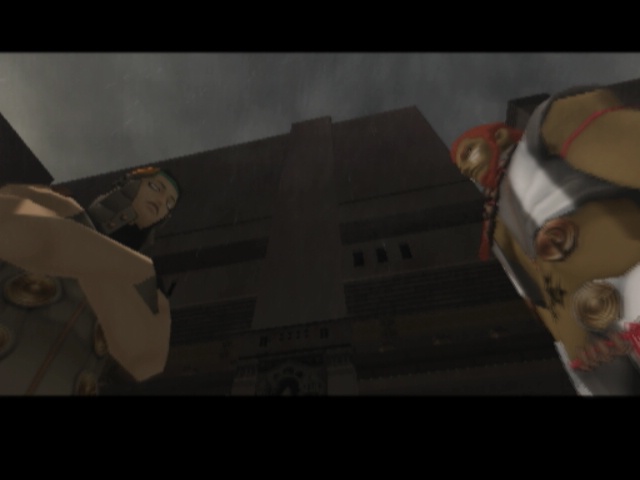
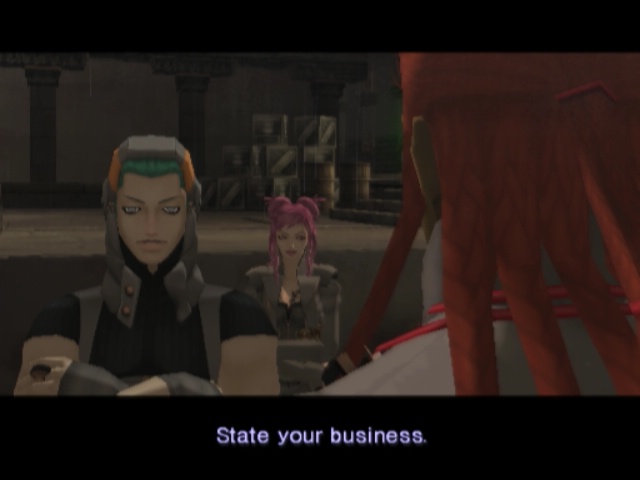
 Under what conditions?
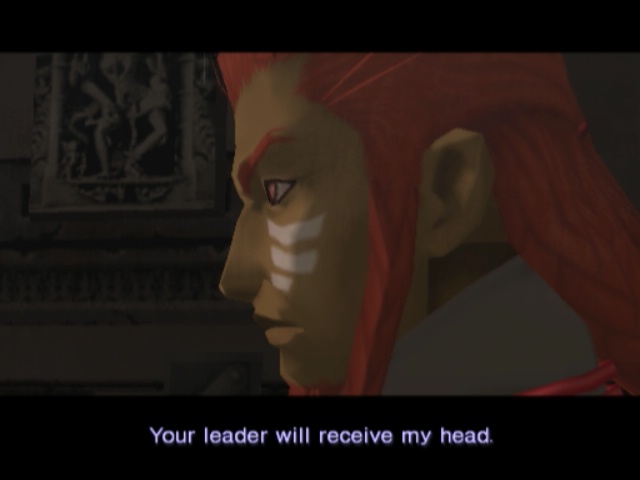 In exchange, I ask you to treat my men farily.
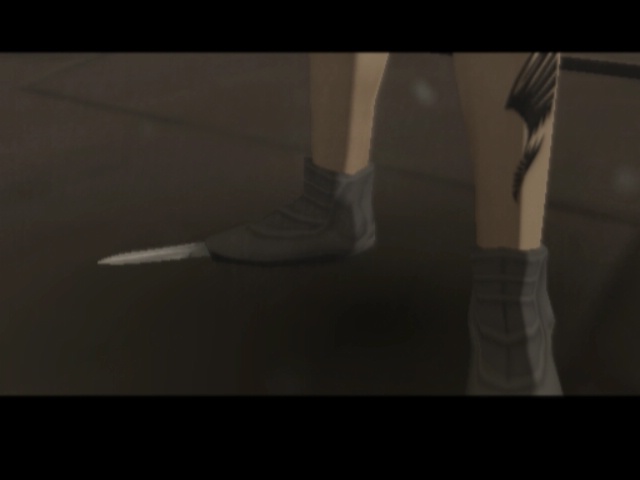
Oh, right, in case you haven't watched any fights and stuff, Vayu attacks dudes with a blade that comes out of his foot. This actually makes sense because Gale has a knife in his shoe.
Dyaus, Prithivi and Varuna don't have quite as nice a justification for their attacks but, y'know, whatever.
Fortunately Lupa doesn't flinch at Gale not stabbing him. Lupa's cool. I like Lupa.
(jamieson price is a nice bonus)
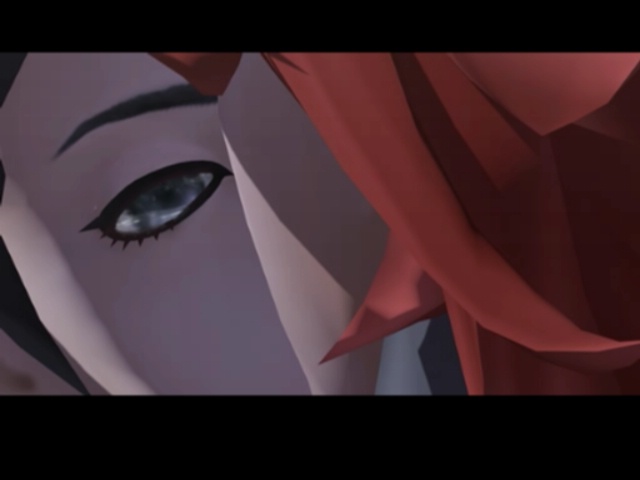
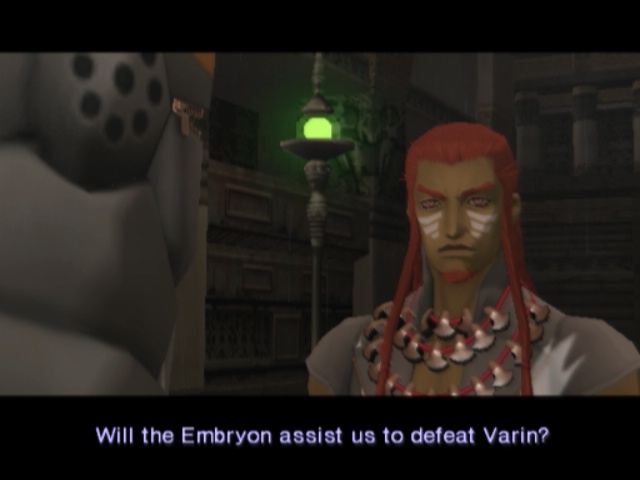
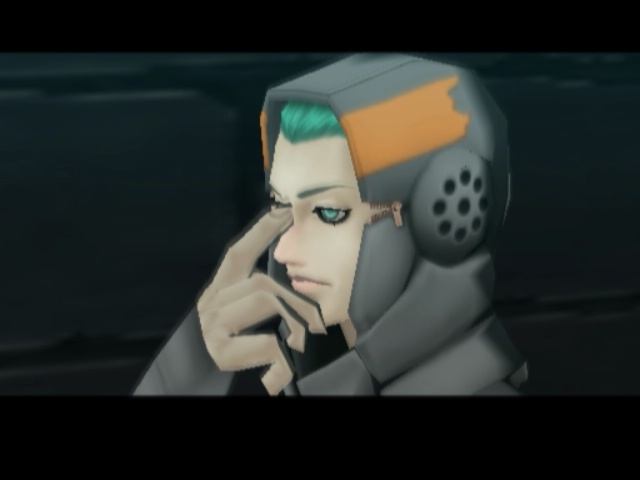
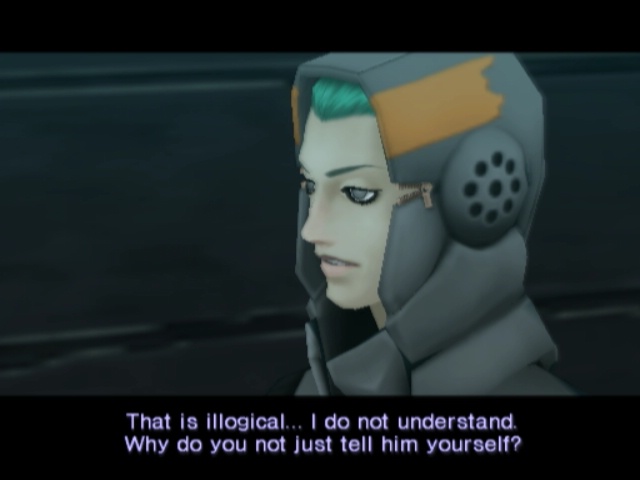
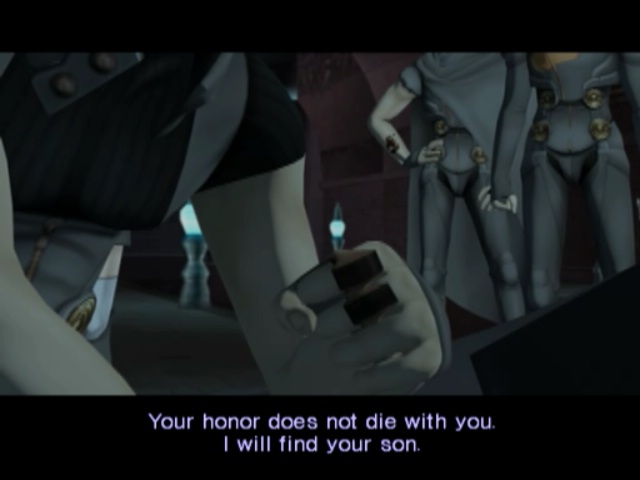
Gale! Wolf's Pride What assurance do we have that you are not here on Varin's behalf?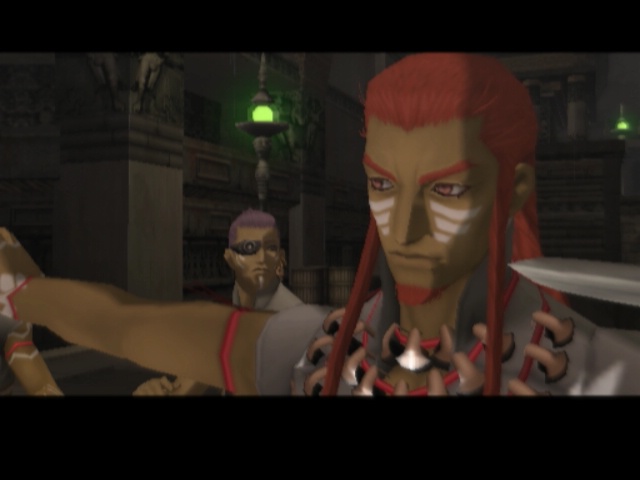
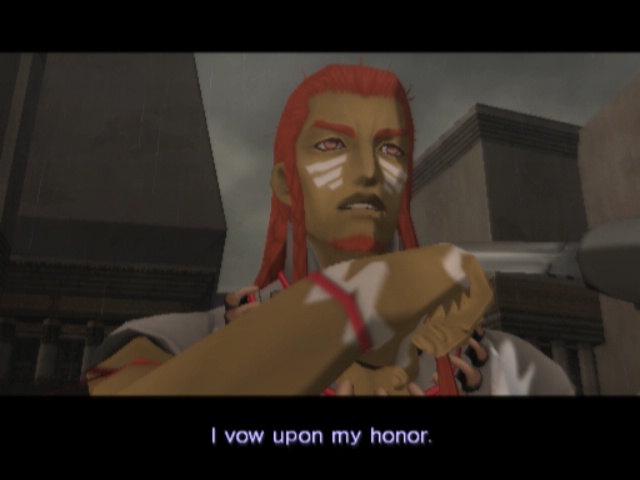 Honor...? What is this "honor" you speak of?
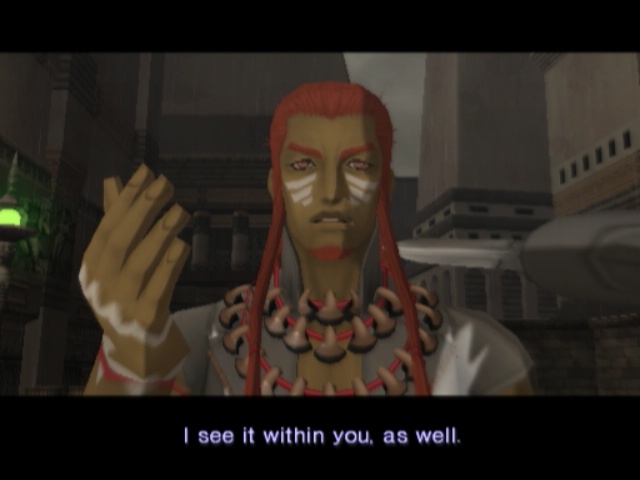 I do not comprehend. How does one see such a thing?
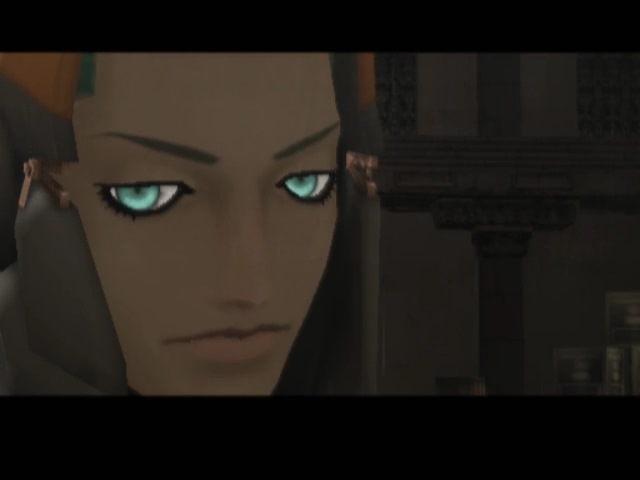
Sadly, Gale's eyes revert back to grey immediately. Looks nice seeing them almost in full colour though.
Silence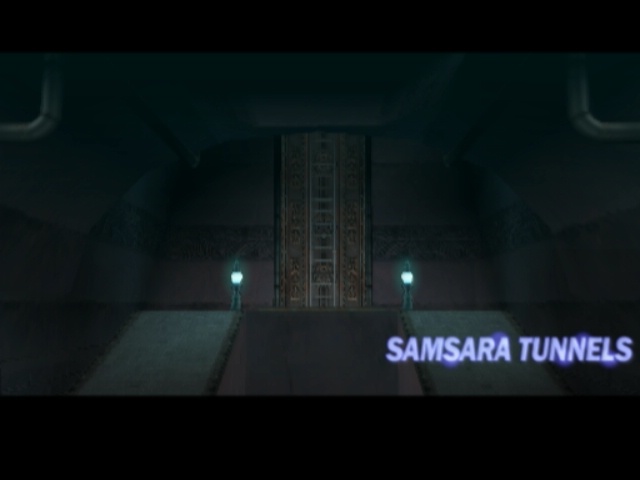
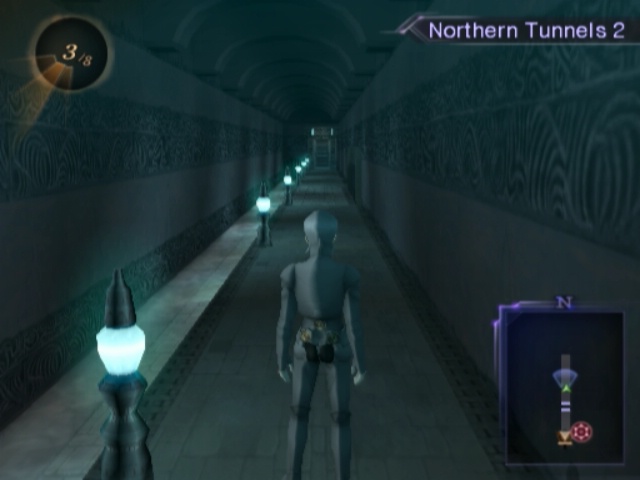
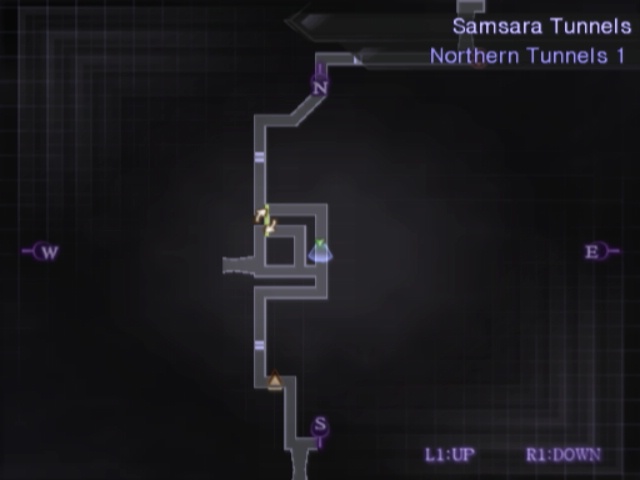
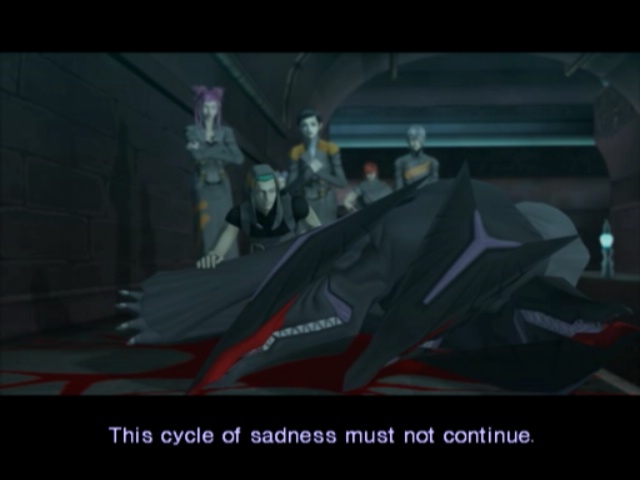
Samsara is the cycle of reincarnation. Here it's used for, uh, a sewer level.
 Varin has referred to the girl that way. Supposedly, she could easily destroy this world with her power.
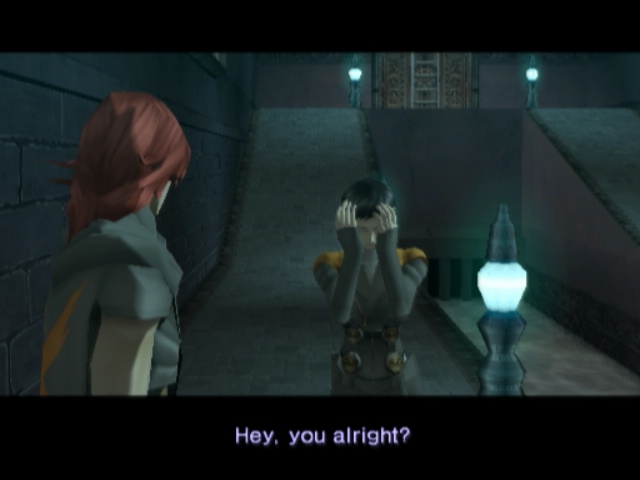
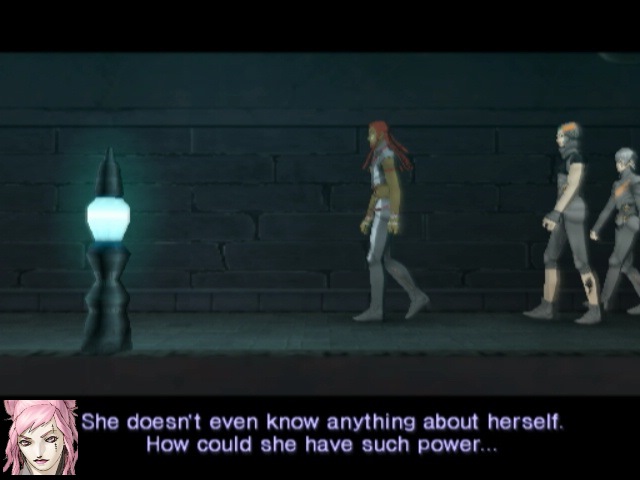 Can you honestly say you know yourself? What...?
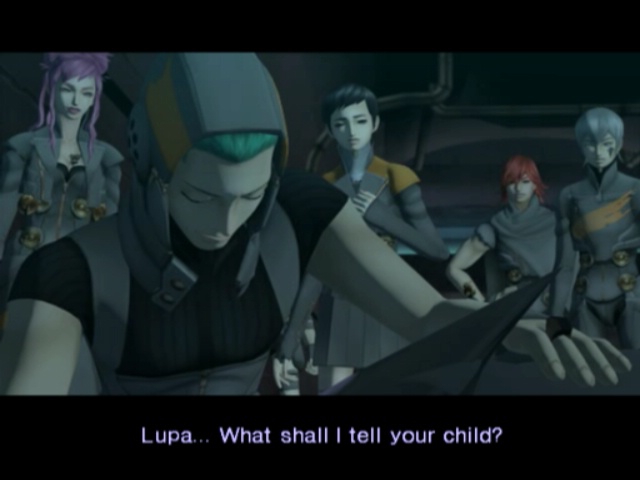
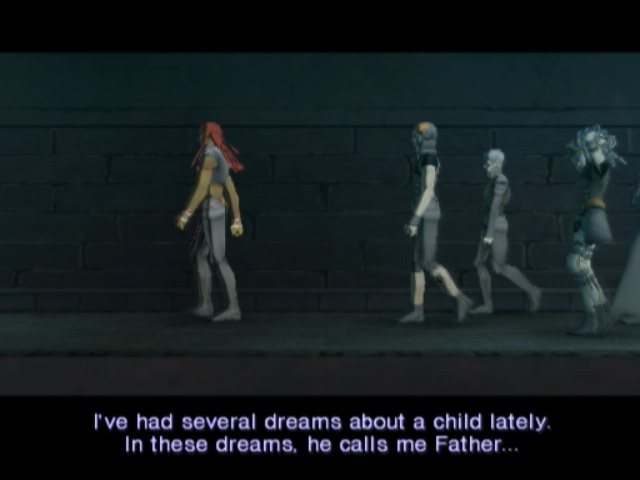 Dreams?I feel as if... I have something to tell the child.
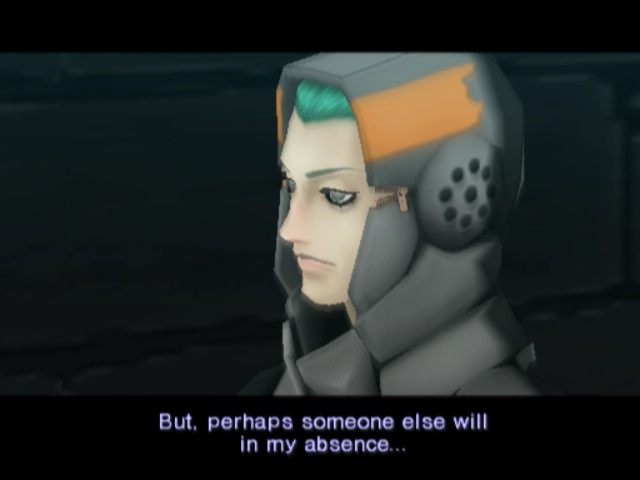 Someone else...
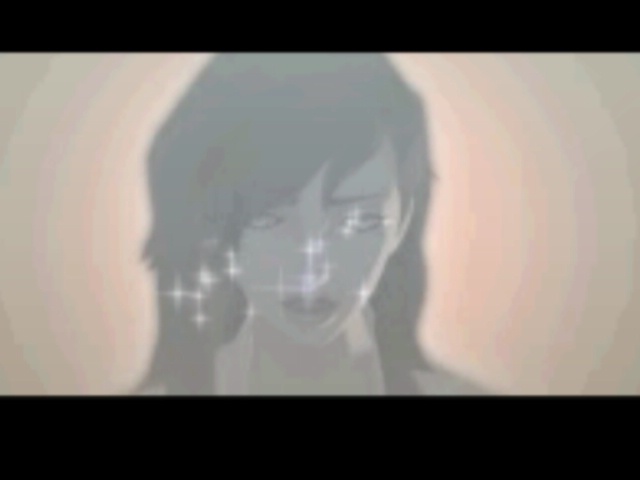
 Daydream
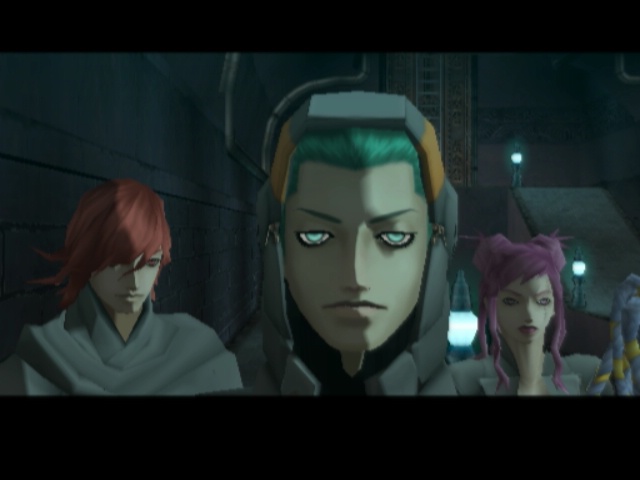 You're beginning to understand. Why must we continue to fight this war?
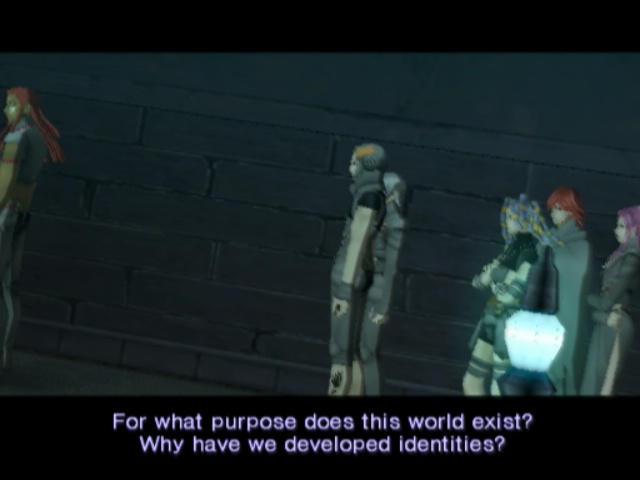
 Silence
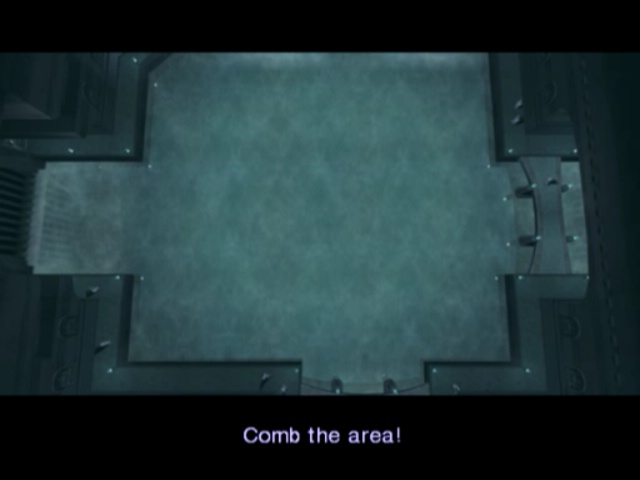
 Varin's gonna kill us if we don't find them. Did you find them?
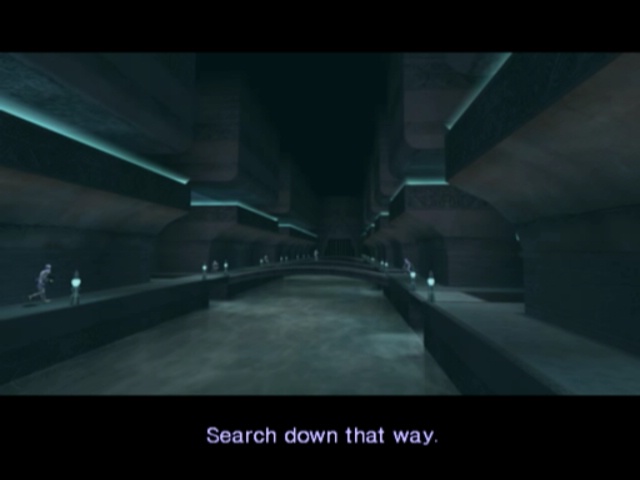
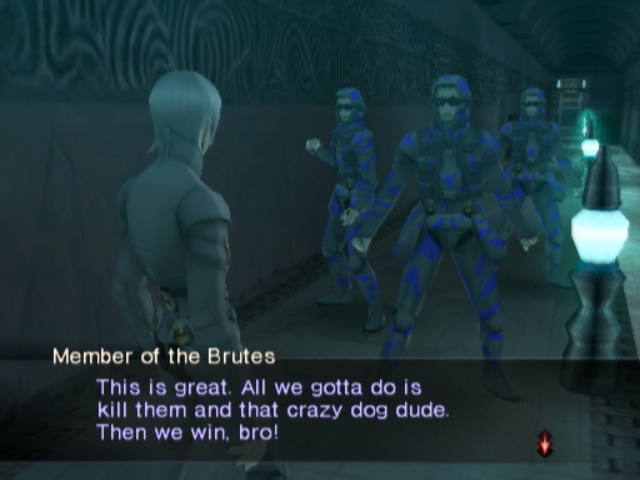
Well, damn. Looks like the Brutes beat us here.

 Go and kill Varin.
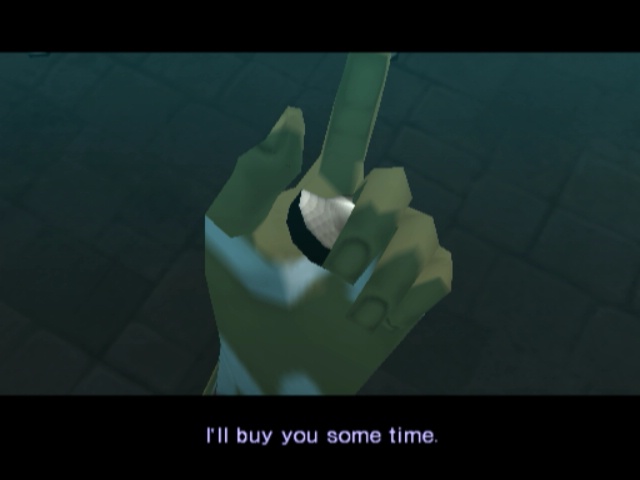 Against all dose guys? Ahh, now I know you crazy!
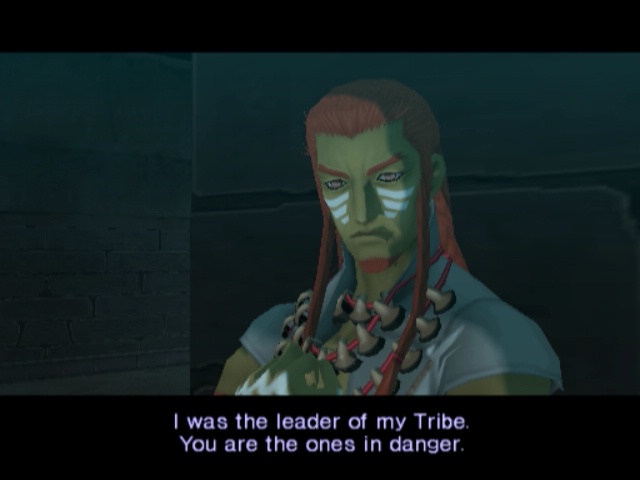 What do you mean?
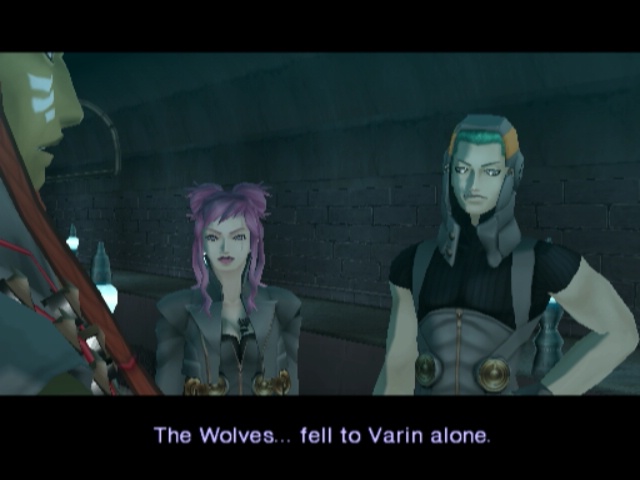 He did that? All by himself?He's become unstoppable, somehow.
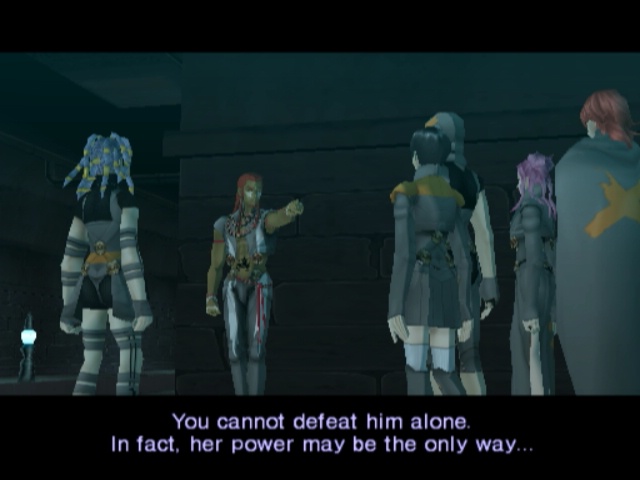 My... power?
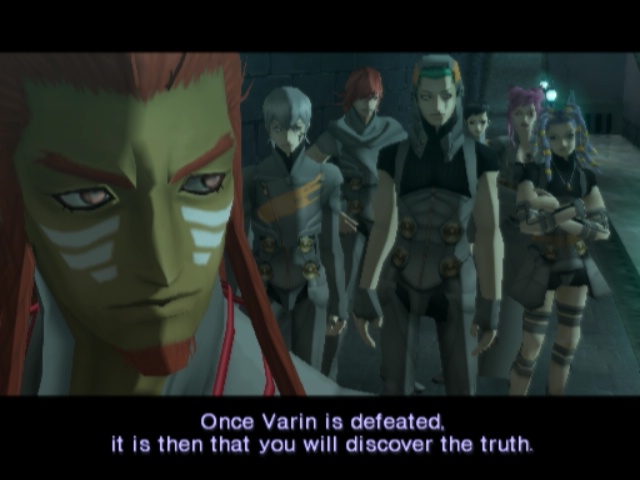
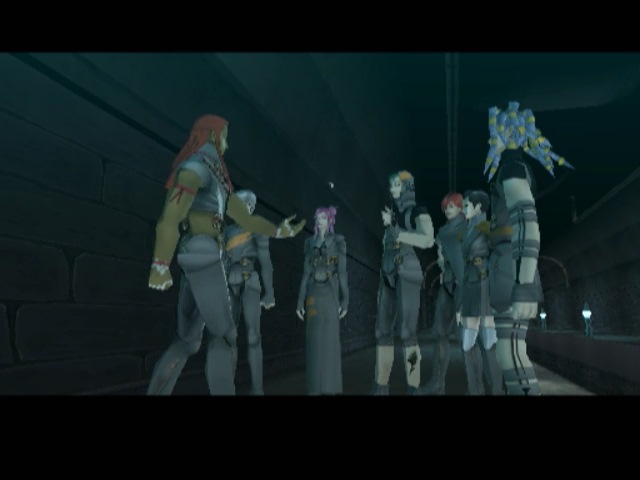 As promised. Lupa.
 In order to rule over the Tribes, you must defeat their leaders.
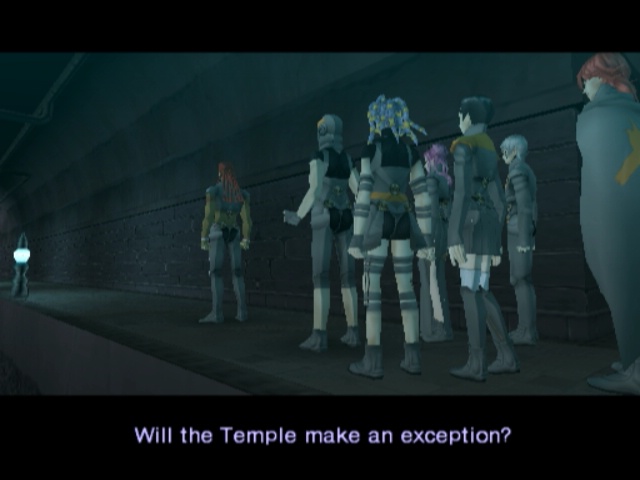
 So be it.
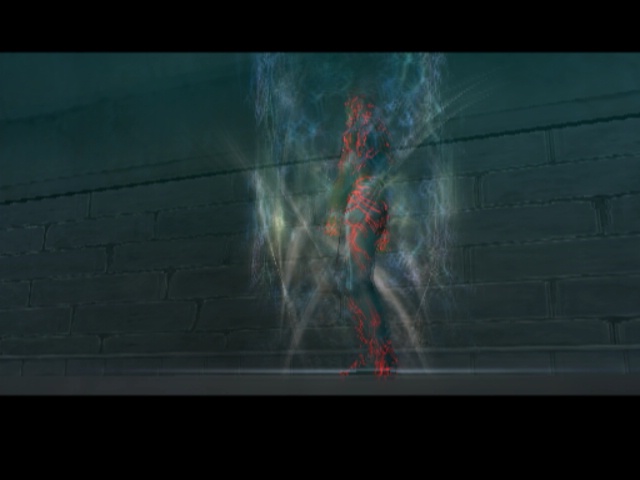
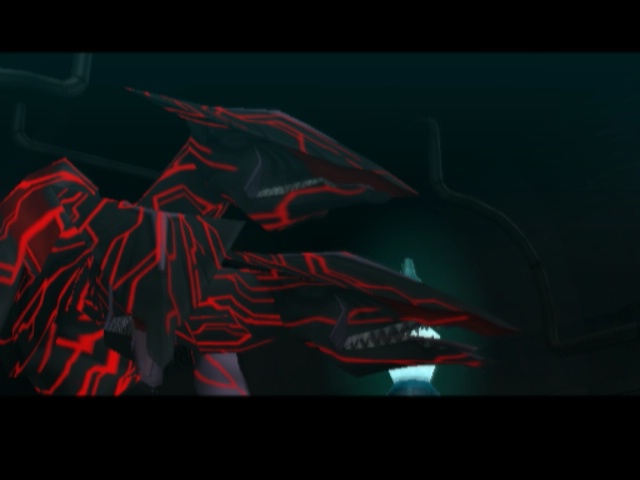
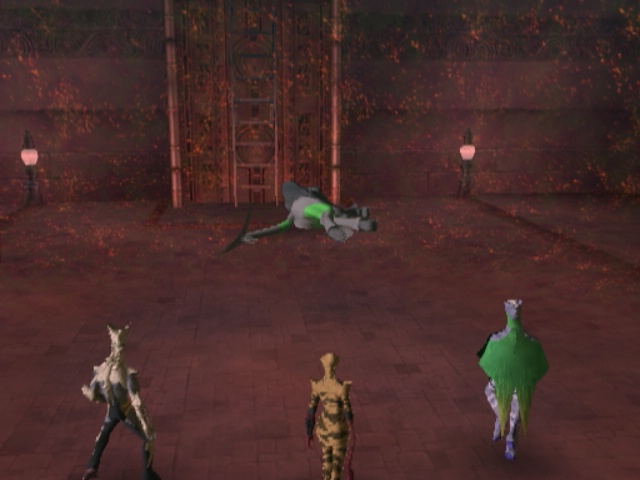
In a nice change of pace, we get to see Lupa's Avatar without having to murder him in the process.
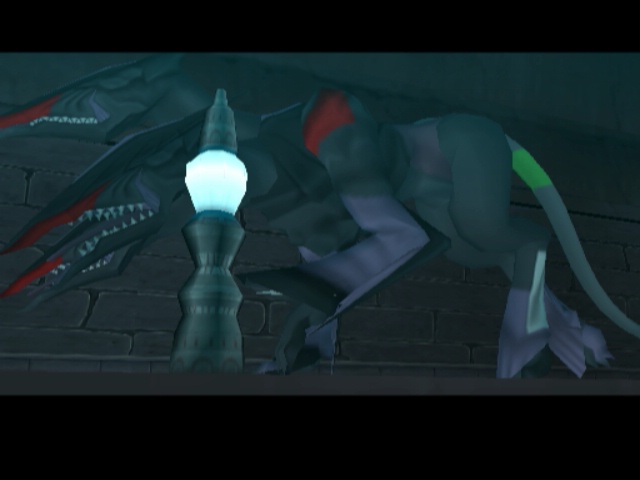
...Pretty damn appropriate for the leader of a tribe called the Wolves huh?
End River of Samsara
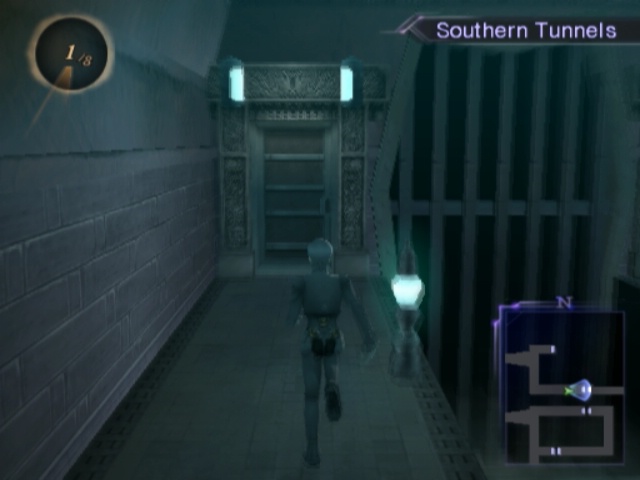
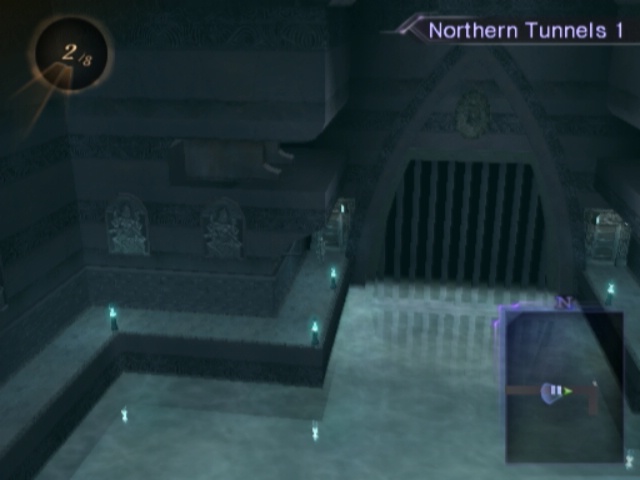
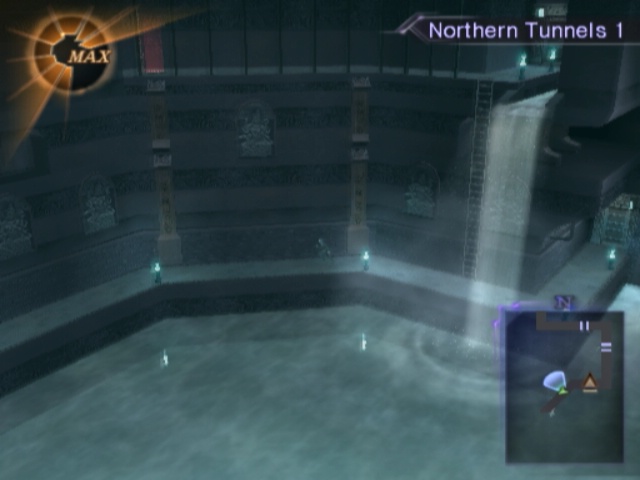
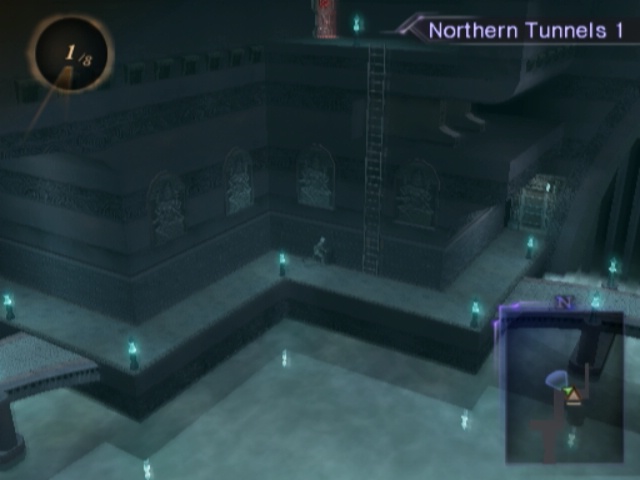
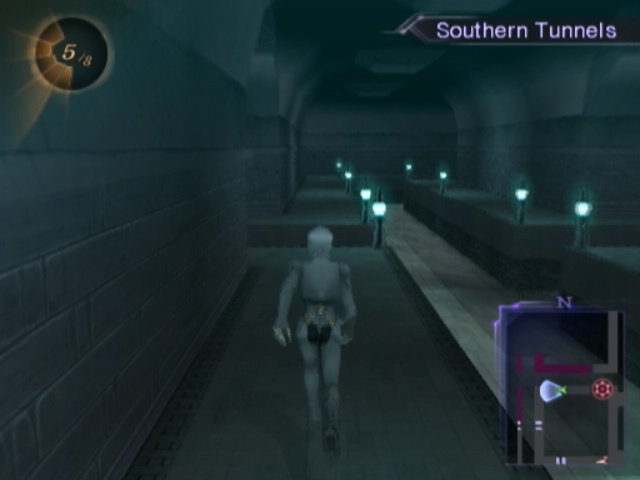
The Samsara Tunnels are, as mentioned and should be very obvious, our sewer level. Fortunately, it is not terrible. Just... get used to it now. We'll be seeing these tunnnels a lot before we're done with DDS1.
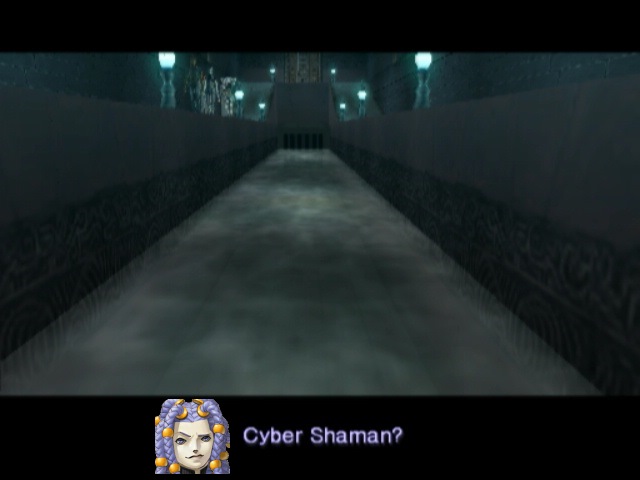
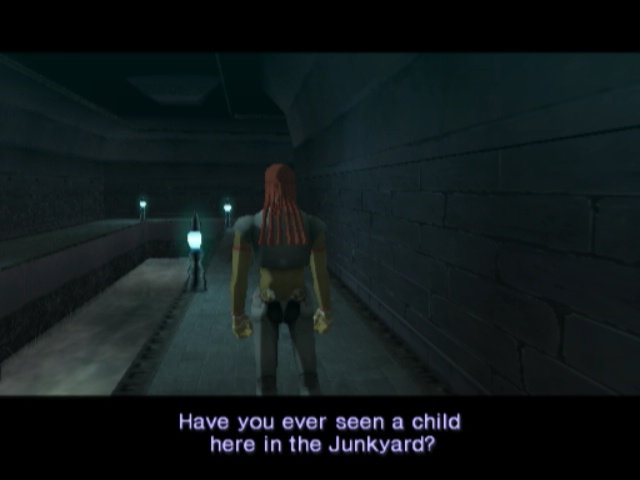
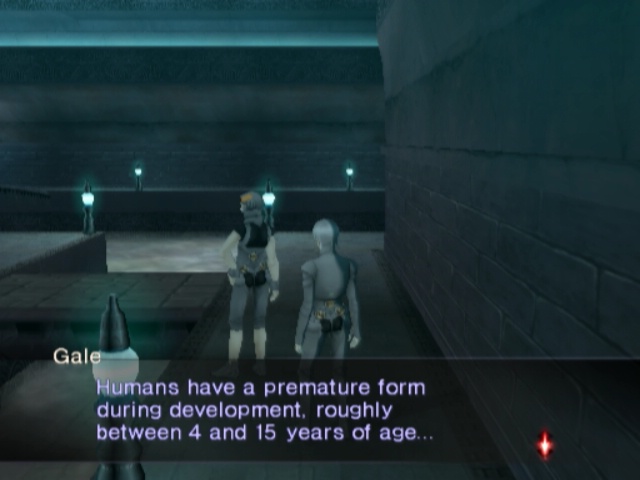 Can you remember the term for this?
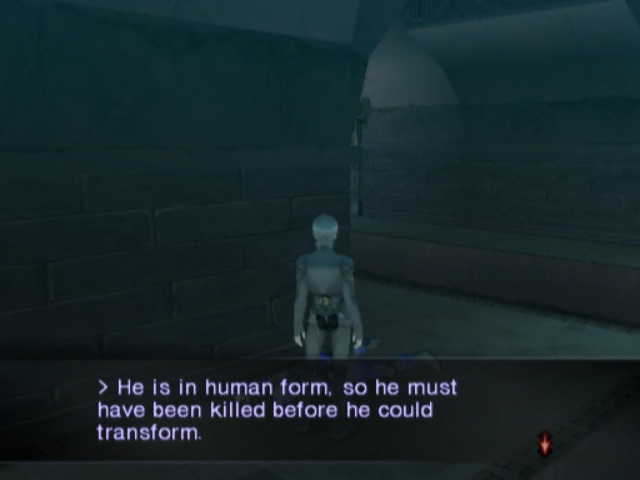
 A kid...? Serph, kid is the term for the maturing stage of a goat. Think more carefully. It's a child. That's correct -- a child. Why didn't we notice this before? Lupa was right, there are only fully adult humans here.
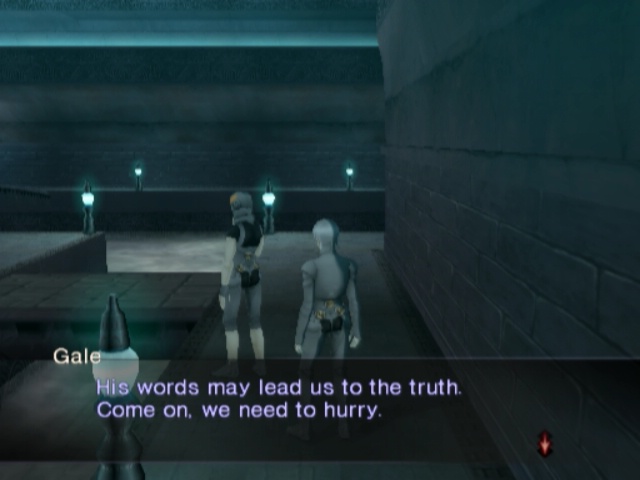
Lupa seems to know more than he told us, so sticking with him is a pretty good plan in general. Shame he ran off ahead though.
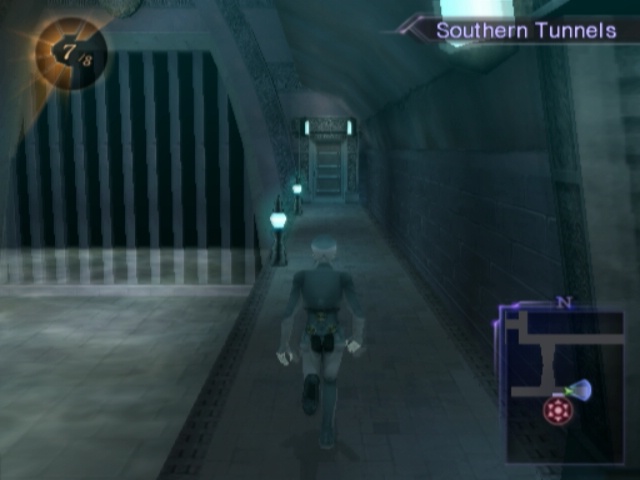
As per usual, there's a large terminal by the entrance if we want to leave later. No Vendor though, but that makes sense.
From this point on, we can fight dudes in here. There's some holdovers from before, like Gurrs, but they're mostly new.
Hunting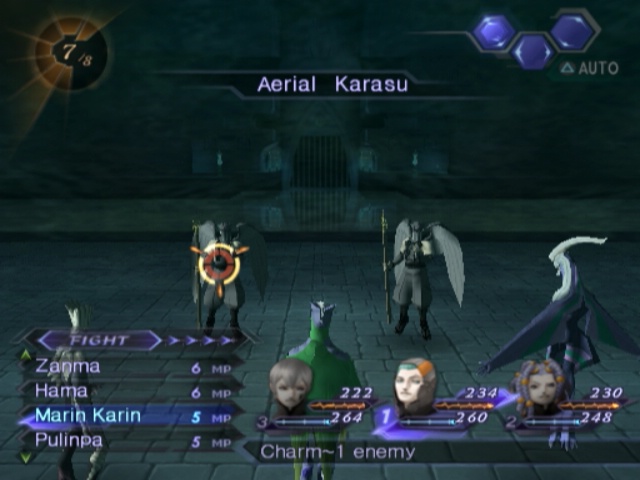
Speaking of new enemies, lets start with Kurasu Tengus. They're mostly easy enough to deal with and have a weakness we can exploit pretty decently now.
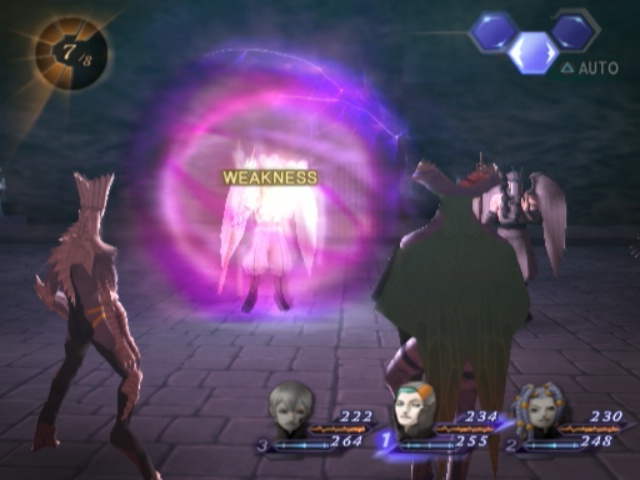
It's Ailments. Charm, Panic and Sleep gets thrown around a lot around these guys.
They even drop Organic Cells for us. This is the dungeon where our money problems stop being, well, problems. This is especially true by the end of it...
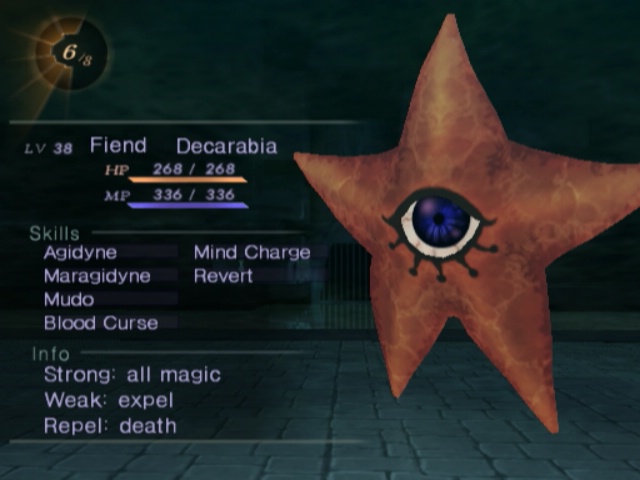
Decarabias are another new enemy but these ones are bastards if you don't kill 'em quick. Well sometimes they are anyway.
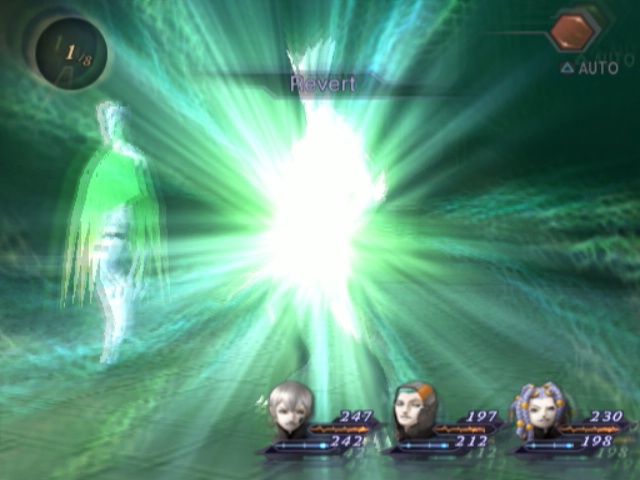
Mostly because of that Revert skill they have. Single target (thankfully) but it immediately reverts whoever it hits to Human. Almighty elemental so you can't block it either. Bleh.
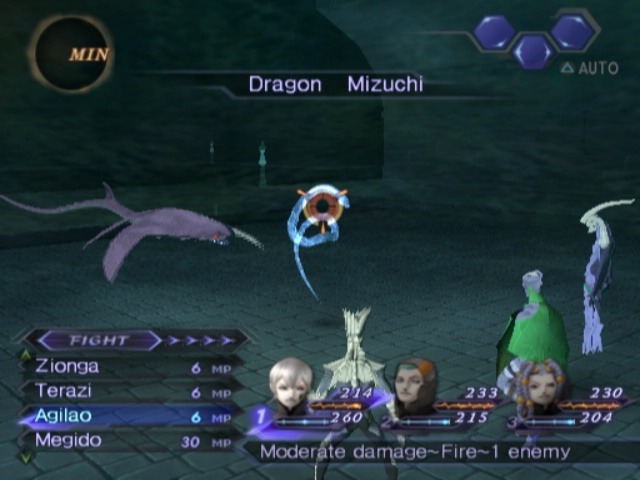
'Nother new enemy in Mizuchi. It's a watersnakedragon...thing. Weak to Fire but immune to Physicals.
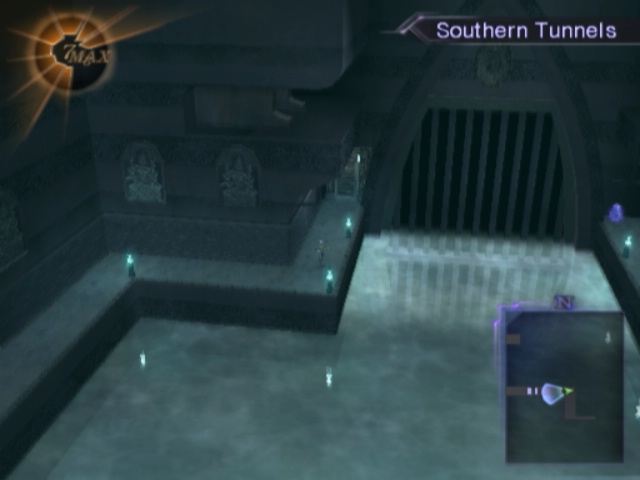
River of Samsara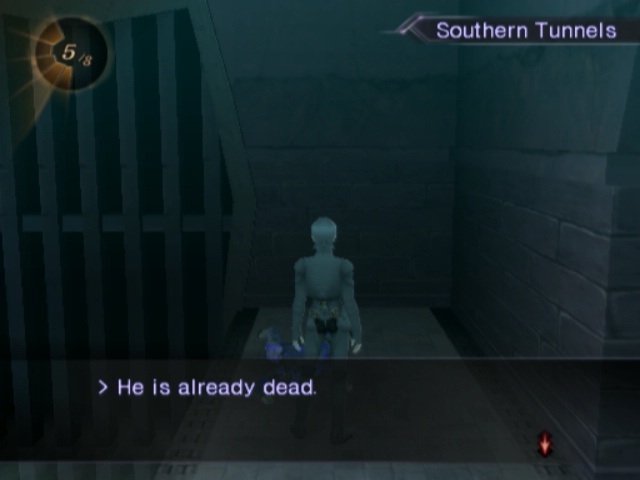
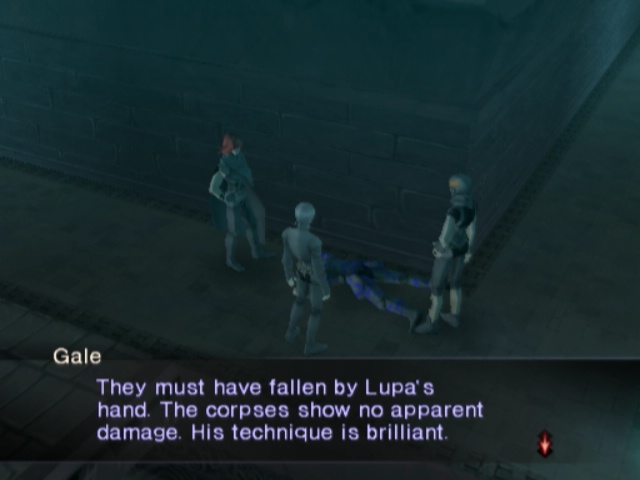
At least we can see that Lupa's doing what he set out to do. Occasionally, we'll run into a Brute soldier that he already dealt with.
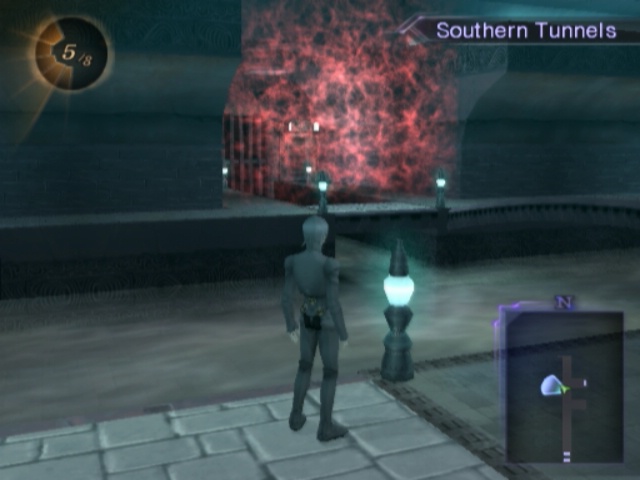
They make for bizarre good markers around the dungeon too. Basically opposite this guy is a Red wall. Next to that is a door that lets us double back to the item pot opposite the entrance.
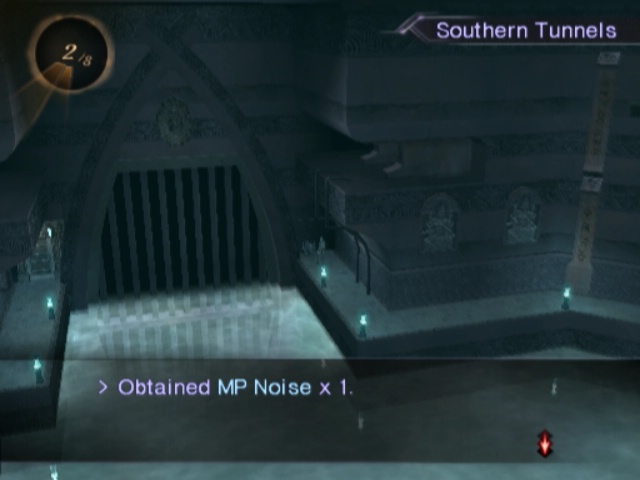
Much like money, Noises become much more common from this point onwards. It gets a bit silly later...
But for the moment, we'll head back to the wall and head off to a sidepath.
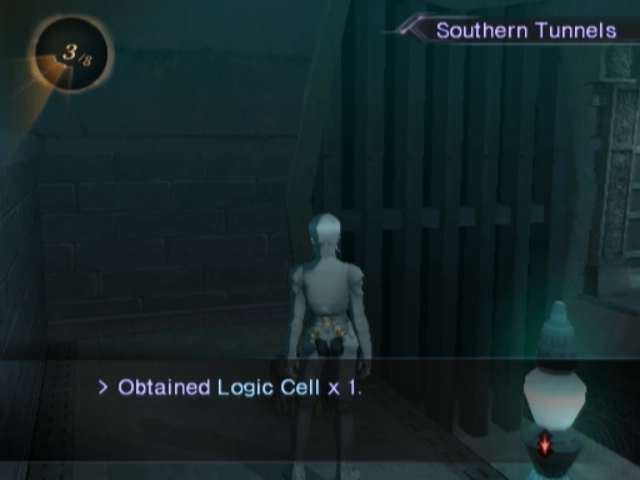
There's a fair few Cells in this dungeon, and most of them are Logics. I'm not including drops in that for obvious reasons.
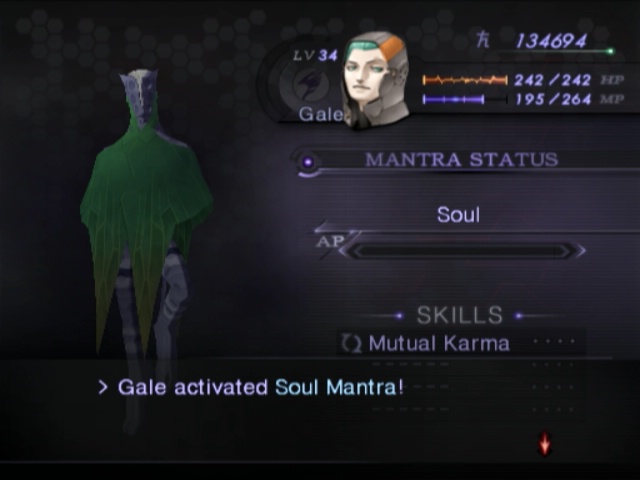
Since this is where we actually get money consistently, it's a good time to get people the Soul Mantra at least. Not having to worry about cycling people in if they need EXP is great.
The most northern door in this area is where we go for progress, and there's nothing else left in this part for the moment. We'll be back whenever we finally find that Red Key of course.

On our way through the next section, there's a Brute member who's not quite dead. To her right is, uh, nothing. If we double back to her left and go around a corner there, we can get a Chakra Pot. There's also a bridge around there which leads to...
Another dead Brute. We'll get to that door you can barely see here in a moment, because after examining this one we get a short scene.
 What? Is he too good to eat these guys? I'm sick of that showoff.
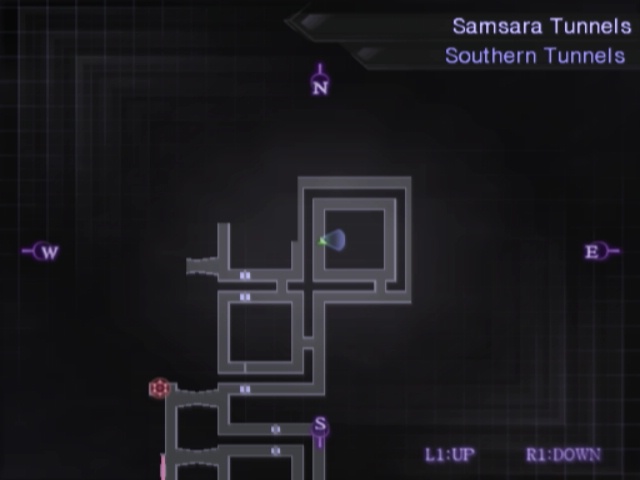
Getting to the door we just noticed requires a lot of roundabout running. Doesn't seem like much, but getting here from where the corpse was takes a lot longer than it should.
And, of course, inside is a couple of living Brutes!
 I see. Those damn Wolves are allying with you to attack Ajna. Don't underestimate us! Hunting ~ Compulsion
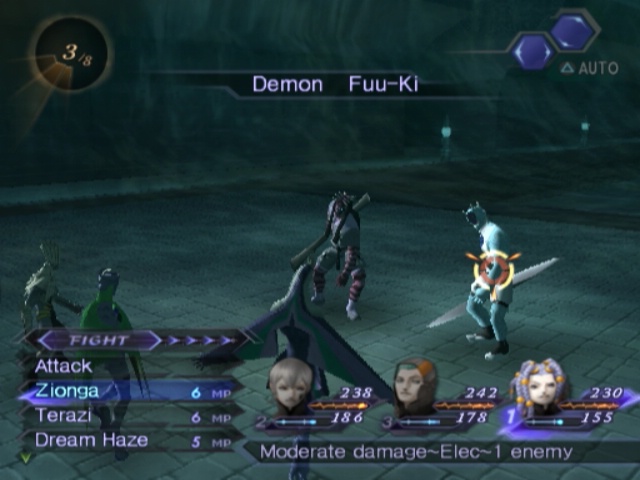
Another Sui-Ki from before who's still weak to fire. Fuu-Ki, his blue buddy, is an Oni with control over the wind so he gets his shit wrecked by Electric spells.
Very simple and easy to deal with.
River of Samsara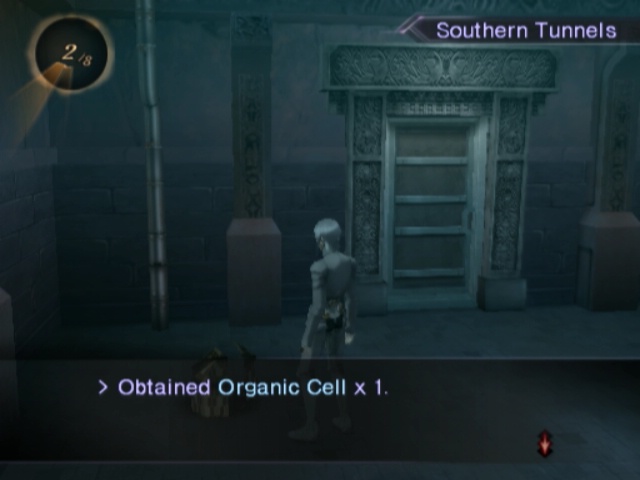
Our reward for dealing with these guys is a Revival Gem and... an Organic Cell. Now we just double-back to the last dead Brute and head through a door to the west there.
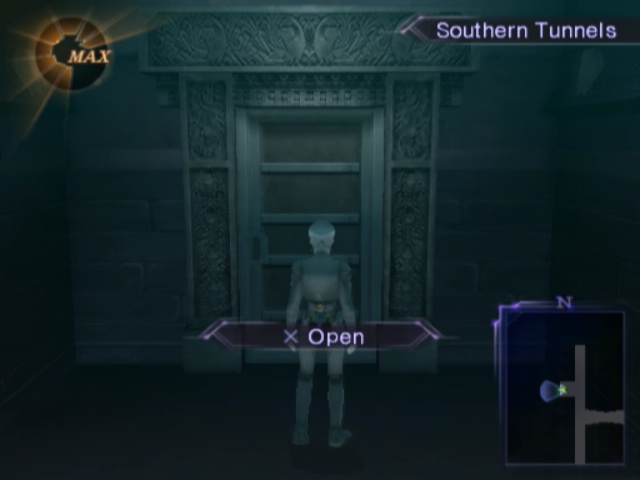
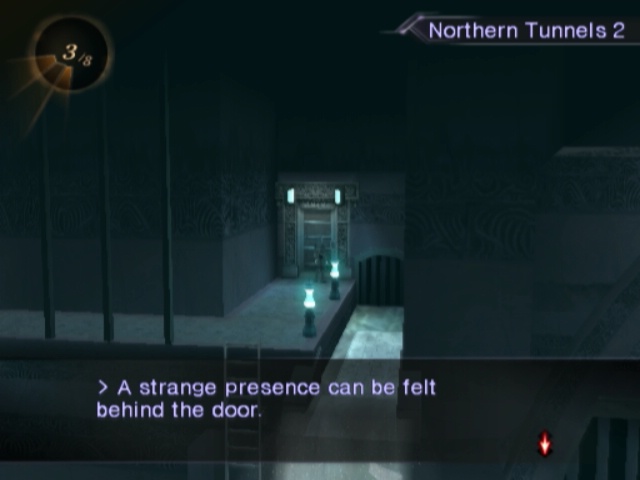
That leads to a small area with nothing of interest in it and only the one door.
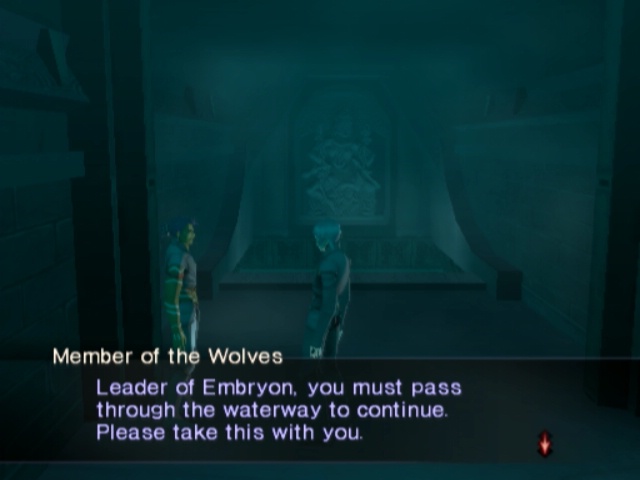
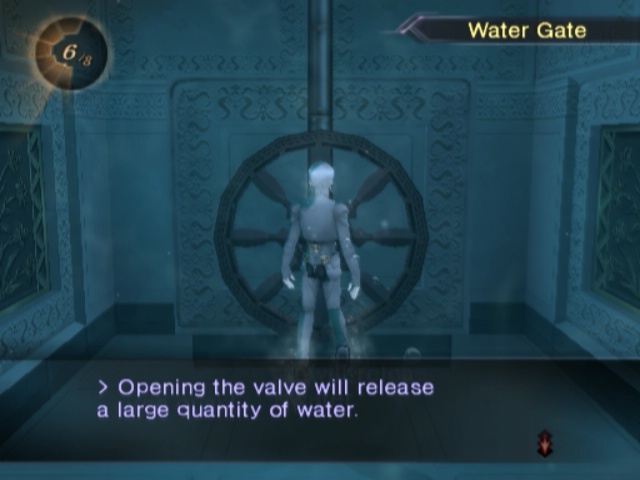
This leads to the only mandatory time we have to deal with a minor gimmick.

We're gonna need this thing.
 Stay mindful of the current, as well as Solar Noise. When Noise is at its maximum, the waterway will flood, and you'll be swept back here. Best of luck reaching the exit.
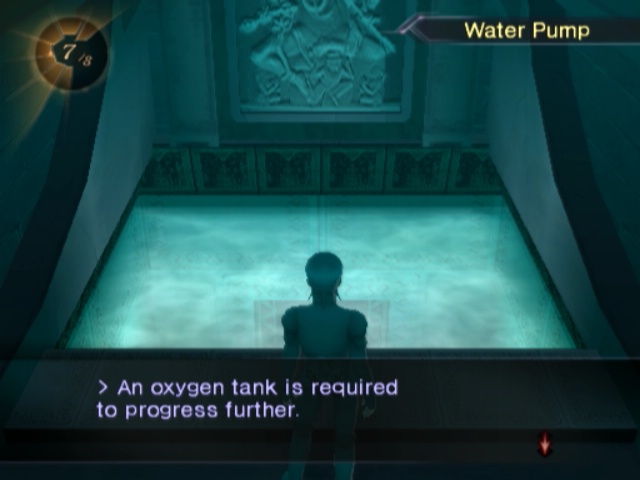
Yeah, so it's not a very fun gimmick in theory. I don't mind it though!
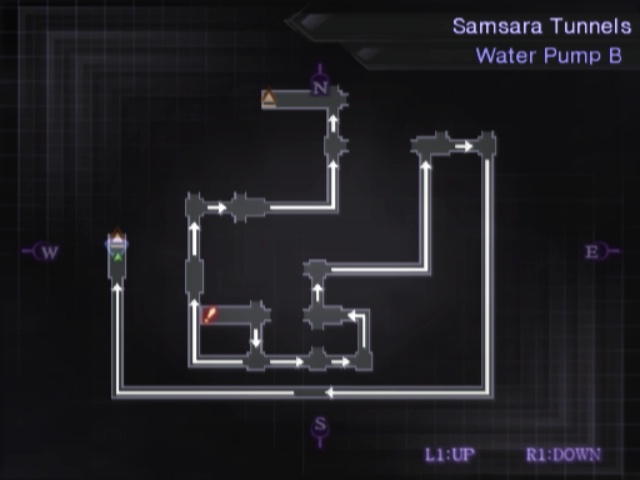
River of Samsara ~ Second Movement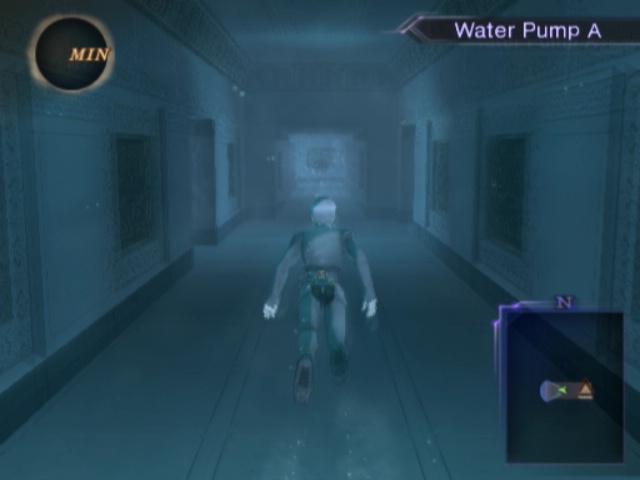
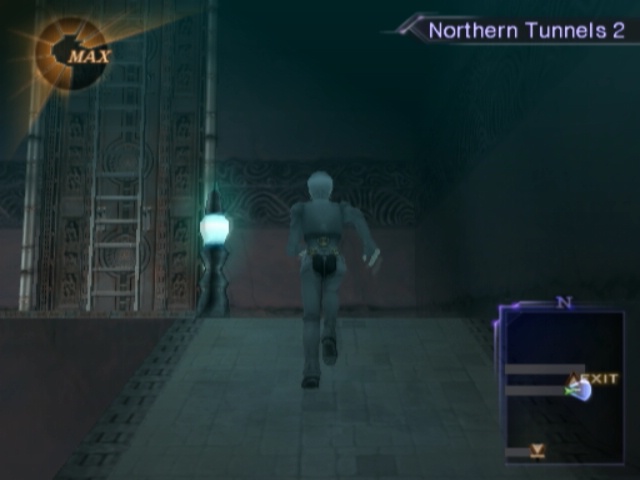
At least its kind enough to drop your Solar Noise to Min the instant you enter the Water Pump at least. So, this is a small maze of sorts with a bunch of one-way currents. Everytime you pass one, the Solar Noise gauge advances by one; it doesn't change at all otherwise when we're down here.
If it hits Max, we're kicked back to the start and have to begin anew.
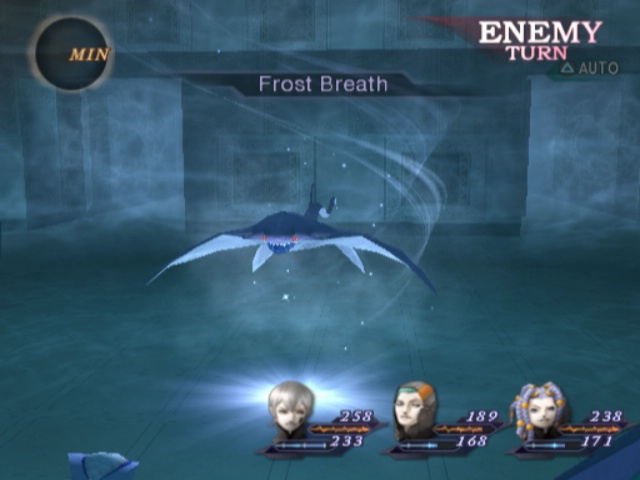
Biggest issue with this is that random encounters still happen. Hi, Isora! If we just run into the one Isora like this that's a good thing because...
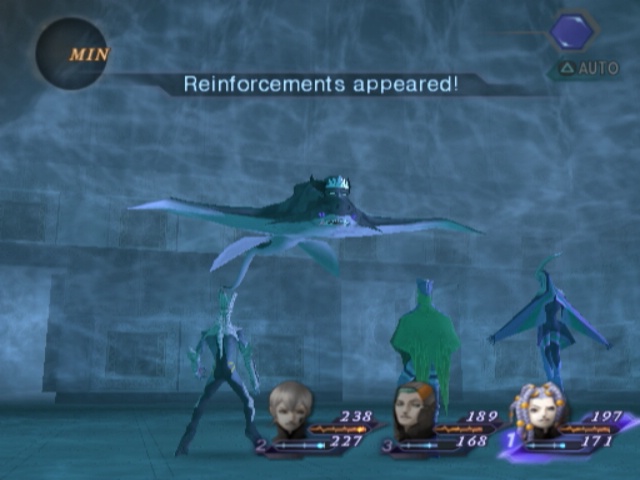
After kicking his ass, Forneus turns up. Forneus only comes out here if we fight a single Isora and he always comes out in that scenario.
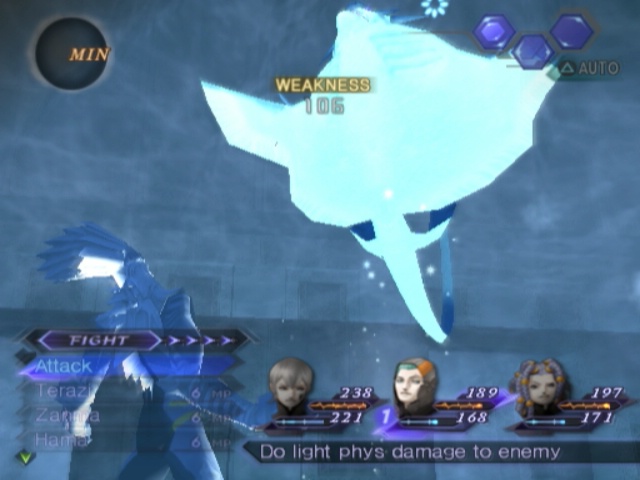
Naturally, he's weak to Electric spells.
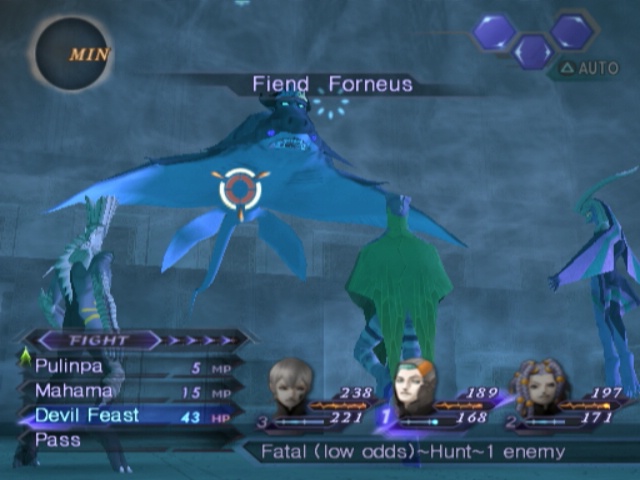
And he, um, scares really easily. Really, really easily. Doesn't look like he's going to get a chance to sacrifice the son of heaven here.
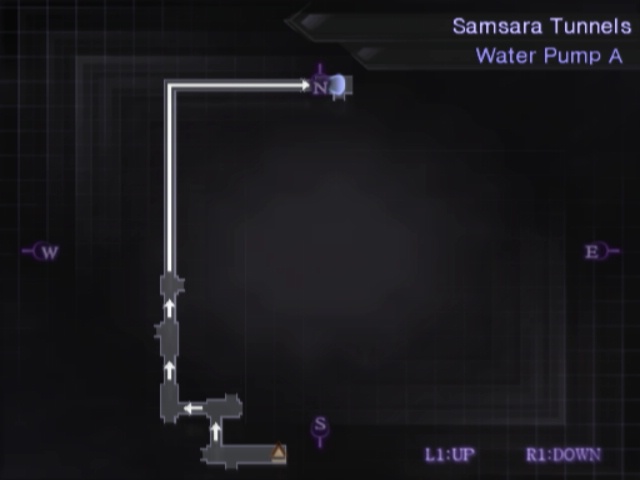
Still, as you would expect from the mandatory occasion of this, it's a really easy route that's super simple to remember and leads quite nicely to the exit in no time at all. Barely passed half Solar Noise!
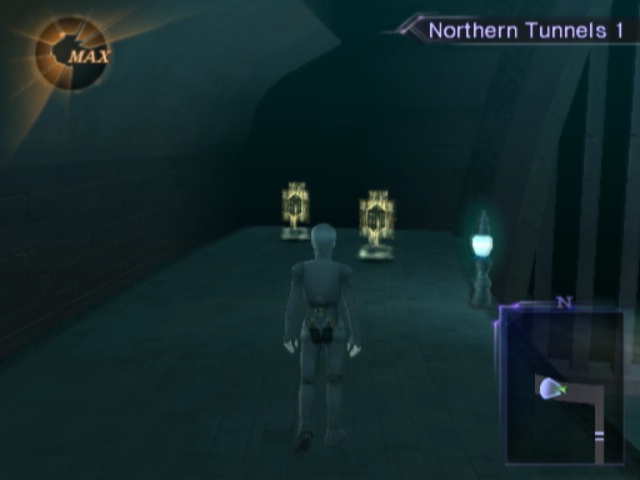
River of Samsara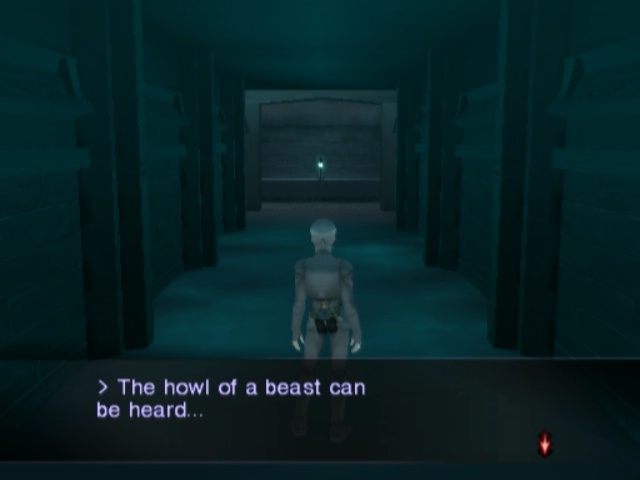
Doesn't seem like we're all that far behind Lupa at the moment. I'm kinda curious how he got through to here though. We just took the only route and there is no chance he did the same.
And, um, it seems he's gotten a bit more brutal with the, uh, Brutes he beats.
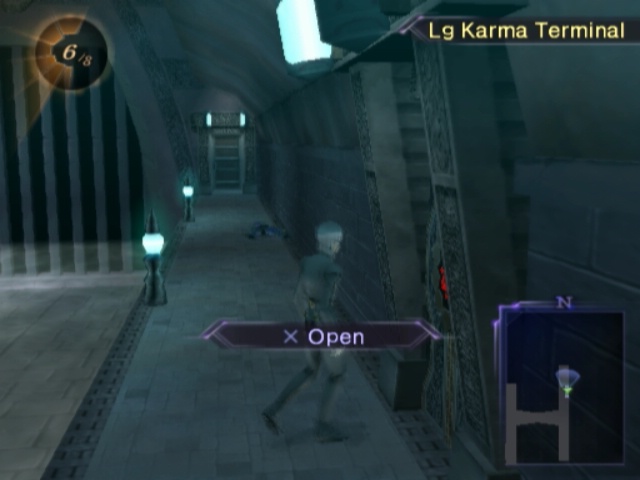
There's a second Large Karma Terminal here at least. Lets us skip the entirety of that first section and the underwater bit if you need to leave for supplies or something.
More importantly is that there's a door to the north-west of here that leads to something very nice.
Two golden item pots!
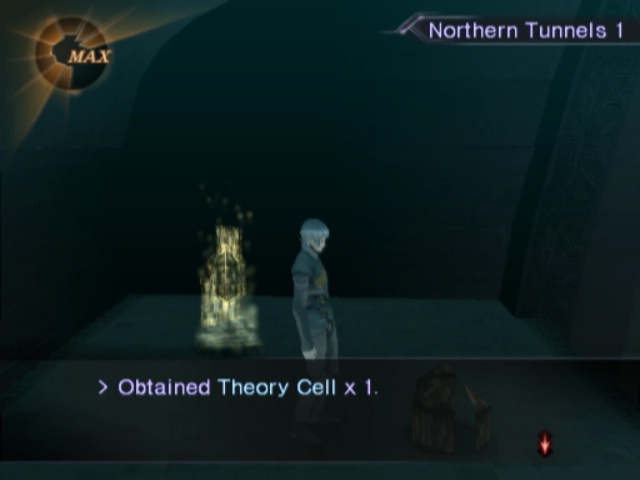
First one has a Theory Cell in it which is pretty nice. So the second one then...
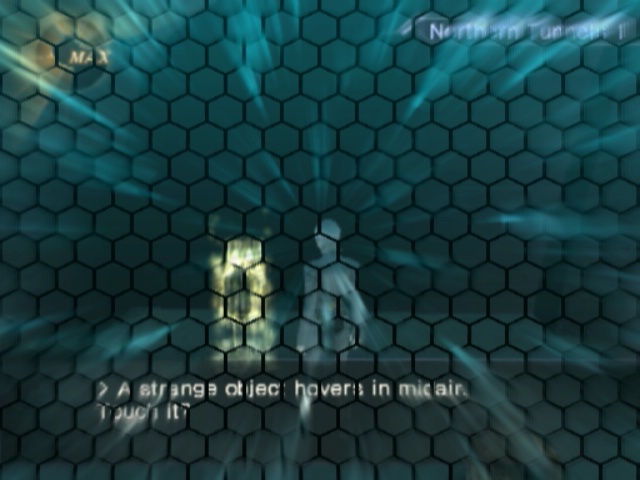
Has a fight in it. Of course. At least this dungeon's requisite monster-in-a-box is easy to get to.
Hunting ~ Rare Devil
Oh great, it's a pair of Gorgons. Out of all the Brute soldiers we could've fought. Friggin' Gorgons.
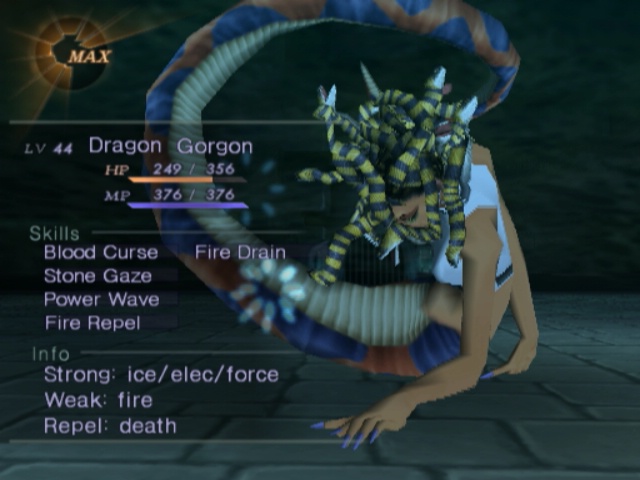
Normally this wouldn't be a problem, but I kinda, sorta, forgot to equip Void Death. So Blood Curse and especially Stone Gaze is a problem.
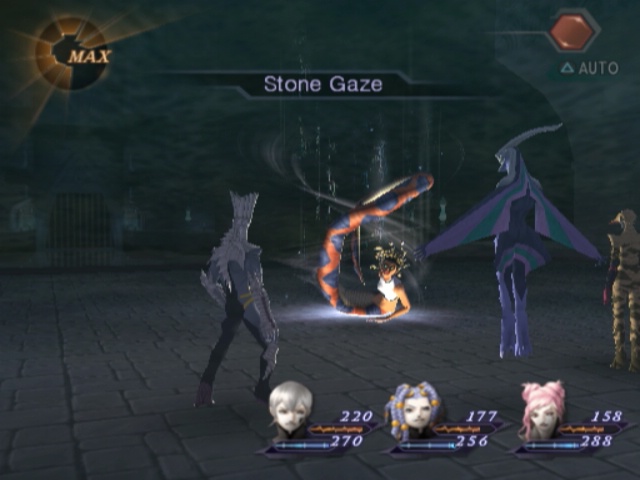
Naturally, the very first turn the only one left uses it on Serph. Balls.
At least he gets AP out of the fight anyway, since Stone gets automatically cured at the end of a fight.
River of Samsara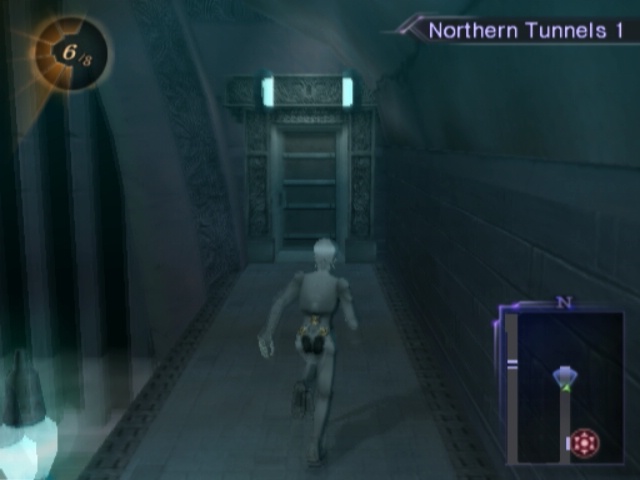
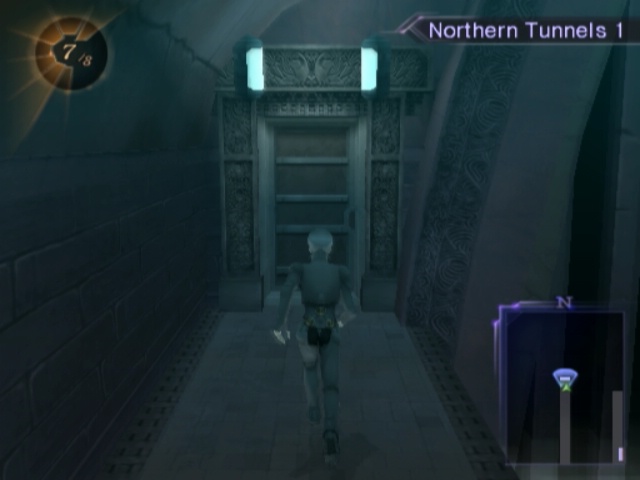
Running back to the Karma Terminal, we can head to the north from there and continue onwards...

It's not all that dark down in this place. I guess the three heads thing might make it harder for Lupa to see or something?
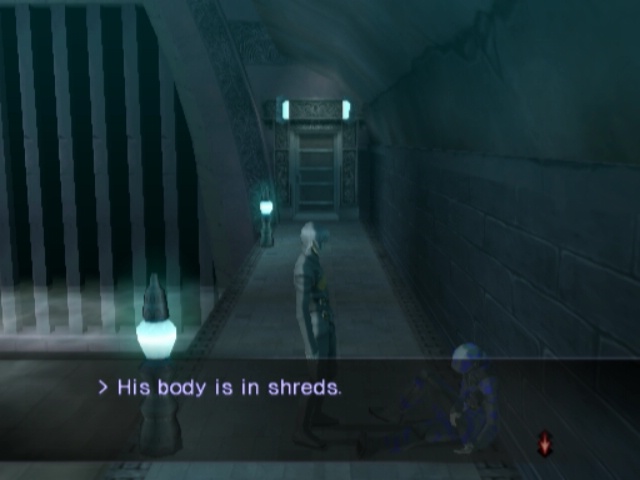
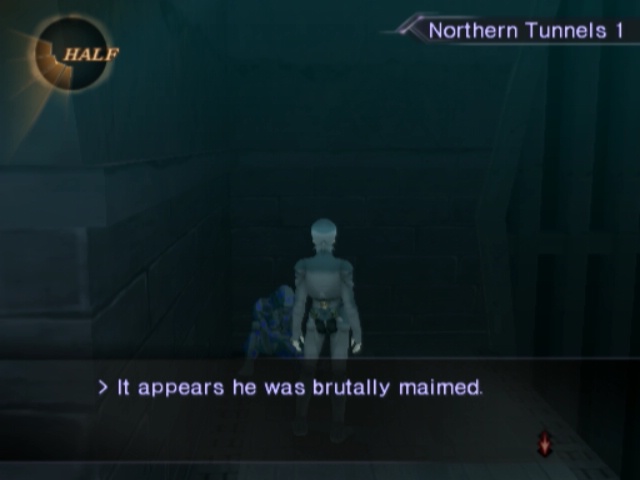
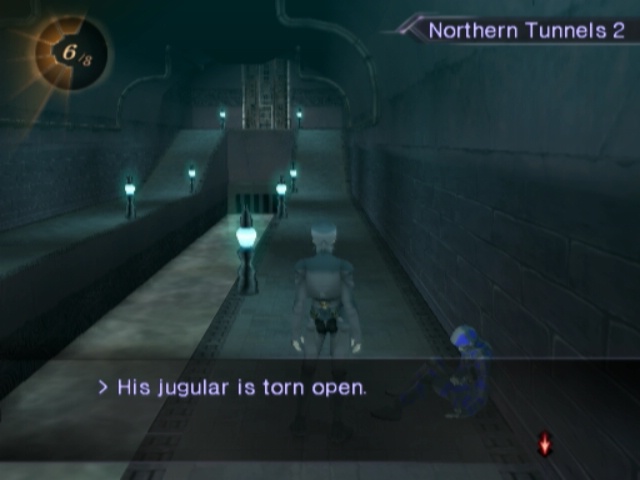
And not too much further ahead from there is another Brute who gives us a small scene.
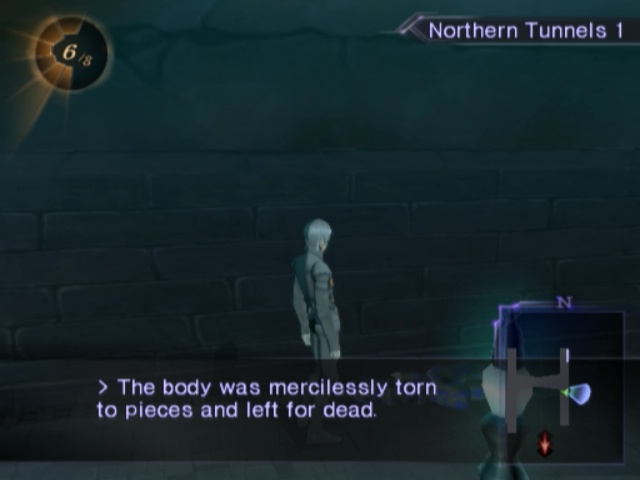
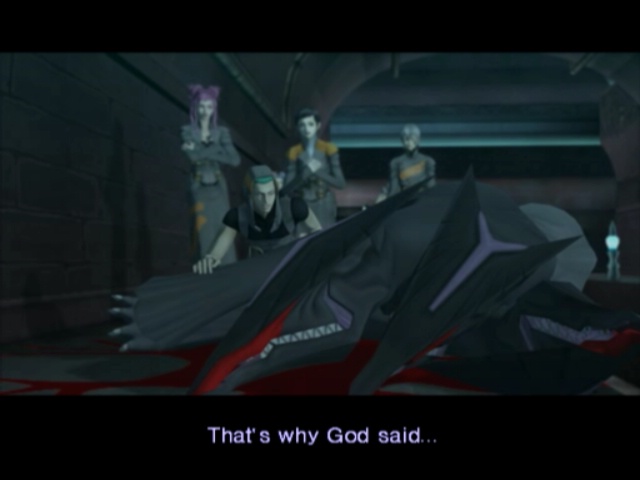
 It appears he was run down and then mutilated. He must have been tortured before finally dying. Judging from the wounds, this was done by something very large. What a way to die... Whoa... He's completely ripped apart.
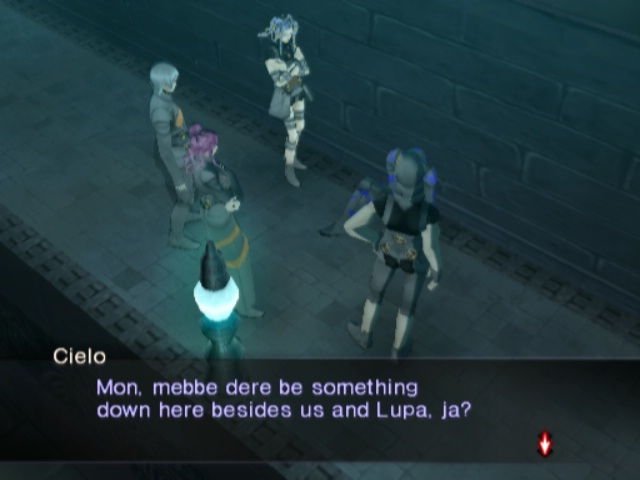
This does seem possible; if there was something like that down here, though, we'd probably already know. Wolves passed through to get to Svadhisthana and none of 'em mentioned anything like that...
Ah well, continuing onwards from that Brute we get a super-linear part. The door over on the right we'll have to backtrack for much, much later.
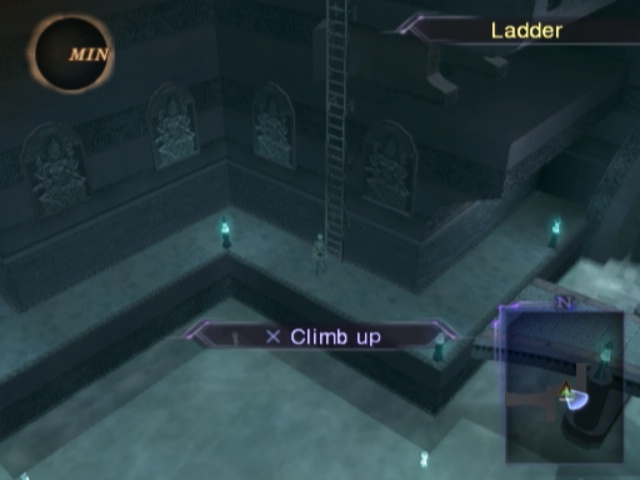
The only diversion we've got at the moment is a ladder right on the main path.
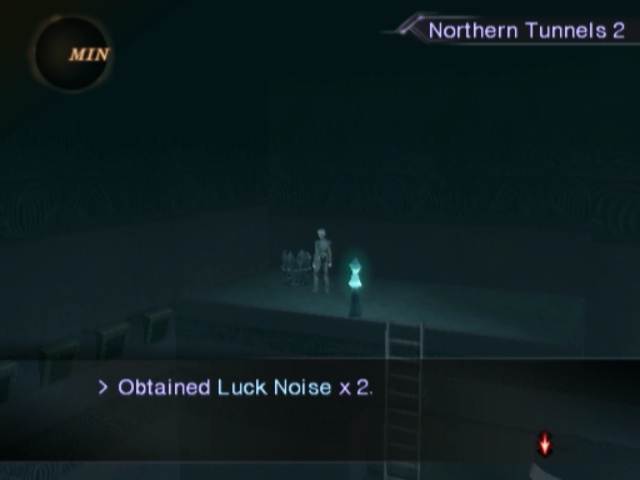
It leads solely to 2 Luck Noises. There's nothing else on this platform.
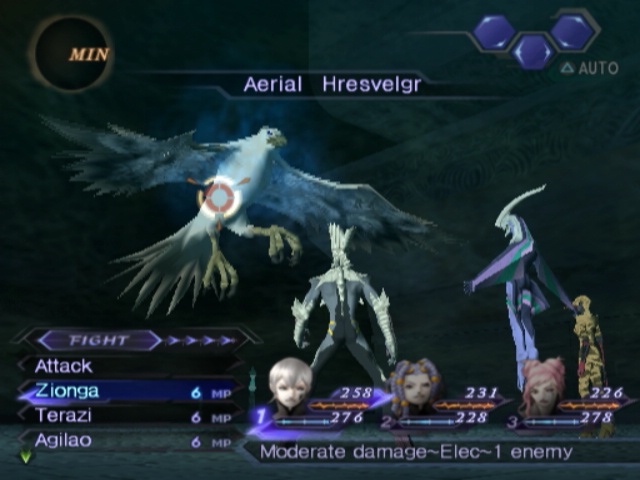
But now that we're further in the dungeon, Hresvelgrs turn up now. Fitting his giant size, and that he always comes alone, he has over 500HP and gets 2 attacks a turn.
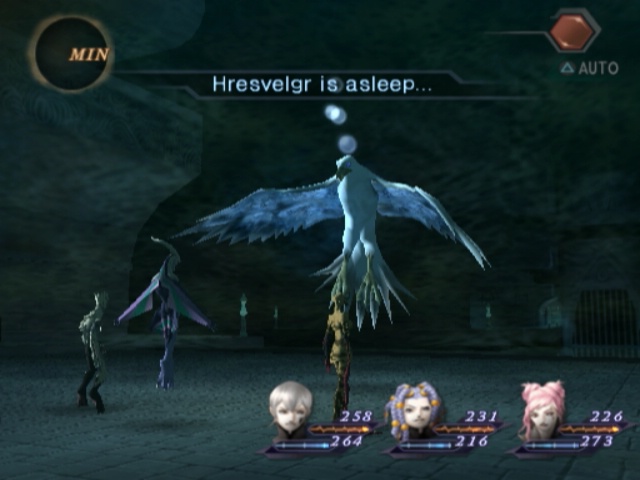
Unfortunately for him, he's weak as hell to Electric spells and ailments work pretty often.
As is going to be a trend from this point, there's small detours on upper levels. The terminal there is to make you think that is the way onwards or something, but...
It just leads to a long hallway.
Not the last of its kind we're gonna see in these tunnels.

This hallway just leads to an easy Great Chakra. If we never bothered with the Blue Key this would be the first one we got. Huh.
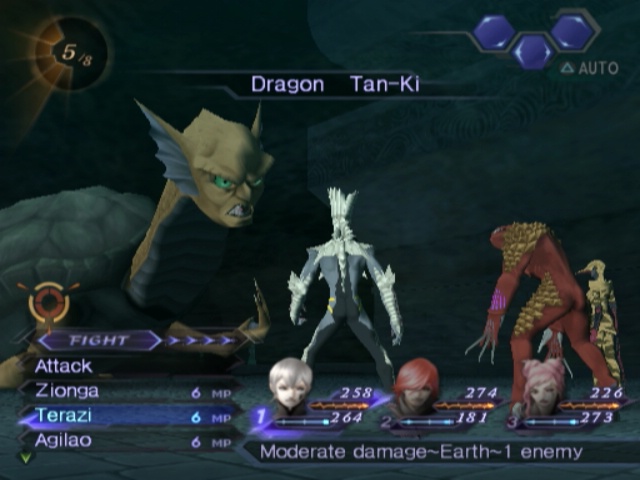
The punnily named Tan-Ki is a giant turtle tank dude who came from the essence of the earth.
It is weak to Earth spells.

Moving on, we come to a... weirdly placed Yellow wall. It doesn't need to extend over to the left walkway here but it does anyway.
So, run around to the right side and go through and... it looks like forward progress. Thankfully, it's not. It's just this one room at the end of a short passageway but it seems to be actual progress with the terminal there and all right?
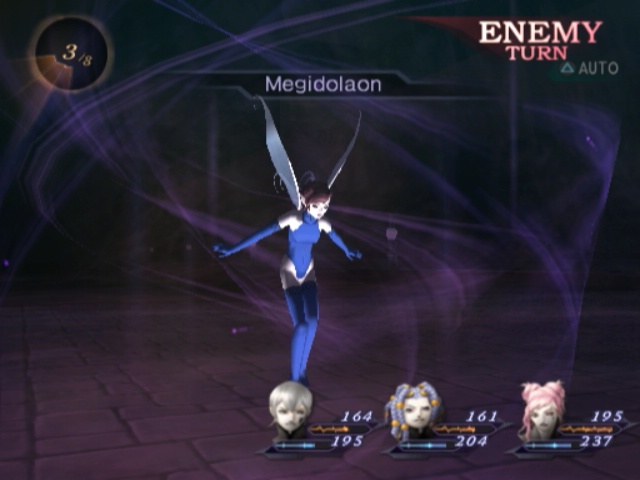
Also, we run into level 1 Pixies with like 400HP that have Megidolaons. This would be terrifying but!
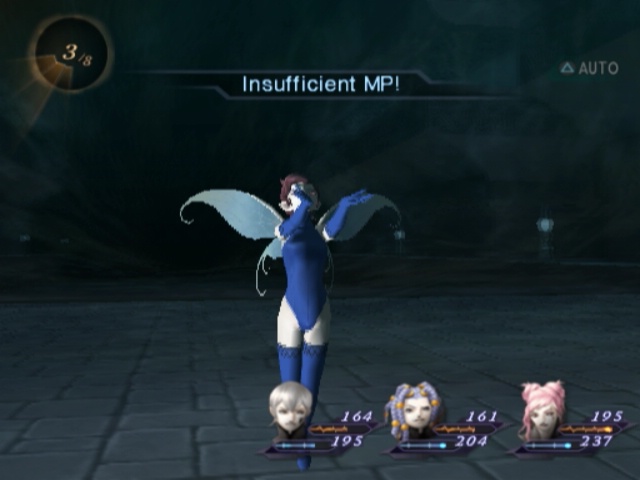
They don't have enough MP. So, instead she just does something else.
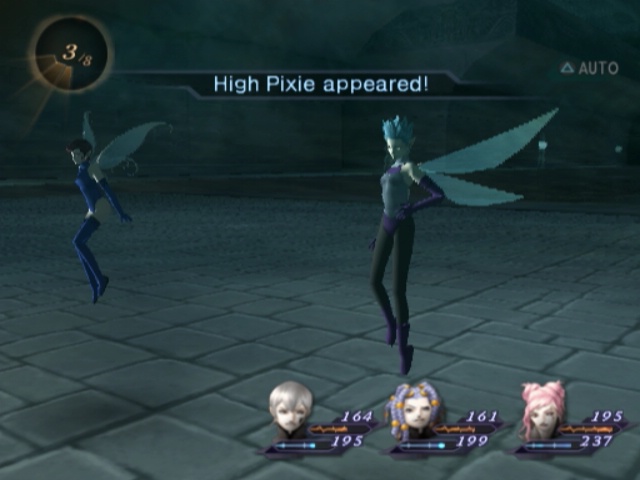
Calls in her big sister who has electric spells. She can also bring in someone new to join the fight...
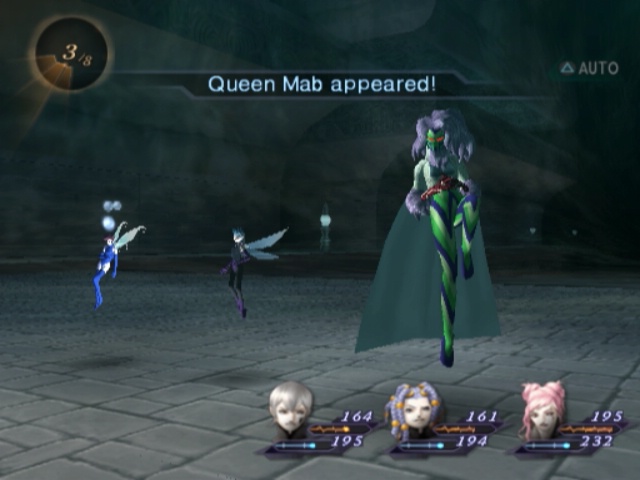
The Queen is here. This is a wonderfully referential gimmick to this random encounter and it is equally wonderful for something else.
Taking out the Queen lets us get a decent chunk of Atma, Karma and Macca. And the High Pixie keeps bringing them in too.
I cannot be arsed to abuse this because there are better options when we need them. It's also kinda slow.
On the other hand, this is the best way to grind Luck Noises (High Pixies drop them) so if you want to max Luck this is your first opportunity.
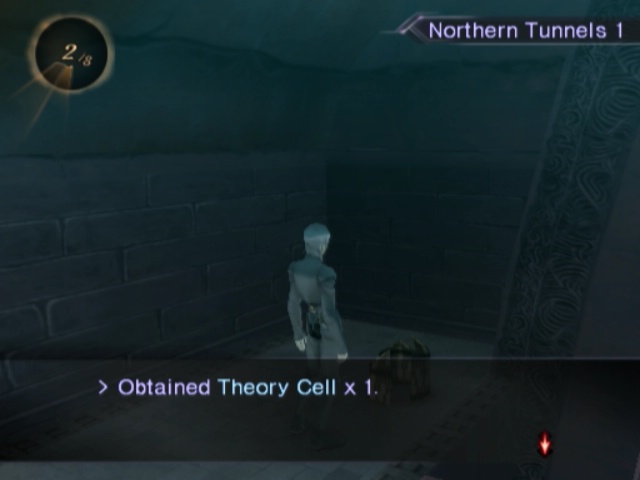
So we'll just grab our second Theory Cell from here and move on.
Moving on consisting of running wall the way back to the wall and then going due west.
Immediately running into a maimed Brute soldier next to an item pot with a Revival Gem in it.

Man, that's some dark irony. Let's just move on.
This time around, going up to that upper level IS the way forward. So we'll skip past that then.
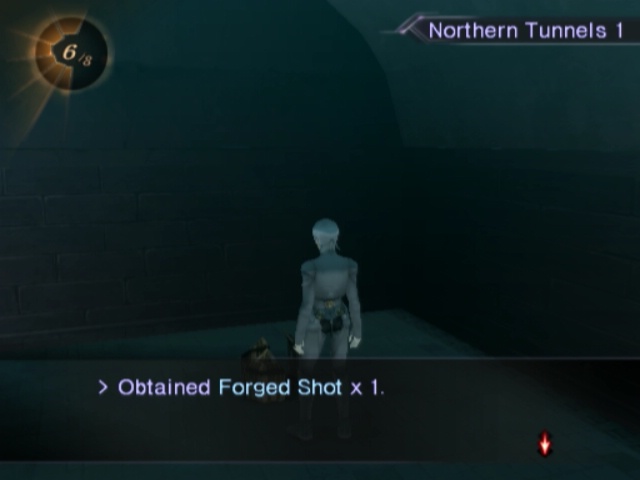
It's very definitely worth it, since the Forged Shot is a very good bullet.
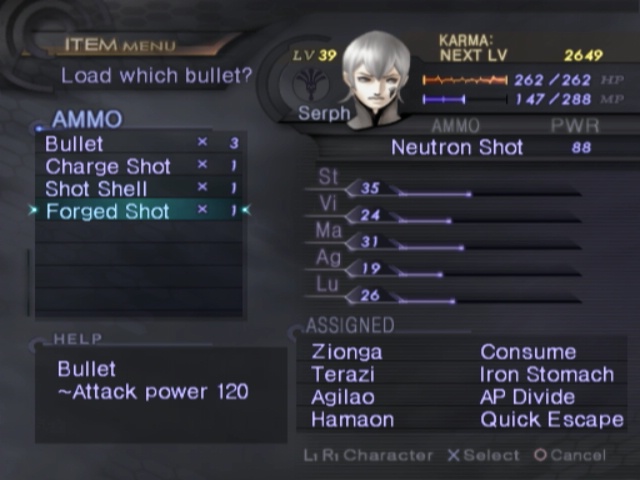
By quite a sizable margin, no less. It's got the second highest attack power but for the most part is not worth using over the third highest.
Both pale, greatly, compared to the top-tier one though.
That loaded into Serph's gun for if we ever need it, we can doubleback to this door on the upper level.
Of course there's a few living Brutes here. These ones aren't optional.
Hunting ~ Compulsion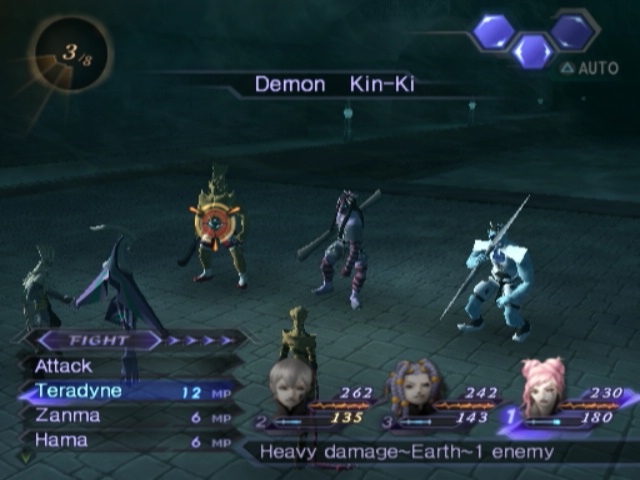
This time around, we get the Sui-Ki and Fuu-Ki from before but they remembered to include the unfortunately named Kin-Ki. Unlike the others, this one's named after gold and cannot be pierced by weapons apparently.
So we hit him with really big rocks. He's weak to Earth.
River of Samsara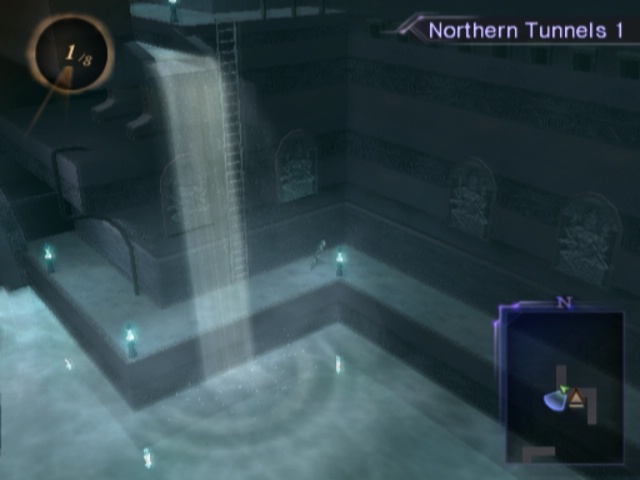
After that, we just go back down and follow another incredibly straightforward path.
The detour upwards is just to yet another small karma terminal. That door around the corner is progress.

Around the corner we can pick up another Power Noise. Double-back to the door now.
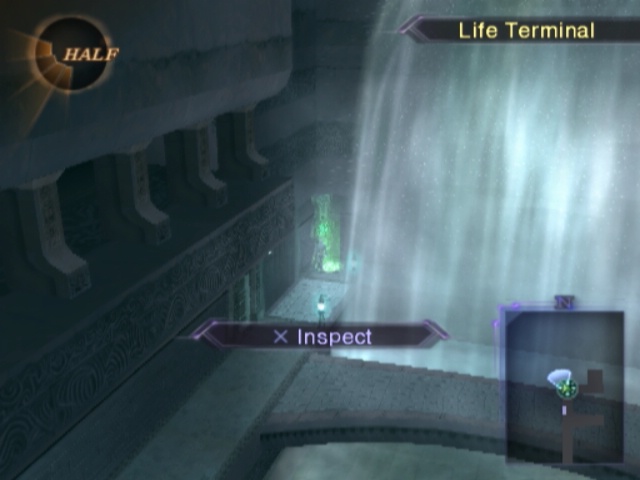
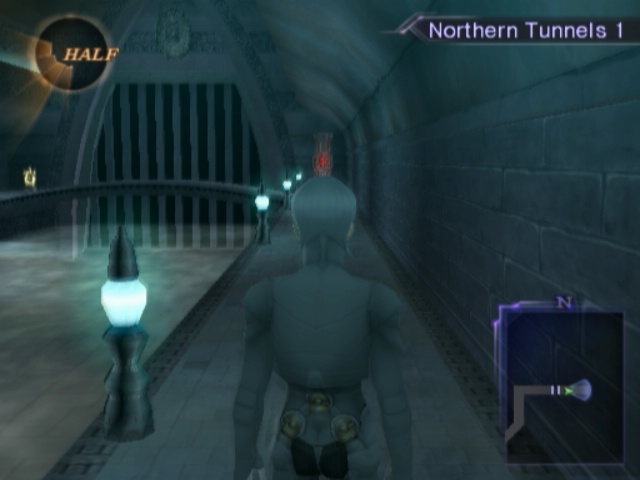
That brings us to a small rest room with a... Life Terminal in it. There's no fights in here, surprisingly, and of course there's something behind that giant waterfall.
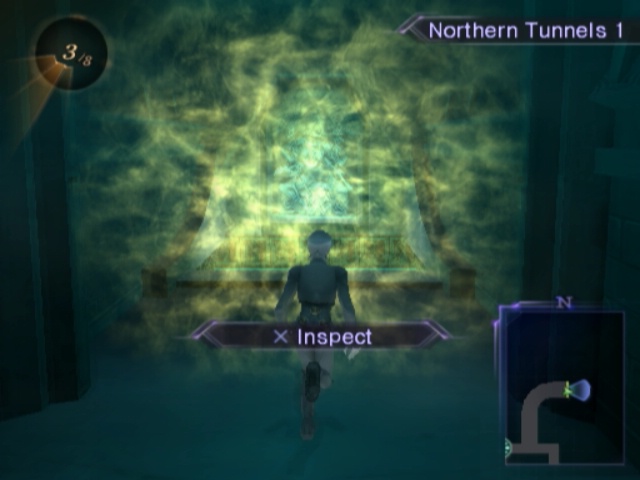
It leads us to a yellow wall with a second Water Pump puzzle behind it.
River of Samsara ~ Second Movement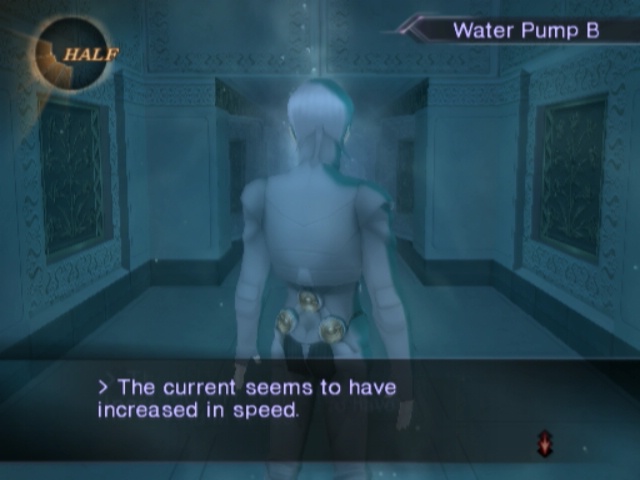
This one is a fair bit longer than the first one. It's also more complex and gives us a more generous time limit. Rather than spitting us out at Max, it does so when it cycles back to Min.
If it did it at Max, this one would be straight up impossible.
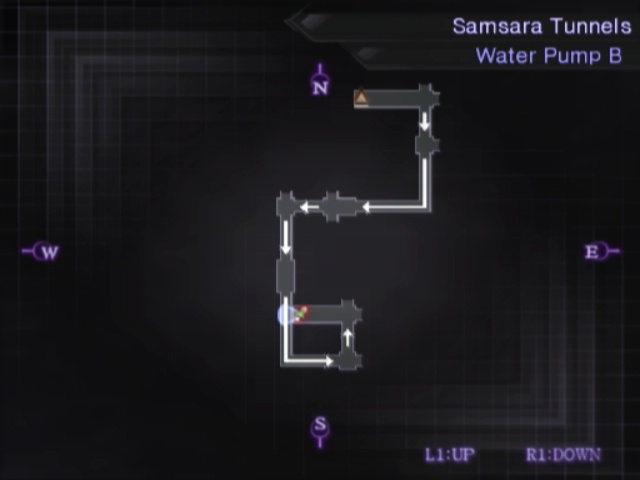
We have to go through 6 currents to get to the halfway point of this one.
That brings us to a valve which flips the currents directions. So anything that took us south before now takes us north, for example.
We use that to follow the new route all the way around towards the western exit.
I'd say the reward is more than worth it, though. Getting back to the other entrance is easy enough. Just take the same route we took to get here but in reverse.
Or just let the tunnel kick you out since it puts you back over there. That's actually more of a hassle than just solving the puzzle again though.
River of Samsara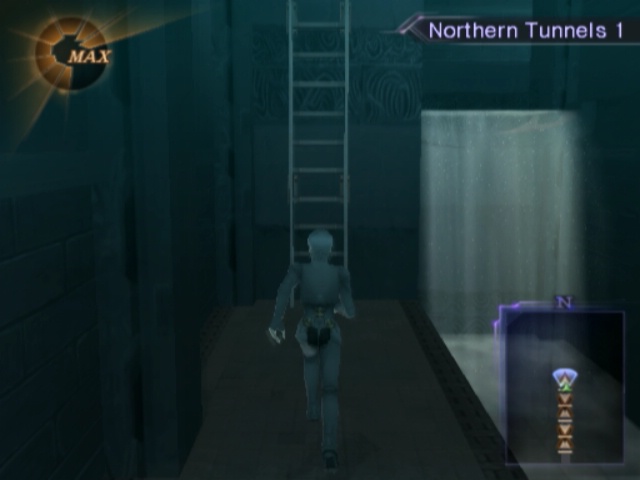
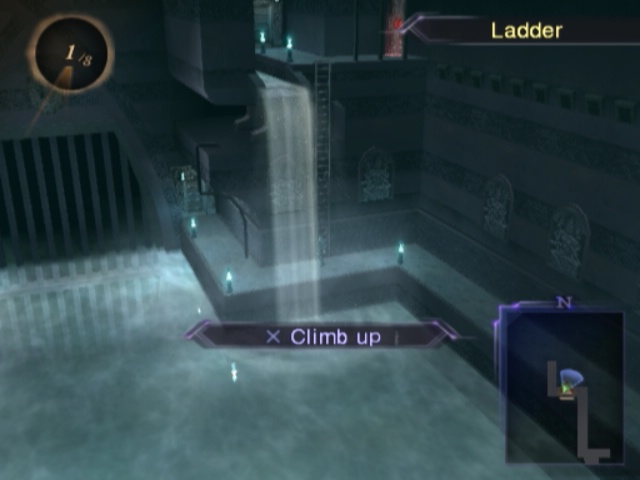
Through the door next to the Life Terminal, we get... a lot of ladders with mezzanines between them. It's kind of silly!
 No-Don't... YEEArrgghh!!
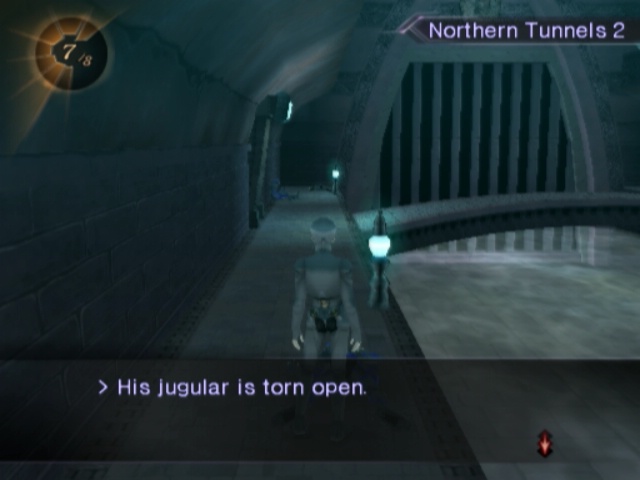
So, uh, looks like whatever just murdered the fuck outta these guys left right before we got here.
And there was even a member of the Wolves who got taken out too. In an incredibly violent manner no less.
These guys are all outside the third Large Karma Terminal which we'll use in a moment.
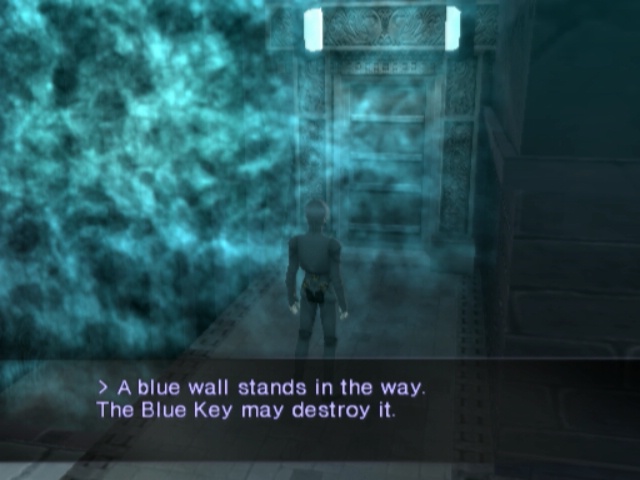
First, there's a Blue Wall just next to the Yellow one that was impossible to miss earlier.

It leads to another hallway with a silly amount of ladders in it. Lets us get a Logic Cell though, which is nice.
Double back to the Yellow Wall and go past that one next.
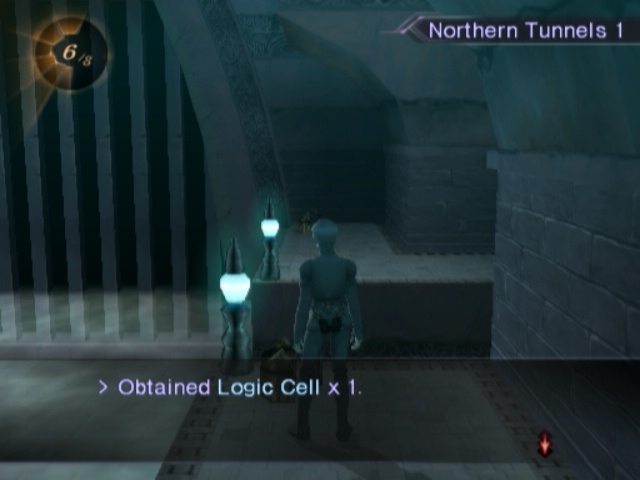
It... leads to another hallway with a silly amount of ladders in it. Lets us get a Logic Cell though, which is lazy.
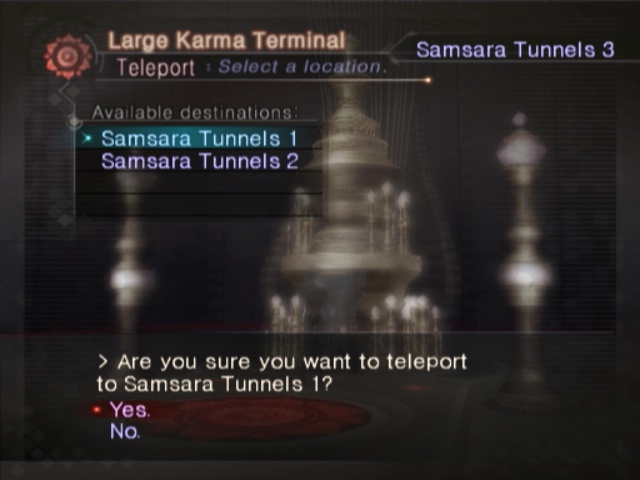
Back to the Large Terminal and using it to warp to the first one at the entrance. We're not leaving, but this does put us near...
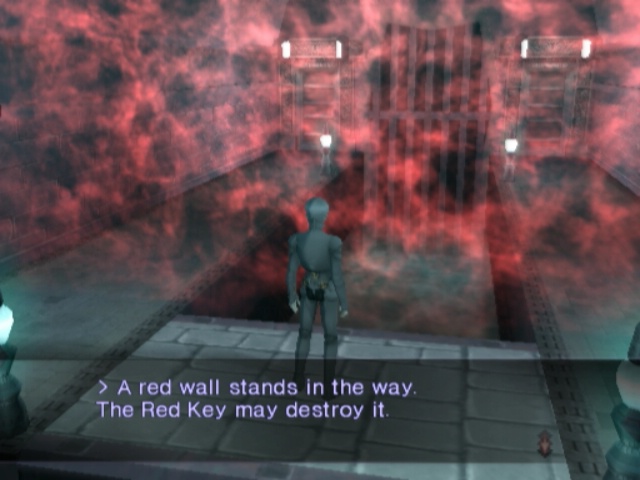
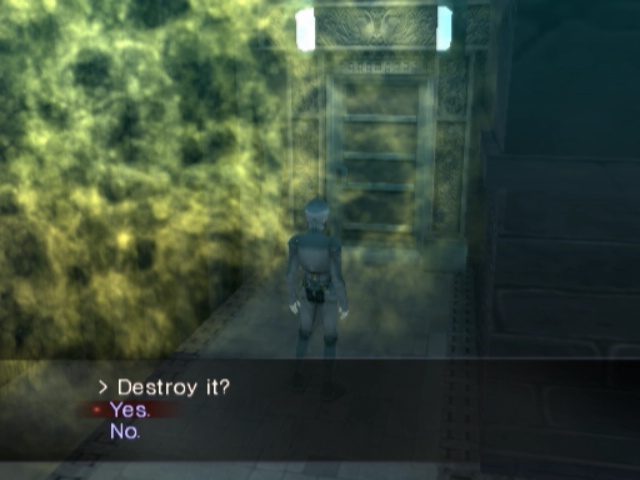
The Red Wall here. We'll go through the door on the right first.
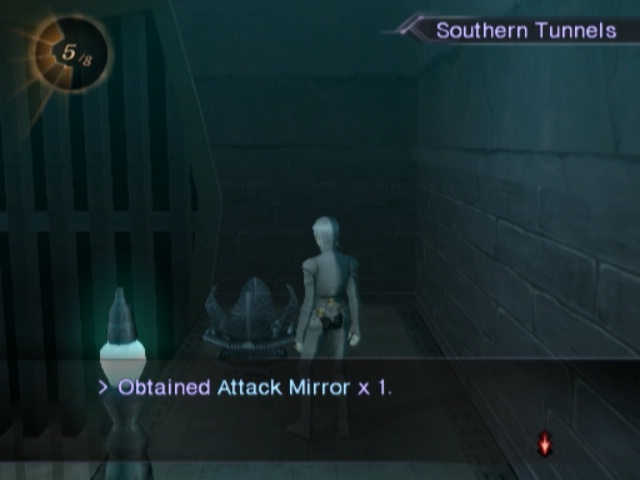
This just leads to a small area with an Attack Mirror in it. Seems like a shit reward, don't it?
Thankfully, we can see that the other walkway in this room is a Field Hunt so we'll go and do that next.
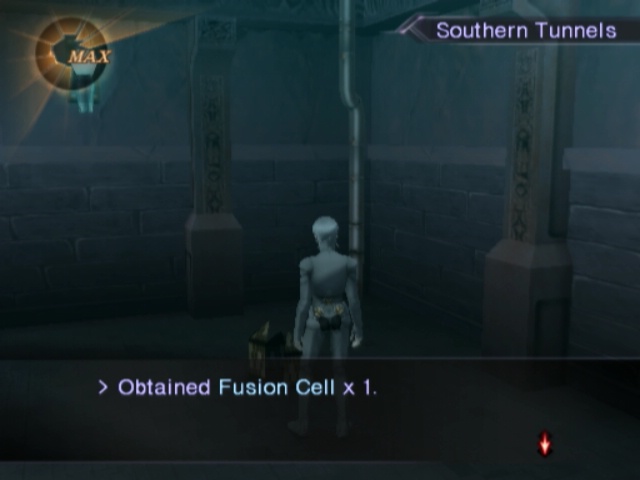
On the way there, there's a small room with... a Fusion Cell... in it.
Fusion Cells are INSANELY good. They are the second best Cell and a single one nets us well over 100k. At Minimum noise.

So, let's go through this door and deal with the
Samsara Tunnels Field Hunt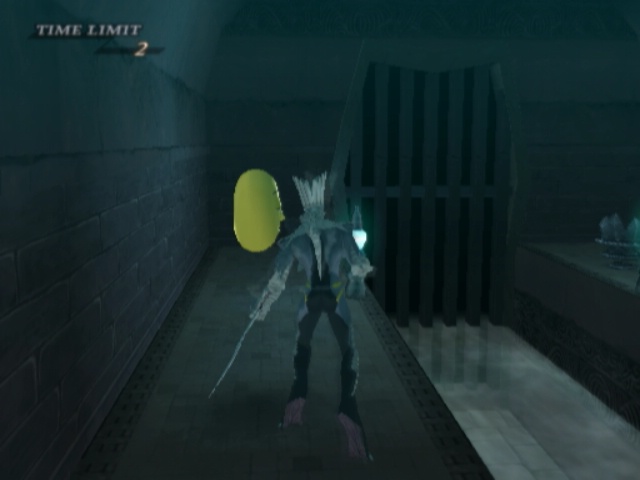
Like the one at Coordinate 136, we get 90 seconds to deal with this one. That is only just enough time to manage to get to the Mitama and if you don't know exactly where to go, when and know the exact order the purple orbs spawn it isn't even close to enough.
This field hunt is a fucking pain but it is so, so worth it.
Hunting ~ Rare Devil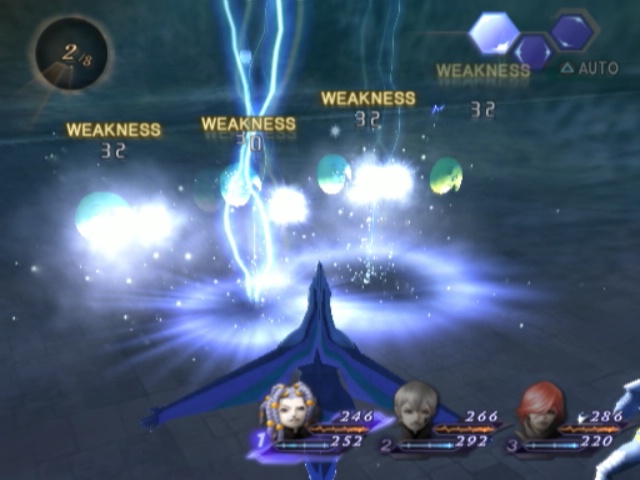
The new Mitamas here are all weak to Electricity. How nice.
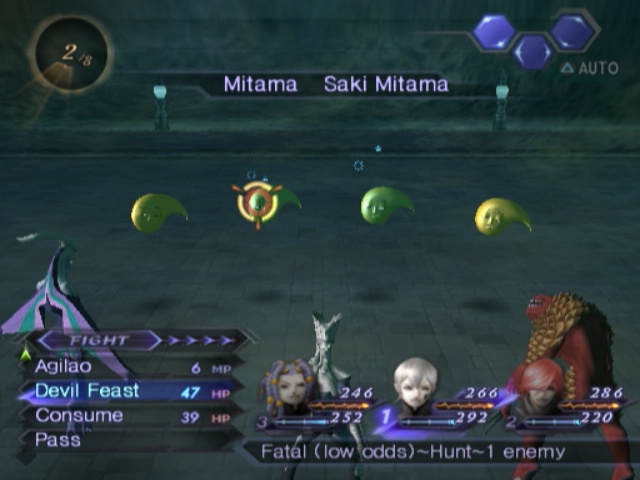
Saki Mitamas are yet another minor step-up defensively compared to what we're used to. So I just said fuck it and brought Devil Feast to oneshot them.
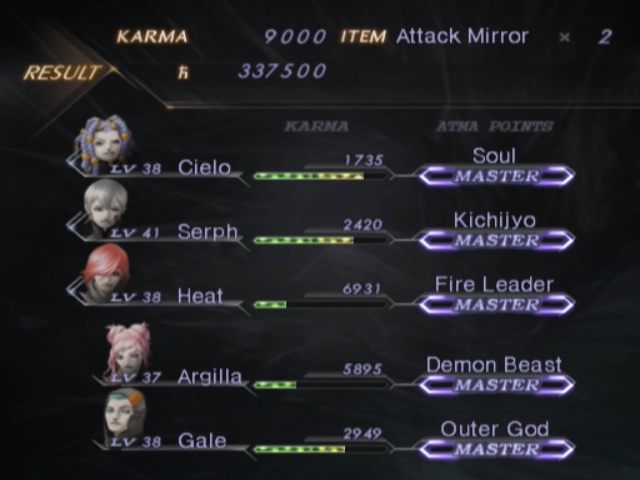
Saki Mitamas are REALLY good. 3 of them nets just under 350,000 macca.
That is a massive leap over Nigis from Coordinate 136. A single Nigi Mitama gave 2700 Macca (a bit more if you take 'em out quick enough though). A single Saki Mitama gives, uh, 90,000 or 112,500 depending on speed.
Sakis are basically the best mitamas, appropriately enough. Just a shame this particular field hunt is such a goddamn pain until you get used to its eclectic layout and weird patterns.

So, yes, there's our reason the money problems stop being a thing at this point. Saki Mitamas are the first wonderful cash pinatas. And one you get a special combo, you can get 450k a fight easily. Not too shabby for about 2 minutes work.
Only real downside is the whole 5 solar cycles to repeat it thing. That puts a pretty significant limit on its overall usefulness later on.
...And yet it's still not the best option! End-game macca farming is pretty silly.
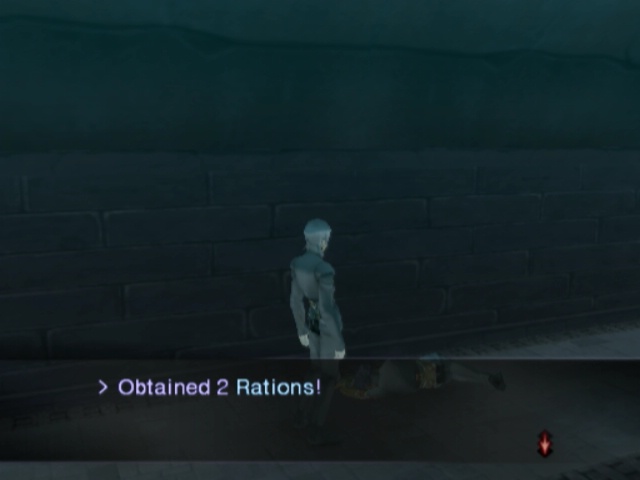
Opposite the Karma Terminal, we can find a dead member of the Wolves and steal 2 regular ol' Rations from his corpse.
...What? He's not using them.
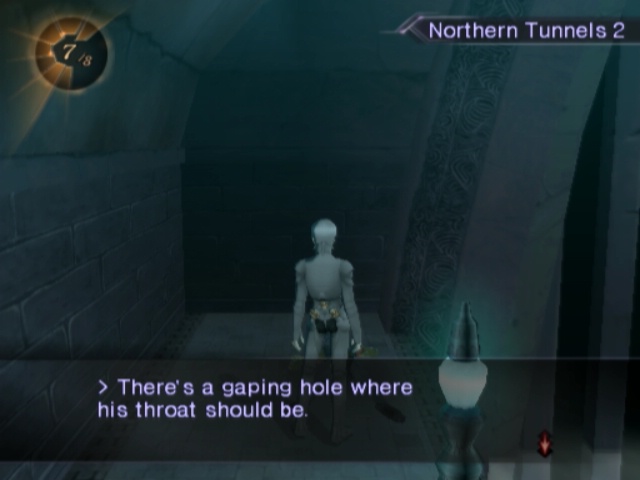
And around the corner there's yet another brutally murdered Brute. Swell.
We'll just head forward from here since we're almost at the exit.
So "almost" in fact, that we, um, are at the exit. Before we can use it though...
End of the Line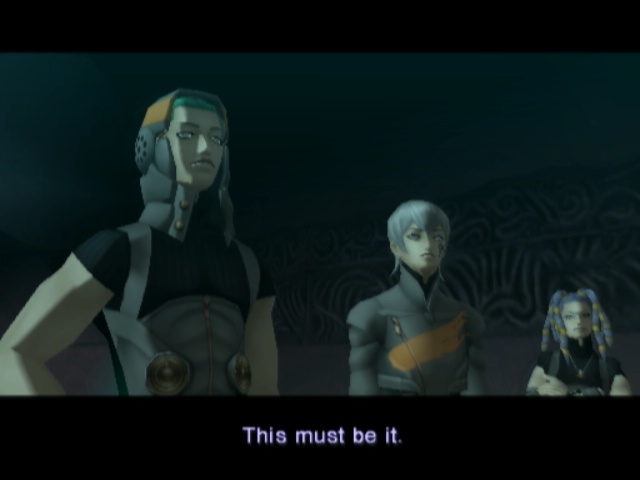 Lava Flow
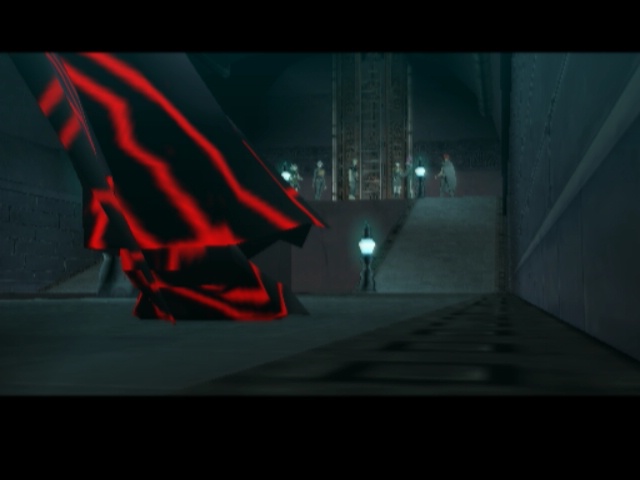
Something's... not quite right here...
Lupa...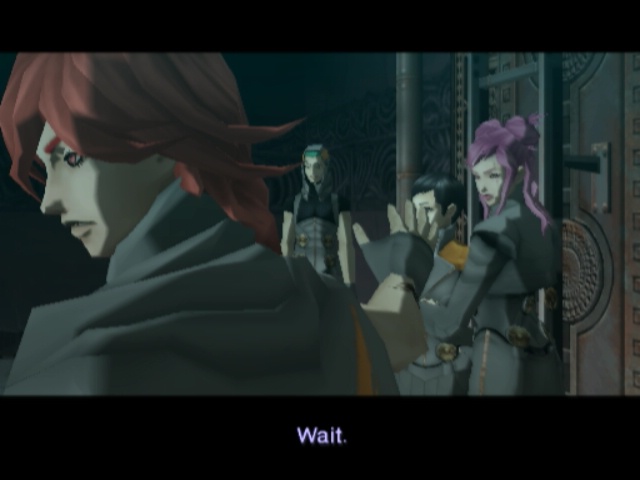 He's not the same anymore.
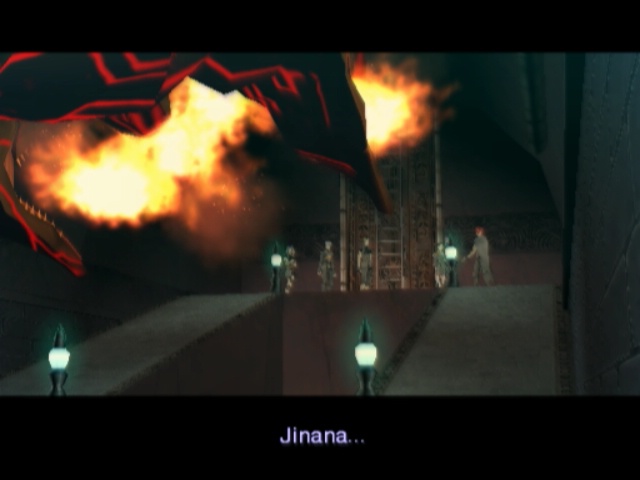 It's just like Jinana. Sera, can't you help him!?
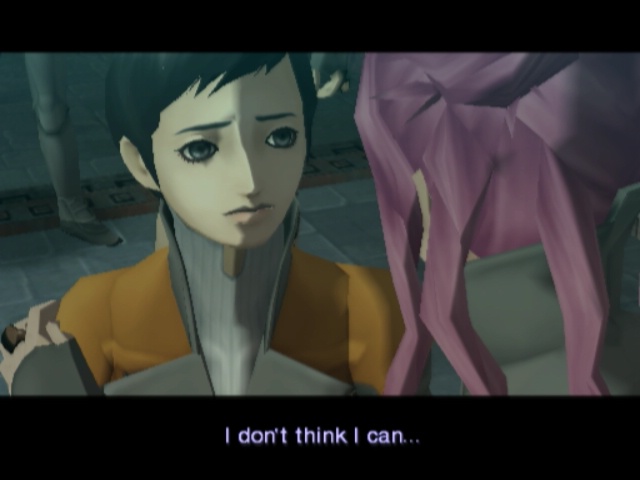 It's too late. I can't do anything now...!
Well, in that case there's only one thing left for it!
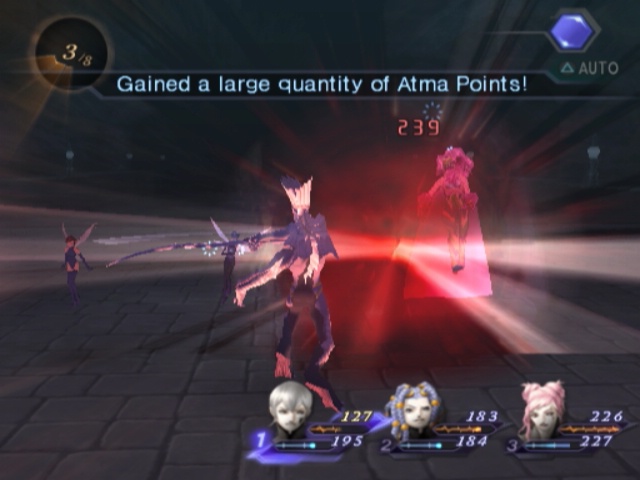
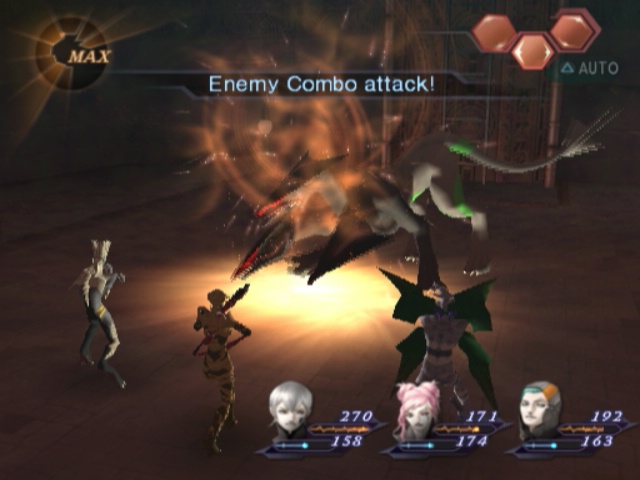
 Boss: Asura Cerberus Hunting ~ Comrades
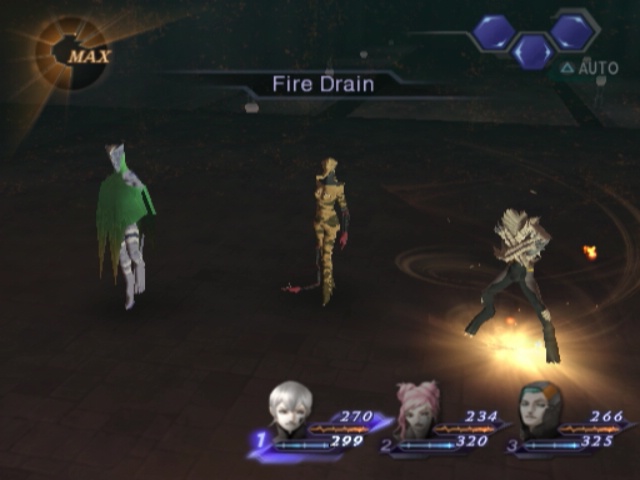
So, Cerberus is a pretty tricky fight. Hurray!
...Okay, admittedly, it is not THAT hard at all. I am just bad at it. Almost always want Fire resistance up, and the cutscene before makes that clear.
Cerberus also happens to be the first mandatory boss fight in quite a while with no weakness. He resists basically everything too; the heads are all neutral to Physicals but I am damn sure the middle and right head resist Ice and only the left one is neutral to it.
Also, both the (L) and (R) heads have 1800HP whereas (C) has 2600.
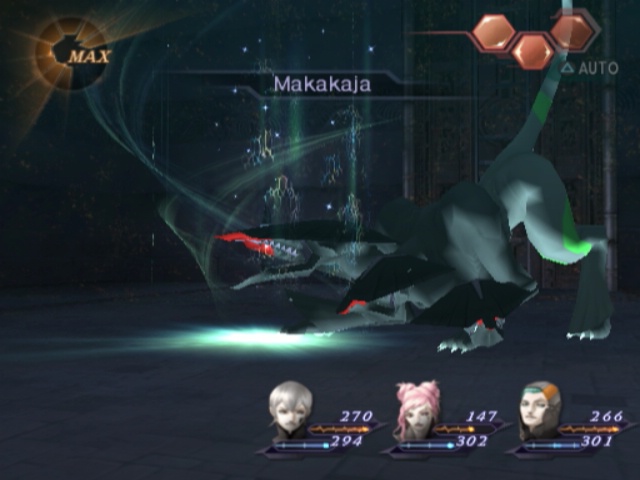
He gets a turn for each head, and they all do different stuff. The right one focuses primarily on buffs and debuffs.
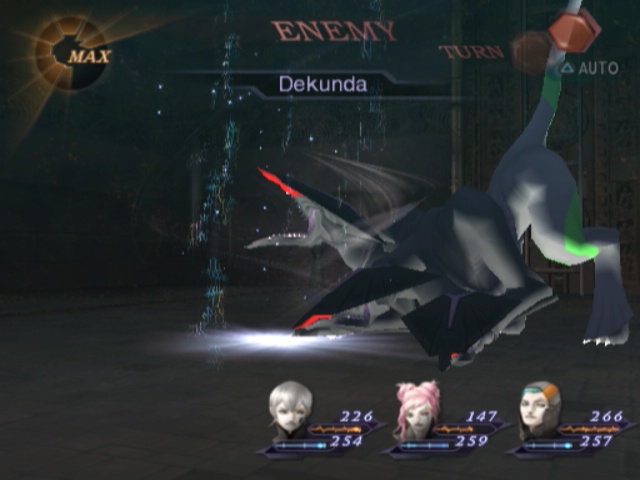
Including Dekunda and Dekaja if you push it too far. Too far in this case being "all the way;" it doesn't care at 3, but 4 makes it drop everything to wipe that immediately.
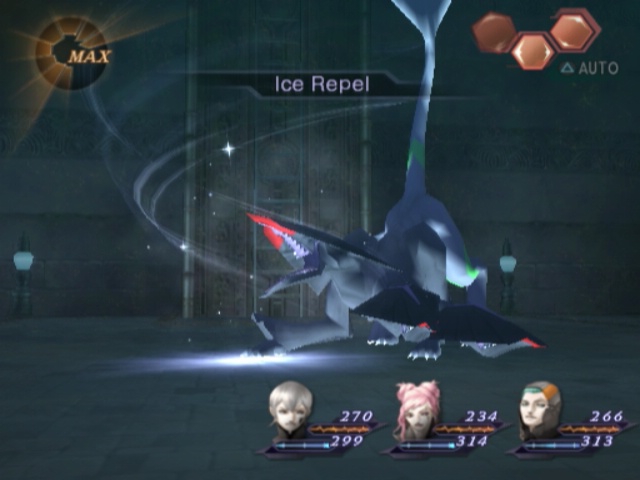
As well as rarely putting up anti-Ice barriers. For obvious reasons, this should be the first to die.
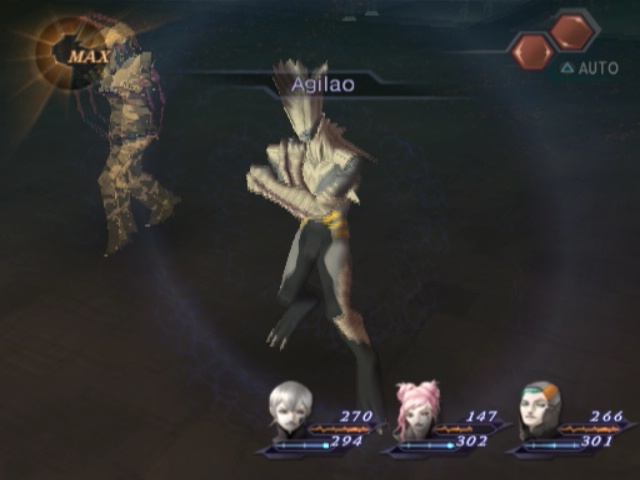
The middle head is all about the offence. Mostly with Agilao (and Agidyne later in the fight) and physicals. He also counters sometimes whenever you hit him with Physicals.
For reasons that will make sense soon he should not be the last head to drop. Unless you have it in critical condition already and drop it the same turn as another head. Taking it out second is the best way to do it.
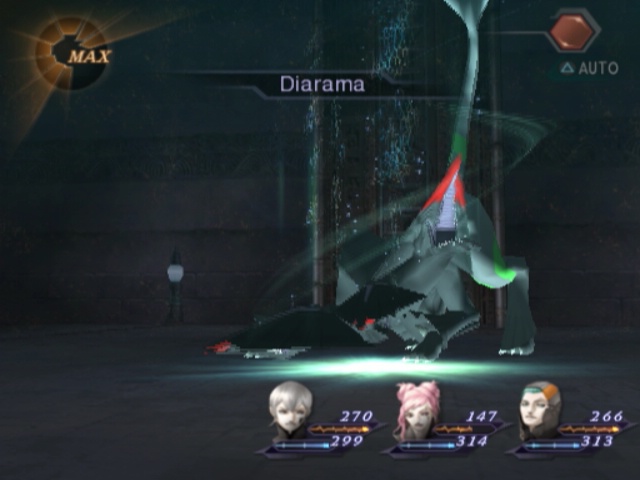
The left head spends about 99% of its time casting Diarama on the middle head and sometimes the right one. The other 1% of the time it casts Mahama. Since it goes last, this is not a big deal. Despite this seeming to be a nuisance, it's best to take it out last.

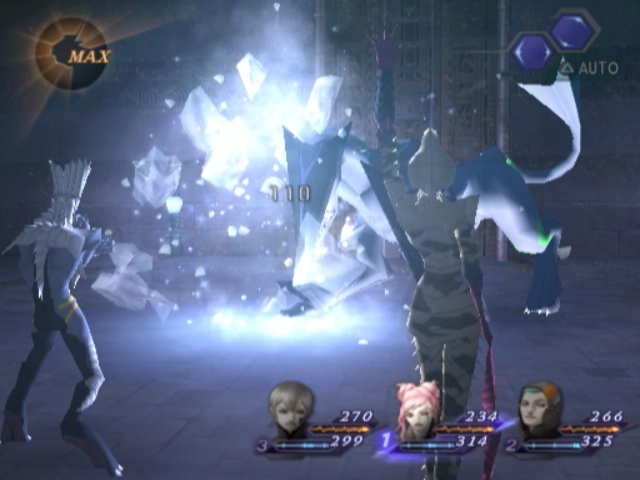
So, three targets that are best dealt with by casting Ice spells? Cocytus is really good here.
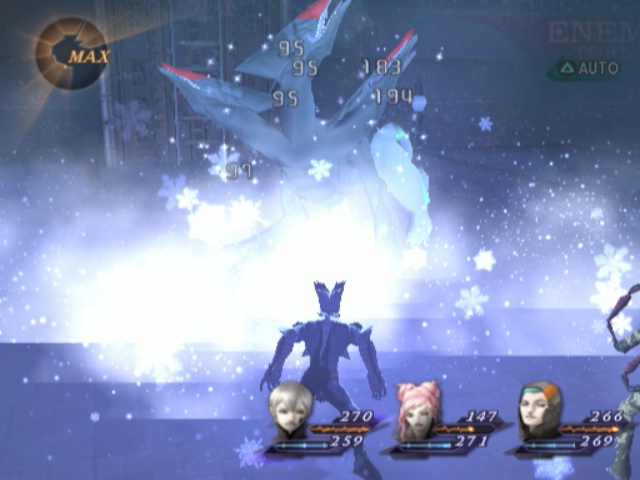
It hits randomly, so sometimes its 20MP for a whopping one hit at middling damage, but has a very high Freeze chance. Unfortunately, Cerberus is immune to being Frozen so that option's out. Looks nice though, and makes things go a fair bit faster.
Also the significant damage discrepency here between the Left head and the other 2 is why I'm convinced only Cerberus (L) is neutral to Ice despite everything on the internet claiming otherwise.
I don't trust the internet when it comes to this game though.
On the other hand, it takes an Amped Teradyne just to get it to come on par with a Boosted Bufula. That's... quite hard to ignore too.
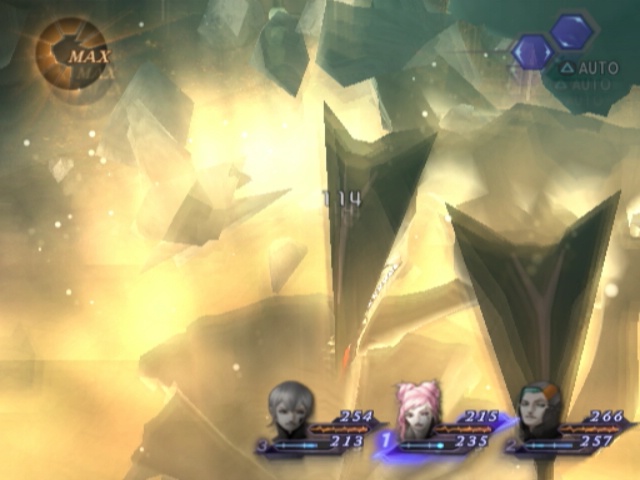
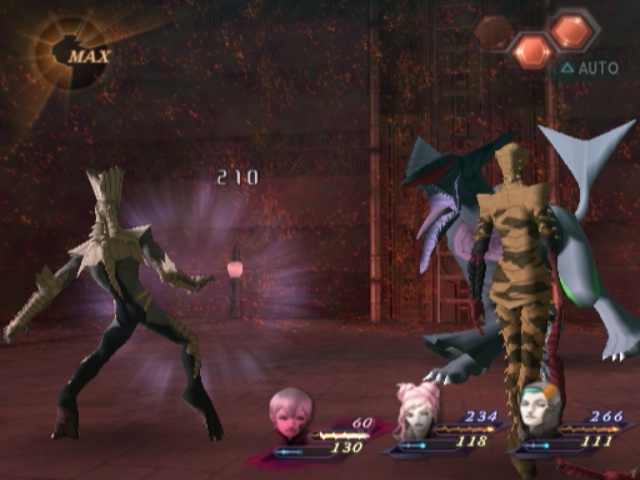
Of course, and the big reason you want anti-Fire skills here, is Cerberus' combo attack.
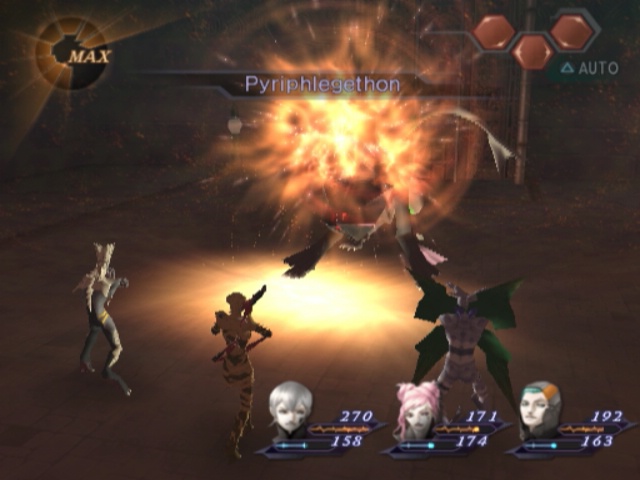
If all three heads are still alive then he always does Pyriphlegethon here. This hits everyone at once of course.
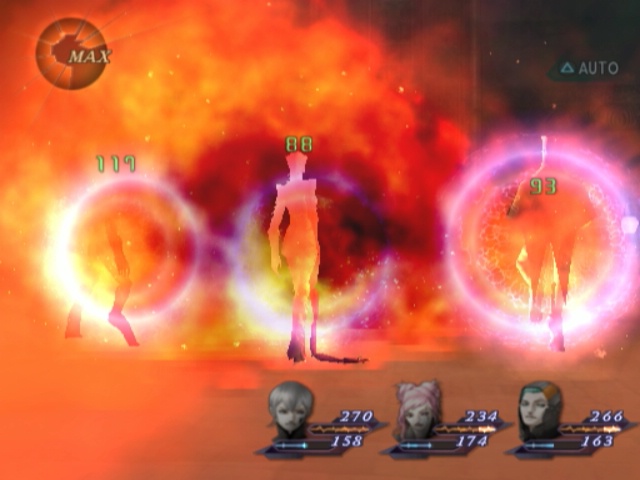
It would hurt a decent chunk but Fire Drain makes it more favourable.
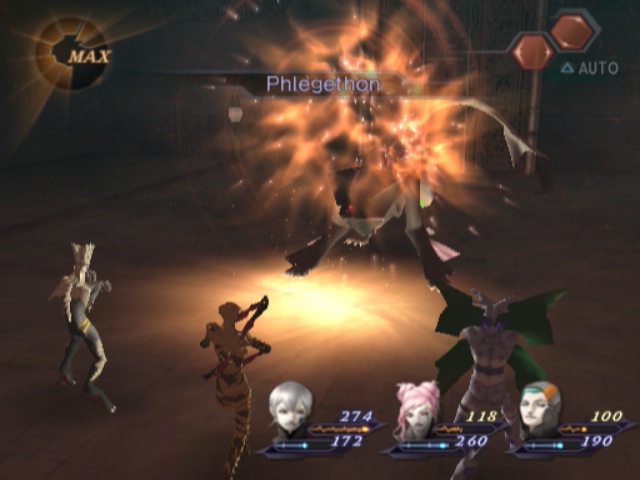
If only two heads are alive, he just uses Phlegethon instead. It's the same thing but weaker. Despite this being a two-head combo, Cerberus never uses it if all three are alive.
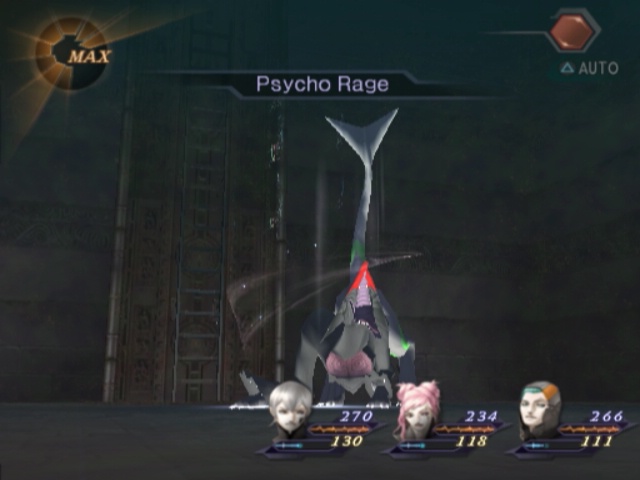
...So, if you leave Cerberus (C) alive with neither of his buddies around he gets very, very pissed.
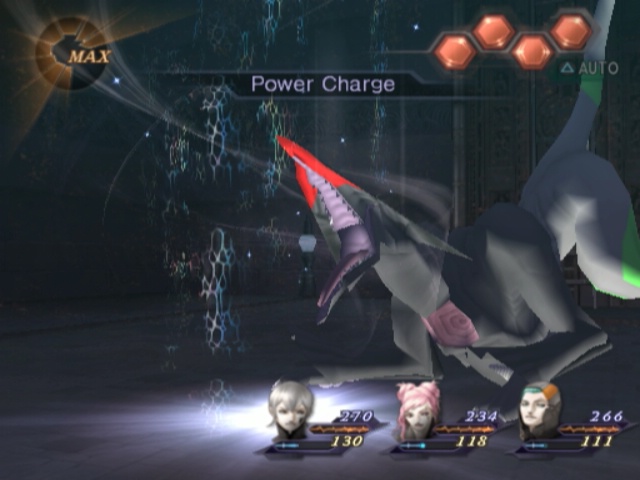
If you have him in this state, make damn sure none of (R)'s buffs, or Taunt's Tarukajas, are still in play. Because he gets super fucking dangerous now. He has both Power and Mind Charge and will use them to end you.
This is a Power Charged regular attack.
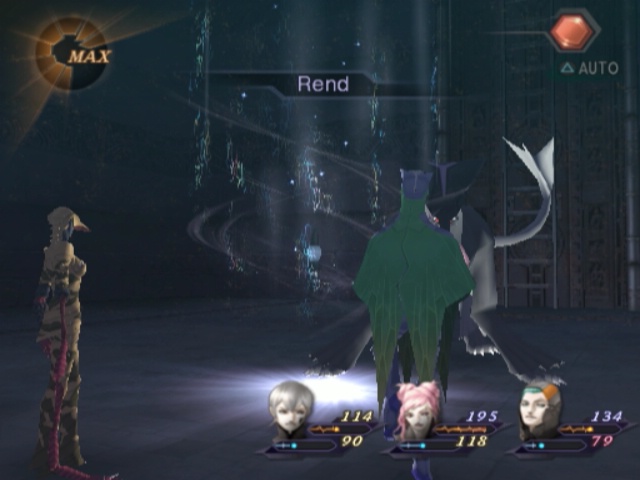
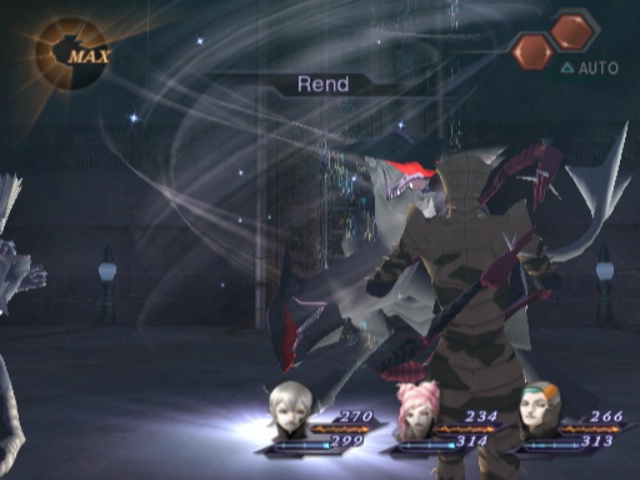
Now what if he didn't do that? What if, instead, he used Rend which hits super-fucking hard?
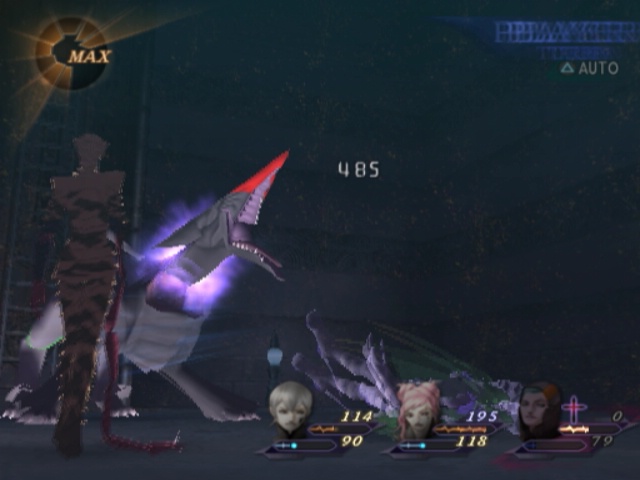
He would drop anyone, and I mean anyone, in one hit at this stage. There is basically no chance you'll have over 500HP.
He also has another neat trick that he just... didn't want to use. I'm not complaining because its much worse than all this.
So, of course, we'll see it thrown around a lot in the next (mandatory) dungeon. Wheeeeee.
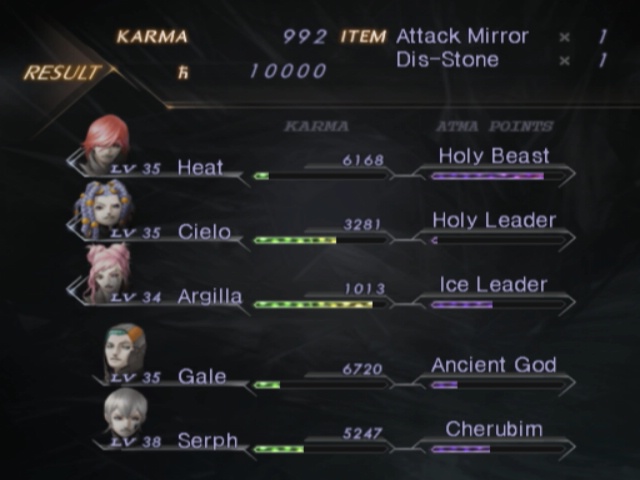
Get a decent chunk of Macca and a nice amount of Karma for our troubles. No AP though, but that should not come as a surprise at this point.
Silence
 But I... I... Aurora
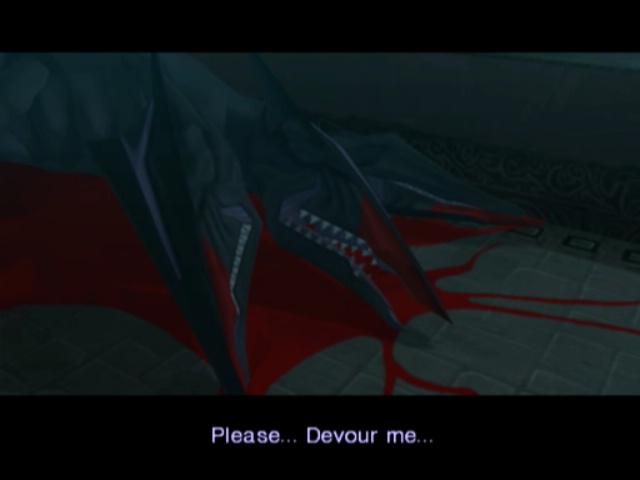

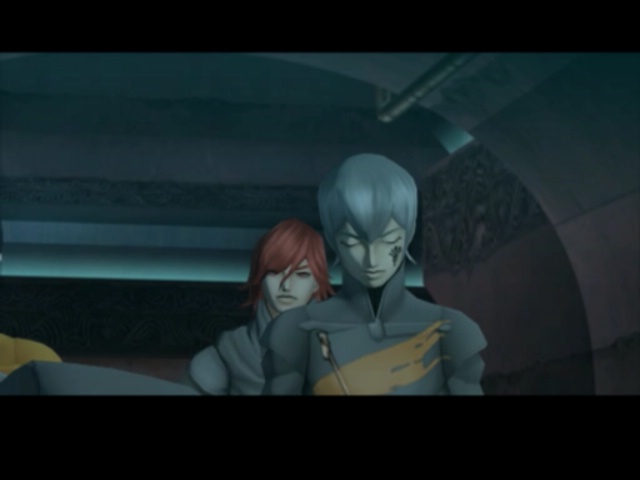

Took long enough, but Gale's finally caught up with everyone else...
Silence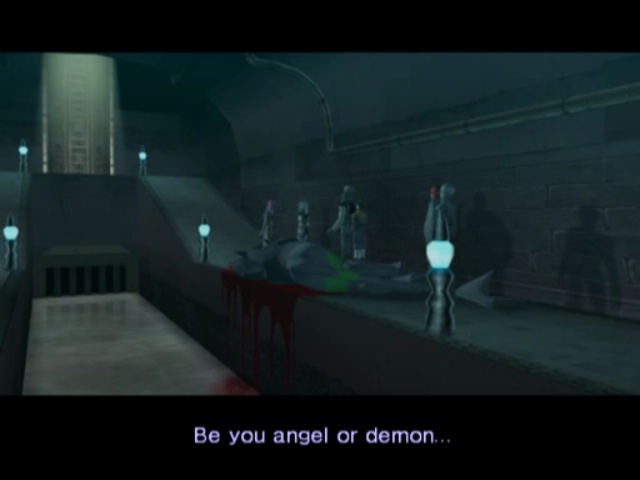
And now, we emerge in the Brute's base. The final tribe... we're so close that I can practically feel it.
But, y'know, I think we should let them be for a moment. We did get the Red Key and I can think of someone who's just dying to meet us now...
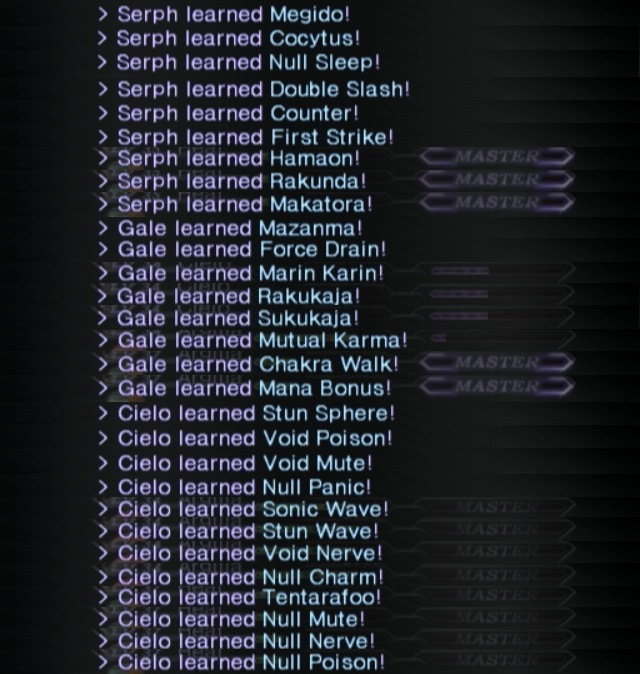
Here's all our new skills from both the ship and the tunnels. A lot of them are pretty self-explanatory and obvious but Double Slash hits a random number of times for light damage (not twice as you would expect). First Strike just raises the chance of us going first. Makatora costs 50MP but transfers that 50 to someone else in the battle and can only be used in battle; naturally, it sucks a lot. Mana Bonus adds 10% to your max MP. Stun Sphere inflicts stun on a single target, Stun Wave does it to all enemies. Sonic Wave inflicts panic on every enemy, Tentarafoo does the same thing but also inflicts damage so its actively better. Null [Ailment Type] does nullify said ailment. Sleep is not an ailment type hence the discrepancy there; it is covered by Null Nerve (as is Stun). The Null ones are all passives. Voids work the same as every other Void so they have to be manually cast in battle.
Chakra Walk and Mutual Karma are the Good Skills here. Both are passives but do very different things; Chakra Walk restores some MP to whoever its on whenever the Solar Noise changes but only if they're in the active party. There's a better version of it but you can't skip Chakra Walk because its the prerequsite.
Mutual Karma is fucking amazing and you'll see it on benched members permanently now. It gives them full EXP instead of none if they finish the fight on the bench; there is a worse version but it's not required to get this one so we skipped it. If I ever do get it, it's just because I'm filling out missing Mantras. Giving them half EXP is okay but it's nothing stellar.