Part 34: The Corrupt EGG Installation
 Rest in Peace, My Friend
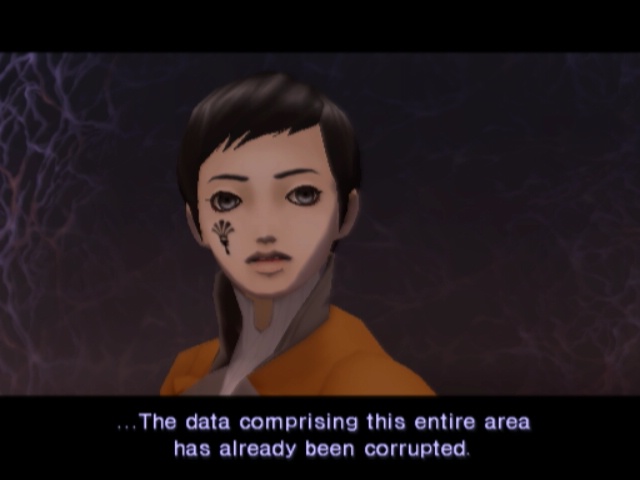
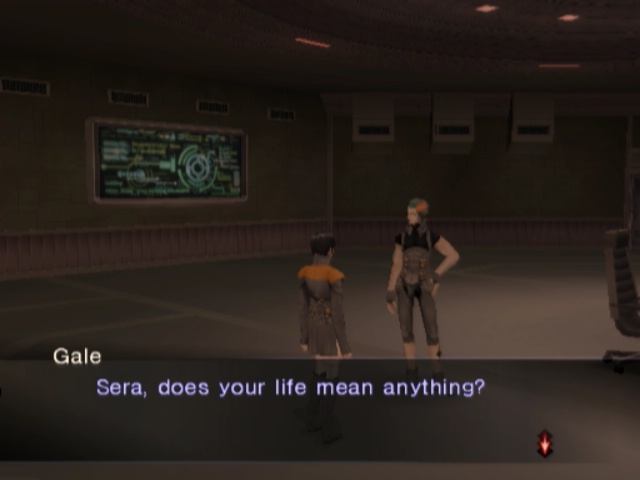
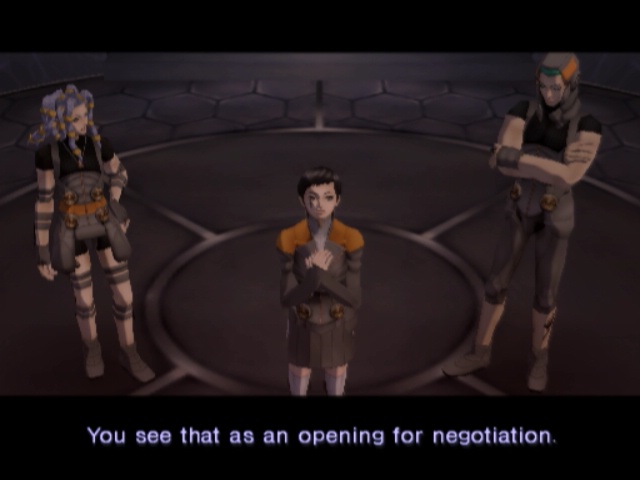
Before we set off for the EGG, we'll take this opportunity to talk to everyone.
 I don't know... but I'm ready.
 Very well. You will lead the Embryon. Sera... I'll tell you one thing that I was able to comprehend... Lives link to one another, and the world continues. Living beings have a need to compensate for the lives that have supported them. There are fights that prove unavoidable, and enemies that must be defeated... and one day, we ourselves may all be defeated.
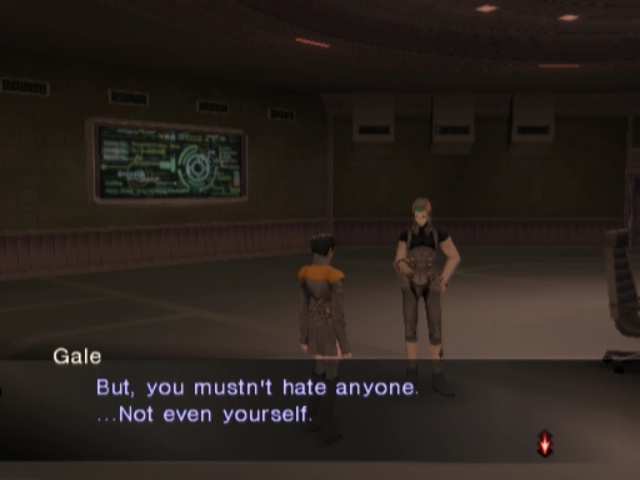 If you can do that, something will change... And only you can find out what that is.
 I'm myself, now. I can make my own decisions. Good luck, Sera...
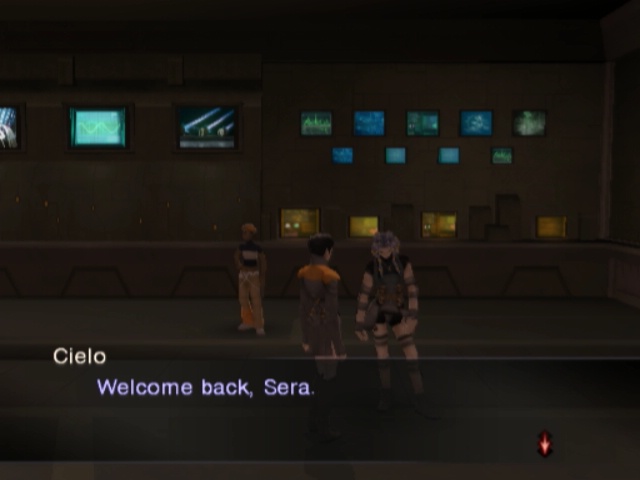
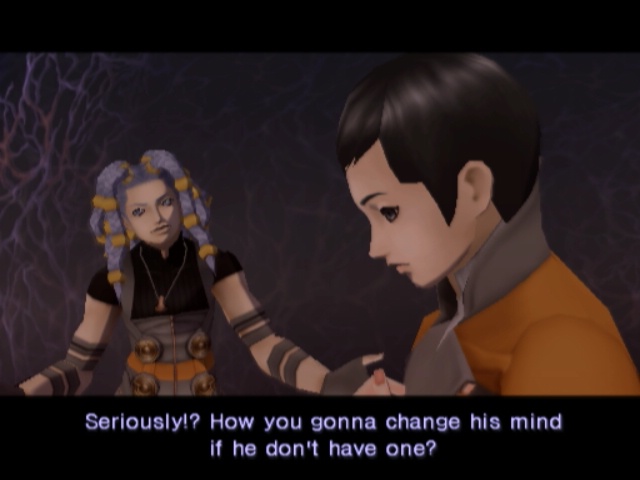
 I had a lot to tell you... But, now dat you're here, I can't think of anything.
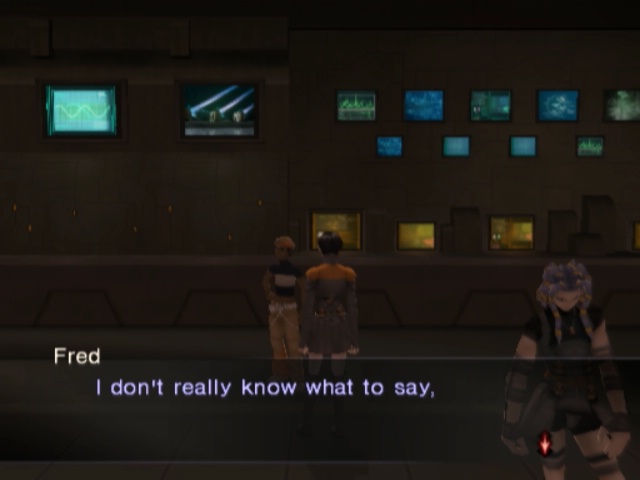
 but I'll tell you this... Try your best.
Alright, now we'll leave and go back to the EGG Facility.
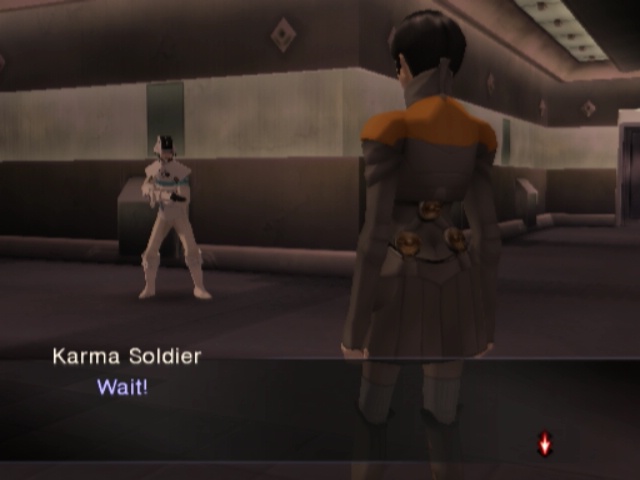
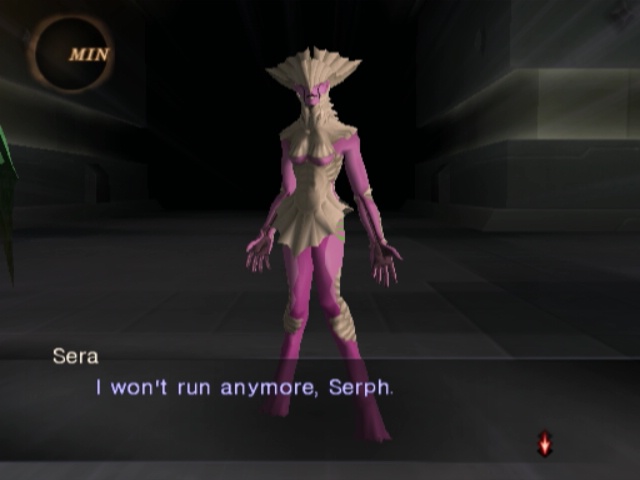
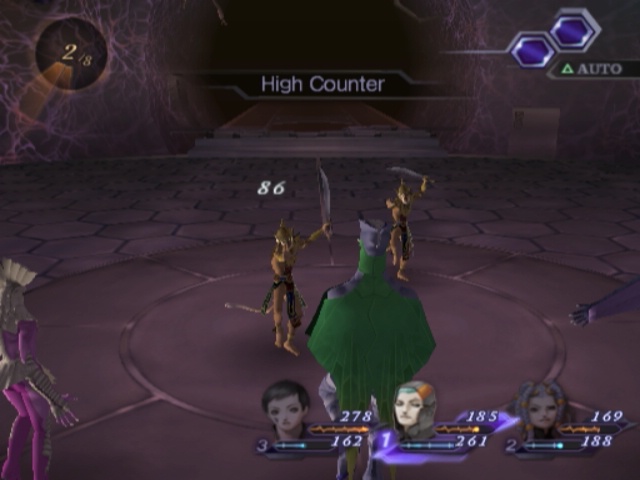
 We can't allow you to pass. Now you'll see what guards are really made of! Heroic Battle
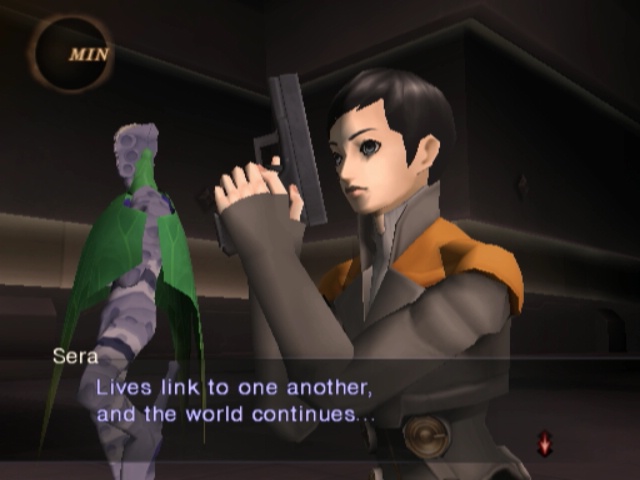
It seems incredibly arbitrary, but there is a slight reason why Sera starts in Human form here.
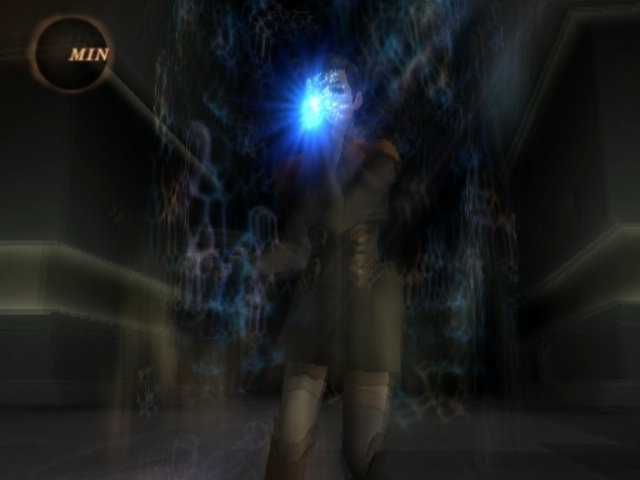
It's so she can tune as a free action in the fight. Everyone else did it in cutscene, but this works too.
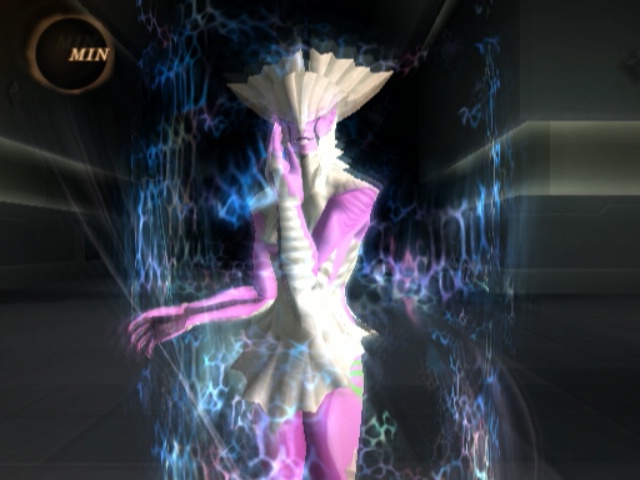
It does unfortunately mean she just does the normal in-engine tune animation though. Sera's avatar is Varunani, the consort (...and adopted daughter) of Varuna.
Born from amrita, so represents that. May or may not also be Lakshmi depending on context and interpretations.
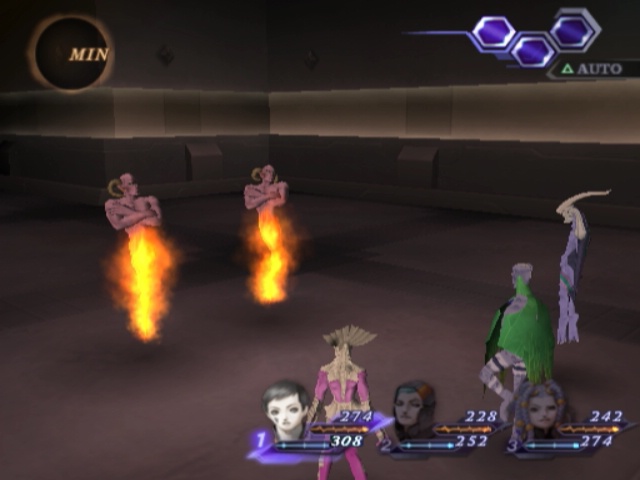
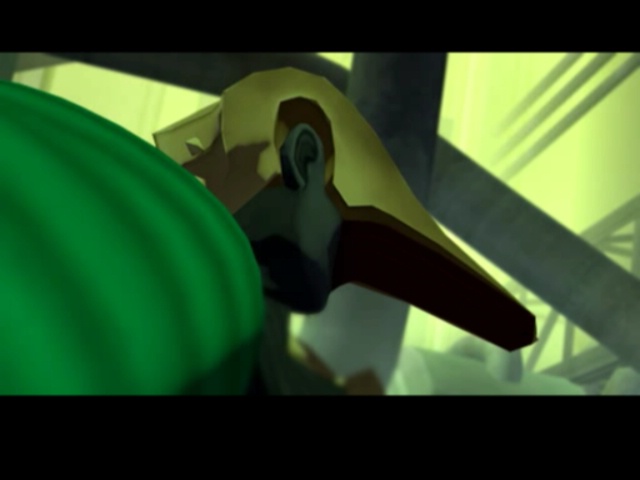
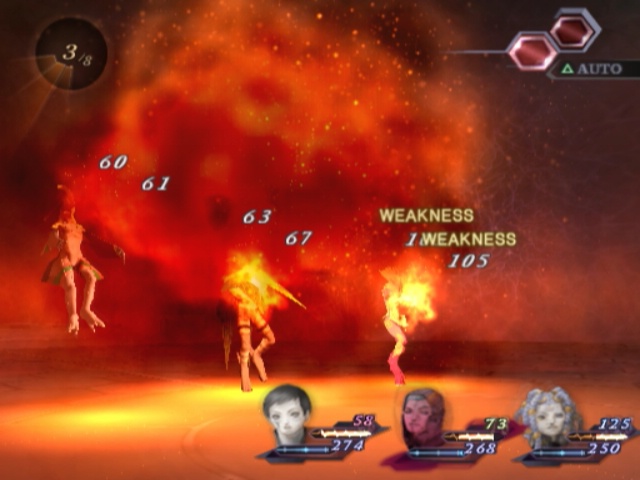
The fight itself is 2 Efreets. They, uh, don't last very long.
 Vs. Meganada Silence
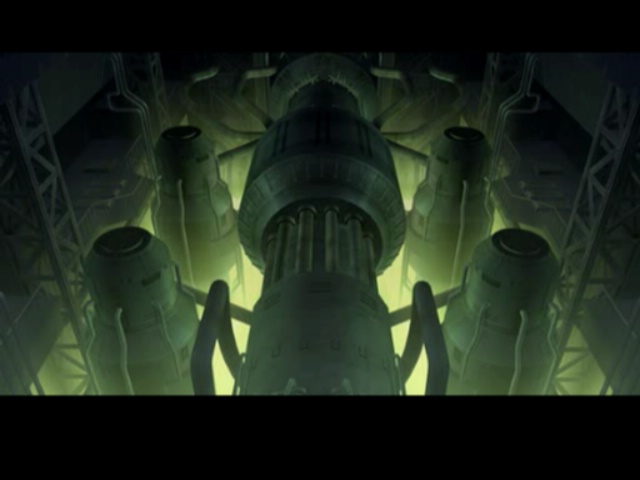
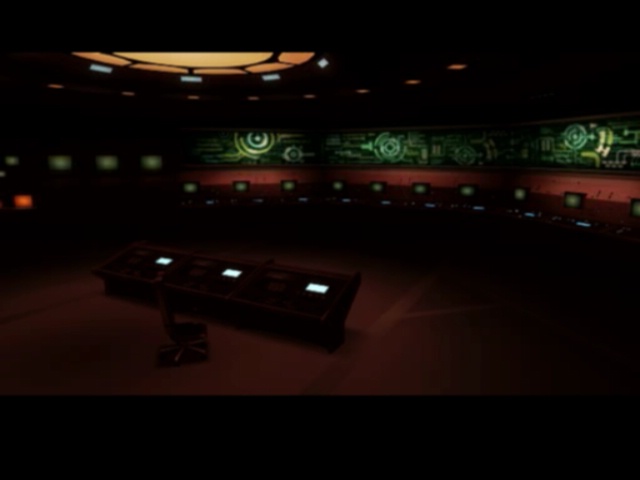
Meanwhile, back in the main generator room...
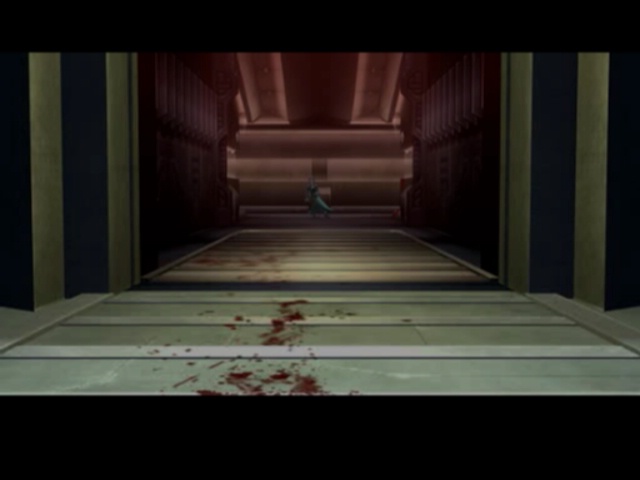
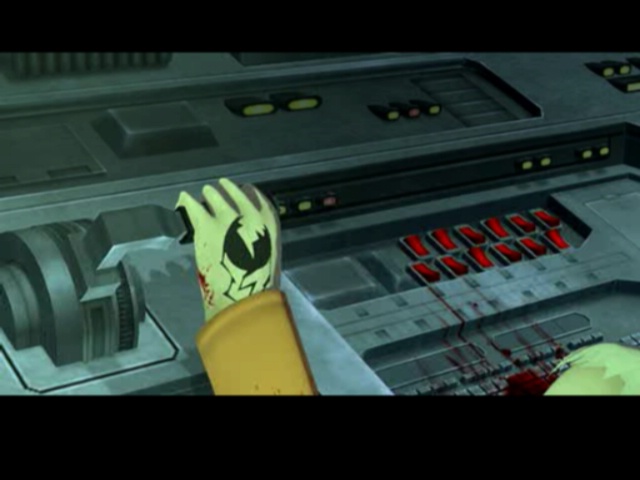
Argilla finally gets there while we're distracted by the generic goons.

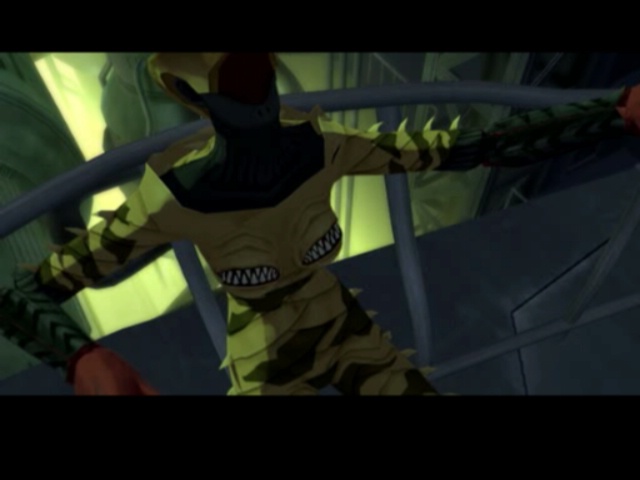
Welp, Roland's being eaten by Meganada. I think it's safe to say that he's definitely really dead now.

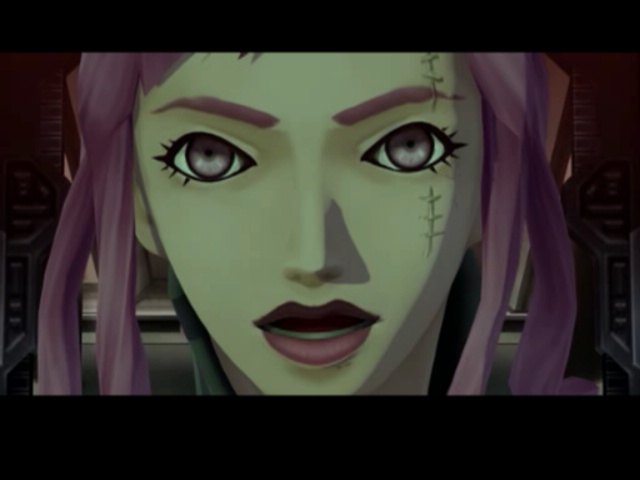
Unsurprisingly, Argilla does not take this too well.
It's probably a good thing the rest of the facility's been vacated at this point. The plan is to blow it sky high and all...
Meganada's a bit too much for
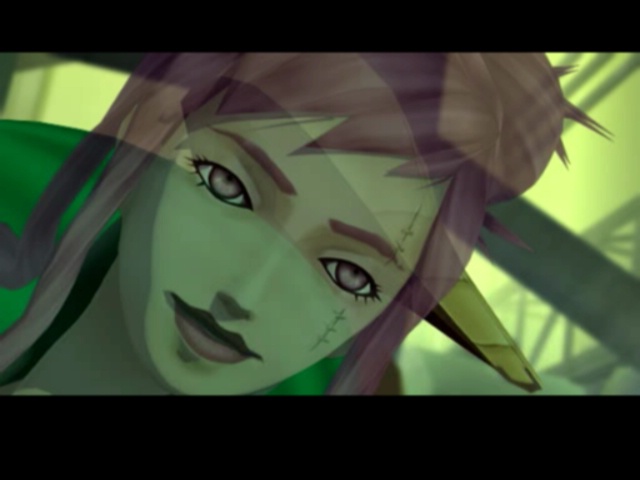
At least Prithivi has one advantage no one else does. Her arms can stretch pretty damn far...
 How about you suck down the power...

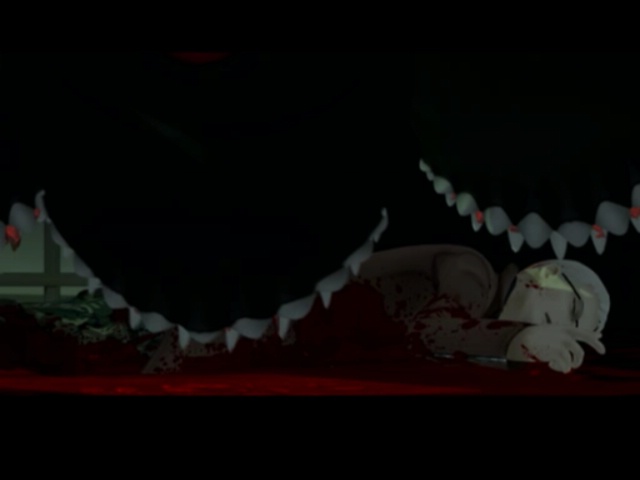
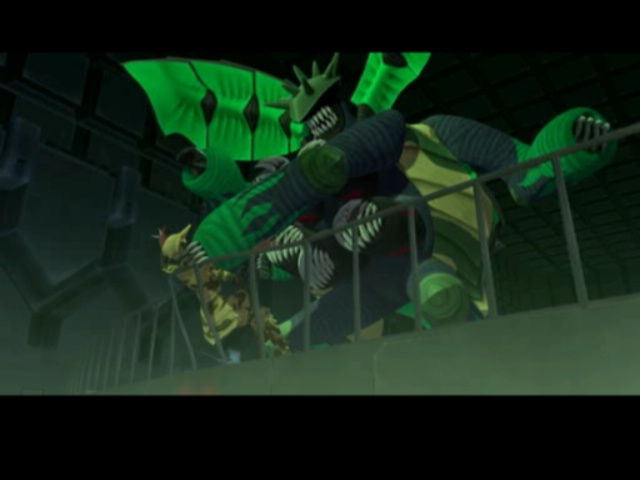
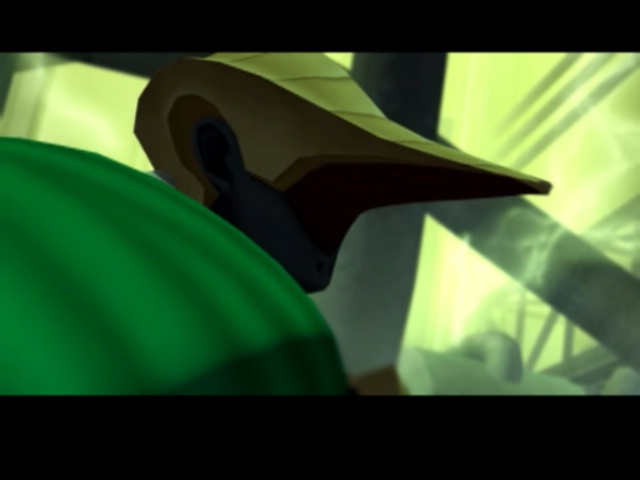
...Well then. Meganada's not letting that happen. Also jeez, he has six mouths. That's ludicrous.
Prithivi even gets damn close to the one lever that controls everything too, but just can't quite reach it.
What Is It To Live A Life (DDS2 vers.)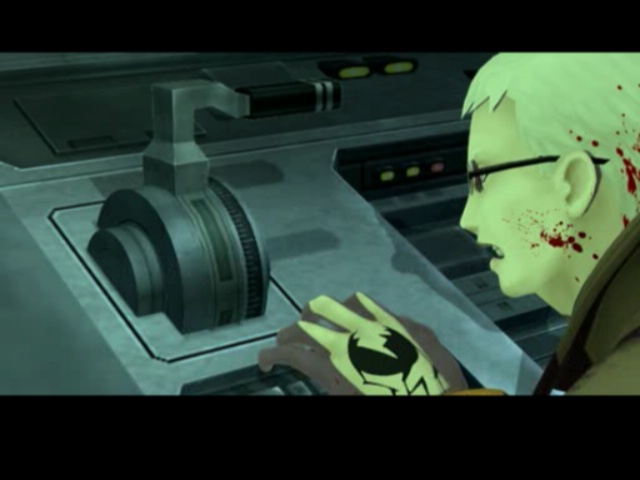
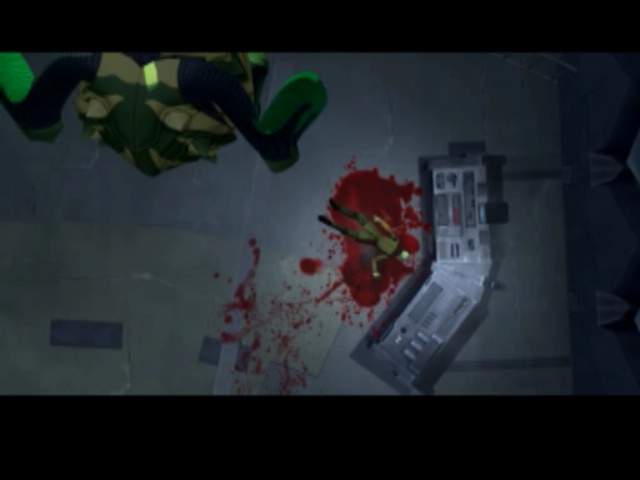
Somehow, Roland is still alive...
I think Prithivi's surprised by this as well, but it's naturally hard to tell.
Also she has a completely normal human ear in this form. Kinda weird, that.
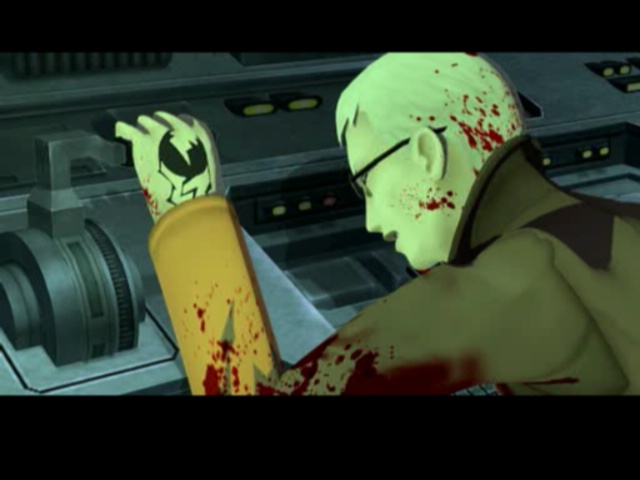

.....And then Meganada just snaps her neck.

 Silence
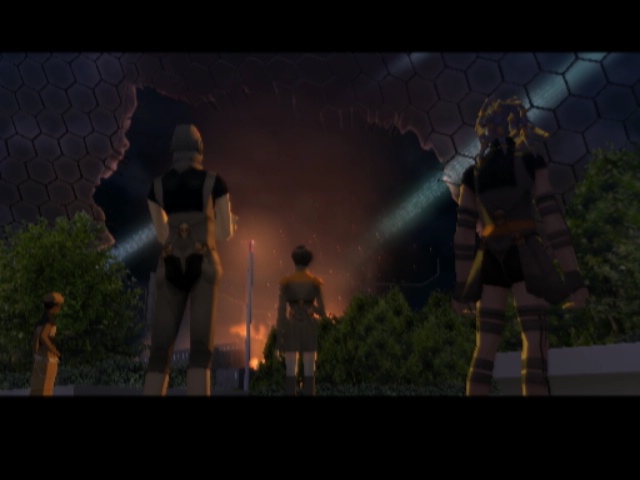 End Urban Area
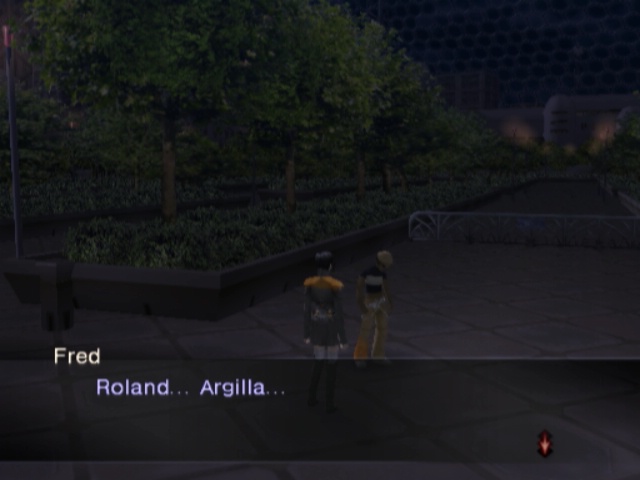
With the power plant gone for good, we regain control back at Sala Park.
 Someone has to put an end to dis, ja?
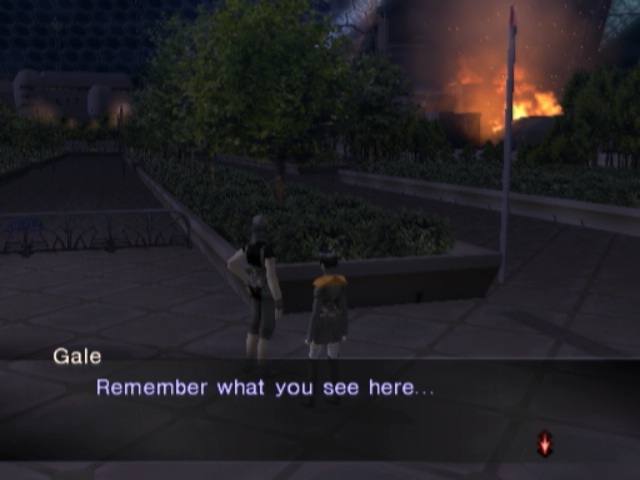 That fire is the light of life, which we must carry on.
As per usual, before we run off to the next area, we'll head back to the city to do some shopping and stuff.
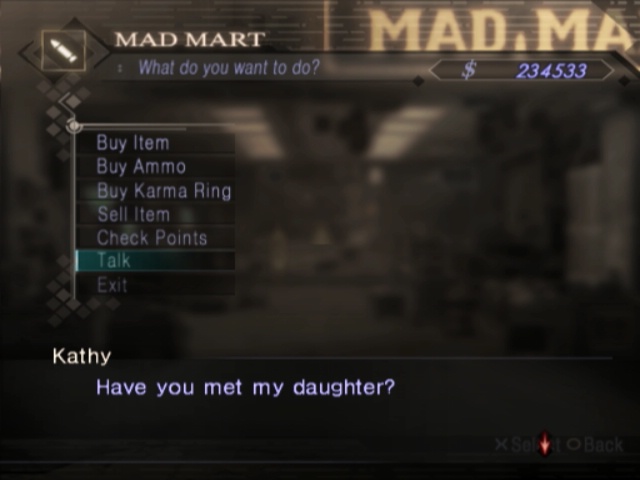
 With all that's going on, I haven't had much time to spend with her. Please play with her, if you can; I'd like her to have more friends.
We actually have met her daughter! It's that kid we talk to to try the Dyaus shmup minigame.
...i can nearly get to the end of stage 2 now. nearly.
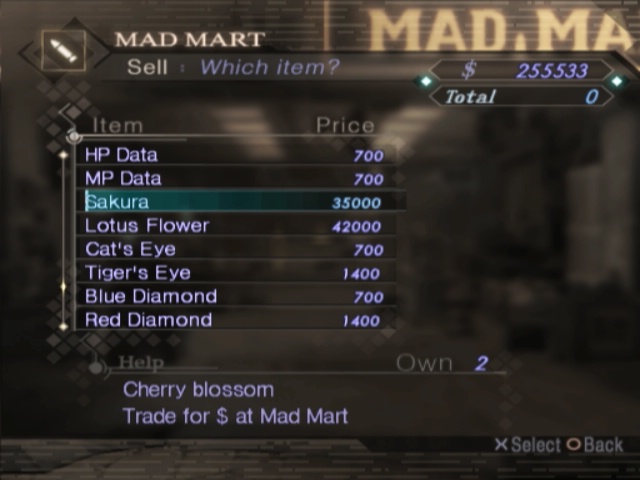
More importantly, we can get a ton of money now just by selling the cherry blossoms and other stuff too.

Not ranking up from just that, though. Instead, we get a rarity; the store's stock changes slightly here from the plot.

Light Balls and Core Shields are now available, no strings attached. That they're available right at this moment sure is convenient...
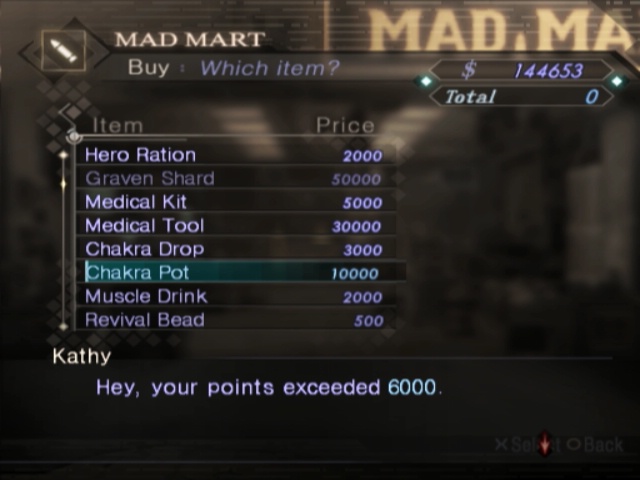
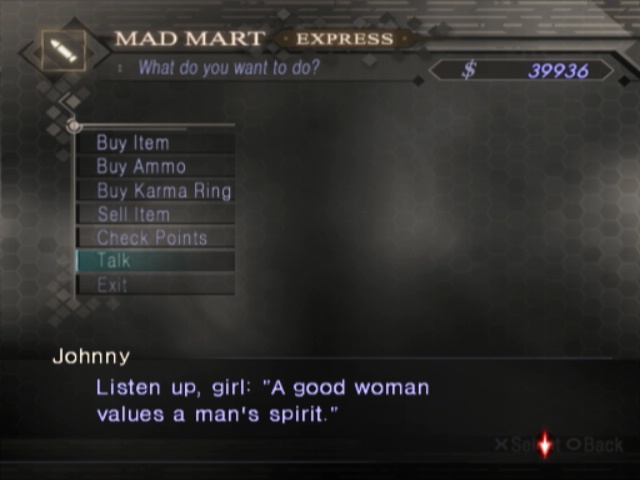
But now we'll abuse the store a bit to trade exactly $600,000 in total. This gives us the penultimate tier of the Mad Mart and it's pretty great.
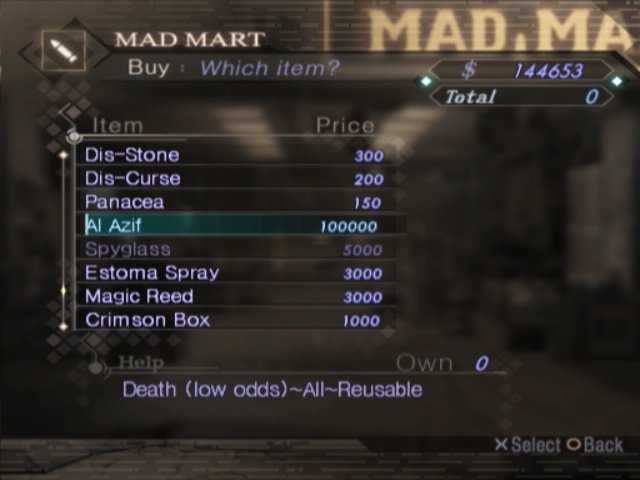
We could buy the Al Azif but that's a waste of $100,000, even if it is a 1000 Mad Mart points in one fell swoop. We'll grab it later for that reason though.
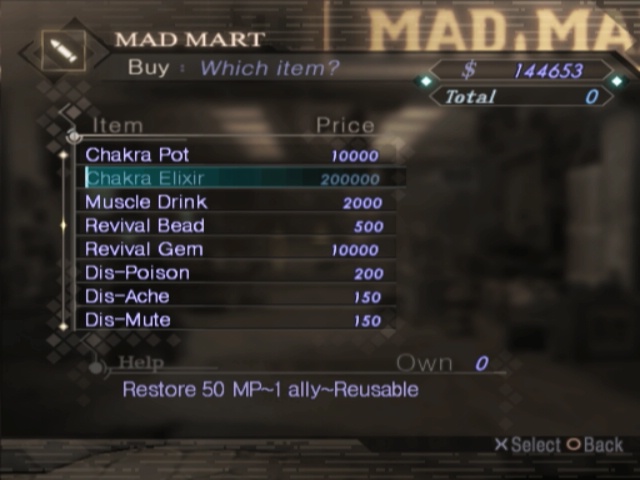
The Chakra Elixir is $200,000 and something we'll pick up when we can afford it. Same as before so really good.
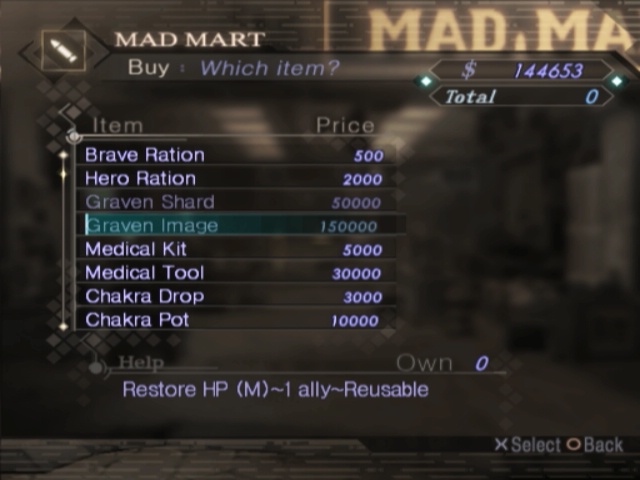
Same with the Image, but we CAN get this now. Just need to sell the Shard first and that'll push us over $150,000.
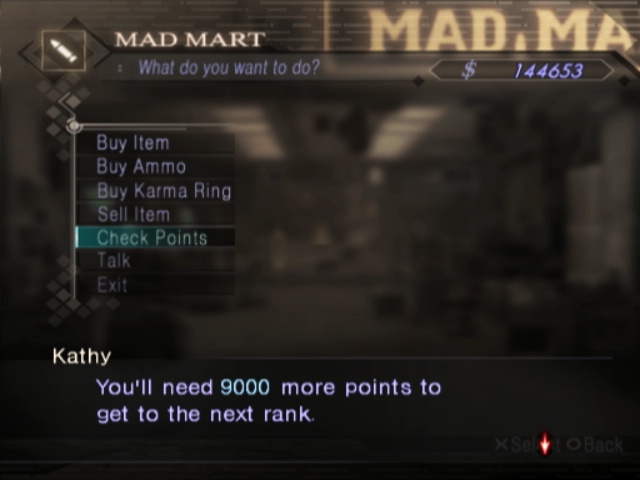
Beforehand though, to max out the Mad Mart we need a total of 17,000 points. It takes 6,000 to get the penultimate rank.
So we gotta do everything we just did over the course of ~2/3rds of the game and then some. Fortunately, the Image, Elixir and Al Azif give us 4,500 points right off the bat.
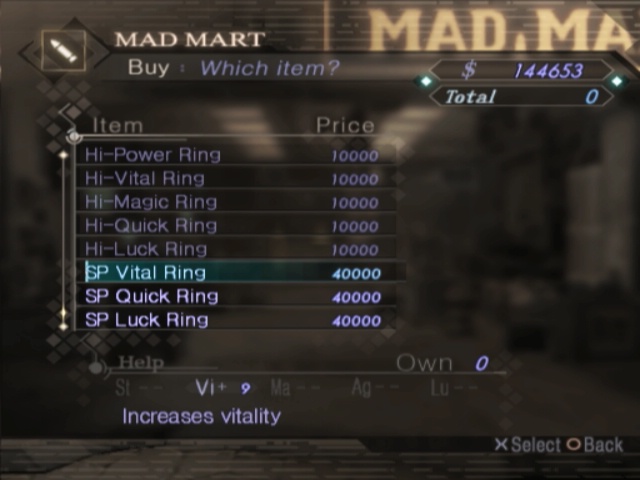
There's also 3 new rings we can pick up for a total of $120,000 (it's these or the Graven Image right now though, and I'm picking the latter). That still leaves 3,300 points to accrue the old fashioned way which is not easy to do at all.

Might be tempted to actually buy some of the more expensive bullets just to speed it up. We'll see.
Five Years Before
No, I don't know why there's a second "here's the name of this dungeon!" thing. I certainly have an idea, but you'll see that soon enough.
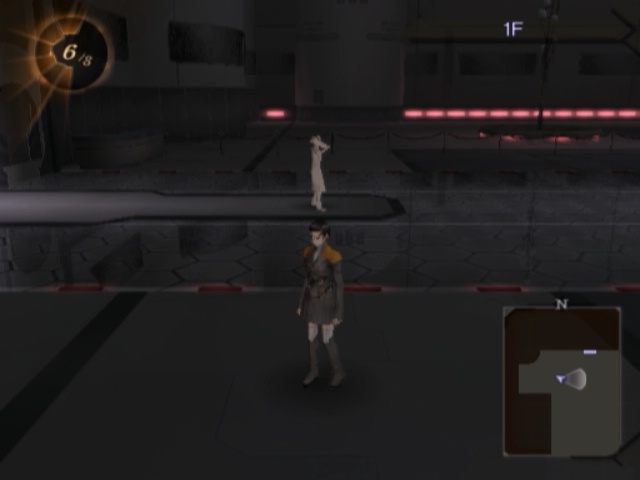
First room is identical to before, but with two changes. Thre's this guy freaking out right by the elevator downwards now.
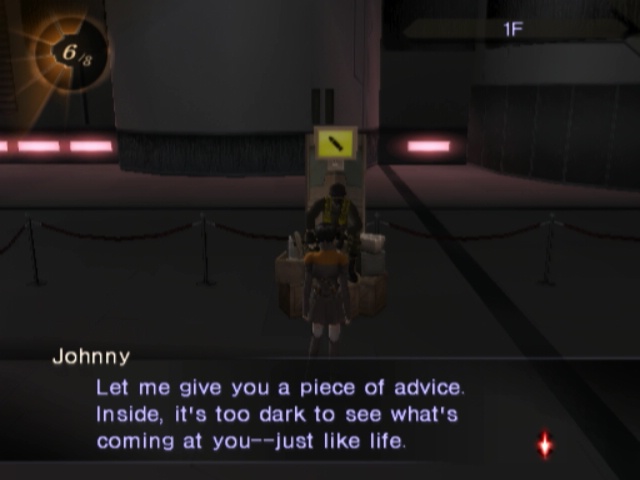
Also Johnny off to the side. He might've been here before and I just ran past him without thinking but I don't remember.

 That applies to both business and relationships. Remember that. ........Sorry. Do you know what makes a woman more than just a female?
And here I thought it was a secret that makes a woman woman.
You need to accept that you may never able to understand it... But, I'm sure that he did.We don't have anything else to do with Johnny right now, so we'll just talk with him and move on.
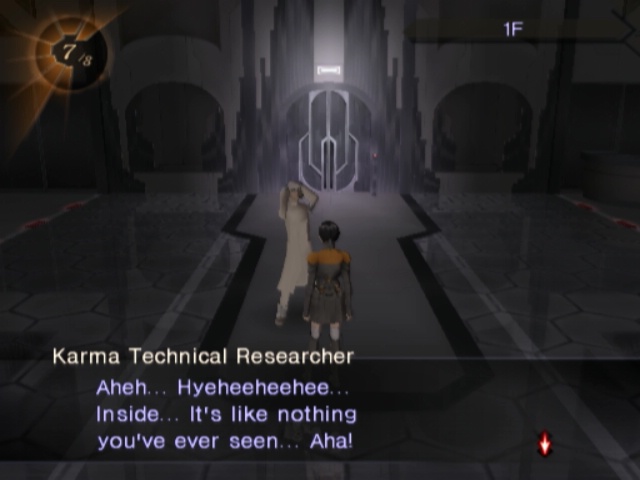
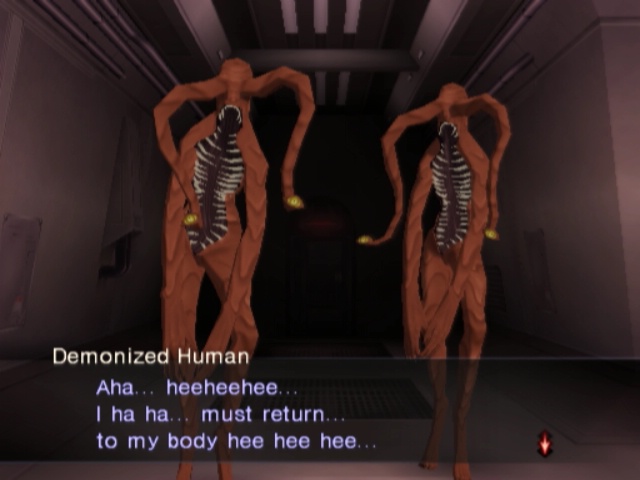
 Aha! Everyone's... They're gone! Hee hee hee... The voice took everyone away! Can't you hear the voice? See...? It's crying...
Oh and this guy isn't just freaking out. He's gone completely bananas.
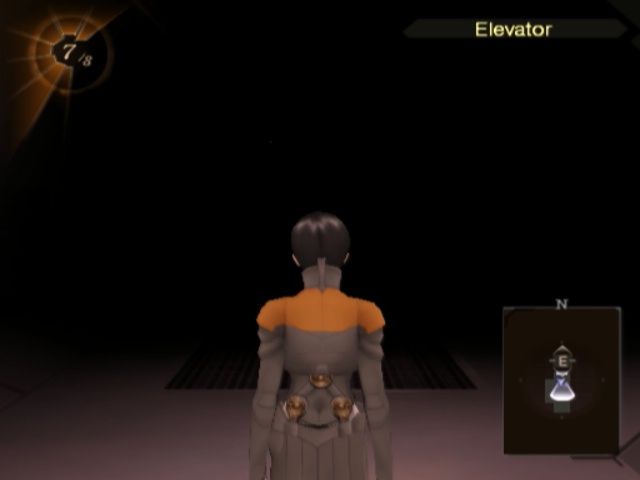
Anyway, we'll take the elevator down and... come to a completely dark dungeon.
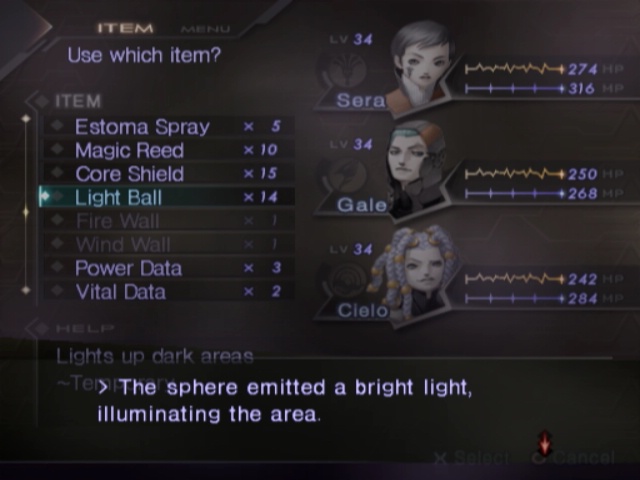
It's a good thing I bought far too many Light Balls then.
Seriously, 15 is completely overkill and I shoulda sold like 10 of 'em but I just... didn't.
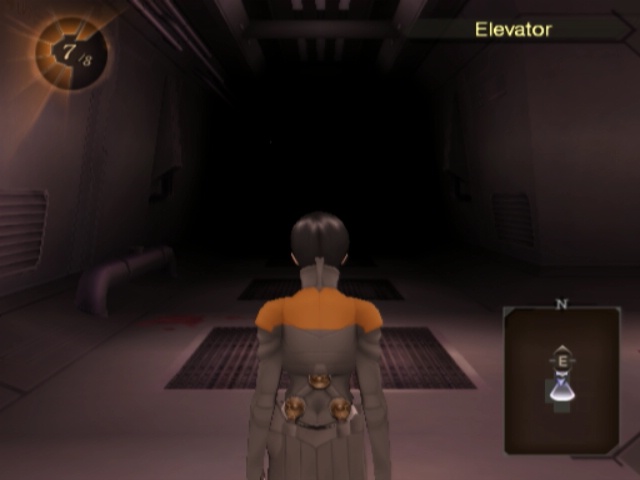
Anyway, now we can see better for a little while.
This doesn't matter too much for getting around, since the layout is identical to before. Instead, it prevents us getting jumped and every fight being an Ambush. Speaking of which...
Battle for Survival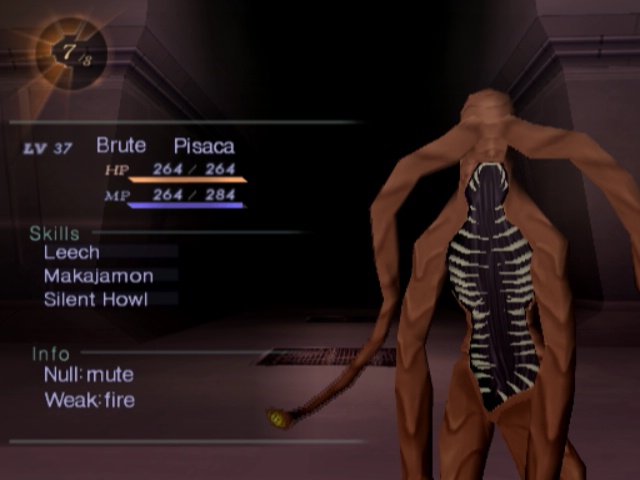
Hella, Pisaca. No JoJo's (and therefore also Queen) references in your repertoire this time around? Alright then. Instead, it just has an obvious gimmick revolving around Mute.
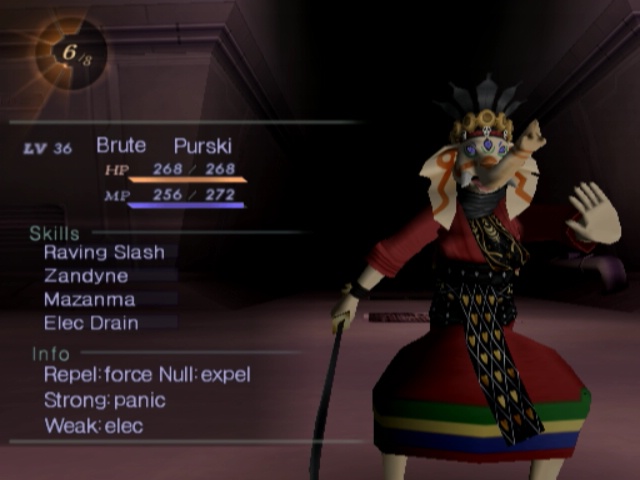
Purskis used to cast Electric spells. Now they're weak to them. What cruel fate. A good way to fuck with you if you're expecting them to be identical to DDS1 though.
...Big "if" mind.
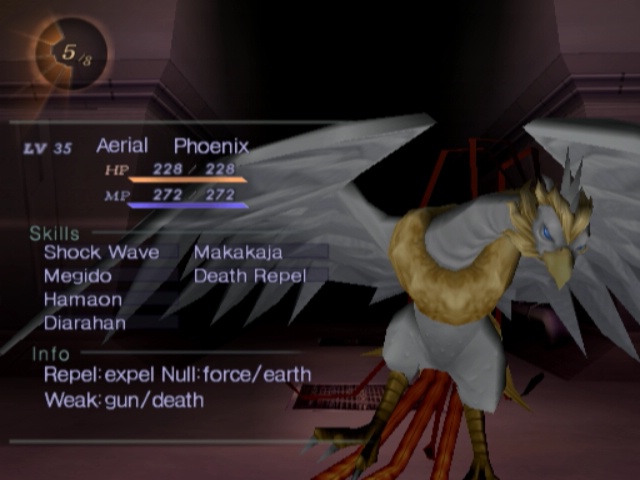
Next up we have the actual Feng Huang. SMT games have a nasty habit of mixing up this guy, Suzaku (we fought her in DDS1) and Phoenix. Sadly, Phoenix is not appearing in this game so they can't complete that triangle. I think Imagine is actually the only game with all 3... and gets all of their names right. Even down to calling Suzaku by her original, Chinese name of Zhe Que instead!
Also, huh, he has Megido. You wouldn't know it because he never casts the bloody thing.
Five Years Before
Since the dungeon's layout is "same as before but a little harder to see," we'll just skip ahead to where the first 01 security door was.
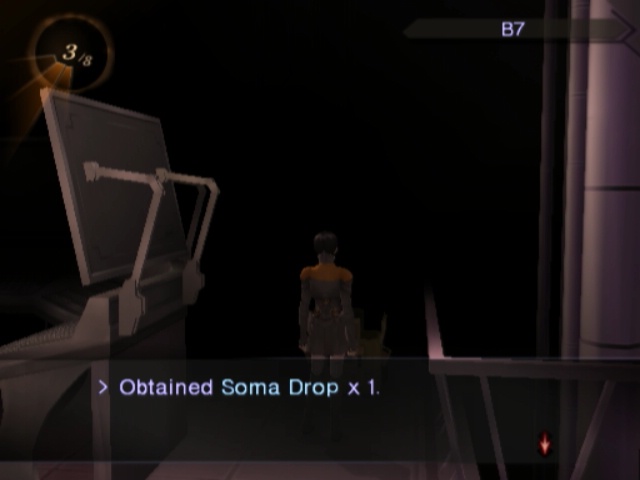
Before continuing further on in, we'll head back to the room to the north. There's not really much here, save for a new Soma Drop though.
There's nothing to the south, so we'll go past the old 01 door and run into a couple Pisacas.
We hit them with Fire, and they die.
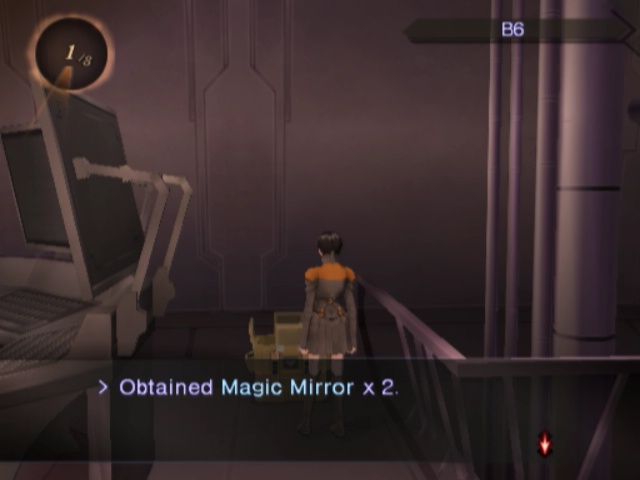
Before we take the elevator further down, there's now a treasure in the spare room we skipped past before. It's just a couple Magic Mirrors which will help a lot I'm sure.
Now we can take the elevator...
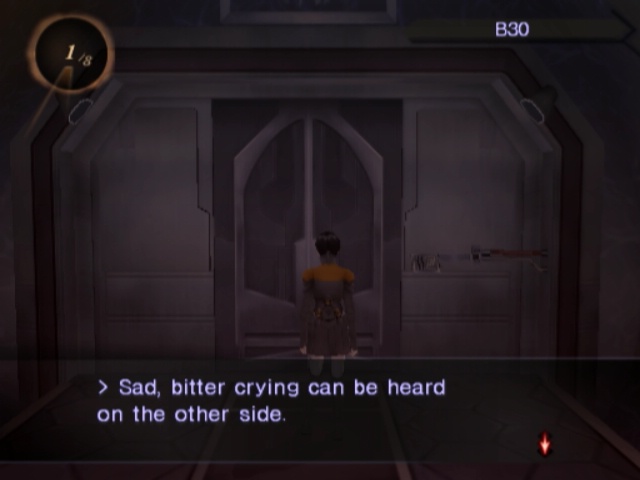
Corruption Silence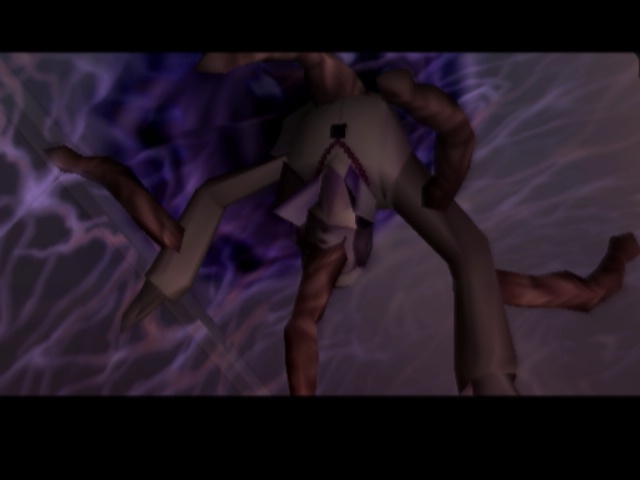
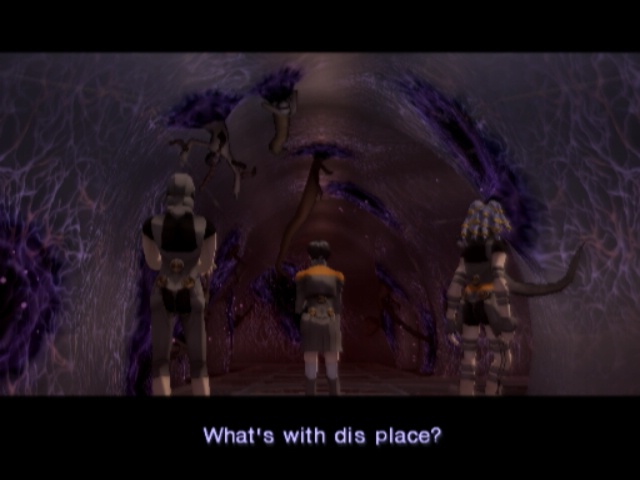
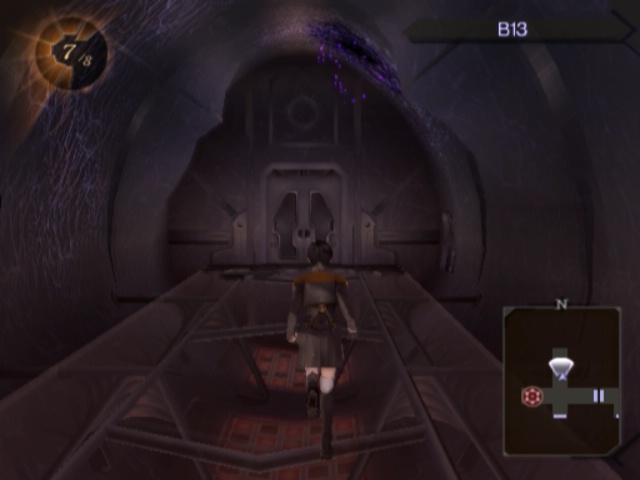
Maybe it's just me, but the lower levels of the EGG Facility are pretty damned creepy.

 That would make this God's will. What is God, exactly?

 That is conversing with God?
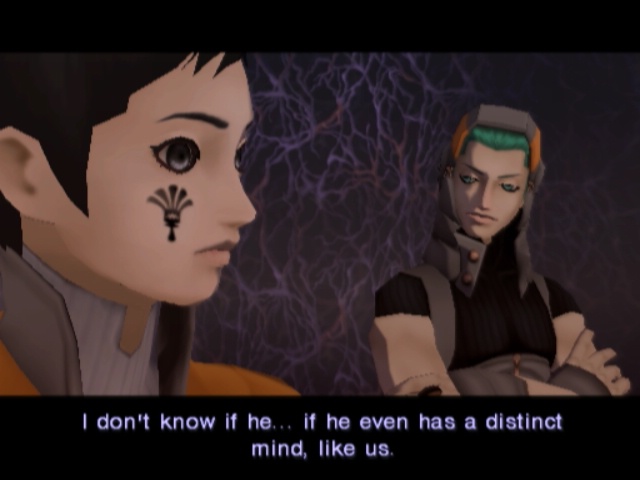
 ???
??? I think that the way people have lived, and God destroying our world...
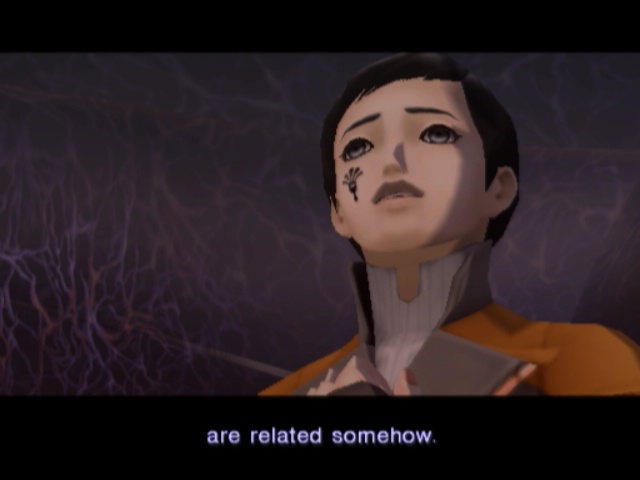 We ignored something very important, so...
 I kinda miss it.
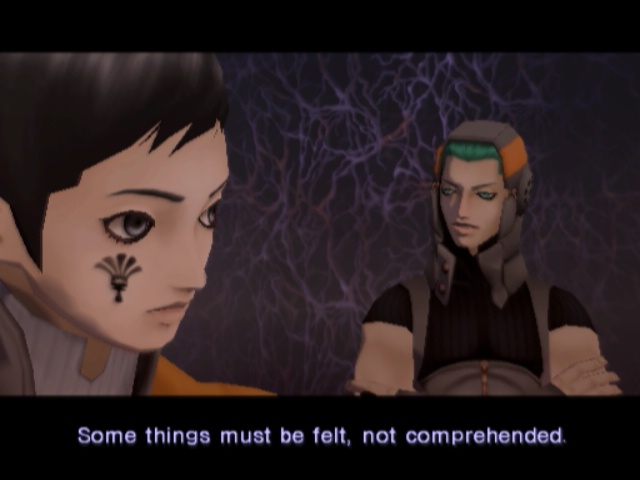
 End Five Years Before
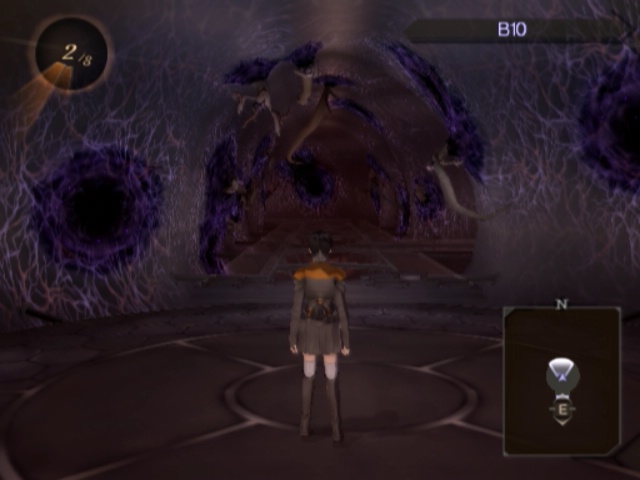
Alright, so this part of the dungeon is much different to before. Not just in appearance, but in concept (you know all those Light Balls we have? Yeah, they're useless now) and general layout too.
Well, kind of. The overall layout is the same but how we get where and when is different now.
Battle for Survival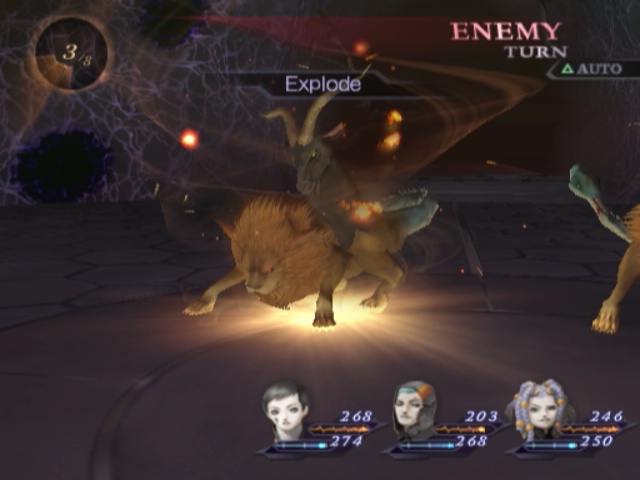
But first, let's deal with some Chimaeras. These guys are potential bastards if they get the first move. Explode is a special fire spell.
It's a random hitting one, but for mid-tier damage. Yep, instead of just light damage like before, there's that and one stronger for all elements.
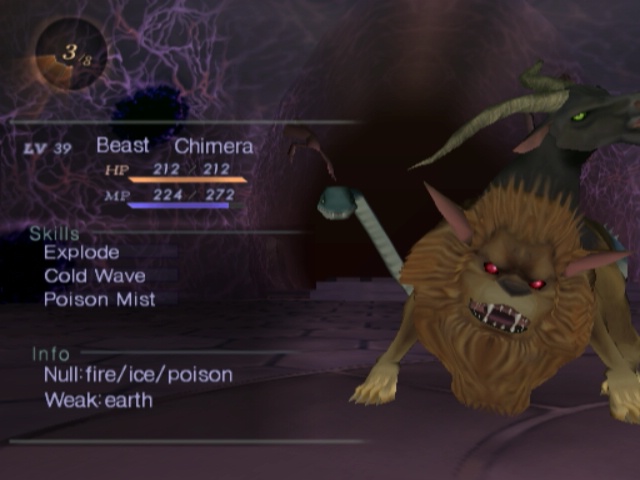
Cold Wave is that for Ice, by the way. Explode is their only nasty trick, but it's a very nasty trick. Three Teras or two Terazis drop them at least.
Hresvelgr is back now and has a changed moveset and weakness. She still gets 2 press turns a round, but her Ice moveset now plays more to our advantage. Also has Marevert despite being weak to Gun. Kinda self-defeating there.
Five Years Before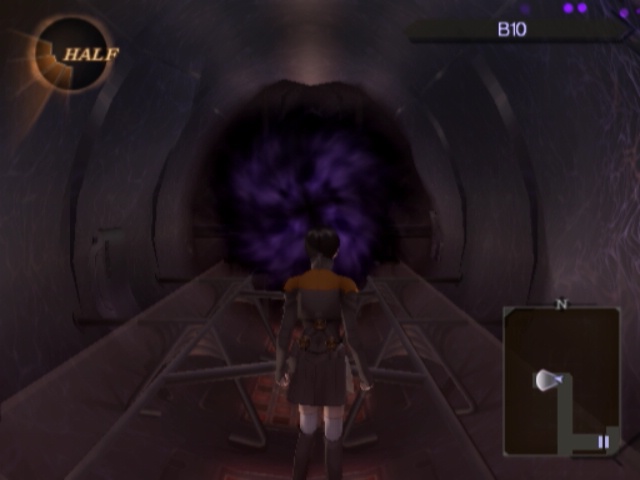
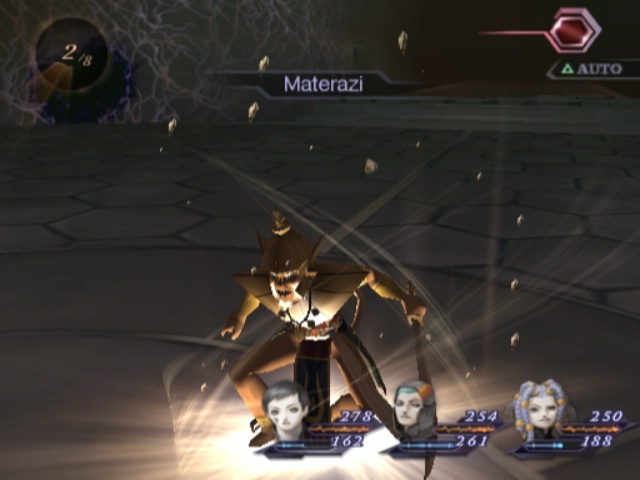
The sideroom we just ran past has a couple of Magni Bombs in it now, if you need an itemised Materazi.
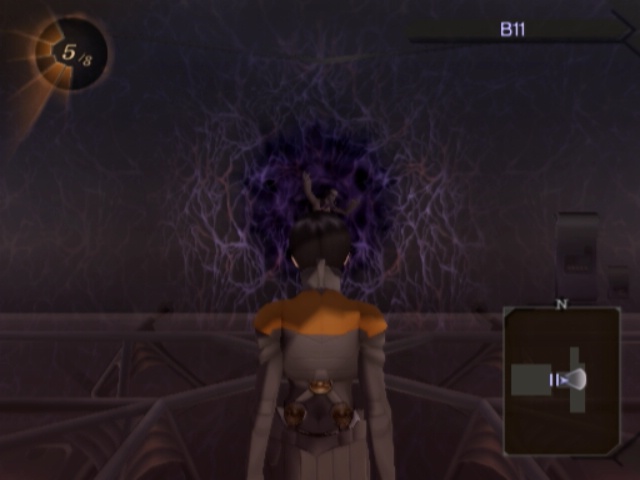
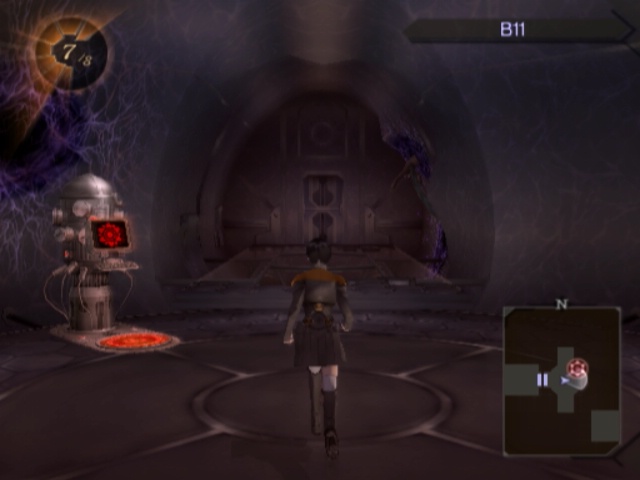
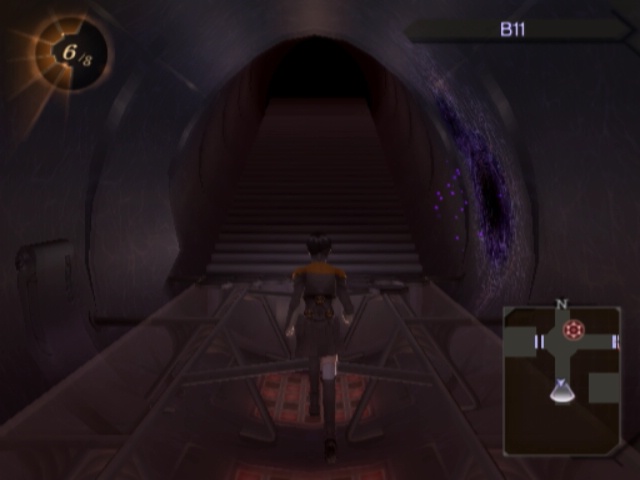
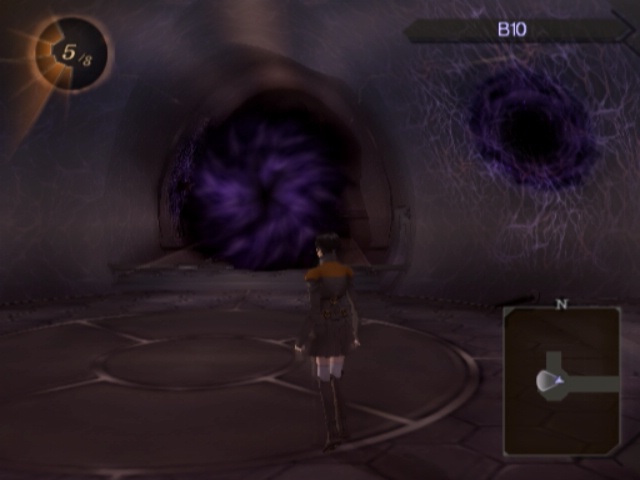
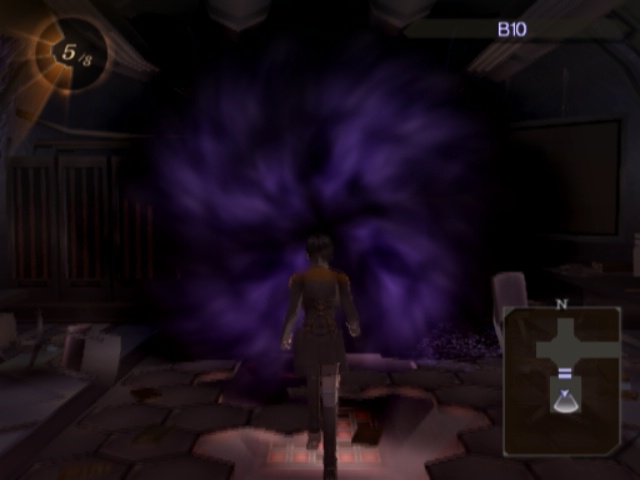
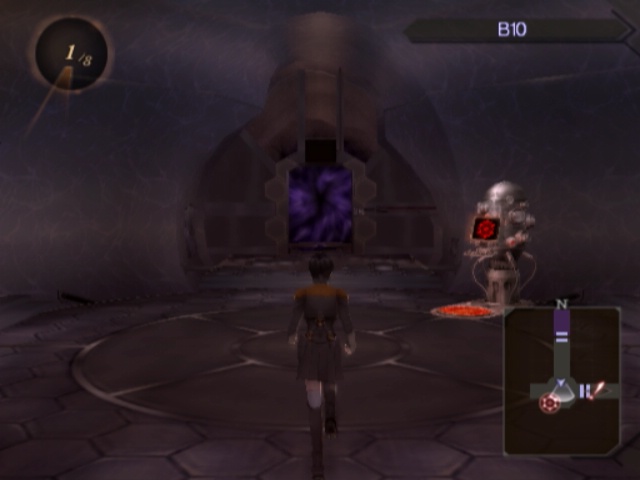
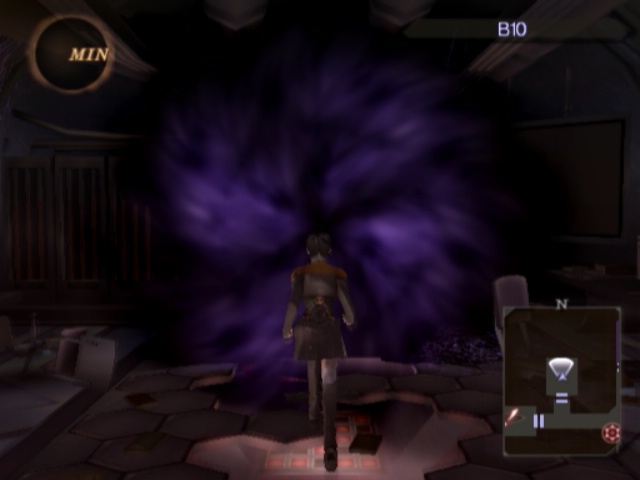
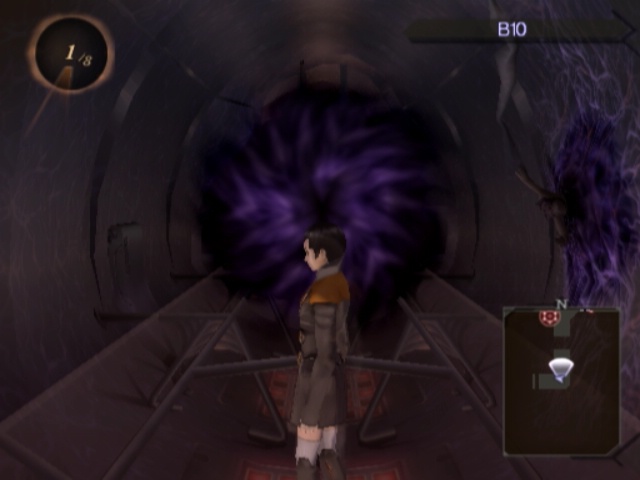
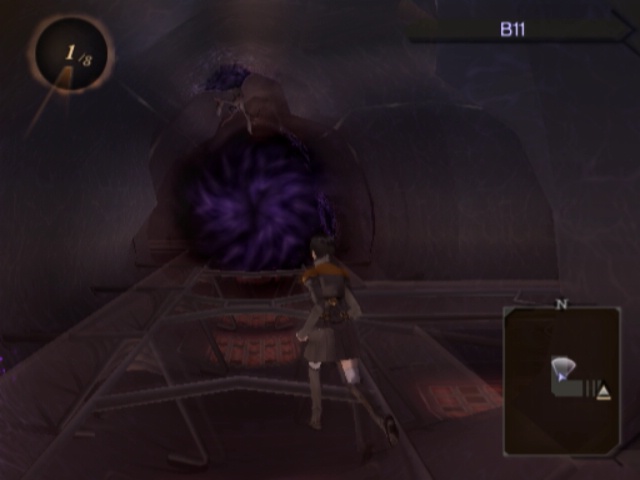
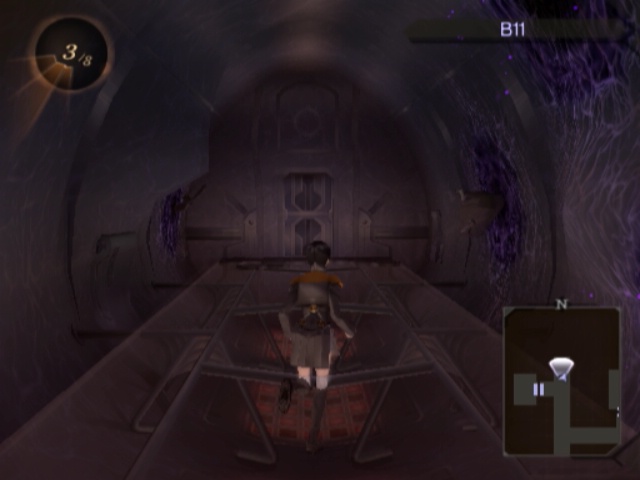
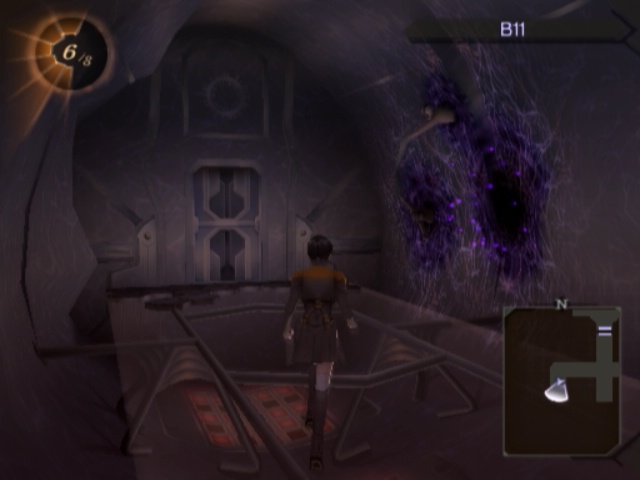
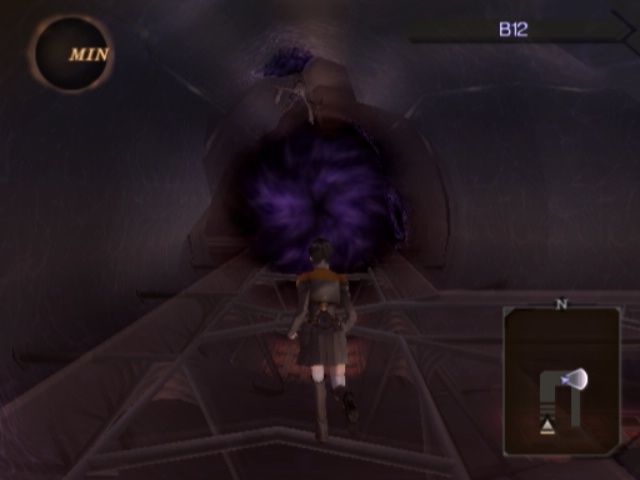
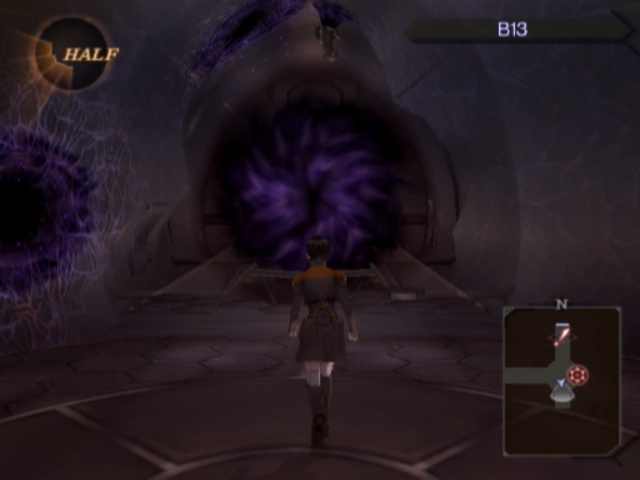
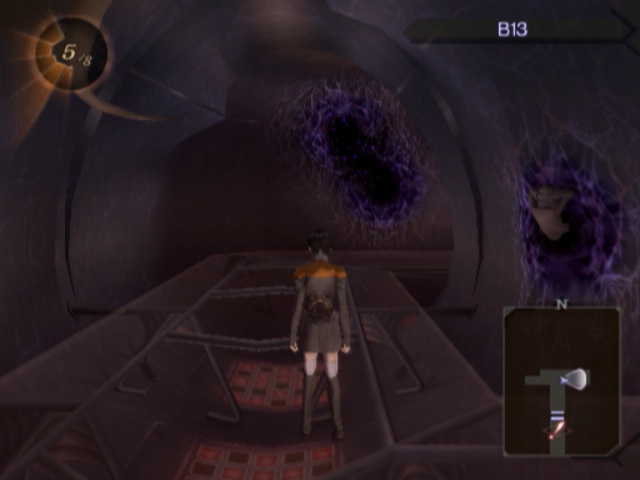
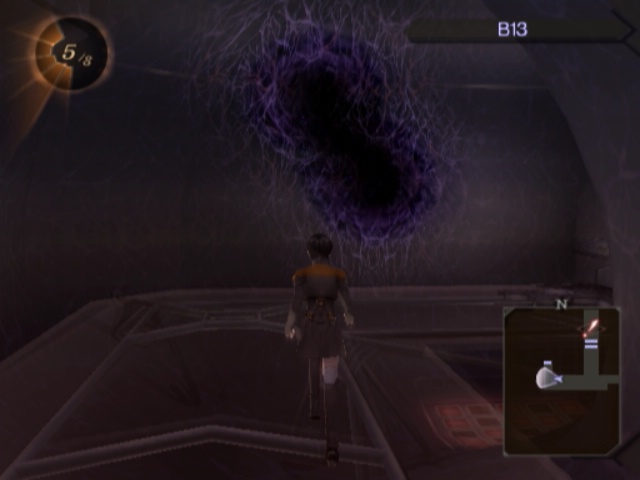
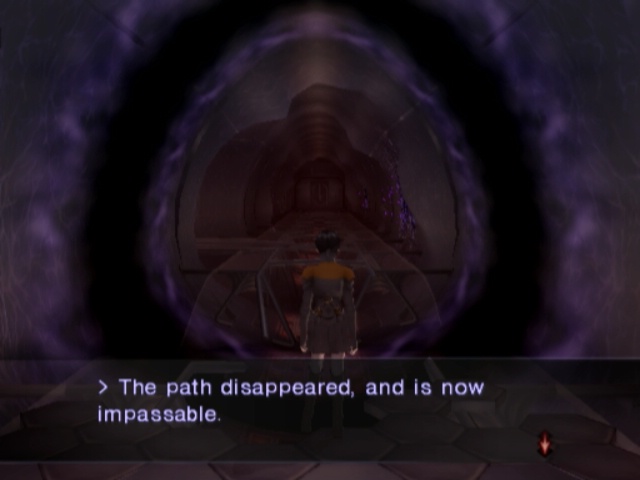
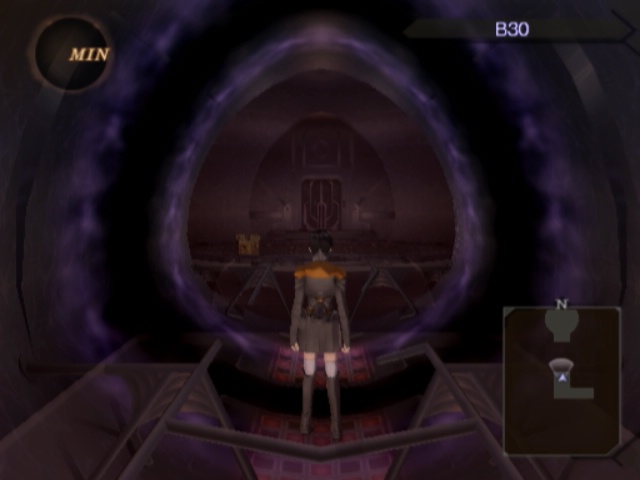
More importantly, big swirly vortex blocking the path.

Are you ready for a teleporter dungeon? I know I am! It's actually not all that bad, but I don't really mind teleporter dungeons that much.
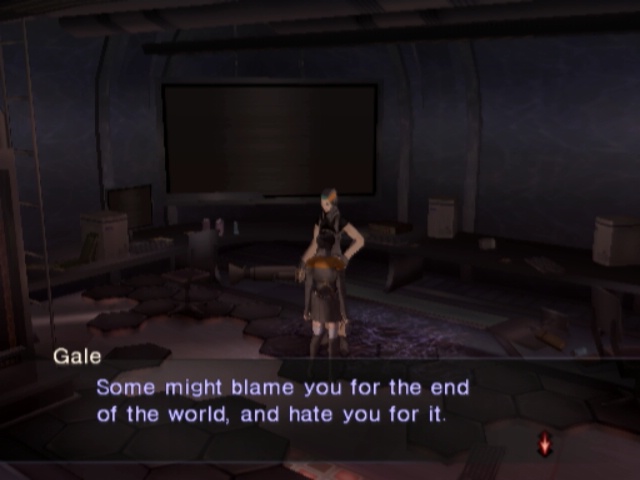
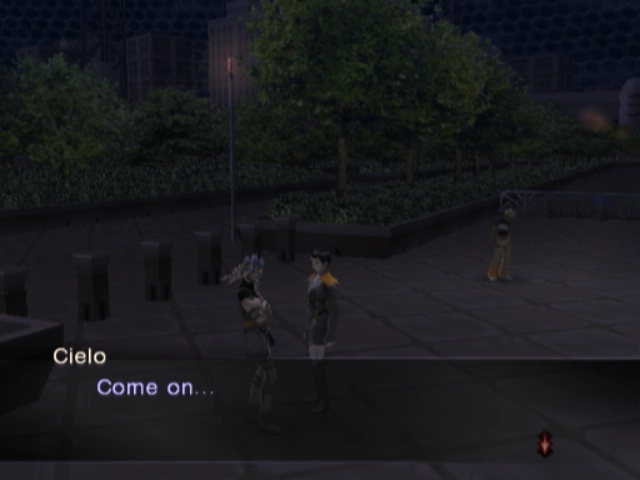
Also we can talk to Gale and Cielo here.
But... I shouldn't hate them, right? As long as you understand, it is fine. I'll remain on your side, even if the whole world turns against you. It's pointless to hate people... I can help you carry the burden caused by the hatred of others. That should make it easier on you. We support Sera because it's de right thing to do, ja? Dis all woulda happened wit' or wit'out Sera. You can't blame her for it! I mean, look at de people here. Honestly, dey're good for nothin'.
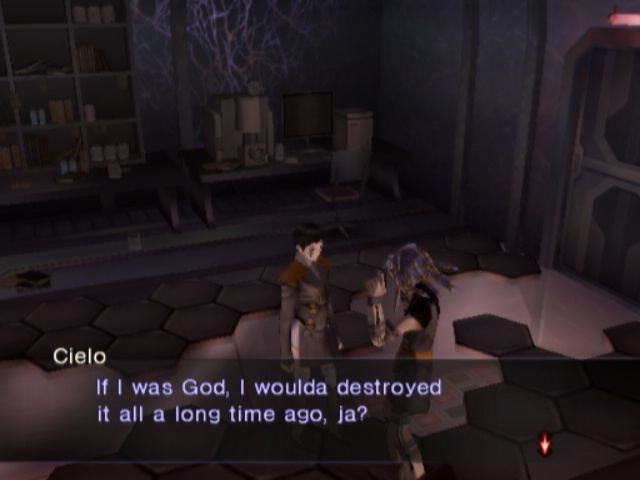
Suddenly, I am glad that Cielo is not God. He's a cool dude, but...
Anyway, we'll just leave that room now and step out into the hallway.
It's not immediately clear where we are at first. Going south, though, brings us to a door that won't open. It doesn't matter though; this is clearly the room where Meganada was frozen before.
Battle for Survival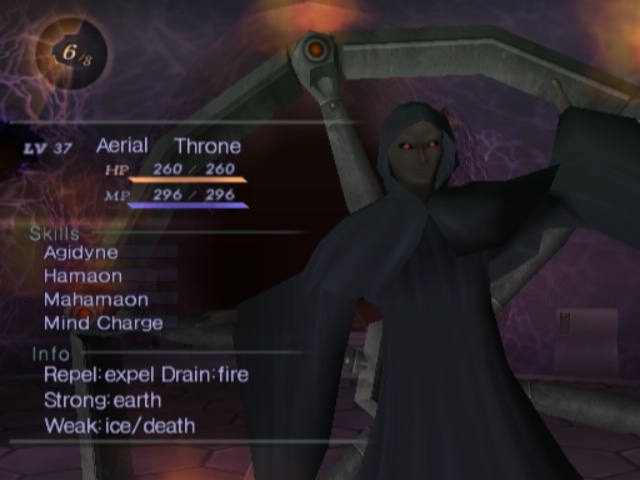
Couple new demons now, and Throne is the least interesting one in a long while. Seldom ever gets turns, even rarer it bothers with anything other than Mind Charge and then dying immediately.
Also freezes super easily.
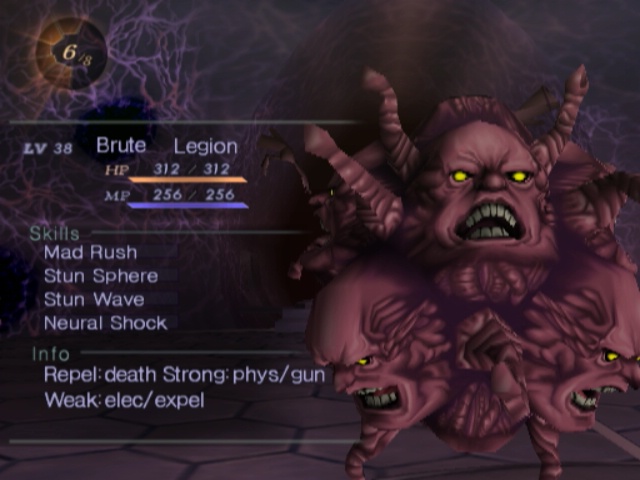
Usually, but not always, comes with a Legion. Seemingly likes throwing around ailments but it's actually just Stun. Shame, because "Legion that can abuse Charm spells" is my favourite gimmick that was only ever done once.
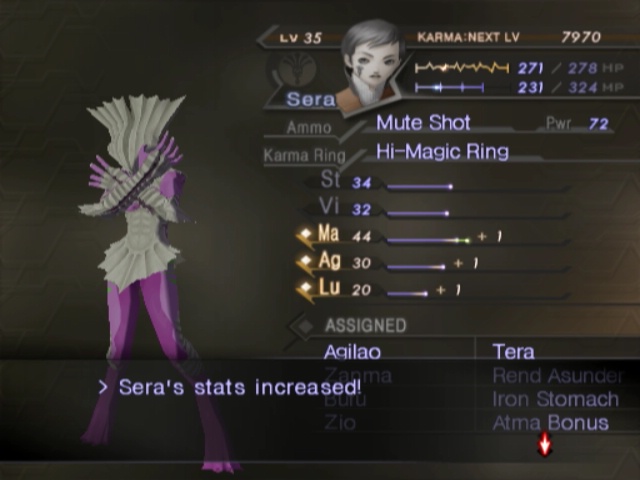
Small thing that you might not expect, is that we do not get to control Sera's levels. Just like everyone else, she handles that herself. She does focus on Magic though, so that's nice.
Five Years Before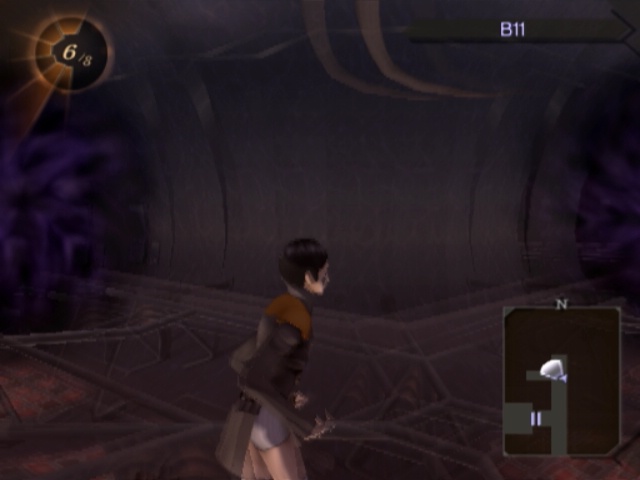
Straight north of the room we just left, there's a minor split in the path. The warp to the west just sends us back to the start of B10, so we'll take the one north.
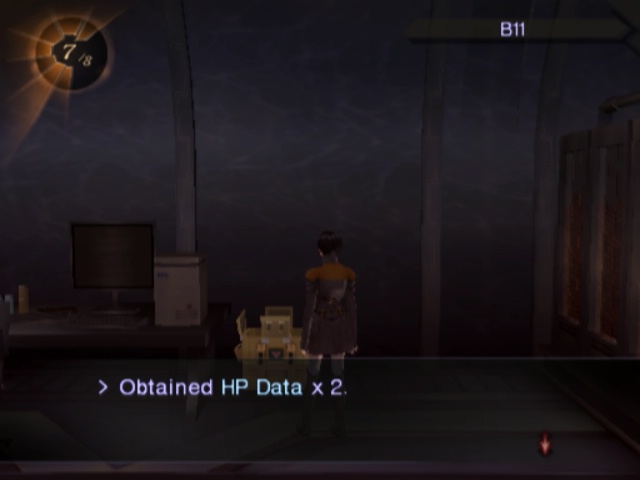
This gives us both progress, and drops us in a room with a couple HP Data.
It gets very slightly more complex from the nextpart, since it's one of those three-way intersections and all. The door to the east just throws us into the warp point that sticks us at the start of B10 so we'll ignore that.
Instead, we'll go south and take the stairs there up to B10 anyway. Doing it this way though puts us behind the warp point at the entrance.
This puts us at another intersection, and yet again we will go south from here.
A lot of the rooms from now on have a warp in them. We'll be taking this one right away.
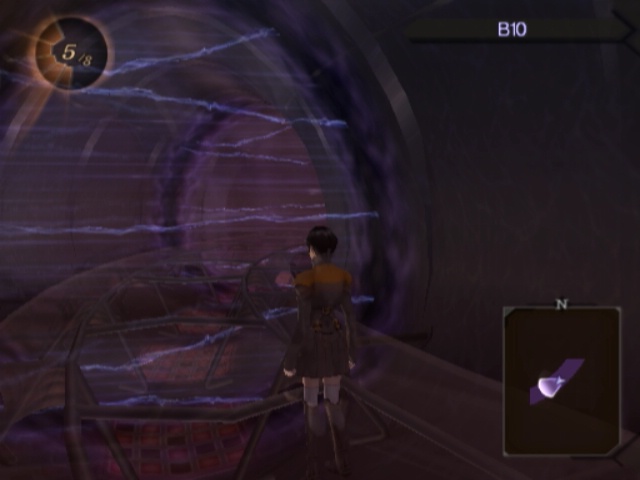
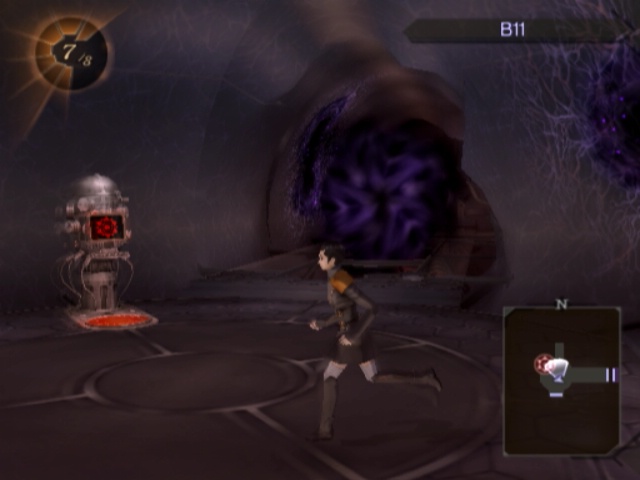
It drops us off in the middle of a corridor with these electric/laser gates. If we just walk through that, we'll take damage. This is our equivalent to damage floors.
Thankfully, the map is coloured purple in these areas. How considerate.
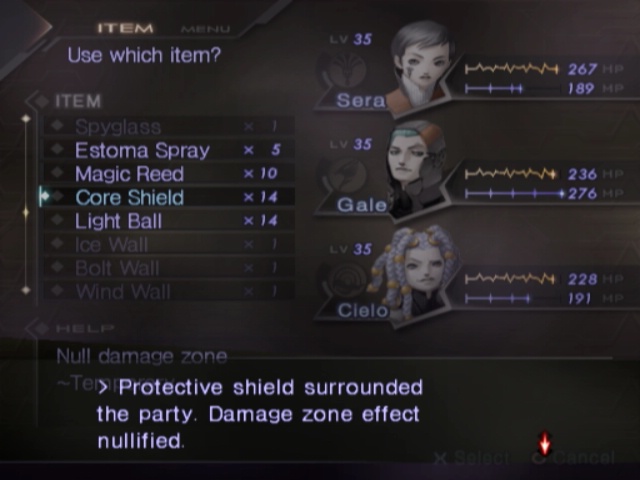
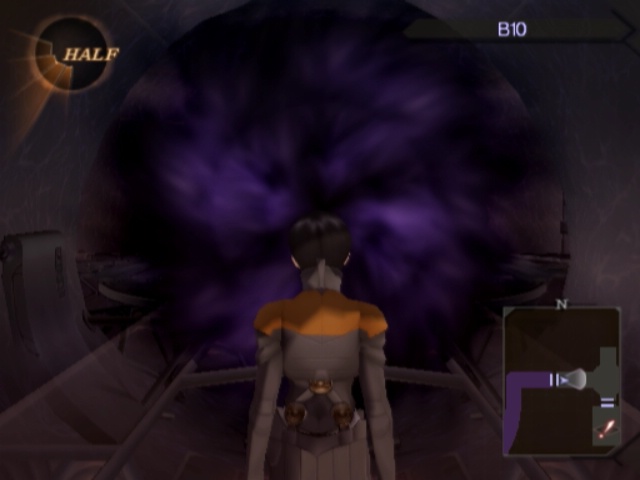
Also this is where we use Core Shields. Again, kinda have way too many of these things.
Going north in this corridor is completely pointless, by the way. Whichever side you enter these warps from has no effect on where they drop you. Makes sense.
This one drops us off a little bit to the north, of the intersection we were just at.
We want that, though, since the room to the far north has a new plant in it. Nothing else up here, so we'll head back to the damage corridor.

This time we'll go south through it, of course. You may think you have spotted a pattern at this point.
You'd be wrong, though. The warp you can see on the map (the "!") is the one at the entrance for what its worth.
This time around, we'll take the west path and then enter the northern room. The western room drops us off back where we just were mere seconds ago.
The northern one, however, drops us off past the warp to the south and lets us take the stairs down to a different part of B11.
Ignoring that warp, and going around the corner instead.
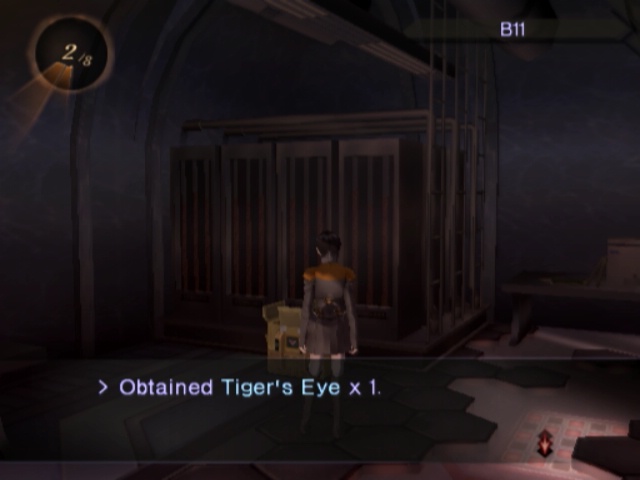
The room to the north there isn't really worth our time. It's just a Tiger's Eye. Kinda lame.

The other one gives us a surprise forced fight. And this one's a bit harder than a couple Pisacas. A bit.
Heroic Battle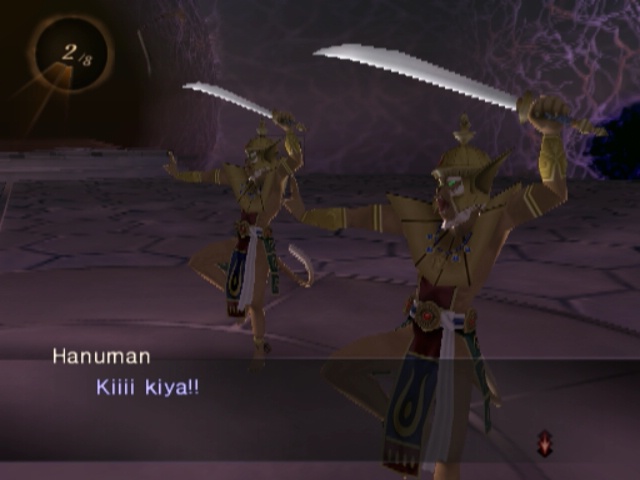
 HUANG LONG %$X1? O%-, DRAGON RING ?A"
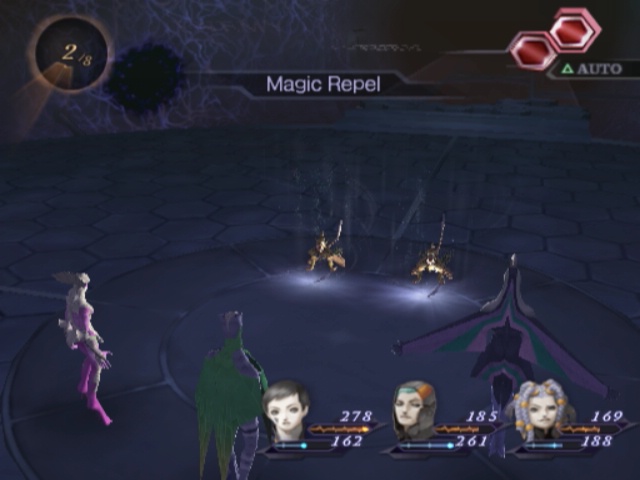
So, Hanuman's big thing here is that the two of them can combo a Magic Repel. A mild annoyance, but nothing major.
They have High Counter, so it's not like we can just punch them to death.
Except we can, because the Graven Image easily outheals their damage.
When not comboing, or alone, they start spamming Earth spells. Sure, whatever. Not weak to Force though; only weak to a couple ailments but without Magic Repel we can just blast them and they will die.
Five Years Before
Also one of them had our reward for kicking Huang Long's teeth in. This makes the fourth; only one more to go.
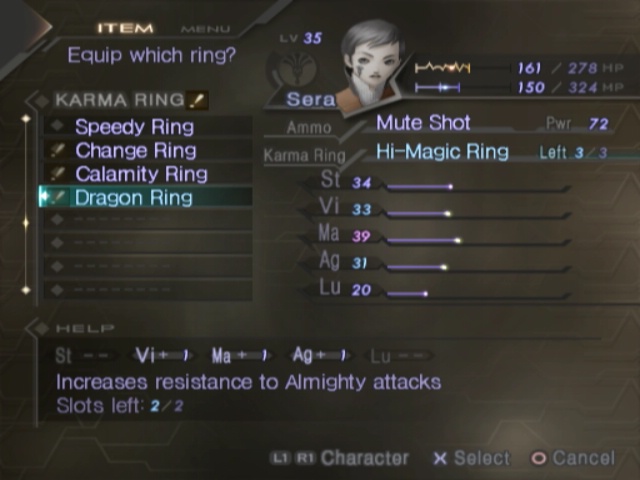
It makes the wearer resist Almighty. Pretty damn handy that. There's definitely a couple spots where it is worth using.
The warp in that room drops us off back in the corridor. At It's at least considerate enough to stick us past the one that was blocking it though.

Door to the left is just for backtracking, so we'll go north and use another core shield.
Damage corridor brings us to another intersection, and we'll go south here.
...I might be tempted to rescind what I said about that pattern not being what you think.
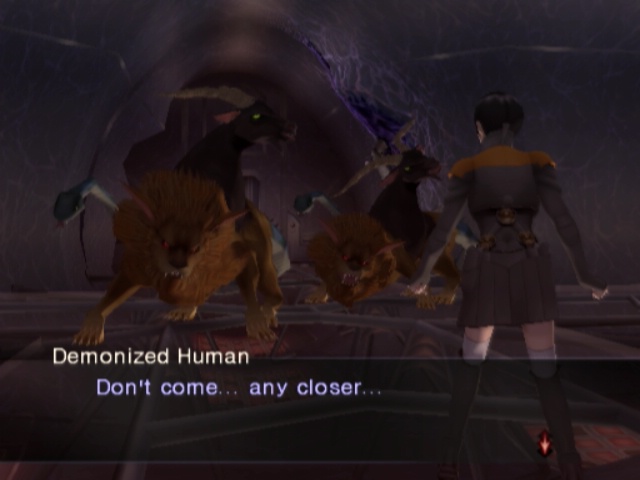
So we're gonna fight a couple Chimeras. We hit them with rocks and they die. The end.
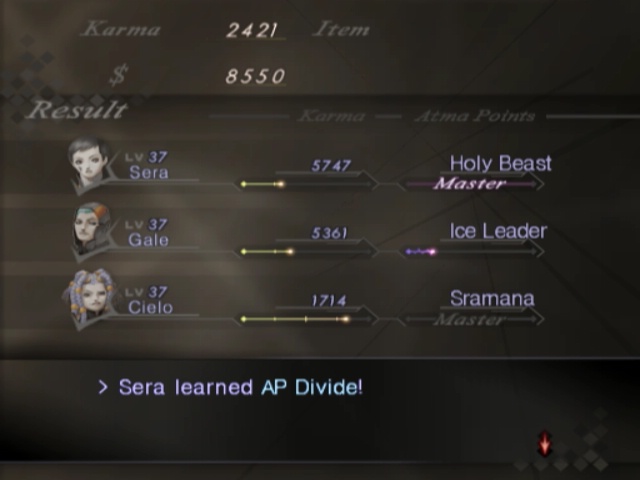
Around now, Sera masters Holy Beast and finally picks up AP Divide. It's a little harder to get this time around, clearly.
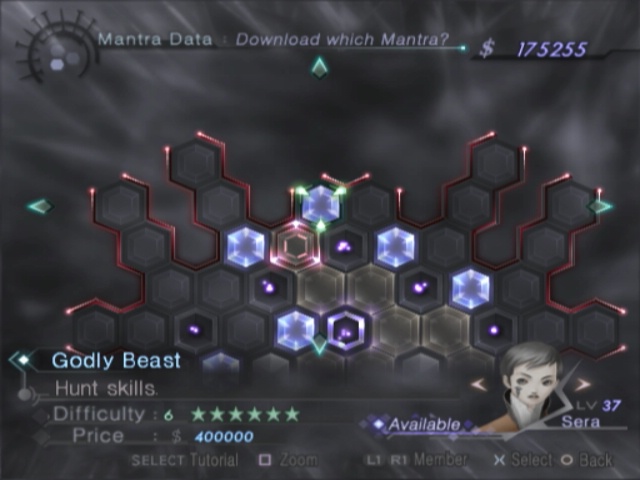
Worth it though, because it's one of two that opens up this $400k beauty.
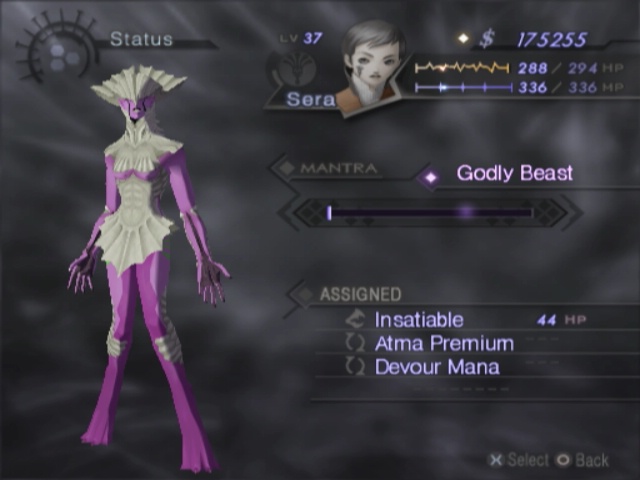
Insatiable is the same as before, and Devour Mana is pretty self-explanatory too. Atma Premium is new though. Remember Atma Bonus? Yeah, this is that but gives you even more.
Also they stack. AP farming is really, really easy here.
Shame we don't have anywhere near enough money for it at the moment, though.
Just gonna go around this corner to west. Pretty obvious this is progress just from looking at it.
That drops us off a little further north of the small terminal and warp there.
Going through the north there as well, and then carrying on to the west.
Once again, this lets us warp past another warp spot and go further downstairs.
Beginning to get some deja vu. Just gonna go around the corner and go into the room at the end again.
Battle for Survival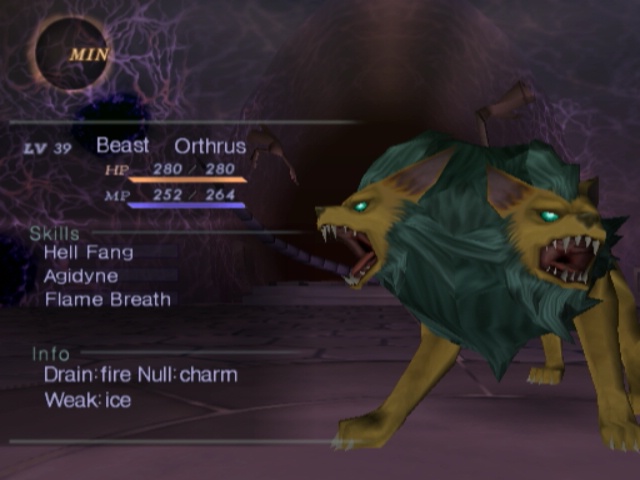
Hey look, it's a new enemy. Hi, Orthrus! Kind of a shame he's ridiculously underwhelming though. Hit him with ice and he dies.
And if not, he's almost definitely frozen.
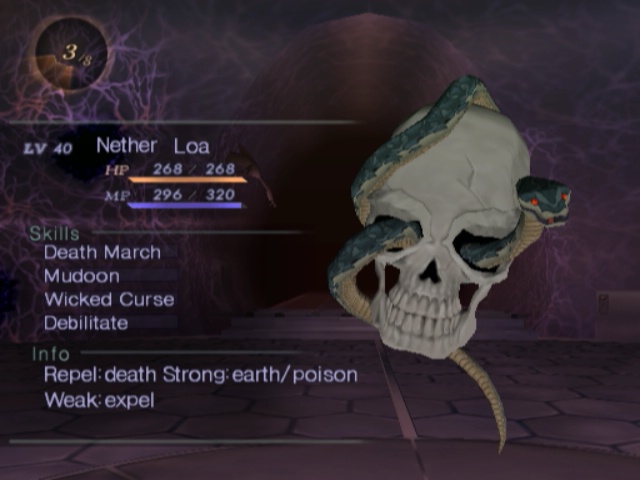
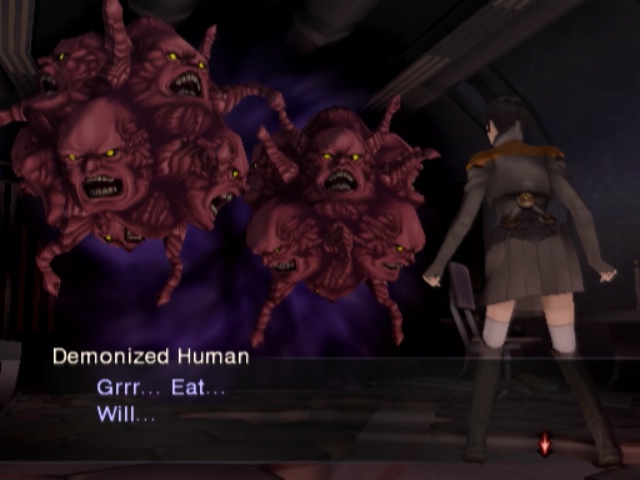
Also this guy. He can self-destruct dealing almighty damage, throw around Death spells or cast Debilitate to make your stats Loa.
 Five Years Before
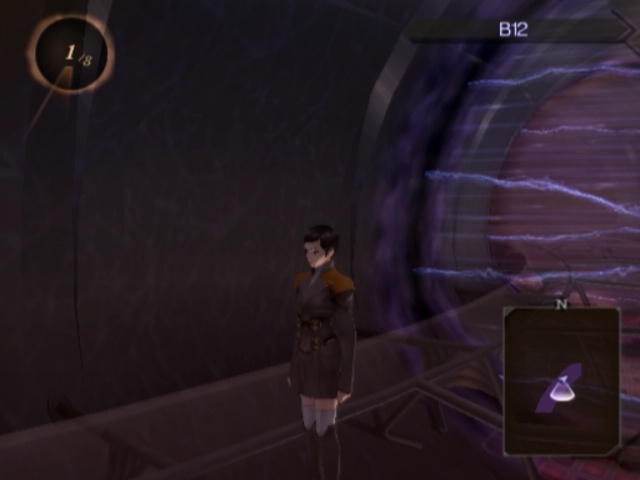
Once again, we're thrown into the middle of a damage corridor. Gonna pop another Core Shield then and run north.
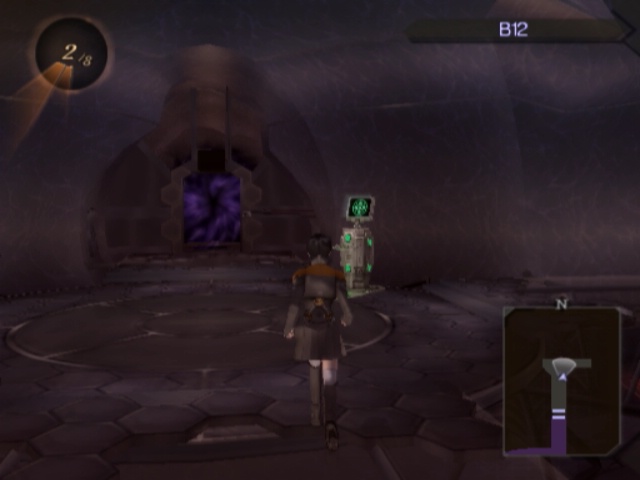
Was beginning to think we'd skipped past this Life Terminal, because I could not remember where it was. Anyway, going through the door to the west.

Drops us off to the north then, and we can go down again.
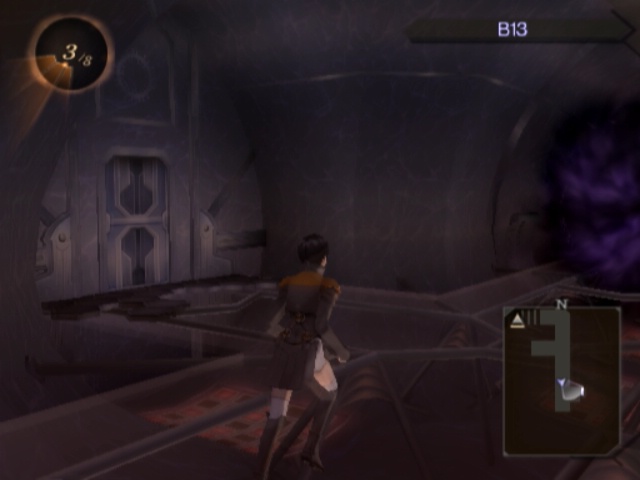
This brings us nicely to the area where we needed the 05 card before. Just about done with this already.
Goin' through the door and then south from the terminal.
This puts us north, of course. Then we can head east and into the room there.
This in turn puts us on the southern corridor so we can go west and enter the room there next.
In there, we get to fight 2 Legions.
They get Zionga'd and die. Big shocker.

After that, we take the warp and come right to the final small terminal of the area.
Next room up is where we fought Abaddon before, but there's nothing like that in there now.
Battle for Survival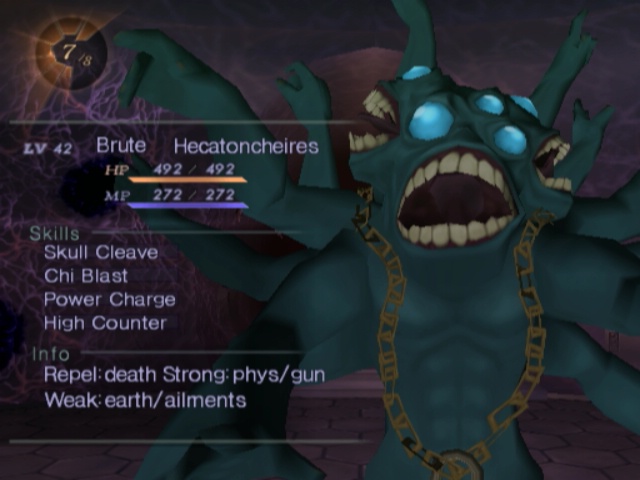
There are, however, random Hecatoncheires running around on this floor. I feel like these generic ones could take the boss version quite easily. Might just be me though.
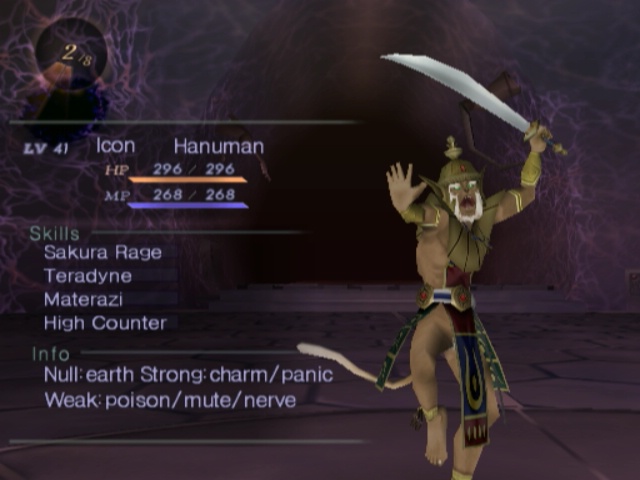
Also Hanumans. They can still Magic repel in a combo, but they're even less of an issue now.
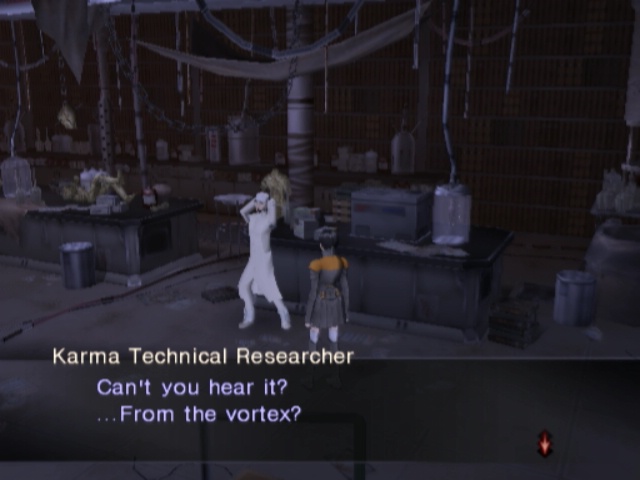 It's so sad and painful... I heard that voice, and I wanted to comfort it... And then I was here.
There's no crazy teamkilling Tribvhana dudes in here, but there is a crazy scientist man. Sure, whatever.
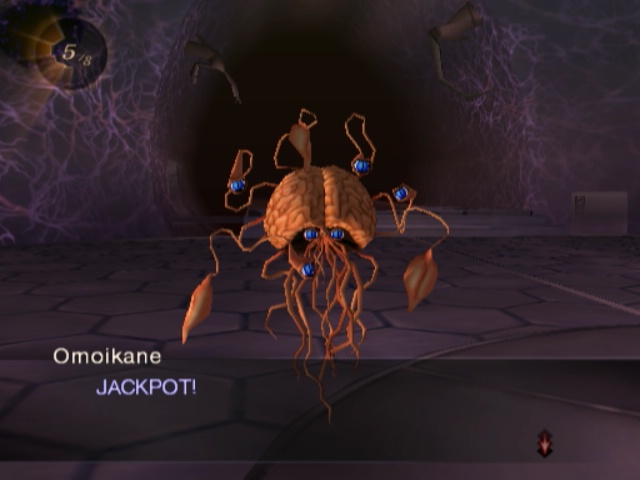
Battle with Rare Devil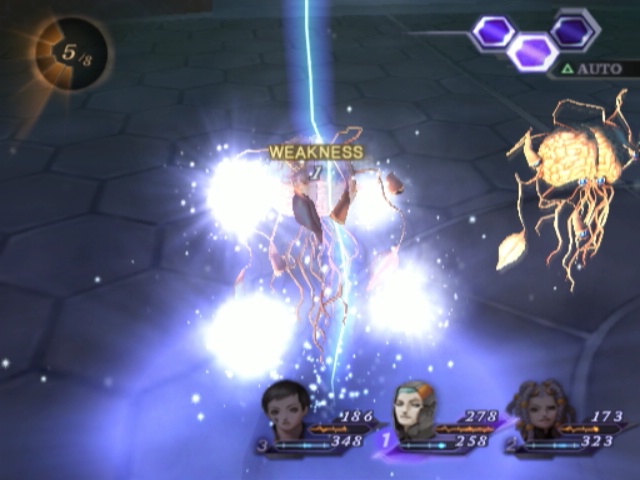
En route to the elevator, run into a bunch of Omoikanes again and luck out in hitting them this time around.
Not the fifth, though, because I um. No one has Force spells equipped. And multi-target stuff doesn't work.
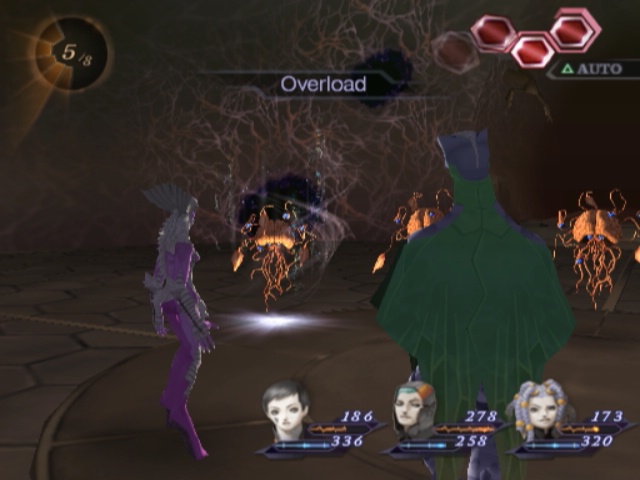
Everyone that we hit correctly self-destructs which is the only way to kill any of these things.
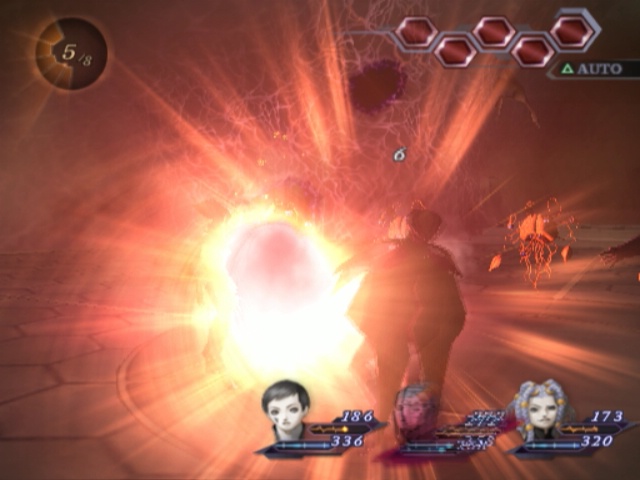
Thankfully, they're weak as balls so there's no risk of anyone dying from this. Would be hilarious though.

....Y'know, $60,000 for each Omoikane here is not too shabby at all. 1538 karma is an odd and arbitrary number though.
Five Years Before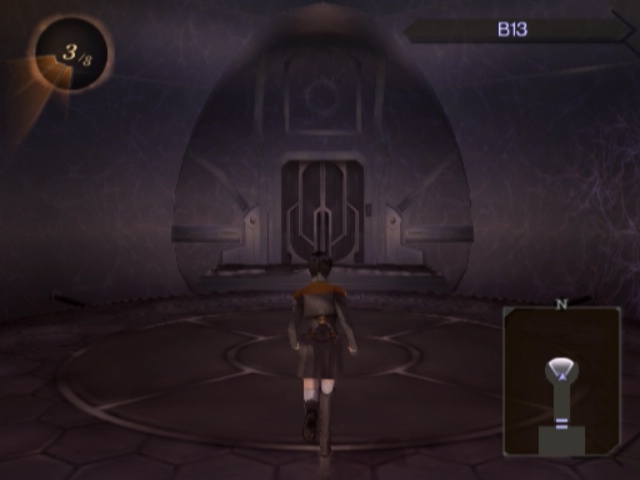
Speaking of the elevator, it's remarkably nice how it's not obstructed or anything.
Taking that back all the way down to the EGG. Once there, we can snag the +4 Strength gem.
Can't really do much of anything else from here, though. Back up we go then.
There is this warp in the room to the south of the terminal at least.
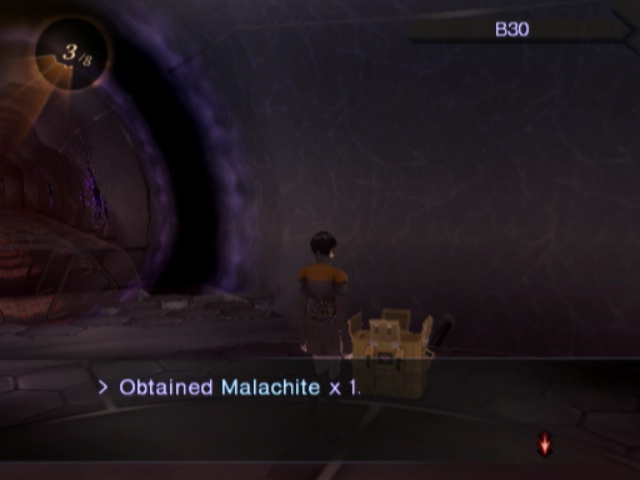
This one drops us back on B30 but just past the broken bit of walkway.

There's also another warp right here, but this one puts us by the Malachite so we can get this way as well.