Part 47: Sector Horologium
 A Land Bringing About Life
it was very brief before but now im gonna HIGHLY RECOMMEND listening to this
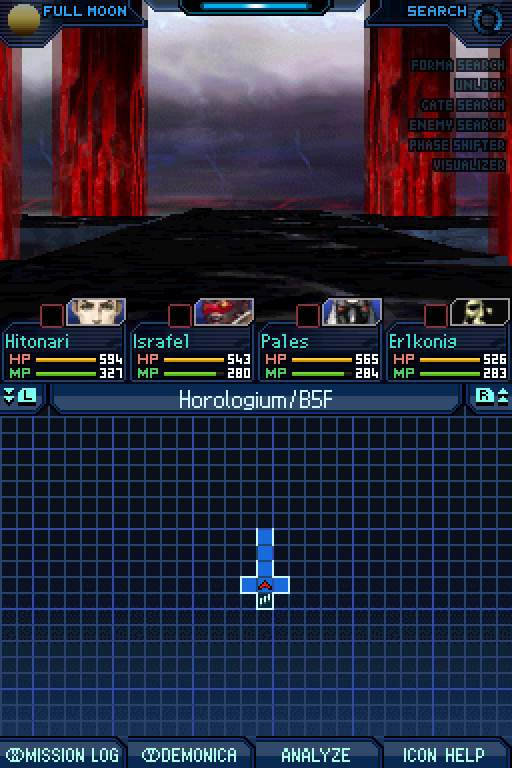
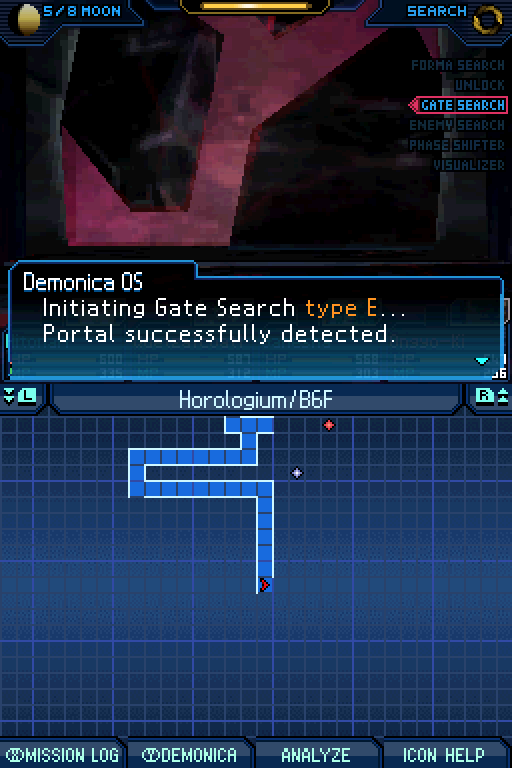
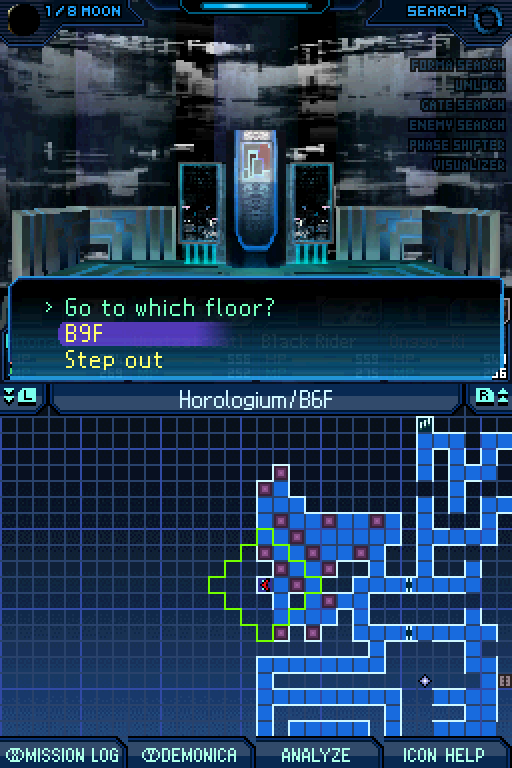
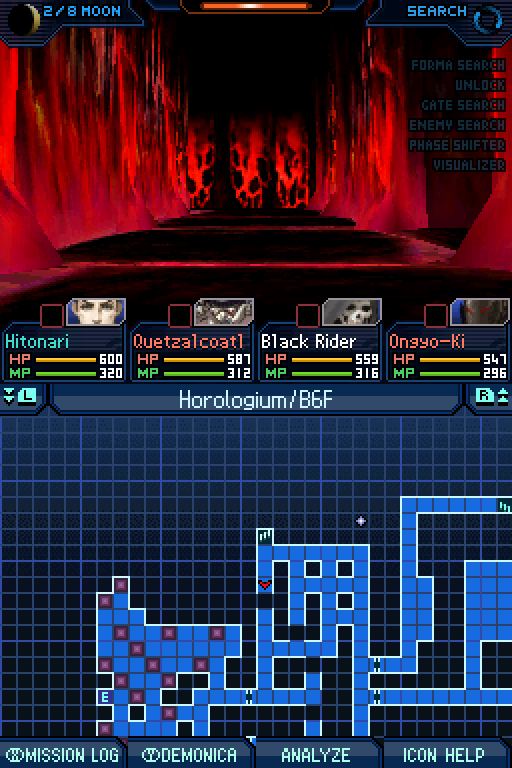
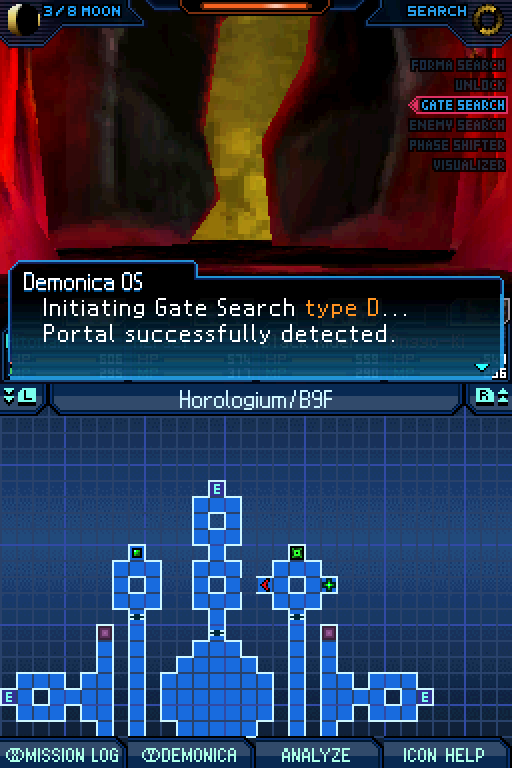
Alright, so now we have a lot more Horologium left to go.
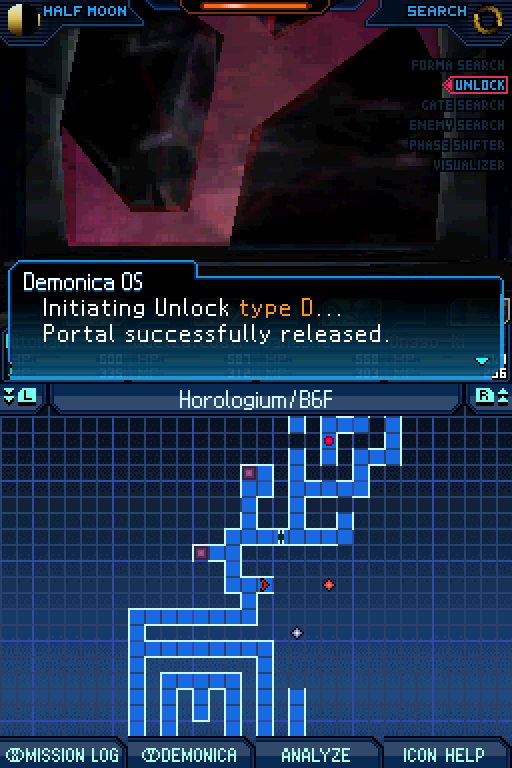
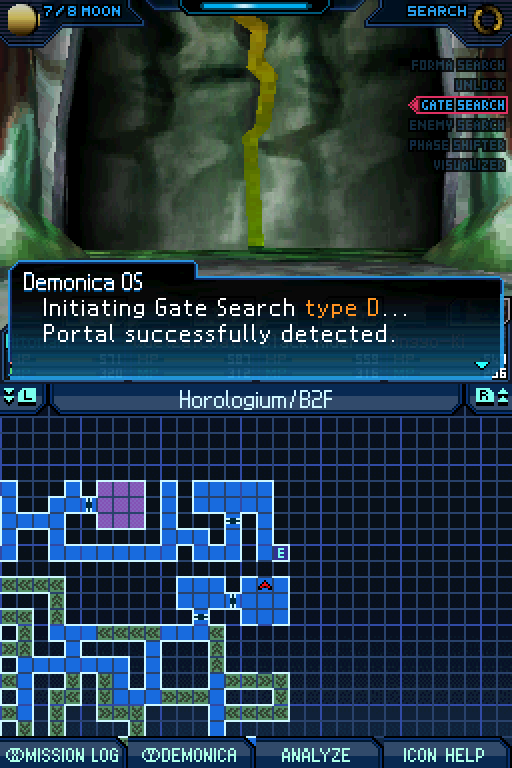
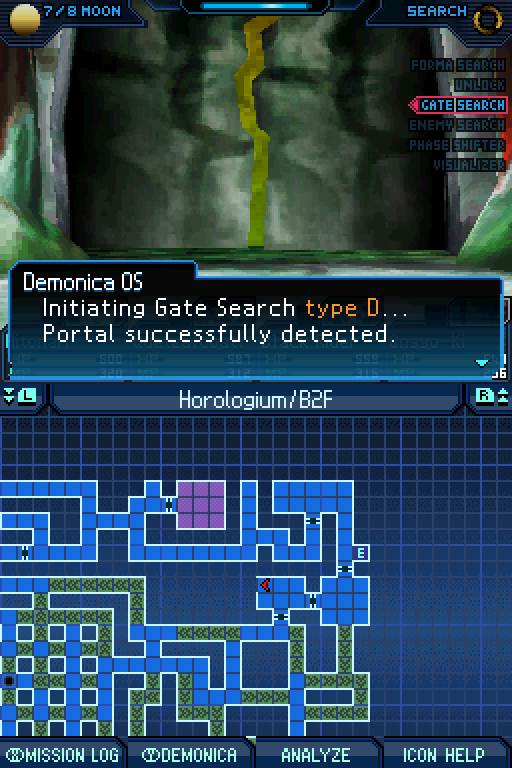
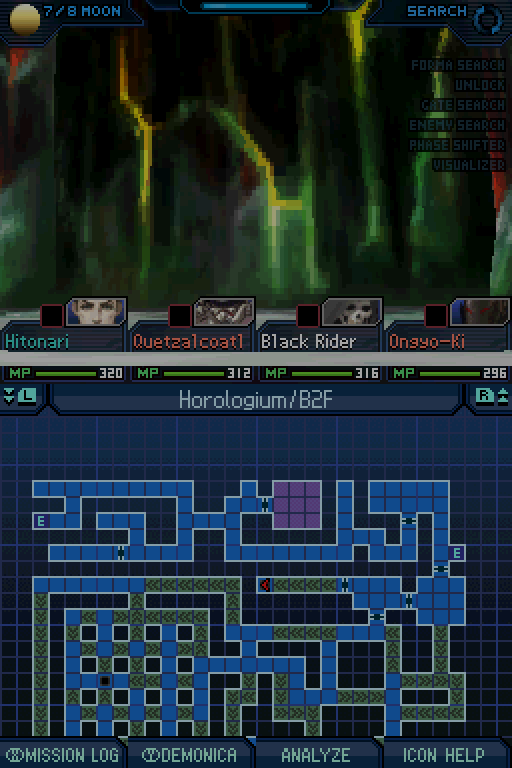
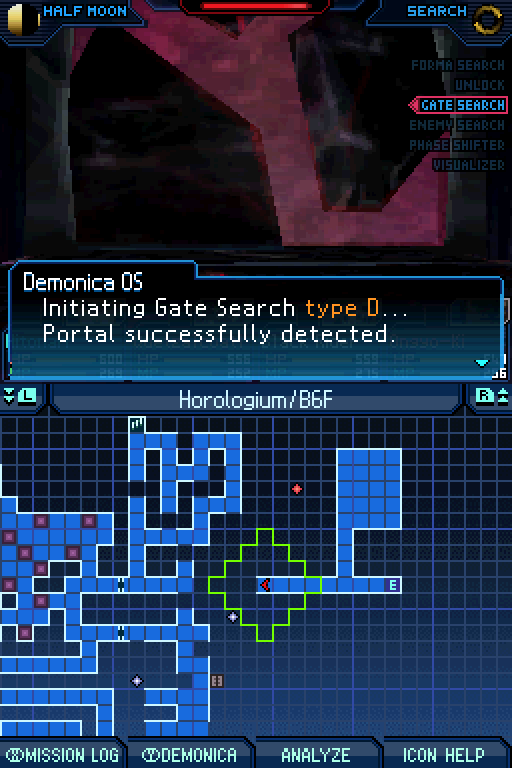
So, fun fact about Horologium. It introduces several new dungeon gimmicks. Yes, really.
Yes, there is more than that one stupid Full Moon thing. And here's the second and it's arguably worse:
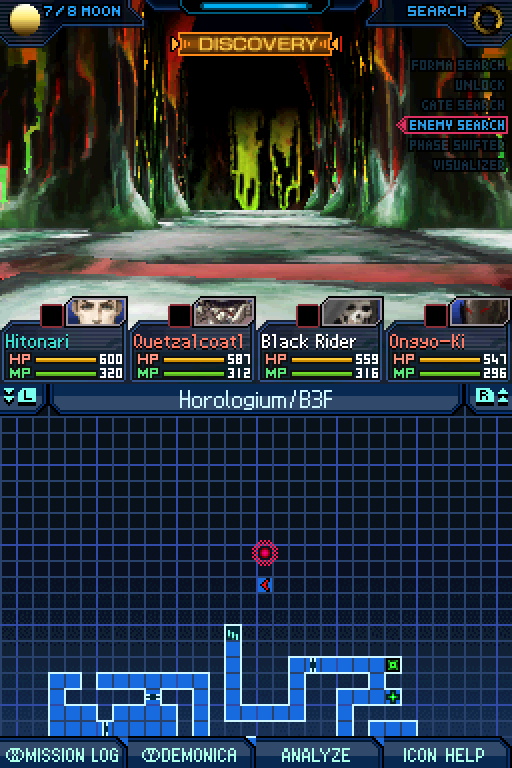
Invisible floors. Whenever these things are involved your map is useless until you reveal them.
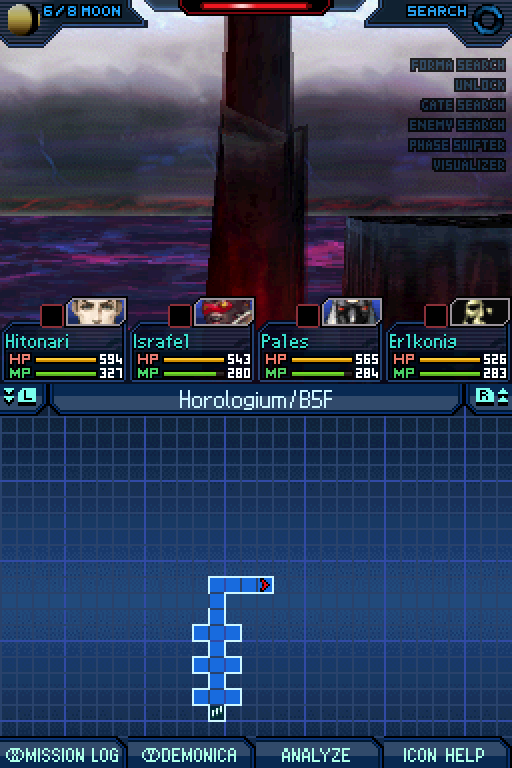
Yes, your map in parts of Horologium - and only Horologium - actively lies to you.
This is so, so awful. I personally think the Full Moon teleport is actively worse because that's a one-and-done thing, so this you can eventually get used to. Sort of.
But the Full Moon thing DOES have stuff that helps you figure out what you're supposed to do outside of pure luck. Because your map lies to you here, you could easily miss that these exist for the longest time.
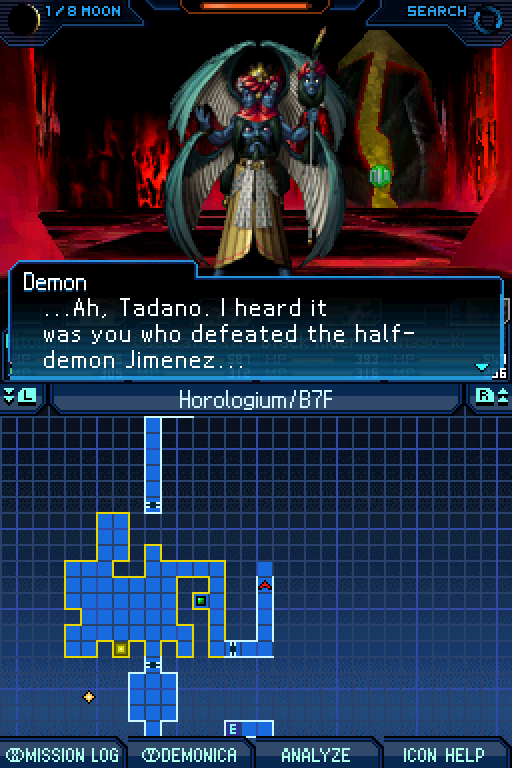
The Fear of God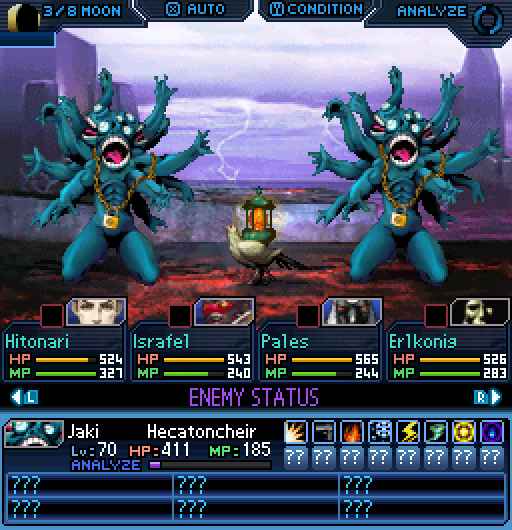
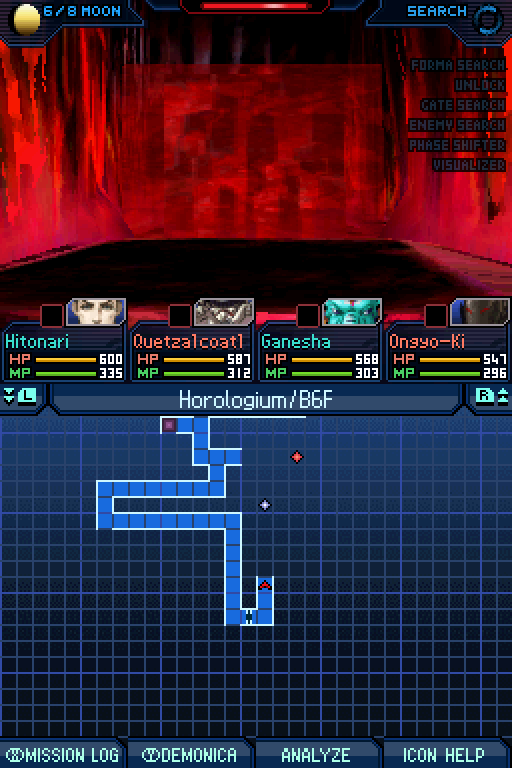
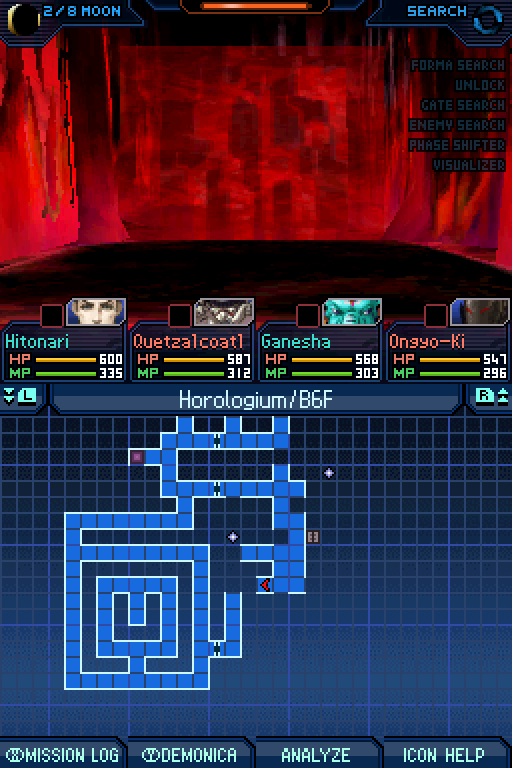
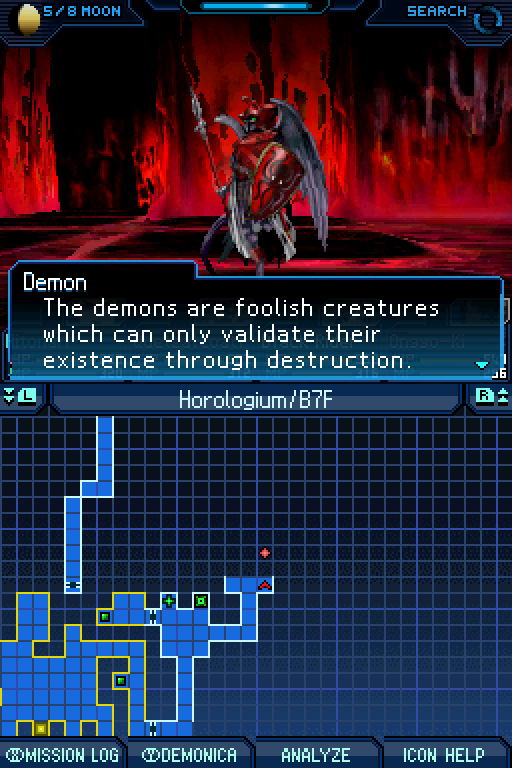
Since there's even less in the map to see than normal, let's take this opportunity to talk about these here new demons. Hecatoncheir is really, really, REALLY boring for a level 70 demon. He resists Phys and is weak to Ice. That's it. His basic attack can hit 1-3 times on a single thing but that's all. He is so, so boring.
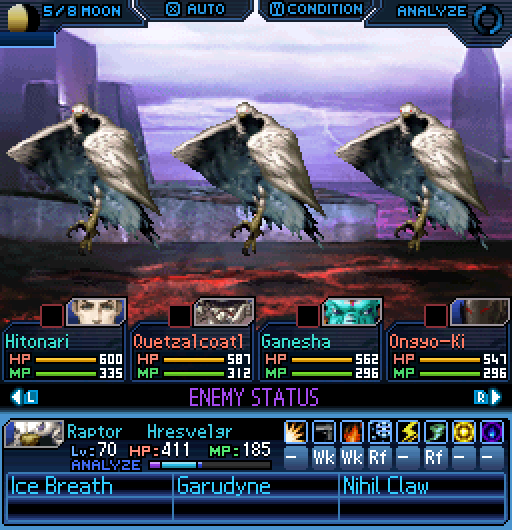
Hresvelgr, meanwhile, is relatively quite terrifying! She's weak to Gun and Fire, but she compensates for it by reflecting both Ice and Wind! Sadly, her Strength is her dumpstat and her Magic is mediocre. Her best stat is that she has 51 Agility, which is so, so not good.
Also her source is the earliest guaranteed Cold World source. It's worth even less now than it was when King Frost had it, to be honest.
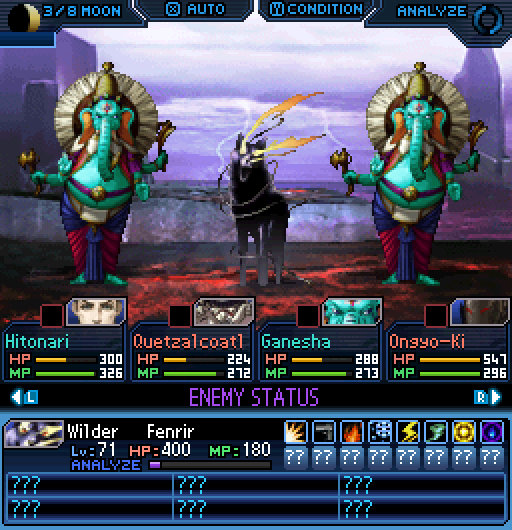
Fenrir isn't quite Hresvelgr, but he is fairly varied. He's weak to Wind, resists Fire and Ice, is immune to Curse, Petrification and Paralysis and he drains Electricity for good measure.
His default skills are Charge, Madness Crush and Retaliate. His source is ALMOST identical, but it drops Charge for... Ice Breath...? What.
A Land Bringing About Life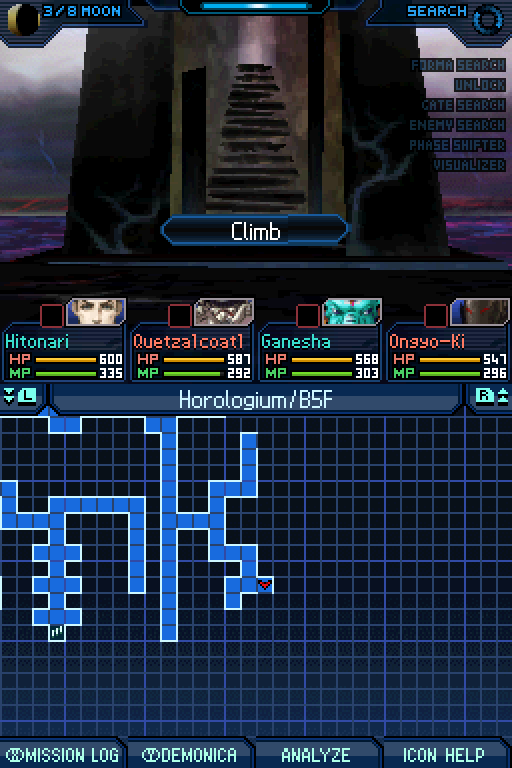
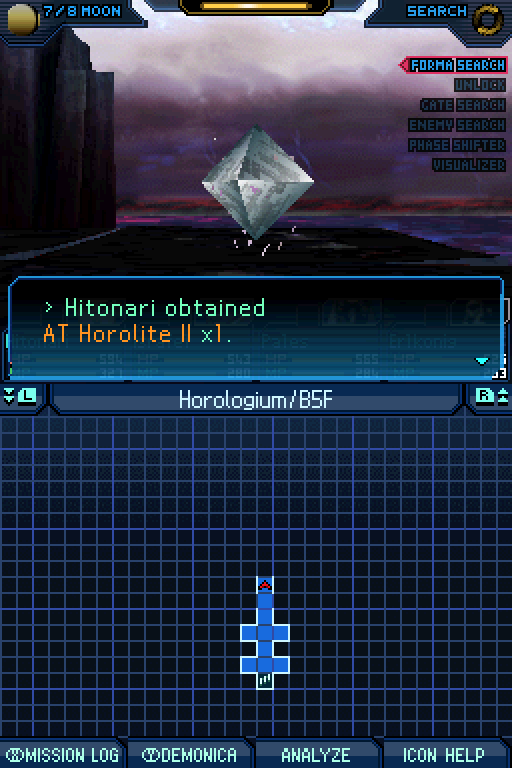
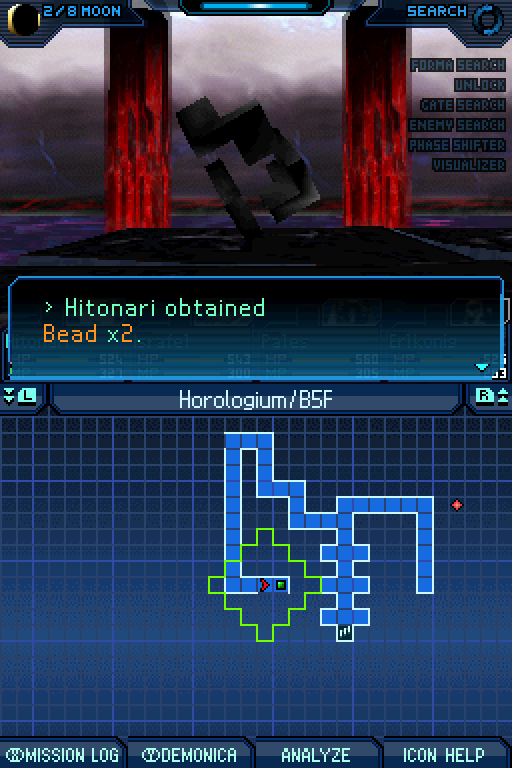
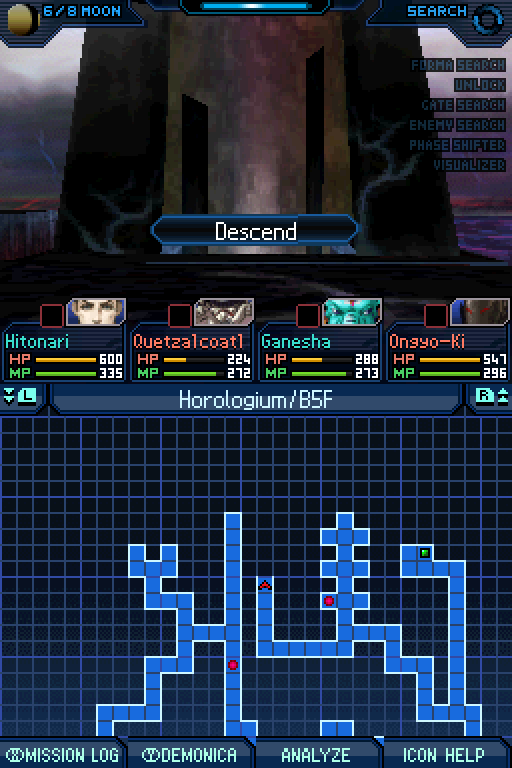
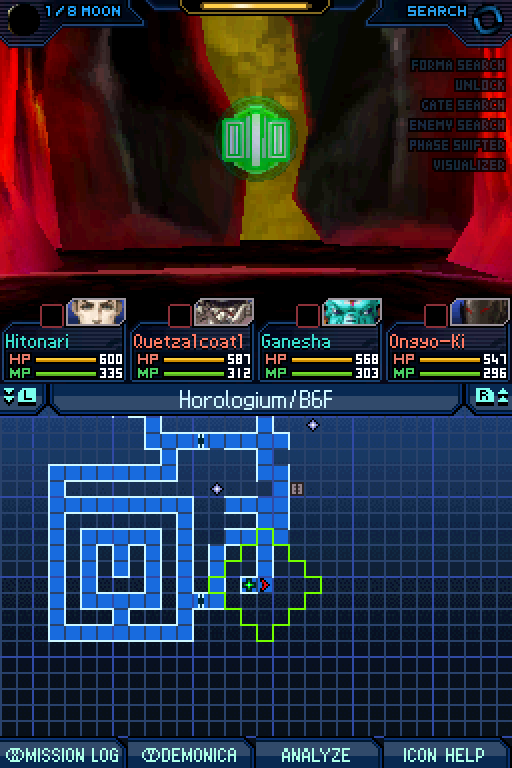
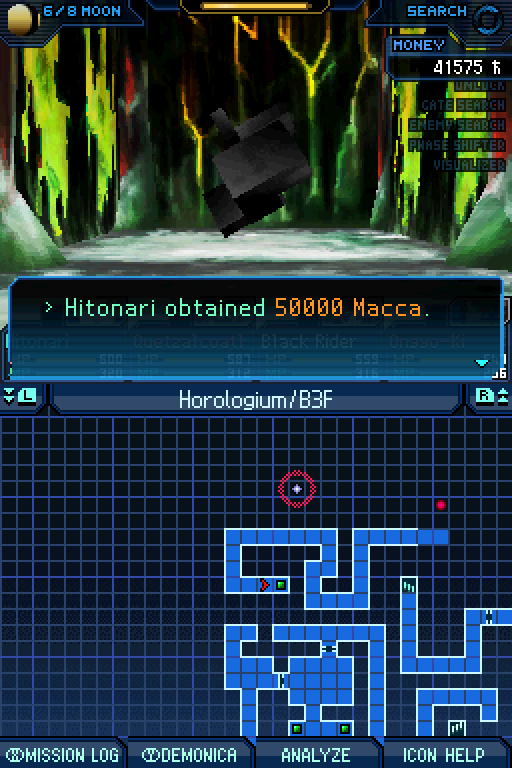
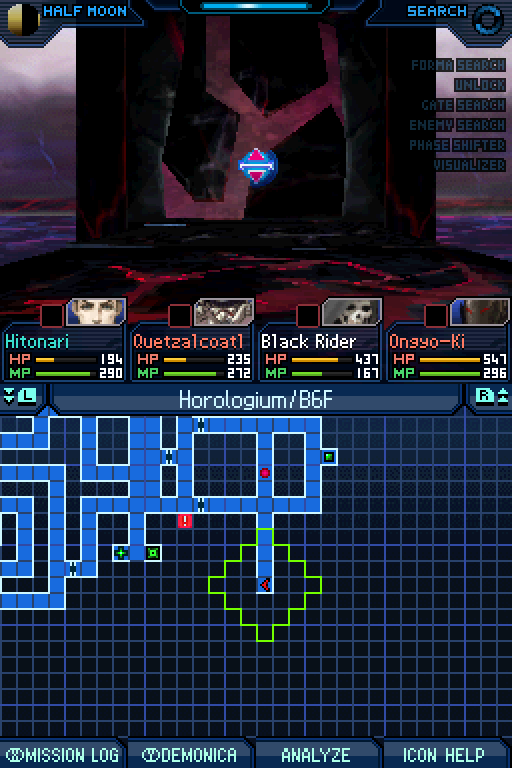
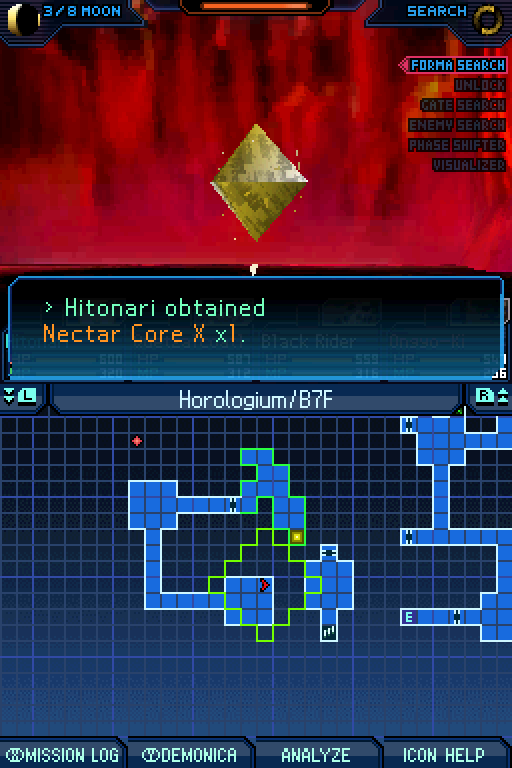
Okay, so, we have these stairs in the bottom-right corner of the map. These are pretty important so it's a fairly good idea to not miss these.
At least not if you want what this gives, and you very well might! It's a very handy rare forma...
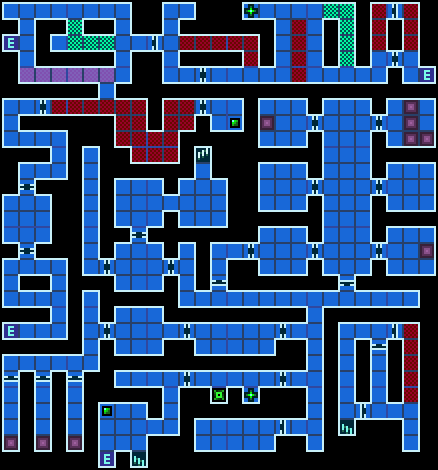
And also doubles as letting us finish our first Horologium floor altogether!
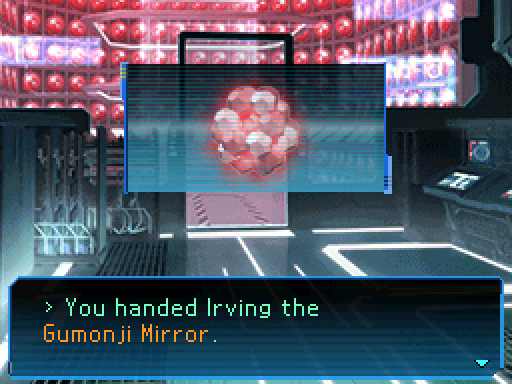
We're going to immediately turn that Rare Forma into whatever it gives us from Irving.

Enemy Search C adds a whole 5 demons to Enemy Searches. These 5 are identical in all Sectors but the formation for the fight can vary depending on the Sector. Appearance rates are also identical, save for how Antlia/Bootes are 20% each because no Fiends.
Speaking of which, getting this has no effect on Fiend spawn rates at all. It was a total of 5% before; it's a total of 5% now.
We'll look at what Enemy Search C gives later on, because it's very important. Very, very important.
We've been able to kind of see some of the equipment this lets us make since, uh, the start of Fornax really. Just keep that one in mind for later.
But we'll get to that when we get to that. We've got B5F over and done with now.
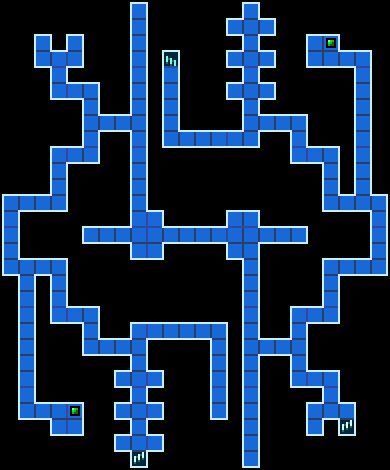
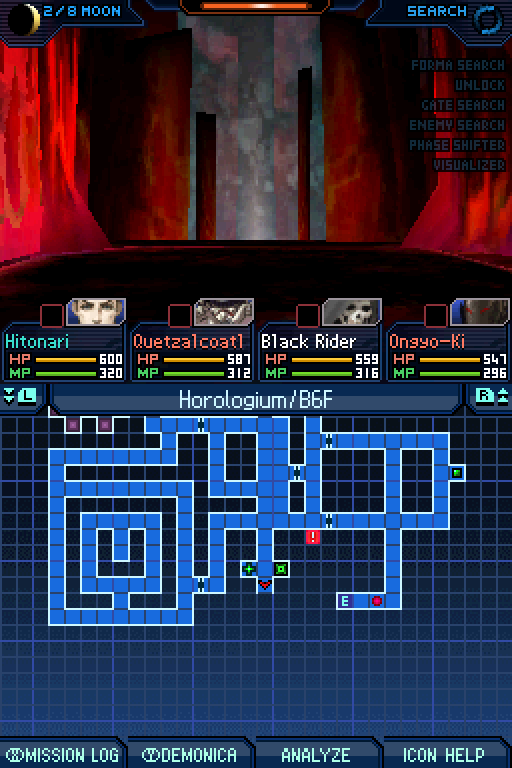
Like, actually completely done with. I do like how the map here is mirrored, but that's not really all that helpful because it's not super-obvious for a while.
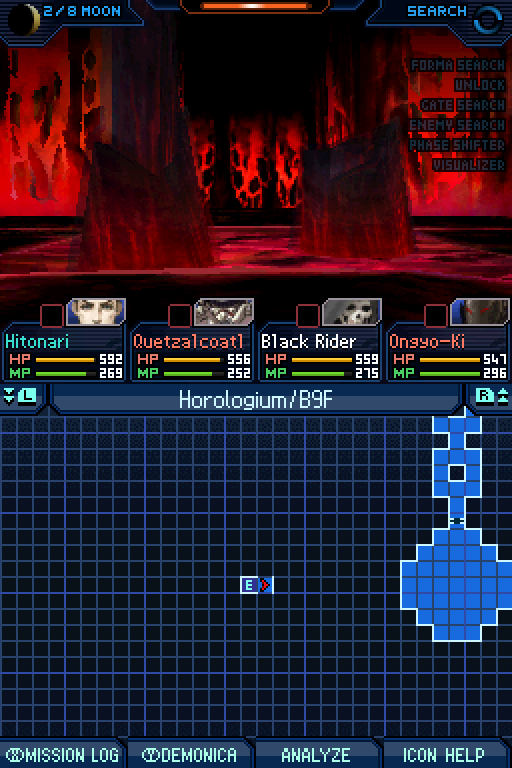
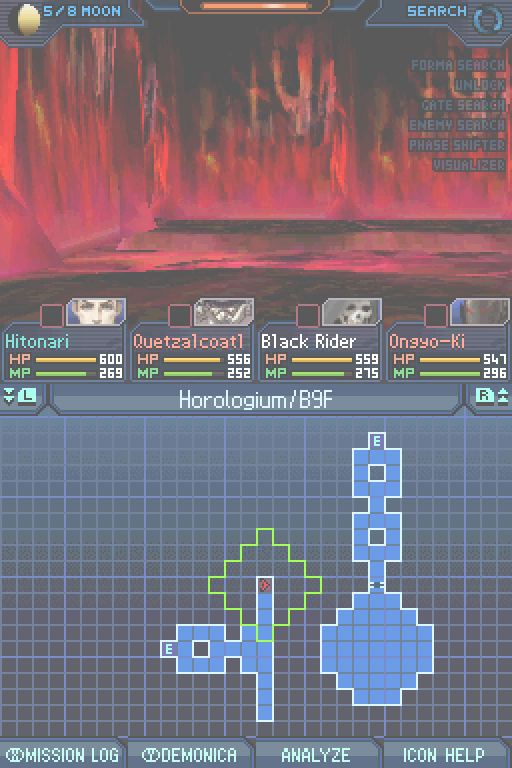
B6F looks an awful lot like B9F did in the brief moments we saw that before.
Except it ALSO introduces a new dungeon gimmick!
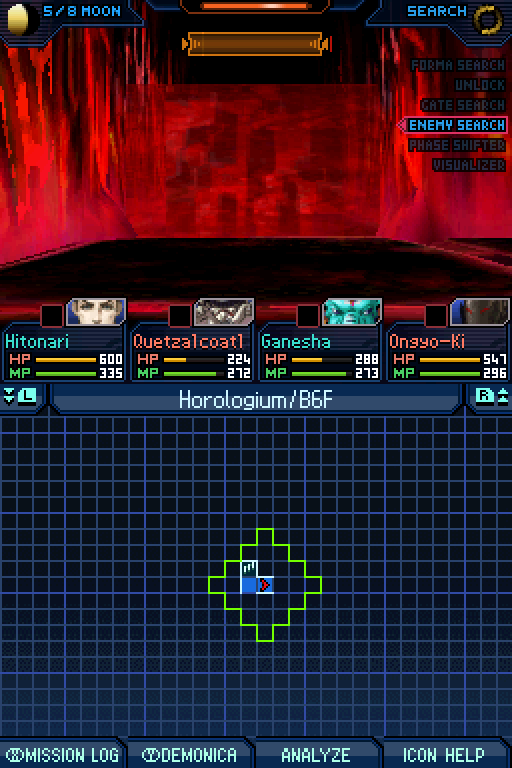
Grus had illusory walls that were sometimes real. B6F of Horologium has walls that aren't walls until you're approaching. They don't get marked as walls on the map though.

They're just left as unexplored squares on the map, which is one of the most irritating things imaginable. At least it is if you're me. I dunno, I just hate having these gaps on my map!
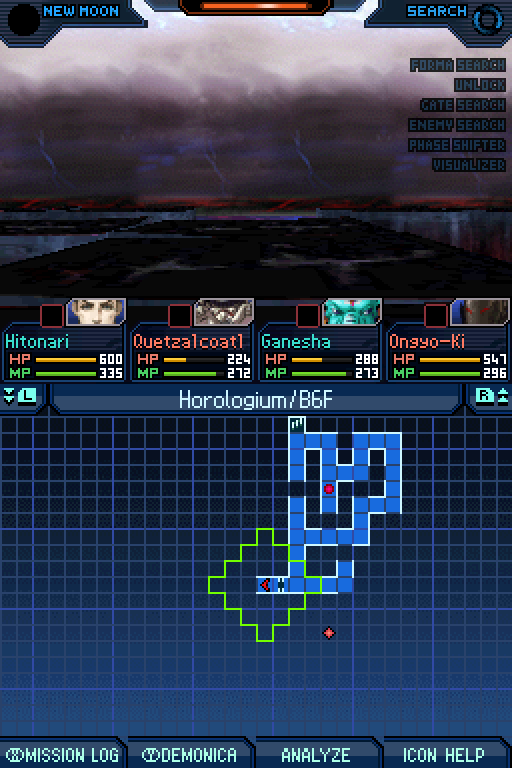
Mercifully, that only takes up a small area but every gap in that map is a pillar of lava.
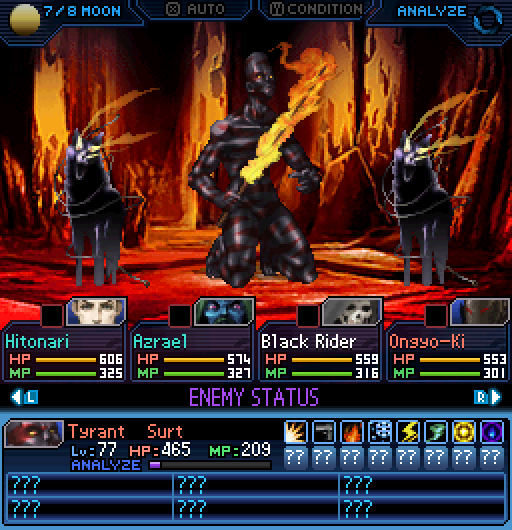
Surt turns up on B6F, but only on B6F for some reason? I dunno, he might turn up elsewhere but he's pretty rare. Probably because he's level 77 and therefore the highest level of all random demons unless I'm forgetting something.
He's basically identical to shitty miniboss Surt except he has way, way less HP. That's it.
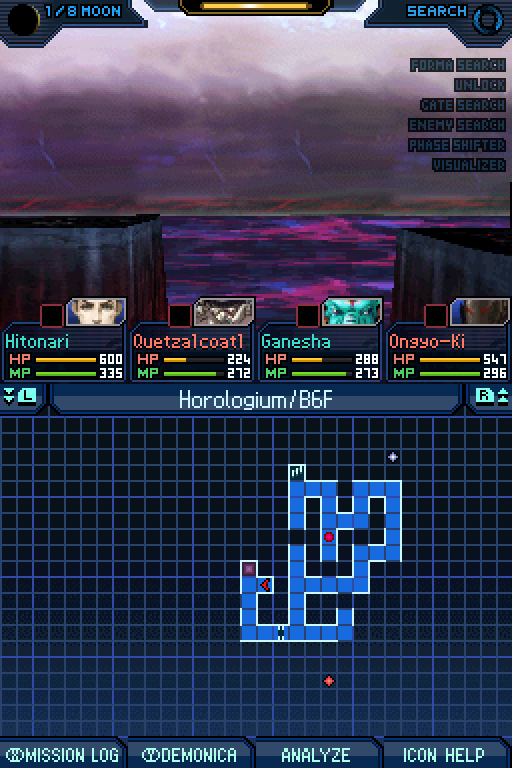
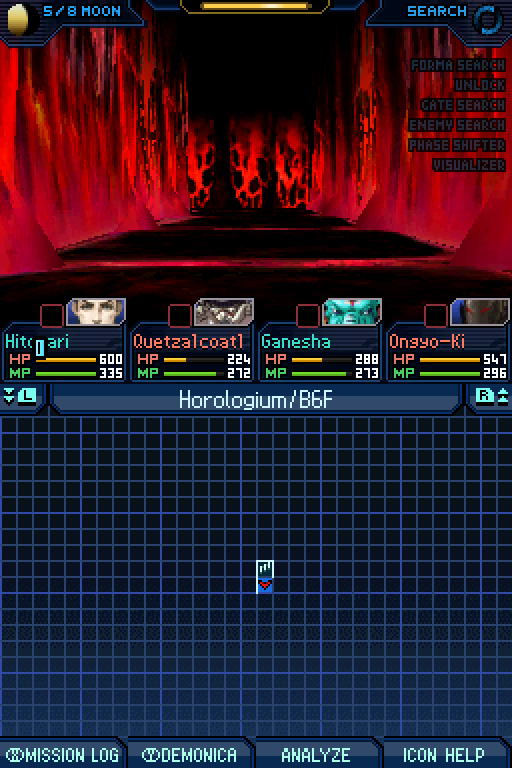
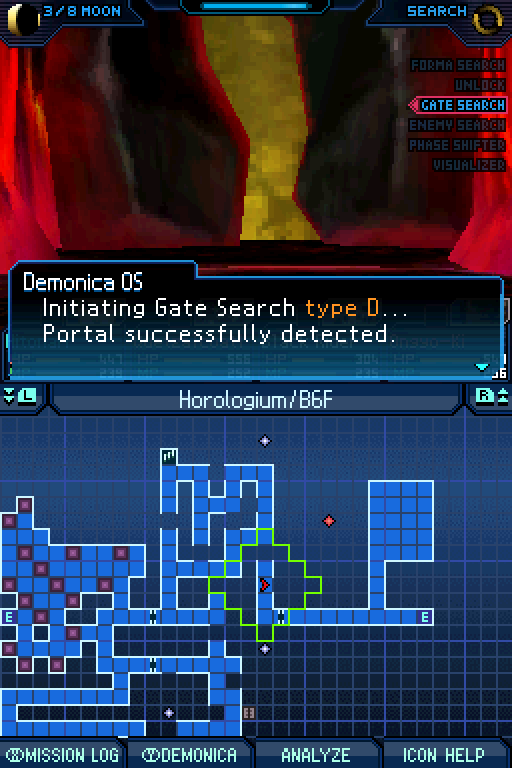
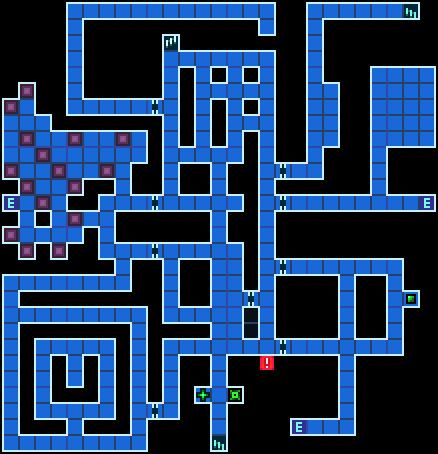
So, the outside is a minefield of teleports that all dump you on this one square. This is almost a bizarre mercy but you never really know at first blush if you're done or not, because it's an invisible floor section as well.
So we're going to ignore the fuck out of that for now, and check out what's over here instead.
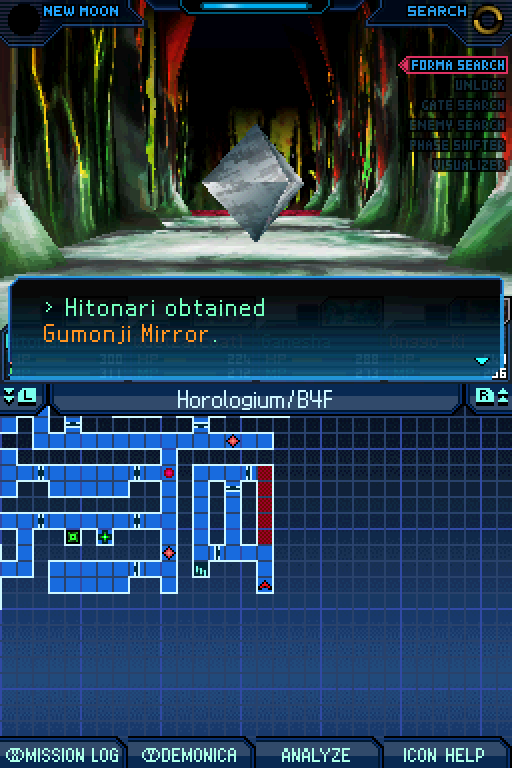
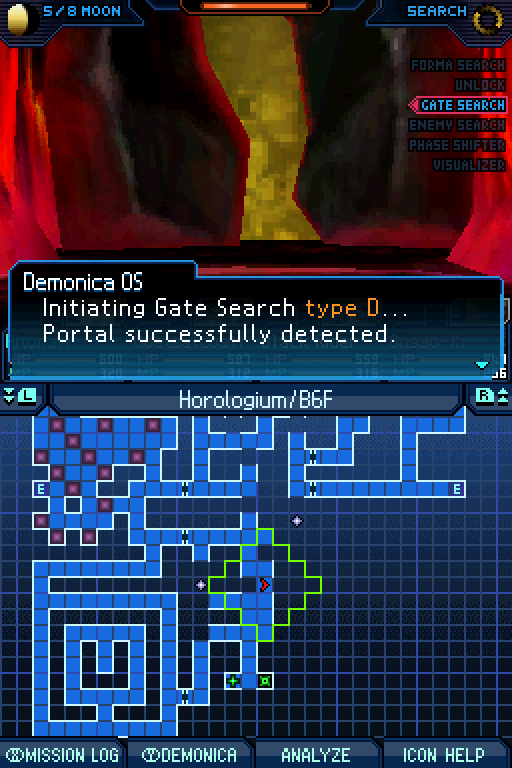
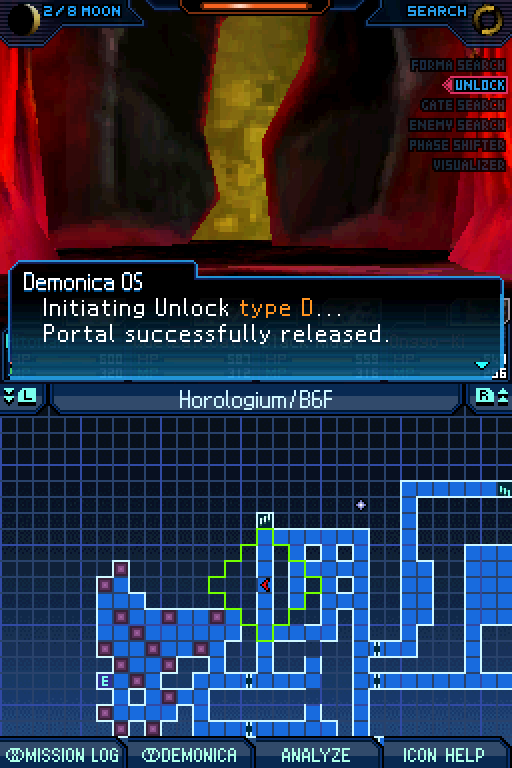
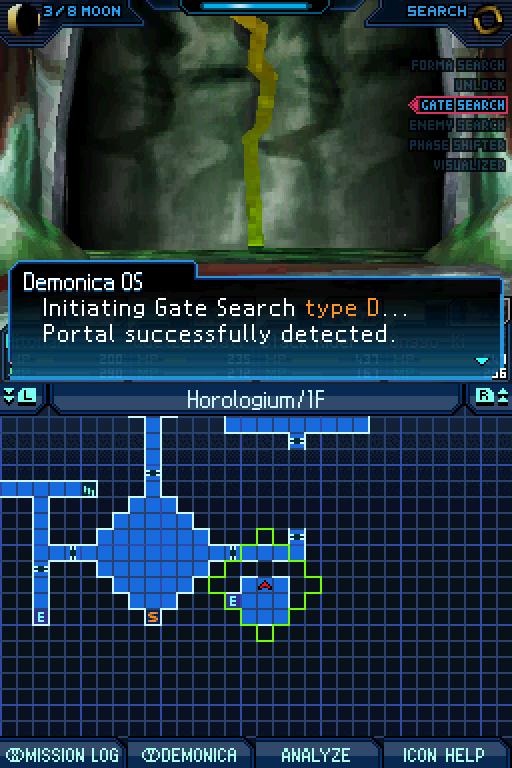
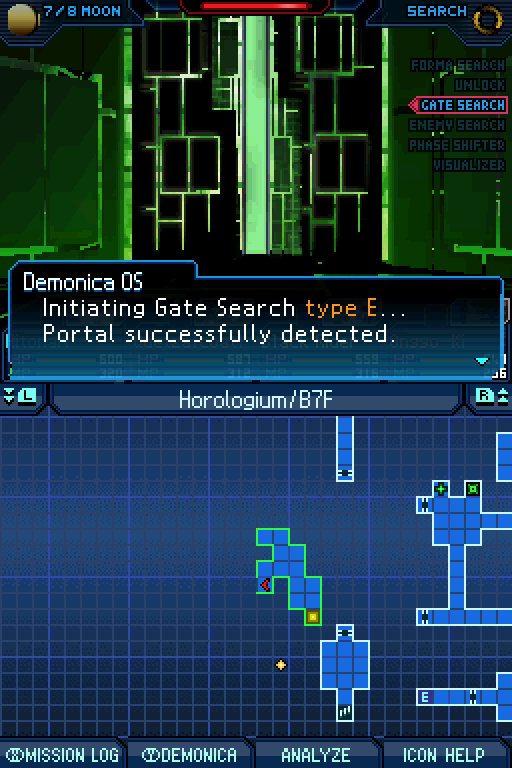
...Well this was worth a Gate Search E door.

Y'know, I genuinely thought this and the Gumonji Mirror were Gold Formas but I guess I remembered wrong. My bad!
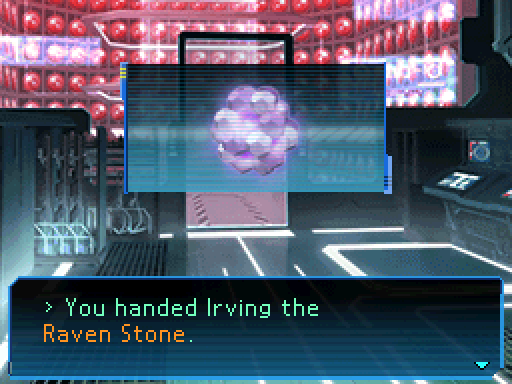
But, yeah, the Raven Stone is our final rare forma and so you know exactly what it's going to give us:
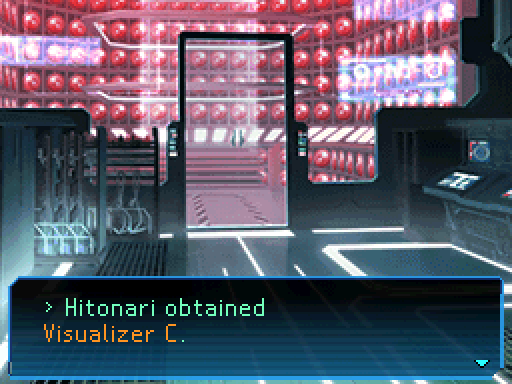
This is a giant godsend, even though it's not used for any mandatory sections. There is an entire area that might as well be fucking impossible without this. It's such bullshit and I hate it.
But that's also something we'll worry about later. For now, we have one of the possible avenues of progress to deal with.
Sadly, this brings us back inside to an area riddled ever-more with rising lava pillars. Far, far too many of them. It's just annoying, really.
At least there's a heal spot and terminal here if you need them. How bizarrely generous.
Prayer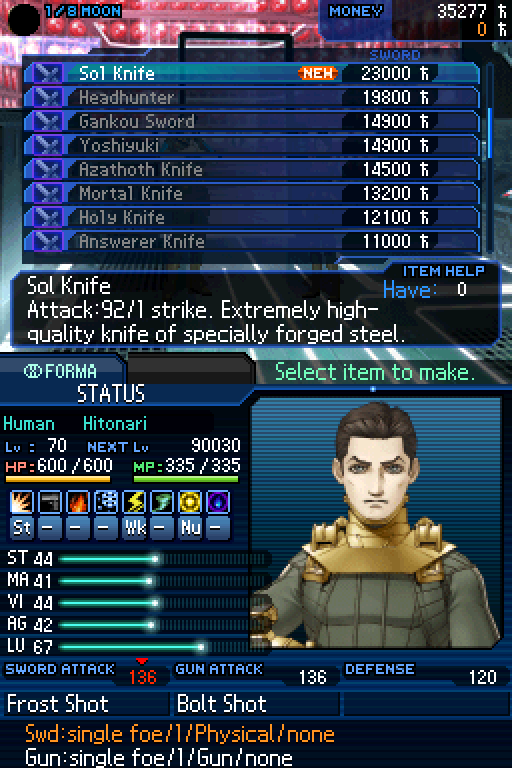
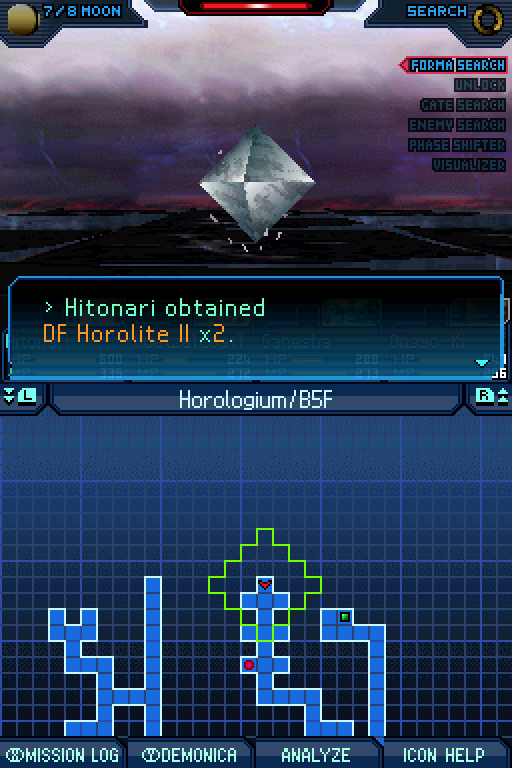
Gonna use that Terminal to hand over all these things we've got to make some new gear with Irving. I'm not promising it's all good or worthwhile, mind. Sol Knife speaks for itself on that front really; AT Horolite x2, Brute Fur Coat x2 (Berserker) and Raptor Sun x2 (Huoniao).
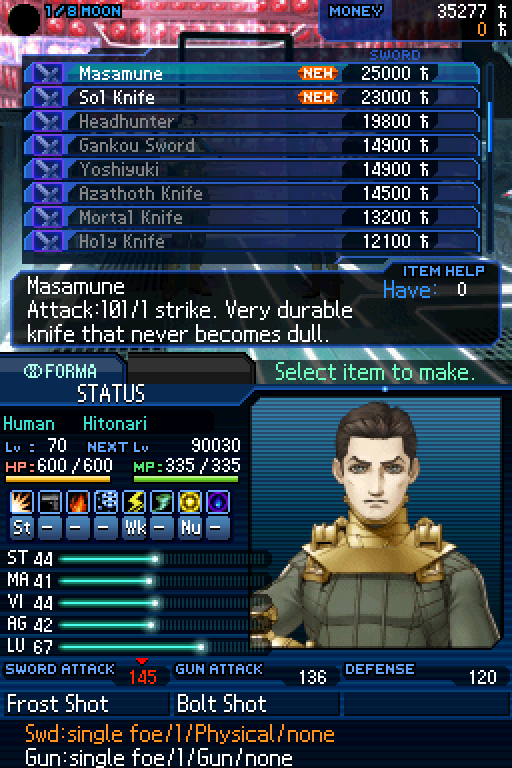
Masamune should by all accounts be really good rather than a middling trash tier sword. AT Horolite II x2, Femme Necklace x5 (Dakini) and Haunt Ribs x4 (Vetala).
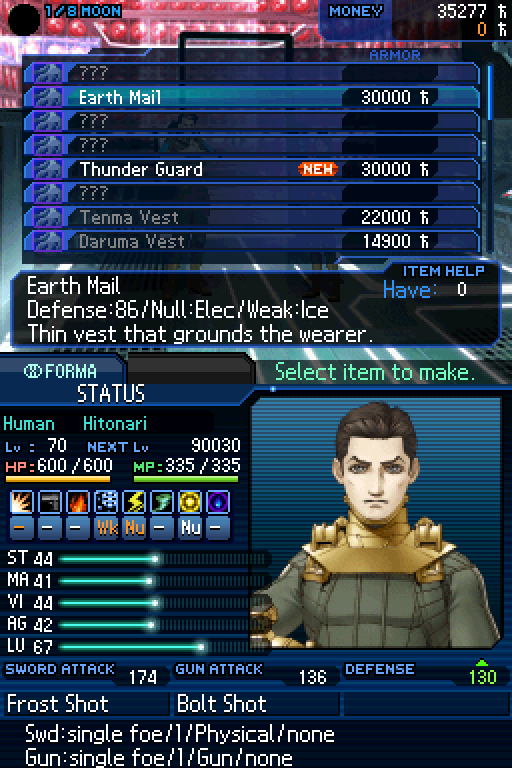
Earth Mail is on paper really good, right? It has a great defense upgrade, grants an immunity and only one weakness. But having a weakness at all now is a very bad thing!
DF Horolite x2, Drake Kaina x2 (Nidhoggr) and Wilder Earth x1 (Cabracan) if you really want to take that risk.
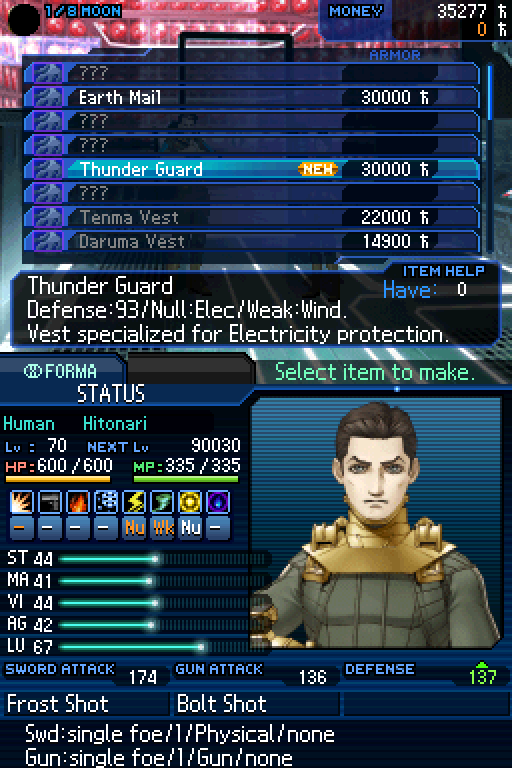
Different weakness, slightly higher defense version of the Earth Mail. Just look up ever so slightly.
DF Horolite II x2, Night Snake x5 (Lilith) and Snake Hoods x3 (Ananta).

Alice has a Really Good source; Black Rider is pretty okay. Remember, he's not really weak to Fire at all. If I could be bothered to swap Resist Wind for Concentrate, he'd be really really hard to kill.
As is, he's just semi-hard to kill.
A Scorched Nation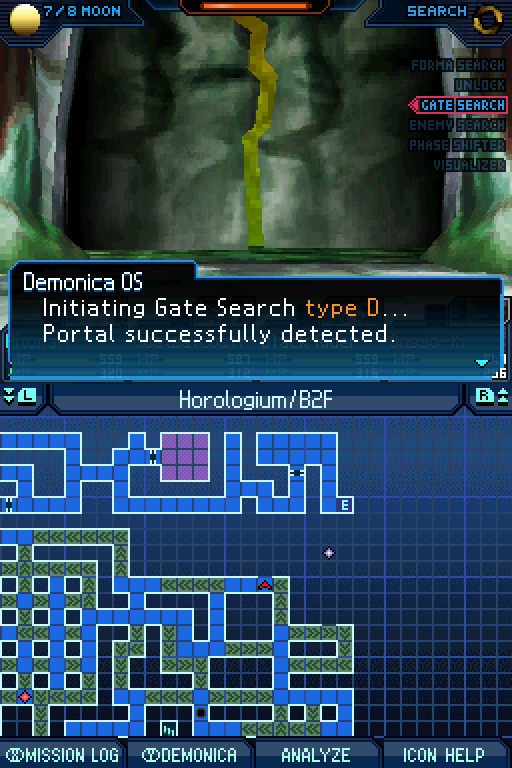
Alright, so back to Horologium we go! On the way back in, I noticed that I missed stuff over here.
It's not really a shortcut over here or anything, but it is helpful anyway? Kind of?

I did also miss these Chakra Pots in the bottom corner. They're definitely worth not missing. I mean, sure, we CAN buy them from Irving but this is way easier.
Oh and there's an easily missed hidden door here.
It conveyer belts us into a hole. That's my favourite.
And thankfully helps us finish off the floor altogether.
This is the only way to access the upper half of B3F but thankfully there's nothing here that necessitates running back to B2F and dropping down a lot.
There's just a four-way intersection at the center and 3 give you things at the end. This is the only one that is an item container though; the other 2 are just crappy fixed Gold forma.
The fourth path gives us the rest of the floor's map, and our way back to the main path.
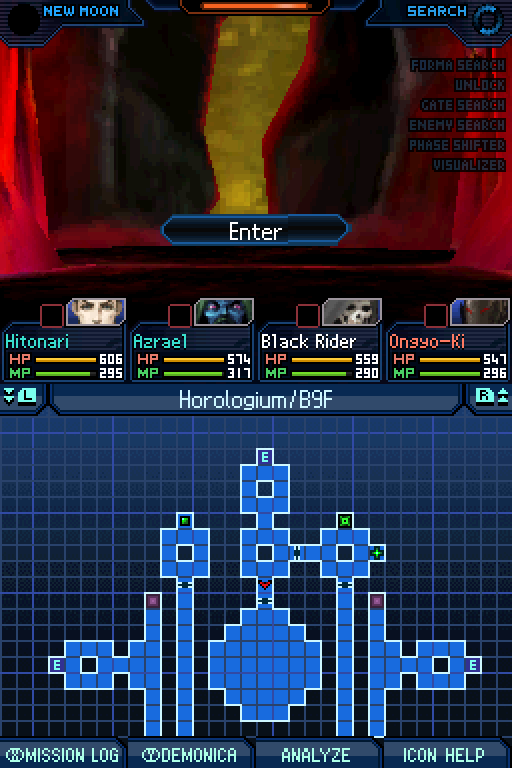
A Land Bringing About Life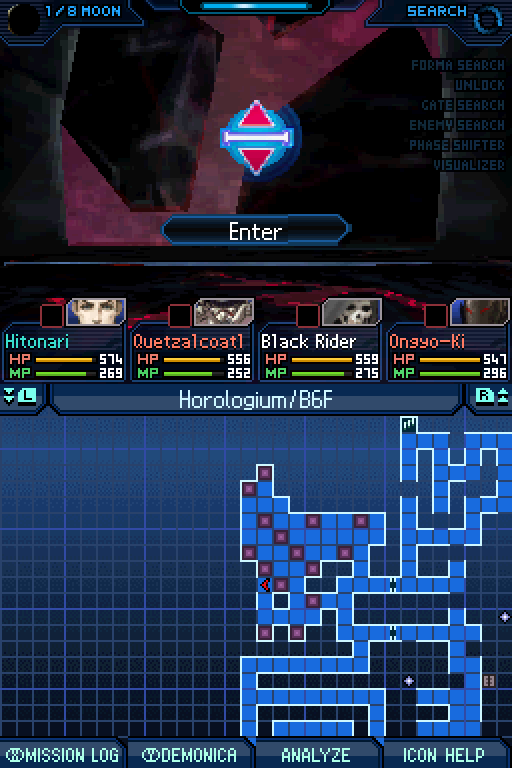
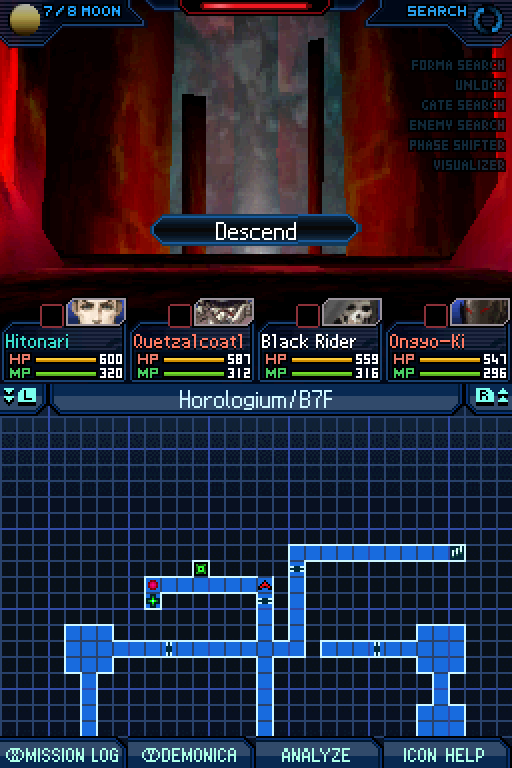
Speaking of our way back to the main path... after navigating the maelstorm of annoyance that is the teleporter minefield, we get to this elevator. At long last.
And it only takes us to B9F, huh? Something about this seems too easy...
Well, at least we can see Mem Aleph's chamber from here?
Oh and speaking of too easy, B9F has no random encounters. I don't mean no new ones, I mean none. Period. At all.
There's a couple teleports here as well, but this one just lets you go where you need to. The other one brings you back here.
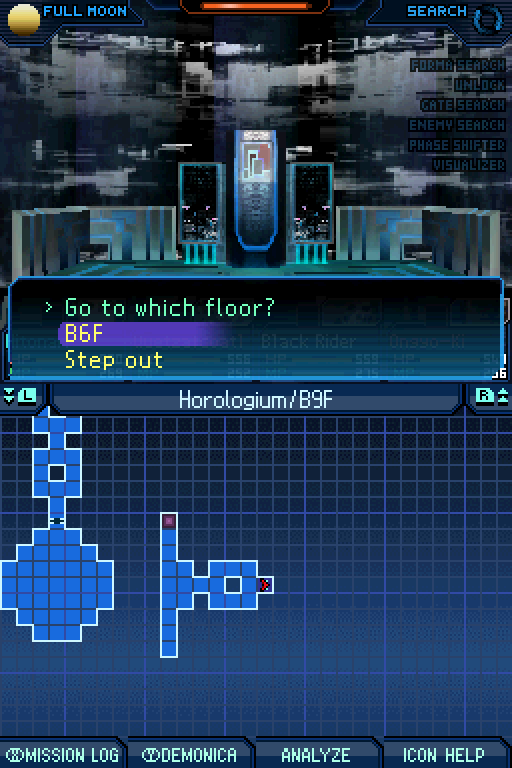
Gonna head on up to B6F, since we're on the opposite side altogether now.
Ignore the giant open area in the top-right for now. That's barren and empty at the moment.
At first glance it just dicks you over by giving you a tiny corridor with two lava pillars. Fortunately, there's a hidden door here.

This leads us nicely to the stairs down to B7F.
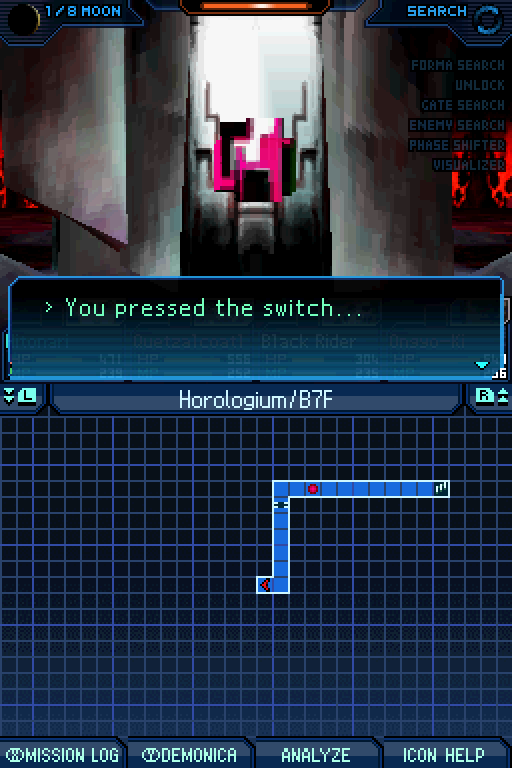
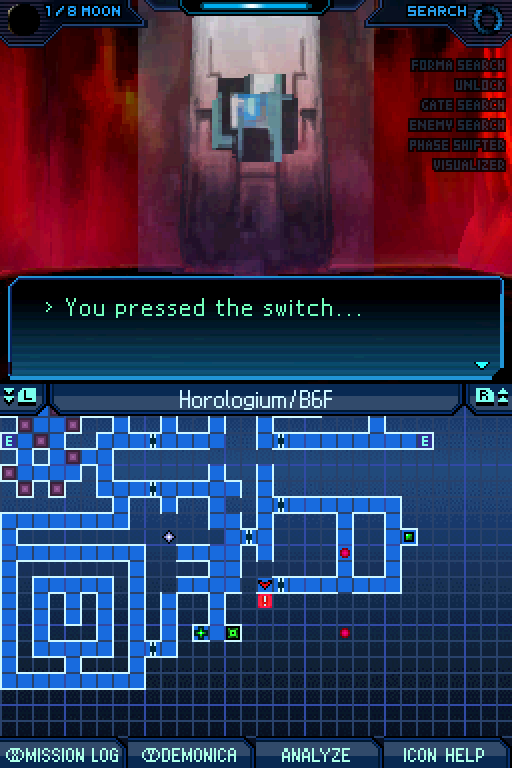
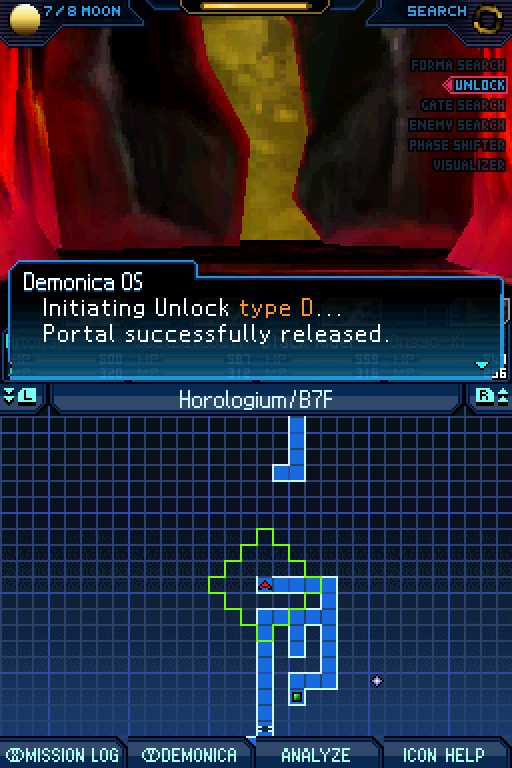
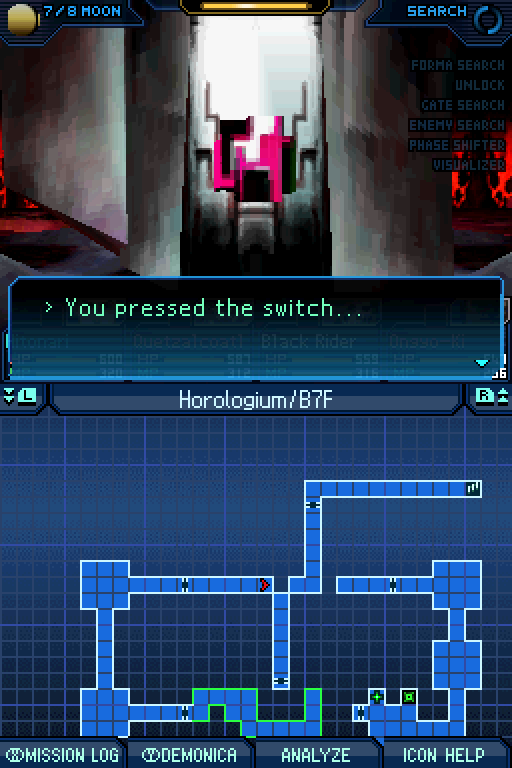
...Which is a tiny linear corridor leading to this switch. Uh, sure?
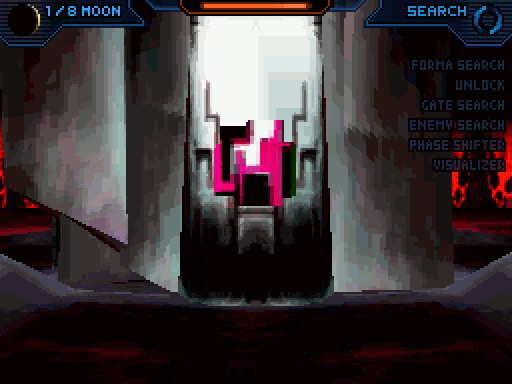
The switch doesn't do anything other than move the... pillar? it was on. And there's more obstructing this spot still anyway.
I see what the deal is here, so we'll head on back to B6F and see if we can find the rest of it.
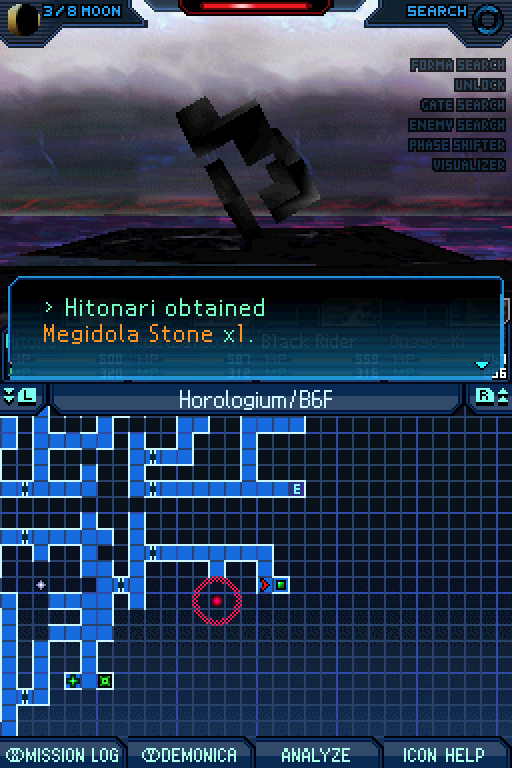
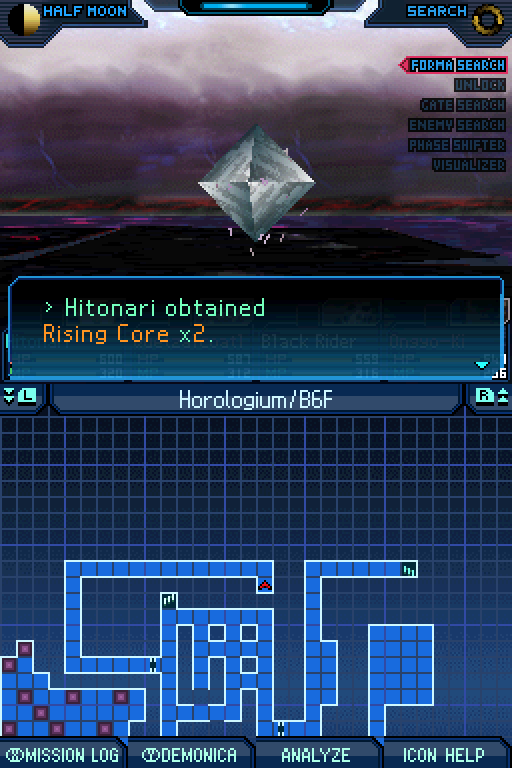
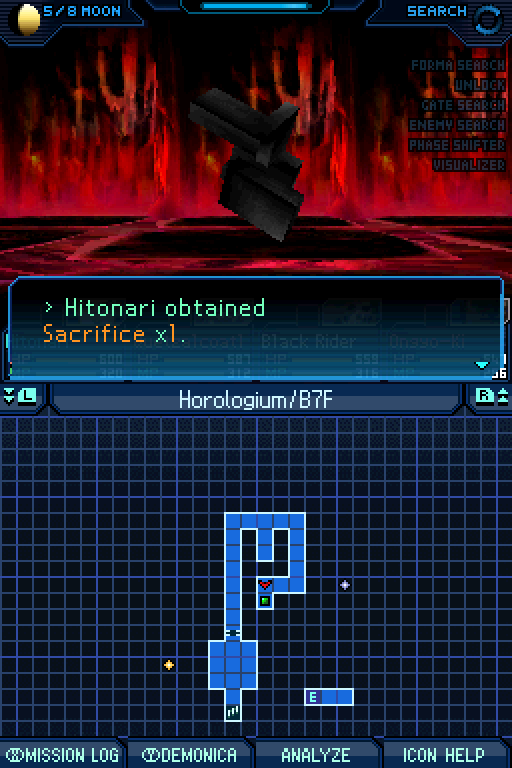
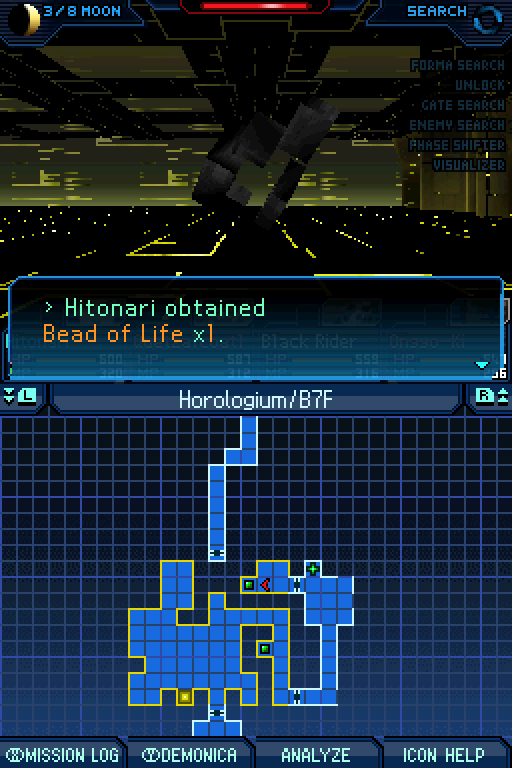
This might get a little bit difficult to follow so just bear with me for a moment and enjoy this Megidola Stone.
We'll ignore the rest of this area for now and open this door instead. This door is important.
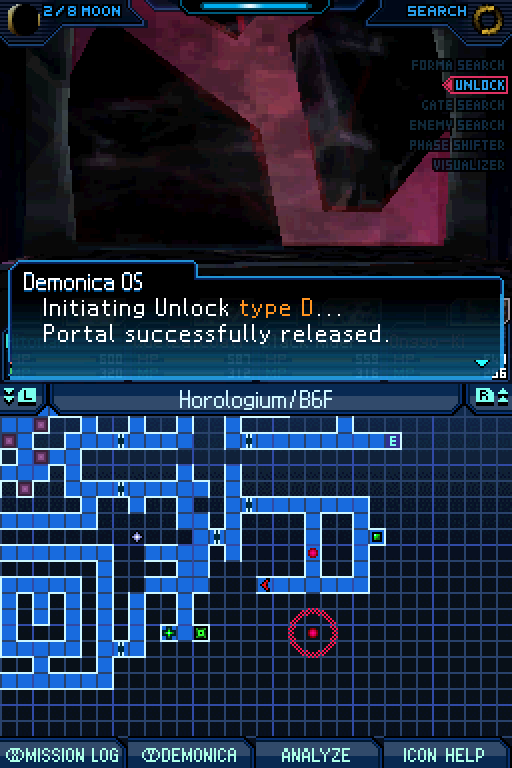
There's a switch here that does NOT move a pillar. It does something more important...
I sure hope this is true, because if so this is a goddamn godsend.
And sure enough! We can actually get to places again now.
This door was actively adjacent to a lava pillar, so it must lead to something really good right?
Haha, funny story about that!
Anyway NOW we'll head back to the area where we got the Megidola Stone and find a new elevator.
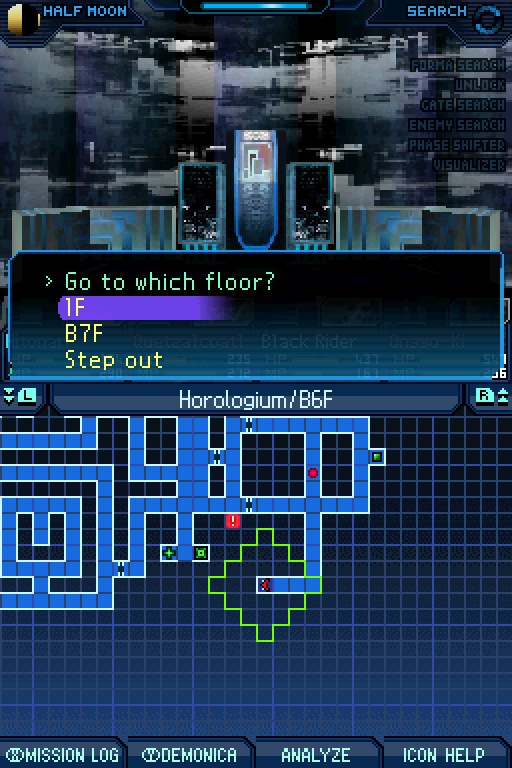
This lets us go to B7F, of course, but it also lets us go to 1F, huh?
Which is important because it lets us open the last shortcut. Handy, that!
No point in taking the elevator to B7F though. It puts you in a 2 square corridor that... has nothing in it. Odd.
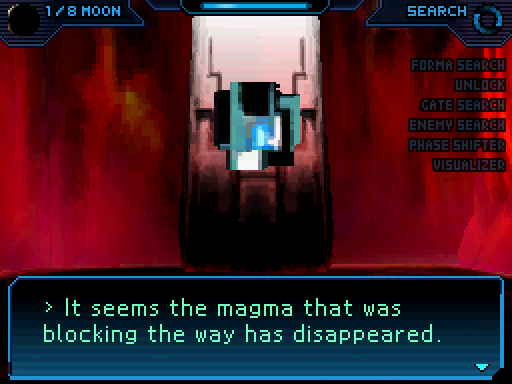
Oh well, now that we've turned the magma off on B6F we can access the stairs by the terminal. I guess that will have to do instead.
As an added bonus, we're done with the floor('s map) now to boot.
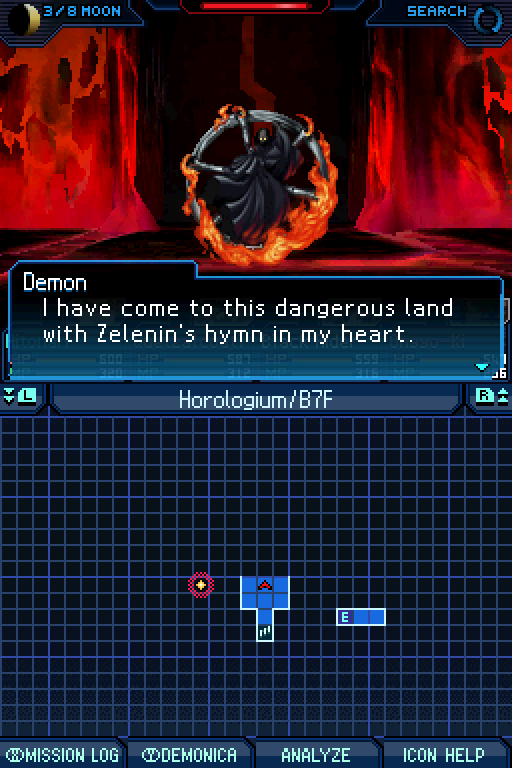
 To inspire me, one who is not human... Zelenin is incredible! Tadano, let us soundly defeat Mem Aleph!
Because the second half of Horologium apparently has to have a new gimmick on every floor, B7F has one as well.
It's not so much an invisible floor this time, at least. You CAN see the floor itself properlike. It's just invisible walls instead. The map thing from before still applies though.
There IS more to this gimmick than you'd think from that at least. For now, we've just gotta go through here.
It's where the second switch here is.
But there's still at least one more to go. Now we need to figure out how to get there.

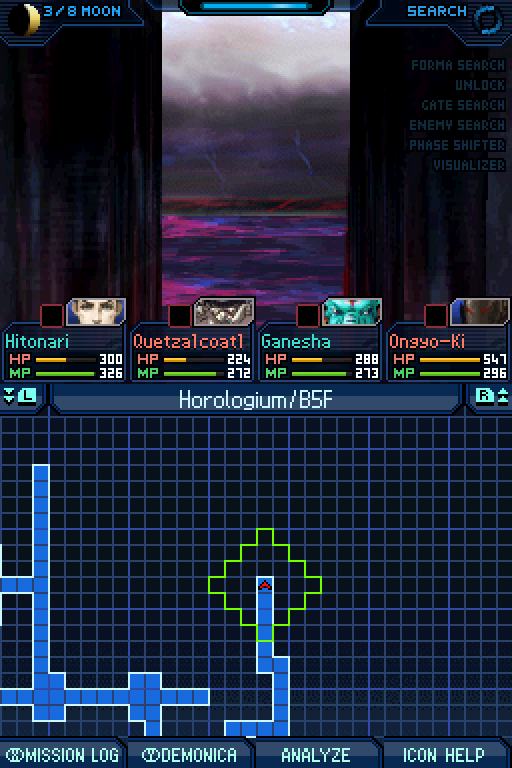
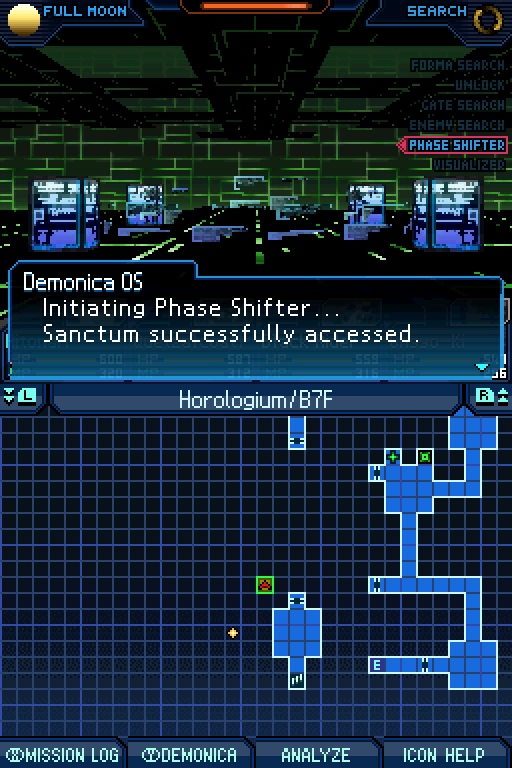
There's nothing else we can do here, so we'll head on over here to where there's a Phase Shifter. We're gonna be going to Sanctum B.
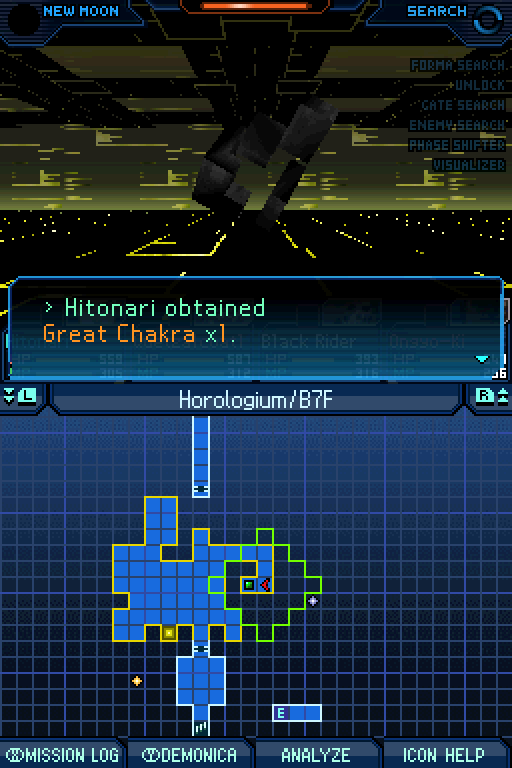
It's a big ol' area in comparison to before, and it lets us get to this Great Chakra, helpfully.
It also lets us open a door here. The doors are constant through all spaces, as you might recall. This IS important, yes.
 Splendid work. They say he was once your dear friend, but in his new state, he was only an enemy. You were not wrong in the least. If the demons of darkness were, for argument's sake, able to remake the Earth... It would be a world filled with souls like his... How ghastly.
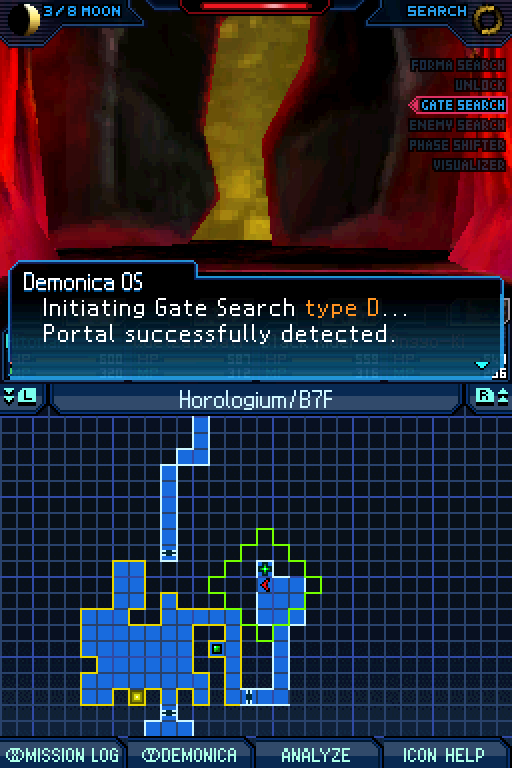
You definitely noticed that terminal behind Azrael. Don't even pretend you didn't. There's a heal spot just here for good measure.
And this. It's still very nice to just get given one of these no questions asked, y'know?
 They are therefore beyond our salvation. ...In truth, the humans have gone a long way toward a similar state. In order to establish love and order on Earth... we may have to employ harsh methods...
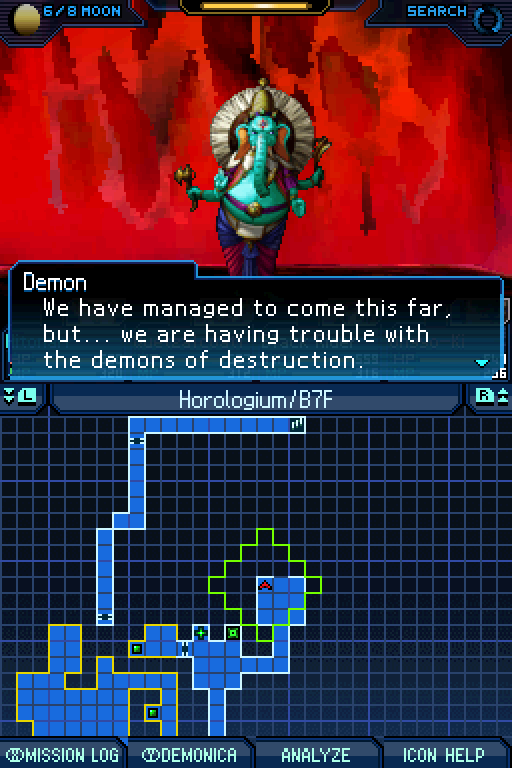
 Not to mention the evil energy that fills this place... Even I, who no longer know fear, am trembling.
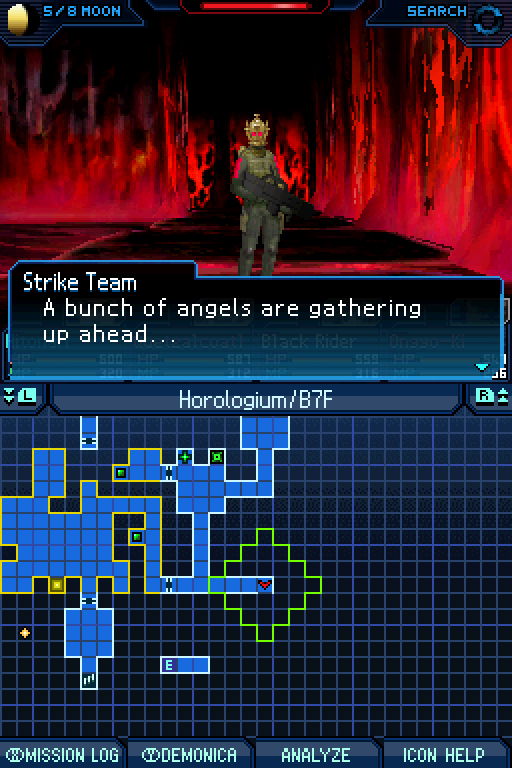
Also Ganesha, and it's actually behind you. Because you can't get here from the other path. Yeah, I dunno.
 How did they manage that without the enemy noticing? There must be some path that leads directly here...
Well, we can open this hidden door from here at least. Now the final shortcut back here IS open for realsies. This might be useful later, I guess.
But first we'll switch on over to the Sanctum A. We need this one to get anywhere else now.
Like this. This GS E door is only accessible here.
It lets us get this and a single AC X!
That's it.
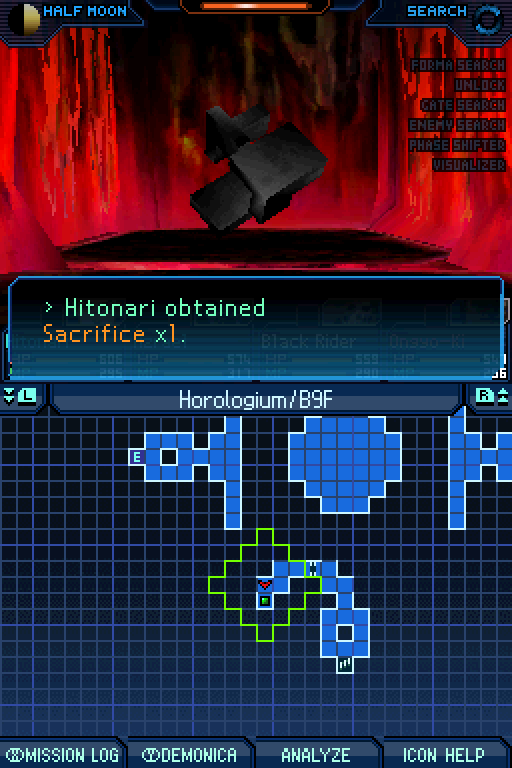
Boy I remember when I thought that the E doors would be, uh, good. And that was validated for a while, thanks to Beads of Life.
The Fear of God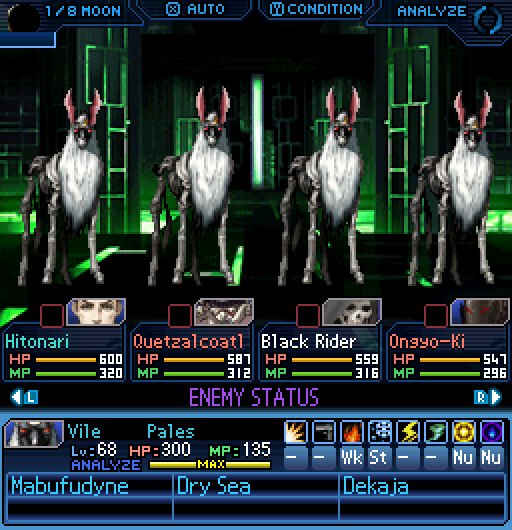
So, how about these here new demons, eh? There's one for each sanctum and one more in the original space for good measure. Pales is semi-boring and exactly how he looks, though his enemy version is the second and last demon to have Dry Sea. Which is something, I guess?
Usable Pales drops it for Vigilant instead. That's cool with me. Also his source gives Repel Ice. Since we got Drain Wind earlier, you might think that it's nice seeing an actual SMT game that finally acknowledges that Repel is better than Drain in, uh, every way. It kind of both does and doesn't; it's weird and dumb. It basically gives them both around about the same time for some bizarre reason.
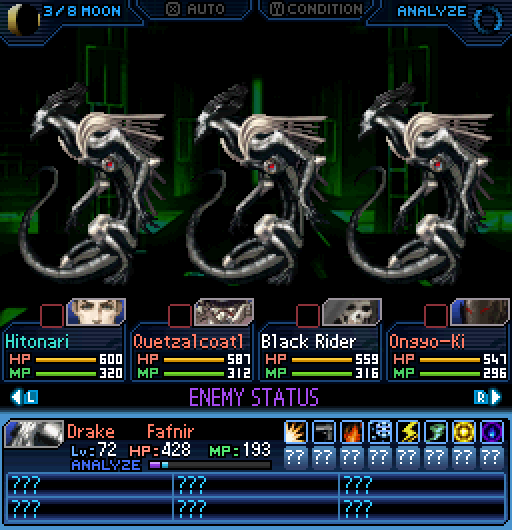
Fafnir is pretty solidly decent Strength demon. He's not that exciting but he's pretty okay. He resists Phys and Gun and is weak to Elec and Wind. Also 300% Mute modifier.
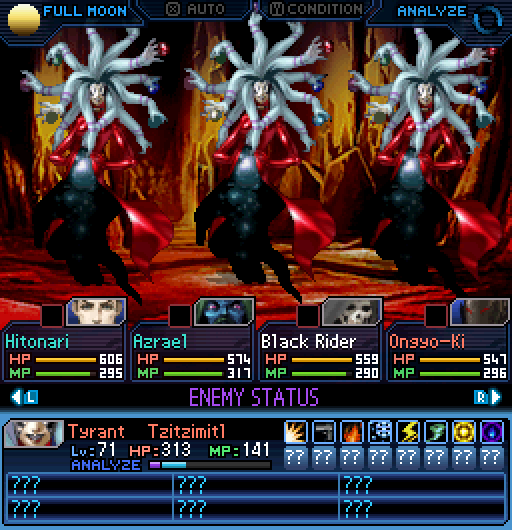
And lastly, somewhat rarely we have Tzitzimitl. She's immune to Expel and Curse and that's it. No other weaknesses or resistances by default. She DOES have Drain Elec as a passive but is neutral if you remove it.
Her source does not give it by default. Welp.
A Land Bringing About Life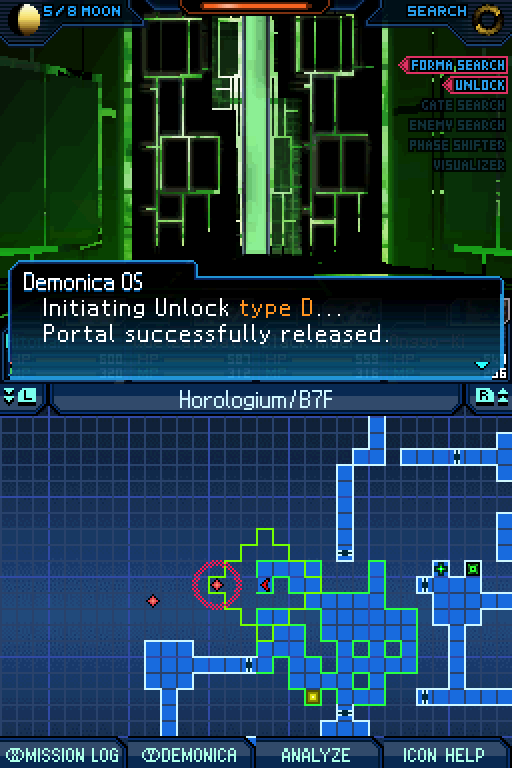
So, we've got a door over here that we couldn't get to before.
It lets us get to yet another switch. Sure not gonna complain here.

'Specially because it lets us continue onwards now.
There's another terminal and heal spot up here for good measure, and the stairs down to B8F.
Okay, so real quick: the map for this floor is a fucking tedious pain in the ass. Gotta phase shift for each area and then head on up and back here from various angles and there isn't even any extra items or anything. It's just about 4 whole tiles that can only be mapped this way.
Fuck this map, jeez.
Moving onwards, B8F doesn't really introduce a new gimmick per se. At least not in the same way. This happens thrice as we walk from one side to the other. It does this every single time you enter the floor. Every time. Despite that, this floor is the best place to grind stuff like Onogoro Stones just because there's so many Forma spots.
 O Lord, give your children strength to fight.
 ...Had you not ended his life, both he and the world would have been on a course to destruction. You are the warrior of salvation. Go to Mem Aleph with that honor in your heart.
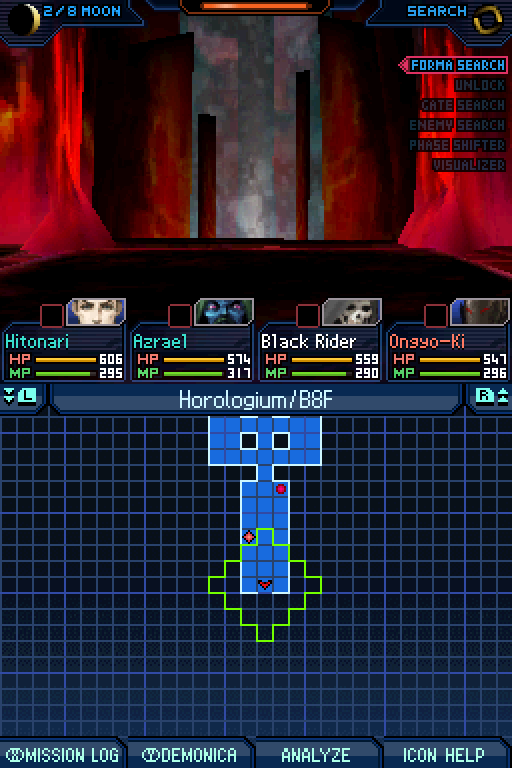
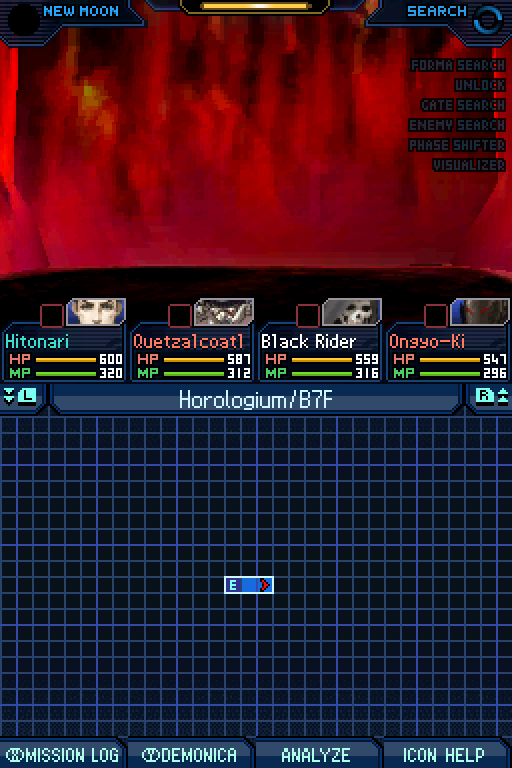
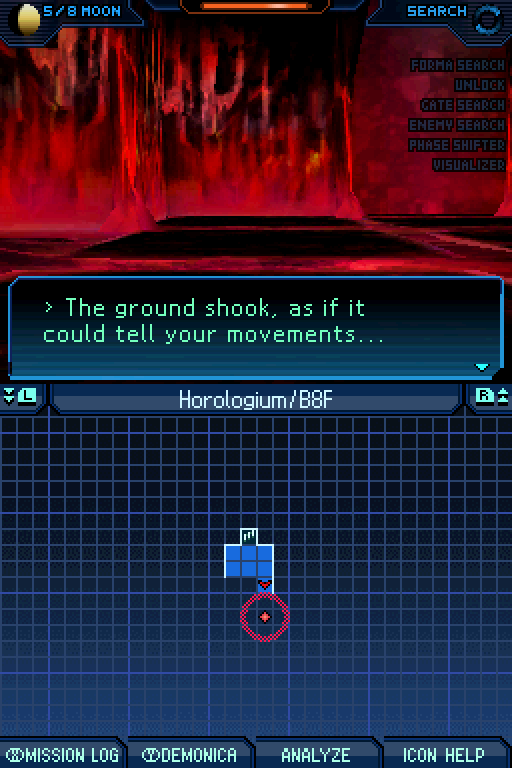
So, we're here at long last, huh?

A set of stairs leading down to B9F... It's not our first time getting to B9F, but it's the first time we've walked there.
Random encounters are still disabled down here, so we get a nice reprieve.
Also a fair few item containers just to collect a few things, that we may or may not need.
Well, this one leans much closer towards "may not." Probably.
A hidden door right here, next to one last terminal and heal spot.
And that's all we were missing to complete the map...

Sadly, we can't reactivate the elevator or anything. It's just permanently broken; shame too, it'd make a really good final shortcut.
Oh well, that's not important any more. What matters is that through this door, Mem Aleph awaits...