Part 12: I'm just one big tentacletease
Part 7: I'm just one big tentacleteaseSo given where I left off last time, I'm sure the lot of you were all waiting for this.
Not happening today. That fight is outright impossible if I dive right into it. It's still going to brutally beat me into the ground when I do attempt it, and I fully expect to die on it at least twice. But for now, we're going east. There's zero indication that you can or should go this way in the game, so it can be considered sequence breaking.
However, considering how much Obob jacked up the difficulty on what's already the hardest fight in the game, he almost certainly expected the player to go east instead. What we run into is this:
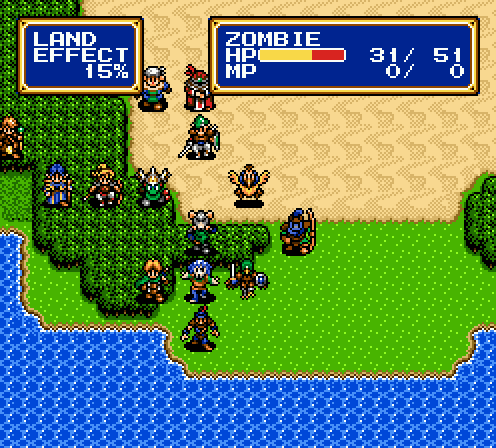
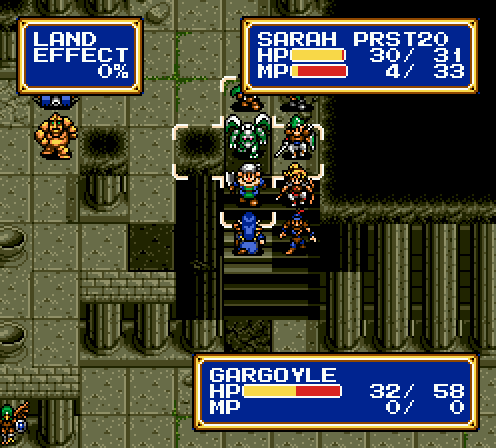
Big old desert fight. Kind of a pain because desert is 30% terrain now and we get these new fuckers
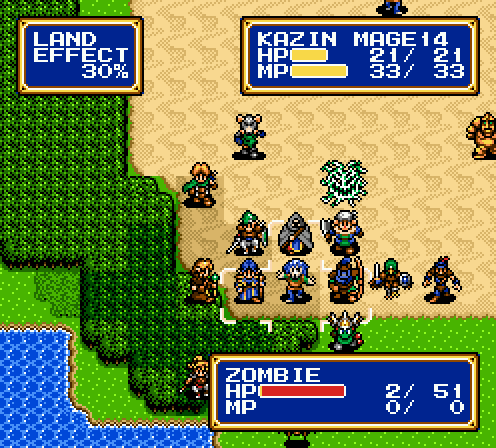
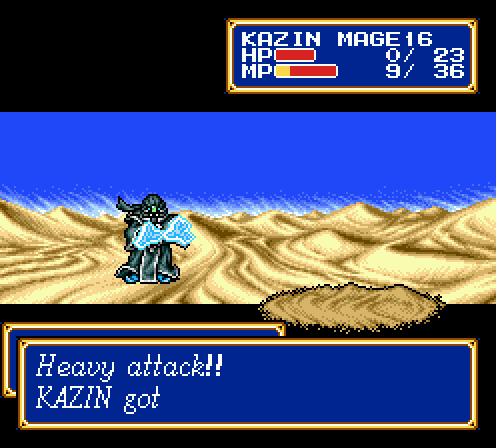
They may be slower than zombies, but they hit harder and are even more durable. If you'll notice, they have relatively low HP and wouldn't you know it, an elemental weakness to fire. Kazin's on point for this one, which is kind of a problem.
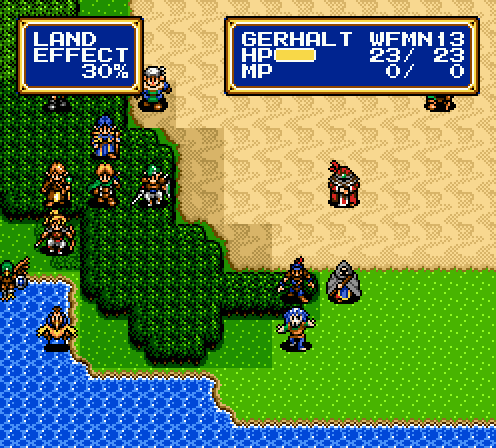
My starting location is actually a little to the left of that, but the point still stands. This fight is almost entirely in heavy terrain, and mobility is extremely limited. Chester and May have effective movement ranges of 2 for the entire fight. Gerhalt, Peter, and Luke get practically free movement, and everyone else is pretty slow in the 3 to 4 movement range. As much as I'd like to play super defensively and let the enemies come to me, I can't pack into a tight formation because Blaze 2 from the master mages hurts too much. On the other hand, taking the offensive risks getting my mobile units isolated and killed, leaving my army crippled.
This fight is deceptively difficult, despite no major enemy changes and enemies being spread out fairly far apart. This fight is a good example of how drastically dynamics can change with a few number tweaks, considering it's fairly easy in the original game.
Also, I've been forgetting to do this until now, but Shining Force 2 actually has a very good symphonic soundtrack. This is the rendition of the title and overworld theme, which plays every outdoor fight.
I guess the other thing that makes this fight difficult is that I forgot to upgrade Luke's sword back at Bedoe. The fact that characters come in with sub-par weapons equipped is really stupid and I wish that had been changed in the hack. Oh yeah, Luke having dumpy stats isn't helping either.
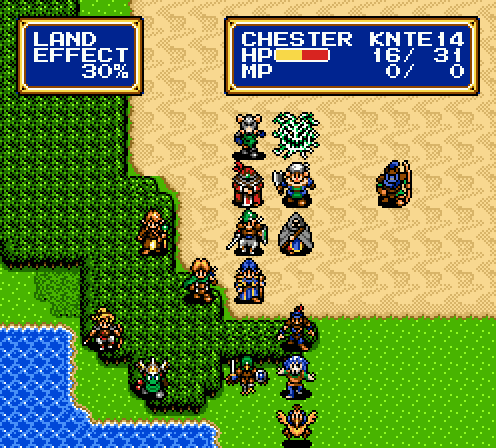
See how much of a clusterfuck this turns into? Good thing that Chester and Jaha take most of the leashes here. I'm starting to notice that the enemies seem to enjoy prioritizing Chester over most other characters, but I don't know if that's confirmation bias. Maybe I should add that to his short list of uses.
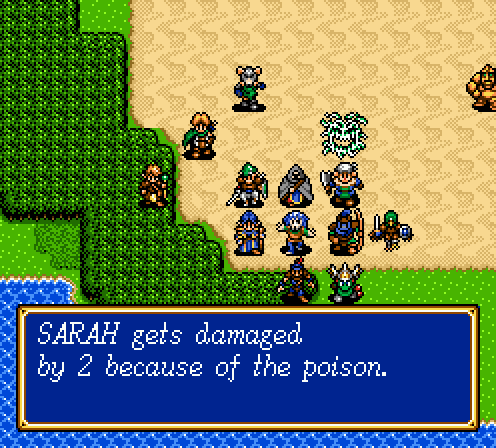
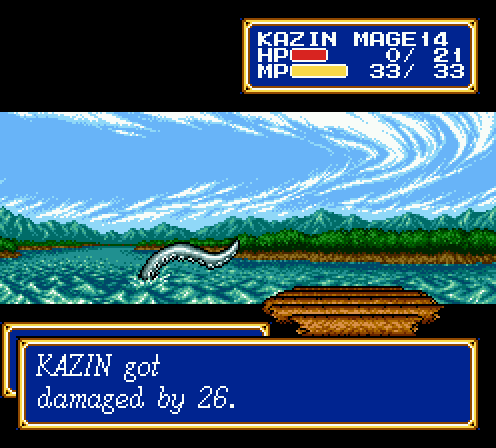
Oh yeah, one thing about zombies I almost forgot. Instead of critical hits, their special proc effect is to poison you, which deals 2 damage a round. It's annoying, but when Sarah is left at 3 HP, it's also a problem. I've heard that another rom hack makes poison do 25% of your max HP per round. I don't even want to mess with that.


The further into the game I go, the more obvious the archer vs flier bonus becomes.

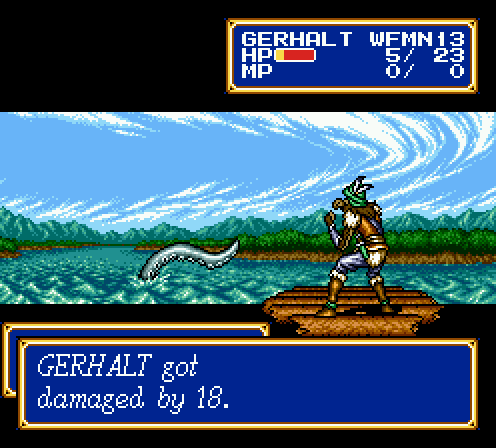
I lose Chester in the first clusterfuck of the fight due to carelessness, Sarah being spread too thin, and not stocking up on healing items beforehand. This is roughly where the fight begins to spiral out of control.
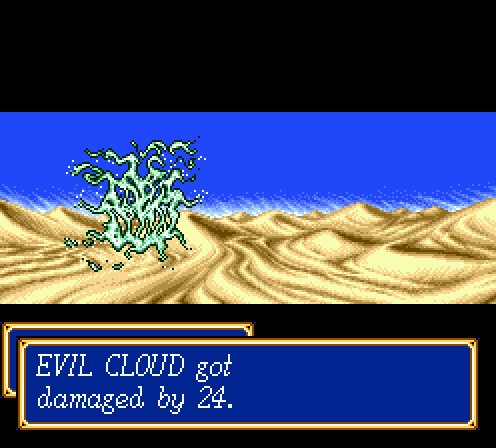
Now this is what I call a perfect situation. Catching two tanky enemies that are weak to fire elemental in heavy terrain. Kazin gets to do it again his next turn.
 After all that is done, here's what's left:
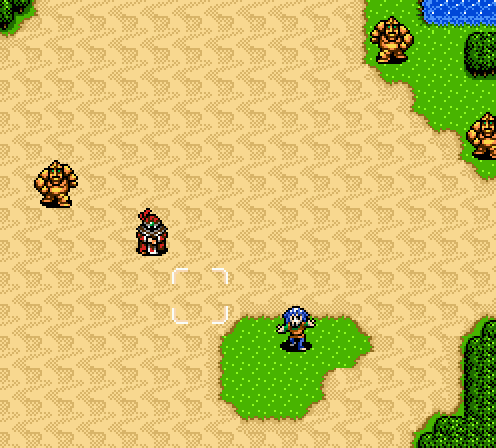
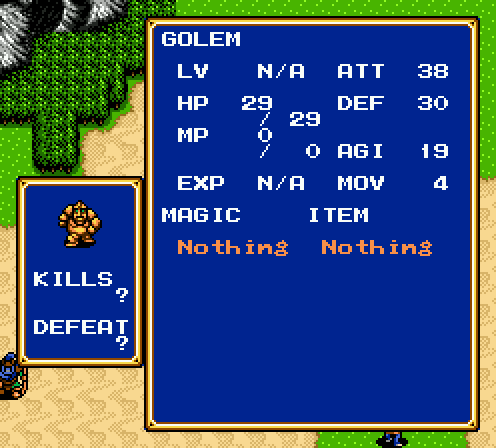
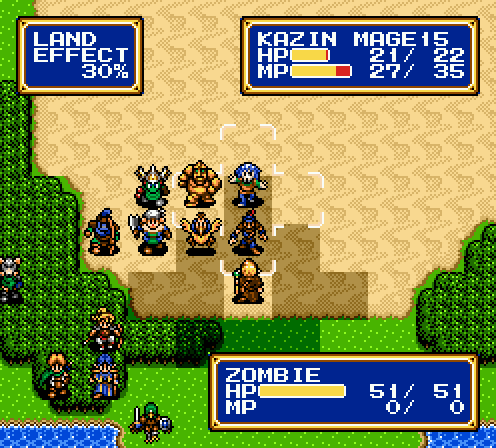
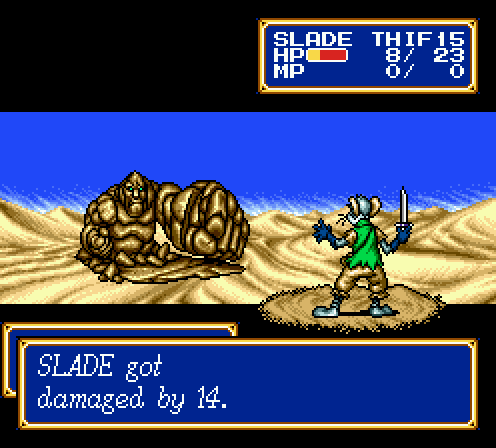
Not pictured: Another evil cloud to the north and another zombie to the west. Right now, I've lost Chester and Luke, Sarah is sitting on nearly empty, and Kazin has half his MP depleted. Considering how hard golems hit:
You can probably guess how this fight is going to end.
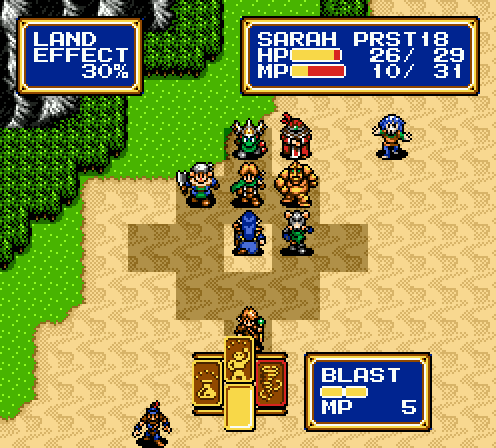
Blast 2 does just as much damage as Blast 1, but it's also an area effect. I don't know why I chose to use it here; I guess I was just that scared of golems. Six damage to a golem is still pretty good at this point, but I really should have saved Sarah's MP for healing.
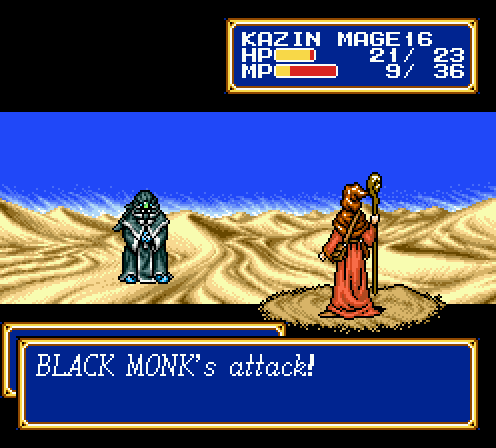
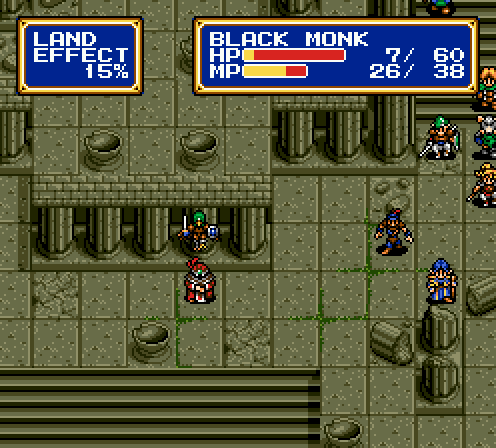
The thing that irritates me about this is that the black monk broke leash to do this, but it wouldn't have killed Kazin without that critical. A part of me wonders if the game knows when the RNG is going to generate a critical and plans accordingly. Wouldn't surprise me, really.
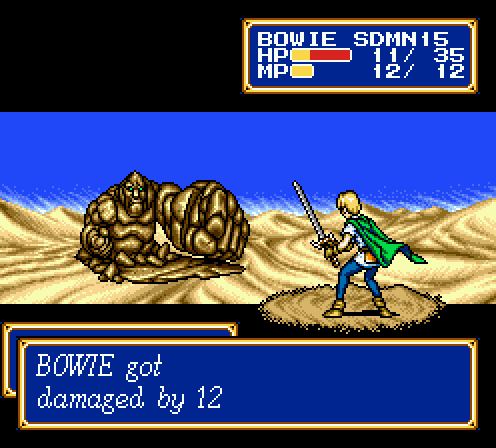
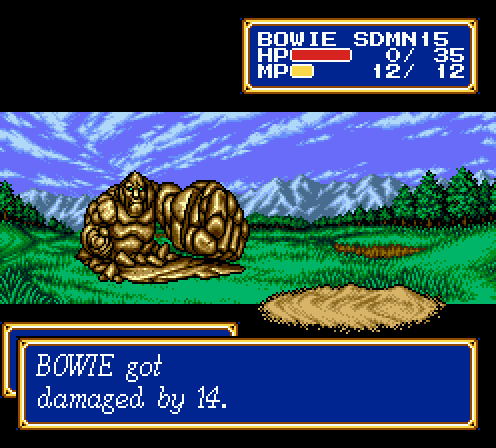
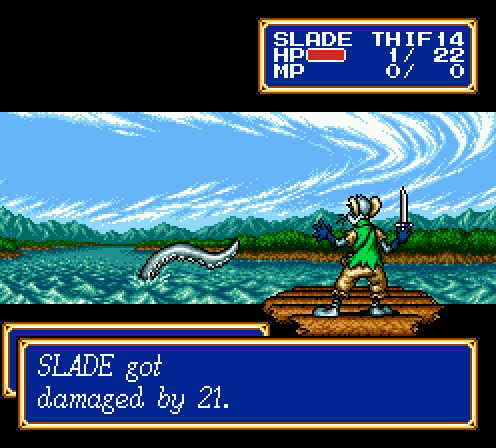
And that right there is my third Bowie death. While the other two were caused by a single mistake of leaving Bowie exposed for a turn, this was a bunch of small mistakes in the beginning that rendered me unable to finish the fight. I was finishing up the last cluster of enemies, a pair of golems and the evil cloud, but I didn't have enough characters left to be able to clear out that much enemy HP and still survive.
I am quite poor after that last excursion. I'll be able to recover most of that money, but I'll become much, much poorer in the near future. While I'm in Bedoe, I pick up a long sword for Luke and fill everybody's pockets with healing items.
Let's start this fight off right this time.

I believe Peter's attack is 35 or so, so this means Attack boosts your attack by a factor of 1/3rd. Not bad.
The archer bonus works both ways. Arrows deal more damage to Luke and Peter too. Luke is already made out of glass, so this just gives him an extra achilles heel. I have no idea why Camelot hates birdmen so much.
I manage to clear out the first fuck-off blob without any casualties. Using the power ring on Peter really made a world of difference. The rest of the fight really goes off without a hitch, but there's one thing worth noticing above all else.
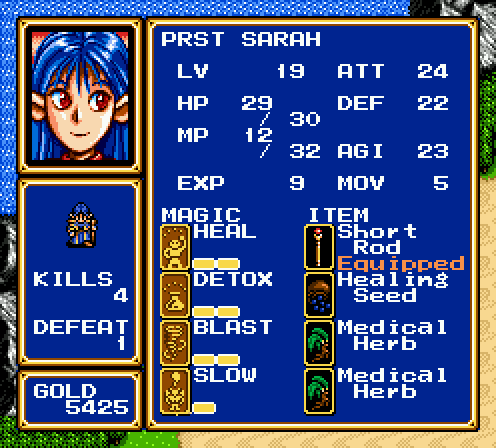
Sarah finally got her best spell.

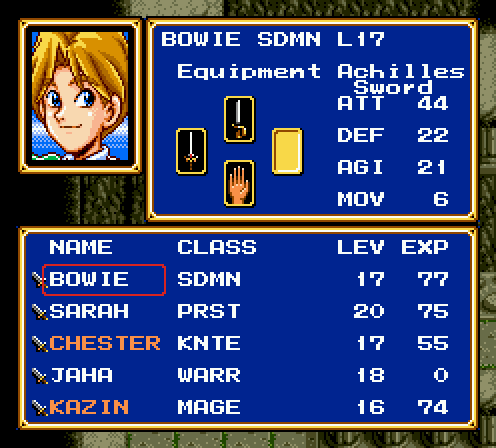
Battle Report!
 Level 16 1 HP/1 MP/2 ATT/1 DEF/1 AGI
 Level 19 2 HP/2 MP/1 ATT/1 DEF/2 AGI
 Level 15 2 HP/1 ATT/1 DEF/1 AGI
 Level 17 2 HP/2 ATT/2 DEF/2 AGI
 Level 16 2 HP/3 MP/2 ATT/2 DEF/3 AGI
 Level 16 2 MP/4 ATT/3 DEF/2 AGI
 Level 17 3 HP/5 ATT/3 DEF/3 AGI
 Level 14 1 HP/2 ATT/1 DEF/1 AGI
 Level 17 1 HP/2 ATT/1 DEF/1 AGI
 Level 16 3 HP/6 ATT/3 DEF/3 AGI
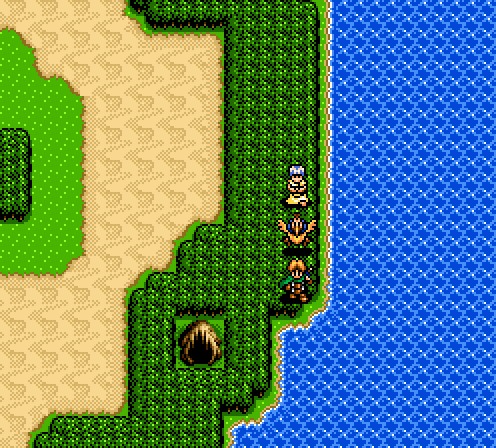
All that trouble for some random cave with a random guy hanging out in it.
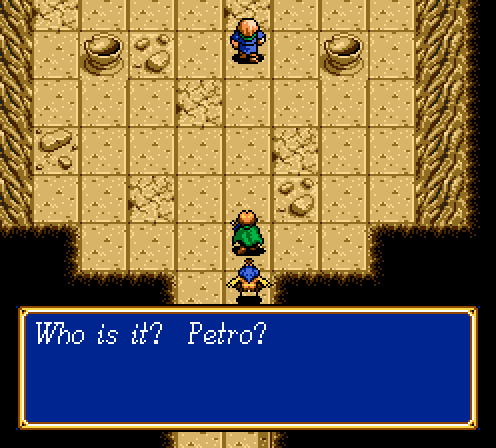
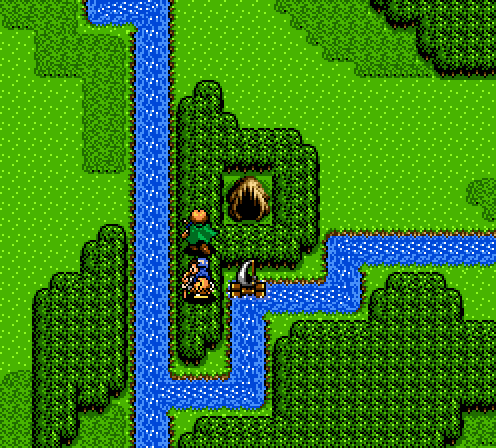
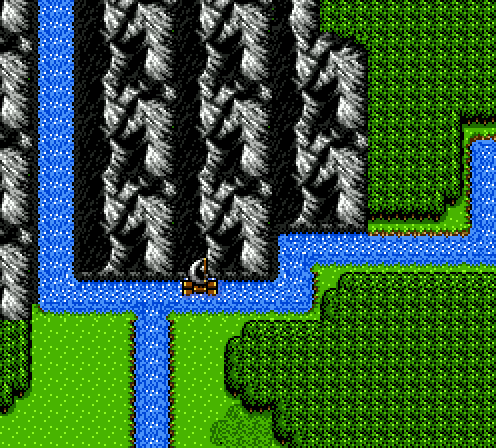
Nope, but you're coming along with us anyway. Also, there's a steel sword in here, which I toss onto Luke. Bowie's getting his own weapon upgrade soon enough anyway. Let's head on back down the river, just south of Ribble.
Yeah, typical.
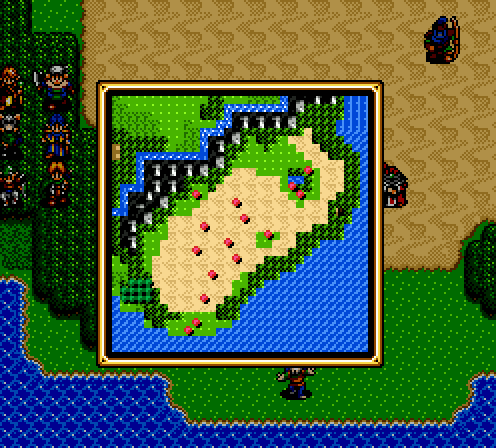
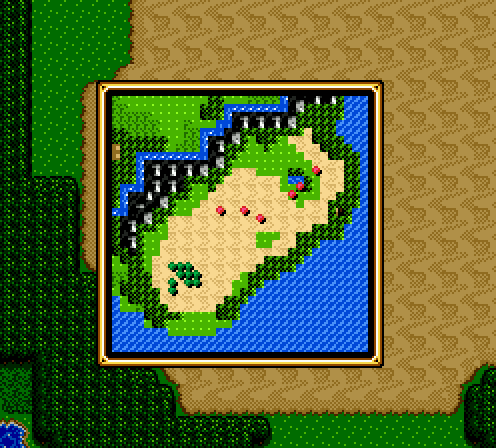
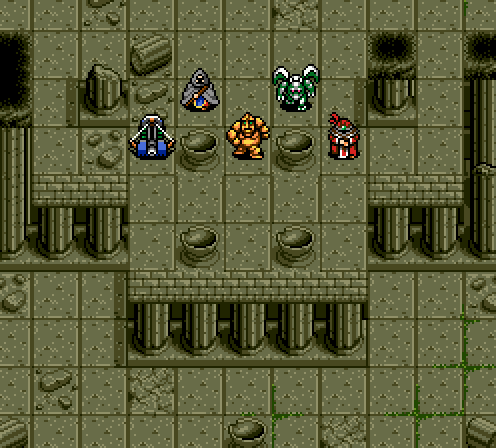
I forgot to take a screenshot of the map layout, but it's basically a giant O shape with four clusters of enemies, one in each cardinal direction. We've got two new monsters on the screen this time.
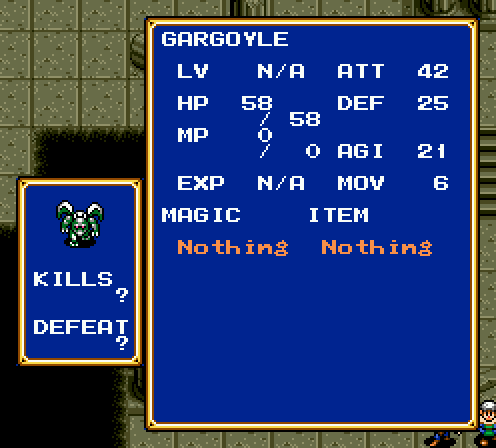
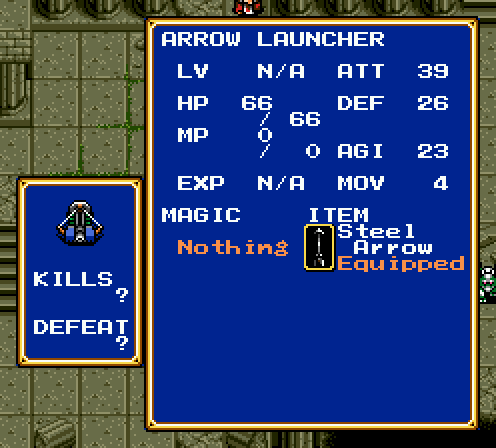
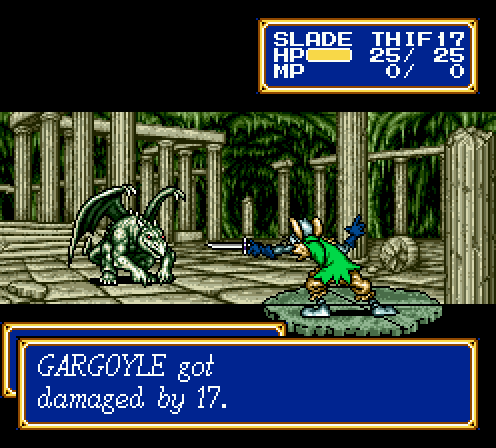
Gargoyles hit harder than ever, but luckily they fly and May is overleveled. Arrow launchers aren't anything particularly worrying, unless you're Luke.
This is also the first time we get to hear this track. The intro drags out longer than it should, but it's fairly unique compared to the rest of the soundtrack.
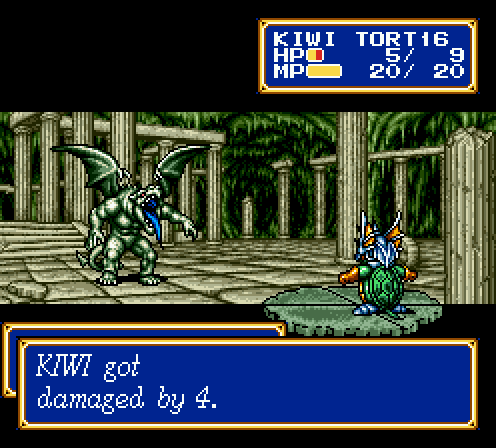
That's on 30% terrain, yet again. Damn, I'm starting to wish Kiwi would get better early defense growth.
Good thing I can take them out fairly quickly. Naturally, May does even more damage.
I think I was incredibly drunk when I went through this fight, because I caught almost no screencaps of it. Kiwi and Peter died due to my carelessness, but I make up for it with this:
Remember what I said about abusing healer AI? I crank Luke all the way up to level 17 off of this alone. That's three levels in a single fight, and this is considering Luke didn't do dick last fight. This is going to go a long way towards beating the next fight.
I alluded to this earlier, but this is Slow. It is hands down the best spell that Sarah gets. Why is that?
It also decreases agility, but who cares about that. The best part is that it's percent based, so monsters with stronger defense get hit harder. Don't forget that it's also an area affect. Any enemy hit with Slow should be a guaranteed kill within a round, otherwise you're doing it wrong.
The fight doesn't last long after that, mostly because I forgot that one of the arrow launchers was the leader, and killing it lead to killing all the other monsters.
Battle Report!
Level 17 2 HP/1 ATT/1 DEF/1 AGI Level 20 1 HP/1 MP/1 ATT/1 DEF/1 AGI Level 17 1 HP/2 ATT/1 DEF/1 AGI Level 18 1 HP/1 ATT/1 DEF/1 AGI Level 18 1 HP/1 ATT/1 DEF/1 AGI Level 15 1 HP/2 ATT/1 DEF/1 AGI Level 18 1 HP/1 ATT/1 DEF/1 AGI Level 17 1 HP/2 ATT/1 DEF/1 AGI Level 17 4 HP/4 ATT/3 DEF/4 AGI
You know, I'm not entirely sure why we're actually here. Is there a reason we actually want to go back to Grans Island? This was a completely pointless sidequest.
Except that we have to pick up this. Back to Ribble, and...
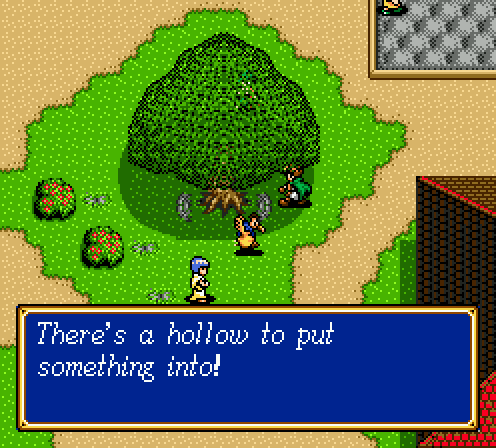
Fun little story for everyone. Back when I was eight years old, this was the point where I got stuck. Apparently all sides of the tree will give you that examination message, but you absolutely have to be in front of the tree when you use the wooden panel for the next part to trigger. If you try to use it on the sides – and I thought the message was only there on the sides – then the wooden panel won't do anything. This stumped me for months.
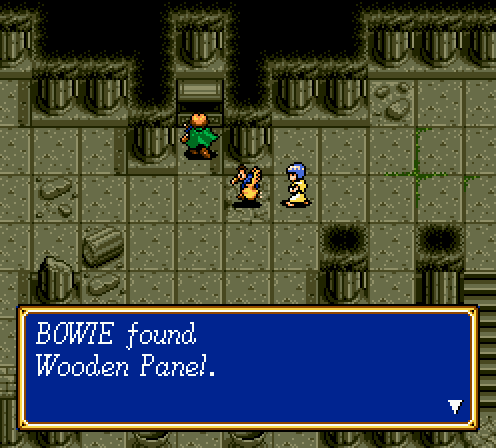
Anyways, using the wooden panel in the right spots opens an underground ruin and we get a new weapon for Bowie.
Looking good.
It's coming folks. Just you wait.
NEXT TIME: AAAAAAAAAAAAAAAAAAAAA