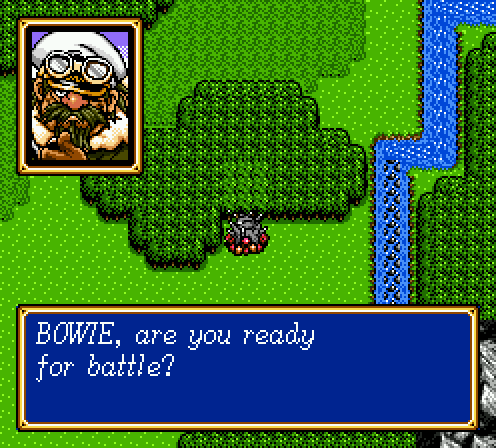
Part 15: I hate boss fights
Part 9: I hate boss fightsMost of you guys know what fight's coming up next. While this fight is overall easier than the kraken, I personally find it more frustrating.
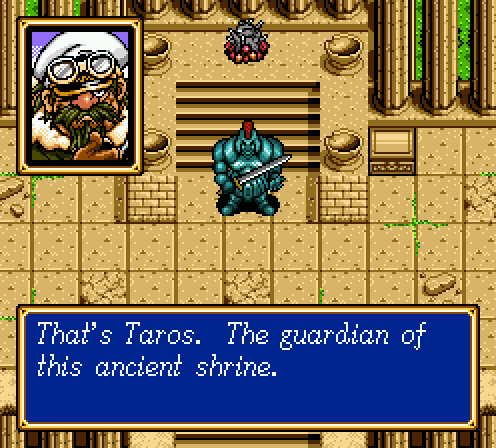
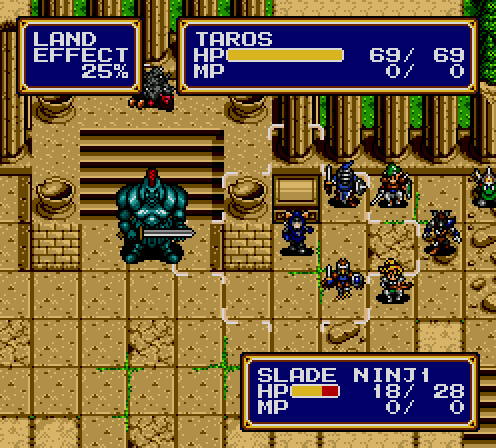
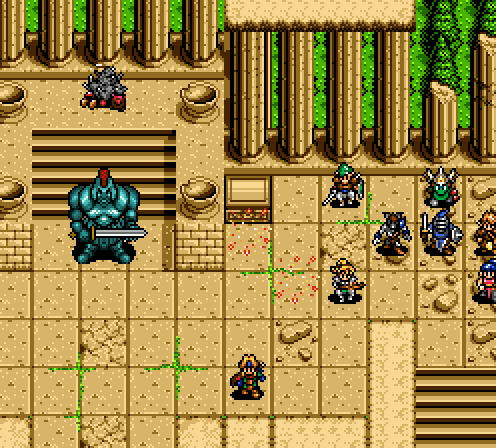
The plot to this game is fascinating, really. Ironically enough, Taros can't actually move, so there's nothing stopping us from just walking away. Well, nothing but game mechanics and JRPG linearity.
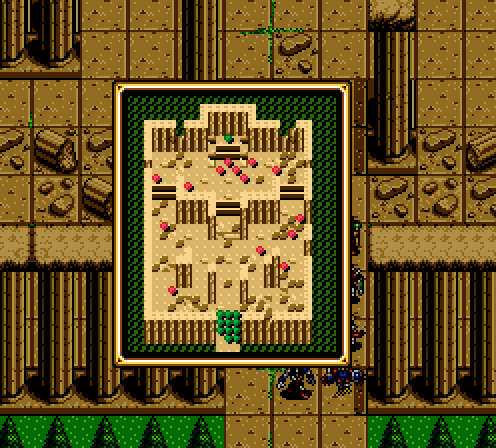
There's not a single new enemy on the map. There's a master mage and black monk all the way back from Polca, but this is the last fight for those units. Golems show up too, and they're also a non-threat. There's an assortment of gargoyles, arrow launchers, and soulsowers, but I'm not worried about any of those either. What's irritating is that because all of the enemies are old hat, none of them dispense any worthwhile experience. All in all, apart from Taros himself, this fight is actually a walk in the park.
The music that plays in this fight is the same shrine music from the wooden panel fight.
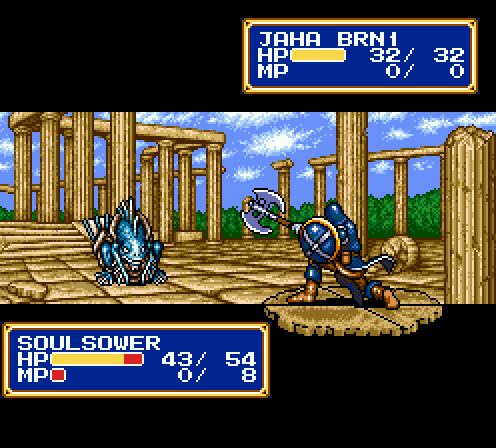
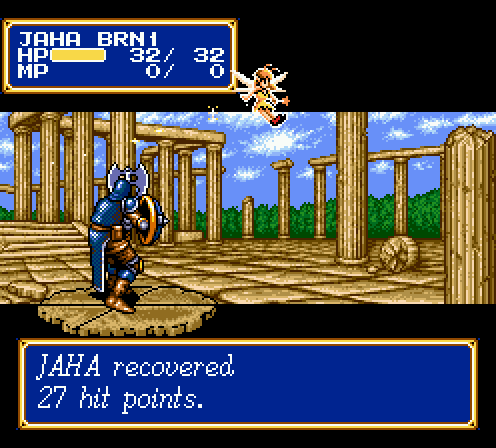
Jaha's attack animation after promoting to baron. Like I said, he's now a full sized human. I don't understand how it works either.
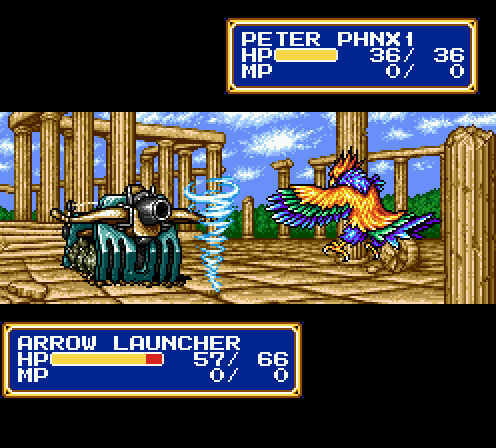
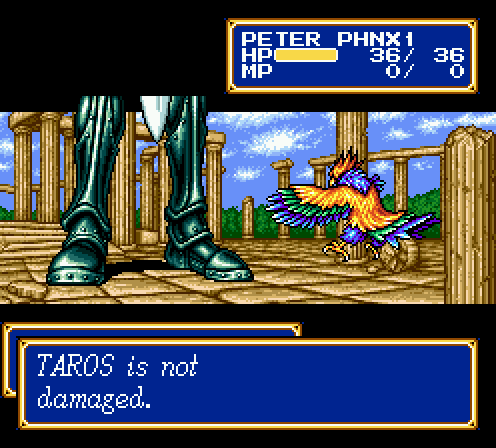
Despite being a firebird, Peter summons the power of the wind to fight his enemies. I can't really argue with his plumage, though. Maybe Volcanon was onto something.
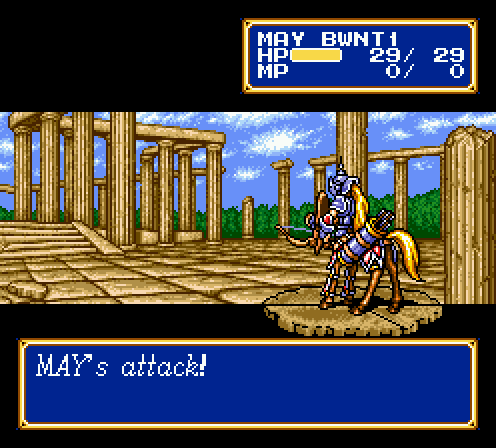
May's promoted sprite is one of my favorite. Her armor design is just so very badass that I can't stop gushing over it.
Proof that magic gets a 25% boost after promotion. That's Heal 2, which ordinarily has a cap of 25.
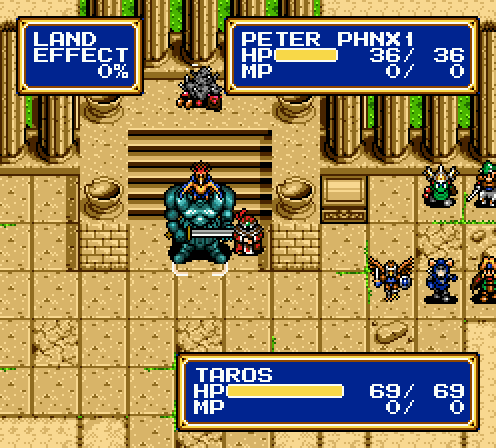
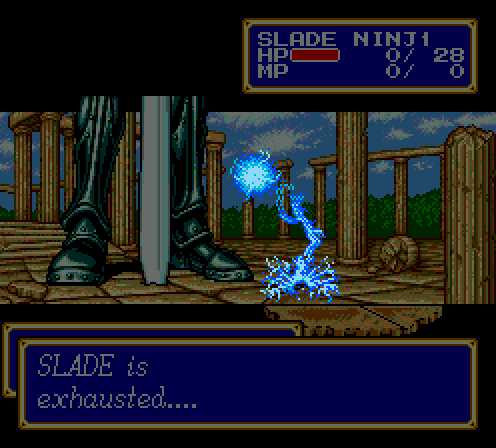
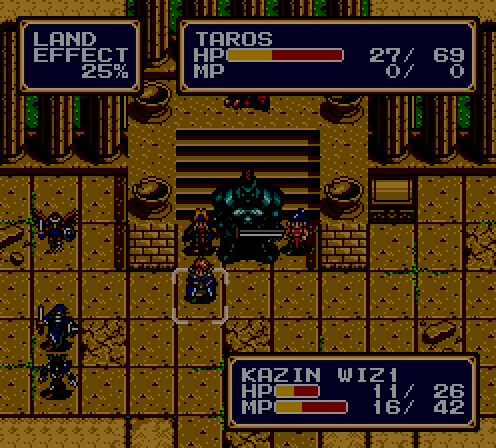
Okay, so here's the rub about Taros: He's invincible. The only weapon that can hurt him is the Achilles Sword, and only Bowie can equip it. Before you ask, it is impossible to start this fight without the Achilles Sword. It's required to get Rohde to follow you, and if you entire the Taros Shrine without Rohde, you just automatically retreat. So while the entire Taros fight in and of itself isn't quite as difficult as the kraken fight, the actual condition to beat the boss is a hundred times more frustrating. Especially when you take this into account:
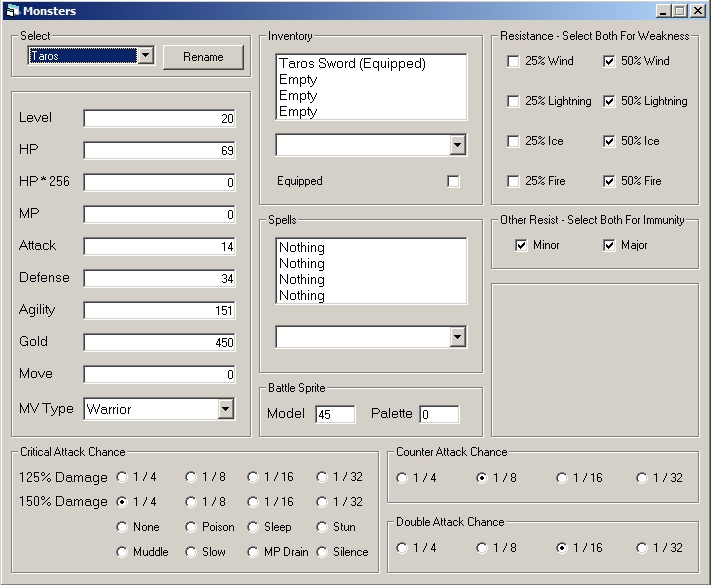
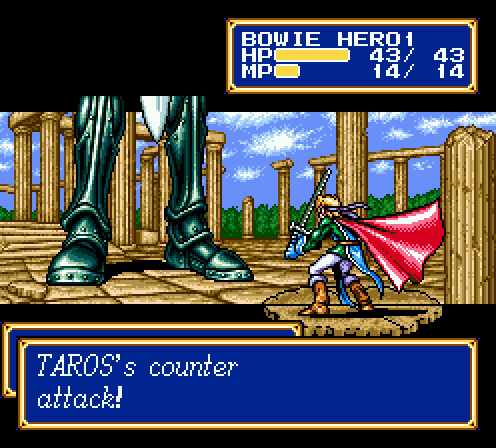
That's right, he has a 25% chance for 150% damage, and he's going to abuse it a lot. The high counter chance doesn't help anything either. Don't forget that he's a boss, so he takes twice as many turns as everyone else. Oh, and there's this too:
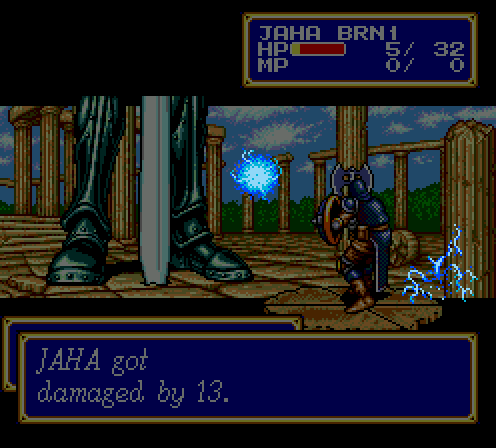
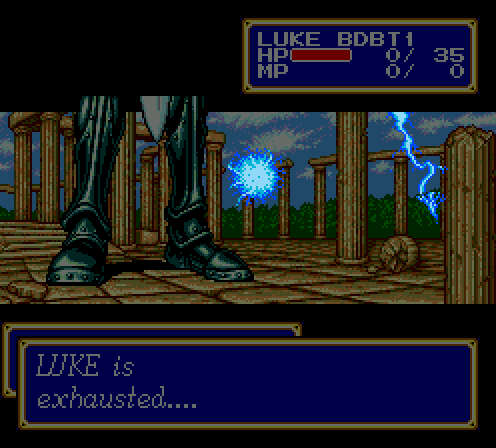
The Taros Sword casts Bolt 2 when used as an item, and you'd better damn well believe the thing never breaks when Taros is using it. Thus, the problem arises that if you send in units to heal Bowie, Taros is just going to slaughter them with Bolt 2. What you more or less have to do is send in one unit at a time to heal Bowie. You pray that Taros leashes onto them for some reason, and if Taros uses Bolt instead, you just let that guy die and send in the next one.
It's really ugly and ends up in a lot of deaths. There is no tactic I am aware of to get through this battle without sacrificing half your army.
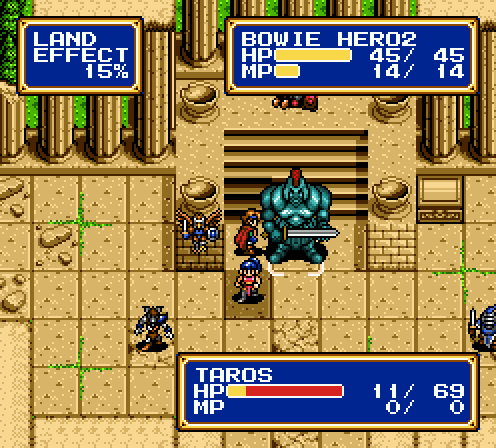
Also, let's compare stats between Bowie and Taros:
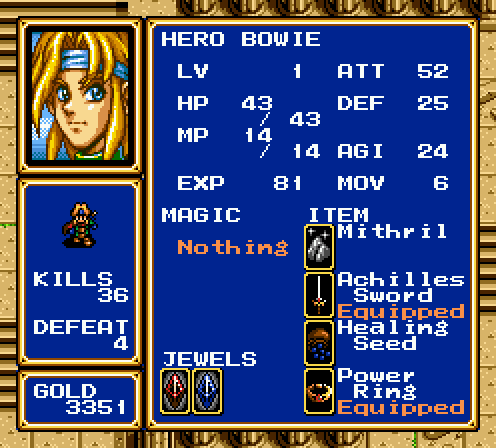
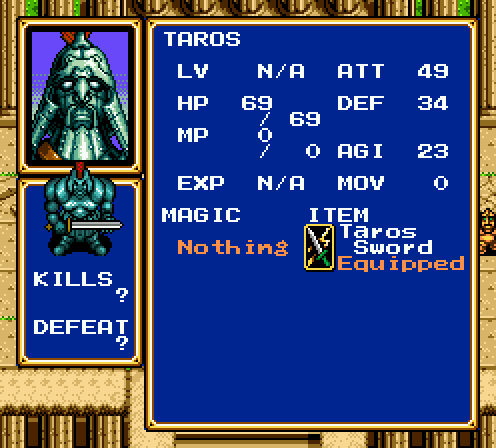
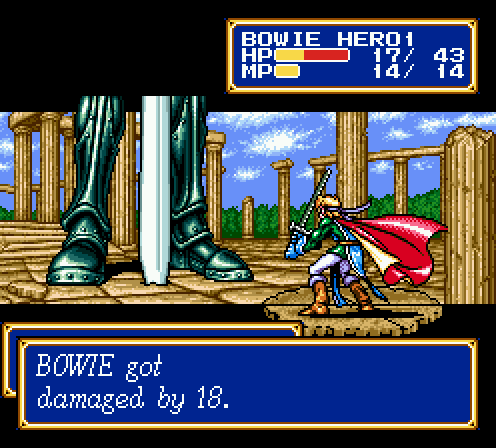
Bowie will be doing about 13 damage at hit, so it's five attacks to kill Taros. Conversely, Taros does about 20 damage to Bowie, so that's three hits. Since Taros acts twice, that's actually two turns, assuming Taros decides not to triple-turn me. Oh, but if Taros ever crits, it's only two attacks. So there's actually a 25% chance that Taros will outright kill Bowie without giving me a chance to answer.
Or this could happen the first time Bowie attacks.
And then I get double-turned. See, this is what makes the Taros fight so frustrating. While the RNG is still a dick during the kraken fight, you can still minimize risk with careful placement and strategy. Playing smart actually helps you get through the fight, so you get a sense of accomplishment afterwards. Beating Taros is literally a case of “hope the RNG doesn't fuck me over”, but it still will. The fact that the entire fight is a snooze outside of Taros just makes it even more insulting.
After Taros backhands me all the way back to Hassan, I at least get Chester, Kazin, and Kiwi promoted. For Chester this means dick-all, but it's a nice 25% boost to damage for Kazin. For Kiwi it means gaining 2 MOV, a fire breath attach, the ability to fly without losing terrain effect, and this:
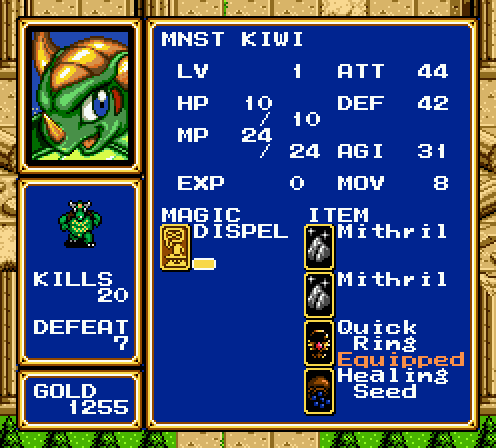
Kiwi's flame breath is actually rather nice. It can be used on command as a spell, but Kiwi doesn't learn that immediately. It will randomly proc, but unfortunately it still counts as a “spell” and cosumes MP for it:
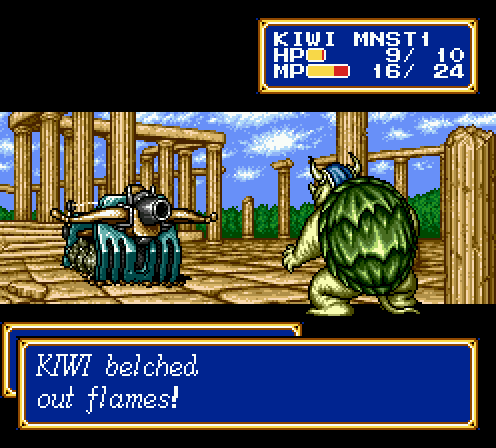
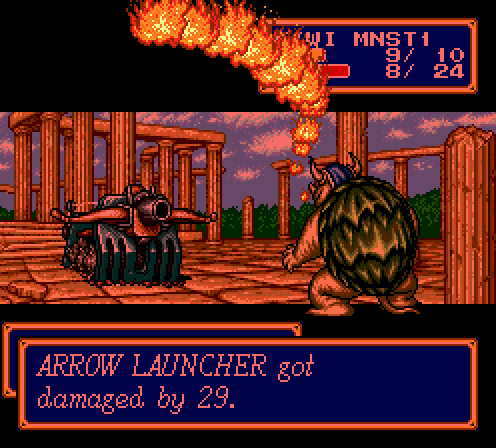
The strange thing is that if Kiwi is out of MP, the flame breath can still randomly trigger. Probably a limitation of editing purely through SF2Edit and not hacking directly to the source code.
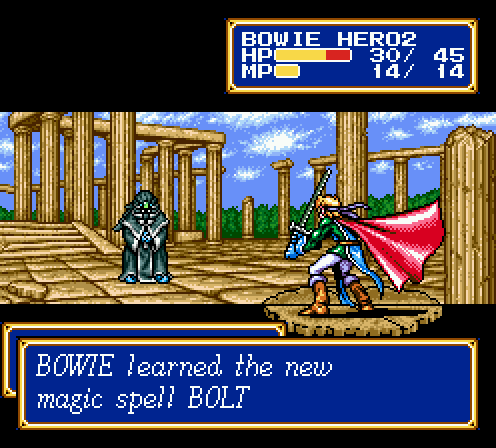
Bowie finally picks up a spell, but it's not going to be useful for this fight.
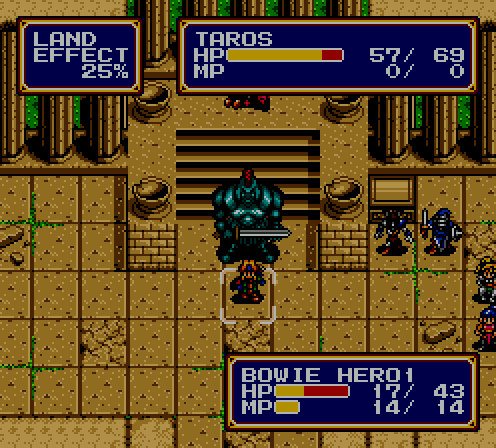
Here is where I somehow get lucky. Taros decides to ignore Bowie and keep hitting Kazin, which surprisingly doesn't one-shot him. I can keep Kazin on life support for a few turns, giving Bowie the time to whittle away at Taros's life.
By the time Taros has actually managed to kill Kazin, he's got one hit left. I save stated right here on the chance that Taros dodged the attack. Yes, Taros can fucking dodge, even though his stupid sprite doesn't have an animation for it. Fuck you, Shining Force 2.
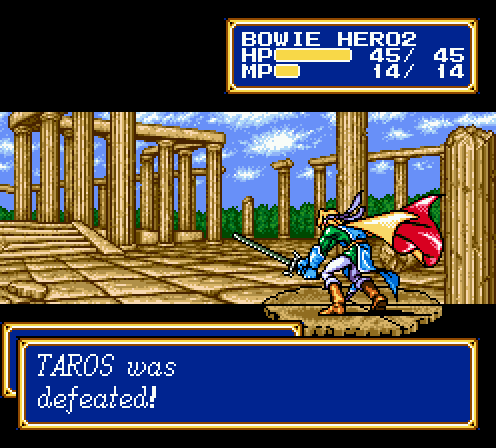
Fuck. You.
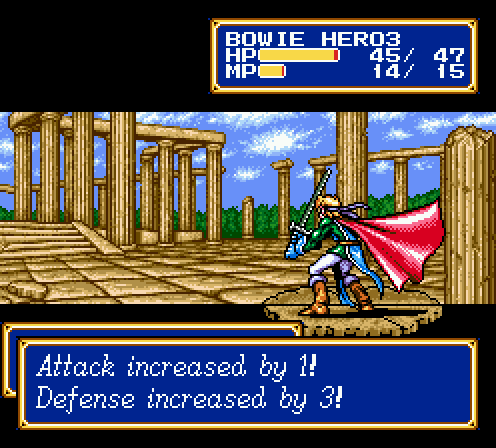
Wow, I could have really used that 3 defense before. Sadly, the most experience I can get out of this fight is around 35 for defeating an arrow launcher. Being at promotion level is pretty much a wall stop for experience at this fight.
Battle Report!
 Level 3 4 HP/2 ATT/5 DEF/4 AGI
 Level 3 2 HP/1 MP/1 ATT/1 DEF/1 AGI
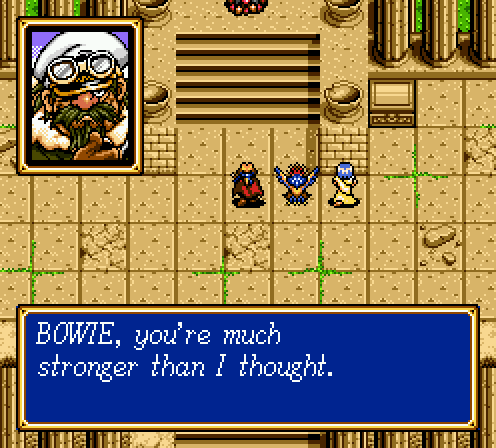
Yeah well, this fight is much more of a dick move than I'd remembered.
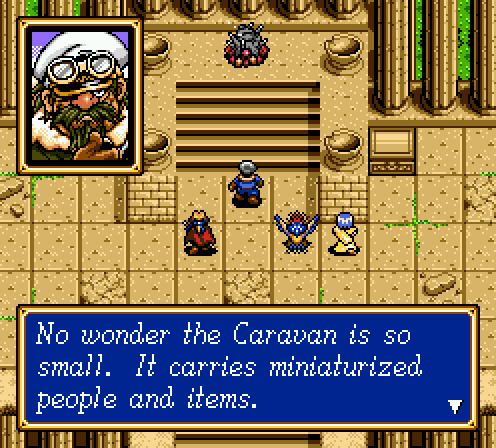
The caravan will now act as our mobile HQ. It allows us to choose who is in our army (though we still haven't reached our limit yet), and store an unlimited number of items. Needless to say, I'm chucking all the mithrils in there so free up inventory space.
With everyone dead, I need to high tail it back to Hassan, Unfortunately, when I try to get back there:
Yes, that fight before the Taros Shrine can randomly trigger again. I had to reload the state from before I finished off Taros three times before I could get back to Hassan safely.
This is Chester's replacement, Rick. He trails behind Chester in attack ever so slightly, but his defense is one of the highest in the game. Rick is actually a decent candidate for promoting to pegasus knight, but he arrives at level 19, so we'll have to revisit that option later.

After reviving everyone, I'm poor again. Luckily, I manage to squeeze out just enough gold by selling all my old items (did you know the sell rate in this game is 75% of original price?) and hocking a few miscellaneous items – namely the Secret Book and Vigor Ball from the next town. The most important items here are the Robin Arrow, which allows May to pick up extra range on her attacks, and the Leather Glove, which finally gives Sarah a weapon.
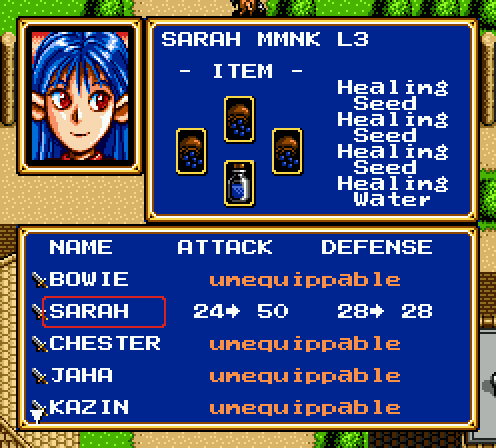
And what a hell of a weapon it is.
Also, this tidbit is late, but I thought it was worth including given how much trouble I had last update:
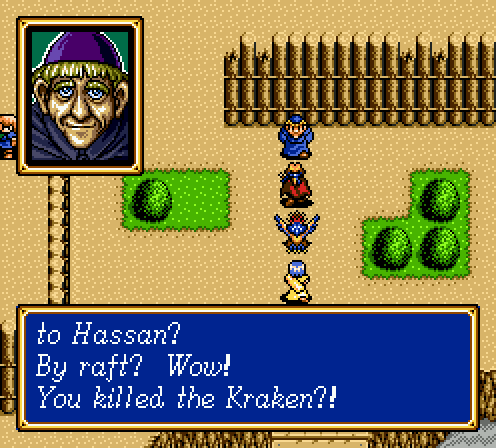
Yeah buddy, you've got no idea.
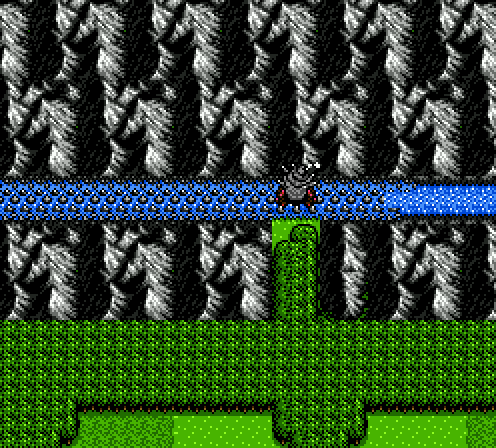
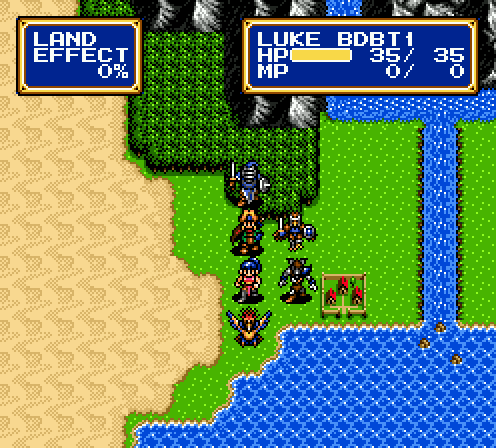
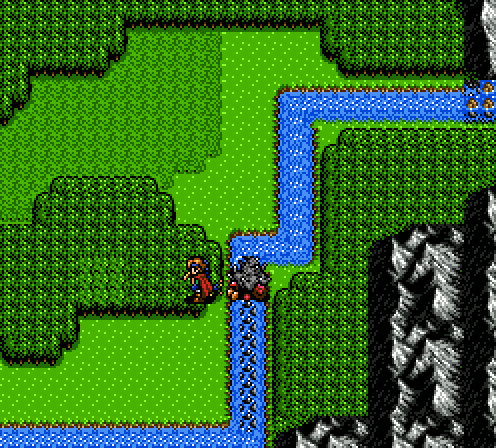
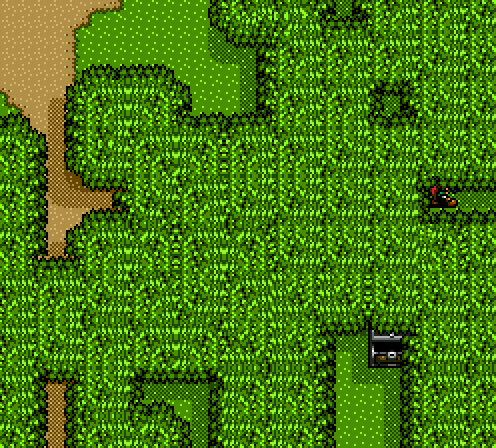
We get to progress now thanks to the caravan. There's absolutely no indication of this, but the caravan gets to travel across rocky rivers. I don't know how you're supposed to figure this out as a kid, but there you have it.
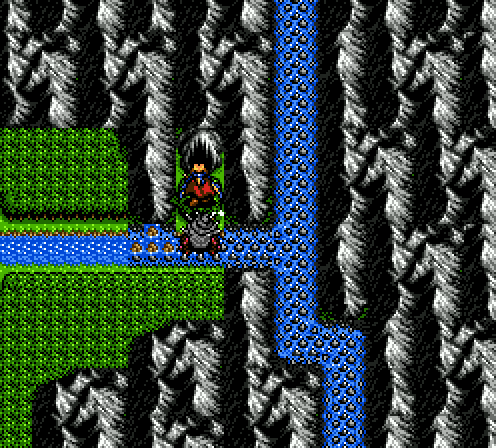
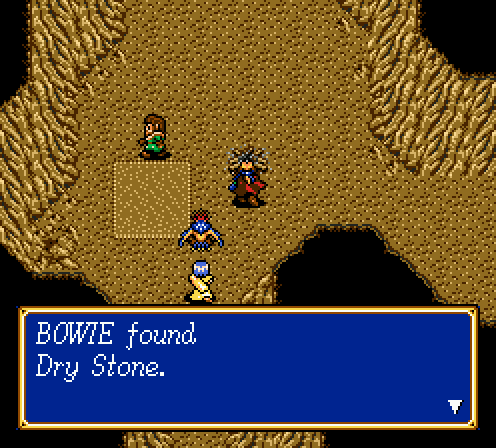
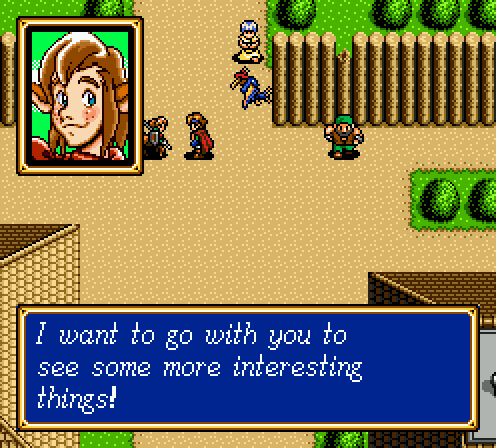
There's some plot here about how these hairy monkey dudes needs to find a fairy, but I'm just here for the leftovers of their campfire. I'm going to need this if I'm going to make any use of the mithrils I've collected.
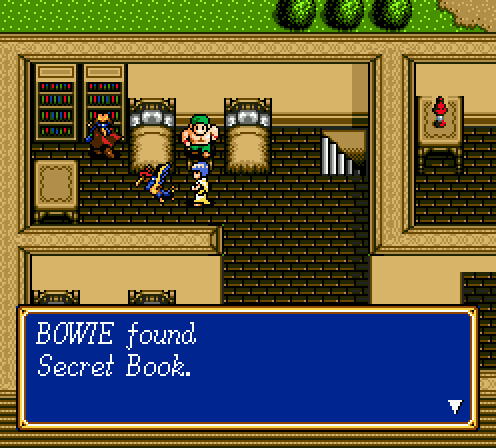
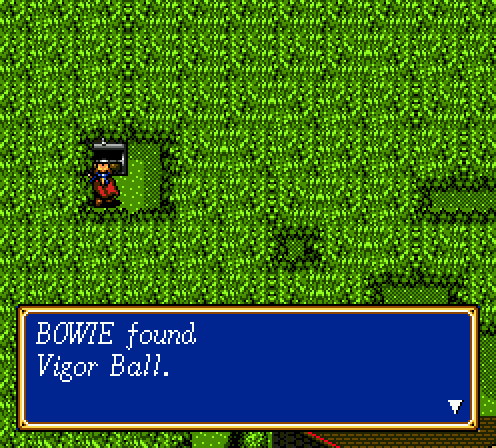
See the slightly discolored forest square? That's the “secret” elven town. It doesn't have much in it, but it does kind of refer you to the next plot point. It also has my favorite track on the arranged album. Also, it contains these goodies:
In the last screenshot, if you keep walking off to the right you'll encounter a “bonus stage” where you try to clear a map of enemy monsters as quickly as possible. This was the easiest way to promote at level 40 – the first enemy on the bonus stage was a Demon Mist, a monster that doesn't appear until way the fuck later in the game. Because monsters keep respawning, you could just keep killing the Demon Mist until you hit level 40 and promote. It's hard at first because the Demon Mist generally one-shots everyone, but you figure out how to game it after a while.
Needless to say, I won't be doing that for this playthrough.
If you step on top of the caravan and press C while on the world map, you'll enter the caravan and get a few options to manage your stuff. It also plays this music
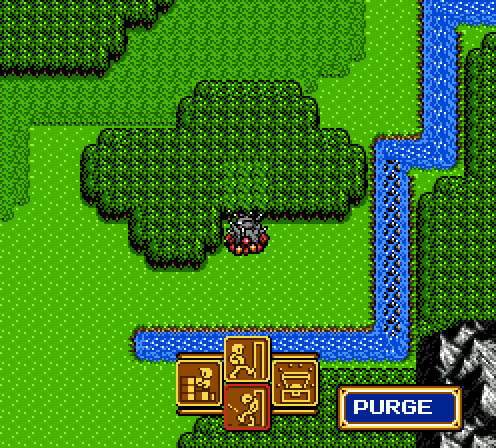
The options from the top and going clockwise are Join, Item, Purge, and Depot. Item works exactly like it does in the normal menu and was probably included to keep the menu full. Join and Purge are just deciding who's in your active army and who's on the bench. We can't make much use of it right now because we're at exactly 12 characters, which is the limit for how many you can bring into battle. If I really wanted to, I could purge people and bring in less than 12 characters, but Chester is still useful as a punching bag for the time being. The depot is your item storage with a new sub-menu to it:

At the top and going clockwise it's Look, Derive, Trash, and Deposit. Trash just throws away an item; Deposit and Derive are just putting things in and takings things out of storage. The Look function allows Rohde to spit out completely useless text about an item at you. He'll include the sale price, which I guess is kind of useful, but not really.
The one really nice thing about the caravan storage is that it repairs items for free. If you crack an item, you can drop it into the caravan and pull it back out. When you do that, the game forgets to store that the item was damaged, so you pull out a shiny repaired item for free. You'd better believe that I'm abusing that bug to hell and back, given what I just had to go through.
NEXT TIME: Fire the anti-air shells!