Part 23: The build up!
Part 15: The build up!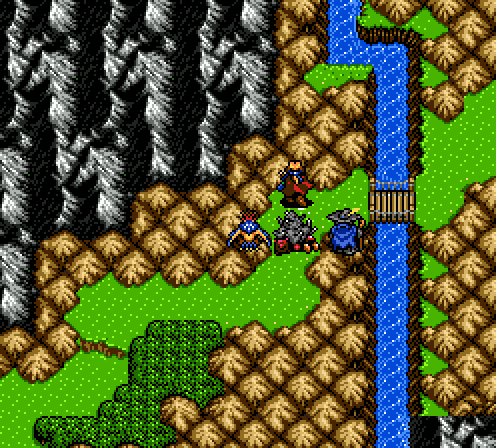
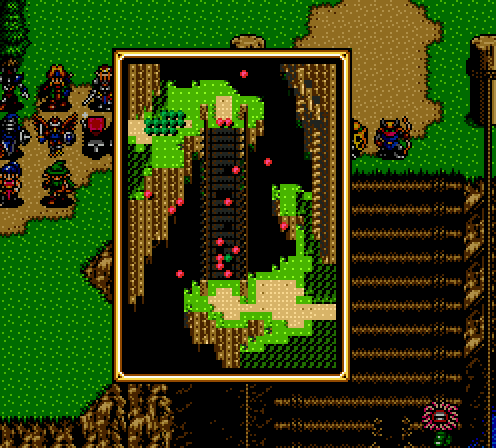
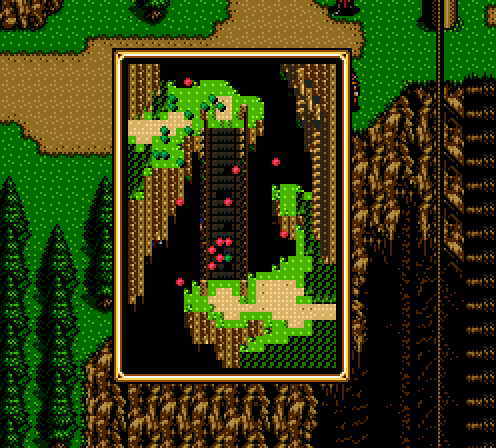
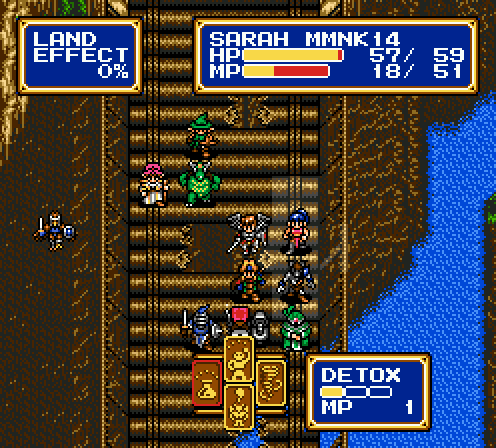
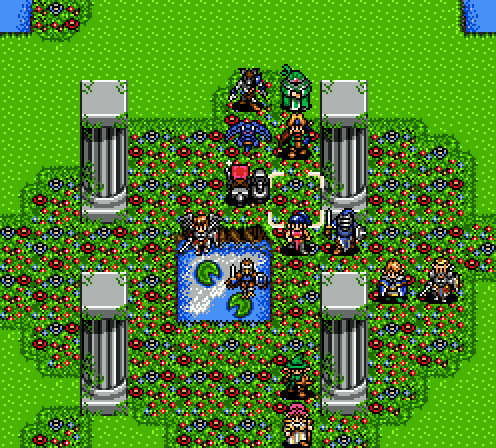
That cliff in the lower left is the single time we will see aberrations in terrain. Of course, it doesn't do anything.
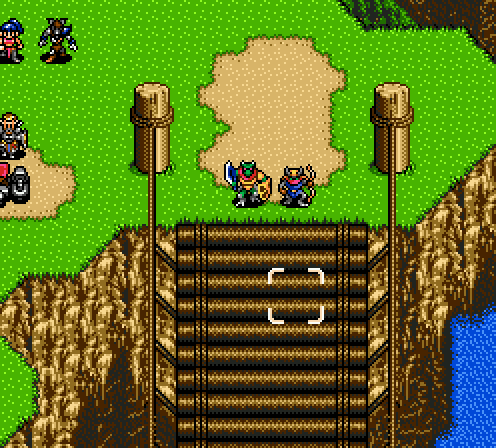
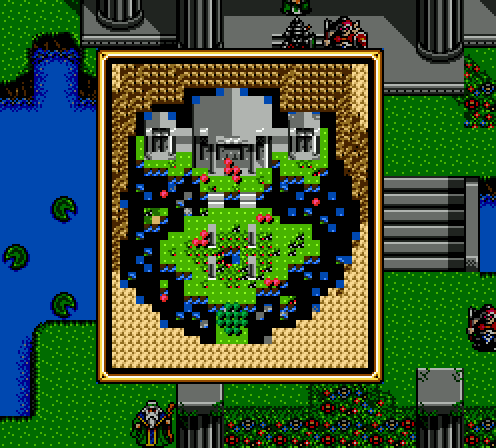
When we get to the bridge, we actually enter a smaller area.
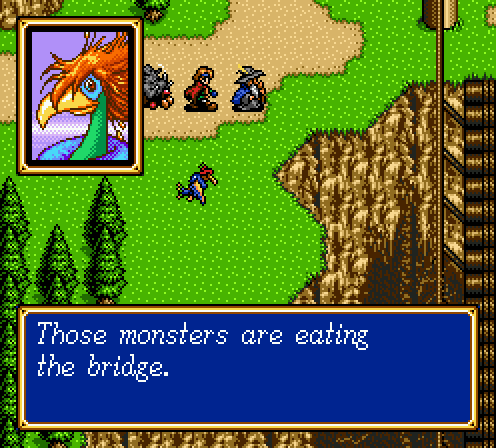
Naturally, there's no special fight conditions. She's just a roadblock on the map.
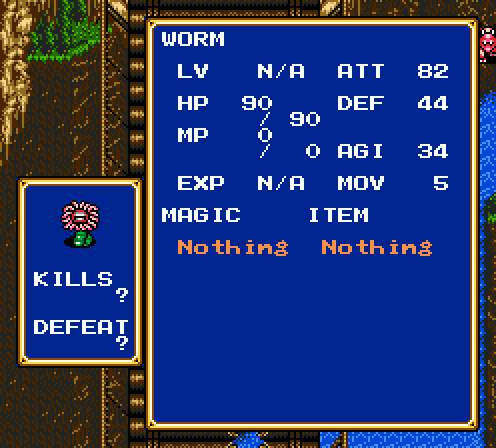
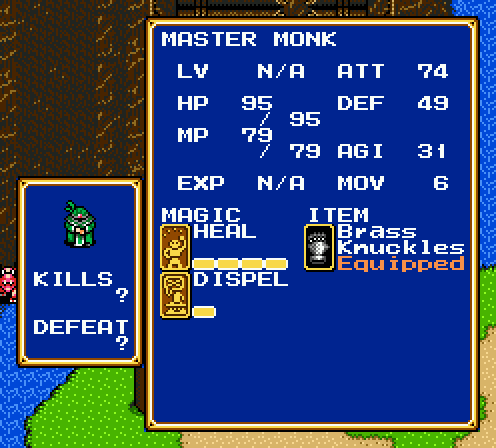
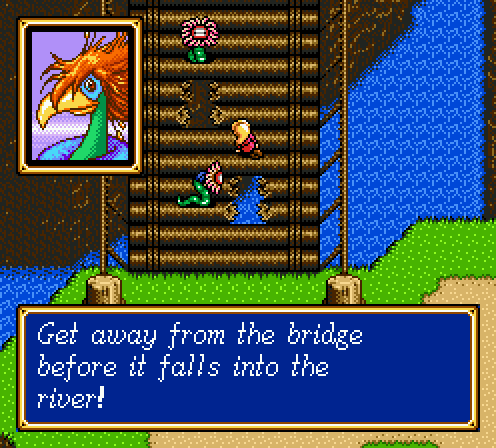
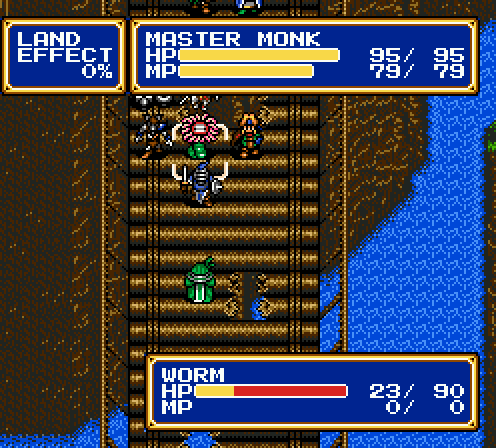
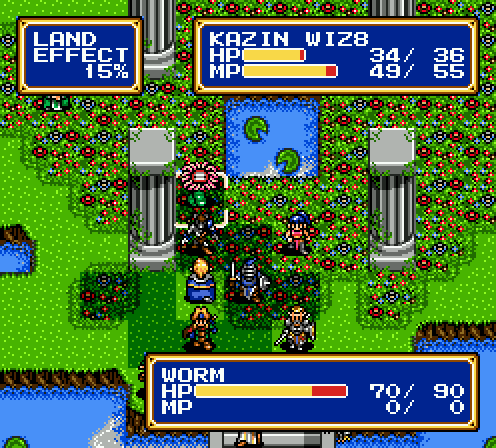
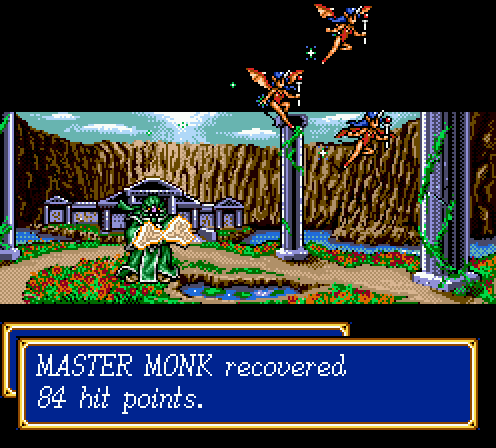
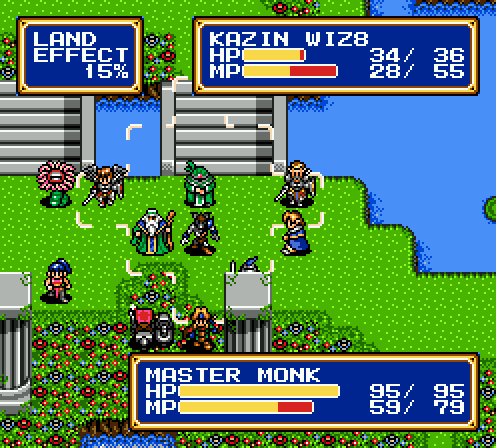
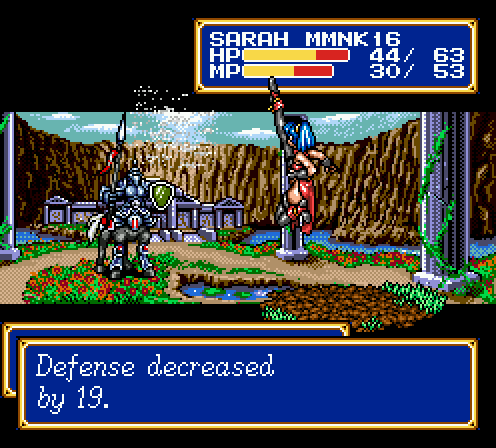
Worms hit really hard, but they're pretty glassy. It definitely helps that the entire bridge is 0% terrain effect. Monks hit decently and have a high counter rate, but the real problem with them is that they're packing Heal 4. The spell is effectively a full heal – the actual limit is 255, but the number of monsters that wouldn't full heal can be counted on one hand. Originally, Heal 4 was melee range only, but now it has a range of 3. Which is great when I want to use it, but I don't have it yet!
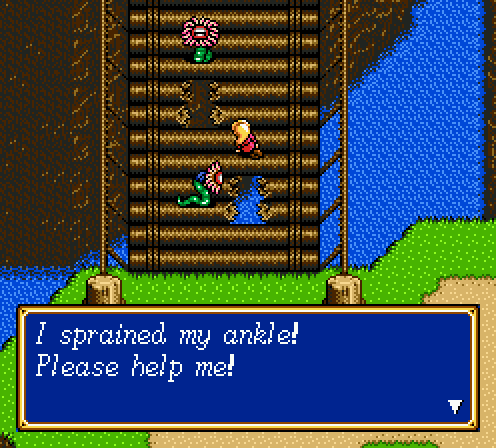
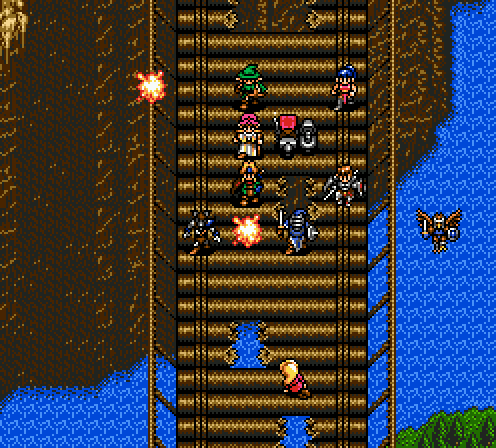
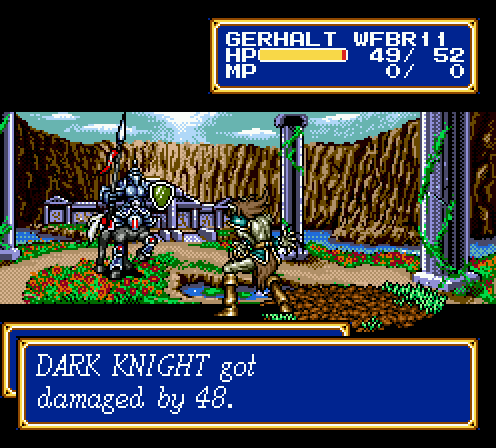
The opening of this fight is a pair of enemies who have more or less expired. The snipers can't do any real damage to me anymore, and the lizardman caves easily enough after being slowed.
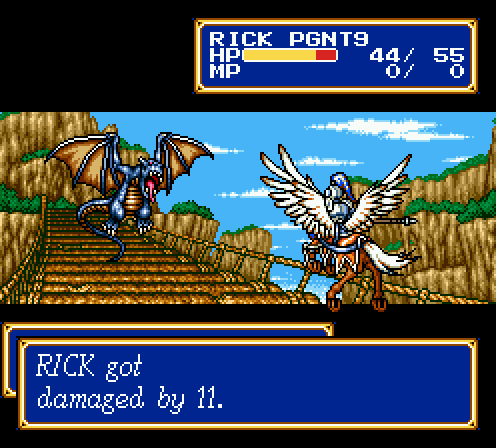
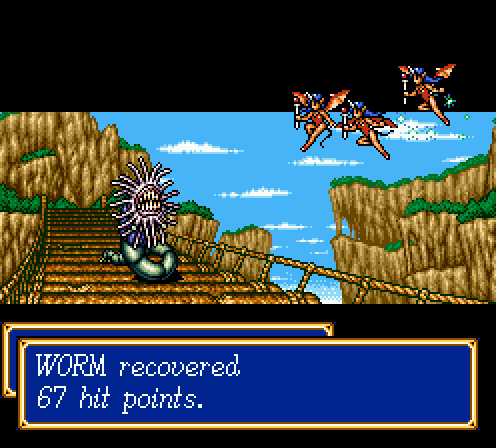
Which is why I send Rick to go draw aggro from more monsters! Not a problem since I roided him up with Boost and wyverns get wrecked by archers.
Three turns later. Most of the fight is just a steady and slow descent, drawing out worms and the flanking fliers one by one.
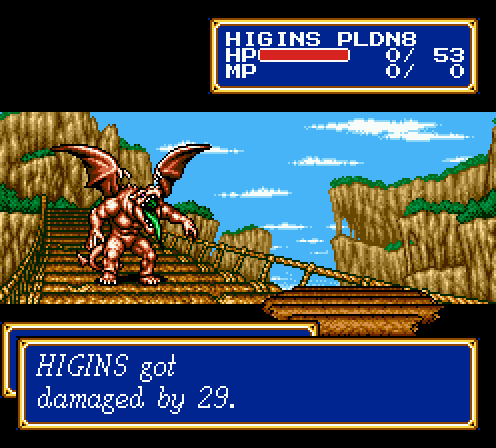
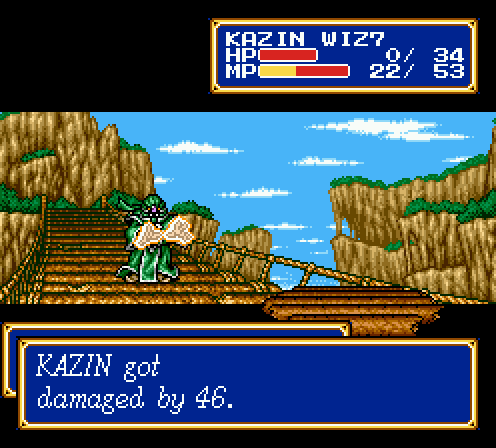
Meanwhile Higins is a piece of shit. I know his endgame stats are better than Chester's, but holy shit is he made of glass.
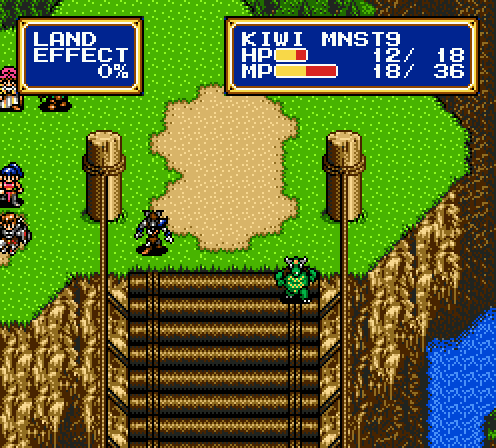
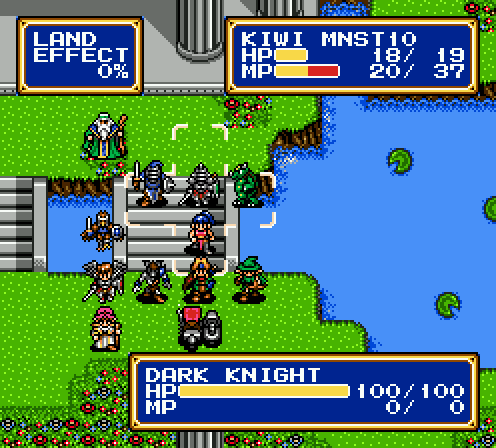
No terrain effect for anyone! Trying to take on more than one or two enemies at a time would be suicide.
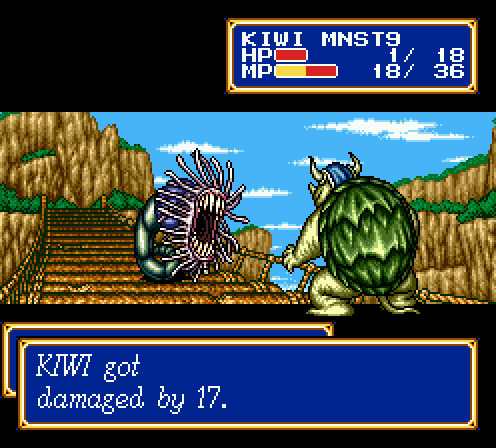
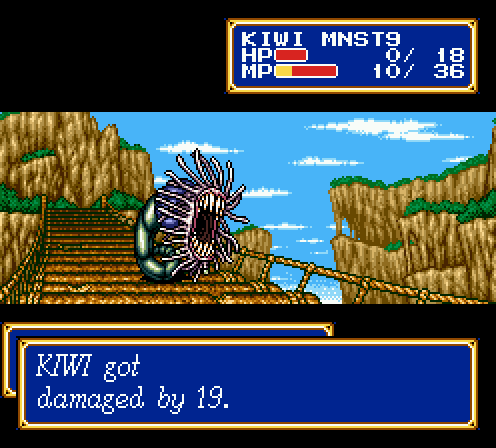
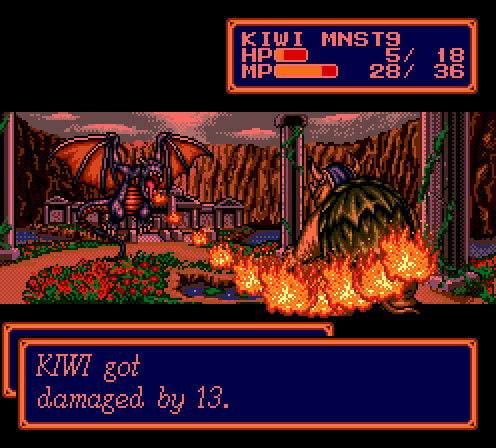
I'm pretty sure Kiwi's outlived his usefulness at this point. At this point, he's mostly just an EXP battery for Karna.
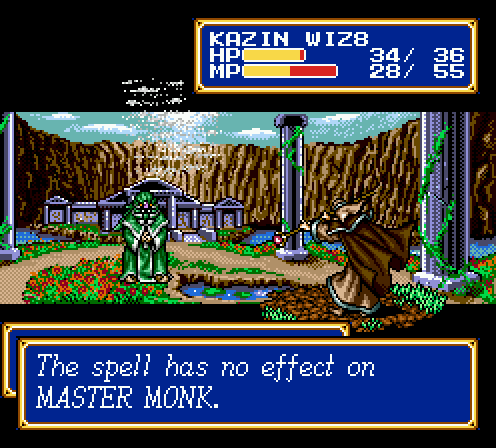
Yeah, Heal 4. Not too bad when you only have to deal with a single master monk at a time. Don't ask what happens when you have two.
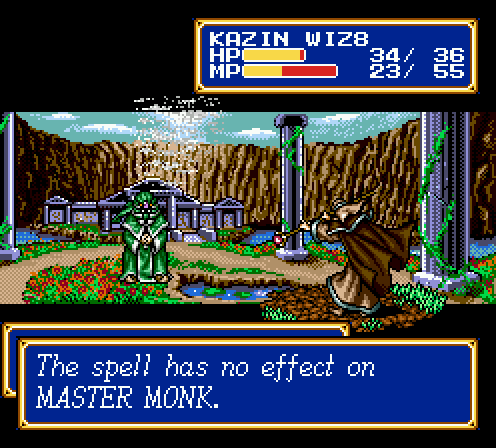
And this is what happens when monks don't have anything to heal. I'm pretty sure they have higher than usual crit rates, too.
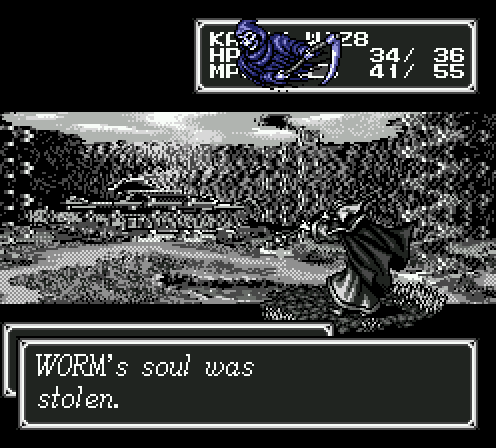
On the plus side, worms have the ability to poison. Because Detox is so cheap, poison is a blessing because it replaces the ability to crit. All things considered, I rather like worms – they're easy to kill and don't crit.

This is precisely why I wish the game had a turn order command. It's frustrating not being able to plan around killing enemy healers.

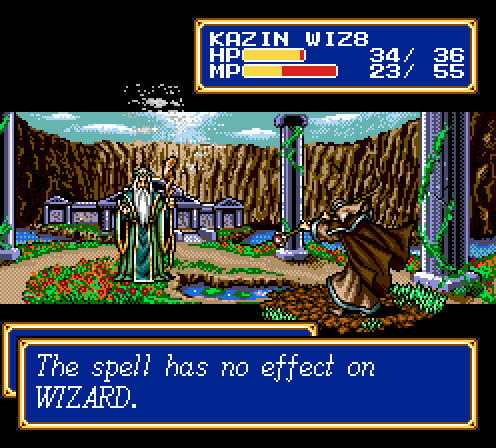
Even though I forgot to screencap it, there was a wizard at the back who was the enemy captain. Killing him ended the fight. Why a monster that was introduced two fights ago was the captain, I'll never know.
Battle Report!
 Level 14 2 HP/1 MP/1 ATT/2 DEF/2 AGI
 Level 10 2 HP/1 ATT/2 DEF/2 AGI
 Level 9 1 HP/2 MP/2 ATT/3 DEF/1 AGI
 2 HP/3 ATT/2 DEF/2 AGI
 Level 10 2 HP/1 ATT/3 DEF/1 AGI
 Level 10 3 HP/2 ATT/3 DEF/3 AGI
 Level 10 4 HP/4 MP/2 DEF/2 AGI
 Level 8 2 HP/1 ATT/2 DEF/1 AGI
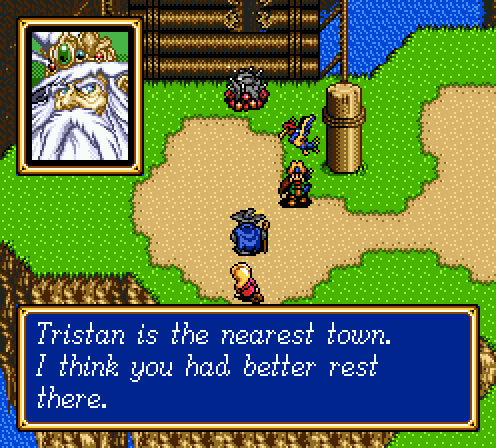
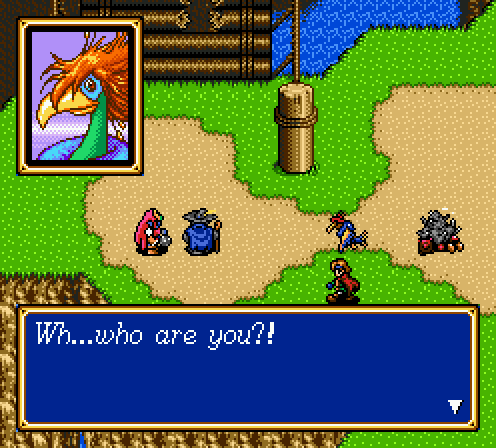
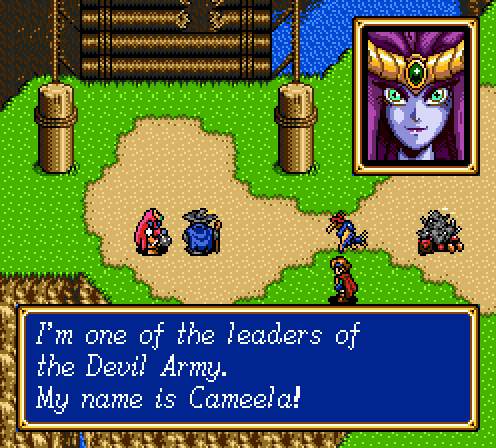

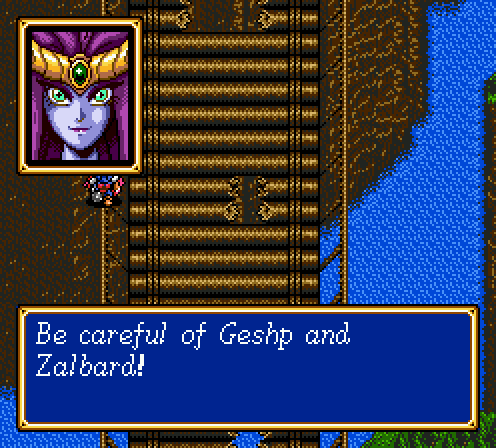
Some plot happens; it's not really important. Basically Astral proves himself to be a badass and Cameela isn't very smart.
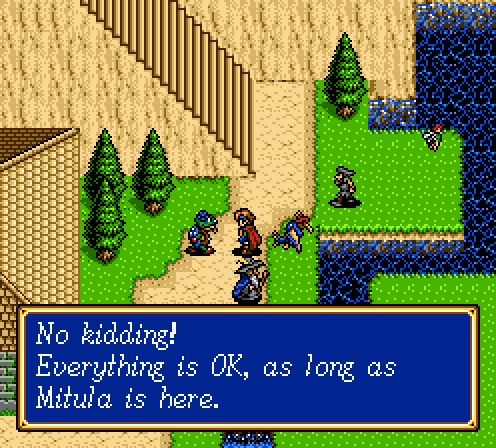
Eh, I have Karna. Not really scared of much at this point. Time to hike over to Tristan, which is just full of animal people.
I think this is another member of Kiwi's species. There's a lot of unique sprites in this town.
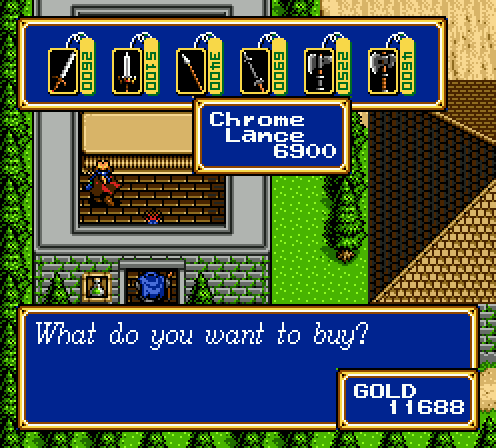
I'm broke again. Can't even afford new weapons for my knights.
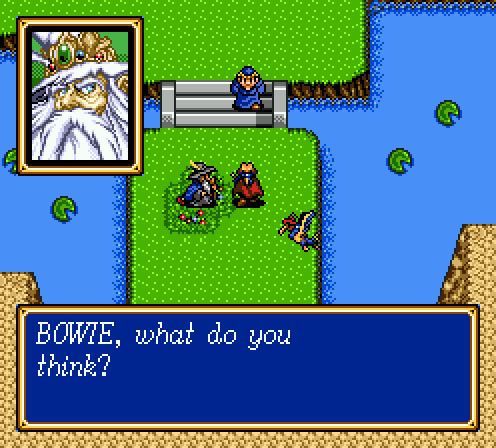
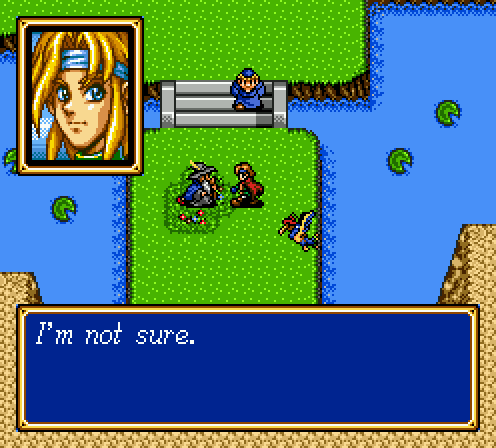
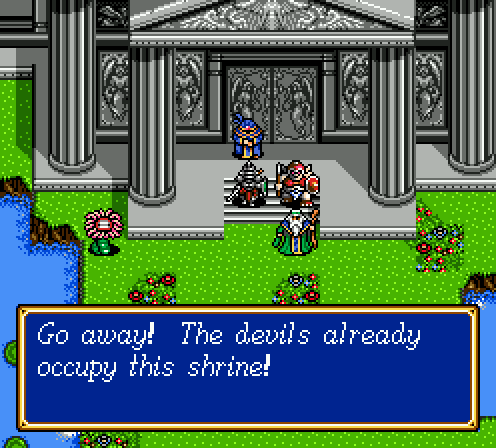
Bowie's second spoken line. Also, we get new music that I don't think plays anywhere else.
Enemies clusters are spread very far apart, and the new enemies aren't anything exciting. This should be easy by all accounts, but I got lazy and wound up with far more trouble than I should have.
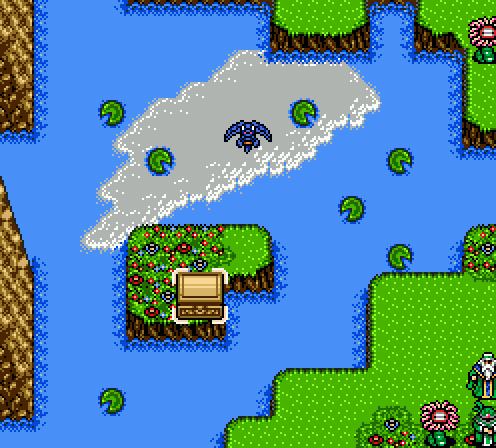
Also, the infamous chest that we can't open in the non-Japanese version. There's an item in there, but I don't actually know what it does. I think it casts Aura 4?
I've forgotten to repair this thing for three fights in a row now. This is slightly annoying.
Oh yeah, I got Boost 2 last fight. Boost 2 is what Boost 1 used to be. Old Boost 2 had the ability to buff your entire team in one cast. There is no Boost 3.

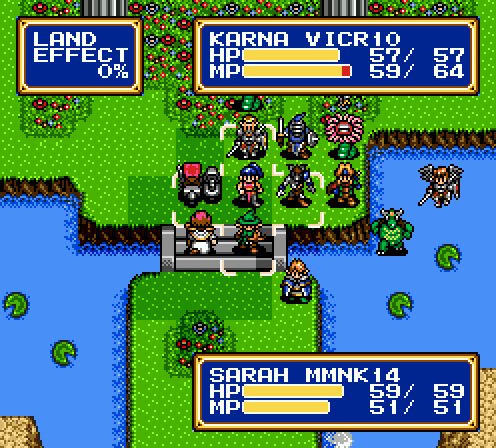
At this point, I'm really just grateful that they're tossing spells at Kiwi. The first wave is a pair of worms and a wyvern, visible at the bottom-right and bottom-left. They're easy enough to take down with a Slow spell and proper application of archers.

Actually, I'm surprised that worked at all. I'm sure next fight every single enemy is going to crit me on every attack.

Next is a worm, a wizard, and a monk from the upper-left. Worm's already dead, and the monk can be tied down permanently because healer AI always prioritizes healing over everything else. Wizards are annoying because I still don't have any method of dealing with AoE damage, but ultimately they're harmless by themselves.
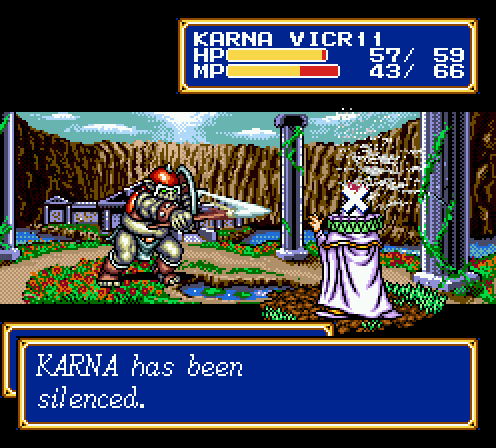
That's Dispel, by the way. Failing to silence healers always makes me sad.
Naturally.
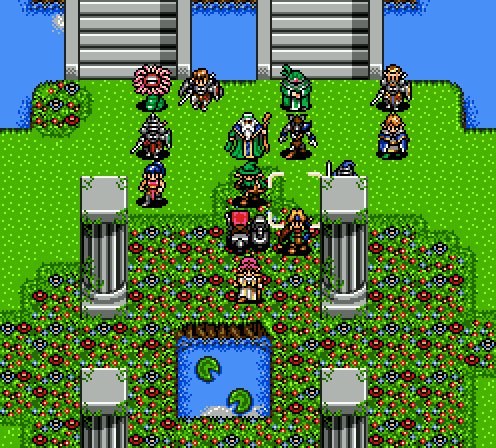
Okay, so I'm at the last batch of enemies, the ones parked way at the back. This doesn't look like so bad of a situation, but
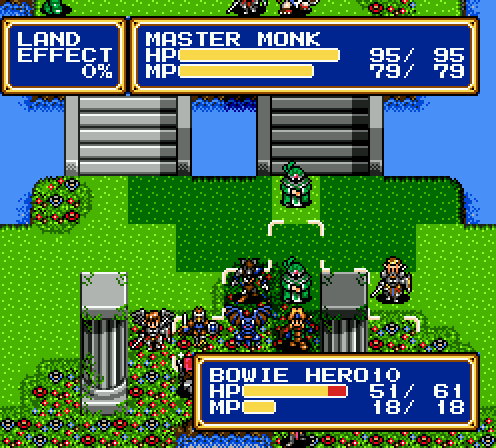
Remember what I said about two master monks at once? Even when slowed, it can be difficult to burn down one monk quickly enough that one of the two doesn't Heal 4 back to full health. And wyverns hurt enough that I don't want to ignore them either. This spirals out of control quickly.
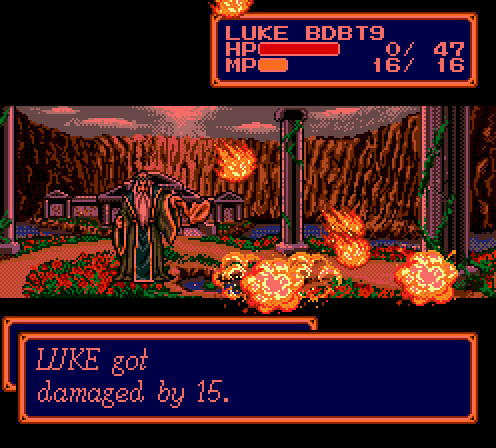
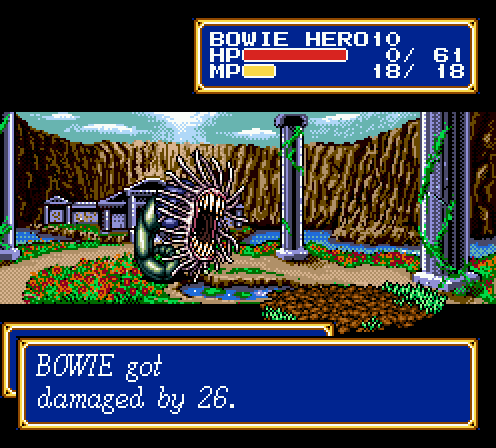
Badly enough that I actually die to magic damage.

Yeah uh I don't think this is going to end well.
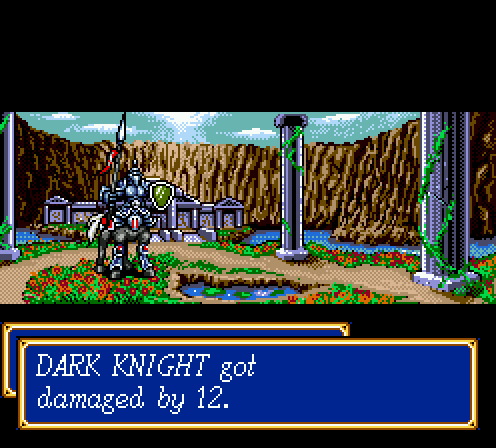
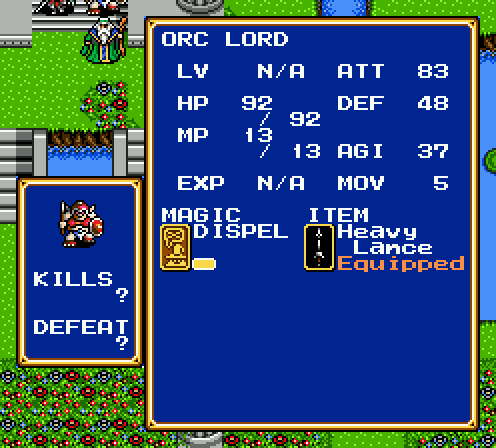
This thing is the god damn captain, by the way. There's no killing it in a reasonable amount of time without Slow.
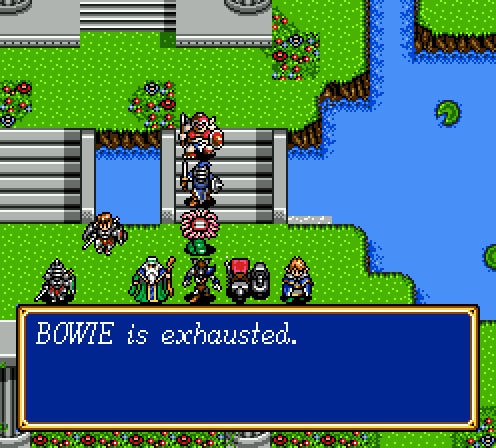
And there's a Bowie death! The game says that's the sixth time it's happened, but really it's happened way more than that. I just usually reset when it happens.
I won't drag you through the guts of the fight a second time, but basically you just need to advance slowly and draw out the clumps one by one. It is possible to be too aggressive and aggro more than one cluster of monsters at a time. When you get to the final batch, you have to pull out the orc lord before everyone else, since he's easy to kill solo and has a movement pattern that allows him to aggro easier.
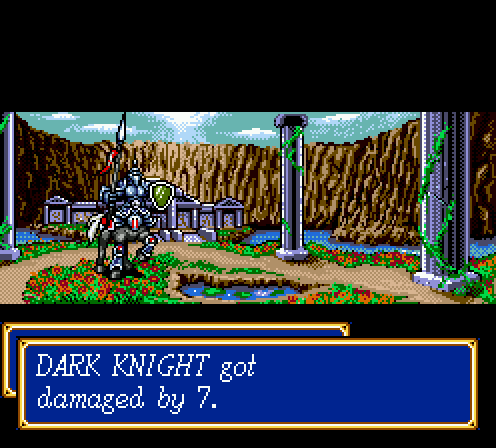
Also, try to pin the captain on 0% terrain. That's Kiwi's Breath 2, which hits for the same amount of damage but in an AoE. 12 MP, not bad.
Yeah, you know how this ends.
Battle Reports!
 Level 11 4 HP/2 ATT/4 DEF/3 AGI Level 16 4 HP/2 MP/2 ATT/4 DEF/4 AGI Level 12 4 HP/3 ATT/6 DEF/5 AGI
 Level 9 4 HP/3 MP/2 ATT/3 DEF/4 AGI Level 10 1 HP/1 MP/2 ATT/2 DEF/1 AGI Level 12 5 HP/5 ATT/4 DEF/3 AGI
 Level 10 2 HP/2 MP/1 ATT/2 DEF/2 AGI Level 12 4 HP/2 ATT/4 DEF/3 AGI Level 12 4 HP/2 ATT/2 DEF/2 AGI Level 13 6 HP/6 MP/3 DEF/3 AGI level 10 4 HP/2 ATT/4 DEF/2 AGI
Oh yeah, one other thing, even though I couldn't quite get a proper screenshot of it:

NEXT TIME: I fear nothing!