Part 42: 100 Levels Per Hour
Hope you guys like load times
Chapter 40: 100 Levels Per Hour
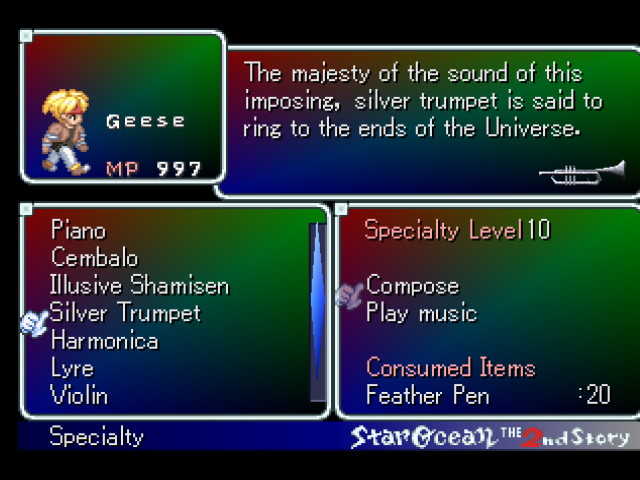
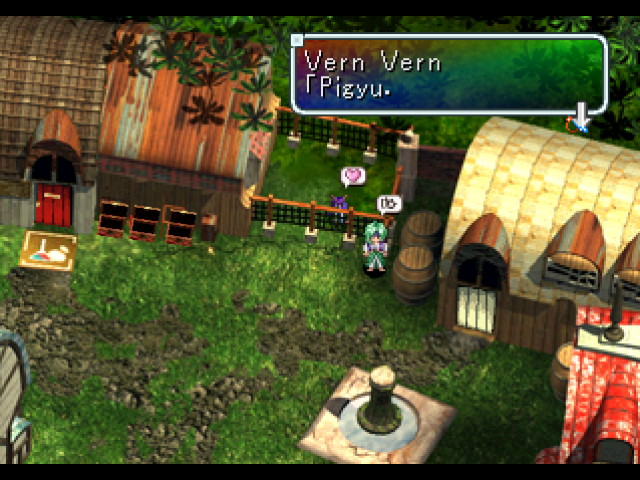
So this is the Silver Trumpet.

This is the Silver Trumpet's useless song.
And now, it's time to leave Expel forever.
I don't even know what the fuck.

But somehow, it got us back to Energy Nede.
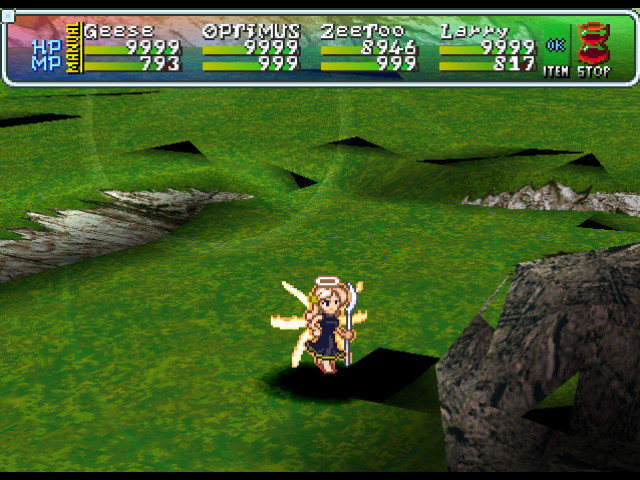
This is what we look like right after finishing the Cave of Trials.
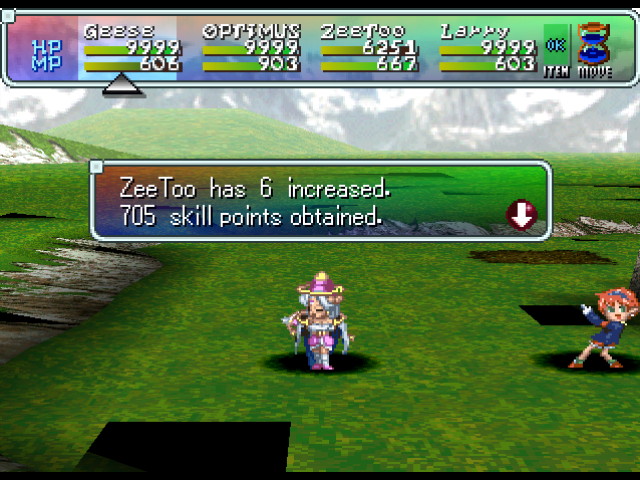
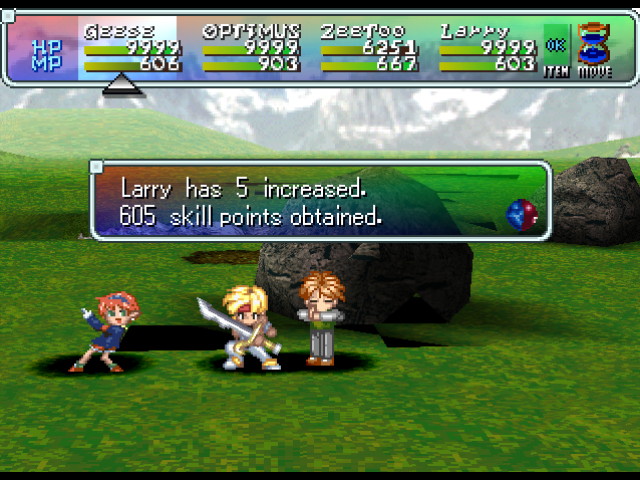
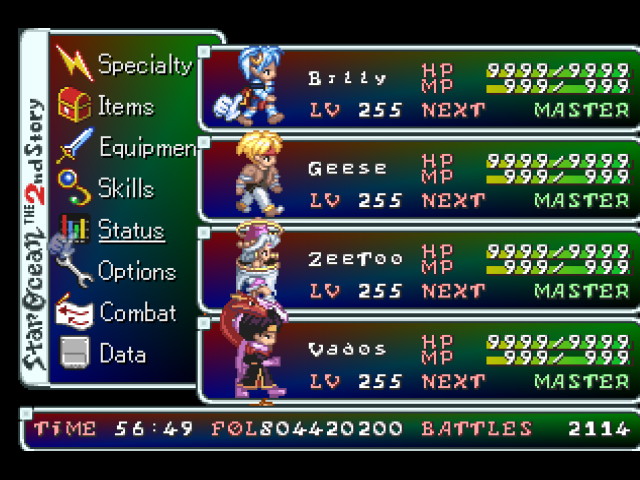
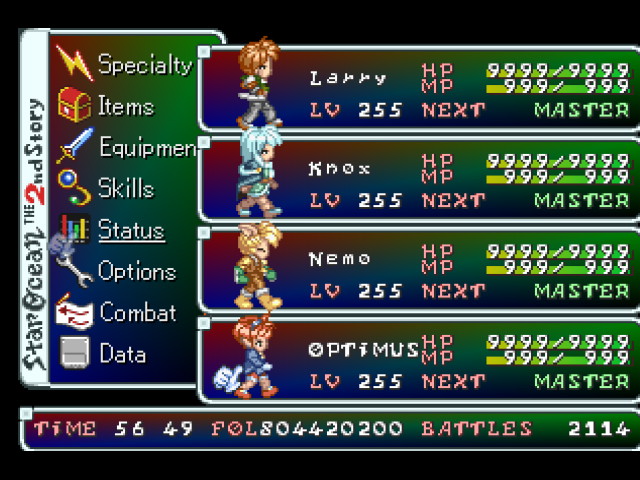
Well, we can't have that. Where are all the 255s?

Right here.
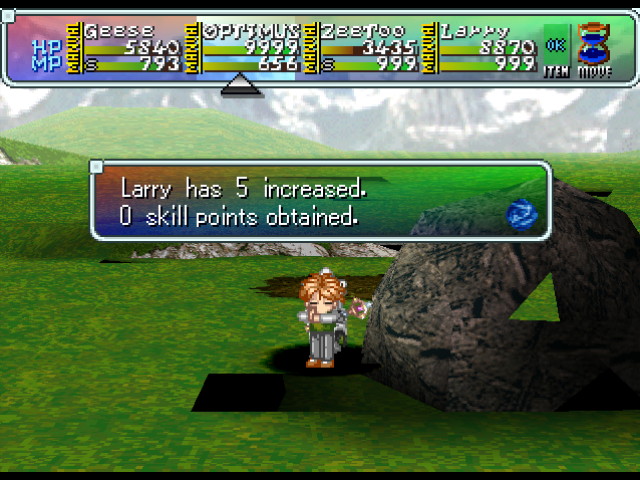
The Silver Trumpet's other song, The Evil Melody, is much more useful. It summons a boss from the Cave of Trials. Which boss is dependent on the level of your Music Ability.
The most effective way to do this is to leave someone at 8. Why not 9 or 10? Well, the 9 boss gives less EXP than the 8 boss, and the 10 boss takes for-fucking-ever.
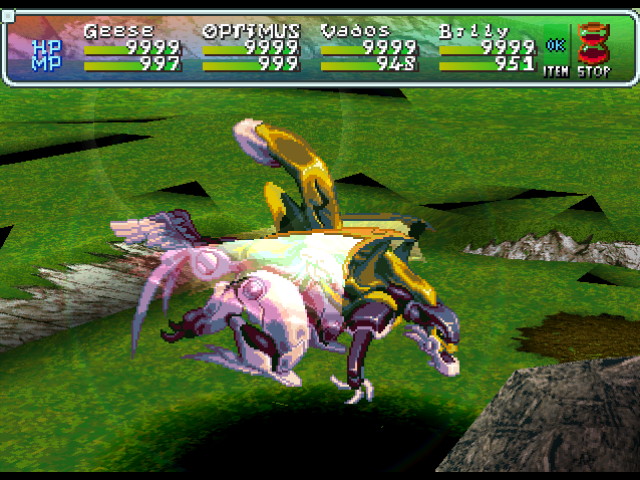
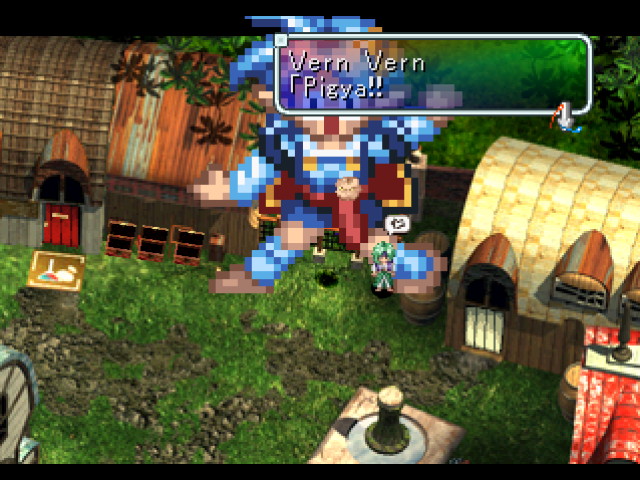
Oh, look, it's that... that thing.
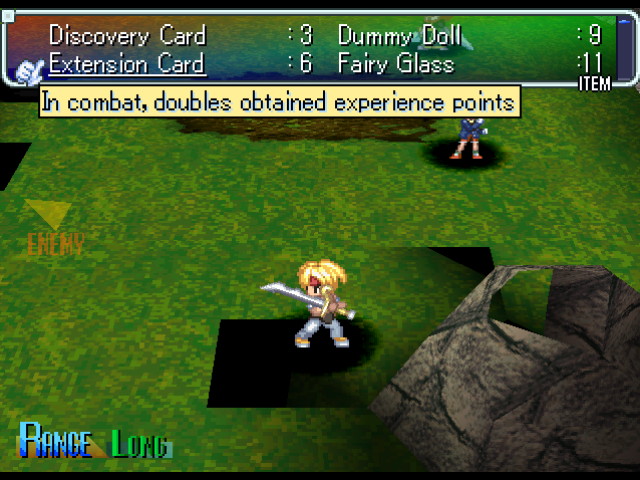
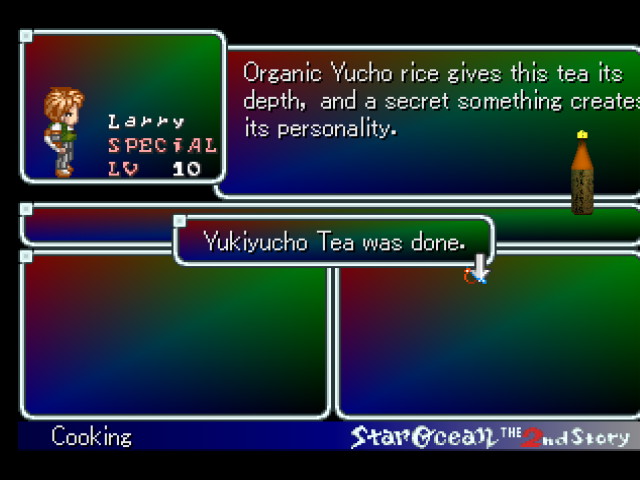
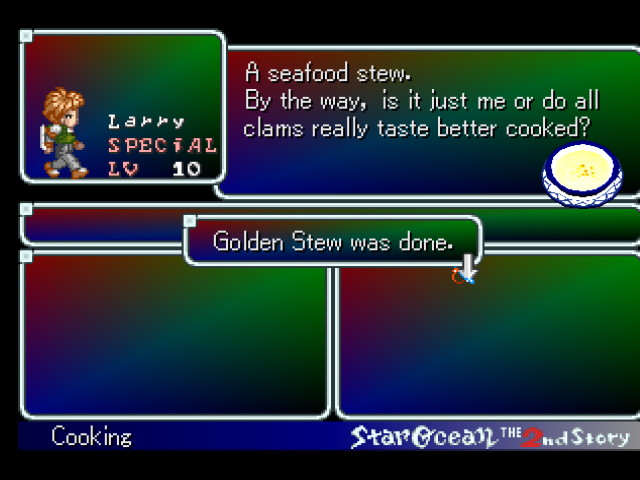
To speed things up, cook up an Extension Card and duplicate it over and over. You'll be doing this a lot.
The most important characters here are, of course, Claude and Chisato. Opera's Alpha-on-One might also work if you recruited her over Ashton. Precis isn't terrible, but between her and Bowman, the latter can dish out more damage in a shorter amount of time.
And now, for your viewing pleasure:
Relax-O-Vision.

FUCK YEAH GET HIM KICK HIS ASS

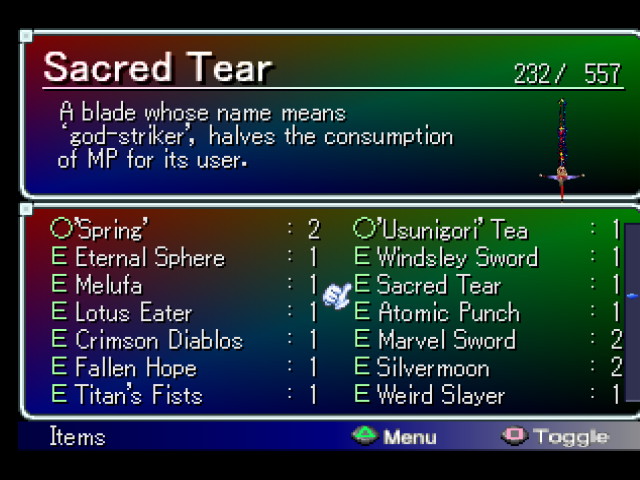
Sorry, Enix, but no matter how you fucking size it up, "Sacred Tear" absolutely, positively doesnot mean "God Striker."
I think someone was taking some "strikes" off the "bong."
If you catch my meaning.

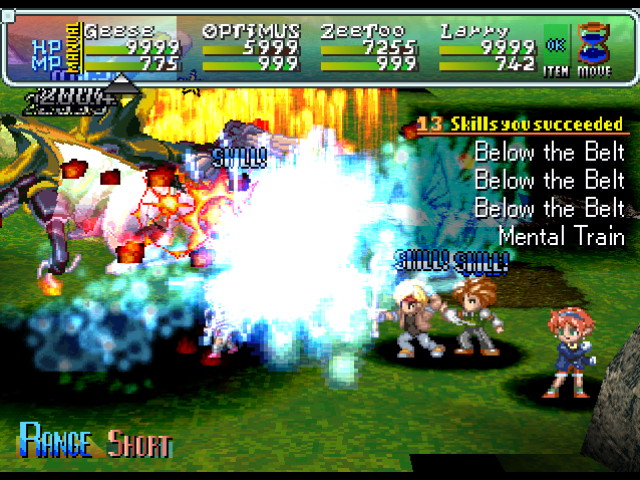
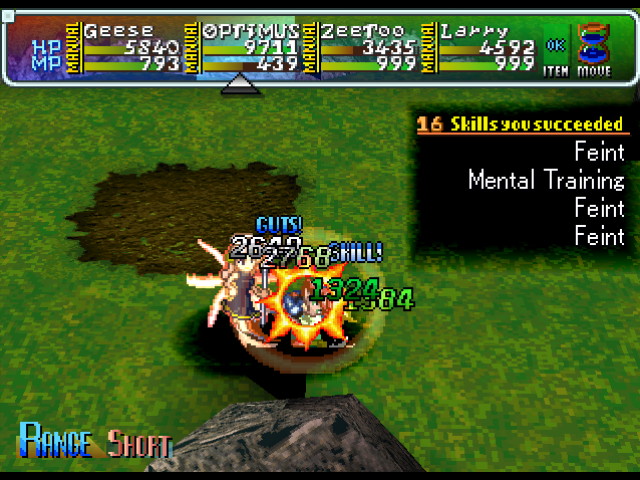
You have to admit that this method is pretty effective.
And now, for something completely different.
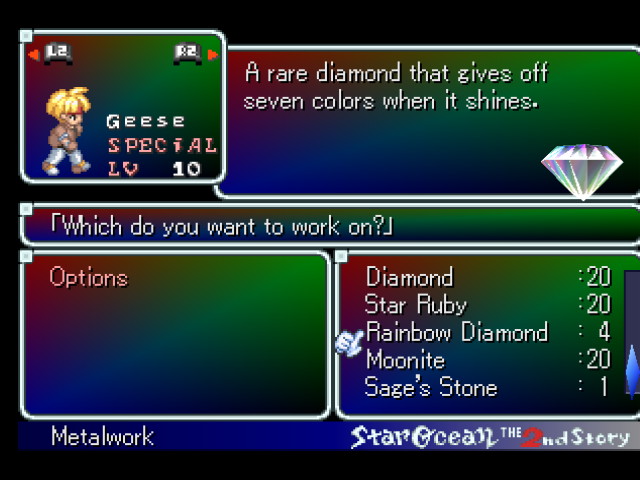
If you use Metalworking on a Rainbow Diamond, you can craft Atlas Rings. You will need at least two; four would be even better.
Geese can't make Atlas Rings (the results pool is based on the character using the skill), but I didn't realize this for a while, so don't make the same mistake as I did. Ashton can definitely make them. I want to say Bowman and Ernest can also make them, but don't quote me on that.
So now, after all that preaching I did throughout the entire LP, we have "gotten there." It is time for a crash course in how to really, really break the game. No, not "oh look at me I'm level 100 on the first disc and also I have the Eternal Sphere and the Melufa and I'd have Bowman's best weapon too if I wasn't utterly impatient." Literally break it to the point where you can't die.
The caveat is that you have to be fighting things that you can do damage to. Sorry, guys, that's why this will never work on unbeatable bosses. Actually, we couldn't have done it anyway because you don't get the most crucial part of this formula until the fifth floor in the bonus dungeon, long after you're through fighting anything that's scripted to be invincible.
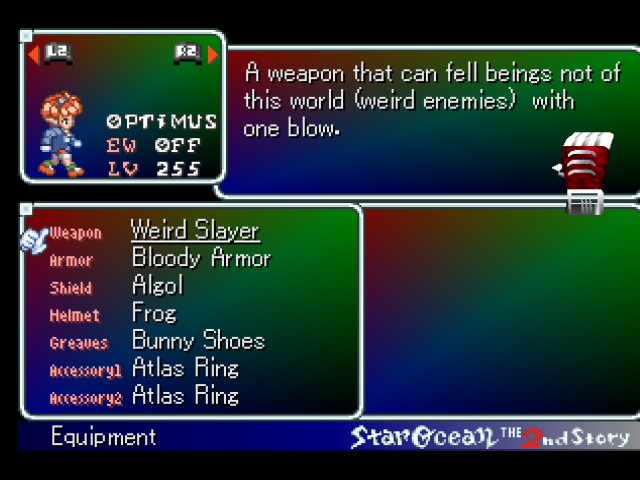
The Weird Slayer is the strongest fist weapon in the game. I actually think its strength is dynamic; I distinctly remember that equipping it on Precis raises her attack from her ultimate weapon, which has around 1250 attack, but is only raises OPTIMUS's attack over her unique weapon (950 attack) by 50 points.
So, the Weird Slayer has a very dirty secret: when you aren't using it to kill Weird enemies instantly, it has about a very high chance of restoring your HP by 50% of the damage dealt.
The Bloody Armor constantly drains your HP at a constant rate regardless of your max HP. If you don't heal up, you'll be dead in about fifteen to twenty seconds if you have 9999 HP. The tradeoff is that you become almost completely invincible: you take 0 damage, can't be hit by status ailments; the only thing that can kill you is being eaten.
The Algol raises your stats more than any other shield. The only downside of this setup is that while wearing the Bloody Armor, since you're "invincible," your evasion is reduced to 0, so you will definitely not be getting any instant kill counterattacks.
The Frog and the Bunny Shoes are suggested by most strategy guides. Since you don't need to worry about Defense, you can just equip whatever. The Frog and the Bunny Shoes raise Guts (it separately influences critical hit chance), which is kind of pointless because the difference is so small, but it's better than equipping things that uselessly raise your Defense. Guts caps at 255 anyway, but OPTIMUS is a little lacking in that department, honestly.
Lastly, you have your Atlas Rings. Atlas Rings double your attack rating, and they stack, so two Atlas Rings means quadrupling your attack. The downside? They make you doubly vulnerable to every element. The upside? Two times zero is zero.
Incidentally, this setup also works with Bowman/Larry. While Precis can use the Weird Slayer, I'm about 99% certain that she can't equip Bloody Armor, meaning that this trick doesn't work with her.
Now, you take someone with a maxed Level 10 Musical Ability and play The Evil Melody.
It summons Gabrie Celesta's "Dark Half," Iselia Queen or whatever the fuck.
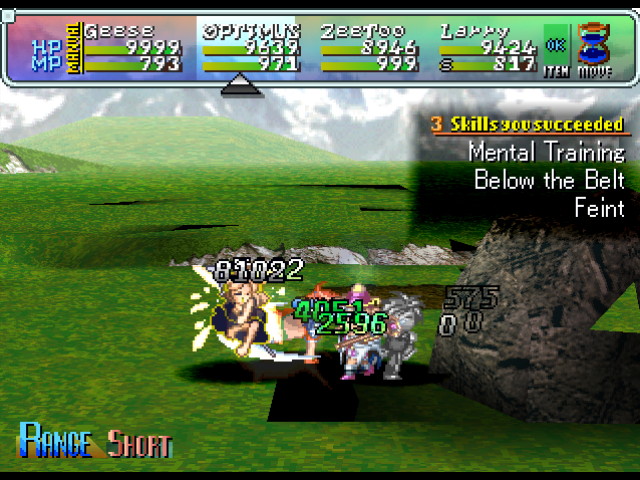
She petrifies you, paralyzes you, can kill you in a couple of hits, and moves so fast that you can't hit her unless she's standing still.
She also has 3,500,000 HP, so I don't care how many 9999s you do, you're going to be here for a long. Fucking. Time.
I think she gives about 1.5x as much experience as the Dragon Tyrant, but she takes about ten times longer to kill.
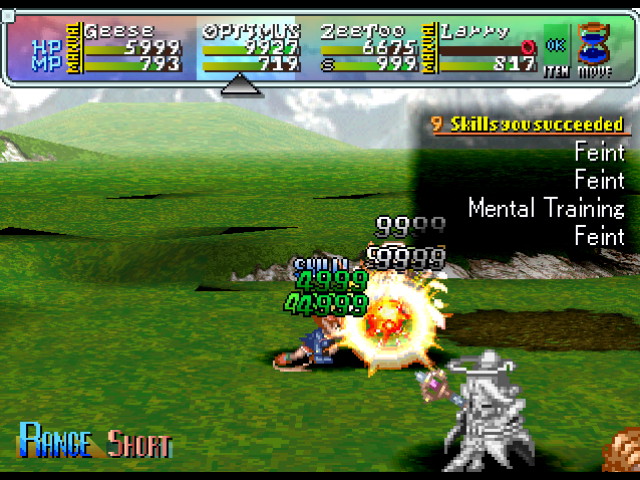
The solution here is to set up OPTIMUS the way I described, and then have everyone else standing around at various points around the map to drop healing items on her as needed. Sometimes, Iselia Queen will just go into Invincibility Frames mode for a minute or two--literally--so we have to keep OPTIMUS alive in the meantime. Sometimes, Iselia Queen will kill off most of your healers, which you don't want, so you have to use a healing item there instead.
Mostly, it's just keeping OPTIMUS's MP up, though. Whirlwind will stunlock Iselia Queen as long as she doesn't activate her invincibility frames, and like I said earlier, it hits about twice a second. It's cheap, too, so it really is just the best way to keep your MP costs down, your HP up, and to finish this battle as quickly as possible.

She drops the best things in the game, of course. Use a Discovery Card item before finishing the fight to guarantee that you'll get a drop and you'll at least get an Angel Armband every time.
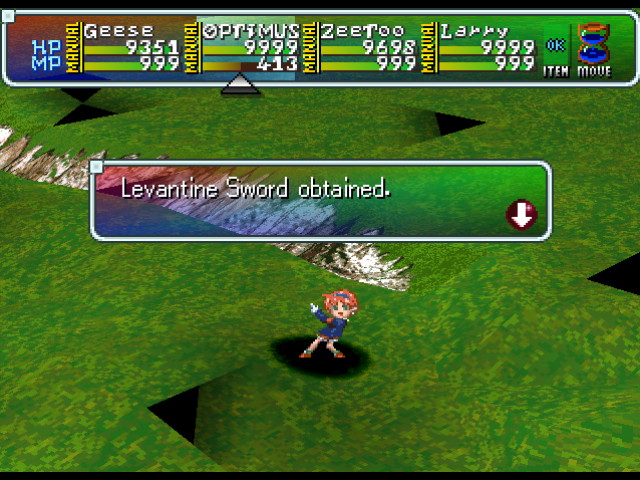
Sometimes, you'll even get a Levantine Sword.
Well, then.
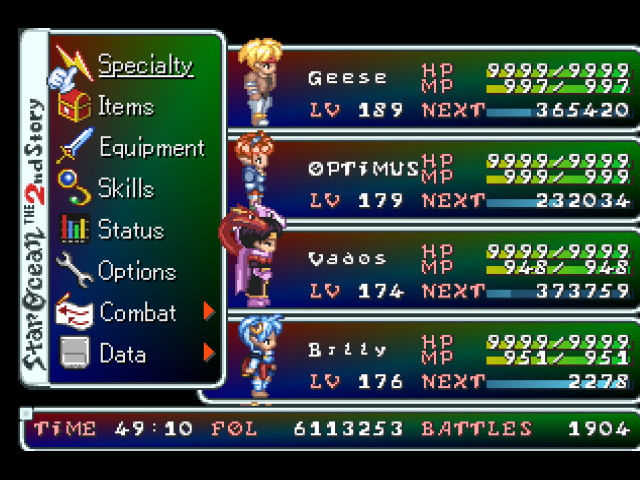
I kinda got OCD at this point and decided to round things out.
This is what we looked like after about seven hours of leveling and grinding FP/RP.
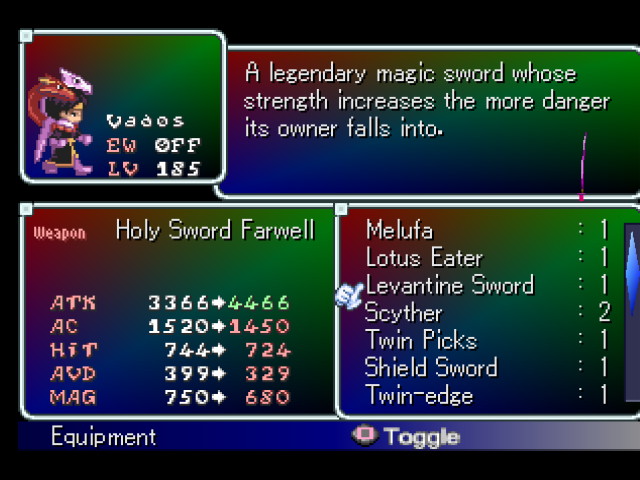
Incidentally,
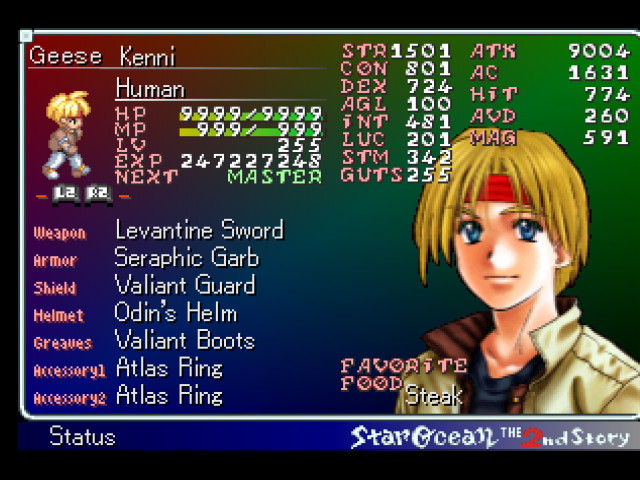
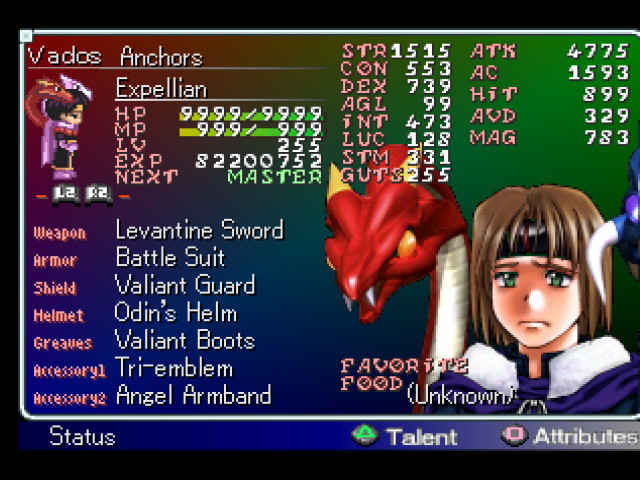
Geese actually has a lower base Strength stat than Valvados. Funny how things work out, huh.