Part 26: Operation Buff Beefcake: The Actual Battle
The Actual Battle:Turn 1: I Get My First Look At the Situation
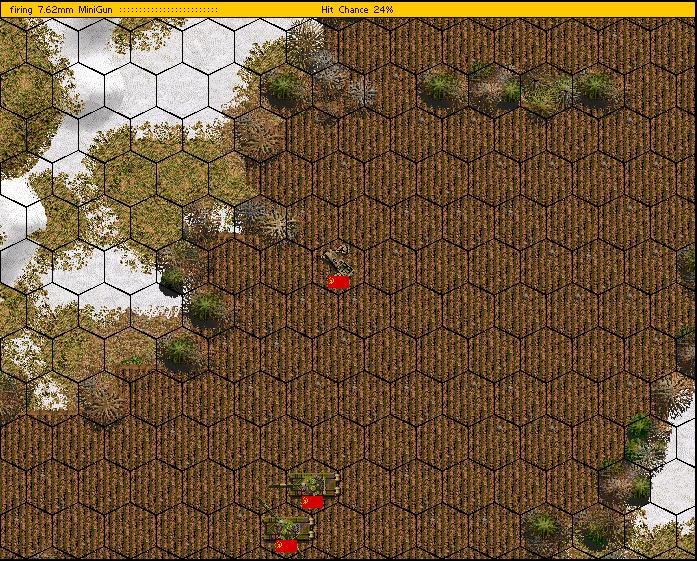
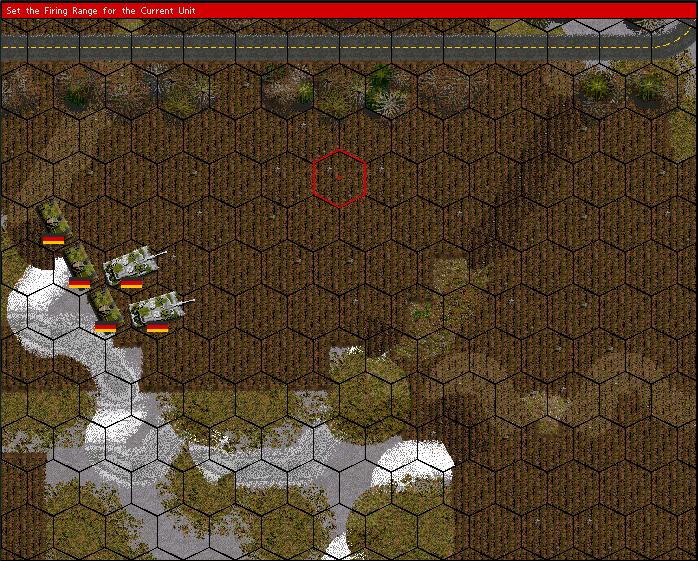
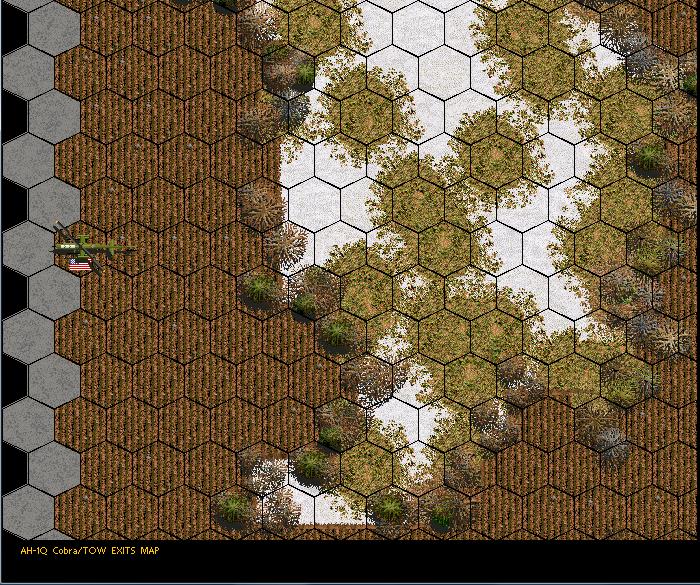
Cobras move up to the hamlet and peek down the road looking for the feared blitz. Instead they get eyes on the center and southern opposition forces. They’re TOWs fail to kill anything, but I’m more pleased that neither died. I honestly planned for the loss of one on this turn. However, they did inflict the first KIA, one member of the Scout Team in the Southern BTR.
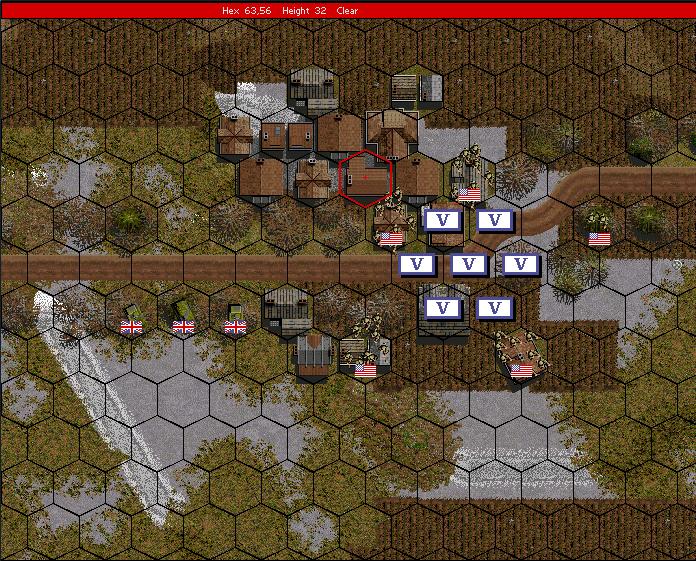
Everybody else moves towards their positions. Americans land amongst the hamlet. Germans take advantage of the road.
Turn 2: The Race to the Ridge
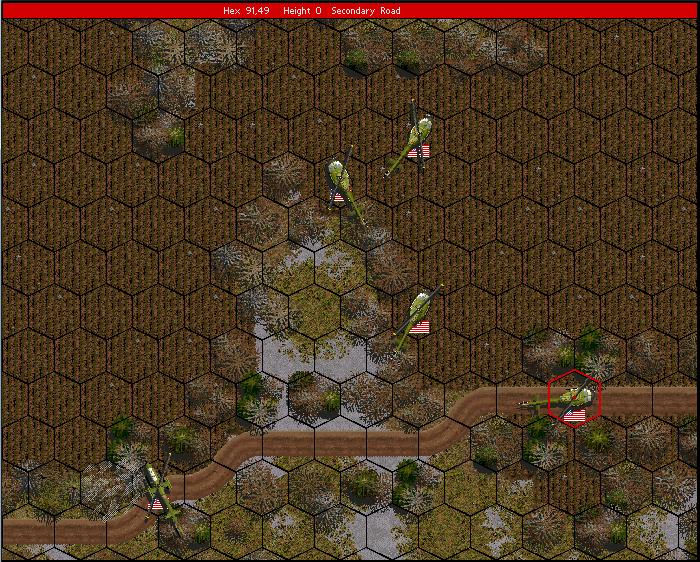
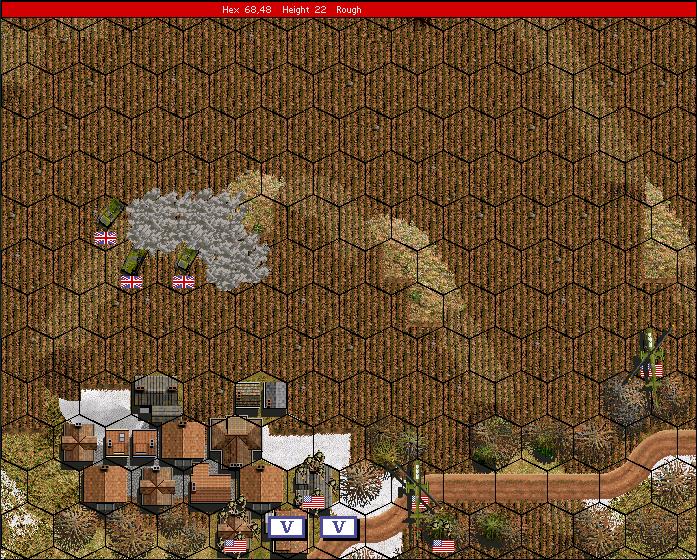
Cobras don’t scout to keep speed down and allow accurate TOW work. Two immobilize T-80s (yeah!). They’re still deadly, though; could come back to haunt me. Rockets manage to kill the BTR! Move Cobras into overwatch positions. The Huey’s move down the road to begin searching the backfield. Hopefully, they were spotted and will sow confusion and doubt.
Americans take up positions in the town. I give even odds against the southern force. Need to soften them with TOWs if possible. We'll leave the objective unclaimed for the moment. No reason to give them proof of our existence.

Dragons are in the two easternmost positions.
British have made it to their side of Ale’s saddle-back.
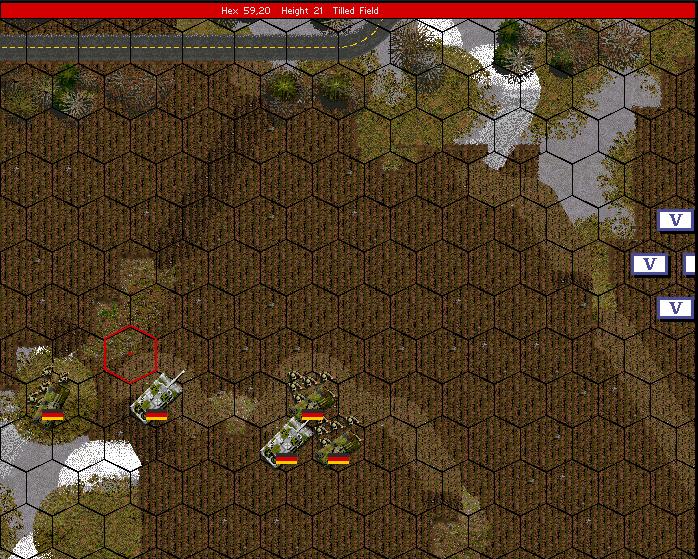
Germans leave the road towards their positions. The two Leopards and the Gepard make their positions on the flank. Grenadier Platoon and supporting Leopards reach the back of Brown.
Turn 3: Woops
Hueys scout the backfield. No supporting infantry/on-map artillery found.
Americans hold positions.
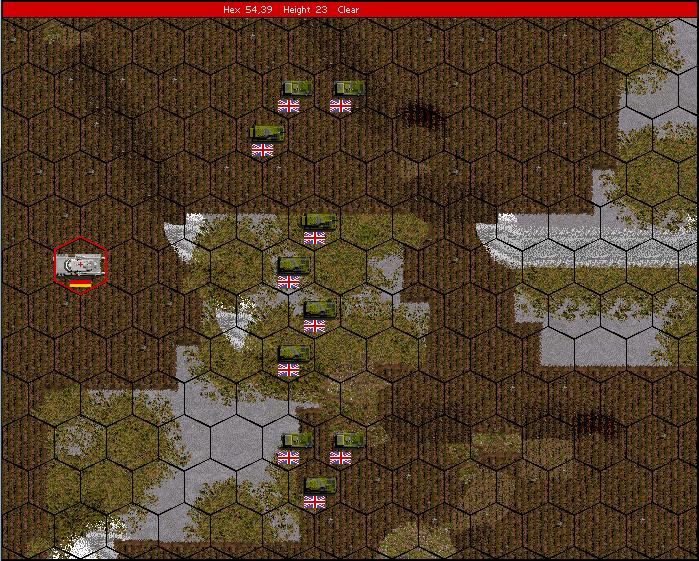
British move up. Get greedy and attempt to move a Stiker up to nab one of the BMPs, but I forgot that Swingfire doesn’t work on the move. Pop smoke and hope they don’t blind fire. I move the Cobras up to try to cover the southern British group. Might get a Konkurs to the face for my troubles.
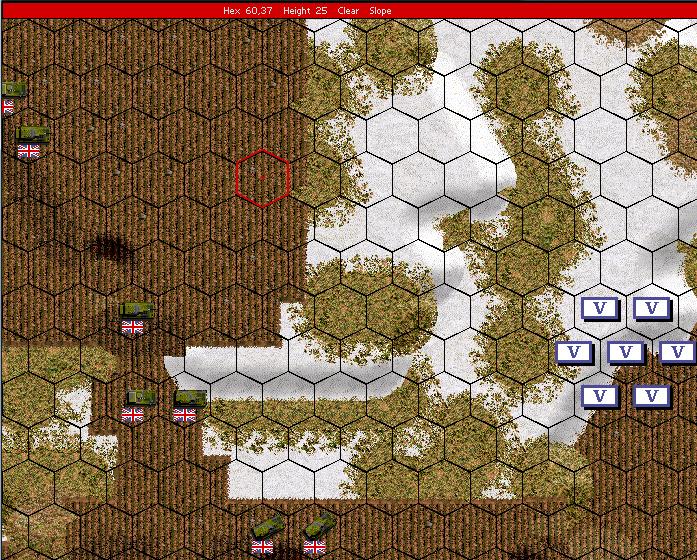
Units on top of Brown consist of one Striker (moved/no ATGM overwatch), one Scimitar (negligible power against even a BMP), and one Scorpion (good chances vs BMP). Should one or two T-80s crest Brown, the Brits are in trouble.
Germans are getting there.
Turn 4: Lady Luck Smiles
ATGM duel between the Cobras and the T-80b’s. An AAMG deals a point of damage to a Cobra; it will bug out at the end of the turn but in return all T-80s have been neutralized. Plus the Cobra only had one more TOW left.
In-fucking-credible! Thanks to Huey recce, I know that the center’s teeth have been pulled. British can clean up center, and focus can be directed to the flanks.
After the Cobras’ resounding success, I get a little cocksure with the British. One Scorpion races up to start opening BMPs but receives a Konkur instead. First NATO KIA of the match. The rest of the northern British coalesce on top of the Brown’s south lip. The southern group moves to the west flank of the Americans to protect against a reach-around.
Americans still have not seen hide-nor-hair of the southern group. They must be paralleling us. Either they’re attempting to flank the hamlet or circle around the whole ridge and hit the British from behind.
Germans reach their positions and dig in.
Turn 5: MBT Contact
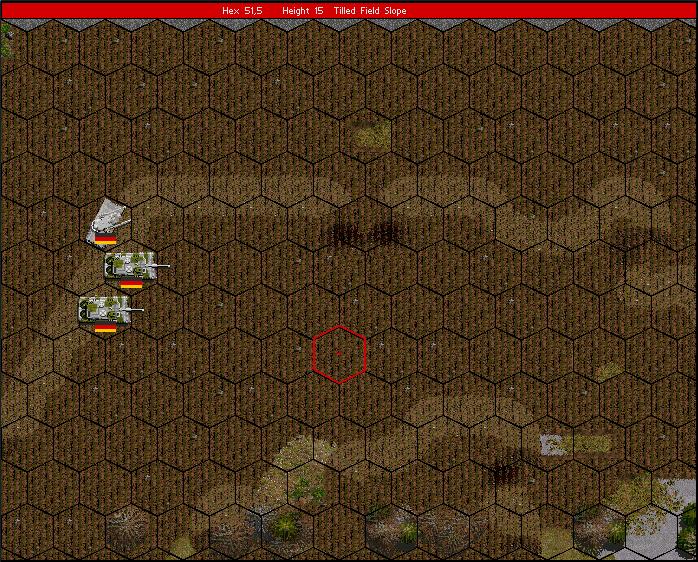
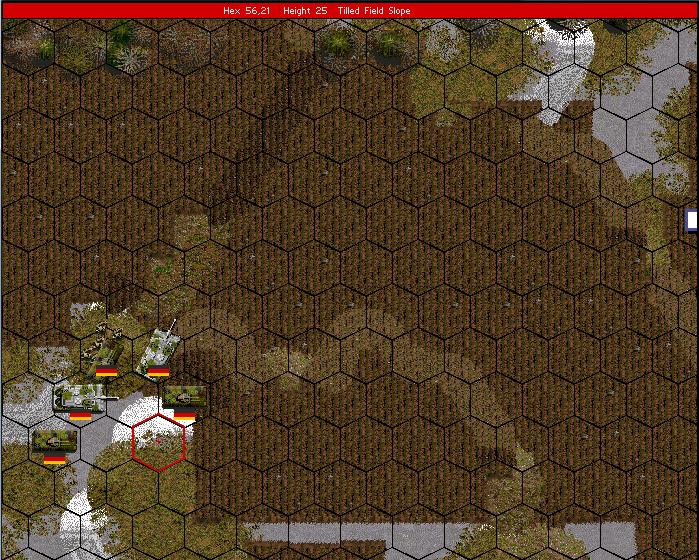
Everything note-worthy happens in the north. The first Leopard and T-80 meet. Fortune smiles on the Leopard (in my experience it’s a 50/50). I pull back my Leopard’s on the flank, don’t want to be swamped. Plus, it might draw them into a crossfire from the units on the hilltop.

The BMPs in the center haven’t moved. If they don’t move it’s gonna be hard for the British to oust them. Better flank them with a Leopard.
British and Americans hold positions waiting for the Russians to make a move.
Turn 6: The Rape of the T-80s
Across the line ATGMs streak out to blast charging T-80s.
The Leopards and Scorpions leap forward to blast BMPs.
A Huey takes a Kan to the face, and a second is damaged by small arms from the northern Scout Team and flees the map.
Turn 7: The End
All units start prowling for the last of the infantry.
The End
Total NATO Casualties:
1 Cobra driven off
1 Huey driven off
1 Huey shot down
1 Striker destroyed
1 Scorpion destroyed
1 Marder destroyed
4 Americans KIA
4 British KIA
3 Germans KIA