Part 249: FINAL UPDATE
Here it is, the final update. Sorry for taking so long, but I wanted to grind the pilots to at least above 55 so that I would have a ghost of a chance at winning. But would it be enough for victory? read on to find out.--------------------------
Deployment list
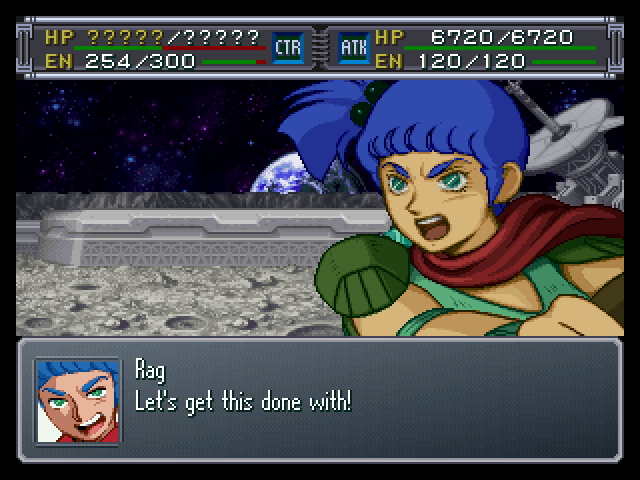
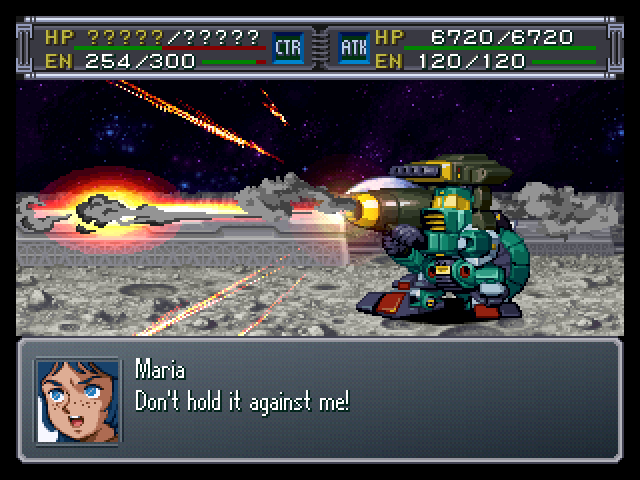
1. Rag and Maria in the Full Armor Walker Gallier
2. Dike and Burume in the FA Xabungle
3. Fa in the Turn A
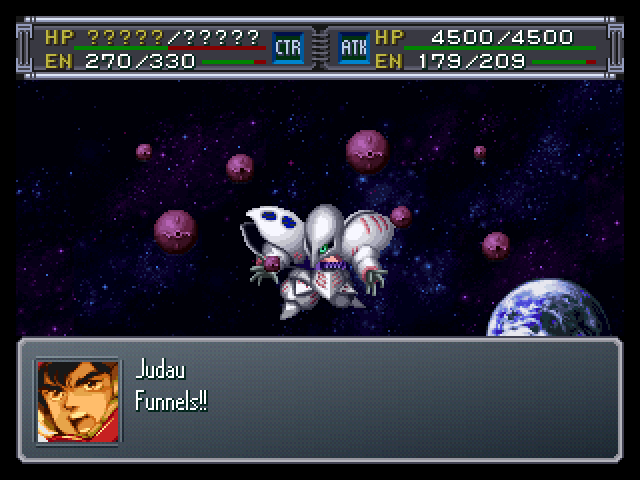
4. Judau in the Qubelay
5. Roybea in the Gundam X
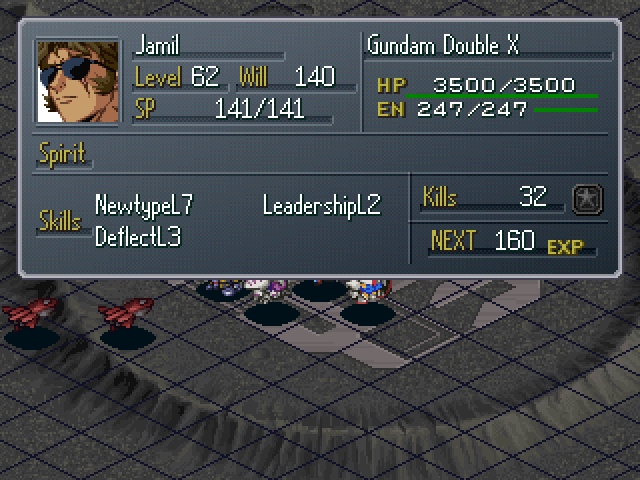
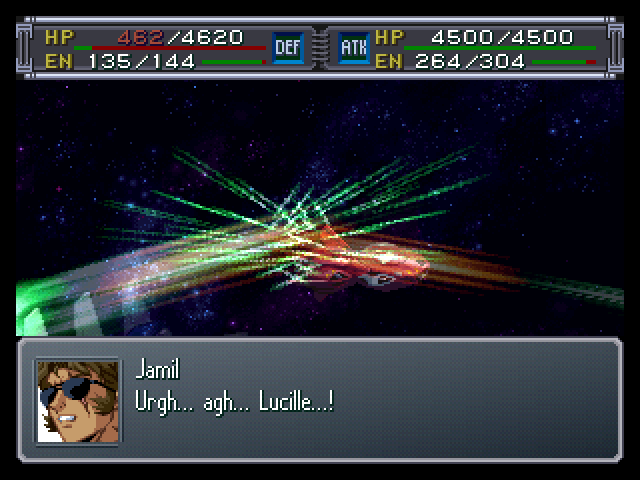
6. Jamil in the Double X
7. Garrod and Tifa in the G-Falcon
8. Combattler V
9. Noin in the Wing Zero
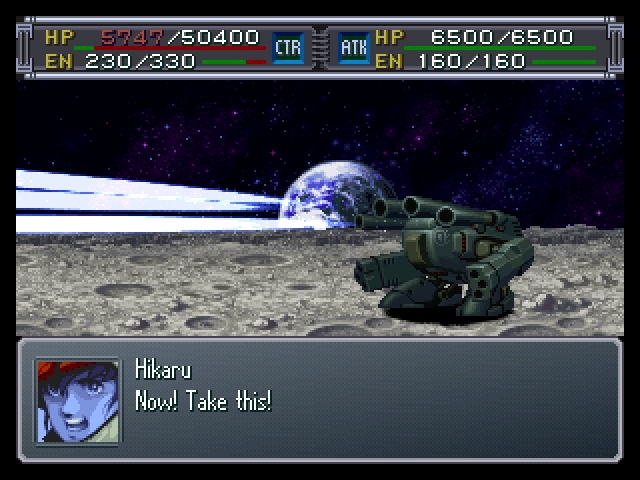
10. Hikaru in the Destroid Monster
11. Boss in MazinKaiser
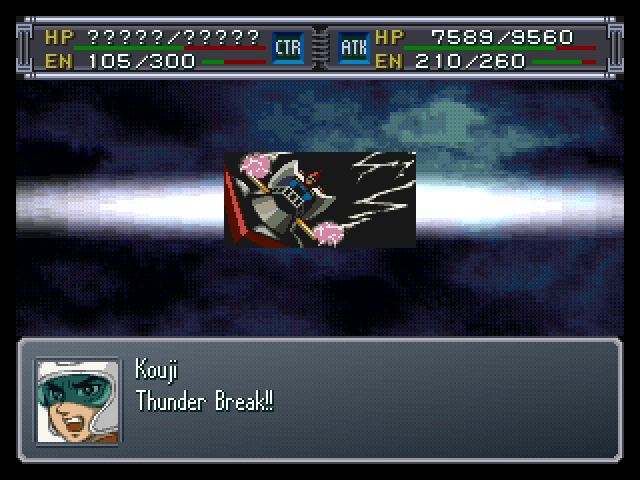
12. Kouji in Great Mazinger
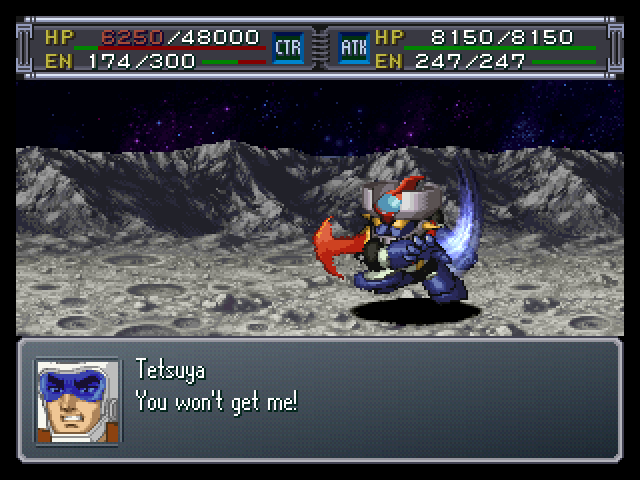
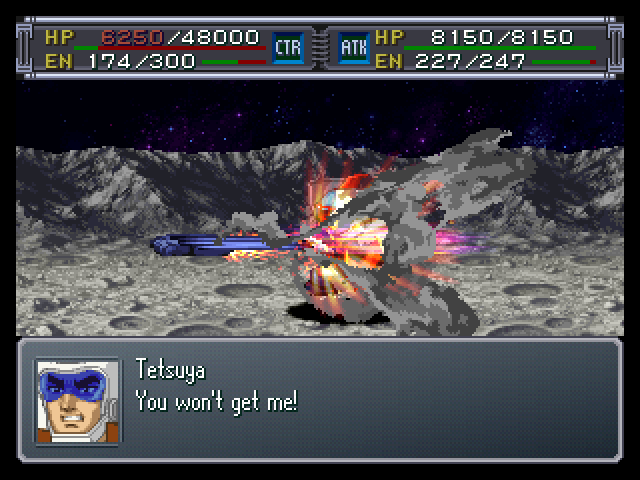
13. Tetsuya in Mazinger Z
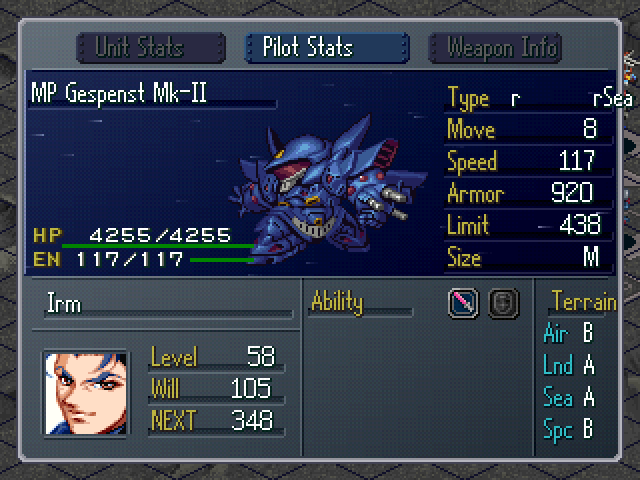
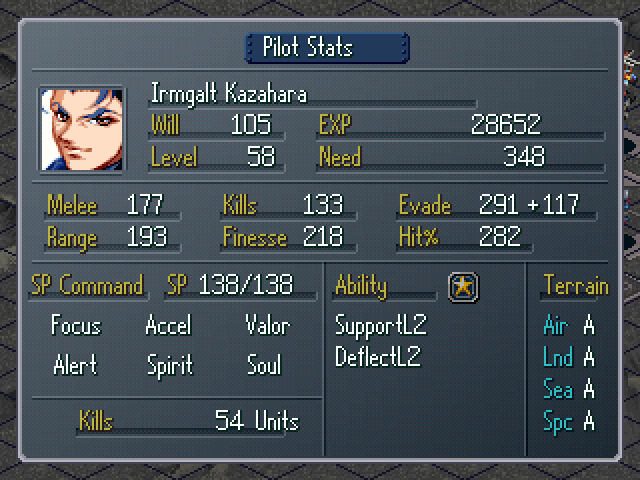
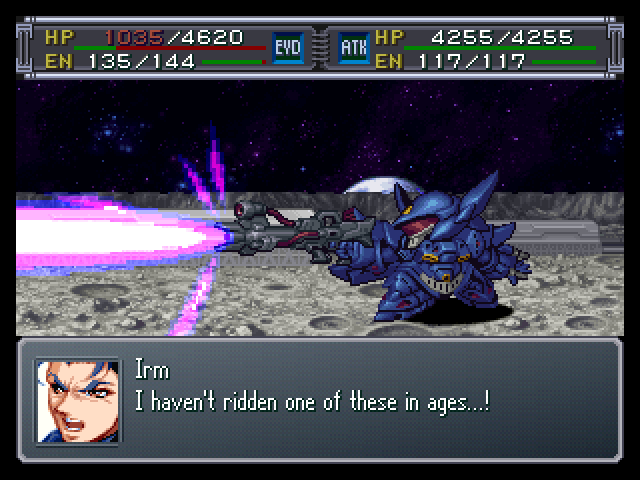
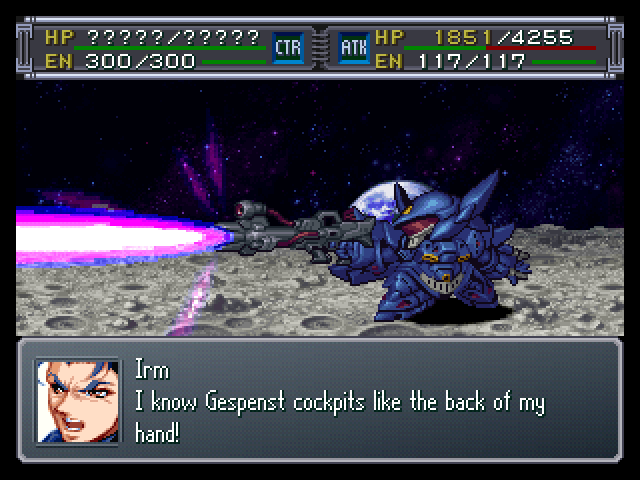
14. Irm in a Gespenst Mk.II
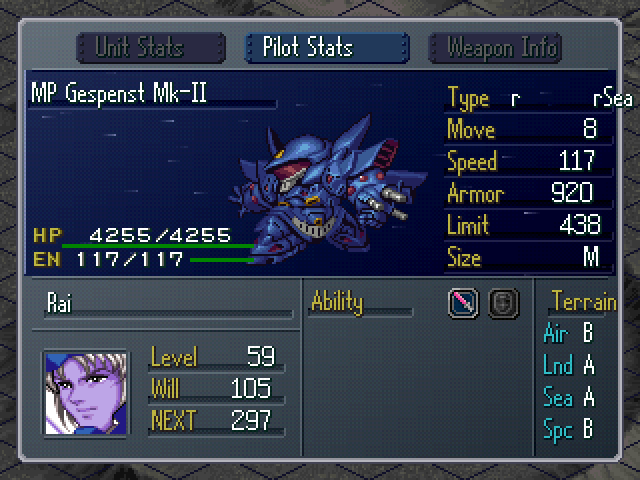
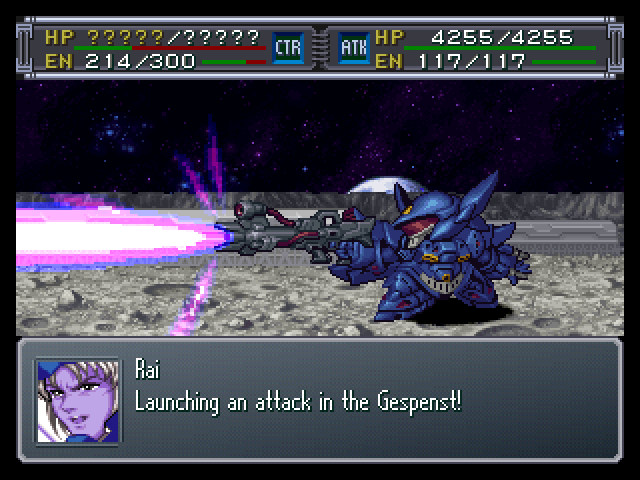
15. Rai in a Gespenst Mk.II
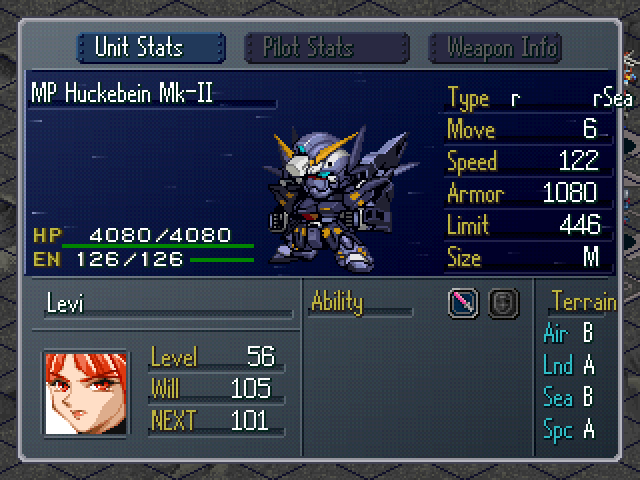
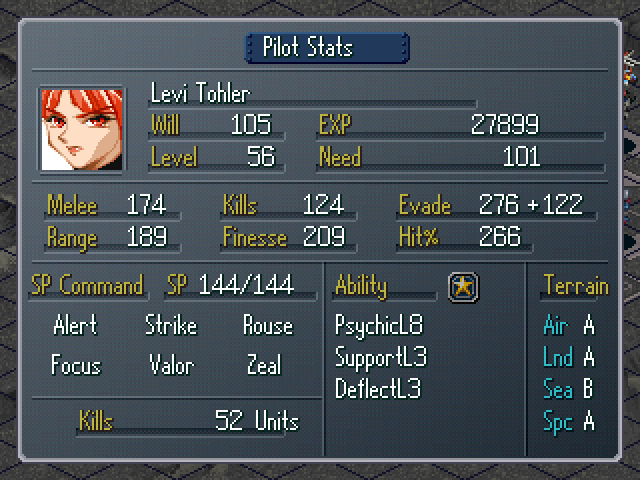
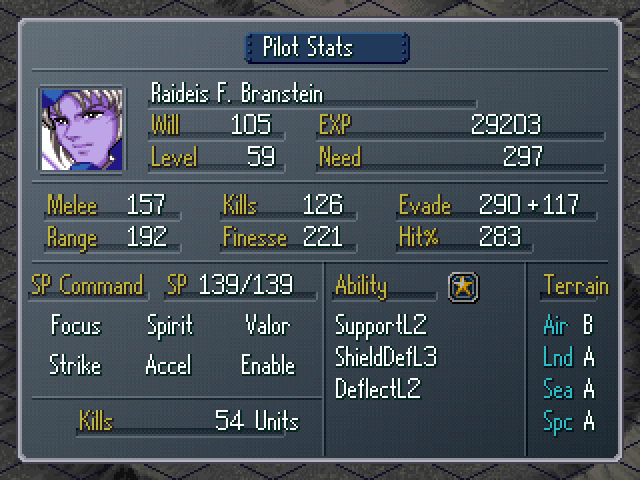
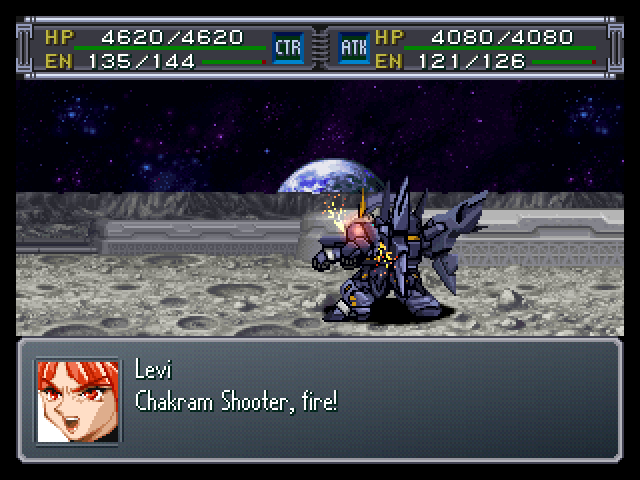
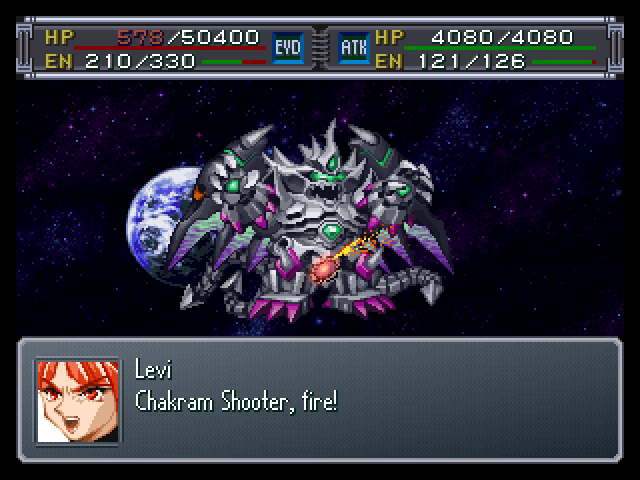
16. Levi in the Huckebein Mk.II
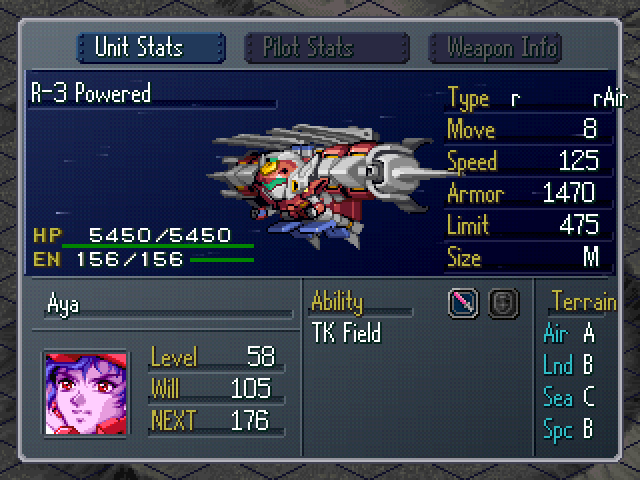
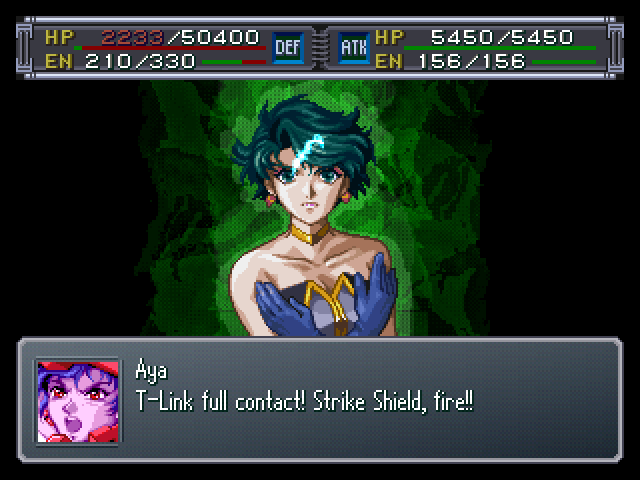
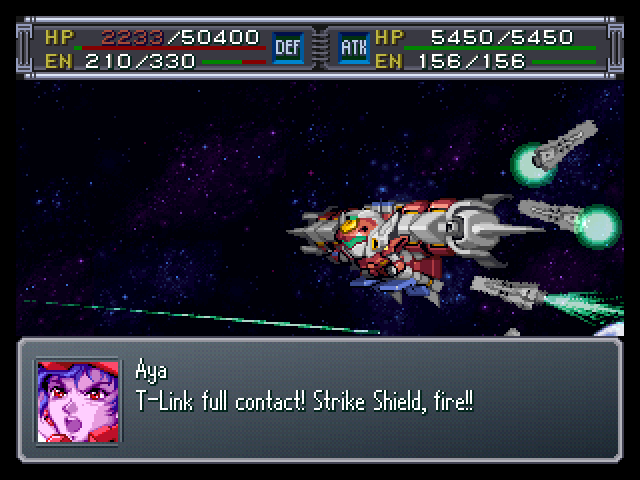
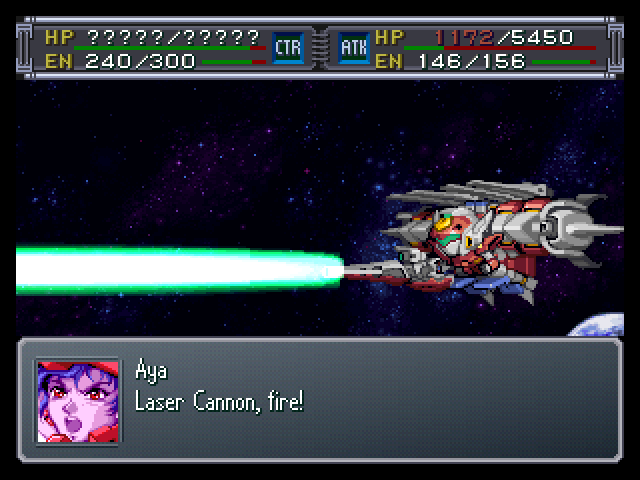
17. Aya in the R3-Powered
--------------------------
For your listening pleasure, here are several different versions of Dark Prison
Lord of Elemental(Super Famicom)
Original Generation(GBA)
Original Generation 2(GBA)
Original Generations(PS2)
Orchestral version
SRW Alpha (arrange)
Remix 1
Remix 2
SRW Divine Wars version
Alpha Gaiden
--------------------------
Let's jump right in, shall we?
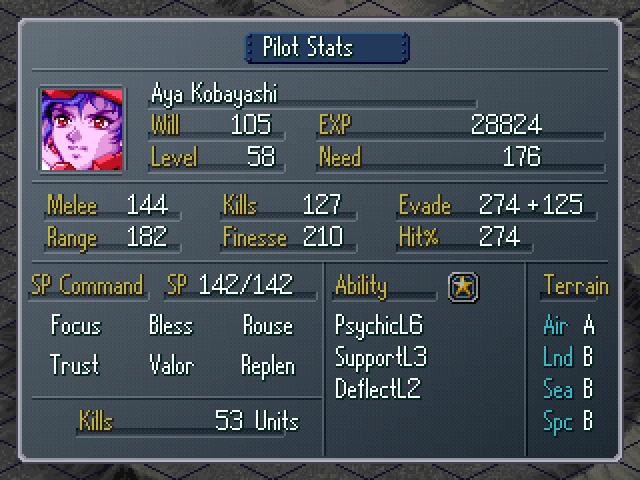
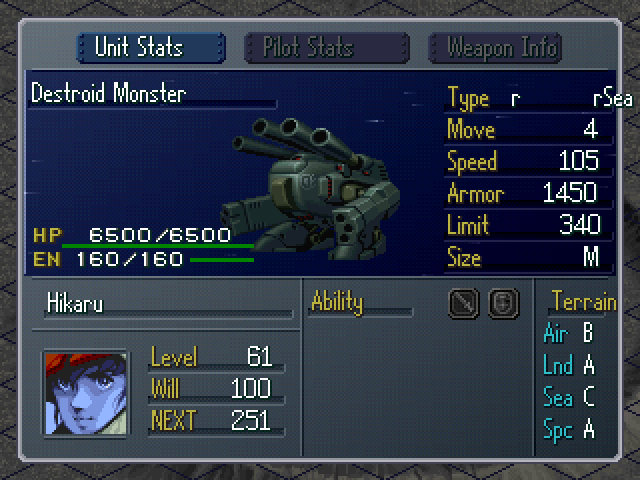
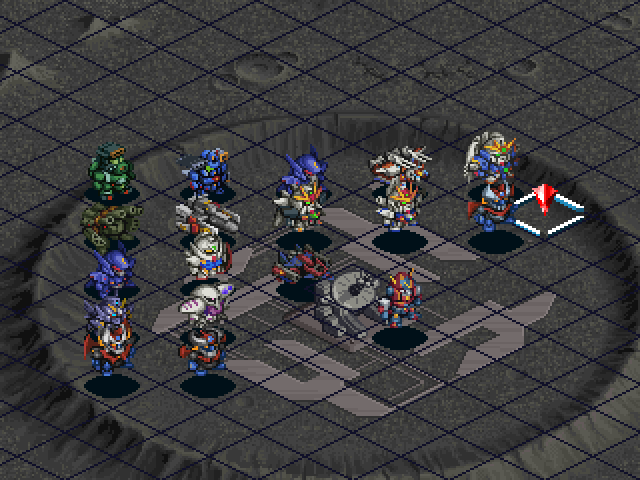
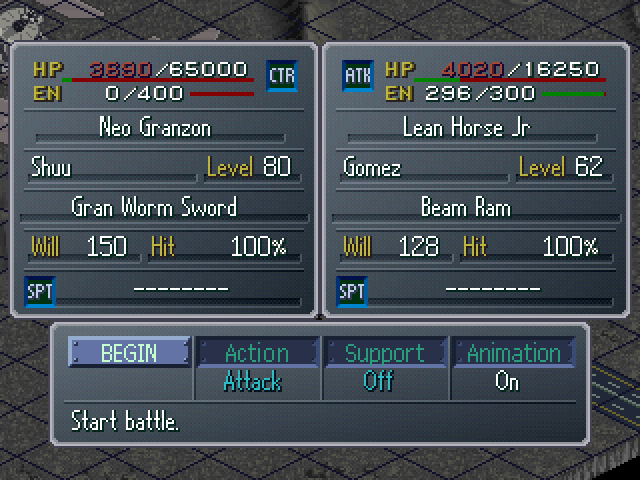
Stat screens
Like before, I gather everyone around so I can raise their Will.
Much better.
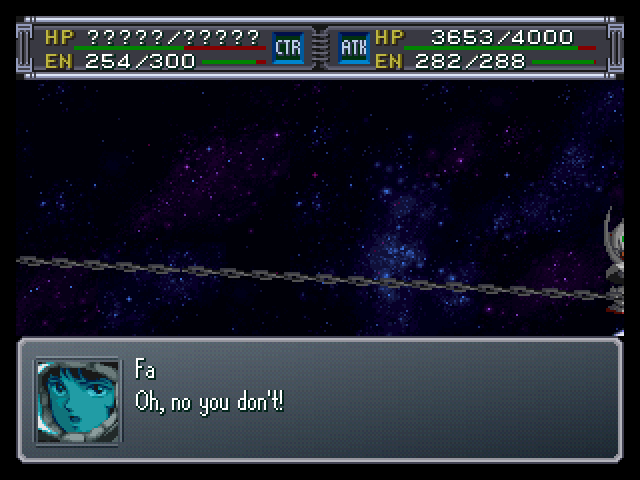
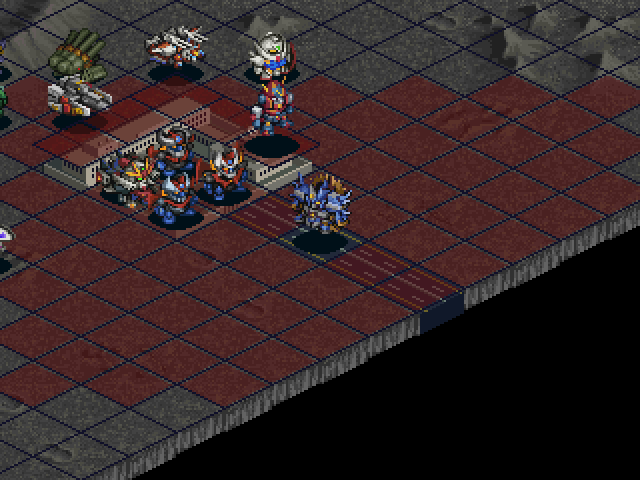
The Ghosts are quickly tossed aside.

Fa takes a hit from one of Shu's guards.
The Gilgilgans are still a little to far to comfortable engage, so I wait it out another turn. I need to take things slow, or else risk getting beat down.
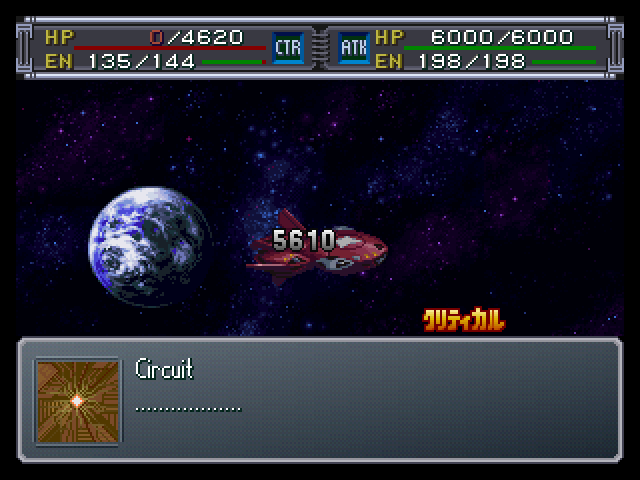
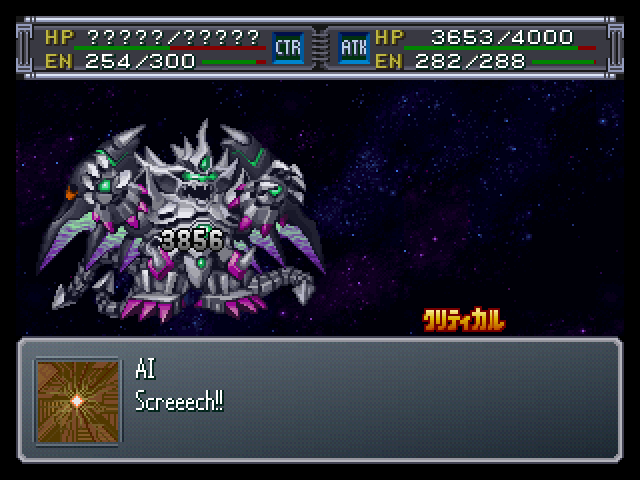
Once they're in range, I open fire.
Now that I'm dealing with beefier opponents, the problems with this lineup quickly become apparent.
One of the biggest problems is consistent damage output. The heaviest hitters in terms of consistent damage I've got are the Double X, the Three Mazingers, and Combattler V. The rest are pretty pathetic in comparison.
The second problem is that most of my units depend on Ammo for their attacks, which is harder to replenish than EN without sacrificing Will. This is a major problem for the Destroid and Walker Gallier.
The third problem is that without a dedicated healing unit, I have to keep an eye on my units health even moreso than before. This isn't much of a problem right now, but it will be once I take the fight to Shu, when I can't afford to take any hits from the Neo Granzon.
There are a few more, but I'll go further into them once I start fighting Shu.

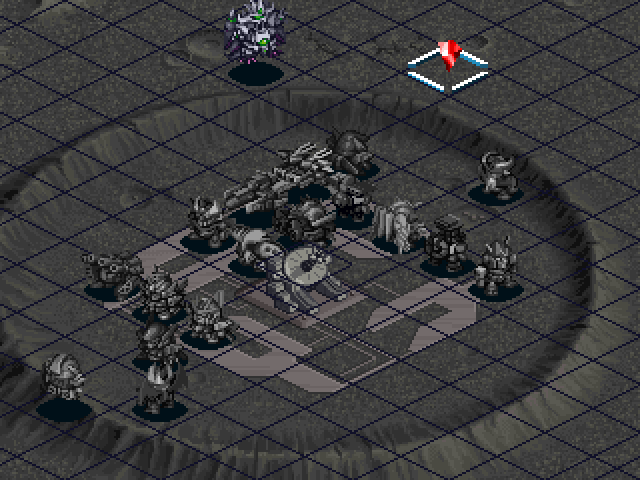
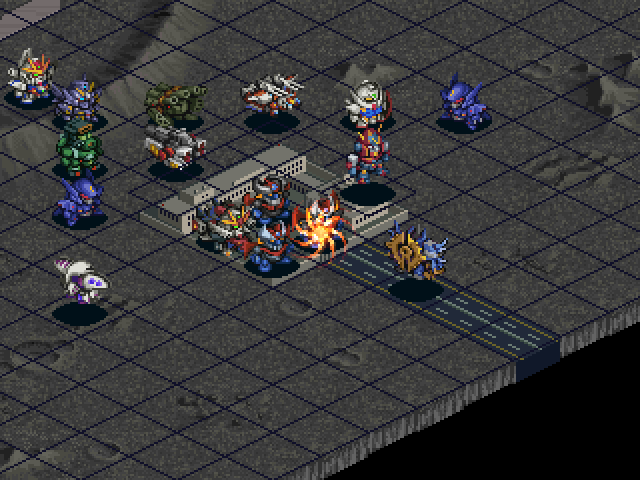
Two Gilgilgans down, 8 more to go...
I'm going to skip ahead here, since the next couple of turns are nothing but me baiting the distant Gilgilgans and destroying them one by one.
Just to give you an idea of how slowly I've been taking this mission, I think it was around turn 12 by the time I was ready to attack Shu and his guards.
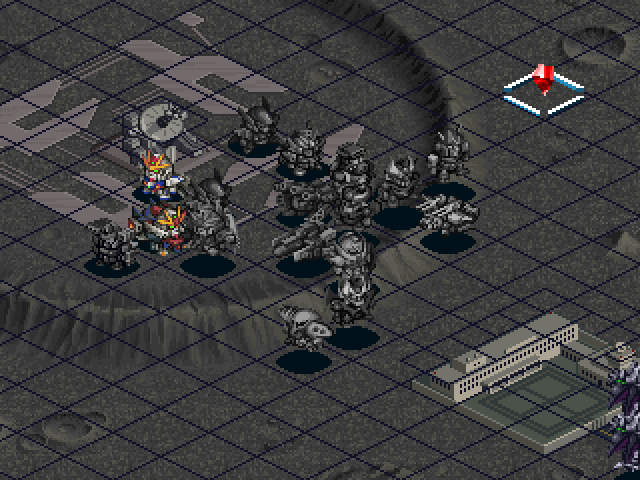
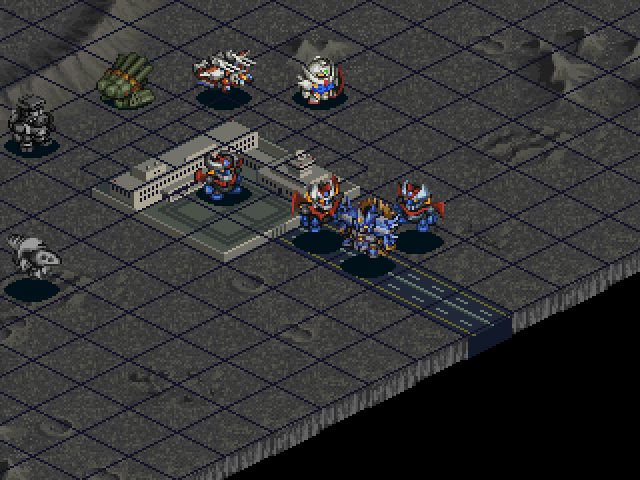
Also, note the GX and DX's location.
Another turn of getting into position, and...
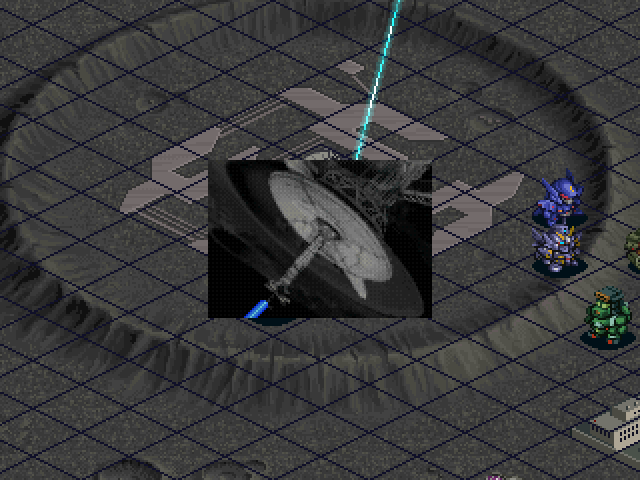
This picture is hilarious, by the way.
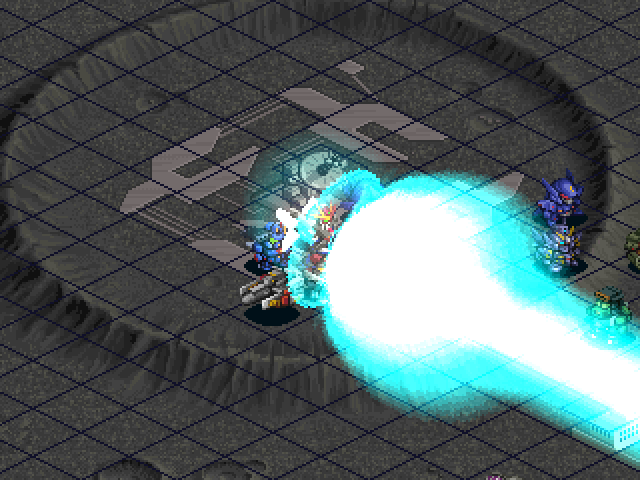
Boom.
As before, Getting rid of the Gilgilgans takes priority, although I think Shu won't use the Graviton Cannon if one is still around, so that might be one way of avoiding it.

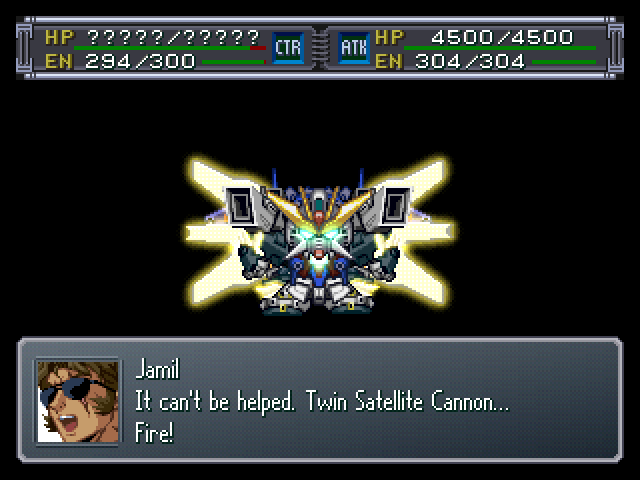
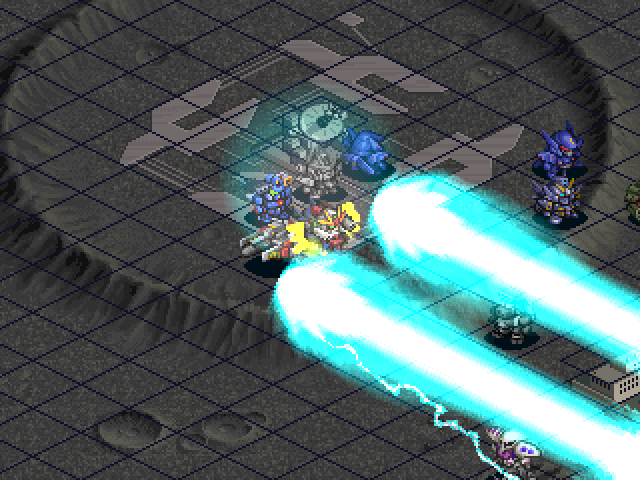
The turn ends. I wish I could have done more with the Double Satellite Cannon opening, but I wasn't in a good position to take advantage of it. Oh well.
As before, that little base is key to fighting Shu. Even moreso now with my limited resources.
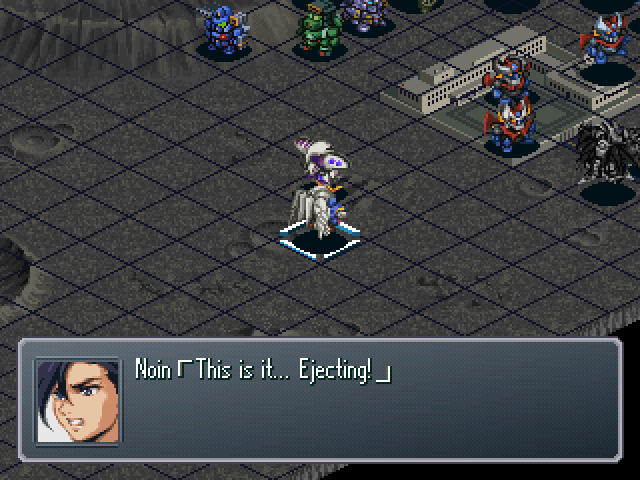
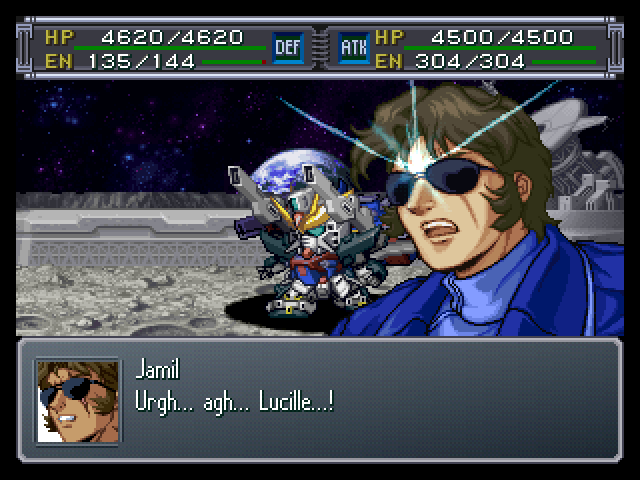
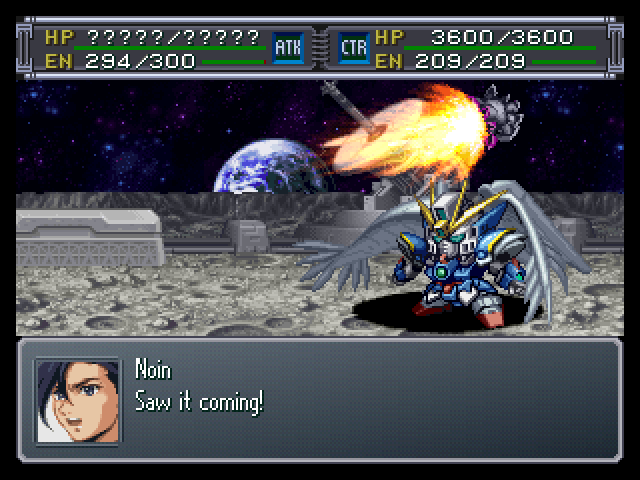
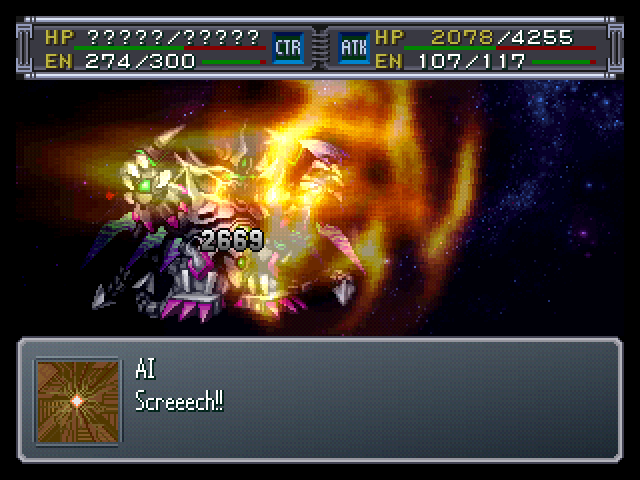
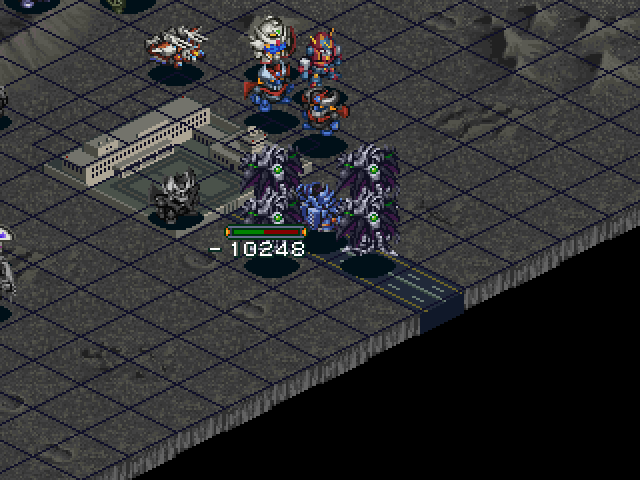
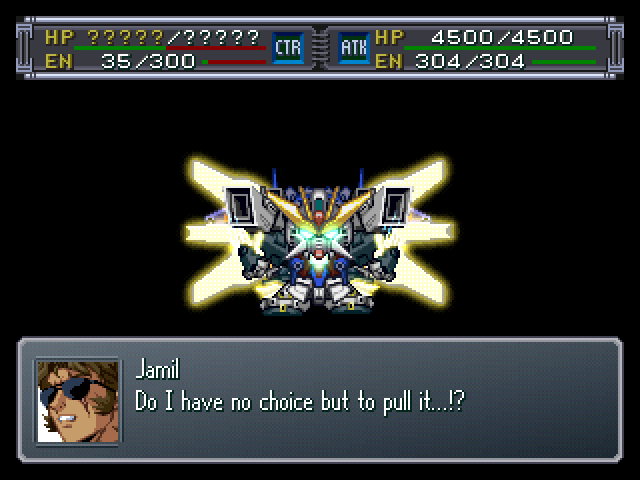
Noin takes a devastating hit from Shu and is out of this fight. Damn.
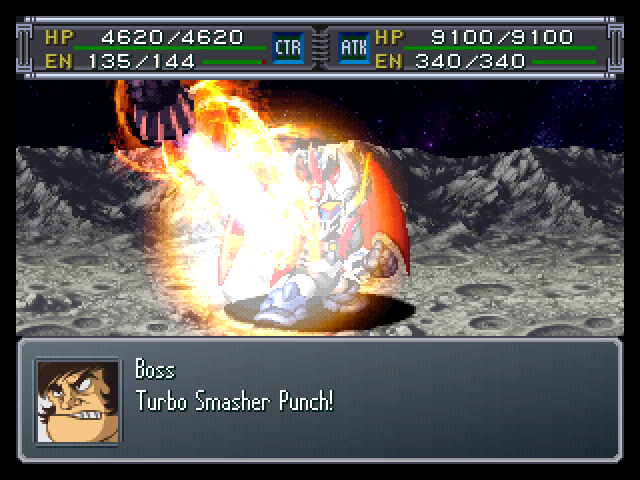
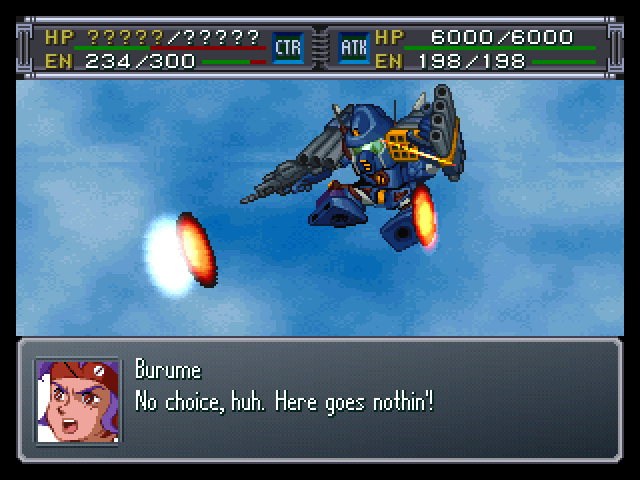
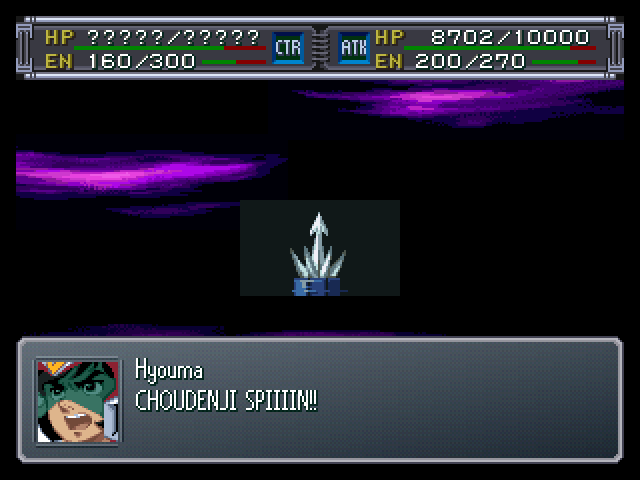
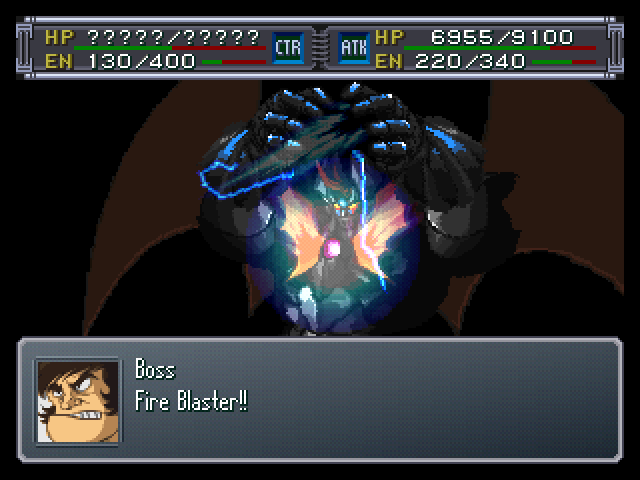
Boss opens up the next turn.
And then I immediately have Rai use Enable on him, since Boss had three levels of Support, and I intend to fully exploit that.
While I managed to defeat one of the Gilgilgans, I couldn't finish off a second.
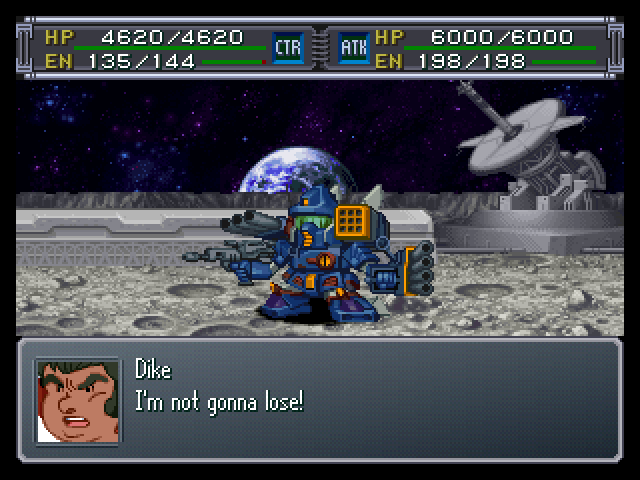
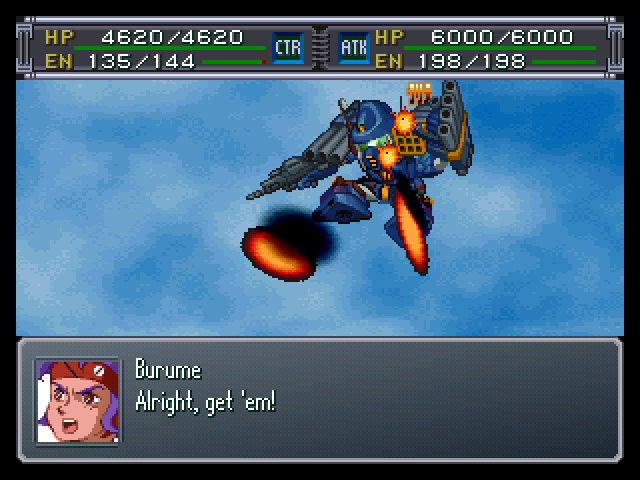
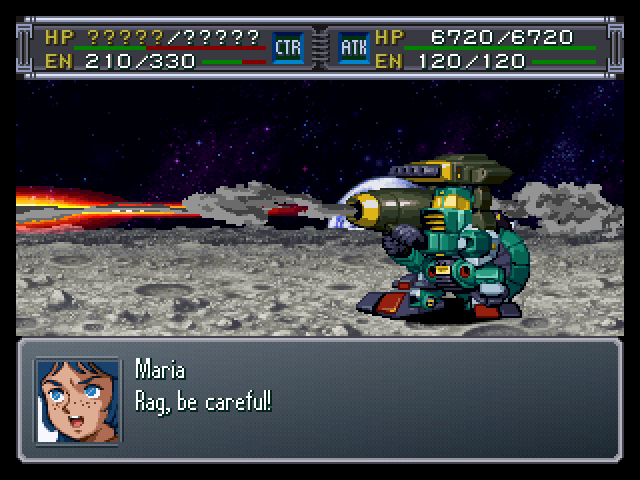
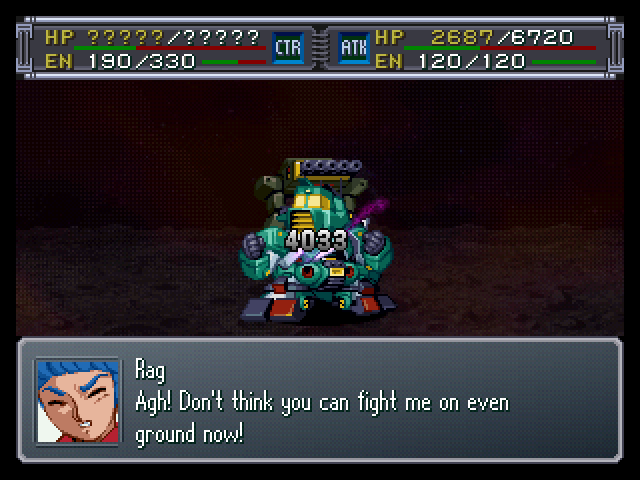
Dike and Burume take a direct hit. These are losses that I can't afford...
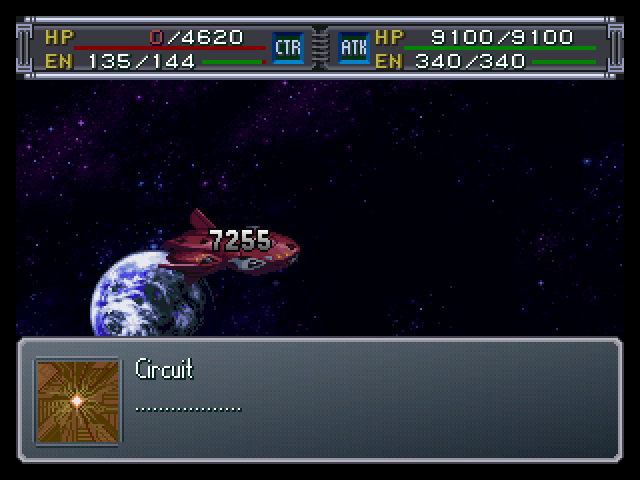
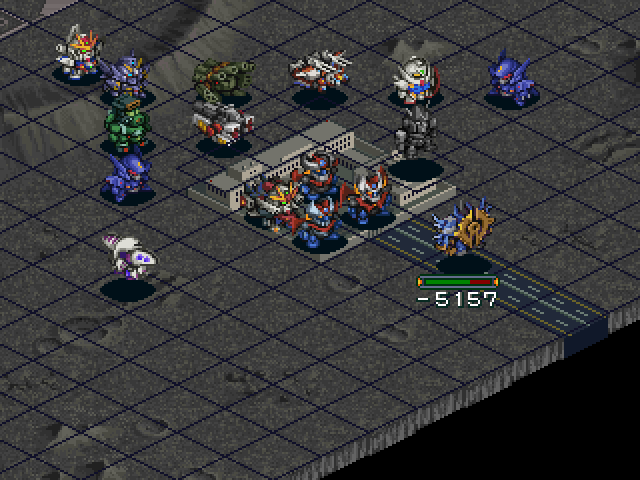
Next turn, I finish off the last Gilgilgan with a Soul buffed Propellant Cannon.
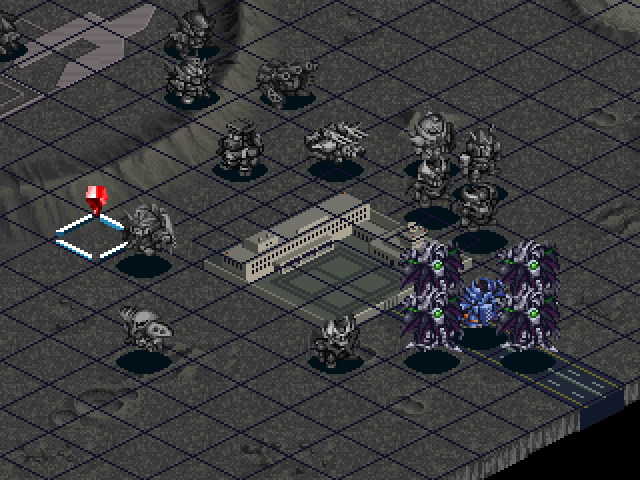
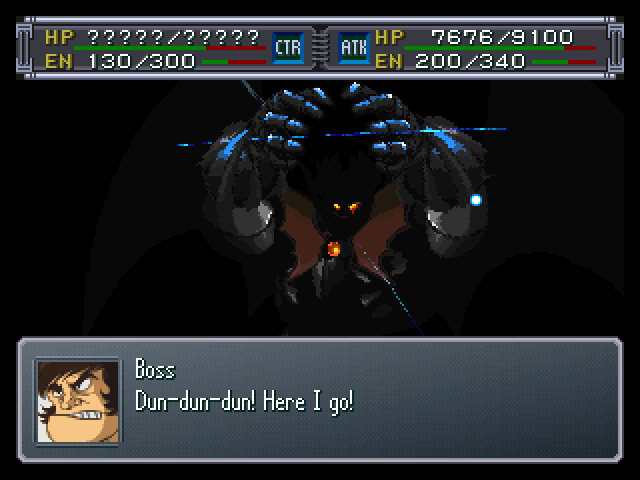
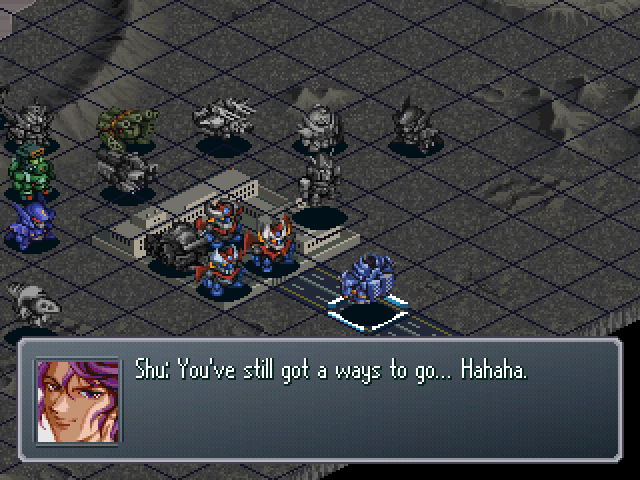
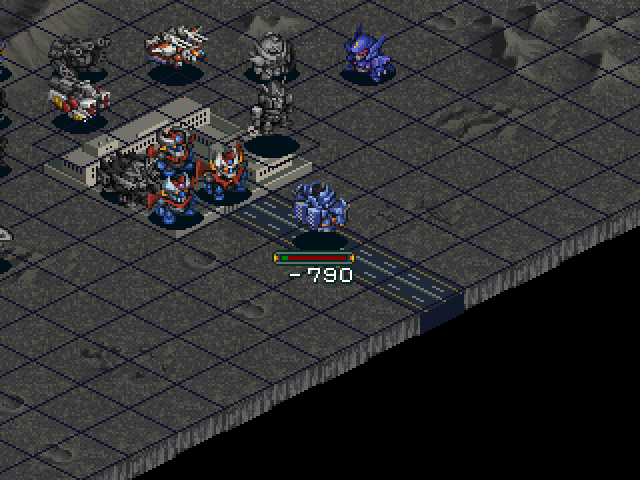
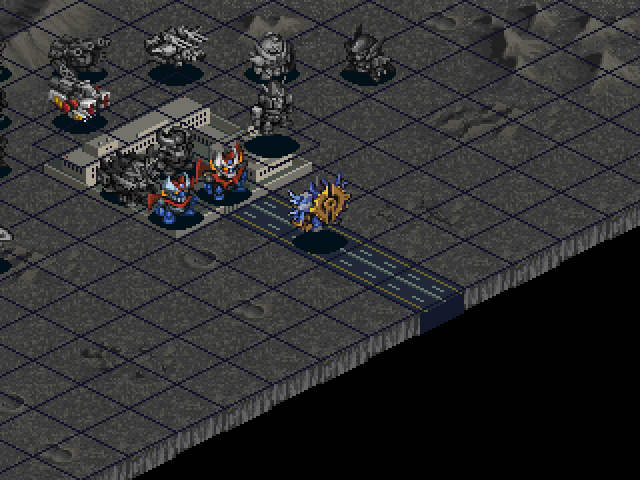
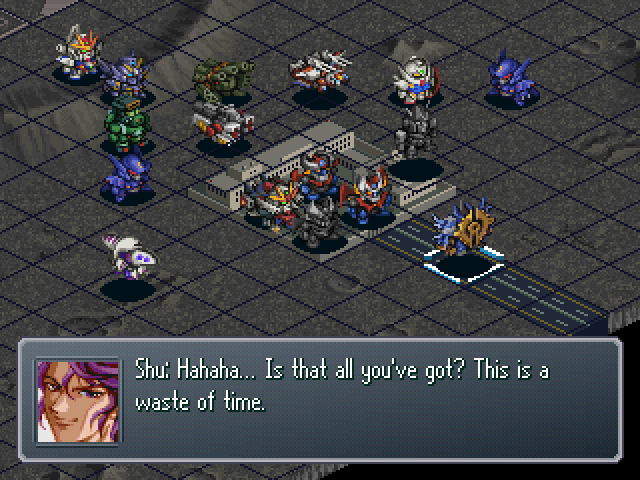
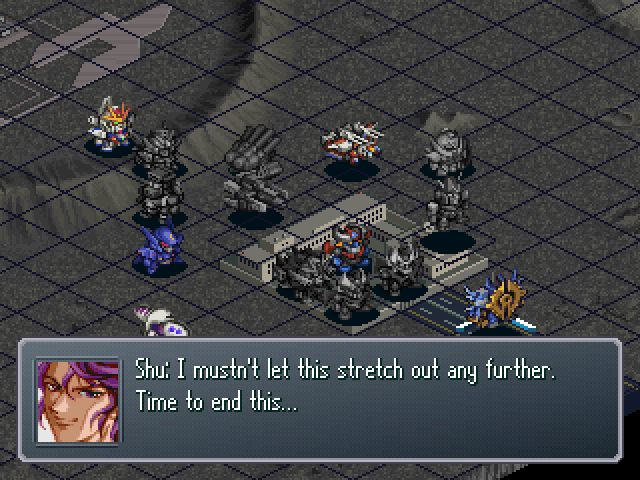
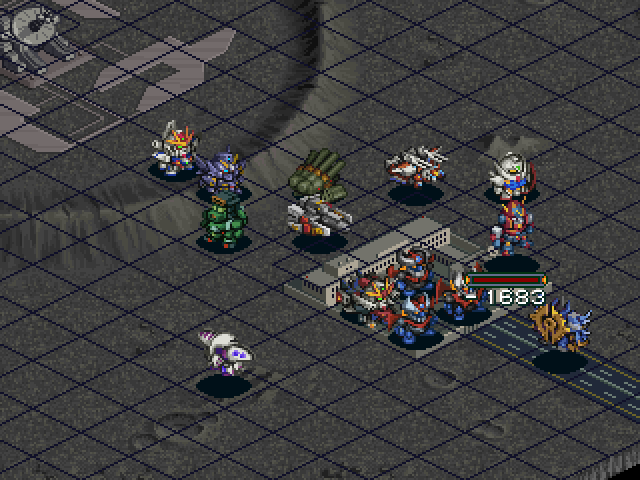
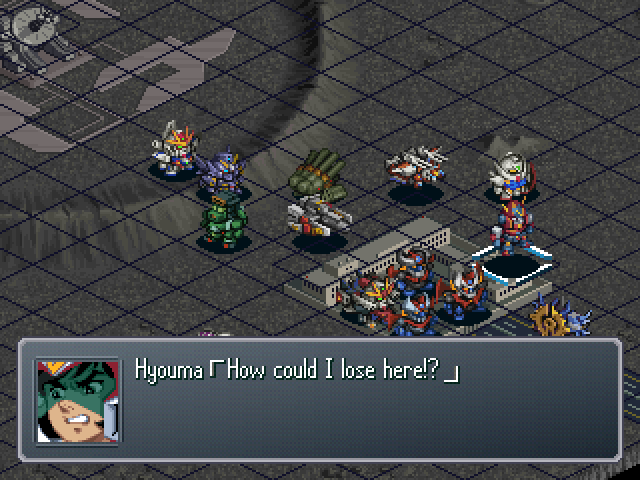
Now all that's left is Shu Shirakawa.
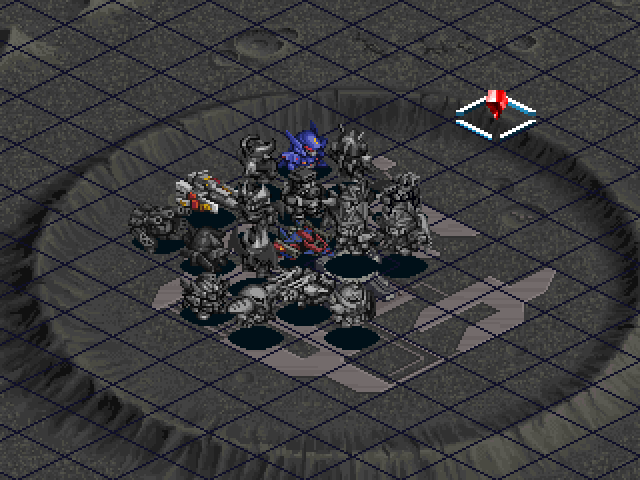
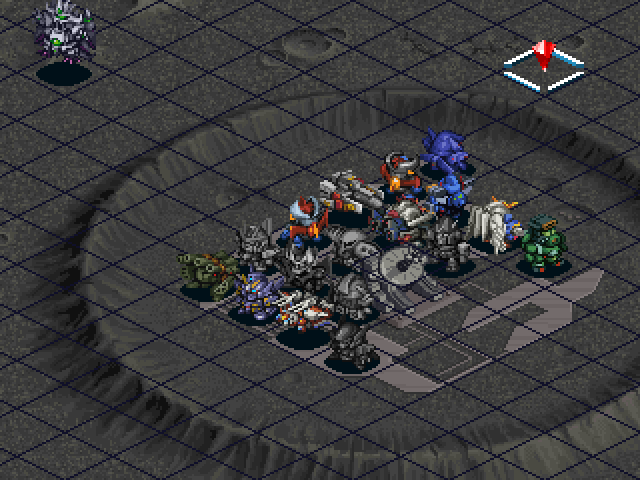
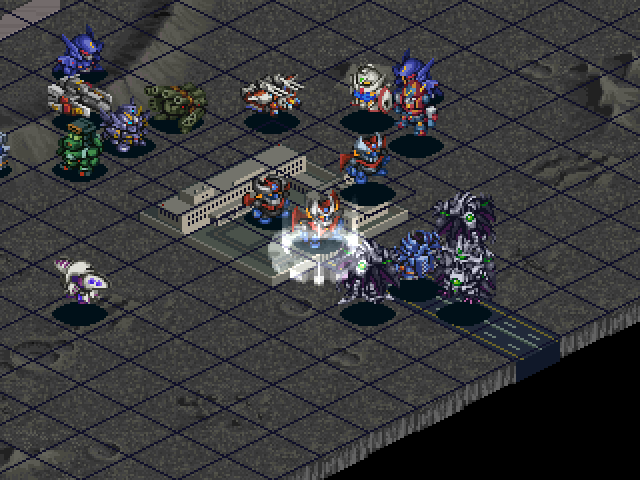
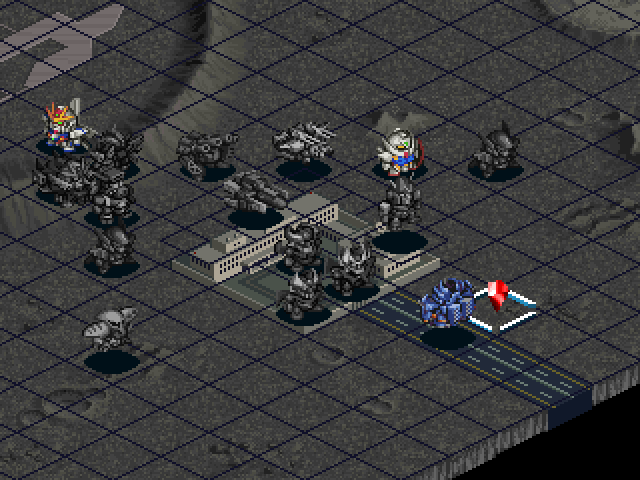
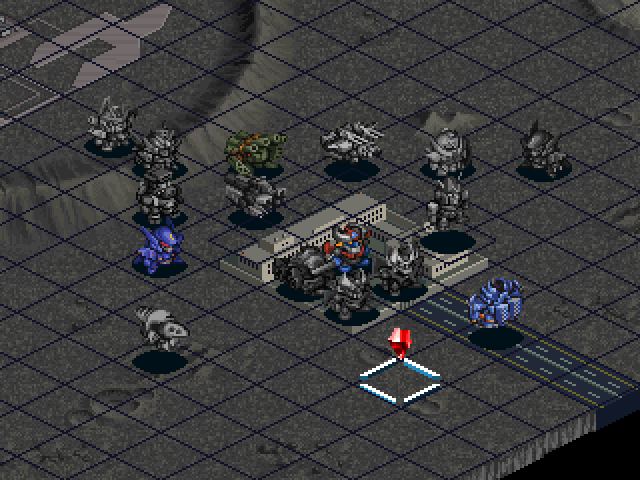
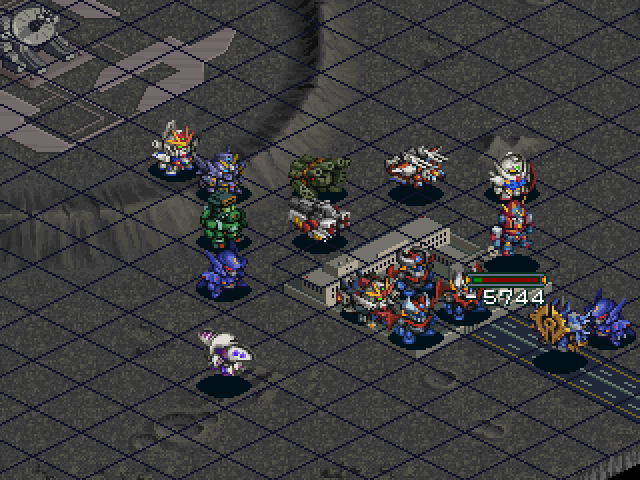
Also, notice the formation I've got going on.
Thanks to that, most of my units are just out the the MAP attacks range. However, the opposite is also true, since only attacks with a range of 7 can reach Shu, and they're not exactly my strongest attacks. I put some HP Radars on a couple of units to help mitigate that, but...
Still, better than having my entire team get wiped out in a single MAP attack.
The fourth problem with this lineup is ties in with the third. Because I have no unit that can heal, I now have a greater dependency on Alert, Trust, Vigor, and Guts, which puts an even bigger strain on my already tight SP budget.
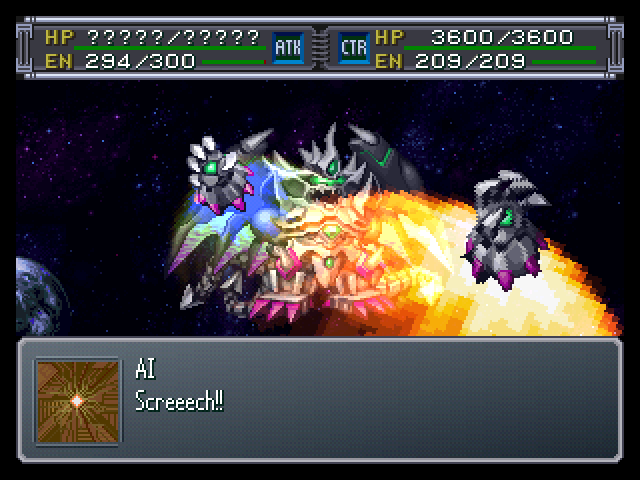
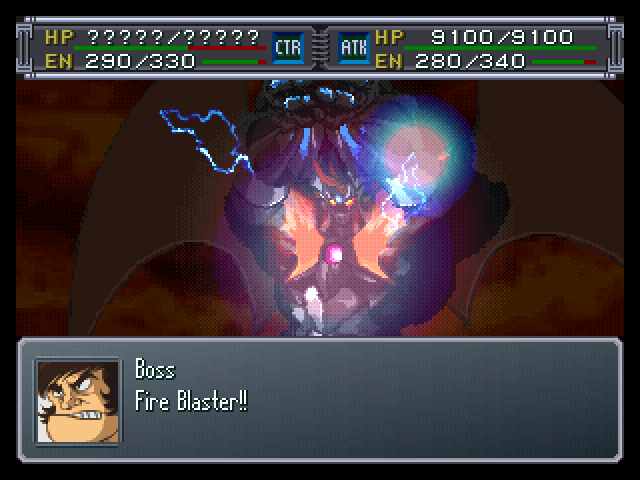
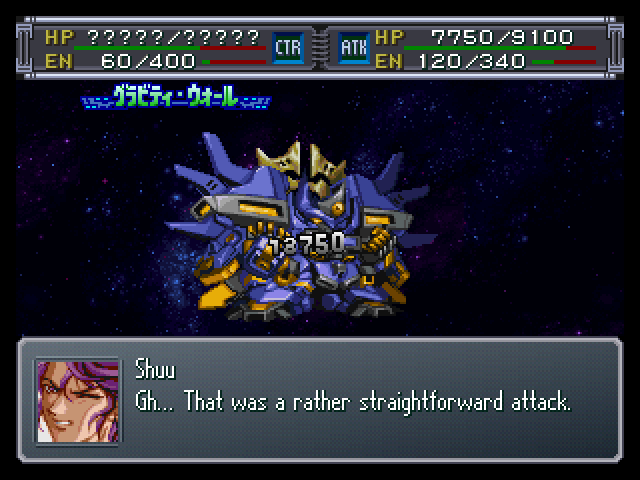
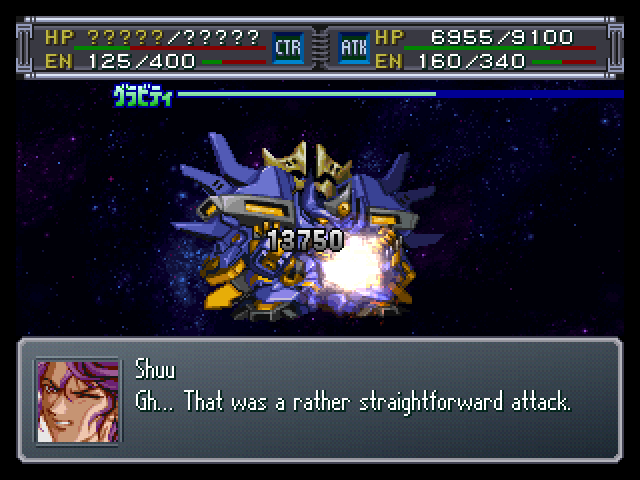
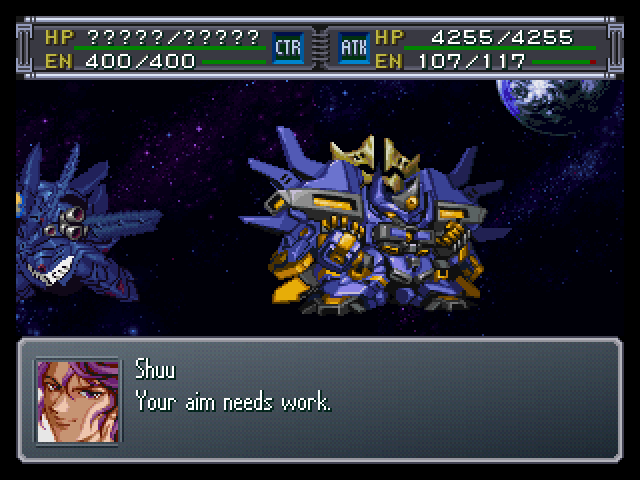
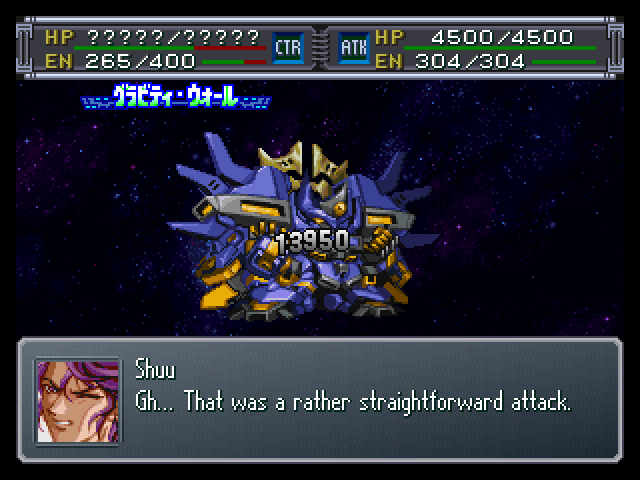
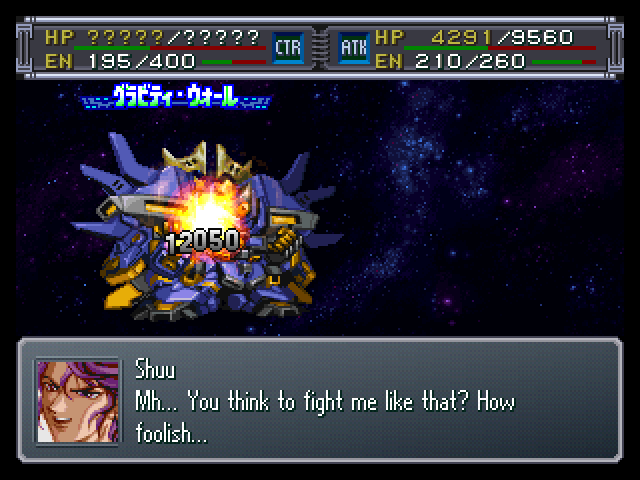
Shu still does his spirit casting thing.
I managed to trigger his second casting before I ended the turn.
Also the Double X has joined the base party so I can take even further advantage of supports.
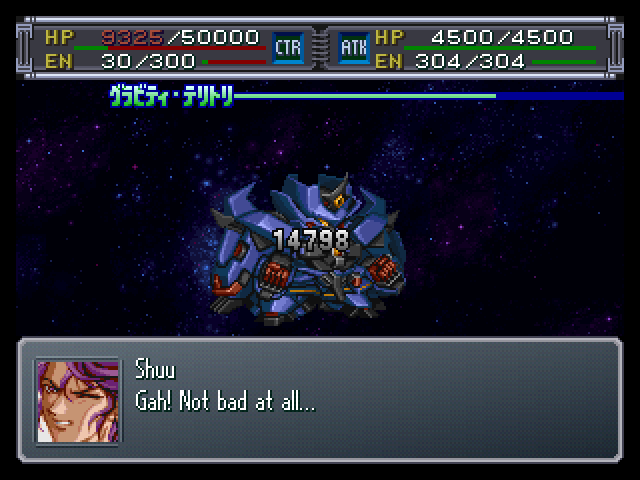
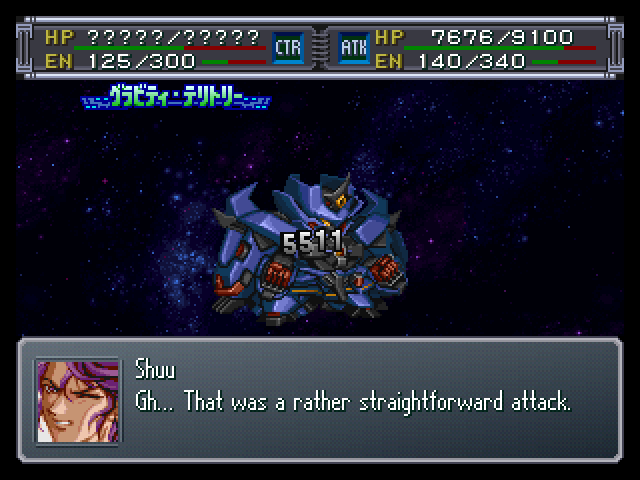
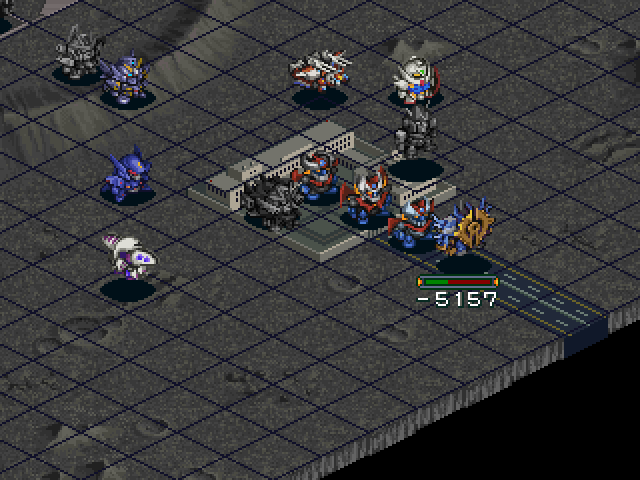
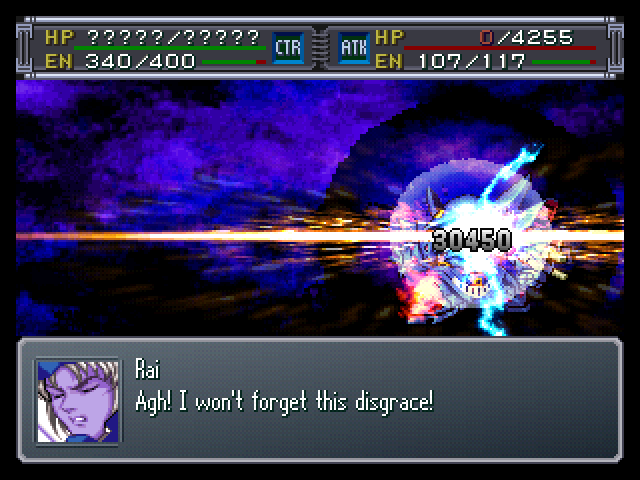
A Valored TSC dropped him down rather quickly.
Now that he's out of EN, the others can safely pick off some of his health before I finish him off.
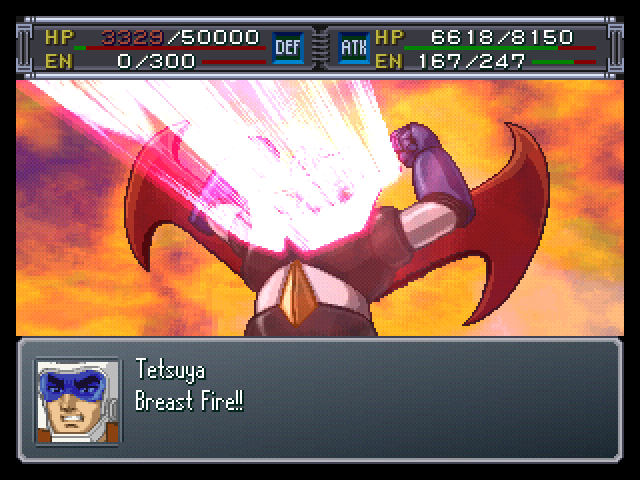

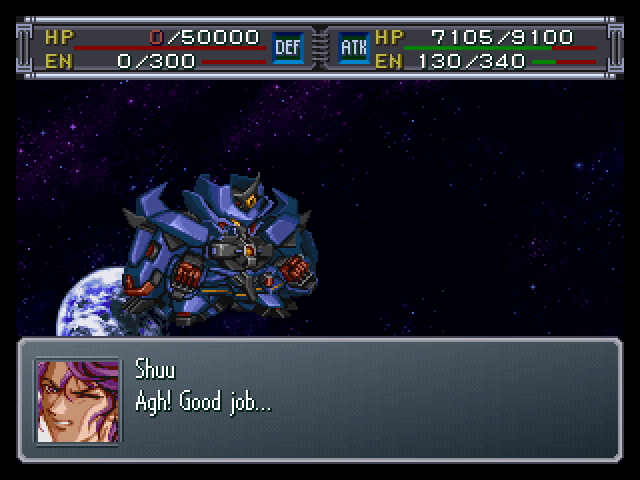
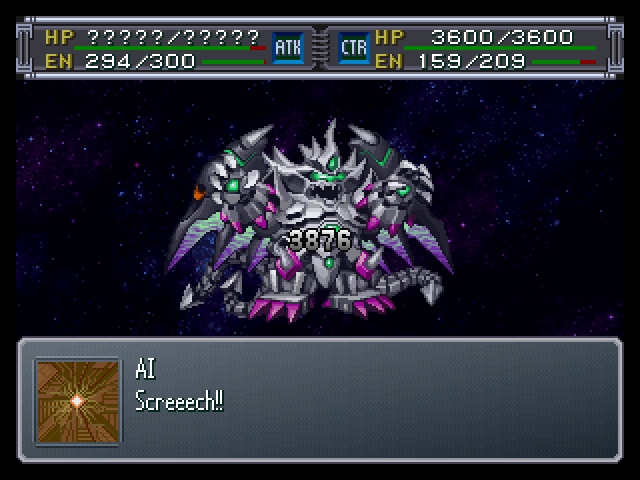
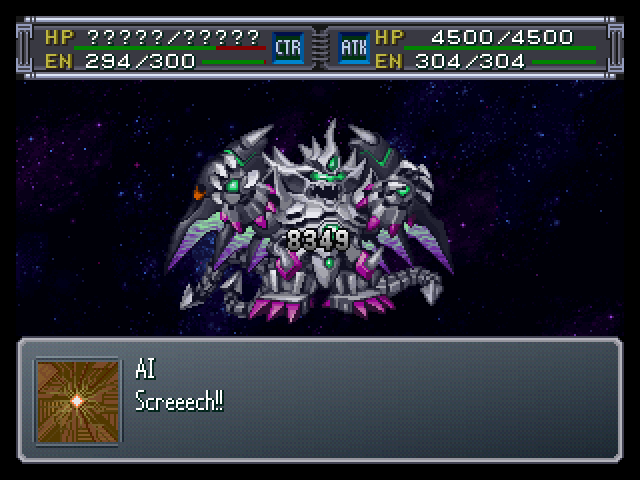
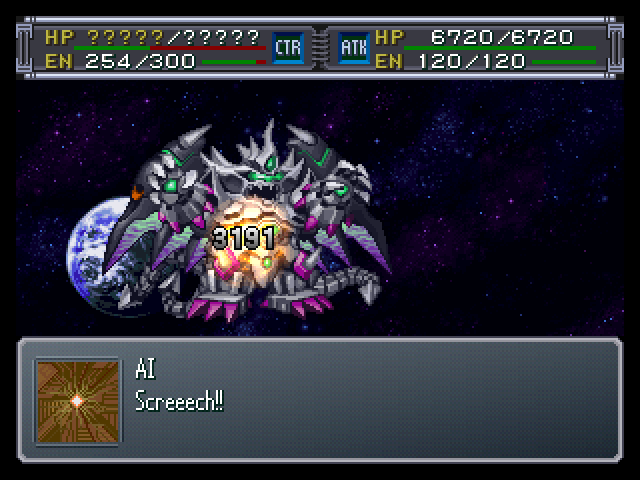
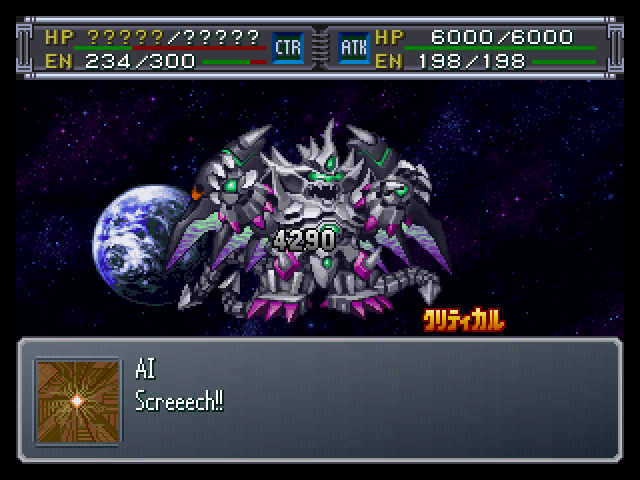
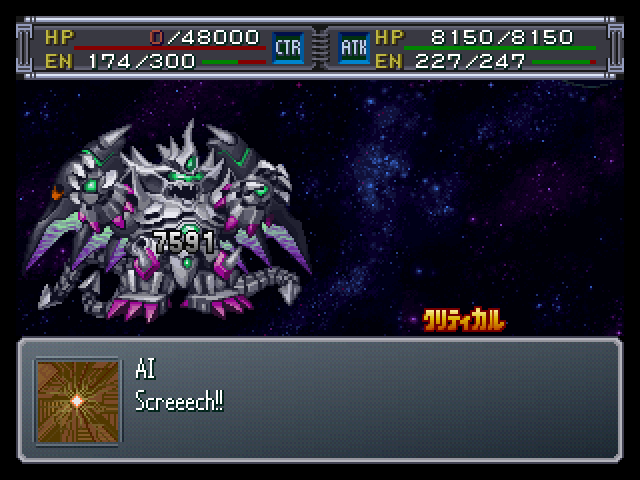
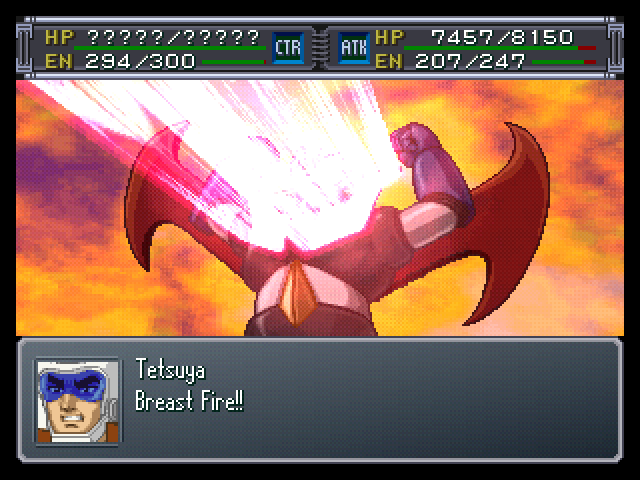
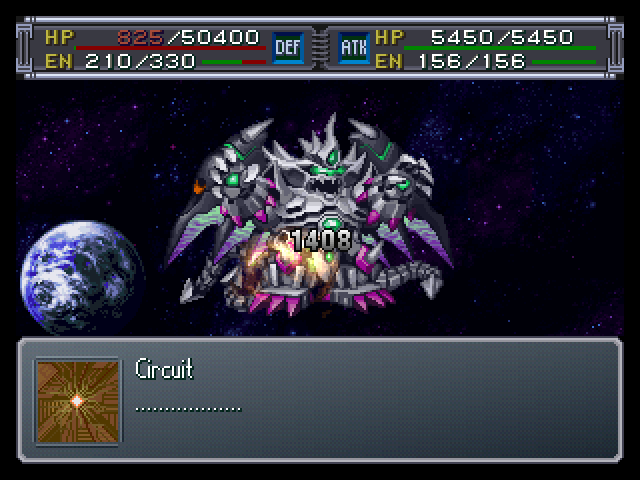
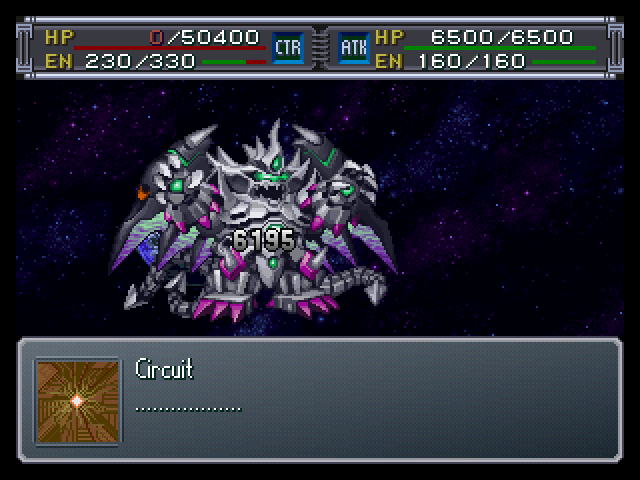
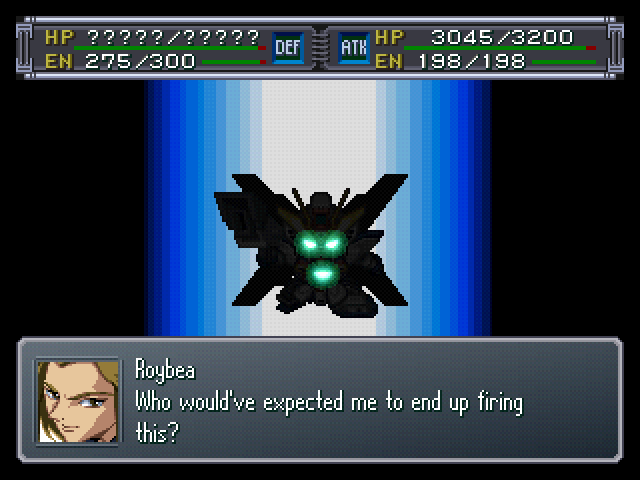
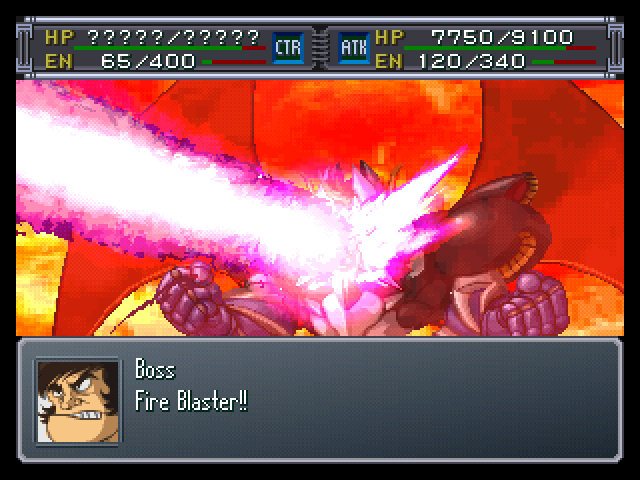
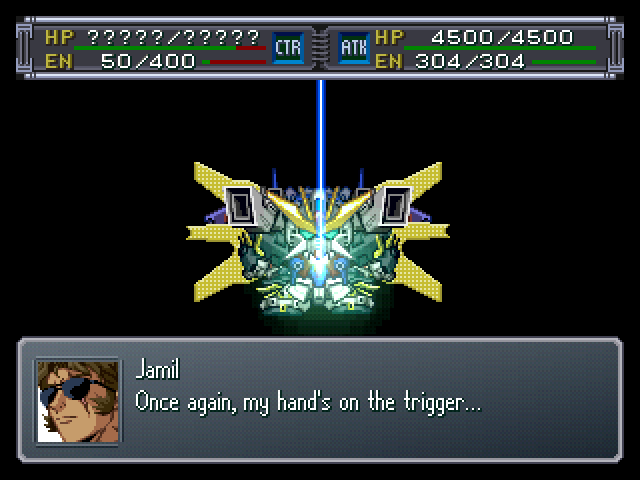
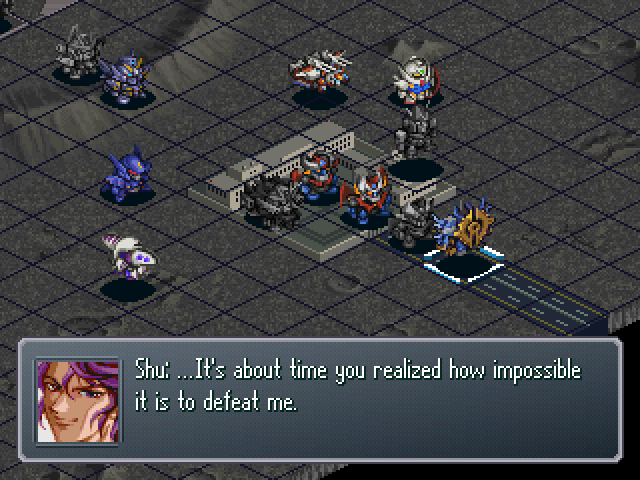
A Combo attack from Tetsuya and Boss finish off the Granzon.
now the REAL battle begins!
Problem number 5 is the fact that the Neo Granzon itself is not only accurate, but it dodges better than most of my reals, forcing me to use Strike more often that I would have liked. I'm not ashamed to say that I abused save-states in order to see if an attack would hit without me needing to use Strike.
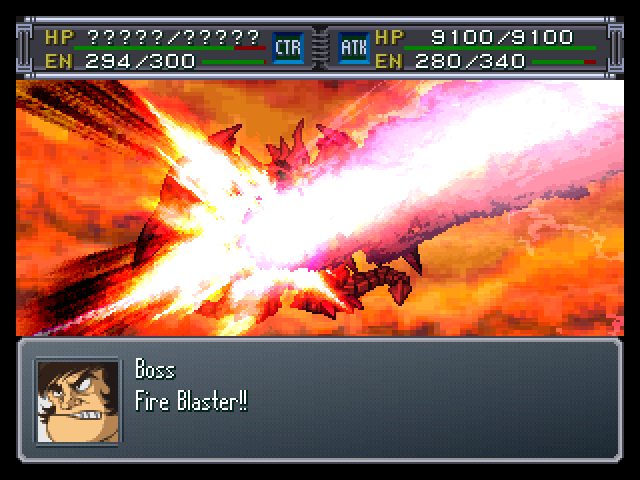
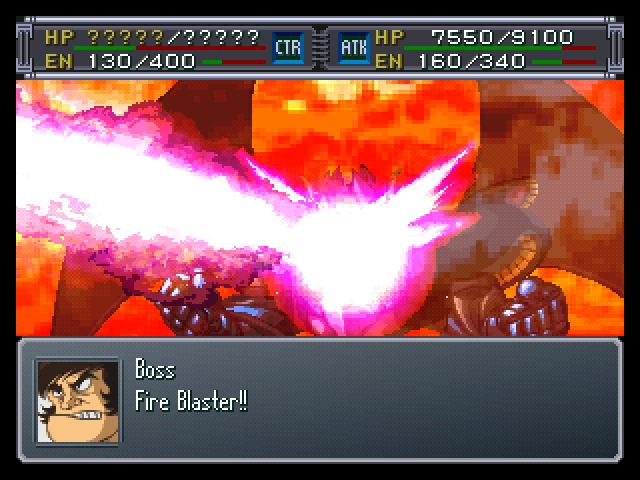
Here you can see Boss using Blitz, which is one of the only multi-cast spirits the player has access to. It casts Accel, Alert, Strike, and Valor. a bargain at 60SP.
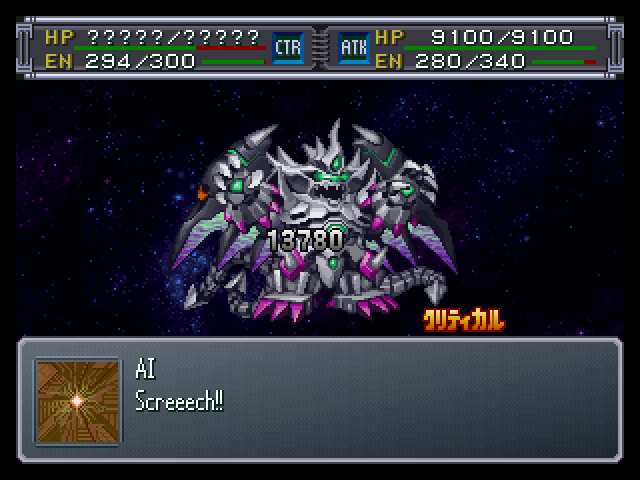
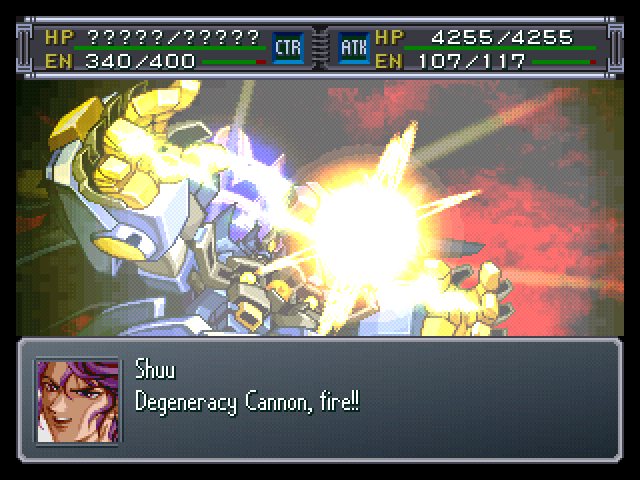
I continue the attack, careful to let only those with Alert on actually attack since the Neo Granzon's Degeneracy Cannon WILL ruin your day.
I continue on, hoping to trigger the next scene while Boss still has Strike and Valor on, but I come up short...
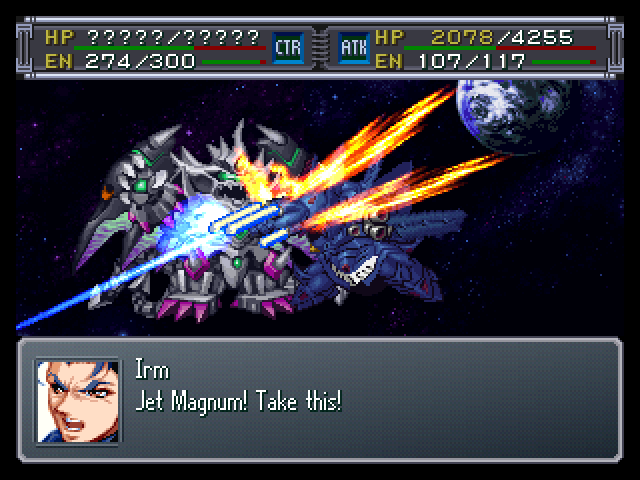
Desperate to make sure that the Valored attack wasn't used in vain, I make a hard decision.
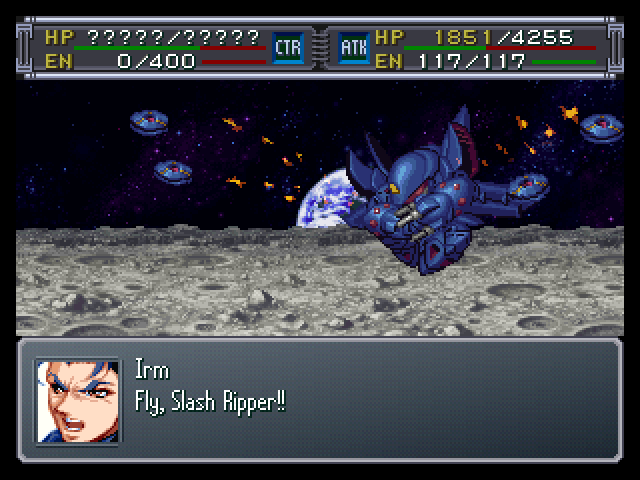
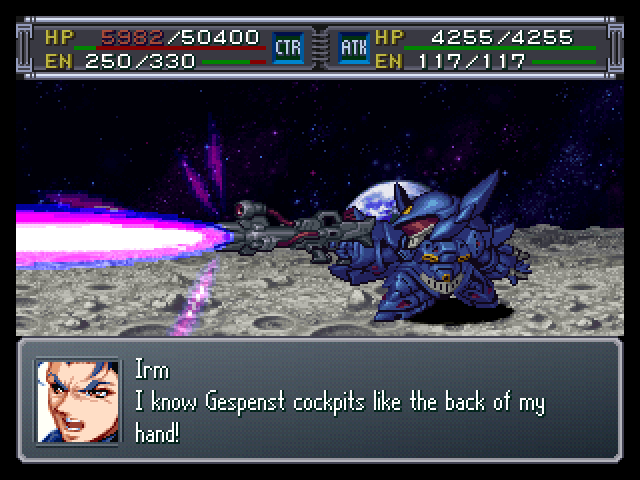
Irm does just enough Damage to cause him to trigger the next scene, but he will surely die to the MAP attack.
This wouldn't be the last time I purposely sacrifice someone.
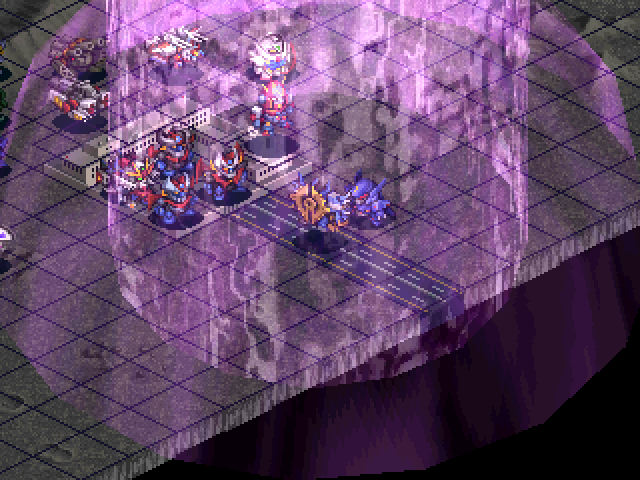
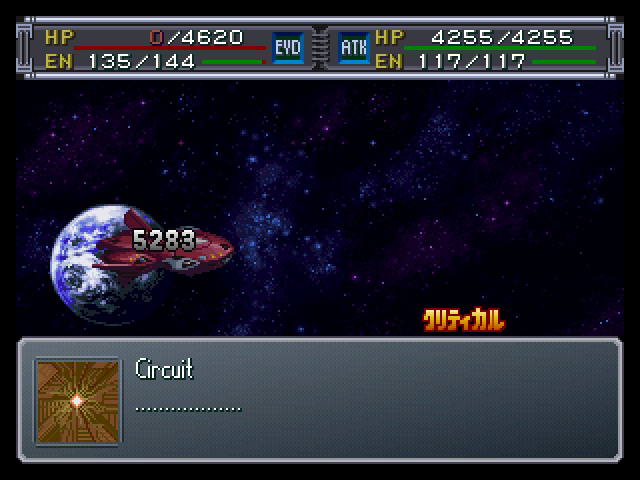
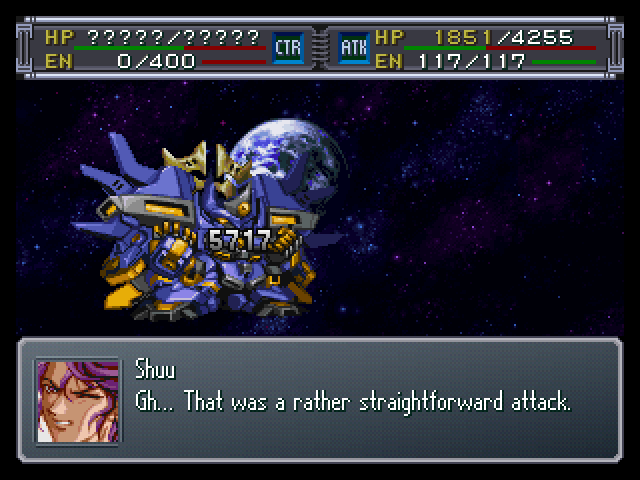
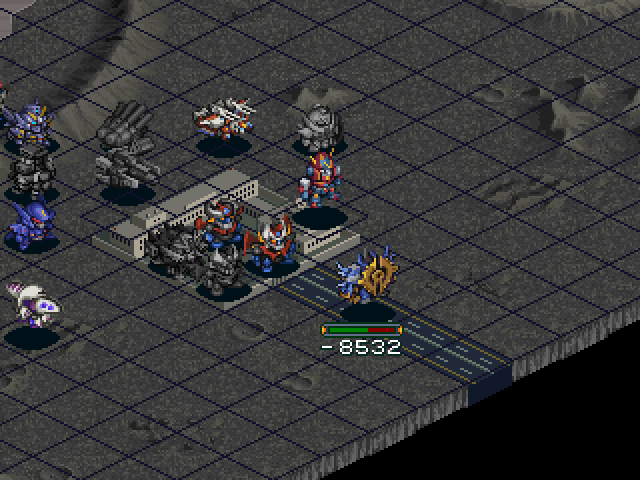
Here I made a BIG mistake, and allowed Shu to keep Valor on while he used his MAP attack. Everyone within range took severe damage, and Irm died, although I was already anticipating that.
Here I dock the Destroid and Walker Gallier onto the Lean Horse and have them retreat so that the Lean Horse could recover some health.

I continue attacking, using Valors and Strikes as sparingly as I can.

Since Boss with Blitz is the MVP for this mission, I have Fa use Faith on him to give him another use of it.
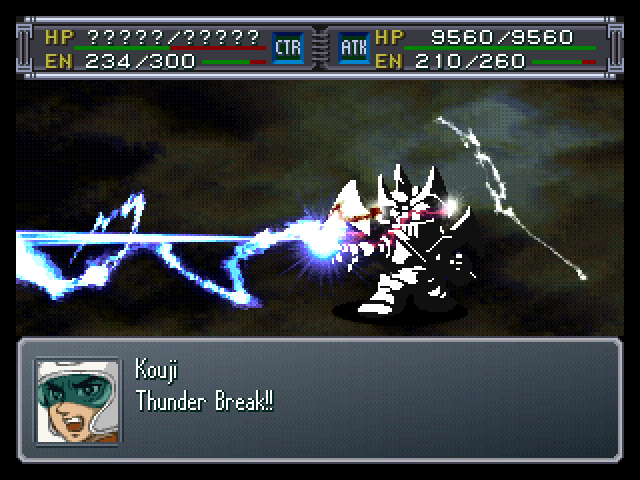
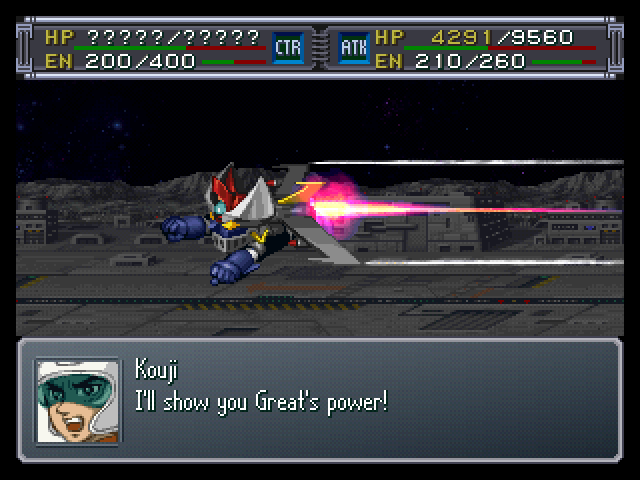
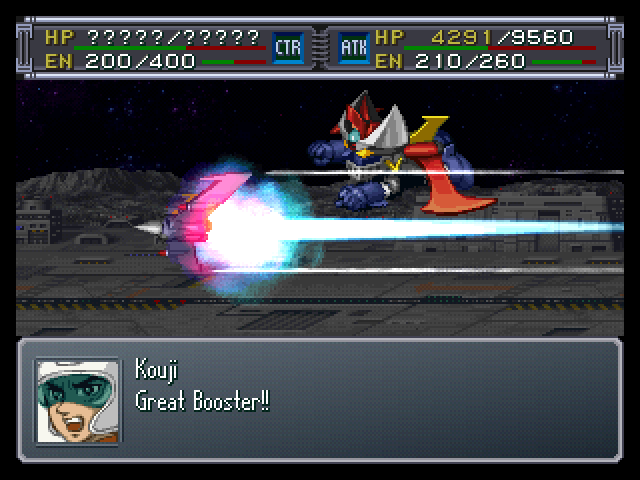
Kouji breaks formation to force Shu into using his Gran Sword to I can do more damage to him.

Next turn, the Lean horse comes back and drops off it's passengers.
Kouji gets back onto the base tile.
Seriously, Boss is the ONLY reason I've managed to make it this far.
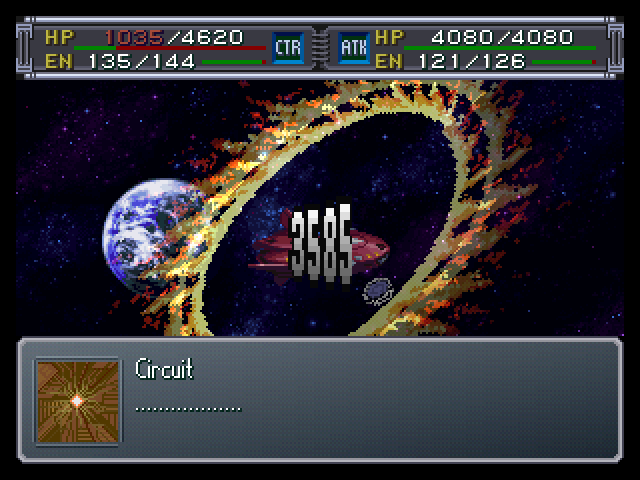
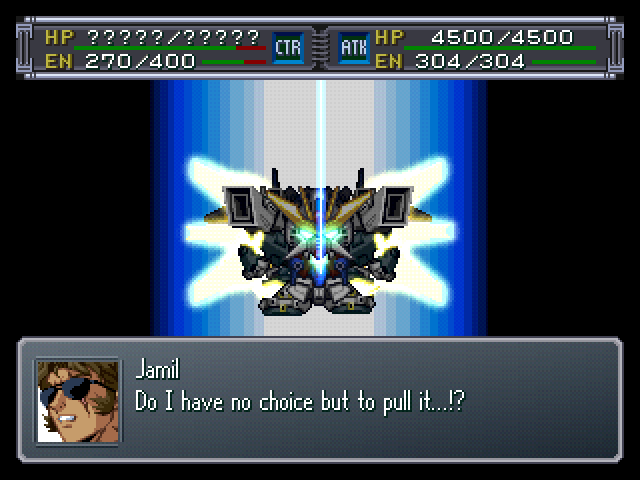
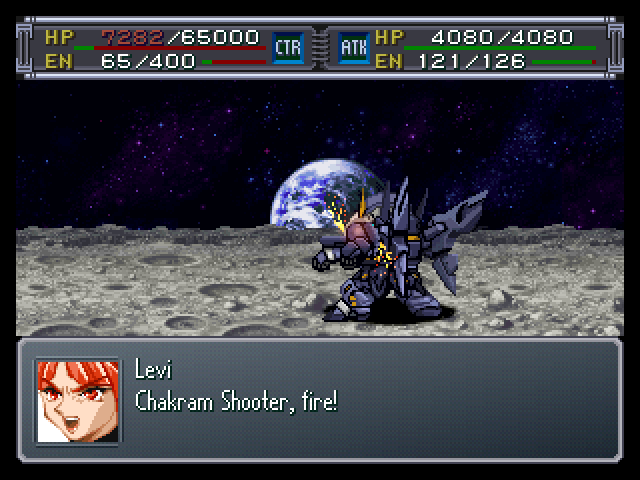
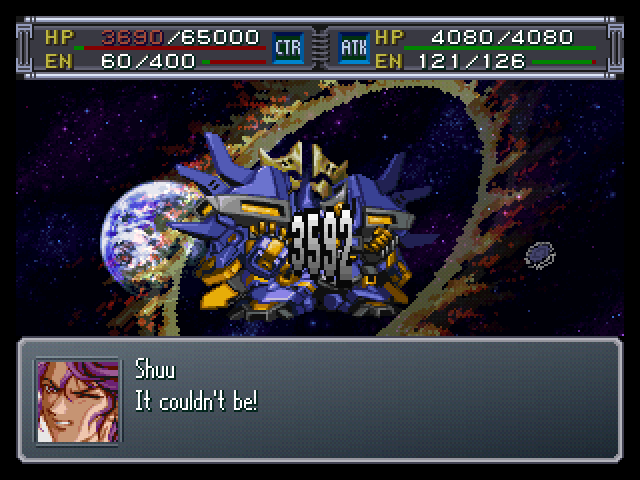
A quick shot from Levi causes him to trigger his final scene. Then I realise that I'm have to make another hard decision, because none of the available units have Alert, and I CANNOT allow him to use Soul with his Graviton Cannon.
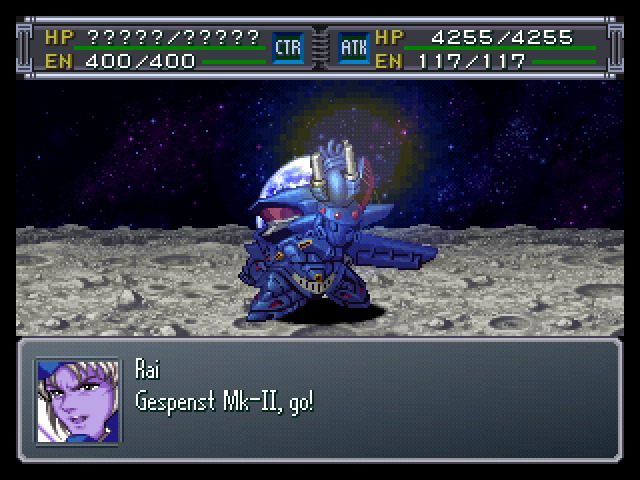
I'm sorry Rai, but without SP you're useless right now.
 sweet mother of god...
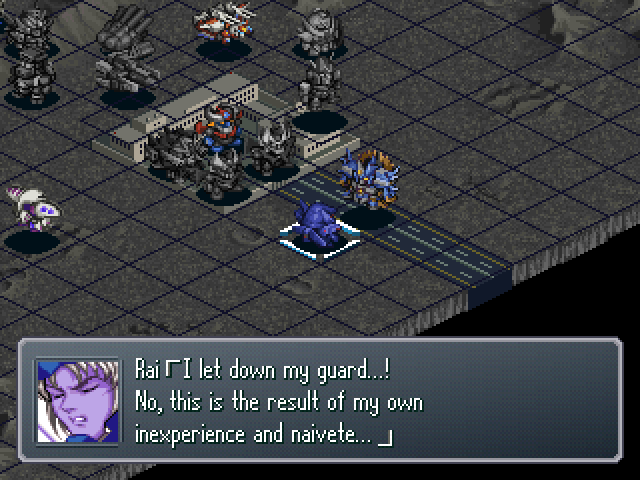
No, it's because I used you as a sacrificial pawn.
It was only when my turn ended that I would lose yet another unit, this time one who I actually needed.
I wasn't paying attention to Combattler's health, and I paid the price.
I let another turn go by just so that he would use his last MAP shot.

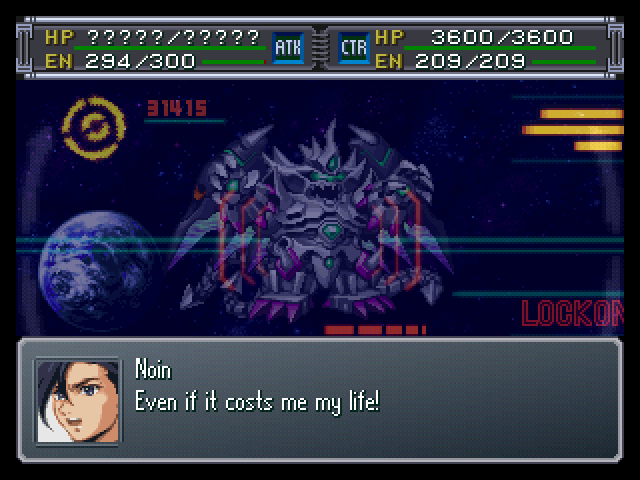
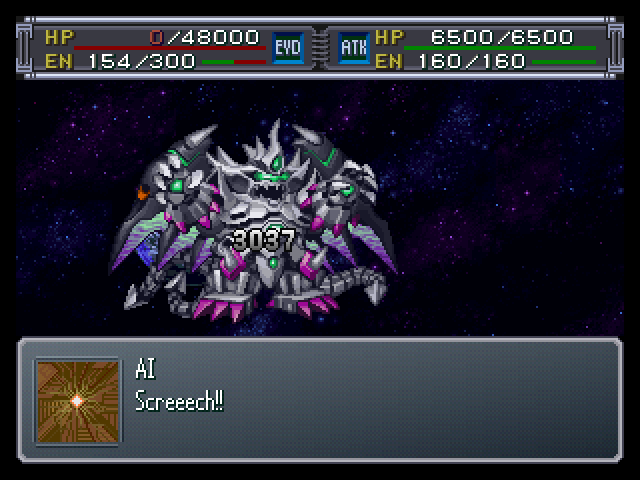
With the end so close in sight, I give Shu everything I've got left.
Fuck you, Shu Shirakawa.
Still, even with this victory, I wasn't quite satisfied, so I chose to Kill Shu in a far more satisfying way.
Click here to watch the comedy option
--------------------------
And that's it! With this update, I am officially done with this LP. I still need to go through previous updates and redo a couple of the Robot Roll Calls (As well as update the damned Table of Contents), but as far as I'm concerned, I am done.
I hope you all enjoyed this LP, and I thank you for sticking through until the end.