Part 52: The Demon Lord

So, last time we finished the super-long optional dungeon the only thing that remains is to get a middling spirit that's long since been outclassed on account of being on the same tier as Maxwell and Luna. And it was unobtainable until now. Let's just go get Shadow and be done with it.
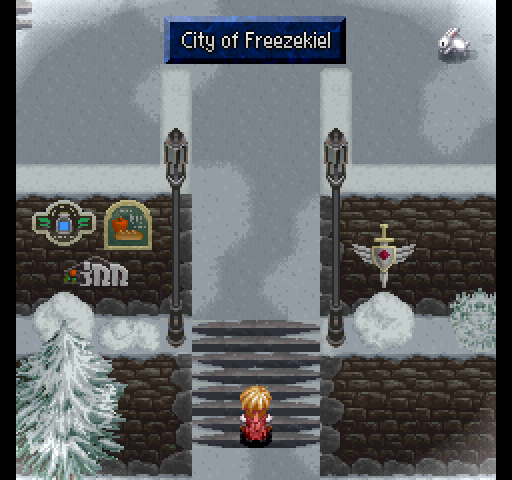
Or let's not! We've got everything from the Legend of Ishtar so it's back to Freezekiel for one last little thing.
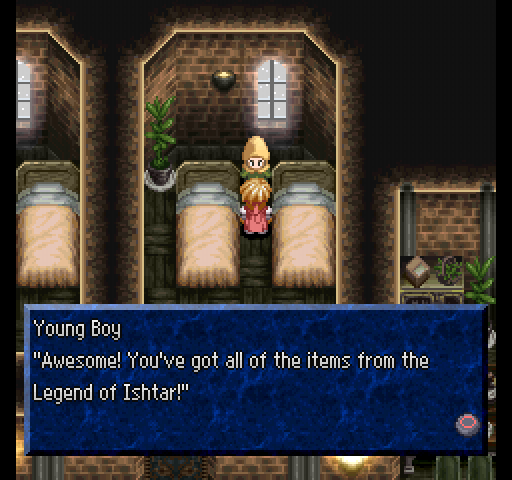
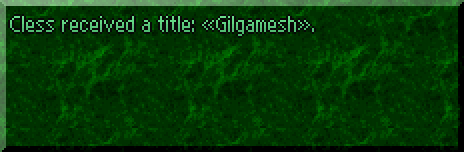
Remember this brat? Probably not, since I only vaguely do. After talking to him, the Tower of Druaga reference comes almost full-circle and we're done with it at long last. But that's not all we get!
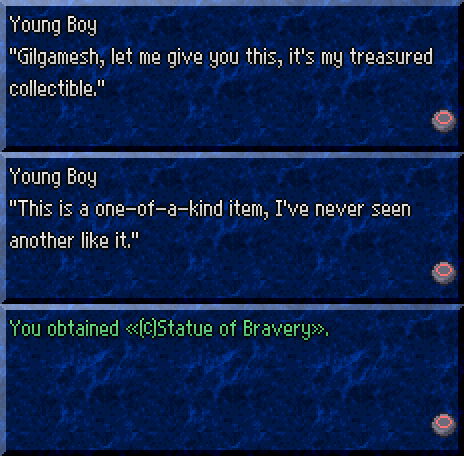
We also get the last of the five statues that do bugger all but look nice and help quell that random item gathering OCD you get with these kinds of things, or at least I do. It's almost as if I'd meticulously planned everything to finish with the collection of the last spirit!
...I hadn't, but it certainly looks like it.

Now we've really got nothing else left to do, so let's just go do this somewhat anticlimactic final-final dungeon. It's got a few hard enemies and one dick of a puzzle, but it's super short and incredibly simple aside from near the end.
As you'd imagine from the Dark Cave of Darkness as sponsored by The Darkness, everything here absorbs Dark so using Suzu (and Black Hole too) is something of a bad idea for more reasons than the usual for once.
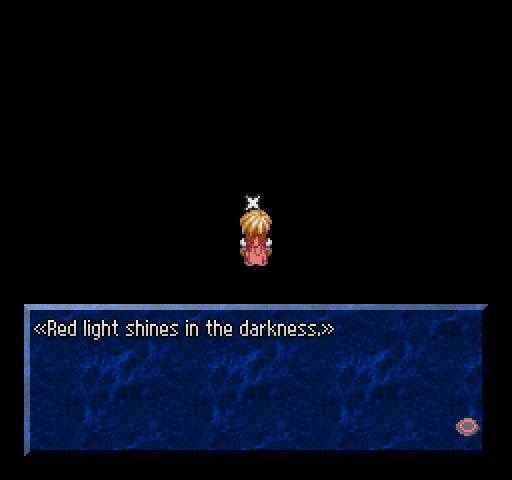
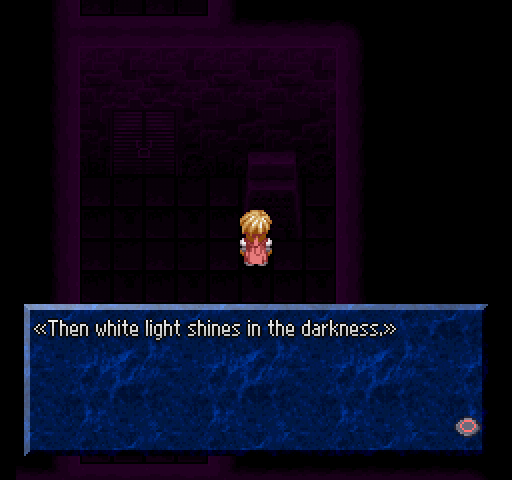
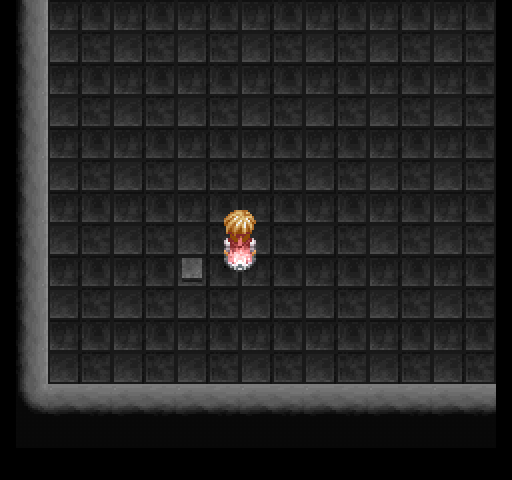
The first real room of the dungeon is completely dark aside from the requisite half-a-second flash of light every now and then. There's also a slab that we can somehow read which tells us the solution to the puzzle; turn the Red Lantern on.
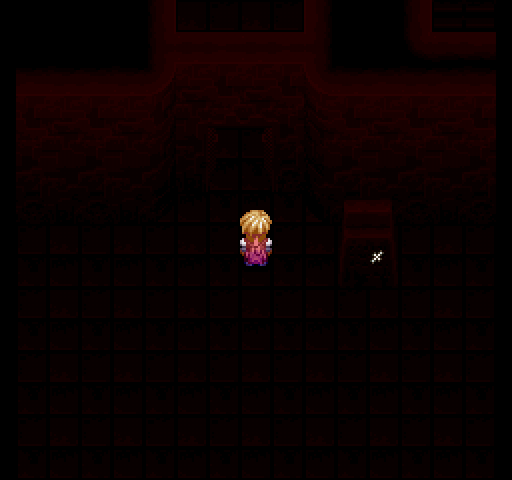
This opens the door directly ahead that is completely unopenable otherwise. This door being at the very beginning of the dungeon is the sole reason we had to leave it until after the Dwarven Ruins.
Immediately afterwards we get a branch that leads to the exact same spot but with a different treasure on each. One's a Tea Cup, the other's a Shamisen and I don't remember which is which but it hardly matters at this point.
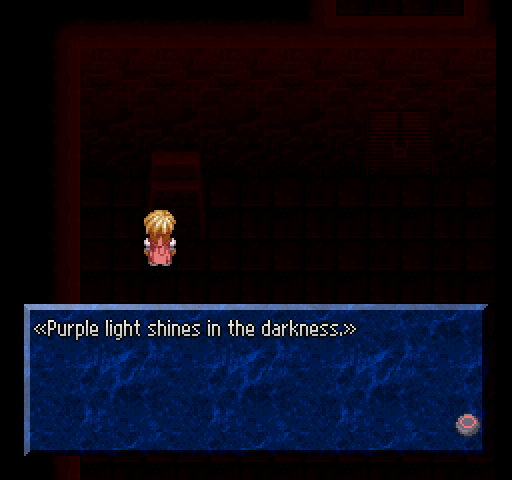
The next actual puzzle is slightly on par with the first but requires a bit more thought put into it; we need purple light, but we only have red, blue and green. What two colours mix together to give us purple out of that selection?
Well, I never said these puzzles were the hard ones.
And the next colour mix-n-match puzzle requires the last light source to be turned on as well. I'm sure there's some sciency reason for why this makes white and not black like I thought it should, or maybe it's just for player convenience. Either one works I guess.
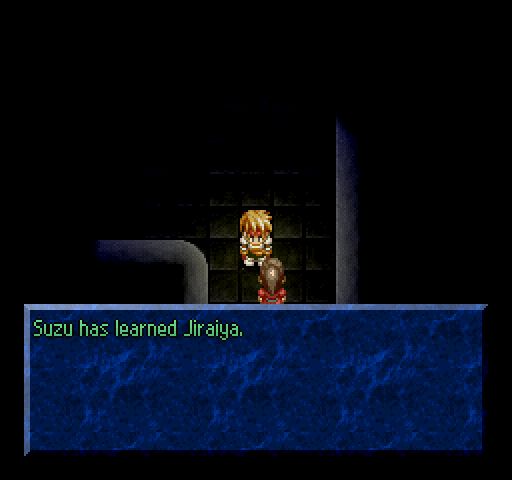
In the next room, we can buy Suzu's final skill for the surprisingly cheap 54,000 gald. If you know anything about Jiraiya (even if it's just from Persona 4 or something) you can guess what this does within reason: Suzu sits on top of a giant frog that drops from the sky which then hits everything in the direction its facing with a breath attack. It looks a bit more useful than most of Suzu's reportoire but given how niche and situational the rest of it is, that's probably just me imagining things.
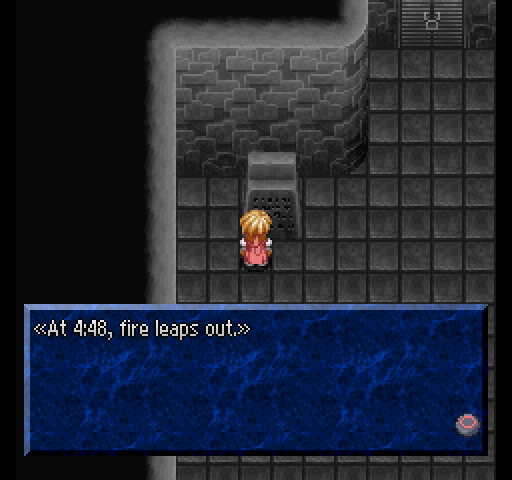
This is the first real puzzle of the dungeon, and it's kinda awkward to get to work properly. It certainly seems like it is at least;
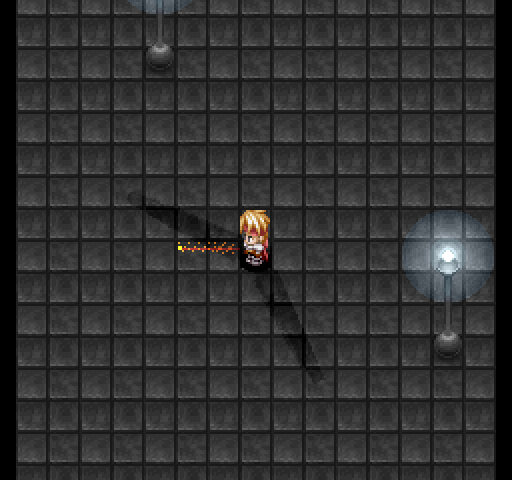
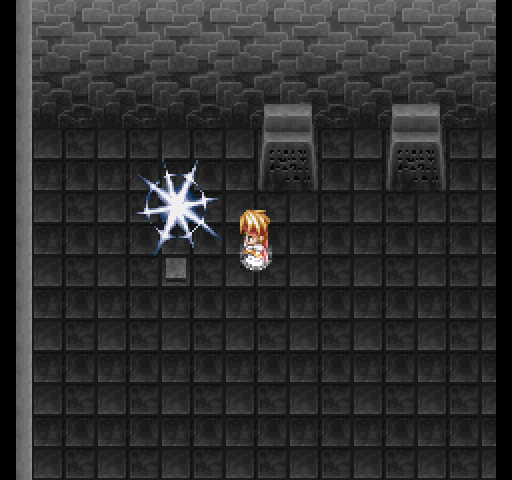
There's two lanterns on the right side of the room. You have to stand on the one square that has Cless' shadow look like 4:48 would on a clock and then use the Sorcerer's Ring. This is a bit of a pain, I find, if only because 4:48 is such an arbitrary and awkward time to get and if you're off by even half a square it's wrong and you get to try again and again until you get it right. There's an even worse puzzle later though.
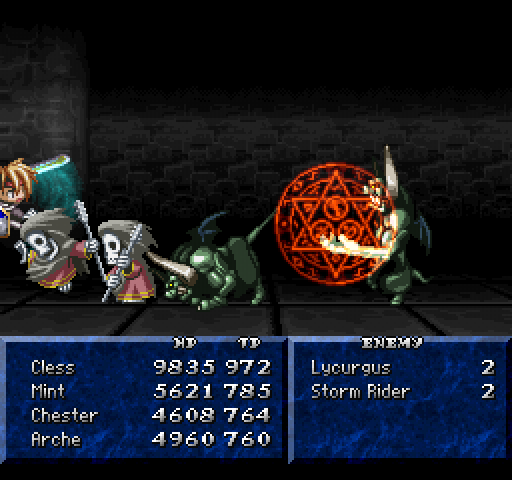
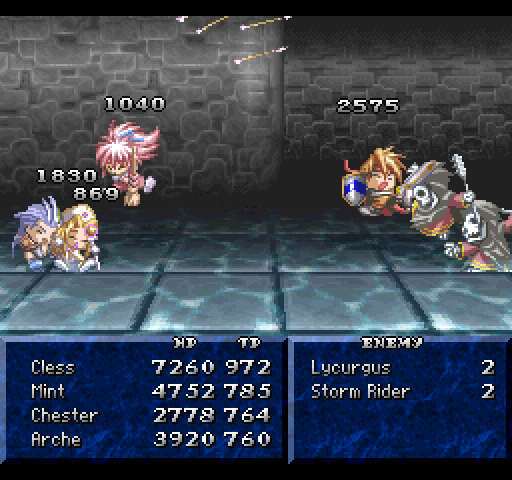
Now for the one enemy here that's a legitimate threat; meet the Storm Rider. He is a fucking dick. If you meet one you are almost guaranteed to be dead unless you've somehow either nullified or absorbed Dark yourself. The instant battle starts, it starts casting a spell. And its spells have a charge time of around half a second.
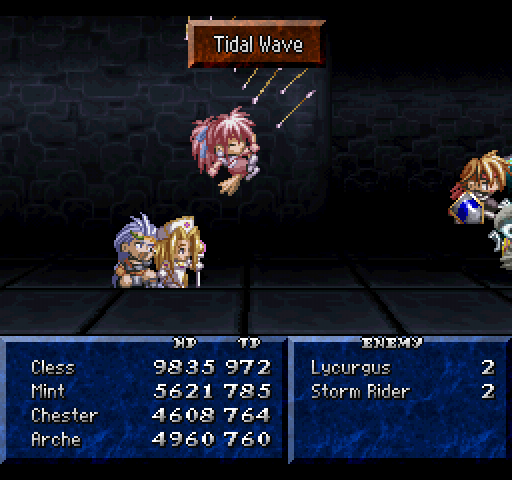
Most of the time, it'll hit you with a Black Hole and you're as good as dead. If you get anything else consider yourself lucky.
It still hurts, but its Black Holes just flatout murder you and they will spam the shit out of it.
Oh and you essentially can't run from them since the escape gauge goes up about once every two or three seconds giving it plenty of time to murder you. Even Suzu's inexplicable spell that lets you escape isn't quick enough, and it might not work successfully if she does get it off either. On the other hand, if you do reach them before they gank you with a bajillion Black Holes they have a fairly low HP and weakness to Light so they don't last long when being attacked. They're just worse than even Lobos at getting to hitting them and being dicks about it.
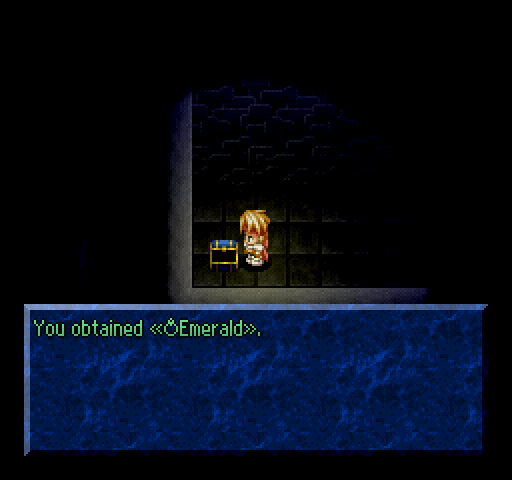
In the same screen as the Storm Riders start appearing, there's the Emerald Ring which isn't for Shadow (we've had Amethyst for quite a while now) but it does reduce Dark damage by 70%... and Non-Elemental, Earth, Water, Fire, Wind and Thunder all by 20% too. If Klaus didn't already have two perfect accessories this'd make a good ultimate one for him in lieu of the gloves he never gets.
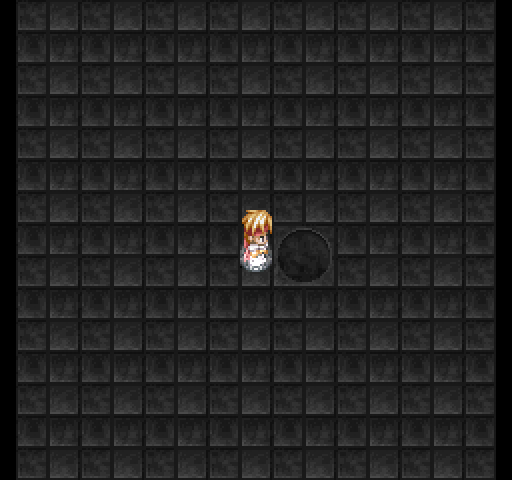
Oh god, it's this puzzle. From what I can tell no one likes this puzzle. Alright, let's get this over with. The circle there is in the centre of the room and there's a square switch in each of the four corners of the room.
This is probably the hardest puzzle in the entire game, never mind this one dungeon. It's such a fucking cryptic mess and even when you know what it's referring to it's still annoying. Have fun!

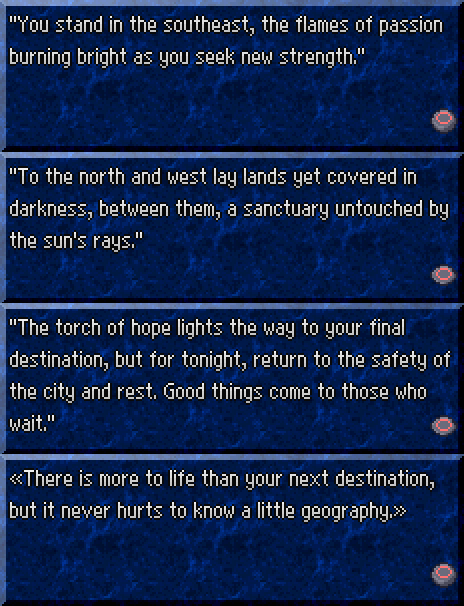
Okay fine, here's how it works. The room represents Early (the continent); the circle in the centre represents Early (the city) and the four corners represent the four corners of the island and the things that may or may not be there. From this, we can extrapolate that the place where we "stand in the southeast" is the Cave of Darkness so that switch needs pressing first (order matters).
With that knowledge, we can safely say that the "lands yet covered in darkness" are the switches in the top-right and bottom-left. This one requires the next clue to make sense though; since we know the switch in the bottom-right is the cave and we have to light "the way to your final destination" which would be the cave leading to Dhaos' Castle. We know that's in the northwest thus that's the second and final switch we need to worry about.

Afterwards, it's just a matter of waiting in the circle for about 30 seconds. This is what the third sign means by "return to the safety of the city and rest." With that done, the door to the next room opens and we can forget this puzzle ever exists. It seems easy looking at it like this, but it really isn't.
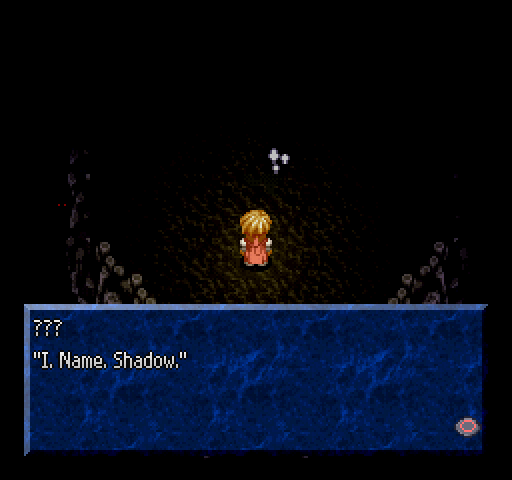
Shadow. Next. Room. Odd. Talking. Pattern.
 : Darkness. Spirit. You. World. Threat. Dhaos. My. People. Darkness. Brainwashing. Enemy.
 : His words are all broken up.
 : I think I got the general idea.
 : Because Dhaos brainwashed Shadow's allies, the people of darkness, Dhaos is his enemy as well.: Is that what you want to say? So you wish to ally with us in order to-: You. I. Not. Allies. I. Only. Want. Save. People. Darkness.: I understand. Then once you have achieved your goal, we shall annul our pact.: Ancient. Pact. Ring. Amethyst.: All right, let us form the pact.
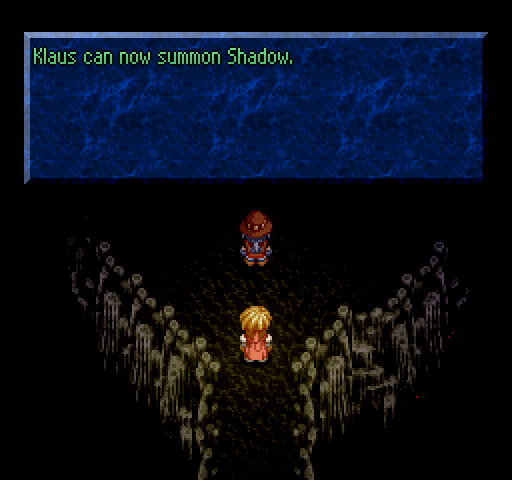
Shadow's really not that good a spirit for all the work you have to do to get him. I can understand him being optional, but making him the second-last thing you can even access let alone actually get is just a little ridiculous.
Now we get to walk out of the dungeon. Here's hoping you remember what lights are needed and when since you have to do that again with no assistance this time! It's not any harder though.
Skit: Shadow. Last. Bow. (worth watching this very definitely final skit this time I swear just to hear how Shadow's gimmick works when you can hear it)
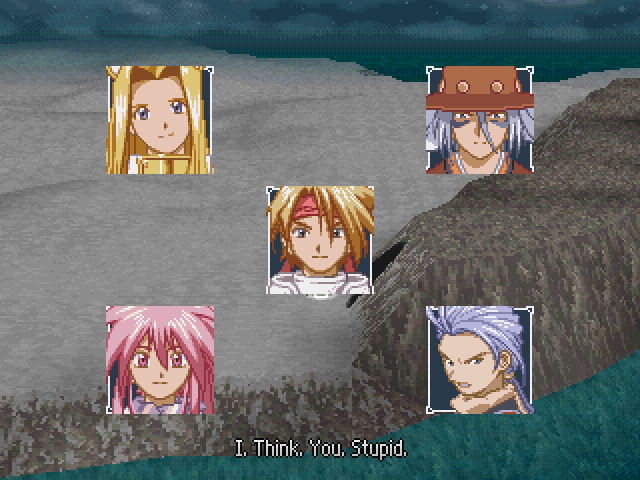
 : I. Think. You. More. Stupid.
 : Please. No. Fighting.: That way of speaking really is contagious, huh?
 : Yes, it really is.
 : Like I said, enough Shadow impressions already...
As alluded to twice already, there's one spirit we're missing;
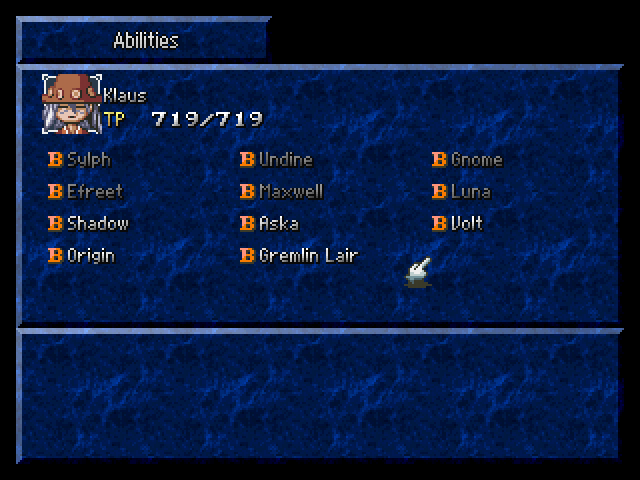
And oh boy is getting it a doozy. We picked up the last pact ring already so now we just have to track down our final spirit, and there's one place that would have seemed off to anyone stumbling into it by accident.
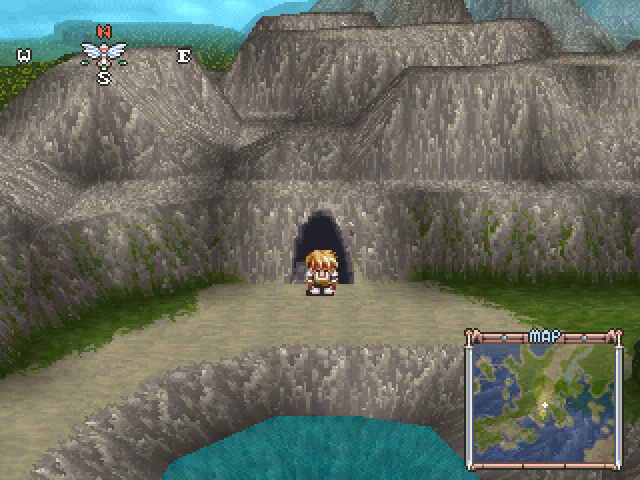
It's back into the Moria Mine for one last time. We need to go all the way back down to the bottom floor of the Dwarven Ruins to find it.
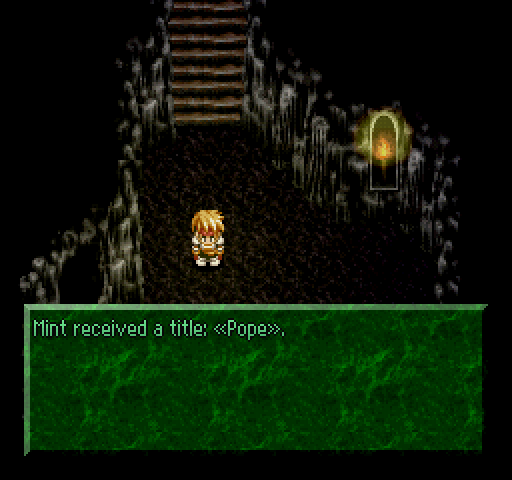
On the way there, Mint somehow hit level 80. Somehow I get the impression that the Vatican wouldn't approve, but that's just me.
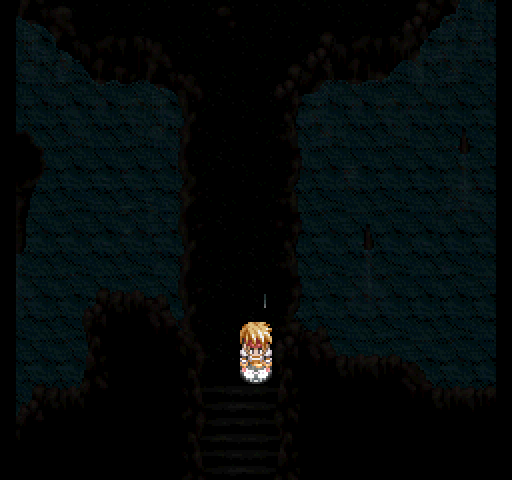
I alluded to the existance of something on the 21st floor before but didn't show it off because there was nothing there worth noting. The fact that it exists was enough;
A second room flooded with miasma. The room has dick all for treasure (cheese and like something else I think who cares) and due to the miasma we're going to be taking a ton of damage. One step away from the scene there's something we should use now since it's never gonna be bothered with otherwise.
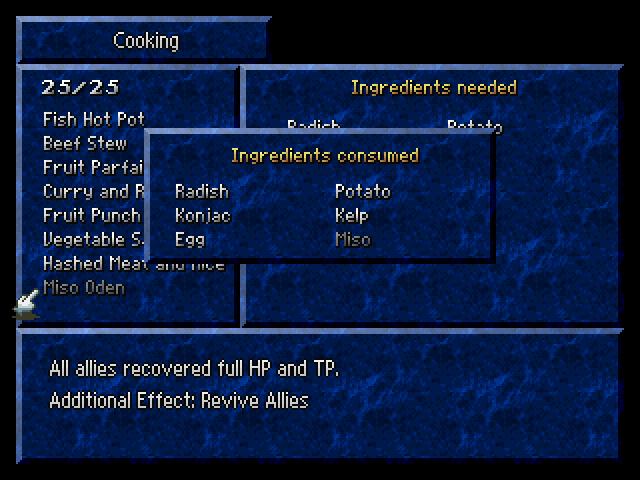
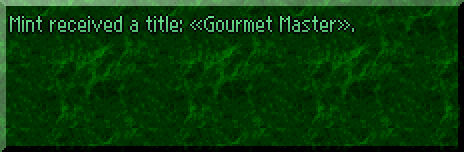
It's as good a time as any to finally use the Miso Oden. Mint having mastered every other recipe before now was a bit of a happy coincidence rather than outright planned. Can't say I expected it to happen at all but there it is. Everyone gets that title for mastering every recipe, except Arche. She gets "Gourmet Master?" instead which is the same thing just making fun of her.
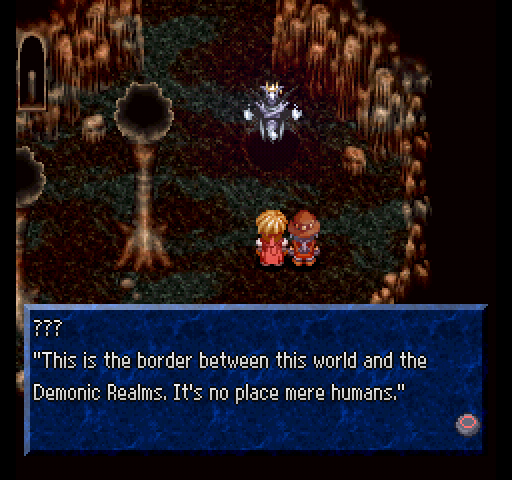
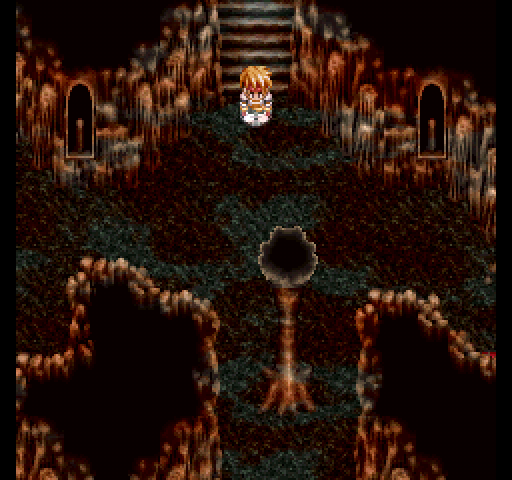
 : You would be wise to leave this place quickly. : This is...
 : Are you, by chance, from the Demonic Realms?
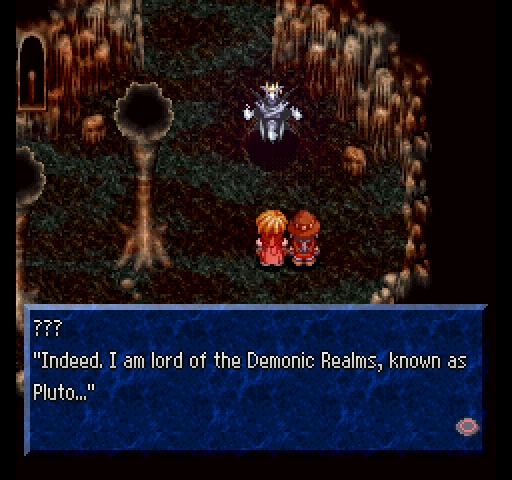 : Both of our worlds are now facing the threat of destruction by a being who calls himself Dhaos. : Would you be opposed to lending us your power to deal with this threat?: Are you asking the lord of hell to submit himself to mere humans!?: I only wish to make use of your power. : That's the same thing! However... very well, human. If you truly believe yourself worth of my power, then I shall test you myself.
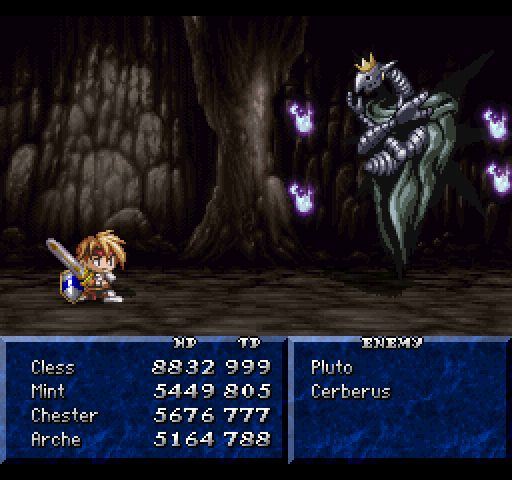
 (Hey you reading this click this music link, seriously do it; I dont care if you've never done it before now, for some reason, do it right now; its super awesome and you can't not like S.S.H.)
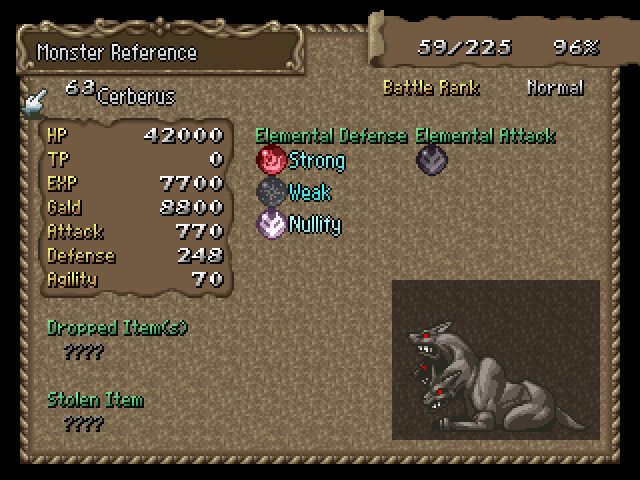
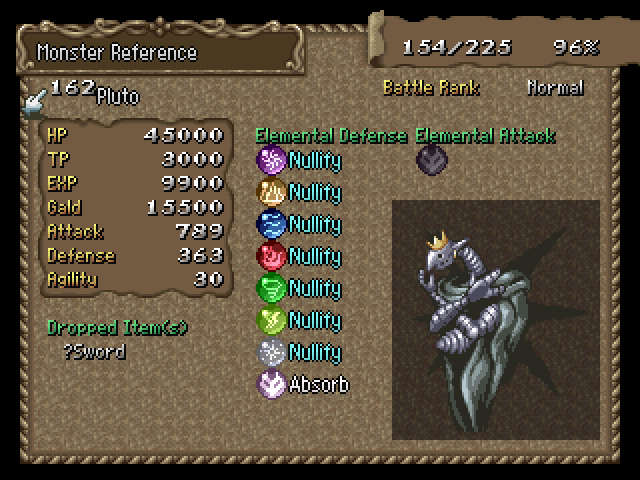
Meet the hardest fight in the game: Pluto and Cerberus. Cerberus is rocking the ever-so-cliché three heads and is quite powerful in his own right but is slightly weaker than Lobo, Storm Rider and, of course, Pluto himself.
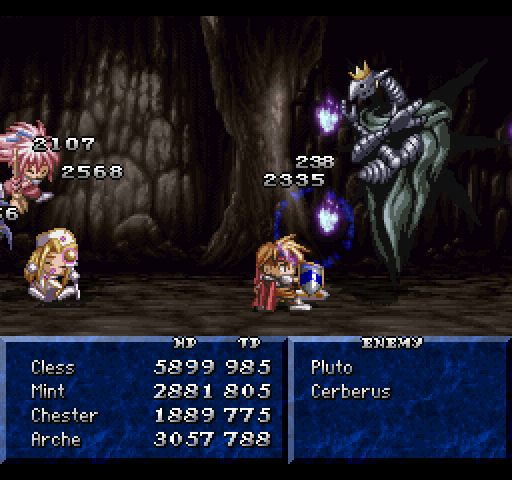
Cerberus just has standard attacks and can be swatted like a fly (when you get the chance). Pluto's the boss here so he gets priority.
His standard attack is a ranged attack, melee attack and a shield all at once.
There are gaps in it that are exploitable and if you can get in one, it is possible to stunlock Pluto for a shortwhile. It's really not something to overly rely on though, since he has other attacks at his disposal.
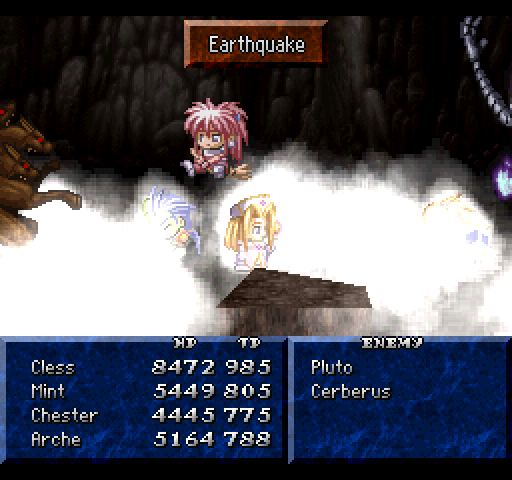
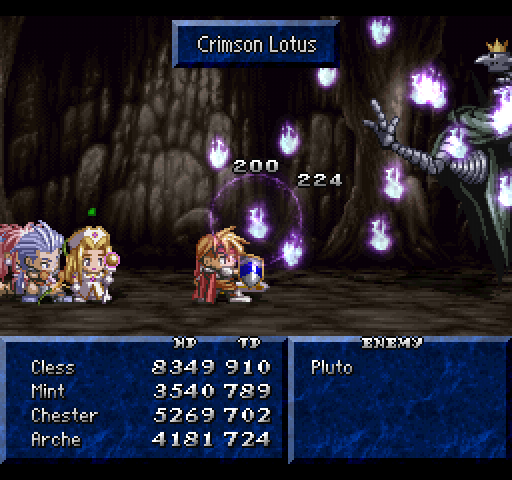
Namely final tier offensive spells. As you would imagine from the Lord of Hell, this includes the big one:
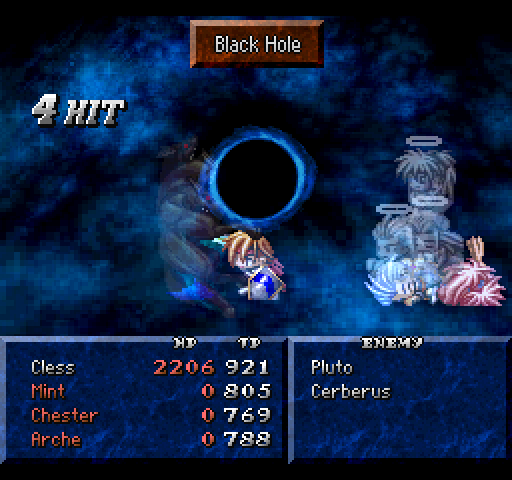
If (when) he gets Black Hole off, heal. Immediately. Whilst Cerberus is a lot weaker than his master, he's still not wholly ignorable.
Doing so is a fairly bad idea in general, since if you focus exclusively on Pluto you'll be getting attacked from both sides and Cerberus does a damned good job at mopping up any survivors from a barrage of spells.

A very good job.
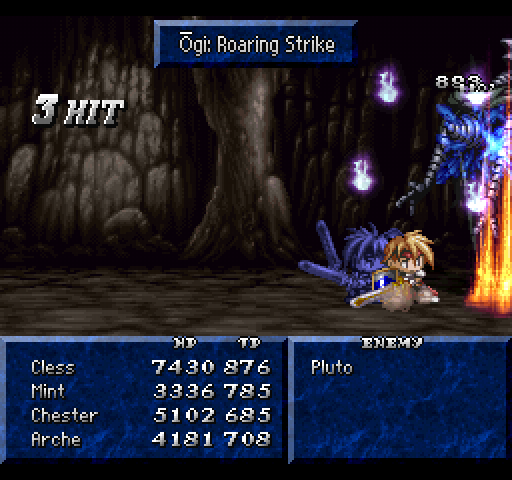
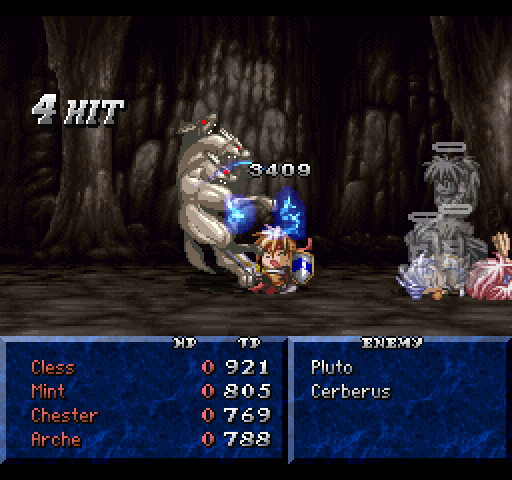
So what we've learned from this is that the two make an incredible duo and you can't completely ignore Cerberus until Pluto's massacred. You'd think, therefore, that the best thing to do would be to focus on Cerberus and then gang up on Pluto. No, that wouldn't work out either; the party AI is too stupid for that to go as planned constantly and Pluto would take you out in no time if given the chance. You have to wear them both down at the same time in order to make the fight go like you'd expect; as they both have a weakness to Light, Cless' Roaring Strike and Arche's Big Bang artes are a given and are the most important offensive aspects. You can keep Cerberus out of your hair for a while with Chronoglasses and Time Stop but Time Stop is too expensive and you need Mint to heal if things go hairy. You'll also want Arche to cast Big Bang when its going to be most effectve; since it hits both Pluto and Cerberus for over 6,000 damage it makes the fight go so much faster.
Also the fight is fun. Best fight in the game and the hardest too; Lilith was hard for being an AI Cless on crack in a one-on-one duel who was hard to hit. Pluto is hard for requiring strategy, keeping you on the ropes when you have a full party and not relying on beig overly gimmicky in battle.
For reference, the sword Pluto drops is a second Doom Blade.
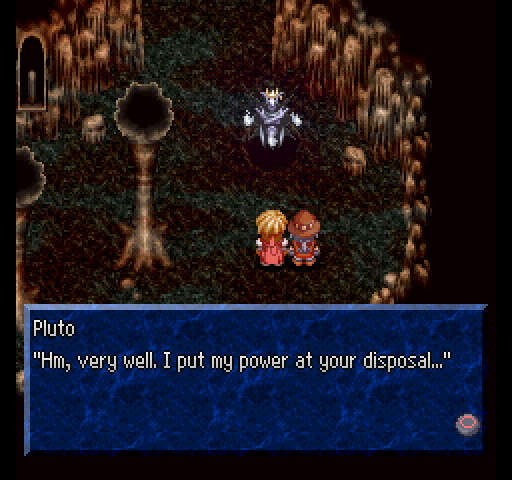 : However, the ritual necessary to summon the inhabitants of the Demonic Realms was sealed away long ago. This being the case...: We have the Pact Ring.: Upon this ring, we will create a new pact, and with this, the ancient seal will be broken.: Very well, I accept. Then, upon that Emerald Ring...
And with that, we have everything there is to reasonably obtain. Bye!
Okay fine, there is one last little thing.
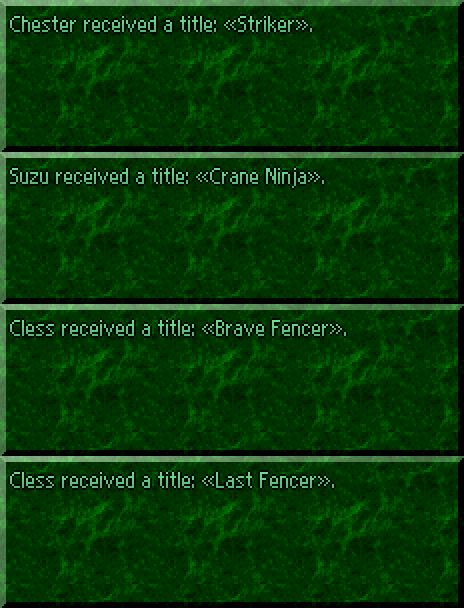
Namely four titles and Cless' final base arte. Chester got his for hitting level 80, as did Suzu for hers but Cless got his two for slightly different reasons. As I can tell from this, Cless gets Brave Fencer for hitting level 60 with all base artes learned (a feat which is impossible as we have learned). Conversely, he gets Last Fencer for hitting level 70 with all artes learned; this includes every arcane arte and Blade of Ascencion. The catch, as we all know by now, is that Cless gets his last base arte for hitting level 100+ with the Swordian Dymlos equipped. Shy of abusing the hell out of the reaper this isn't exactly possible to do when playing normally. Our prize for this?

The weirdly translated version of Satsugeki Bukouken, or Final Fury which is first used by Stahn Aileron as his mystic arte in Tales of Destiny. It has since turned up in a fair few other Tales of games, with the most recent appearance in Tales of Xillia. More importantly, here Final Fury is at first glance pretty underwhelming and not worth the hassle for unlocking it even though it's wonderfully cheap. What the game never tells you is that if you press a certain button combination at the right time when the arte is being performed you can get a longer version that may or may not end up being the full version in the end depending on your timing. You are also never told what that combination is, as far as I can tell; it might tell you if you use the Combo Command on Cless but since you can just look it up on Gamefaqs or Aselia there's really no need any more.
There's still a few things left to show off, but they're just little easter eggs that wouldn't fit anywhere else, a collection of all the artes that haven't been seen yet and maybe, just maybe, a few things that flat out aren't in this version.

Well we do have all 5 statues now, so let's take a look at 'em!

The Statue of Bravery is, of course, a representation of Gilgamesh from Tower of Druaga. Most likely not the original NES version but it's still quite clear what it's supposed to be.
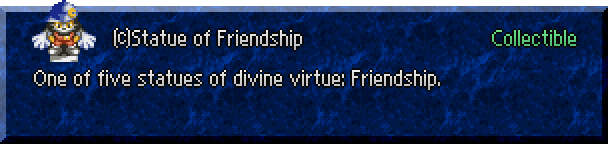
The Statue of Friendship is, to at least my pleasure, a representation of Klonoa from his own eponymous series. He's usually got a cameo somewhere in the main Tales games whether it be as a statue or an alternative costume for someone (like, Presea in Tales of Symphonia).
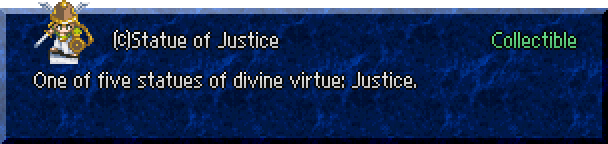
The Statue of Justice is Odin's Valkyrie which makes about as much sense as anything else would for it I suppose. Given the context of its acquisition there wasn't really any other choice.
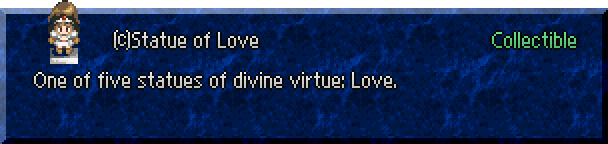
The Statue of Love is, for whatever reason, Ki from the Tower of Druaga and her own sequel, appropriately titled Quest of Ki. Yes, for whatever reason it's referencing that again. No, I don't know why.
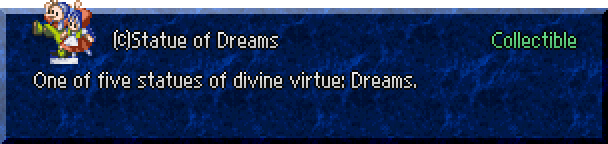
I have no idea what the Statue of Dreams is. Maybe a couple of wooden puppets or something? It looks like it might be (the one on the left seems like a Pinocchio reference) but it's hard to tell.