Part 49: Survival Mode, Part II
BANNER SAGA 2 SURVIVAL MODE, PART II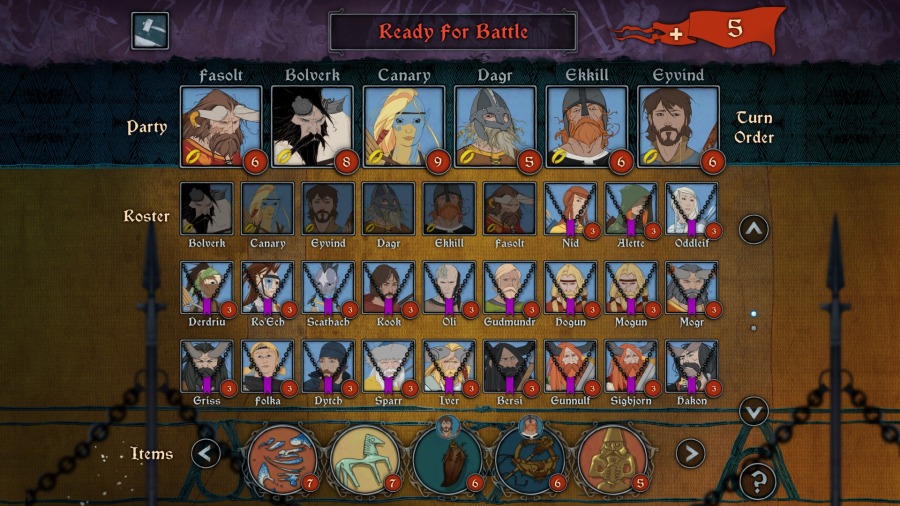
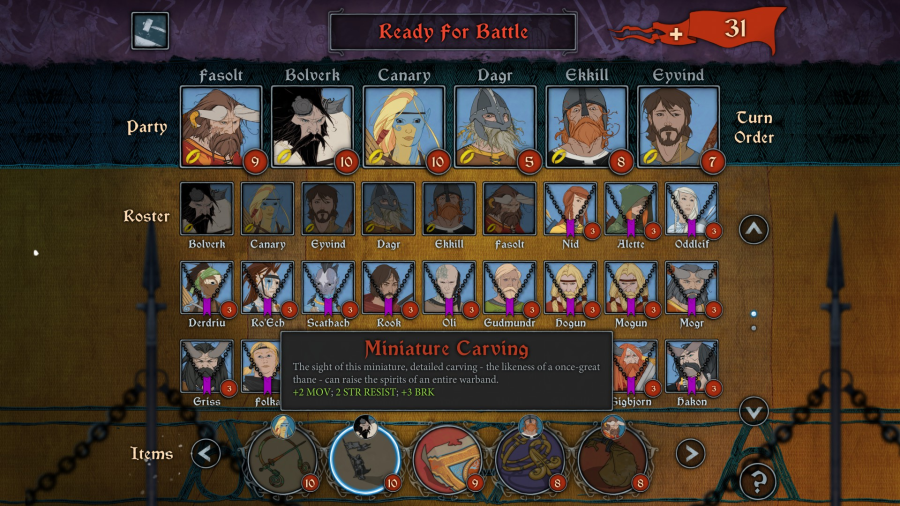
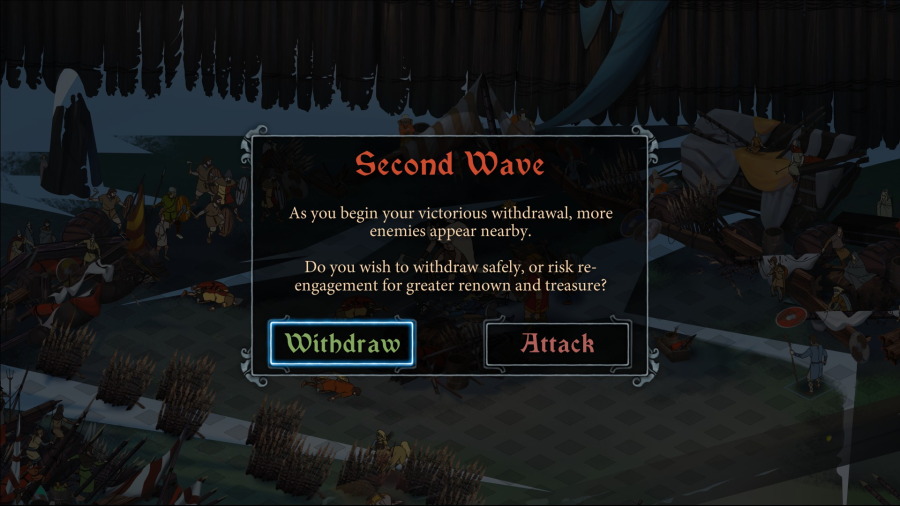
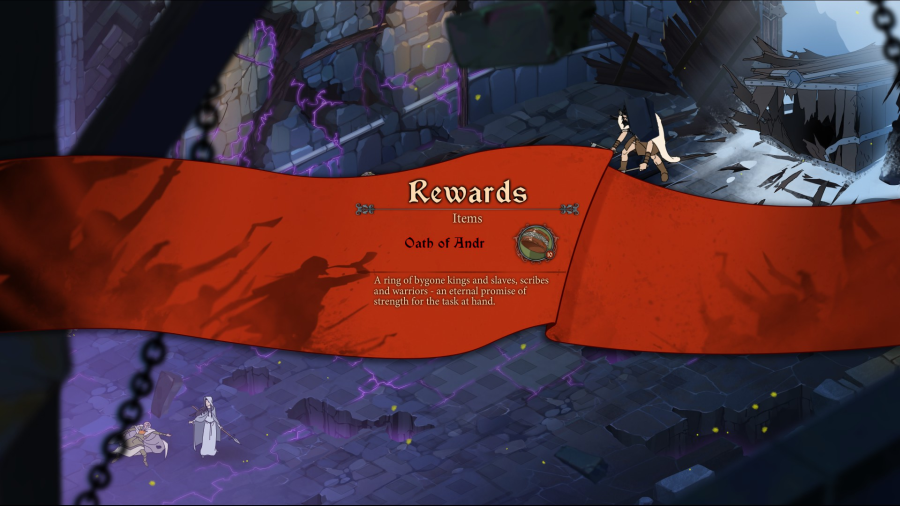
Hey, so it turns out that Onef's not actually available. So we'll take the other backbiter. Welcome to the team, Dagr!
...this really is kind of Team Asshole.
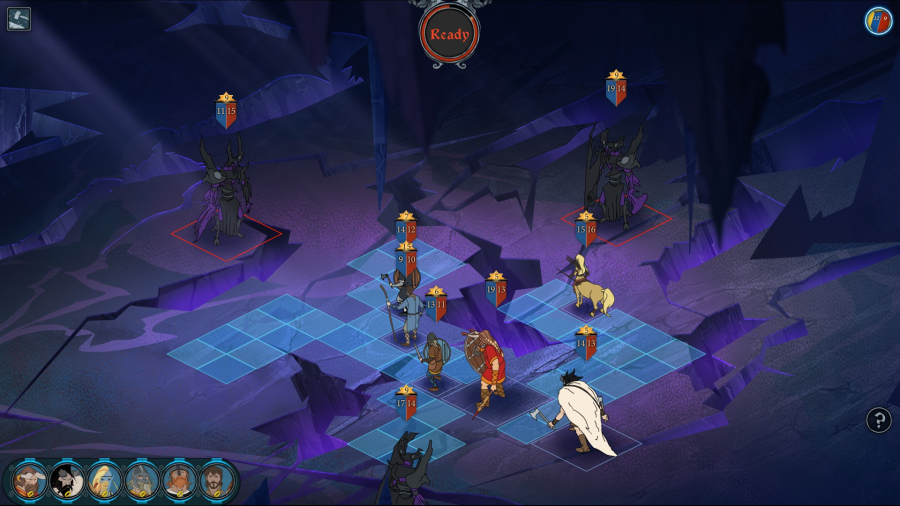
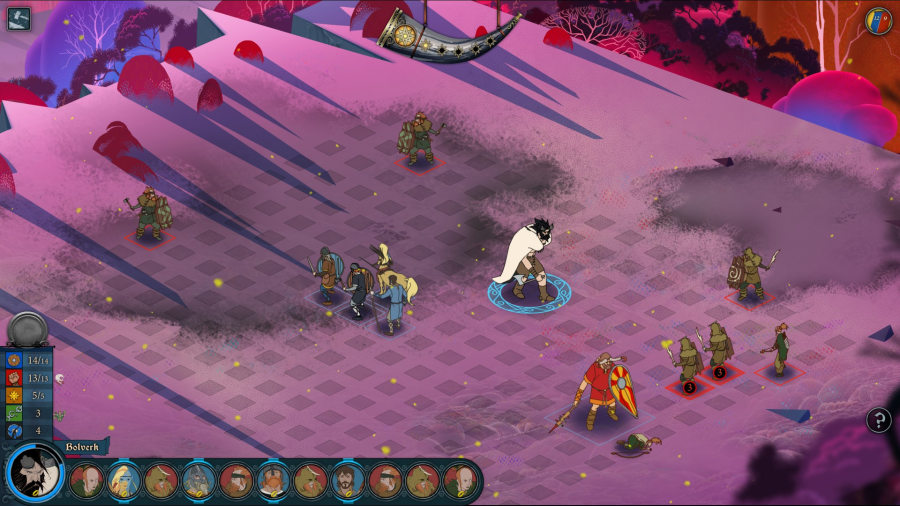
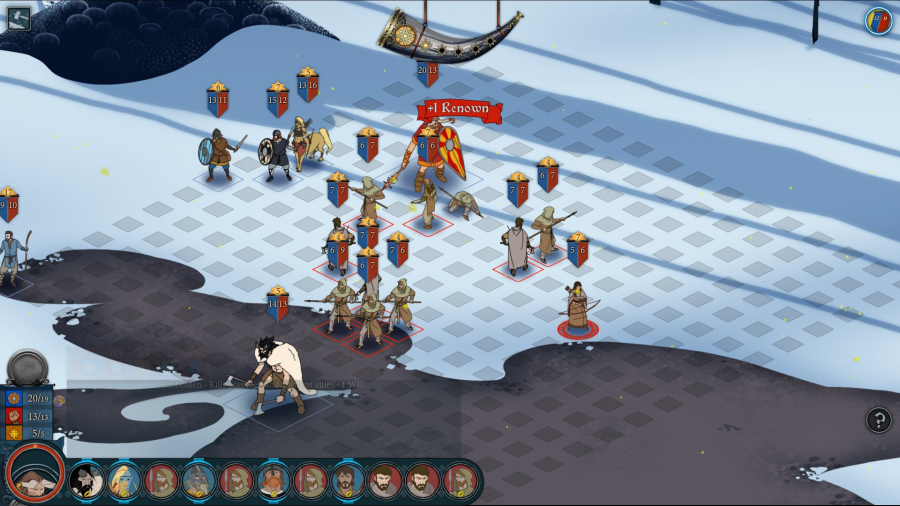
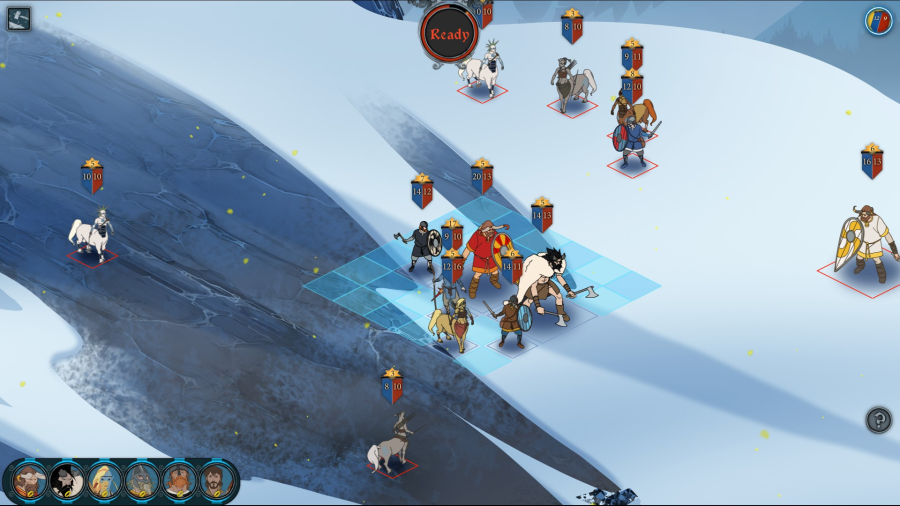
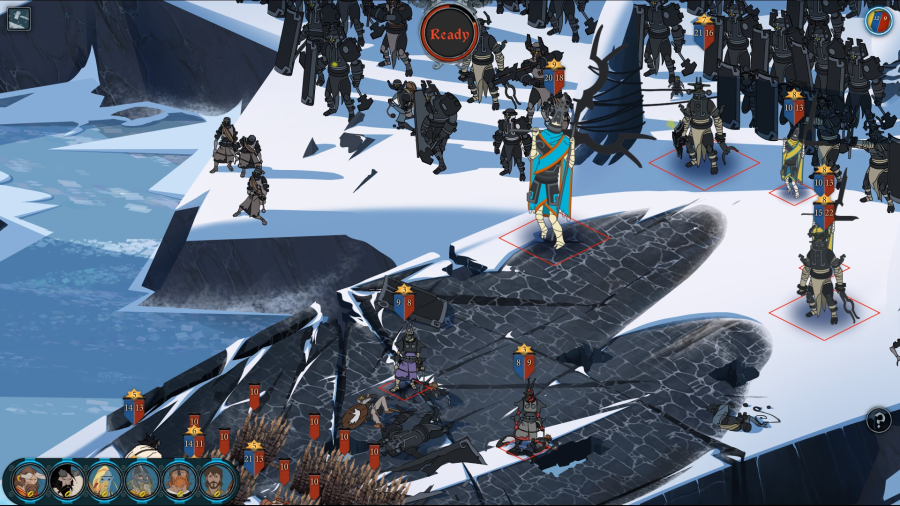
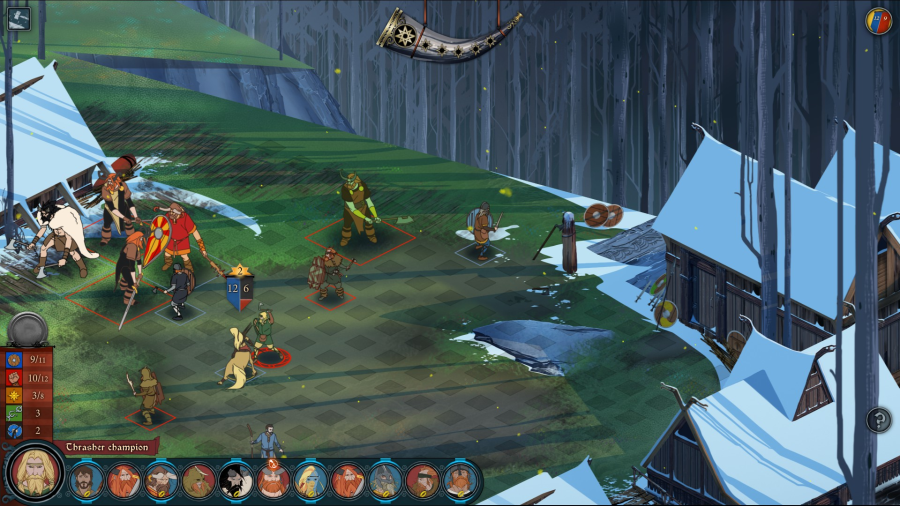
Our next fight pits us against 3 warped scourges--the only warped you fight in TBS2's campaign mode. They're a lot more dangerous in campaign when they get a turn every other turn. Since that's not how Survival Mode works, we get advantage in numbers and can quickly overwhelm them.

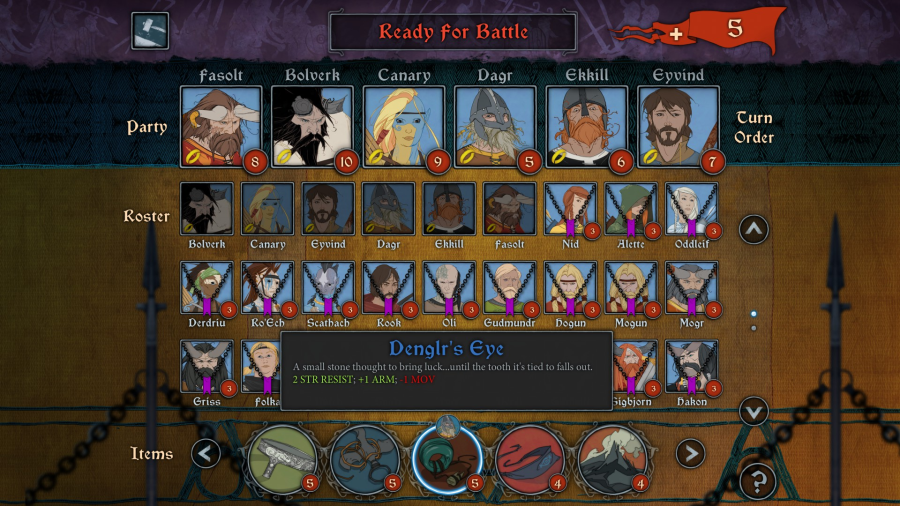
I really can't emphasize enough just how good Bolverk is. And him getting this shitty little level 5 item with 2 armor and 1 strength resist means that Dagr can be viable, even.
No problem.
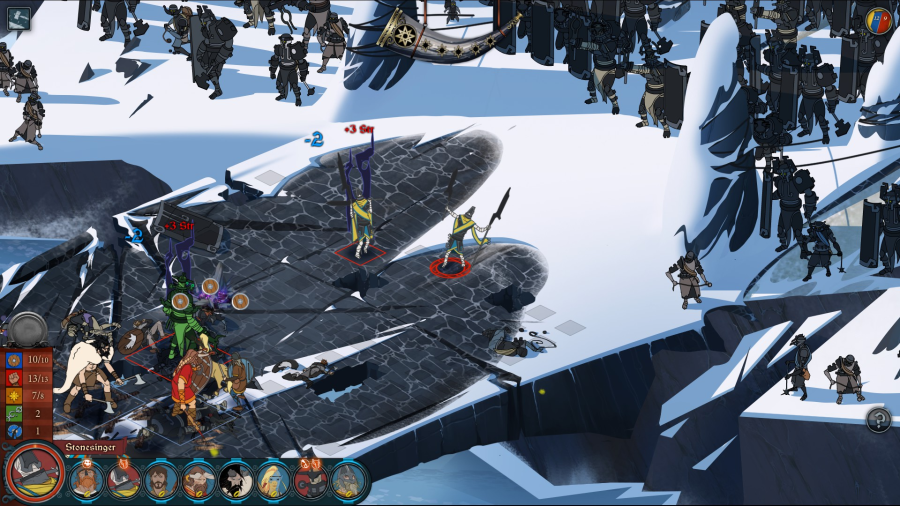
I don't remember this map from the campaign. But the dangerous part is not the warped, but rather the skulkers. They have a nasty tendency to stealth and then just wreck the day of your squishiest character. In our case, that's Eyvind, and we NEED a mender. So that's the danger here.
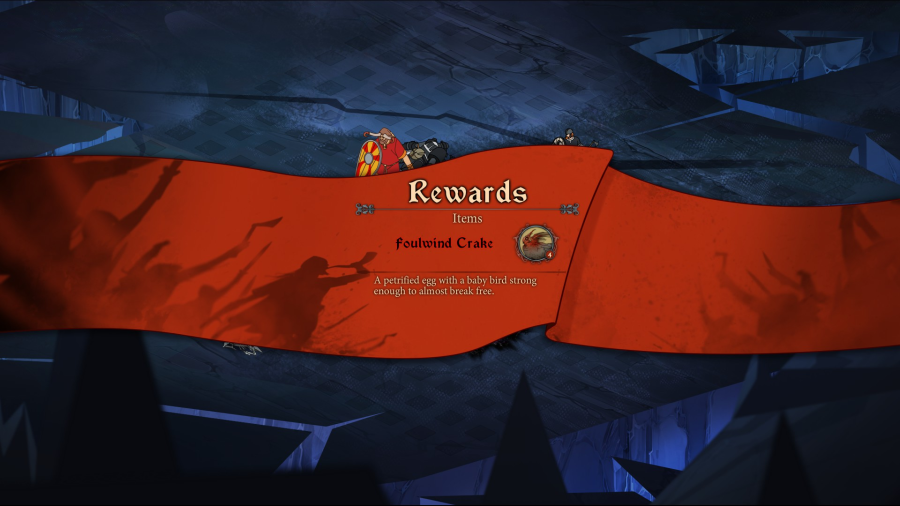
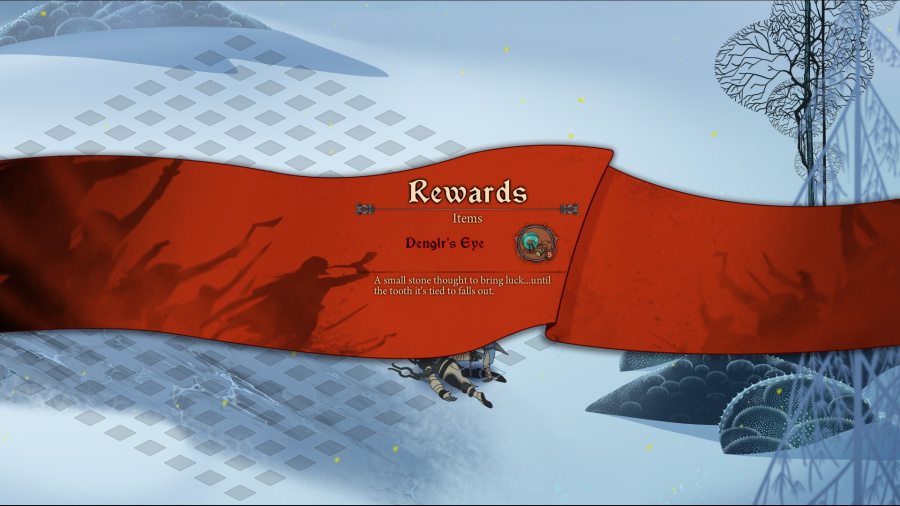
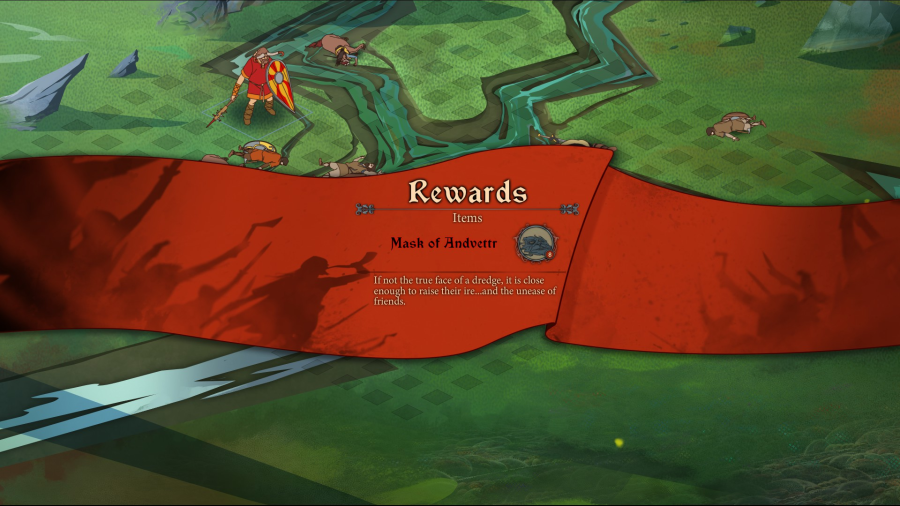
This item existed in Banner Saga 1, and it's crappy.
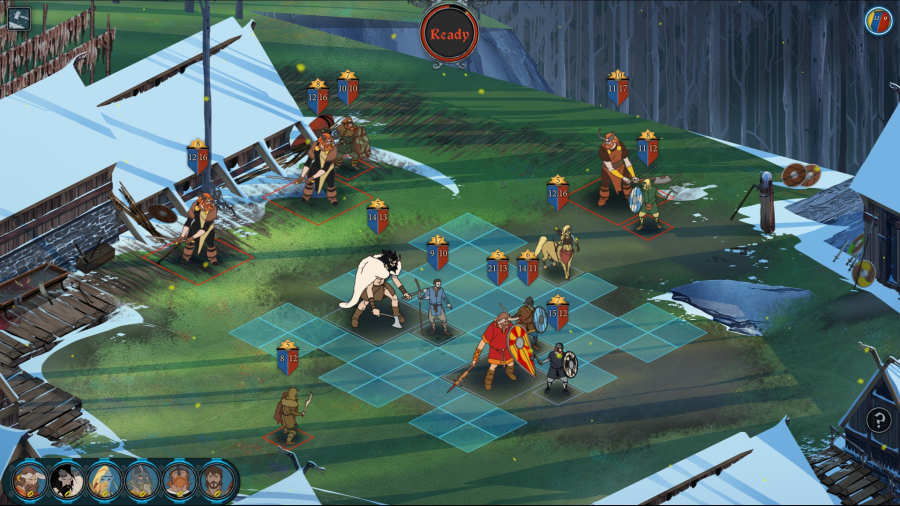
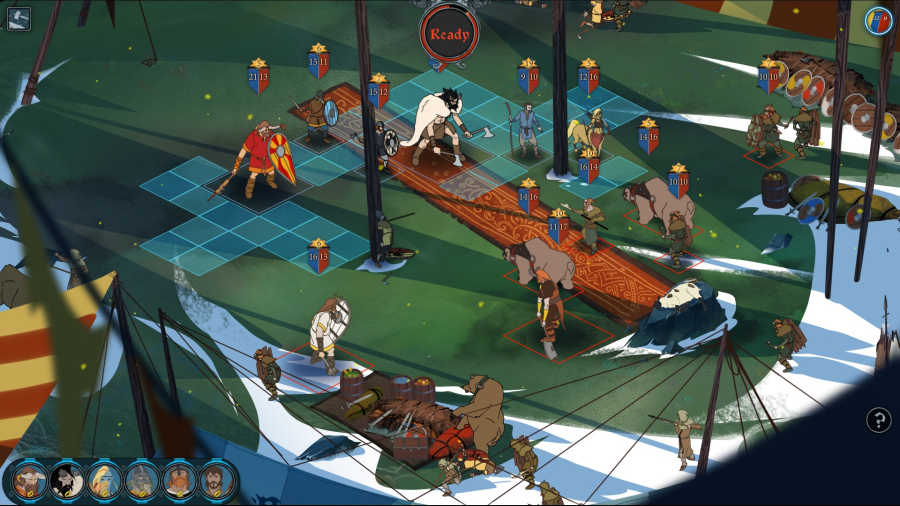
Next step of maps take us into the Old Wood, and also pits us against some varl shieldbangers.
It wasn't really my intention to have an overpowered dude in the party. That's why I left Alette at home. But fully powered up and with a good mobility item and some support, Bolverk can kind of solo a lot of maps.
Aleo was wearing one of these when he died. It went back into the item pool when he had his viking funeral.
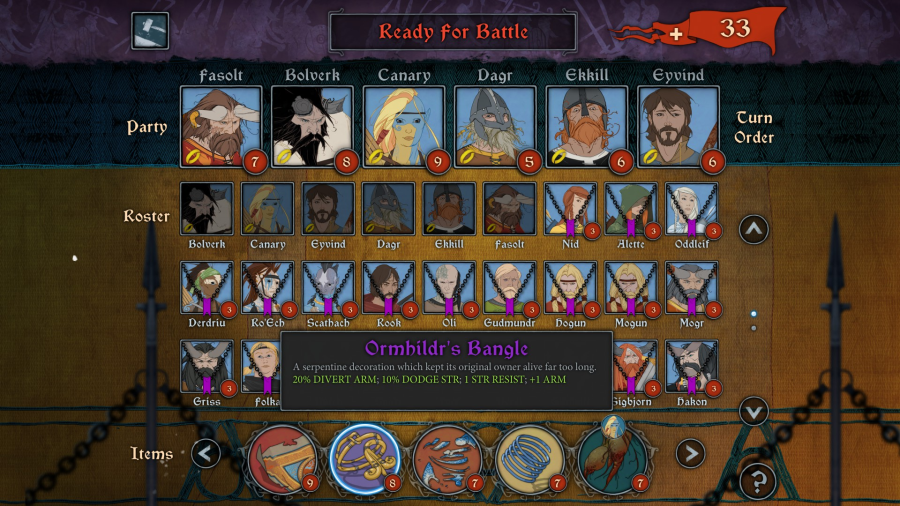
We're going to want this on Fasolt as soon as possible. That's a LOT of tanking ability on an item, and strength resist is incredibly good.
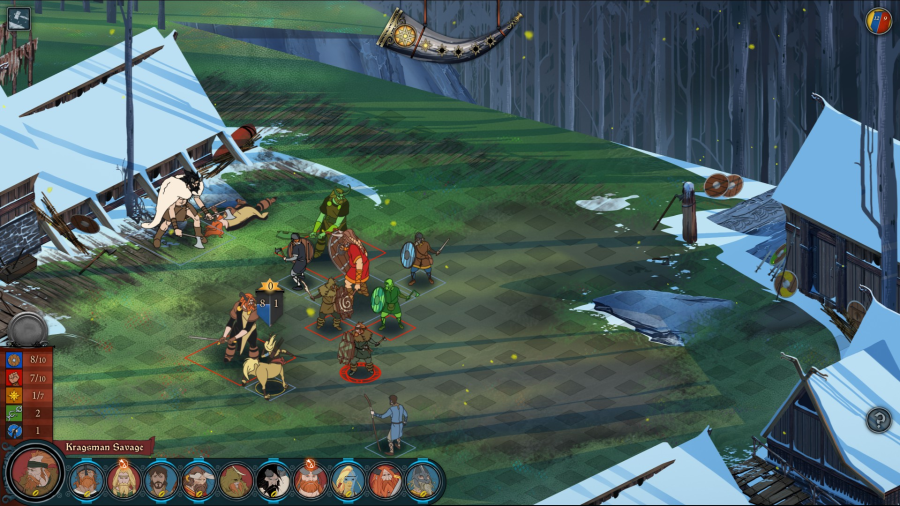
Kragsmen in the old wood. Kragsmen are relatively squishy, so Bolverk just goes on a massive Cull the Weak chain and quickly ends htings.
Now we get dredge in the old wood. Dredge (minus stonesingers and Eyeless, who is a stonesinger class herself) are really not threatening at all. I love dredge maps.
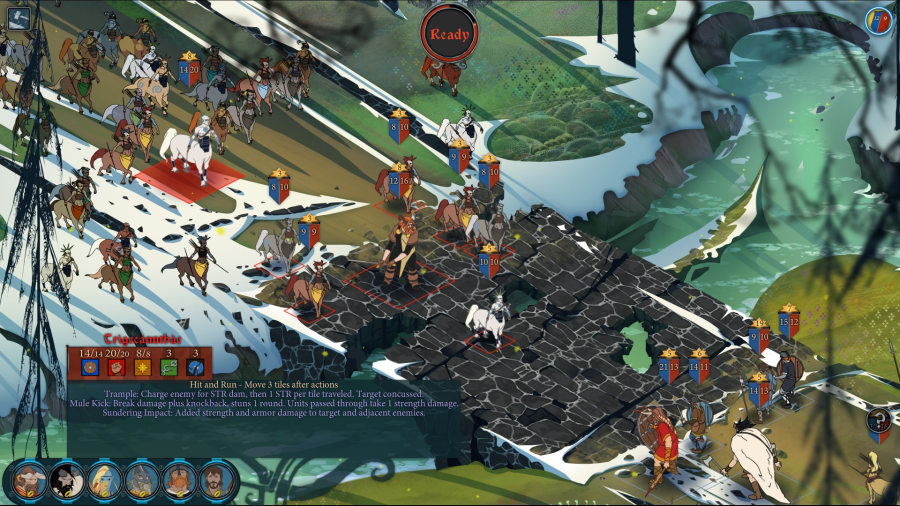
Dagr takes a bit of a beating since his special ability moves through enemies to reach the back lines. But if he survives to his next turn, he'll just move through enemies back to Ekkill, where he and Ekkill can reinforce one another's shield walls.
Done with the Old Wood maps, we're back to snow. Specifically, this is the fight where Bolverk and Folka soloed a bunch of starving villagers. Only without turn advantage here, we NEED Bolverk's cull the weak to quickly cut a swath through these nerds.
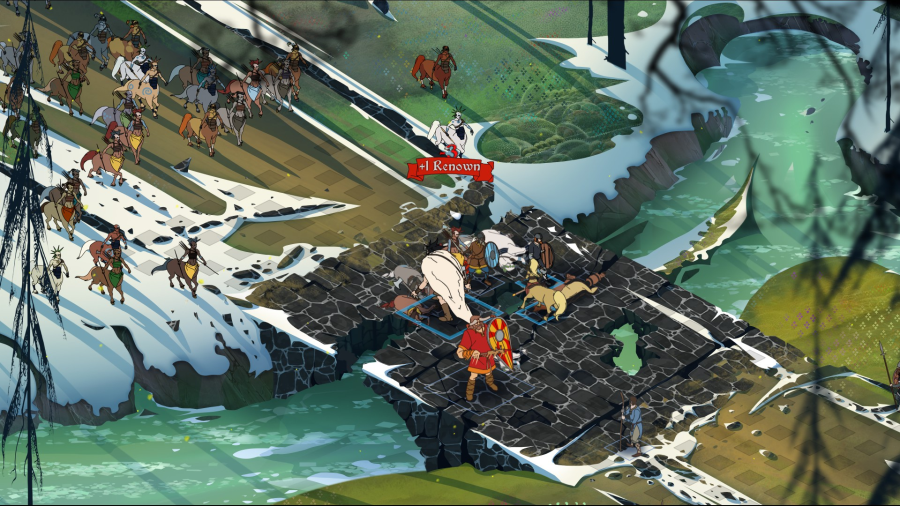
This screenshot and the screenshot above were taken on the same VERY long turn by Bolverk, who's just been killing everything on the map.
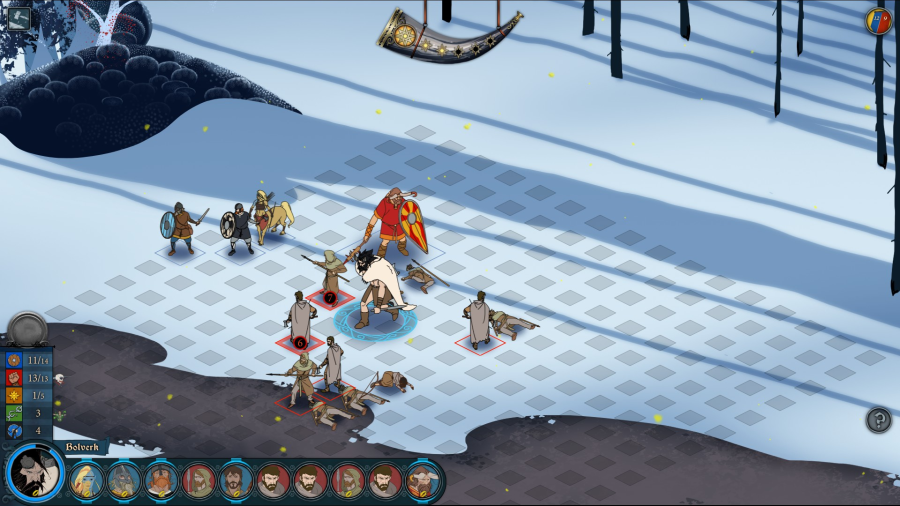
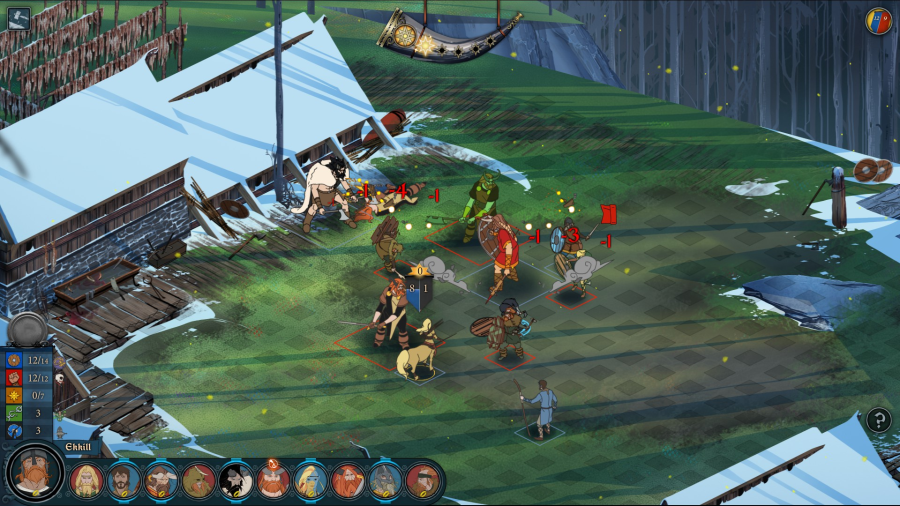
The next fight starts us with us surrounded--which means we have to close ranks around Eyvind. But so long as we can keep the skulker away from him, it should be fine.
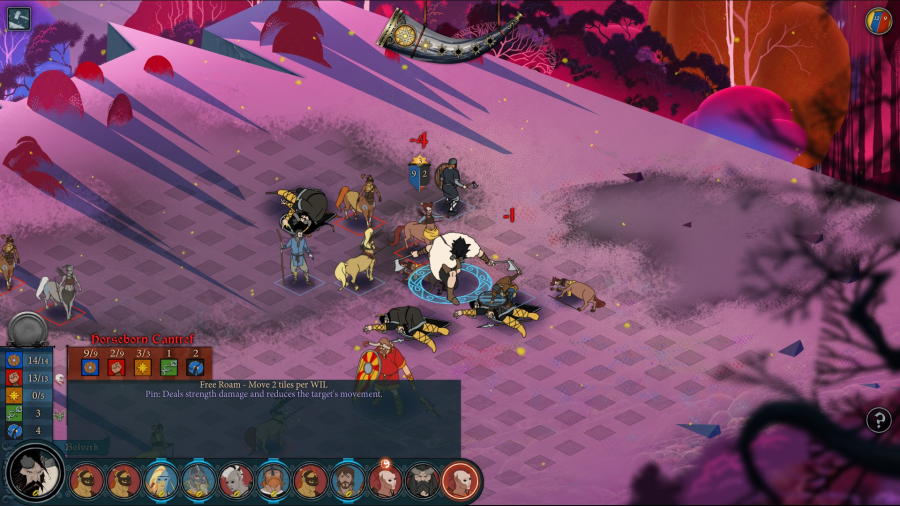
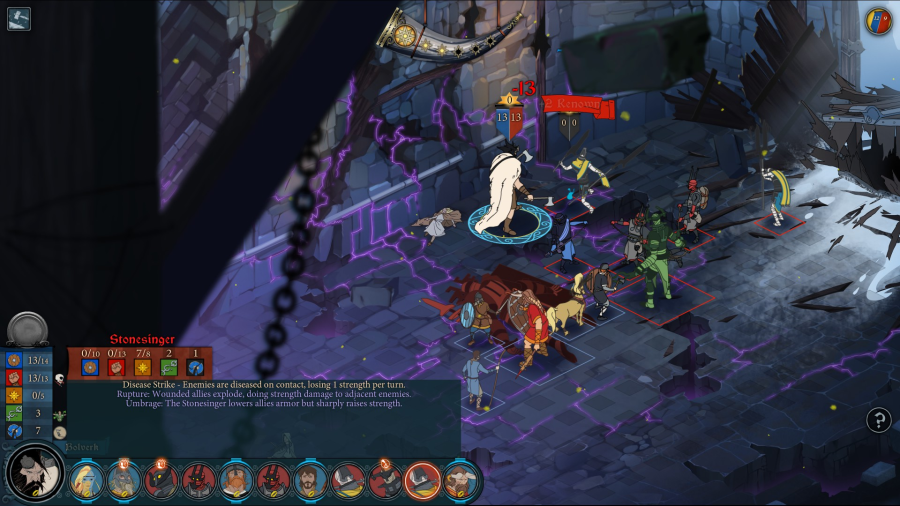
Fasolt taunts the stonesinger, ensuring that it will use a strength attack against him on its next turn. Meaning it won't cast umbrage. And the strength attack will do nothing, and Fasolt's 1 str resist means that the disease it spreads won't hurt him. Used in the right situation, the shieldbanger taunt skill is fantastic. You don't use it to get a really strong enemy to hit your tank. You use it to get an enemy to attack instead of using a devastating special ability.
The taunt buys us enough time to clean up the stonesinger. On to the next.
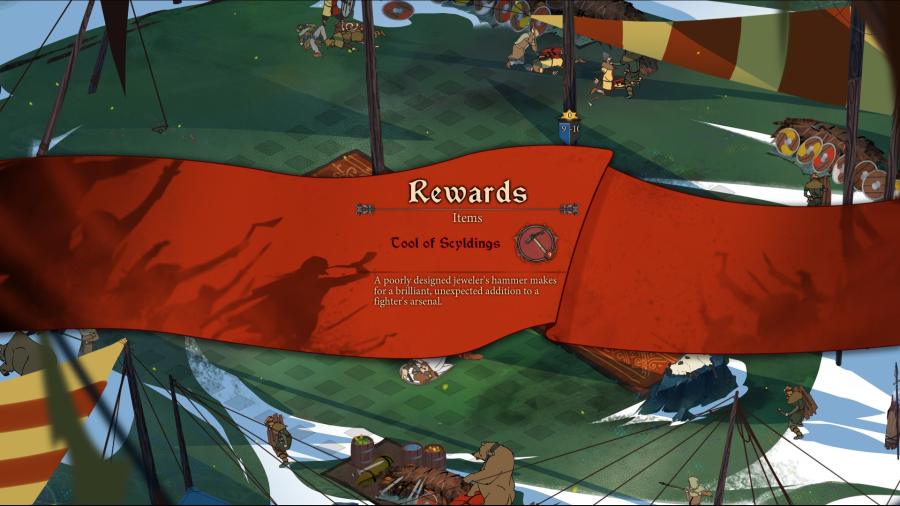
We got another good item for our troubles. We'll give it to Dagr since he doesn't really need much movement.
Very similar to the last map, only with the allied races instead of dredge.

There's not much to report here. Everything died, no worries.
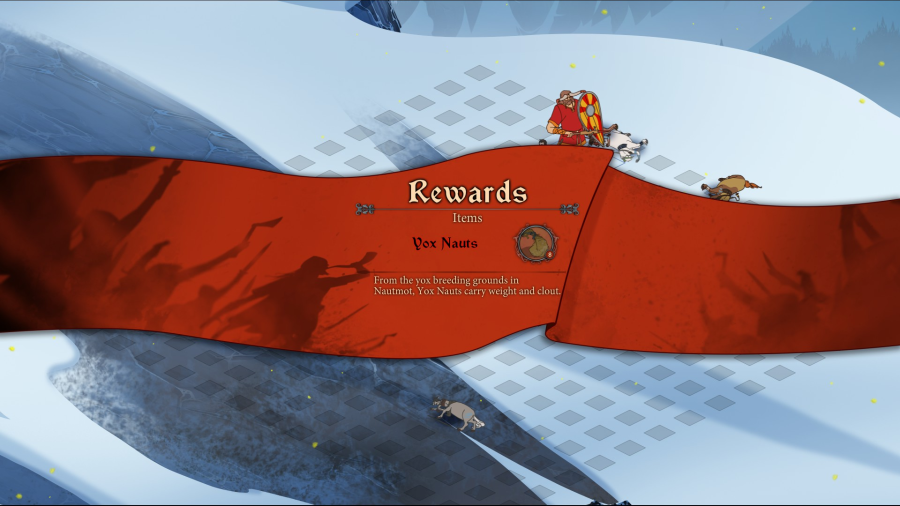
This was, however, battle 30, and we get the, uh..."Yox Nauts" which are ludicrously good for an armor break-based character.
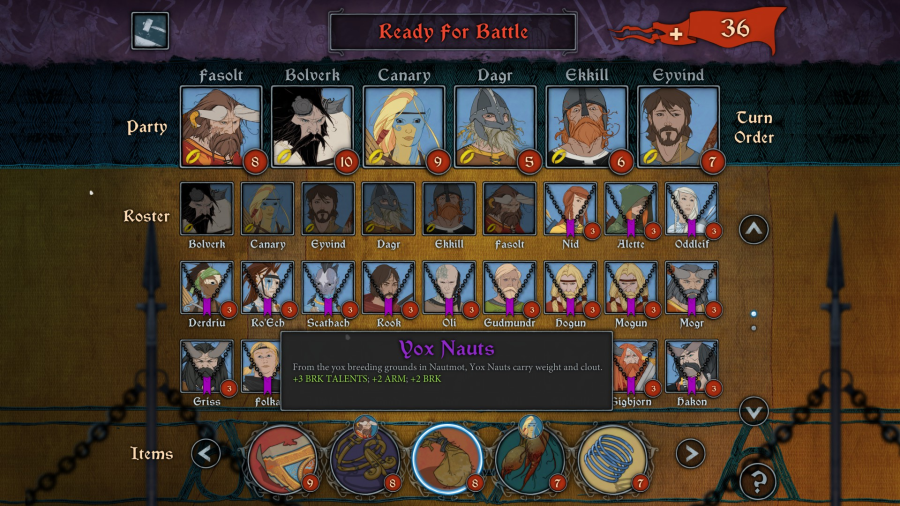
Fasolt puts these on. He won't resist strength anymore, but he WILL have > 20 strength, tremendous armor break, and dodge armor attacks 30% of the time.
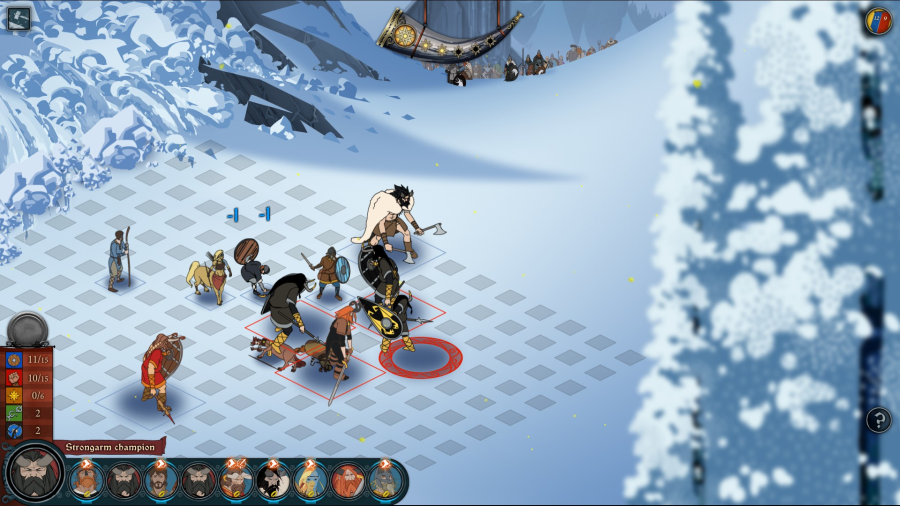
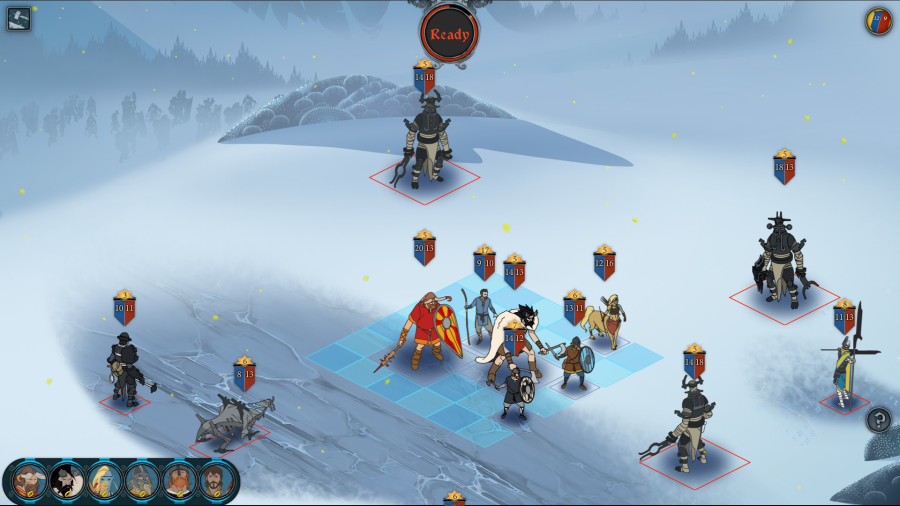
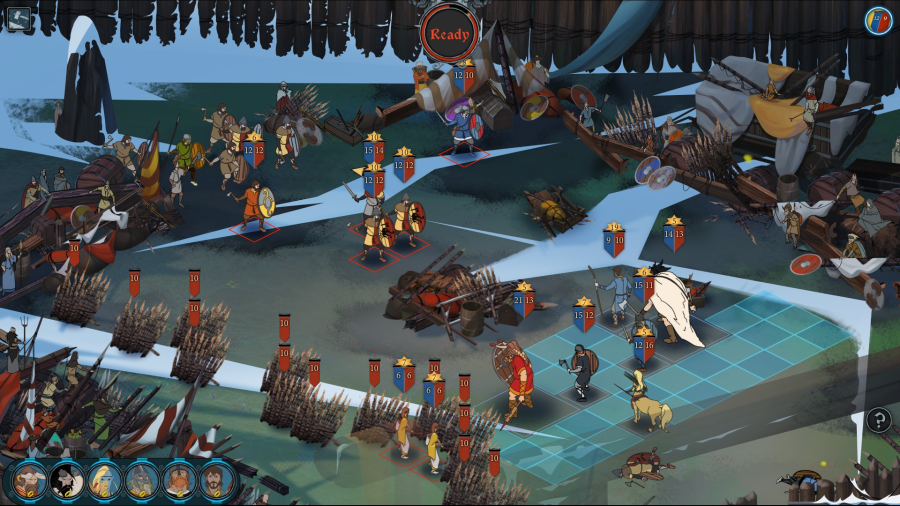
We get the avalanche map from the Ravens' death march. Not really much of a problem--the enemy varl get in one another's way.
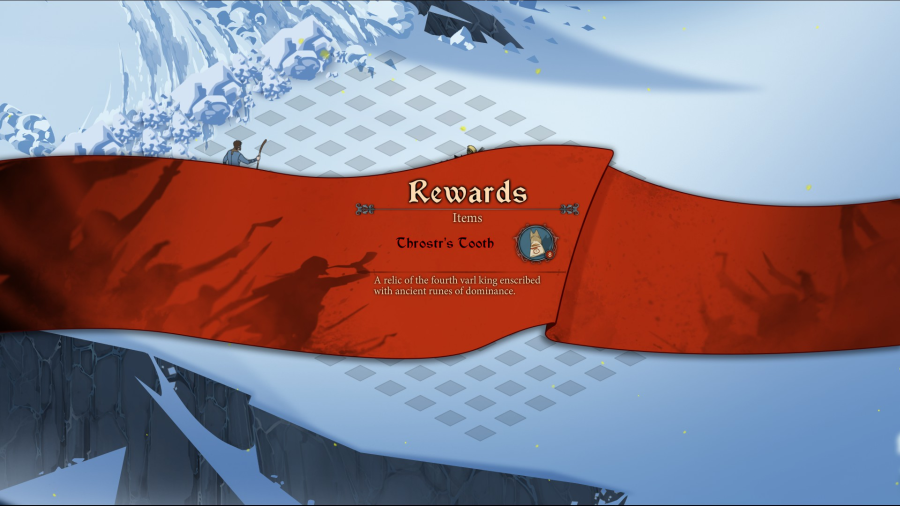
Congratulations on your...tooth.

It's a strong item, but not one that we want. Defense is more important than offense. Bolverk's very existence is all the offense we need.
I don't even remember what this fight was. Easy, I guess.
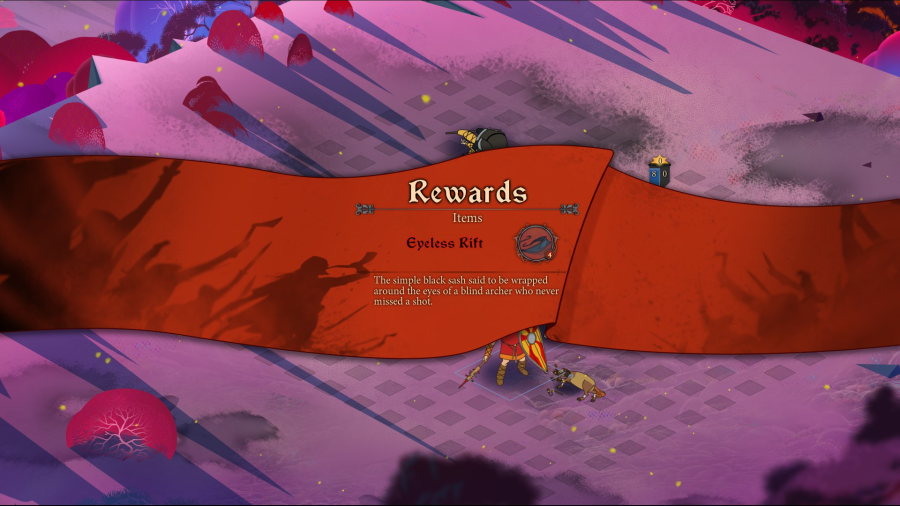
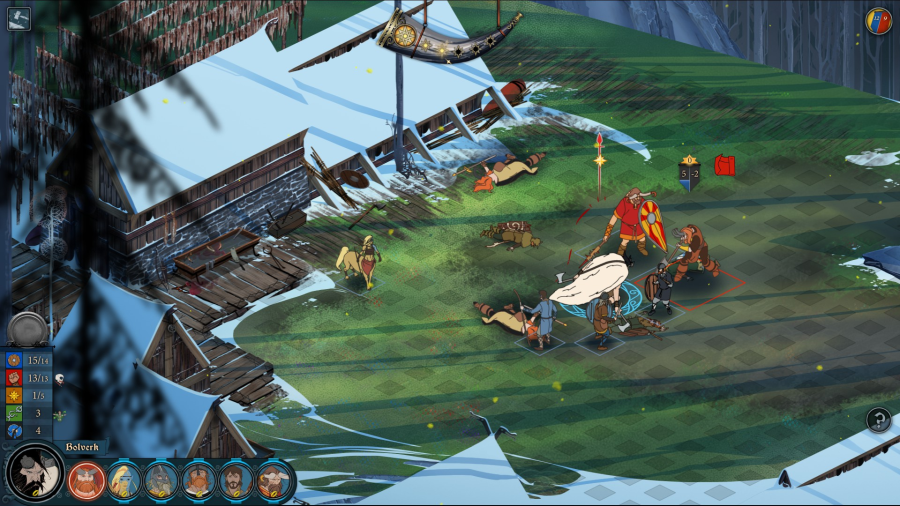
But then we run into Eyeless again. It's the Old Ford bridge map--where Bolverk killed Eyeless in our campaign.
And I figure we should just get it over with, so we kill an Eyeless zombie to spawn her, and pray that she won't OHKO Eyvind with a respawn.
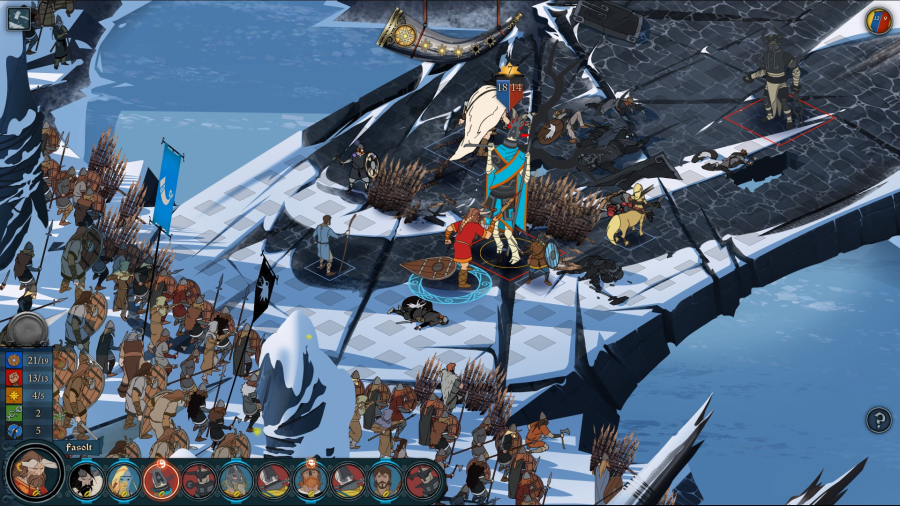
Instaed, she goes for Ekkill, knocking him back and diseasing him (though Ekkill has 1 str resist so the disease is largely irrelevant). Fasolt taunts her to keep her from warping away or doing anything else dangerous. Once you get a taunt in on Eyeless, she ceases to be dangerous.
Dagr of all people bring Eyeless down. Though this doesn't end the fight. We still have to deal with the gloomwardens up top.
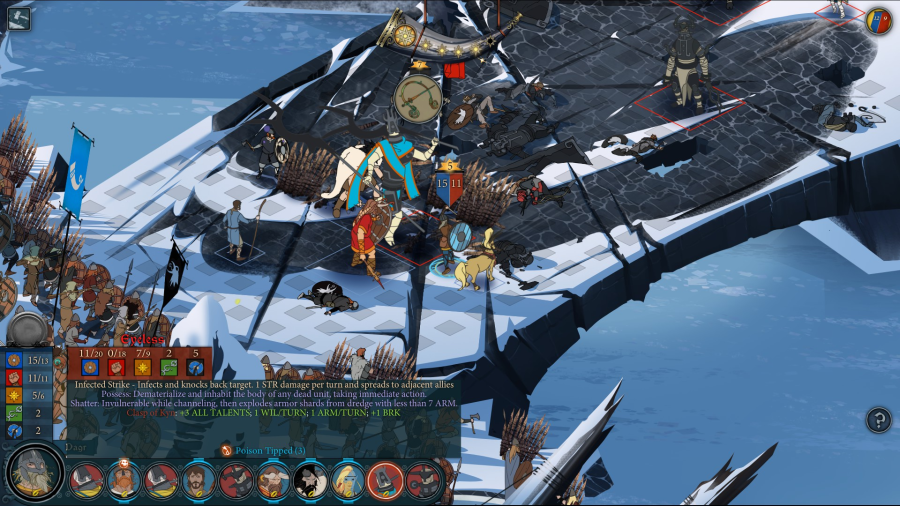
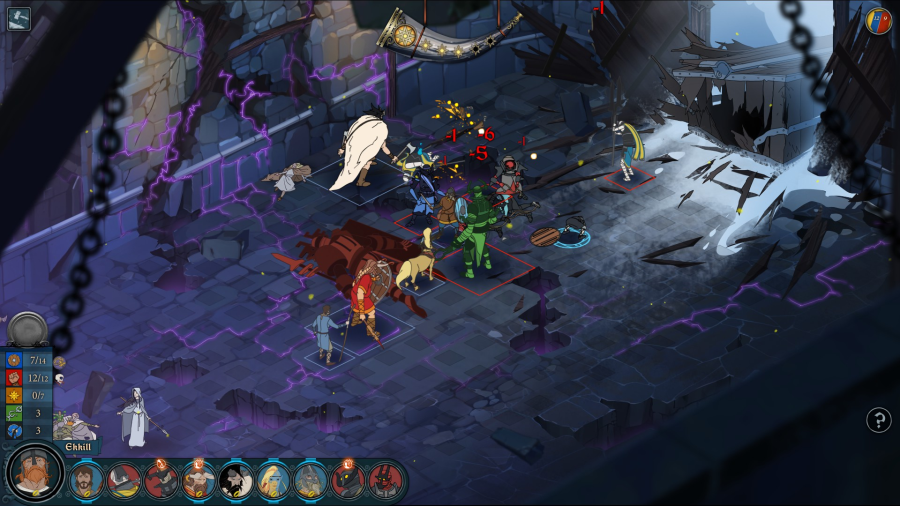
Too little, too late on the part of the stonesingers. Umbrage spam won't save them when we have turn order and can carve off more strength than they can heal back.
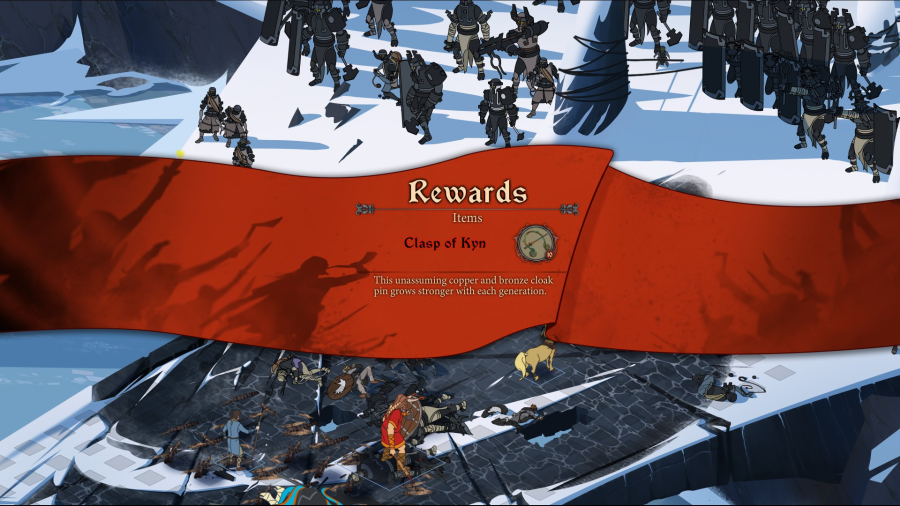
Best item of the campaign: rank 10 with +3 to all talents. We're eventually not even going to use it though. That's how important strength resist items are to me.
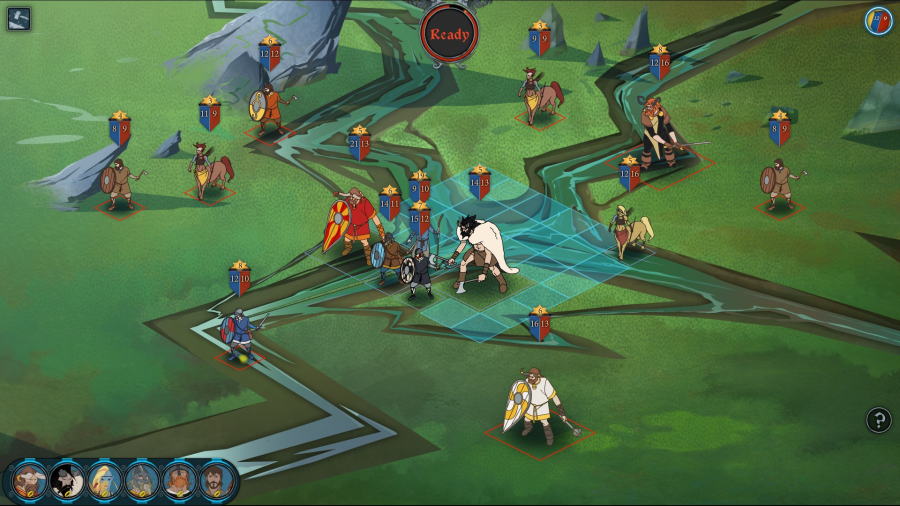
This map got a little dangerous.
Canary got a little too close and she doesn't really have the strength to deal with varl warhawks.
And then she got bloody flailed for 5 straight hits on her strength.
And then axe stormed within 1 HP of dying. Fortunate that she blocked the last one.
Ekkill uses his Guts ability, which chaos dunks everyone around him for knockback damage.
With Canary safely tucked into a corner, Bolverk culls the weak to finish the battle. Phew! Canary is one of my best characters!
I'd been using her as a sniper with the +2 strength +3 strength ATTACK item, but at this point I need her to live more than I need a 21 strength ranged attacker with high crit chance. She'll get some dodge and also some strength resist.
No real problem on this map. Bolverk can deal with the slingers using Cull the Weak, and once they're down we can run circles around the bigger enemies.
We don't really need this. For once, I pull back.
5 maps to go.
We got this wonderful item for Bolverk on the last map. The break will help since he always does a strength attack after any action, so if he opens with 7 break, his strength attack will devastate something. 2 strength resist will keep him from getting slowly whittled down. And +2 mobility will let him chain together some devastating strings of Cull the Weak. I'd argue this is his best item.
The map where we fought Canary in campaign mode. Moderately annoying to navigate varl thanks to the holes.
Canary poisoned and Ekkill dunked most of the enemies well before Bolverk could arrive. Fasolt did nothing.
We're starting to get into the Arberrang fights. Here's the one you get right outside of Arberrang if you stop people from messing with Oddleif.
A good item for Egil. Egil is dead though, so...:welp:
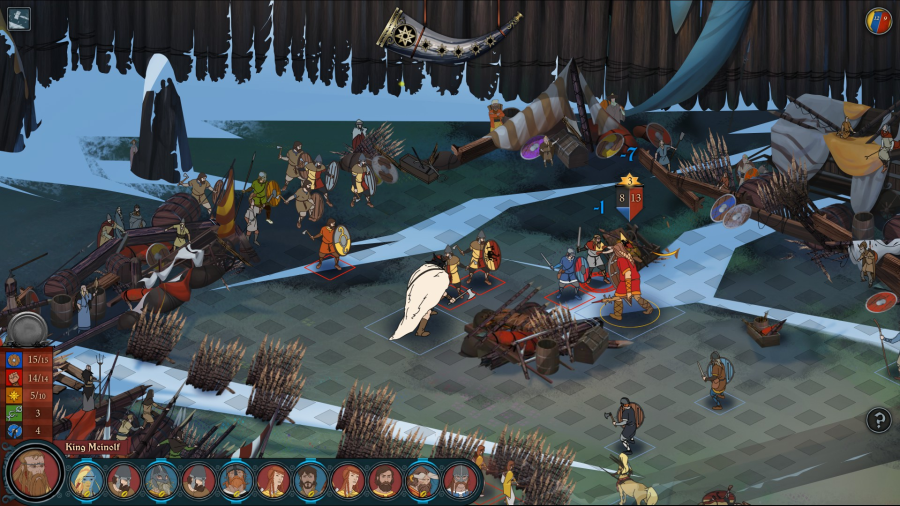
Now we do the fight in the meeting tent, after Rugga betrays Meinolf. The bears are the problem.
At this point though I resist strength damage on all characters, can heal armor back, and have devastating poison on Canary and brute strength and mobility on Bolverk. I'm unbeatable barring very special circumstances.
Circumstances such as "fight Meinolf, who has a passive that make his guards take damage instead of him, and is wearing "The Blackfish," giving him +5 armor break so that my tanks will just melt in front of him.
Fasolt takes a massive beating. And Bolverk's not that much better off. Eyvind can only heal one of them.
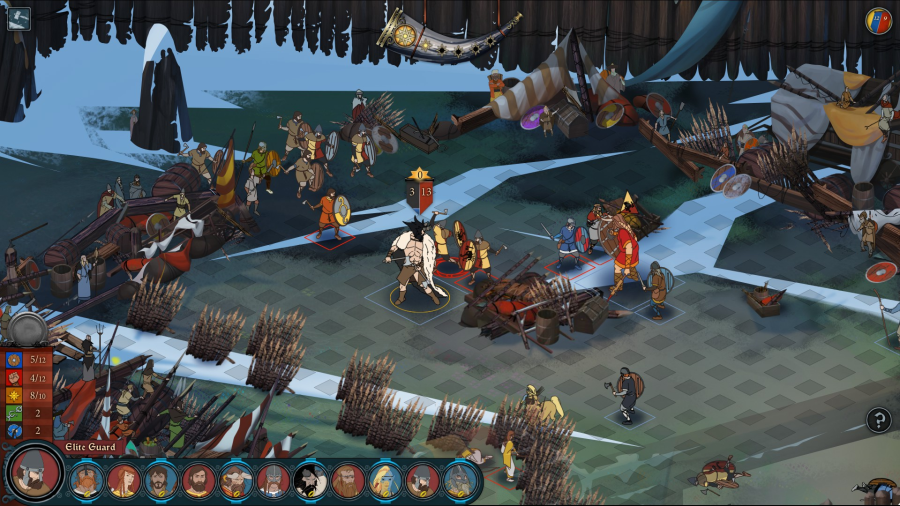
DPS-wise I'm not sure what I'd do if Bolverk died. So I heal Bolverk up at the next opportunity and let Fasolt continue to roll the dice.
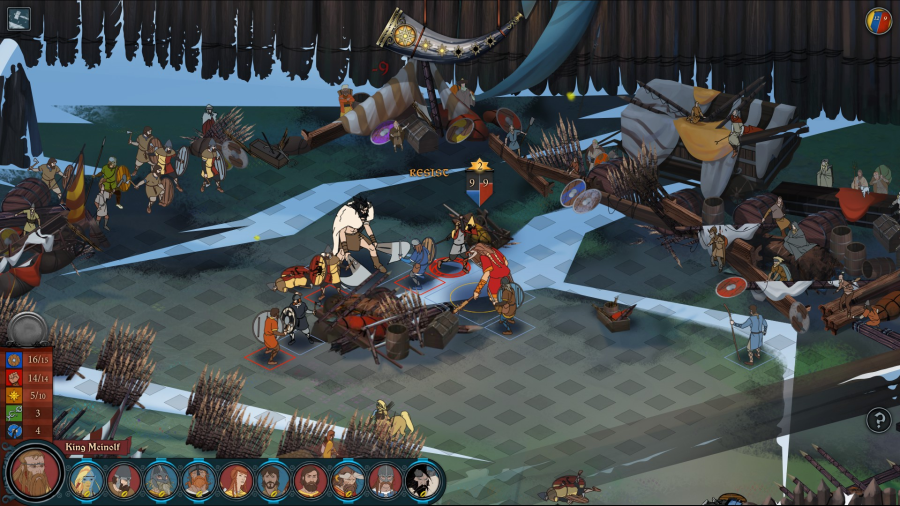
It works out in my favor. Fasolt taunts one of armor breakers into physically attacking instead of breaking armor, and that buys him the turn he needs for Bolverk to slip behind enemy lines and ruin everyone's day.
Bolverk kills the king of men.
I have zero desire for this. We're approaching battle 40 of 40, and what more could we possibly need in that fight?
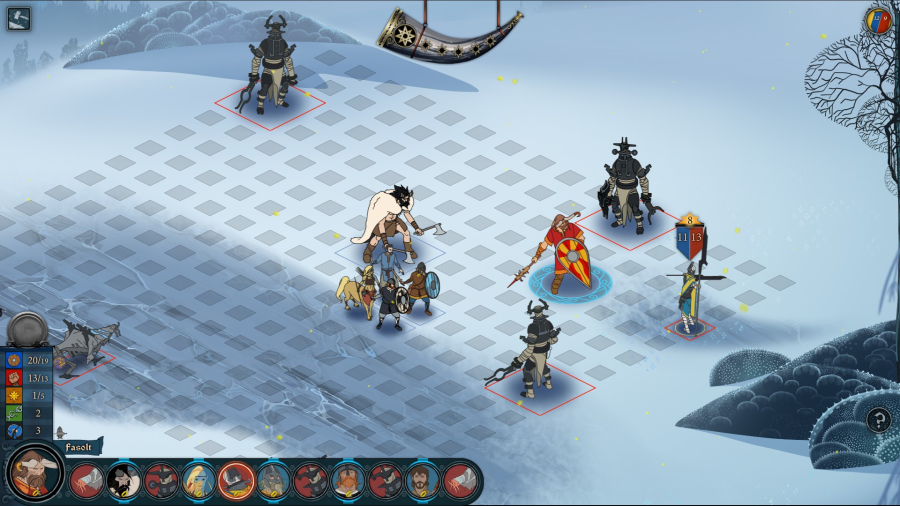
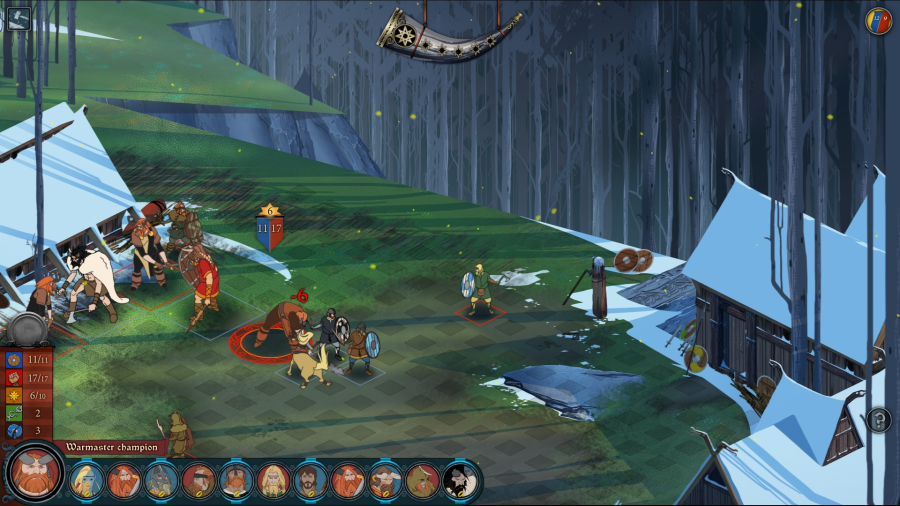
Our final map is the crumbling Tower of Manaharr, where Iver confonted and slew Bolverk in the campaign. I wonder what we'll get this time.
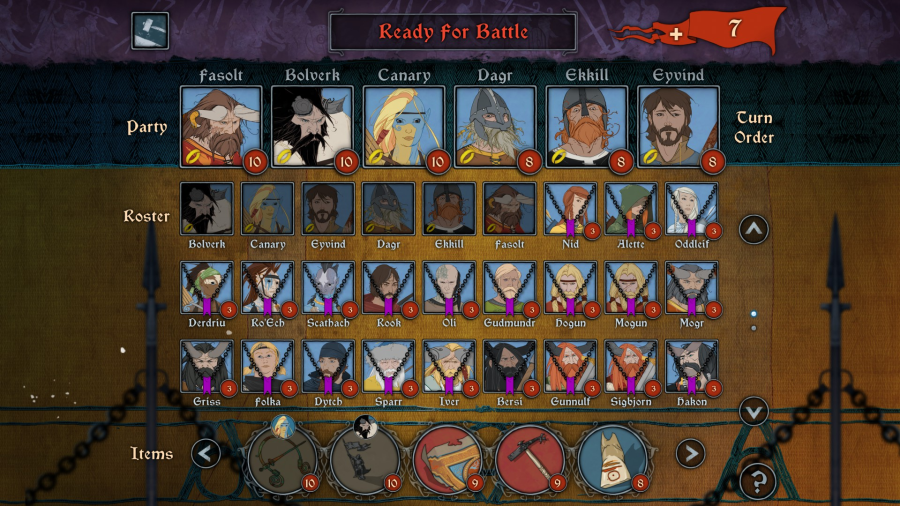
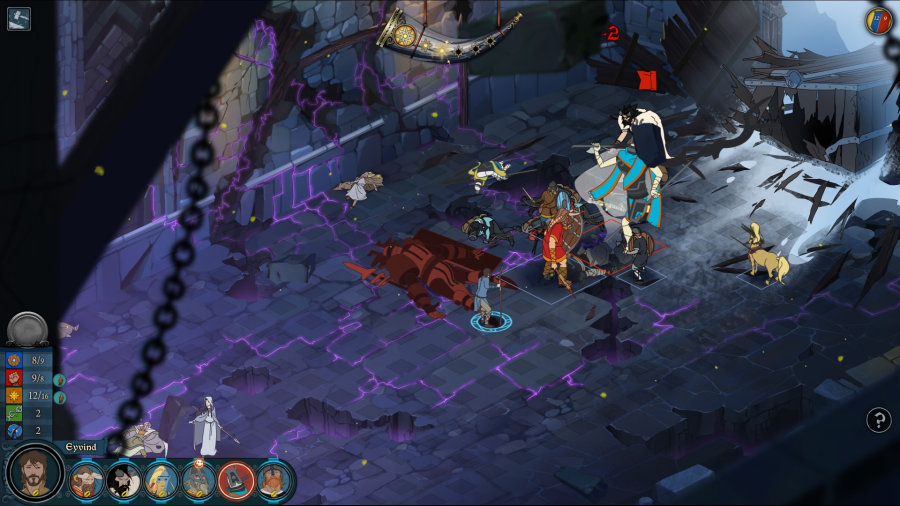
Our team.
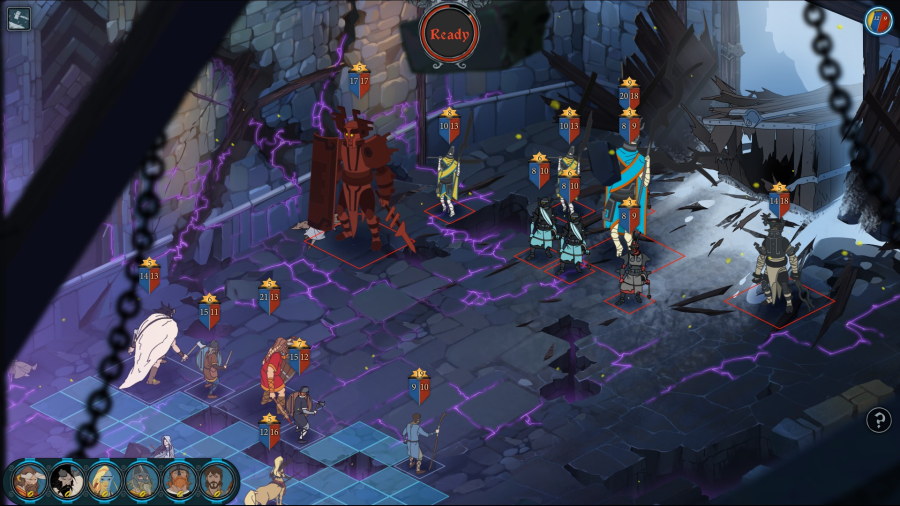
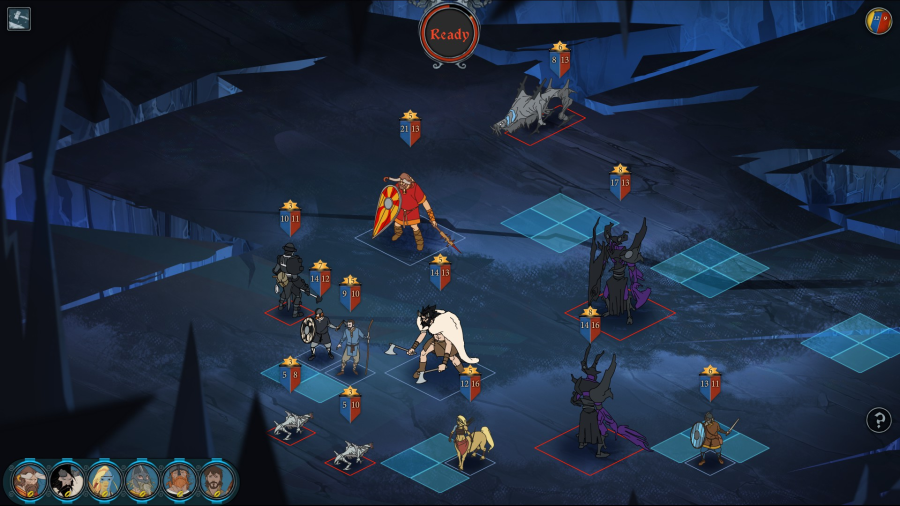
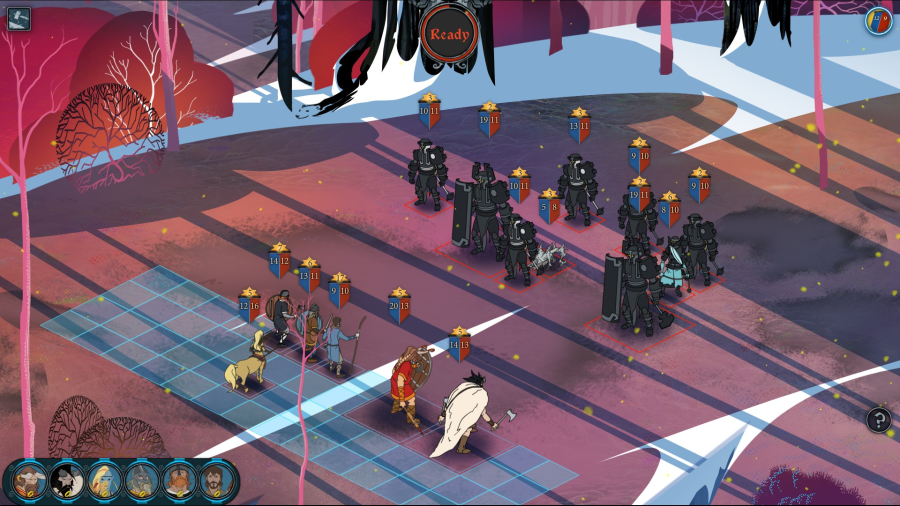
2 stonesingers. Eyeless. AND Bellower. This...this took a turn. Holy shit. At least it's a weaker form of Bellower. 17/17 isn't nearly as scary as 20/20.
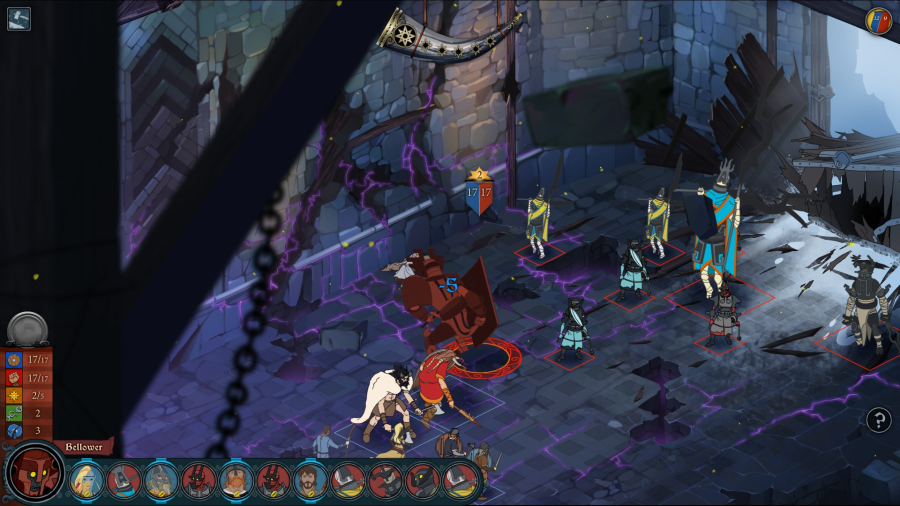
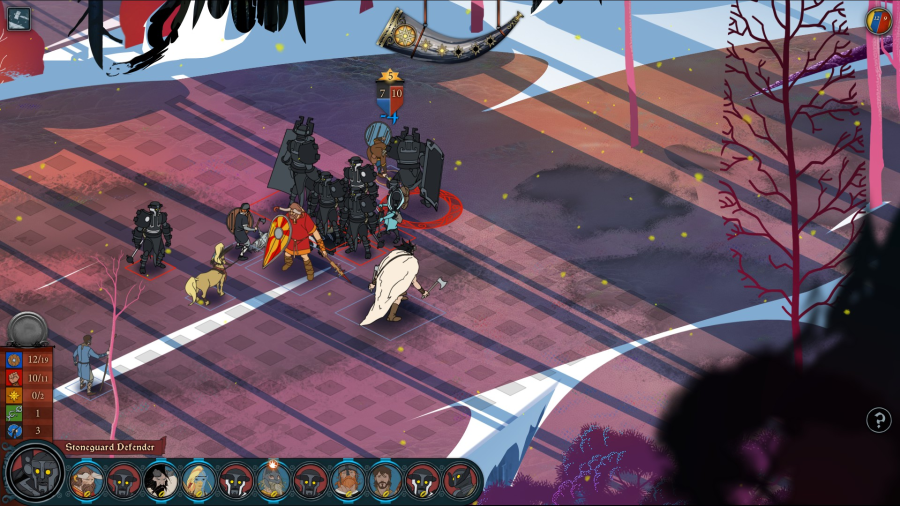
Fasolt taunts Bellower into attacking. Having him shout and stun us would be FAR worse than just taking off a huge chunk of armor.

Here's the gimmick with Bellower, though: there's no silver arrow to trick him into thinking he's mortal. He will dodge death at 4 strength, 3 strength, 2 strength, 1 strength. And he regenerates every turn. So you need to focus fire on him or do something that does cumulative damage or you'll never kill him.
This is made more difficult by the fact that he'll start shouting at you.
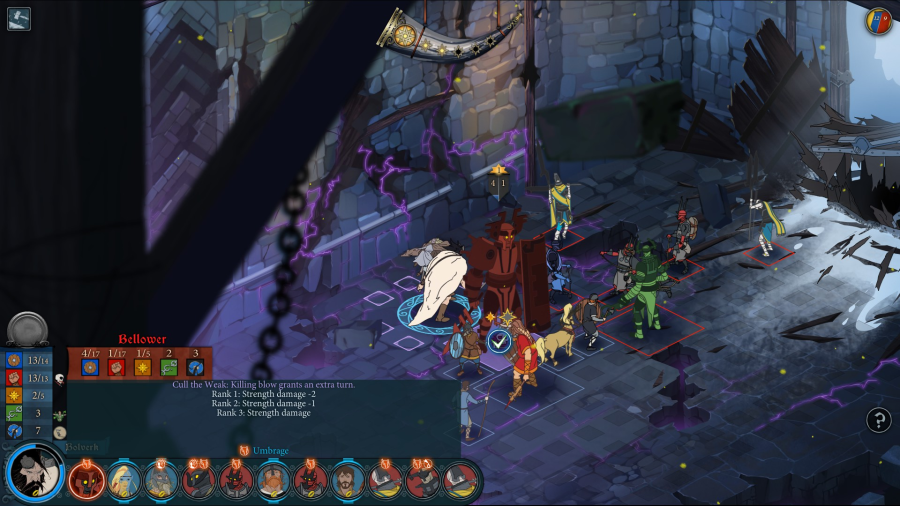
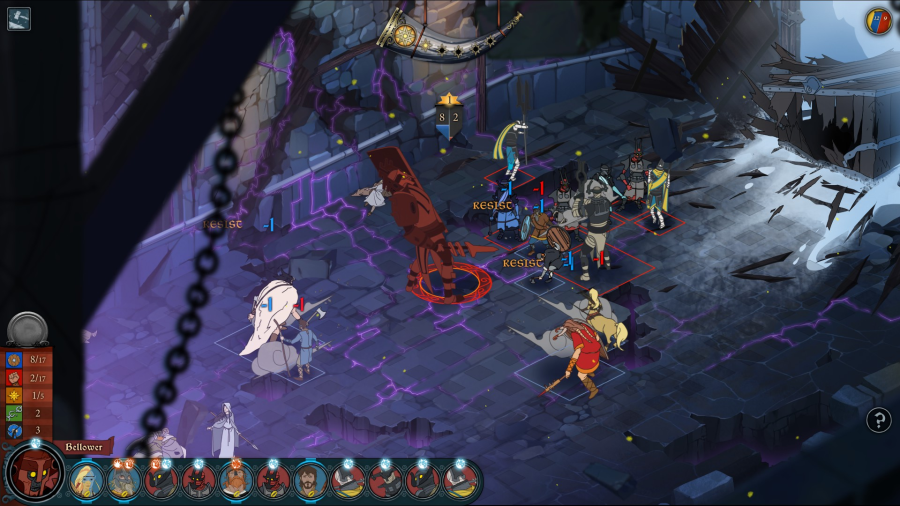
Bolverk brings him down eventually, though. He attacks twice in a round, and then moves on to a stonesinger while he's at it.
In fairness, ANY unit can do Guts if you level a raider up high enough. But Ekkill has naturally high strength and gets Guts 3 at level 5. So he can really just slam the hell out of a lot of adjacent enemies.
We continue cleaning up until it's just one wounded stonesinger and a poisoned Eyeless. No big threat, especially with Fasolt keeping Eyeless locked down.
Was expecting this to be a lot worse, but Eyvind just zaps Eyeless to death.
I'm told that on Hard mode, Eyeless will warp into Bellower after you kill him and then you have to deal with undead bellower, which seems awful. But I've had quite enough of this.
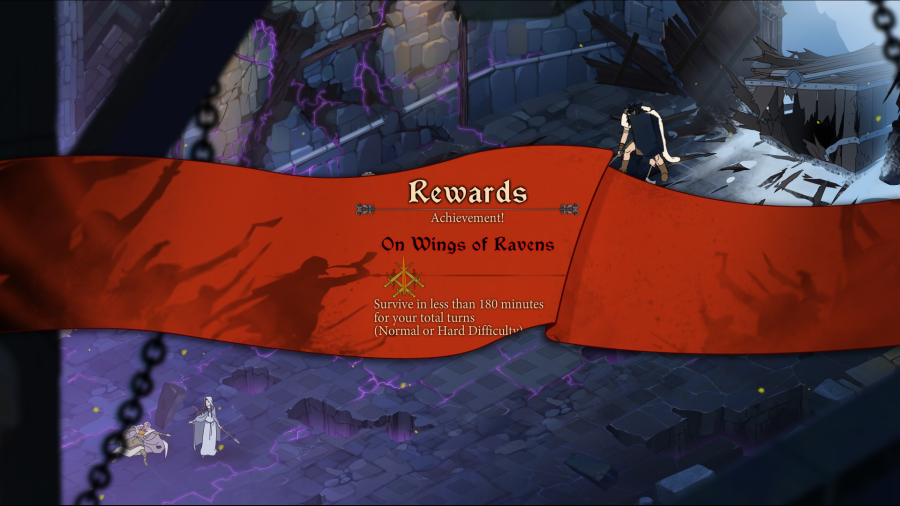
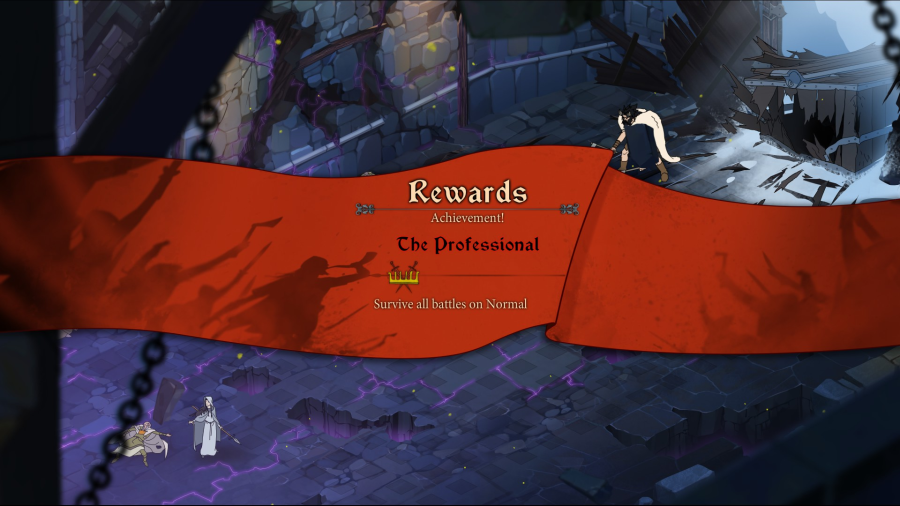
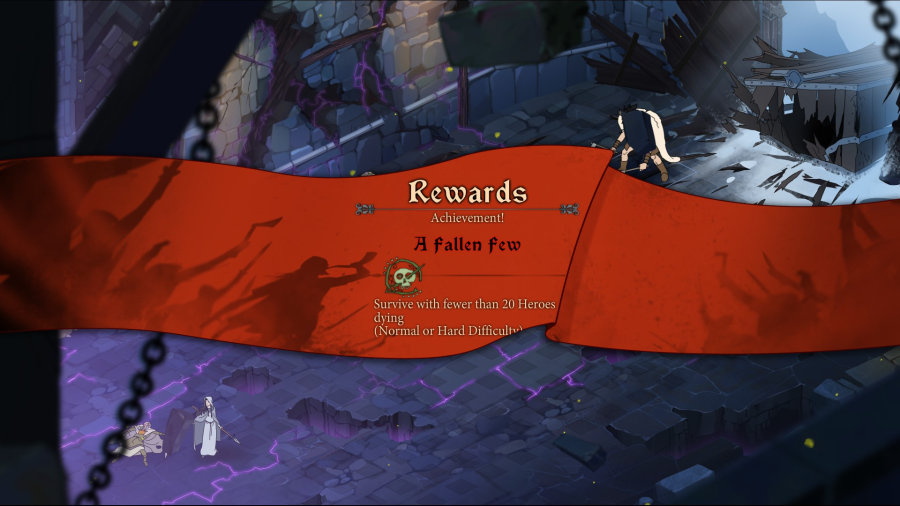
And I unlock some achievements and get an item I can't possibly use because survival mode is now over.
Yay, we did it. Wasn't that exciting? Hey, where'd you all go?
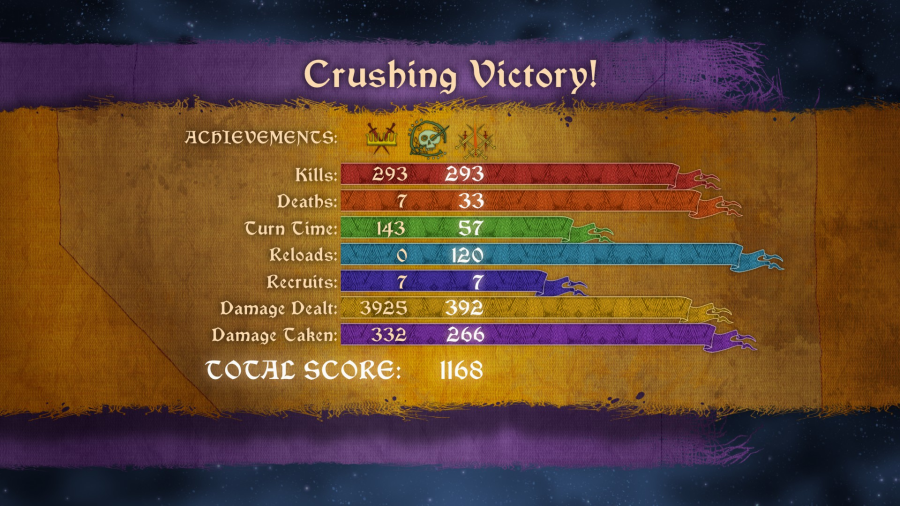
I think this is kind of like XCOM global stats where they're all wrong anyway.
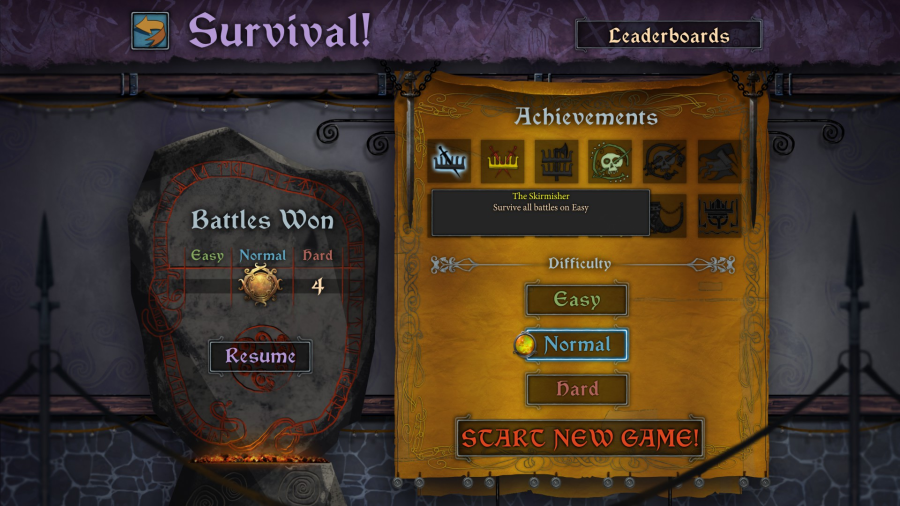
I like how I don't have the trophy for beating it on easy even though I have the trophy for beating it on Normal. Well...I'm damn sure not going back. We're done here.
Remaining tasks for the LP:
1.) Respond to any alternate path questions y'all might have, showing them if I can save edit my way into 'em.
2.) Clean up the first couple posts so the images are 900 pixels wide.
In general though, I think it's fair to say the LP is like 99% over.
e: oh hey, we got a gold rating right at the end. Neat! Glad many of you enjoyed it.