Part 32: Update XXX

♪ BGM: Wonderful Dead 003 ♫
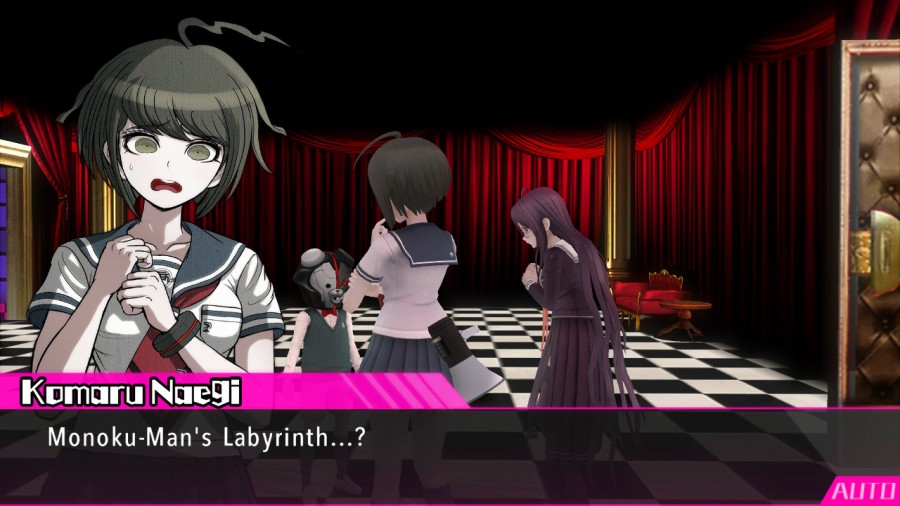
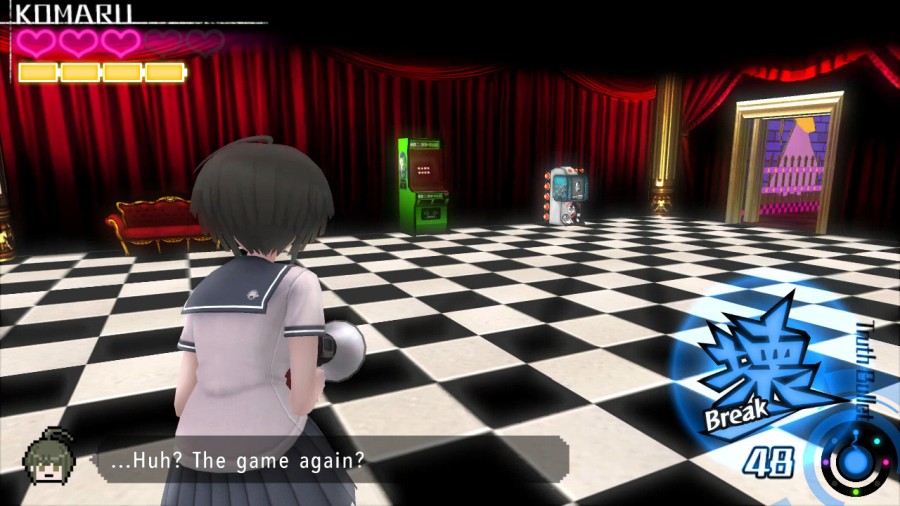
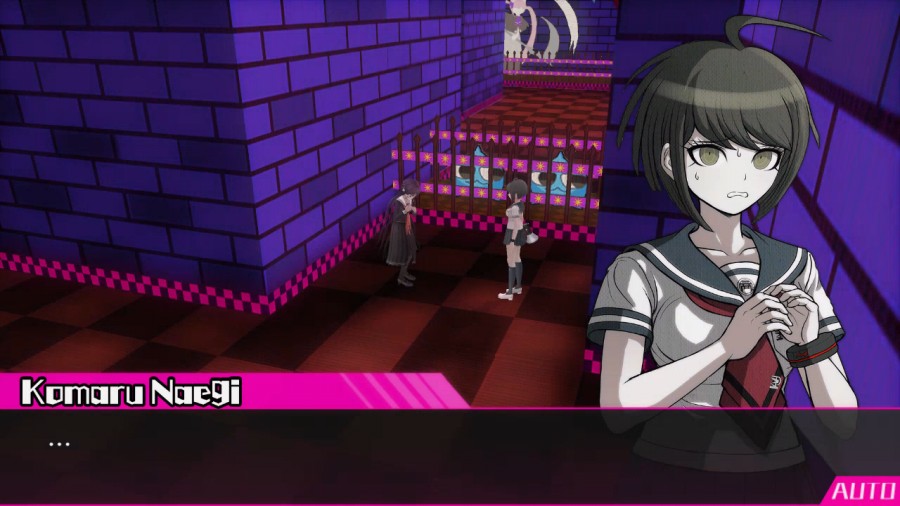
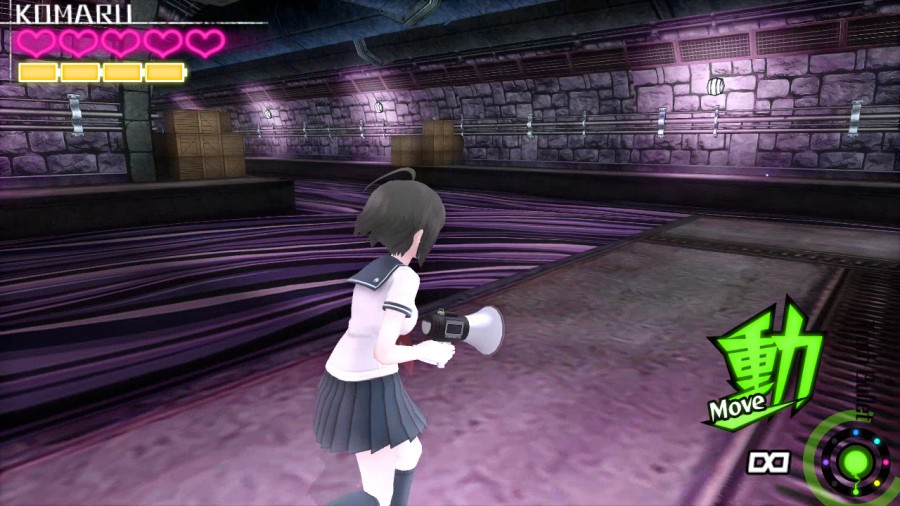
Well, looks like Komaru and Toko are really pissed at each other, and now we're heading back to the secret base for lack of a better idea of where to go.
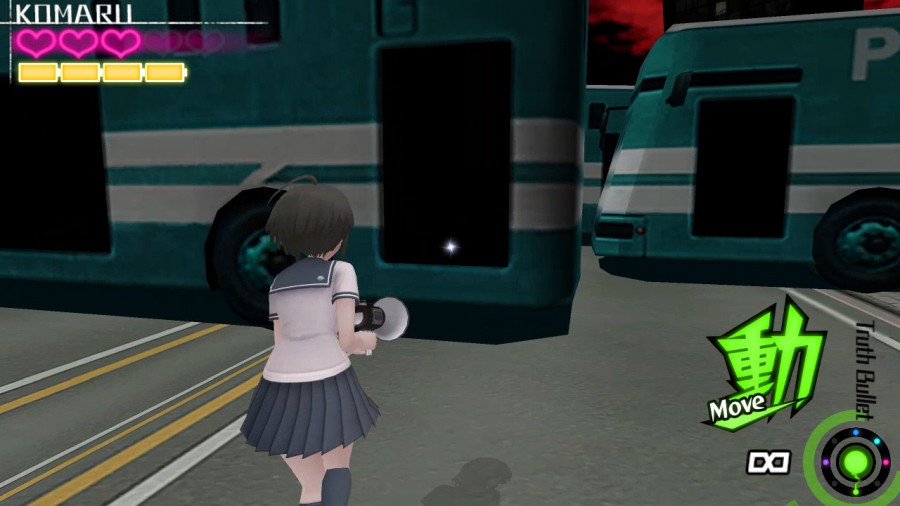
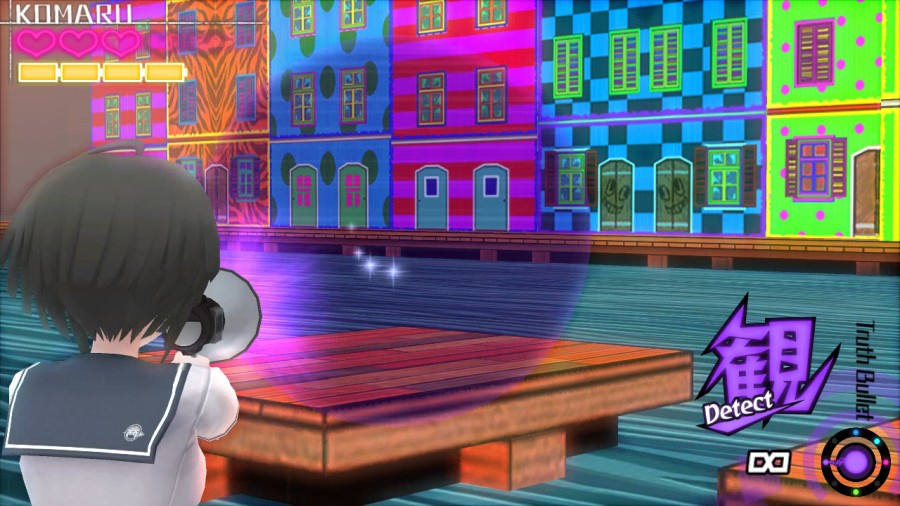
Here we have another collectible.
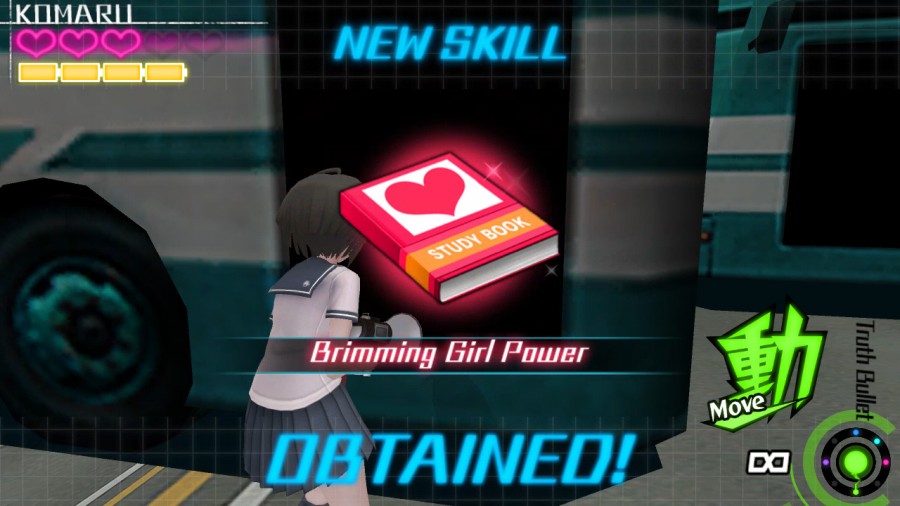
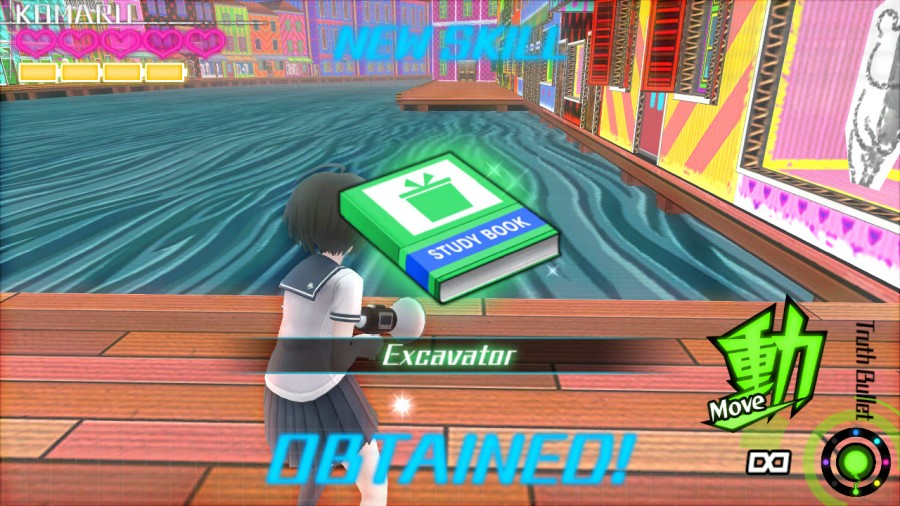
♪ Jingle: Skill GET! ♫
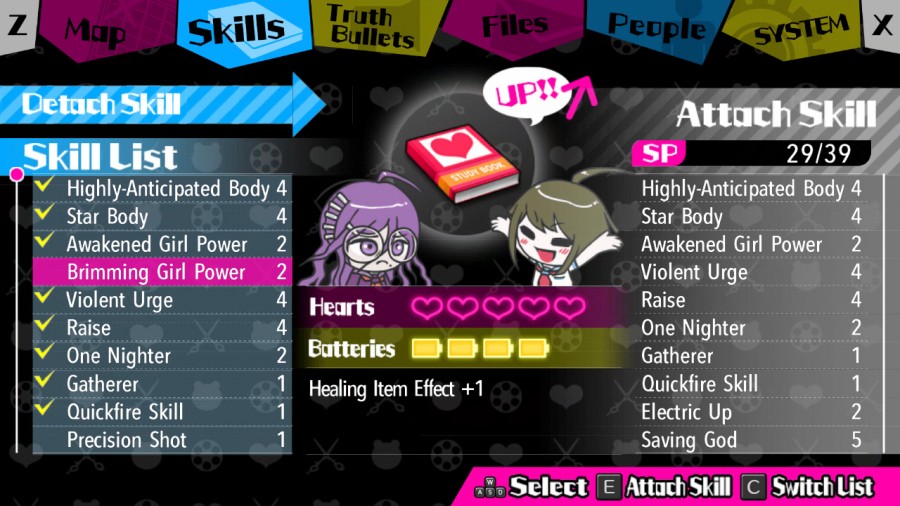
Better healing, always welcome.
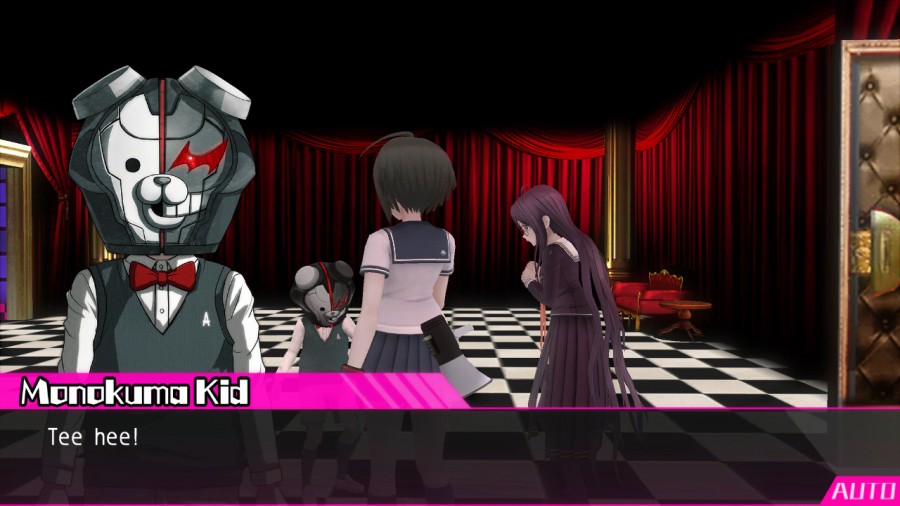
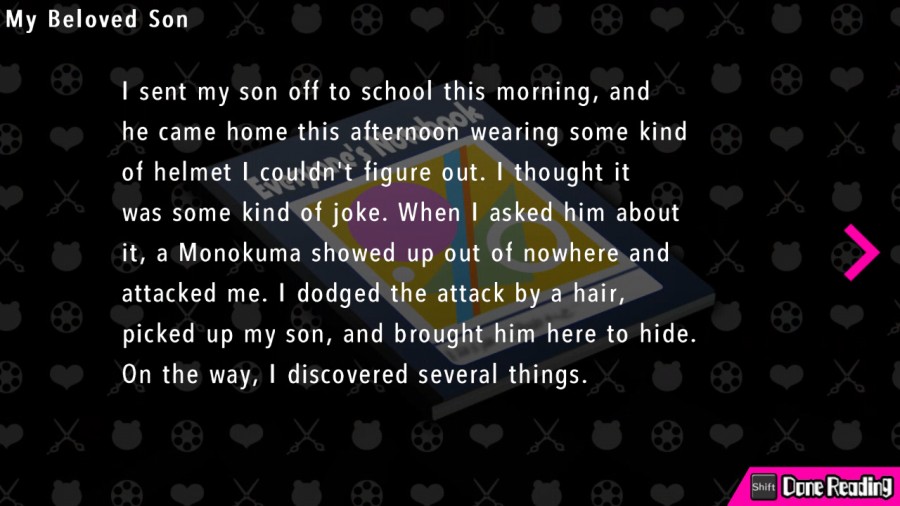
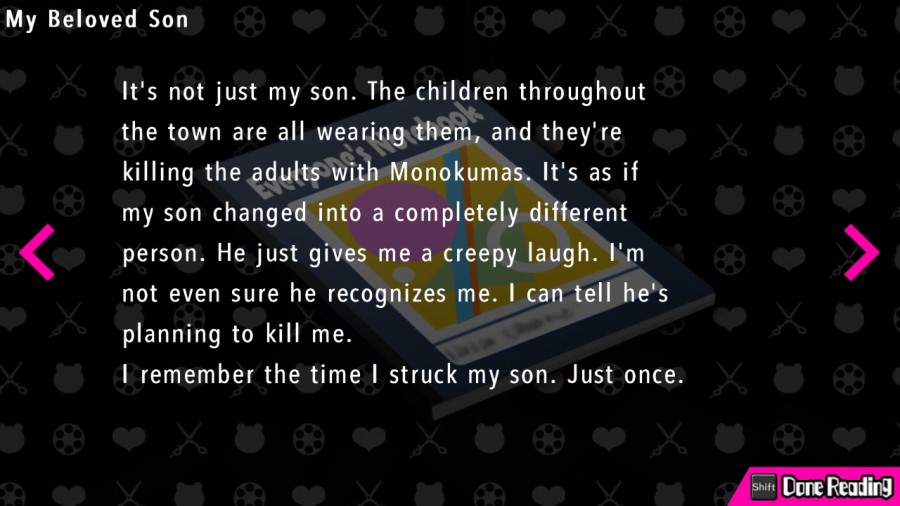
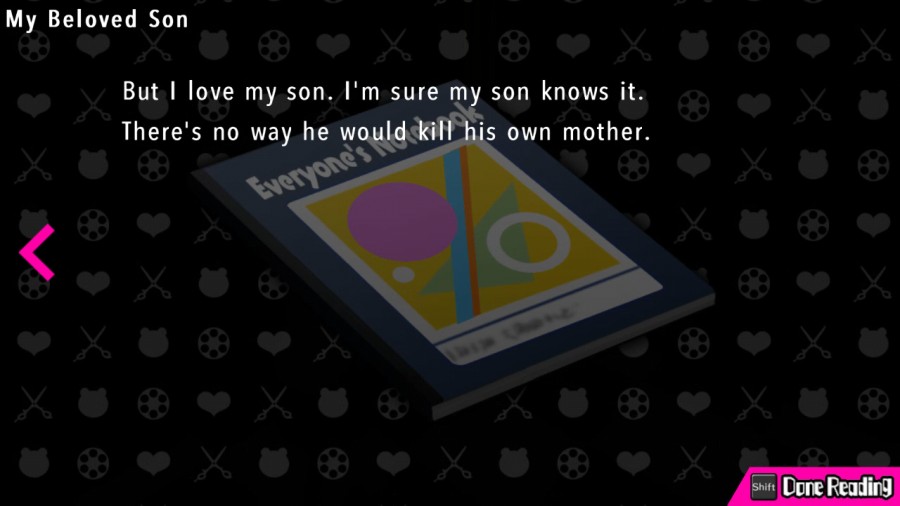
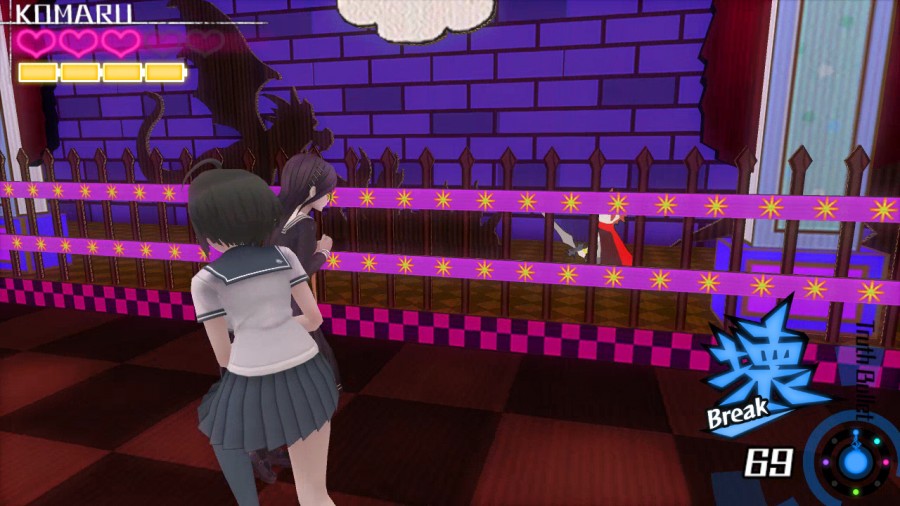
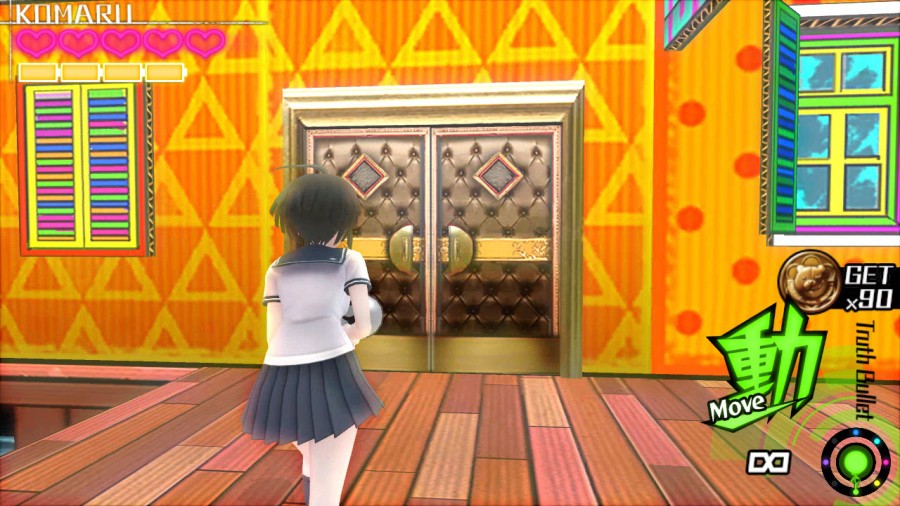
Somehow, things seem different on the way back. I don't recall there being a Monoku-Man room to the left, and the fact that the way I came from doesn't exist anymore is a bit strange as well. Oh well, guess we might as well just head into the puzzle room.
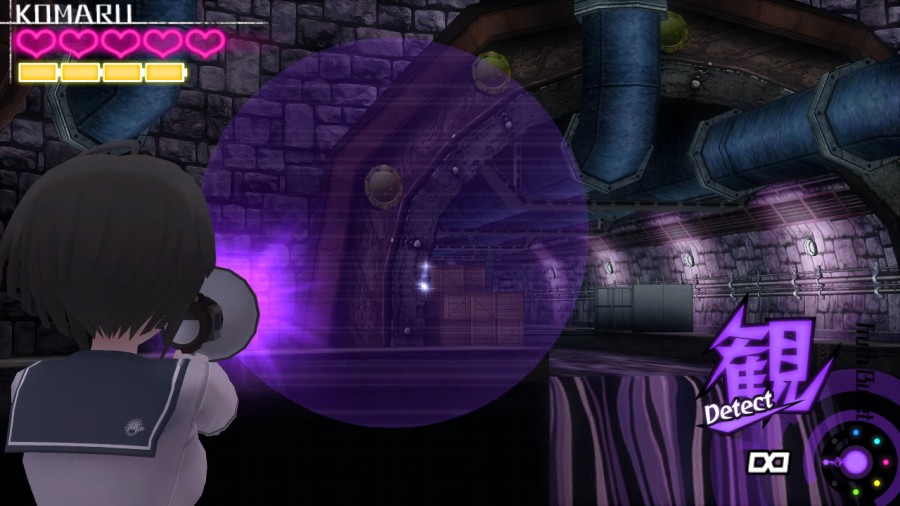
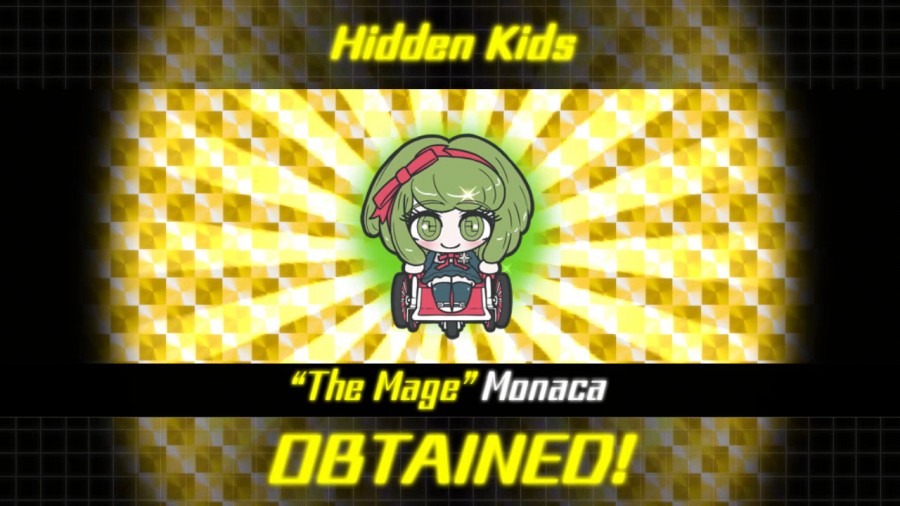
But not before picking up some sparkles.
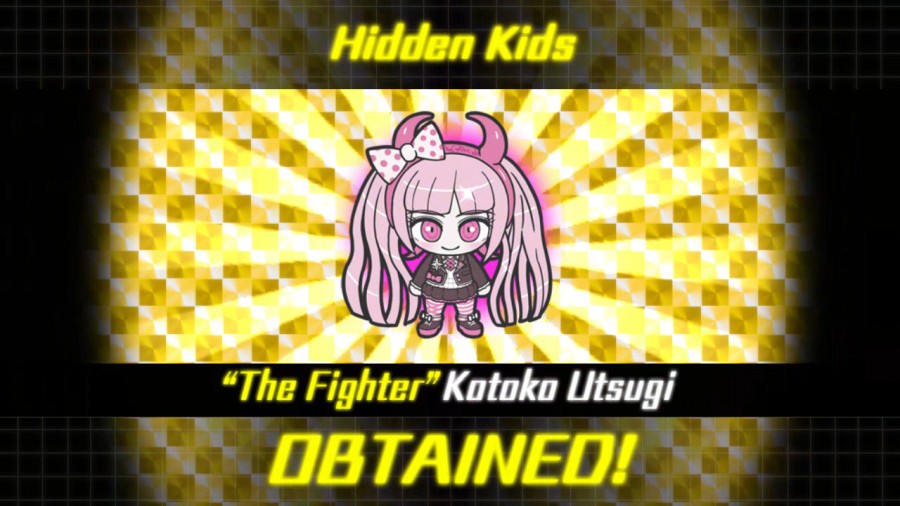
♪ Jingle: Hidden Kids Discovered! ♫
We are going through these Hidden Kids pretty fast. This chapter is fairly short compared to the last one, actually - I got through this one in a single session, whereas the last one I needed two sessions for. The rate at which we find Hidden Kids is a pretty good indicator of how far in the chapter we are. Anyway, now, the puzzle room.
♪ BGM: Riddle Land ♫

 ...
...
♪ BGM: It's a Monokuma World ♫
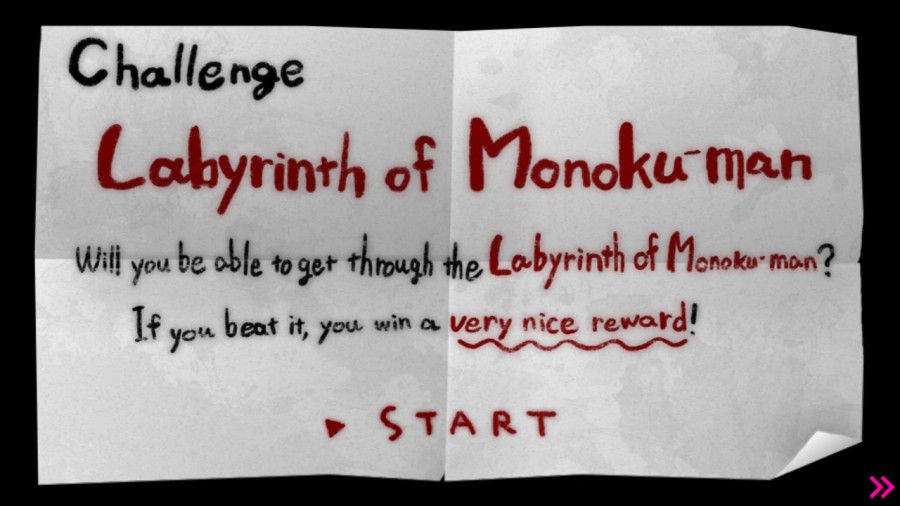
♪ Jingle: Challenge from a Child ♫
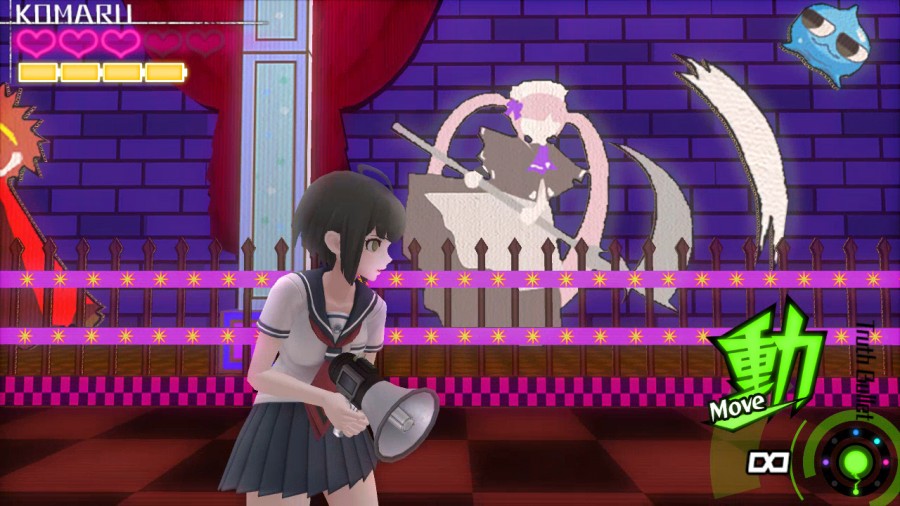
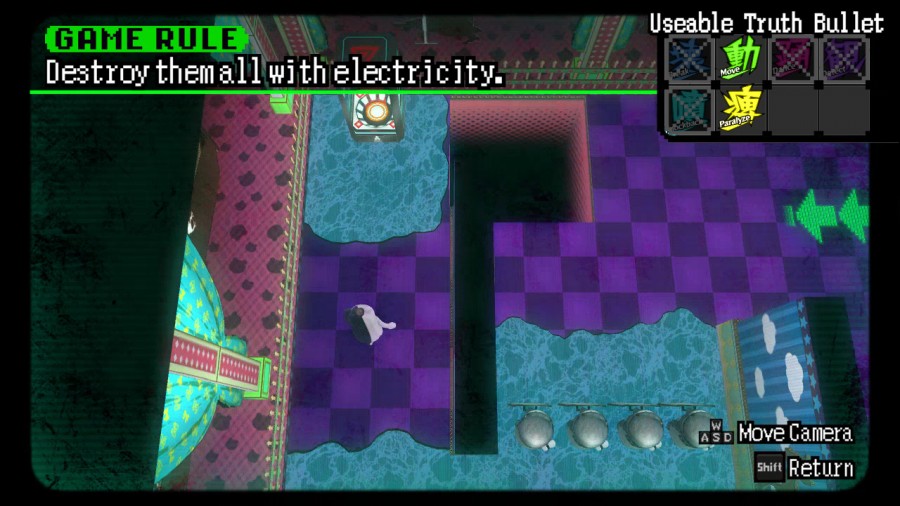
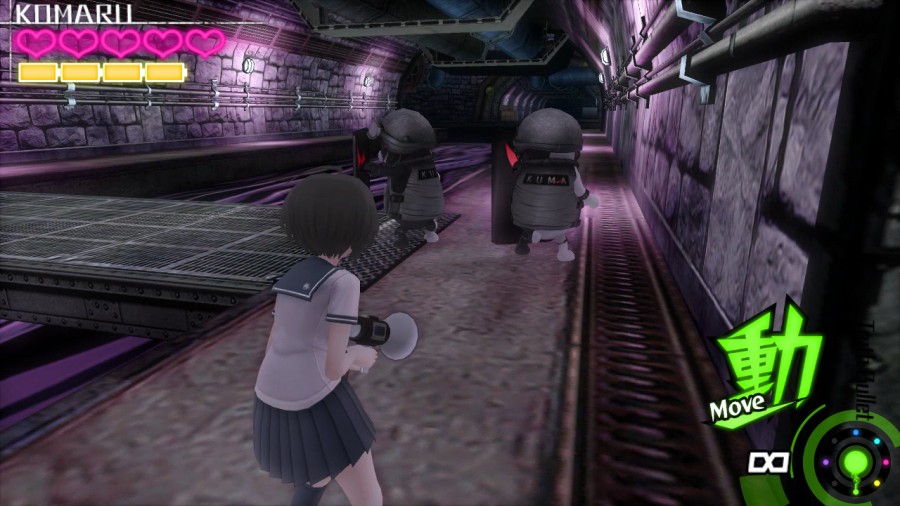
Basically, the gimmick of this area is that we have multiple Monoku-Man rooms chained together that we have to get through. There's no "labyrinth" per se - you can't get lost or anything like that. So let's start with the first puzzle.

♪ Jingle: Monoku-Man Activate ♫
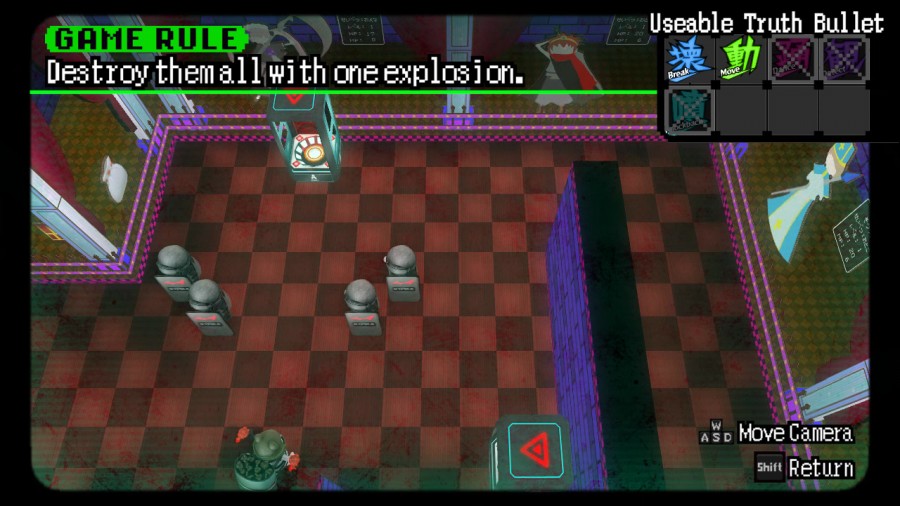
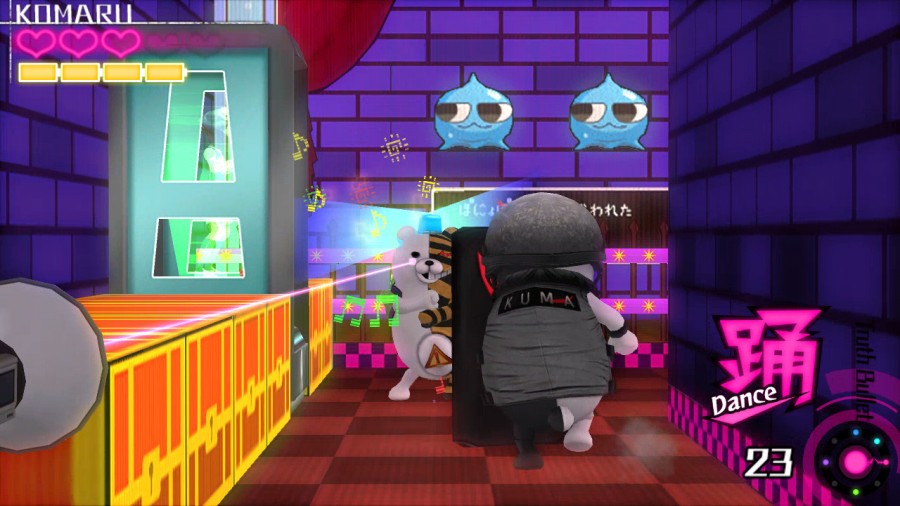
This is back to the fairly easy puzzles. There's two hologram machines, and you have to Move the one behind the Guards so that the Bomber moves behind them as well. Then you kill the Bomber so his explosion then takes out all the Guards.

♪ Jingle: Monoku-Man Success ♫
Like so.
♪ BGM: We Can't Change The World ♫
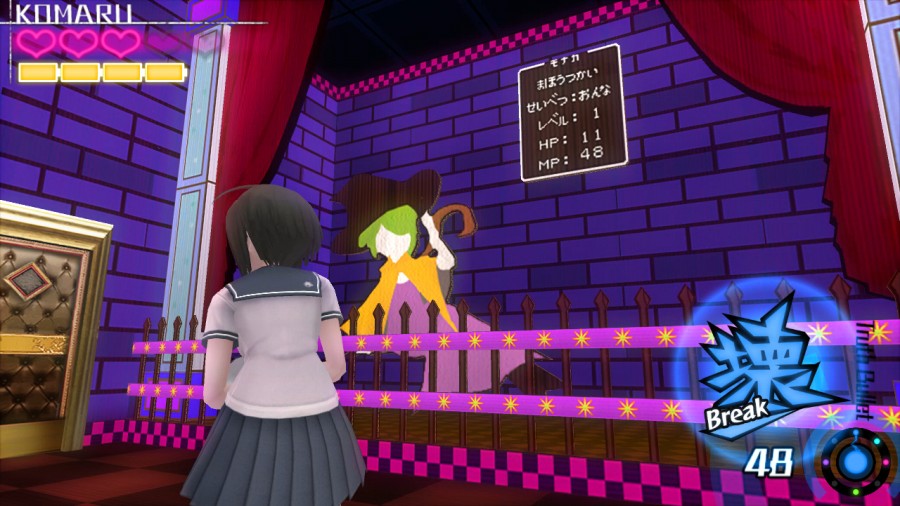
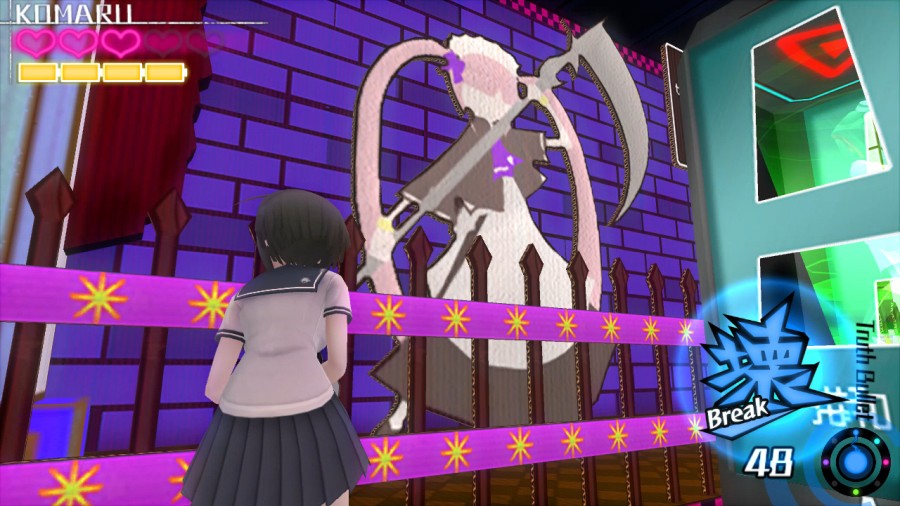
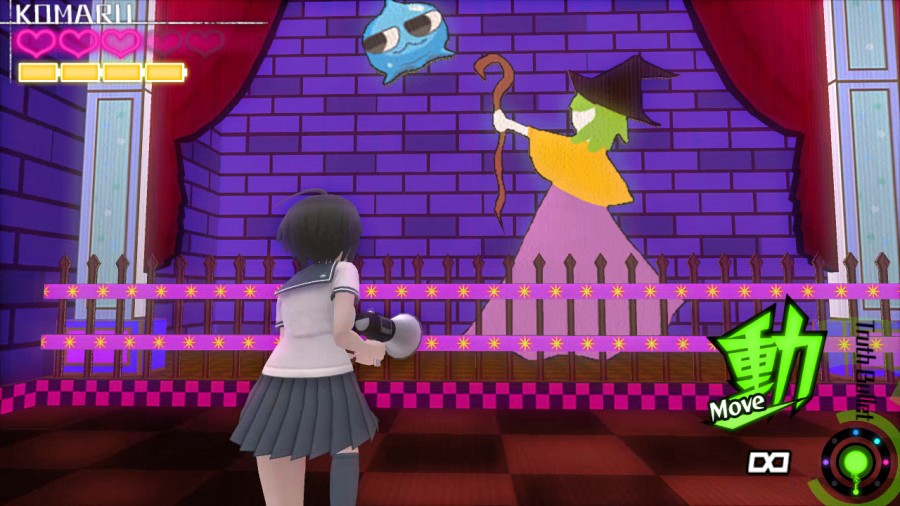
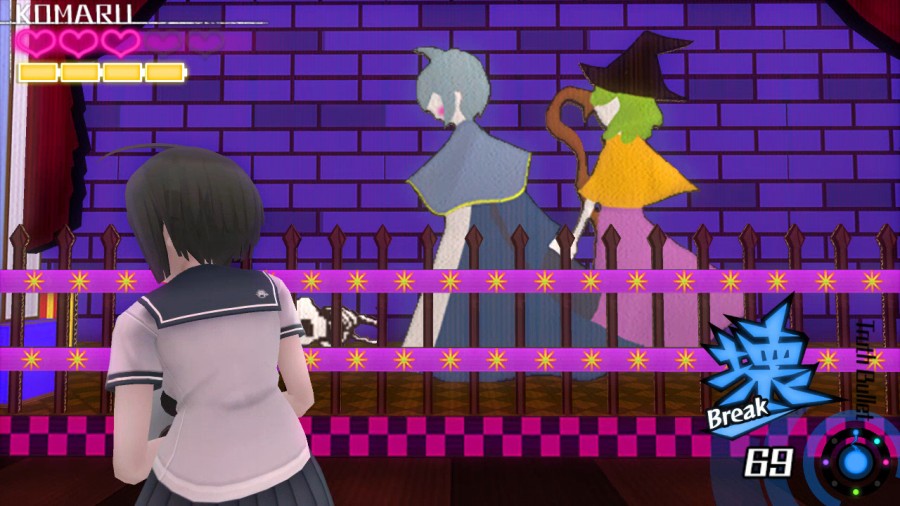
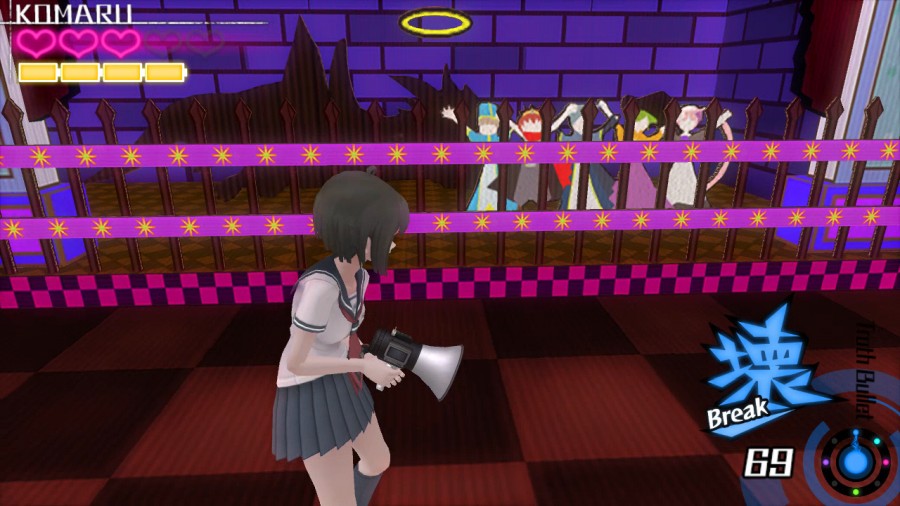
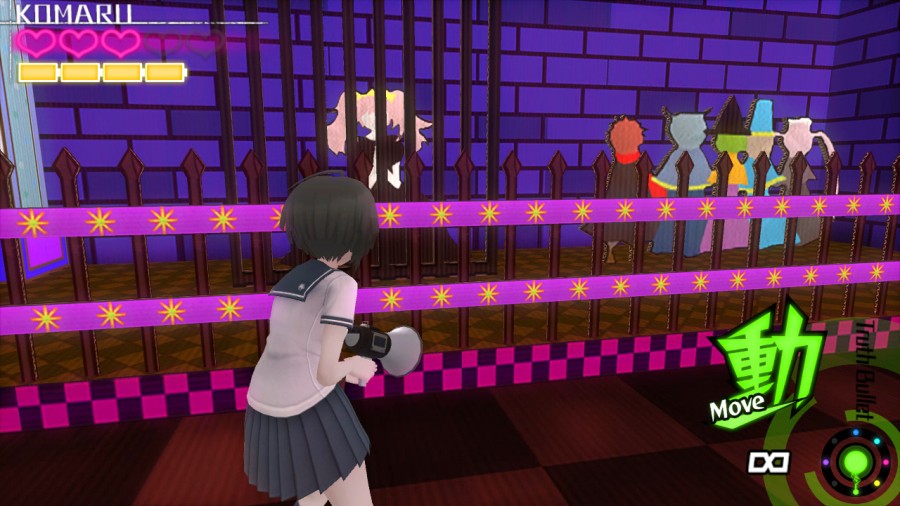
And with that done, we now have to explore the room, because like the last few rooms from Chapter 2, these puzzle rooms have some cool designs. So these rooms are based around the Dragon Quest-like inspiration the Warriors of Hope took for their "class names". So here's Monaca, the Mage.
Here's Kotoko, the Fighter.
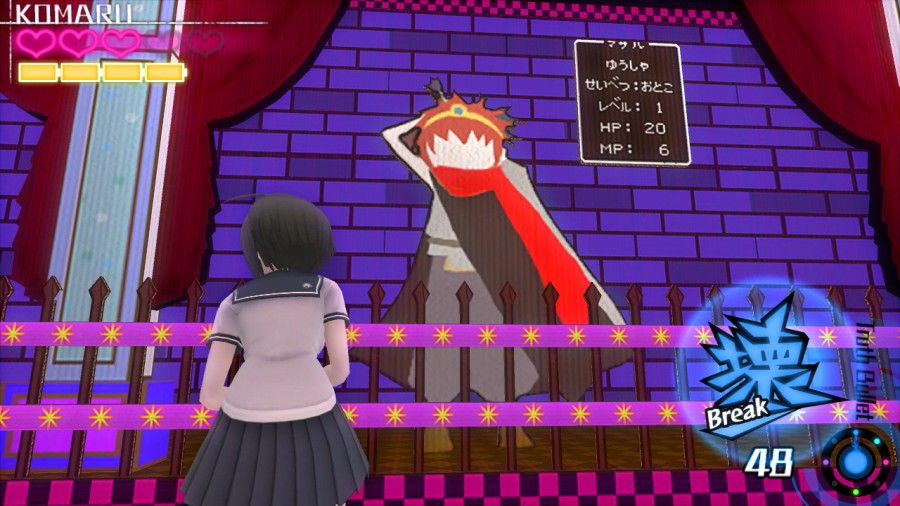
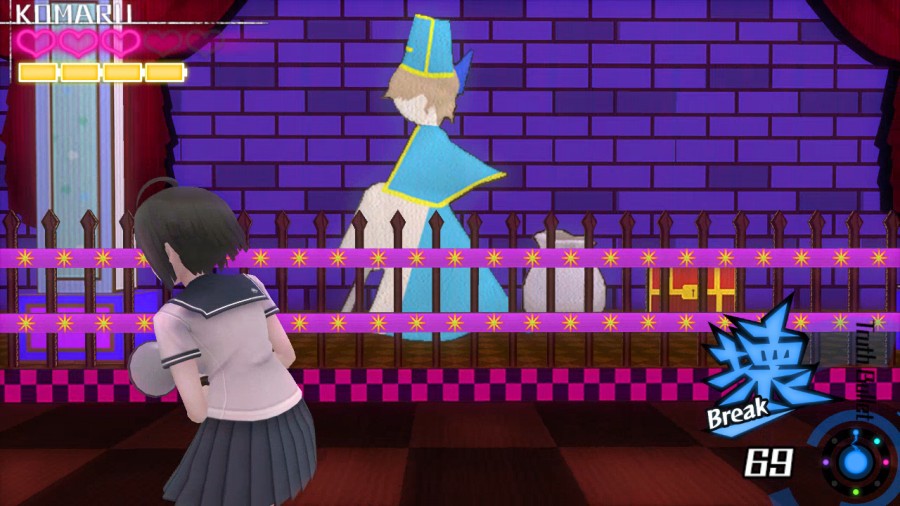
Here's Masaru, the Hero.
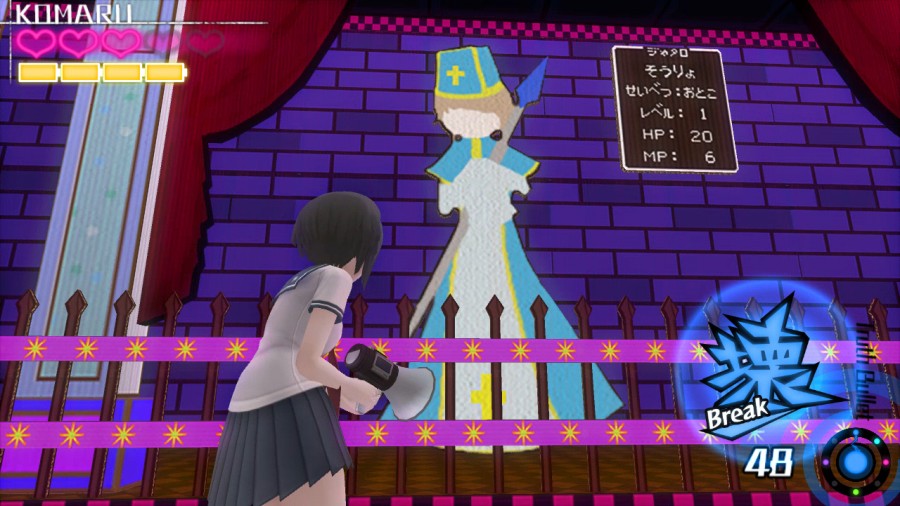
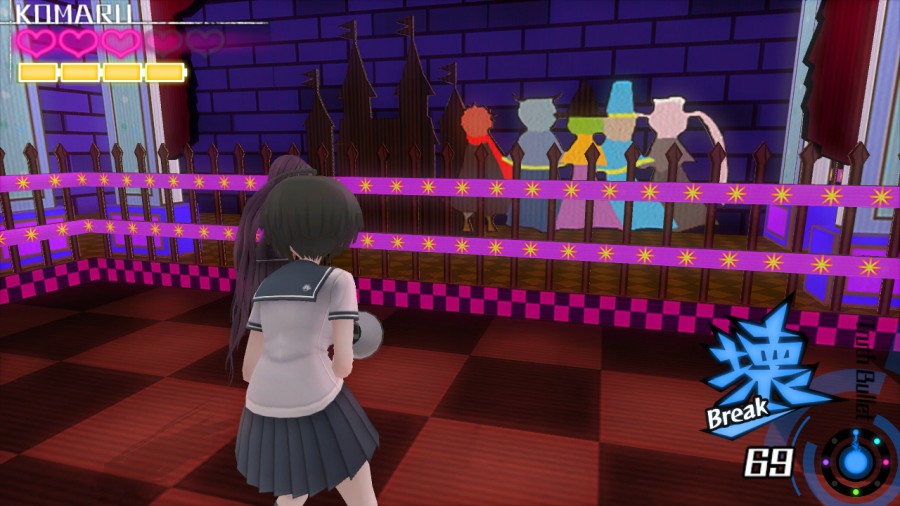
Here's Jataro, the Priest.
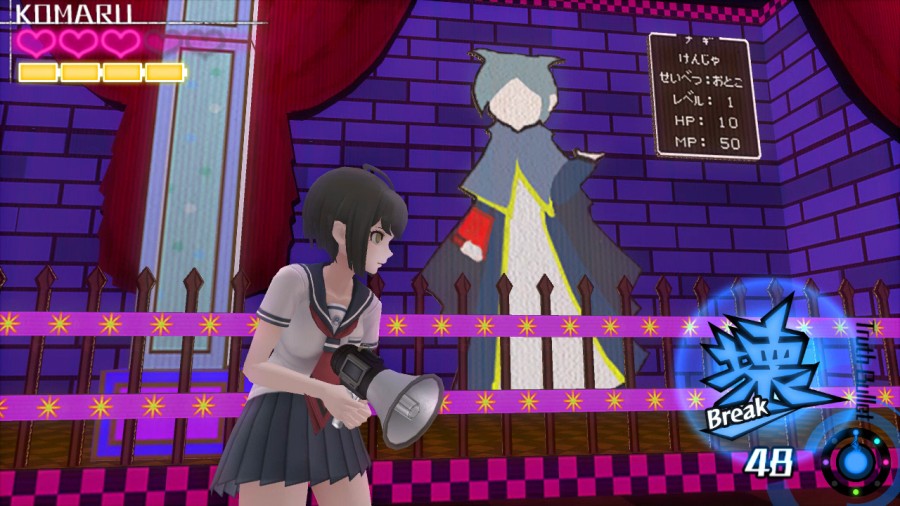
And finally, here's Nagisa, the Sage.
♪ BGM: It's a Monokuma World ♫

Moving on to the next room, we get another arcade machine.

♪ Jingle: Monoku-Man Activate ♫
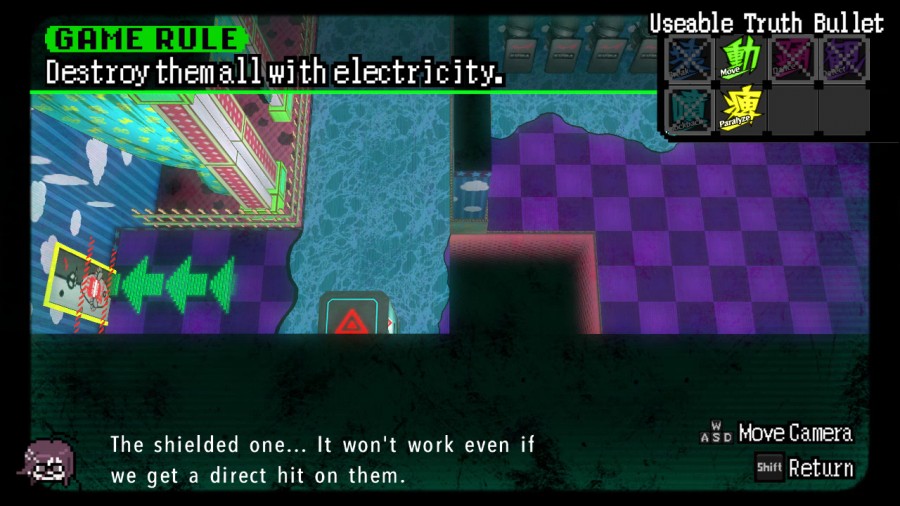
This one is a fuckup hazard...
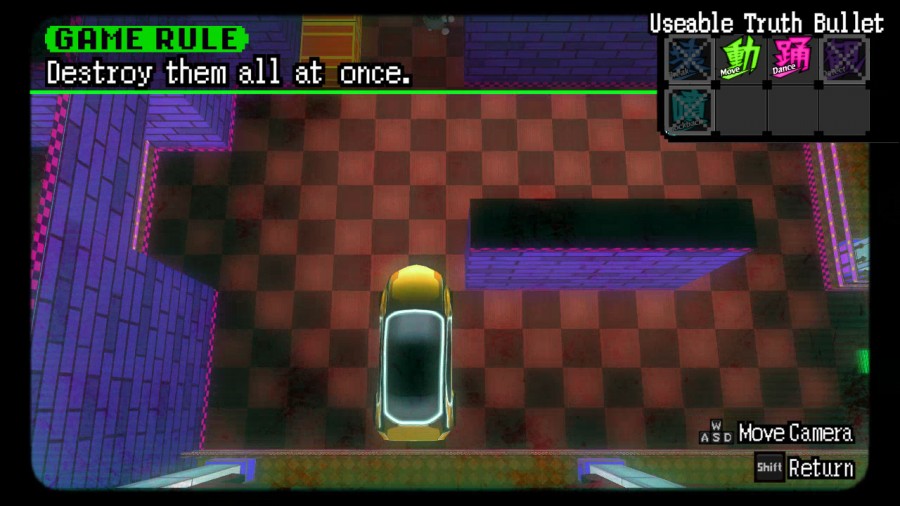
...because it involves using a car to kill the enemies. The basic strategy is to lure the Siren to the hologram, then hit it with Dance to attract all the other ones, then Move the car to crash into all of them. Let's see if I can not fuck this up.
Hit the Siren with Dance...
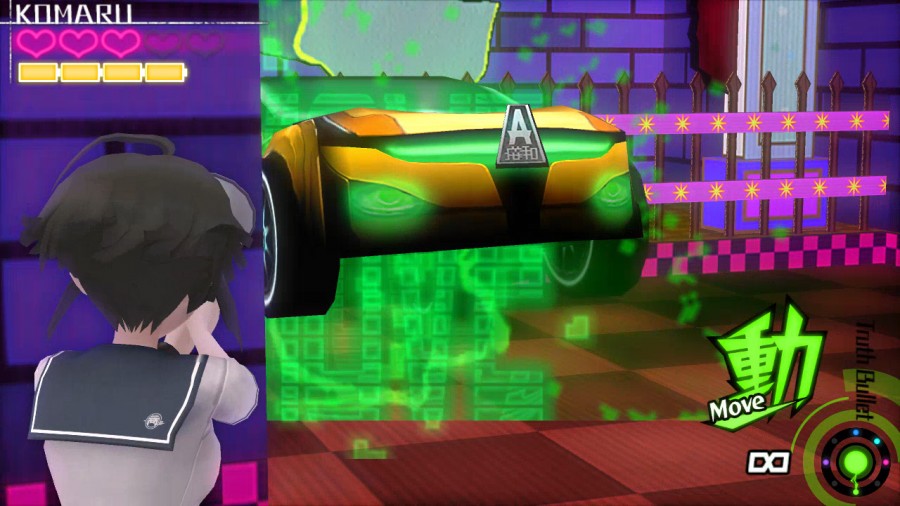
...and then just hit the car with Move and hope for the best.
♪ Jingle: Monoku-Man Success ♫
And apparently it worked!
♪ BGM: We Can't Change The World ♫
This room has some weird Slime-like creatures on the walls...
...pictures of Masaru, Kotoko and Monaca fighting them...
...and Nagisa and Jataro hanging out in the back row or something like that.
♪ BGM: It's a Monokuma World ♫

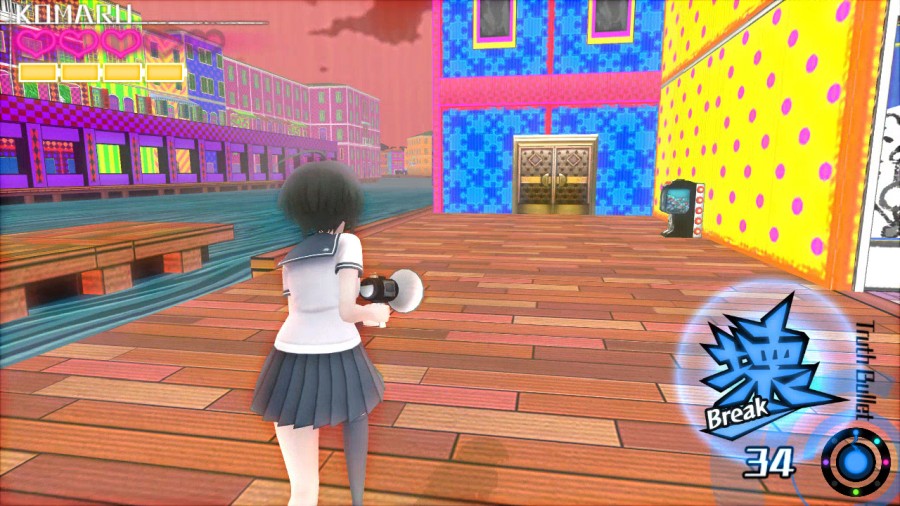
In the next room, we have our final Monoku-Man arcade machine of the labyrinth.
But first, a collectible.
I'm not so sure about that.

♪ Jingle: Monoku-Man Activate ♫
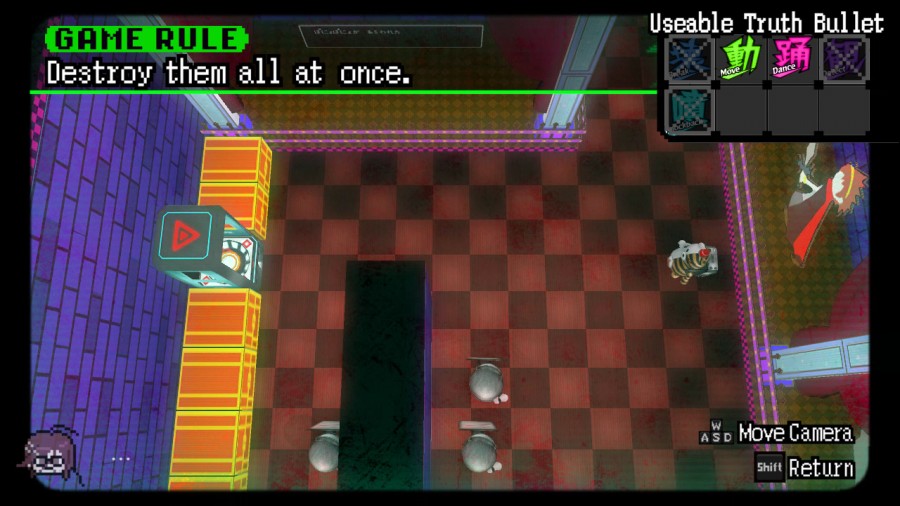
Now, time for the last puzzle.
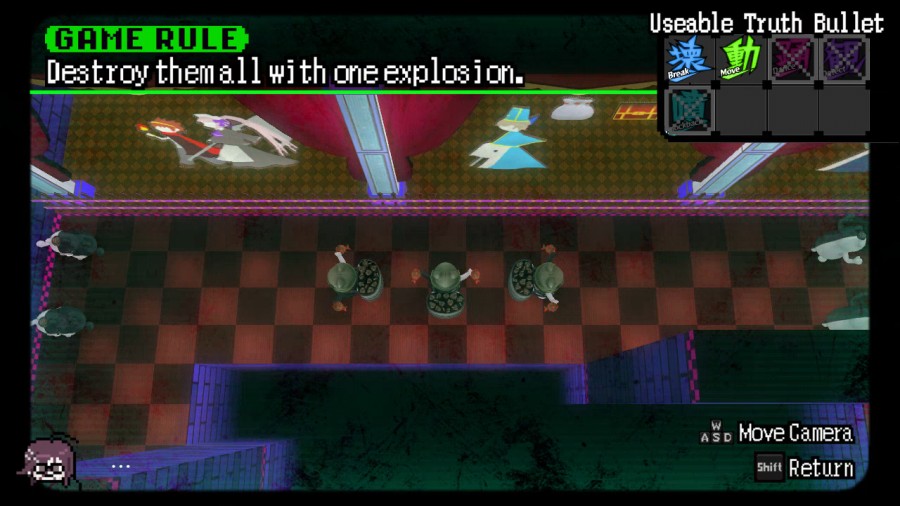
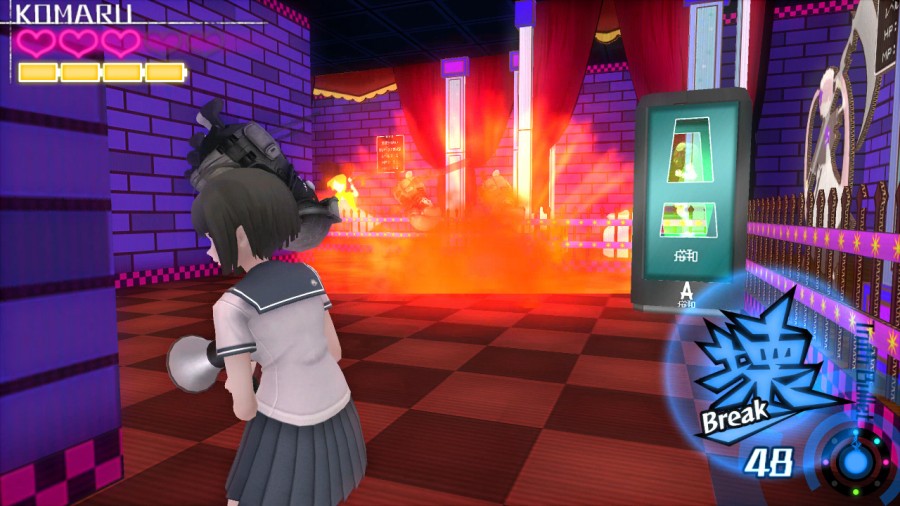
This one's a bit tricky, if only because "destroy them all with one explosion" is a bit of an unclear instruction compared to what you're actually supposed to do.
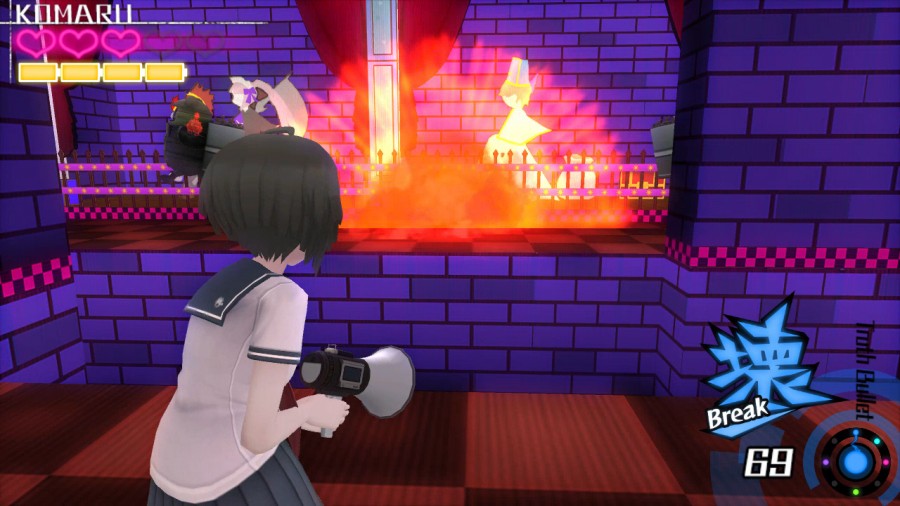
Because what you are supposed to do is shoot the middle Bomber. The explosion from that Bomber then blasts the other two Bombers over to the regular Monokumas and blows them up.
♪ Jingle: Monoku-Man Success ♫
And success!
♪ BGM: We Can't Change The World ♫
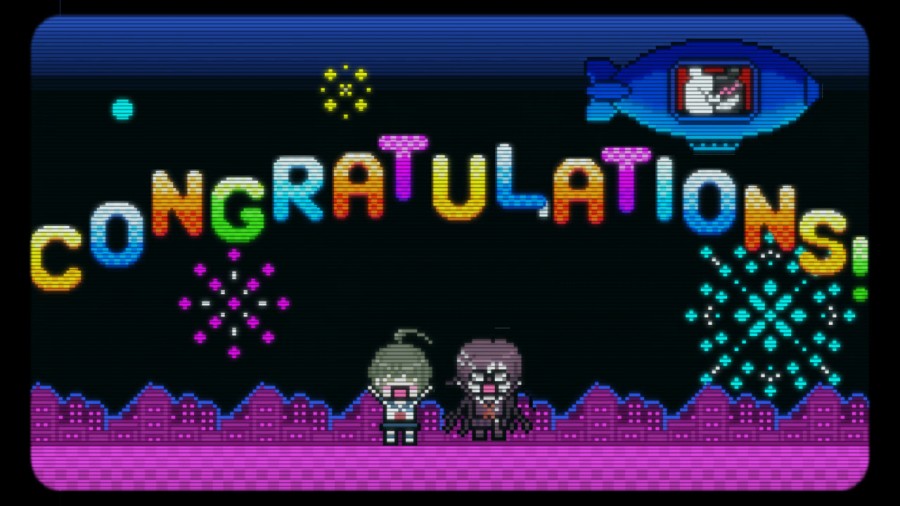
With us having made it through the labyrinth, we can now claim our reward.
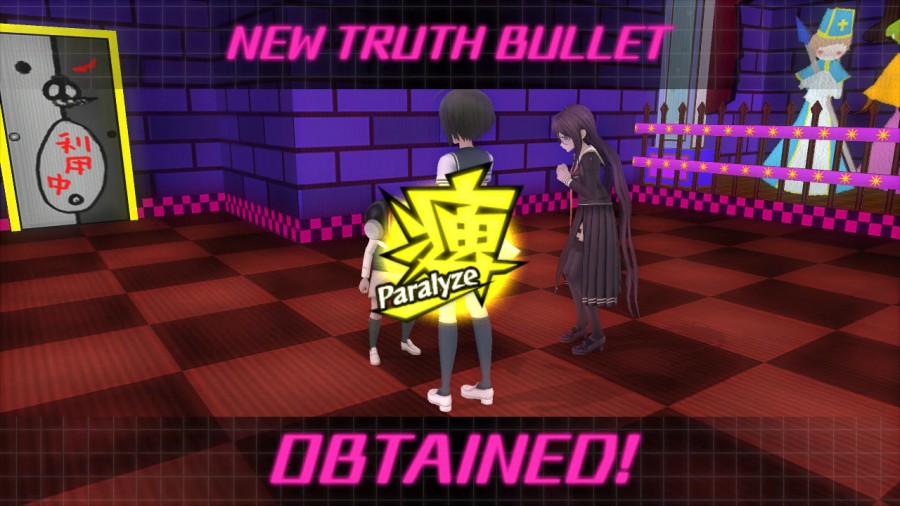
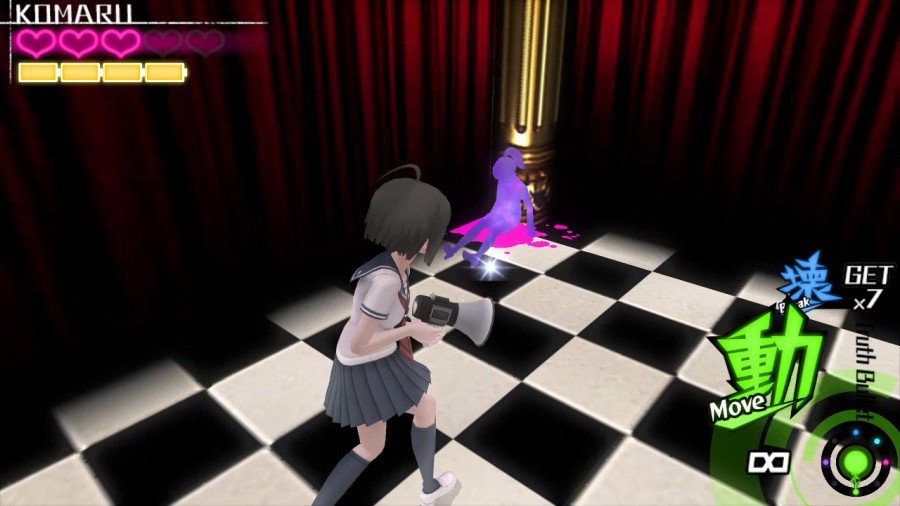
♪ Jingle: Truth Bullet GET! ♫
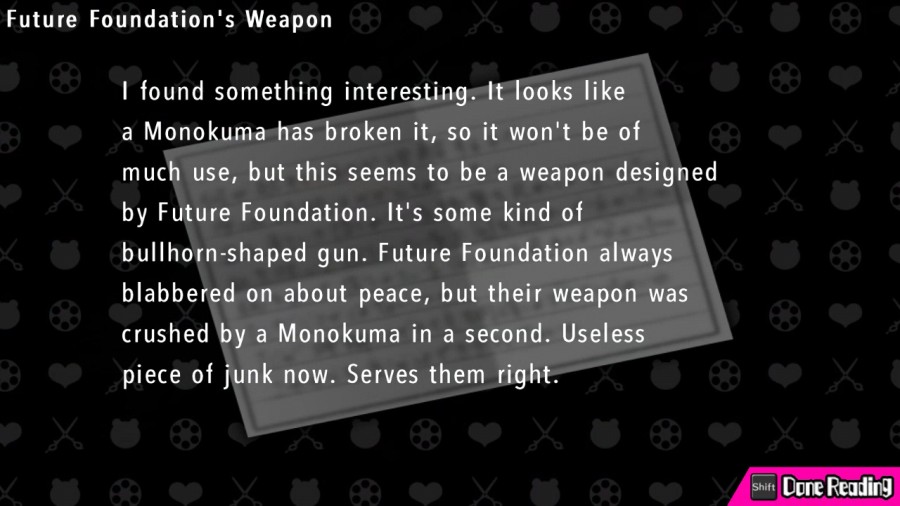
It's a new Truth Bullet!
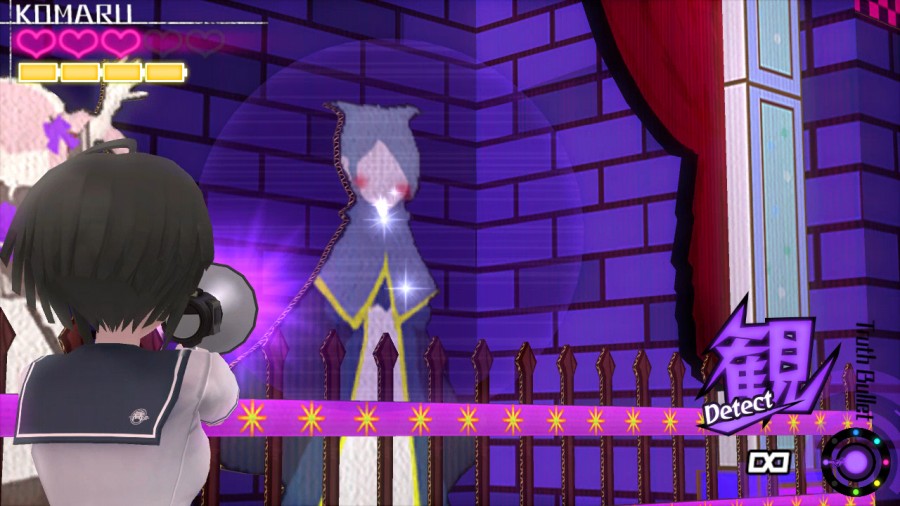
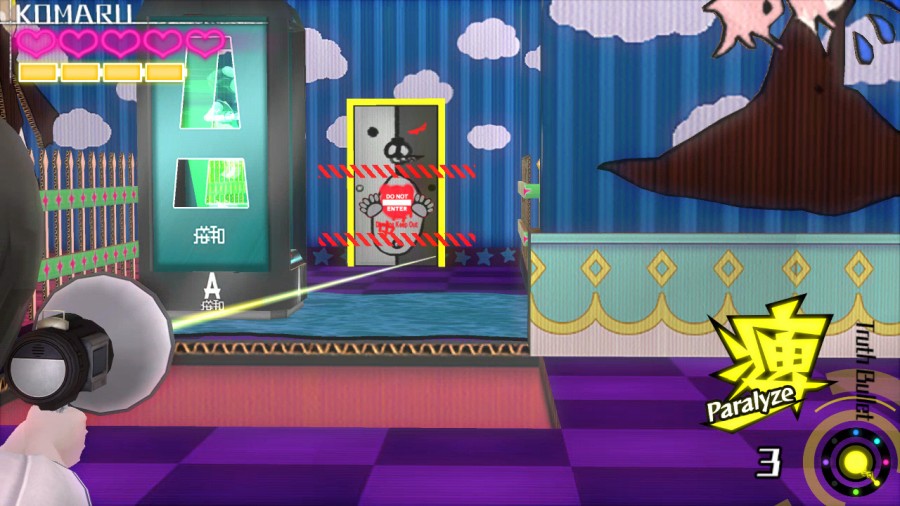
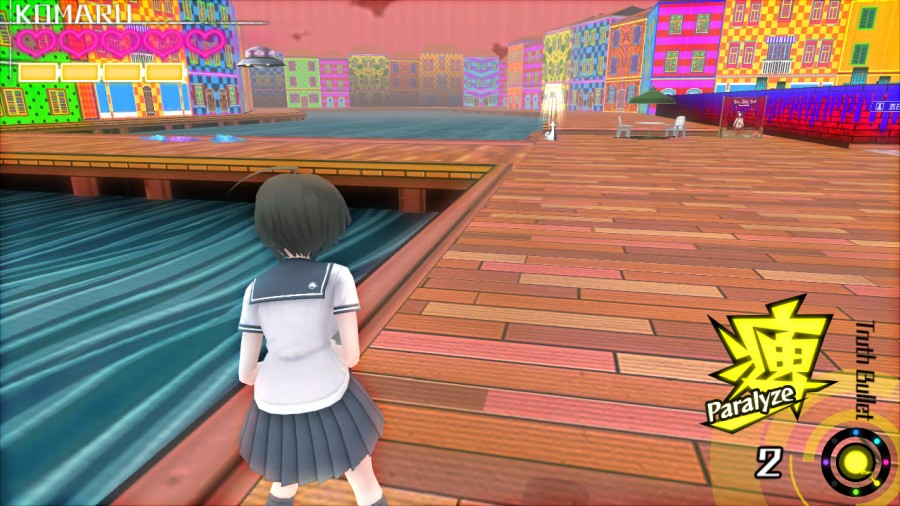
It appears you have obtained Paralyze. Paralyze is a Truth Bullet that shorts out Monokumas' electrical systems. Also, enemies hit by that ammo discharge electricity, damaging nearby enemies! And to top it off, if the enemy happens to be standing in water... The electricity will damage all enemies touching the water! You understand science, right? Go on, give it a try! Wipe them all out in one shot!
 Are you still going to run away, even with all your weapons? Still think you can't fight?
 I'm not doing this because I *want* to...
Now, before we leave, let's take a closer look at this room.
♪ BGM: Wonderful Dead 003 ♫
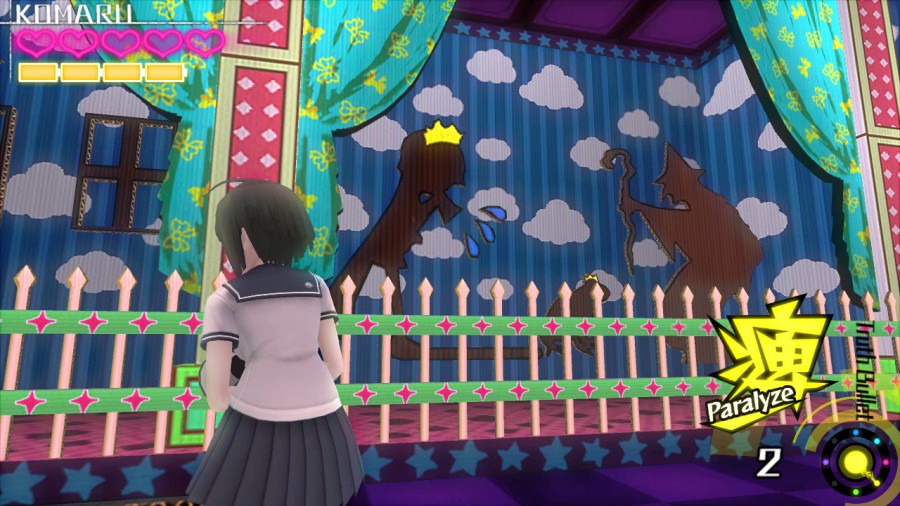
We have the Warriors of Hope walking together - note the blushing Nagisa.
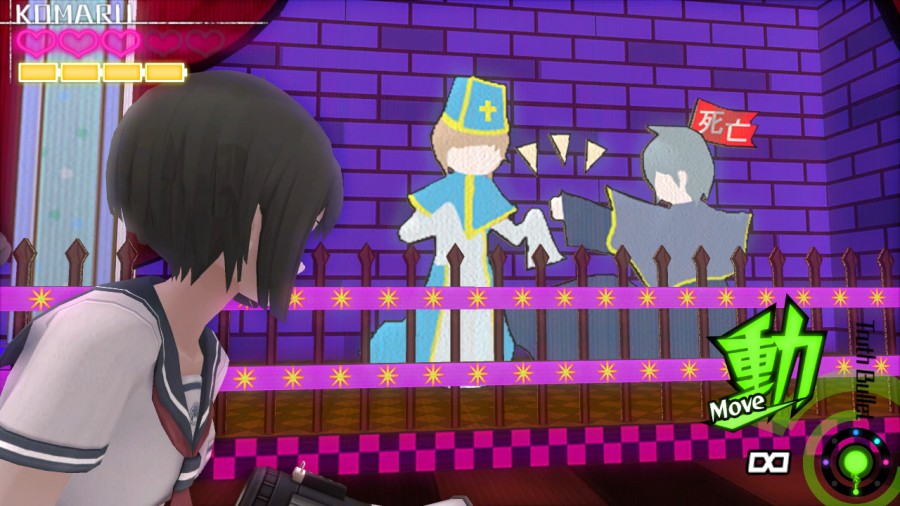
The Warriors of Hope arrive at a castle.
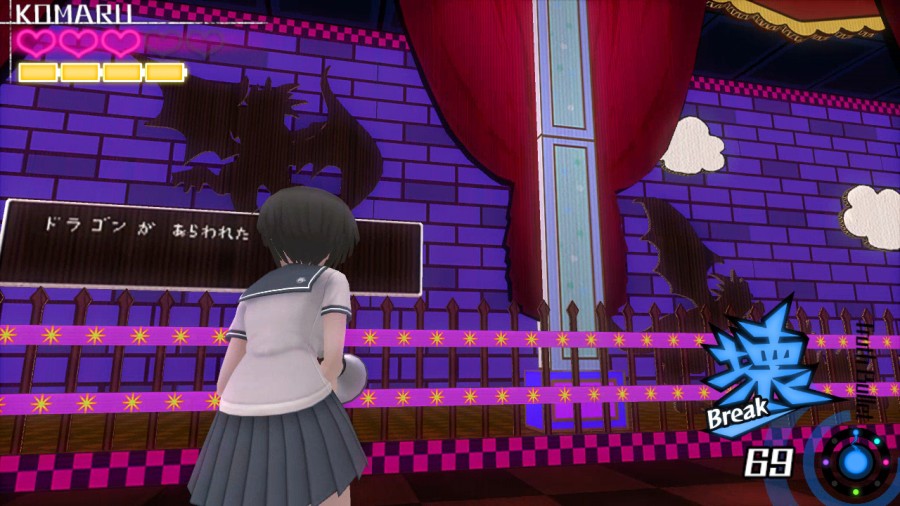
They find a dragon...
...the Hero approaches to fight the dragon...
...and the group emerges triumphant over the dragon.
With the dragon defeated, the heroes can rescue the captured queen.
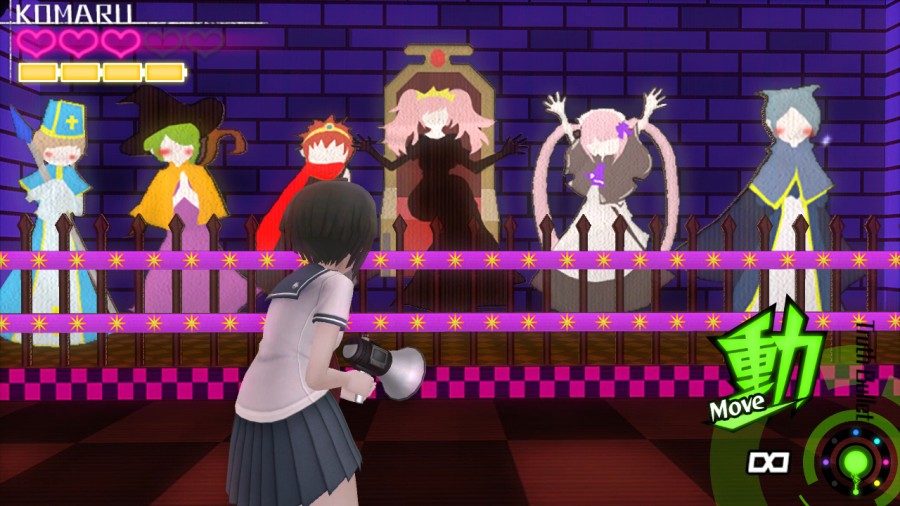
And thus, the happy end is achieved, and the queen rules once more. That queen sure does look a bit familiar, doesn't she...
Also, I see your sparkles, Nagisa.

♪ Jingle: Hidden Kids Discovered! ♫
There we go.

Also, another collectible!
♪ BGM: DSO_Beautiful Dead ♫
... ... ...
 ...You want it?
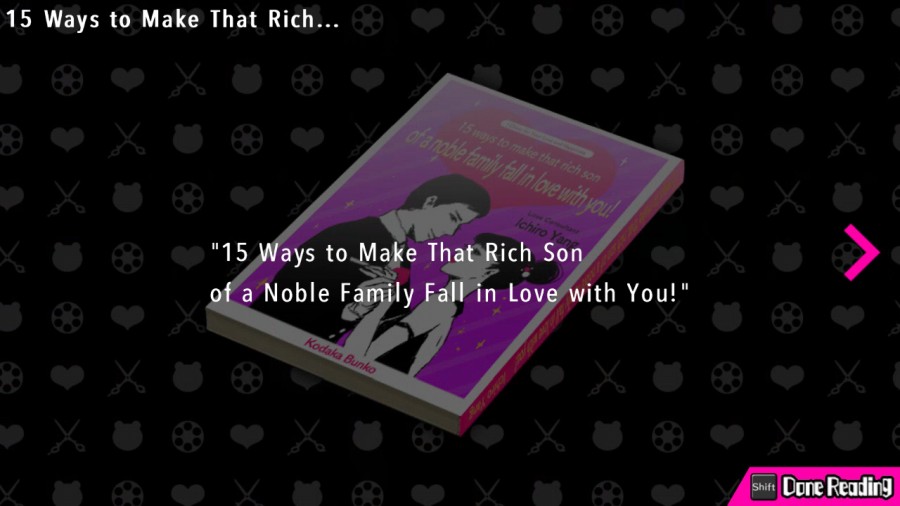
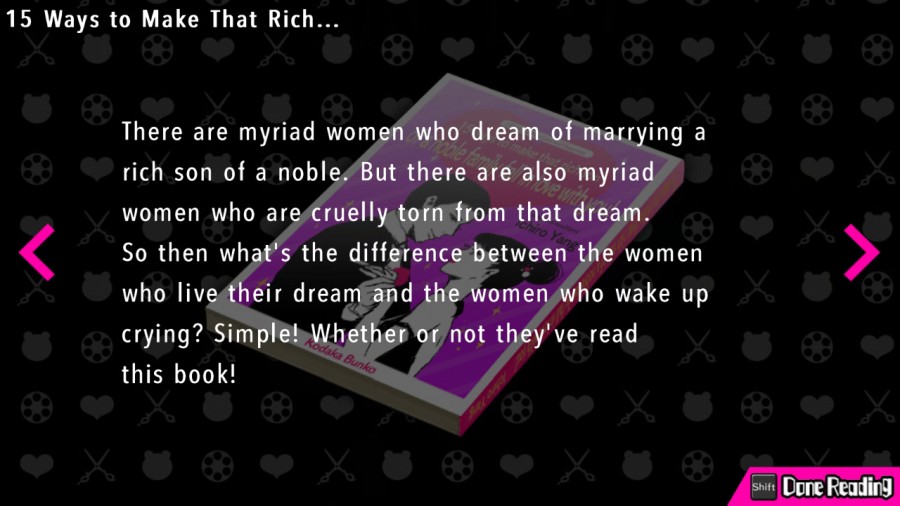
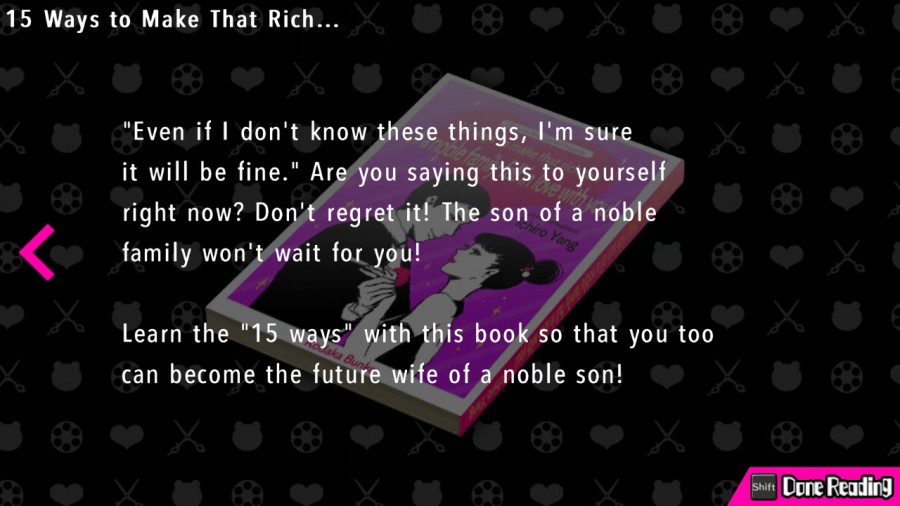
 O-Of course not! What a stupid book! Everything will turn out fine between me and Master! He'll wait for me! "Think everything is going to turn out fine?"
 Ugh! "Act before it's too late. That son of a noble family isn't going to wait for you."
 Ughhh! ...So you sure you don't want this? I said I don't want it! Even if I were locked in jail, I wouldn't read that garbage! Okay, if you say so...
 ... ...So who's the publisher? What's that? I-I'm asking what kind of awful publisher would print this nonsense!
 ...
...
♪ BGM: Wonderful Dead 003 ♫
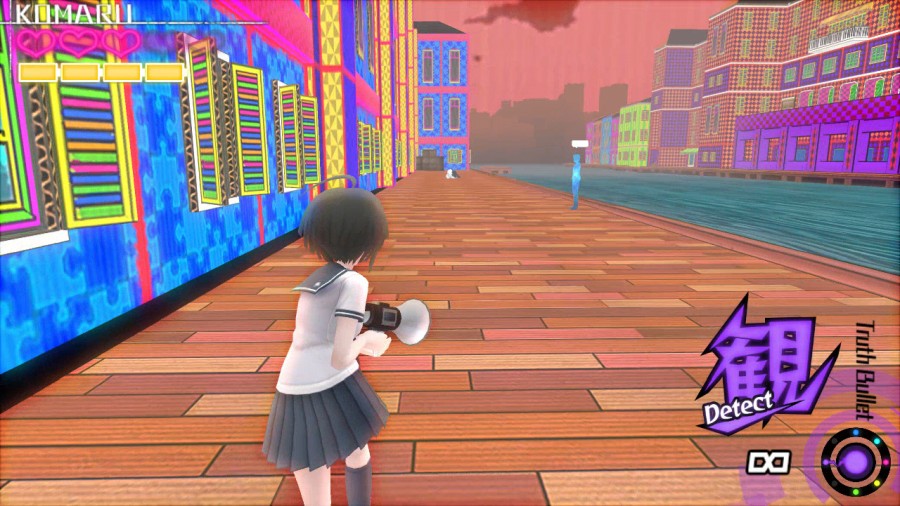
Next, we head outside. Looks like there's somebody to talk to.
♪ BGM: We Can't Change The World ♫
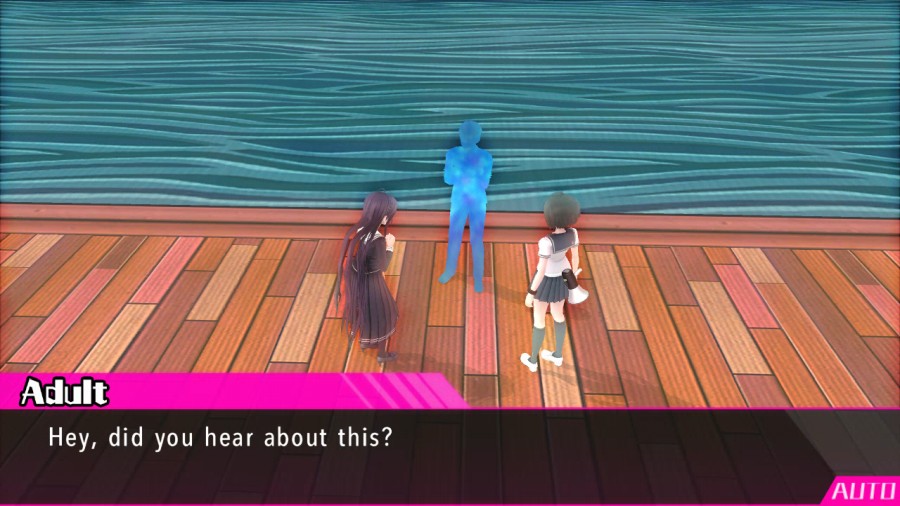
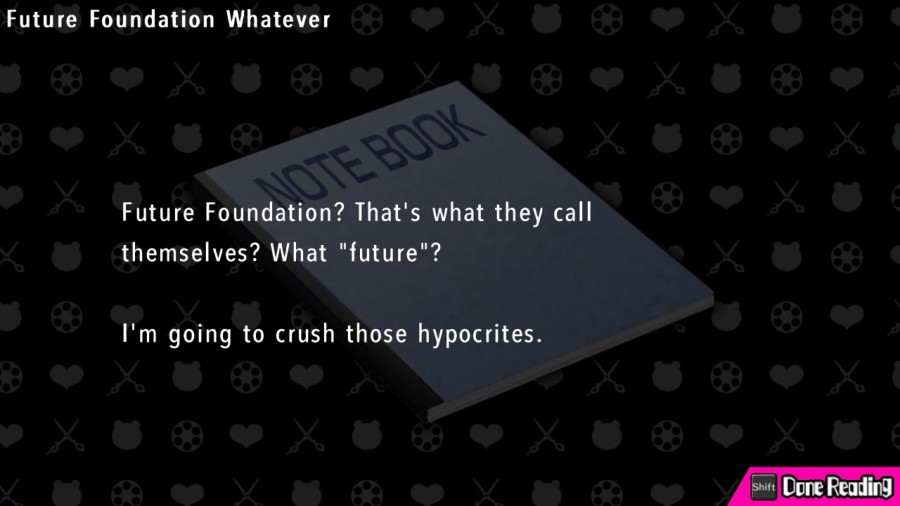
 Future Foundation is behind this whole thing. The kids, the Monokumas, everything. The incident has been calming down, and Future Foundation is losing influence. They're probably trying to regain power by causing a problem and taking credit for the solution. What!? That's the stupidest thing I've ever heard! Of course they aren't! What, you know that for sure? I've also heard the whole Tragedy was their doing. Either way, those guys are *not* to be trusted. You've gotta be kidding me! I-If Future Foundation shows up to rescue the adults, I better not see you asking for help! Hmph. It'll never happen. ...
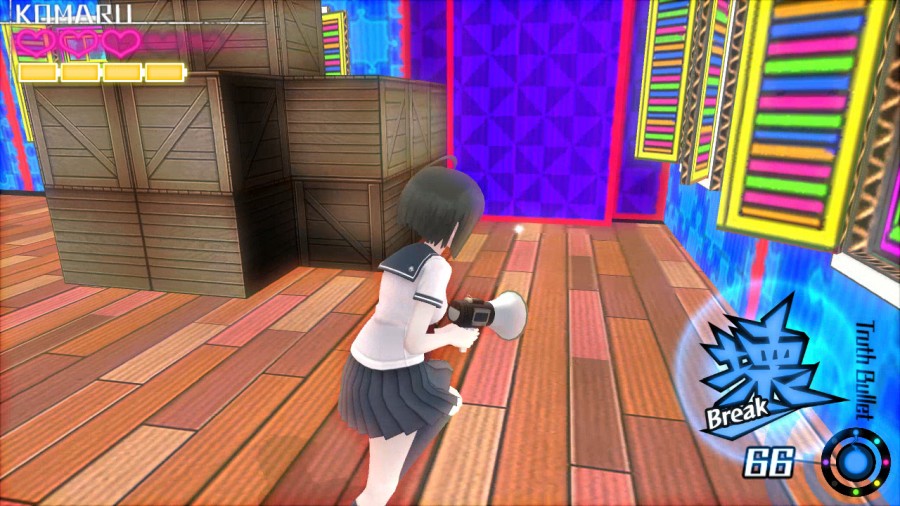
♪ BGM: Wonderful Dead 003 ♫
To the left, behind some crates, hides another collectible.
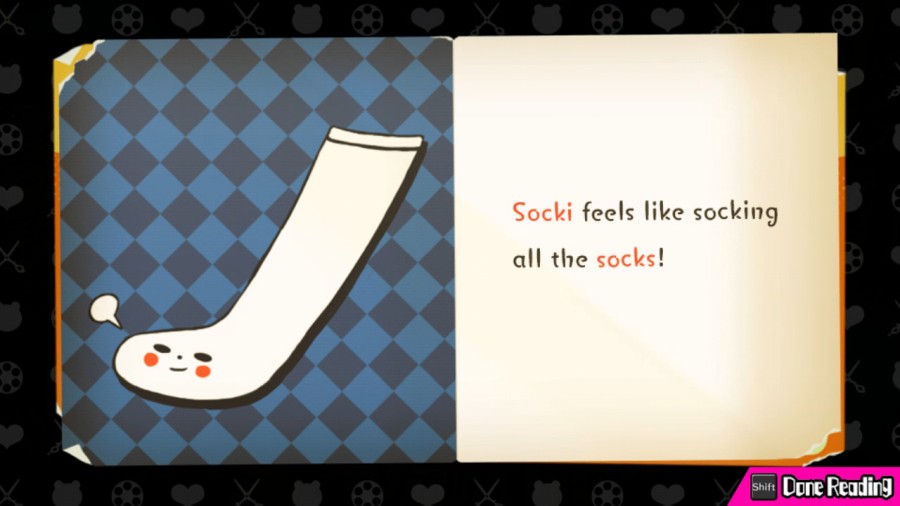
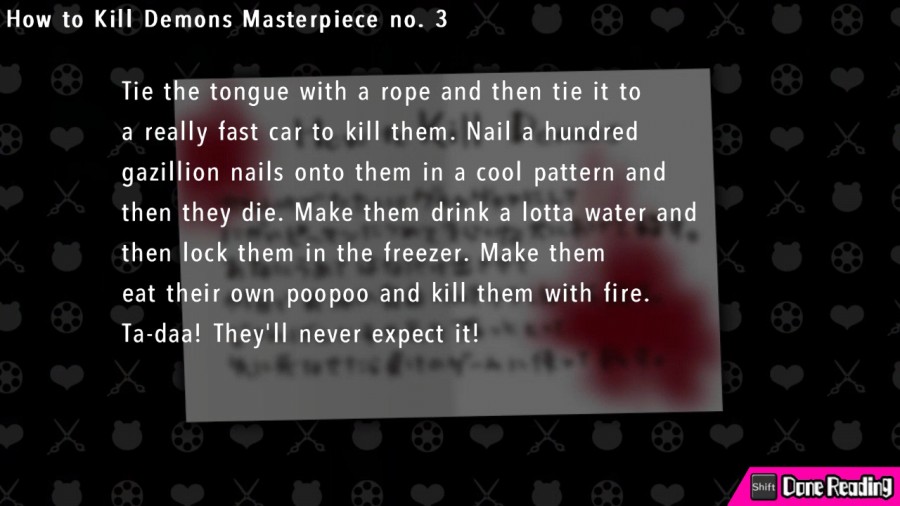
Socking? As in "Monaca socked Kotoko in the face a few scenes ago"? Socki will beat the shit out of all the other socks and proclaim his dominance? This is a strange kids' book.
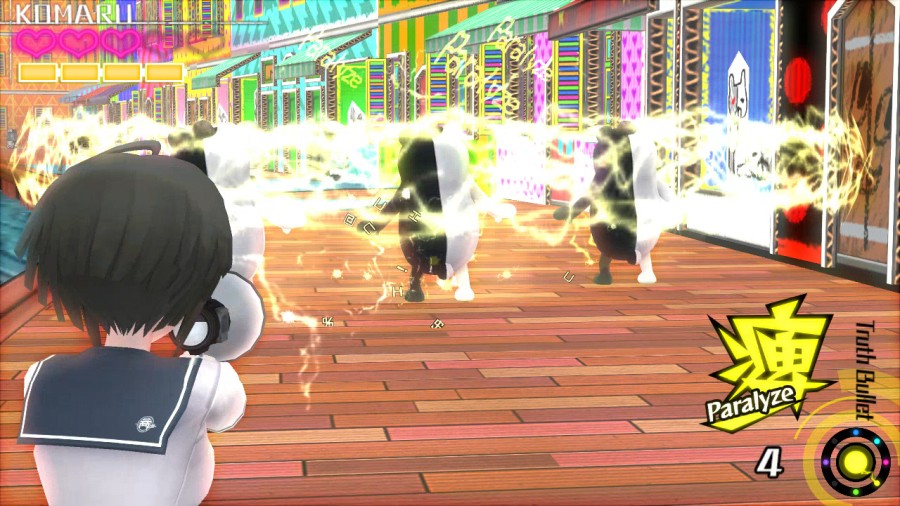
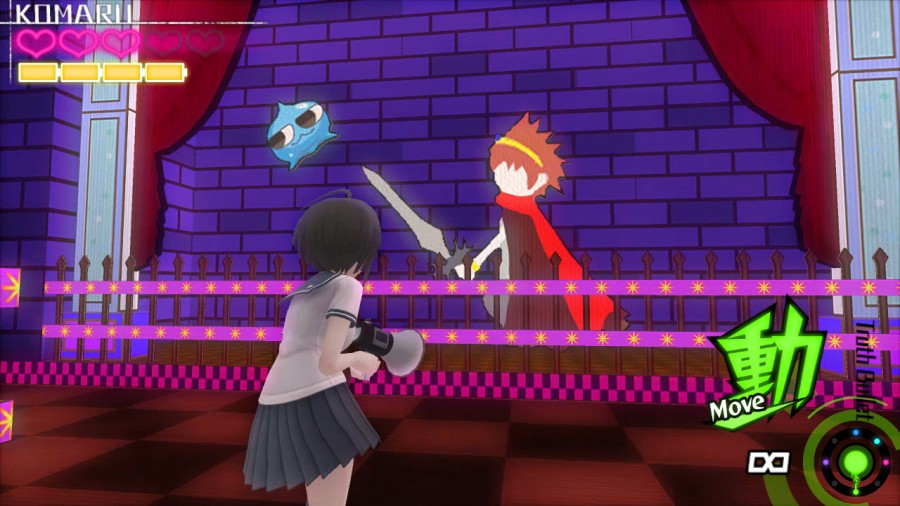
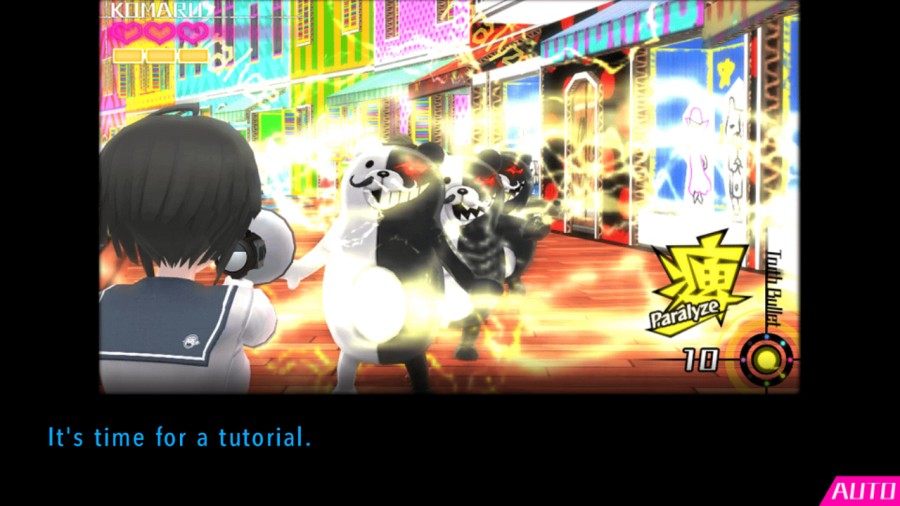
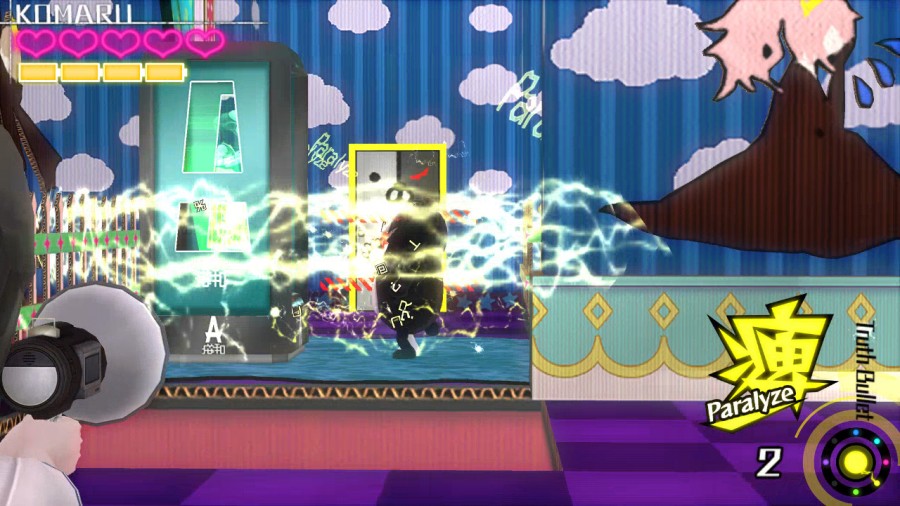
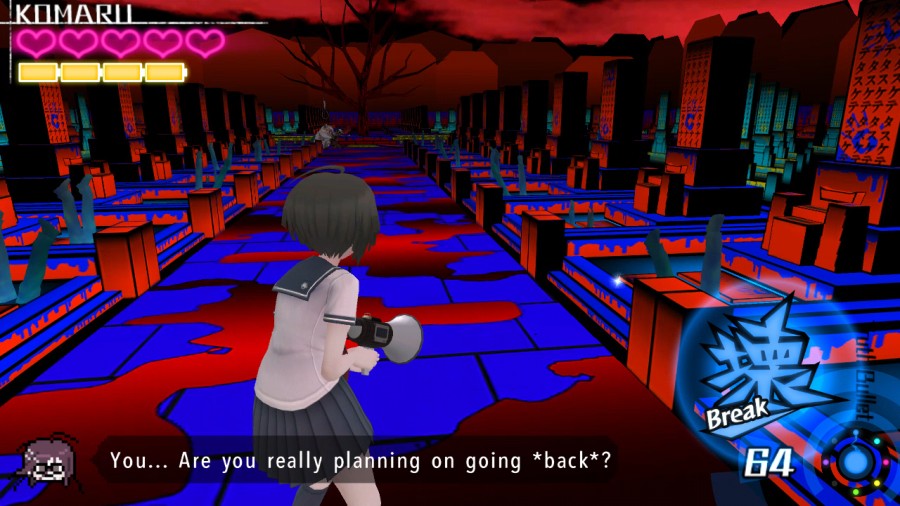
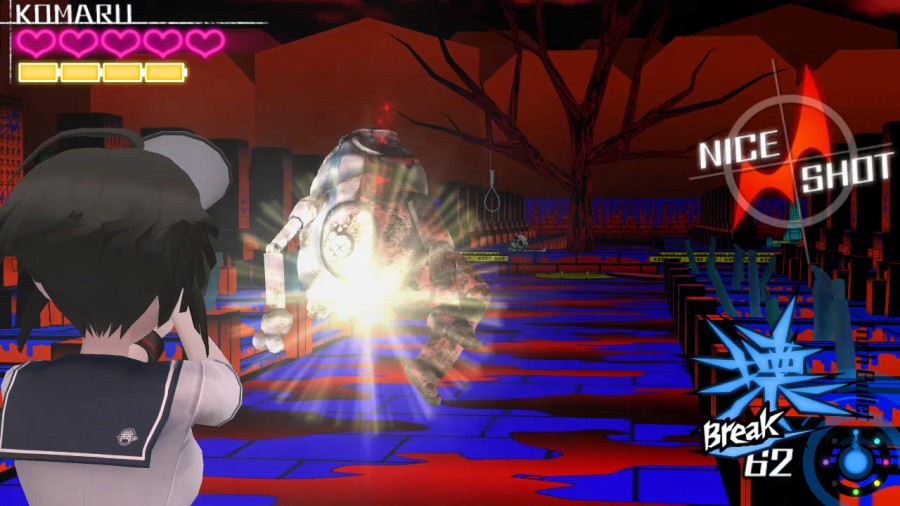
Next, we take Paralyze out for a spin. So here we can see that one shot on the one in the middle also hits the other surrounding ones, and it does take out all three at once.
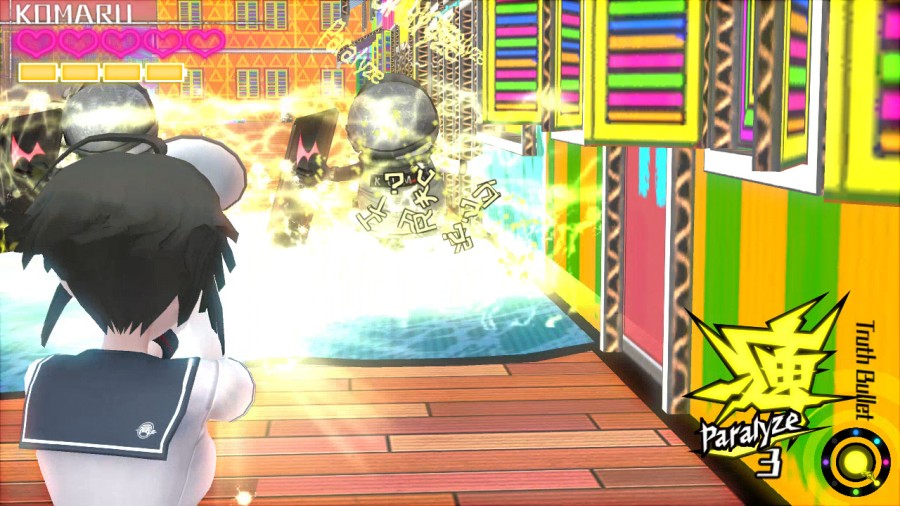
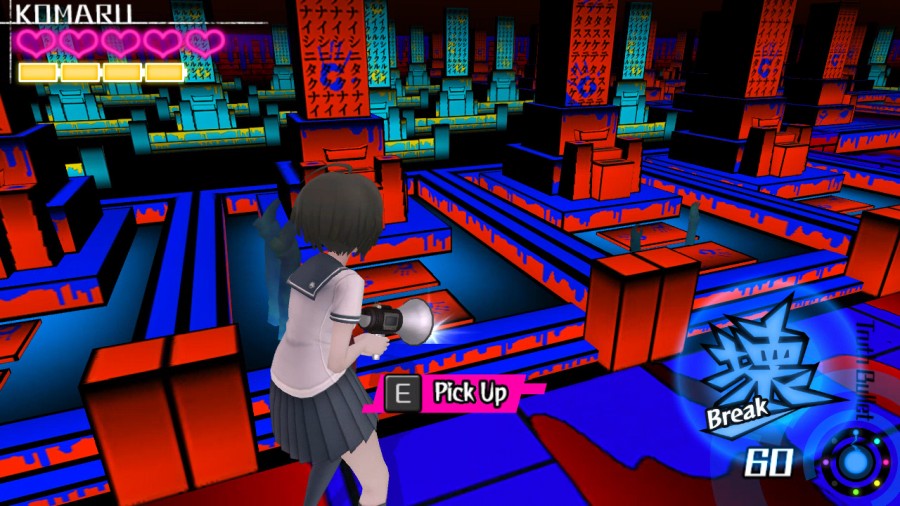
Then we shoot these guys standing in the water...
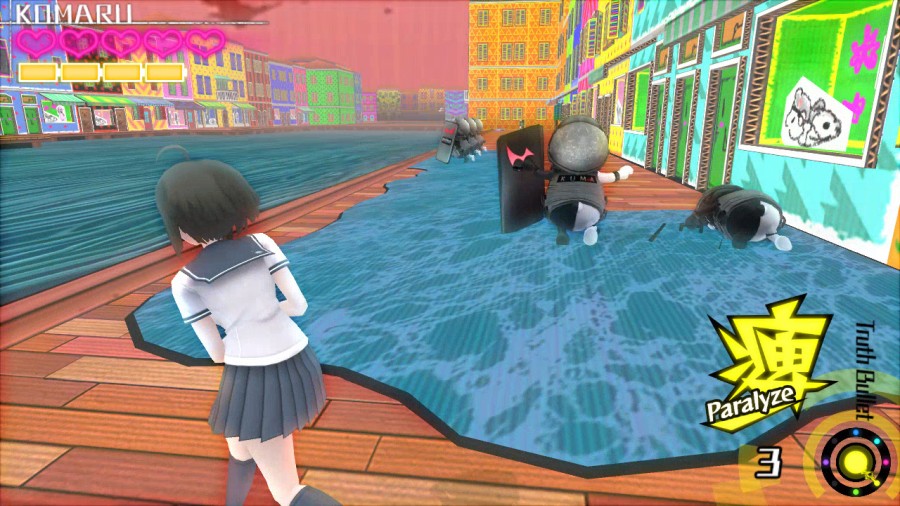
...and take out all of these guys as well. So Paralyze can be useful in certain situations, but with my obsessions over Nice Shots, I probably won't be using it a lot.
After that, it's time for another Monoku-Man room - the last one of the chapter, in fact.

♪ BGM: It's a Monokuma World ♫

Let's get to it.
♪ Jingle: Monoku-Man Activate ♫
This one is a pretty simple one again. It's just a matter of recognizing which hologram device is standing in water connected to the water the Guards are standing in, then turning that device on so that the regular Monokuma is lured over, then shooting that Monokuma with Paralyze.
♪ Jingle: Monoku-Man Success ♫
Like so!
♪ BGM: Wonderful Dead 003 ♫
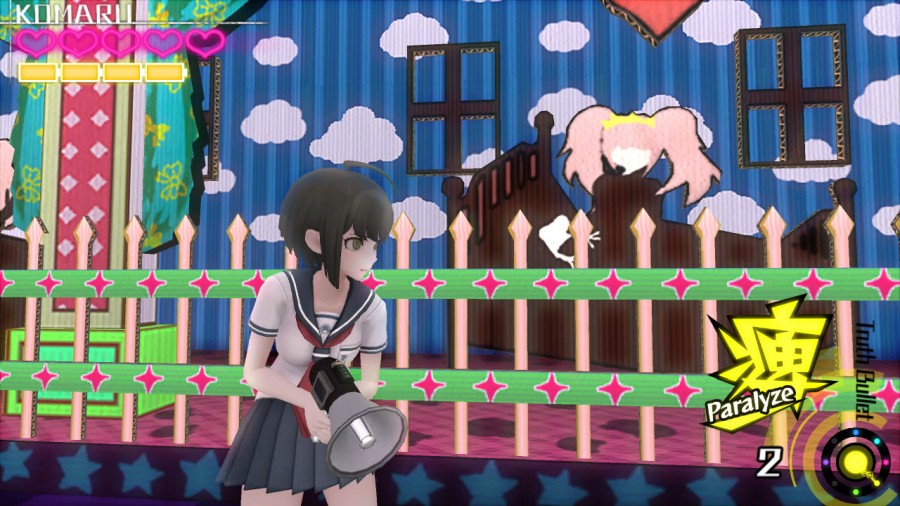
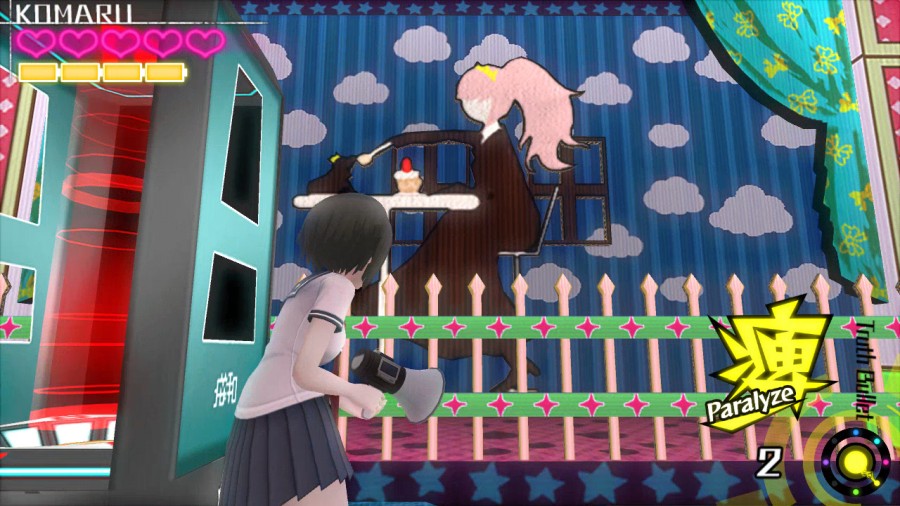
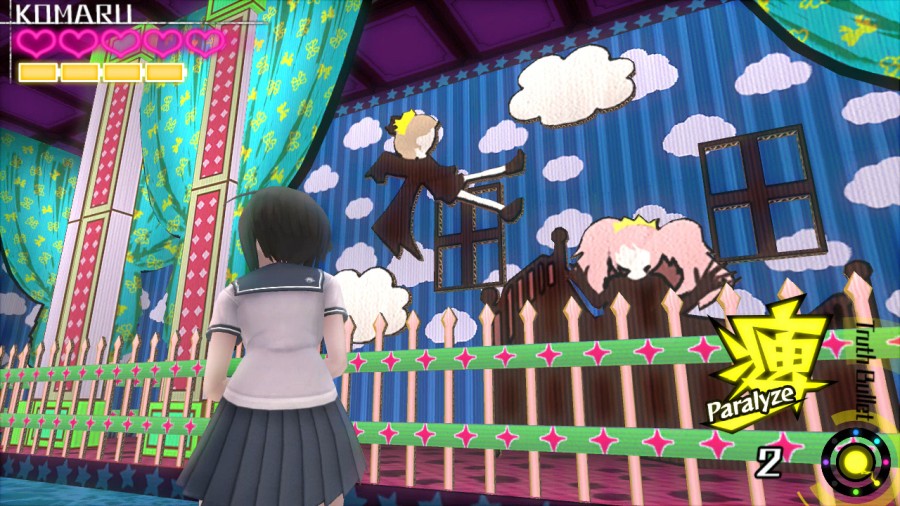

This room has a design that retells the story of the frog prince with Jataro as the prince and Junko as the princess, but I can't really put the pieces together in the right order this time.
After exiting the room, we're back at the area before the graveyard.
The path we took towards Towa Tower in Chapter 2 is broken, but there's a collectible there!
♪ Jingle: Skill GET! ♫
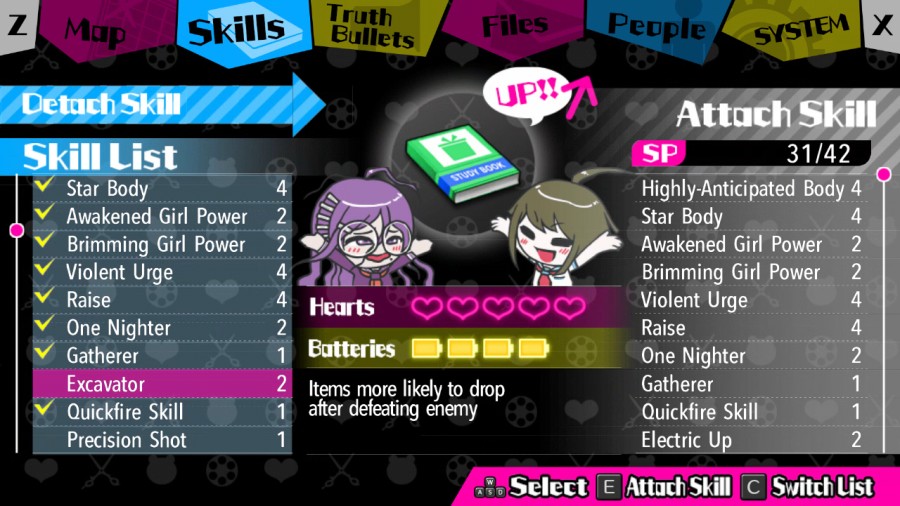
More items! Of course that doesn't apply when you get a Nice Shot, since that is fixed to drop a gold Monocoin, so the usefulness of this is somewhat questionable, but whatever, we have all the skill points in the world, we don't need to strategically pick skills, we can just equip all of them.

The game drops some Monokumas in my path that don't move with the idea probably being that I kill the Bomber and let him blow up the others for items, but, well, I don't play like that.
♪ BGM: It's a Kids' World ♫
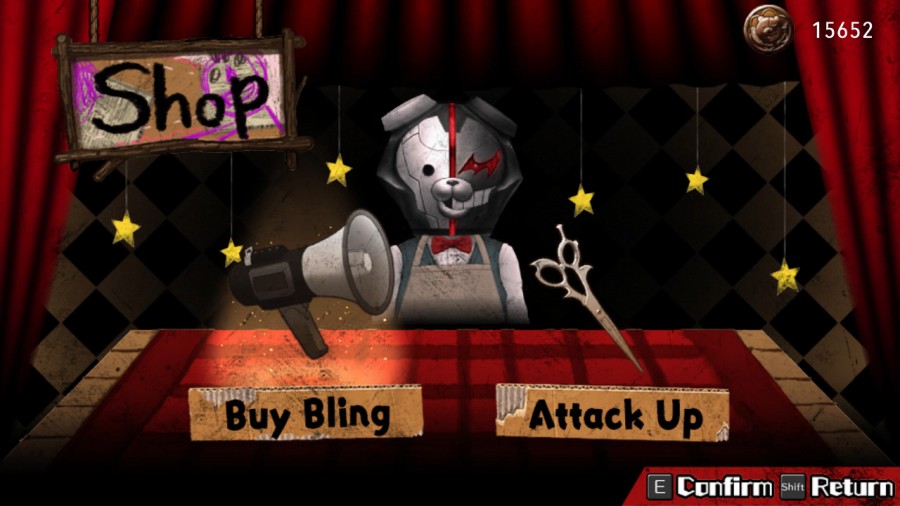
There's also a shop nearby.
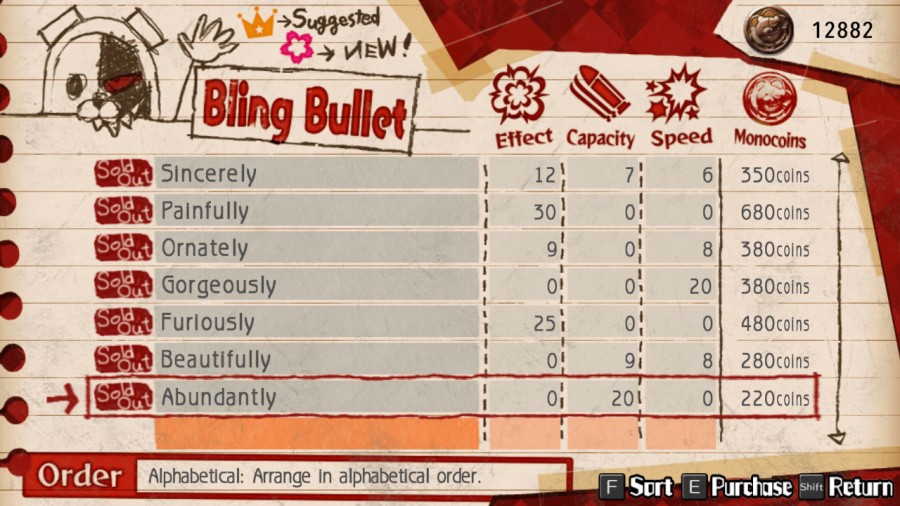
We buy all of these Bling Bullets because fuck it, why not.
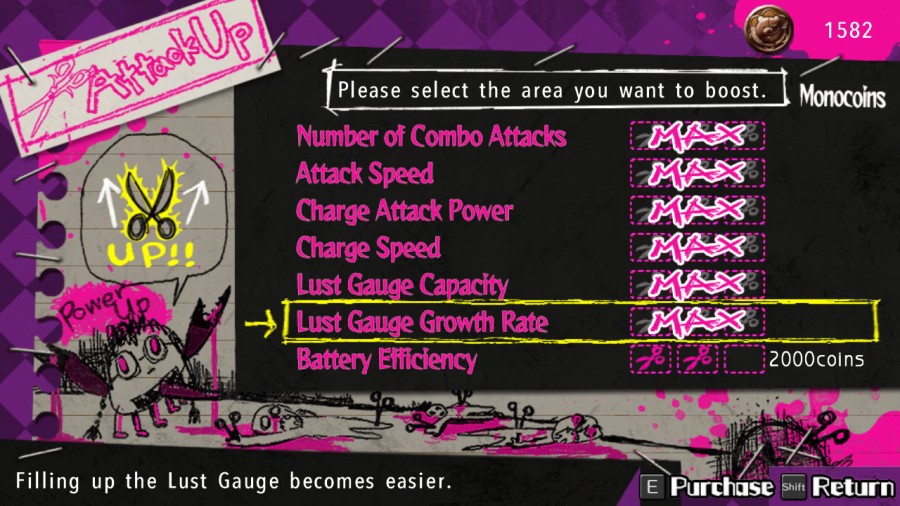
We also blow all of our remaining money on Genocide Jack upgrades. Because of reasons. I like that I'm not even through Chapter 3 and I can almost max out almost all of Genocide Jack's upgrades and buy all of the Bling Bullets. Nice Shots and the hardest difficulty are some good shit. Loadsamoney.
Next, we're heading back through the graveyard, picking up some more collectibles on the way.
Uh... yeah.
Also, dealing with another Junk Monokuma.
And another collectible!
These are just always so bizarre.
Next, it's back into the sewers.
Some Guard Monokumas to deal with, but nothing we can't handle.
Another collectible!
More Future Foundation-hating. Man, the adults here are really down on Future Foundation.
Finally, some more sparkles.
♪ Jingle: Hidden Kids Discovered! ♫
Hey, we got all of the Hidden Kids collected this time.
And here we are, back at the secret base. Next time, we return to the Resistance and see what awaits our heroes there.