Part 4: Chapter 1 (1)
I have way too much free time on my hands. I don't think you guys are complaining that much though.

 What is the meaning of this?
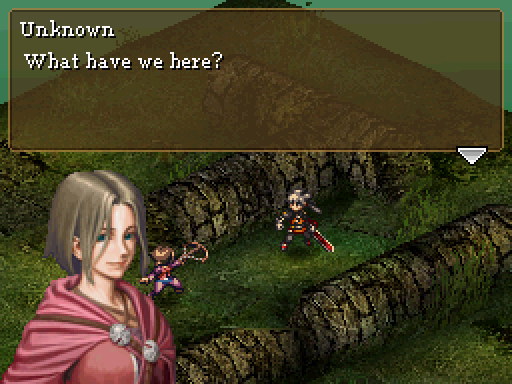
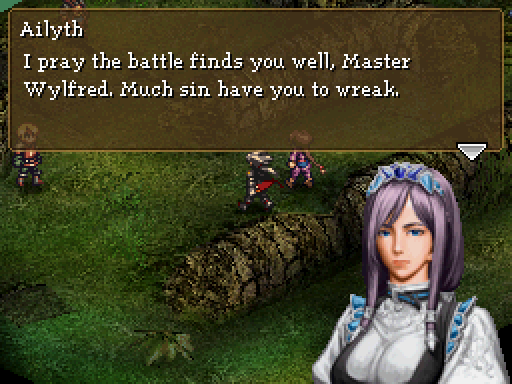
 No Artolian tracker, to be sure. What brings -you- to this wood?
 I do not answer to your likes. Did my arrow frighten you? My apologies, it was an honest mistake. HONEST MISTAKE? I could've been killed! Look, I'm truly sorry, but seeing as you're hardly wounded, I see no reason to be coarse. No reason-?
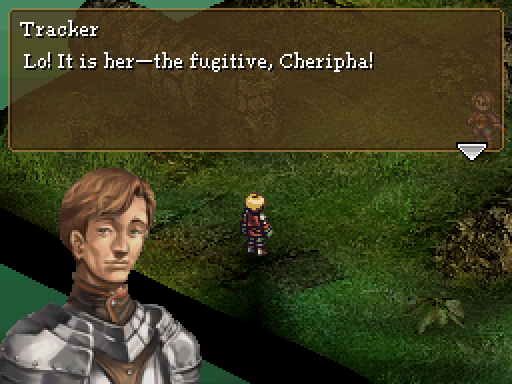
 Just my luck! I forfeit my cover for you, only to be found by the real trackers. I sense my luck turning for the worse as well. Seeing as how you're responsible for the mess we're in, I trust you'll at least help clean it up. I don't believe I have much of a choice.
 We have you now, Cheripha!
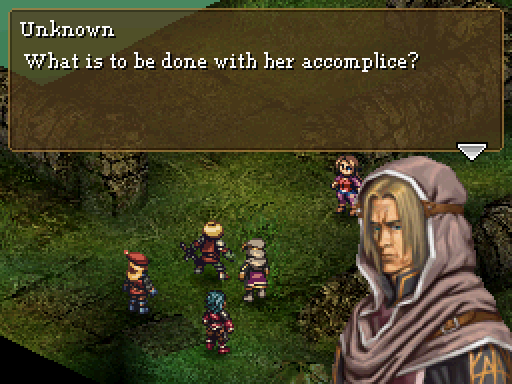 What does it matter? To the abyss with both of them!
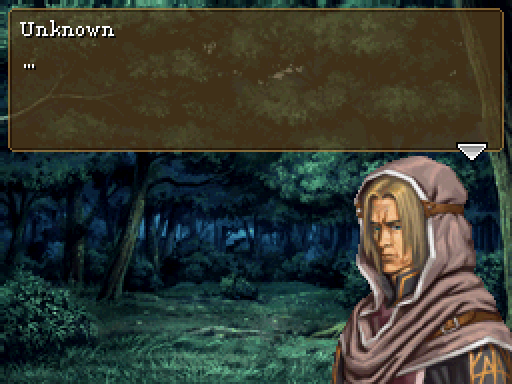
 ...
...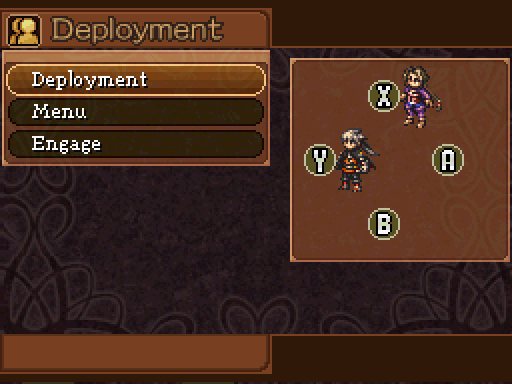
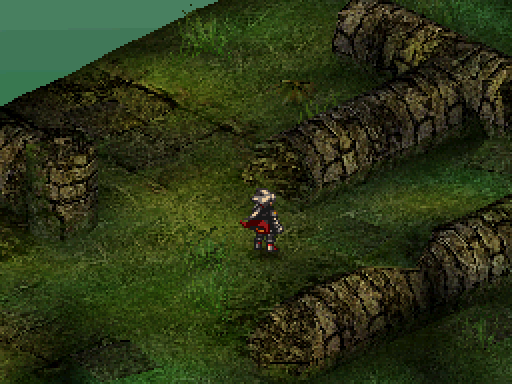
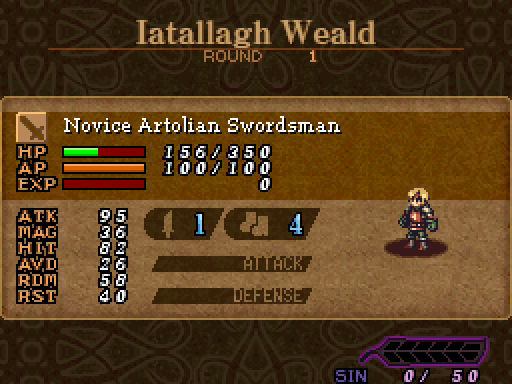
So we've been thrown into an unwelcome battle. Before we go on, let's check out our newest unwitting ally.
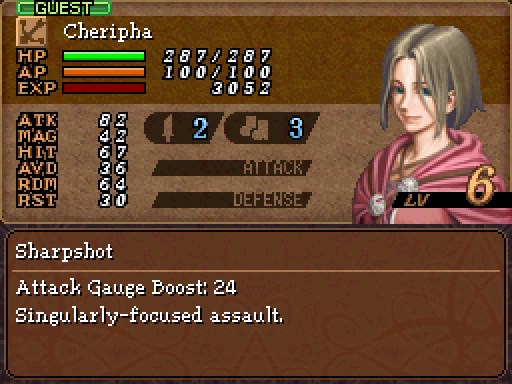
Cheripha is an Archer (or rather, Archeress). As one might expect, Archers have the best range in the game, with a movement of 3 and a massive attack range of 4 - this means they can hit almost any target within a 16-tile square around them, with the only caveat being that they can't hit enemies immediately beside them. Their most obvious advantage is their ability to snipe any enemy unit except other Archers with almost no fear of retaliation, and being able to easily join in fights with other allies. Unfortunately, aside from high HIT they have little else, having low HP, ATK, AVD and RDM. Cheripha takes it even further - her attacks have some of the lowest damage multipliers in the game. Because she uses a crossbow, she has almost no vertical range, either, so she's almost useless for crystal gathering.

We're making another adjustment to our attacks, to Double Cross > Guilt Rack. There's little point in having a launcher when you need great timing to have Cheripha's attacks connect with it, and the three to four crystals that Wylfred could get from Open Slash > Double Cross just isn't worth it.
 And how am I to do that?
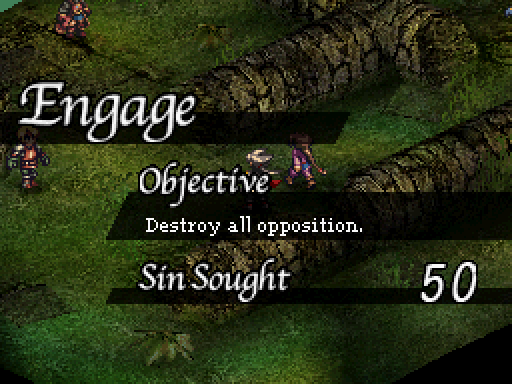
 By choosing bloodlust over mercy, sire. Spare not foes at death's brink. Let them instead taste the fury of your bitter wrath. Overkill, so to speak. Indeed. There is another way, of course - great sin shall you wreak if you invoke the Destiny Plume. So be it. Mistress Hel has expectations of you, Master. Exceed them and the treasures of Niflheim will be yours. For this battle, you are to wreak the sin of fifty.
 What am I to do? You mustn't let fear or regret have the better of you, Master. It is through sin that your desires be fulfilled...
 ...Through sin that you shall avenge your suffering on the valkyrie. So long as I stain this feather black with sin, the Battle Maiden is mine to slay, yes? Thus here we stand, Master. May Victory guide your blade.
Alright, time to talk about the other big thing in CotP: Sin quotas.
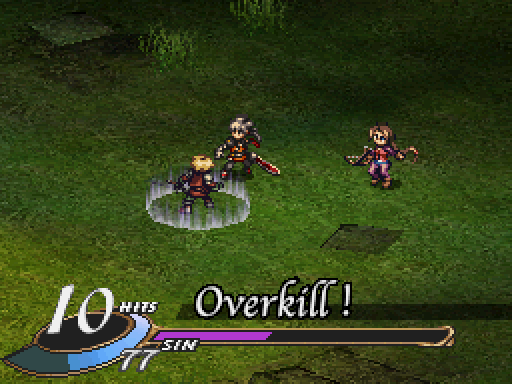
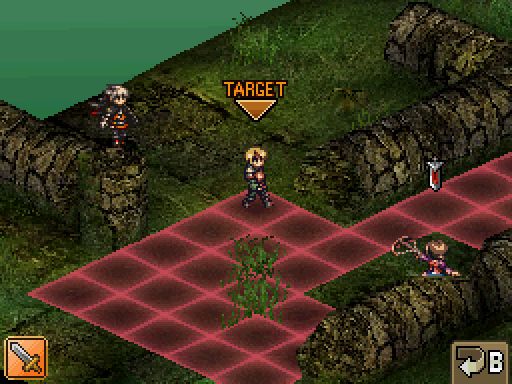
At the start of each battle, Ailyth will assign an amount of Sin that we have to reach. As alluded to, Sin is gathered by attacking enemies that are already dead - on a round where you kill an enemy, any further attacks before they die will build up another bar called the Sin Gauge. Each enemy provides a maximum of 100 Sin. This is the big strategy portion, as ideally you'll want to leave enemies as close to death as possible before you start an attack round that would kill them, to squeeze the most out of the Sin gauge. Meeting the minimum Sin quota is enough, but there are a lot of great rewards to be gotten by exceeding Hel's expectations.
There is, of course, a second way to get Sin - using the Destiny Plume instantly adds the Sin quota to the current total, ensuring you meet it at the bare minimum. If we don't get enough Sin to satisfy Hel? Then in the next battle, additional powerful enemies will appear, making the fight that much harder and to try to tempt Wylfred into using the Plume even more.
That's basically it for Sin - luckily, this first quota is very lax. While we have only two characters and four attacks between them, there are four enemies with low RDM, making it very easy to exceed the quota. Expect me to do a lot more raging about Sin quotas for the rest of the game.
 But we are allies, are we not? In a sense, yes. But low is the bloodprice of a stranger to whom one is not bonded. Only once you have built a trust does that sacrifice have meaning. Only upon a true ally may you invoke the Destiny Plume.
Oh, right, the other mechanic. Cheripha is a Guest for now. There is very little you can do with Guests - you can't adjust their equipment, attack or skills in any way, and obviously enough, you can't use the Plume on them, only on permanent allies. Should Guests become full-fledged party members they keep any levels they've gained while still a Guest, so there's that at least.
 Let the games begin!
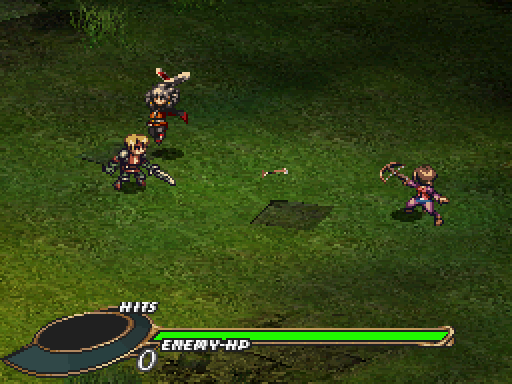
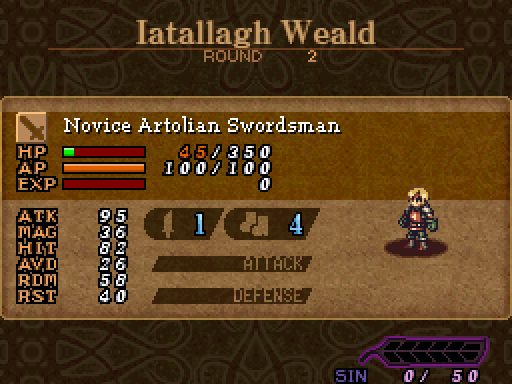
Onto the battle proper. This is the first time we're facing human enemies - two Swordsmen, an Archer, and the leader, a Sorceror. None of the enemies are very threatening and only have one or two attacks at most.
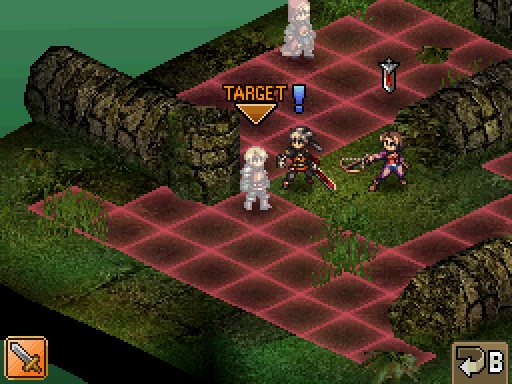
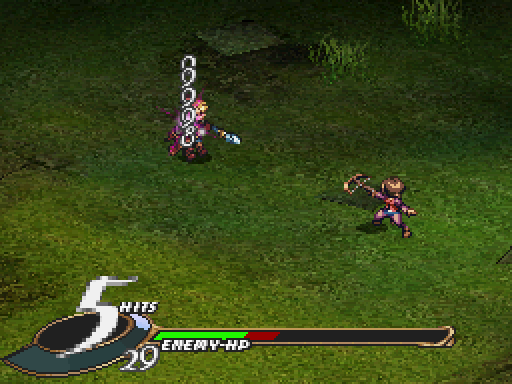
Our first team attack with Wylfred and Cheripha took away about half of the Swordsman's health. We could attack again with Cheripha, but there's a high chance it'll do just enough damage to kill the Swordsman and we'll get very little Sin for it.
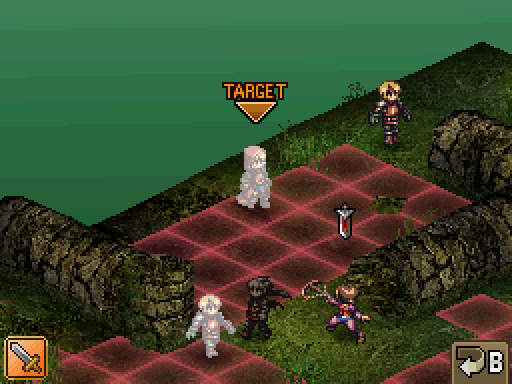
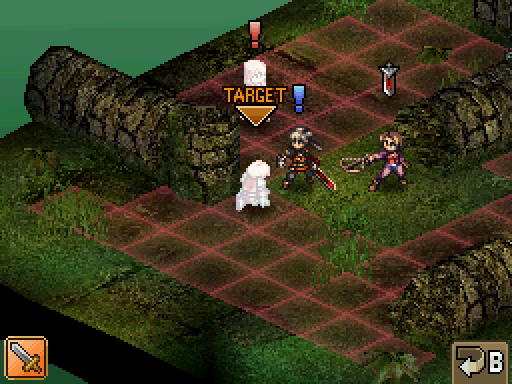
So we'll have Cheripha attack the Sorceress instead for some free damage.
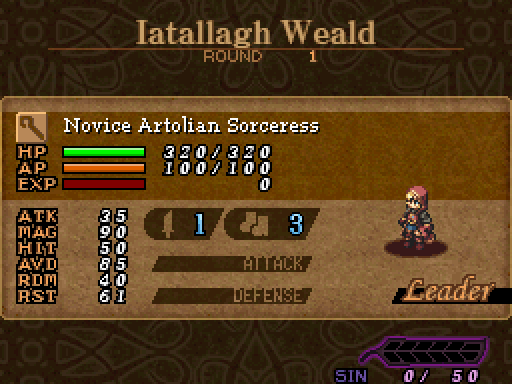
Sorcerors are the only magical-based class in CotP. As mentioned previously, Sorcerors use MAG against their targets' RST for their attacks. They have a movement of 3 and an attack range of 3, which is great. Uniquely, Sorcerors always only have one attack, which is dependent on what spell they have equipped, with their Soul Crush changing as well. Obviously, they have high MAG and RST, and low HP, ATK and RDM.
Sorcerors have their own unique set of advantages and disadvantages - they can't get crystals or gems with their attacks, and since they only have one damage output would be lower, especially with the lower multiplier on spells. On the other hand, spells are usually unblockable, and Sorcerors tend to have powerful weapons to offset their low damage. They also have great support options, but we'll talk about that when we get one of our own.
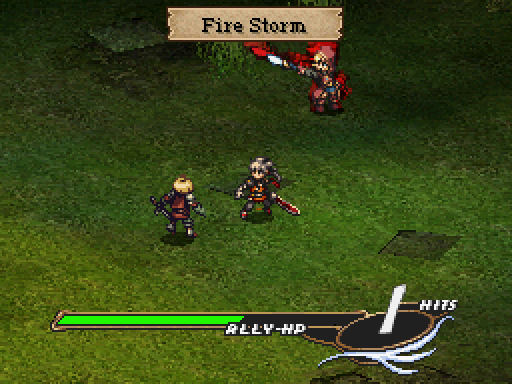
On the enemy phase, the Swordsman attacks Wylfred and shows that, yes, enemies can gang up on us as well. Wylfred takes some damage, and counterattacks the Swordsman, but fortunately doesn't end up killing him. The spell the Soreceress is using for this battle is Fire Storm, a weak spell that launches. Spells all take a moment to charge before execution - generally if you're spamming attacks spells will go off by the time non-Sorcerors do their second attack.
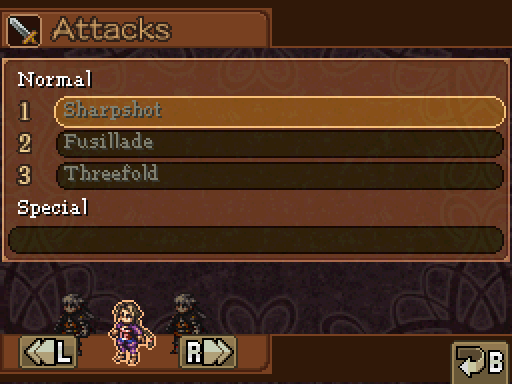
The Soreceress then attacks Cheripha, who counterattacks and racks up more damage. Cheripha has access to two attacks for now - Sharpshot, a fast single shot that, surprisingly has the best Attack Gauge boost for any attack (24), and Fusillade, a weak barrage of five arrows with a slight startup time. Both attacks hit in a straight line and almost never hit airborne enemies.
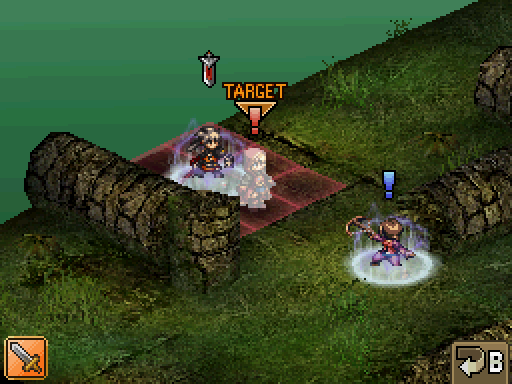
The Archer stays put and the Swordsman moves a little closer to us, and it's back to our turn. Wylfred's counterattack has softened up the Swordsman to where it'd be an easy kill, so Cheripha moves to in front of the Sorceress, and targets the Swordsman to his death.
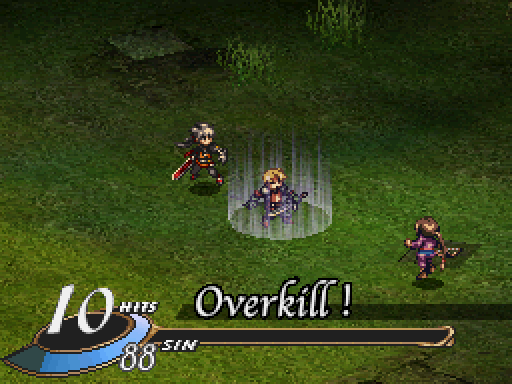
 That's the end of that!
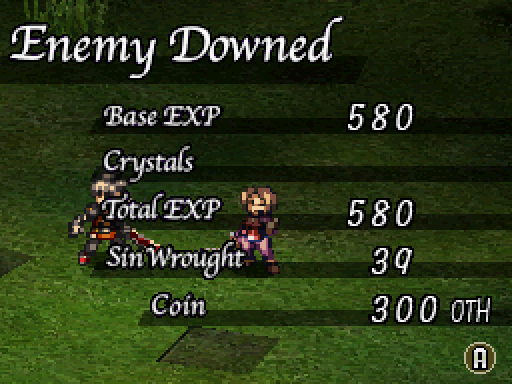
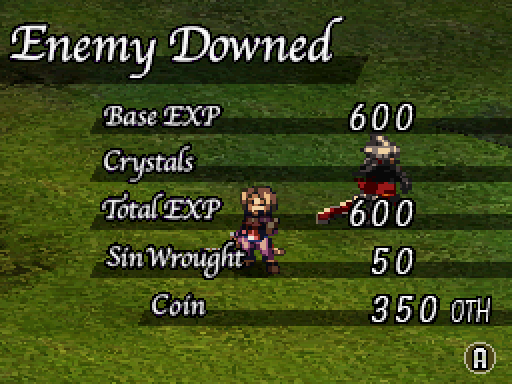
A nice chunk of Sin for our troubles, since we only have two characters. Wylfred also levels up.
Wylfred then moves behind the Sorceress, nicely setting up an Axis Raid on the weakened mage.
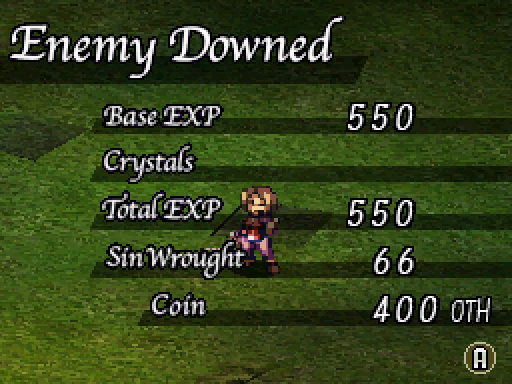
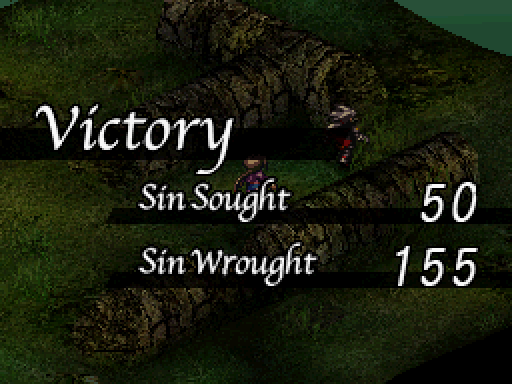
Results are favourable. With this we also now have over 100 Sin, over twice the quota. This is all we need for the battle, so we could just wail on enemies with no recourse now.
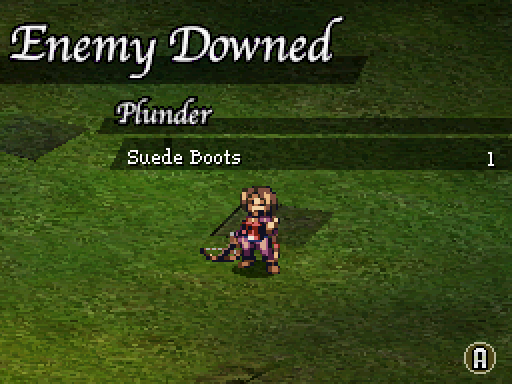
We also steal her boots. Seude Boots add just 5 to RDM - a small bonus but it's no big loss if we didn't get one here.
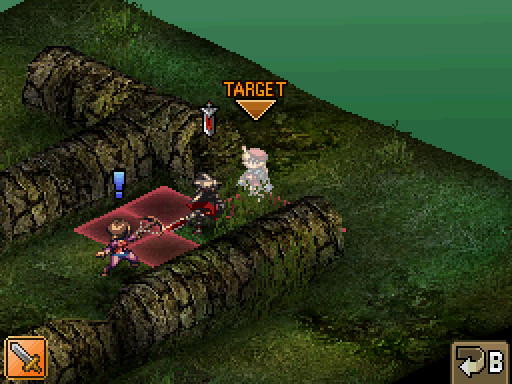
The next turn, the Swordsman avoids Wylfred, who he could attack, and tries to close in on Cheripha instead, also inadvertently setting himself up for an Axis Raid.
I somehow pile on too much damage and kill him without getting any Sin. Luckily we're already done with Sin quotas.

As we move in on the Archeress, who has been standing in the same spot all battle, I decide to swap Wylfred's equipment - the last Swordsman had dropped a Viking Sword. It's 10 ATK stronger than Wylfred's current Long Sword, and allows Soul Crushes, too. We still won't be able to get the Battle Gauge up with just two characters, but the ATK boost is nice at least. Characters can swap weapons during battle, at the cost of a turn.
The Archeress goes down in a few attacks, but I can show off one thing.
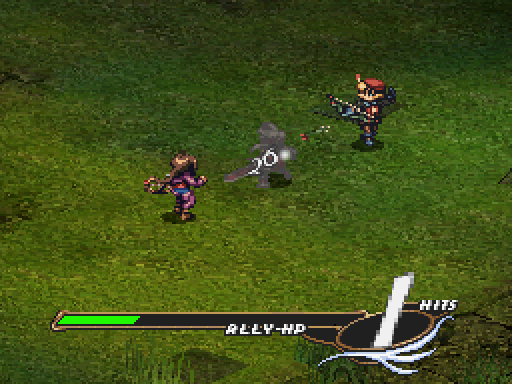
Normally, the Archeress wouldn't be able to counterattack Wylfred, since he was right next to her. However, she could counterattack Cheripha, and as she fired her shots, Wylfred was standing right in their path and he gets hit instead. This is pretty much the only way Archers can counterattack on enemies right next to them - by having them be accidental meatshields.
Where were we? Right, killing things.
 Wonderful, Sire. You bring great delight to Mistress Hel. I pray thee savor the fruits of thy labor.
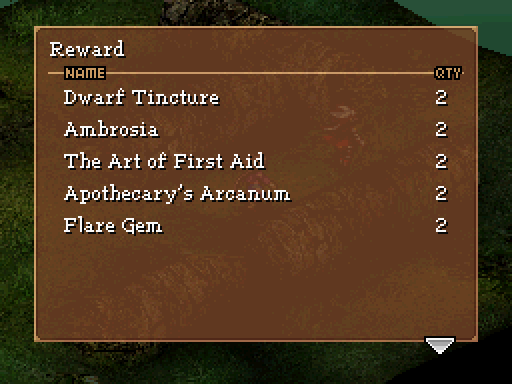
Rewards! Let's talk about them. Meeting between 100% to 149% of the Sin quota gets us the most basic tier of rewards after the battle. 150% to 199% gets the second tier on top of that, and 200% of more adds the third and best tier as well. Some of the game's best and irreplaceable equipment are gotten from 150% and 200% rewards, so that's what we're going to be striving for all the time.
Let's talk about the rewards. Flare Gems are our basic reward - they mimic the effects of Fire Storm, so they're basically useless. Our second tier rewards are Apothecary's Arcanums, which restore 1,500 HP to an ally, and the Art of First Aid, our first Technique. Techniques cost CP to equip (characters gain more as they level up), and have an innate effect that my activate during battle. First Aid has a 15% chance of triggering after a round in which a character takes damage, and restores 50% of the damage taken (assuming they survive). Unreliable but helpful when it triggers. We can't teach it to Cheripha while she's a Guest though.
Our top tier rewards are Ambrosia and Dwarf Tinctures. Ambrosia permanently raises the HP of a character by 100, and Dwarf Tinctures act as a 300HP heal to all enemies in a cross-shape.
I will do anything you require of me for redemption, Master Wylfred. Let us go hence and reap sin for the plume.---
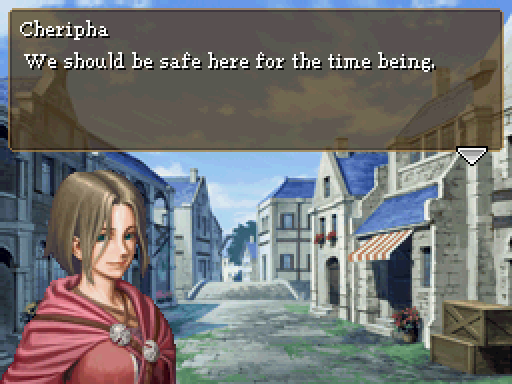
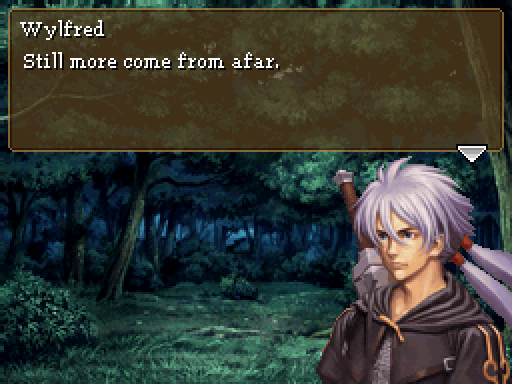 They're nothing if not persistent. Our only hope is to lose them in the thick.
Sounds of footsteps running by.
... A friend of yours?
 Hardly. ...
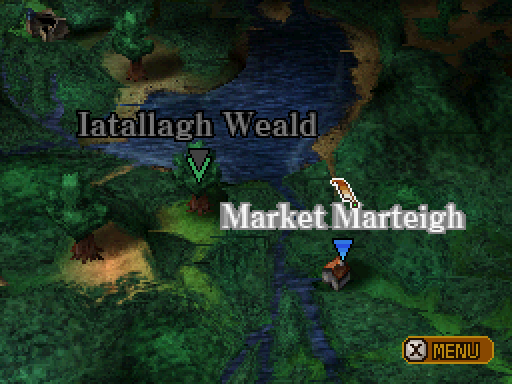
We have a new locale (and the only one, everything else on the map is greyed out) to visit, Market Martleigh.
---
 Then you'll tell me why we're in danger in the first place. Come now, does it truly matter why? Indeed it does. Tell me who you are and what you've done. ...
 So vocal in distress, yet now you bite your tongue? No, it is only fair you know whose life you've saved.
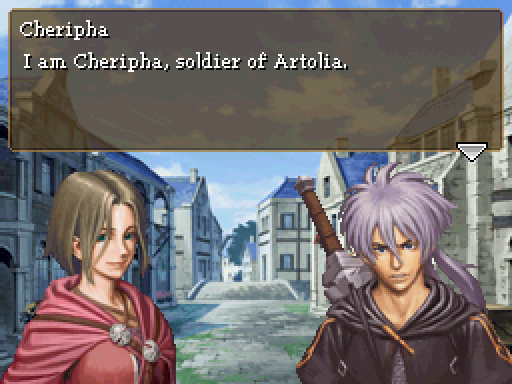 And yet you run from Artolian troops? Forgive me if I find that hard to believe. ...
 But then I suppose it was not my place to ask. I bid you farewell. Go wherever the good winds take you.
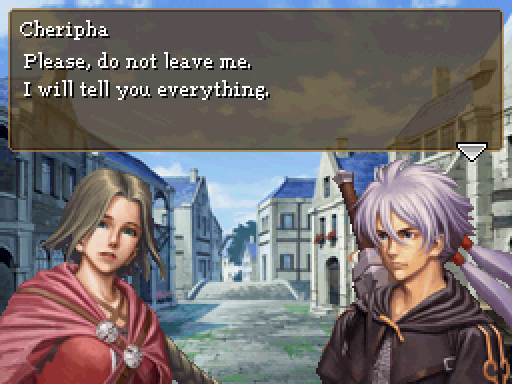

Cheripha offical render.