Part 12: Update XII - Crawling Dungeons, Just Like Riding A Bicycle
Update XII - Crawling Dungeons, Just Like Riding A Bicycle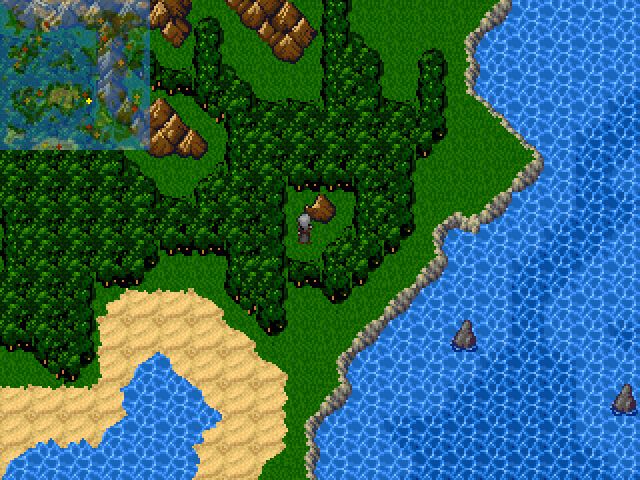
♪ BGM: A Truth Revealed - WraithTouch.mid ♫
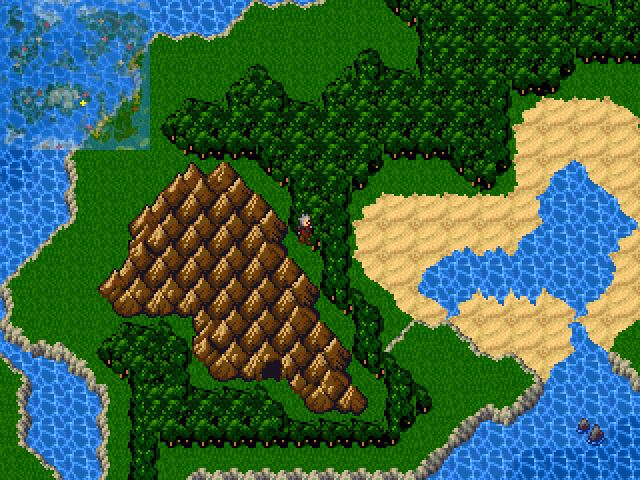
And thus, we find ourselves on the world map. Let's go and take a look at the world map, and bear with me here, it's about to get big...
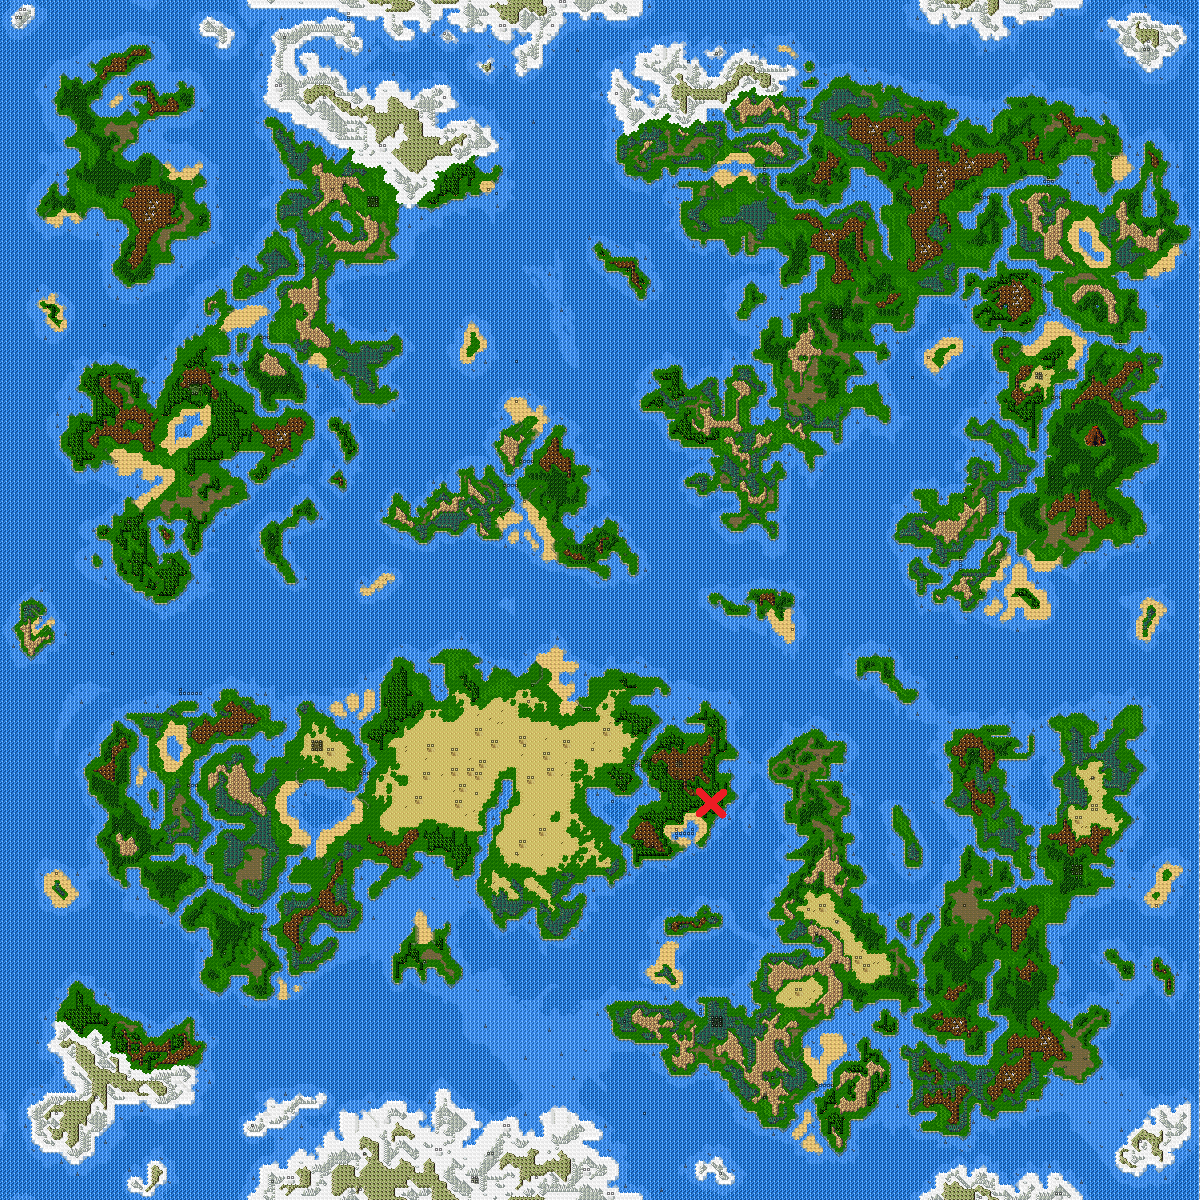
We're currently positioned at the red X. Given that we're on a new map, we know approximately fuck-all about what is near us. We'll just have to figure that shit out as we go along.

Alaine and Valnar are looking significantly worse for wear. They don't have any spells, just the ability to suck blood...
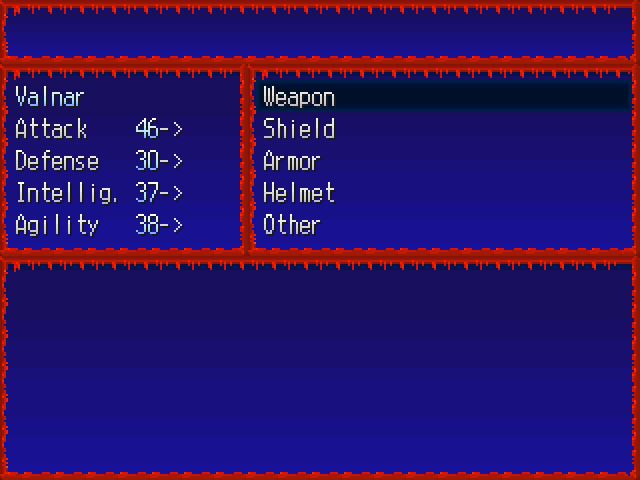
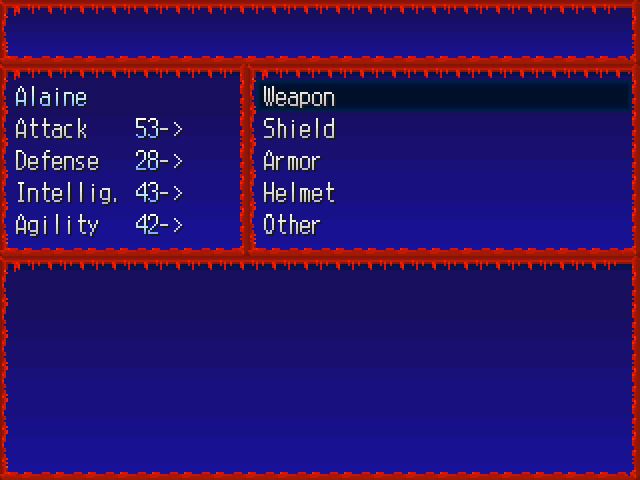
...and their stats are pretty pitiful.
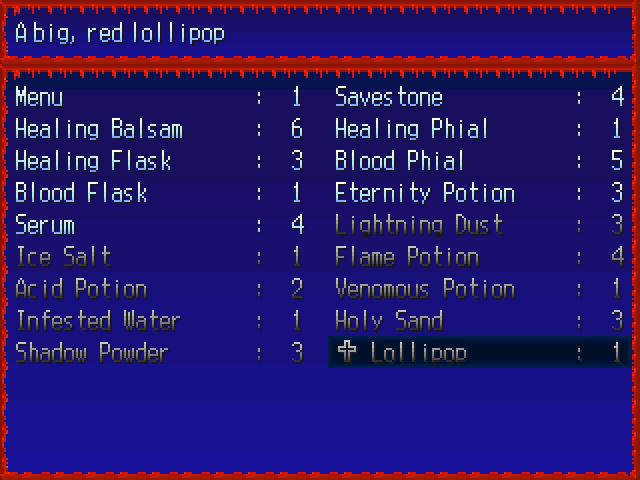
At least we still have our lollipop.

Anyway, we need some weapons. Let's see what we can find...
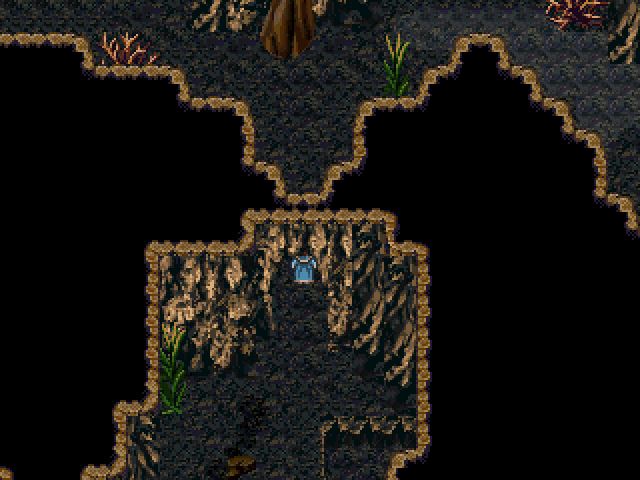
...a cave. Sure, that sounds good.
♪ BGM: Asgar's Cave - blood008.mid ♫
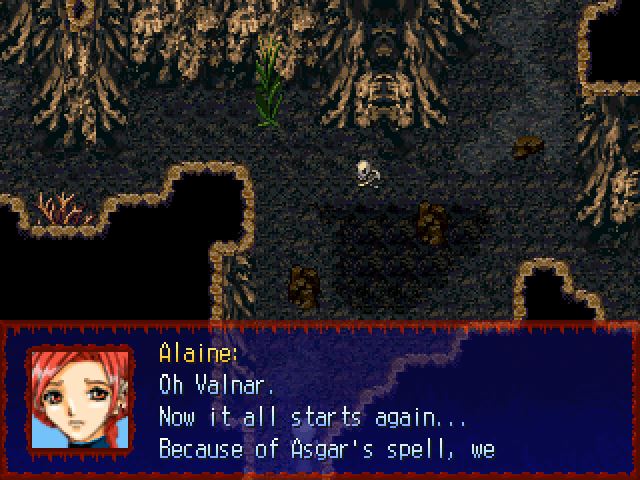
 have been turned into scrubby weaklings, and what do we do? We enter the next best cave trying to find new equipment that we can use to destroy Asgar...
 It is how it is. Do you think anyone elese in this world is capable of stopping Asgar's madness? We are the last vampires aside from Asgar. What kind of human could possibly stand up to a vampire? And a mad one at that? NONE! That's why we can't run away from our responsibility. Even though we have lost our powers, we can't give up. There must be a way to stop him. And we will find it. Will we never be able to get by without weapons?
So, we have a cave.
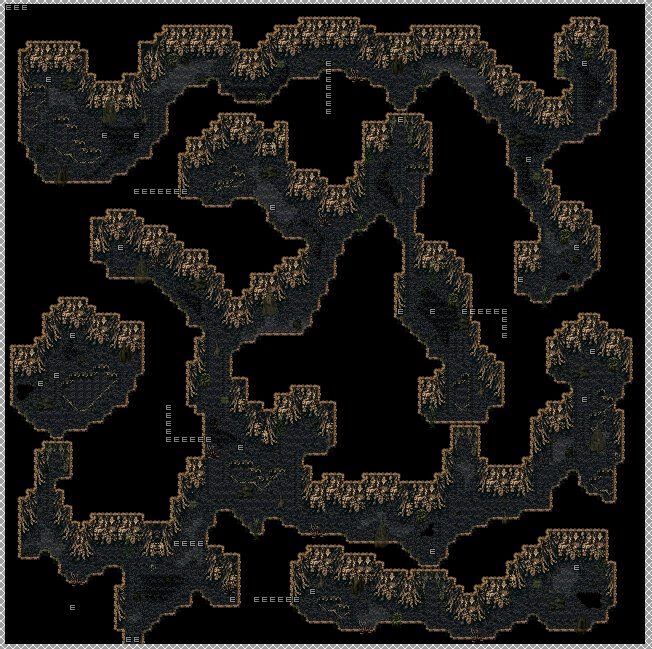
It's nothing special, but it's our first dungeon crawl.
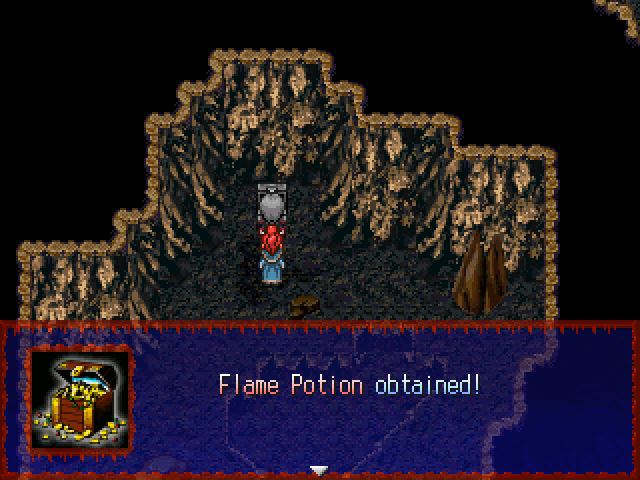
And of course, that means treasure.
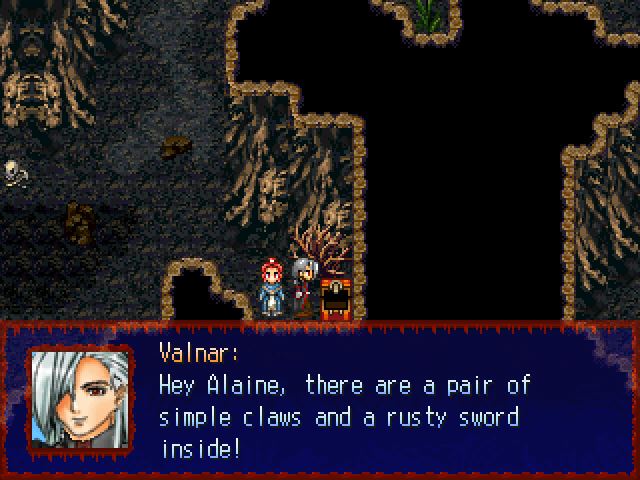
 Claws? Odd... who would hide something like that here? But at least it's a weapon. It seems our peaceful times are over once and for all...
 Blunt Claws obtained! Rusty Sword obtained! Well, I don't think we'll get far with these. Let's take a look around some more.
 You can now find a tutorial for the battle system in your inventory.
Alright, let's check that out. But first, let's see how our shiny new weapons look.
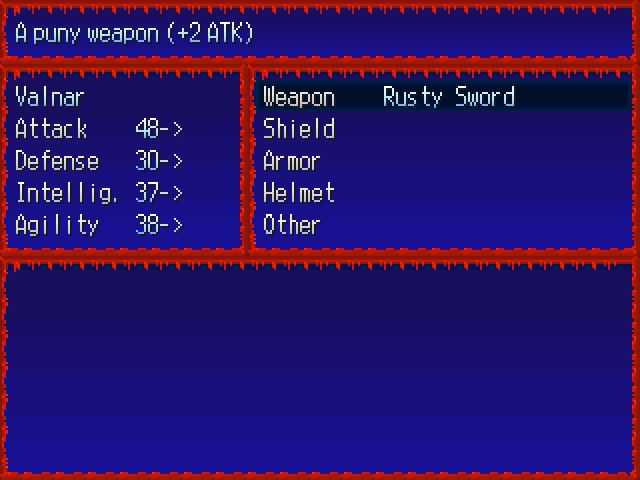
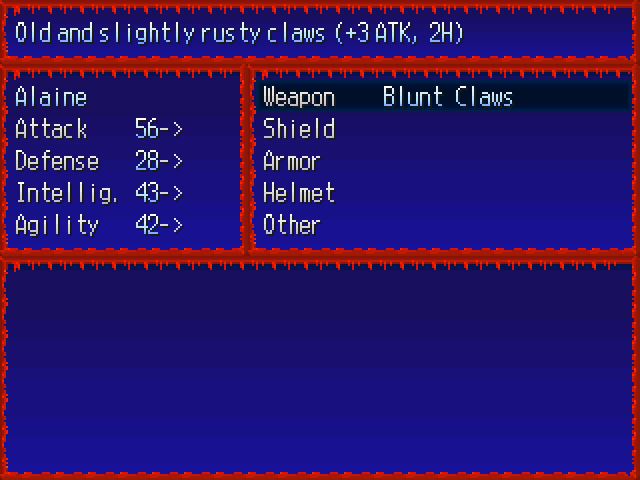
...not exactly shiny. Well, let's look at the battle system tutorial.
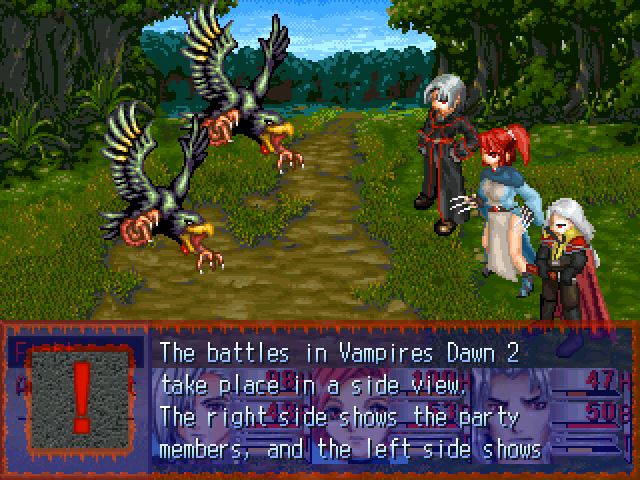 the enemies.
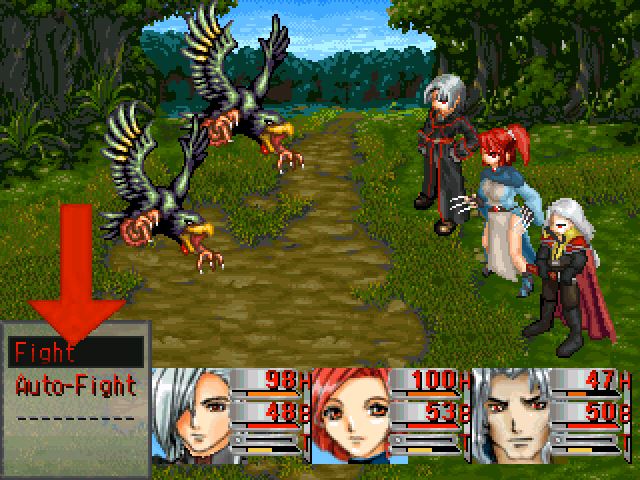 First, you select either the manual battle mode or the automatic battle mode. The latter lets the computer fight automatically in place of the player. If you are fighting an easy enemy, this is a comfortable way to finish the battle quickly with a victory. Against opponents of the same or higher level, you should fight the battle manually.
Suffice it to say that I'm pretty sure there won't be many "easy enemies" in our quest. More on why later.
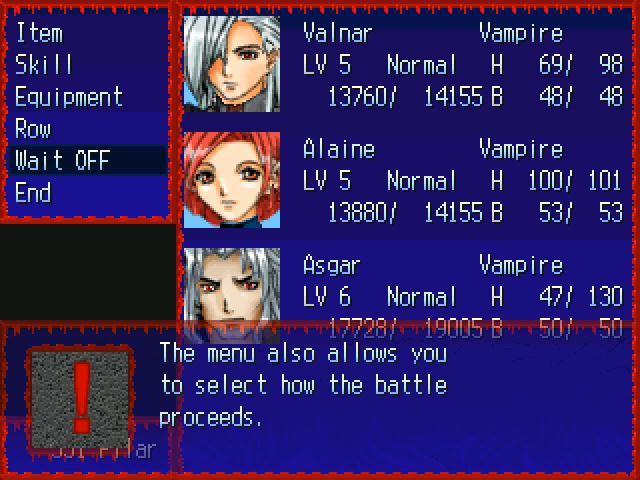
The bottom of the screen shows the statistics of the party members.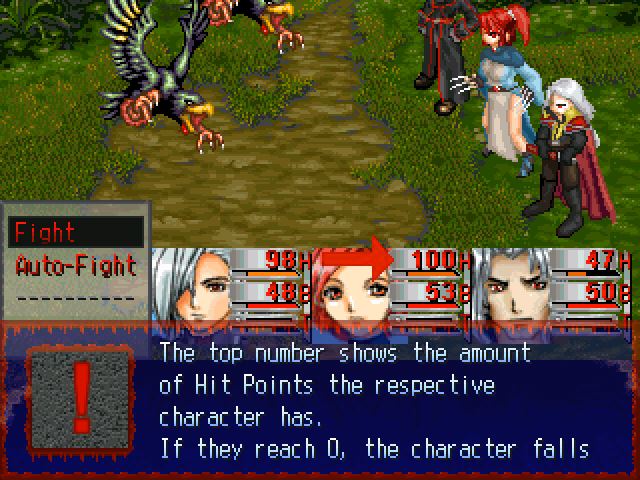 into Rigor if that character is a vampire. If the character is a human, they die. Vampires in Rigor are unable to move, but they can automatically recover after battle if they still possess more than 25% of their maximum amount of blood. Vampires of the Fourth Generation or higher are excluded. Such vampires can ONLY be resurrected while in battle. After the battle, the vampire decays too quickly to be saved.
 Why yes, vampires that we create throughout the game will be made by Valnar, who is of the third generation, not by Alaine, who is of the first generation, so the vampires we create will indeed be fourth generation, be generally weaker than the main party, and will be subject to this flaw of dying permanently if you don't revive them. How could you tell? Is it because our vampires are generally really dumb?
Humans, of course, can not revive on their own. If the entire party is either dead or in Rigor, the game ends.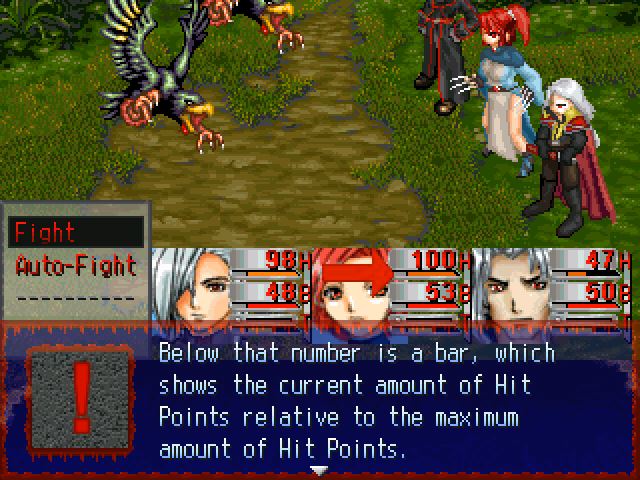 The more that bar is filled, the closer the current amount of Hit Points are to the maximum number of Hit Points.
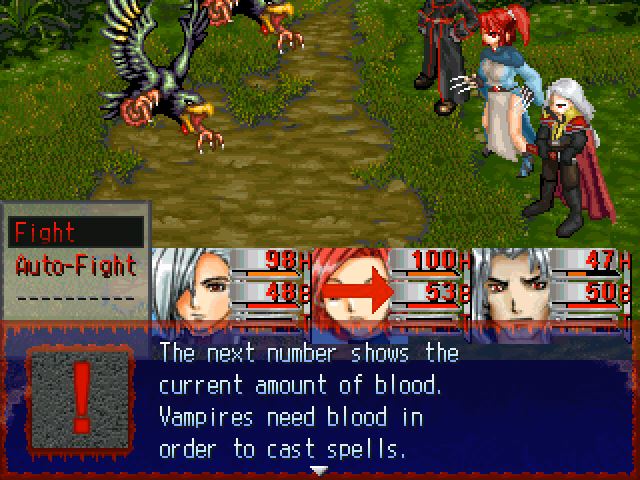 If that amount drops below 25% of the maximum, the character becomes enraged AFTER the battle, and they lose control of themselves. In that state, the character randomly attacks the enemy. So it is advisable to keep the amount of blood above 25% of the maximum at all times.
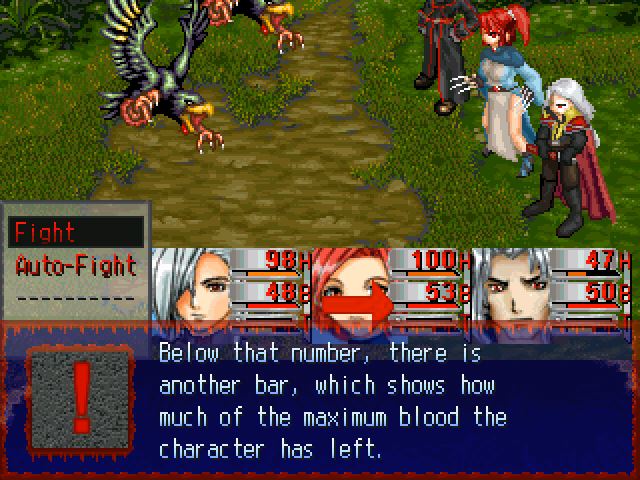
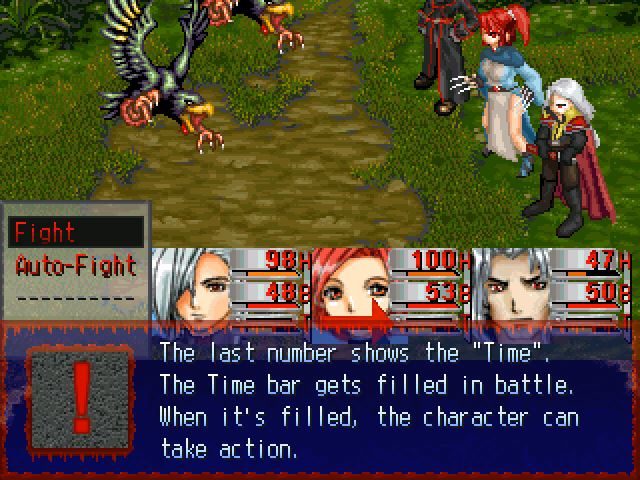 After selecting the manual or the automatic battle, the fight begins.
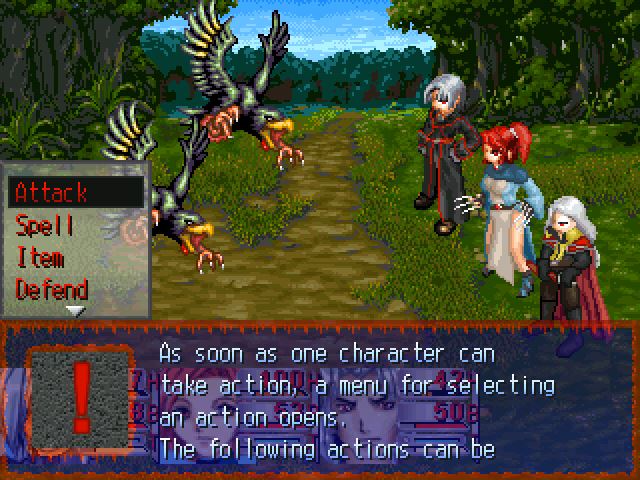 taken: Attack -> The character attacks with their weapon. Spell -> The character uses a skill they possess or a spell. "Blood Sucking" is one of those skills. Item -> The character uses one item from the inventory of the party. Defend -> The character defends against the incoming attacks and takes greatly reduced damage. Does not work against magic.
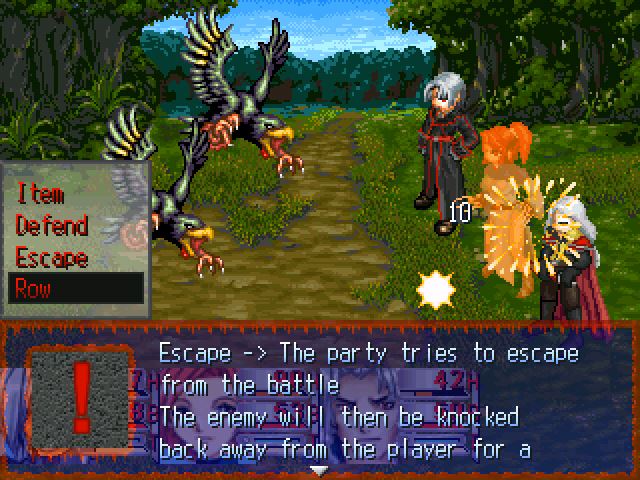 a short time. During his time, you can run away from them. If the enemy catches you again within 2 seconds, however, you cannot escape from them again. Row -> The character switches between the front and the back row. Characters who are in the back row only take halved physical damage, but in return deal only half of their physical damage as well. Magical damage is not affected by this. Therefore, the back row is suitable for characters who use mostly spells.
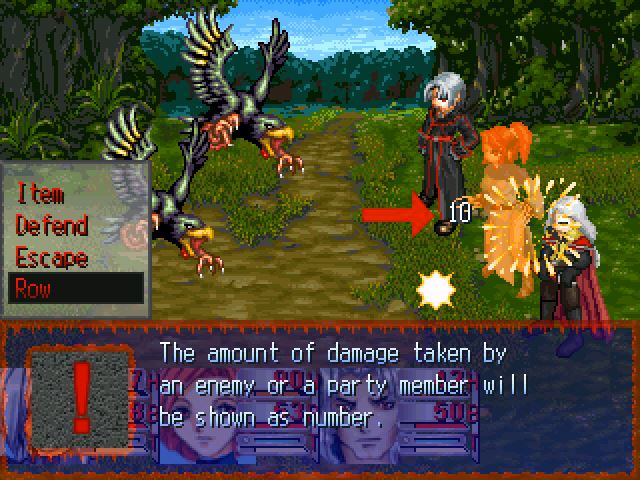
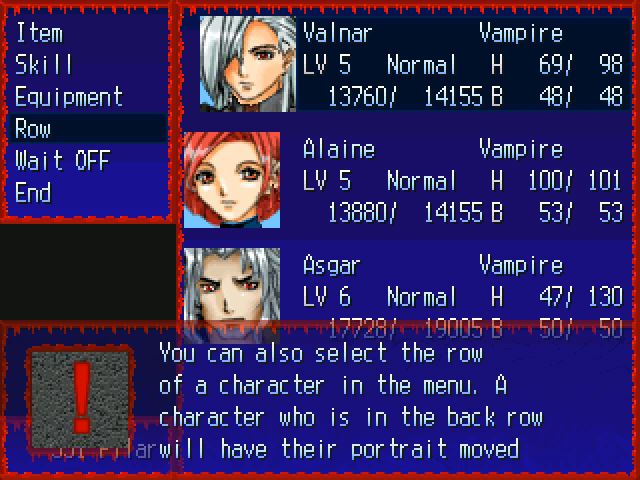
 If "Wait OFF" is chosen, the Time bar of your party members and the enemies will also fill while you select spells and items. If "Wait ON" was chosen, the Time bar does not fill while you select items or spells. However, even if "Wait OFF" was chosen in the main menu, enemies won't attack you while you scroll through your items and spells. Instead, the attack will come right after you finished selecting the item or spell.
I am turning that on ASAP. I'd like to have some time to think about what the fuck I'm doing.
 slightly to the right.
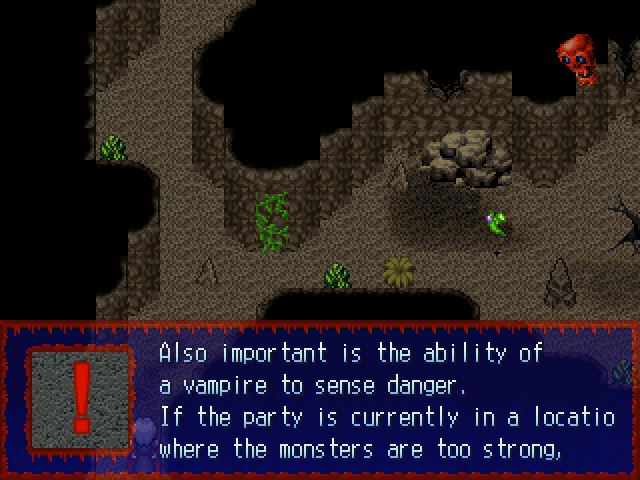 a skull will show up on the top right of the screen. If the skull is colored red, the monsters are far too powerful, and the party should leave the area as soon as possible. If the skull is colored orange, the monsters are slightly stronger than the party. With good equipment, powerful spells, and a good strategy, you MIGHT be able to defeat those monsters. It is, however, advisable to train a little first, and then return later to that area.
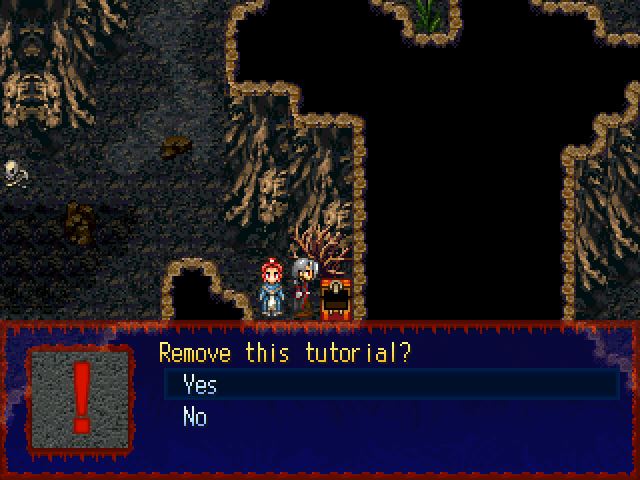
Yes, I will remove that tutorial.
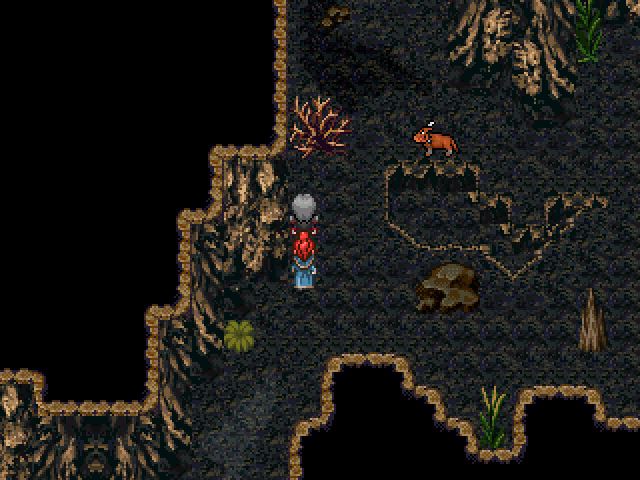
Anyway, now that we have weapons, enemy encounters have spawned inside the cave. We've gone away from the random encounters that VD1 had, and instead gone to the enemies wandering around the map like Düsterburg had. However, unlike Düsterburg, these enemies are capable of respawning - if you change maps, all enemies will be back the moment you return to the map. This will get annoying at times.
I try to avoid this one because I'm trying to keep my level as low as possible because of The Secret Plan, but it doesn't work out. Time for battle!
♪ BGM: Crush Them - Xboss06.mid ♫

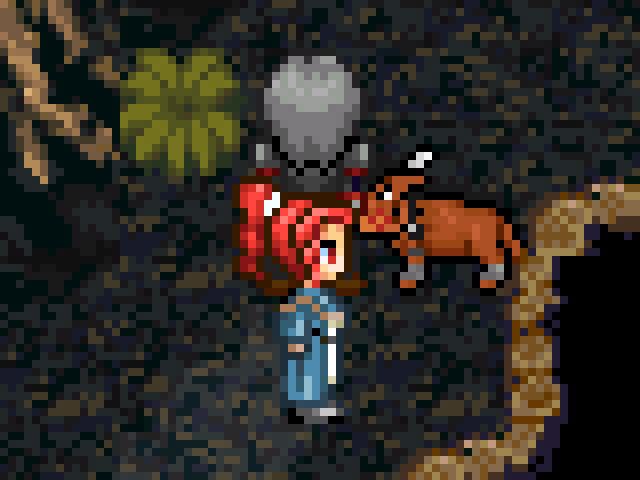
I really enjoy the animations in this game. I also really hope that nobody tells me they were edited from another game this time around. Now, let's take a look at the enemy we're facing. This guy is a "giant boar".
Oh, right. I do have to translate some things. It turns out that in this game, you cannot see the names of enemies. As such, they're only internal, and as such, they were left untranslated. Anyway, here's a stat block.
HP: 40
MP: 20
Attack: 25
Defense: 45
Intellect: 10
Agility: 40
So, not exactly a great threat. We beat him up with no problem.
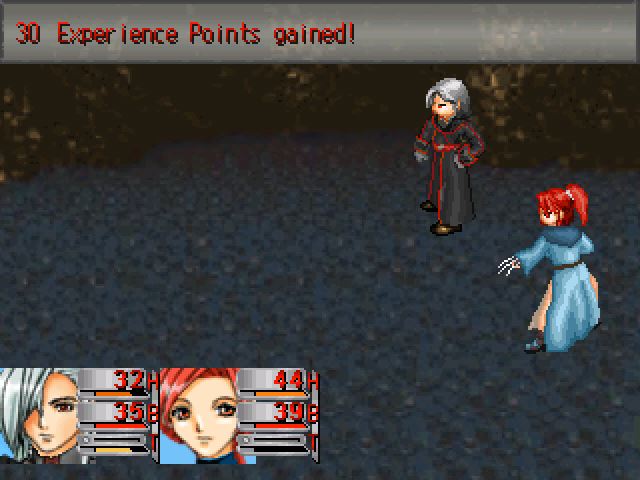
♪ BGM: Victory - win4.mid ♫
...I recognize this tune from somewhere, but I'll be damned if I remember where it came from. Anybody know? Anyway, with that, we gain our first experience.
...let's talk difficulty. Here's the thing: Due to the way RPG Maker works and due to the fact that this isn't a game that has a ton of people working on it, difficulty is implemented in such a way that it's easy to do, and importantly, global. You can't do something like making all enemies stronger with RPG Maker easily. There are ways, but they're kinda hacky and are work. Instead, Marlex chose a different path, and I'm going to show you.
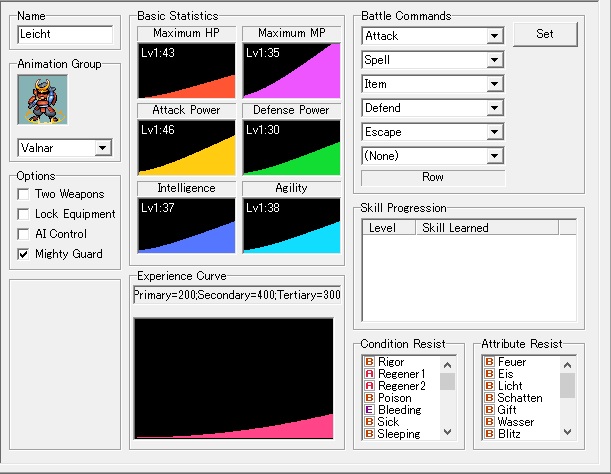

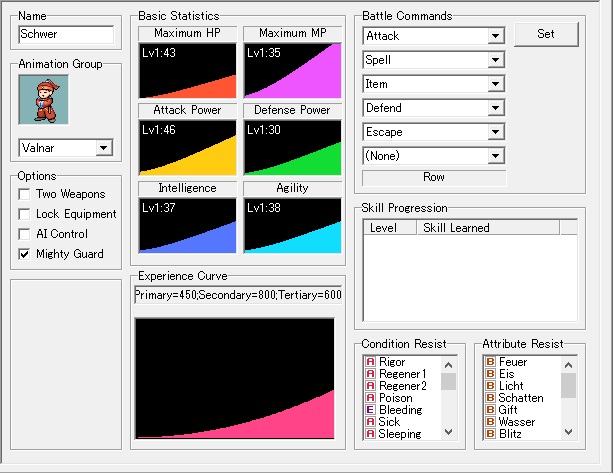
OK, so there's a few things to go over here.
Number one: These are Valnar's "classes". Classes can be assigned to a character and govern their stats and some other things. These classes are applied on Easy, Medium and Hard, respectively.
Number two: Don't worry about the animation group thing. Not sure what it's about, but whatever it is, it works.
Number three: "Mighty Guard" means that the character will defend more effectively - instead of reducing physical damage by 50%, it reduces it by 75%. This applies to every class in the game, so it's just generally to make Defend more useful.
Number four: Condition and Attribute Resists. I did a bit on resistances in the LP of the first game, but let's have a little refresher course:
So, weapons and spells can have attributes, and they can inflict conditions. For instance, we can have a spell that has the Ice attribute ("Eis" in this case - once again note the internals staying untranslated for reasons of "nobody is going to see this"), and can inflict the Poison condition. Every attribute and condition has a set of resistance levels attached to it, ranked from A to E. Let's take both Ice and Poison as an example:
Ice:
A: 150%
B: 100%
C: 50%
D: 0%
E: -50%
Poison:
A: 100%
B: 80%
C: 60%
D: 30%
E: 0%
This percentage modifies damage and condition inflicting chances. So you'll see that Valnar has B for many of his elemental resistances, which means that when somebody casts an ice spell on him, the damage is not modified, it's just the regular 100%. You'll also note that the Easy class has better condition resistances than the Normal and Hard ones - if Valnar gets hit with a spell that has a 20% chance of inflicting Poison, there's a 16% (or 80% of 20%) chance he gets poisoned on Easy, and the full 20% chance on Medium and Hard. So there's another way Easy is easy. But that's not the major part.
Number five: The experience curve. Now, there's something obvious that you should be already noticing, but first, let's go over how the experience curve works, because I just spent time working out how this shit works, so I'm going to tell you as well. I'd wonder if you maybe don't want to hear a whole bunch of words about the nuts and bolts of RPG Maker games, but if you haven't run screaming from the time I wrote a massive wall of text about the encounter rate in VD1, where I didn't even have any base to work on, just guesswork, then you're going to not run screaming from this either.
Anyway, the experience curve is based entirely around three numbers: Primary, Secondary, and Tertiary. These numbers each affect the amount of experience you need to reach the next level, and they do it as follows:
XP to next level = Primary + (Level * Secondary) + Tertiary
So, let's just say we want to go from level 10 to level 11 with Valnar on Hard. This means we need 450 + (11 * 800) + 600 = 9850 XP.
Astute mathematicians will have noticed something rather interesting about this system - since there are no factors attached to both Primary and Tertiary, they could have just as well been rolled into a single number. If you set Primary to 500 and Tertiary to 0, you will get the same results as when you set Primary to 250 and Tertiary to 250. The system is incredibly rigid, and even then, it makes you believe you have three factors to control, when in reality, you only have two. Brilliant. Anyway, on to the real important part here...
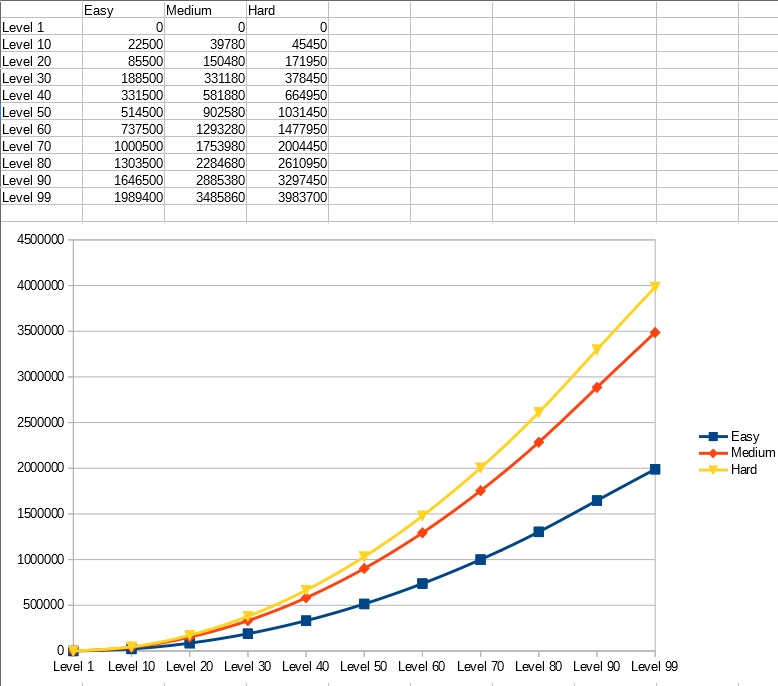
The experience curve is changed quite a bit between the difficulties. Basically, since every enemy gives the same amount of experience between difficulties, and there is no change in encounter rate, what this means is that on Hard, you're constantly going to be either grinding or underleveled. With the same experience that gets you to level 90 on Easy, you should be roundabout at level 77 on Normal, and somewhere around level 63 on Hard. So this is another way we're going to be at a disadvantage on this difficulty. Fun.

Finally, basically every enemy in this game drops a soul. There are some exceptions, but we'll get to those when we get there. Further, there are only "souls" now. No weak souls, strong souls, etc... well, not quite. There is one exception, but again, we'll get to that in time. Anyway, back to exploring the caves.
♪ BGM: Asgar's Cave - blood008.mid ♫
Every enemy on the map violently explodes when we beat them. It gets old within the hour.
Anyway, there's nothing much interesting in the cave apart from the part that progresses the plot. There's some items in secret passages, there's some enemies we get to kill, but nothing major. We of course find every single secret passage because I have RPG-Maker-vision. I also try to dodge enemies in order to not gain as much XP, and it doesn't go well because this cave is kind of cramped. Anyway, let's move on to the part that progresses the plot.
When we pass under this archway, we hear an evil laugh... a female evil laugh! What is this, this is new territory and I'm scared

 What was that?
 We need to be careful!
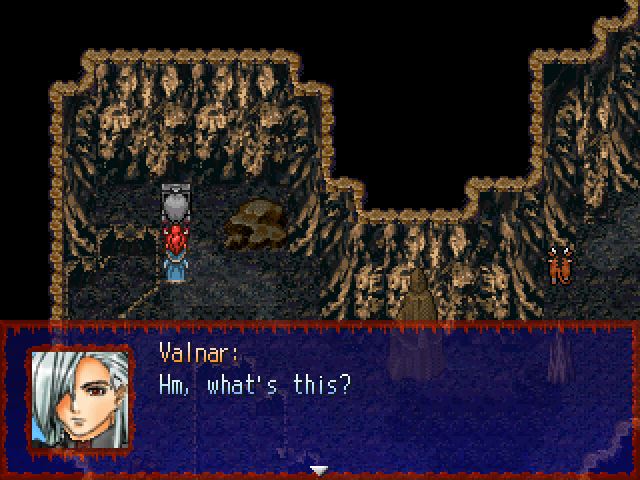
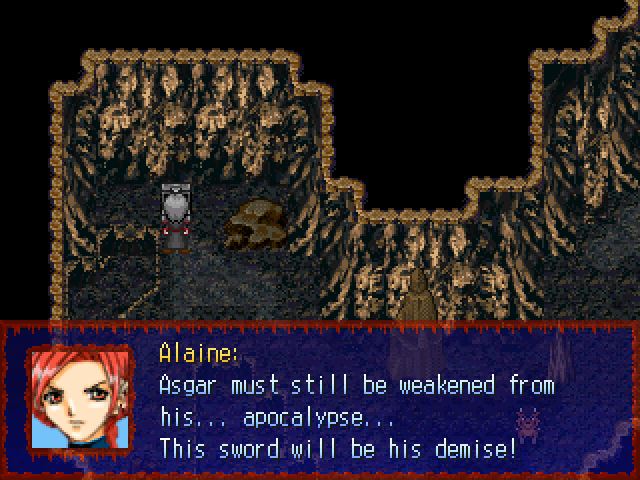
Then, in the top left corner, we find something that isn't just another item we've already seen.
 Hey, that's what I call a gorgeous sword!
 It seems to be magical! And its blade is also very sharp! I think that it's definitely a pretty powerful sword. This should be very useful against Asgar.
 Just wait, Asgar! Now you will receive your punishment! Let's get back to Asgar's castle! Now he will feel our wrath! Magical Sword obtained!
We fade to black...
♪ BGM: Asgar's Castle - blood009.mid ♫
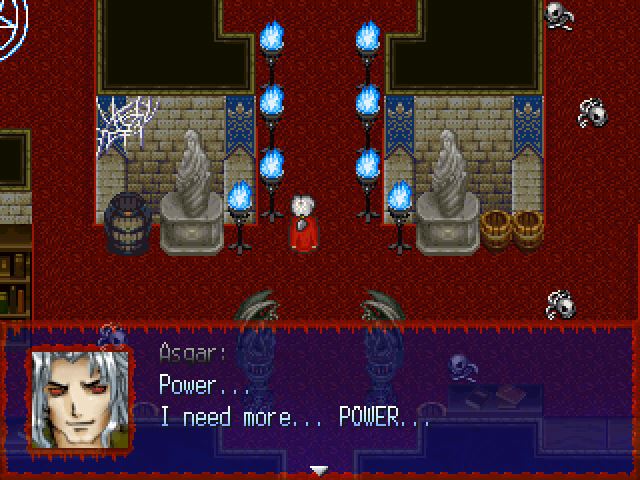
...and cut to Asgar's castle.
 From... where? The spell used up... so much... power...
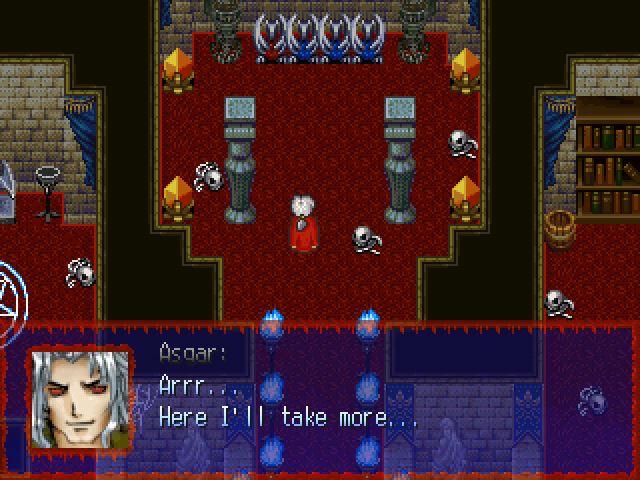 HARHARHAR... that will be my next devilry!
 Energy... FLOW!
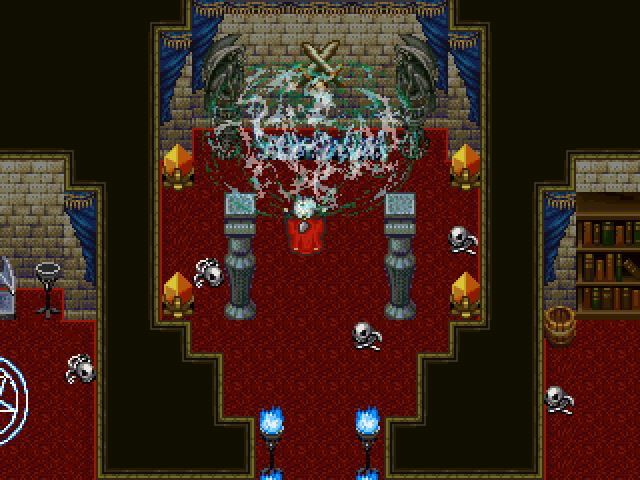
Asgar then proceeds to produce some weird swirly things.
HARHARHAR!
He then absorbs them.
Arrr... and now, for the next step of my... plan...And with that, we cut right back to Alaine and Valnar.
♪ BGM: Asgar's Cave - blood008.mid ♫
His head will roll... once again!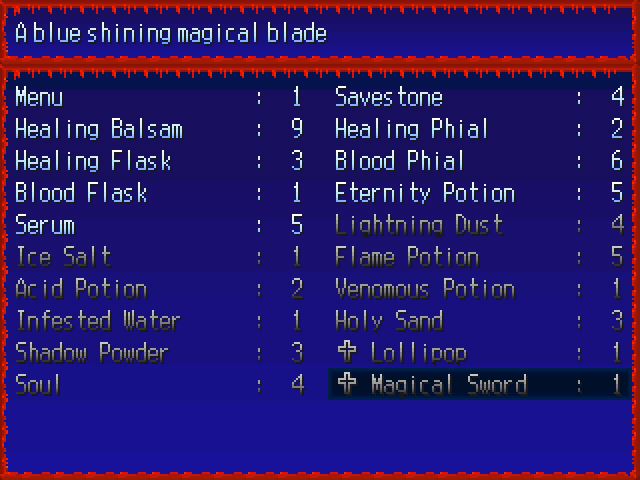
So, now we have a magical sword thing. We can't actually equip it, it's just in our inventory. Alrighty.
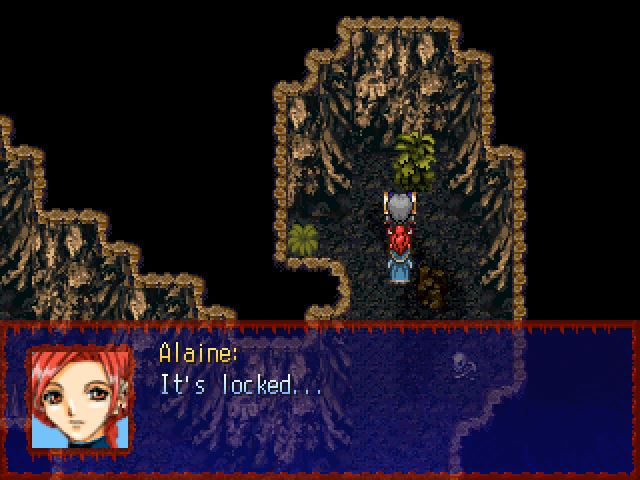
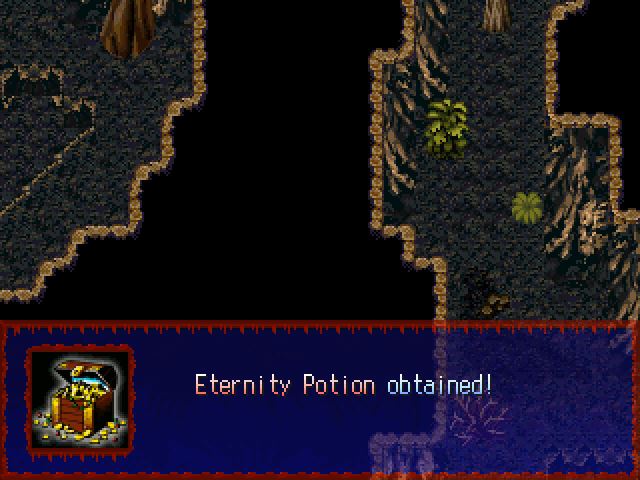
We also find another, more shiny looking chest in this cave. However...
 And without a lockpick, we can't change that...
Lockpicking is also a thing in this game, though we won't get into it until later. Nothing much else in this cave, so we head back out.
♪ BGM: A Truth Revealed - WraithTouch.mid ♫
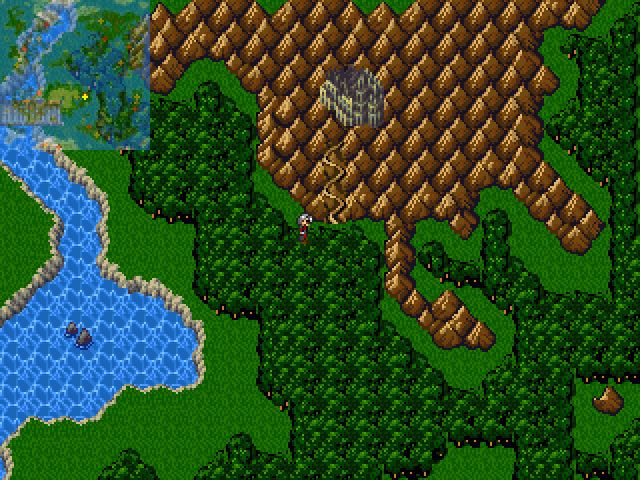
And just north of where we started from, we actually find Asgar's castle. How convenient! So, next time, we'll charge at Asgar's castle once more, magic sword in hand. Will it work? Somehow I doubt it, but we're going to try regardless!