Part 31: Update XXV - Gonna Learn Me Some Vampire Things
Update XXV - Gonna Learn Me Some Vampire Things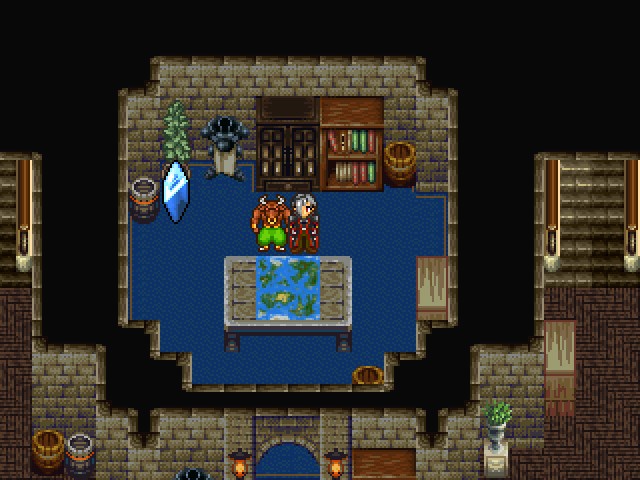
♪ BGM: Asgar's Castle - blood009.mid ♫
Alright, so last time, we were introduced to a new minigame and were told there were tutorials for us to read down in the Magic Chamber. We'll go check those out today.
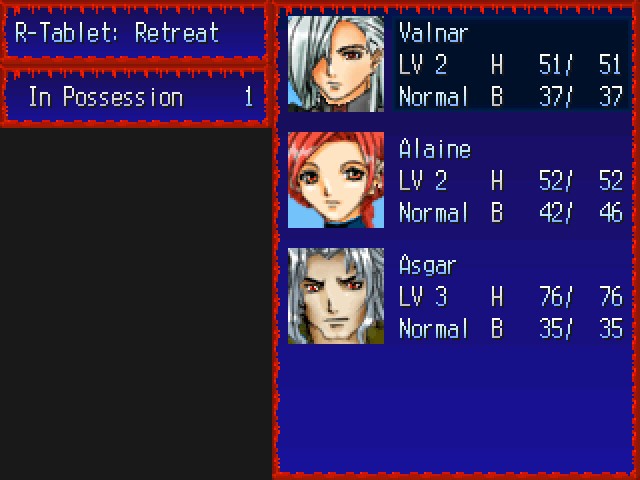
To start off, we drop the Retreat/Refuge/whatever spell tablet on Valnar. I sure hope that there's not going to be a twist where Valnar turns evil and leaves the party or something, because that would kind of fuck with me, given that I'm probably giving him all the main useful spells.
Two floors higher, we find something new!
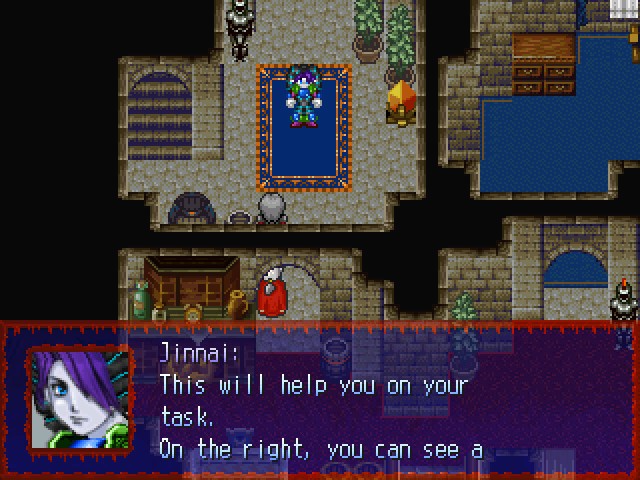
Gah! Christ, stop teleporting in and out, Jinnai.
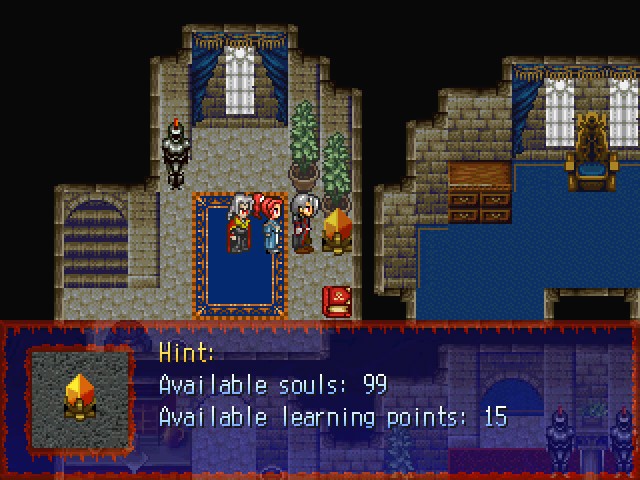
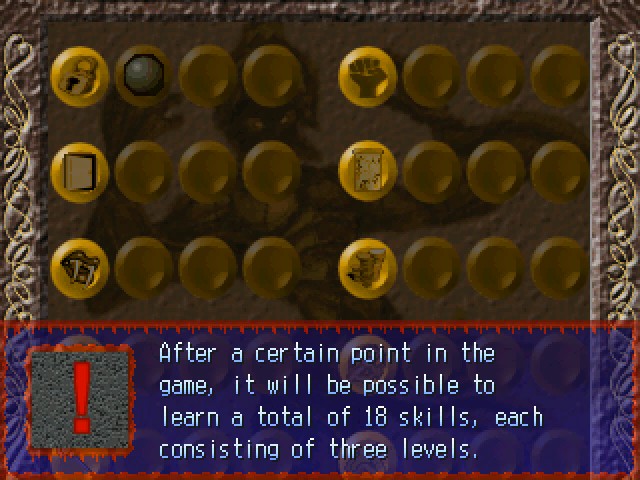
 device that you can use to improve various skills. You can learn each skill once, and then improve it twice. For that, however, you'll need souls, and you'll need to acquire a certain amount of levels. In order to learn a skill, you need 50 souls and level 1. If you wish to improve a skill for the first time, you have to reach level 40. You'll also need 65 souls. In order to improve a skill a second time, you'll need 80 souls, and you need to reach at least level 80.
We're still on level 2 or 3. This is update 25. Christ, this is going to suck.
Unfortunately, this device only has a limited amount of capacity. You can at most only learn 15 skill levels. So think carefully what kind of skills you want to learn.This is determined by difficulty. On Easy, you get 54 levels - which is enough to learn everything, should you so choose, with 18 skills at 3 levels. On Normal, you get 30 levels, which is still decent. And we get 15, which means we can fully level up 5 out of 18 skills, or spread ourselves thin (spoilers: We don't want to spread ourselves thin, you basically need the skill at level 3 to get The Good Shit™). This basically means that a fair amount of things are just going to be ignored by me, like locked chests, lying to people, and treasure maps, because you need skills for that, and we don't have the points to spare. What exactly we'll pick is something we'll figure out later.
Also, difficulty makes leveling skills easier as well:
- Easy: Souls required are 30 / 40 / 50, levels required are 1 / 30 / 50
- Normal: Souls required are 40 / 50 / 60, levels required are 1 / 35 / 70
- Hard: Souls required are 50 / 65 / 80, levels required are 1 / 40 / 80
Shit sucks, but what can you do.
I'm going to write it all down into this book...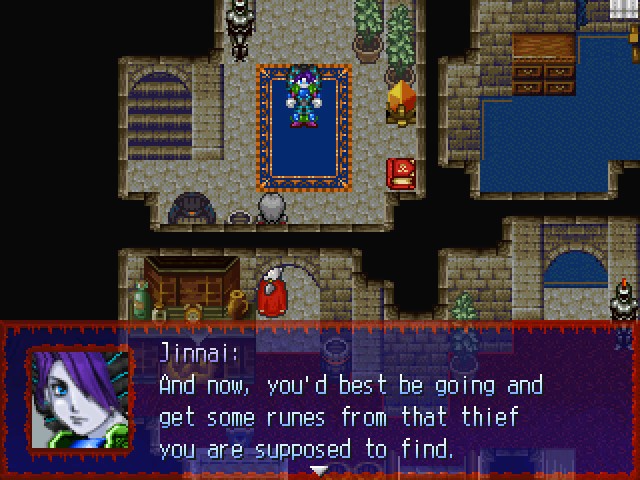 As soon as you have a few, come back to this room, then I'll show you what you can do with them.
Nope, we've got other plans.
Gah! Fucking teleporting...
Anyway, let's check this thing out.
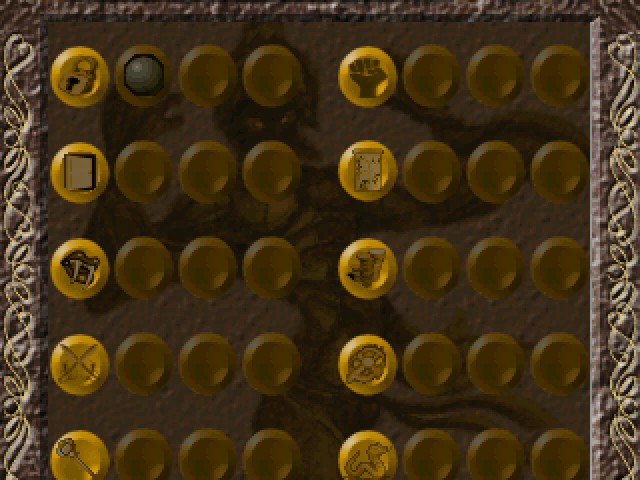
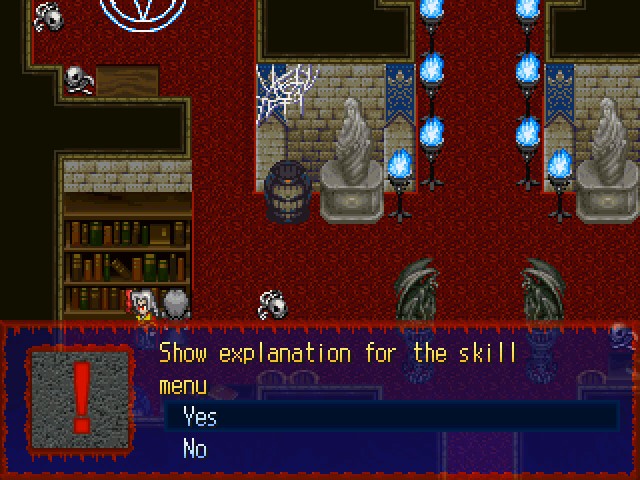
The skill menu looks like this, with a variety of skills listed for us to upgrade.
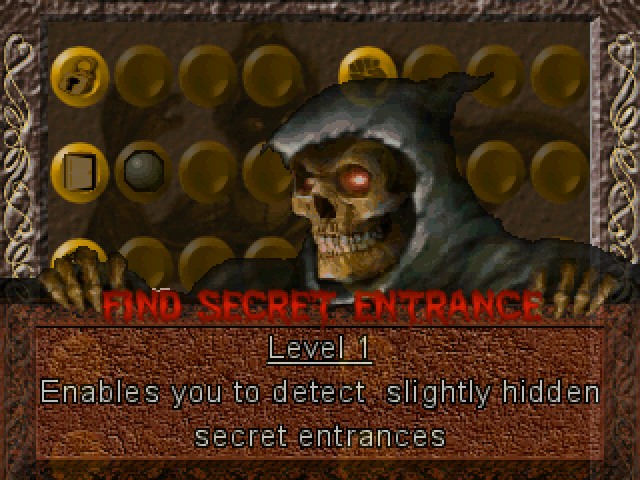
If we stay on one for longer, it displays a description. Here's the lot of them, with the differing parts for the three different levels denoted by slashes:
- Lockpicking: Allows the opening of simple / normal / complex locks with a lockpick
- Find Secret Entrance: Enables you to detect slightly / well / very well hidden entrances
- Improved Blood Sucking: Slightly / Largely / Vastly improved blood sucking off of humans and monsters
- Warlord: Increases attack attribute of the party by 10 / 25 / 50
- Spell Master: Increases intelligence attribute of the party by 10 / 25 / 50
- Strong Armor: Increases defense attribute of the party by 10 / 25 / 50
- Sprinter: Increases agility attribute of the party by 10 / 25 / 50
- Hunter: Animal slaying provides one Blood Flask and one Ordinary Pelt / one Blood Potion and one Good Pelt / one Blood Potion and one Valuable Pelt
- Sharpened Eyes: Slightly / Further / Greatly improves the eye for items laying around
- Leader: Improves the strength of your troops in castle combat by 2 / 4 / 6
- Ancient Languages: Allows the reading of simple / complicated / highly complicated texts in the ancient language
- Treasurer: Increases the tax income by 10% / 25% / 50%
- Find Traps: Automatically disarms simple / highly dangerous / all kinds of traps
- Lying: Allows the persuasion of gullible / skeptical / highly skeptical people
- Map Reading: Allows the deciphering of simple / complicated / highly complicated maps
- Pilferer: Increases the speed of stealing done by the thieves by 10% / 20% / 30%
- Shapeshifter: The bat transformation depletes 1 Blood every 3 seconds / depletes 1 Blood every 5 seconds and increases HP regeneration / no longer depletes any Blood
- Regeneration: The healing rate increases to 2 HP / 4 HP / 8 HP every 5 seconds
Alright, so here's the deal. Number one: We're taking Leader and Treasurer, they are part of The Secret Plan. What else are we going to take? Good question! It'll depend on how the game continues. The stat boosters are probably a waste, as is Hunter, Find Secret Entrances, and Find Traps. Map Reading and Sharpened Eyes will give us more items that we can't find without the skills (as opposed to Find Secret Entrances, which I can replace with RPG Maker-vision). Improved Blood Sucking can be useful for combat. Ancient Languages might be interesting if we can't use the rune recipes hidden behind it without having the skill, but if we can, I can just look at the pictures in the game data to see the recipes that way. Lying basically allows us to get more things out of quests or skip having to do other things and might be handy, Pilferer refers to a system we haven't even seen yet. Shapeshifter and Regeneration might be handy to preserve resources, but given the situation we'll be in after The Secret Plan is fulfilled, we probably won't need it.
My shortlist would probably look something like this:
- Leader
- Treasurer
- Improved Blood Sucking
- Map Reading?
- Lying?
- Ancient Languages?
We'll have to see how things go.
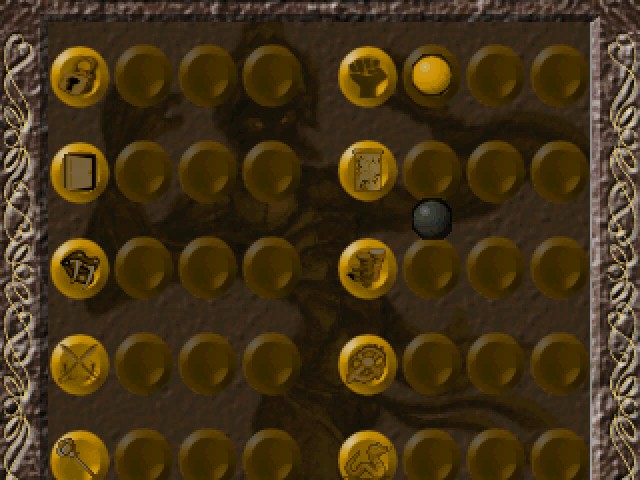
For now, we get a dot in Leader. This will be very handy. We would also like a dot in Treasurer, but alas, we don't have the souls. We'll have to clear that up later.
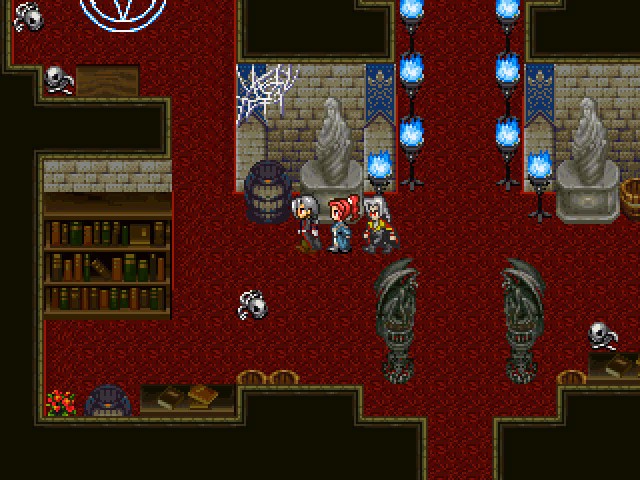
Next, we head to the Magic Chamber for some tutorials.

Oooh, this'll be handy to know.
 Characters can be affected by different status conditions during battle. There are negative, as well as positive conditions. The following status conditions exist in Vampires Dawn 2: - Rigor: The character has lost all of their Hit Points, and is either dead (human), or in a state of immobility (vampire). Since vampires cannot easily die, after battle, they recover from this state, as long as they have sufficient blood left. Eternity potions also cure this condition. - Regeneration: The character regenerates some of their life at short intervals. - Poison: The character loses some of their Hit Points at short intervals. This condition does not disappear after battle. - Sick: The character loses some of their Hit Points and blood at short intervals. This condition does not disappear after battle. - Sleeping: The character can't take any action. Normally, they wake up after taking a few hits. - Bleeding: The character loses some of their blood at short intervals. - Burning: The character loses a lot of life points at short intervals. There is no cure for this condition, but it doesn't last for very long. - Blind: The character's chance to hit decreases significantly. - Silence: The character can no longer use spells. - Weakened: The attack and defense power of the character is reduced significantly. - Curse: All attributes of the character are reduced significantly. This condition persists after battle. This condition can be cured by visiting a church. - Rage: The character attacks enemies on their own. Vampires whose blood level has fallen below 25% of their maximum blood become enraged until their blood level has been increased again. - Confused: The character attacks one of their party members. - Blinded: The character's chance to hit decreases for a short time. - Paralyzed: The character's agility gets reduced and they are unable to act. - Petrified: The character has been petrified. There is a small chance that the condition disappears after taking a hit. The character also tries to break free from this condition on their own. Petrification persists after battle. - Mirror: All spells used on the character are reflected back upon the caster. - Phantom: The character becomes immune to normal attacks. - Decay: The flesh of the character slowly decays. There is no known cure for this. Furthermore, every character has four different attributes: - Attack: Determines the amount of damage a character deals with their weapon. - Defense: Determines the amount of damage reduced when the character gets attacked. - Intelligence: Determines the amount of additional damage their spells inflict. - Agility: Determines how often a character can perform an action during battle.
Here's some of my notes on the status effects.
- Rigor: Of course, the vampires we create and can add to our party also don't recover from Rigor after battle. Instead, they just turn to dust and are removed from the party.
- Regeneration: There are three levels for regeneration. The first level heals 10 HP per character action, with a 5% chance to end every turn and guaranteed to end after 20 turns. The second level heals 30 HP per character action and ends after 30 turns. The third level heals 50 HP per character action and ends after 40 turns.
- Poison: Poison deals 2% of maximum HP plus 1 HP in damage per action taken during battle. It also deals 4 HP of damage every 4 steps out of battle. It does not get cured automatically, you have to cure it yourself.
- Sick: I love how you lose blood from being sick. Puking up blood? Sick does 3% of maximum HP and BP in damage per action taken in battle (fucking hell) and does 5 HP and BP in damage every 5 steps out of battle. It does not get cured automatically.
- Sleeping: 10% chance to be cured every turn, automatically cured after 3 turns, and an 80% chance to be cured when taking physical damage.
- Bleeding: There are two kinds of Bleeding. One deals 4% of maximum HP in damage per action taken in battle, has a 5% chance to be cured per turn and automatically ends after 20 turns. This one is inflicted on enemies. The other one deals 3% of maximum BP in damage per action taken in battle, has a 10% chance to be cured per turn and automatically ends after 30 turns. This one is inflicted on us.
- Burning: This deals 10% of maximum HP plus 15 HP in damage per action taken during battle. It has a 50% chance to be cured per turn and automatically ends after 3 turns.
- Blind: This sets our hit percentage to 20%. It has a 7% chance to be cured per turn and automatically ends after 20 turns.
- Silence: This prevents all spells from being cast by disabling all skills with more than 1 Intellect Influence. It has a 8% chance to be cured every turn and automatically ends after 17 turns.
- Weakened: This sets hit percentage to 80% and halves the Attack and Defense stats. It is not cured automatically. It persists after battle.
- Curse: This halves all stats and prevents you from changing equipment. It is not cured automatically. It persists after battle.
- Rage: This makes us attack enemies randomly. It is not cured automatically.
- Confused: This makes us attack allies randomly. It has a 15% chance of being cured every turn, automatically cured after 40 turns, and a 40% chance to be cured when taking physical damage.
- Blinded: This sets our hit percentage to 40%. It has a 40% chance of being cured every turn and is automatically cured after 10 turns. No, I don't know why Blind was so special it needed a weakened version as a second condition.
- Paralyzed: This halves our Agility and prevents us from taking any actions. 6% chance to be cured every turn, automatically after 20 turns, and 15% chance to end when taking physical damage.
- Petrified: Prevents us from taking any actions. Automatically cured after 5 turns, 40% chance to end when taking physical damage. Persists after battle.
- Mirror: Reflects all skills. Ends after 5 turns.
- Phantom: Evades all attacks. Ends after 5 turns.
- Decay: Halves all stats and deals 1% of maximum HP in damage per action taken in battle. Is not cured automatically. Persists after battle.
Whew! That was a lot of information! But guess what, there's A LOT more!
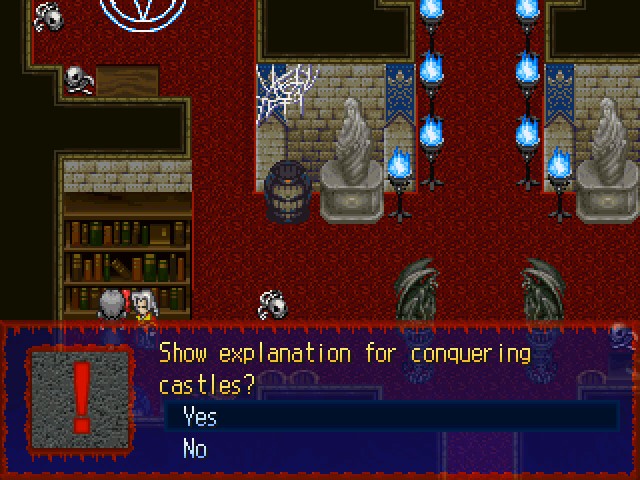
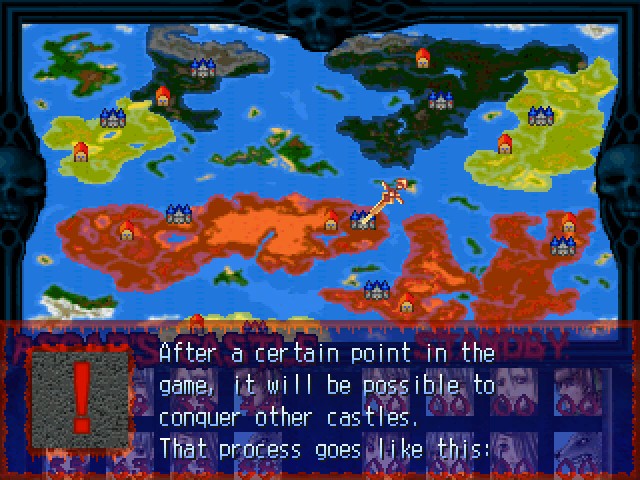 In this game, there are 9 castles. Each of them are in possession of someone. Castles and their surrounding areas that are in possession of Valnar are marked red. Castles of the Elras are marked black, and castles of the Clan of Holy Warriors are marked yellow. Each castle has control over a capital city, from where the castle collects taxes. The more people live in the cities, the higher the income from the taxes are.
Or to put it in reverse: The more people you kill / convert into vampires in a city, the less taxes you get.
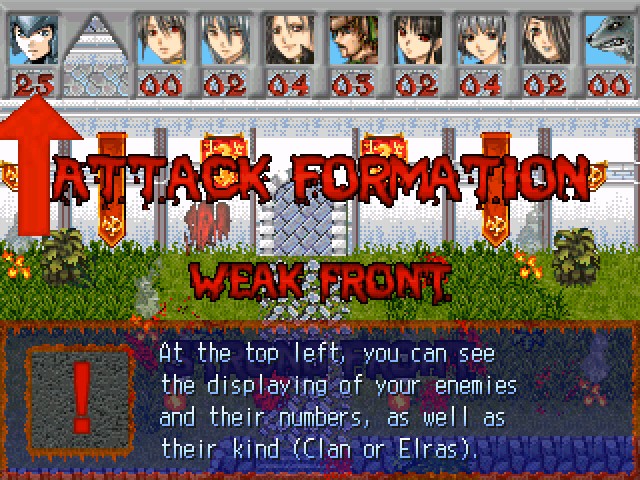
Because the Clan and the Elras station guards in their respective cities, and since those will be withdrawn and sent to the castle during an attack, you can only enter a city after the respective castle has been conquered. Fights in cities would cause too much of a stir. At the bottom left, you can see the displaying of your troops and how many are stationed at the selected castle.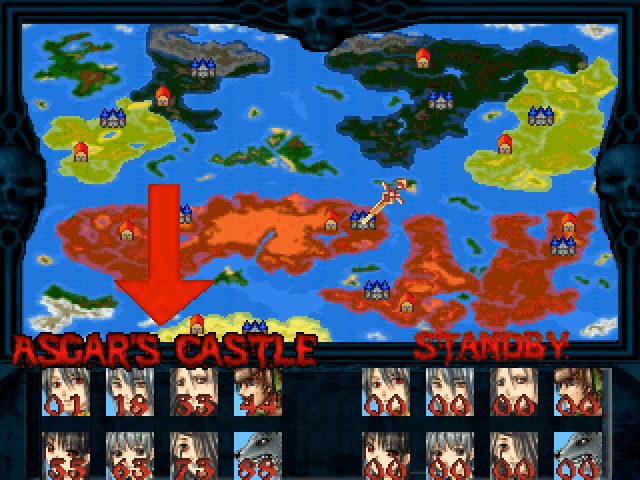 To the right, you can see the troops on standby.
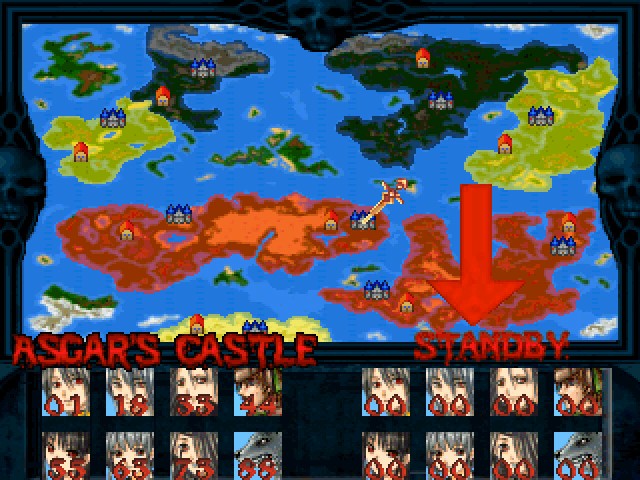 Among the troops on standby are all those soldiers who are not stationed at any castle. Since all troops that are still on standby after closing the conquering menu will be assigned automatically to Asgar's castle, the troops are only on standby when you wish to relocate them to another castle, or when you wish to attack a castle of an enemy. In order to attack an enemy castle, you first have to select the castle that you wish to attack. In this case, we want to attack with the troops from Asgar's castle, so we press Enter.
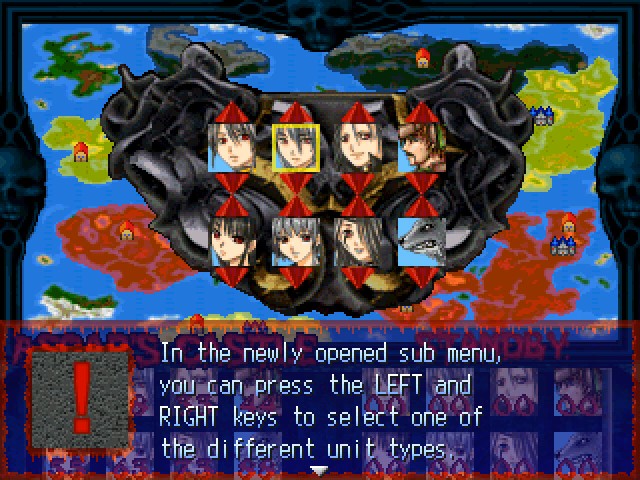 With the UP key, the unit will be moved FROM standby INTO the selected castle. With the DOWN key, the selected unit moves FROM the castle INTO standby. This way, you can move all units from your castle into standby, so you can either relocate them to another castle, or use them to attack an enemy castle. Press the ESC key to leave the sub menu. Of course, you can also select other castles under Valnar's control, as well, if you wish to move additional units into standby. Next, you select the castle you wish to attack with the troops that are on standby, or where you want to station your troops. For this example, we want to attack an enemy castle. To do that, move the cursor to the castle you wish to attack and press the Enter key. Now, move every soldier from standby to the castle you are going to attack. You can only attack one castle at a time. After you moved the troops from standby to the enemy castle for the attack, a confirmation message pops up, and on the difficulty settings EASY and NORMAL, you will be able to see your own as well as the enemy troops' strength.
And we get shafted again.
Troops that are still on standby when you start the attack on an enemy castle will automatically be moved to Asgar's castle.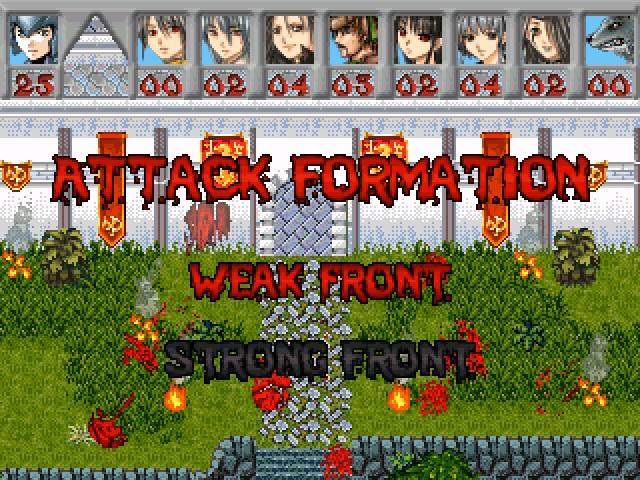 Next, you will enter the battle mode. First, you will have the opportunity to select whether you want the weaker units to attack (weak front) or if you want the stronger units to lead the charge (strong front). You should think carefully which units you want to send into battle, since you could add any of them to your party instead. Letting the strong units attack first, they will naturally be the first to die, and will be no longer available for recruitment. On the other hand, obviously, stronger units can kill more enemies.
I am a bit perplexed by this, because I simply prioritize recruitment over army status. A unit can be a lot more useful in my party than in the army, so I just pick whichever I like most.
 At the top right, you can see your own troops and how many of them are left.
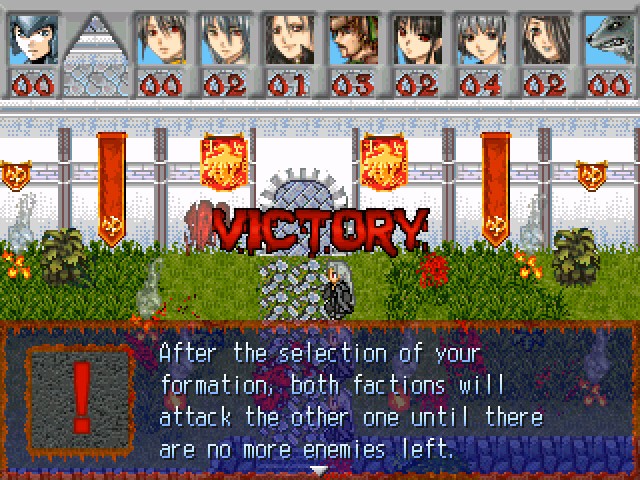 In this example, the vampires are victorious. The three currently fighting units aren't shown at the top right. It only shows how much backup is still available.
Note that that means that this tutorial fight took a Clan castle without losing a single unit. This is what we in the trade call "a cheatin' bitch". Suffice it to say we will not be doing this so easily.
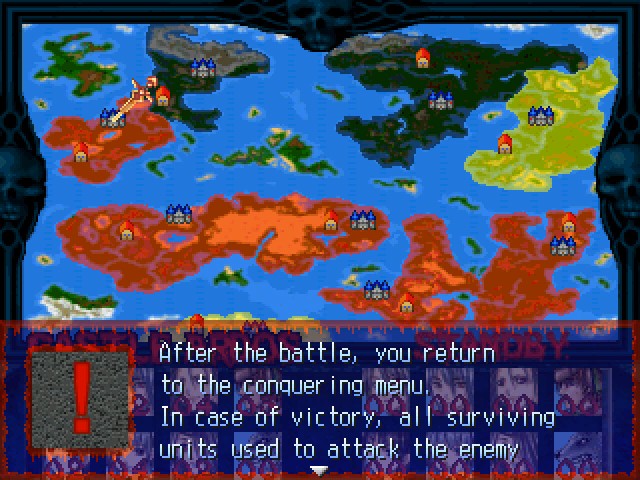 castle will be moved to the conquered castle automatically. From that moment on, you will receive the taxes from the city belonging to the newly conquered castle.
And that's it for the tutorial on conquering castles.
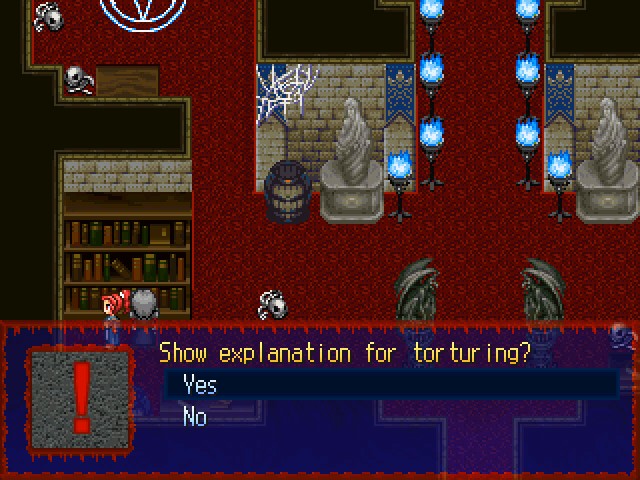
Oooh, this sounds interesting.
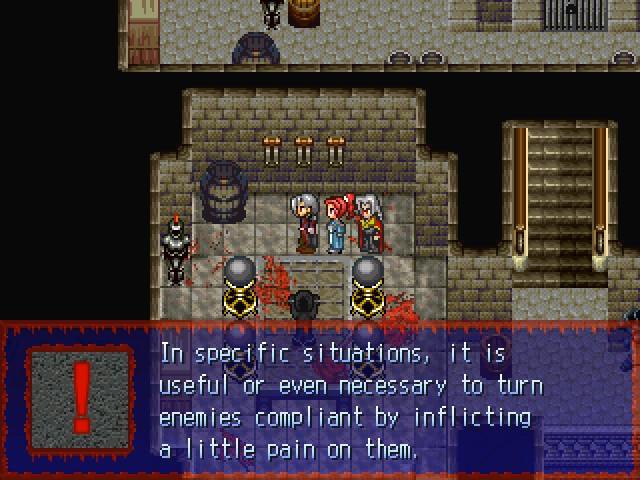 The principle for that is the correct combination of all the torturing spells. The three levers above the rack cause a torture spell to trigger. The higher the difficulty setting, the more difficult it becomes to find the correct combination of the spells to make a prisoner talk. If the torturing fails, the prisoner faints for a short time. After some recovery time, they will stand ready back in their cell for more torturing. If you don't wish to wait until the unconscious victim wakes up on their own, you can just walk up to them and use a healing phial on them instead. Just press ENTER while next to them and select the respective choice. Humanity does NOT decrease due to torturing, since it is human nature to oppress other beings.
Dayum. No information on what exactly the finding the correct combination entails, though. Well, no way to find out than to torture somebody!
 For each level of a skill, you need a certain amount of souls and learning points. Only on the difficulty setting EASY is it possible to learn all skills at all levels. Otherwise, the amount of learning points is limited, so you will have to think carefully about which skills are going to be the most useful to you. Also, Valnar needs to reach a certain level to be able to learn a higher level of a skill. If you wish to learn a new skill, move the cursor to the first slot of a skill (the left-most slot). After leaving the cursor on a slot for a moment, a pop-up window appears and explains the details of the selected skill level. The delay until the pop-up window shows up can be adjusted in the options menu. You can select a delay of either one second, two seconds or three seconds. If you wish, you can also disable the pop-up completely. In order to learn a new level of a skill, you move the cursor to the respective slot and press the Enter key. Provided you have sufficient souls, learning points, and reached a high enough level, you learn the skill. Before you can learn the second level of a skill, you must have learned the first level in order to do so. Similarly, before you can learn the third level, you must learn the second level first.
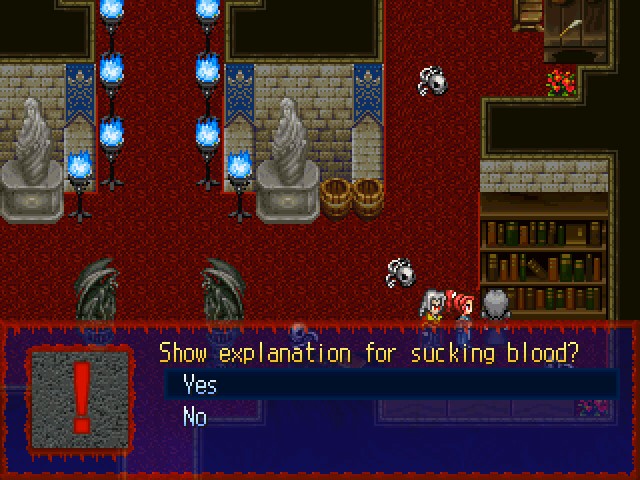
We're skipping this, since it's the same as what we saw in the other tutorial.

Same here.
This, however, is new.
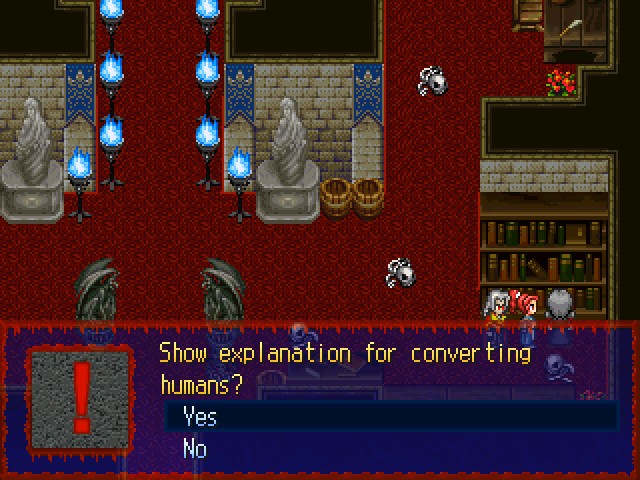
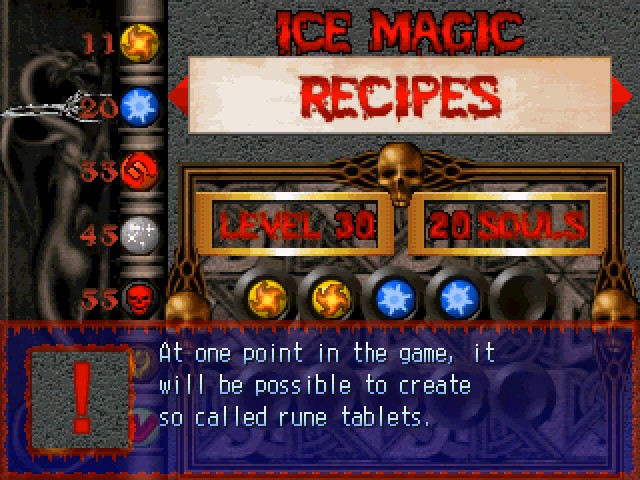
Converting humans is a fast way to obtain new items without any costs. What item is acquired through converting a human is random. The higher Valnar's level, the better his ability to convert humans will be, and the better the quality of the acquired items will be. An important point is the fact that Valnar will obtain Soul Fragments by converting humans, which are used in the creation of runes. Converting humans reduces the humanity of vampires.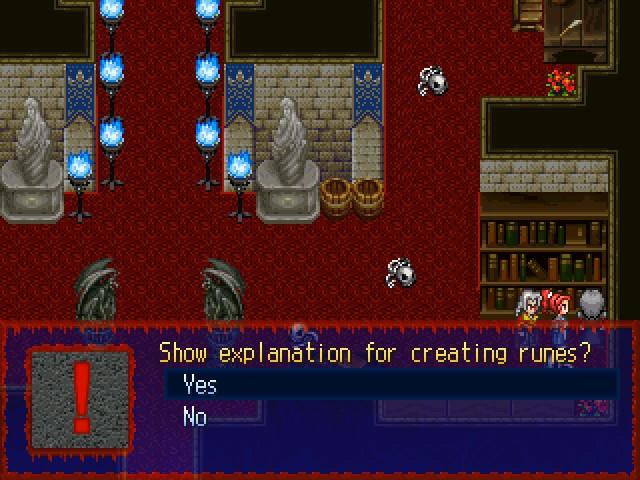
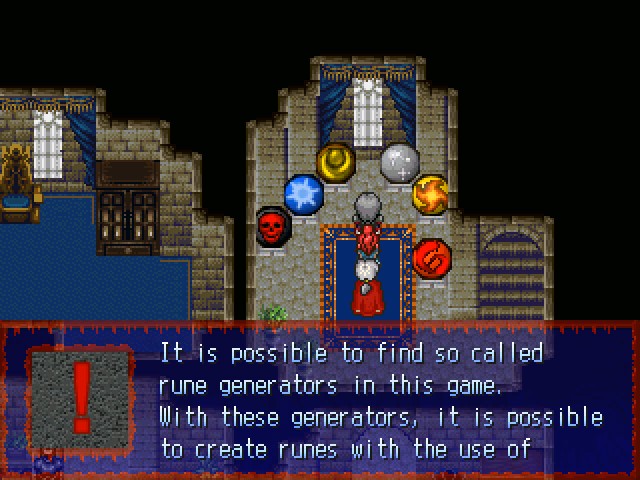 soul fragments. What's more, each generator can create exactly one kind of rune. Depending on the difficulty level, a different number of soul fragments is required to create a rune. Soul fragments can be obtained, for example, by converting humans. There are, however, already a lot of runes hidden in the world just waiting to be found. As soon as a rune generator has been found, it is waiting inside the tower in Asgar's castle on the 4th floor.
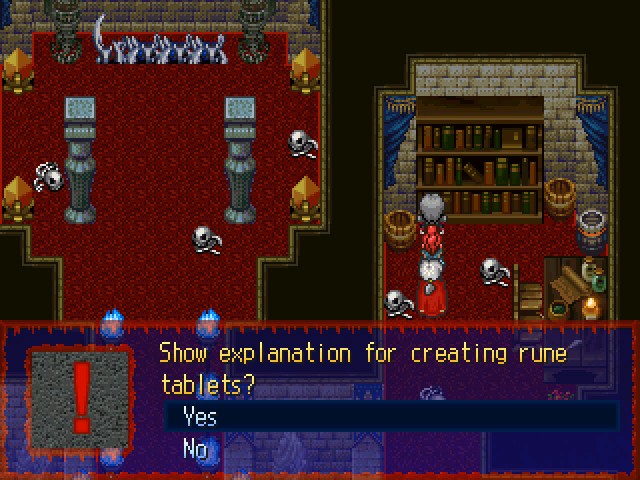
 With the help of those rune tablets, Valnar, Asgar and Alaine can learn new spells. Any other party member cannot learn new spells from rune tablets. On the left side, the number of available runes of all kinds are shown. The skeleton hand acts as the cursor.
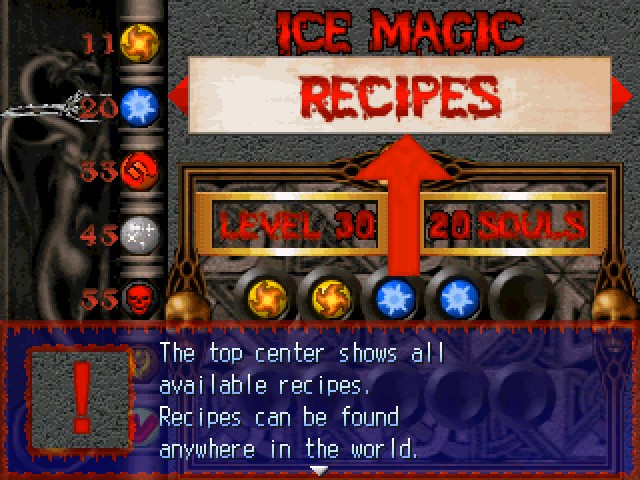 However, they are written in the language of the Elras, so before you can put them to use, you need to learn the skill "Ancient Languages" first. With the UP and DOWN keys, you can move the cursor. With the RIGHT and LEFT keys, you can scroll through all available recipes. At the bottom, you can see the required runes. The rune synthesis is based on the concept of combination. All rune tablets require a specific rune combination. To find out the correct combinations, you either use recipes, or you can just go by trial and error. Since trying to go for a wrong combination leads to NO penalty, you are free and encouraged to try as many things as you want until you find a correct combination. That means that you don't need a recipe to create a rune tablet.
So we're just going to go into the game files and see all the recipes there.
If you do possess one, however, you can create two of the same rune tablet you have the recipe for without using up additional runes.Bollocks.
It's important to note as well that using only one single type of rune ALWAYS leads to creating a rune tablet. For example, using five fire runes results in a correct combination, so does using three ice runes, and so on. So if you don't want to try and find a combination by trial and error, you can always just use one single type of rune for a spell. Spells created by combining different runes will always be stronger, though, and cost less blood.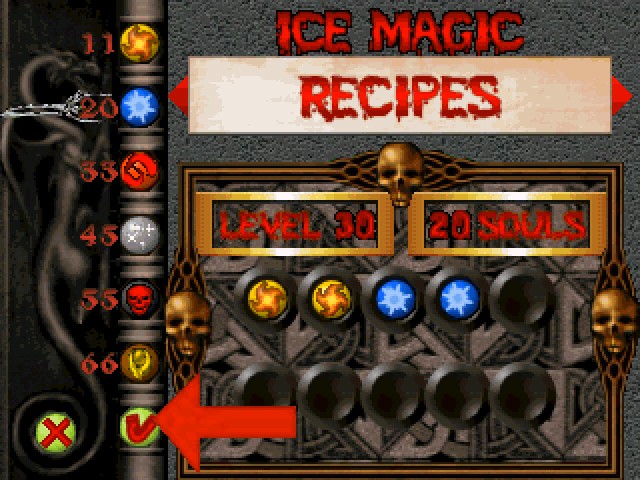 After using the cursor to put in runes into the mix pool and pressing the Enter key, you can move the cursor down to "Synthesis", and see if the combination was correct. There is one more thing to keep in mind, though. The more runes you use for one combination, the higher the required level for Valnar becomes. Only the most powerful vampires are capable of creating the most powerful rune tablets. For the creation of a rune tablet, you will also need a specific amount of souls. The required level and souls are visible in the middle of the screen. If you wish to remove a rune from the mix pool, you move your cursor to "Remove Rune" and press Enter. Runes can be found scattered all around the world, or you can use rune generators. The menu can be closed by pressing the ESC key.
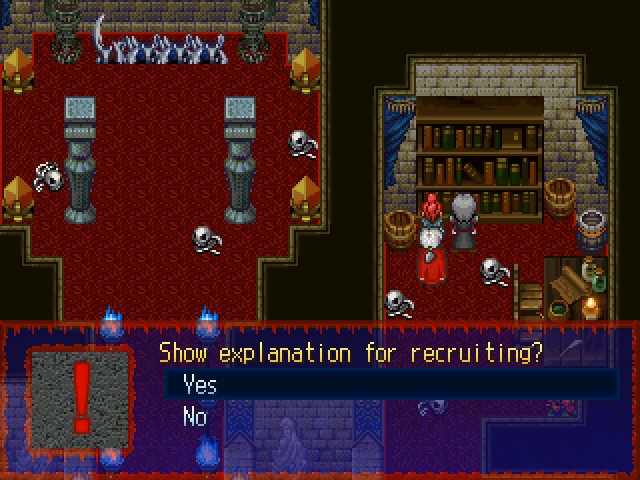
 You can either use them to conquer other castles, or you can add them to your party. For that, there is the recruiting room on the tower's first floor. You can enter the room through the two steel doors.
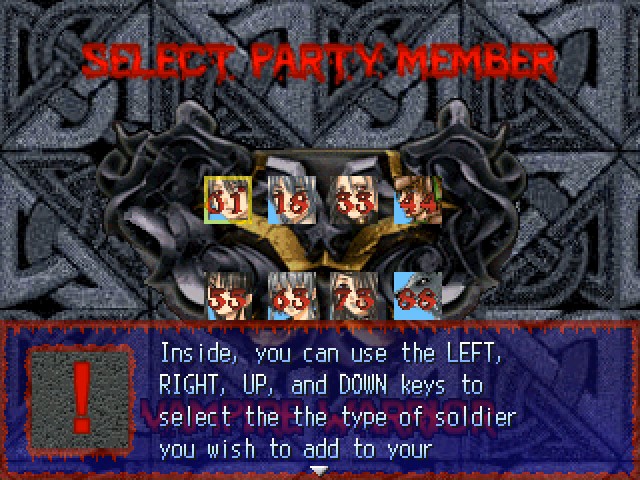 party. The numbers on the portraits show how many of the type of soldiers are available. By pressing the Enter key, you can confirm your selection. By pressing the ESC key, you can leave the menu without changing anything. By entering the recruiting room, the fourth party member will automatically be returned to the troops and their equipment will be put back into the inventory of your party.
We can skip this, since we've already seen all of this before.
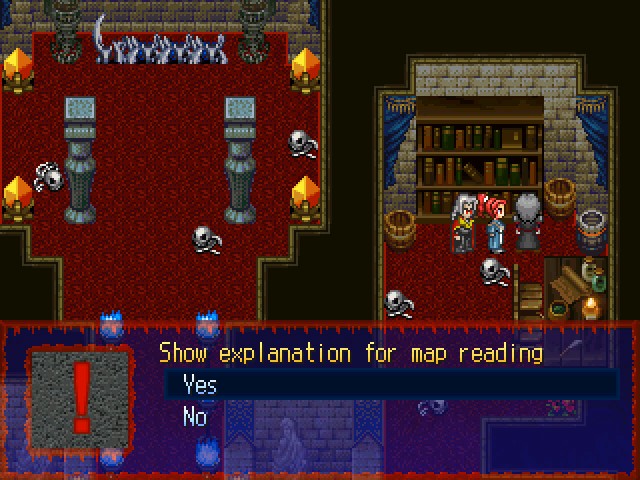
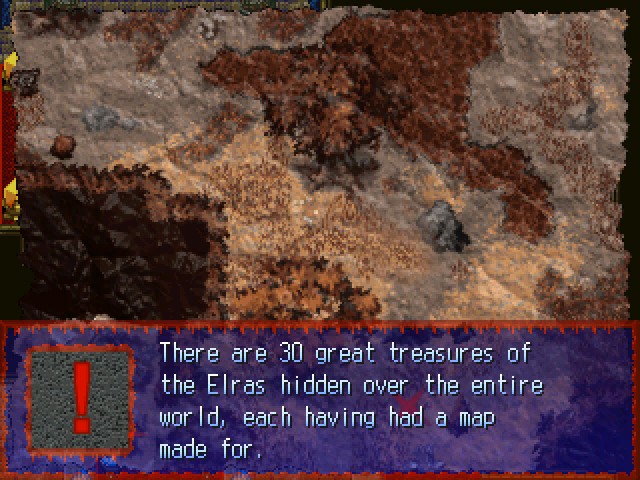 With the skill "Map Reading", a treasure map, and a shovel, the hunt for treasures can begin. Use the map in the inventory to take a look at it. At the bottom left, you can see a minimap, which will be helpful for orientation and trying to find the right place where the treasure is hidden. The rest of the map is an image of the area where the treasure is hidden. The red cross marks the place where the treasure is buried. After finding the right place, press the Enter key and dig out the treasure. You can get a shovel at several stores.
We cannot find treasures without having the map reading skill, from what I can tell. We just won't be allowed to dig, even if we know from looking into the game files. Anyway, that's it for our tutorializing. So now let's head out. But on the way there...
...we get rudely cut off by Grandpa! So, next time, it's once more time for a Nyria segment!