Part 53: Behind The Fangs, Part XII - RPG Maker Basics: The Events, Part IV
Behind The Fangs, Part XII - RPG Maker Basics: The Events, Part IV
♪ BGM: Spirits and Sentiments and Splendor ♫
And we're back to event commands. What's next on the menu?
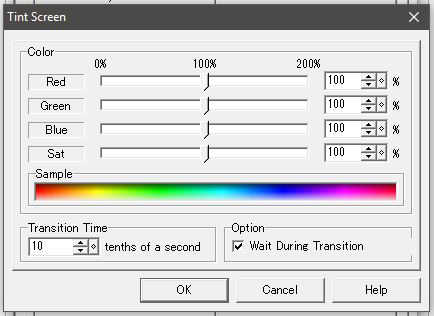
Tint Screen does pretty much what it says it does. You can change the color tint and saturation of the colors on screen, you can set how long it takes to transition between the old tint and the new one, and make it so that no other events process while the change is in process. Screen tinting wil also I'm pretty sure that you could use this and a common event to fairly easily create a day/night cycle. In fact, I'm fairly sure VD1 actually did that. Huh. Now I'm just wondering why VD2 actually doesn't have a day/night cycle. I guess it makes it easier on me when I don't have to use a spell to make it night so that I can suck some blood from some guy out on the street.
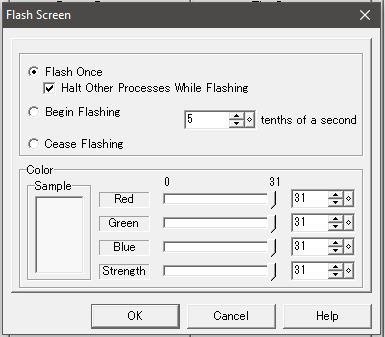
Flash Screen gives you the power to induce seizures the world over and more! You can either have just a single flash or continuous flashing in a fixed interval, you can set the color of the flash, you can set the intensity of the colors, and you can stop other events from processing during the flash. You could use this in combination with another command and fitting sounds to make a good thunderstorm.
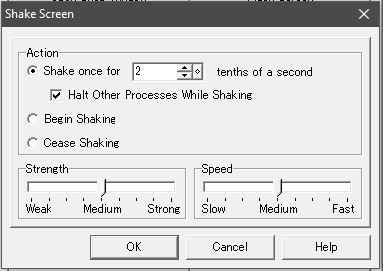
Shake Screen works similarly to Flash Screen. You can have either a single burst of shaking or continuous shaking, you can set the intensity and speed of the shake, and you can stop other events from processing during the shake. Primary use is obviously different sorts of quakes.
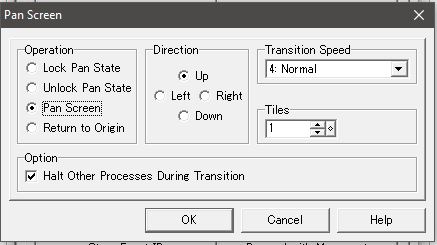
Pan Screen gives us control over the camera. Lock Pan State fixes the screen position, allowing us to move the main character while not moving the camera. Unlock Pan State then reverses that fixing. Pan Screen lets us directly move the camera in a specific direction. Finally, Return To Origin moves the camera so that the main character is back in the middle of the screen.
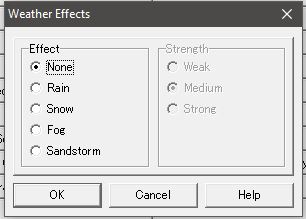
Weather Effects are, well, weather effects. You can have three levels of severity, and that's about it! So instead, let's showcase them.
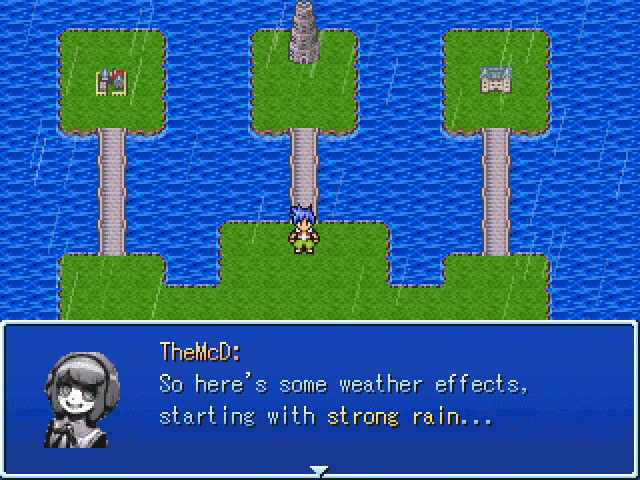

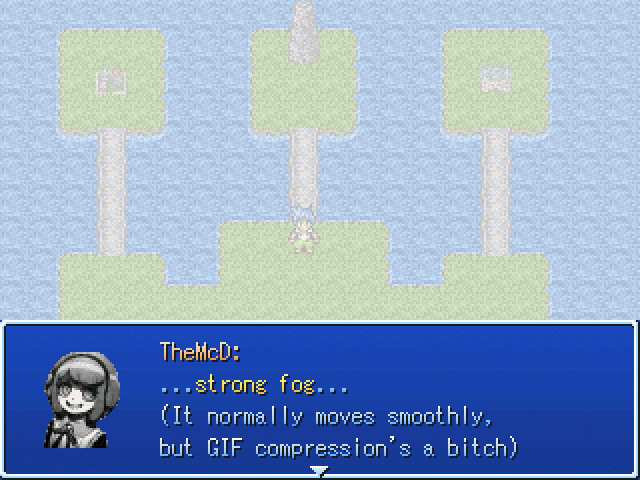
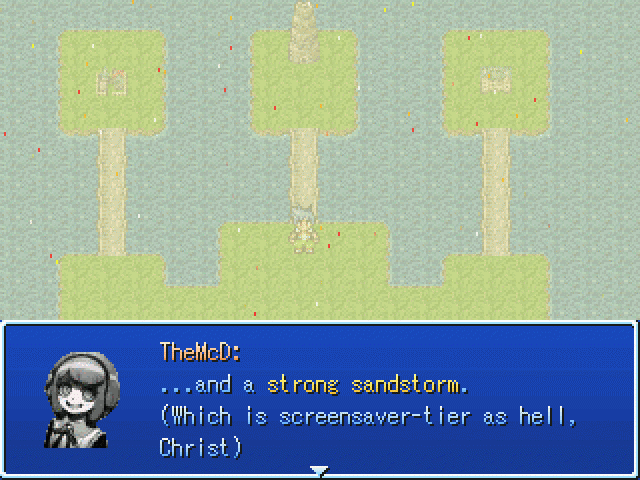
So, with that demonstrated, let's check out the next one.
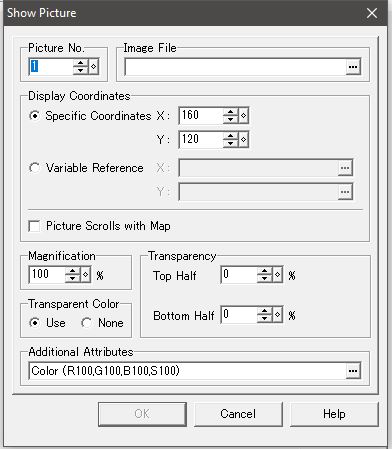
Show Picture gets us into the wonderful world of pictures. Like I said when we went over the resources, "pictures" is a catch-all for pretty much anything you want to display that isn't done by a more specific function. Now, first, you assign a number to each picture. You need to give a picture a number for later manipulation via the Move Picture and Erase Picture commands, and the higher the number of the picture, the higher the priority of the image is - essentially, the numbers determine the layering of images, with the higher number image being displayed over the lower number image. Then you set the image file that you want to display.
Next, you set where on the screen you want it by setting the coordinates for where the center of the picture will be placed. You can either use specific numbers you set or, as usual, load from variables. You can also set the image to either scroll with the map or not, meaning that the image either stays at one specific spot relating to the map (that's letting it scroll with the map) or stays at one specific spot on the actual screen (that's not letting it scroll with the map).
You can set the magnification of the image, which is handy if you don't want to work in the tiny 320x240 constraints of RPG Maker and instead let RPG Maker shrink the image down later. Of course, then you're relying on RPG Maker for scaling, which might be an error in judgment. Transparency color comes into play when you originally import an image in the resources. Actually, let's open that image import up for a bit.
When you select an image to be imported, you can select the transparency color by clicking on a particular part of the image, which will then cause the part that can be set to be transparent to flash. So in my case, it would be the small green corners that I would want to be transparent. Anyway, that's what you're enabling or disabling when you use the transparency color option.
Next, you can also set transparency for the picture itself in halves. So if you set the transparency to 100% for both halves, the image would be completely invisible. And finally, you can change some additional attributes.
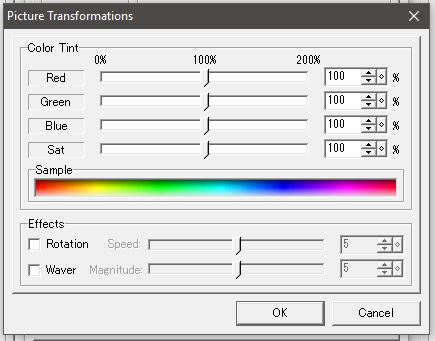
Here, you can fiddle with the color and saturation of the image, and further, we can rotate and "wave" the image, which looks like this:
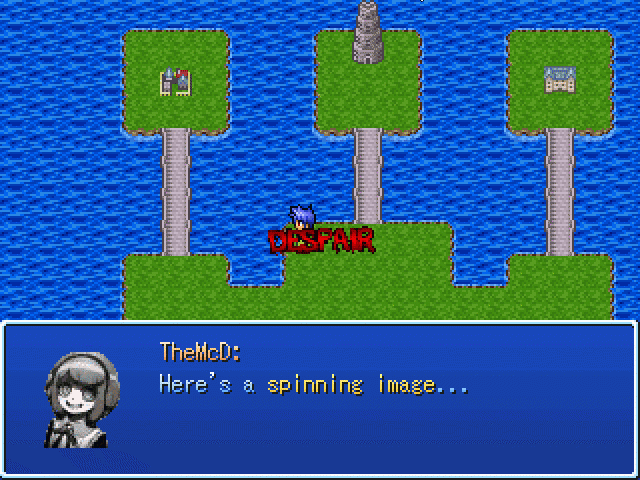
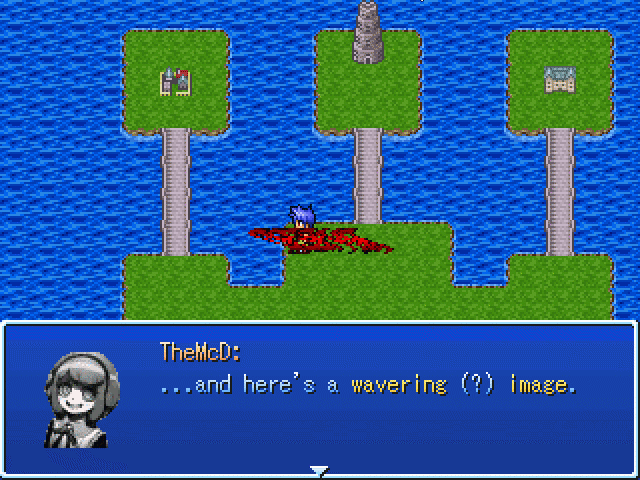
I'm not sure I would describe that movement as "wavering", but whatever. Moving on!
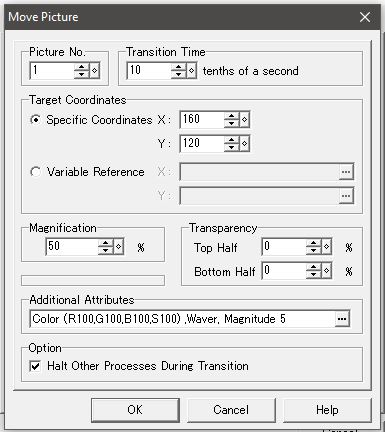
Move Picture gives you a lot of the same options in the context of moving the image. So you basically set the original position with Show Picture, then set the second position with Move Picture, and the image will move between the two positions in the amount of time set in the transition time.
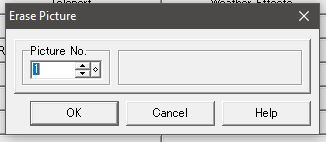
Finally, Erase Image just bloops the selected image out of existence with no options to speak of.
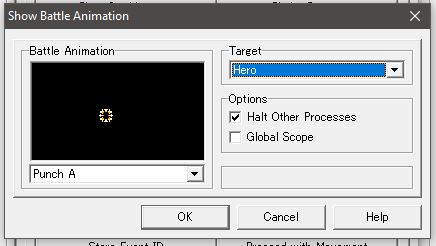
Show Battle Animation does exactly what you think it does. It allows you to show battle animations on the normal map. You pick the animation, pick the target from any event on the map, select whether other events should pause while the animation plays, and select if the animation should be shown on the entire screen with the global scale option.

Hero Sprite Transparency sets the transparency of the hero sprite. Yup.
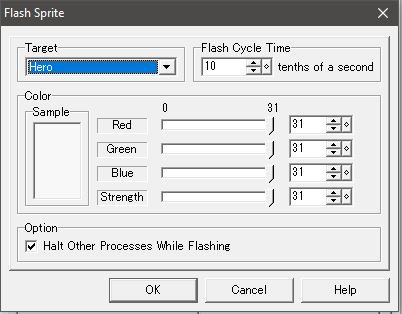
Flash Sprite allows us to do the exact same thing as Flash Screen, except localized on one particular event sprite. Yay!
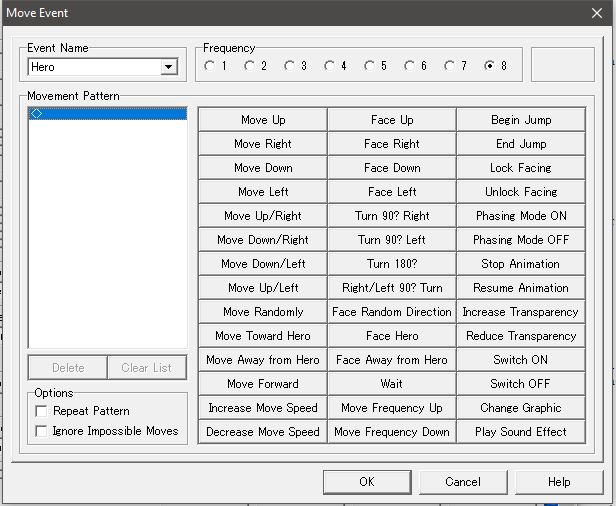
Move Event is something we've already gone over when defining the movement patterns for events. This is basically the same with the same options, except that we're not defining a pattern, but just moving an event in a certain way once.
Furthermore, we have Proceed With Movement. This is an event command that doesn't have any options at all and instead just slots into the list. What this does is that it forces all movement commands entered in the Move Event command immediately preceding it to be executed before the event continues. Otherwise, the event movement is basically inputted and the rest of the event continues on while the event movement is executed.
We also have the Halt All Movement command. This stops all currently running movements. Pretty simple!
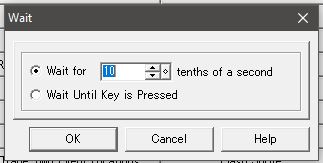
Finally, we have the Wait command. This just has the processing of the event stop for either a certain amount of time or until a key is pressed.
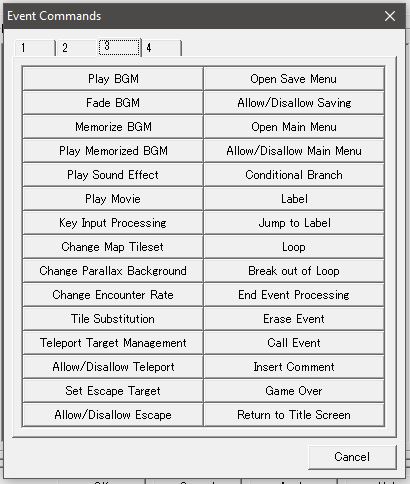
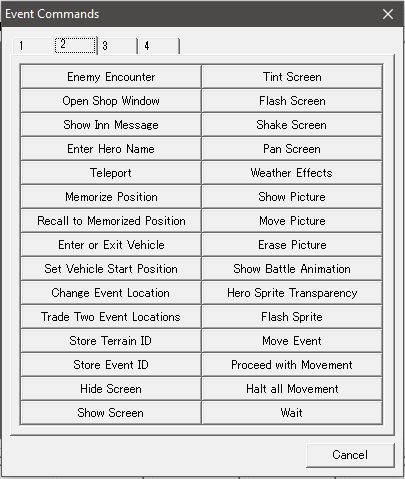
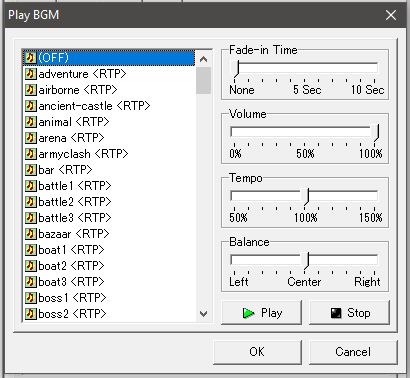
Now, that's it for that page of the event commands. Here's the next one.
Play BGM is something I think we've already seen, since we already had to set music in other places, but here it is again. You can select which music to play, and manipulate it in different ways.

Fade BGM allows you to fade out the BGM with a certain fade out time.
Memorize BGM and Play Memorized BGM are two commands that don't have any options. Memorize BGM saves the BGM currently being played with its different options, but not the current position of the track. So if you then play the memorized BGM, it will start again from the beginning.
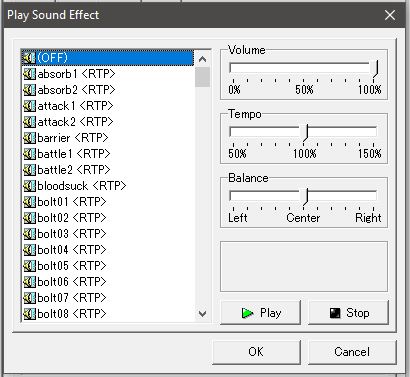
Next, we have Play Sound Effect, which works mostly the same as Play BGM, just without fade-in time.
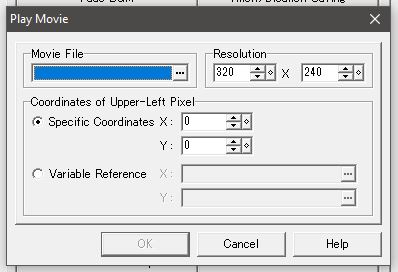
Play Movie is next. Like I said in the part about the resources, RPG Maker does support movies, though they're going to need to be fairly small, all things considered. You can set the resolution and where they're supposed to appear, and that's about it.
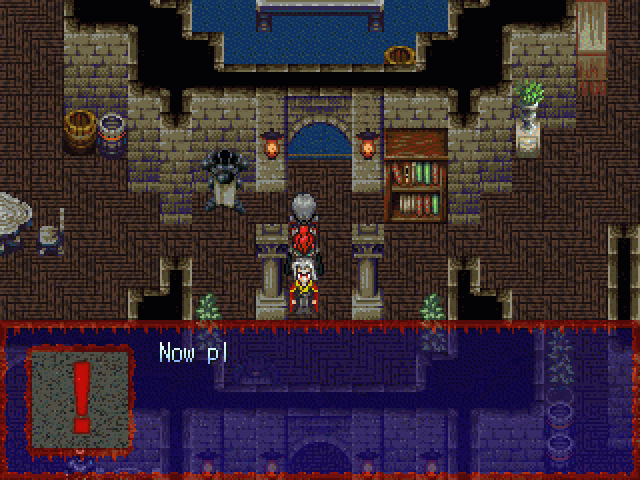
Of course, this means I can do things like this:
Note that movies will only play in full screen for me. YMMV, this is probably some arcane video processing plugin shit screwing up because that's what happens with more than a decade old software.
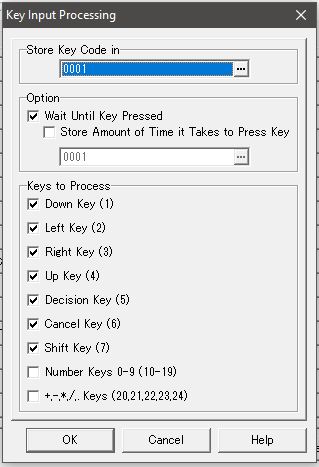
Key Input Processing is one of the fun ones. With this, the game checks to see what key you press and then stores a value in the set variable depending on the key you press. You can also store the time it takes for the player to press the key in a separate variable - the value being stored there is the time expressed in tenths of a second. "Wait Until Key Pressed" means that event processing is halted until the game reads a key input. You can also select just which keys exactly the game should be checking for. Note the limited selection - no using the letters on your keyboard here.
This command is usually followed directly by a branch based on the variable you just read in which the key input is processed.
If you want an example of this, look back to VD1's carnival in Thessa. The arm wrestling minigame functioned by using key input processing in a loop to add 1 to a variable every time the key was pressed, with the different opponents then subtracting certain values from the variable in specific intervals to create the tug-of-war gameplay. Fun stuff.
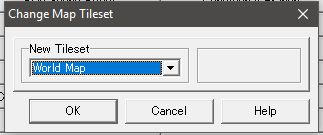
Change Map Tileset is fairly simple. All it does is change one tileset to another. Of course, there's a bit of an issue with that in that tilesets are very rarely mapped out to flawlessly translate between each other. As a result, this only works if you've made sure the tileset you're changing to maps correctly and you don't end up with disjointed crap all over.
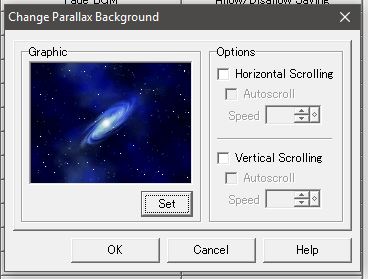
Change Parallax Background is another simple one. It just gives you the same options you had regarding the parallax background back when we set it up in the map properties, but you can change it on the fly here.
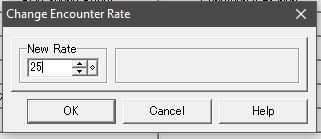
Change Encounter Rate is the same.
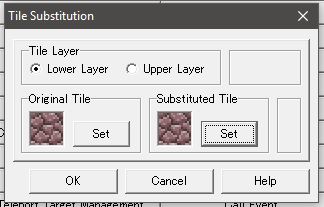
Tile Substitution is basically the same thing as Change Map Tileset, just on a smaller scale and within the same tileset. You pick one tile, and then replace it with another tile. Also, it doesn't let you change all of the tiles, just most of them.

Teleport Target Management comes into play when you use skills that have the Teleport type. This then allows you to manipulate the targets for that teleport skill, and allow for the flipping of a switch in the case of teleporting, which could then be used to do all sorts of wacky stuff, I'm sure. Note that you can only have one teleport target per map, and if you set one for a map that already has one, the old one will be deleted.
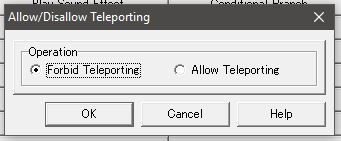
Allow/Disallow Teleporting will... allow or disallow teleporting skills! Yay! Only for the map this event is on, though.
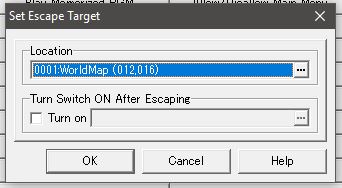
Set Escape Target. This will set a particular target that the party will be teleported to when they use an Escape skill. In essence, the Escape skill is nothing but a different type of teleport skill that doesn't let you pick between targets, but instead only has one particular set target that is overarching for all maps. It basically allows you to have two different targets for certain skills - so if you have a dungeon, you could have a Teleport spell that brings you back to a town, and an Escape spell that brings you back to the beginning of the dungeon.
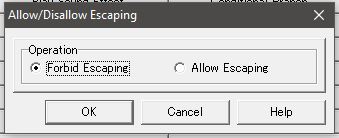
Finally, we have an analogue - Allow/Disallow Escaping works just like the teleporting counterpart. Again, only on that particular map.
And that'll be it for now. Next time, on Behind The Fangs, we'll finish off the event commands, and I'll have to figure out what I'll want to do after that.