Part 65: Behind The Fangs, Part XVI - Conversation Menu
Behind The Fangs, Part XVI - Conversation Menu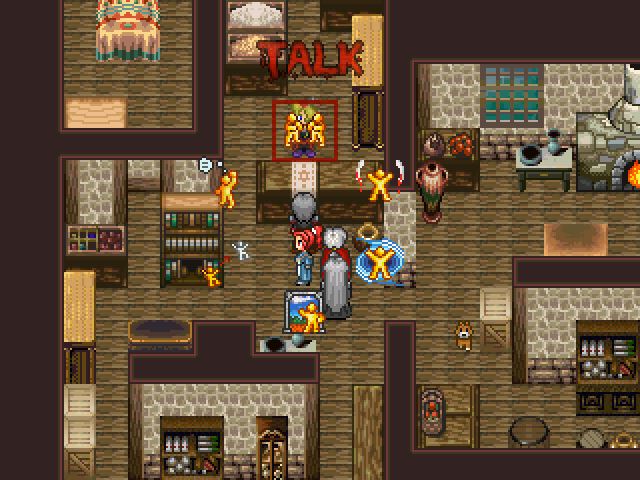
♪ BGM: I Sawed The Demons ♫
So, this time around we're going to take a look at the conversation menu, which is quite a step up from the first game, both in capability and production values. I mean, in the first game, the conversation menu was basically just starting you off with a basic conversation branch and went from there. But here, we have a menu with graphics and everything! So now, let's take a look at how it works.

As an example, we'll take this random person in Syrahs. One thing to note is that basically none of the event code is relegated out to common events. All the code that we're about to see will show up in the events for every single person we can talk to like this. I presume a lot of copying and pasting was involved in this process. And now, to the code itself. Warning: If you thought the previous ones were long, you ain't seen nothing yet.

OK, that's a fuckload of text. So once more, let's break this down into parts.

First, we make a whole bunch of pictures show up and fade in. I don't think I have to show you all the pictures here, since none of them layer in interesting ways or anything like that like with the blood sucking. We also initialize two variables with zero, and we also turn off the conquering system via a switch. It would be kinda sucky if we got attacked in the middle of dialogue.

Next, we enter a loop. We'll be staying in this loop until the end of the event. We're doing some key input processing, and the first check we're doing is if the decision key is pressed. And if we do press the decision key, then we get into the meat of the event.

When the decision key is pressed, we start a large conditional branch checking for the state of the second variable which tracks which position the menu was in when we pressed the key. Here, we have the first part of the branch, which is talking to the person. Something you'll see in every one of these branches is removing the pictures, obviously. After that, we just have some regular dialogue, and then we break the loop, the latter part also being in every one of these branches.
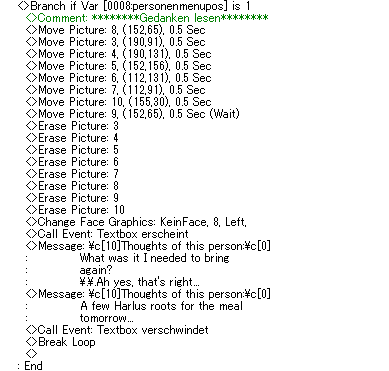
The second branch is similar, with it being the mind reading part, which also just displays some dialogue. Or monologue, rather.
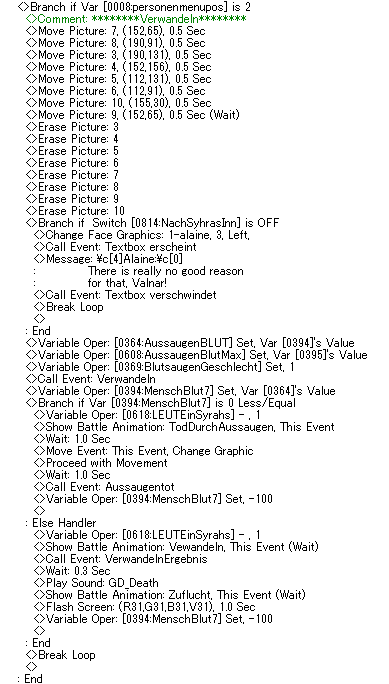
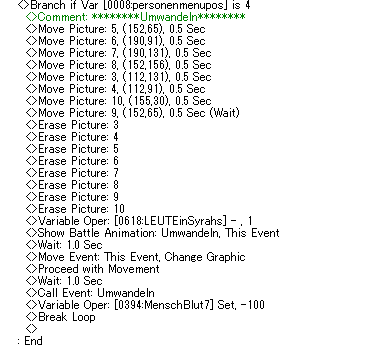
The third branch is for turning somebody into a vampire. You'll first note that there is a branch checking for a switch that has Alaine complain at us if the switch is not on. This is a switch that is turned on during the scene in the inn in Syrahs where the gang starts considering turning people into vampires as a possibility. However, if the switch is on, we go into the transformation system. However, we'll be going into that in more detail later, so for now, let's just skip over this part and instead move on.
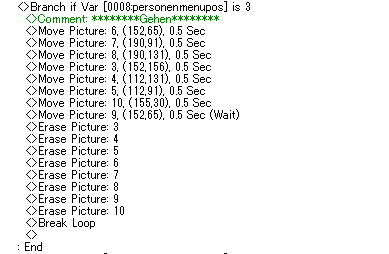
The fourth branch is just straight up leaving. Pretty simple. This one just does the things every other branch does in removing the images and breaking the loop, but it doesn't do anything else! Not very exciting, let's move on.
The fifth branch is the option that convert the human you're talking to into an item. It calls the common event to convert, which is bascially just a clusterfuck of conditionals that gives you a random item based around your level. Nothing really we need to go deeper into, and I'm pretty sure I'll never use it myself.
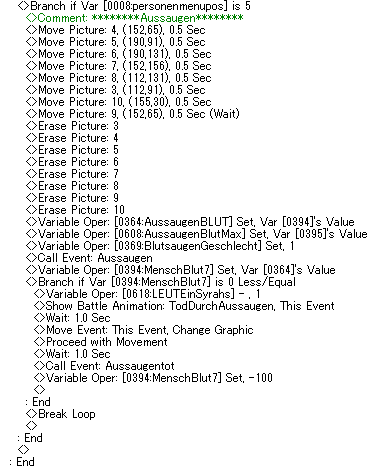
The sixth branch is for sucking blood from somebody. You'll note the variables being set that we required to be set back when we looked at the blood sucking system, and there's a sub-branch for when you suck somebody completely dry.

Next, we exit the branches that check what happens when you press the decision key and instead hit the cancel key. Of course, it just exits the menu as well.

After that, here's the bit of code that sets the position of the menu based on your directions. If we press down, we have some checks to catch when the variable is 0 or 1, and otherwise it can just subtract 3 to get the right result. And yes, that means there's a way for the variable to be -1, but that's checked at the end. Next, we deal with pressing left and right by simply adding or subtracting one from the position, then pressing up. Finally, we have a check for whether the value for the position is set to lower than 0 or higher than 5 that resets it back to the minimum or maximum value. Simple stuff.
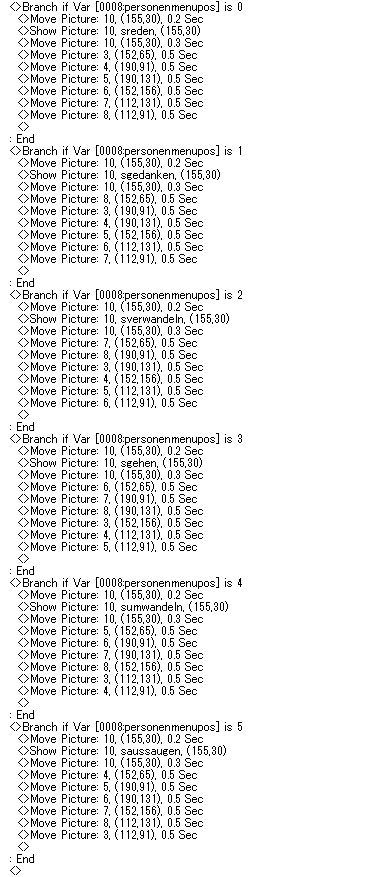
The next part of this is the one that actually does the moving of the menu. it's just a whole bunch of checks for the different possible values of the menu position, and then it's a whole bunch of moving images around depending on how it's supposed to look.

Finally, after the end of whatever it is we do with this character, we turn the switch that disables the conquest system stuff back off again.
And that's how the conversation menu works! This was a bit of a shorter one, but I guess that's inevitable at times. I guess I'll just throw this in after a regular update. Remember, if I didn't go into detail enough or something is still unclear, just ask!