Part 8: The T'rang(and other new friends)
Update 006: The T'rang(and other new friends)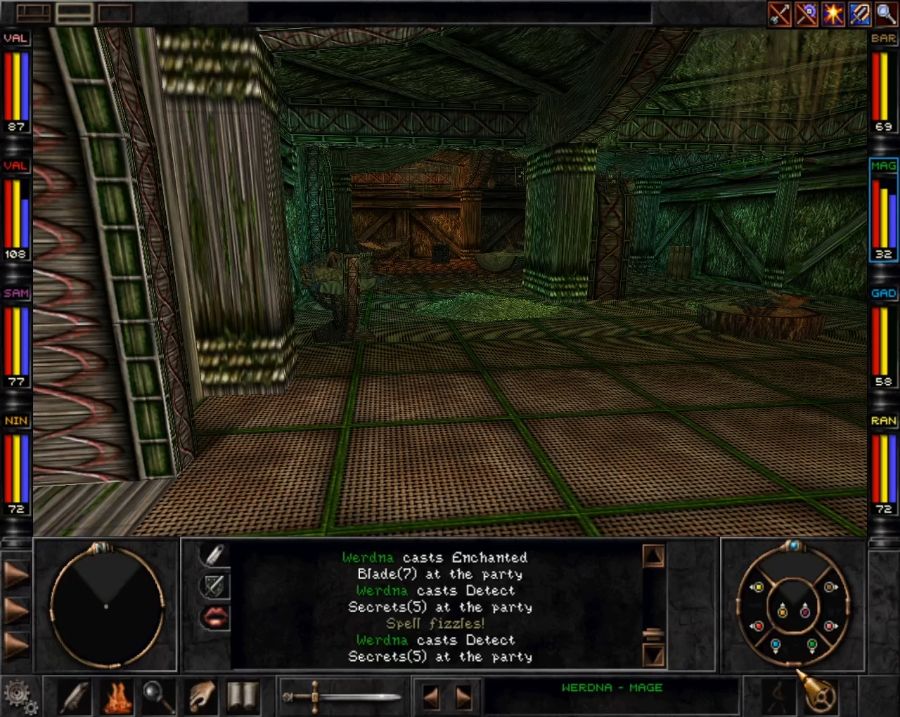
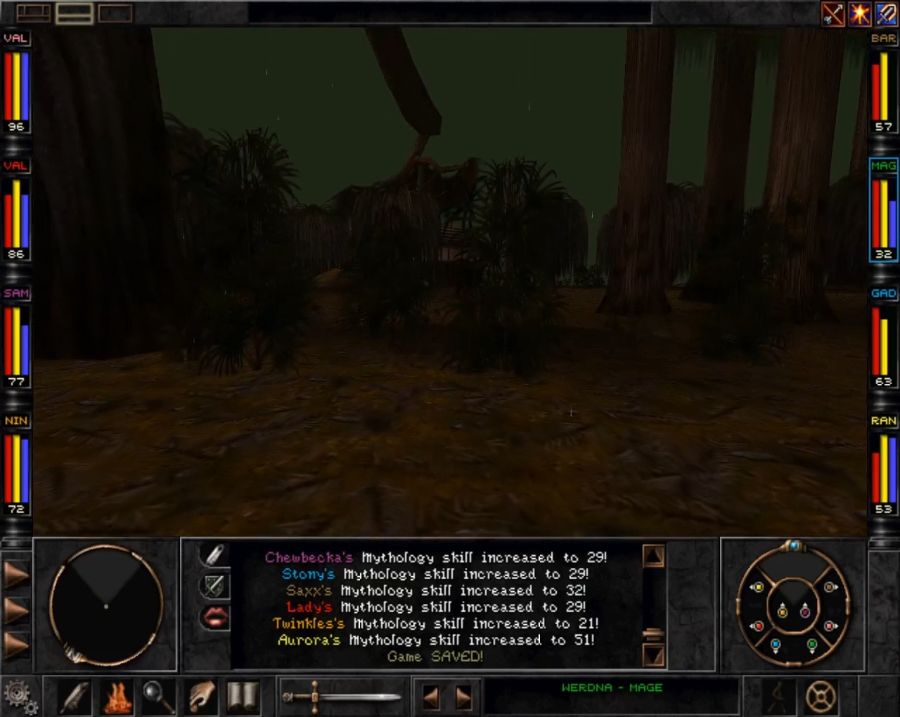
We resume outside the Don's office. The general vote seems to be to at least let the Rattkin live for now, so we can get the final chunk of their dialogue, and then beat them up on the return visit when they (hopefully) furnish us with the Astral Dominae just to spite the Dark Savant. However, some nice folks did remind me that we can go chunk their Rattkin Breeders without pissing off the Don, so let's get that sorted.
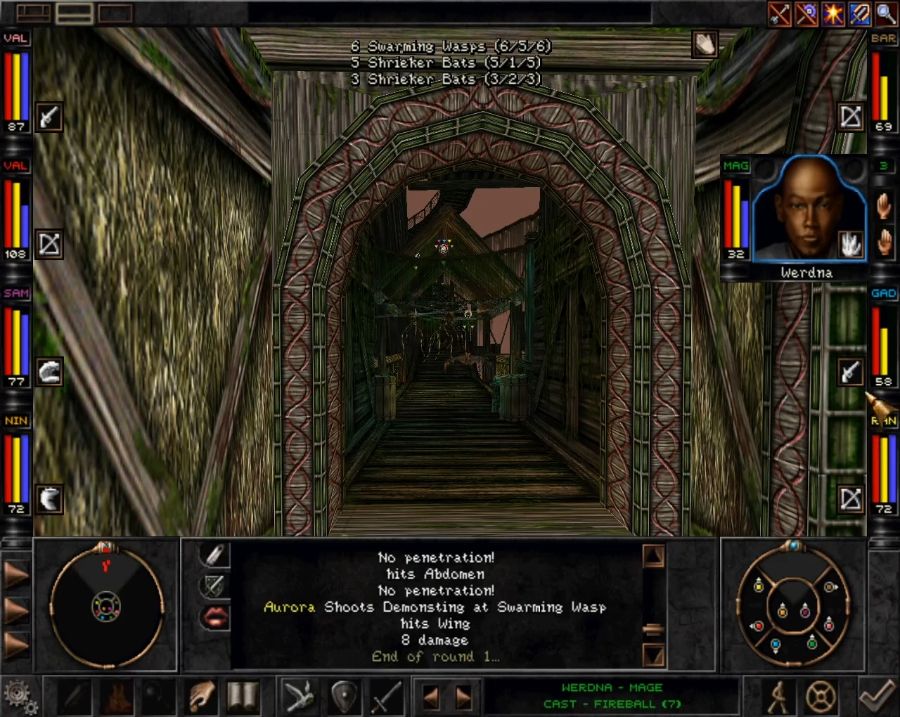
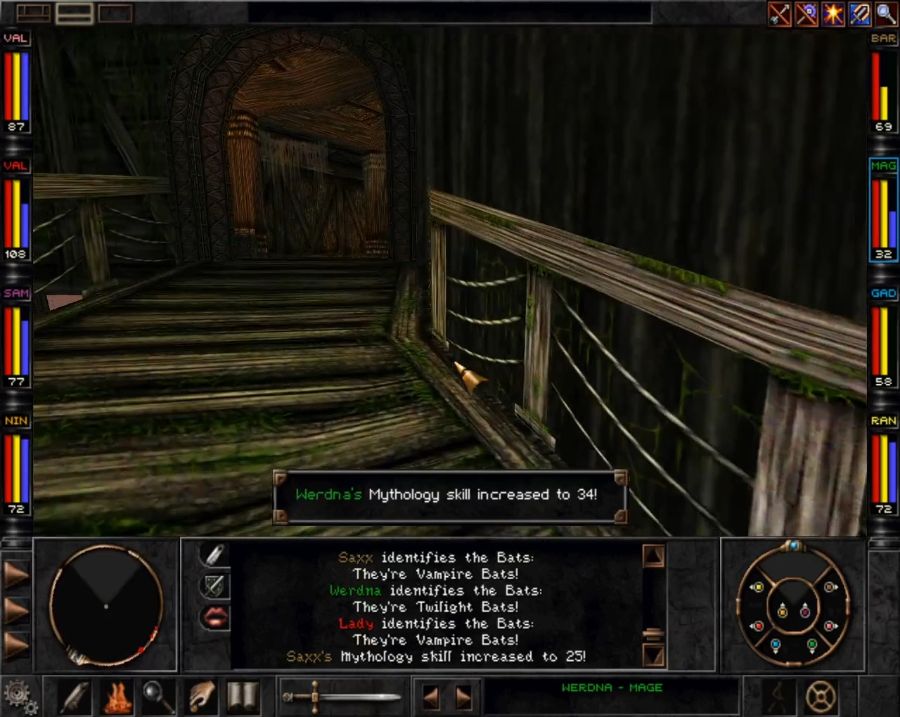
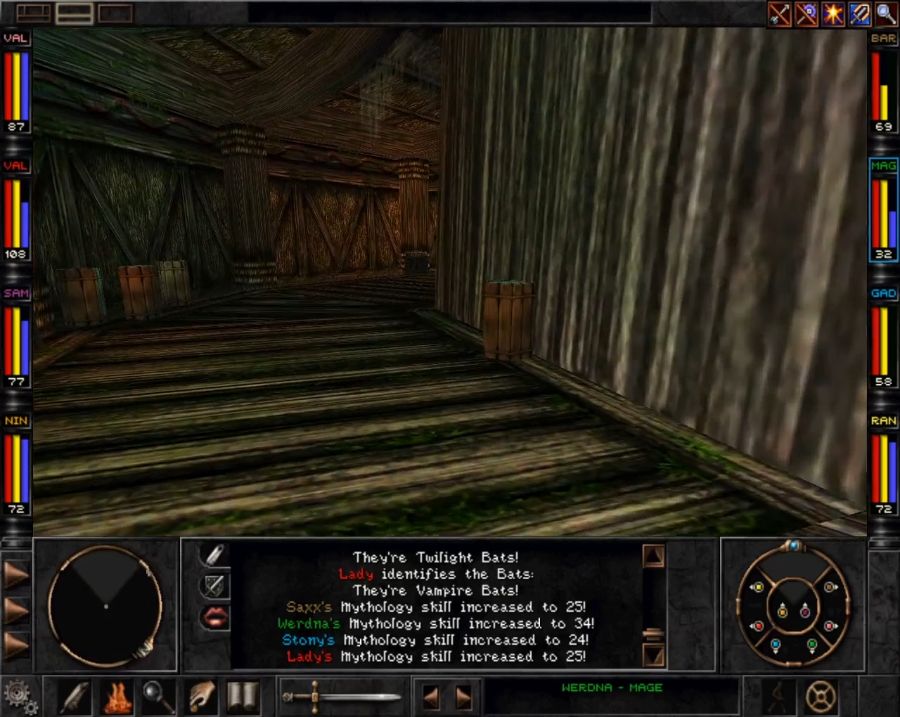
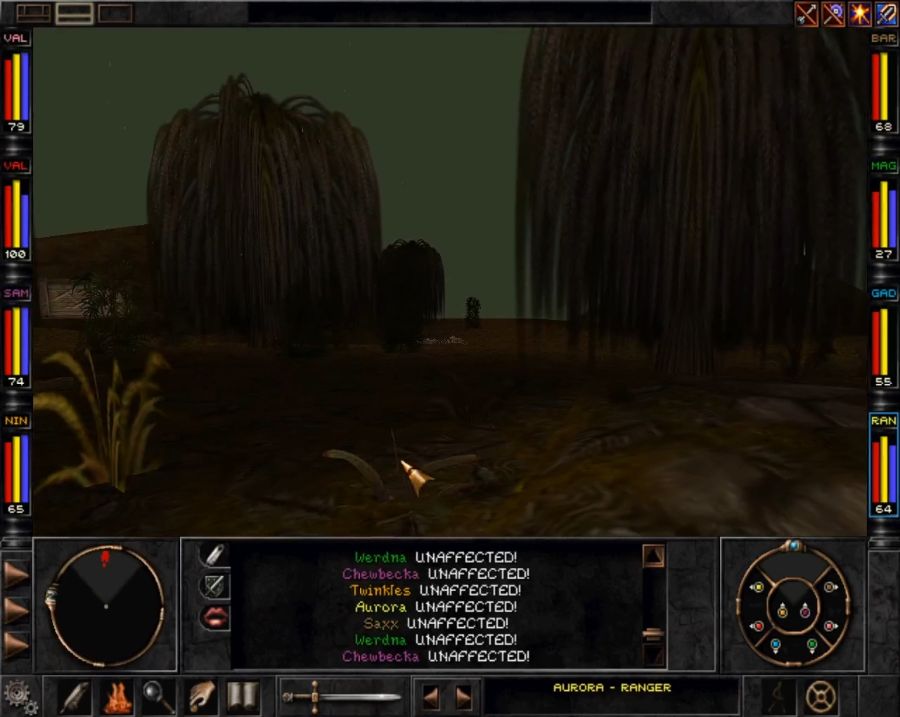
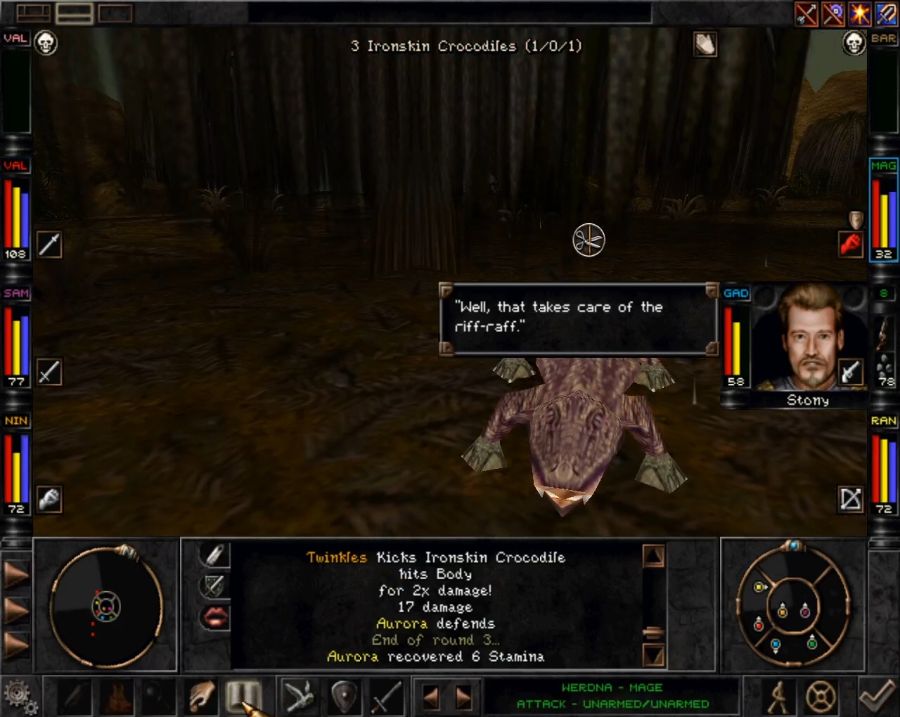
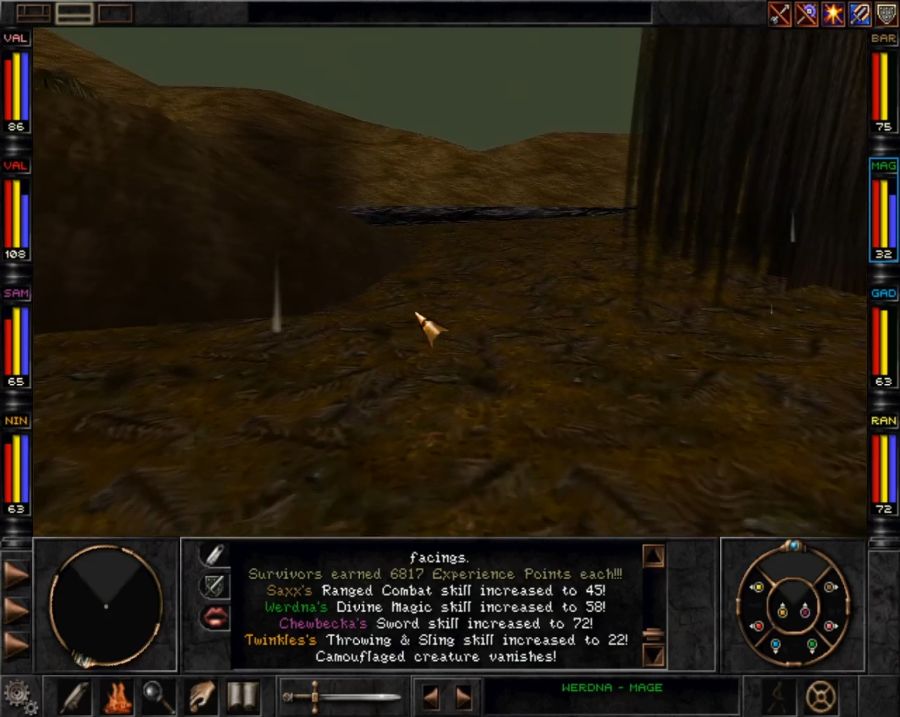
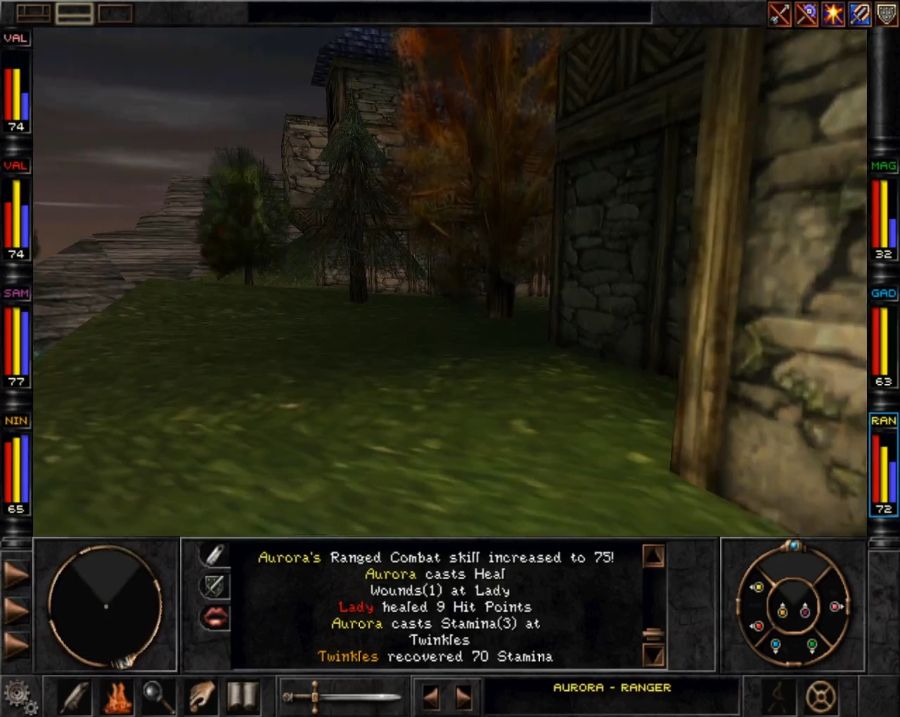
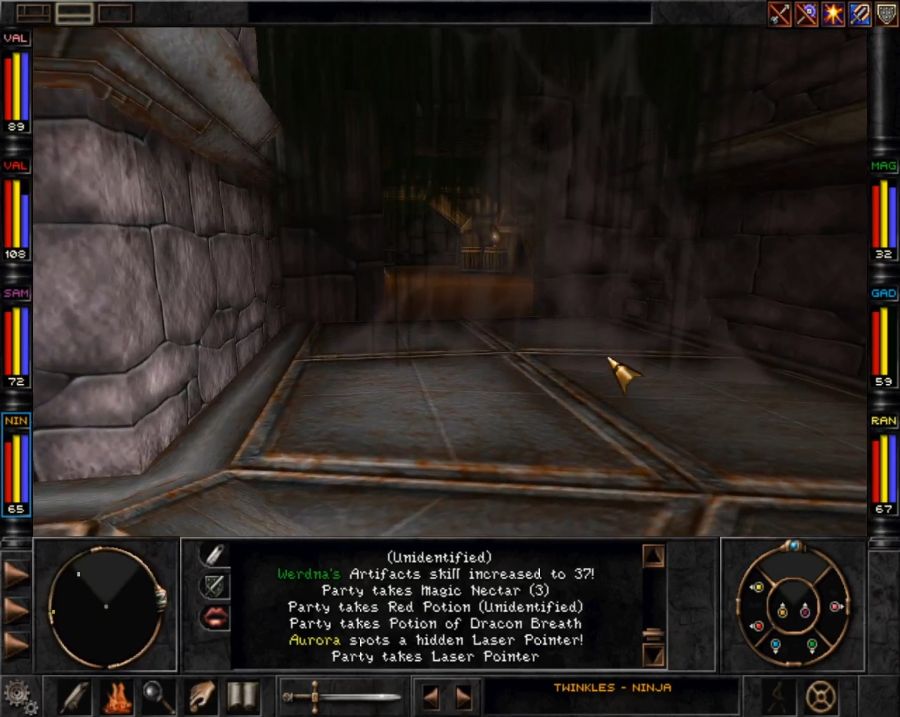
Not picture: Me having to fend off like 500 giant bats and wasps because something is up with the spawn rates in the Rattkin Tree, and even resting inside a building they tend to come for your ass. It feels like they've got the same spawn numbers as all of Trynton compressed into an area that's a quarter of the size so you can't take a leak without tripping over a plant that wants to eat your brain. On the bright side, the narrow environs meant that most of them were resolved with mass applications of Fireball and Saxx's Siren Wail making them all go insane and start stinging each other.
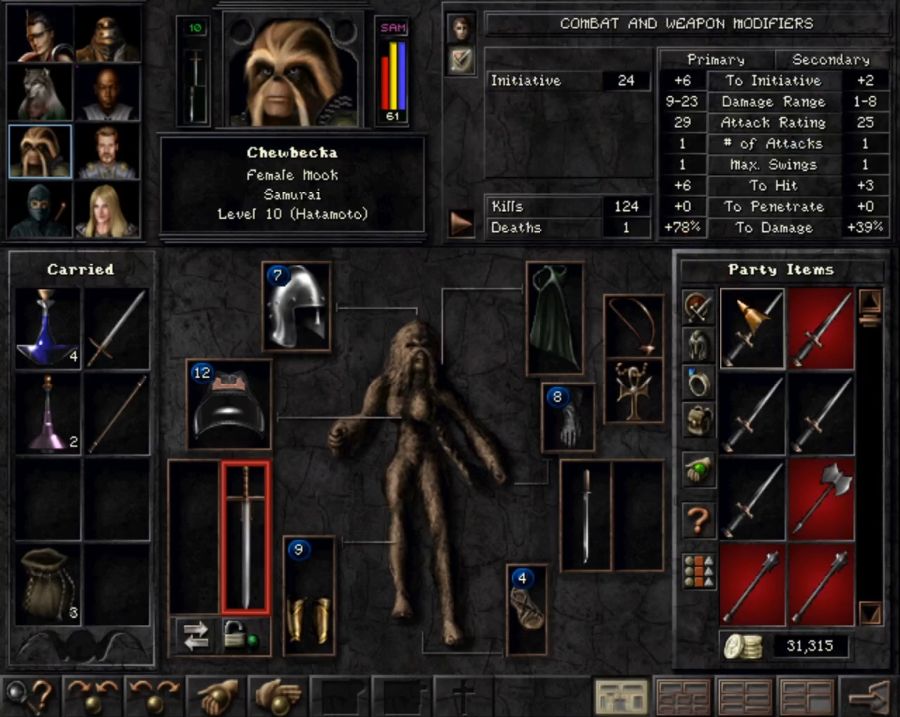
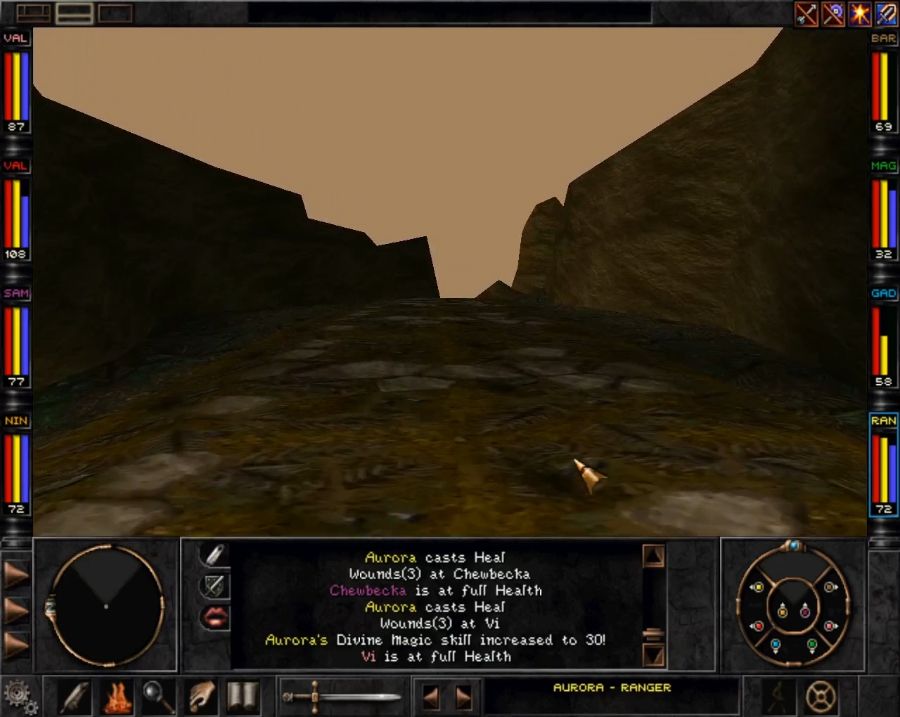
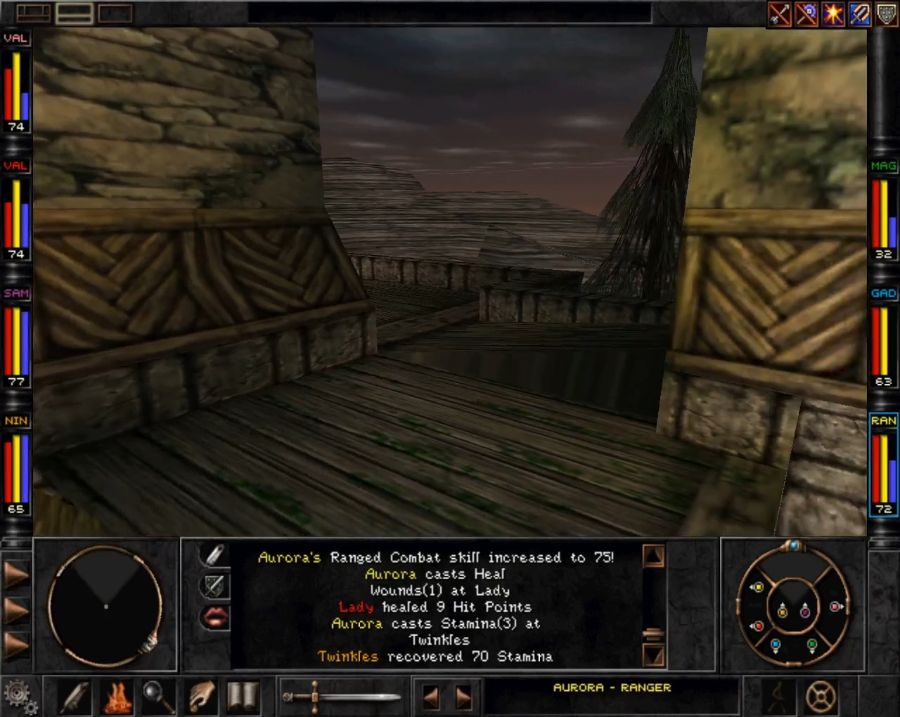
Around this point I also get the smart idea of upgrading Chewbecka's Wakizashi to the Poison Dagger I stole from the Rattkin.
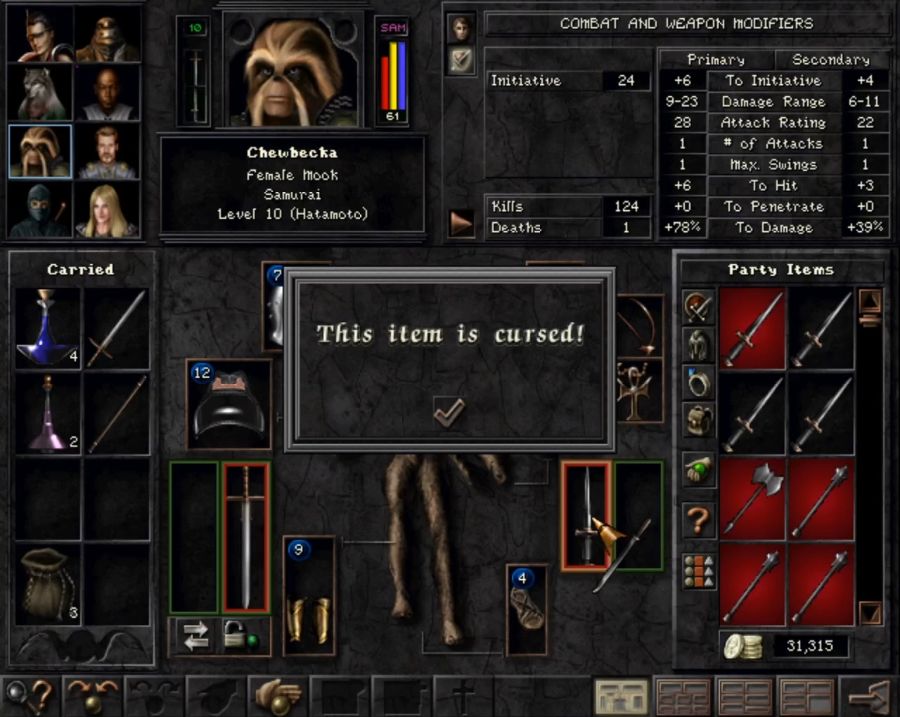
It is an upgrade(check the stat change in the upper right between the screenshots), but now she's got a cursed weapon in each hand. Better hope I learn Remove Curse before I find an upgrade for her, though I suspect it likely that I will never upgrade her away from the Bloodlust Sword, at least not for several more updates.
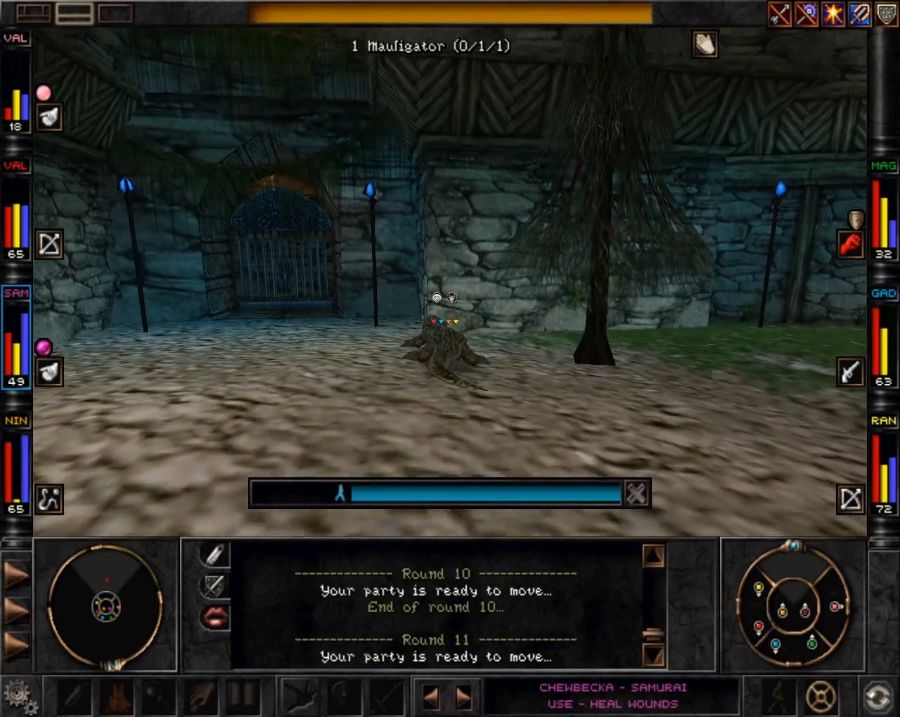
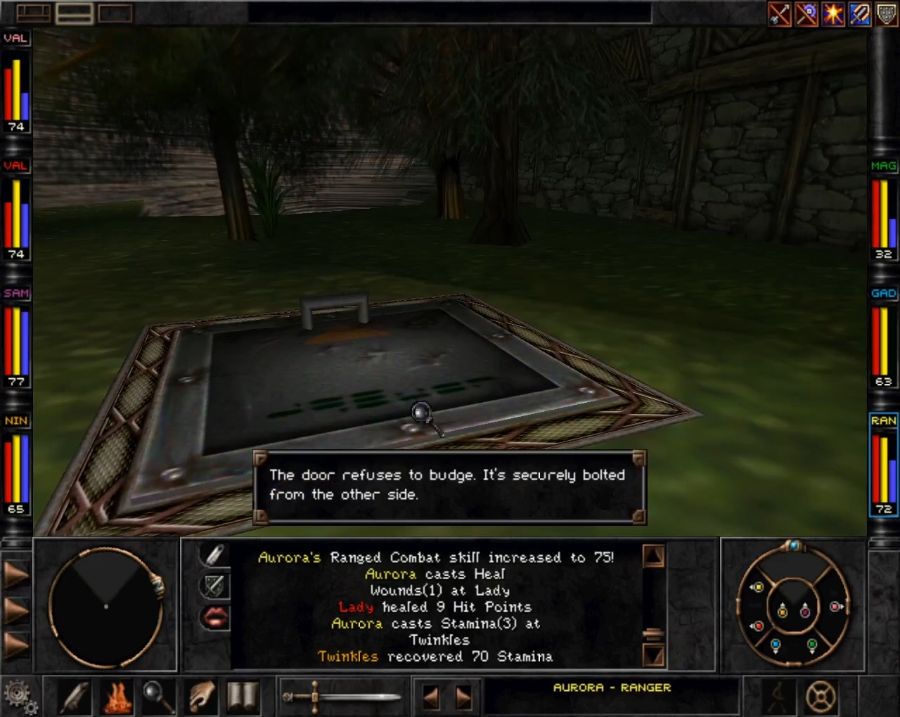
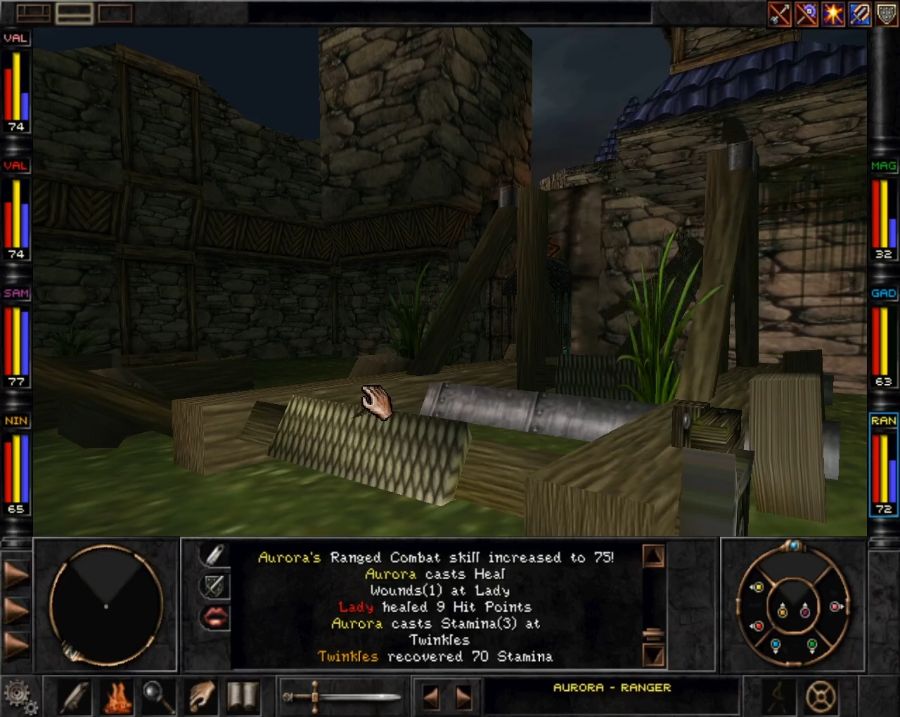
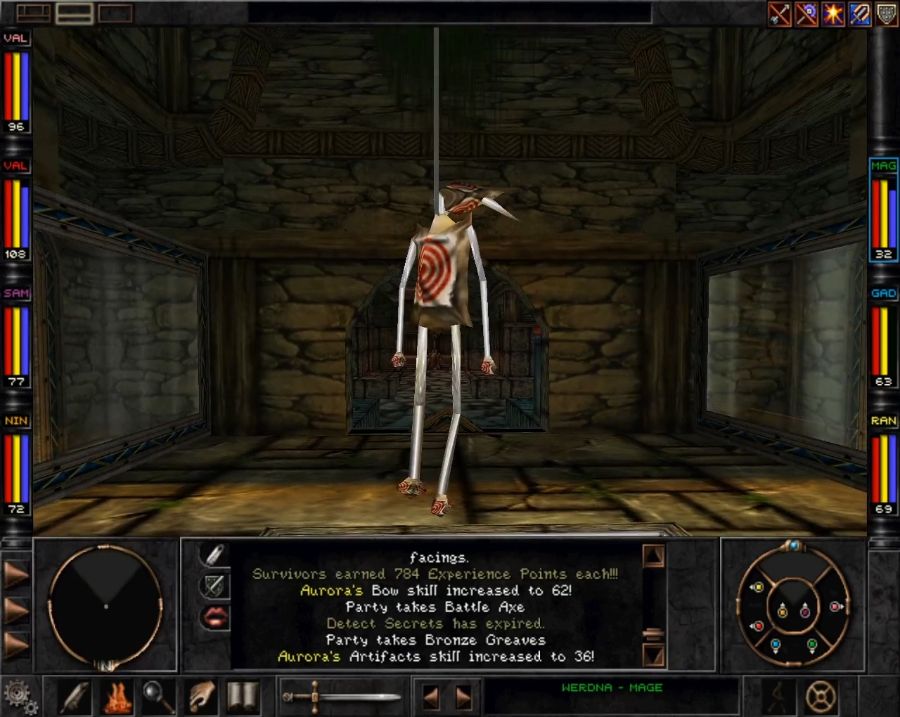
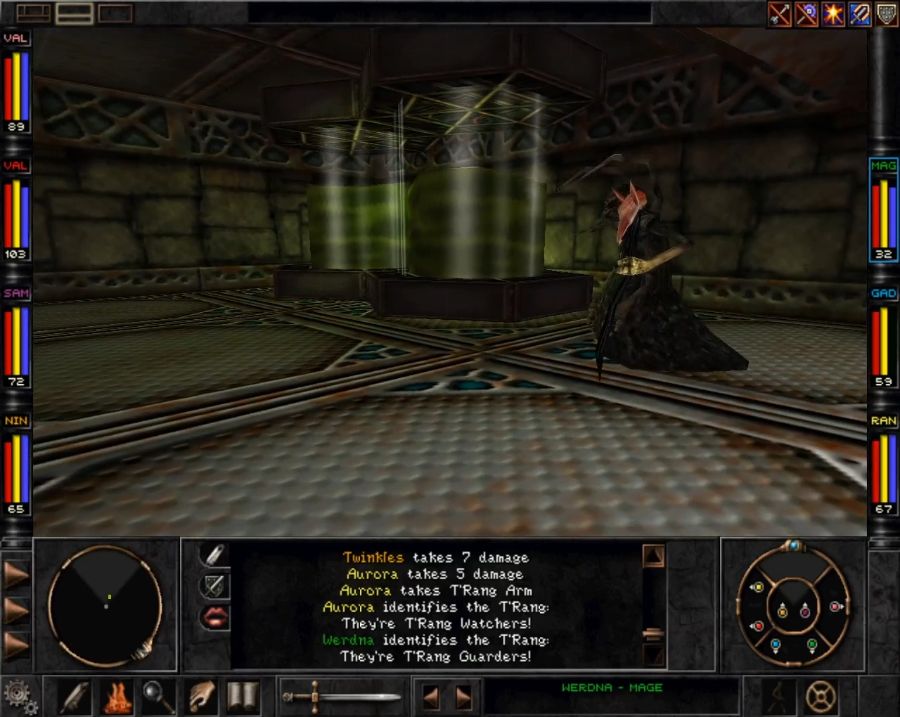
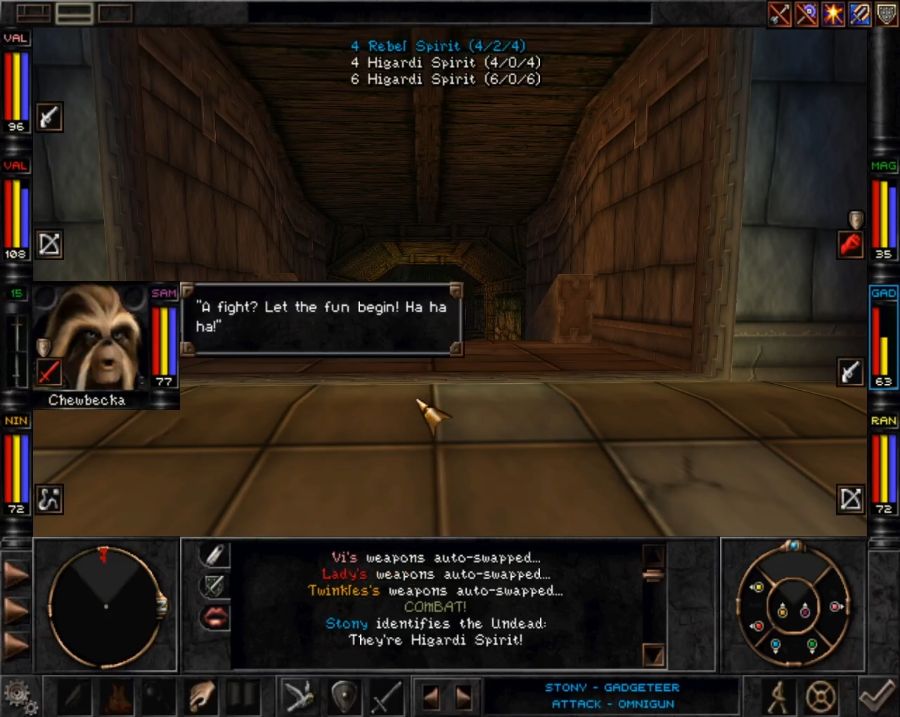
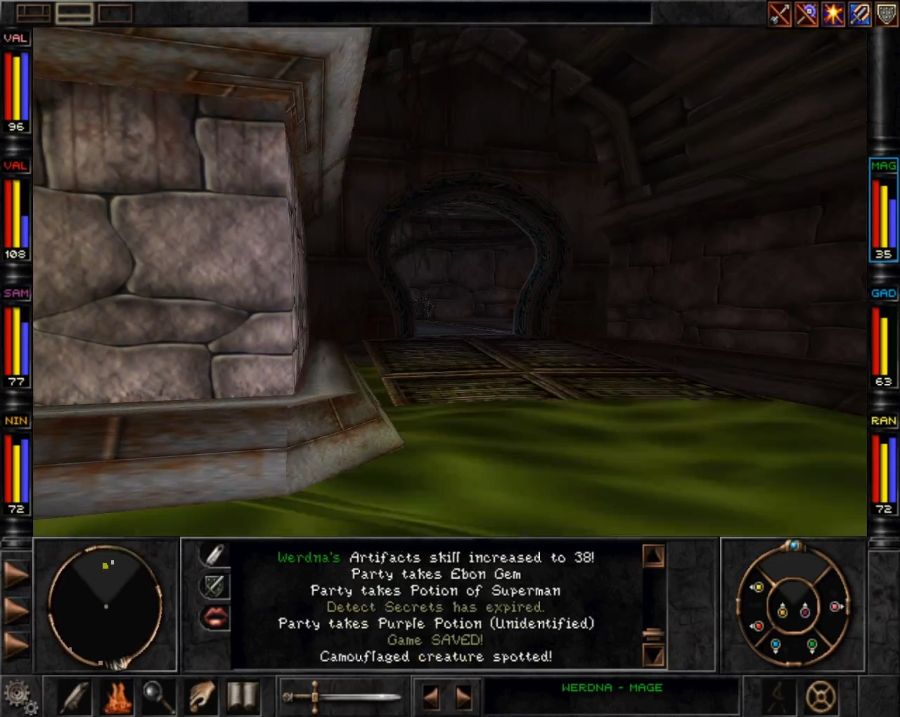
[about five random battles later] Let's open this door and see what these Rattkin Breeders are all about.
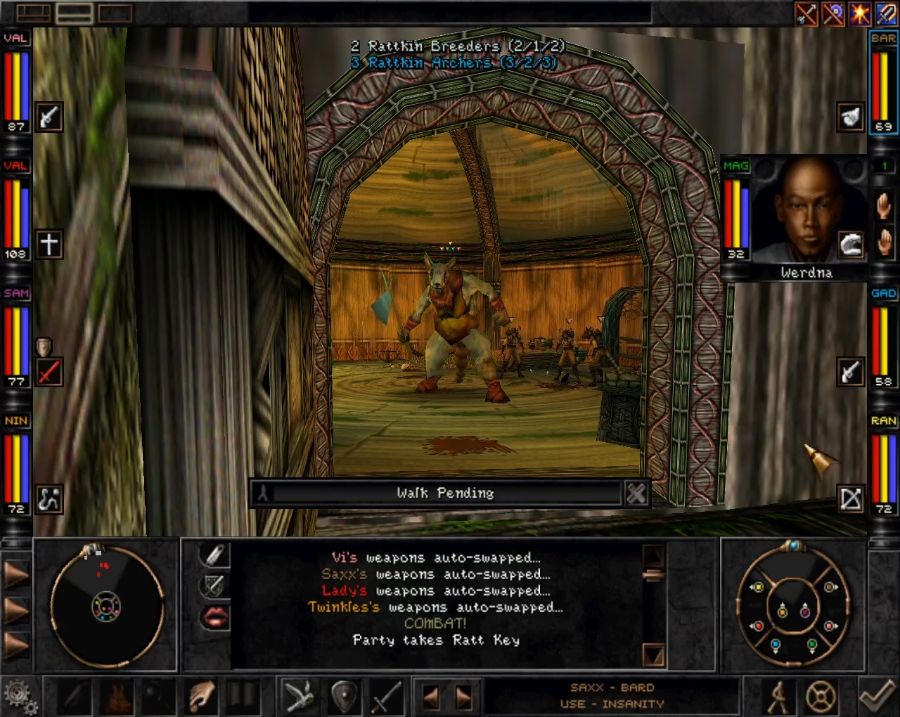
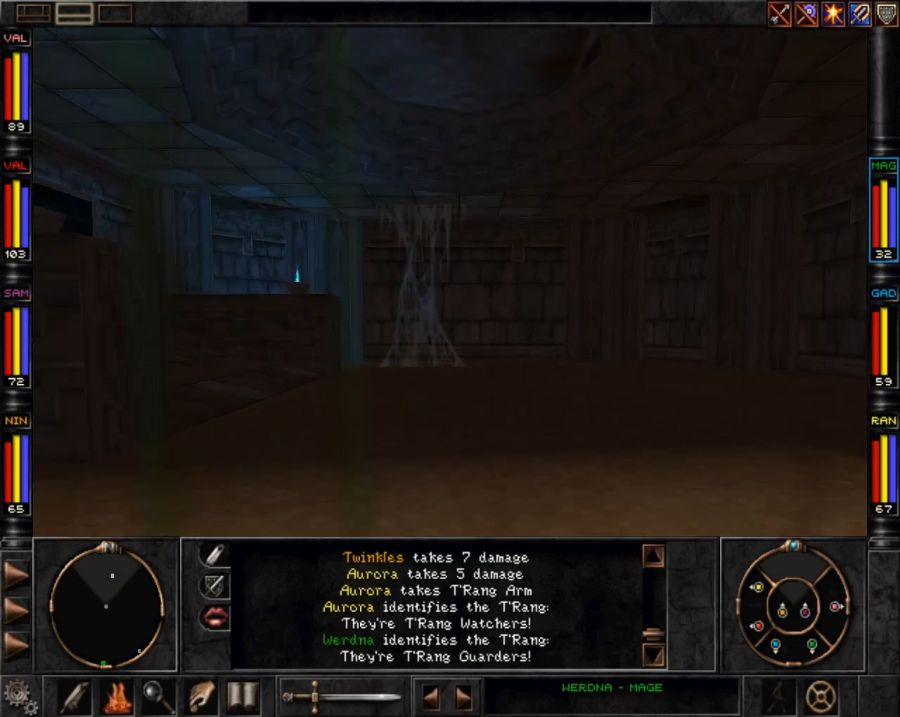
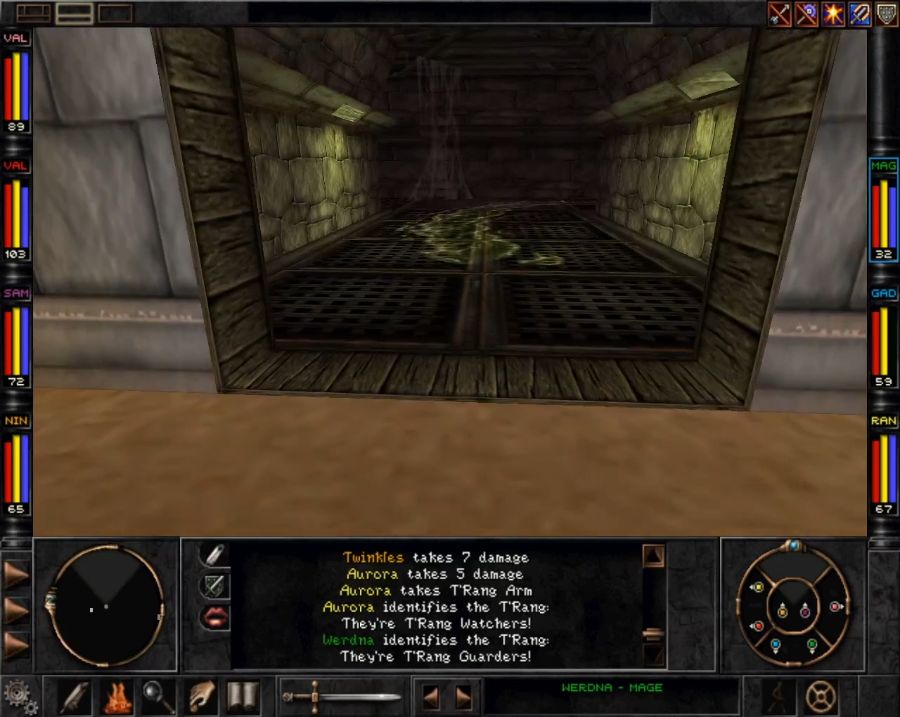
Hm. Well that could be trouble.

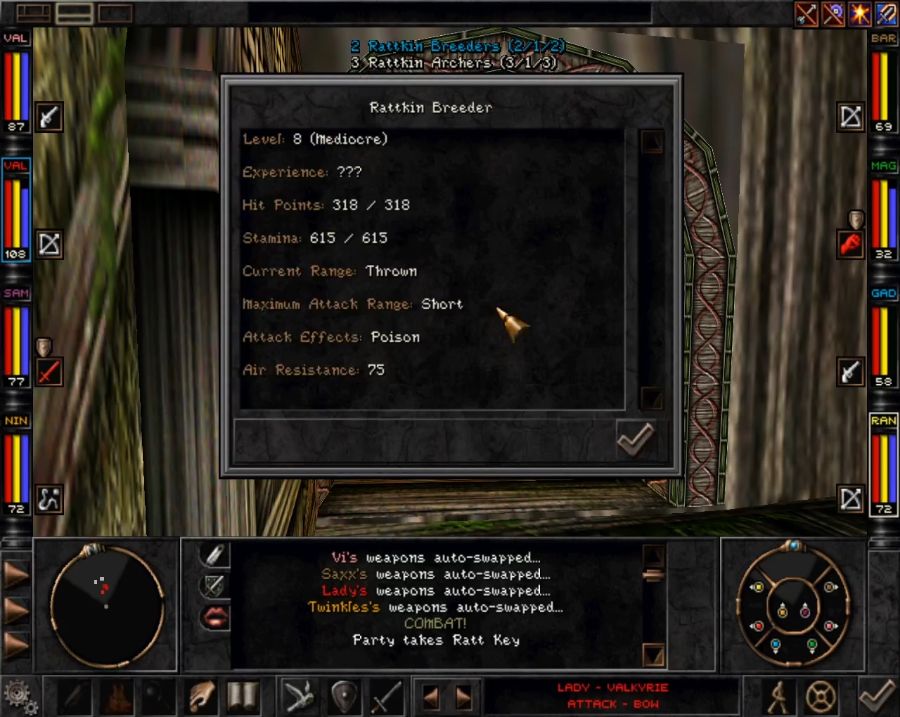
Oddly enough, there are less archers present than usual. I could swear every other time I've done this encounter, there have been two squads of them in there.
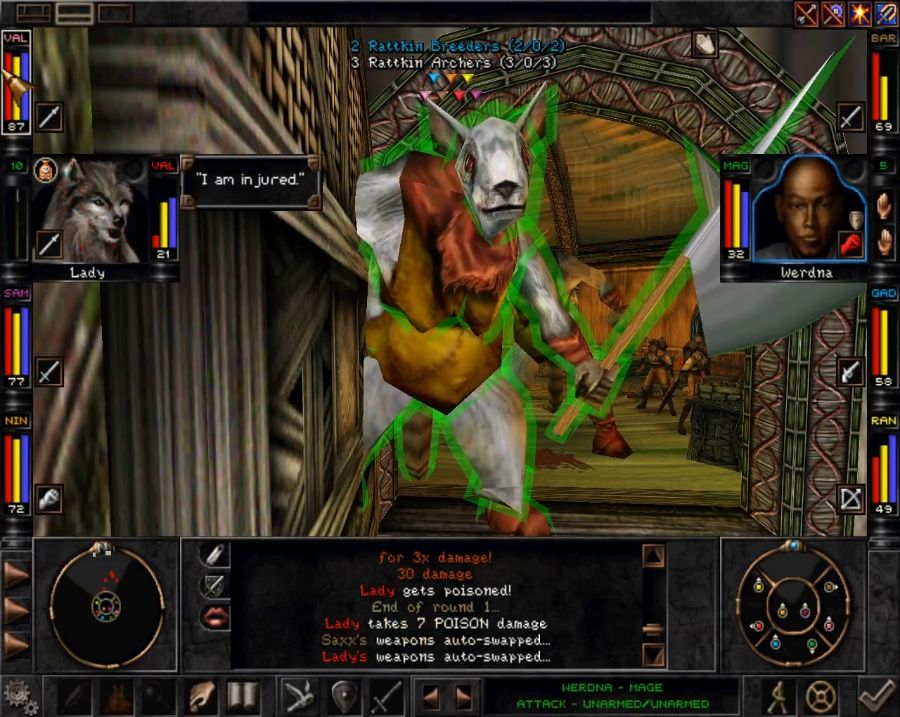
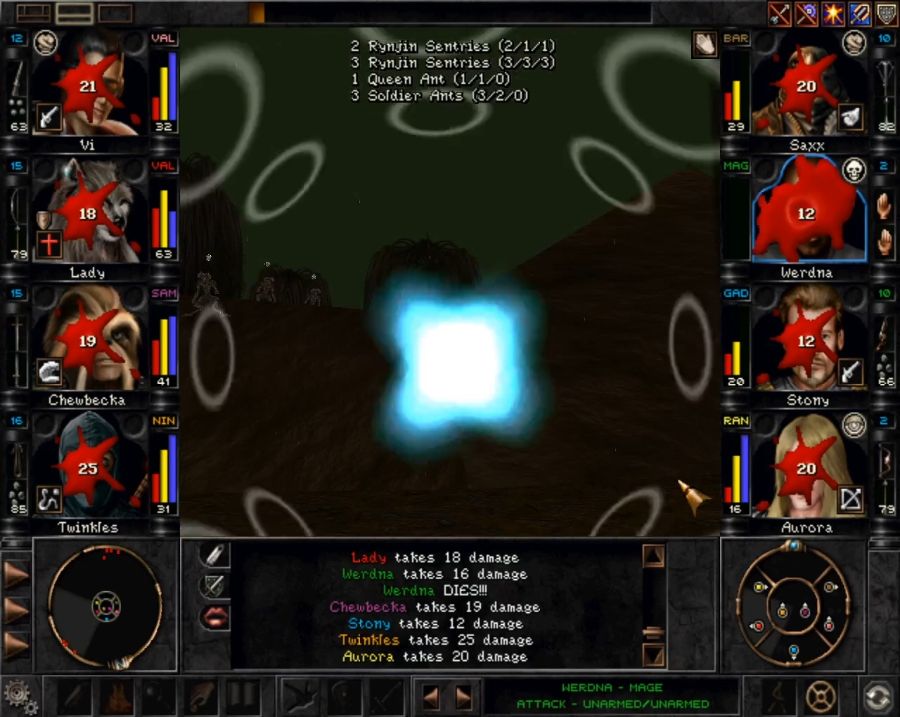
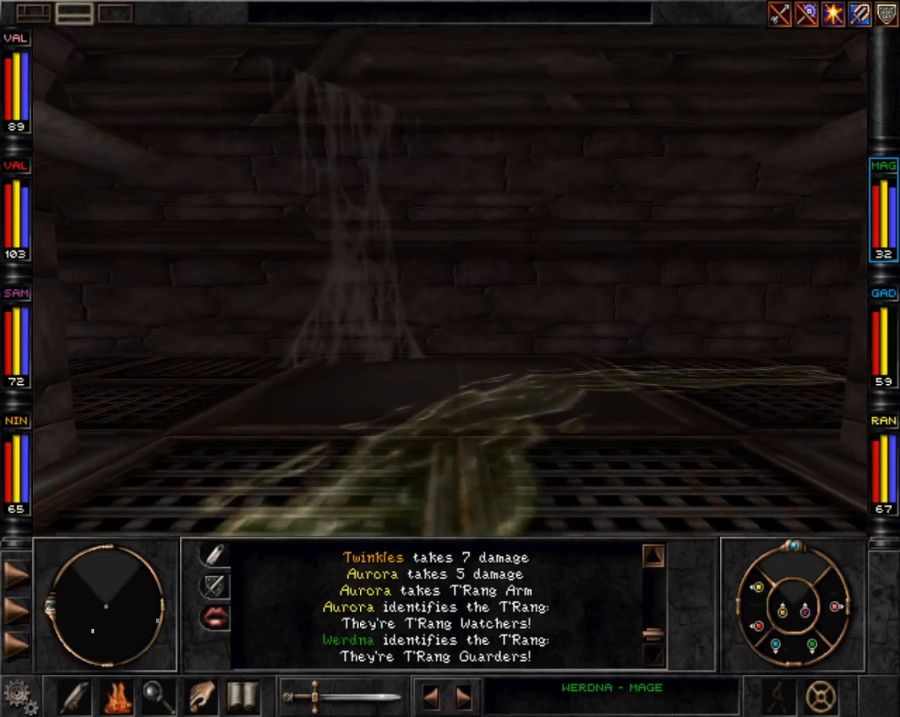
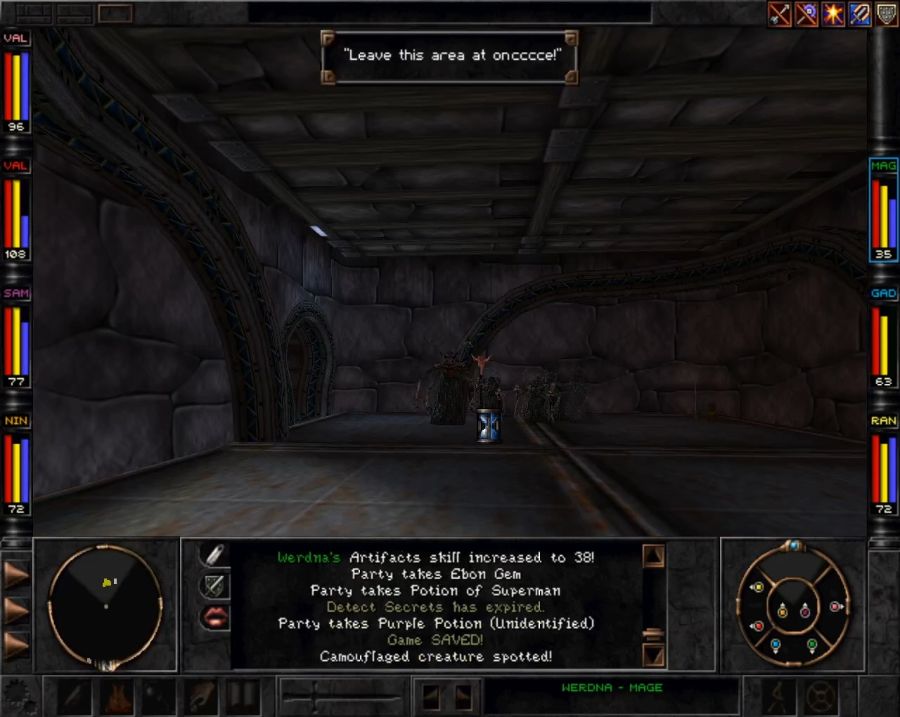
Bad news: they shrug off all my save-or-suck spells and almost-kill a PC and a half in one round. I can heal them back to functionality, but the breeders get at least one attack before Aurora or Lady can get in a heal, so it's very much down to whether they choose to focus on the same character or not. Thankfully, while enemies will often focus on the same character in a given round, they'll usually forget who they were focusing on between rounds. Usually.
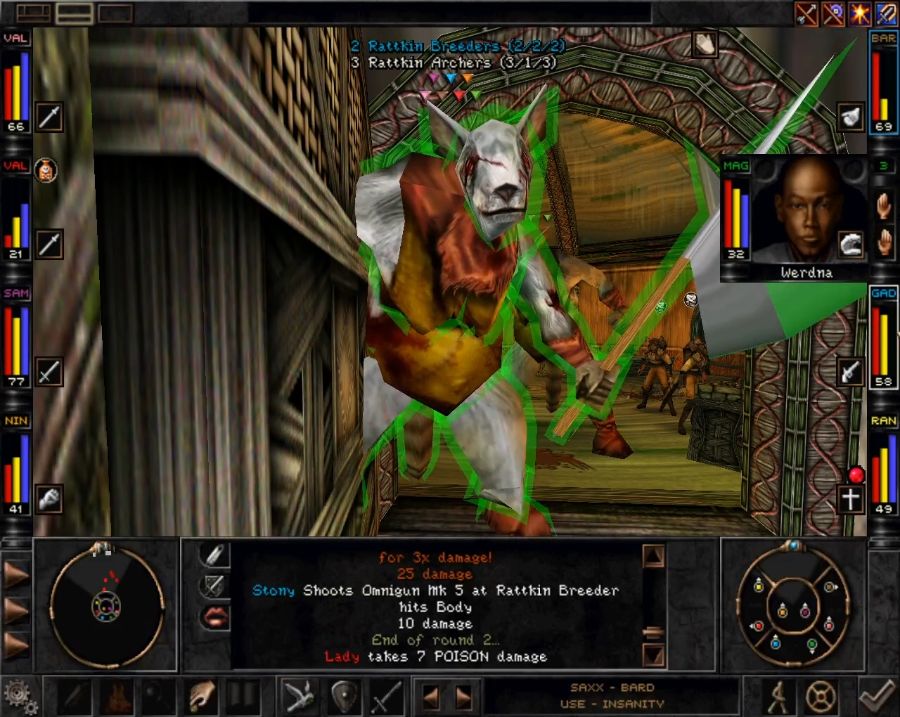
I manage to heal Lady up... just in time for her to eat the almost exact same amount of damage again.
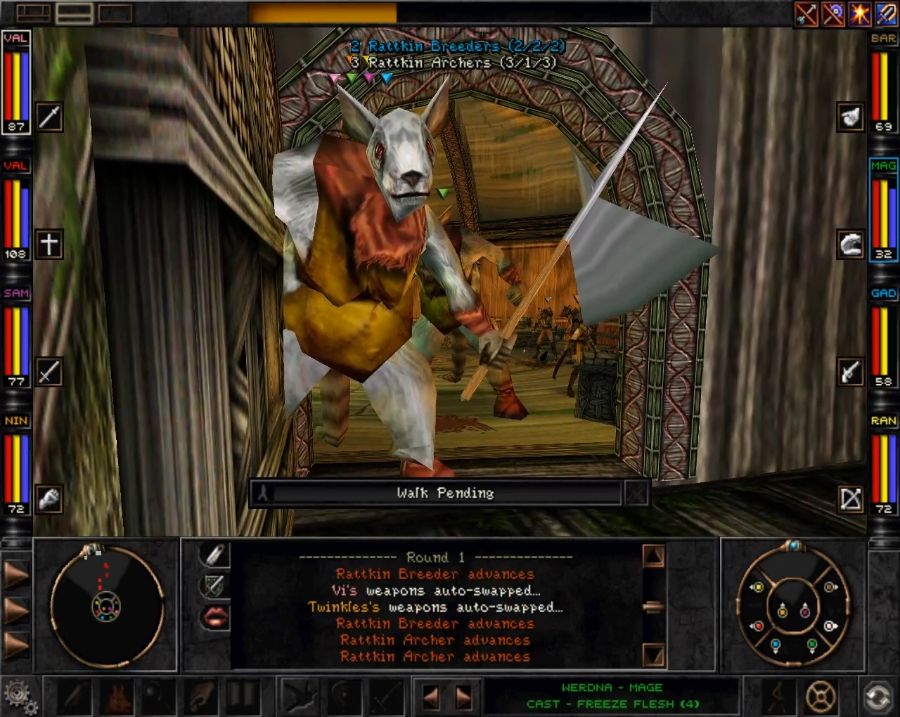
They spread the damage around, but I'm slowly wearing down the first breeder and it's thankfully large enough to block the doorway so the second breeder and the archers can't join in.
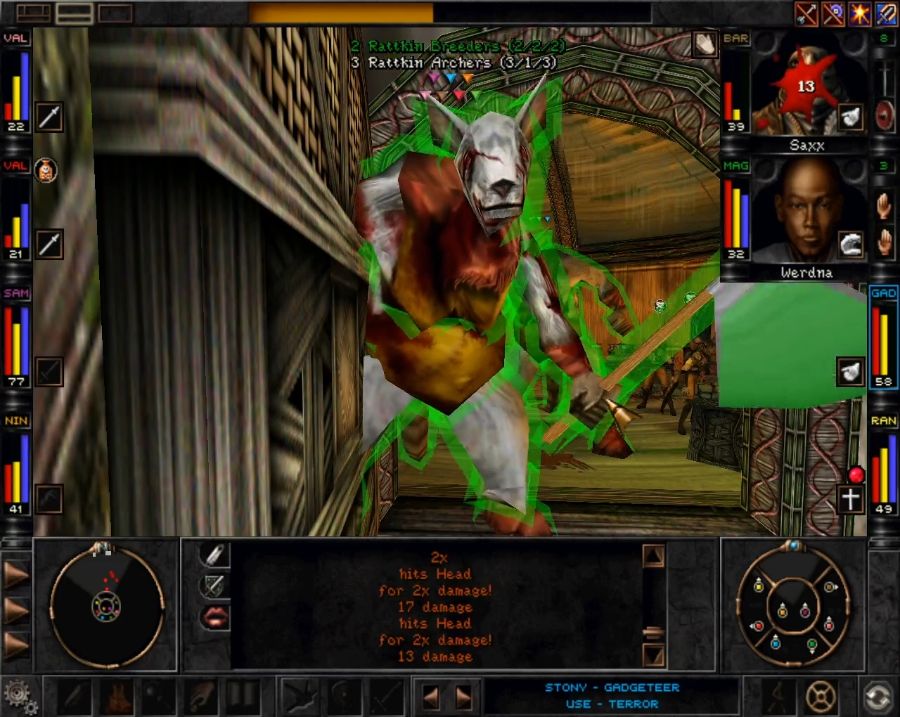
Just as the first Breeder goes down, Saxx also gets lucky and manages to turn both the Breeder AND all the archers insane.
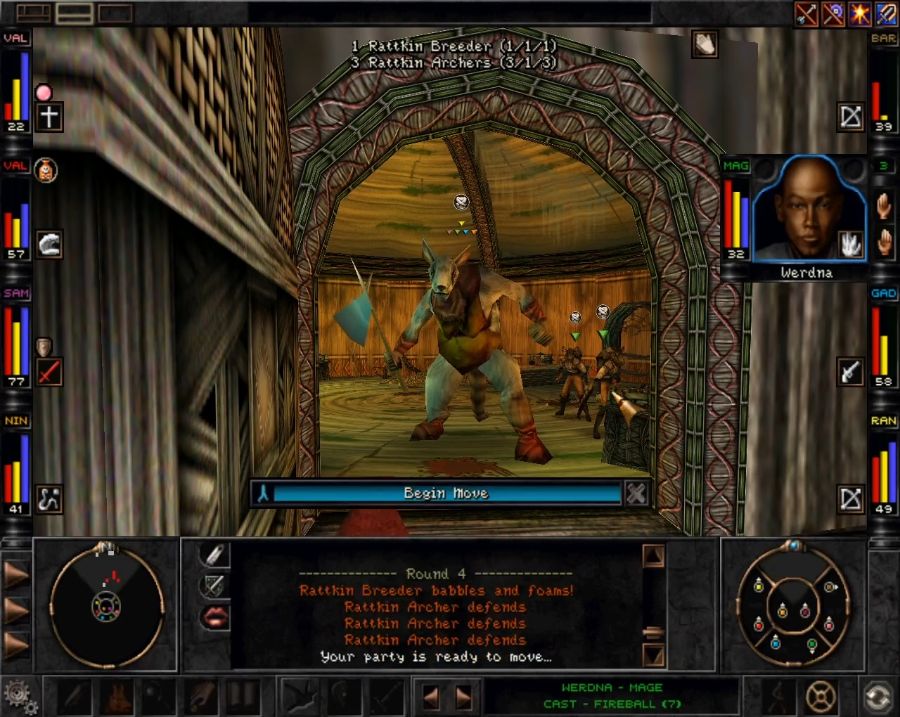
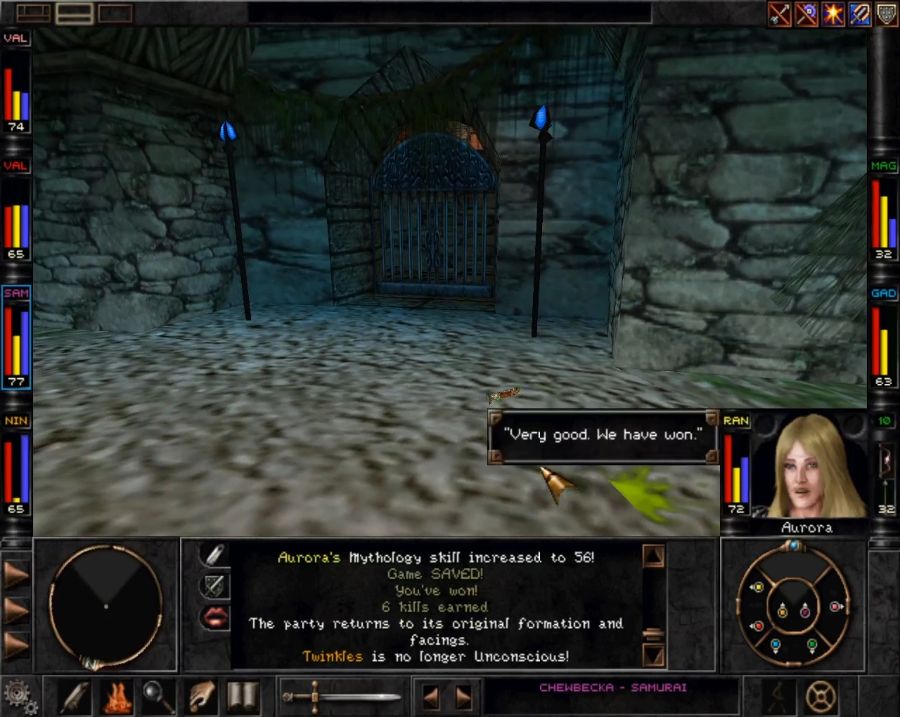
And the RNG is merciful. The remaining rounds, the Breeder "babbles and foams" rather than attacking anyone, and all the archers just infight.

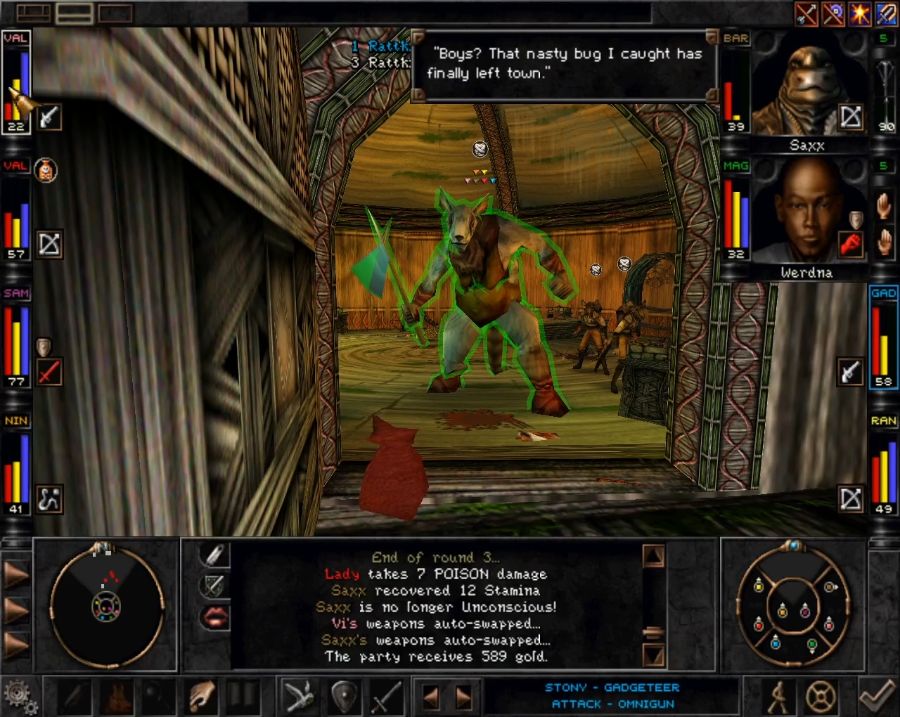
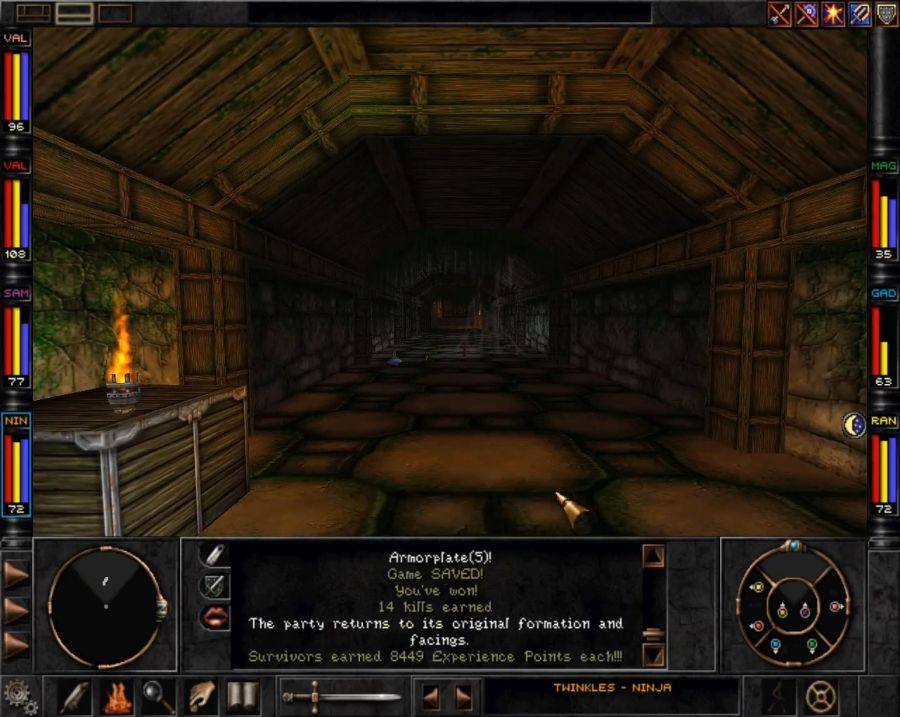
Once the fight is over, the main reward, aside from the XP and skill-ups, is that the Breeders drop spear upgrades for both Vi and Lady. The Burning Spears are a modest upgrade in terms of power/hitting ability, but come with a respectable +15 Polearm skill which helps them punch above their weight and would also make them good weapons for helping someone transition into the polearm skill, perhaps after a Valkyrie class change or something similar.
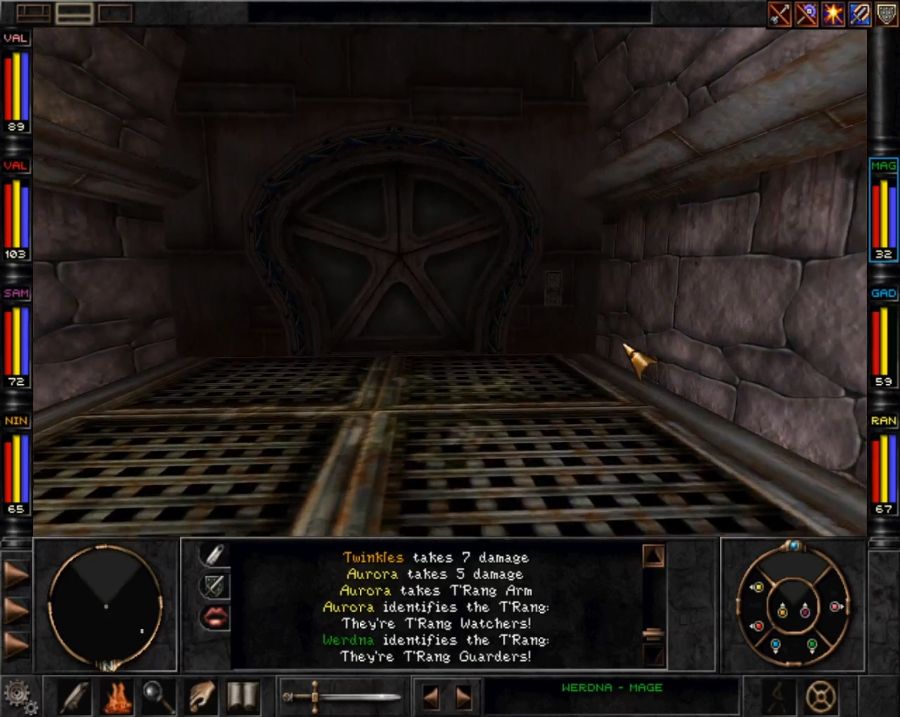
Anyway, time to get the hell out of this bug-covered hellhole.
Once again I'm cutting out like three or four fights on the 20-meter walk to the elevator down.
At least I don't have to go all the way back through Trynton for this. Wizardry 8 is generally good about leaving long, linear areas with "shortcuts" at the end to help you transition back out.
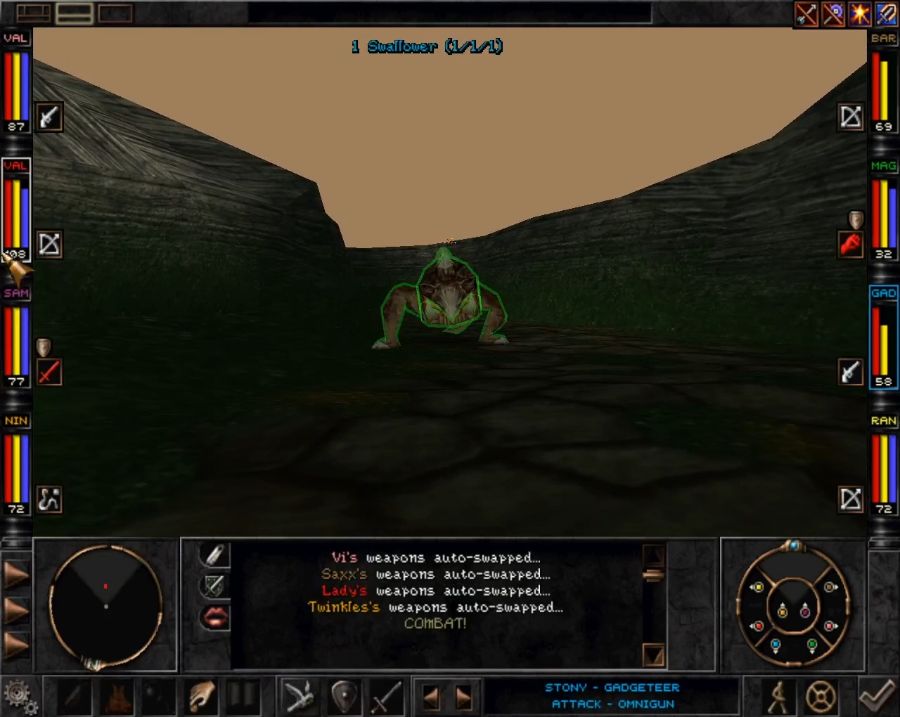
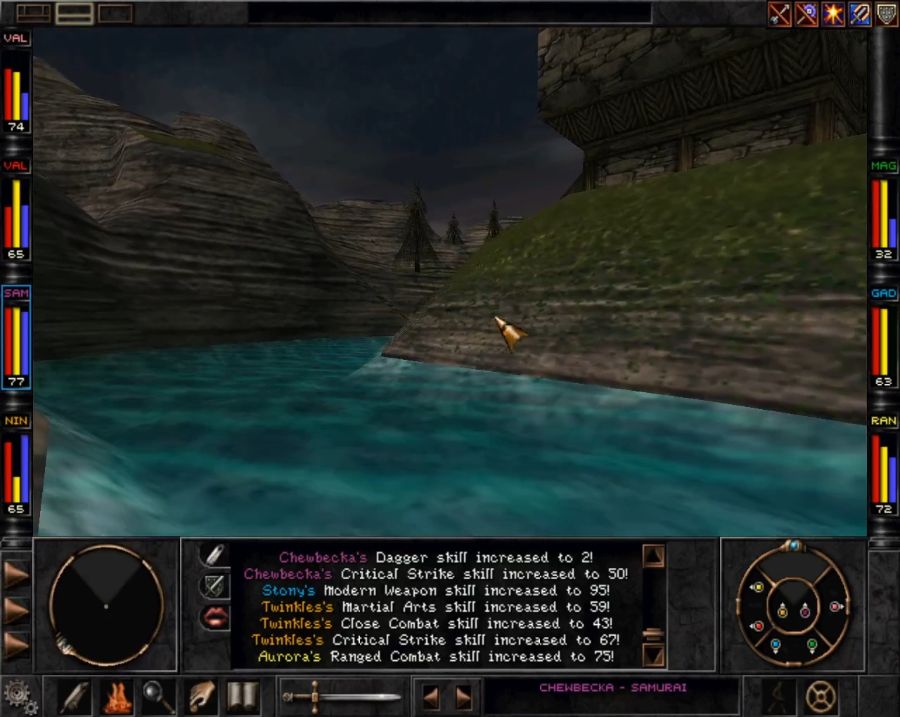
A pre-placed Swallower guards the transition between Trynton and the Swamp. It's a trivial challenge at this point, I had kind of hoped it would manage to Swallow someone so I could show it off, but it doesn't even manage that before getting reduced to chunky salsa.
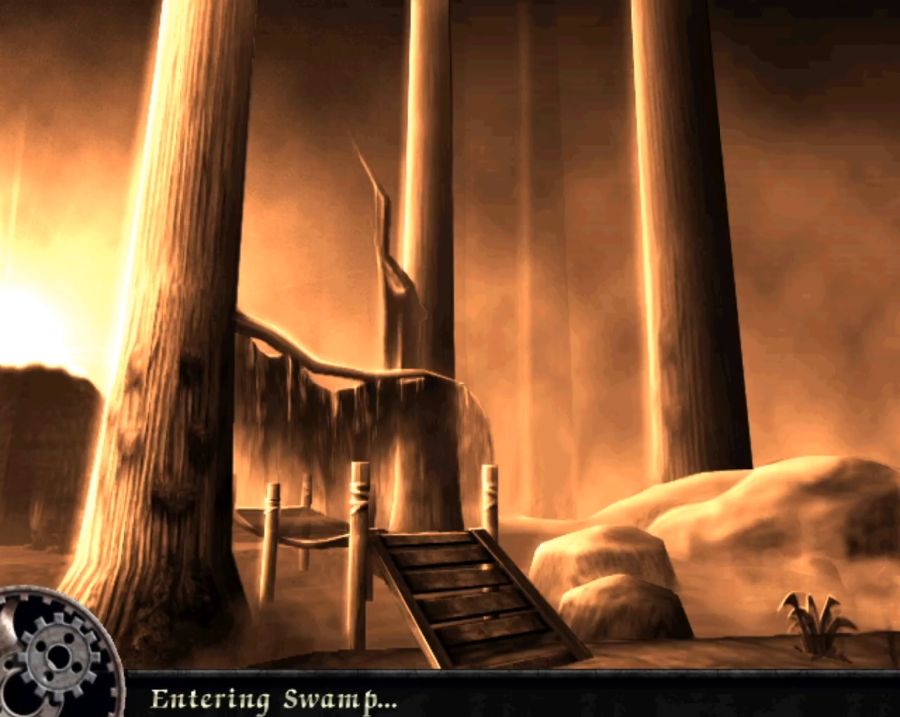
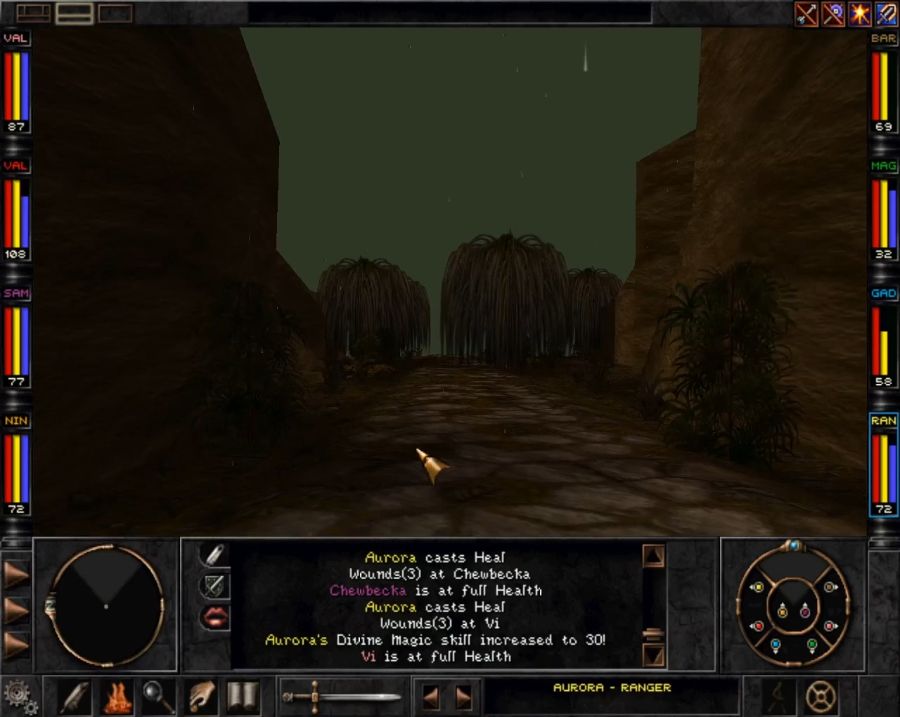
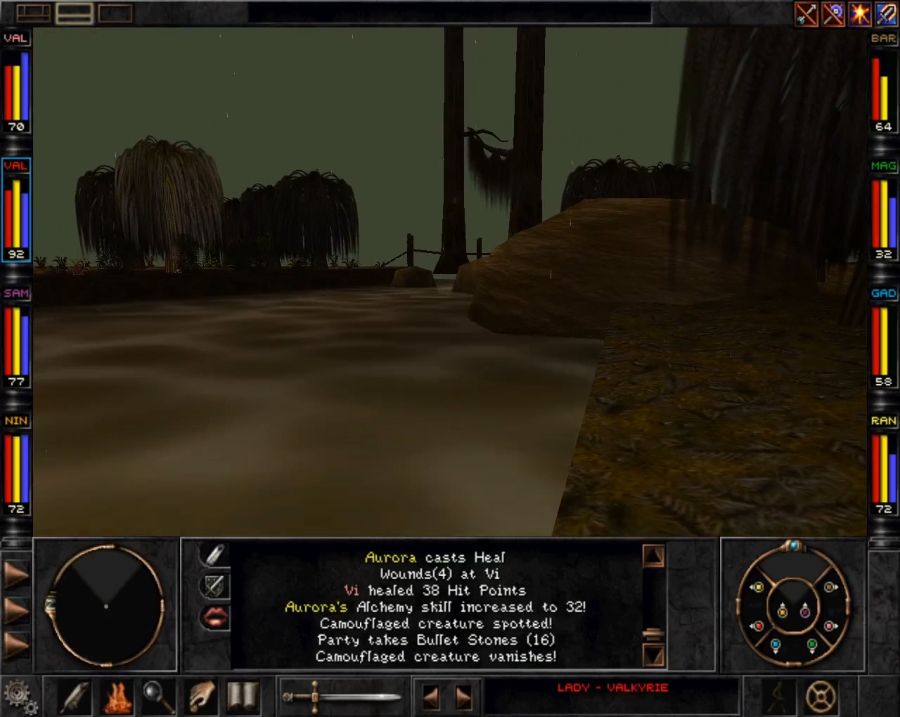
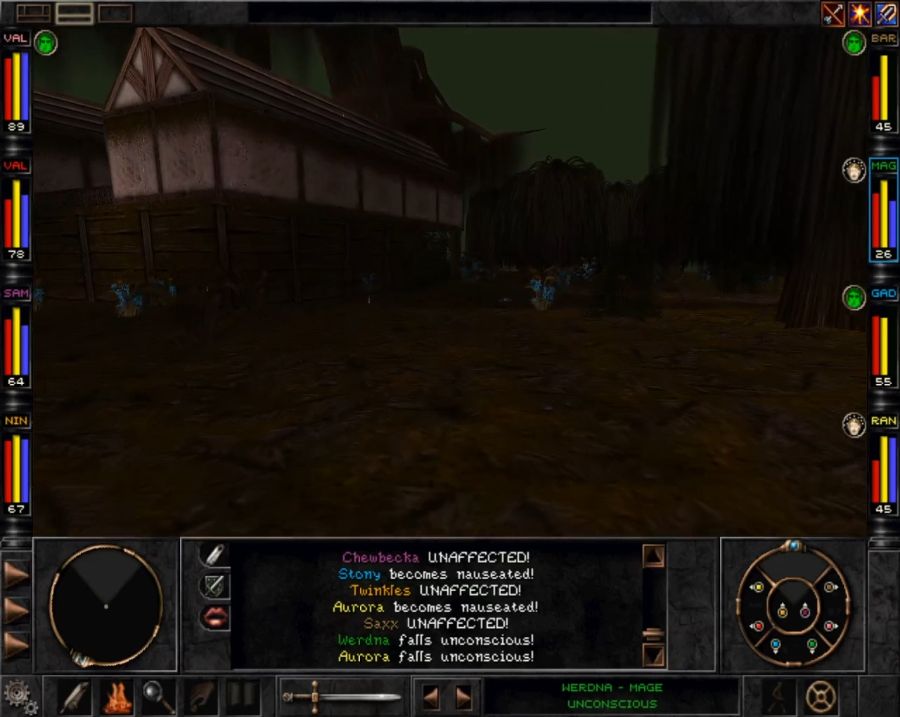
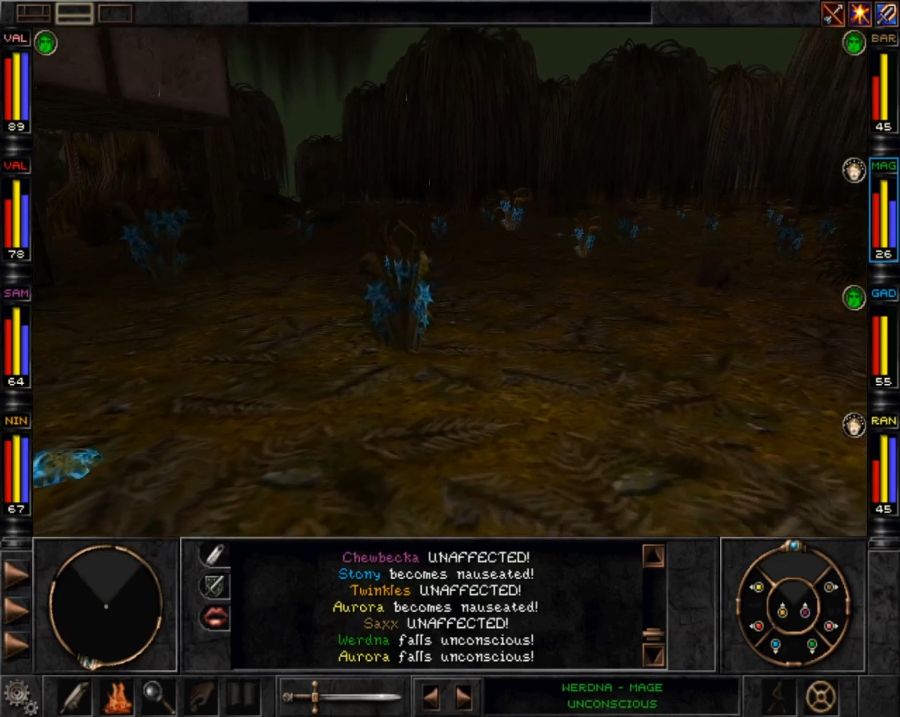
Welcome to the Swamp. It's brown, perpetually rainy, sightlines are blocked by trees and it's full of swarms of wandering beasties. There are also cracks in the ground, even on the paths, you need to dodge, because if you step on them they release Swamp Gas which nauseates/KO's in addition to doing minor damage. The paths are intentionally winding and any time I follow them I always end up going in circles, so generally what you want to do is pop up the map and travel purely via your compass or simply hug the edges of the map.
This may make the Swamp sound miserable, but honestly it's not really. It just means it's an area that demands your attention when traversing it.
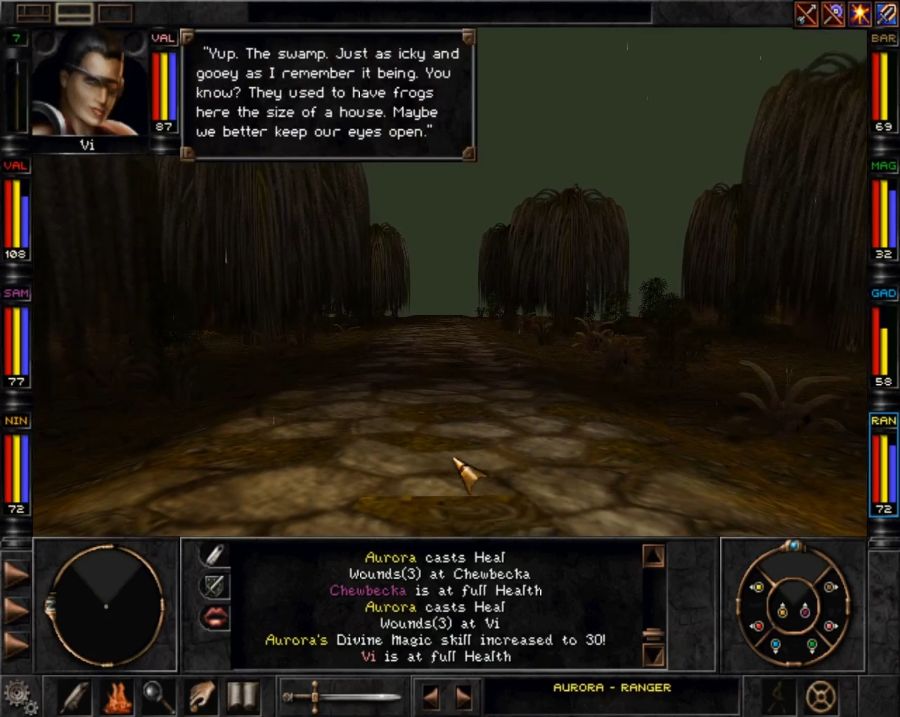
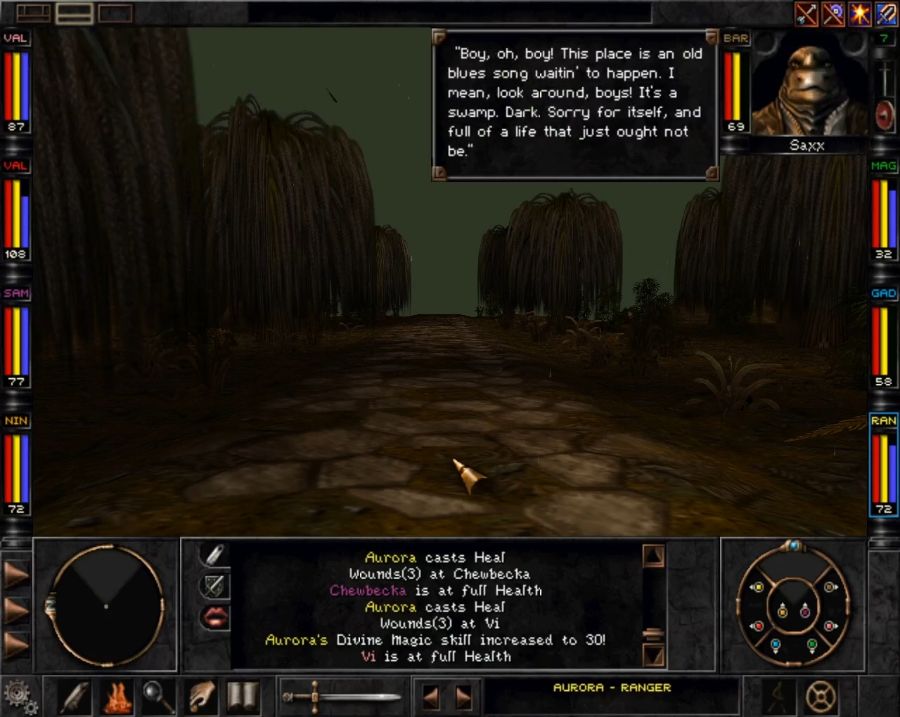
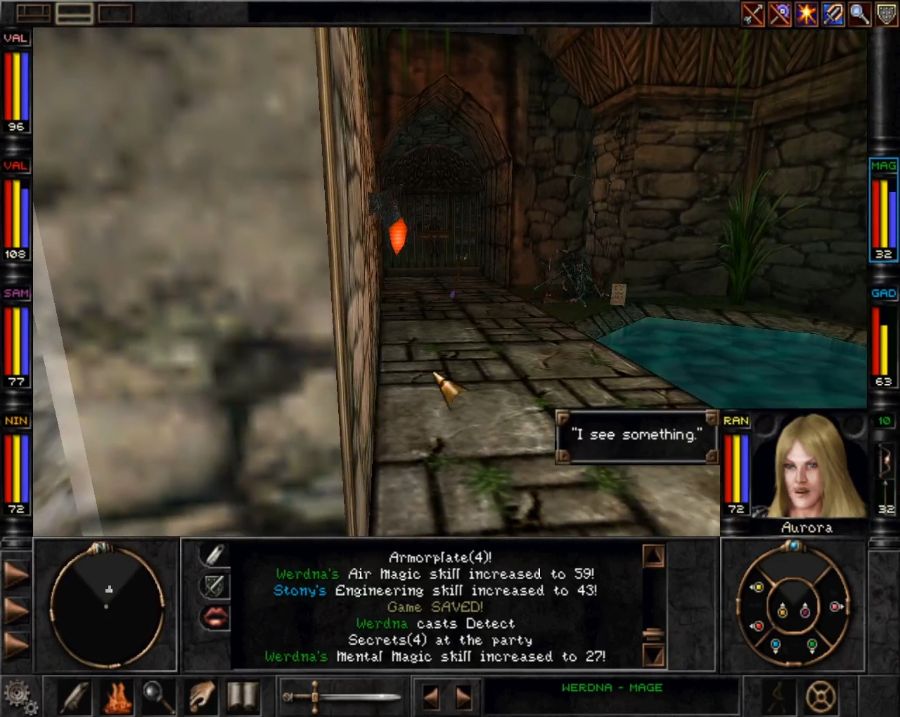
As usual, the supporting cast has some commentary on the state of things.
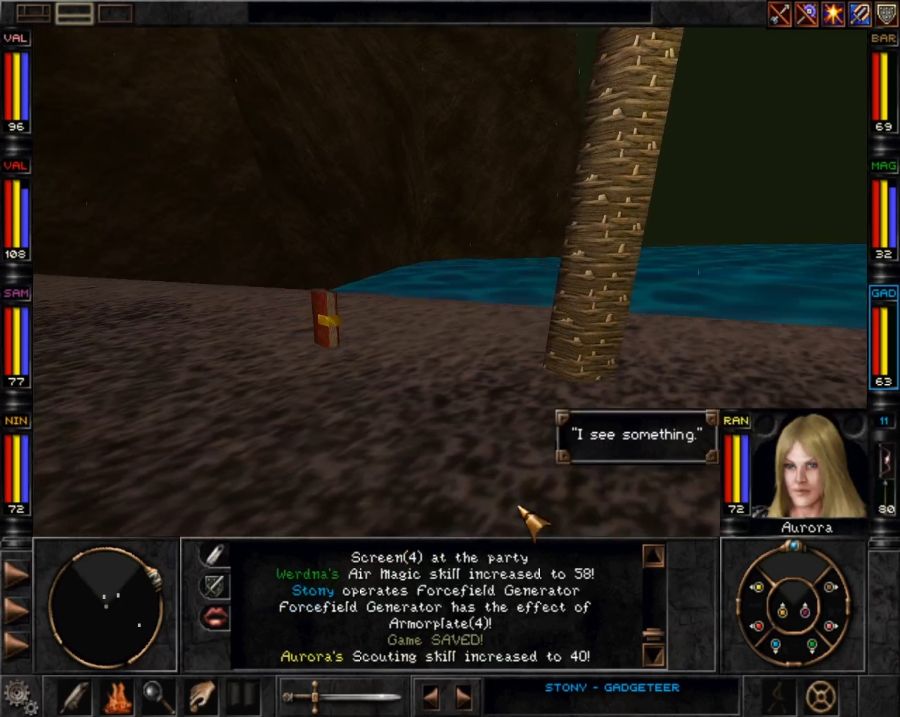
Just heading down the road when I spot a sign in the bushes. Lemme just walk over and have a look at that.
What it says is fuck you. See, right there in front of it? That's one of the aforementioned swamp gas cracks, so you WILL be focused on the sign and walk right over it to read it. What does the sign say? "Beware of swamp gas." It's not like an instakill trap or something, but if you're entering the swamp from the most likely direction this WILL get you.
It definitely got me.
But as we approach...
https://www.youtube.com/watch?v=UtmVYjGDVbs
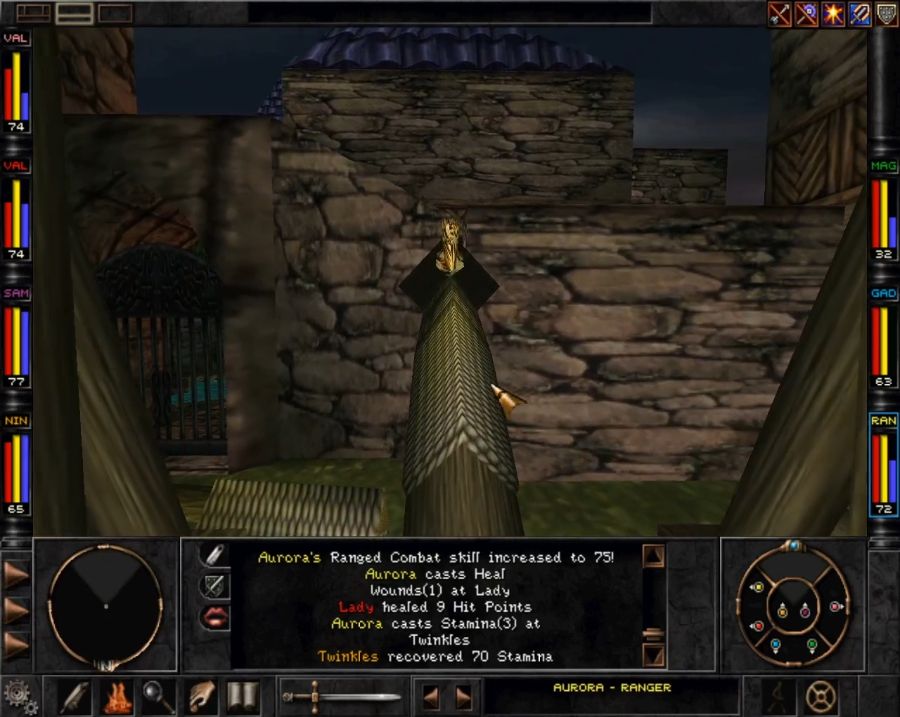
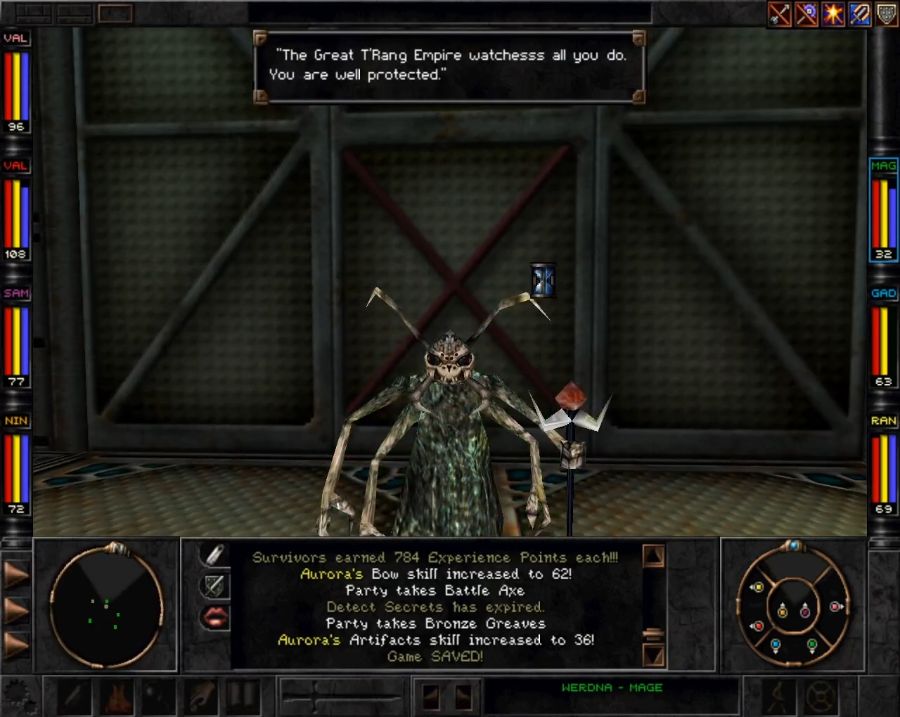
THE DARK SAVANT
Who teleports in just to yell at us and throw a fake copy of the Astral Dominae at our feet in petulant anger before vanishing again. We yoink that thing off the ground because I have plans for it. Or rather, a plan for it. Chewbecka is not impressed by him. She seems to be stealing a lot of the randomized voice lines.
Mind you, I've been looking for a text dump so I can share some of the alternate lines for these things... but with no luck so far. If anyone wants to help out with that, it would be appreciated. Alternately, if someone's familiar enough with the Cosmic Forge to use it to pry the lines out, I would appreciate help with that, too. Because there's a lot in here, even the RPC's tend to have their own comments for all these things if they're areas they're supposed to be able to enter(if not, and the game randomly rolls them as the one to comment, they just bring out their general "I wish I was at home"-bark. I had this happen once on beating the game, where instead of a triumphant comment from one of my PC's, a complaining RPC literally mumbled about wishing he'd stayed home as the party ascended to godlike power).
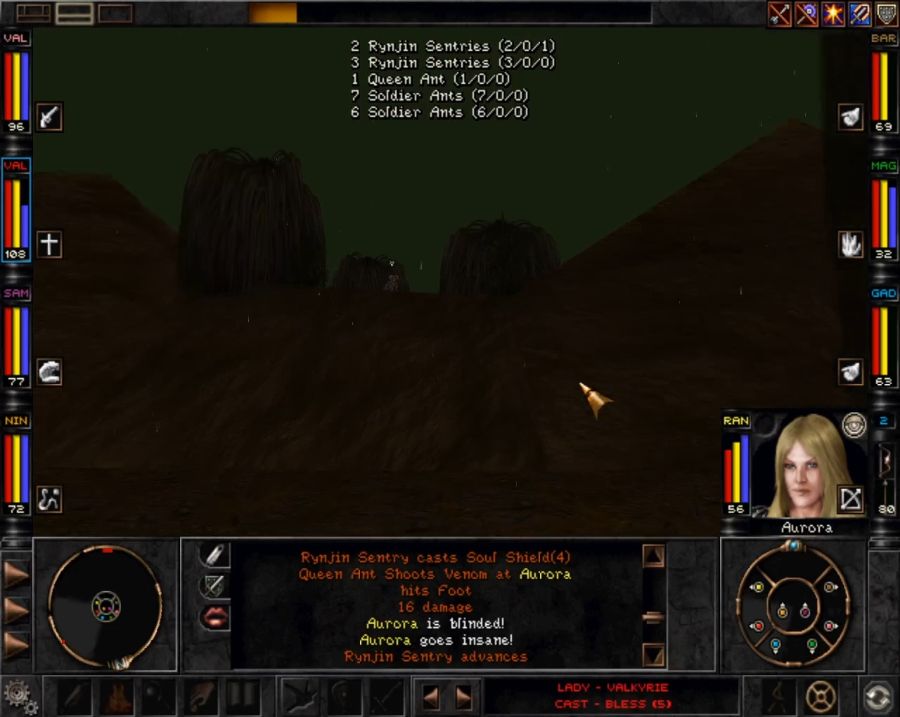
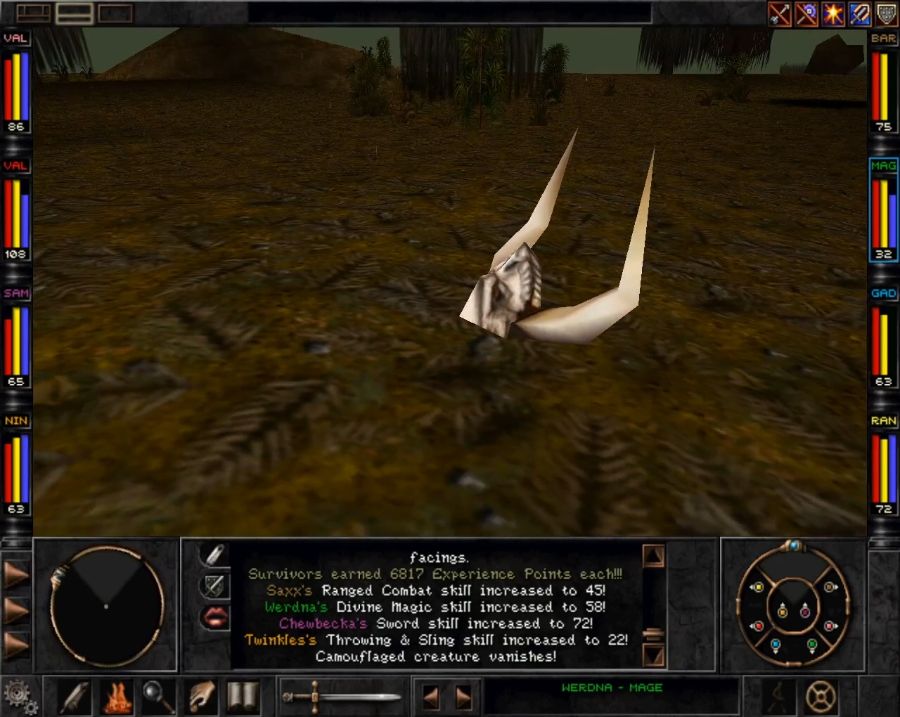
As soon as the Dark Savant's gone and we've grabbed his dropped marble, a bunch of ants march up on me from the right.
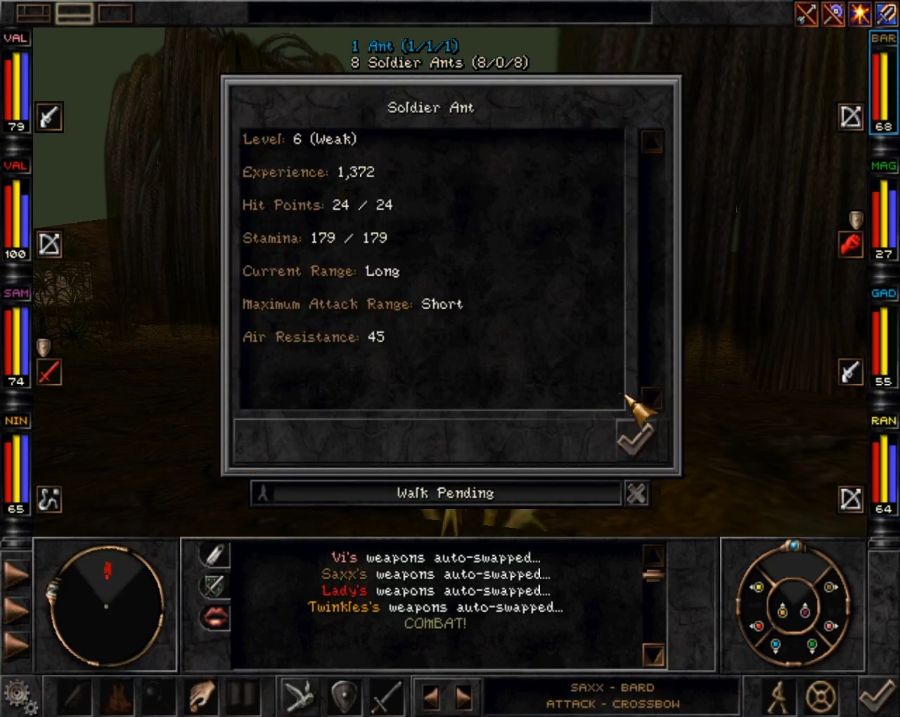
They look weak so I laugh, pull up my sleeves and get ready for a fight.
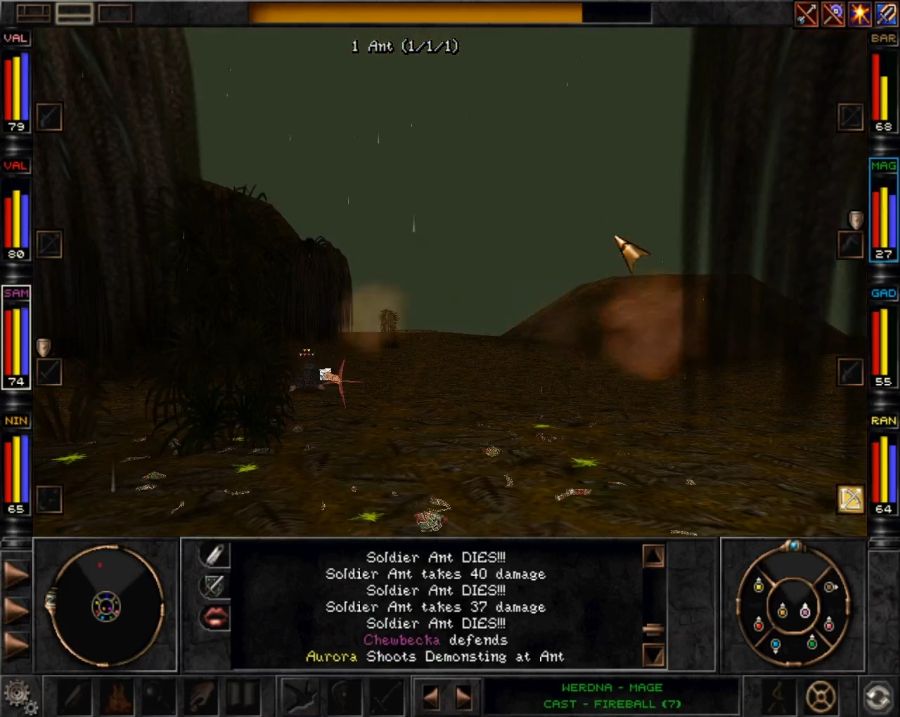
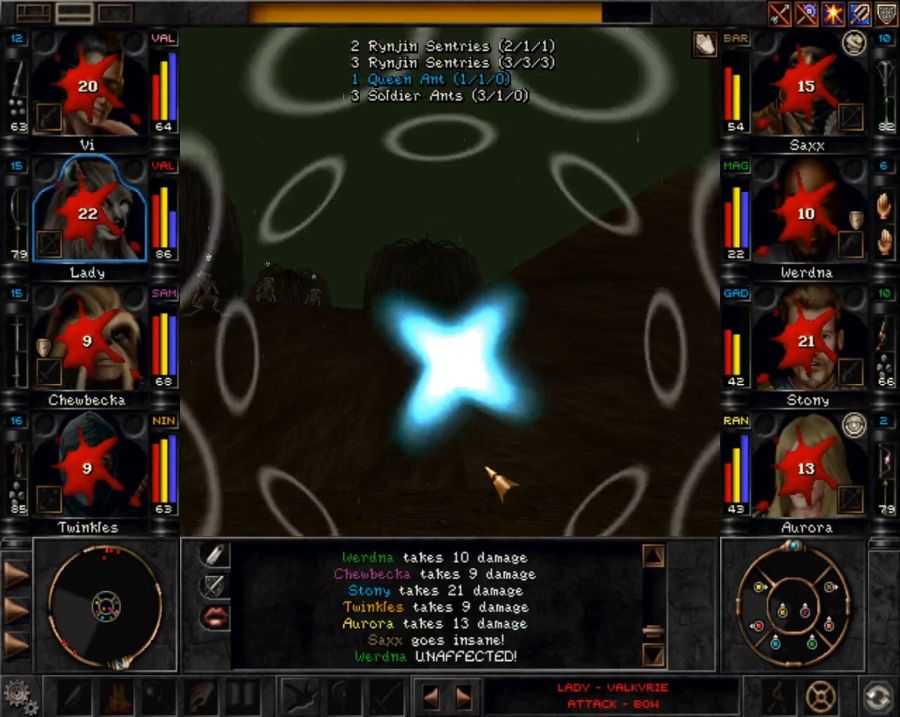
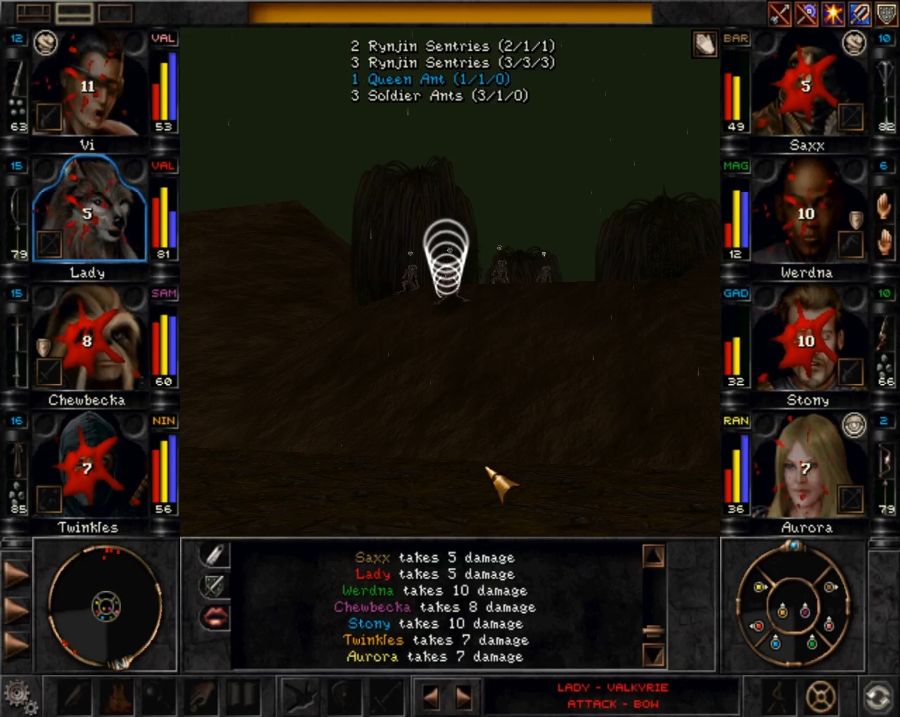
And after one fireball the battlefield is pretty much cleared except for the big dark Ant Queen at the back. Expecting that she'll be a pushover like the rest I wade into melee so Chewbecka et al can really lay down the hurting.
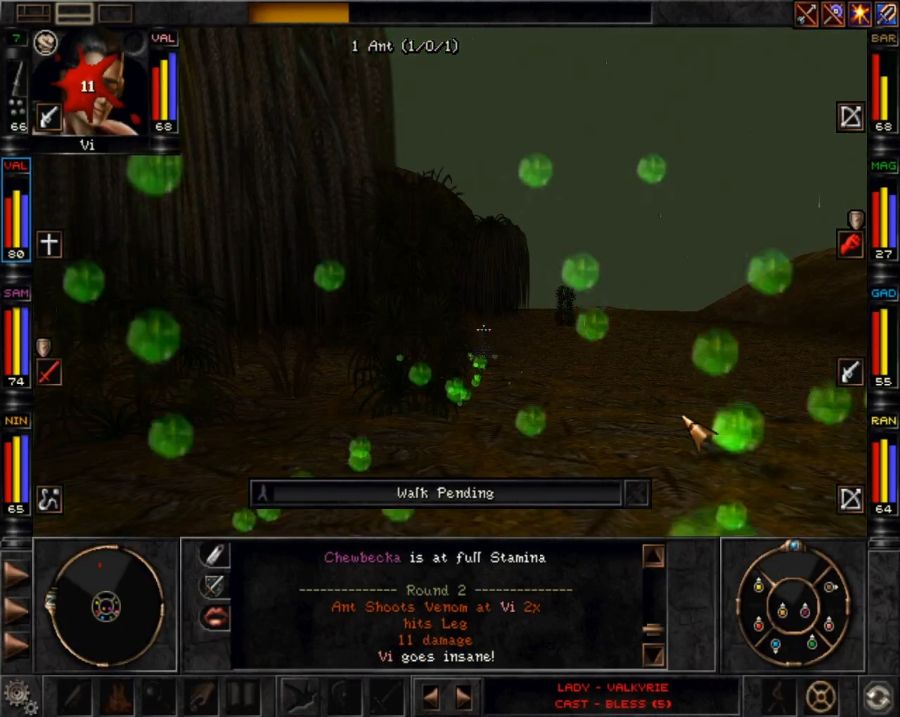
The first hint that I may be underestimating the queen is when her spit attack has an insanity-causing effect that nails Vi.
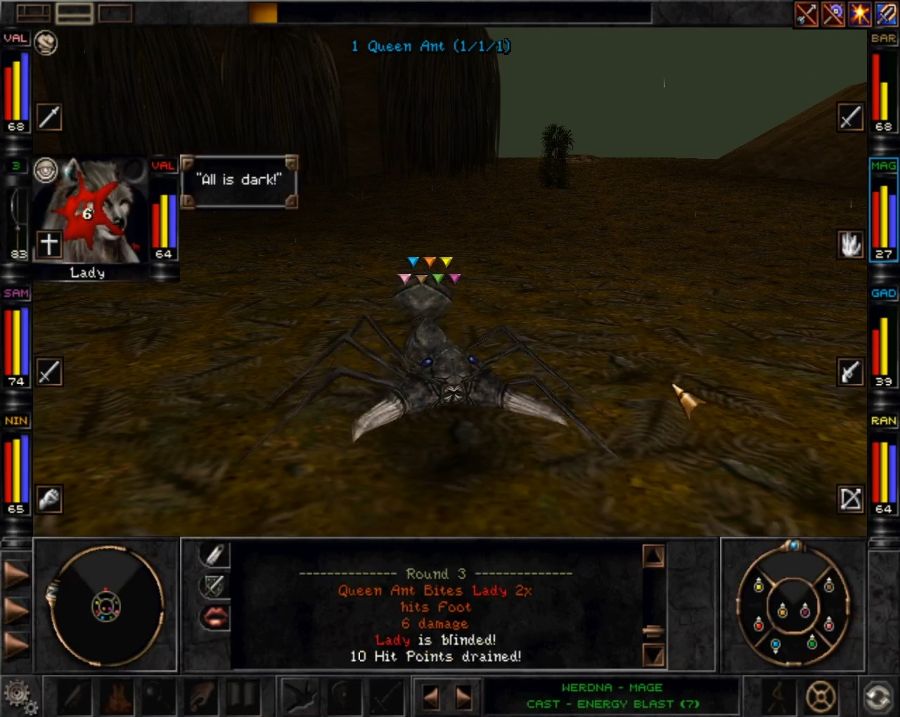
Of course that's still preferable to her melee bullshit because it drains. Now let me tell you about the "fuck you" called Draining. It's probably the rarest status effect, generally only some variants of giant mosquito and vampire bat will bring it, oh and this arthropod asshole, too, apparently. What it does is that it drains HP, but not in the sense that it does damage and then heals the drainer. No, it drains HP by literally permanently lowering your max HP. And there's no cure spell for it. Resting doesn't remove it. The only thing that'll deal with it are rare, costly potions called Renewal potions.
In this fight, Lady and Aurora lose about 10% and 20% of their max HP, respectively. Thankfully I have two Renewal potions lying around, but holy shit I suddenly have a lot more respect for Ant Queens and will not be attempting to melee one in the future.
After that fight the party needs a rest thanks to the ant queen, so I head north. Generally resting on the paths or anywhere near the middle of the map is ill-advised and difficult to do since you'll be napping in the middle of patrol routes and, without anything to put your back against, will almost certainly wake up surrounded and with your casters already half dead. The northern third or quarter or so of the map is separated from the rest by an east/west river with a single crossing point. I want to cross that river, but not right away since there are some real nasty things over there closer to the Bayjin transition point.
For now, though, I just follow the river east since it more-or-less leads where I want to go.
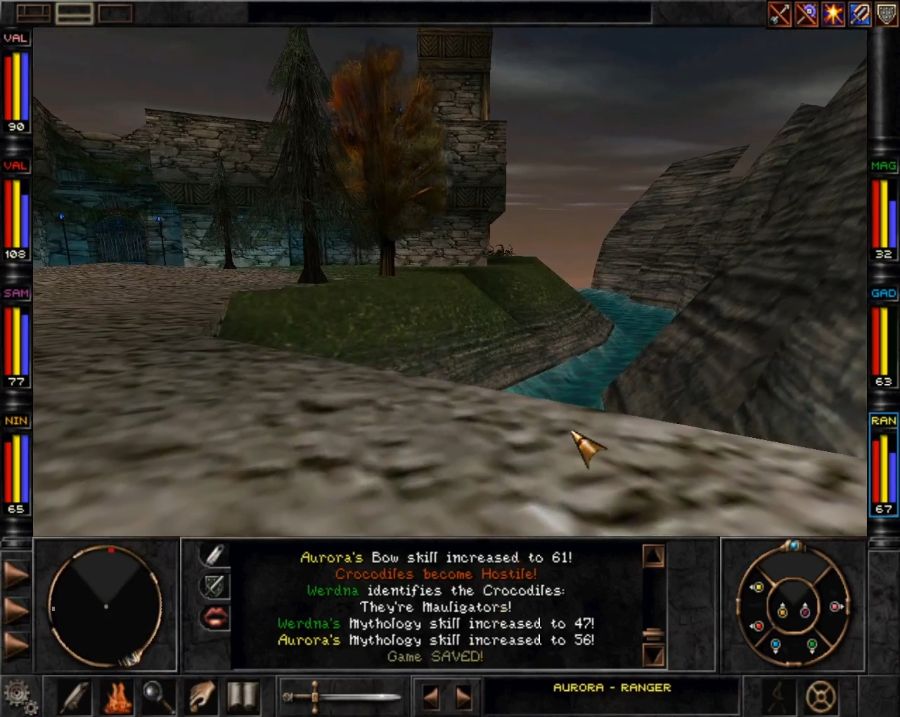
Along the way I underestimate some crocs who eat Vi and Saxx. Normally I'd reload, but in the interest of not presenting a super-perfect playthrough I've decided to actively suck up more tough wins and just rez whoever goes down. The only reloads are if the party actually gets completely mulched.
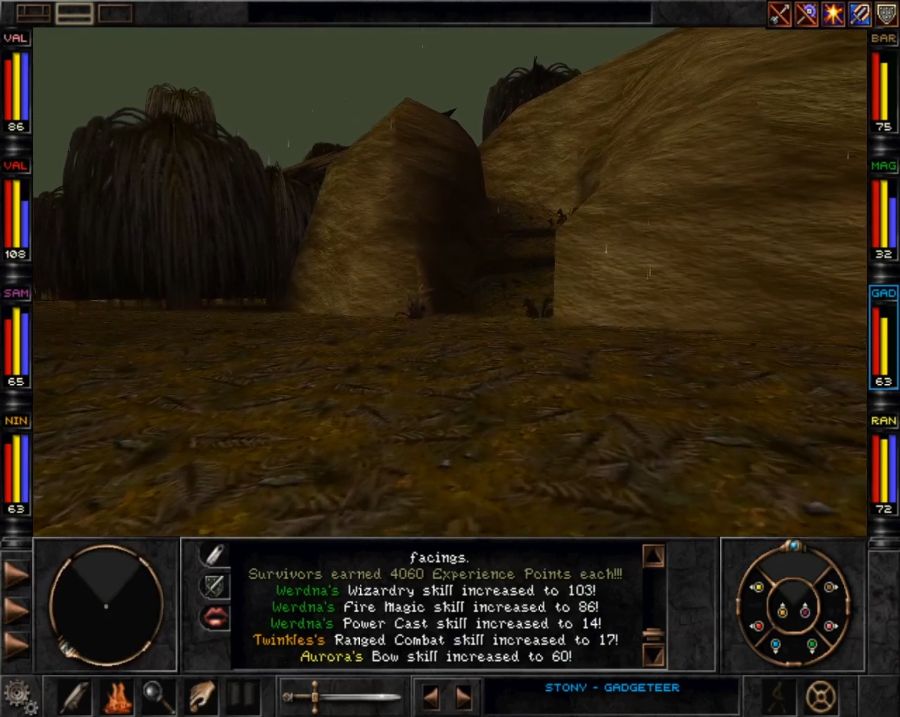
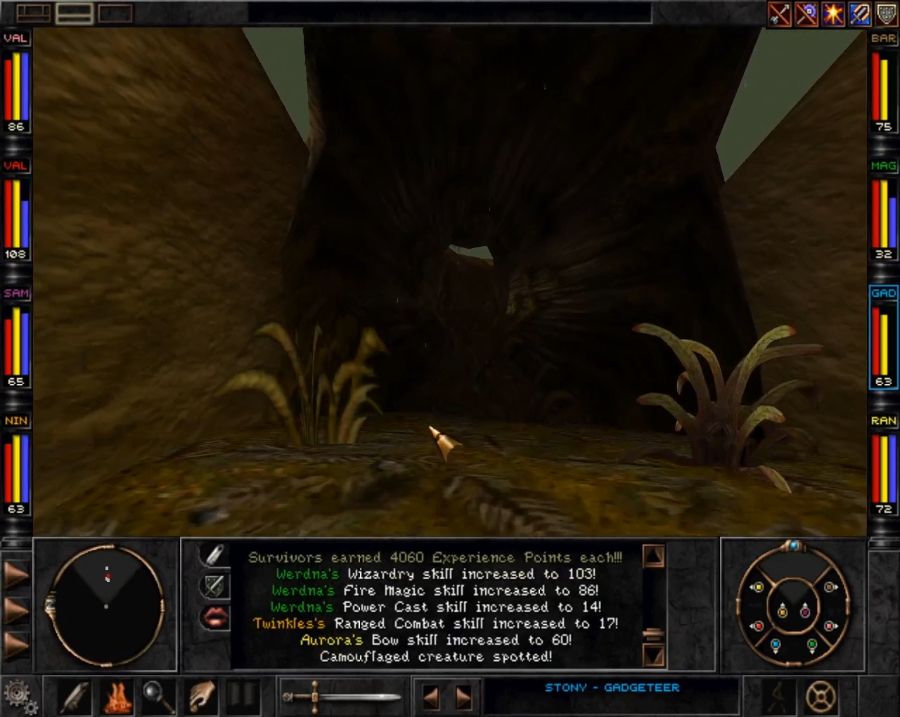
Along the way are more giant bugs and a glimpse of the bridge leading north, as well as a level-up for Stony that upgrades his Omnigun to its Mk. 6 variant which adds KO chances to the already-respectable blinding chance.
Eventually, though, I find the one friendly, or, well "friendly" resident of the swamp. Living in a worn-down house surrounded by blue flowers.
https://www.youtube.com/watch?v=mUIbuPbROps
What a nice old man, by which I mean holy shit he's like what, over a hundred-something years old by his own admission and living in a swamp full of giant monster bugs. Lots of exposition from him, and he's a worthwhile merchant to visit, too. He shops a nice couple of gear upgrades for bards, and besides that some gadgeteer-related stuff and we definitely want to pick up his Perfume. If a merchant has a unique item, you want to grab that shit right away.
He's also got a sling upgrade for Twinkles and a bow upgrade for Aurora(though Demonsting will certainly be brought back out again when we meet some demons).
Actual armor (ninja gear) for Twinkles, too, which helps his armor class considerably.

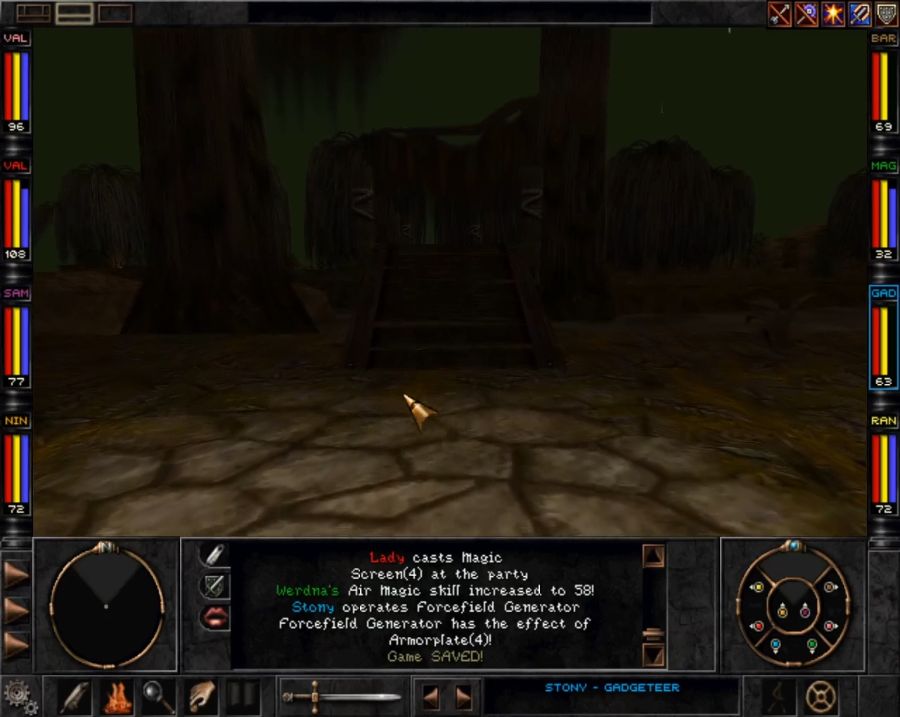
I also buy the perfume, of course, and a voltage amplifier and a large prism for Stony to play with.
The voltage amplifier sees immediate use, being combined with the giant magnet from Madras' lab in Trynton.
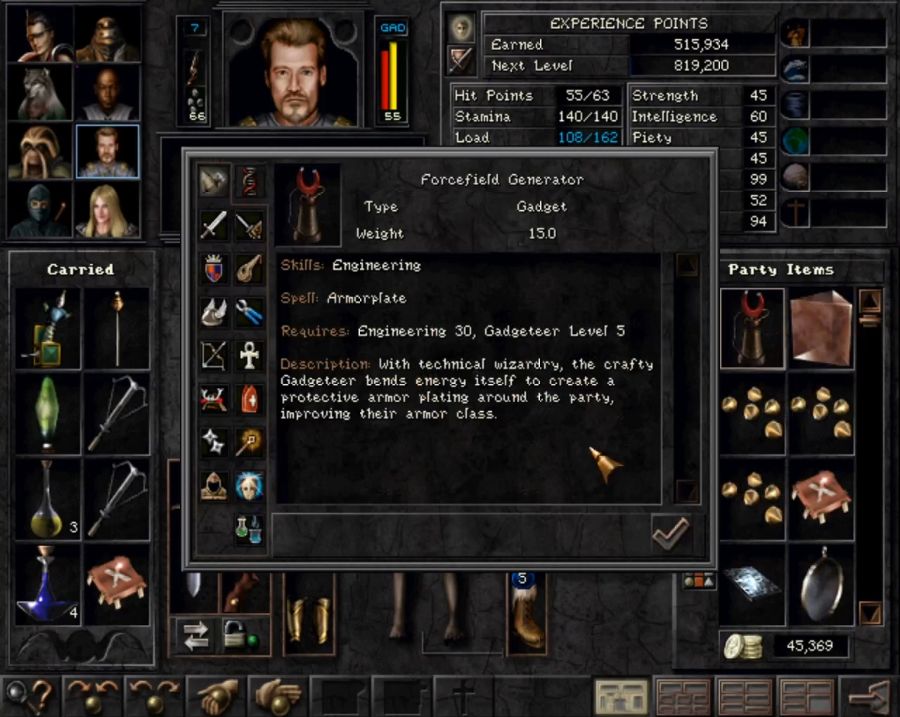
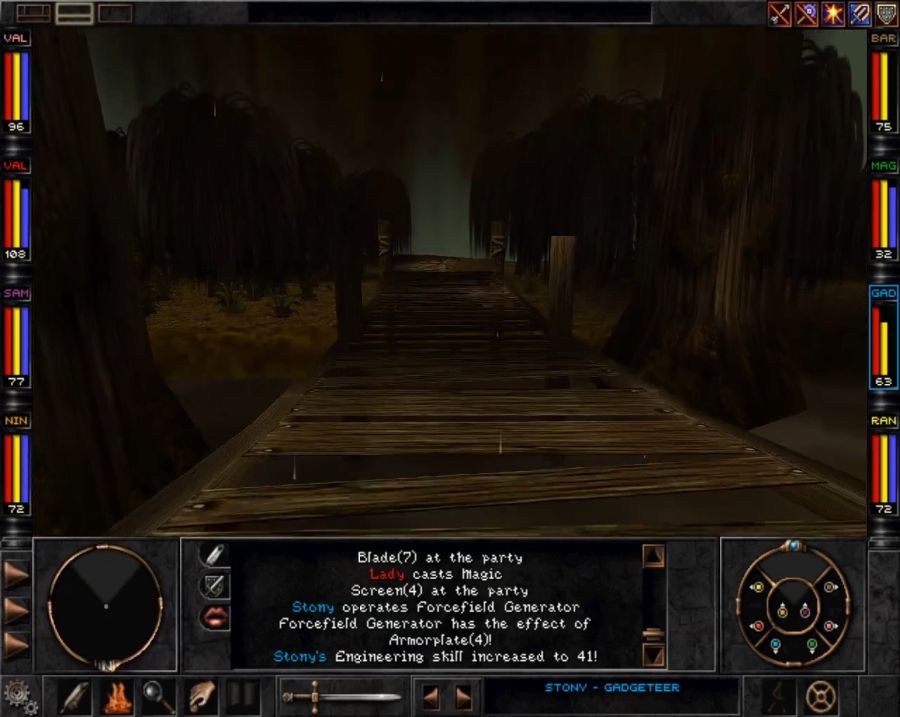
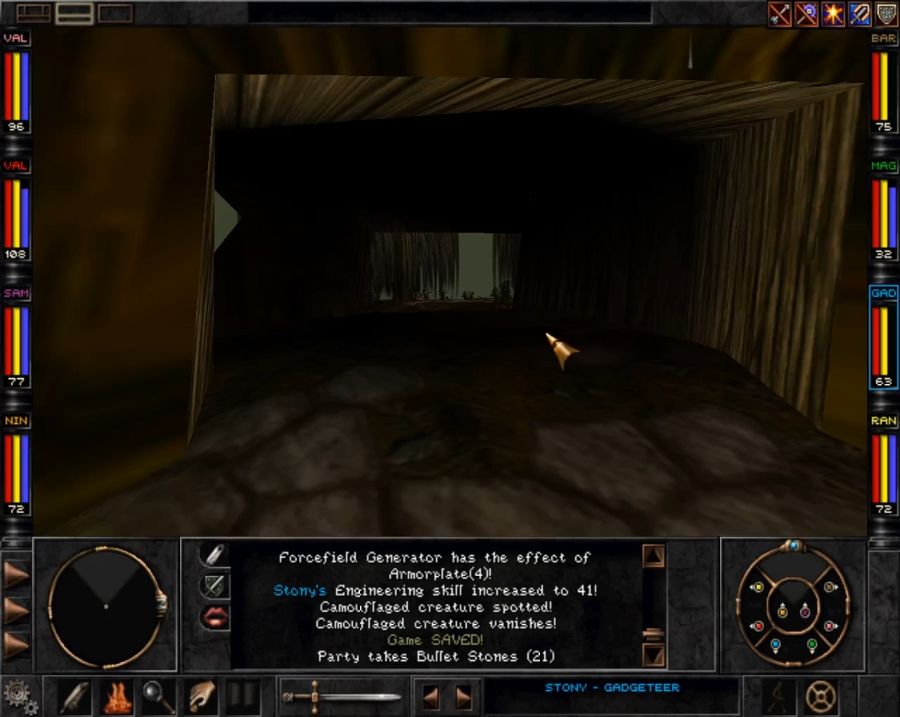
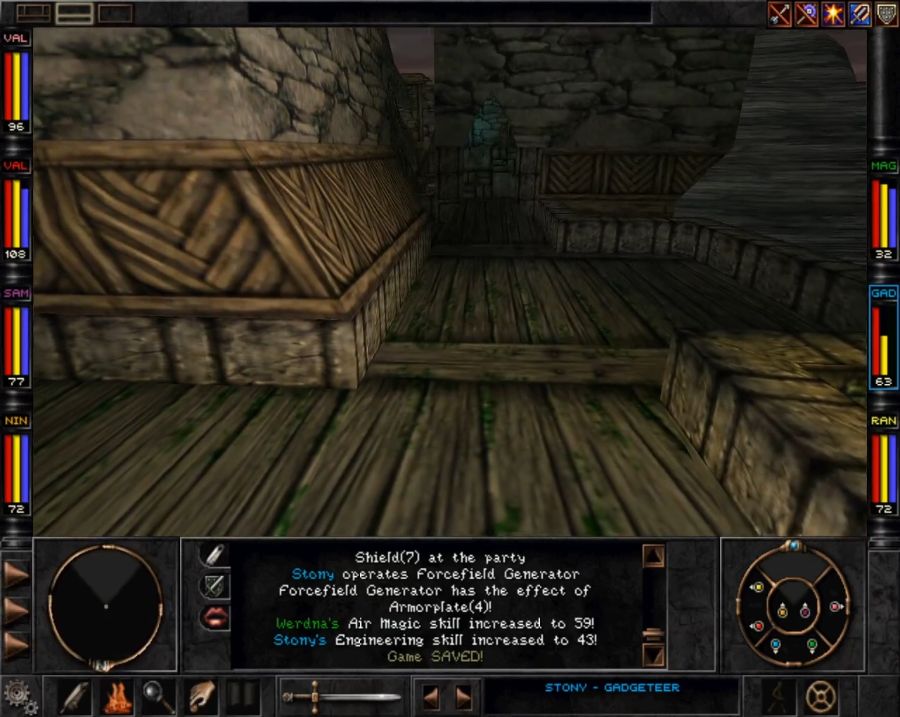
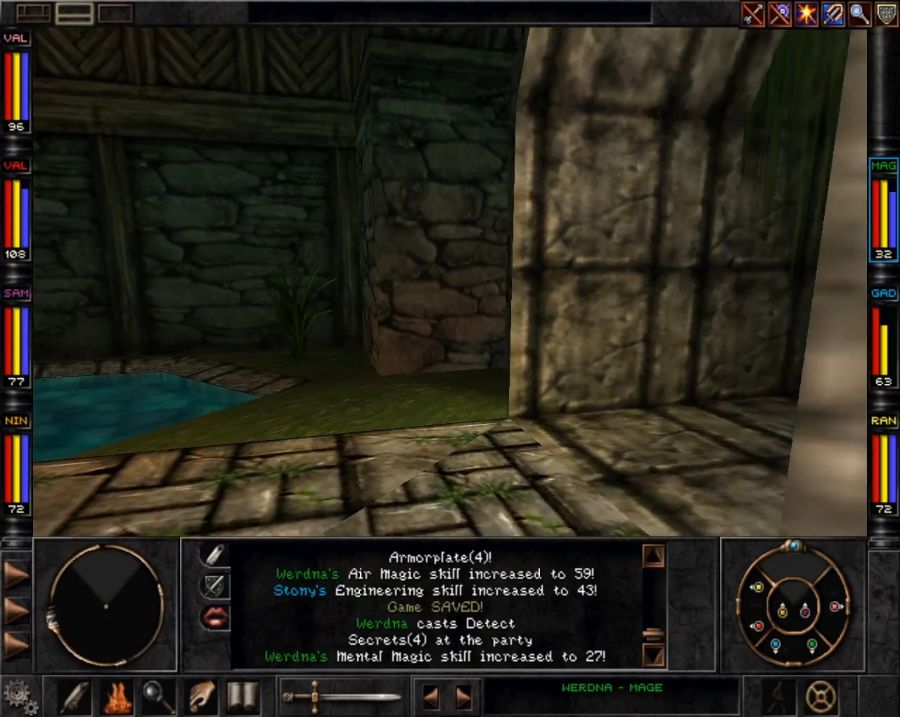
Aside from Armorplate being a decent enough buff that it's certainly worth Stony erecting at all times, it also means he's got an out-of-combat buff to help train his Engineering up.
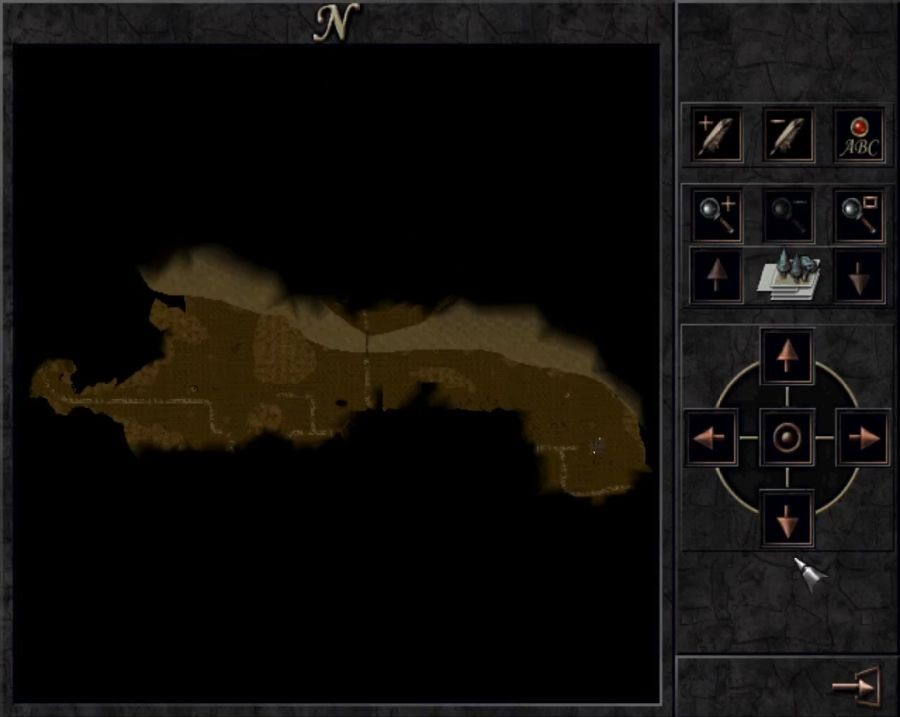
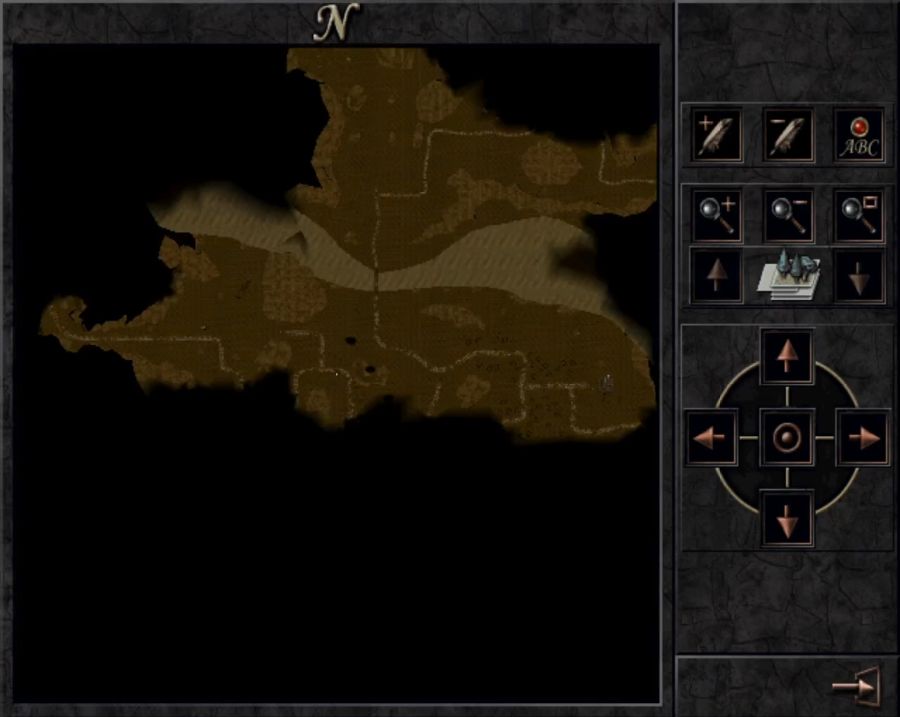
Also a shot of the map for context. The draining, fatalities and general terror have happened in just making a straight run across about 2/3rds of the map's width. There's plenty of terror yet to come as I set off to deal with the northern half of the Swamp, and by "deal with" I mean "poke around a bit and get killed by the locals and then reload and pretend it didn't happen."
Crossing the bridge presents you with the option of going east, which will fuck you by leading to stuff you're not prepared for, and going west which can, if you're careful, be lucrative.
Going west eventually leads you to this depressing shoreline.
It looks like something crashed and washed ashore, which means there's a decent bit of loot washed up in the sand. Among them a spellbook, yet another magic ankh and...
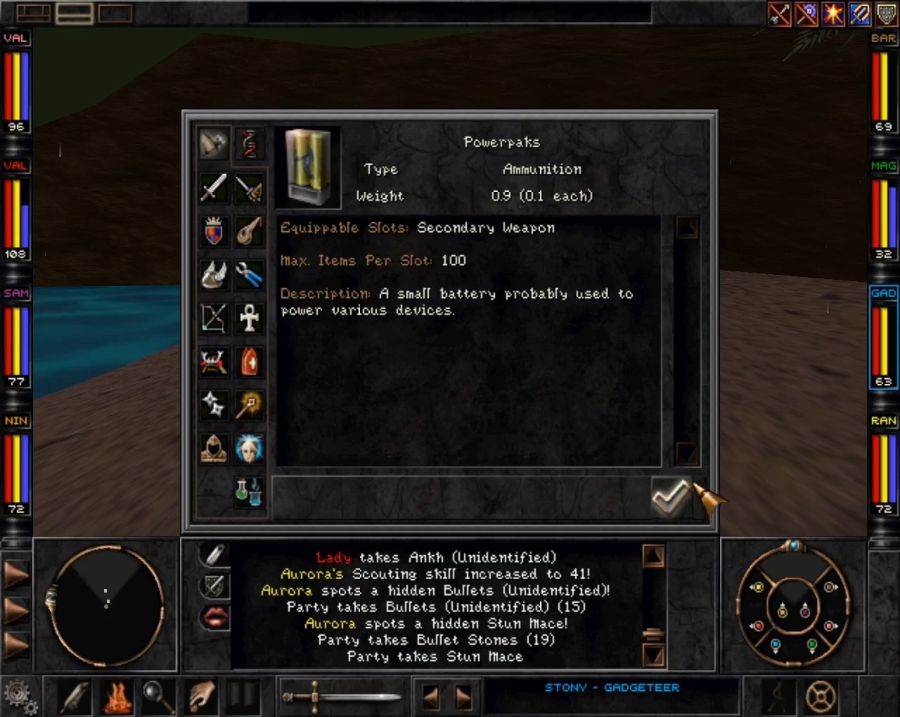
Ammo for RAYGUNS. Sadly I think the only accessible powerpak weapons in the game have to be imported from Wizardry 7.
So having reached the eastern end of the beach, I turn around and travel back south.
I hug the cliffs and eventually run into some ants. Shouldn't be too bad, I think, just gotta not melee their queen like a moron this time.
Then about 30 seconds into round one...

There's a Rynjin outpost up there and they spotted me. Now let me show you what Rynjin do.
Every single Rynjin is comparable to a Monk. I.e. they're competent unarmed melee fighters who also have a byline in psionic magic which they will use to tear your brain a new asshole. This was just round one.


Yeah, uh, that's about when I reload and decide to move back a bit farther west before heading south again, just so I don't attract those fuckers a second time. Goddamn.
The second attempt at getting back on track goes better, albeit with some big bugs that need a squishing.
The "crack in the ground you won't see until you step on it"-swamp gas sources mostly occur on the actual paths, oddly enough. Off the paths, the swamp gas is marked by big blackened spots that are much easier to see and avoid.
Most everything interesting in the area, though, is out at the edges, unless you really like large, rotting trees.
Down south is this hogar graveyard next to a big, bubbling tar pit. If you've got any spare empty bottles, which are occasionally left lying around the place, you can dip them in the tar pit to turn them into Cherry Bombs, a consumable item that stopped being useful roughly about when you left the Monastery. Still, it's a nice idea.
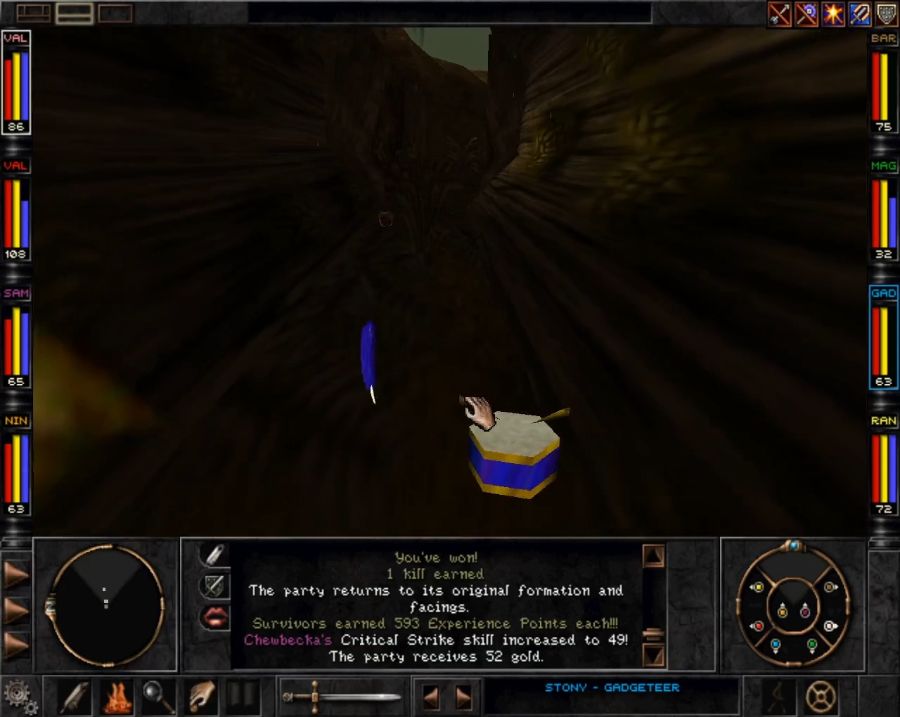
This little hidden-ish path leads up to a hollow log above the path leading to Marten's Bluff, it contains a fixed(and thus ez pz) encounter with a slime, a blue feather and a drum that casts Haste. It's not as insane as D&D Haste where it doubles all your actions, but considering that it's a simple-to-cast, all-party-buff, it's a solid piece of gear for a bard to have to consistently use on round one of a fight.
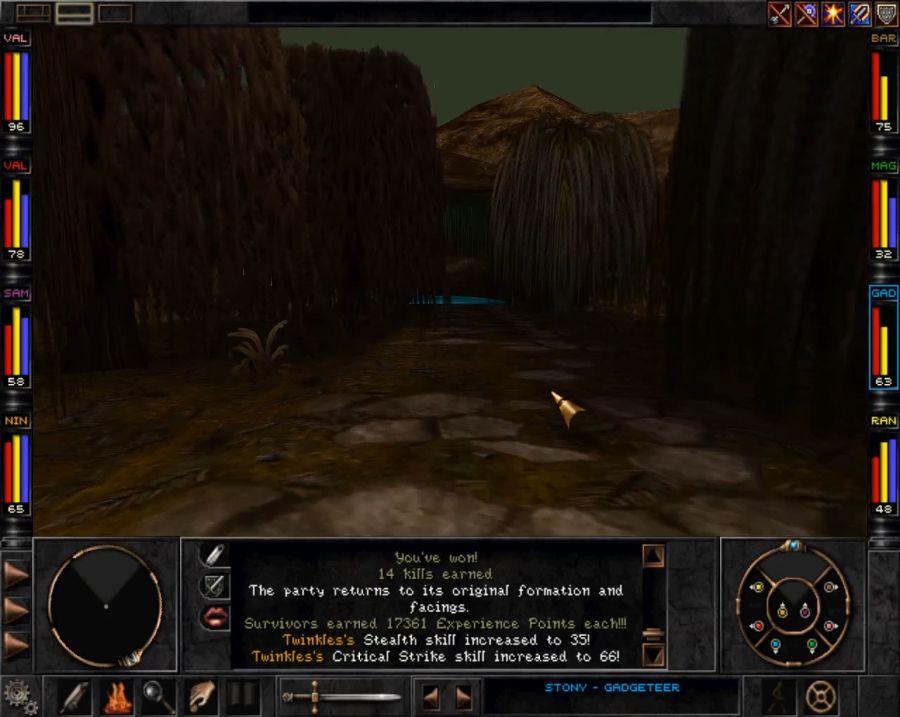
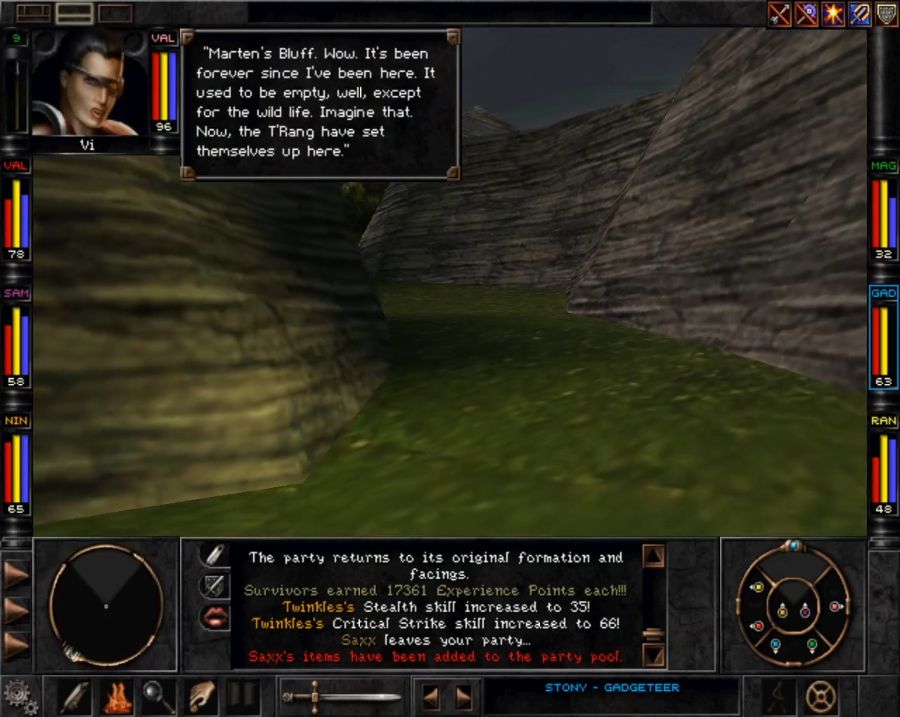
I trek back and forth a bit, murdering wildlife and unloading some gear on Crock, before heading south to Marten's Bluff. Predictably, Saxx protests.
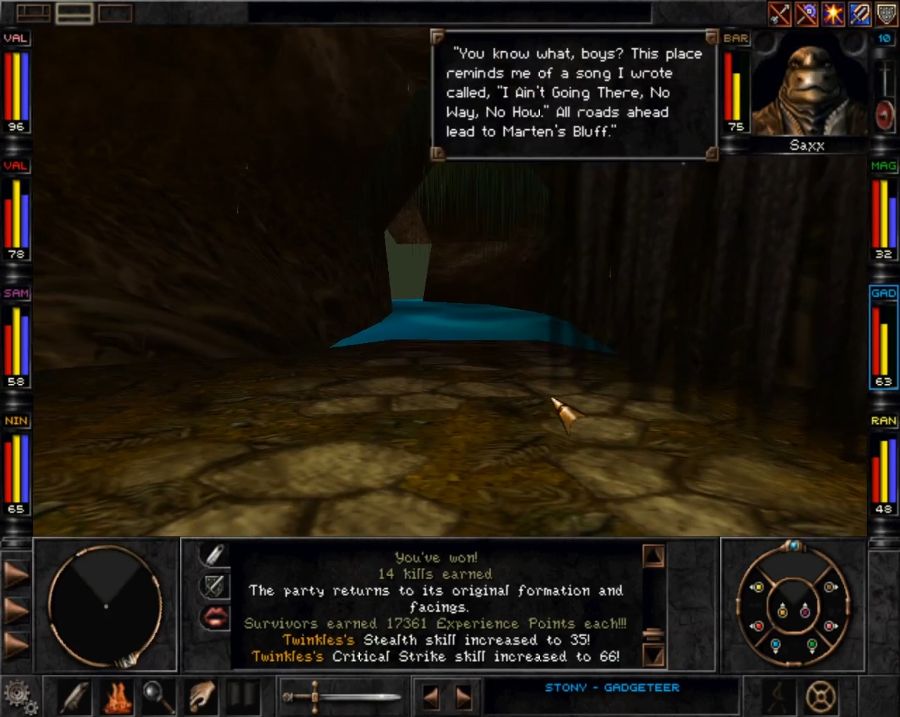
I'm extremely sad to be divested of Saxx for this next part, but I honestly wasn't sure if his presence would piss off the T'rang, so I let him go. Later on I'll have to slog back to Mt. Gigas and pick him up again.
https://www.youtube.com/watch?v=XRQR-nfUUnk
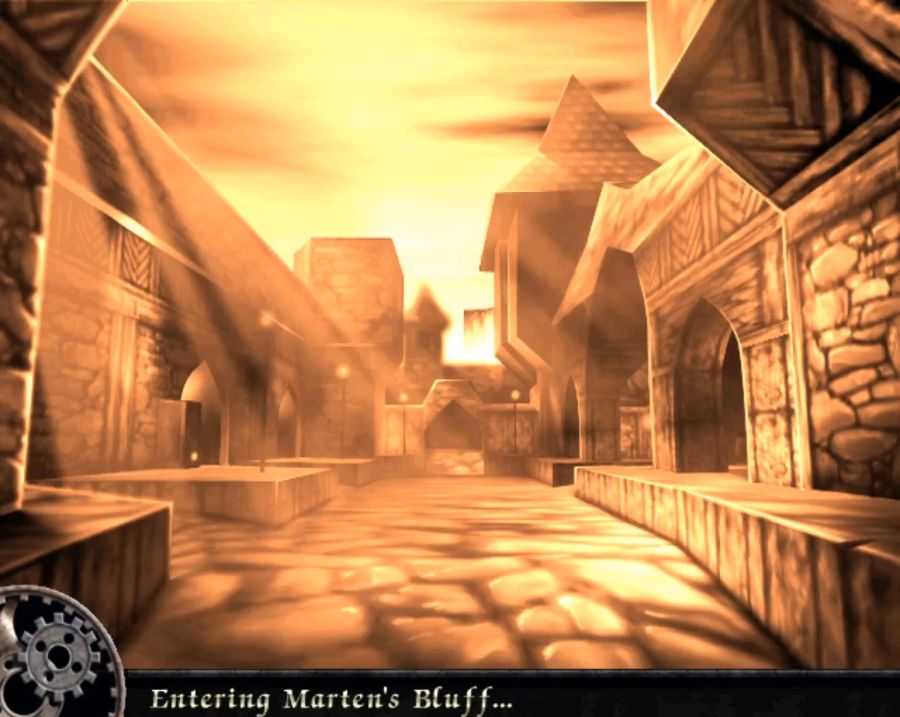
Welcome to scenic Marten's Bluff.
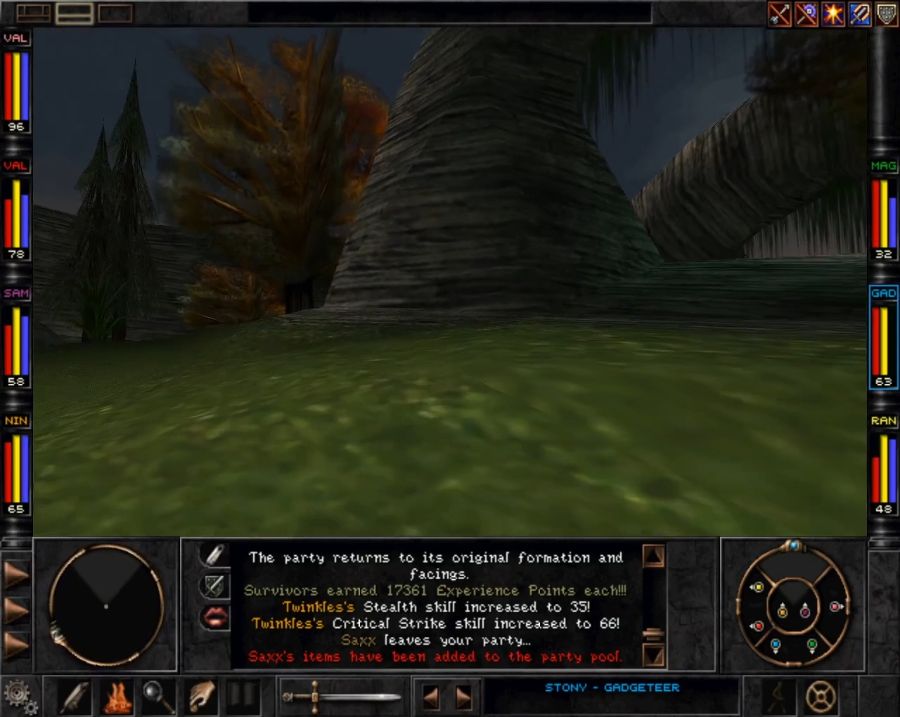
I rather liked the framing on this, one of the tower's of the Bluff being visible above the cliffs briefly before turning the corner and seeing the full thing, also the blue light sticks left around the place indicative of T'rang occupation.
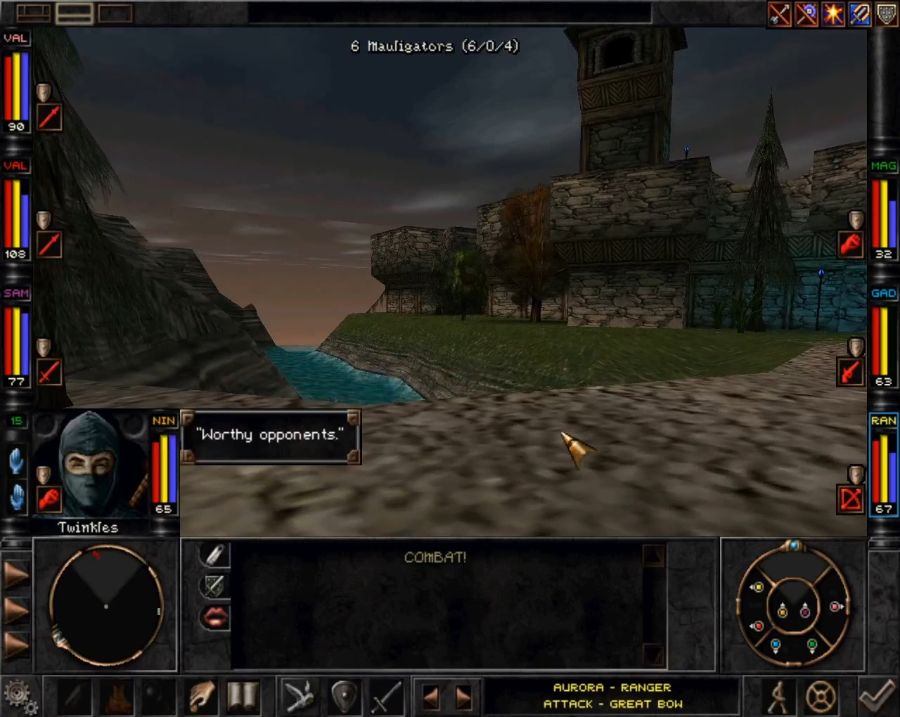
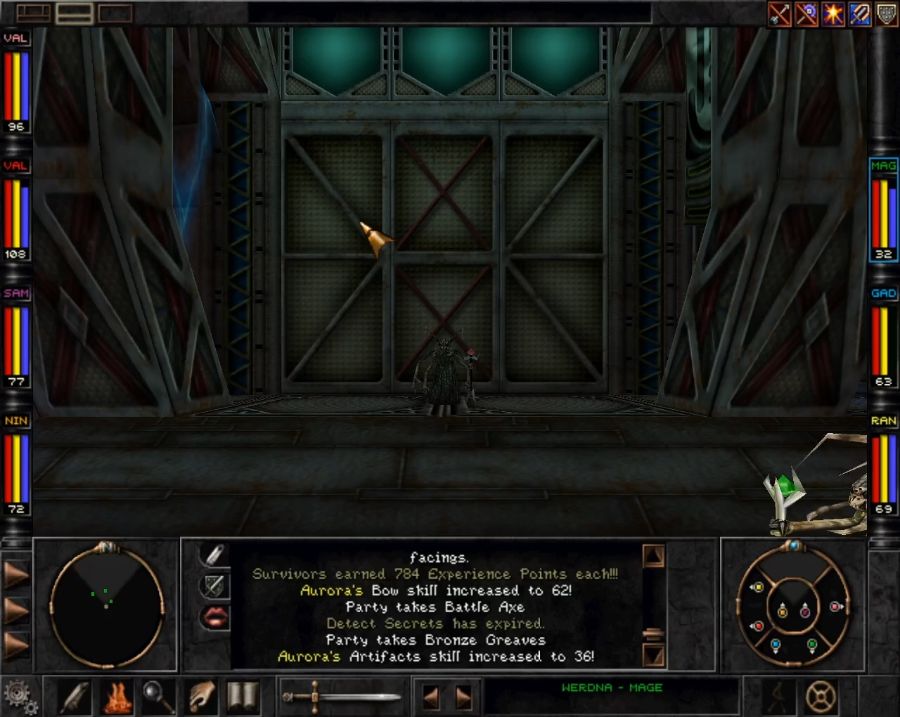
I'm just crossing the small bridge over the moat to reach the front gate when suddenly I'm attacked by invisible alligators or, rather, MAULIGATORS, which is a rad as hell name. I hold for a walk to give them a chance to show up rather than exposing my back, queueing up all the buffs I can think of as I do so.
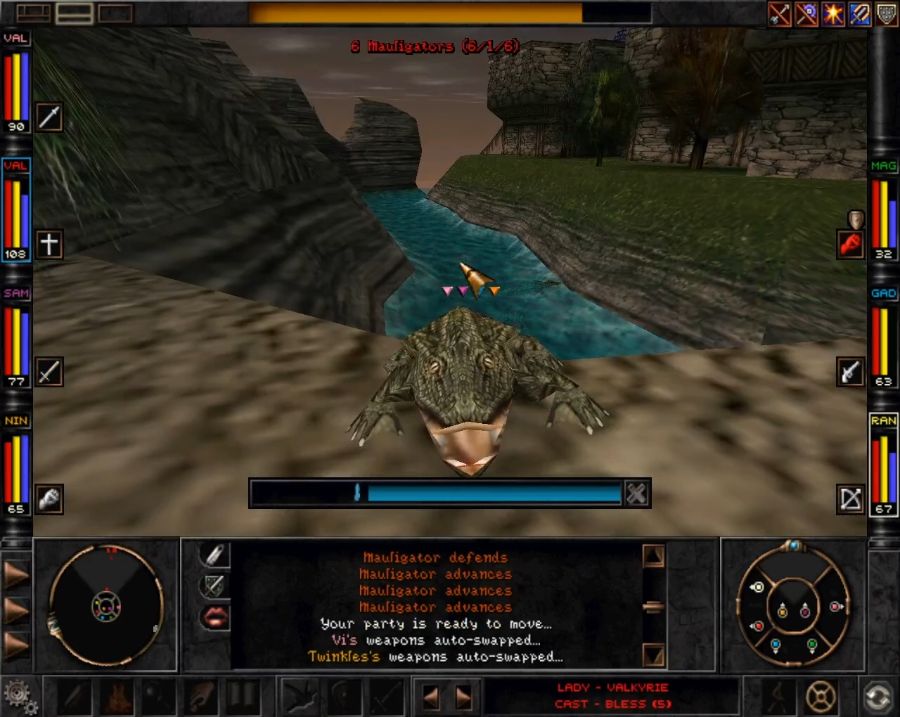
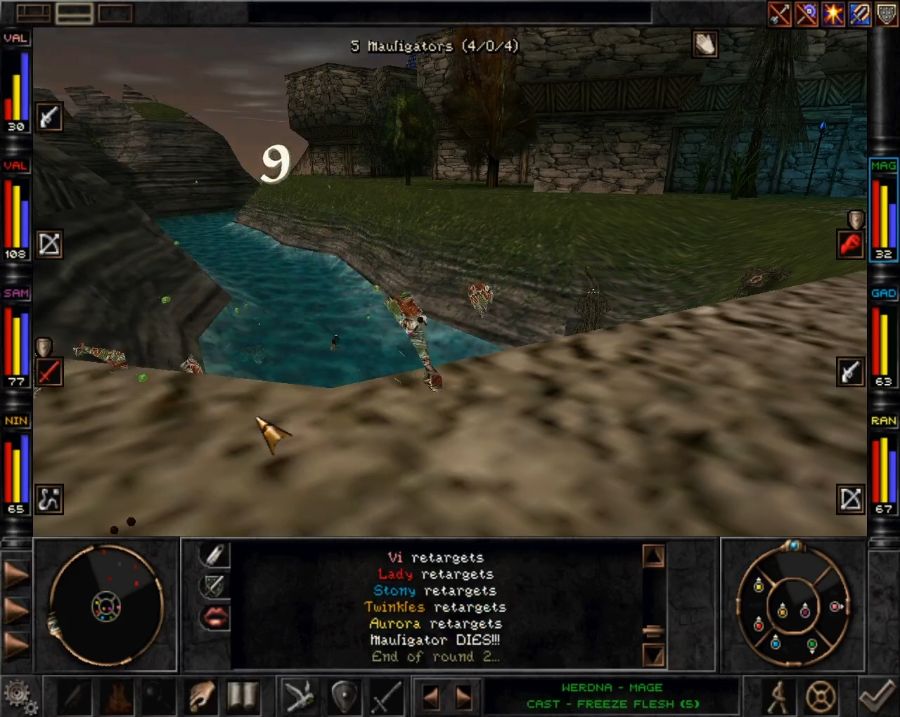
Taking out just one of them almost chewed up Vi after their shrugging off all the stuns I could think to throw at them. If they had come at me front on rather than needing to clamber out of the moat first, this encounter would have been a lot rougher.
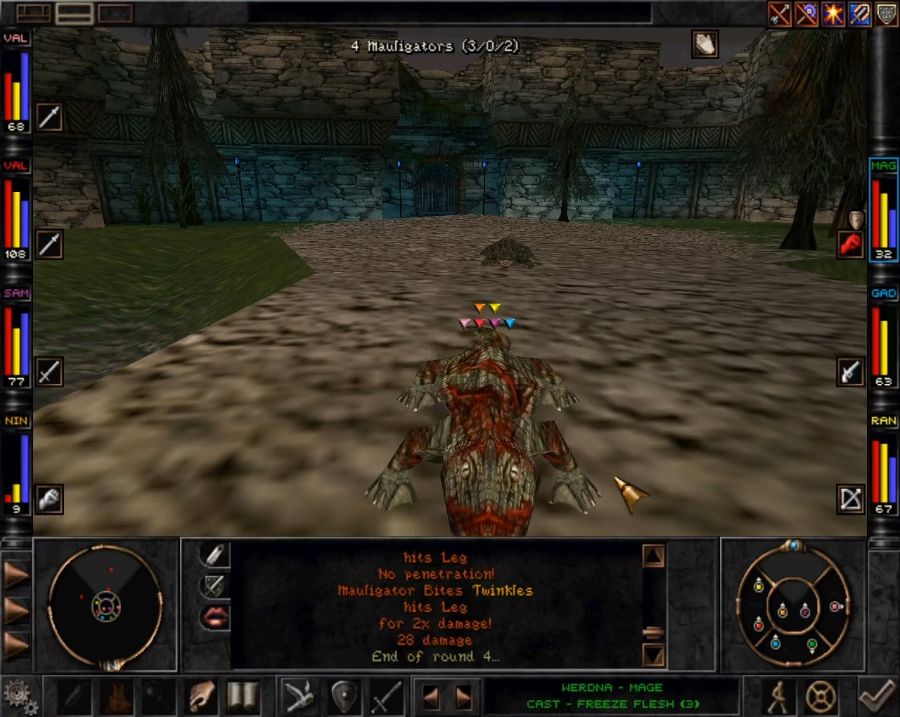
As it is, things get spicy when the gators pincer-formation me, and I need to queue up some movement to get out of there. This, of course, also means they get first strike for the round which could VERY easily have reduced some party members to dogfood, or gatorfood, rather.
Once again, Stony's Omnigun comes to the rescue by whacking one of the gators first with a blind and then a KO, keeping it out of the fight during the pinchiest parts.
Now, you can attempt to go in through the front door, but there's no point. Just around the corner there's a barrier that can't be bypassed from this side. So let's take a walk around the fort and see what we can find.
What's cut here is me running into a pack of Deathsting Apuses and needing to reload because, as their name implies, they have a chance to instakill party members on hit. Fucking bugs.
I take the "long" way around the bluff, because I could swear I remembered something being this way that could be missed, but it turns out I'm mistaken. There's just yet another entrance that cannot be accessed from the outside.
So I loop aaaaaaaaaaall the way around to almost the entrance where I find what I assume to be the remnants of the HLL's attempts to break in.
You can interact with the gear to "load" the catapult.
Then undo the latch holding the arm in place, so it slams forward, through its rotted-through crossbar and slams unto the battlements. Why would you want to do this, though?
Because that's the only way in (for now), the gate is locked so you need to use the catapult's arm as a sort of ladder/bridge up on to the walls and boom, you're in. Time to nose around.
The battlements don't really hold anything except two empty towers. The only purpose they serve is that they are, I suppose, safe places to rest. Resting outside the Bluff tends to get you ambushed by various enemies, not that I'd have learned this by getting ambushed five times in a row or anything. Oh no certainly not me a certified PRO GAMER.
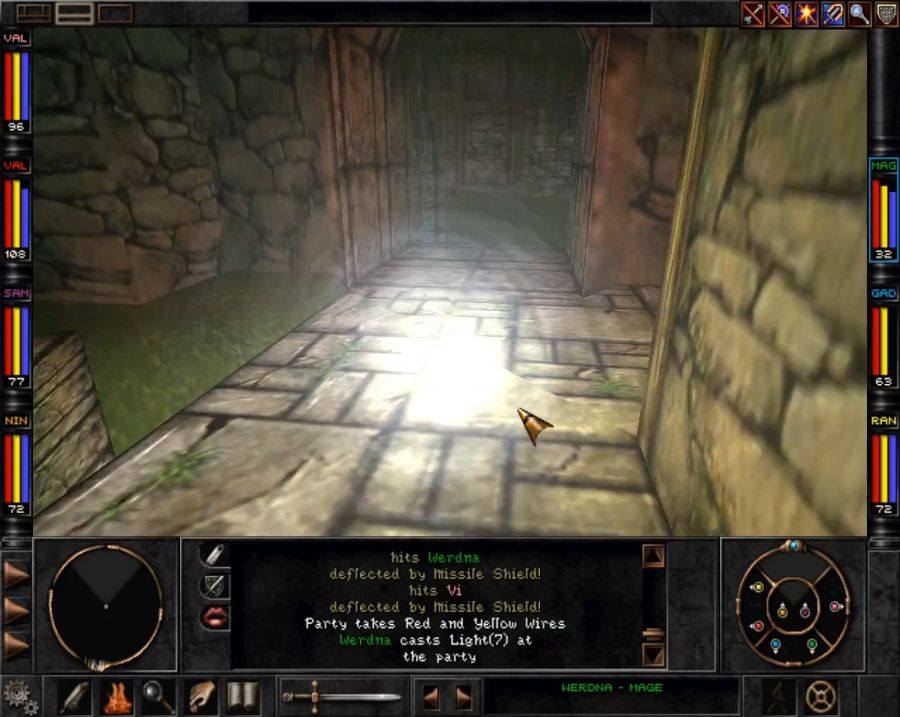
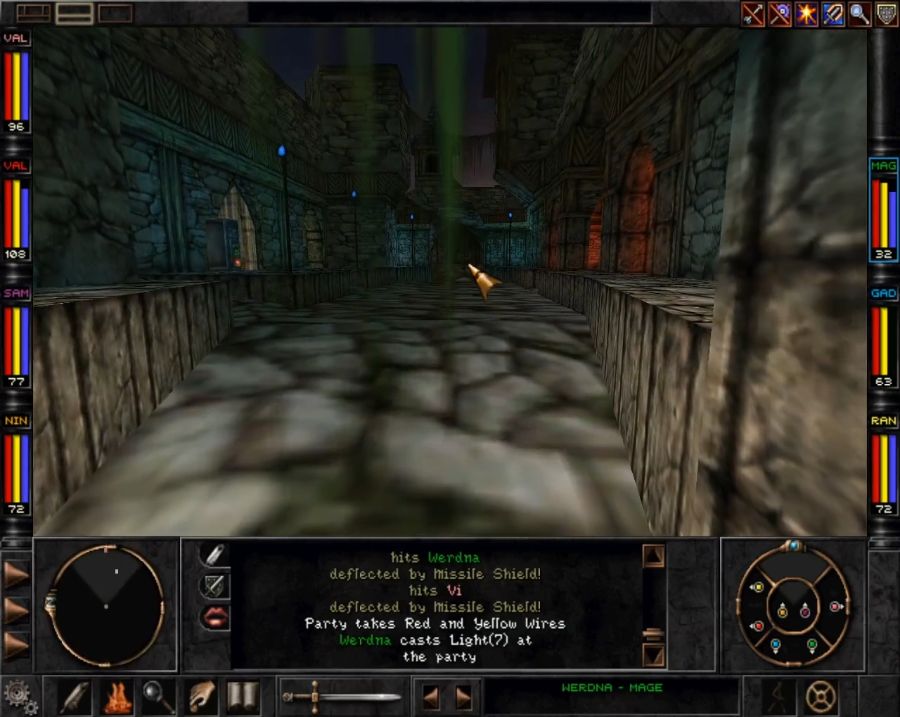
Just inside the gate we used the catapult to bypass is a dead T'rang, poked to death by an arrow trap immediately opposite. I walked through it like three times and took no hits since, interestingly enough, the Missile Shield spell apparently also deflects out-of-combat projectiles.
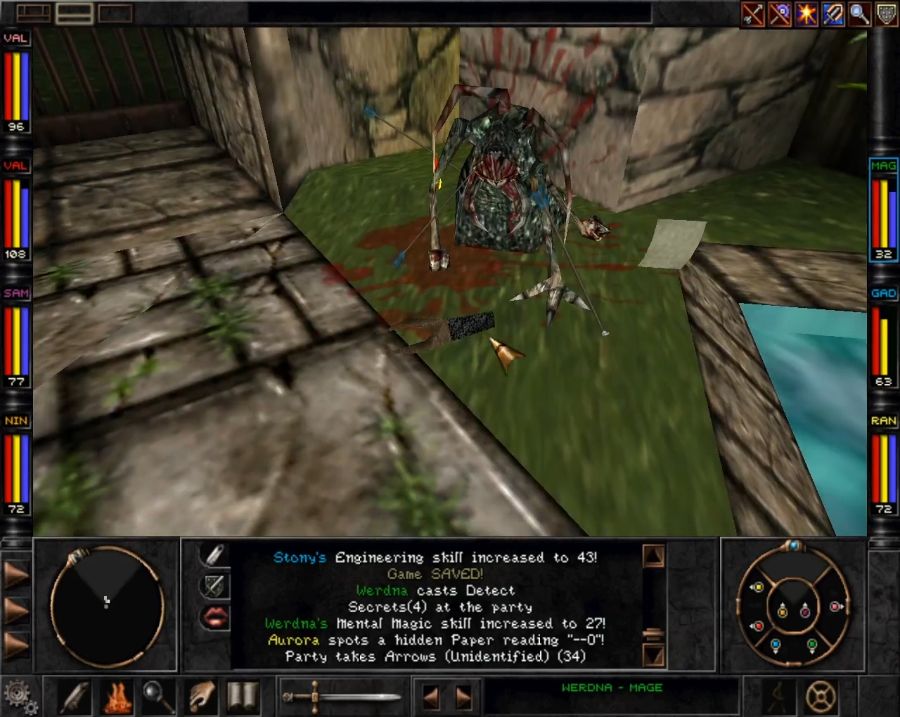
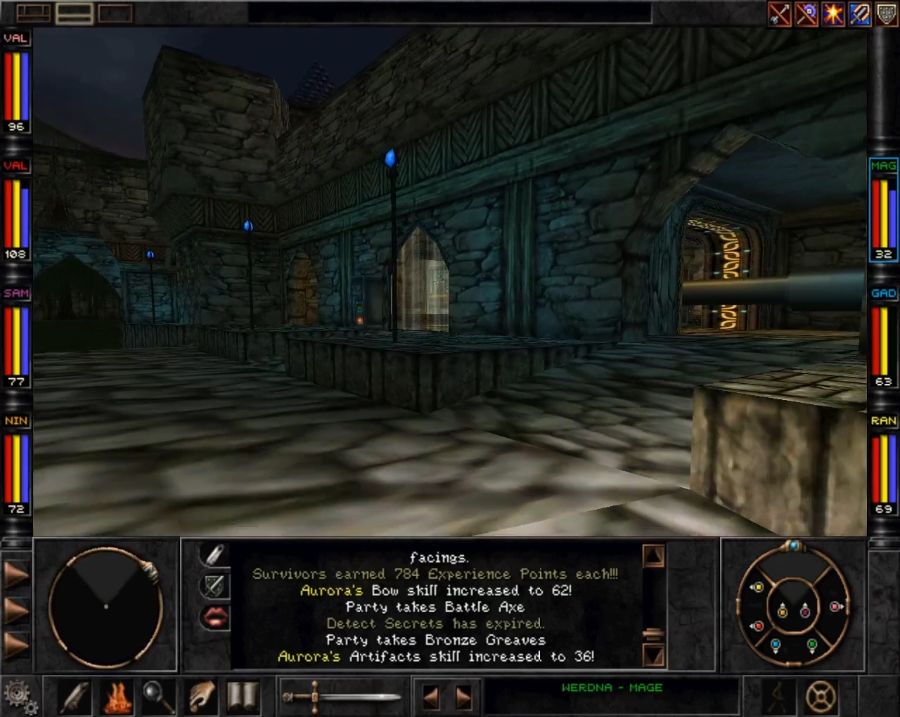
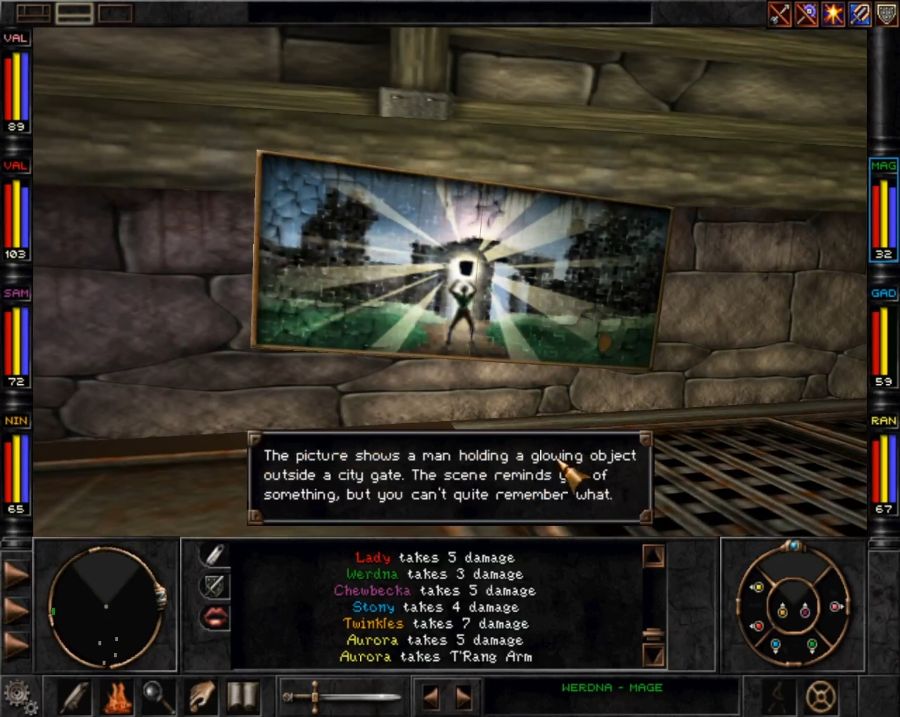
At the corpse we can loot: 1 T'rang Arm, this is both the evidence that the Umpani want of T'rang presence as well as a very important tool for Marten's Bluff. A piece of paper with --O on it and a pair of wires that will be EXTREMELY important in an update or two depending on how things go, and obviously we can unbar that gate from the inside making entry through the side entrance slightly easier.
There's this big door we can't interact with (yet) and a courtyard on the opposite side of where we arrived that has basically nothing in it except the occasional monster spawn. However, in the middle, just behind the main gate...
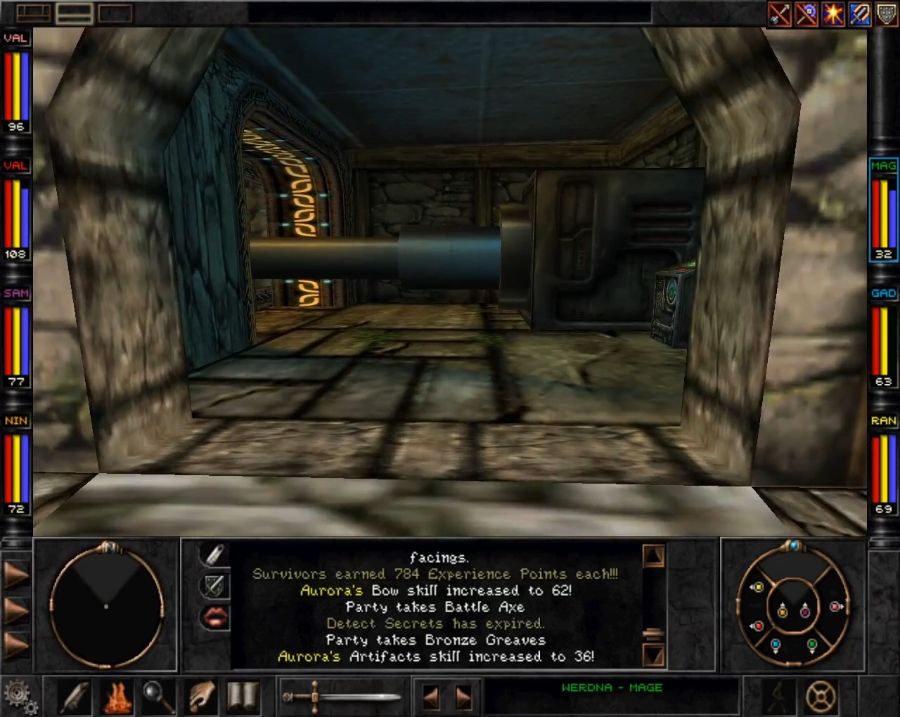
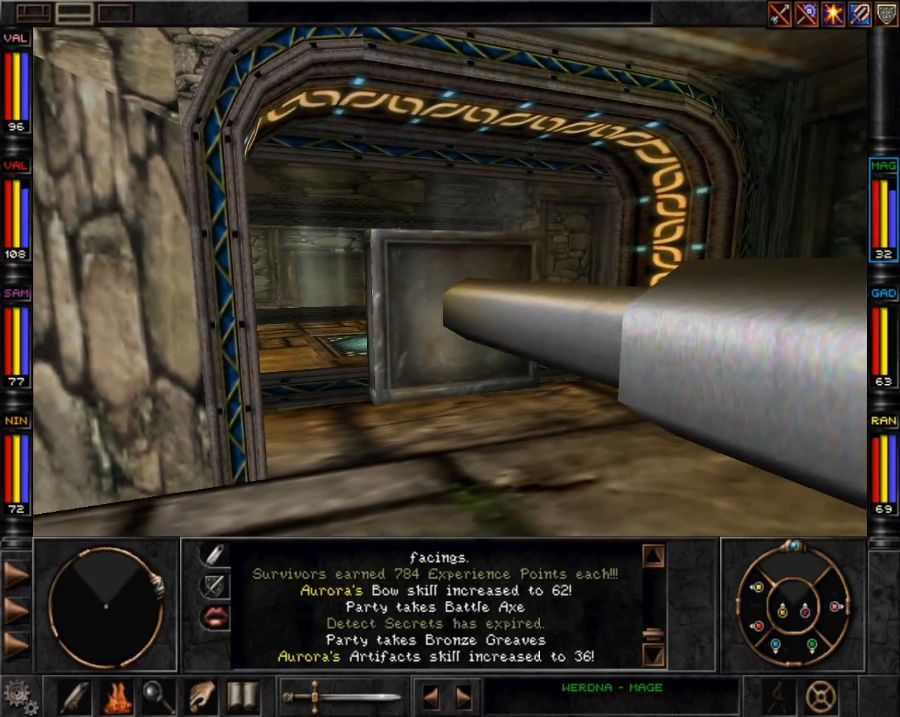
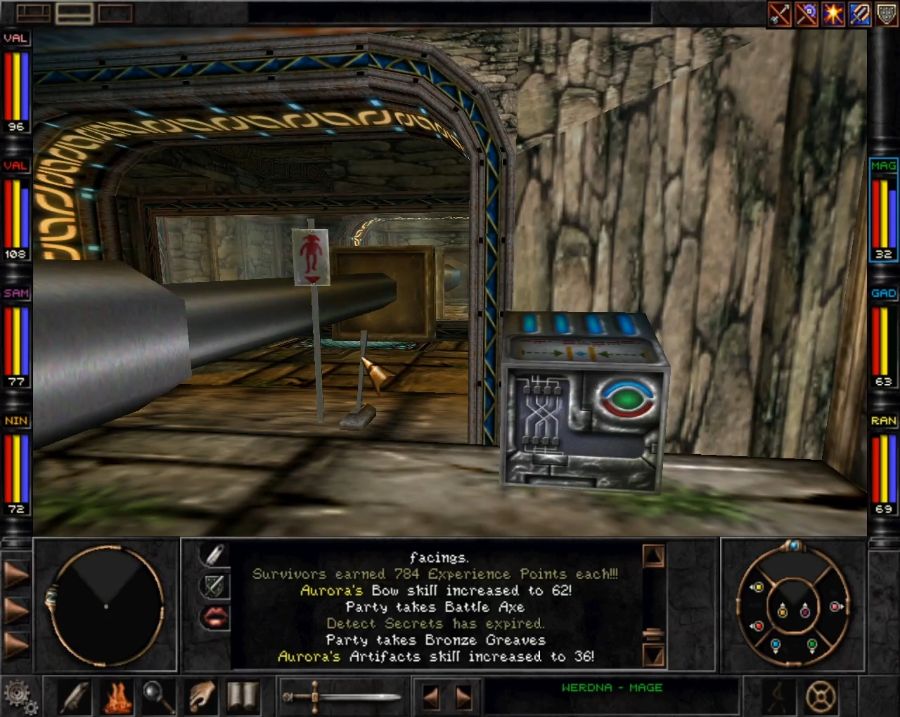
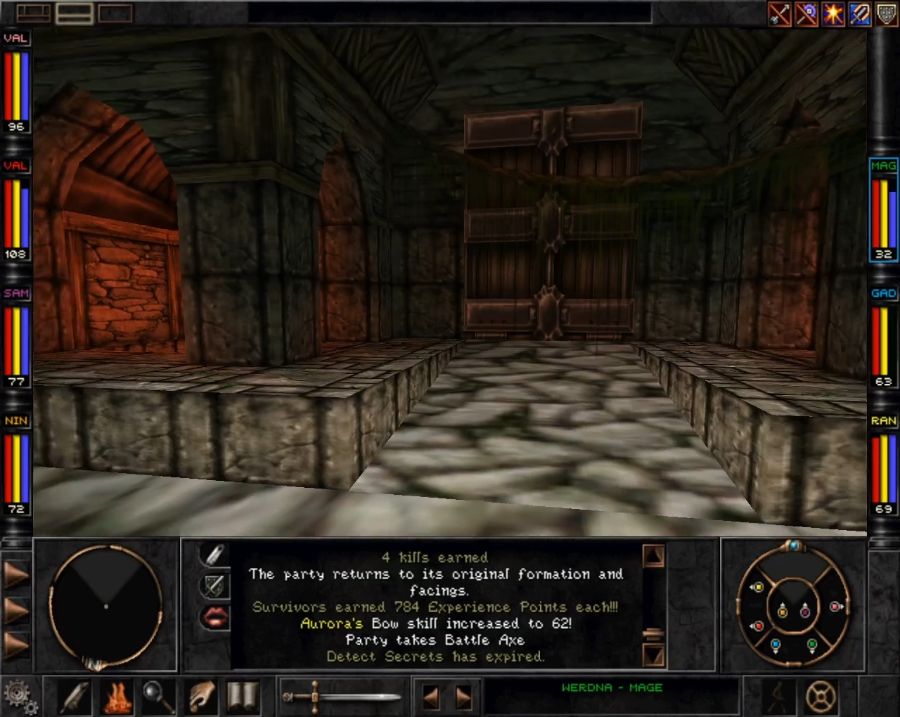
So we got us five buttons in total. One to enable/disable an elevator in the central room. One to lock the doors in and out. One to forcibly open one of the doors even if locked. One to operate the giant pistons and one to...
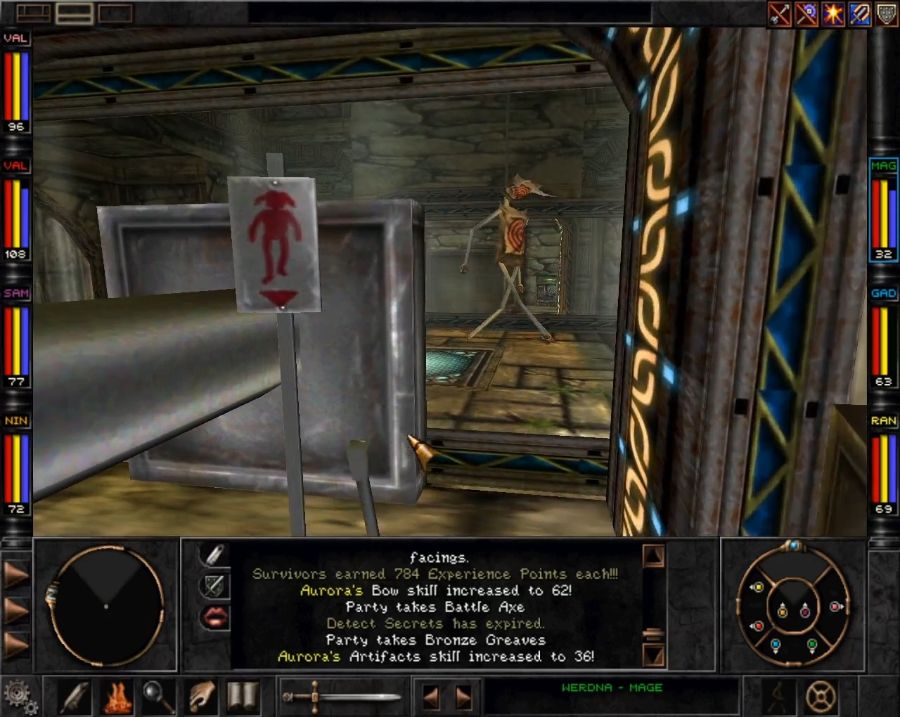
...drop a training dummy into the middle of the room? Hm.
Whatever, let's head down and see what sort of sinister villainous hive the T'rang have built beneath our very feet.
'sup, uh, my good spider slug fellas?
https://www.youtube.com/watch?v=s4FTABt3WuQ
So, maybe it's just me, but I like the T'rang more than the Umpani. The Umpani generally feel a bit aloof and patronizing, while the T'rang immediately invite you into the family and are overjoyed that you're joining them. Now let's celebrate this by rooting around their fortress and stealing anything they weren't smart enough to nail down.
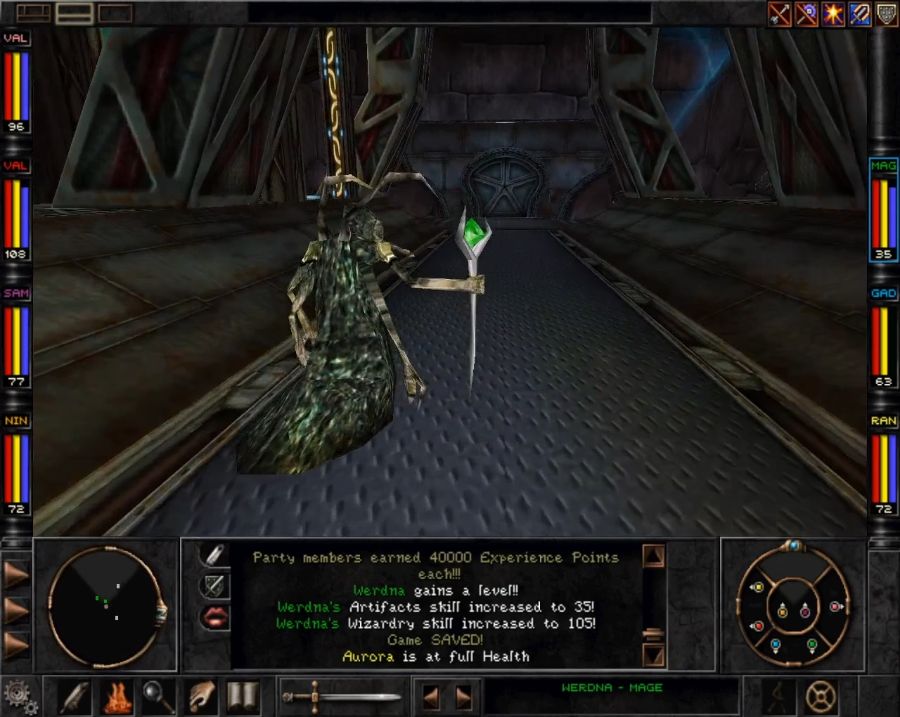
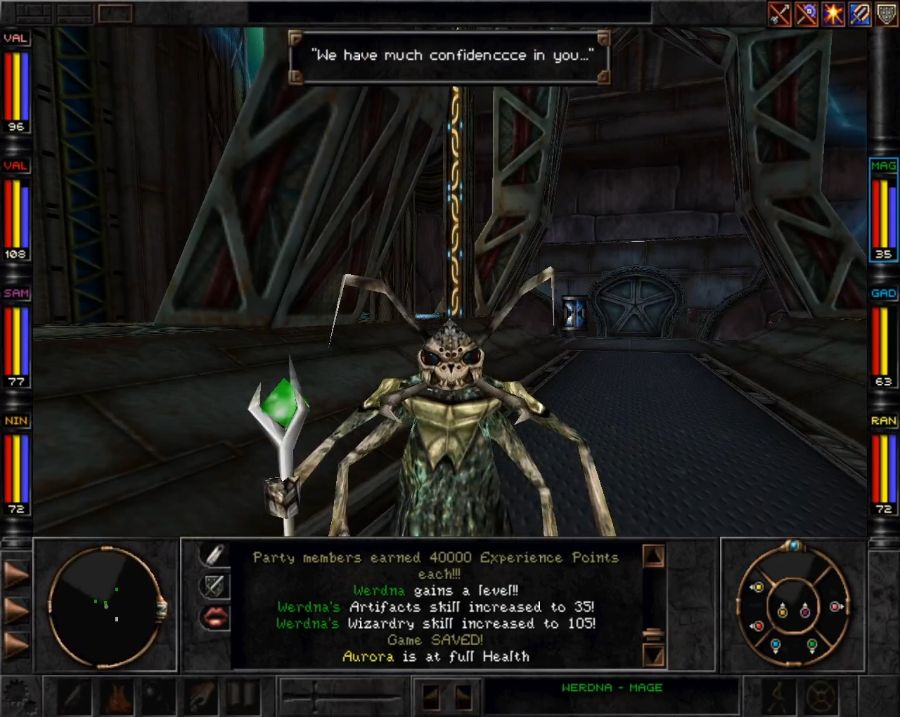
The level-up from Z'ant's reward also gets Werdna two boosts. Firstly he levels up enough to make use of the Portal and Return spellbooks I found, which gives us a Lloyd's Beacon-esque functionality, and secondly he gets Freeze All as a level-up spell, allowing him to attempt to paralyze every enemy on the battlefield at once.
So any of these doors requiring a T'rang handprint can only be opened with our looted, severed T'rang arm. Anything else just electrocutes the party!

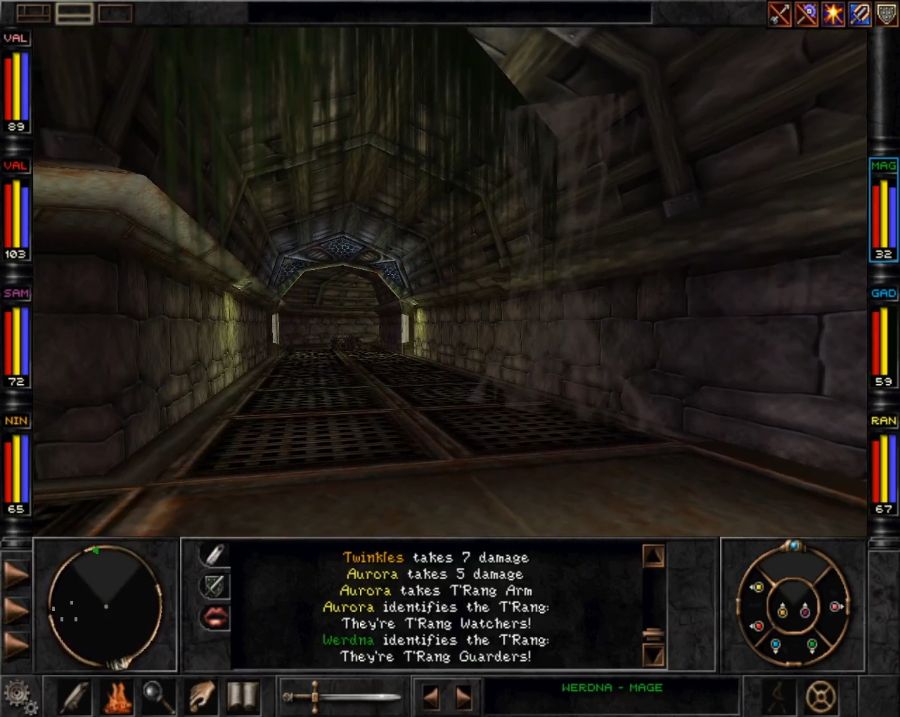
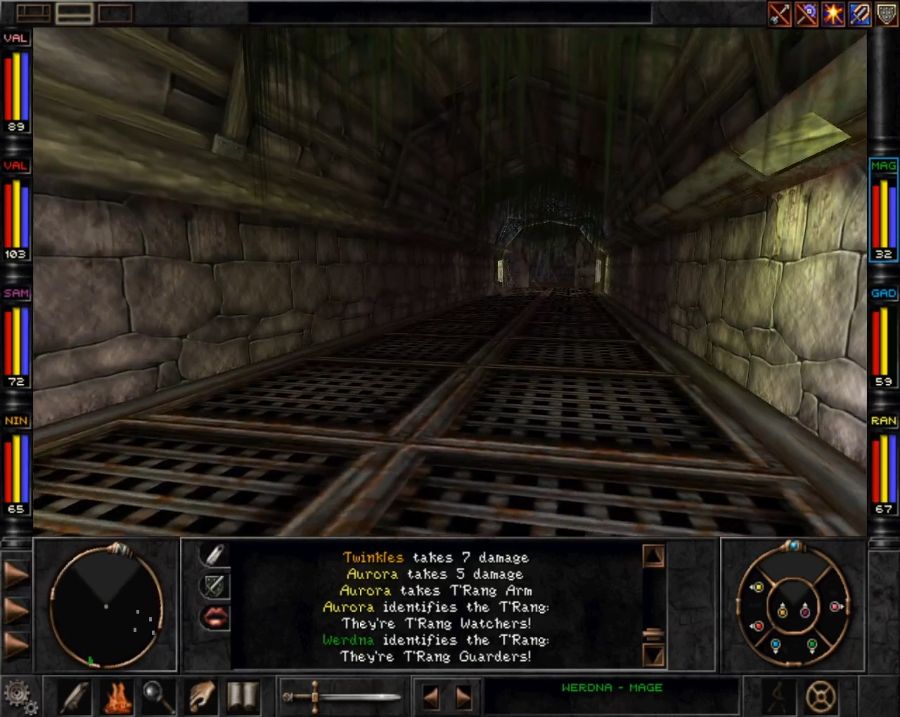
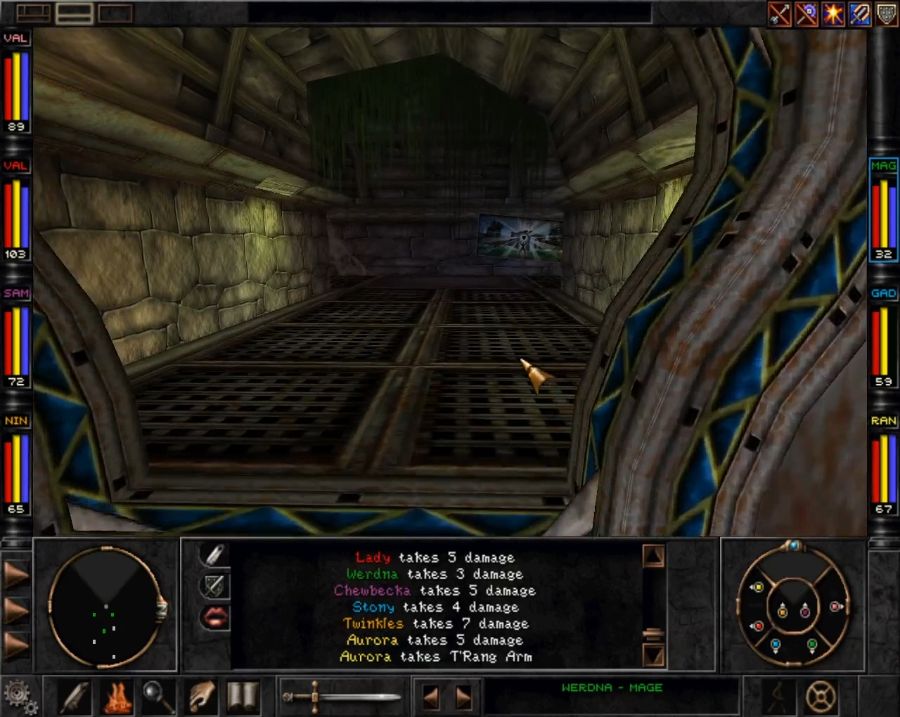
The tunnels are occasionally patrolled by T'rang Watchers and their higher-ranking cousins, but generally the place is calm and safe, though the T'rang haven't done anything about removing Marten's old traps and puzzles when they aren't immediately in their way.
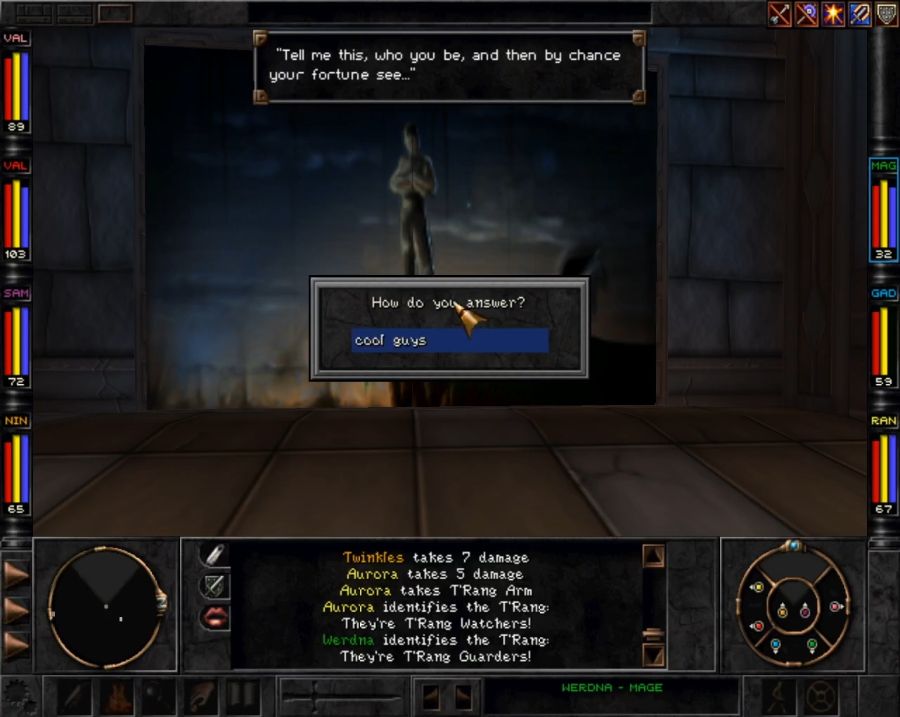
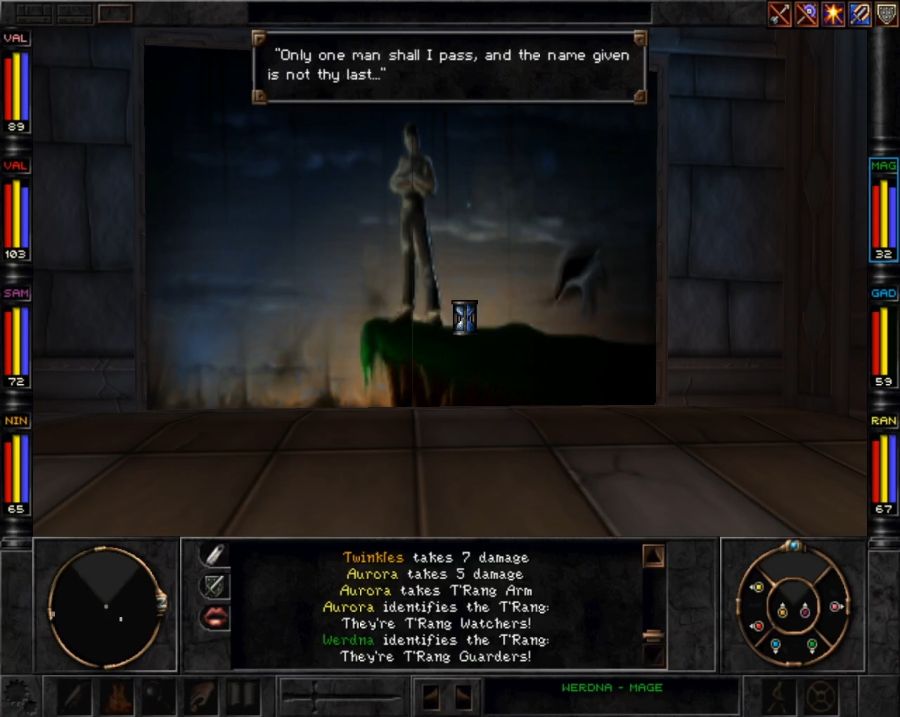
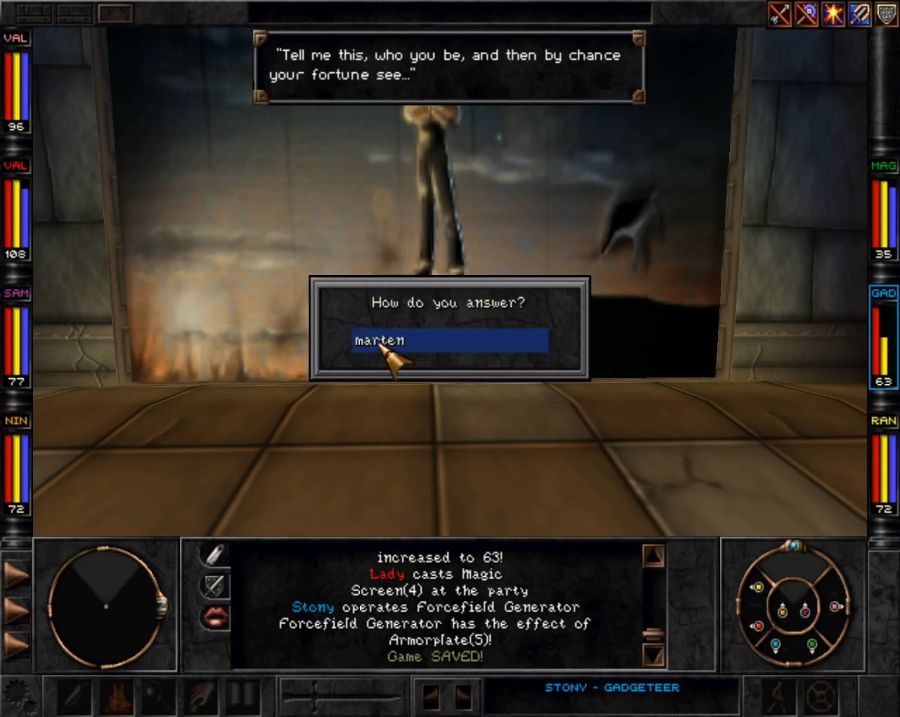
Okay so the answer is obviously Marten, but I wanted to go check out another NPC and a storage room first.
The T'rang slime trails are safe to touch, but do have slight ice physics to them, so there may be a location or two where you want to watch out.
https://www.youtube.com/watch?v=86VWzBZ30VQ
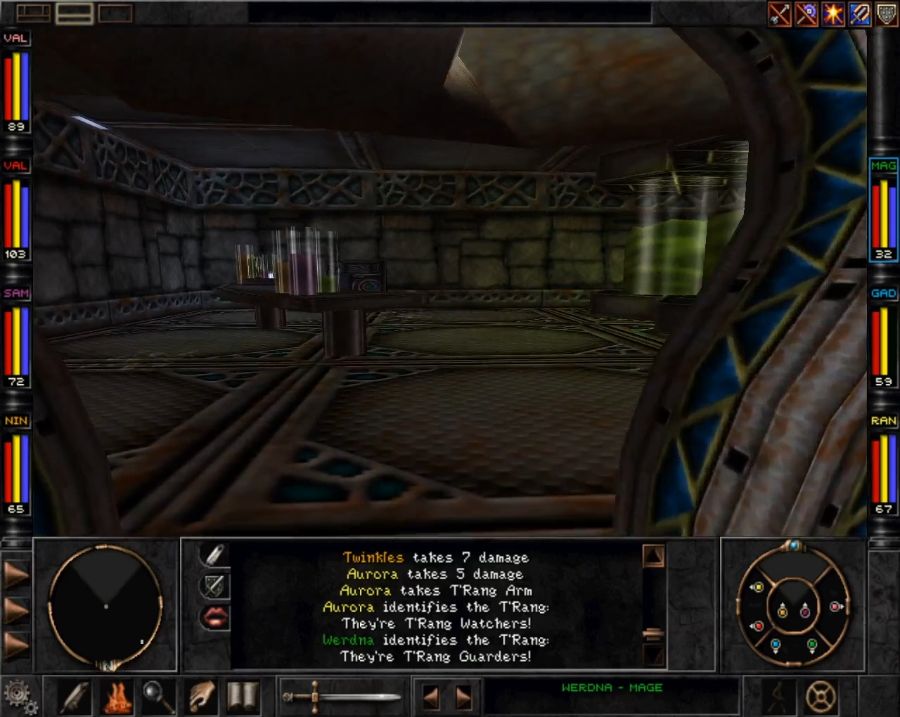
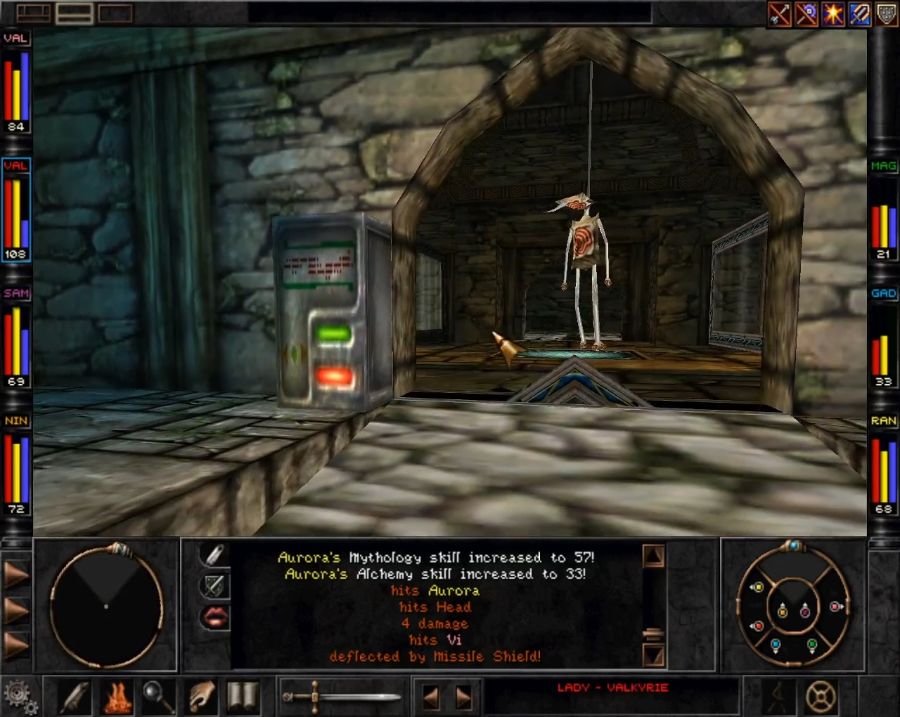
Sadok is a bit icier than Z'ant, but he's still a friend, and also a merchant.
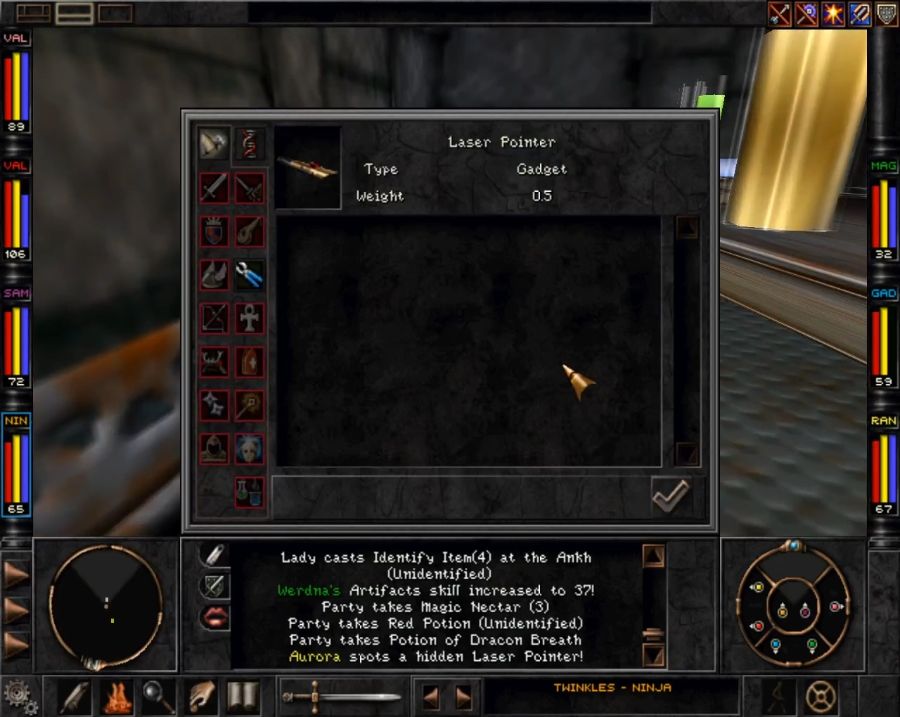
He sells nothing unique, but he does sell spellbooks and in a corner of his lab is another Gadgeteer item.
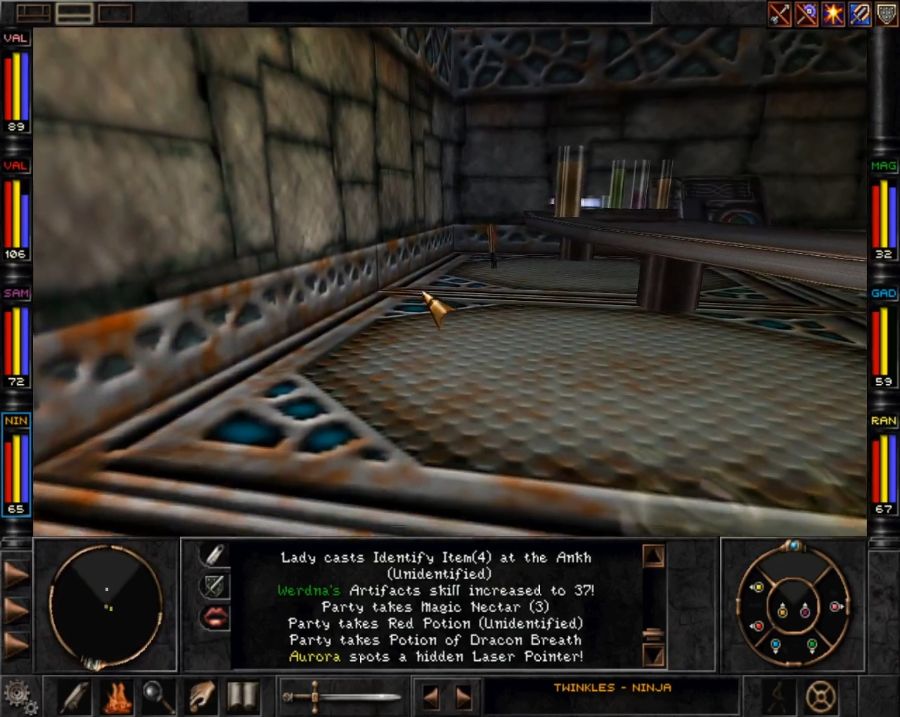
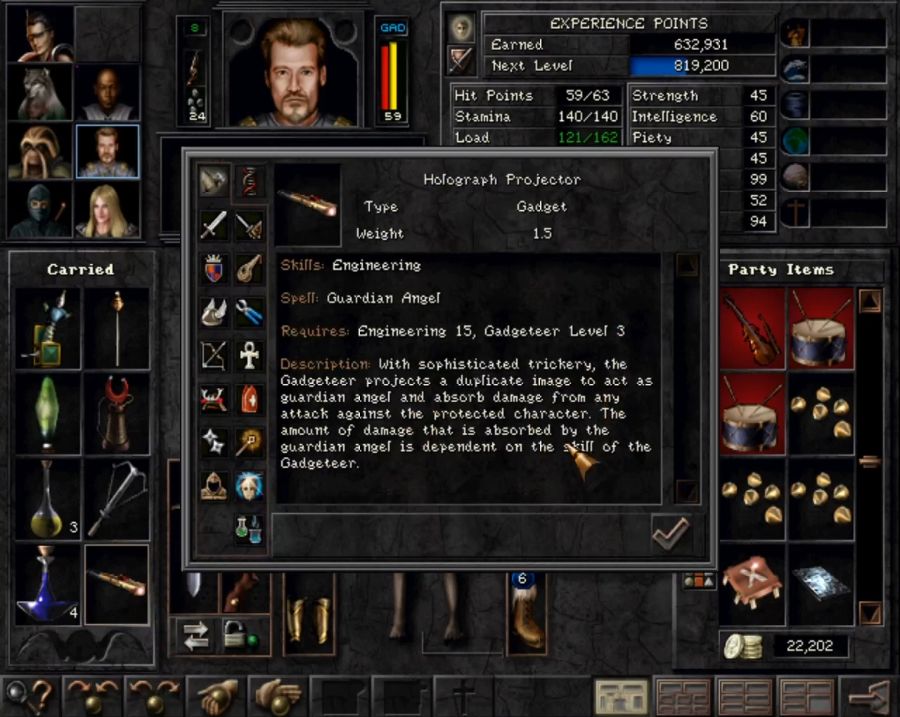
Guardian Angel is a great spell, since it basically gives a character an ablative pool of HP that needs wearing away before they can get hurt. So for enemies that can hit sufficiently hard that even being fully healed won't do the job, it can give a character an extra lease on life, and it's also a good way to protect fragile caster characters if the enemy has ranged weapons, long pokey spears or hits-everyone attacks/spells.
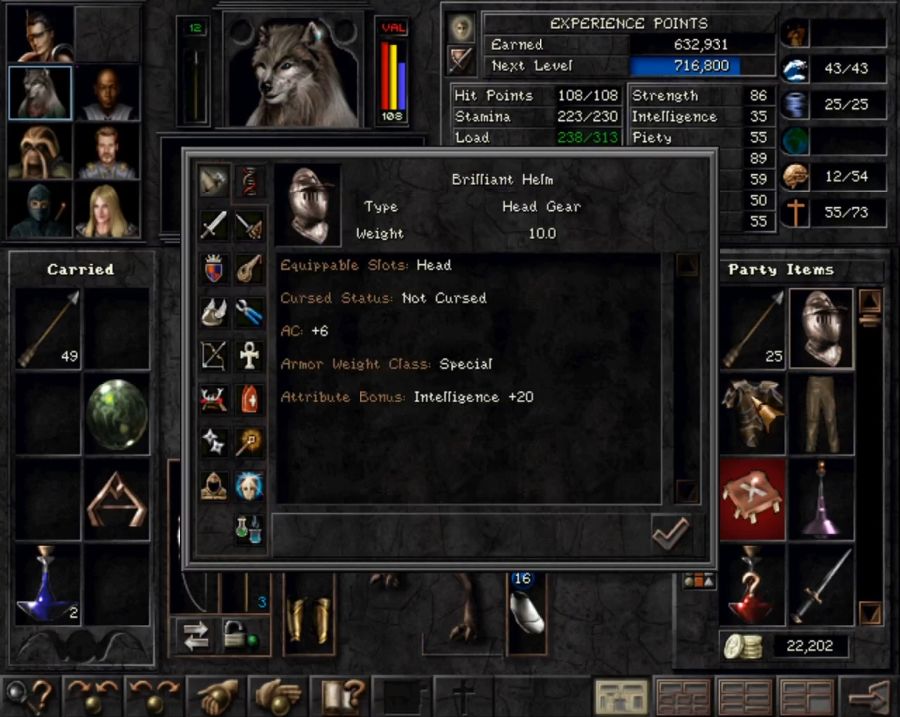
Opposite Sadok's lab is a storage room containing some forgettable loot and this, which really is brilliant. It's a helm that ANYONE can equip, including mages and fairies, and which gives +20 Intelligence, and is thus excellent for equipping on mages and/or fairies. It goes on Werdna's head and it's unlikely he'll be unequipping it at any point for the rest of the game.
So, 14 ghosts that would be severely challenging to anyone beelining for the Trynton/Marten's Bluff questline connection. What happens if you mix those with a pair of maxed-out Fireballs from Werdna?
You get a nice clean corridor, is what.
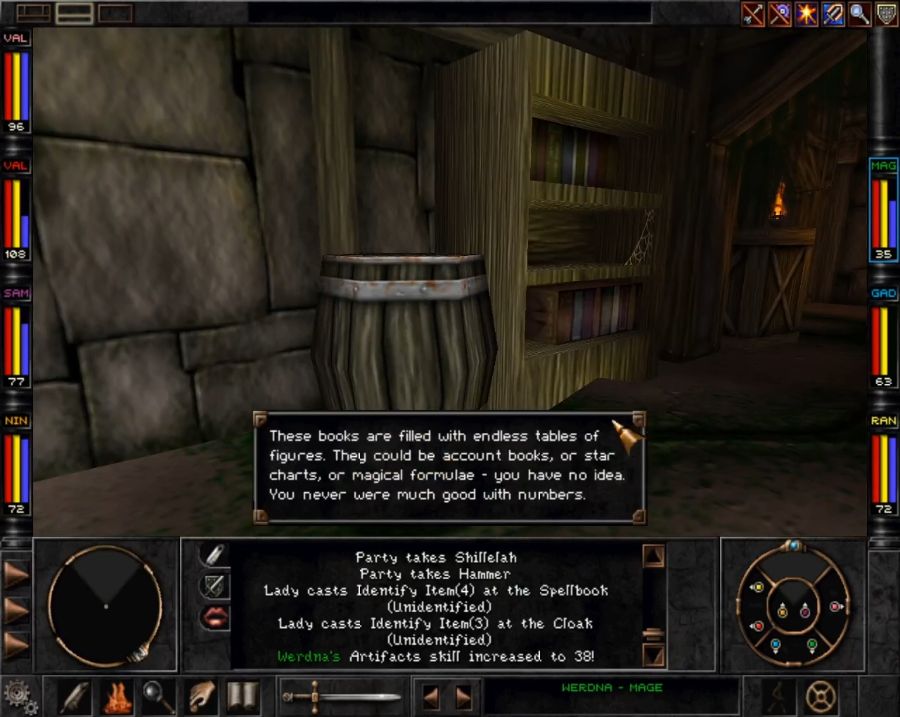

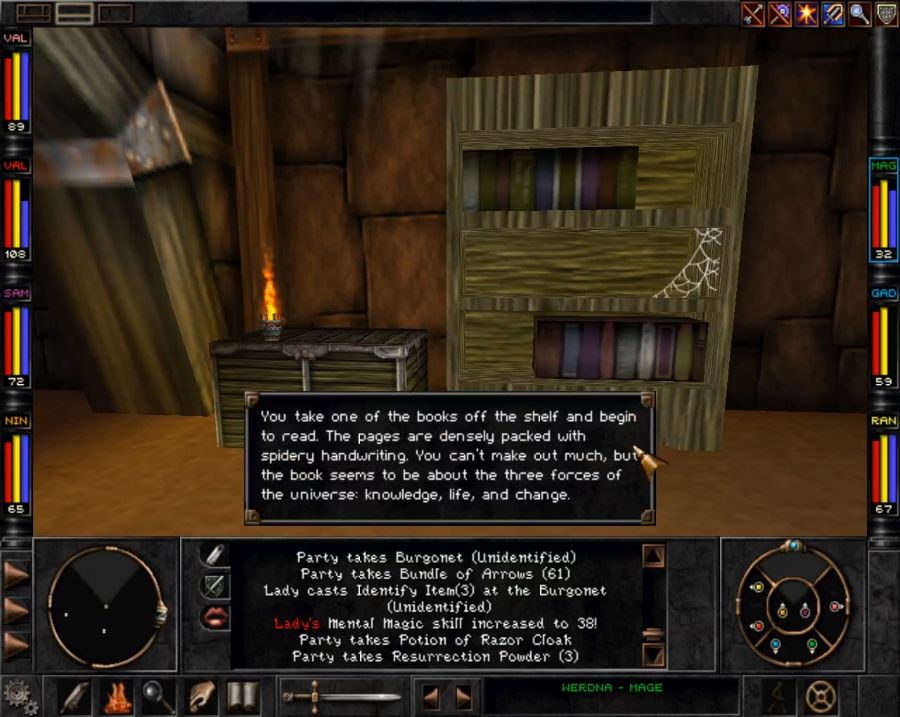
There's a bit of, again, non-notable loot, some bookcases with a bit of fluff, and at the end of it, Marten's spartan bedroom. On the floor nearby is a single Ebon Gem for Antone, and then there's a diary.
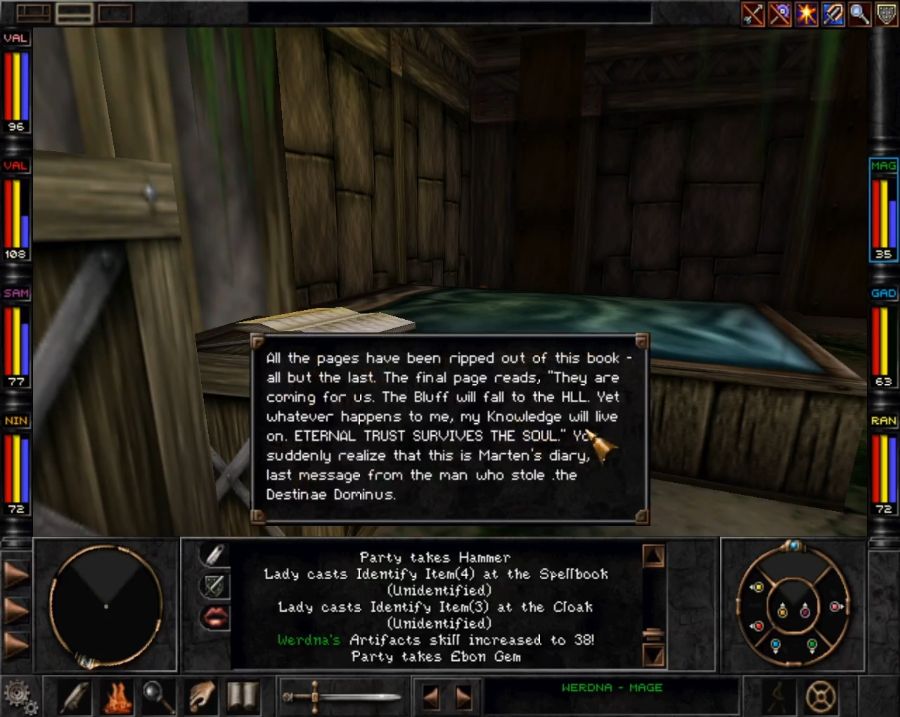
ETERNAL TRUST SURVIVES THE SOUL is obviously a password we'll need to remember. If we don't, it can leave us with a decent bit of backtracking to do to learn it again at some point.
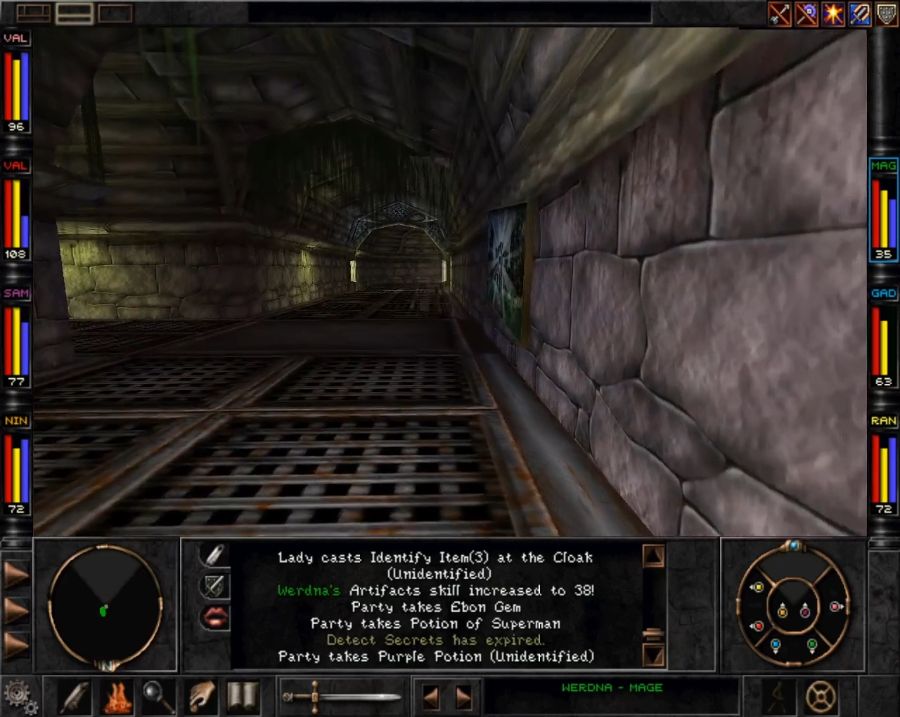
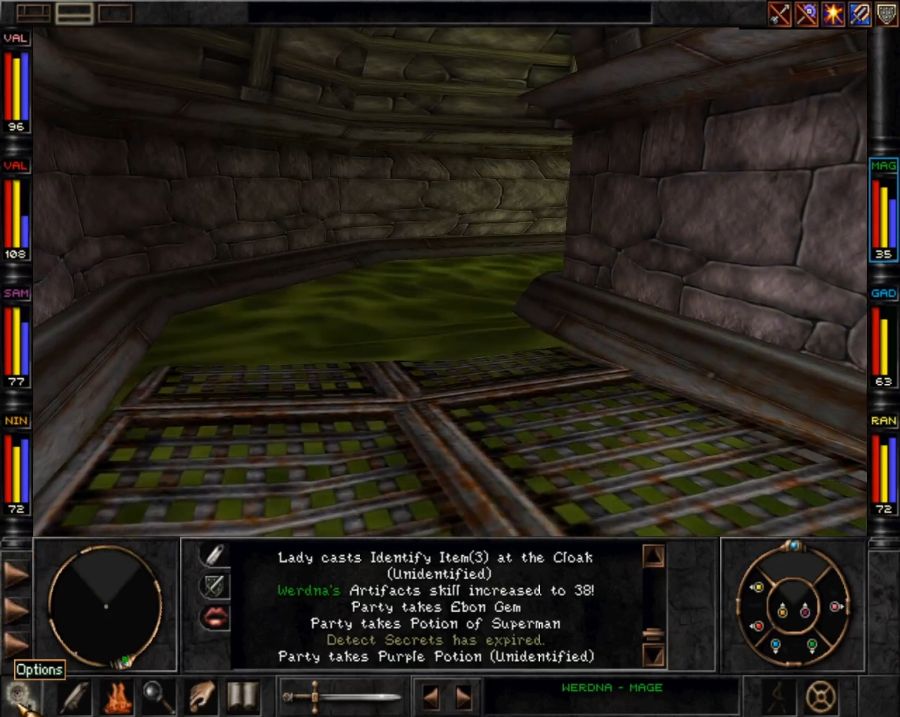
Opposite the branch of the T'rang base that has Sadok is this flow of harmless sludge.
It leads to a part of the base the T'rang do not want you poking around. I forget if they later give you better access, but I think they don't. Eventually all of Mt. Gigas becomes accessible to you as an Umpani soldier, but the T'rang keep a few places permanently off-limits, though I've read that there's dummied-out stuff giving you access to part of it so you can acquire a powerful, unique weapon in there for the end-game T'rang quests.
Anyway, time to head back up and deal with the dastardly Raven Rapax. I'm sure some of you may already see what's coming.
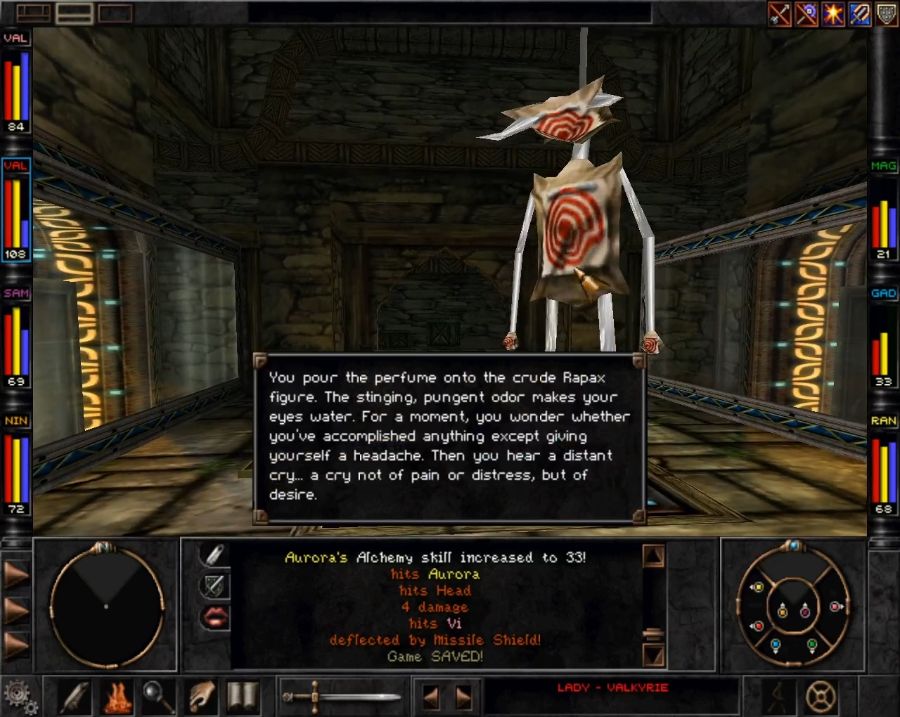
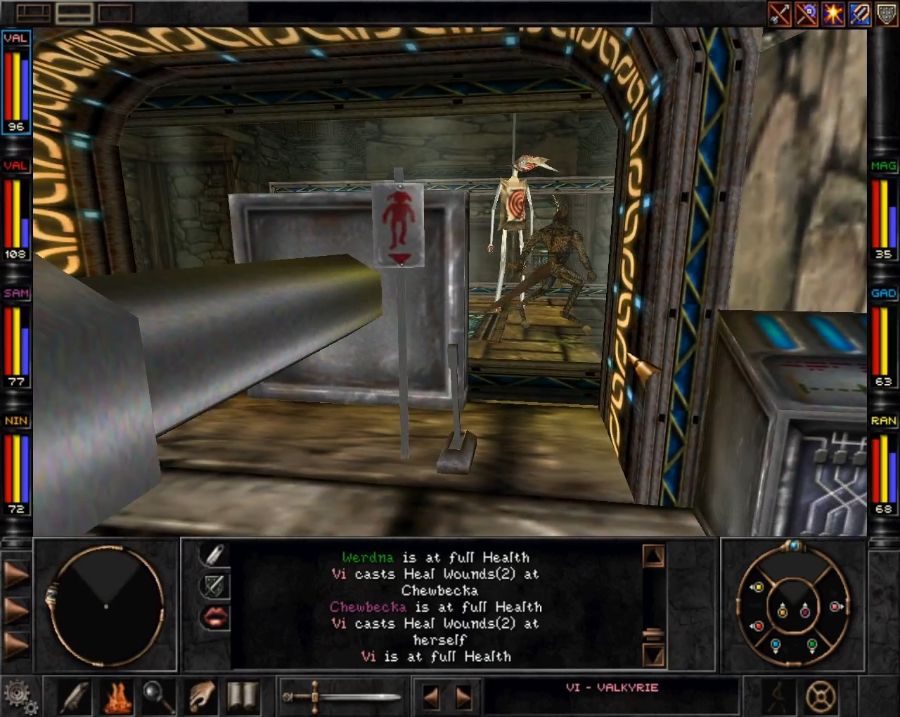
Splashing the perfume on the "Rapax doll" makes Raven spawn in somewhere around the same place we entered the map. Now we could just hike over there and beat him until candy comes out, but I have a funnier idea. First, we take a smoke break until he gets over here.

Then we slam the doors shut and make fun of him while he can't do anything about it.
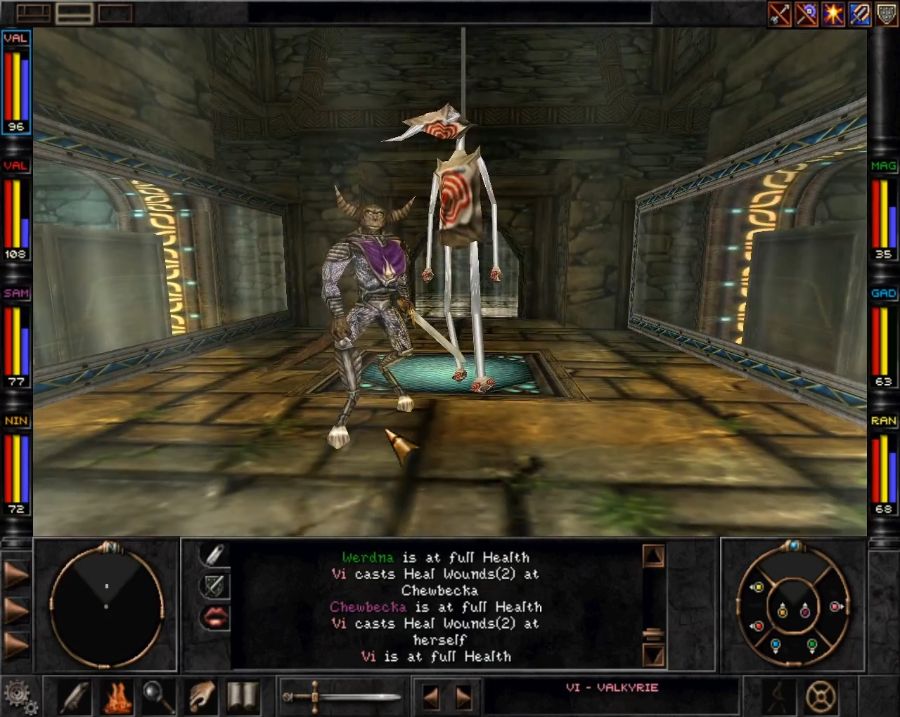
But how to kill him.
HMMMMM.
HMMMMMMMMMMMMMMMMM.

https://www.youtube.com/watch?v=dmVK9t4JdWI

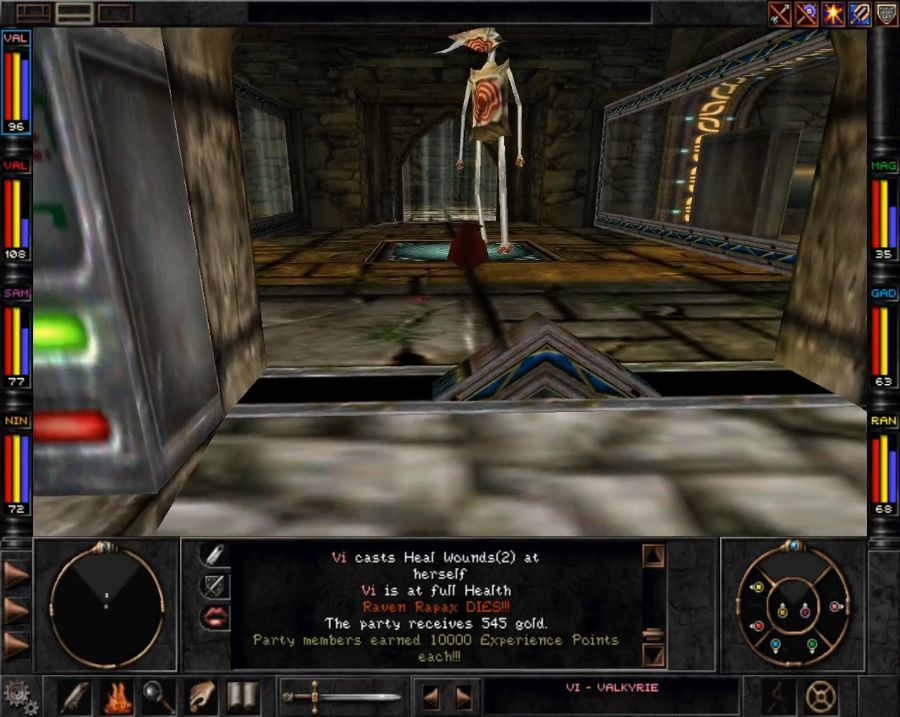
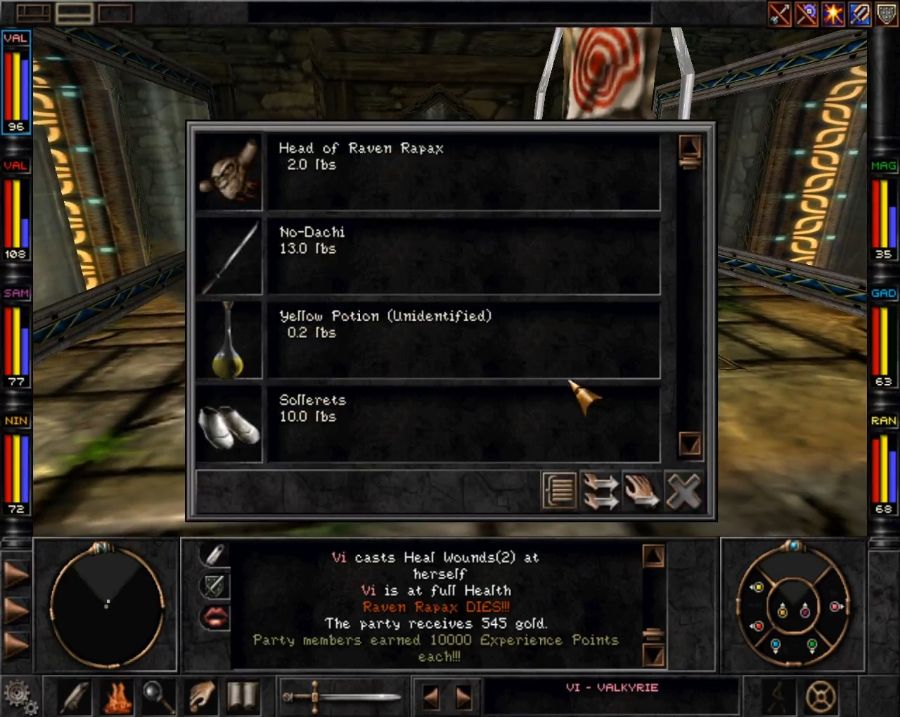
Somehow his head survives that experience un-smushed. Let's go back down and impress Z'ant.
https://www.youtube.com/watch?v=nLccPObvq-0
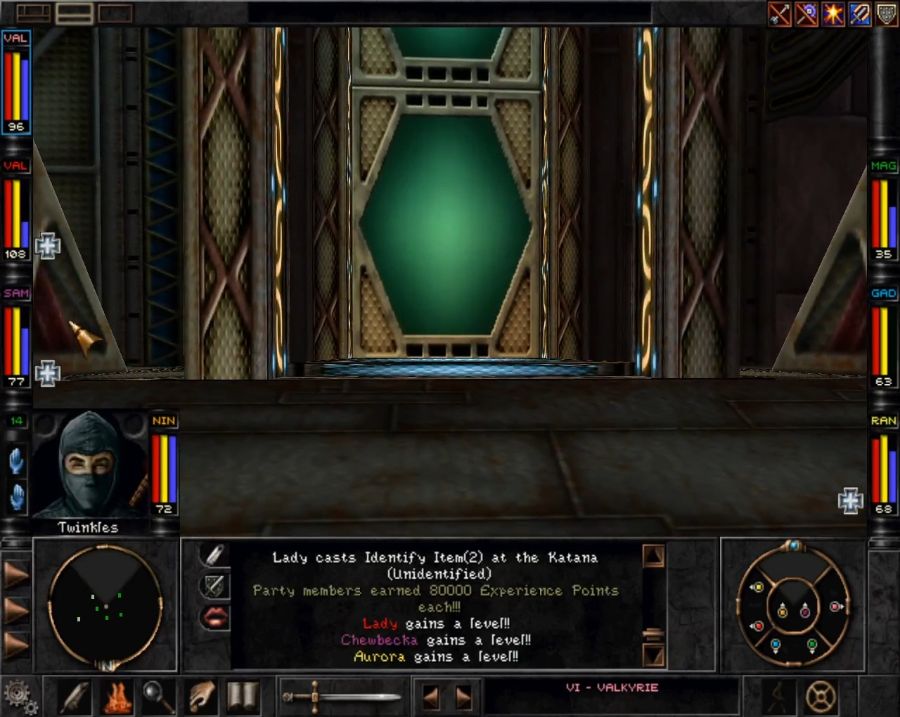
Z'ant's reward gives us several level-ups and then he gives us our simplest quest yet: delivering a letter and robbing an embassy. Easy peasy work.
Our next step will be to go back to the swamp and head into the Mine Tunnels. There are a couple of important things there I'd like to pick up. Once that's done, however, we have another choice:
Destination
Do we head back to Arnika via Trynton, chatting up the Rattkin about the Astral Dominae(shortly before staving in the Don's head, of course) and resolving anything else there that we get access to?
OR
Do we head back to Arnika the long way around, through the South East Wilderness(accessible from the Swamp) and the Mountain Wilderness, effectively finishing our loop around the world map?