Part 11: Mt. Gigas In-Depth
Update 009: Mt. Gigas In-Depth
And we're back on the scene, here to clear up some Umpani quests.

A quick portal back to Lower Marten's Bluff to use the T'rang teleporter makes it a quick trip. I really cannot imagine playing the game without having a portal set there, to be honest, it would add a hell of a lot of extra wading around. But before I hit up Mt. Gigas, I decide to get the Northern Wilderness retro dungeon out of the way.

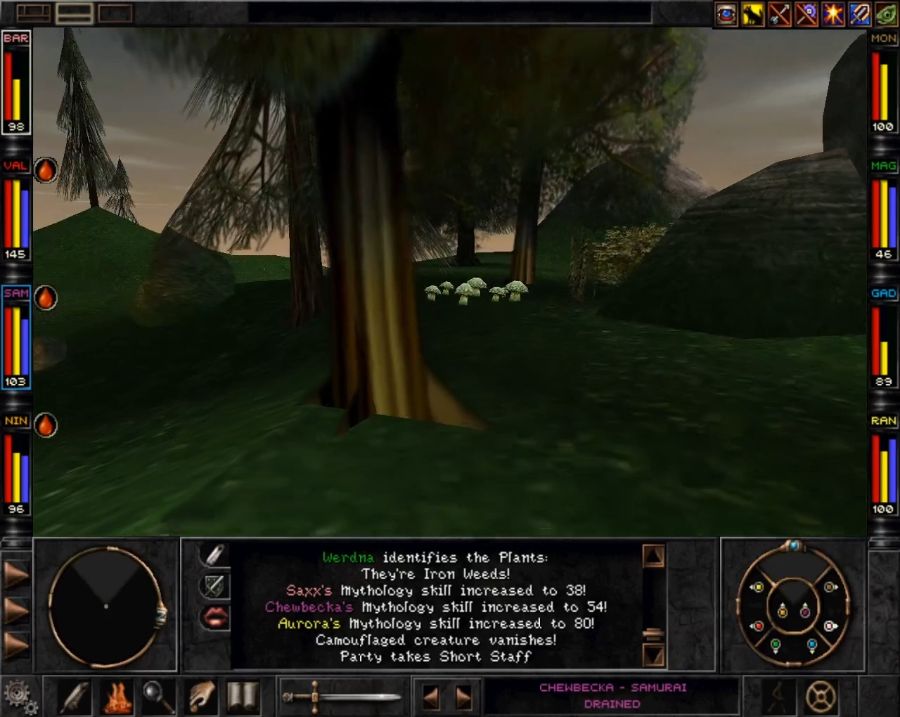
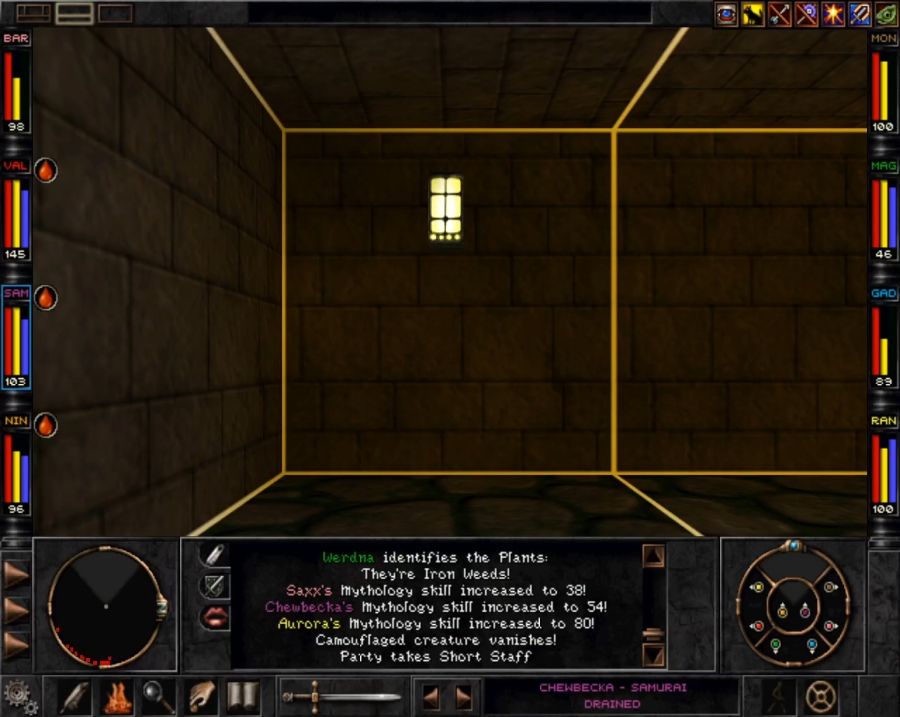
At least the activation rock has a faint purplish glow once you've tagged all the necessary runes, which wasn't easy. Even with a map, some of them are hidden behind 2D sprite bushes and other similar cruel tricks.
Much like the Cemetary dungeon, this one is rather mazelike.
To the point where I actually end up being lost in it near the end and having trouble finding my way out. This is compounded by, unlike the other two, not really having a "boss" monster guarding a way out, so you never have any real sense of whether you've cleared the place or not.
It does contain a few interesting things, though.
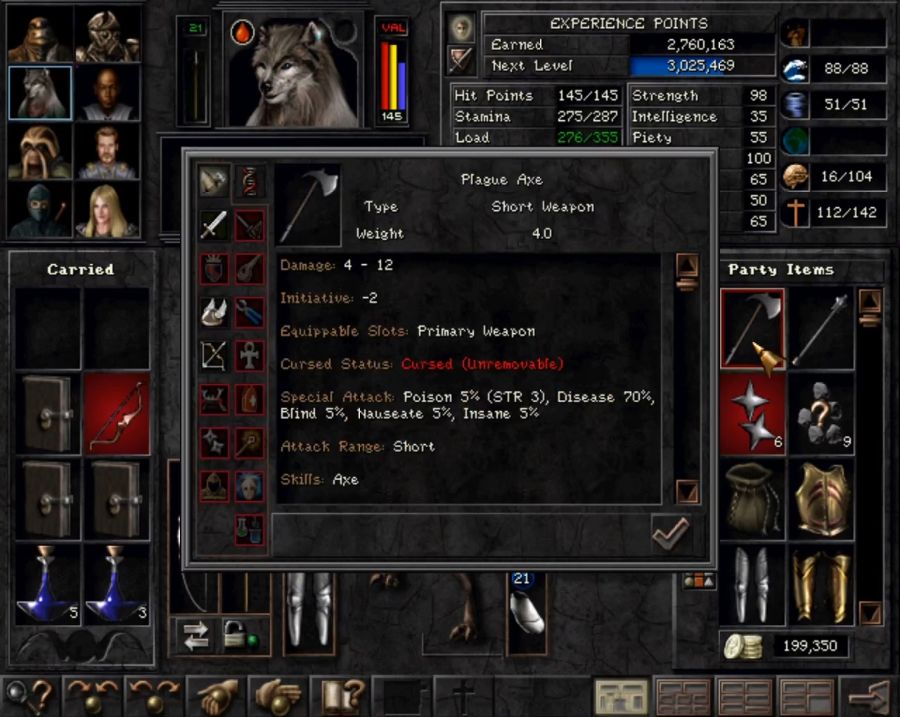
In a dark corner I find the Plague Axe which is, I think, the only way in the game to inflict Disease on monsters. As far as I'm aware it has no real immediate in-combat impact but drains stats over time, so I guess maybe you could tag a nasty monster with it, retreat/portal out of the fight and hang around somewhere while their stats melt to zero? Or you could just be a badass and kill the monster in one go instead.
Also, while the Northern Wilderness Retro Dungeon has no pre-set boss monsters, it does have some unique monsters that spawn nowhere else. For instance...
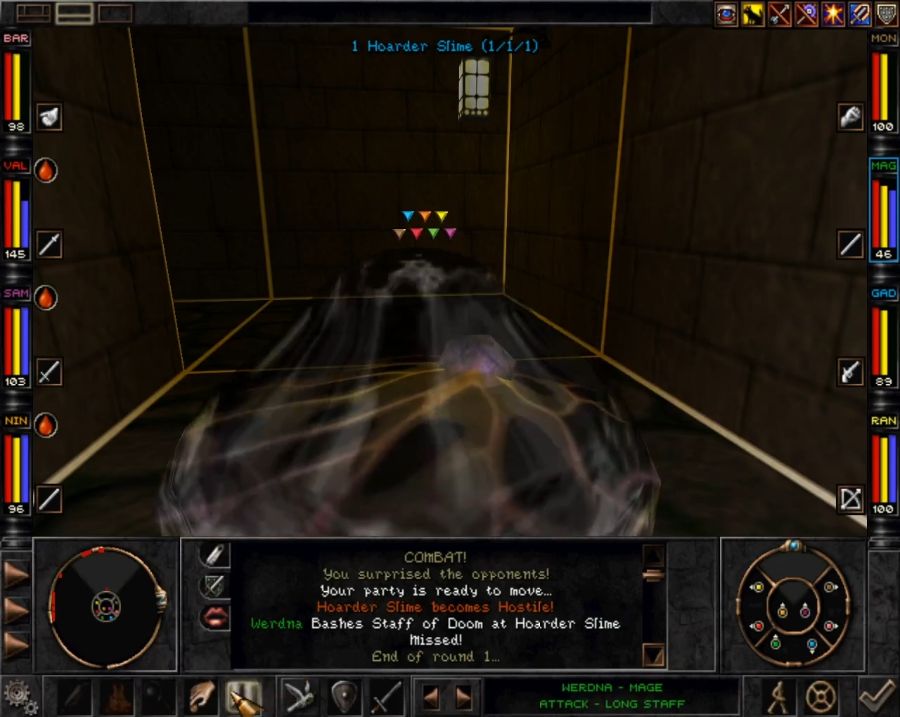
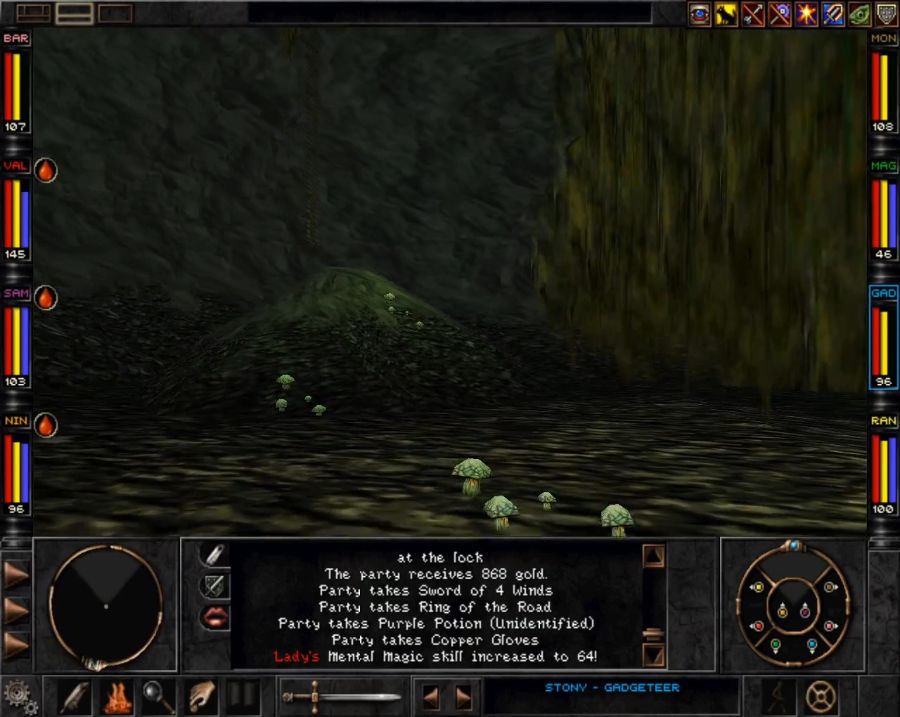
Hoarder Slimes! They're not exactly difficult to beat down, even if they're big blobs of HP, but more importantly they have a unique drop list featuring a bunch of, quite powerful and useful, items that drop nowhere else in the game. I may come back here eventually and grind them for a bit just to show some off.

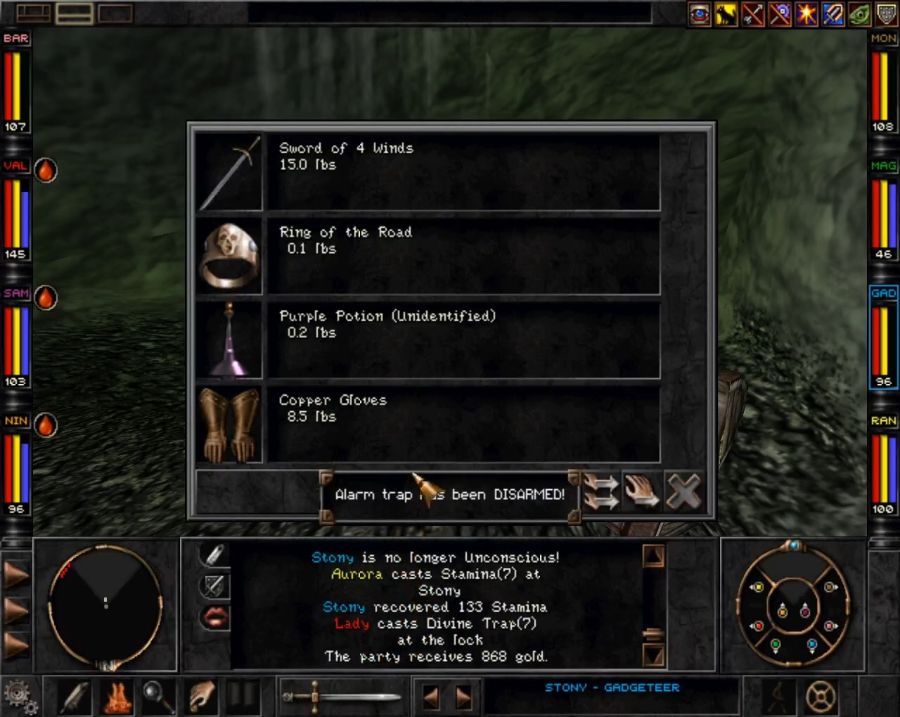
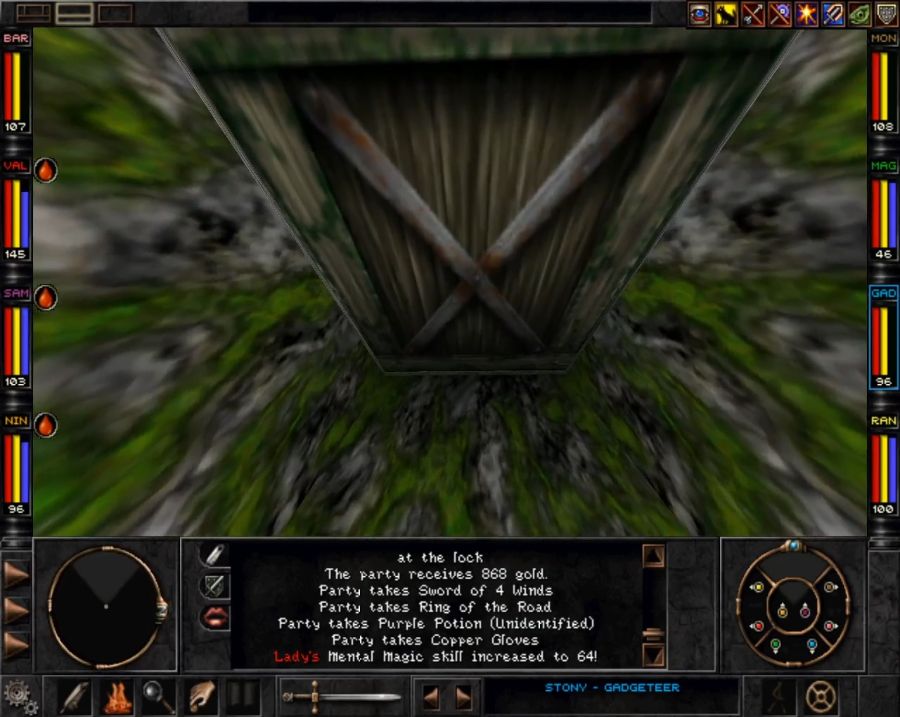
In my case I get the poor end of the drop list. Only Lady in the party can use the armor, and she already has some of the best leg armor in the game from the crypt in the South East Wilderness.
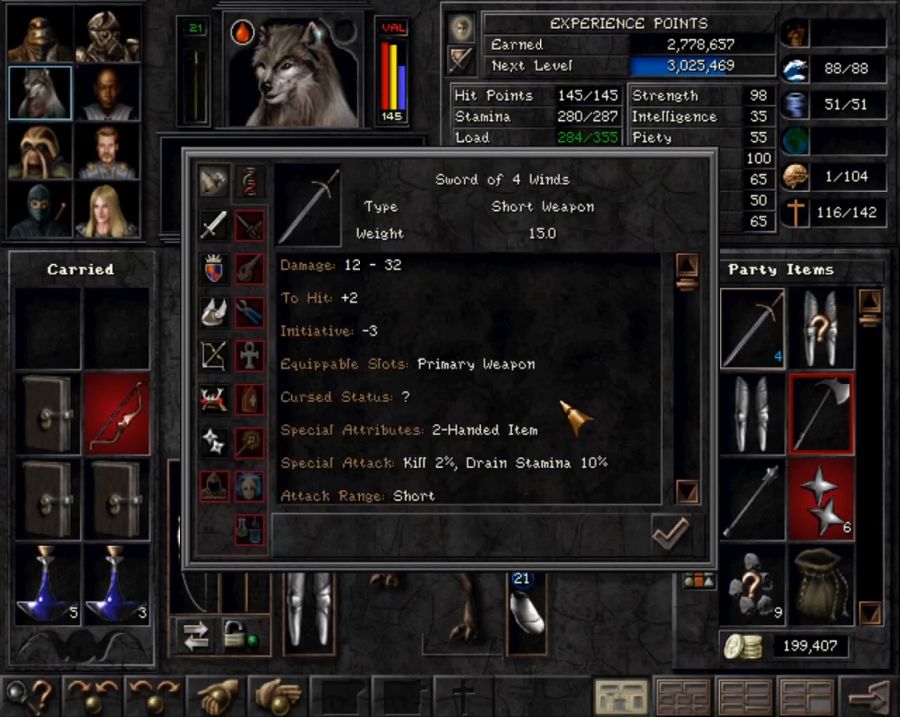
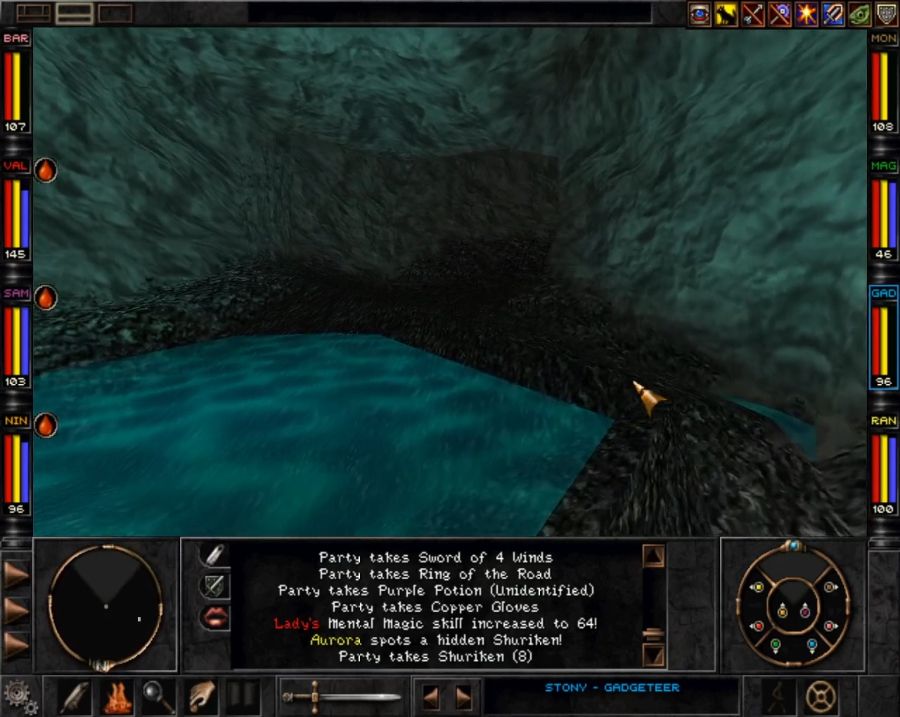
The Sword of 4 Winds is a nice enough two-handed weapon, I suppose. But once again, it's one we've already surpassed.
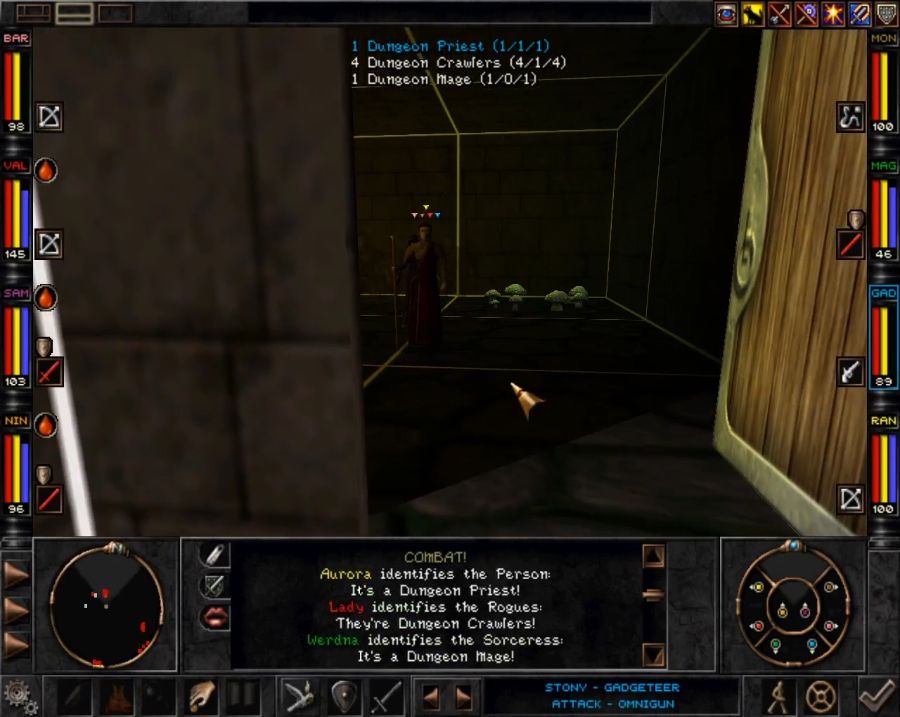
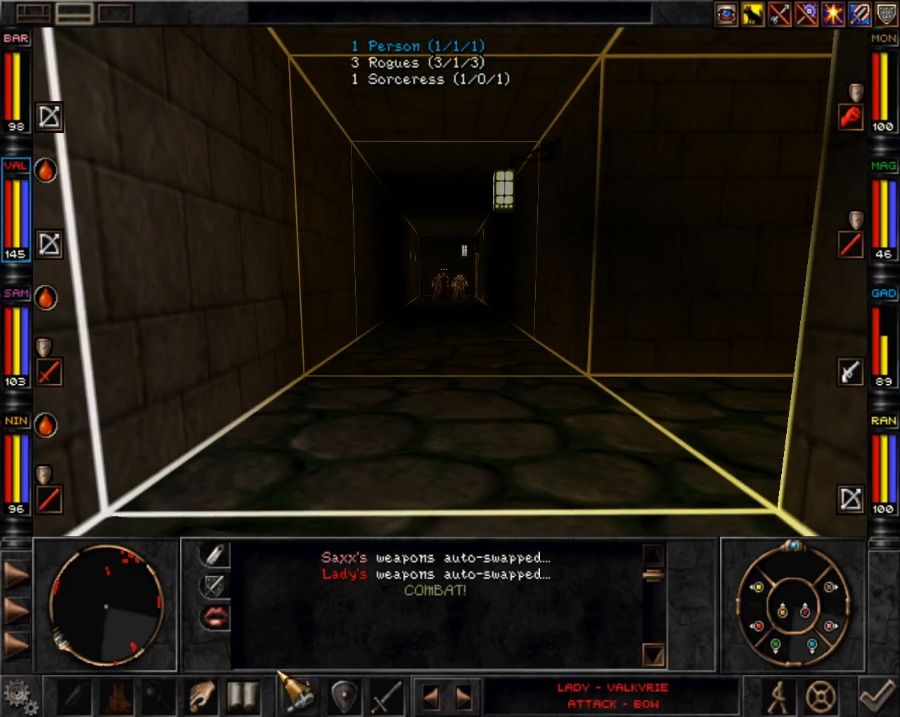
There are also these human "adventuring parties" that can get pretty nasty since they're A) split into 3 groups, making Group-target spells less effective, B) have a dedicated buffer and C) have a meat wall for their mages. They're a lot scarier than "pure" enemy groups, for instance. Of course since we got here late-ish we outpower them considerably.
I do have a fun little bug happen with this group, though.
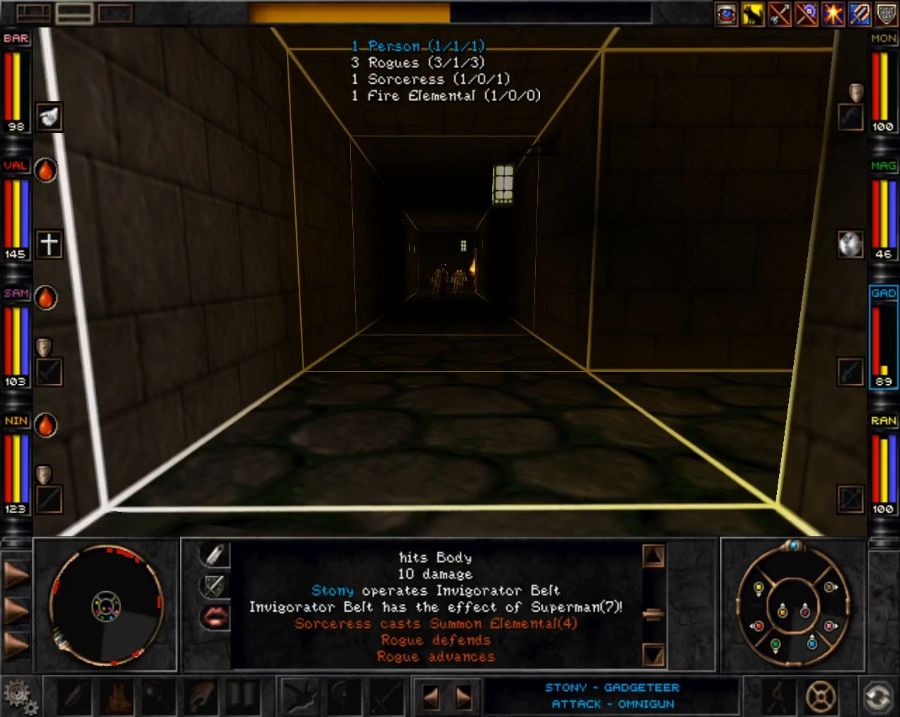
They summon up an elemental and I think it just got placed around a corner and that's why it can't path past the front liners to get to me. But as I get closer...
They managed to summon it behind a door!
https://www.youtube.com/watch?v=VJzzC00sSw8
As for this one I don't even have any comments. I'm sad that they don't have any special cube-related drops. But they still make me smile.
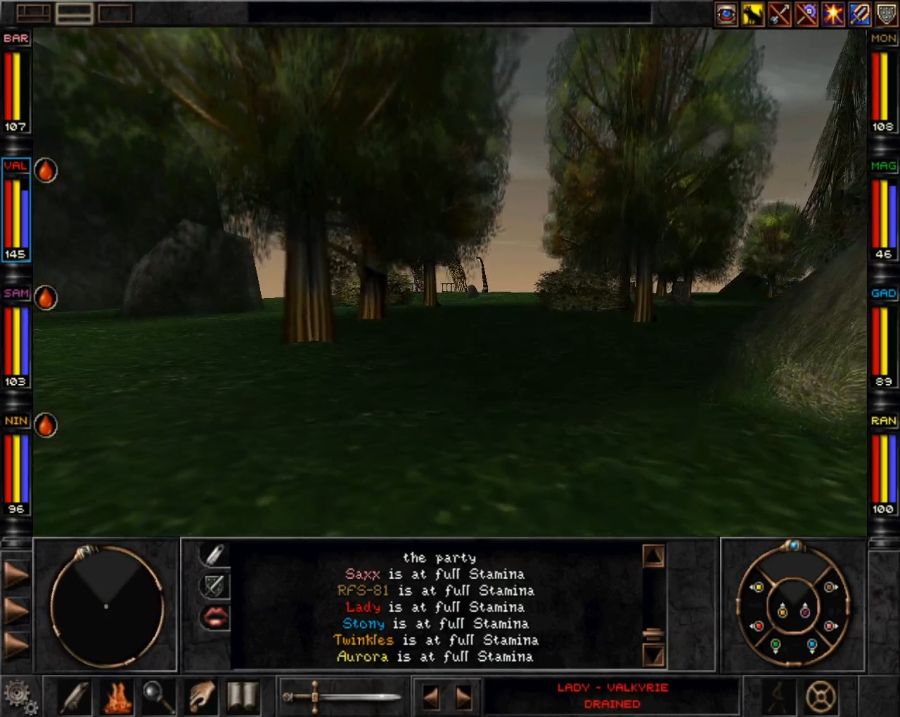
Anyway, back to the real world.
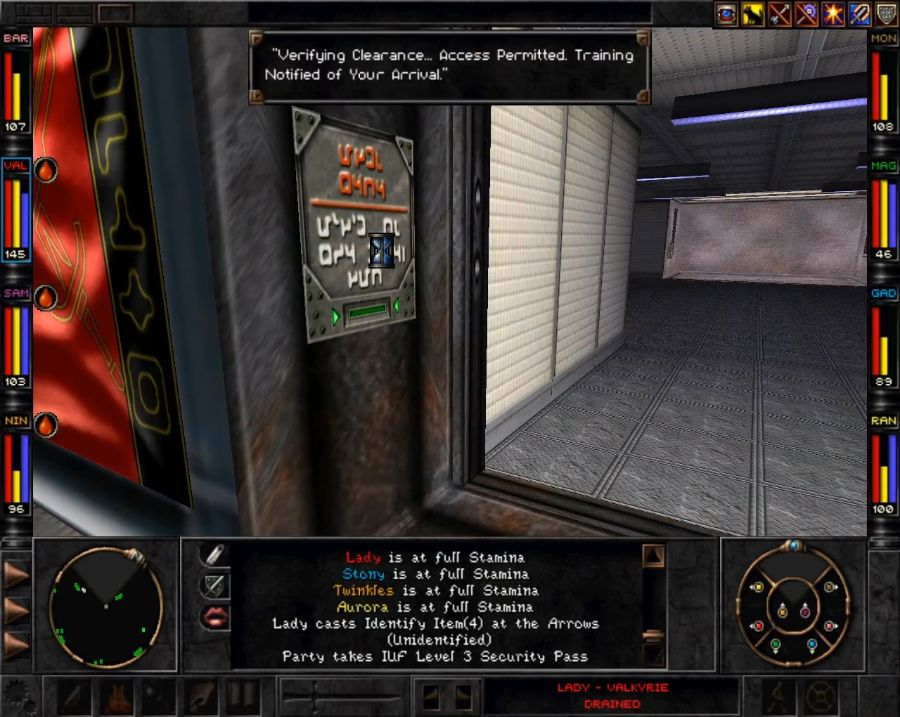
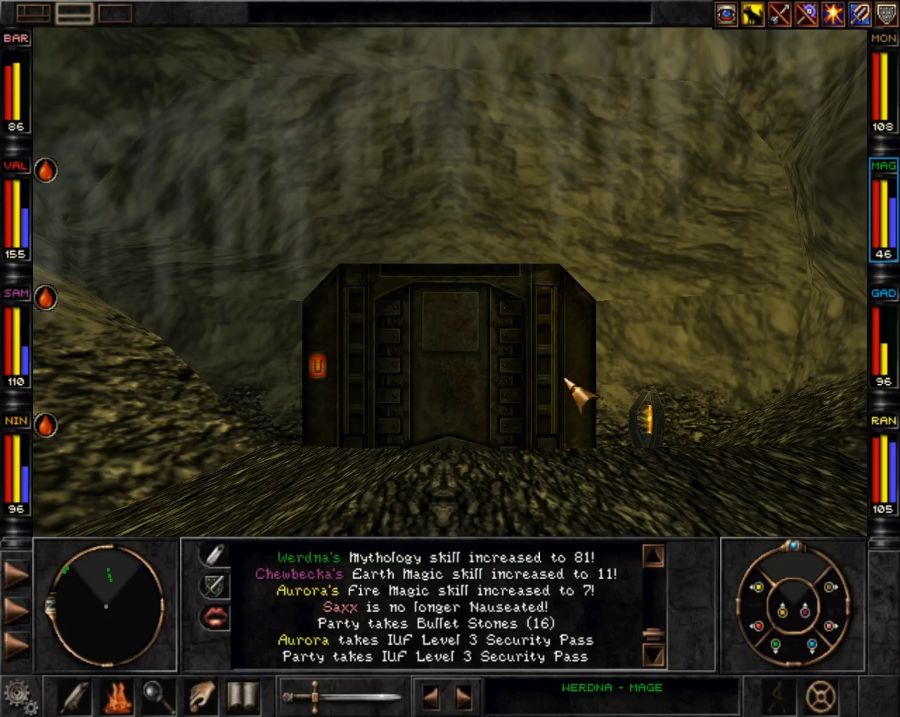
Access level 3 gives us permission to poke our heads into the interior of Mt. Gigas, there are two other ways to get there, but really only one of them is useful. You can also get here via Bayjin, but then you get stuck in a dead end, or if you follow the T'rang questline to its end, Sgt. Kunar will give you a forged full-access pass. You also get said pass if you just murder Sgt. Kunar, of course.
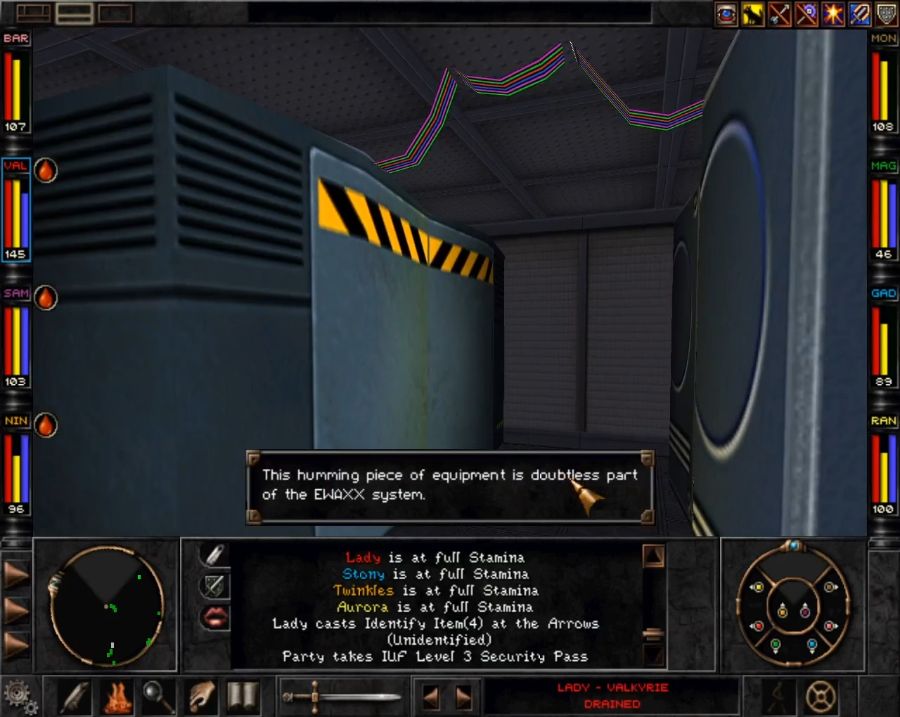
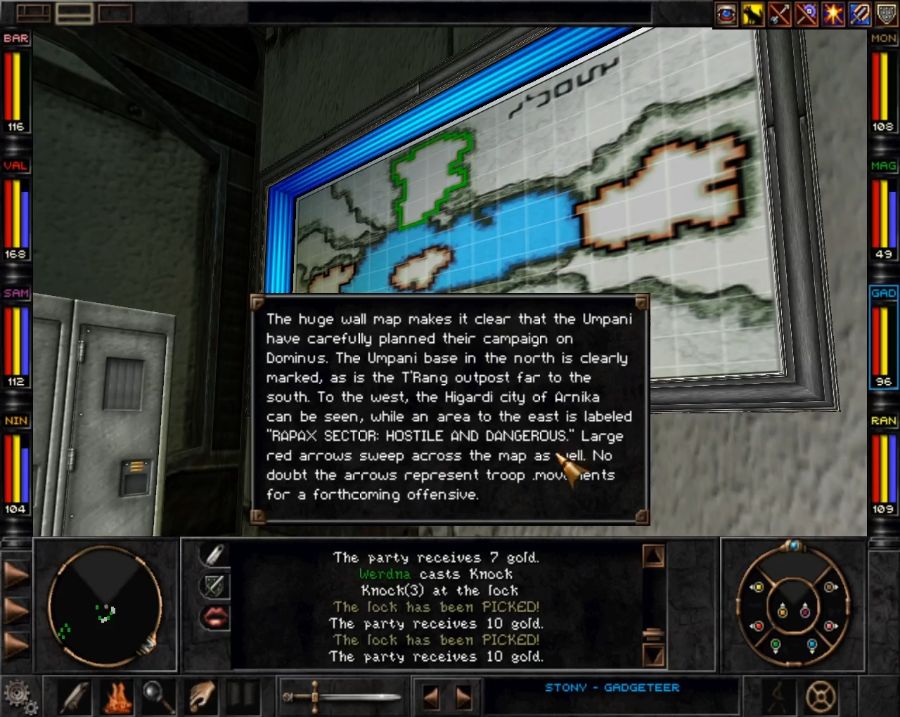
Once we get full access to Mt. Gigas, we'll be able to play with the EWAXX station, but it's a bit disappointing to be quite frank.
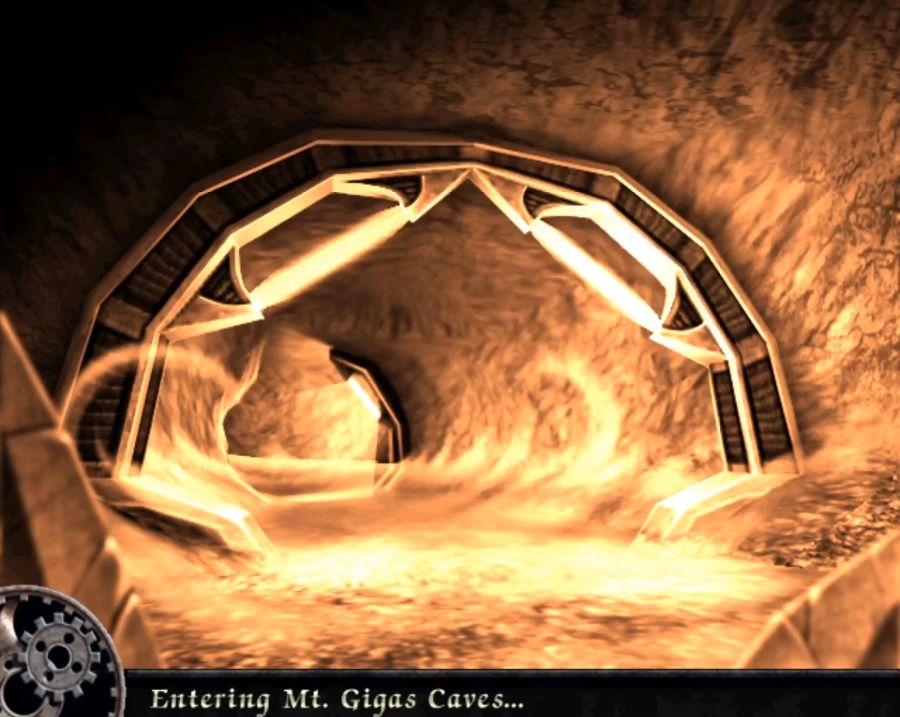

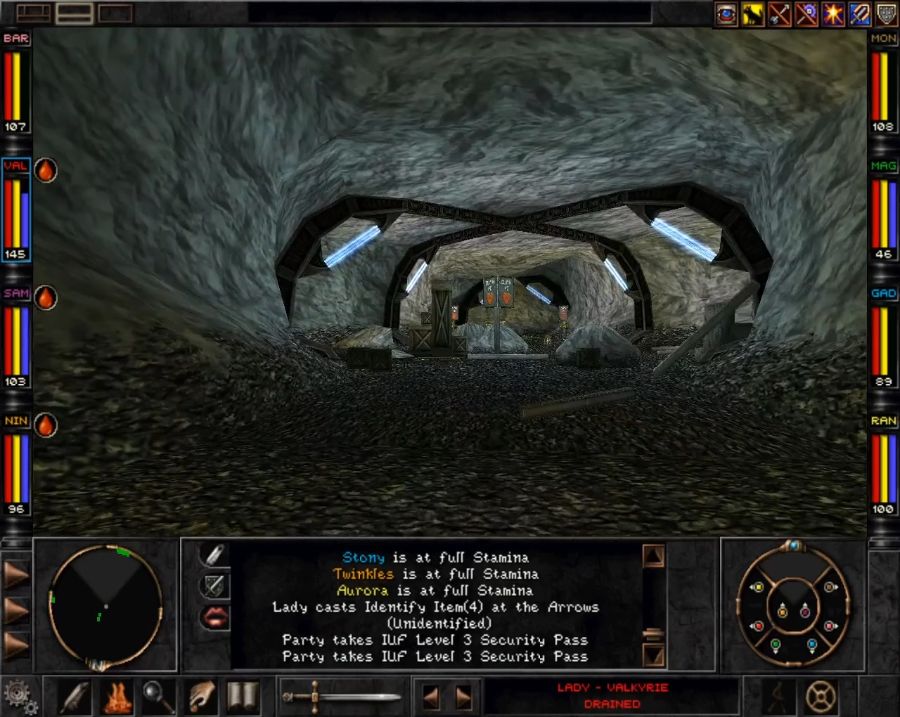
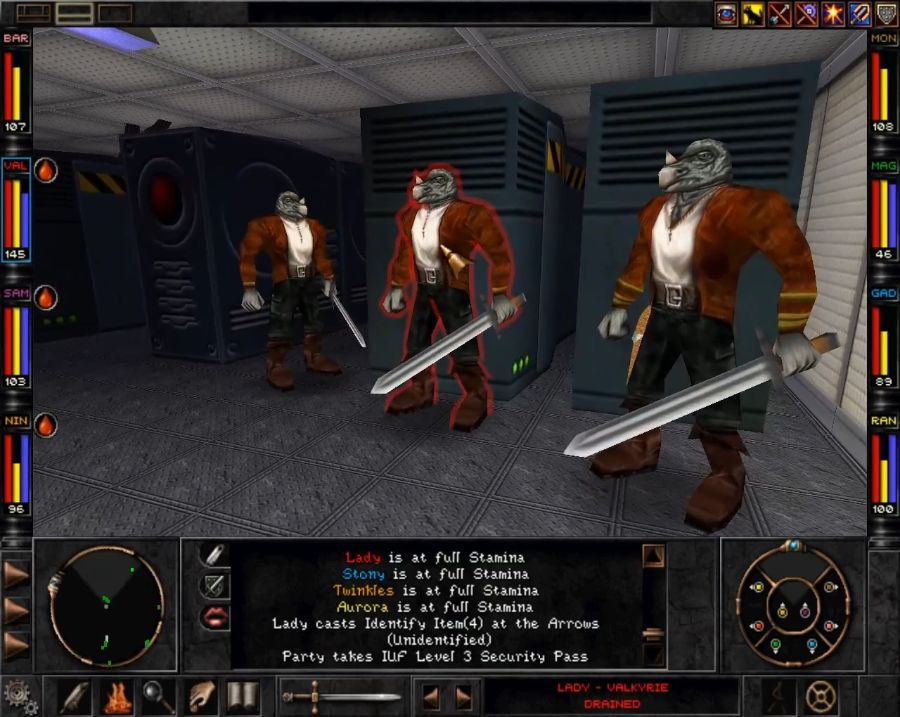
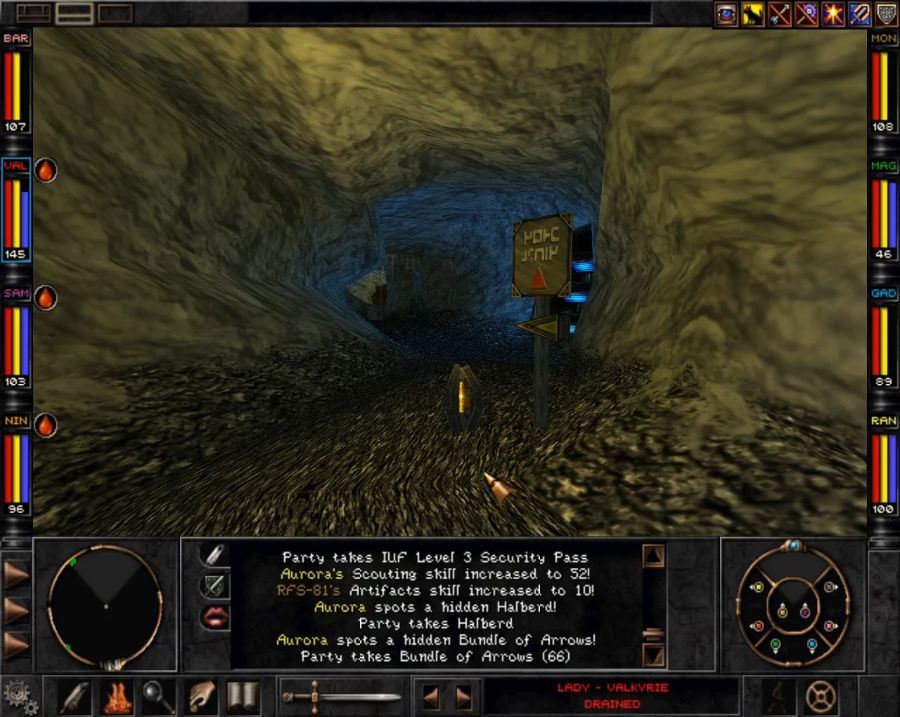
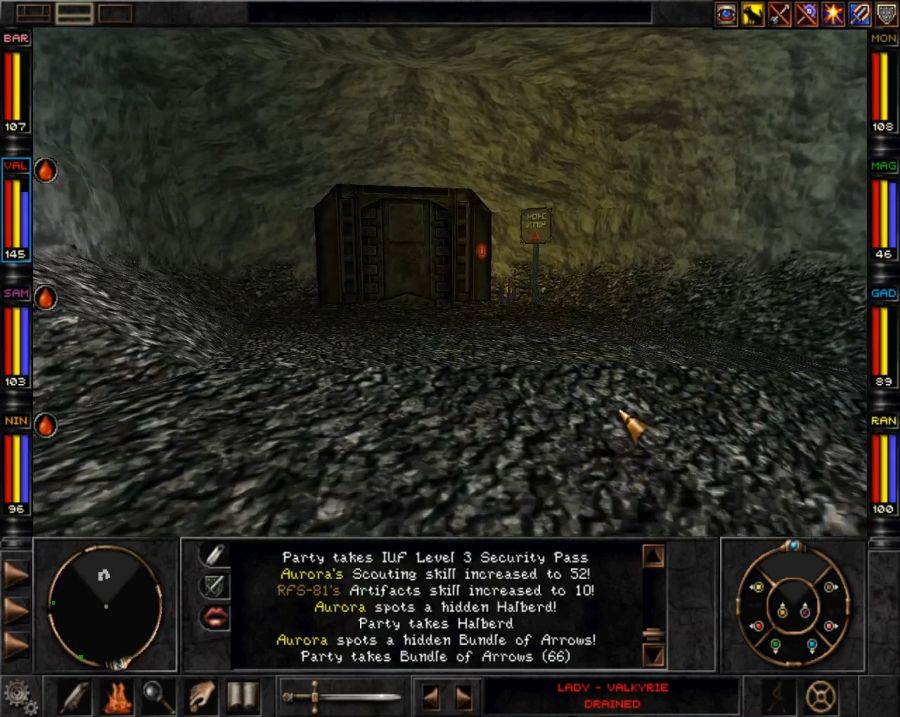
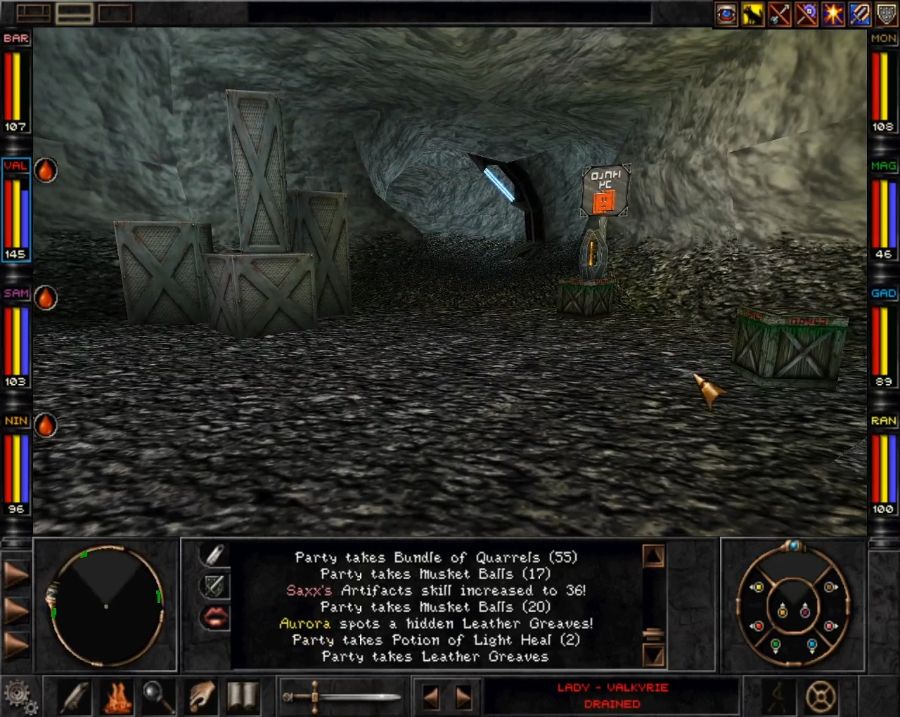
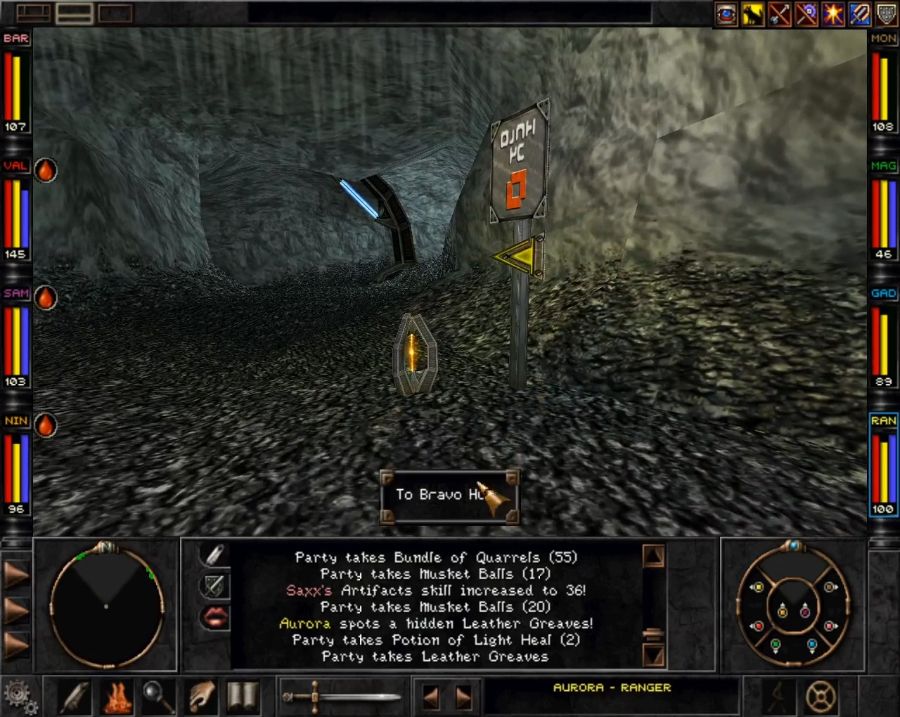
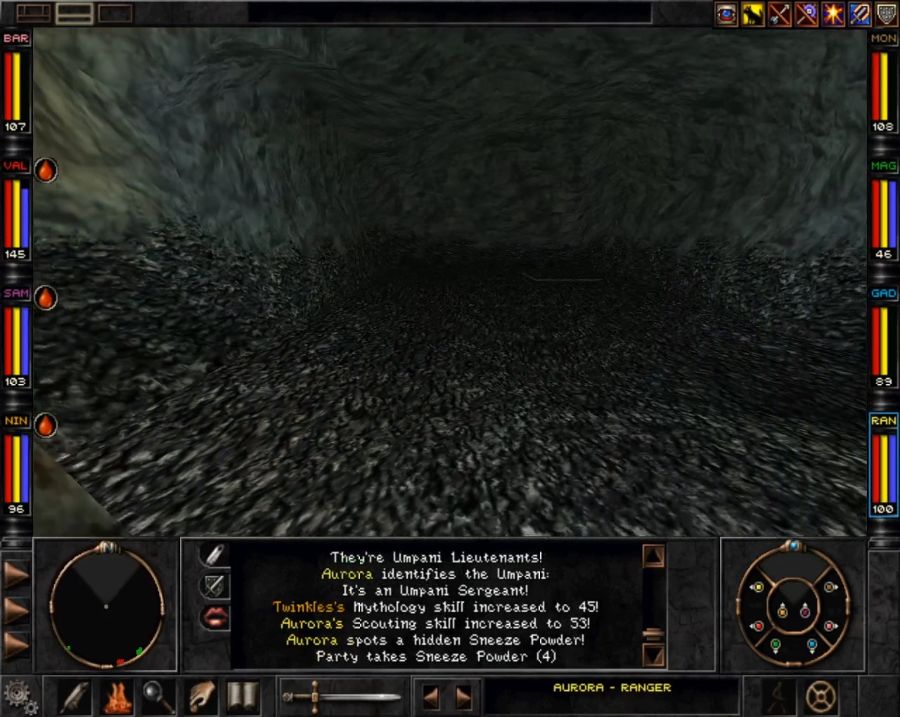
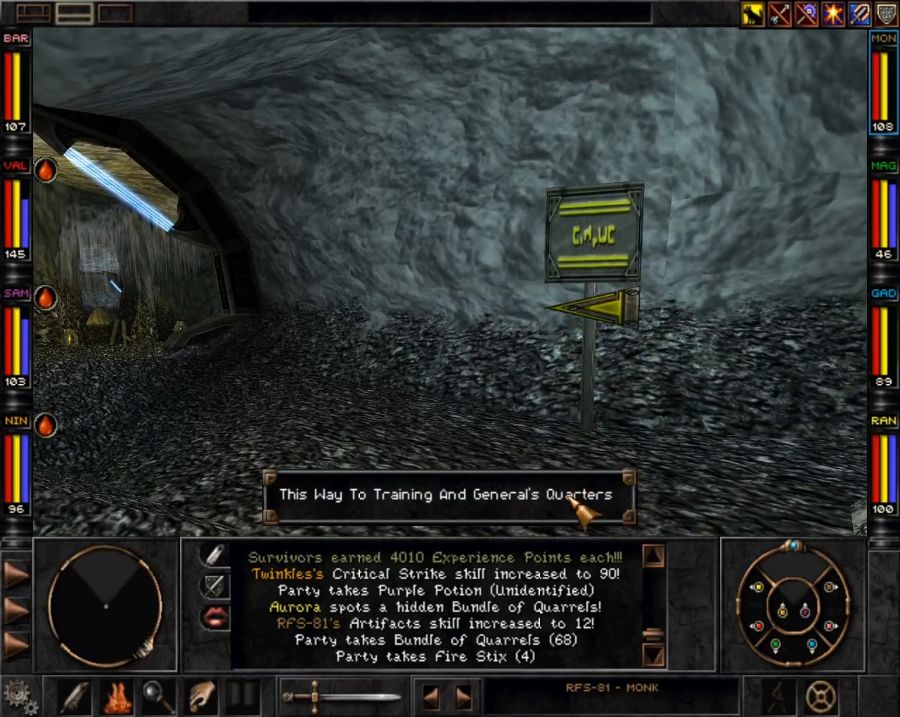
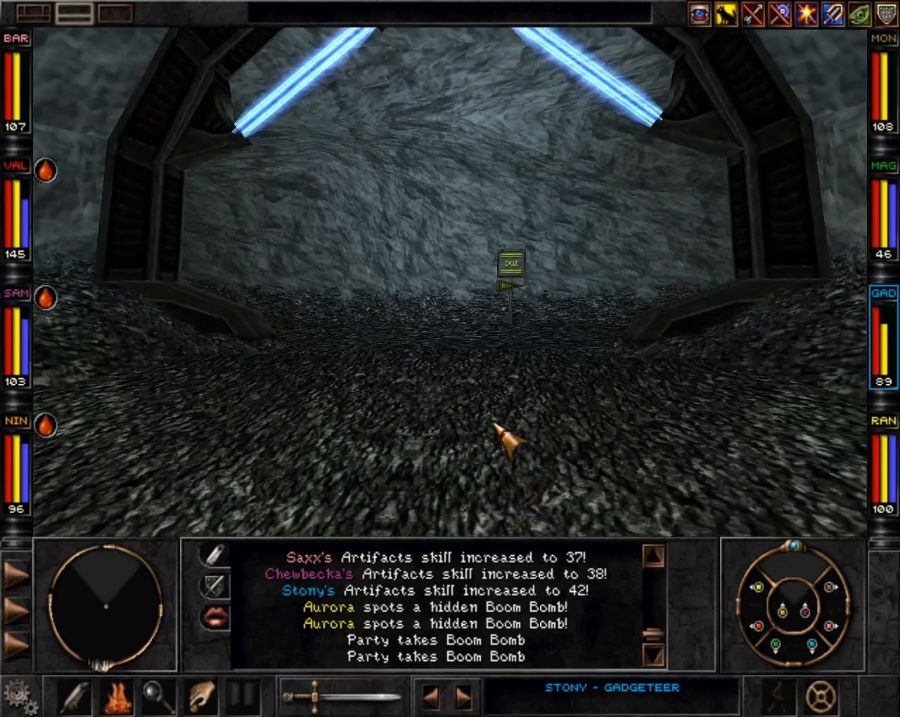
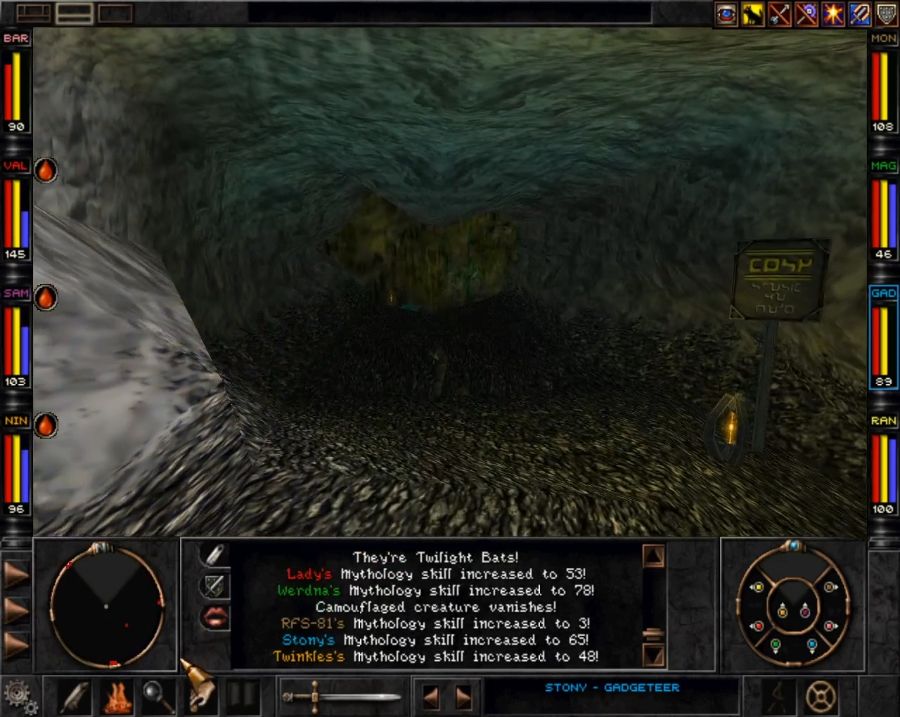
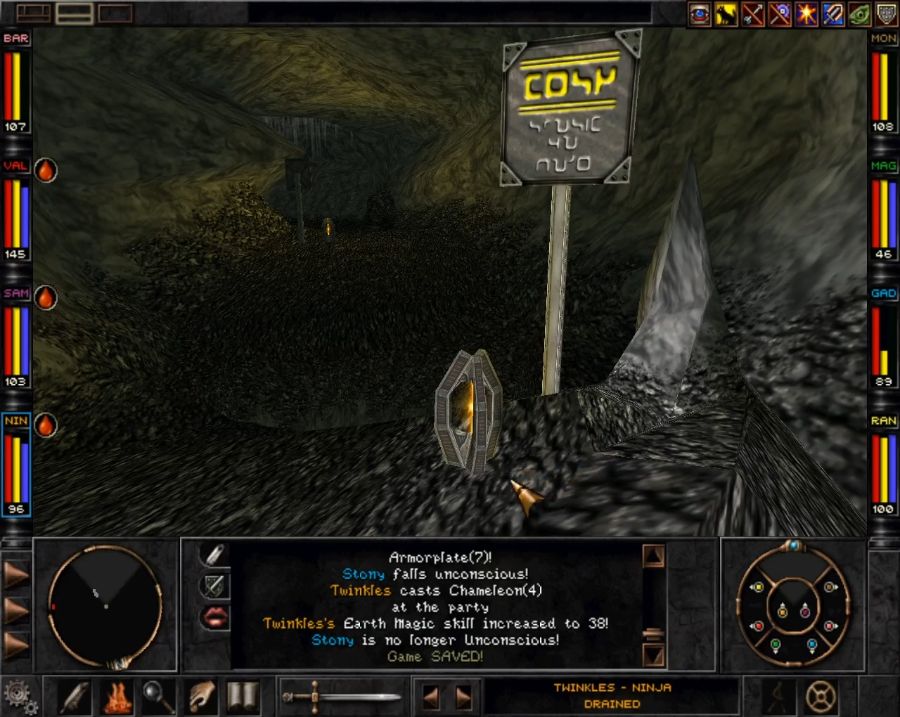
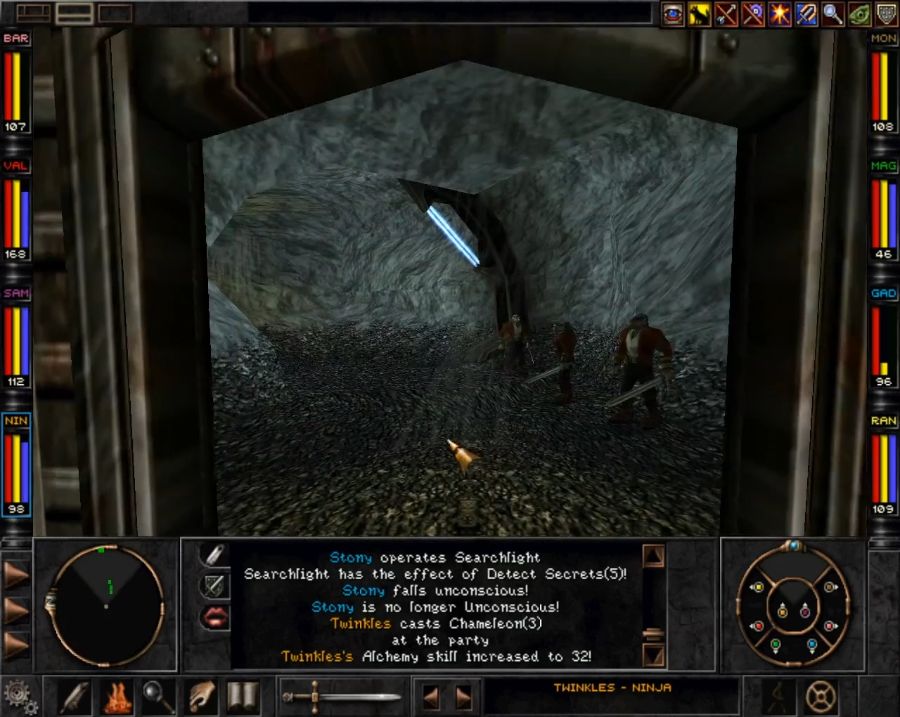
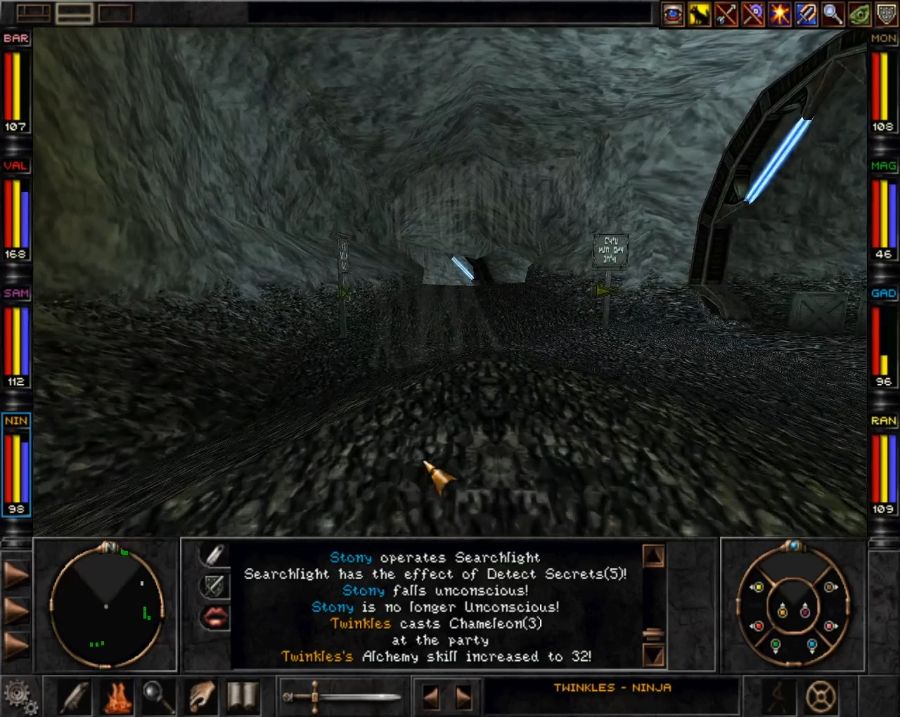
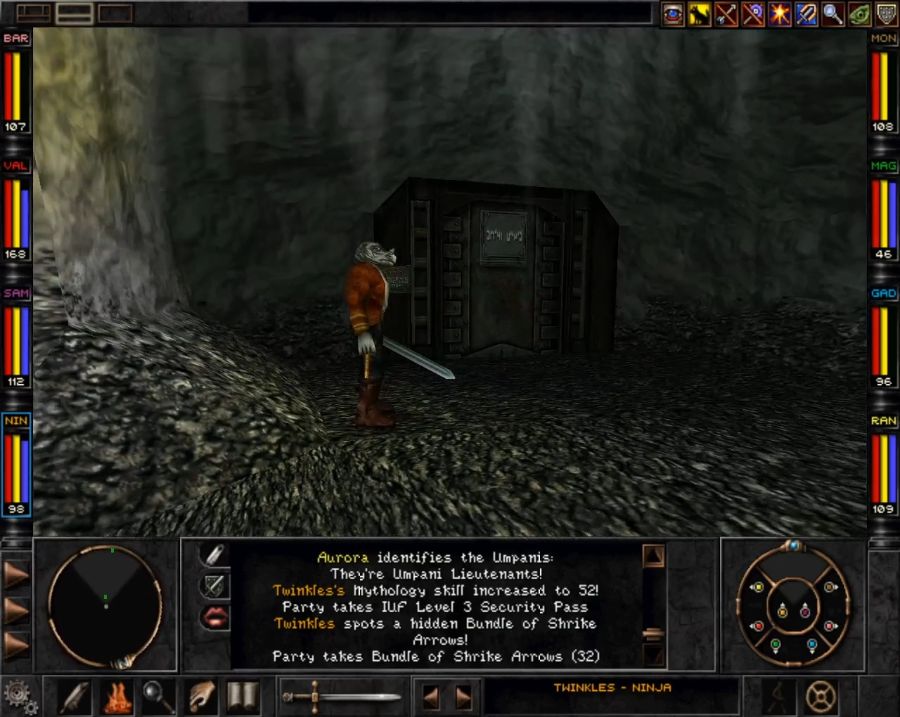
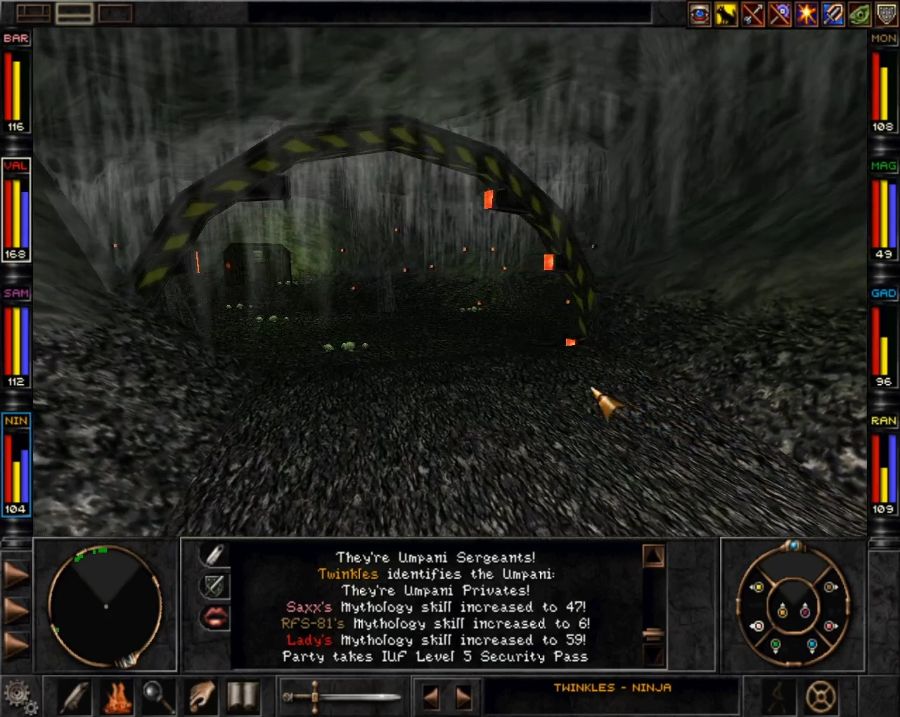
So while the T'rang have set themselves up in an abandoned and haunted fortress, the Umpani have set themselves up in a series of natural caves. They've hung up lights in most of the corridors, but it's still mostly a bunch of boxes dropped in the larger caves, connected by smaller, winding corridors. At least they've also clapped up a bunch of signage, though, to make it navigable. The signs direct us towards the various hubs, and Delta Hub is our target for getting deeper into the mountain. Of course, there are also a couple of non-hub locations, and we'll be hitting those up first because progress is for suckers.

Probably most players will first be attracted by the Storage sign. It's sadly not very interesting, though, just some long-outdated Light Healing Potions and some generic arrows, quarrels and bolts.
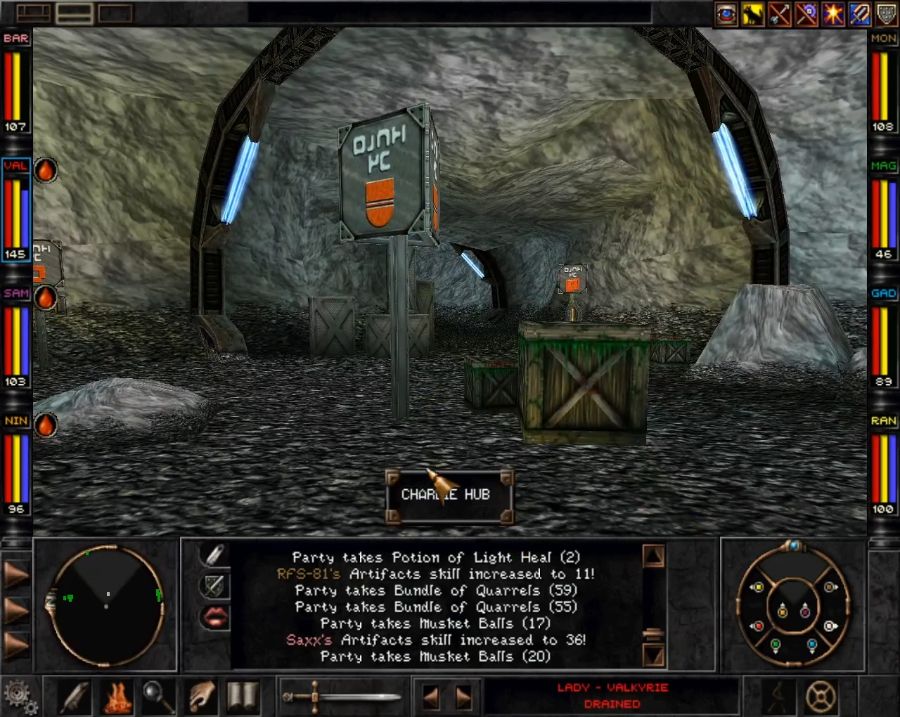

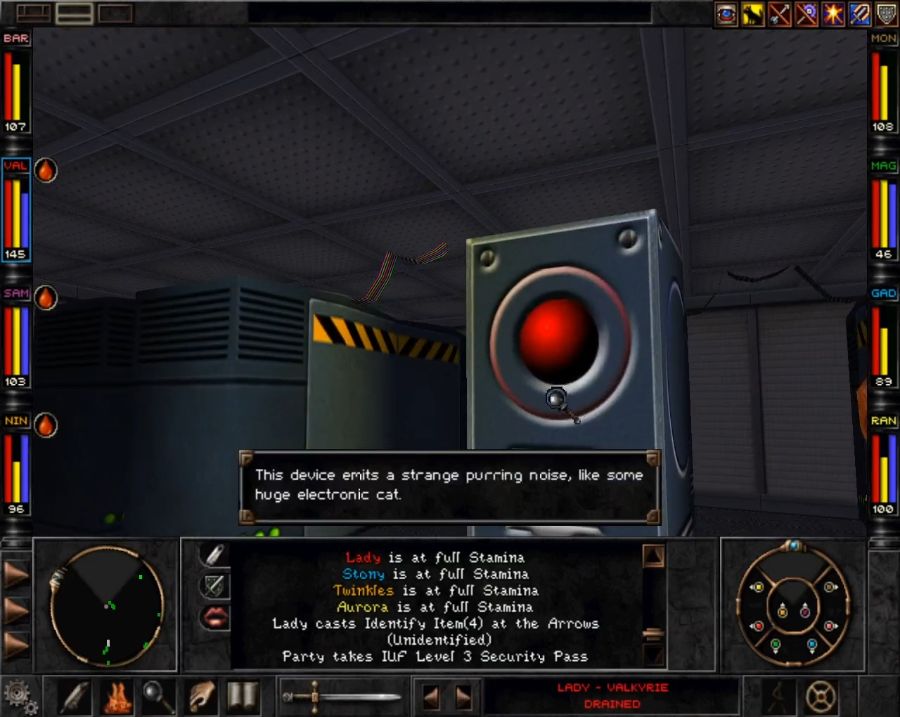
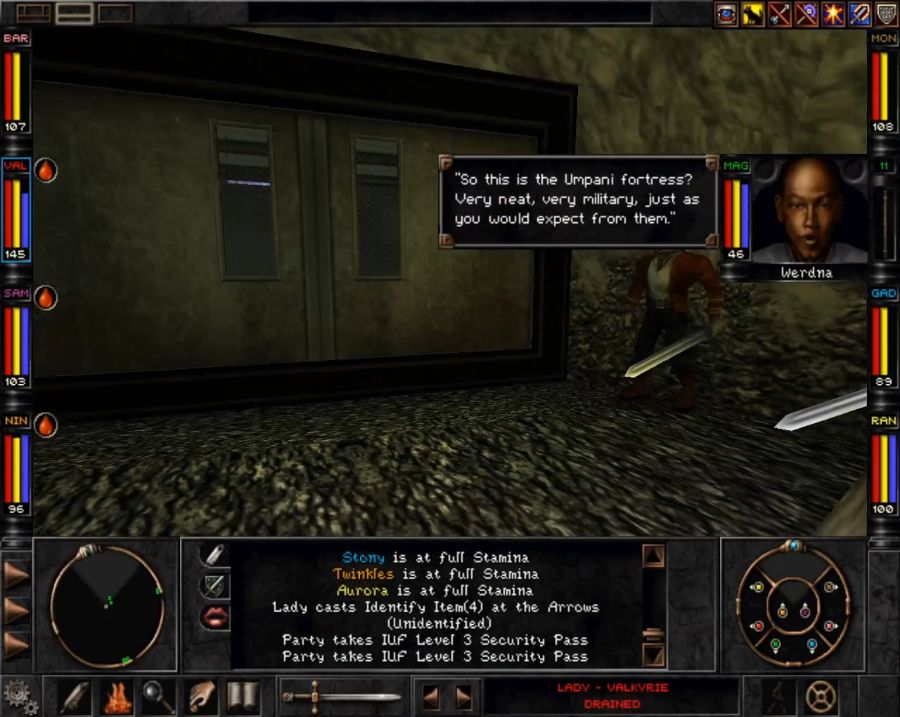
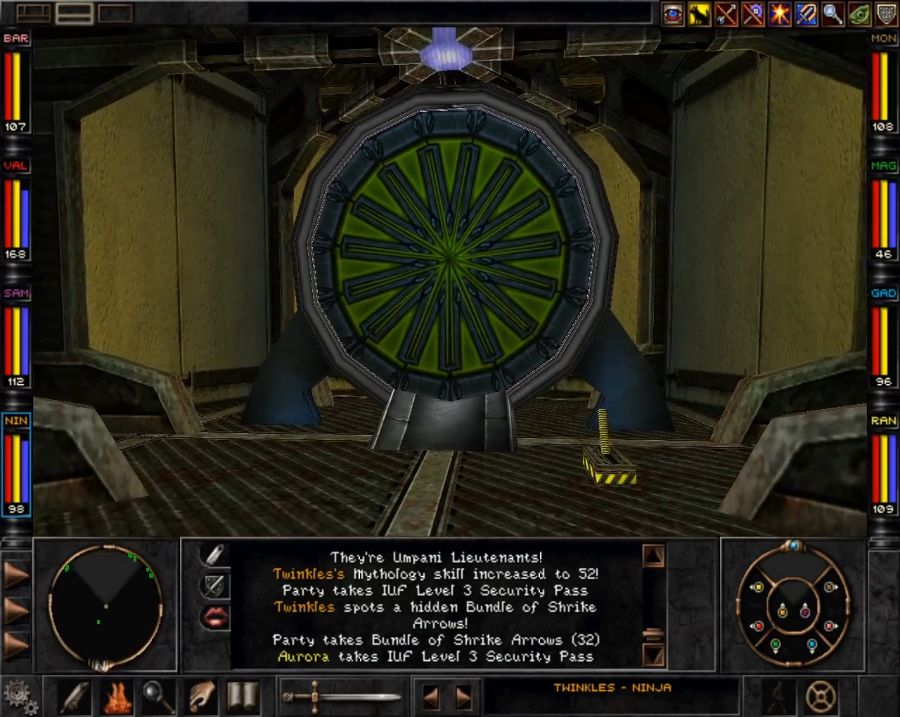
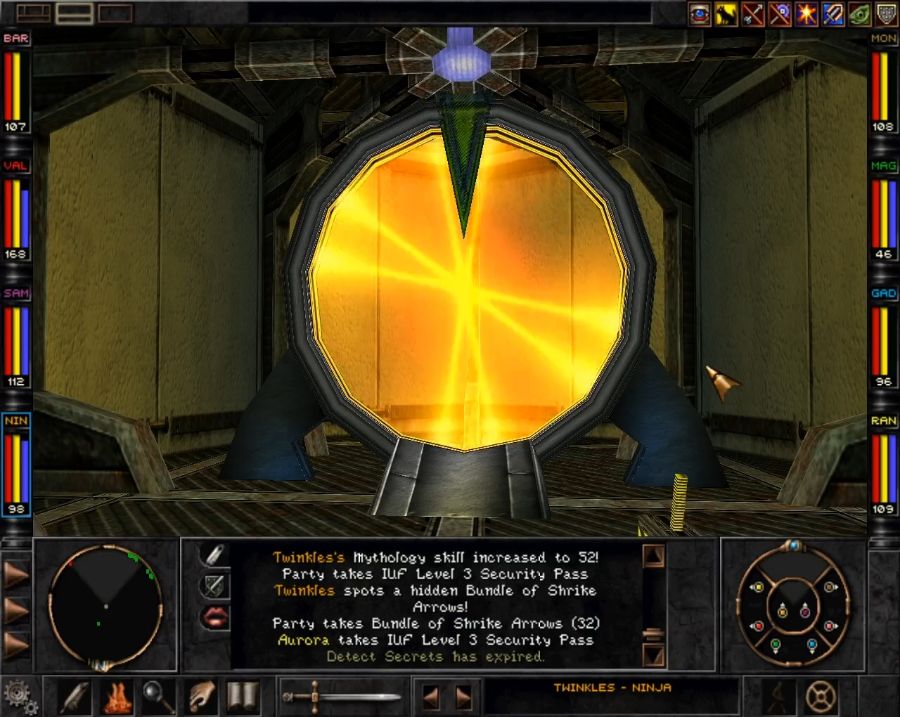
From Charlie Hub, this odd cube-like symbol directs us towards the Power Station.
Unlike the T'rang, the Umpani don't care if you go clomping all around their power generator. You also can't do anything here, there isn't even a pile of bullet stones in the corner or anything. It's just a piece of decoration with some guards.
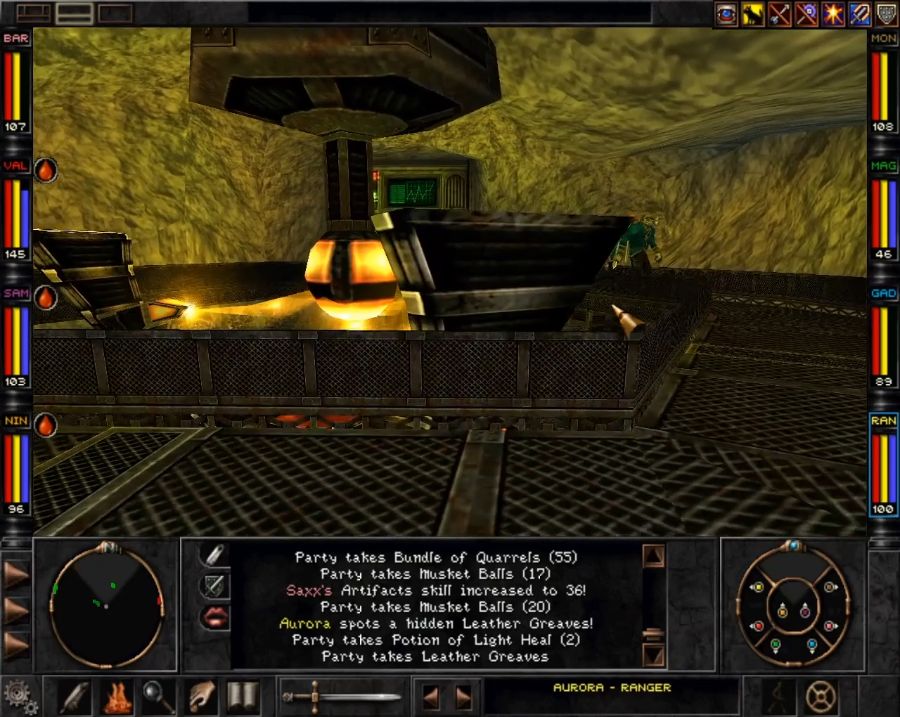
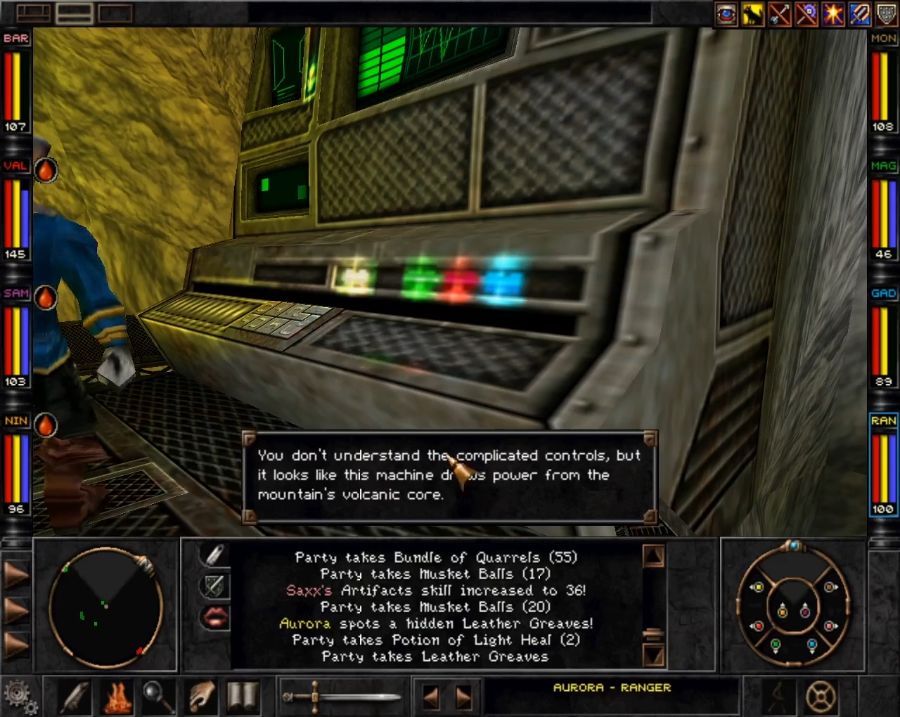
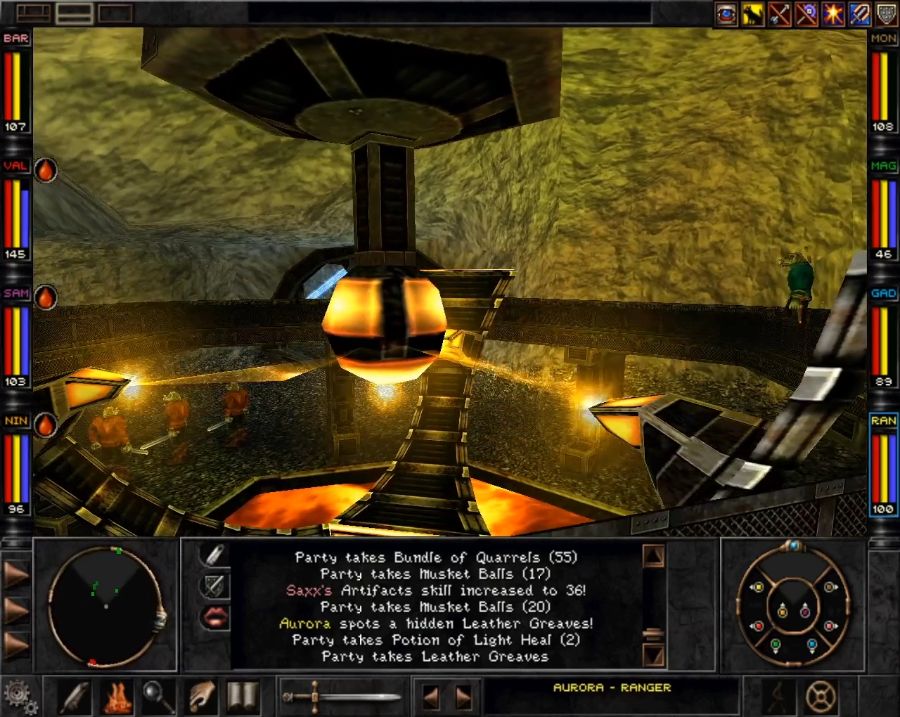
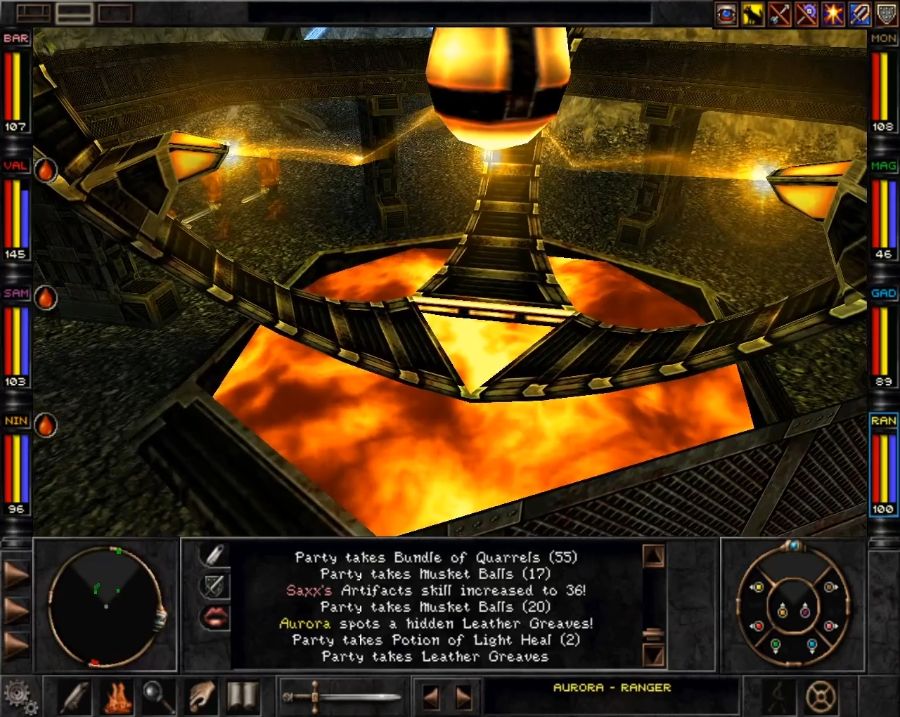
Does look neat, though.
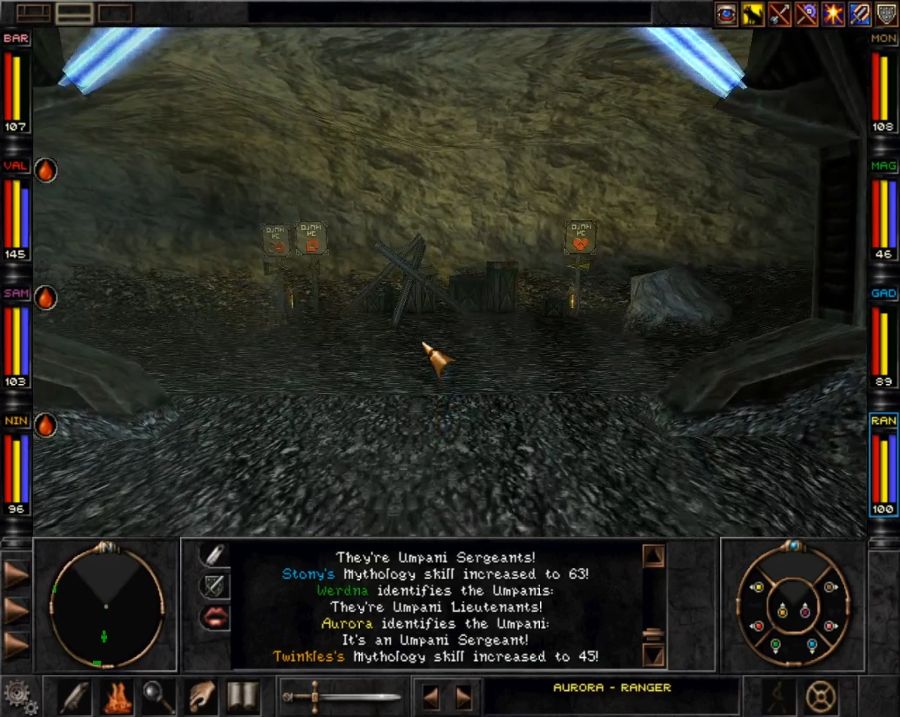
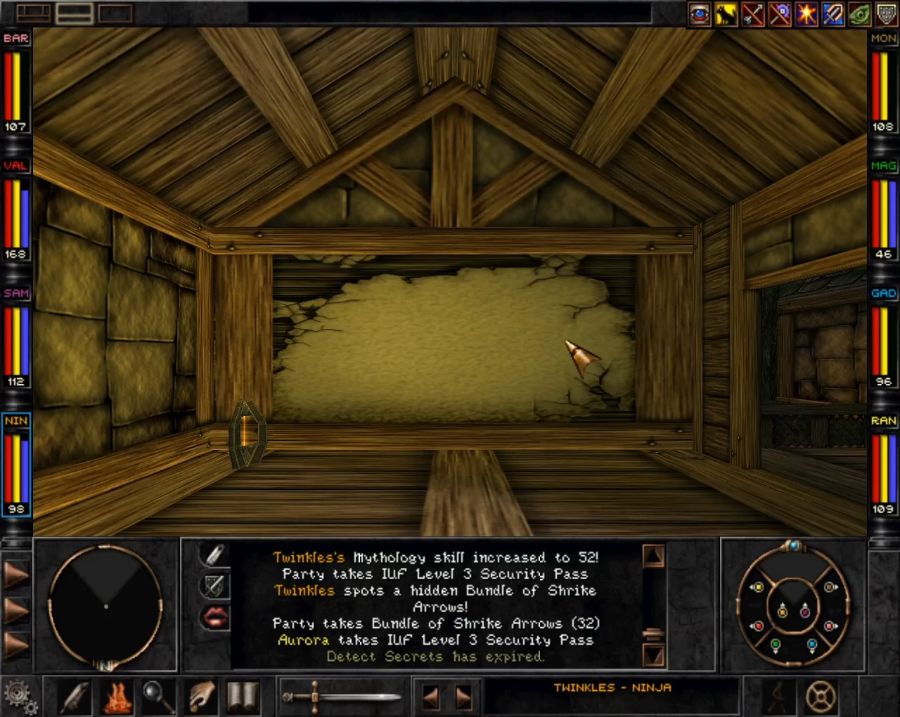
Third one is near Bravo Hub, and is unmarked. Just gotta walk down the corridors until you find a little appendix dead end...
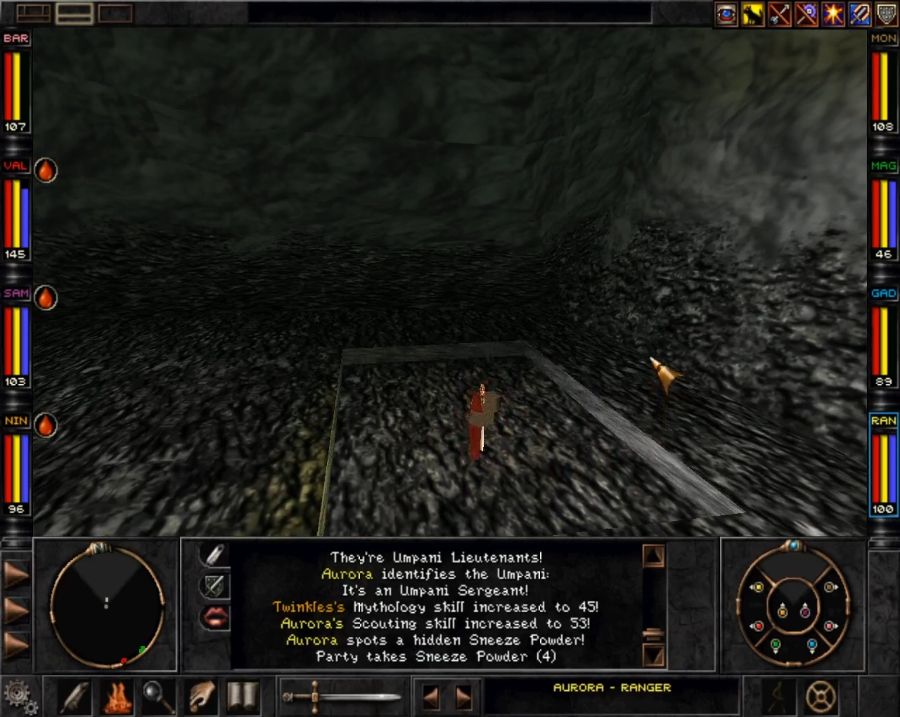
Featuring the only instance in the game of weighing down a pressure plate with a dropped item.
It opens up this secret door a bit further down the hall containing some rats and a chest with some randomized loot which rolls on some tables most likely to give you garbage.
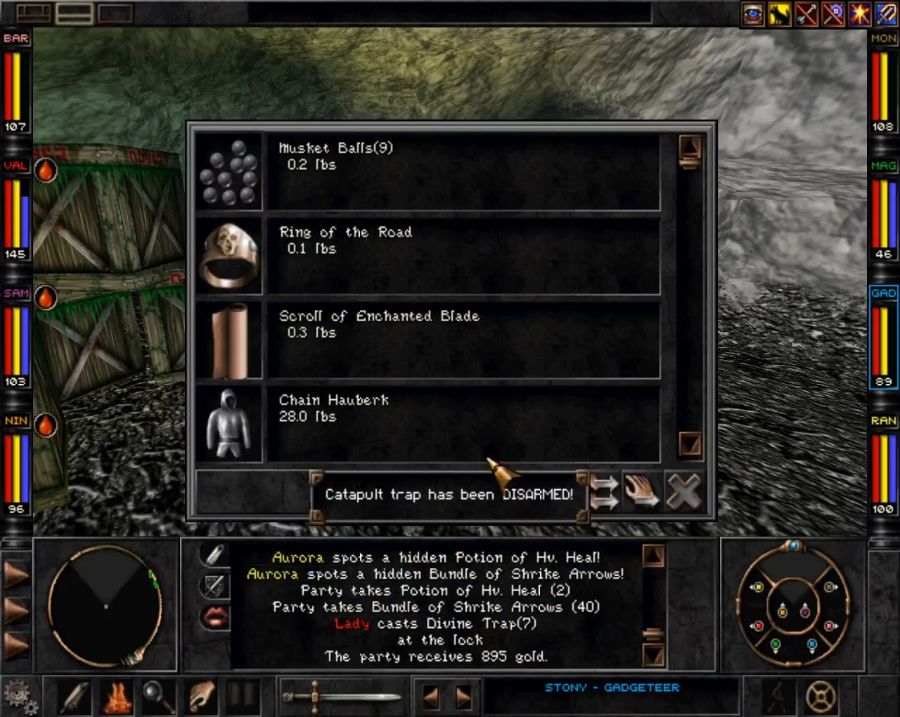
In my case including a perfect copy of the Ring of the Road I paid Bela a bunch of gold for. Starting to feel mildly ripped off!

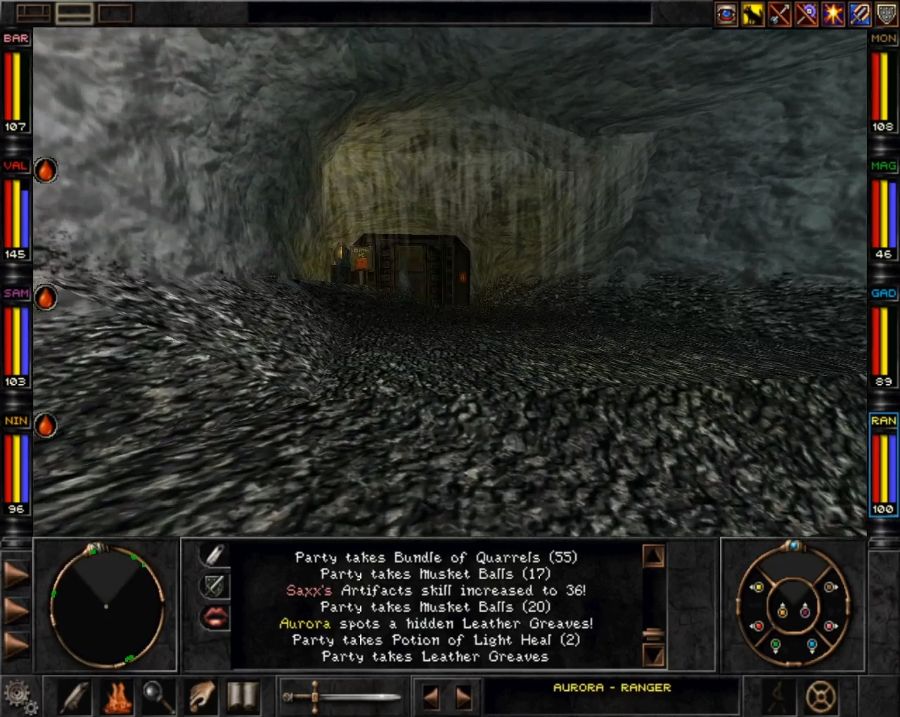
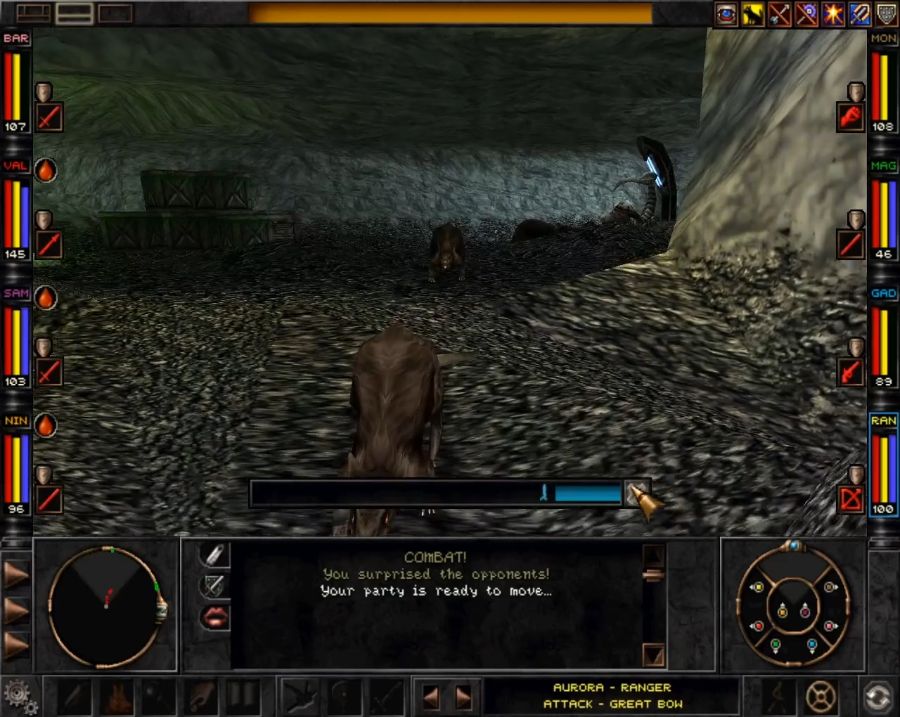
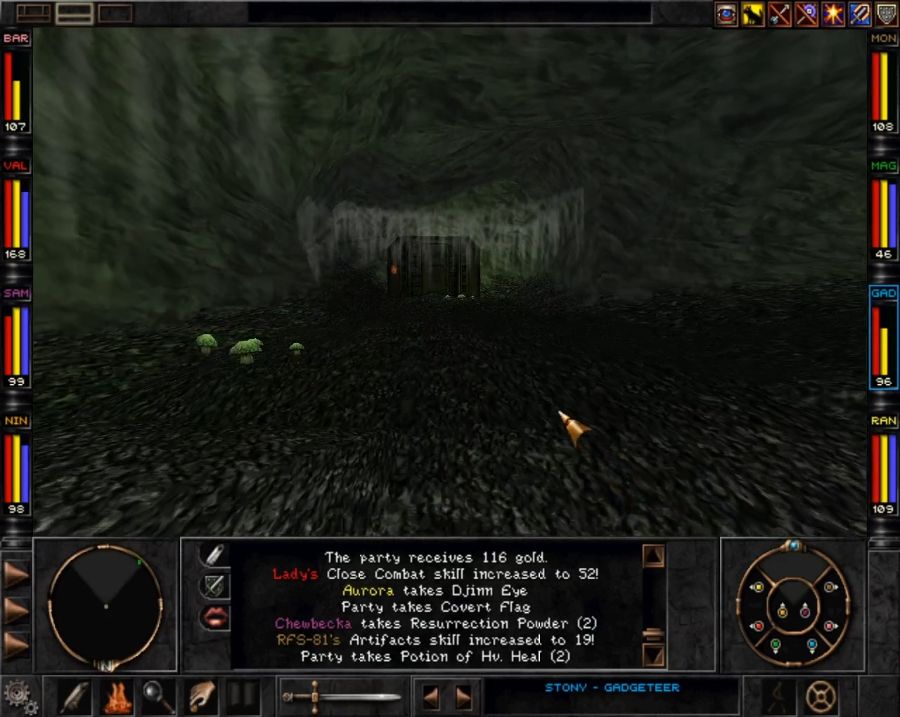
Lastly, at Delta Hub, there's this big cave where there's almost ALWAYS a random spawn of some bats or a morax or whatever. I think this is my only time, ever, playing this game, that there has not been a spawn here. Now, you make your way across the cave...

I wonder what's down the other way?
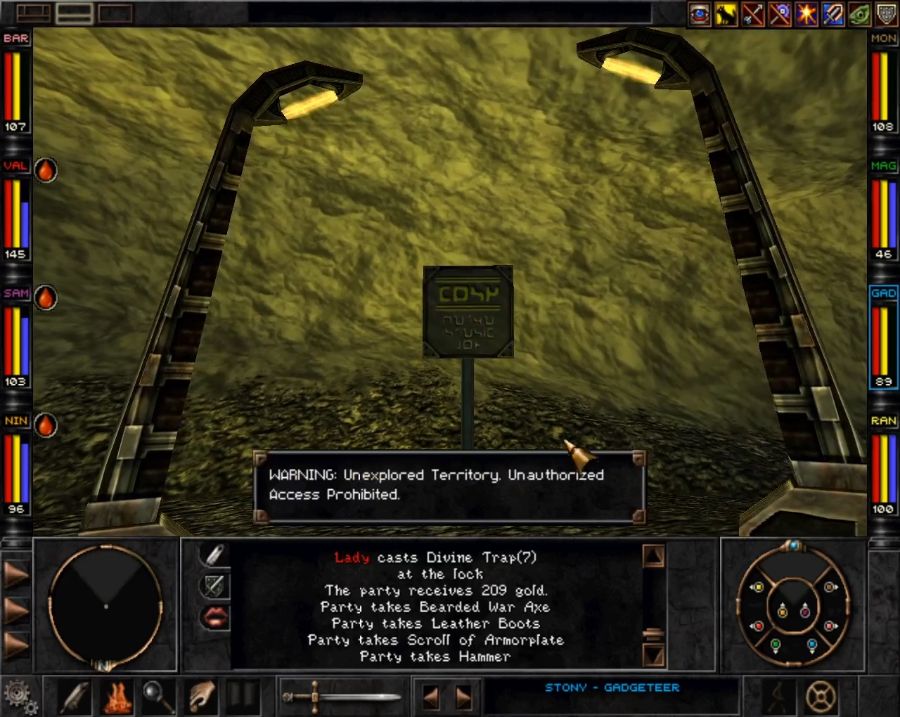
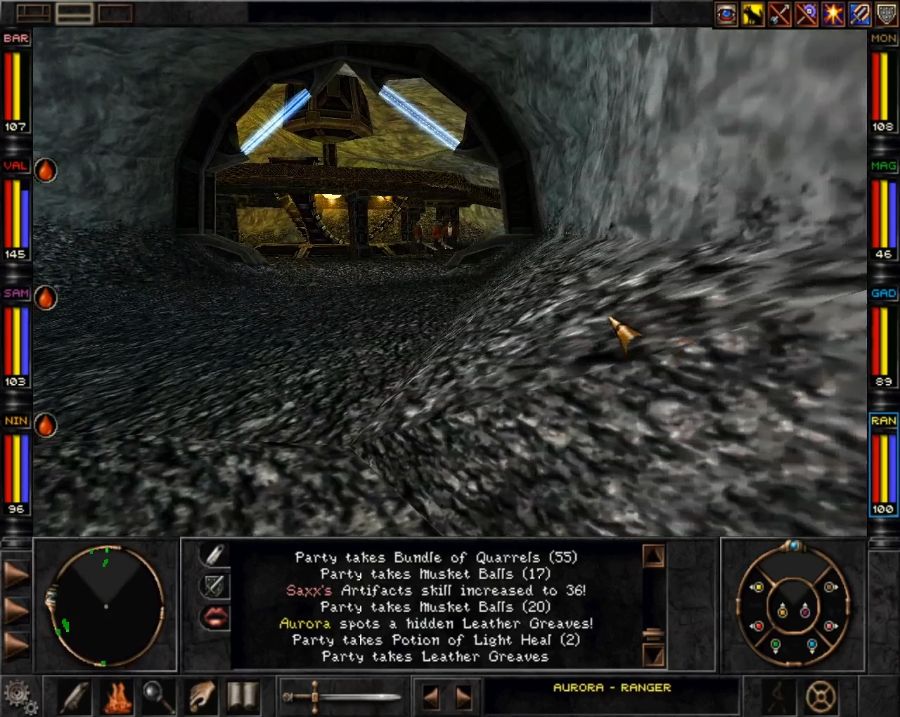
Unexplored treasure, you say?

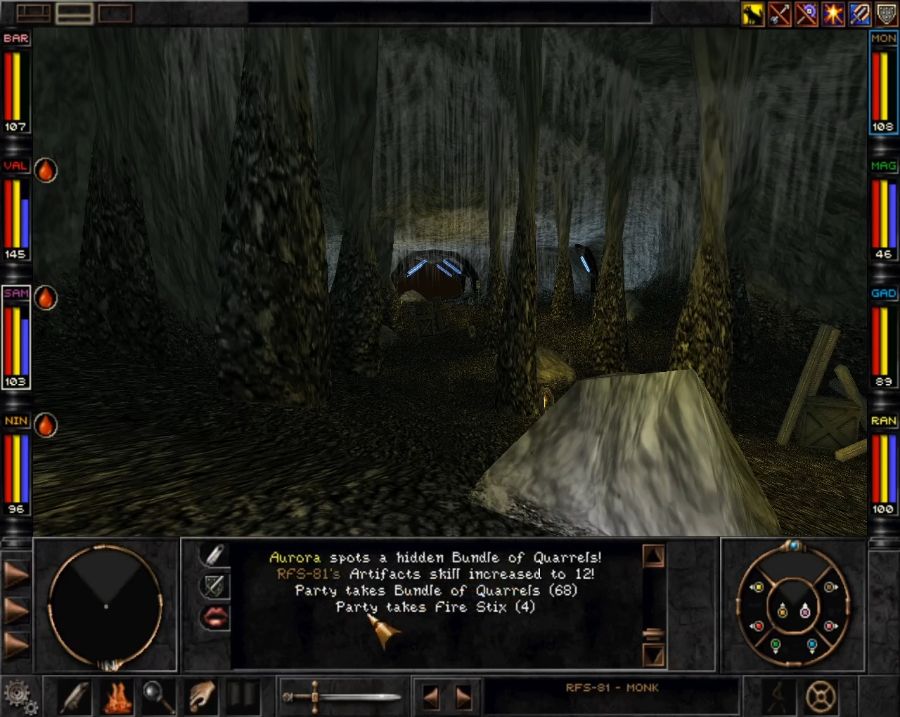
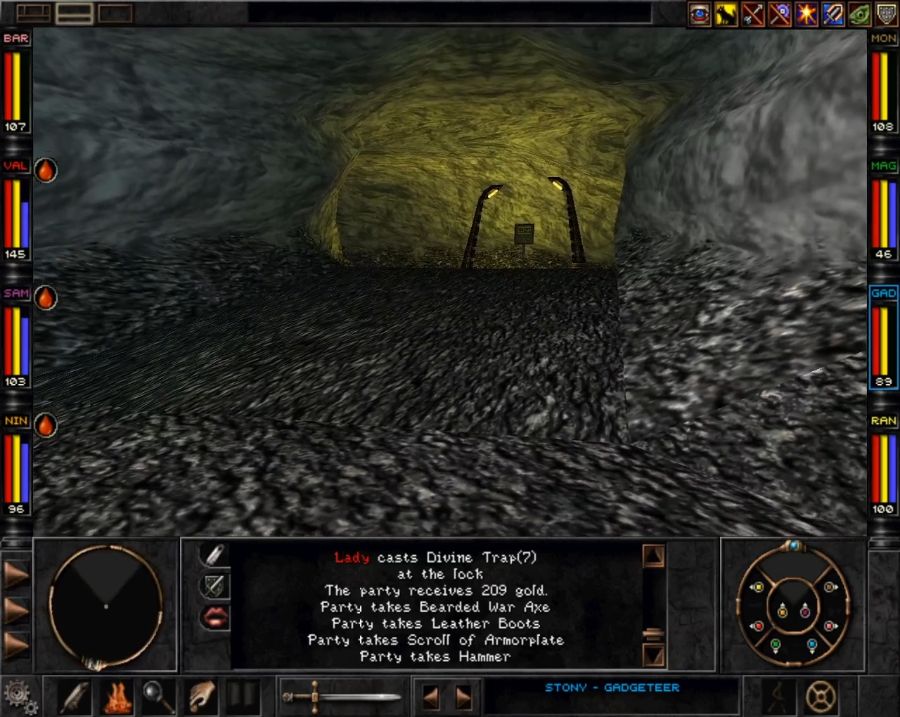
This direction sends you barrelling into a twisty, windy dungeon that almost feels randomly generated. Though thankfully there's plenty of signage to indicate the way out, so you'll never REALLY get lost. Sadly, most of the treasure here is also pre-placed and thus, at the party's current level, there's little reason to go visiting it. Still, there are a few chests that might roll something good.
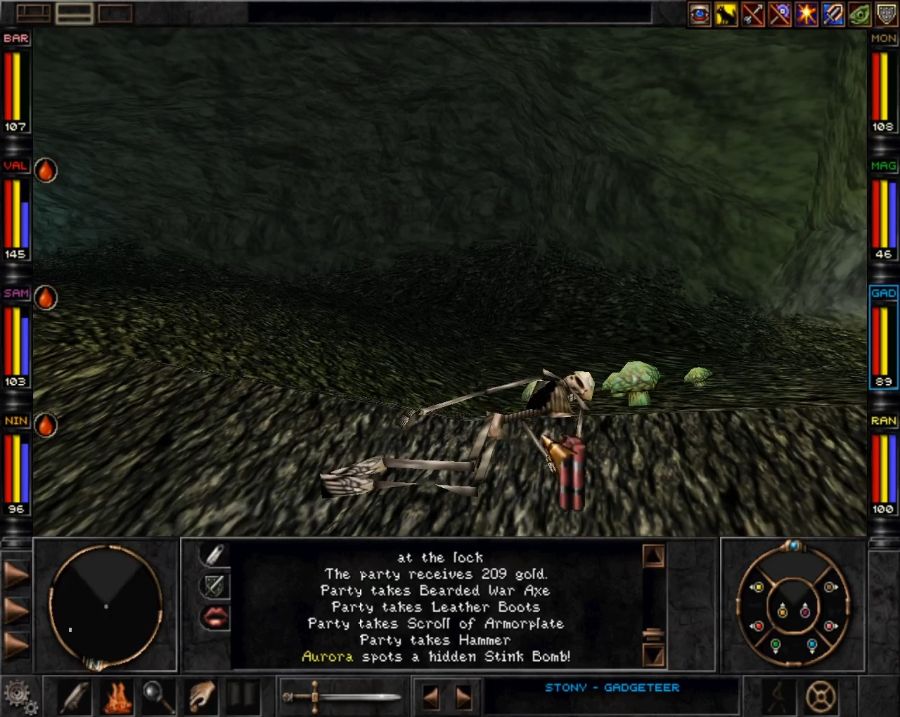
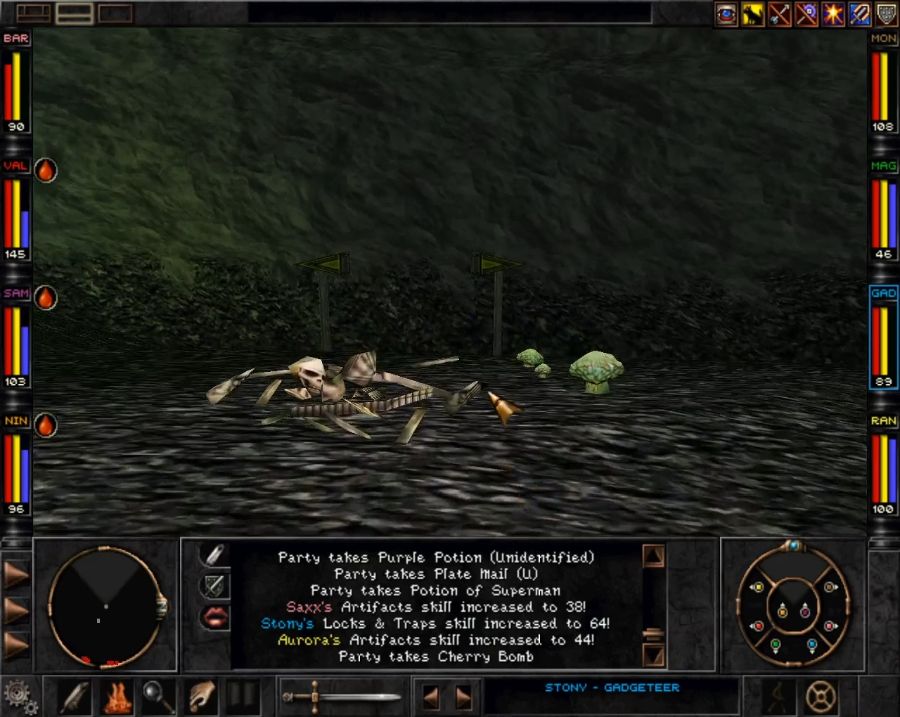
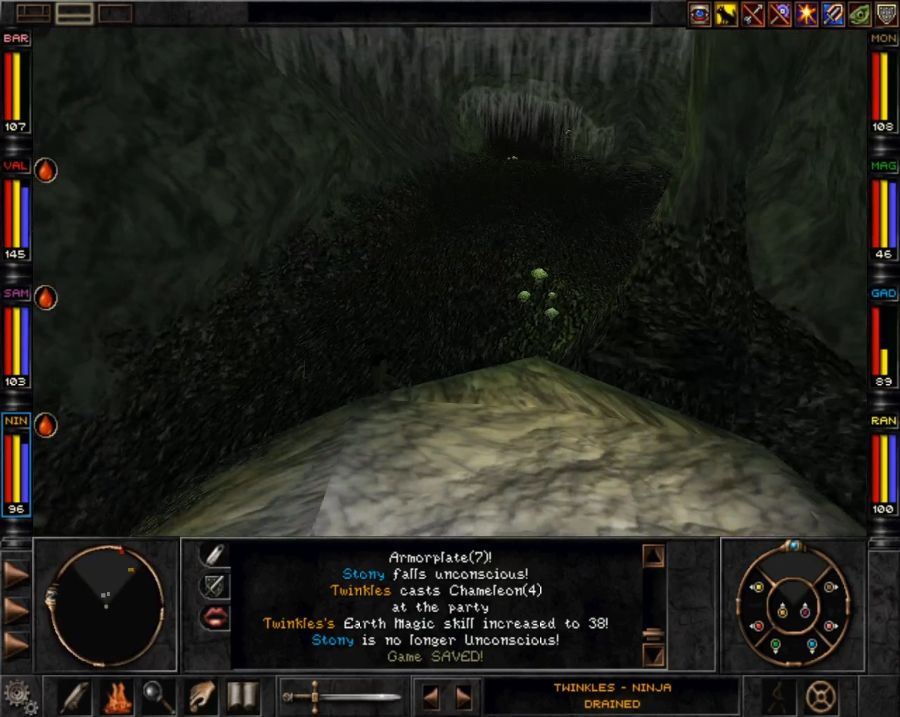
Also it's practically littered with skeletons all over the place.
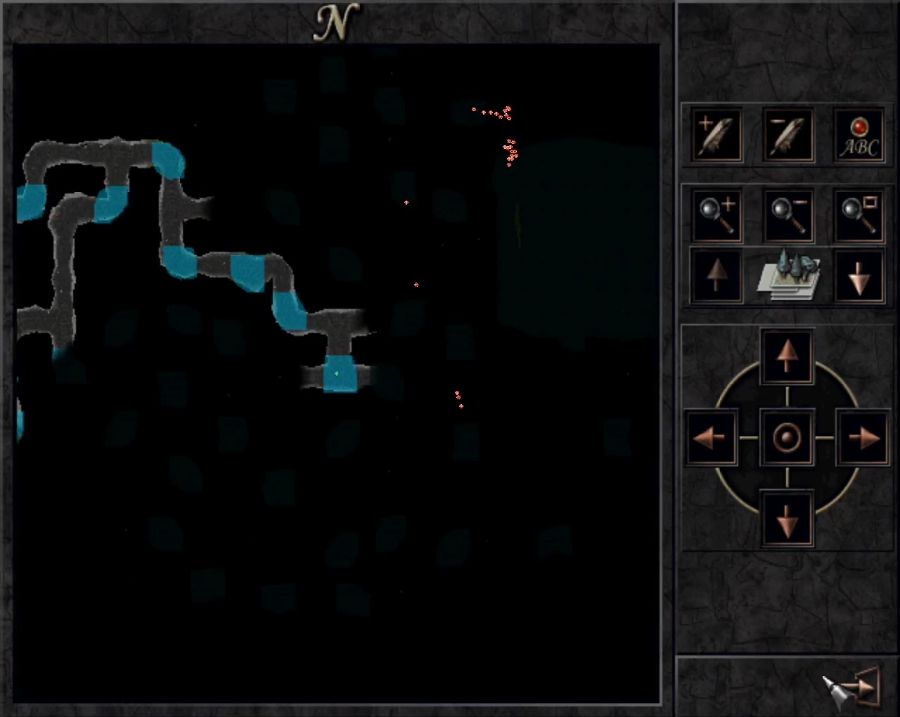
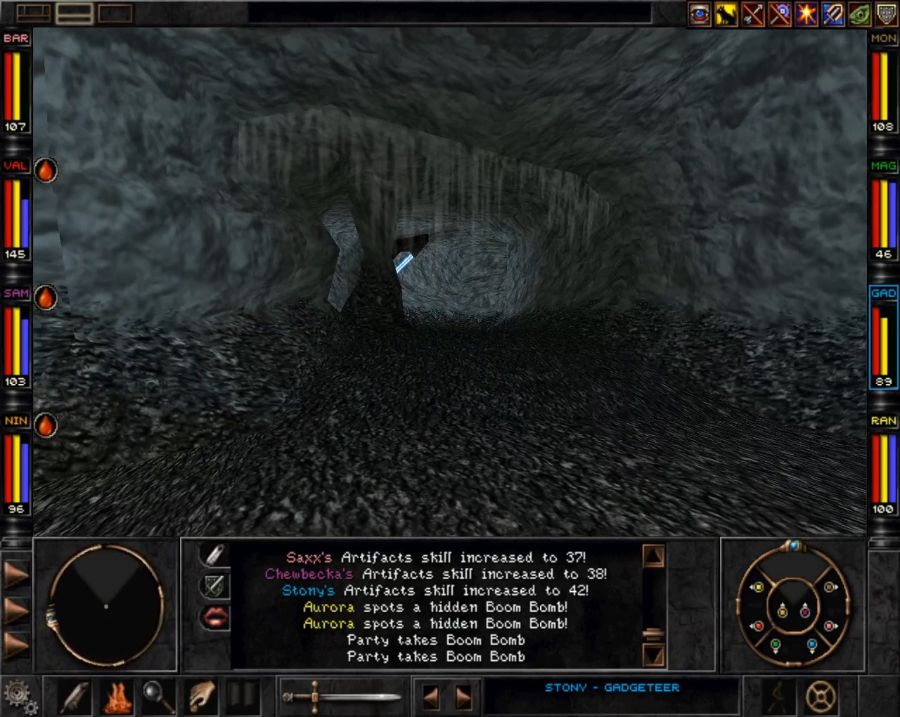
One oddity about the Wizardry automap is that water planes tend to show up from much farther away than you actually need to be to see them, so you can see a bunch of the water in the corridors ahead of time, and thus have a mental outline of how things twist and turn, since they're often at corners.
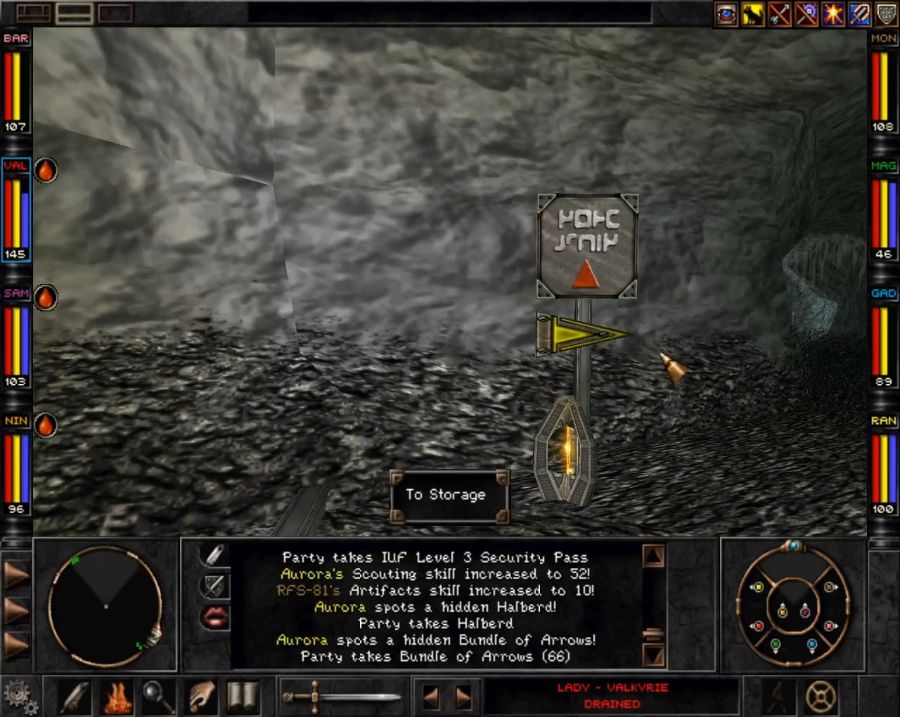
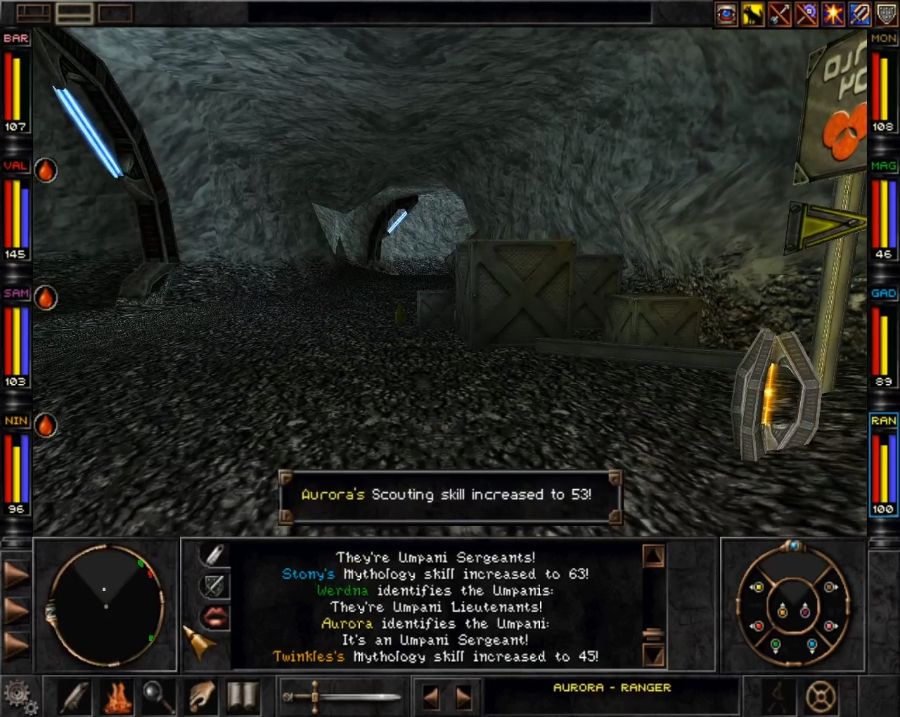
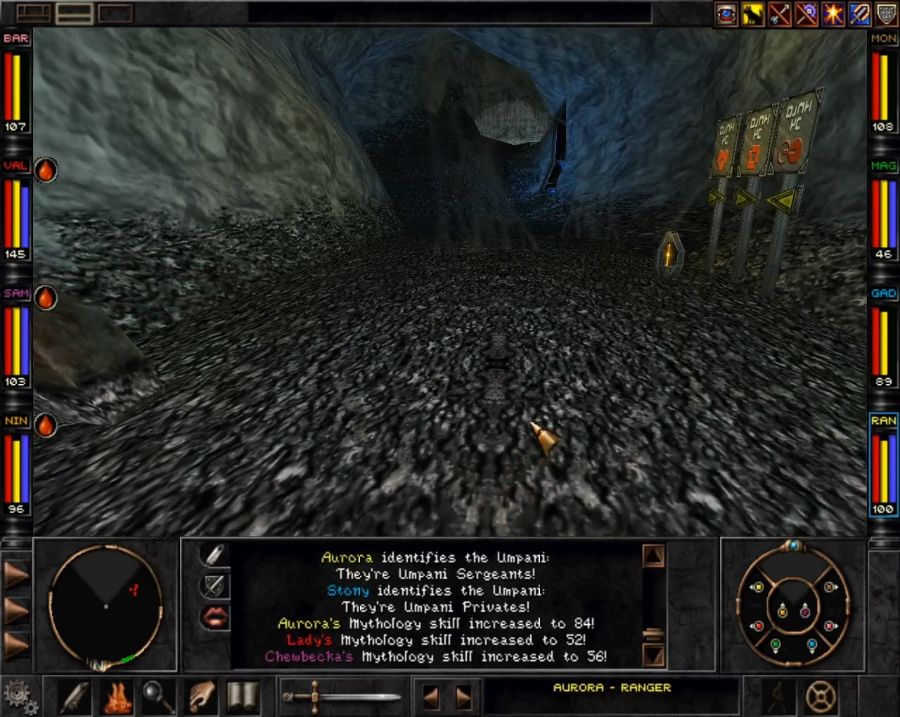
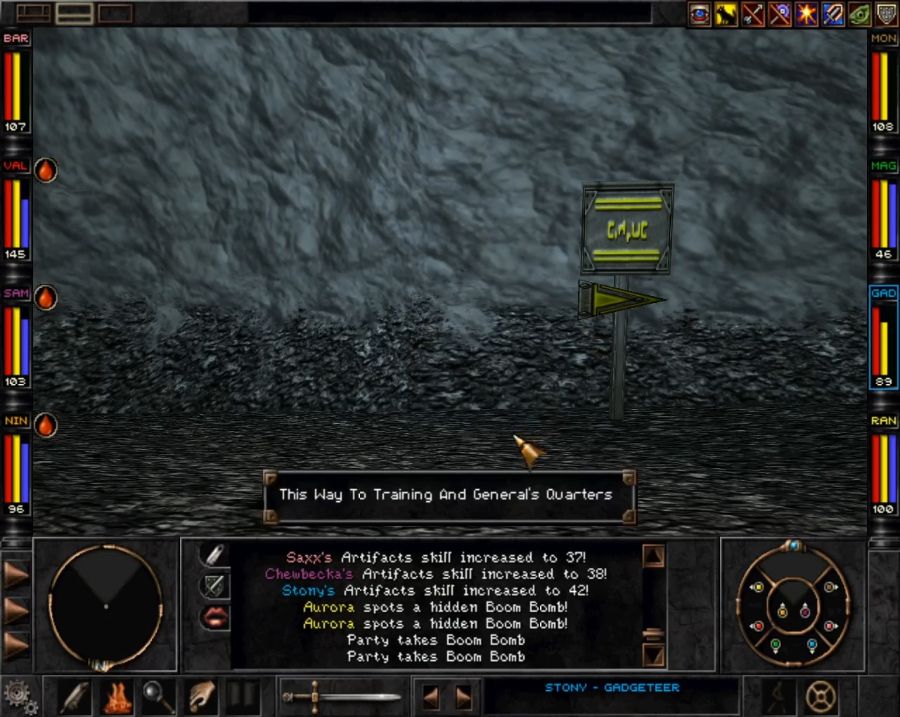
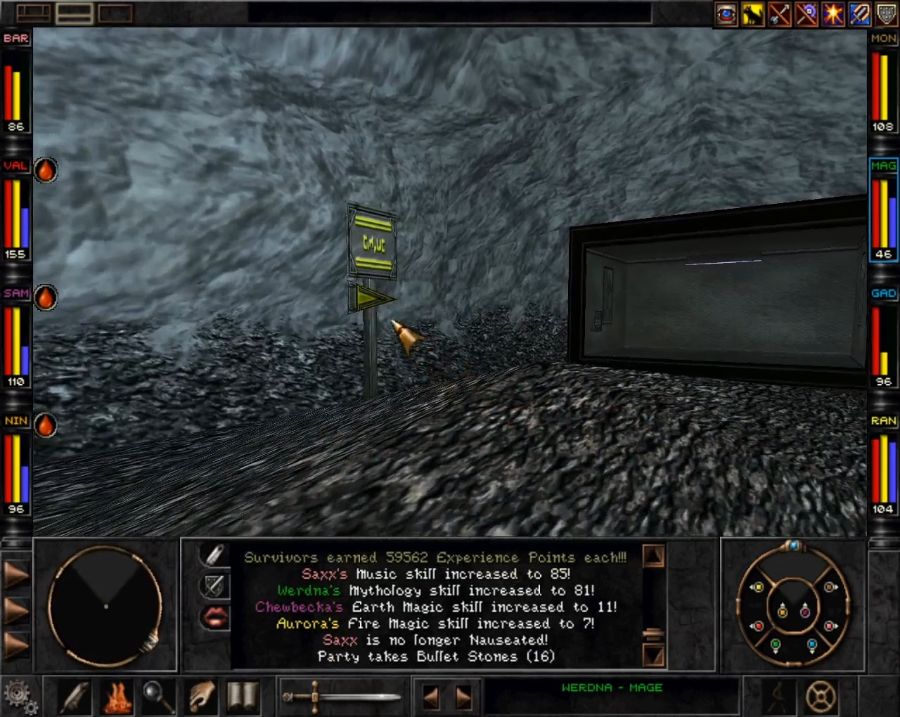
This is the signage, by the way, as long as you follow the yellow arrows you're always headed towards the exit.
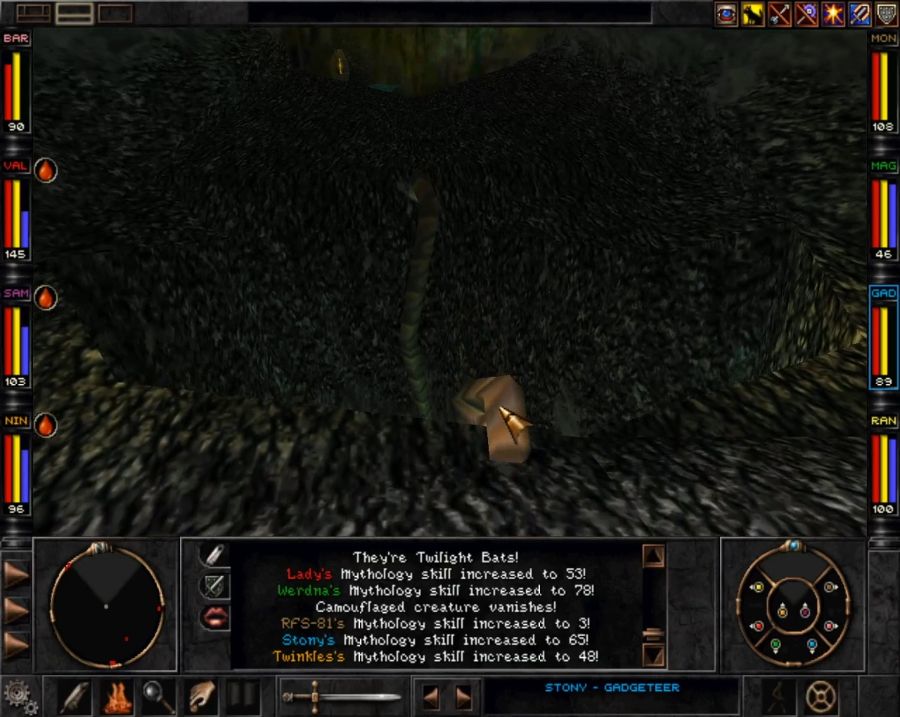
There are also a few cave-ins to watch out for. They're not deep enough to do serious damage, but if someone's already banged up, it could finish them off. However, I'm gonna jump right into this one.
Enemies can't path into the pits, so paradoxically enough the unsafe collapsed sections are also the safest places to rest.
And speaking of resting, a not-remarked-upon effect of having a Bard in the party is that resting happens much faster, and the faster you can finish your rest, the less you need to recast buff spells and the less the chance of patrolling enemies spawning and bumping into you.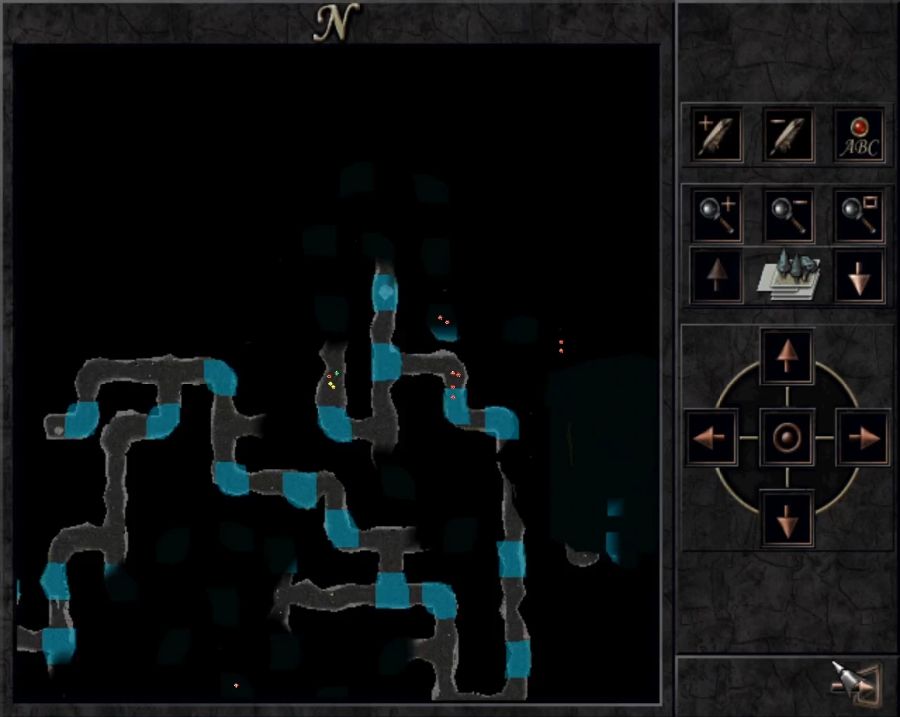
I wasn't kidding about it being a maze. Without the automap and arrows you could get lost in here forever.
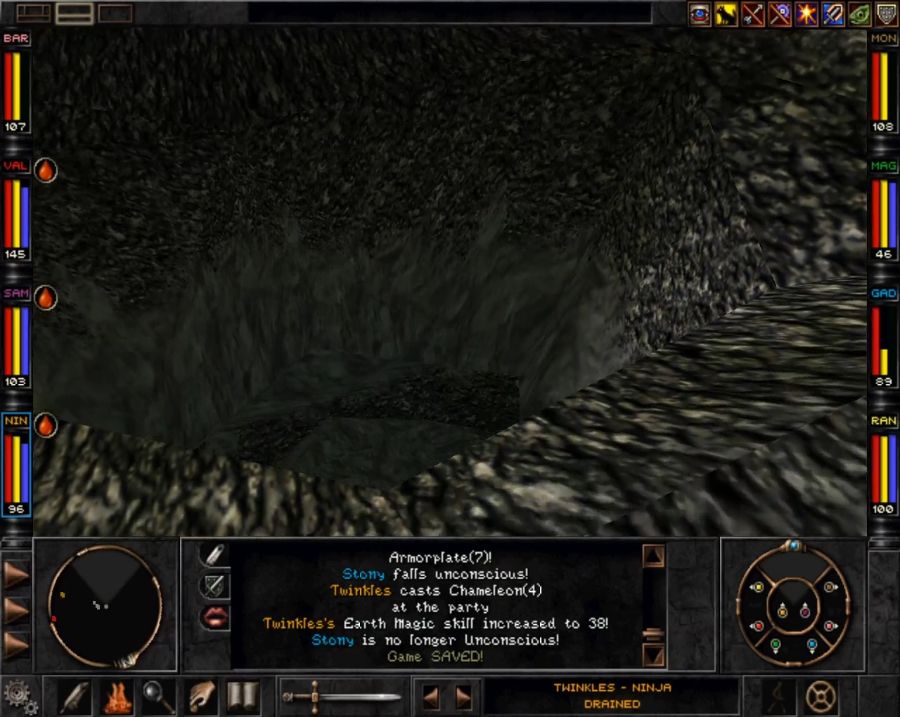
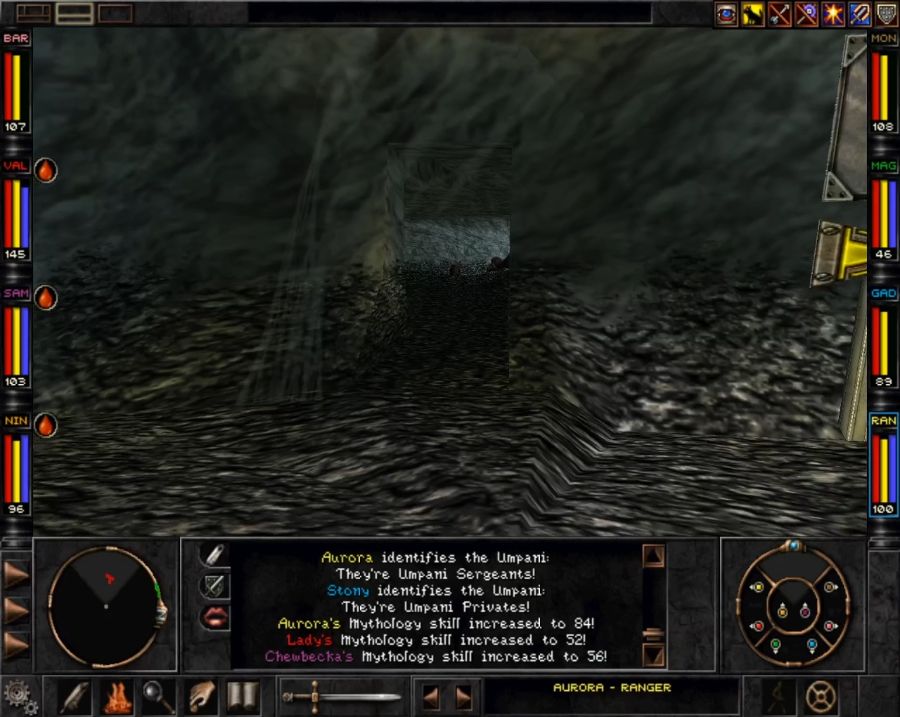
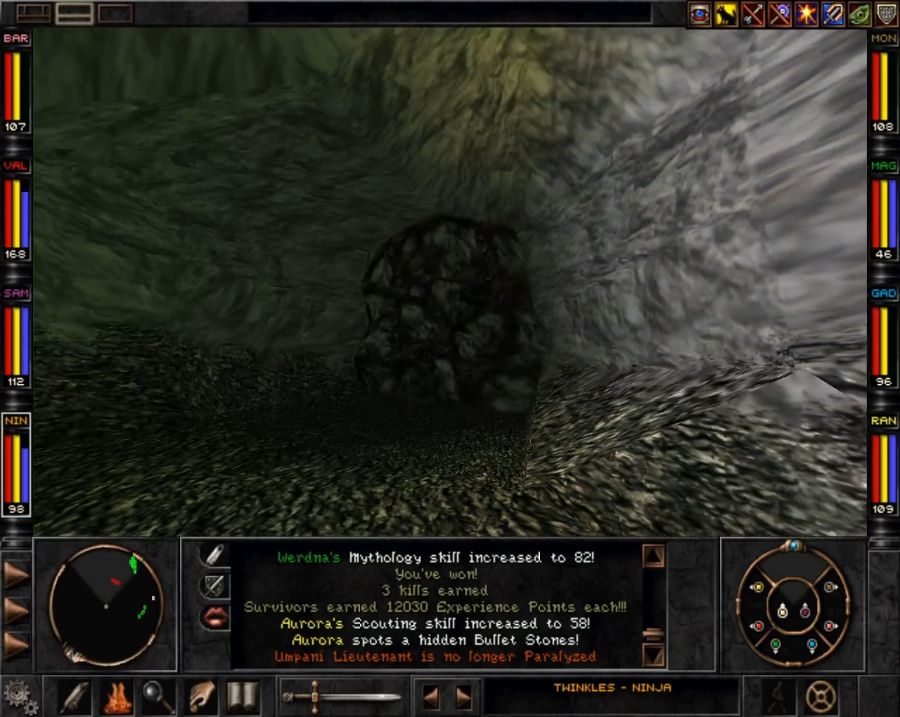
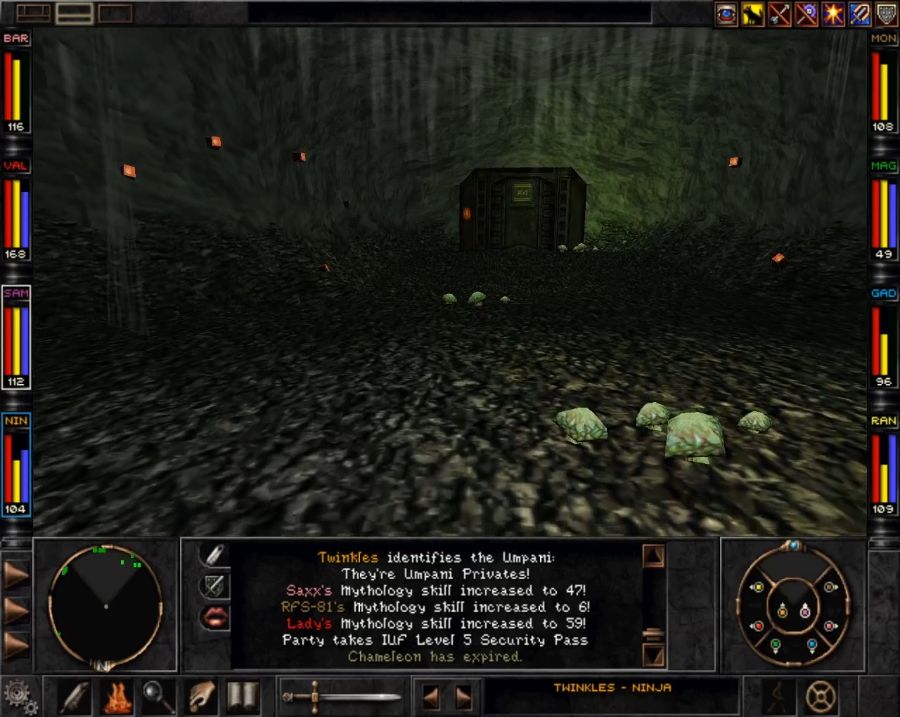
This is what we're really here for, though, this one particular cave-in.
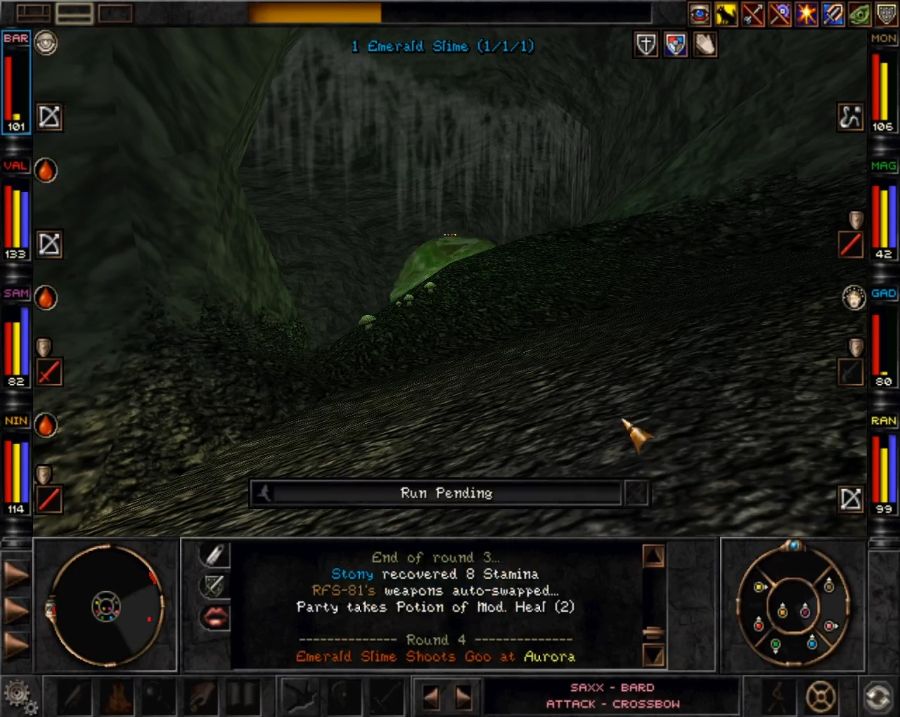
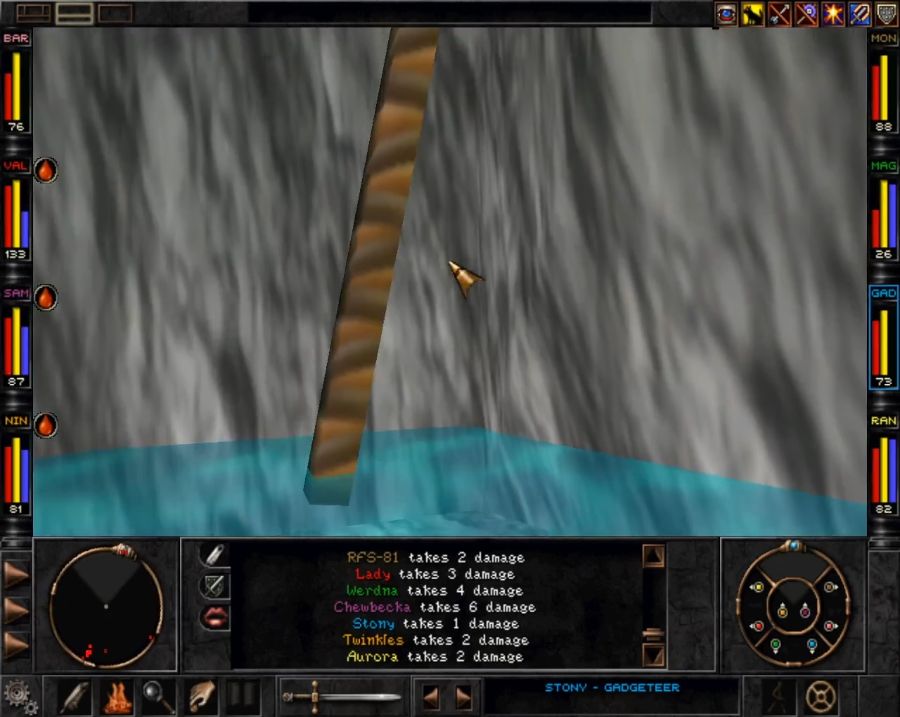
Drop down, fight some jellies.
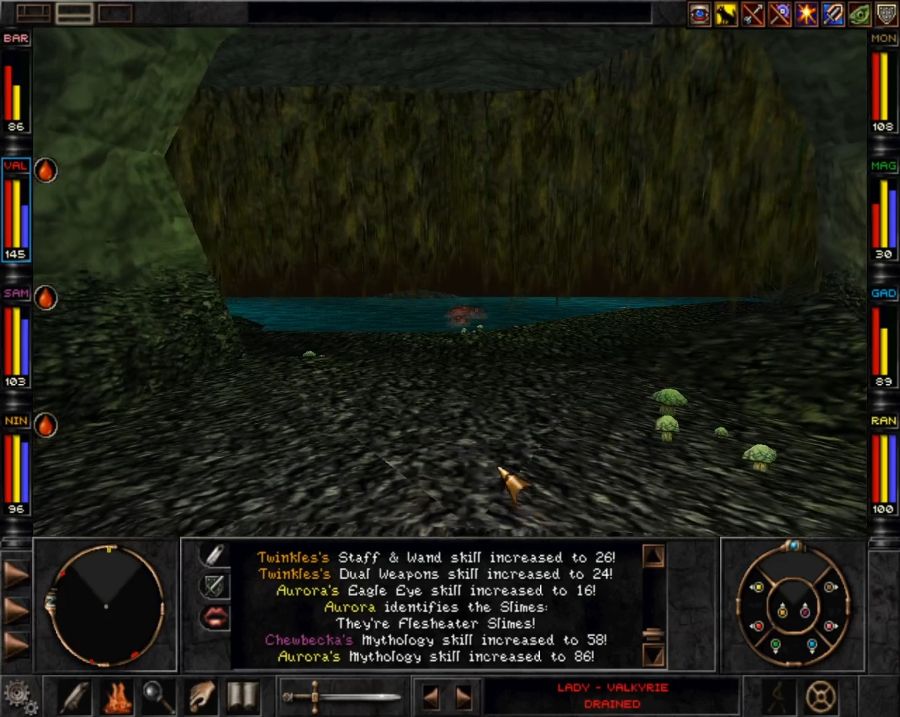
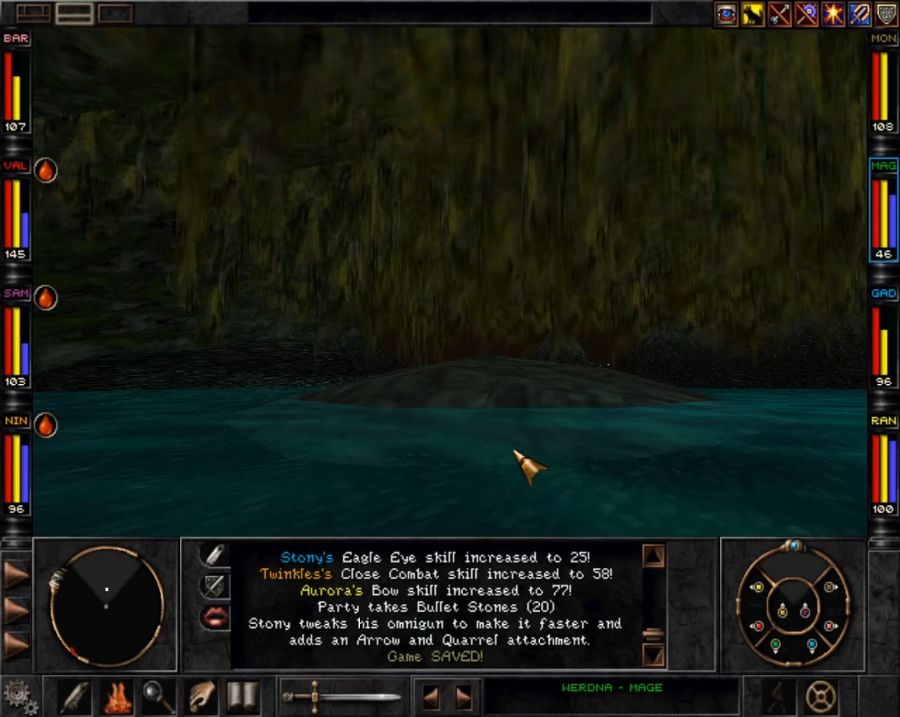
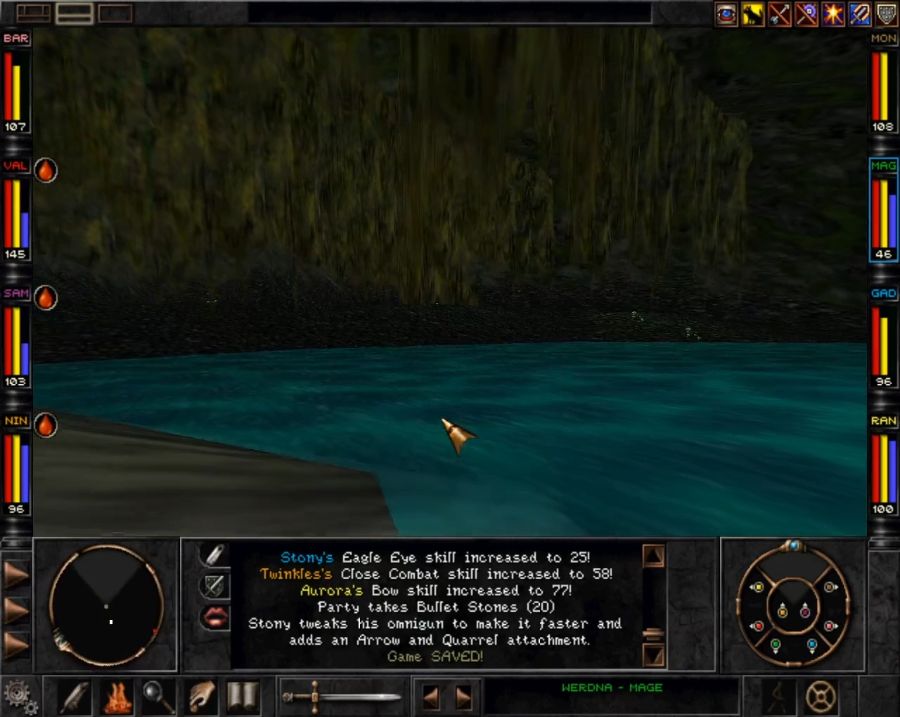
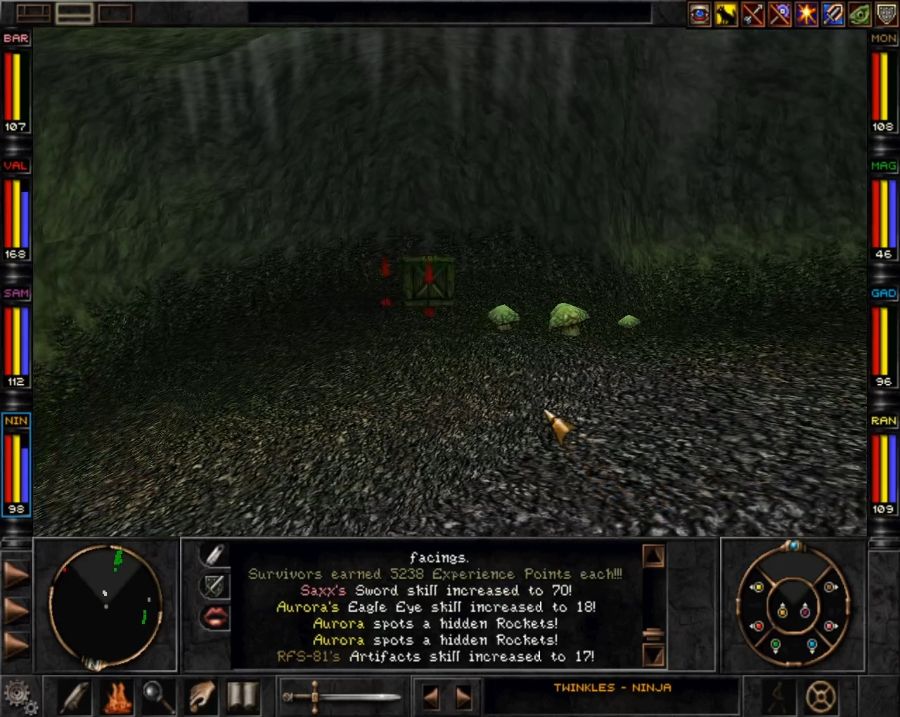
And find this underground lake, with even more jellies. I could swear that sometimes a Djinn spawns down here, but maybe I'm misremembering or I just got unlucky this time. Anyway, there's a chest down here that has a better chance of spawning decent loot than the rest(it gave me trash this time, though), where I've often found some great spellbooks.
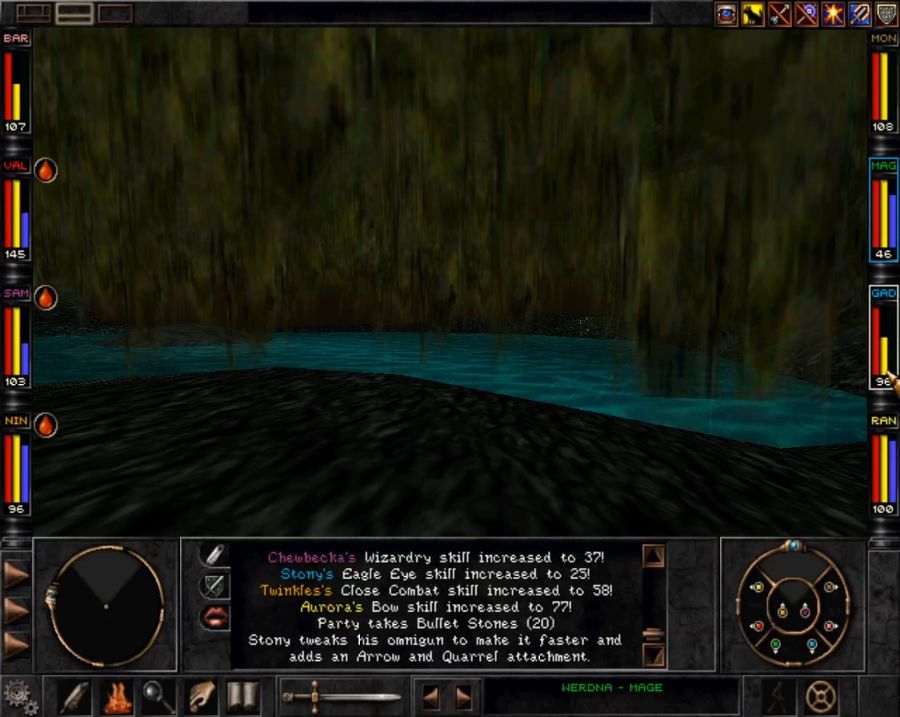
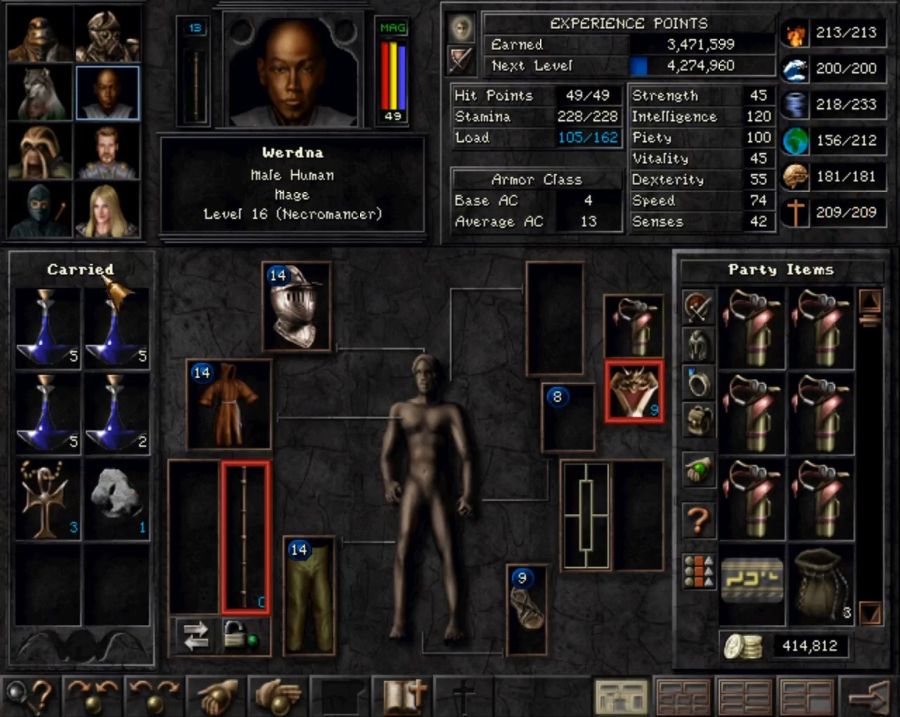
Unrelated to the exploring, Stony also got a level-up from murdering slimes and now his omnigun can fire normal arrows and quarrels. This is a MASSIVE improvement both in terms of damage and ammo types usable, plus it also means I can finally drop all those bullet stones he'd been using and which weigh a shitload compared to other ammo types.

Seriously, look at this trash.
Another chest has yet another Ring of the Road and yet another Sword of 4 Winds. I feel like the game is making fun of me at this point.
Anyway, let's get out of here.
I'm not sure if you even can open this thing if you arrive at it from the top side first.
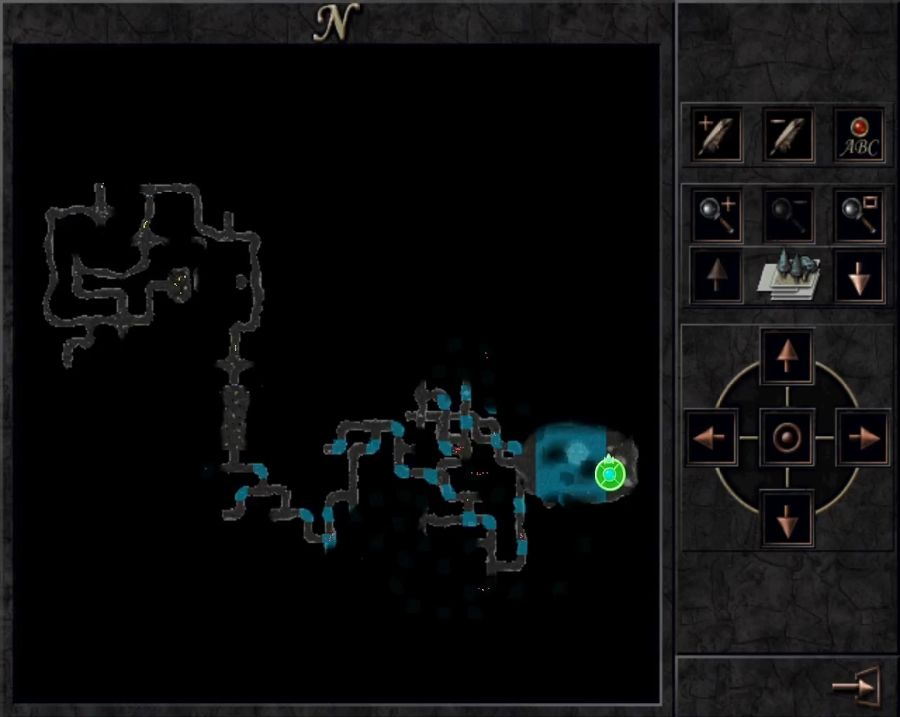
And a final-ish map for a sense of how big the "maze" section of Mt. Gigas is. Now, for the one part of this maze that got me stuck...
You see this corridor? I always keep to the sides of corridors in case there are traps or anything else, because then the activating part is usually dead center. But in this case, I stepped in that little pool on the right and got goddamn stuck in the geometry. The party just started vibrating and I decided to portal out before the physics engine attempted to launch me out at light speed or otherwise kill me off.
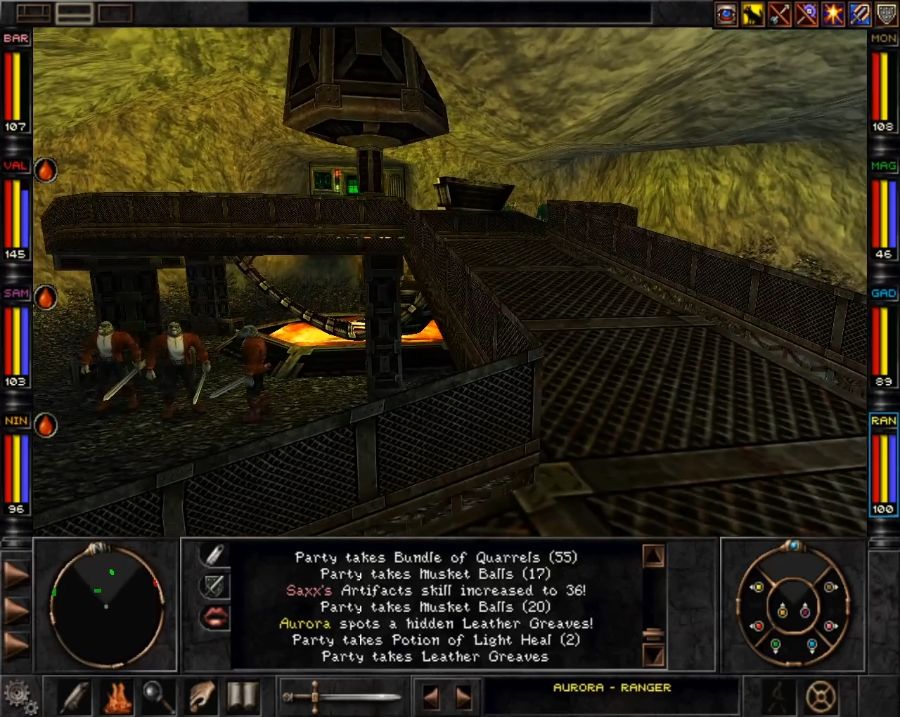
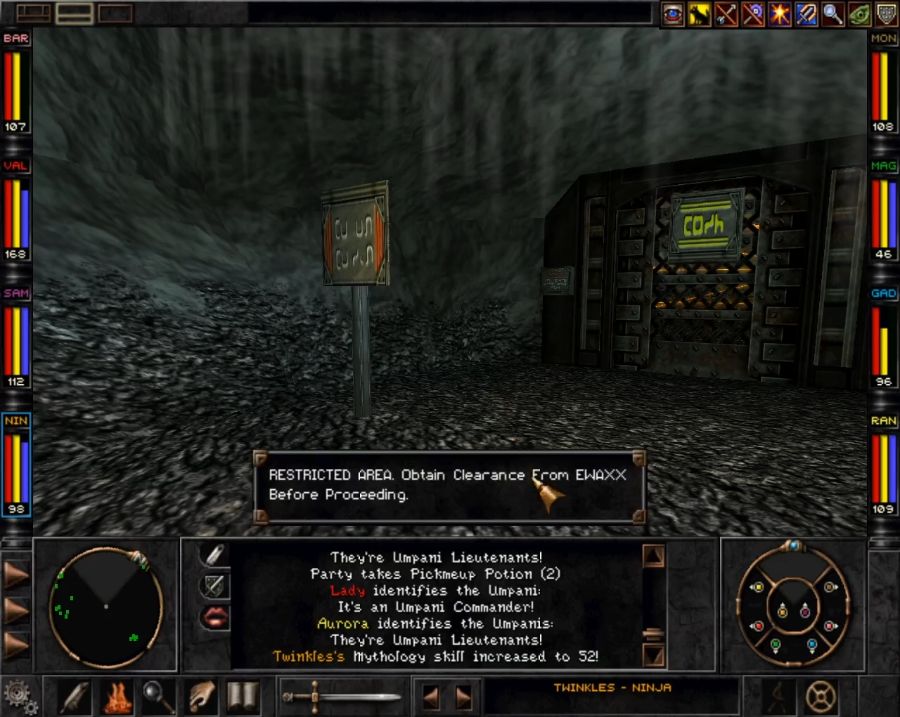
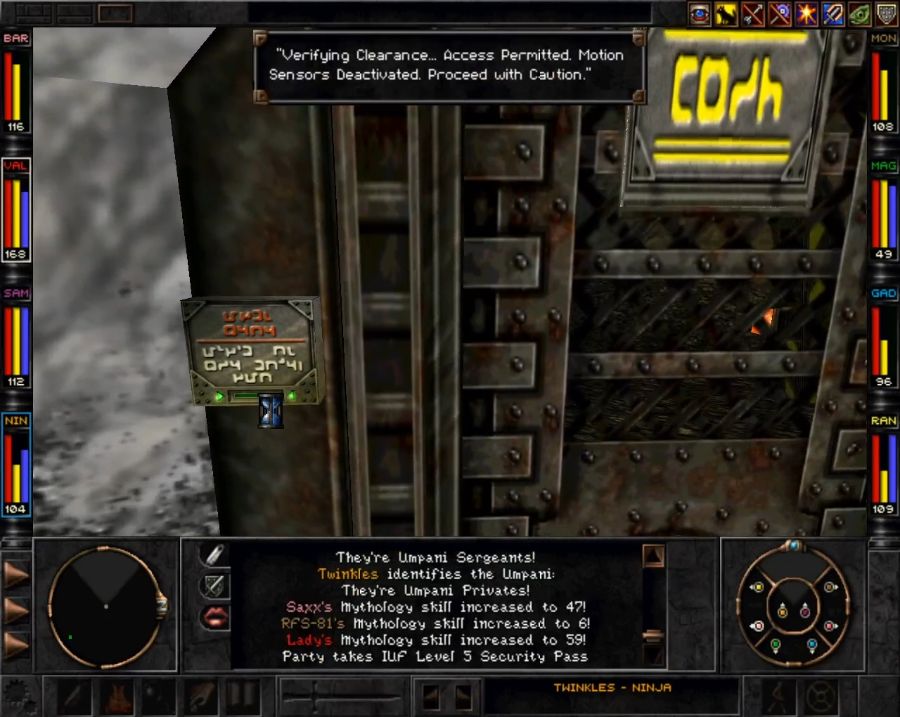
So after a quick trip back to Marten's Bluff via portal, and then a jaunt up through the caves again, I arrive at the elevator I was meant to go to, the one that leads to Upper Mt. Gigas.
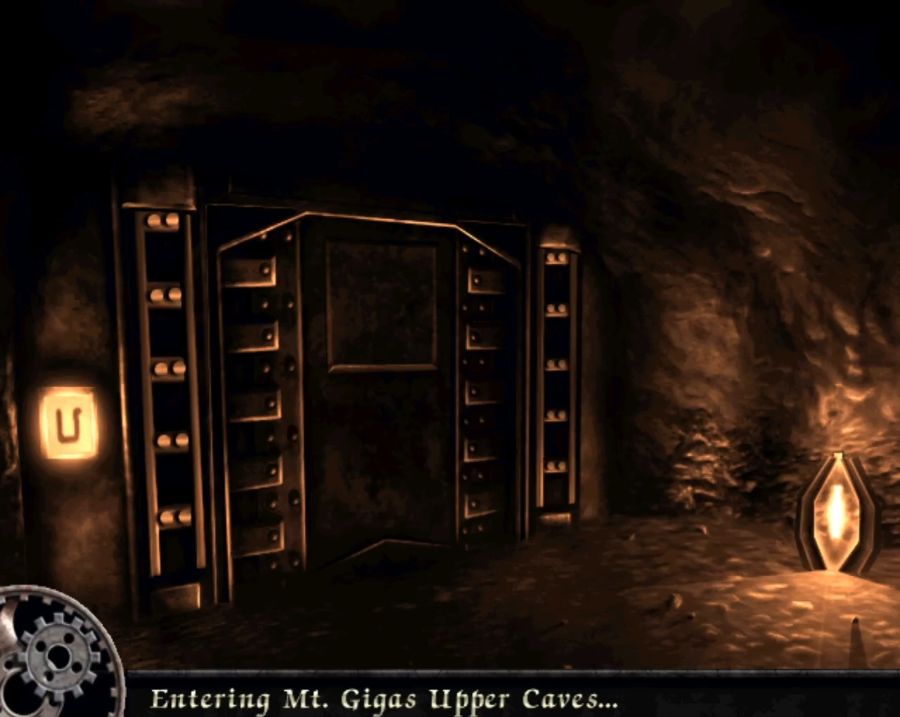
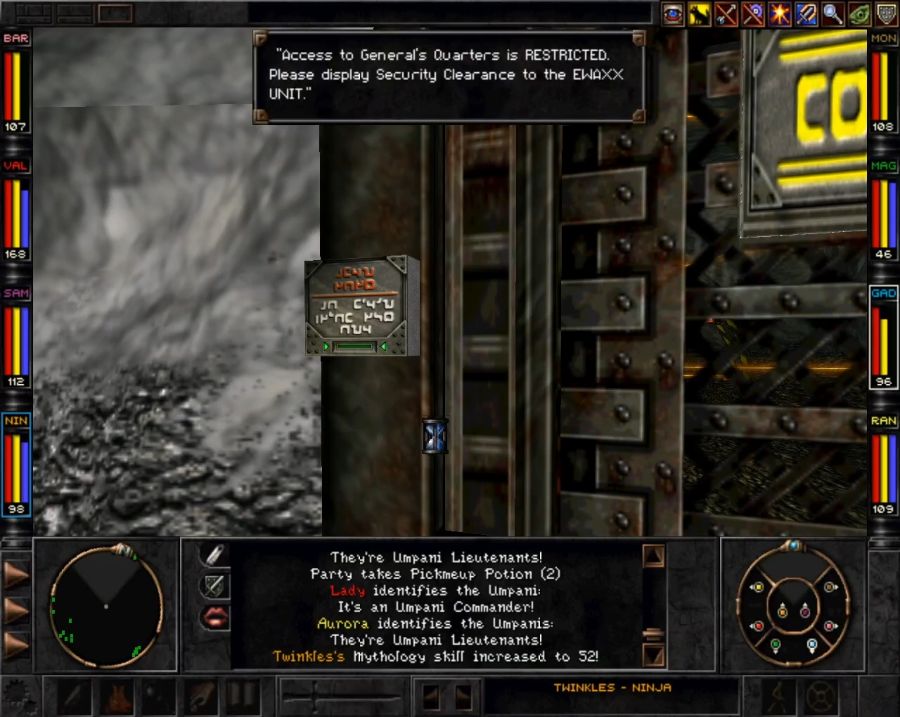
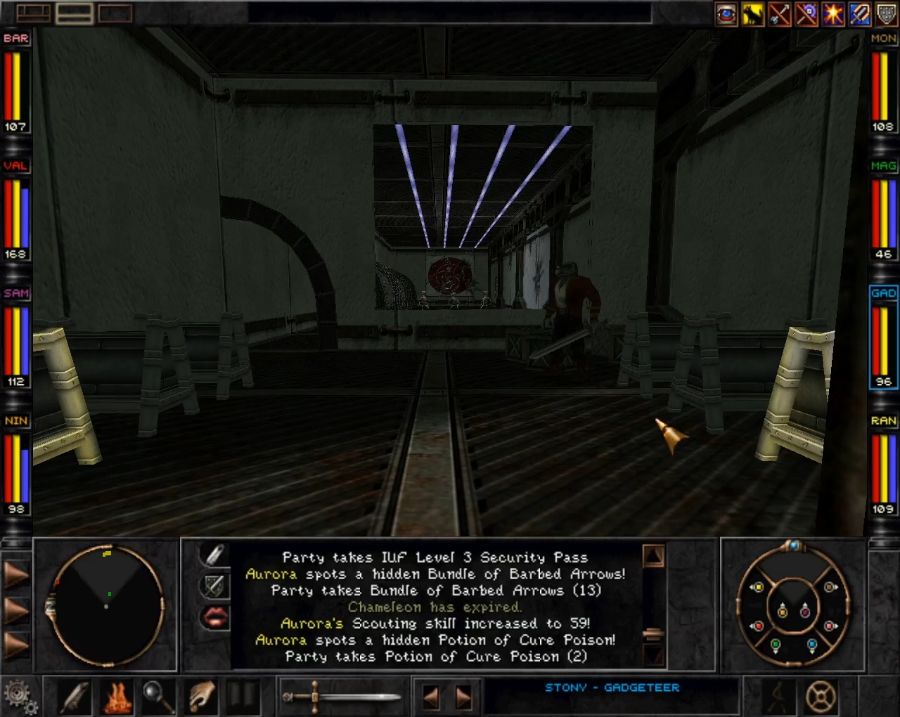
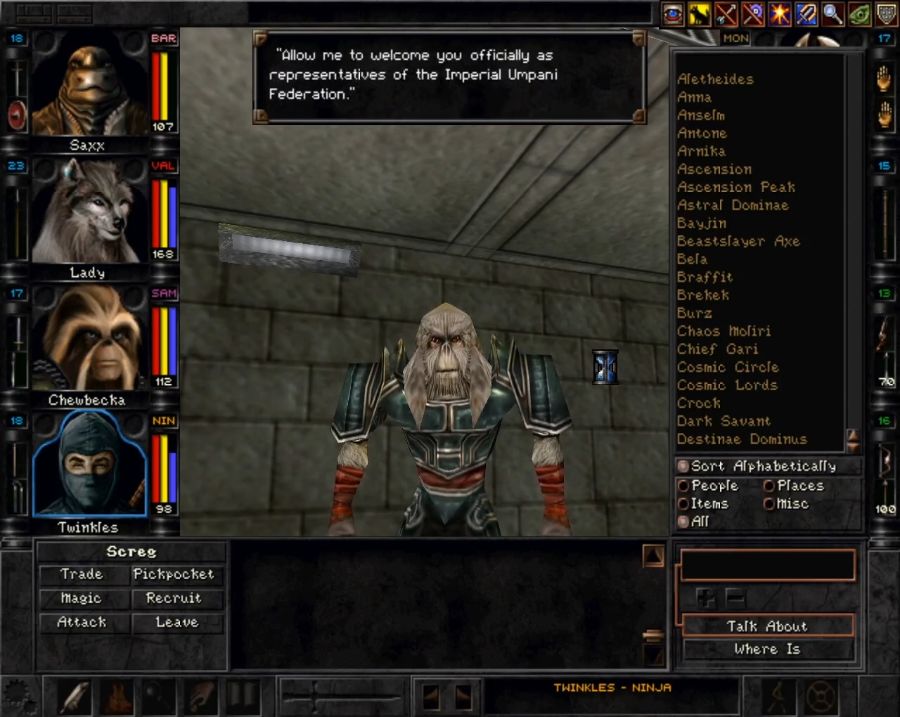
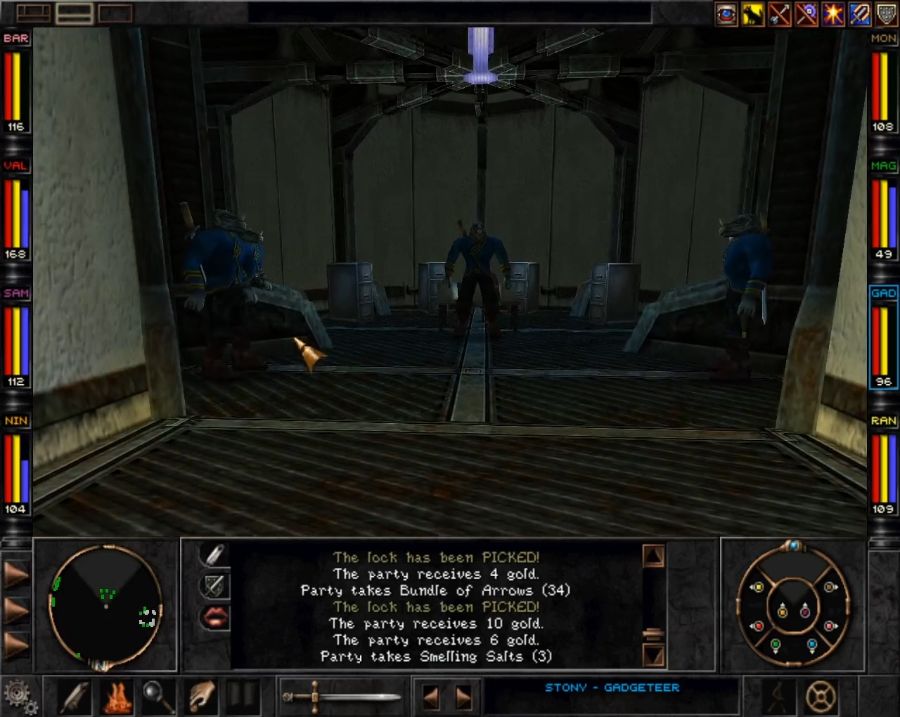
This is where the Umpani have all sorts of fun things like their officer staff, General Yamir(though we can't see him just yet), their own version of the T'rang teleporter, their training section and the way to annihilate their faction(though we can't access it quite yet. Interestingly enough, we don't have to aggro anyone to get to it, unlike the way to finish off the T'rang, which is another point in favour of the T'rang being considerably smarter than the Umpani).
In appearance, though, this level is almost exactly the same as ground floor of Mt. Gigas.

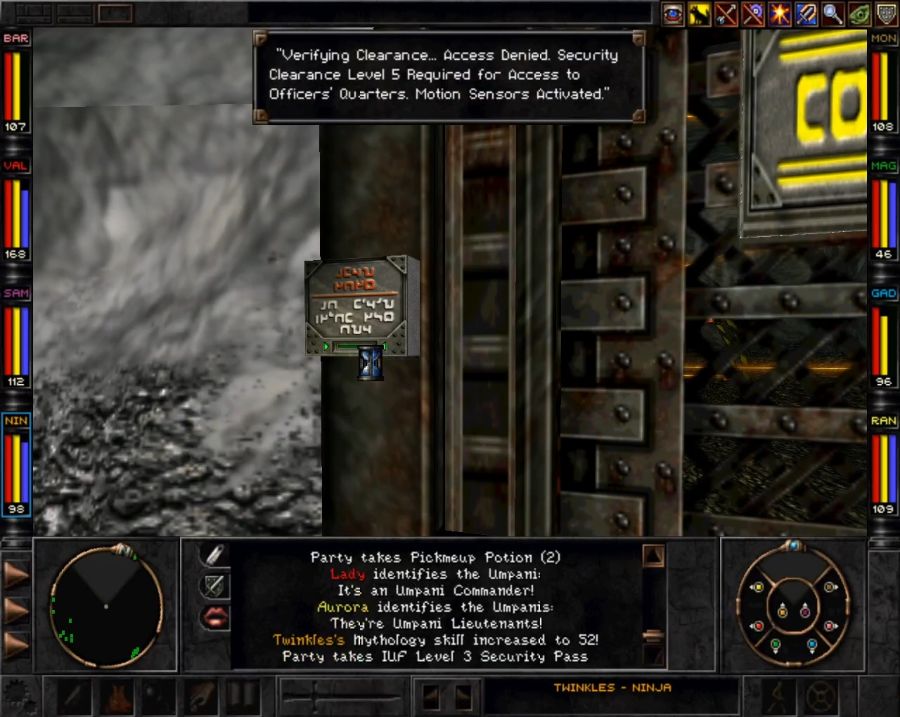
And yes, that IS a room full of lasers you can see through the grating in the door.
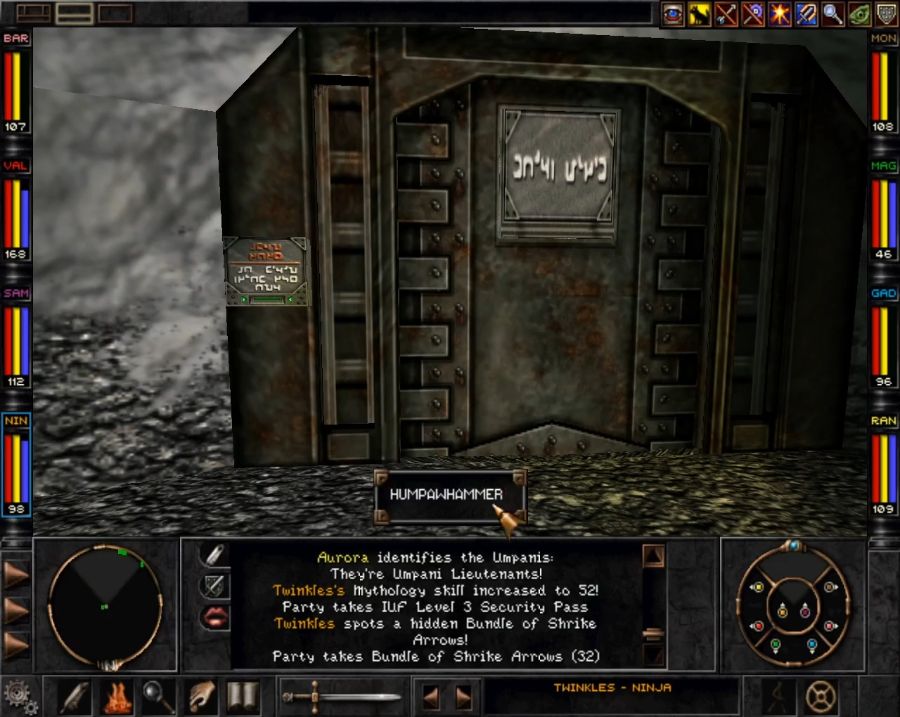
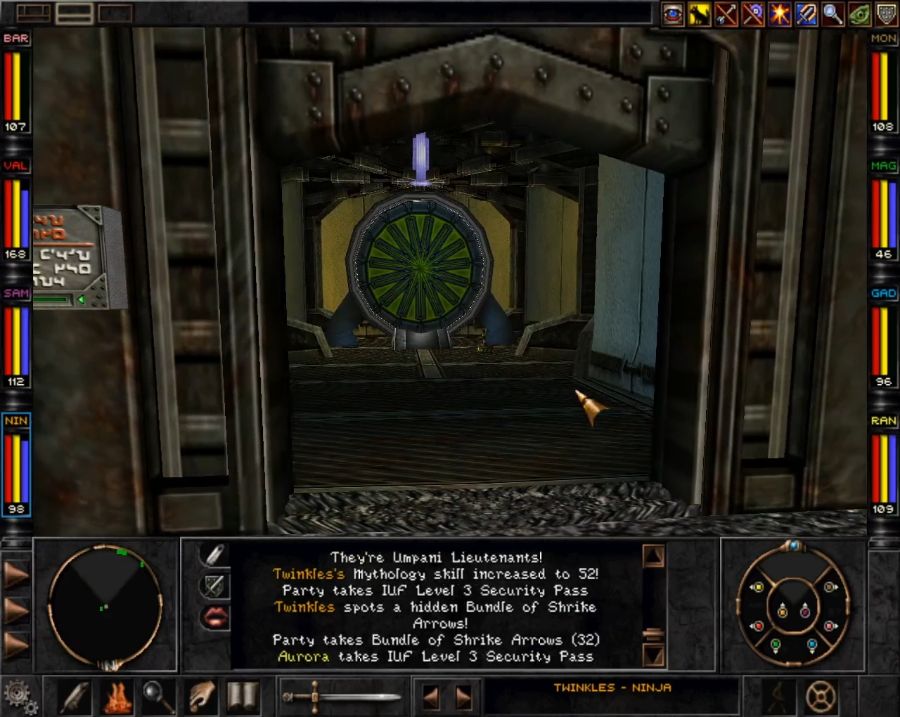
I'm not sure if the Humpawhammer name for the Umpani teleporter is a reference to something, but once you've activated it, it does look a bit Stargate-ish.
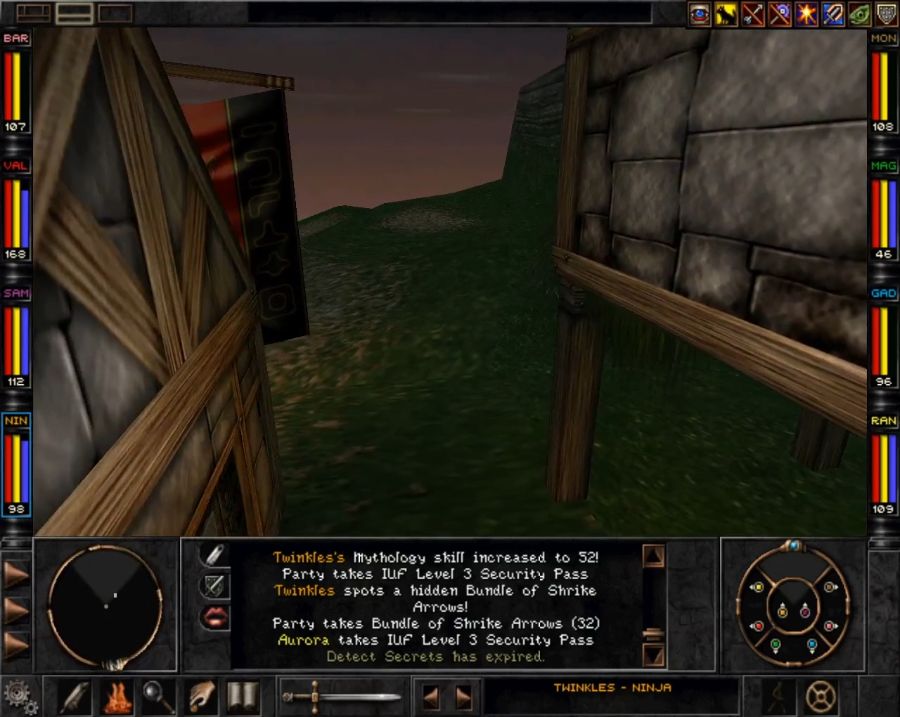
Where it takes us is the first Mystery House we found immediately outside the Monastery. It's... a terrible location for a teleporter. It's not near any merchants, it's not any sort of "hub" area, it only has one destination unlike the four offered by the T'rang teleporter, and while the T'rang teleporter takes you literally across the world, thus offering a considerable time save, the Umpani teleporter absolutely does not. I open the door out of principle, just in case I should need this thing again, and march right back inside.
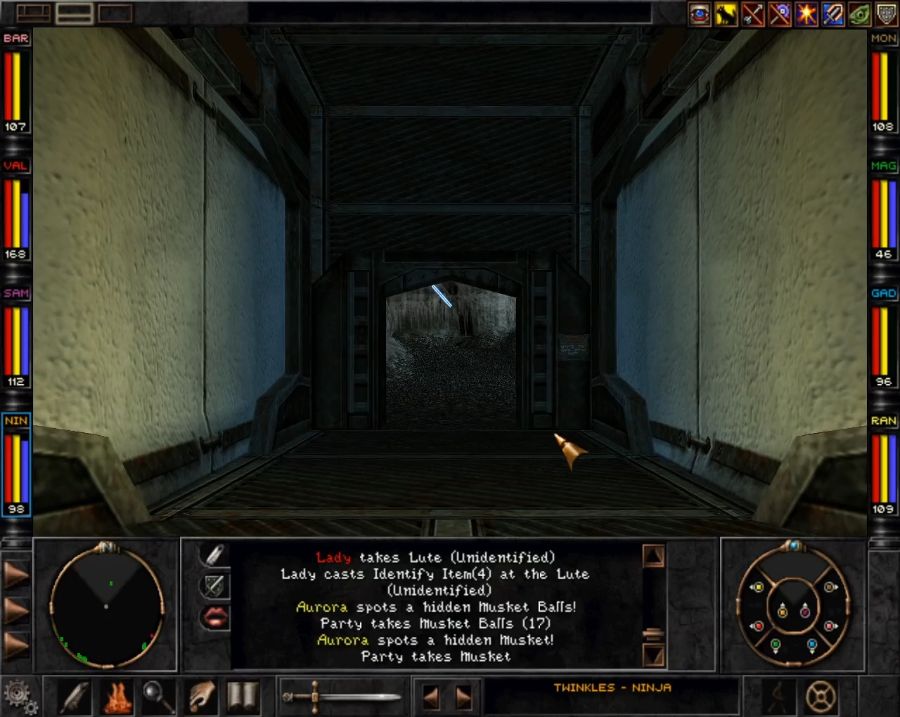
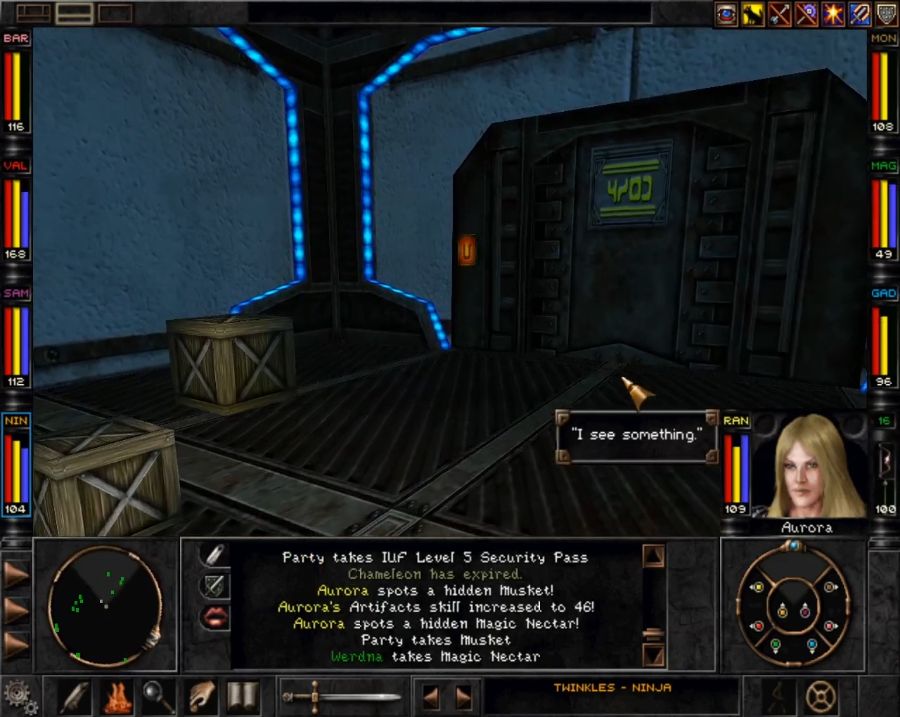
Now, there are a few things to pick up in the Upper Mt. Gigas tunnels, there are some officers' chests to raid and some lockers to raid(though they all drop trash for me, so I just leave it on the floor considering that I currently have a pleasant overflow of gold).
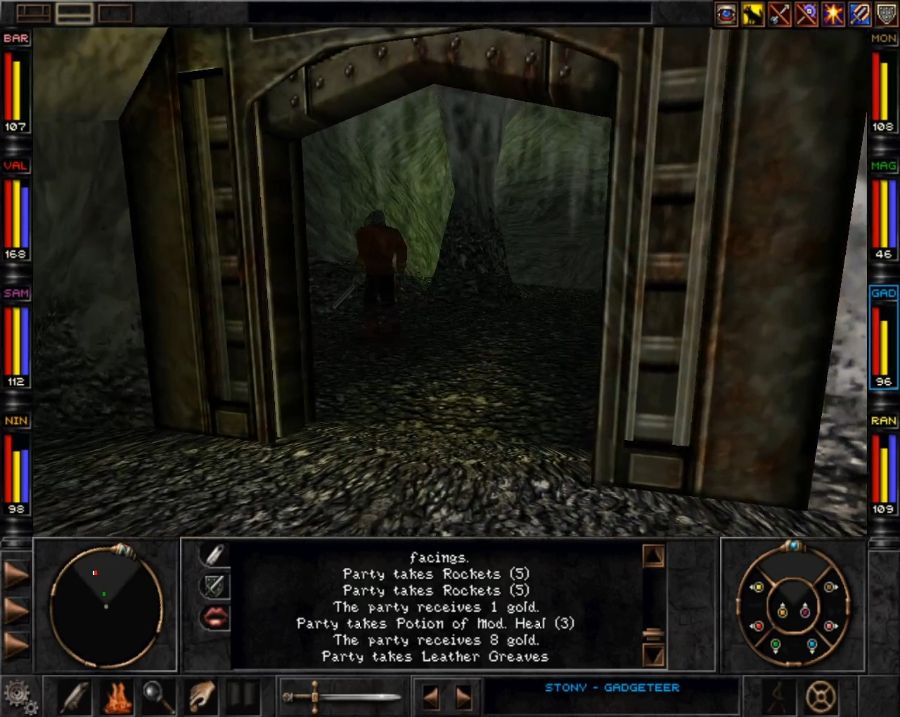
There are also a couple of bricked-up cave entrances you can bust down. Again, usually nothing too exciting in them. But... what's this...
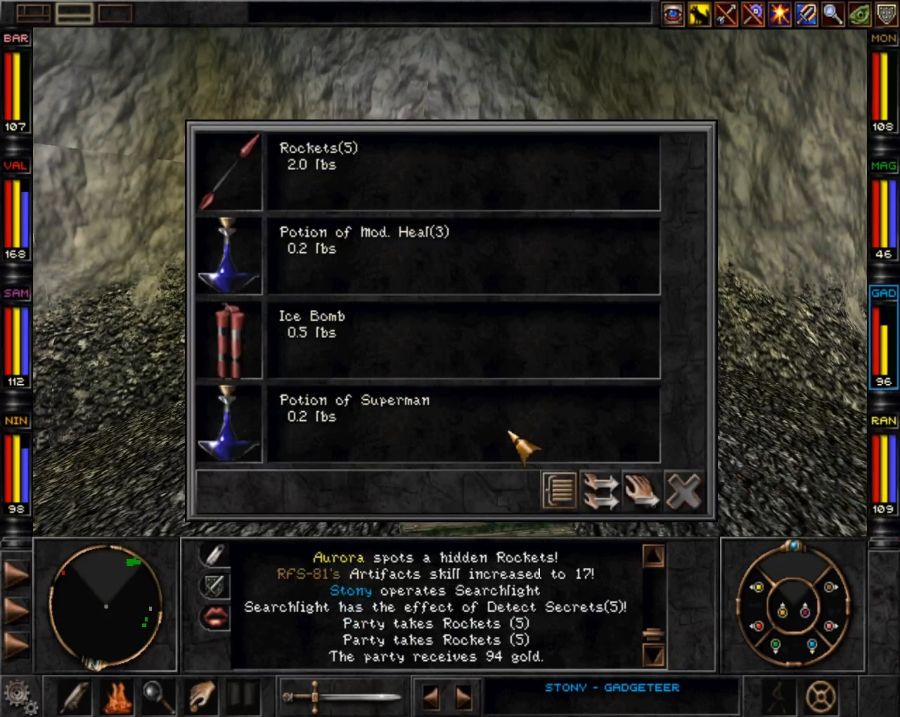
Rockets?! Oh boy, I'm sure that when we get our hands on a rocket launcher, it won't be incredibly disappointing in any way, shape or form!
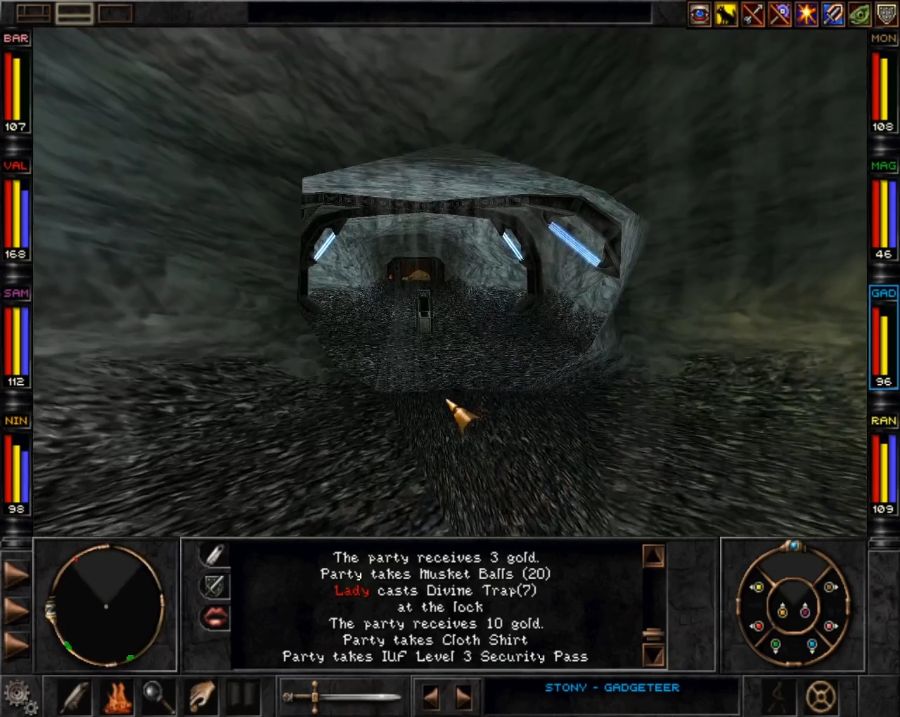
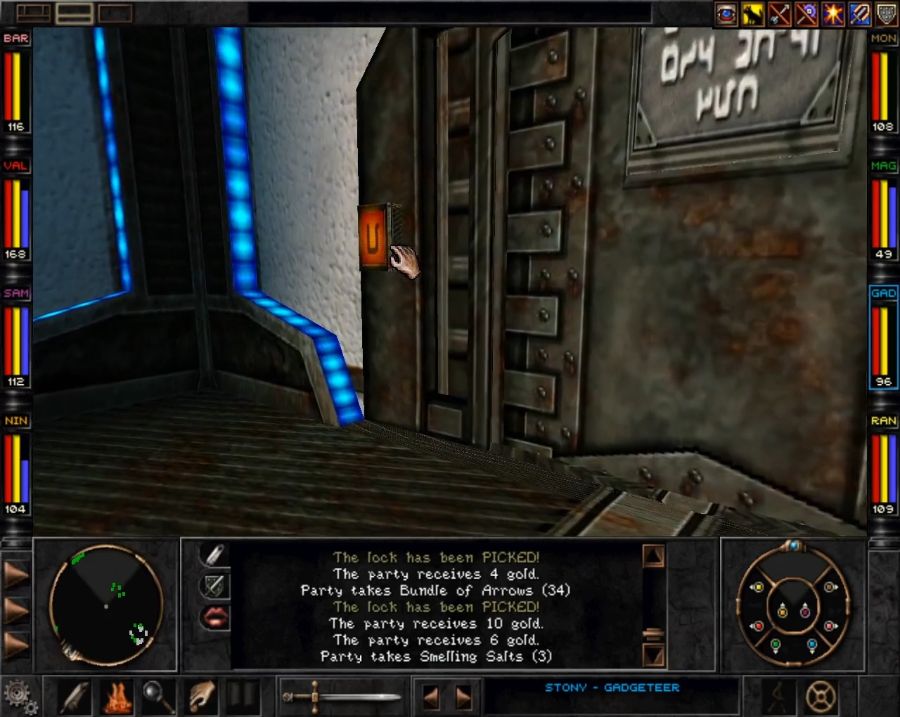
I eventually make my way to the training section. Just gotta plop my keycard on to this reader to open the door and...
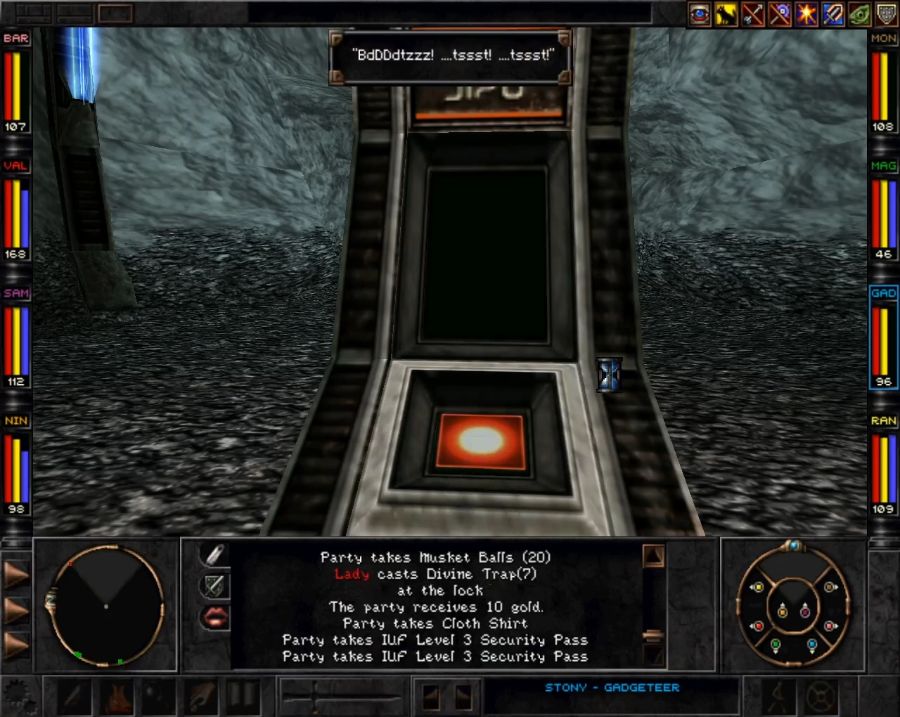
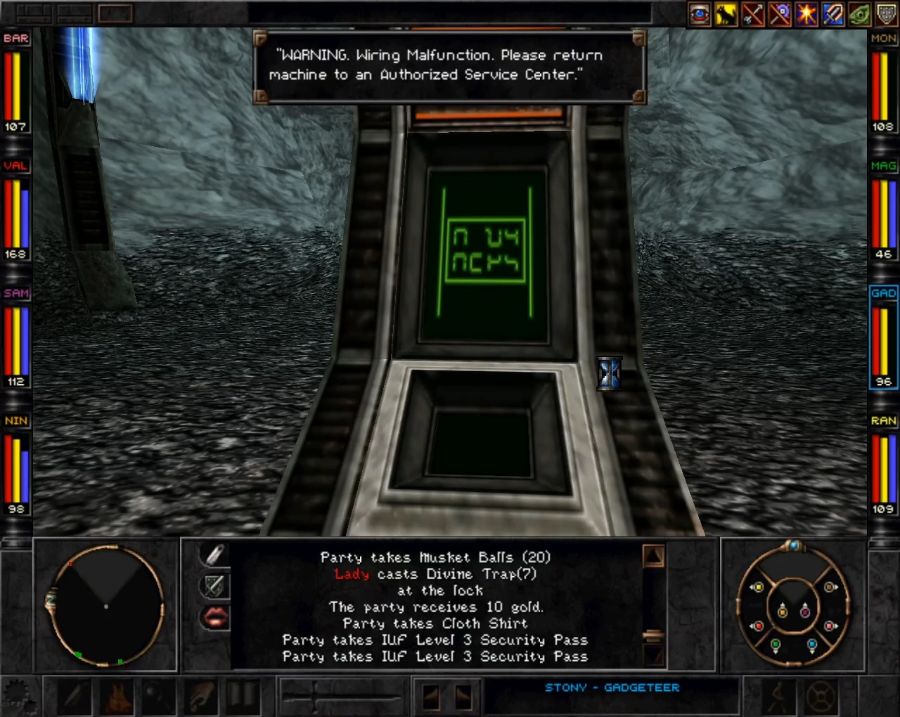
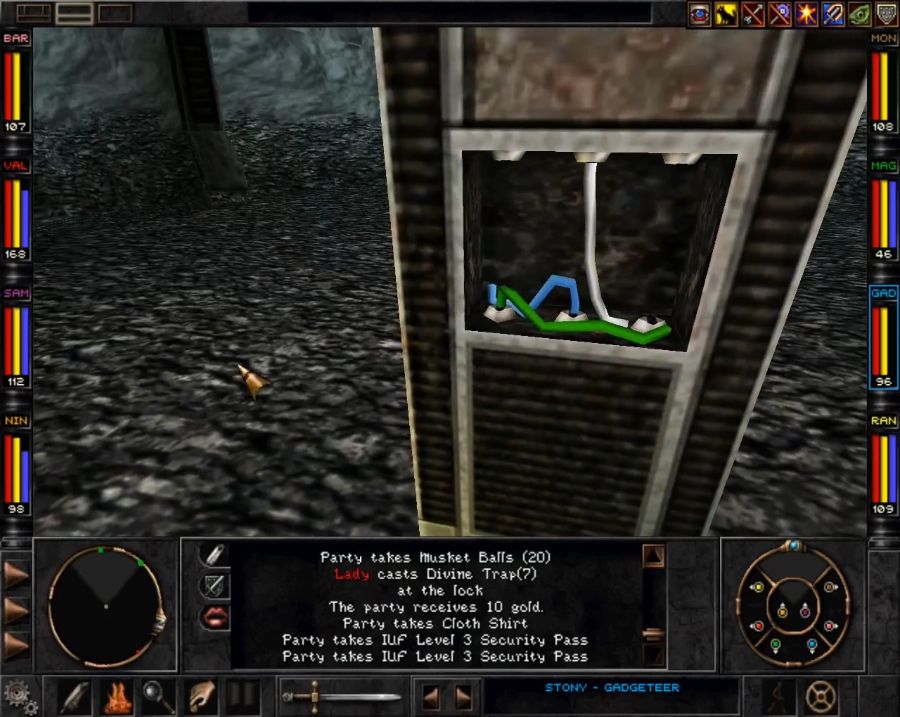
I don't get this part. First time you use it, a back panel falls off exposing these wires, and you just gotta click them to get them back in place and you can use it no problem. Like... I could see it if there was a wiring puzzle to solve, a wiring item to collect, or if it was just, say, to get you to turn your back so you'd spot something behind you or something ahead of you could sneak into position for a surprise.
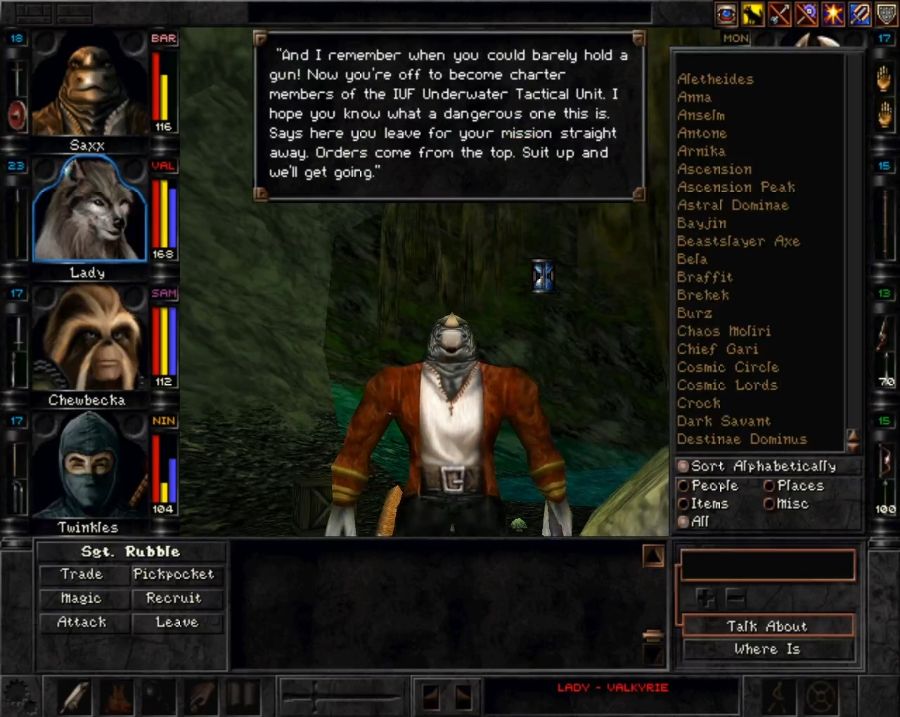
But nope, we just get to walk right up to Sgt. Rubble.
https://www.youtube.com/watch?v=alZRNOYLgPc
So. The rocket launcher. The goddamn rocket launcher. Yeah, sure, let's throw it on Stony and have him take a pop at those firing targets.
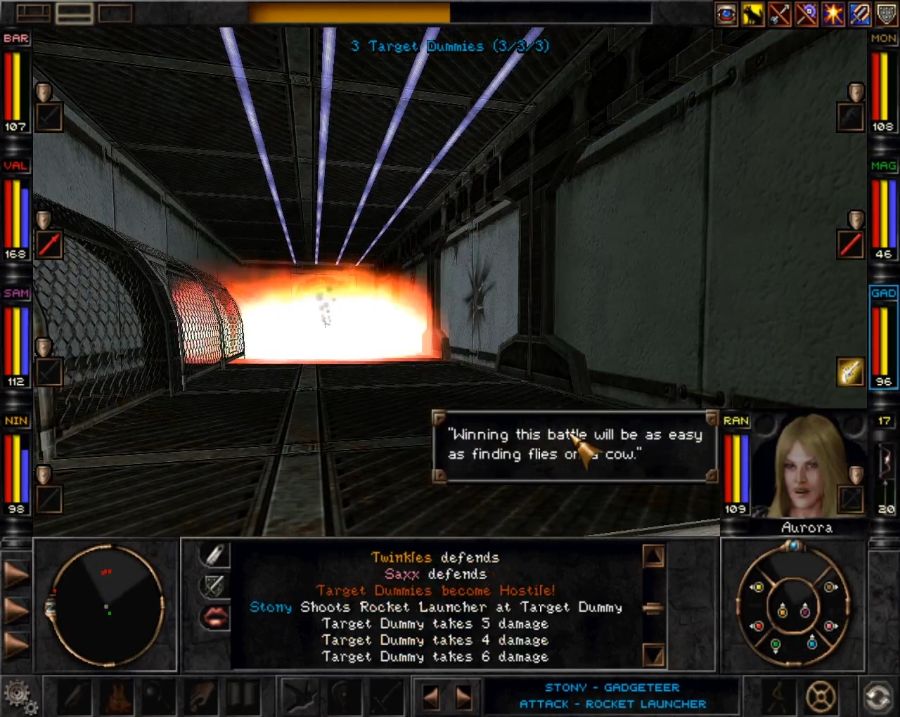
Look at that shitty damage. Now, thanks to their level scaling, it would take like twenty rockets to kill these dummies, not to mention I can't cast spells over the wall, all I can do is fire bows and arrows. I decide not to bother, since it's not a requirement for advancing, and just keep the rocket launcher to sell to Antone or Croc later.
Now let's find out where Rubble snuck off to while we were taking pops at the scenery.
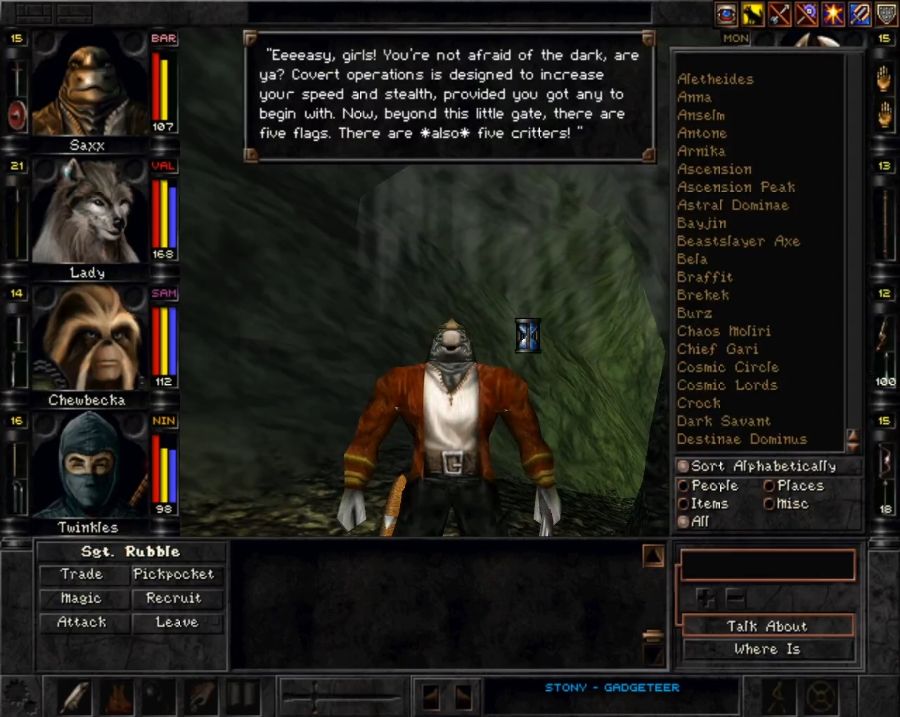

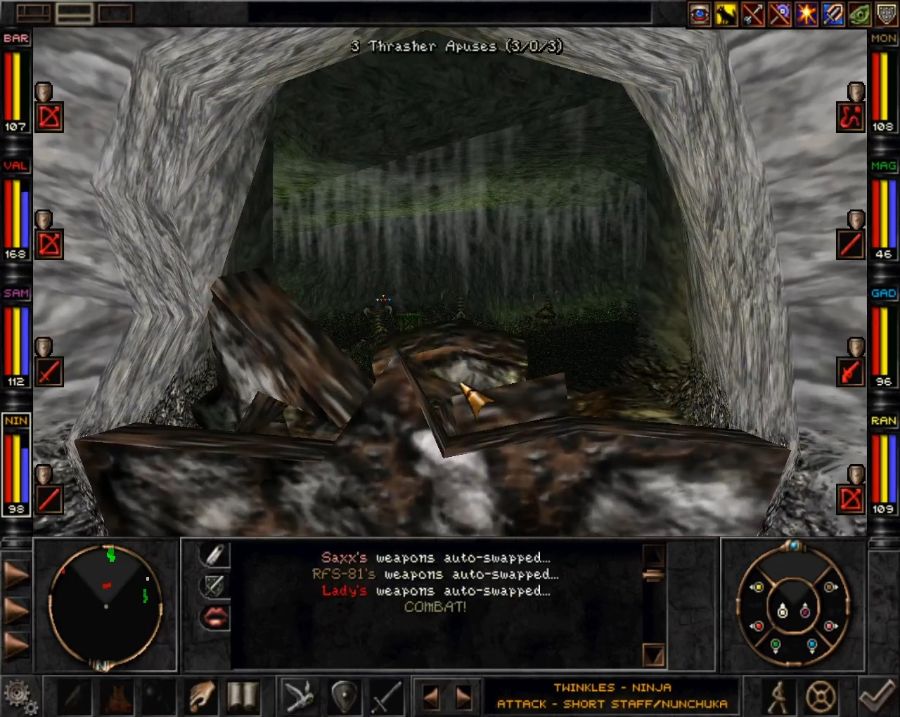
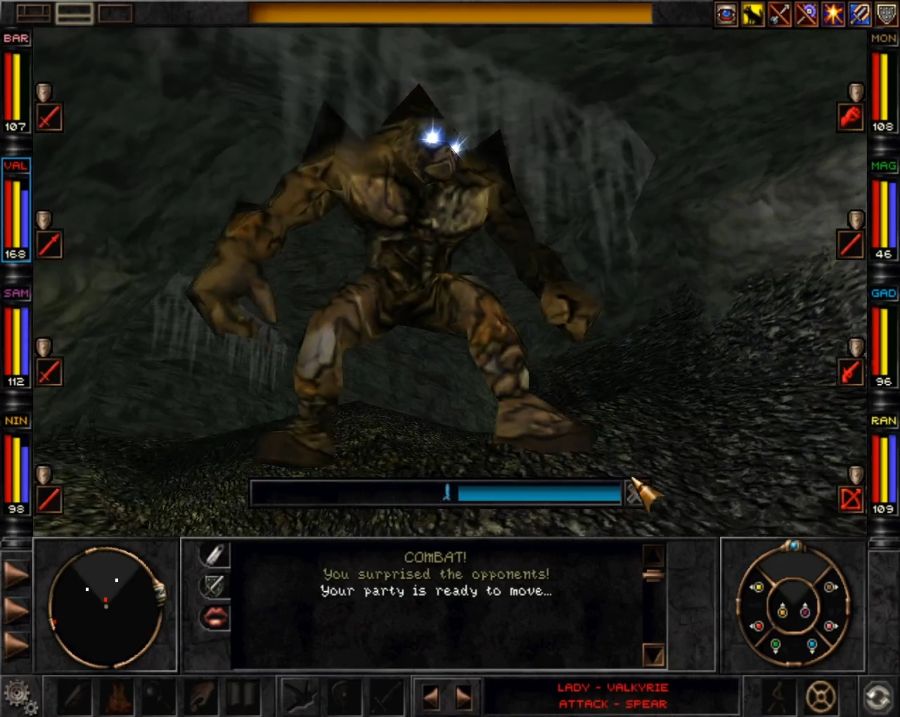
Now, he isn't kidding, all we have to do is kill five monsters that are in no way threatening because, as mentioned before, single large enemies with single-target attacks are rarely threatening unless they massively out-level you and it's early game, and also because they're fixed spawns and now we outlevel them.
Let's have a look at the line-up guarding these precious flags.
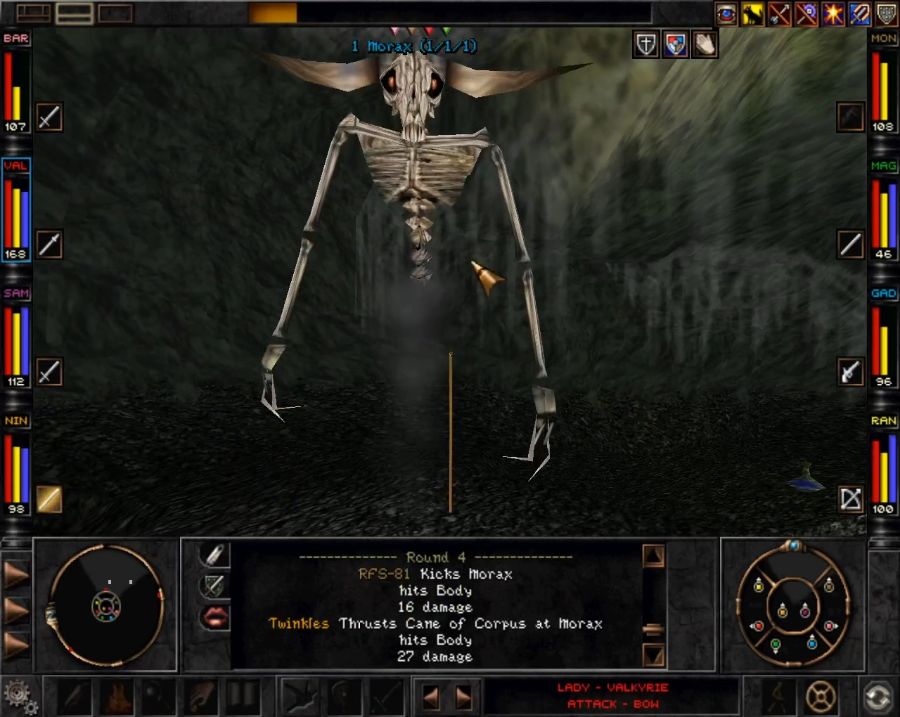

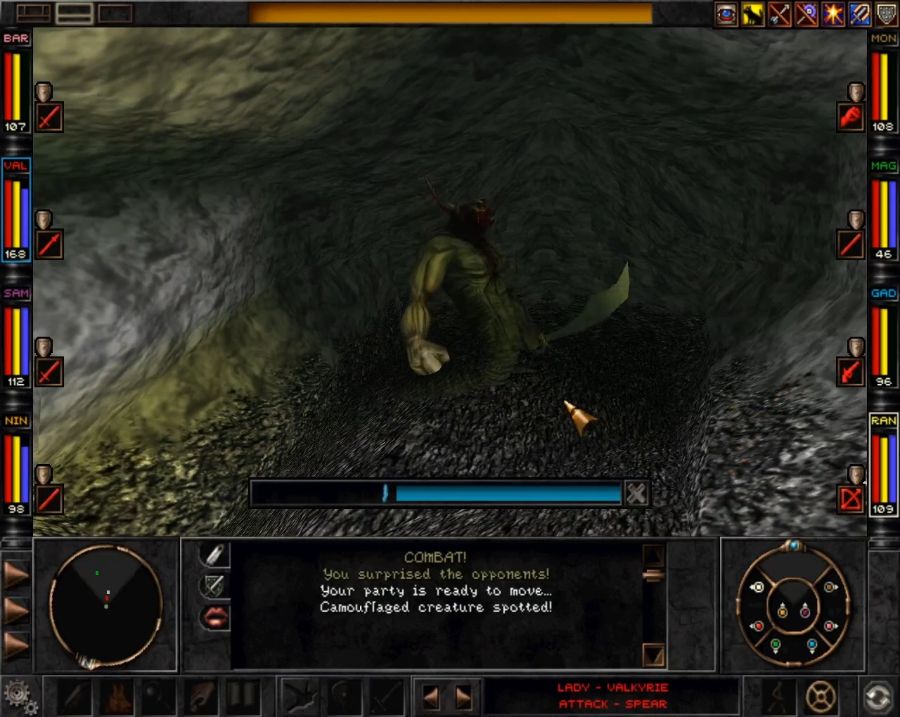
Now, the Morax actually has spells and could be mildly threatening if he cast, say, Sleep or Web or actually attempted to lock down a large amount of the party.
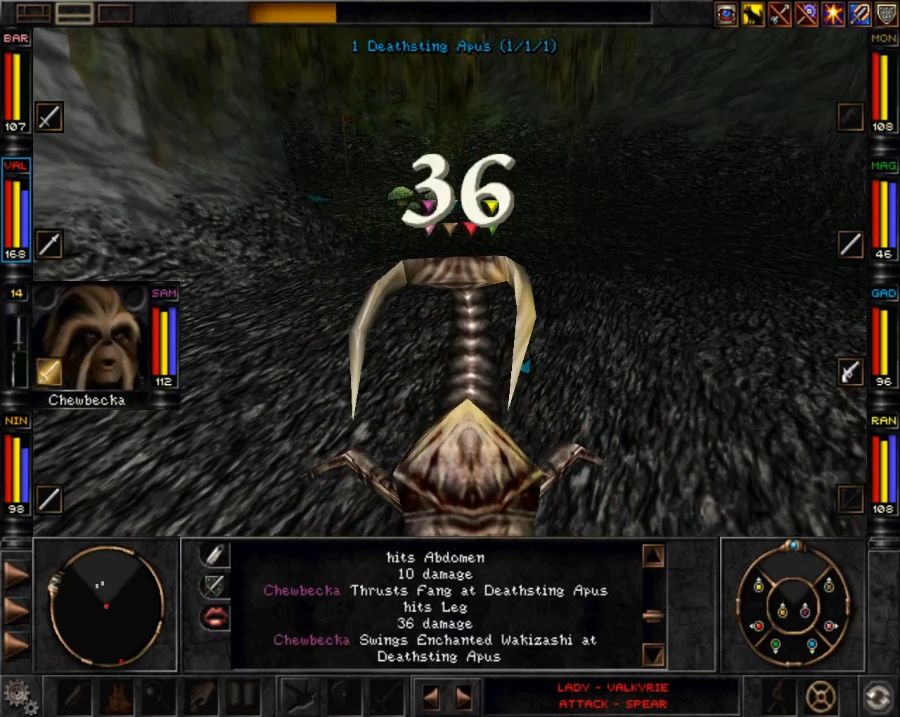
The Deathsting Apus might manage to instakill ONE character before getting mulched.
Swallower and the Flint Golem are total non-entities.
Now the Djinn...
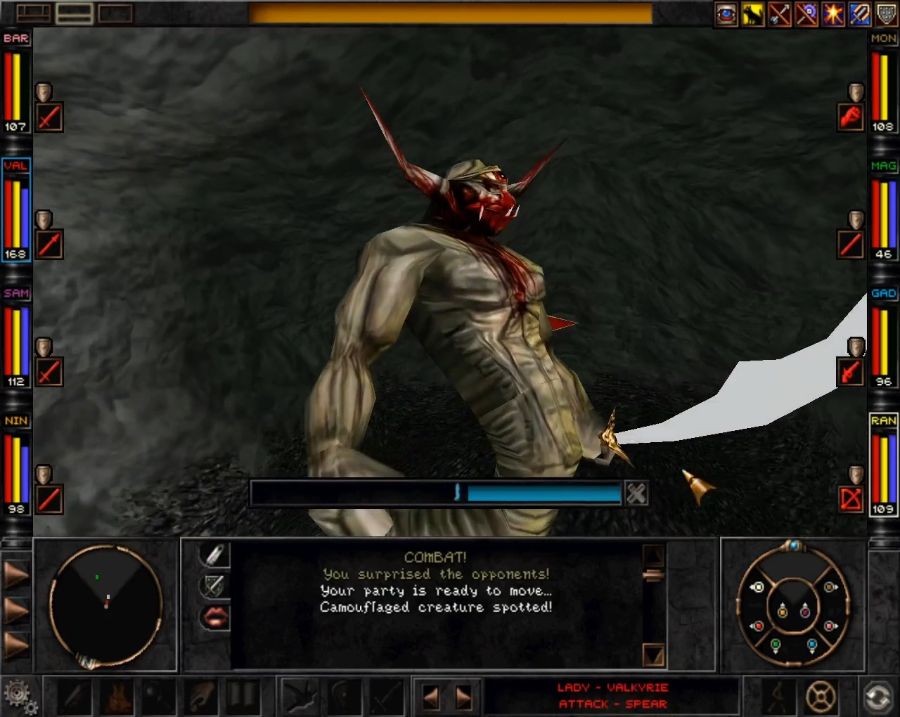
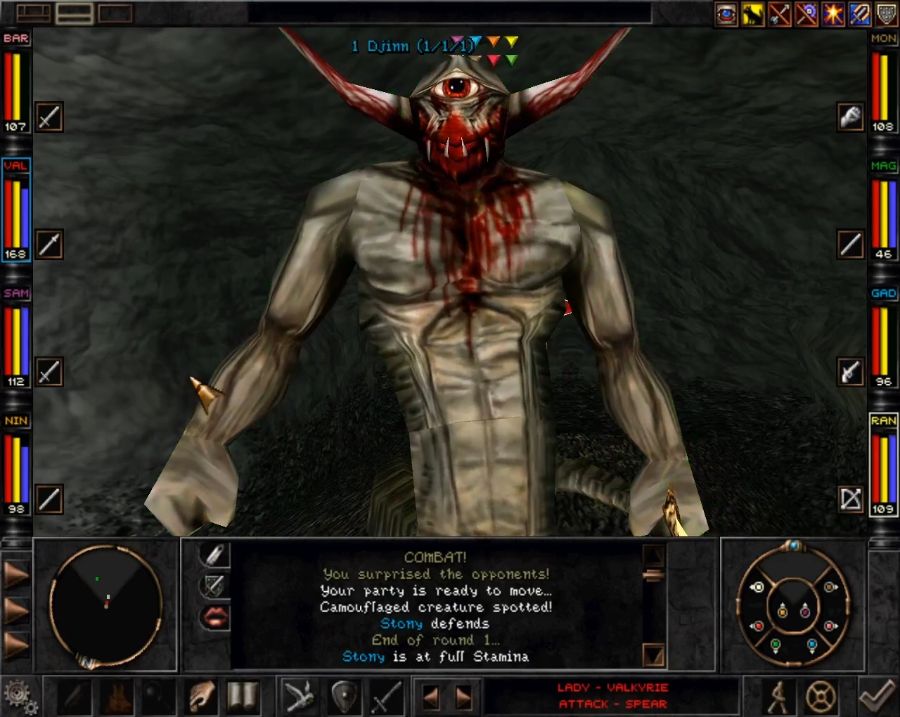
Could very theoretically be mildly dangerous if it used its spells and special attacks rather than just hacking away with its sword because I closed to melee range instantly.
I pat myself on the back and congratulate myself for owning this so hard and then proceed to accidentally softlock the quest.
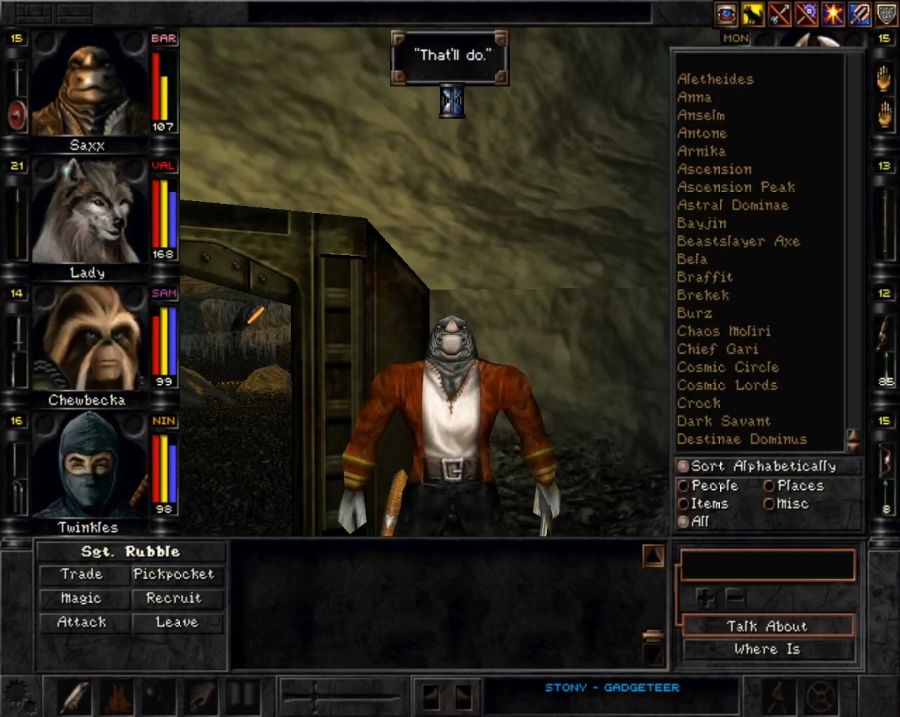

Now it turns out, if you give Rubble one of the flags, like I did, since usually that's how NPC's want their quest items handled, he just eats it and then chews you out for not having enough flags! It happens even if you give him all five! Cue me popping out and editing another fresh five flags into my inventory, and then just talking to this massive dickhead of a rhino.
https://www.youtube.com/watch?v=aoZ7GH47ftQ
What a dick.
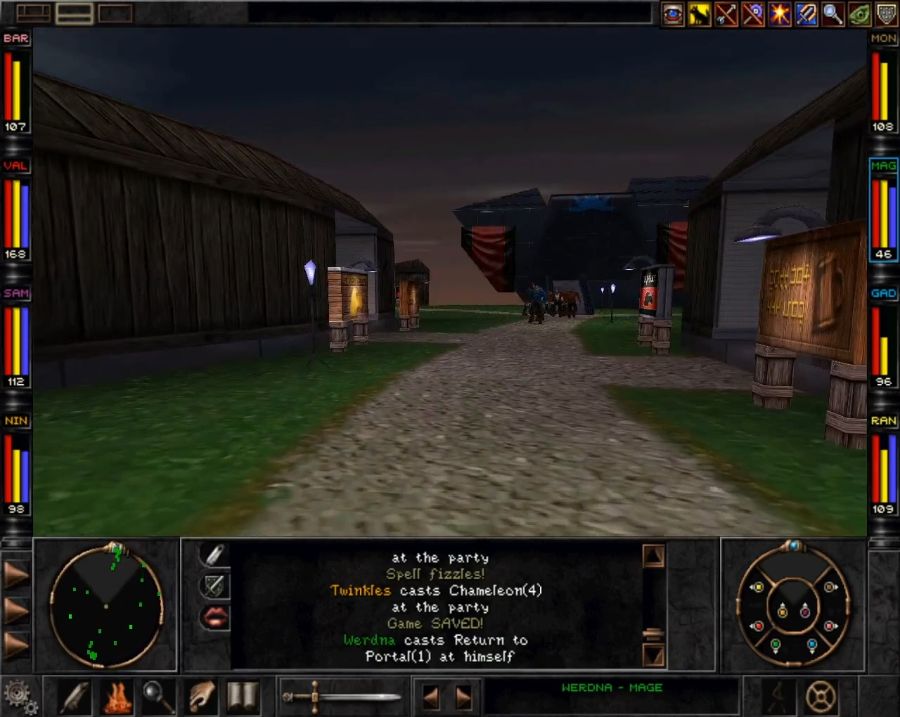
Anyway, back to Balbrak! This is more quickly done by teleporting back to Marten's Bluff, warping to outside of the camp via the teleporter, and then walking back inside. Thank God for modern area load times.
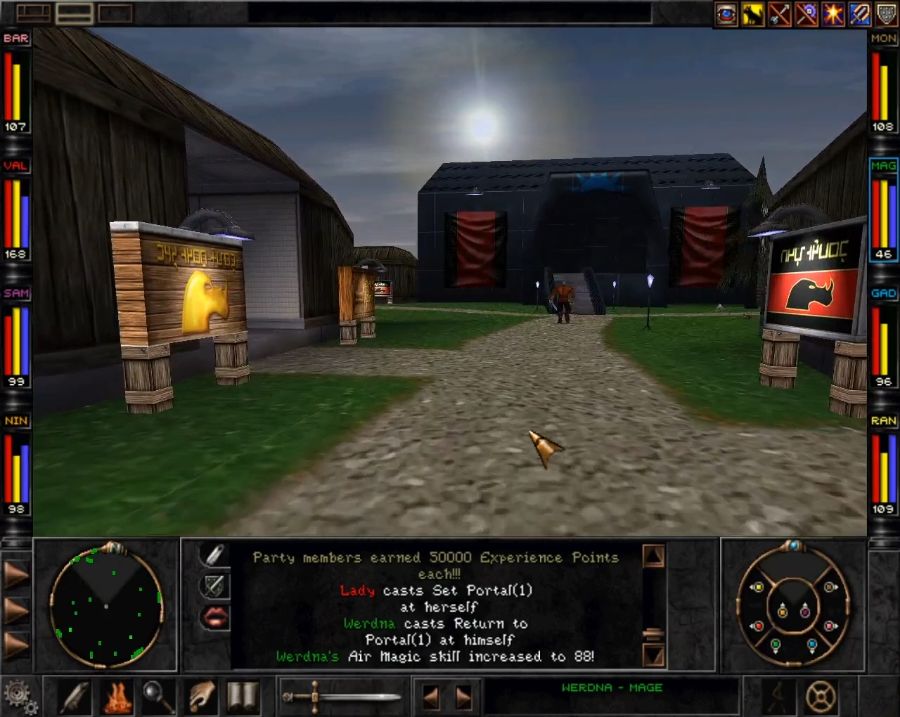
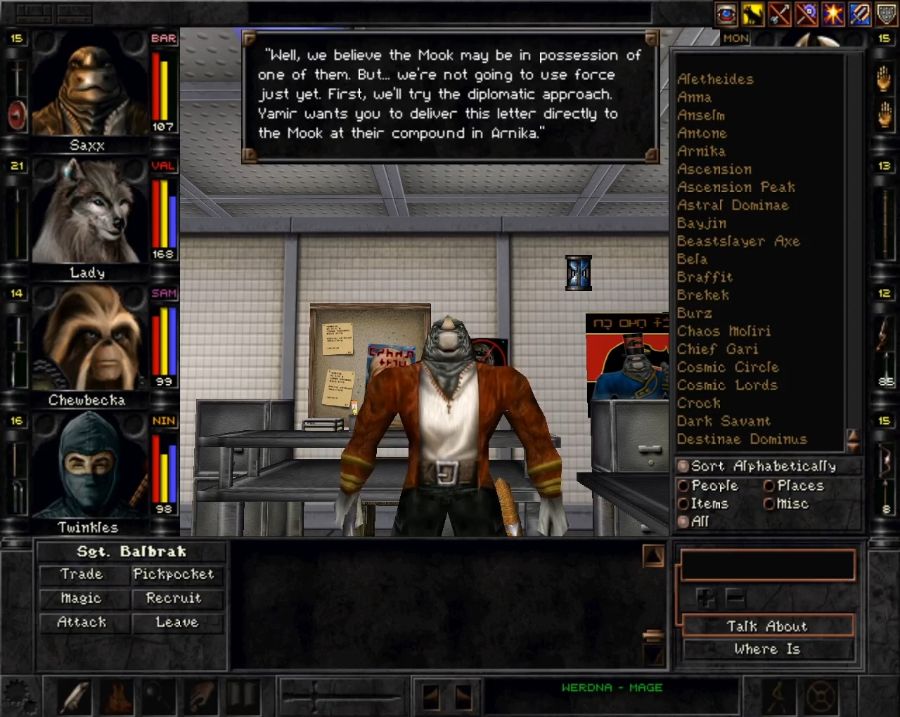
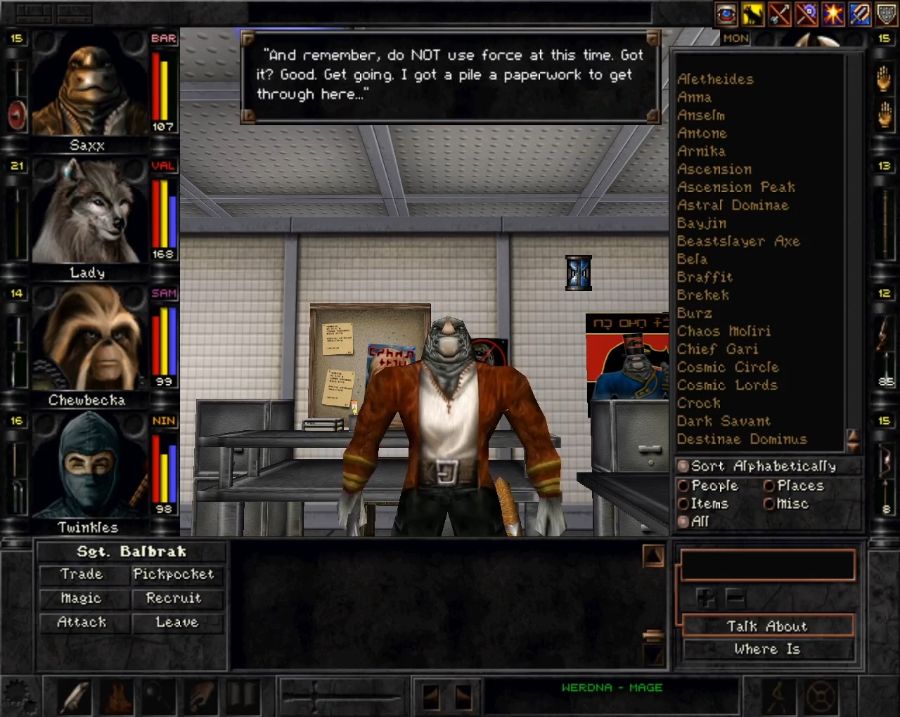
Unsurprisingly both Factions have a "Mook Alliance quest" since otherwise you'd be locked out of getting the Chaos Moliri if you teamed up with the wrong faction.
This "very clever man," in Aurora's words, doesn't notice that he's already greeted us as diplomatic envoys from another faction and also that we swapped out his artifact of epic cosmic power for a green marble made by rats. So, I just hand him the piece of paper and bail.
Before I head back to Balbrak though, I do a bit of shopping(that Djinn dropped an eye that was the last part we needed for Antone's Featherweight Armor for Chewbecka, for instance), and Braffit has some new dialogue:
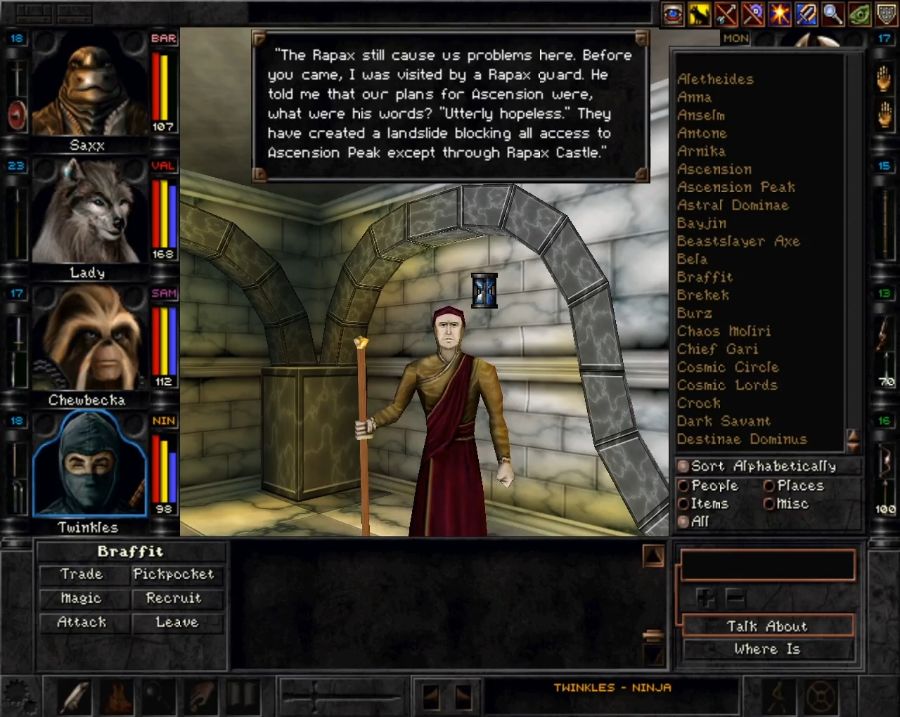
This happens once you have two of the Astral Dominae, Chaos Moliri and Destinae Dominus. Now what you could do, to circumvent an actually quite large part of the game, would be to march up Ascension Peak before you grab the second item, set a Portal, and then head down again. If you did this, then you would literally never need to visit the whole Rapax Rift area of the game. But it would also be boring and limit our ability to do a heist and kill some royalty.
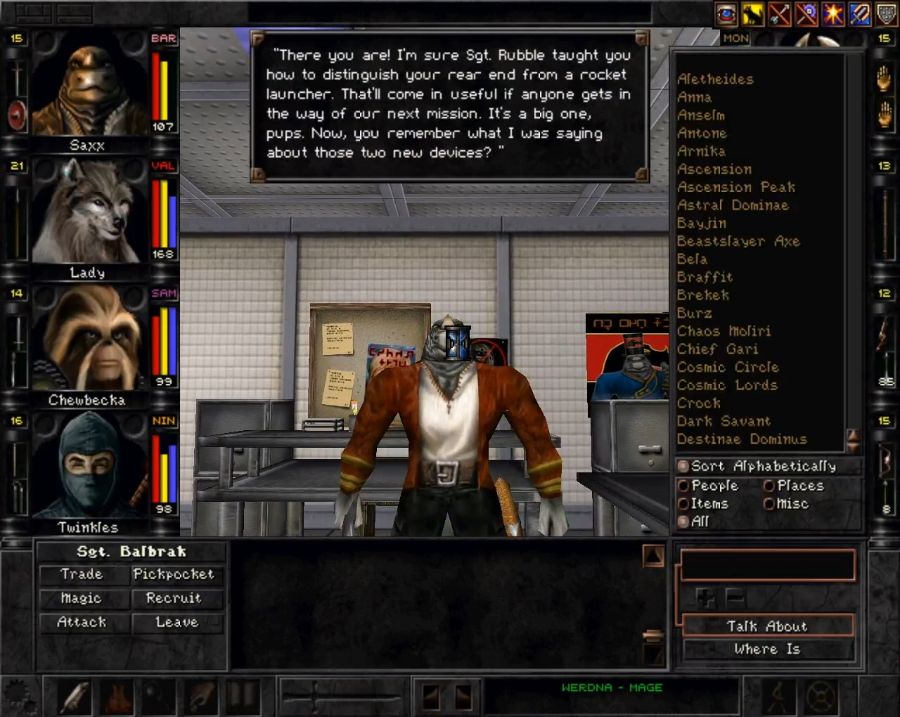
Anyway, back to Balbrak and a well-earned reward for delivering one whole letter.
https://www.youtube.com/watch?v=FG5rrMguz-Y
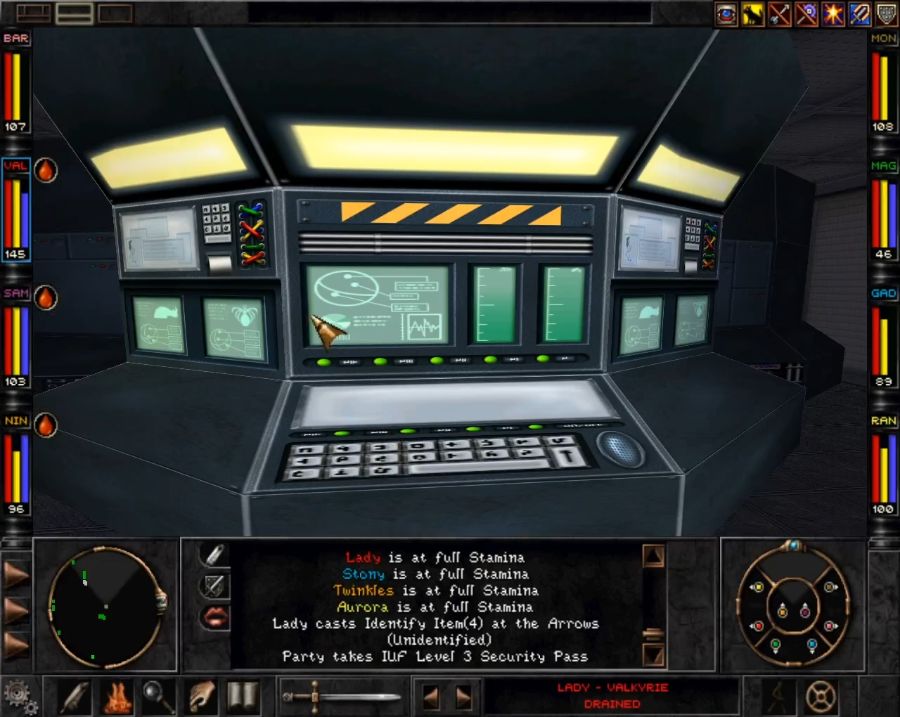
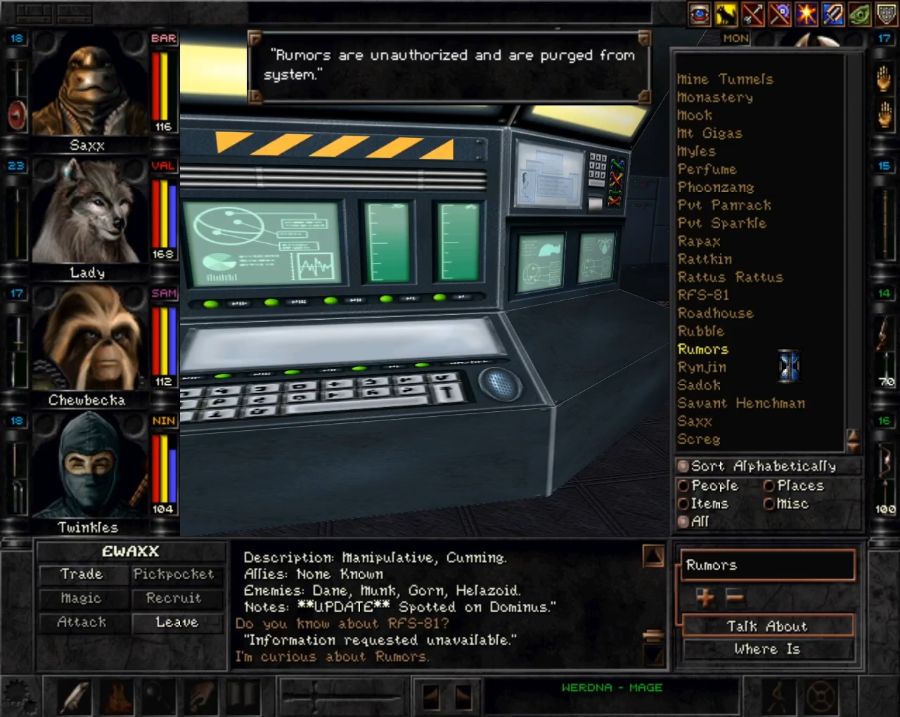
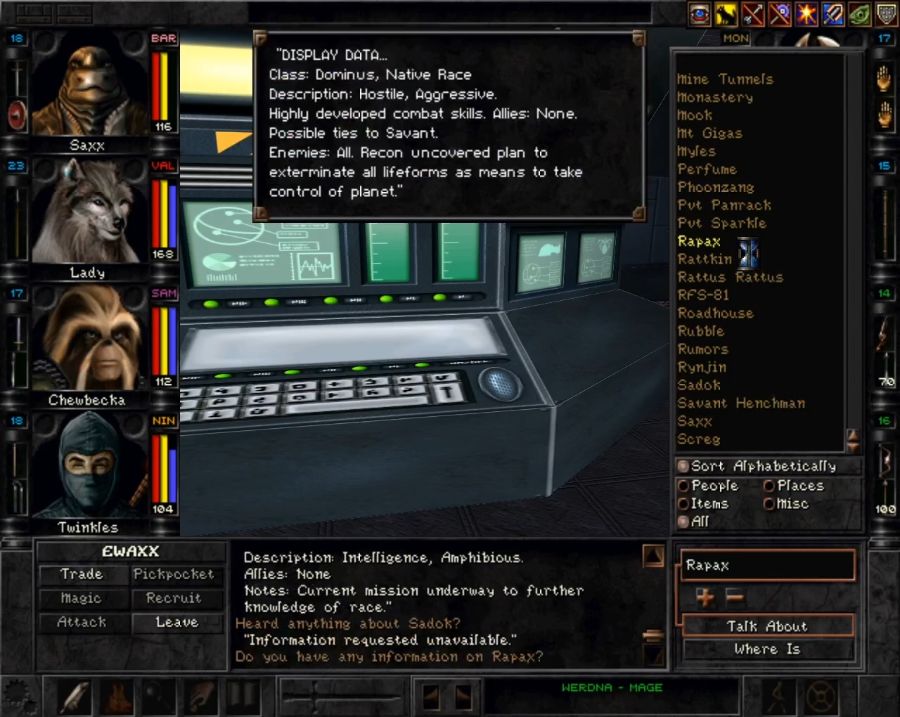
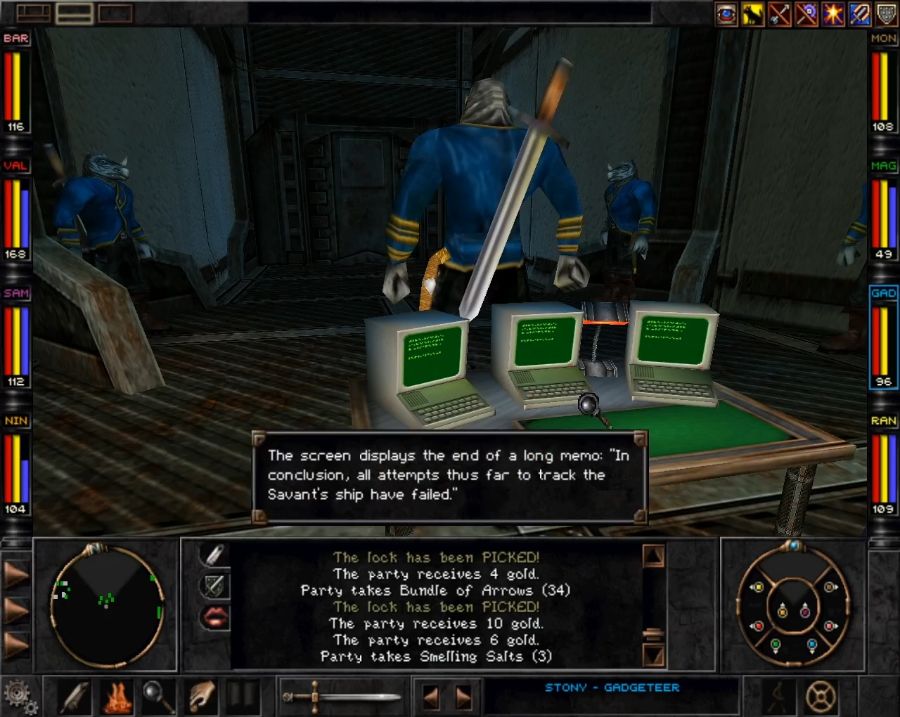
Oh boy, now we get to mess around with the CYBERTRONIC MEGACOMPUTER of the Umpani. Let's go google some things before doing what we're supposed to do.
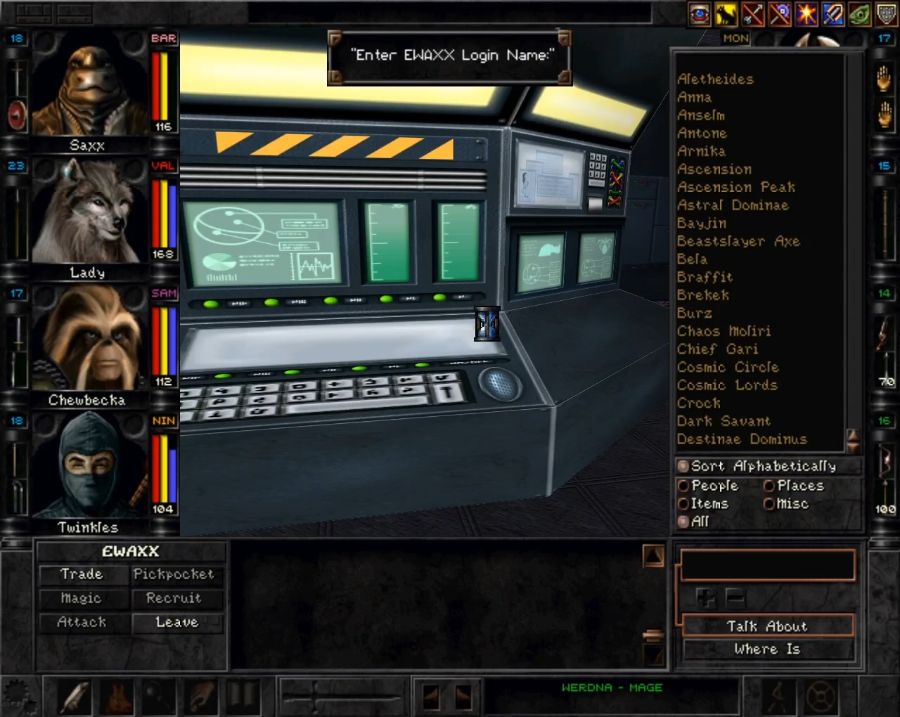
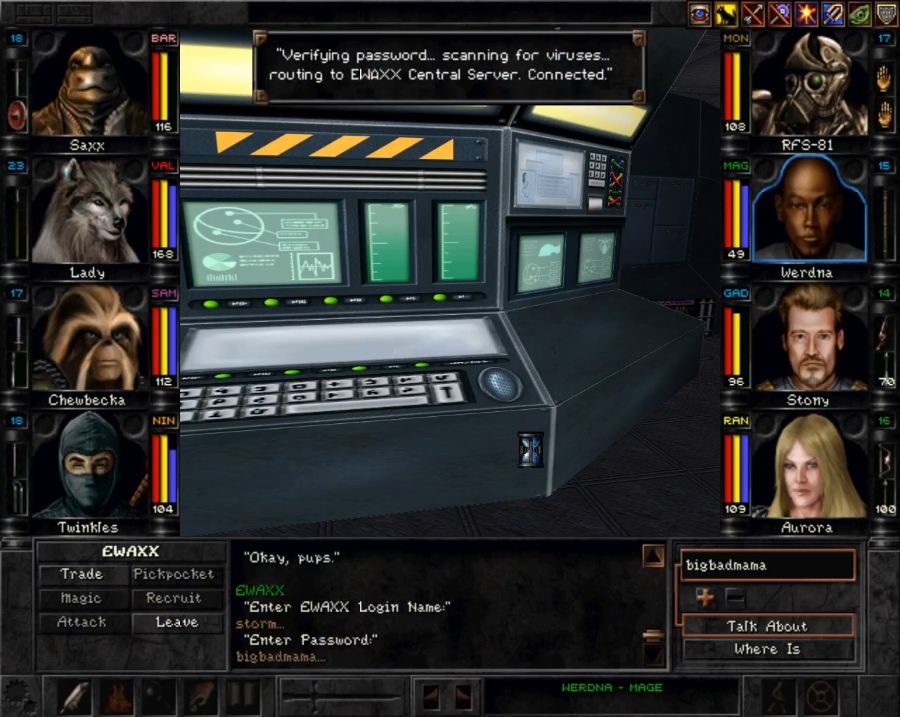
Sadly the EWAXX files aren't voice-acted, not even by some shitty voice synthesizer or anything.
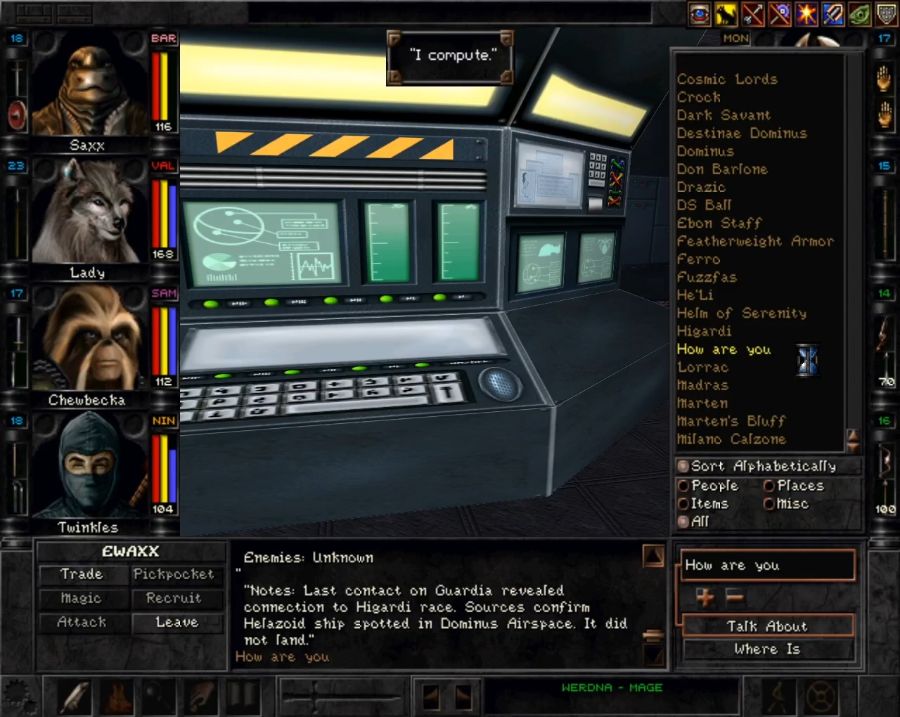
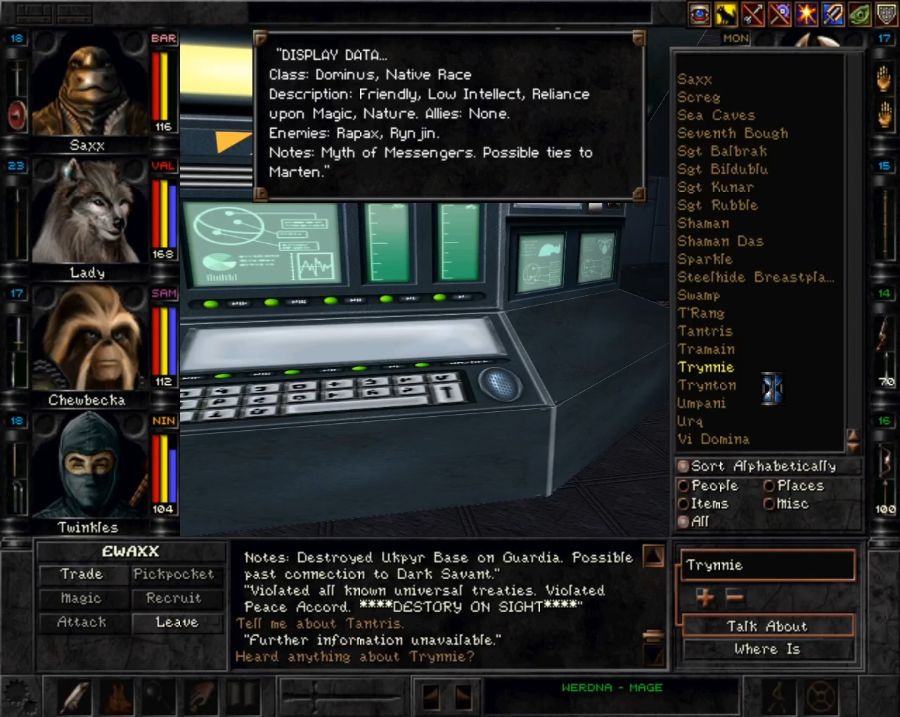

I think literally the only thing in here that we can't just find out by asking some rando on the road is that Z'ant is female. Good on her for managing to break whatever glass ceiling exists for spiderslugs. Time to head up and see what Yamir's got to tell us.

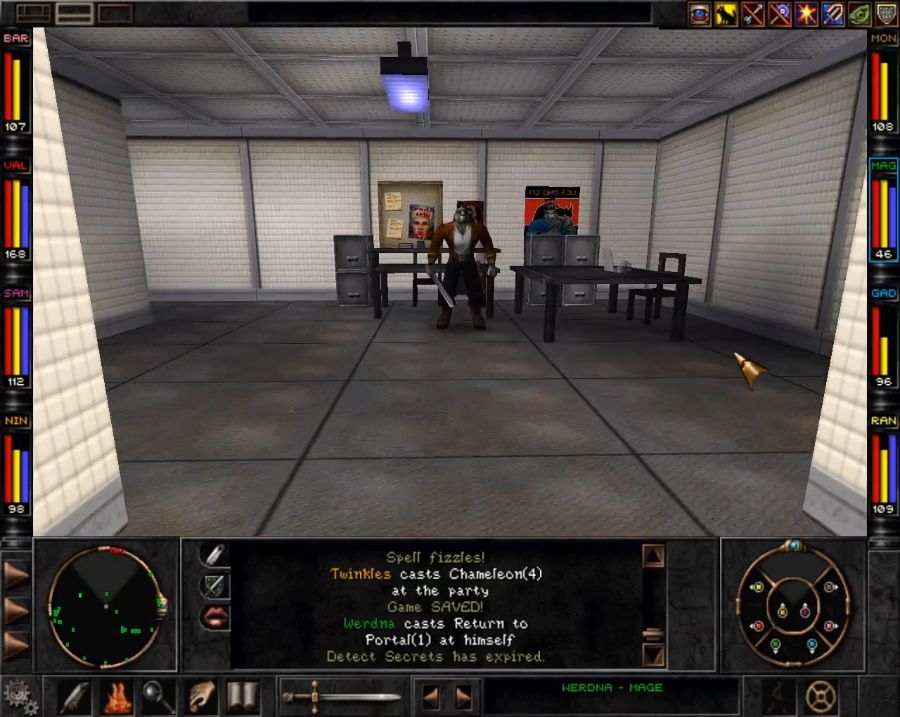
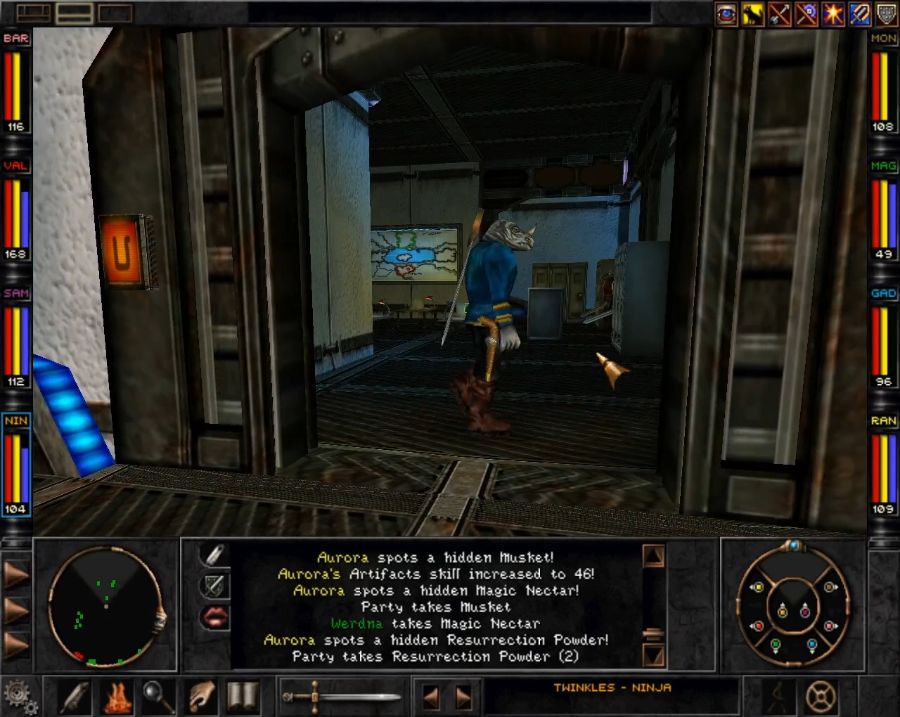
The door on the left leads to Yamir, but there's a door on the right that leads to a bunch of lockers to rifle through.
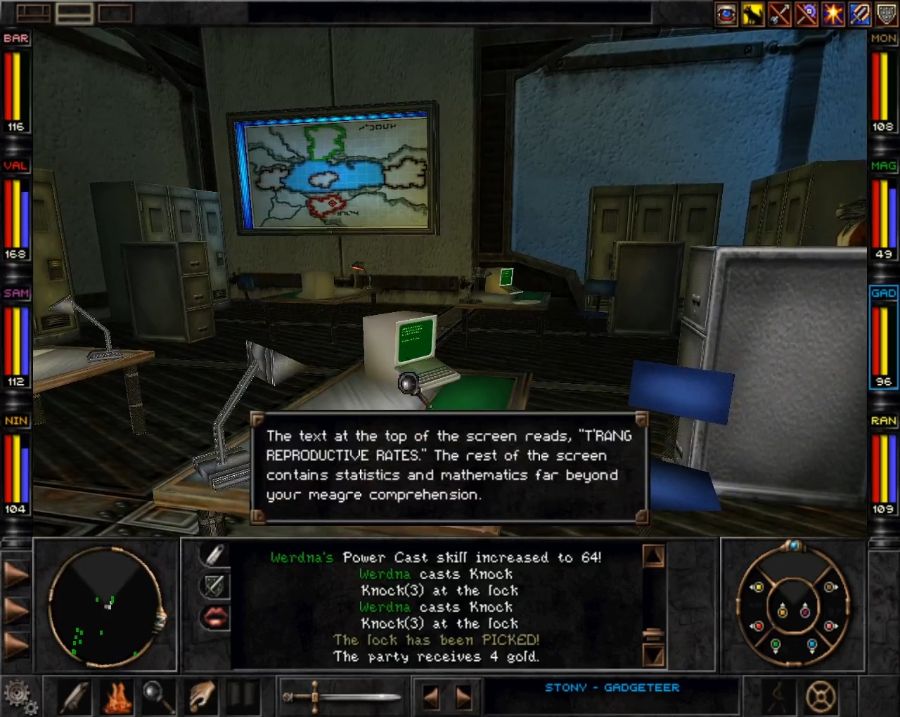
In between ripping open all the lockers and dumping their contents on the floor when they inevitably disappoint me, I also check out the monitors and diagrams in the room, now we can go see Yamir.
https://www.youtube.com/watch?v=xDN4aQdYtJg
Yamir is definitely the nicest rhino we've met so far, but I still like Z'ant and the T'rang more. Especially since Z'ant never sent me to go talk to Sgt. goddamn Rubble. Blah. Off we go!
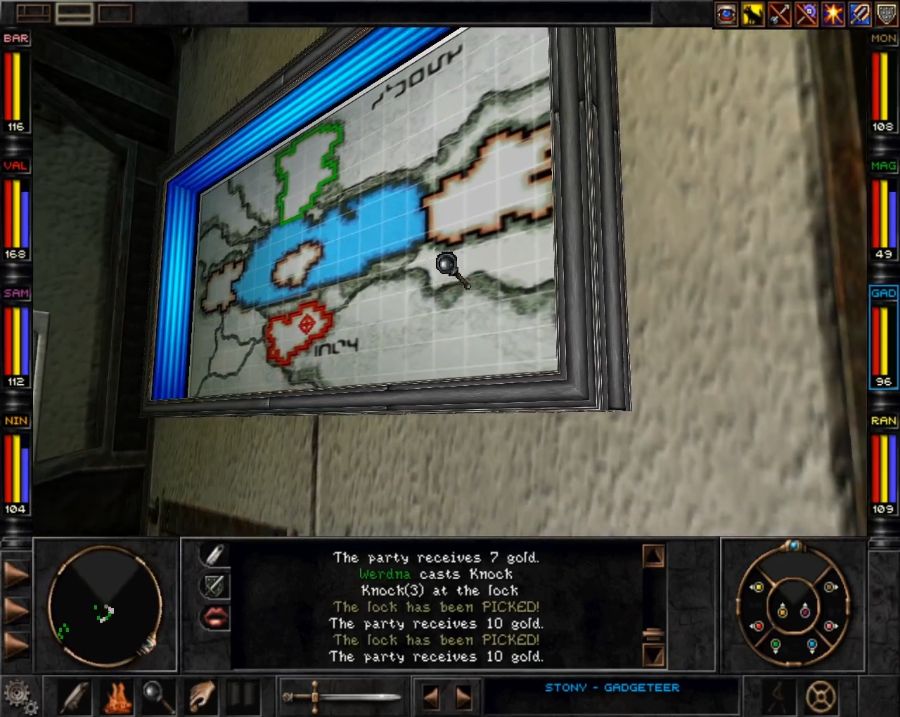
...after we take a look at the screens behind him.
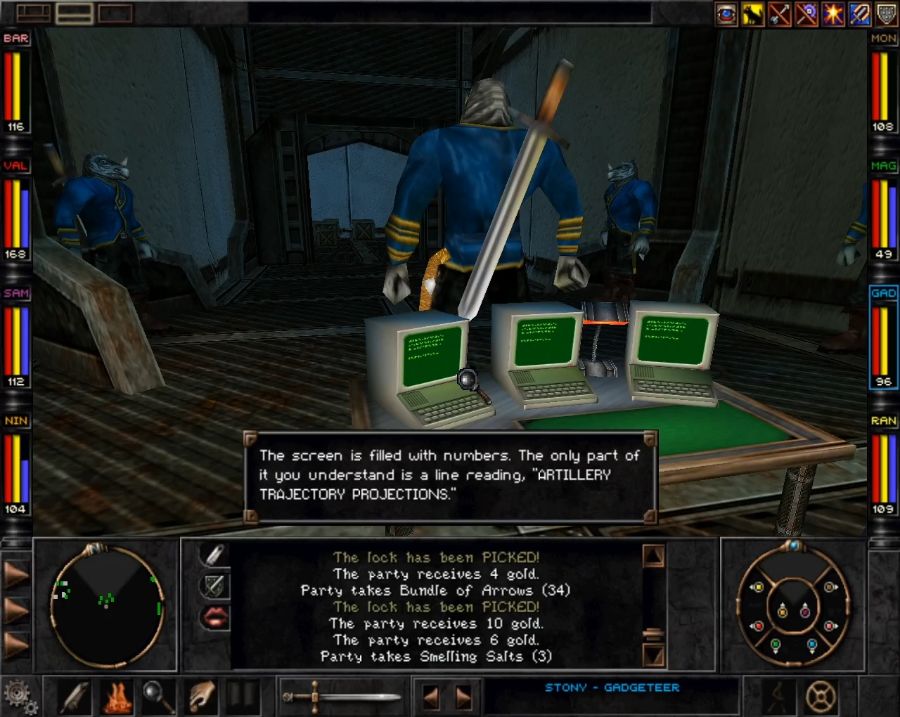

Nice triple monitor setup. Now we go!
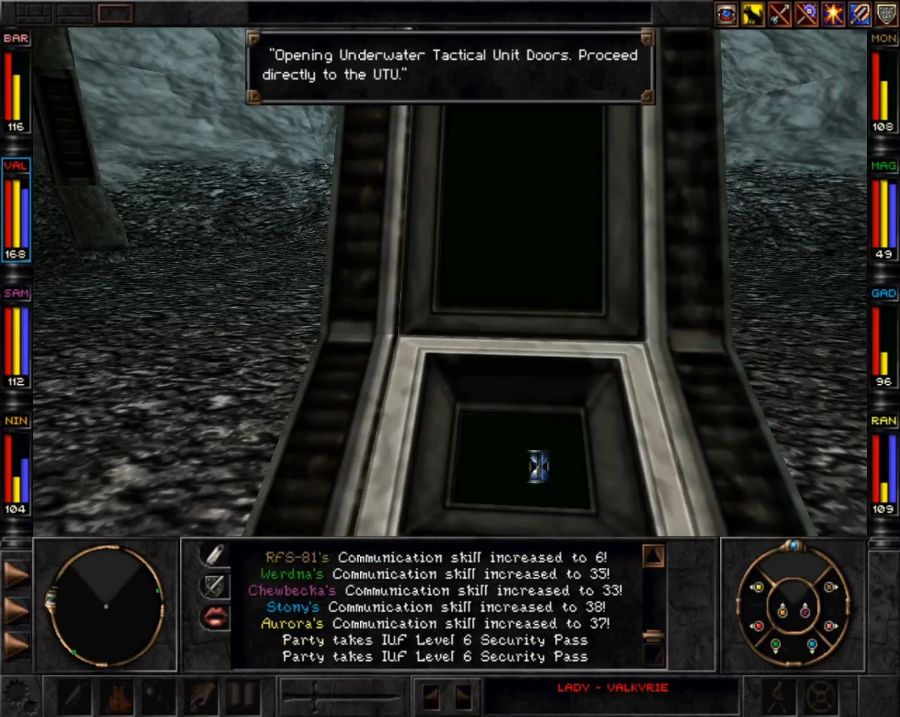
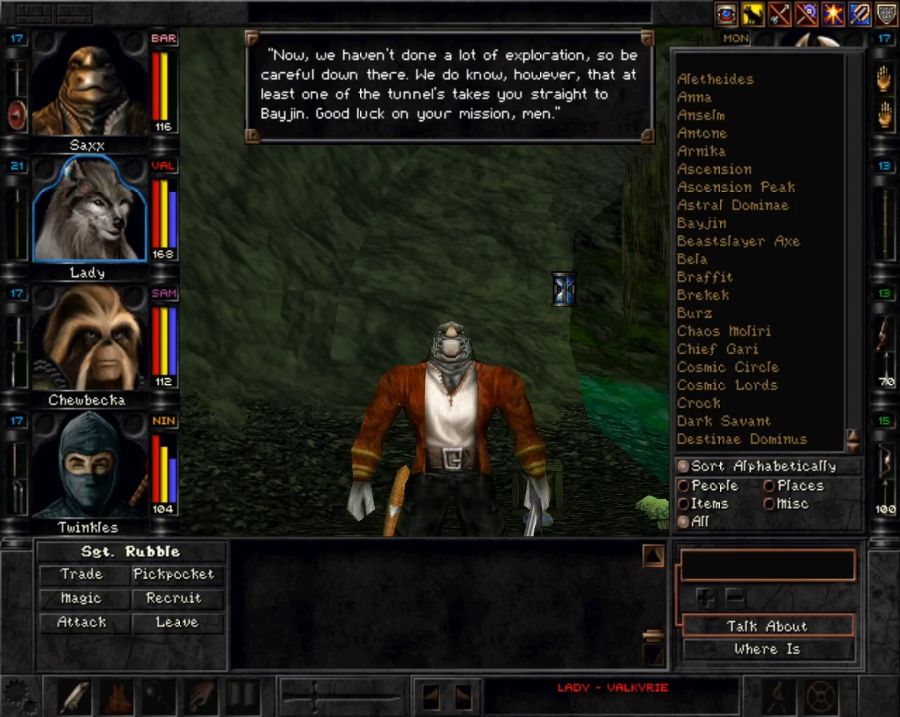
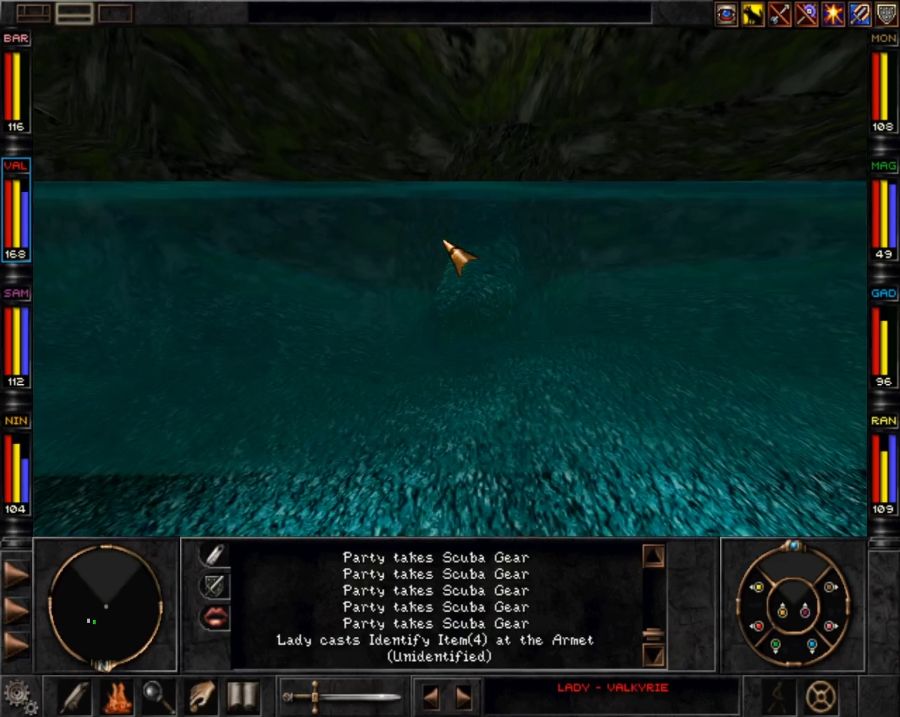
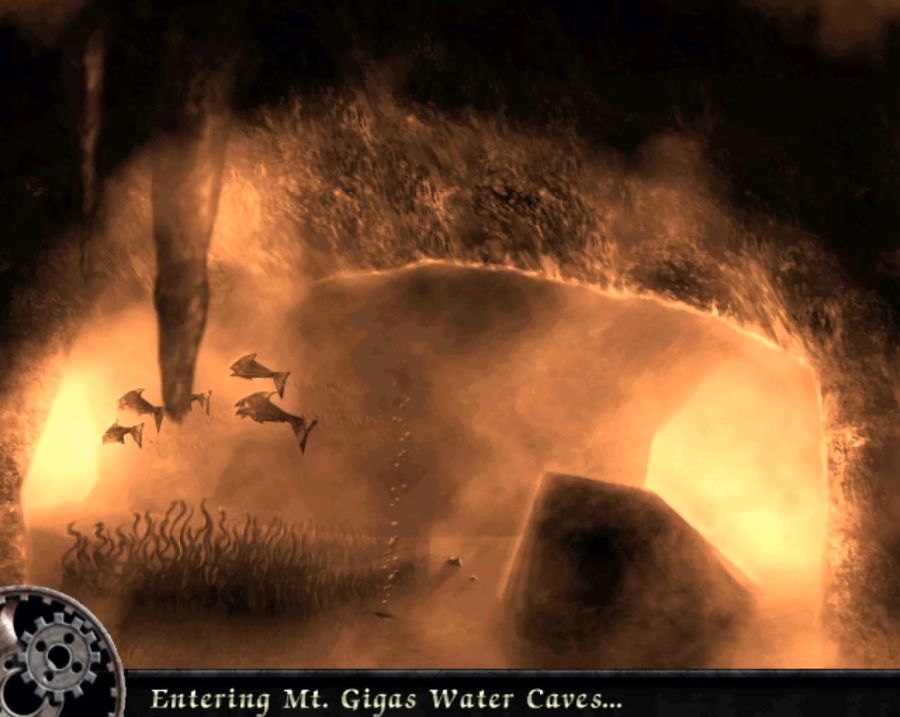
This is the technical alternate entrance. This connects to the underwater section of the game, which connects to Rynjin. So you could come up here after entering from Rynjin, but as far as I'm aware there's no way to open the UTU doors from the inside. Let's put on some scuba gear.

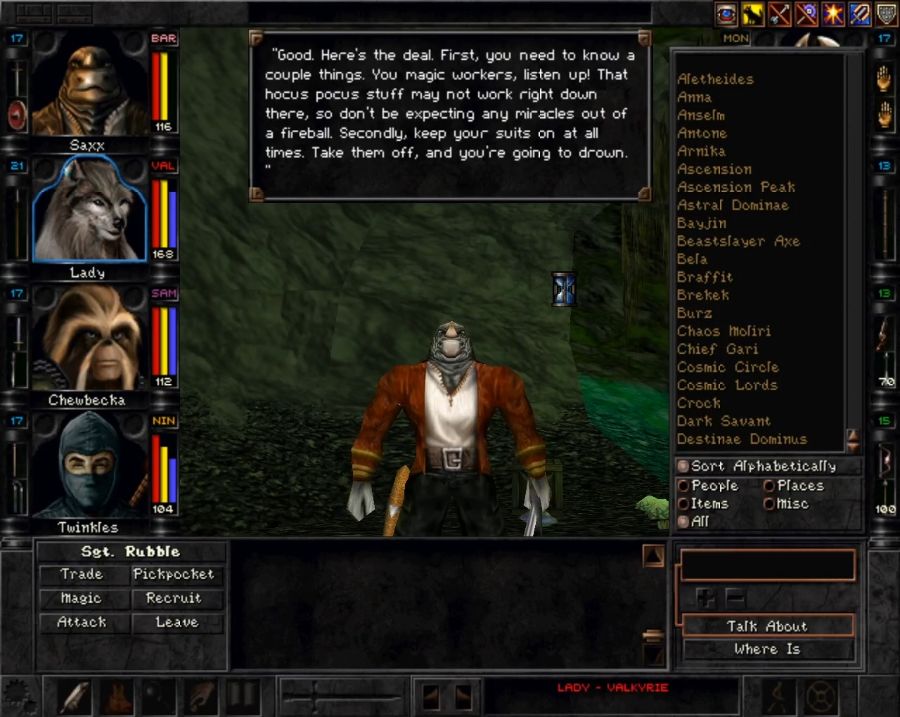
So two things about the water areas. Without scuba gear, characters just die, and scuba gear takes up one of your two misc. slots, thus weakening you slightly. Secondly, all fire magic fails underwater. And of course, the weakpoint of most underwater creatures is fire, so it's a bit oof.
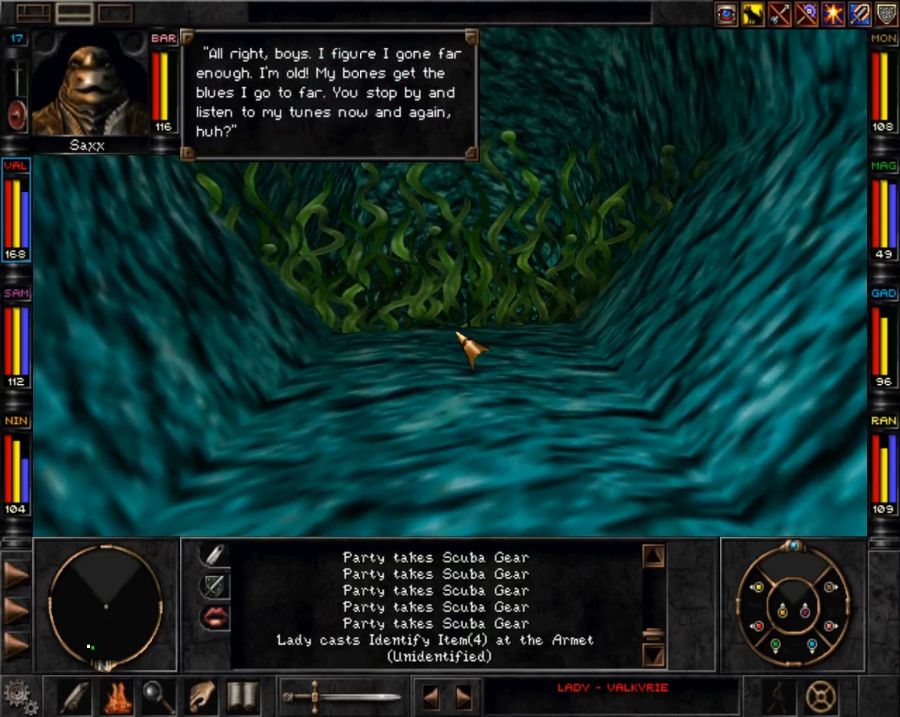
Lastly, Saxx won't go there. But it's alright since we do in fact need an open character slot for this specific mission. When we come back later, we'll just make Saxx take a nap so he won't mind entering.
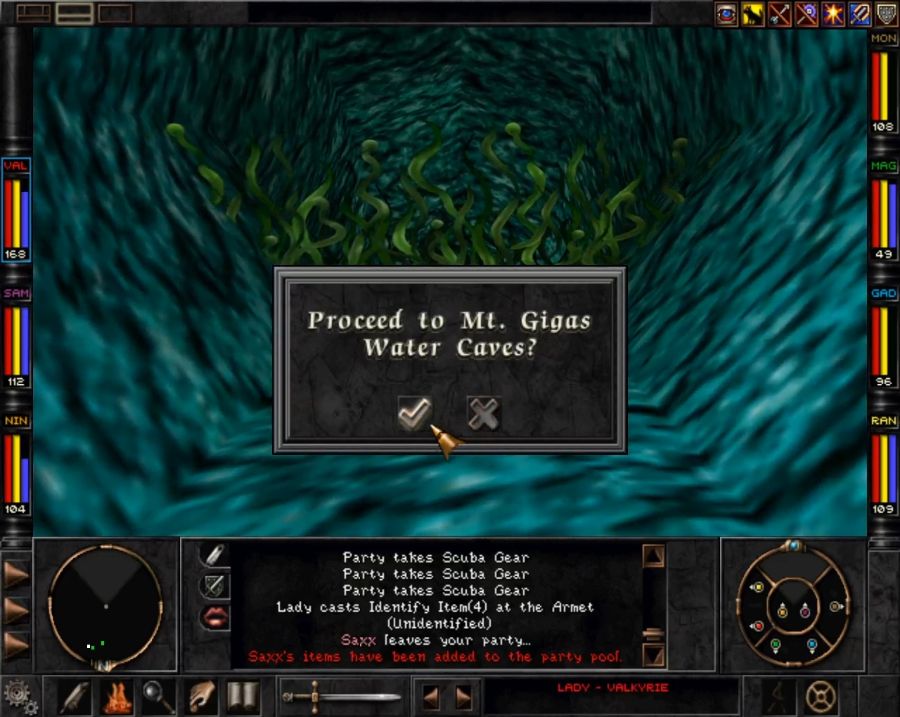


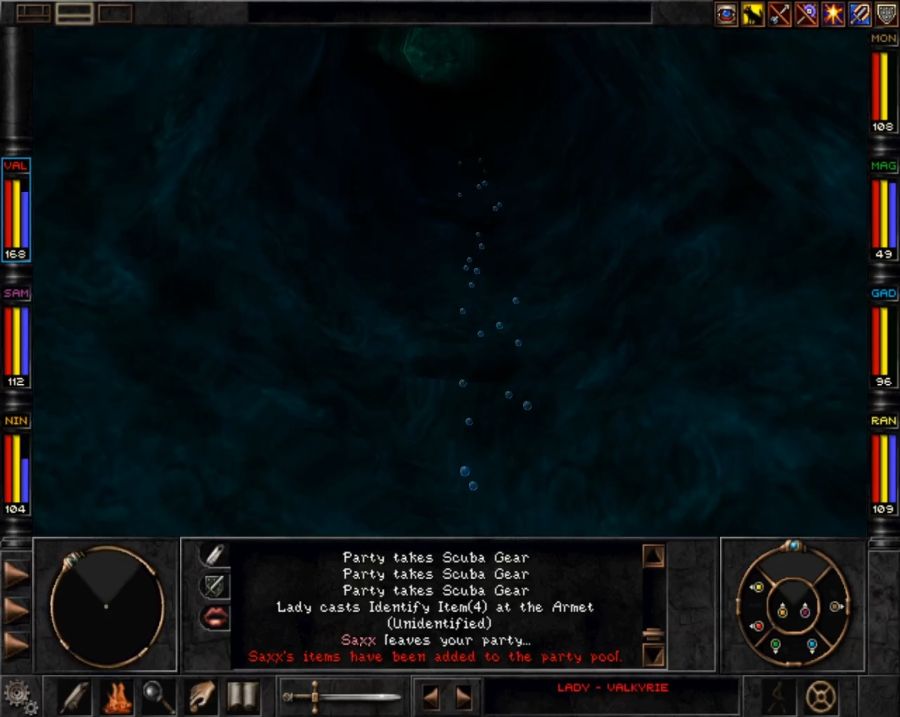
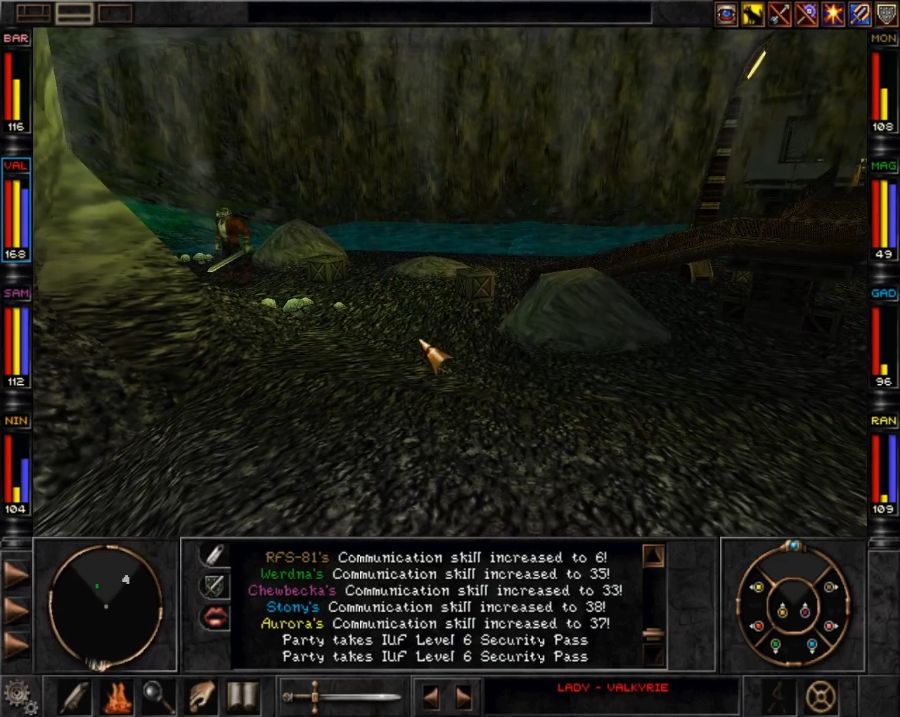
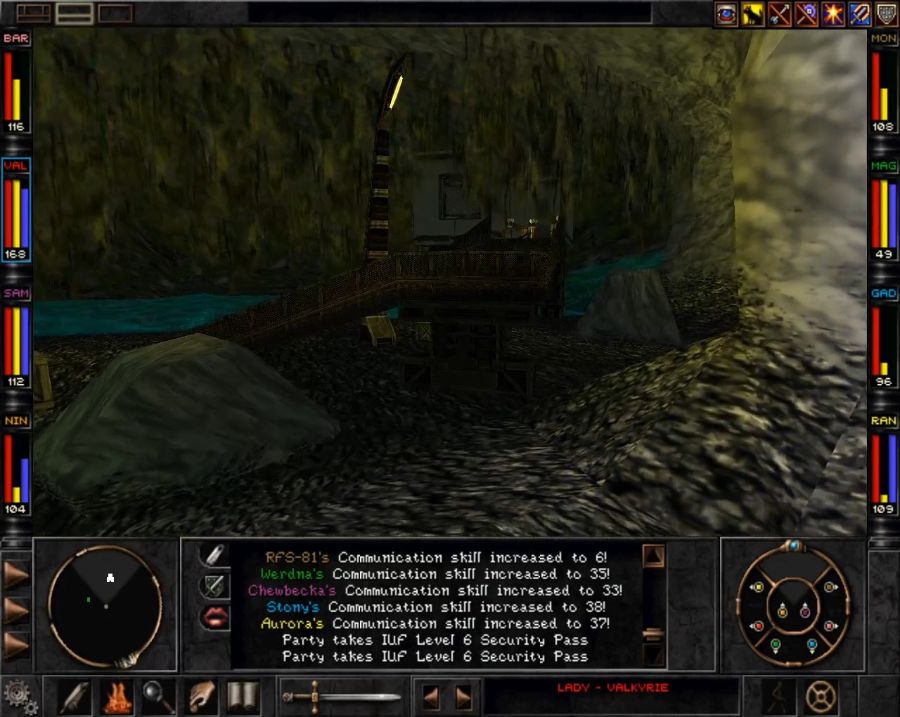
Welcome to the underwater areas, folks, they're probably going to kick my ass.