Part 13: Real Ultimate Knowledge
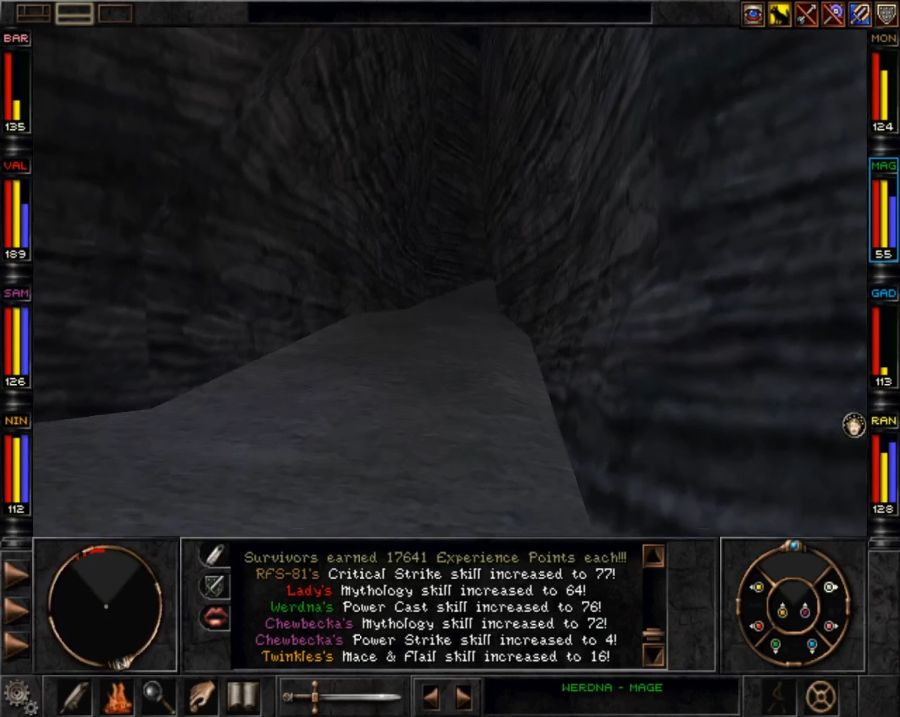
Update 011: Real Ultimate Knowledge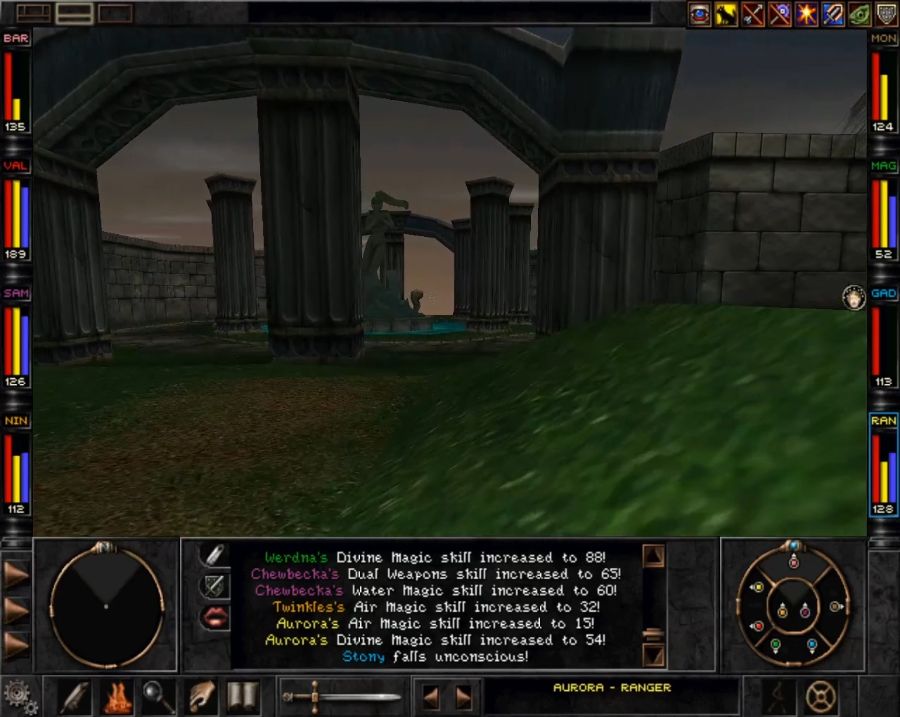
Alright, I've got a quick errand to run in Arnika before we're off to the wet part of the gameworld again.

Bringing the Helazoid Banner to Braffit is +30k XP for everyone, which is in the region where it's never a completely forgettable amount, but it's obviously far more if you manage to do it early. Technically you could probably manage it as soon as you have access to Soul Shield and/or Magic Screen, but sequence-breaking is actually bad in some ways, because a lot of chests and other drop lists have "level sensors," i.e. if you crack them open at a sufficiently low level, some of the better gear on the list is just deleted before it rolls for drops.
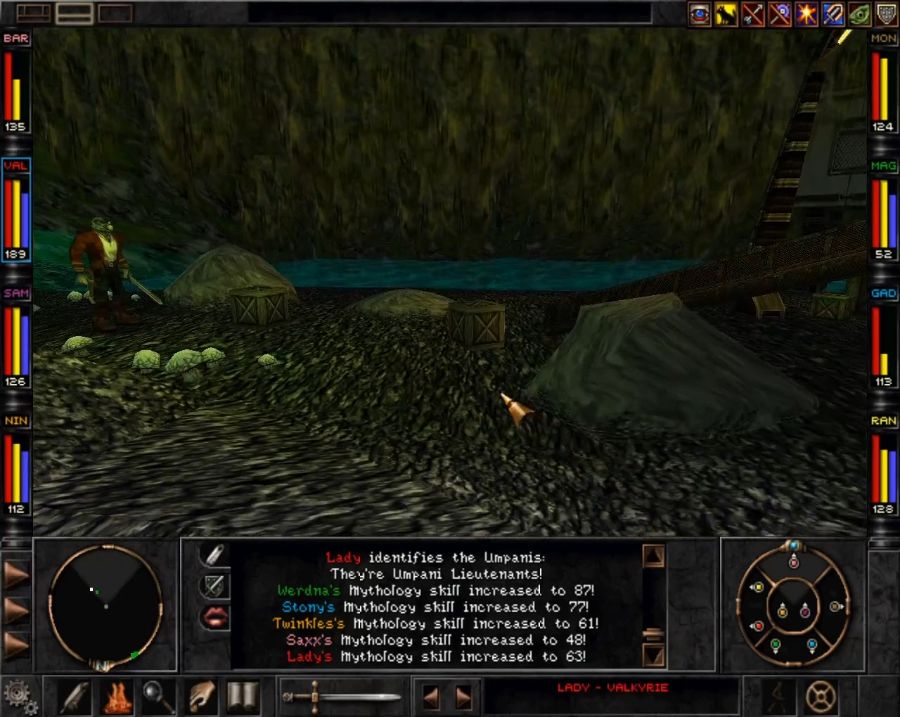
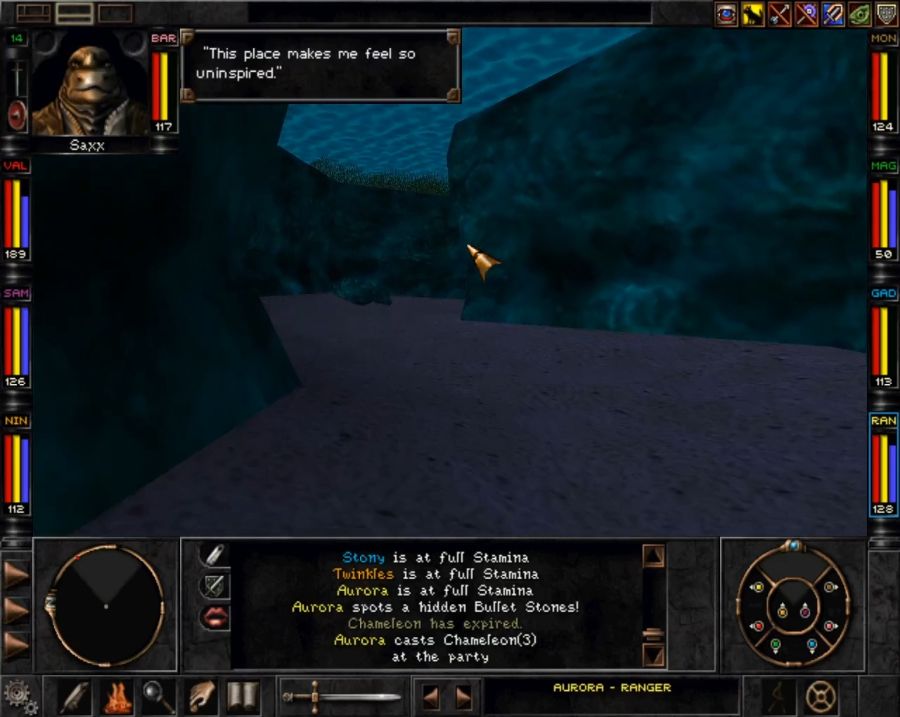
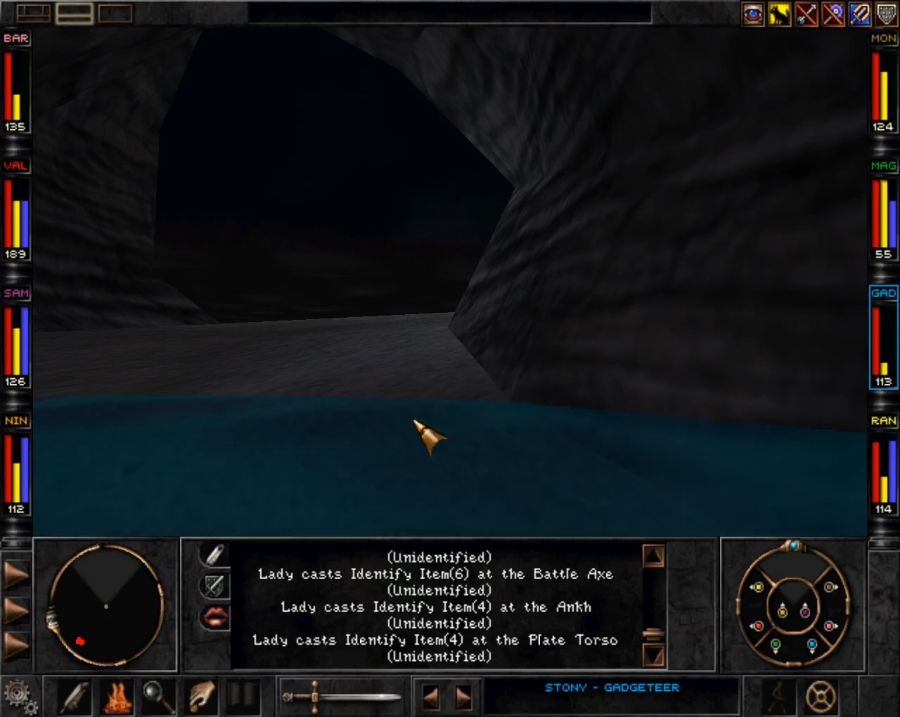
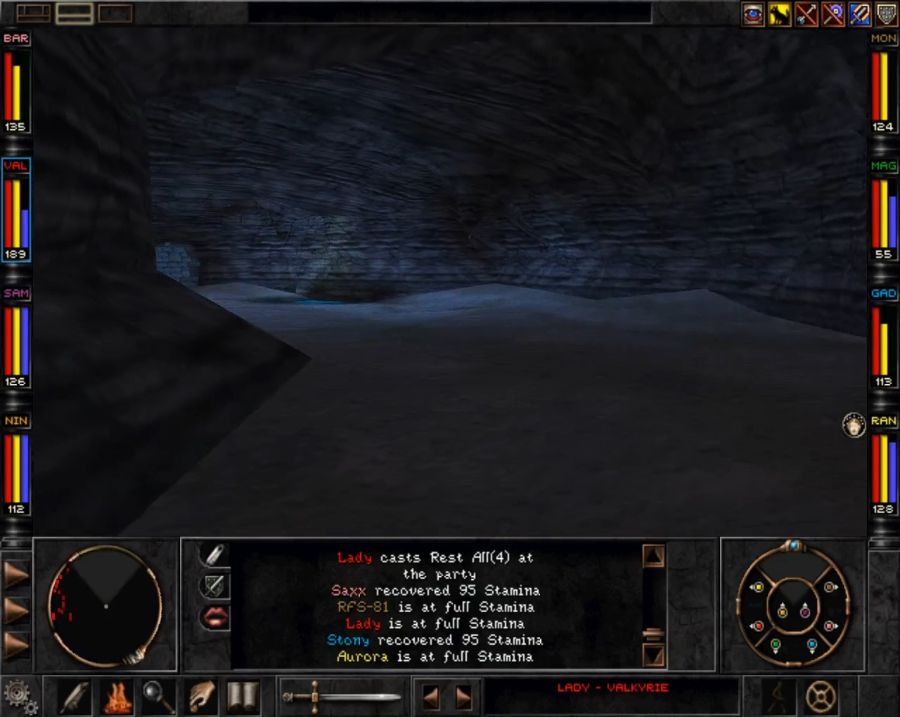
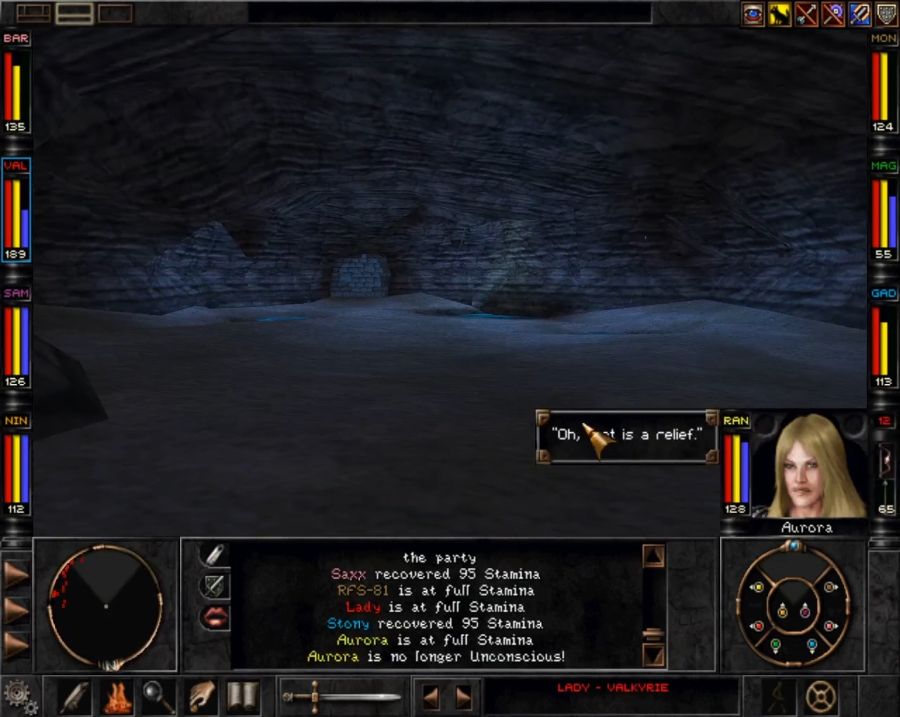
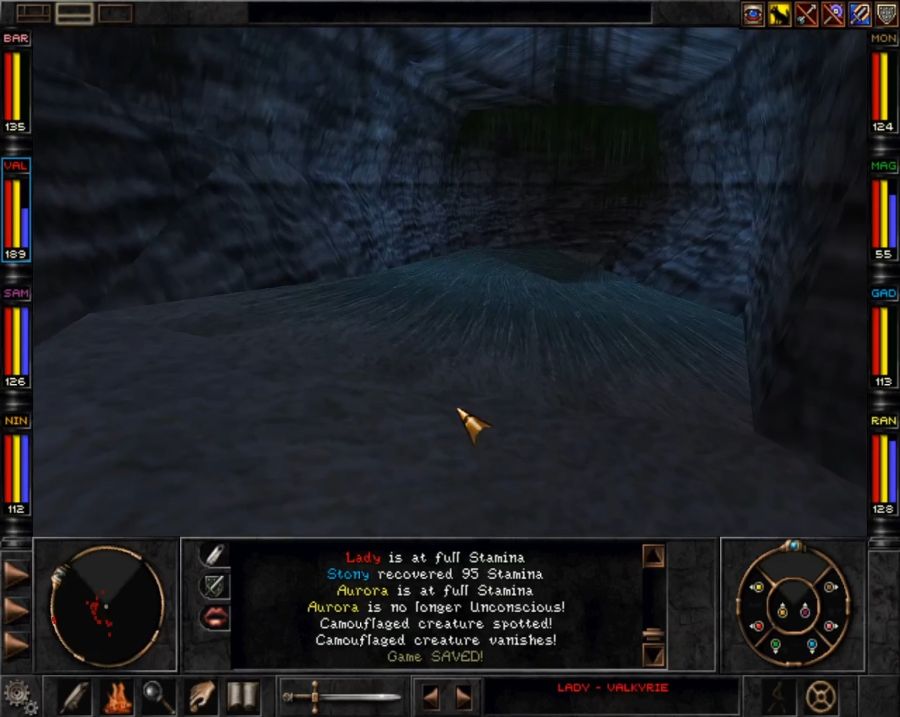
Then it's time to get Saxx underwater. We can't do it without teleporting him in or bringing him in KO'd. I wasn't smart enough to set a teleport marker last I was underwater and I'm too lazy to go back and do that, then warp back out to pick up Saxx. Instead I just make him play the Dulcimer until he collapses from exhaustion, then slap scuba gear on him and haul him into the caves.
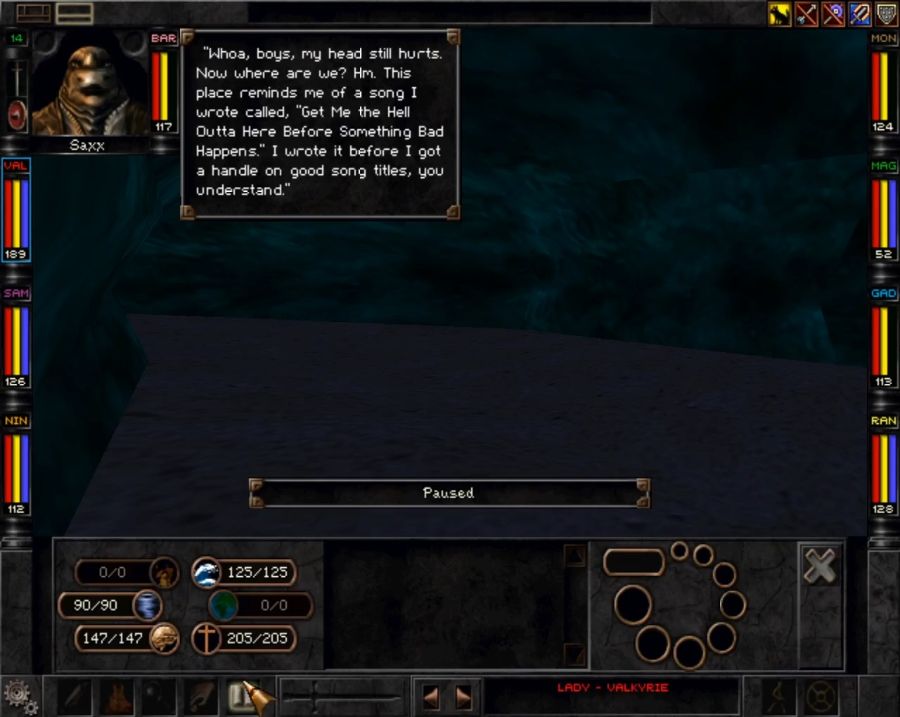
He isn't very happy about it.

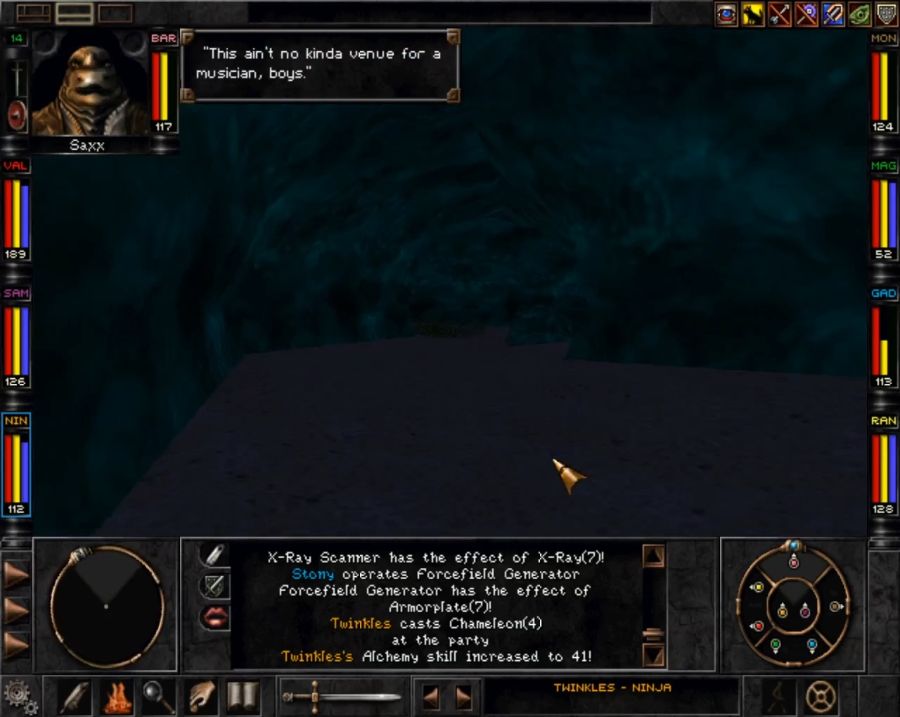
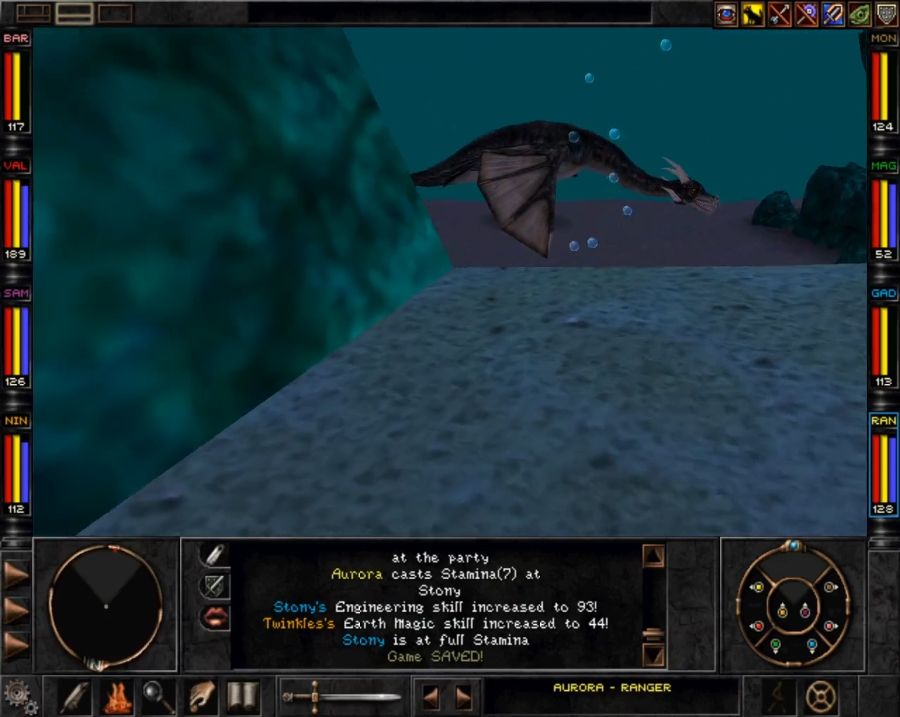
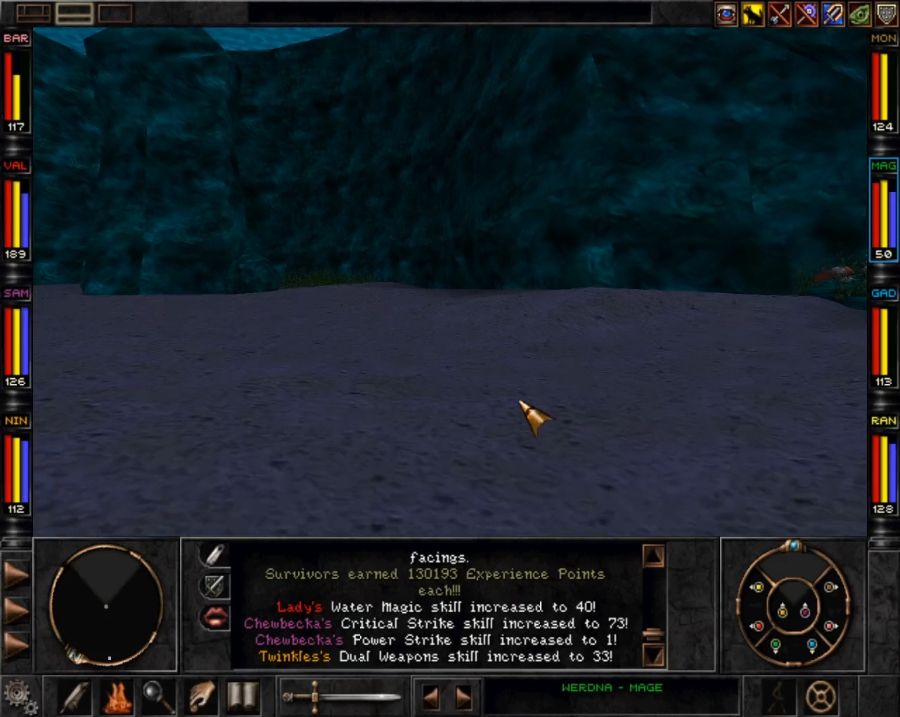
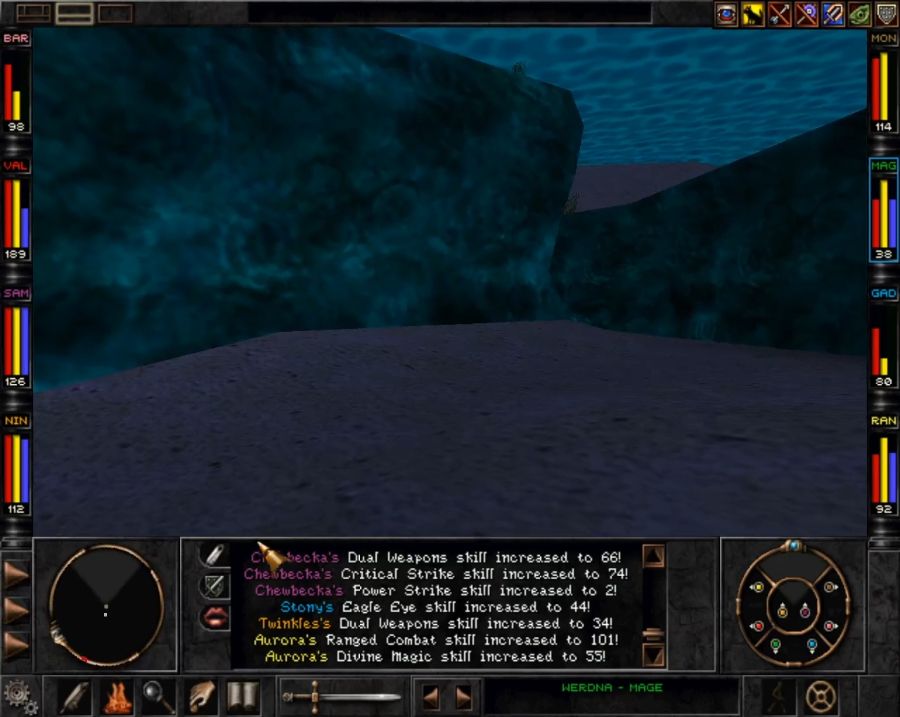
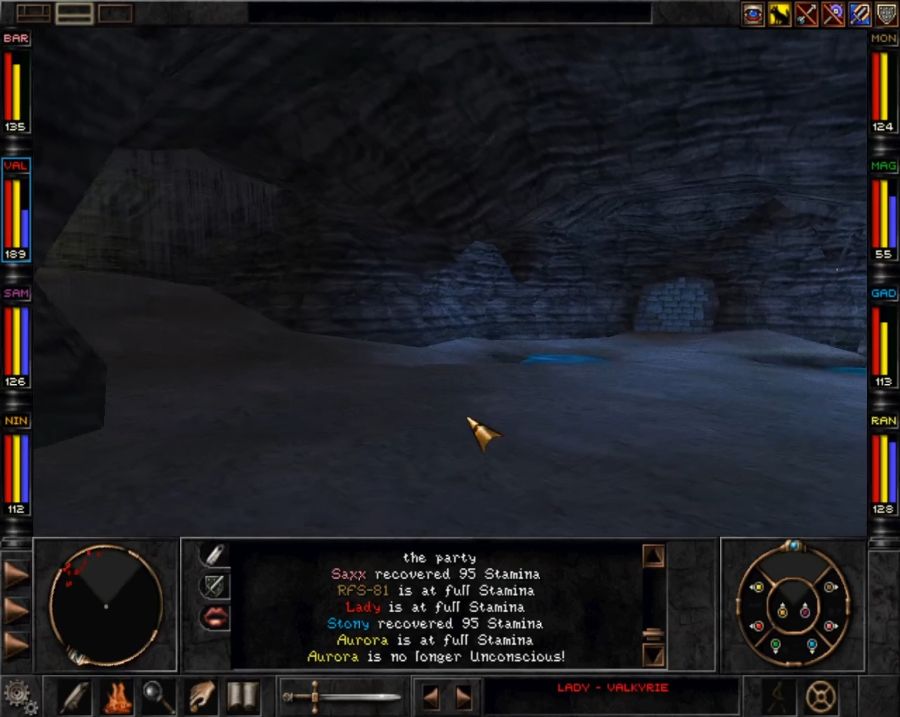
He'll also keep repeating this voice line as long as he's anywhere he doesn't like being, which will be a good deal of the remainder of the game. In any case, the Mt. Gigas Underwater Caves have some updated hostiles to deal with.
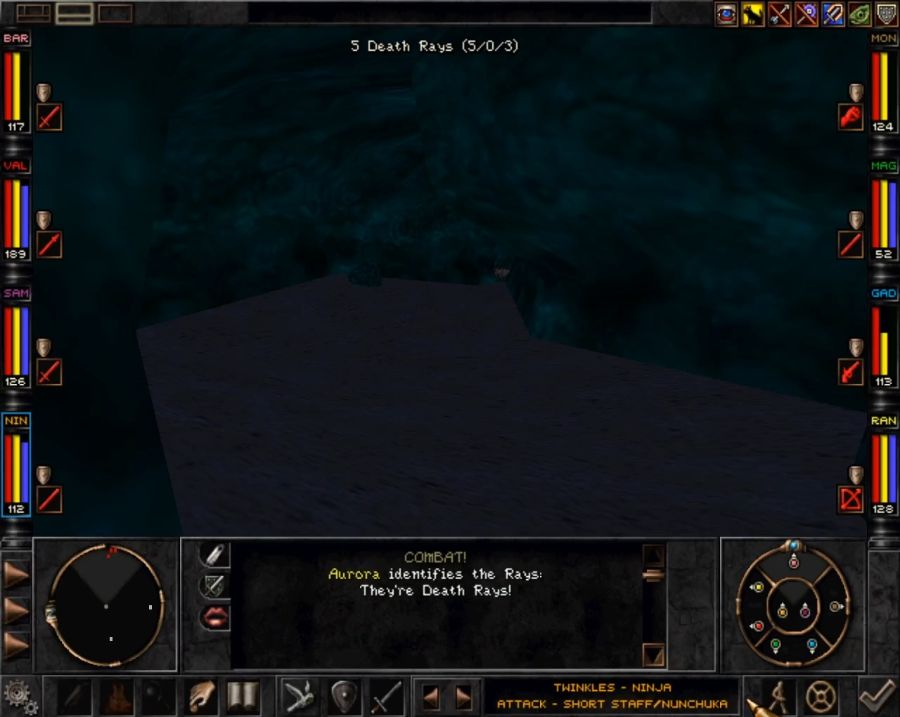
Death Rays.
Which are like Mantas except they spit out every single instant death spell in the game at you, more or less. Instant Death and Death Cloud get bandied about quite a lot, and while Soul Shield deflects the former, the latter gets in one lucky roll in one fight and wipes out Aurora and Werdna.
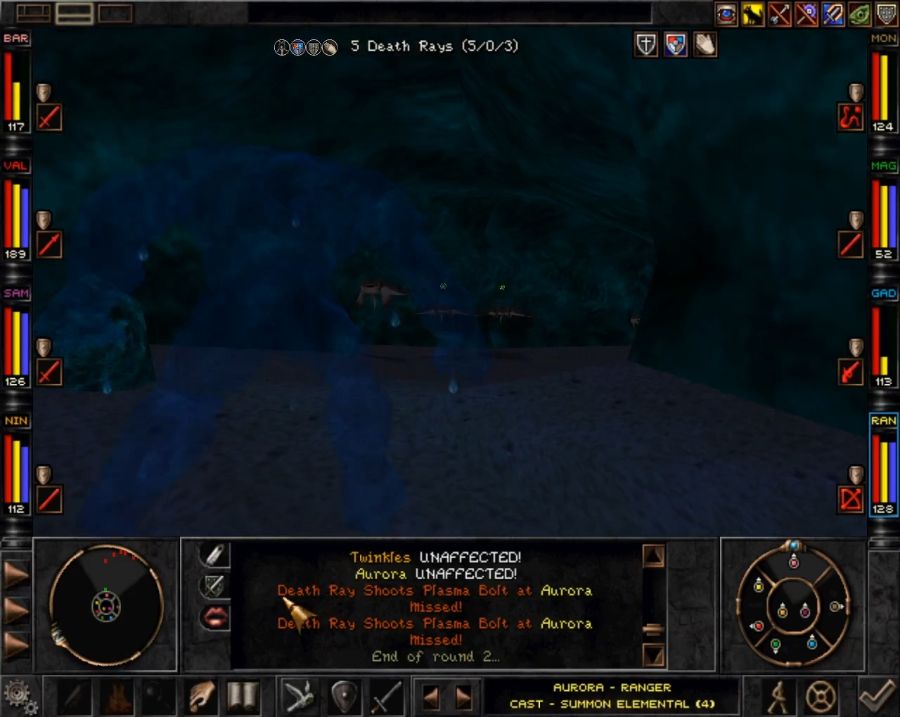
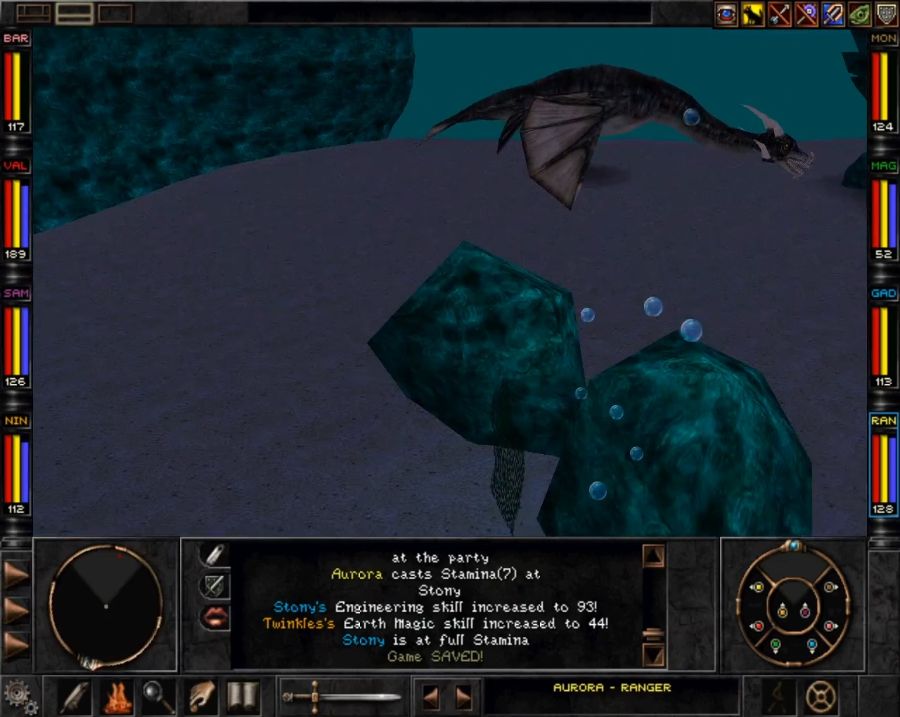
I'm also amused that summoned water elementals still drip water underwater. I end up being a bit disappointed that I never come across the last class of underwater monster, Psi Sharks(and their upgraded version, Omega Sharks), as I wanted to show them off. But fighting underwater is hell so I don't feel like trawling through encounters until I turn some of them up.
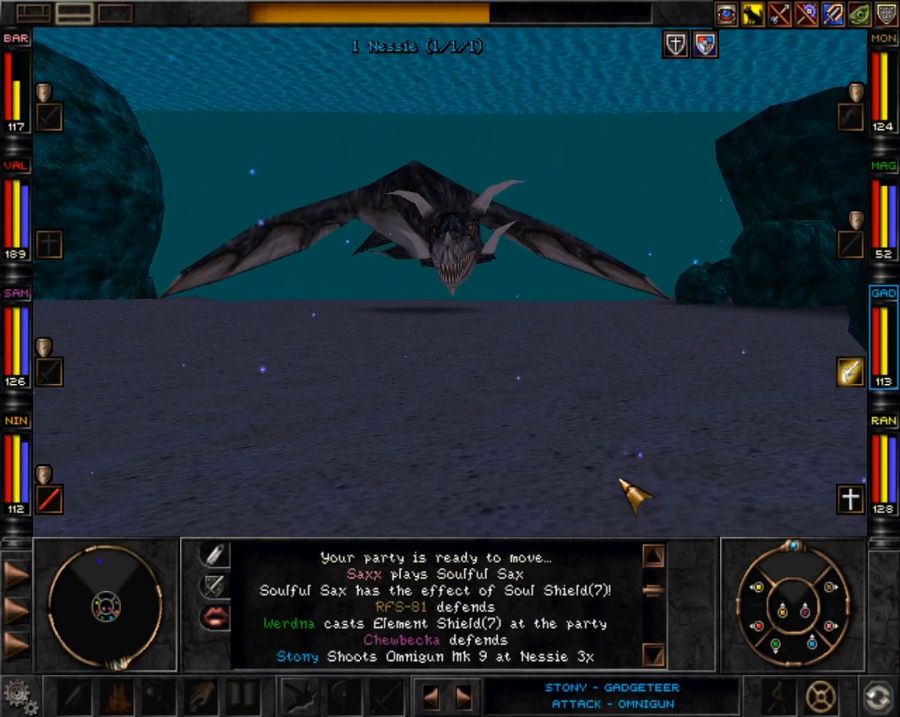
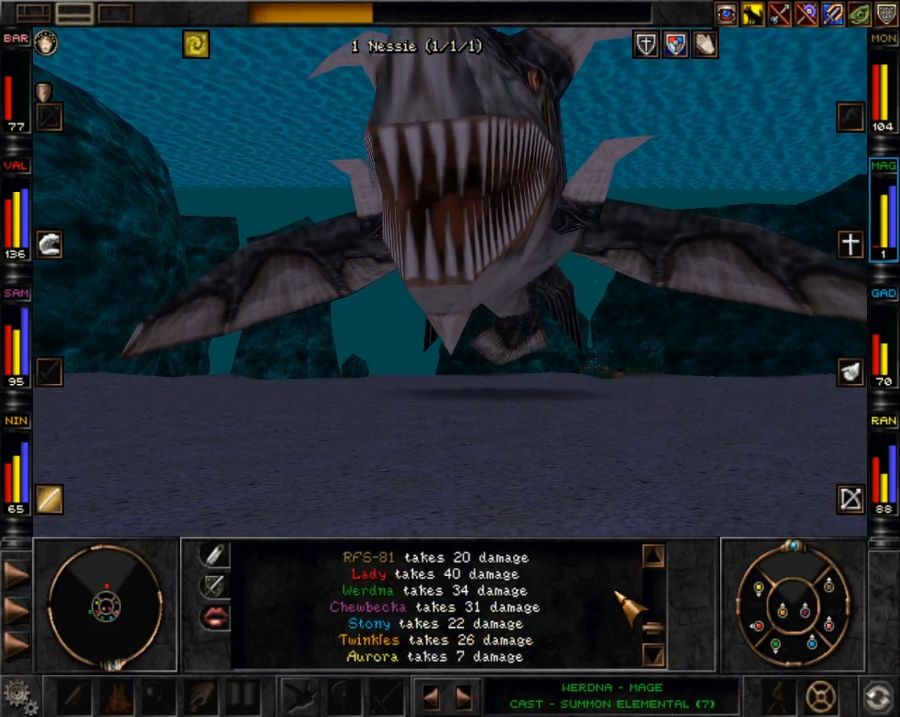
Time to slay us a dragon.

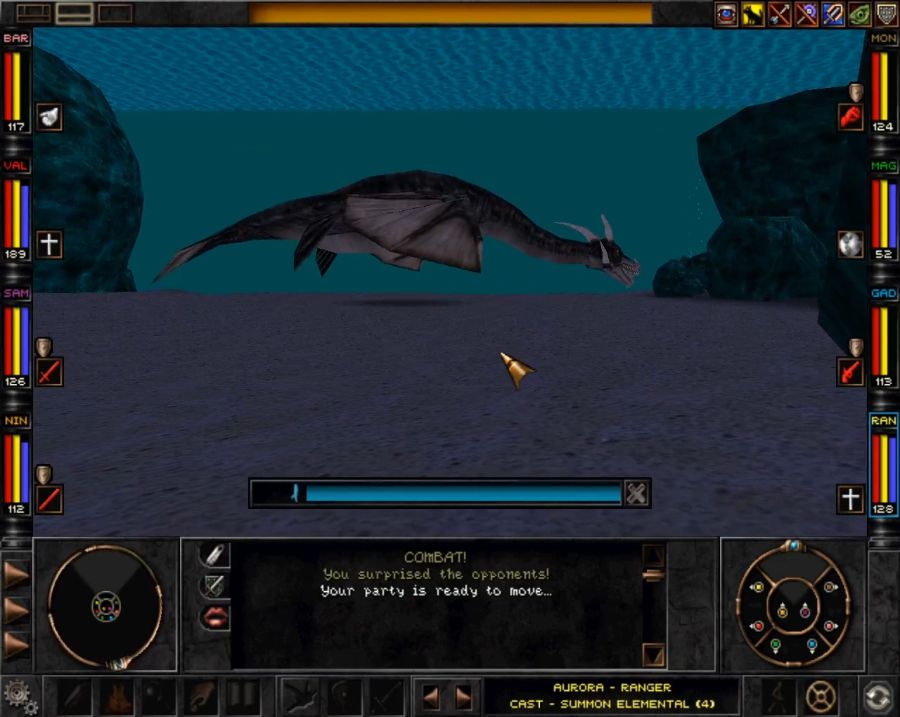
The most important part is to keep Soul Shield and Elemental Shield up all fight, no matter what happens, because while Nessie has a nasty physical attack and breath weapon, her spells are probably the worst thing she can bust out.
50% of her actions will be spells, rolled on the following list:
10% Acid Bomb
10% Armormelt
10% Element Shield
10% Body of Stone
10% Hex
10% Blizzard
10% Draining Cloud
10% Concussion
20% Earthquake
Her armor and resistances are already massive, so I don't care much about her defensive casts, but Earthquake and Blizzard are huge target-all damage dealers, and Concussion is a really nasty single-target damage dealer(with a side order of Insanity if not resisted).
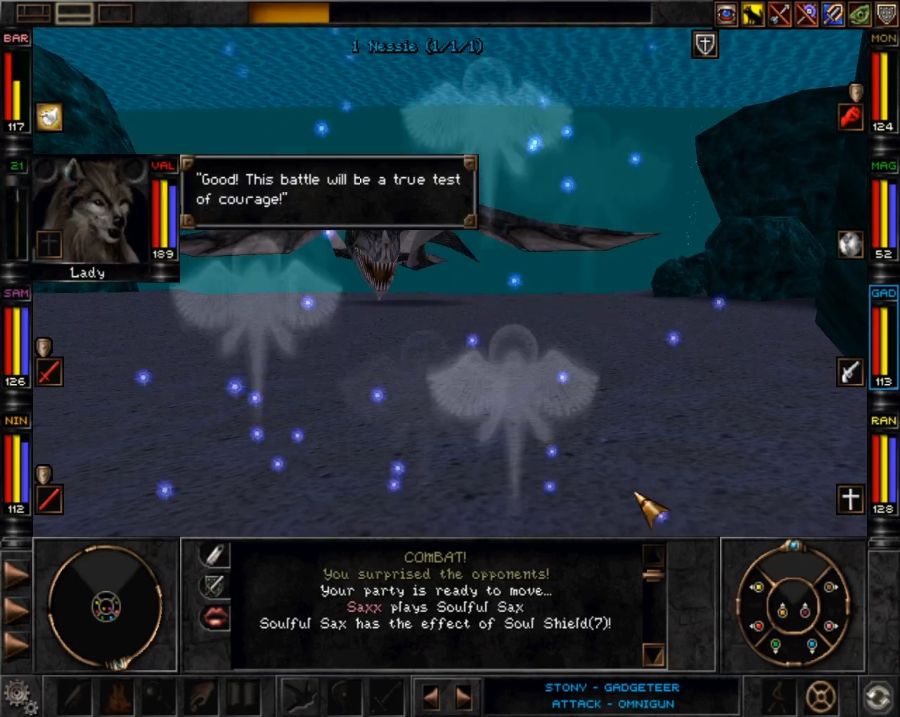
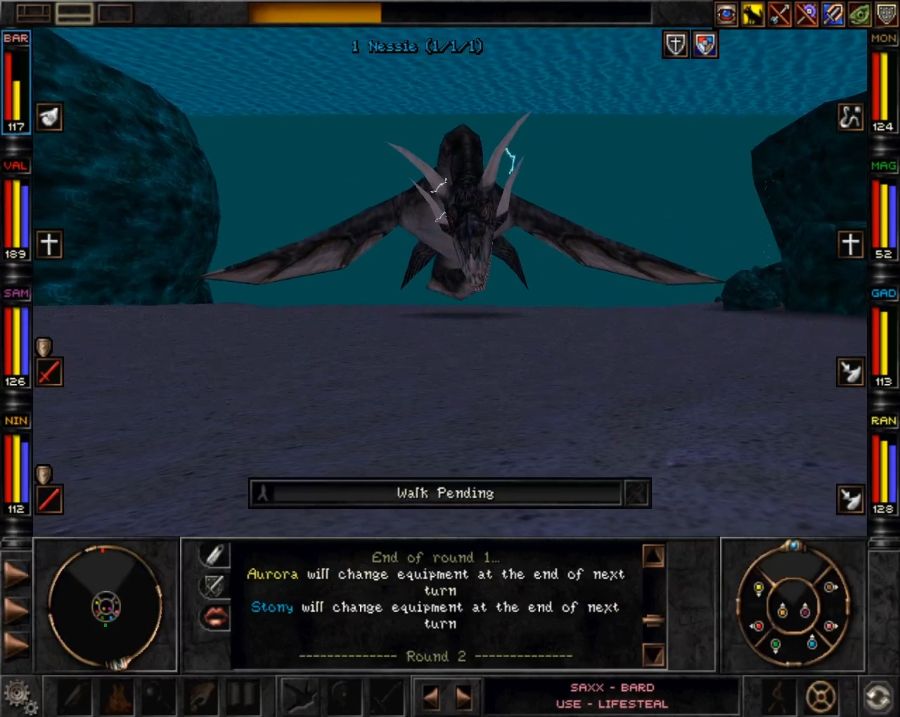
First round is me getting up my buffs and Aurora summoning an elemental, second round I get lucky and Nessie starts the fight by busting out Acid Bomb. Still some annoying damage-over-time, but not the nastiest thing she could bring to the table.
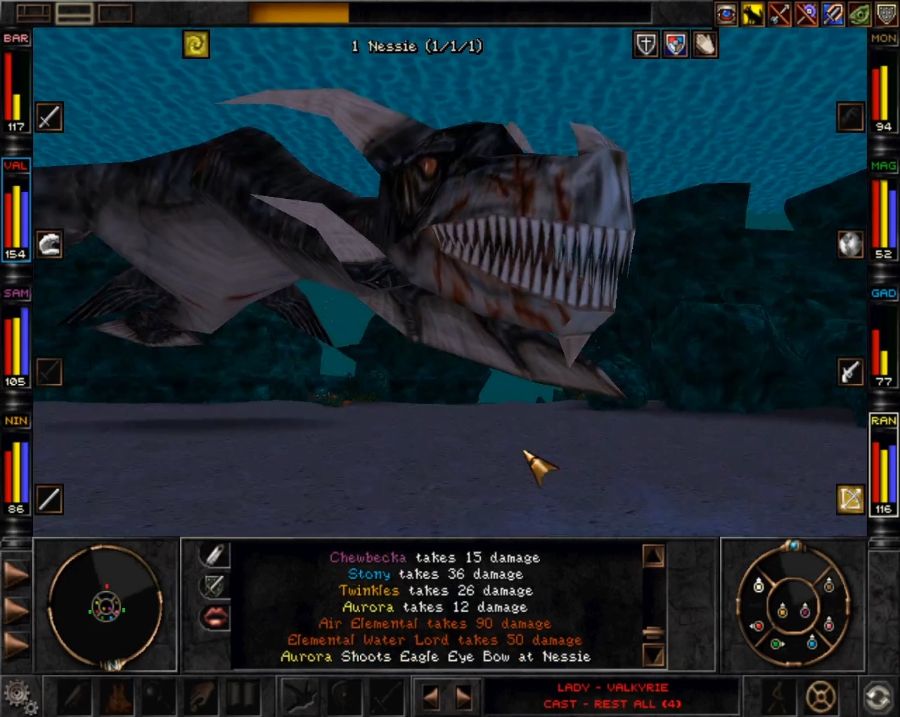
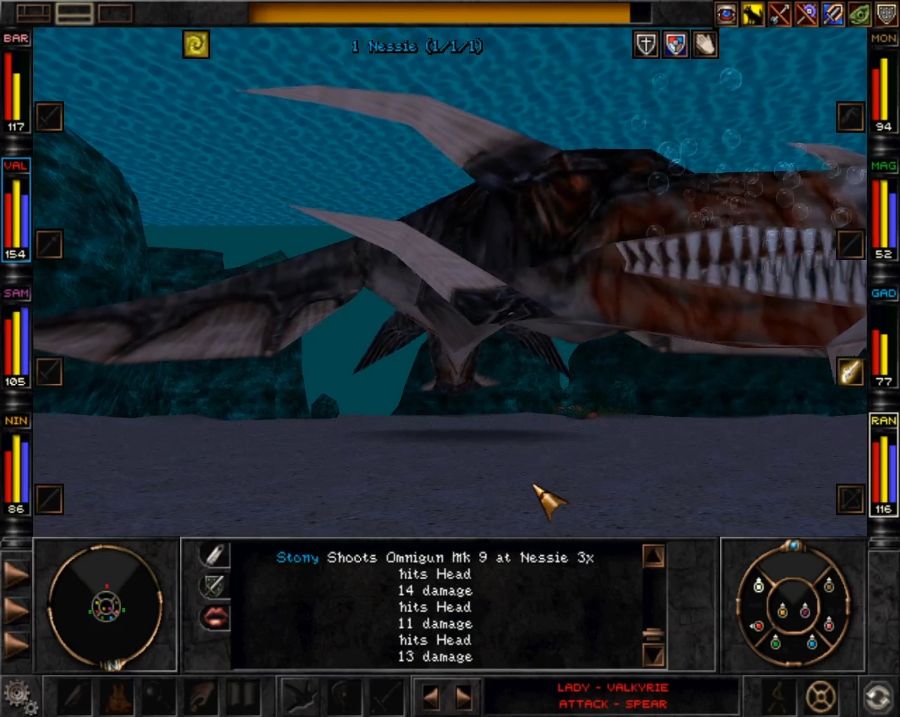
And this is what the damage from her breath weapon looks like. If she'd had just a bit of support, say from a few Depth Dwellers or Death Rays, the battle could have turned out much nastier.
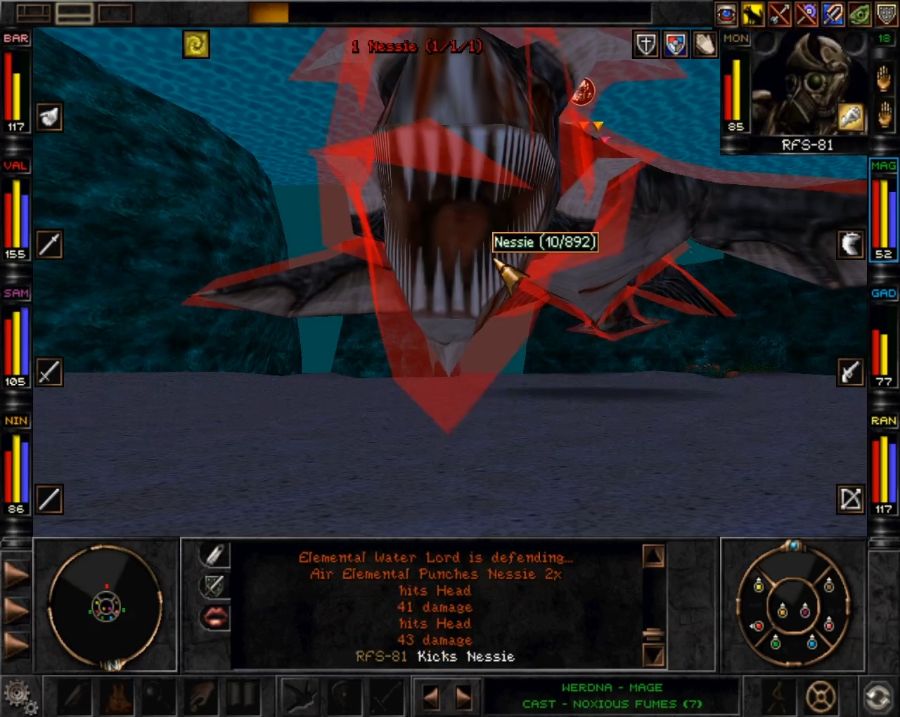
I keep chipping away at her and summon a second elemental, and I think the elementals actually end up accounting for close to half her total health by the end of the fight.
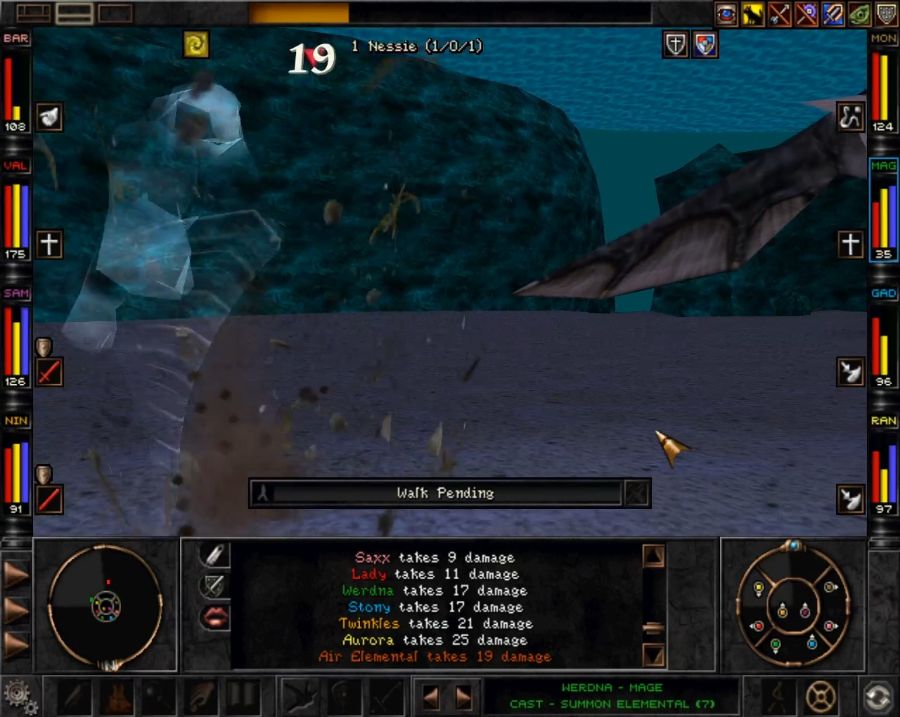
The spookiest moment is when she casts Earthquake. Look what it does to Werdna. If I hadn't already had a heal-all from Stony queued up, the Acid Bomb damage over time would have melted him at the end of the round.
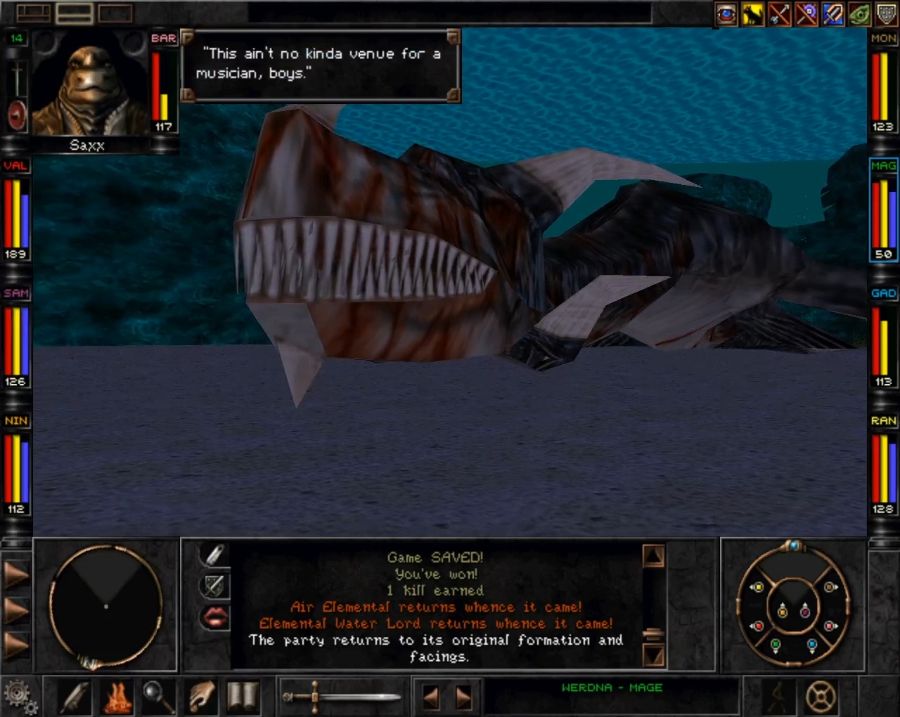
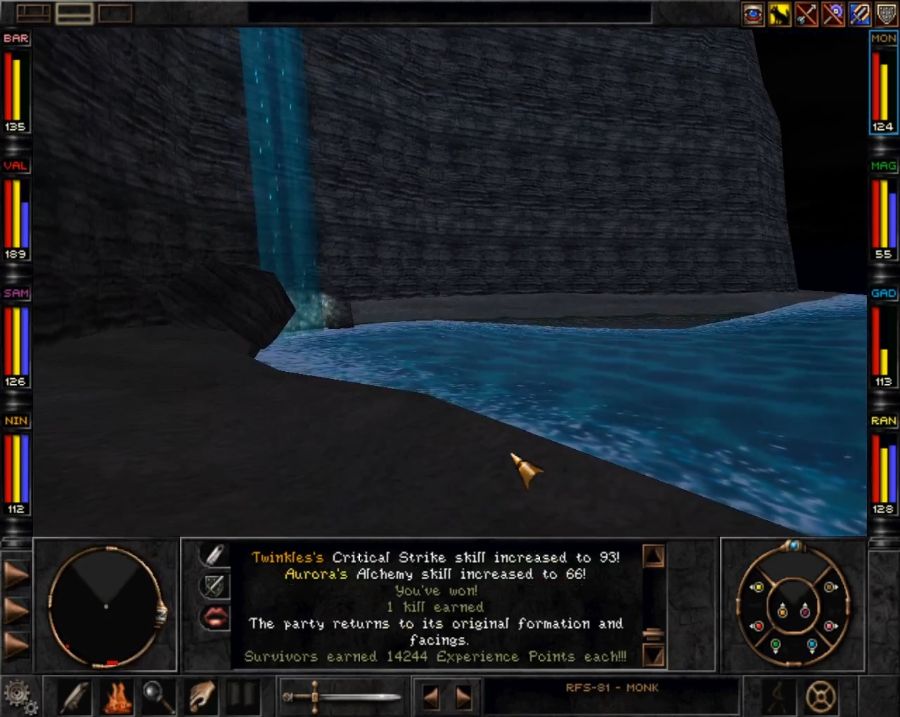
But in the end, RFS lands the killing kick to Nessie's jaw and sends her to the seafloor for good.
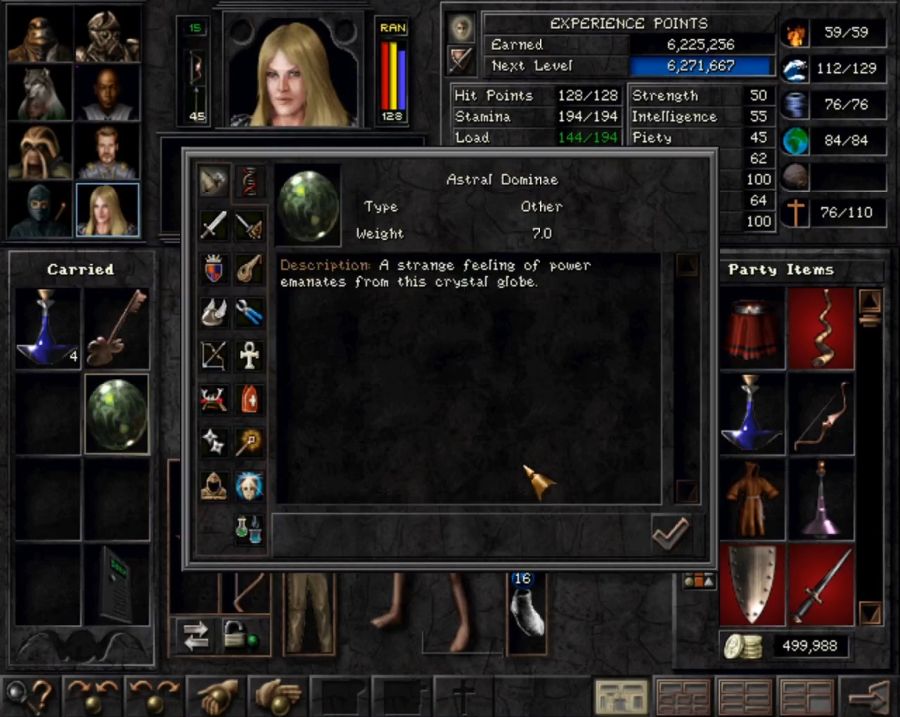
So what's the big reward for killing Nessie, considering that you can circumvent her on the one occasion when you need to visit her? Well, firstly she's worth a lot of XP, secondly, in a corner of her lair you can't just sneak to lies...
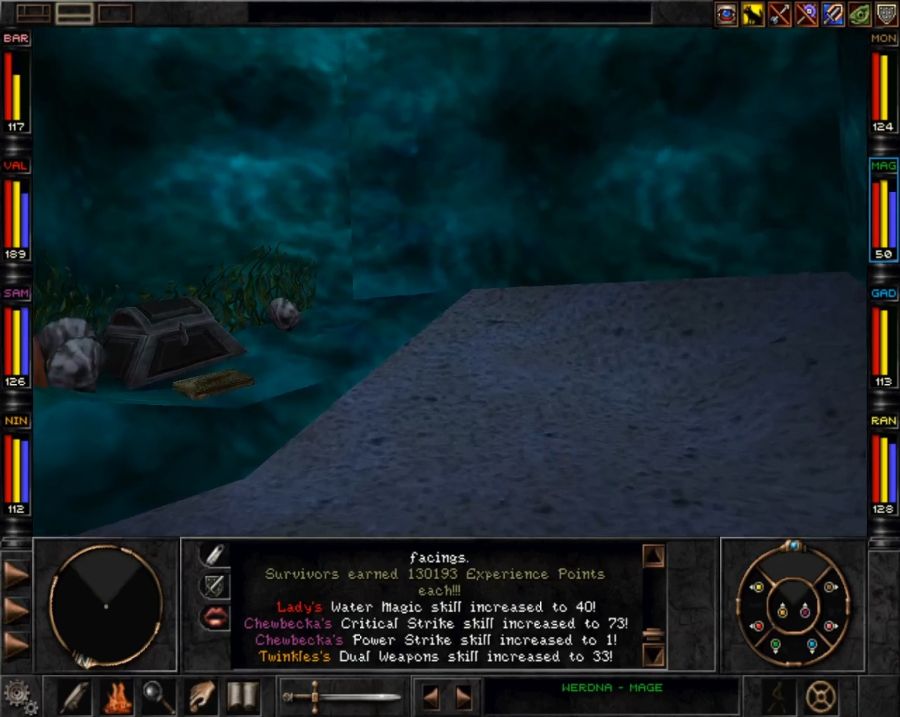
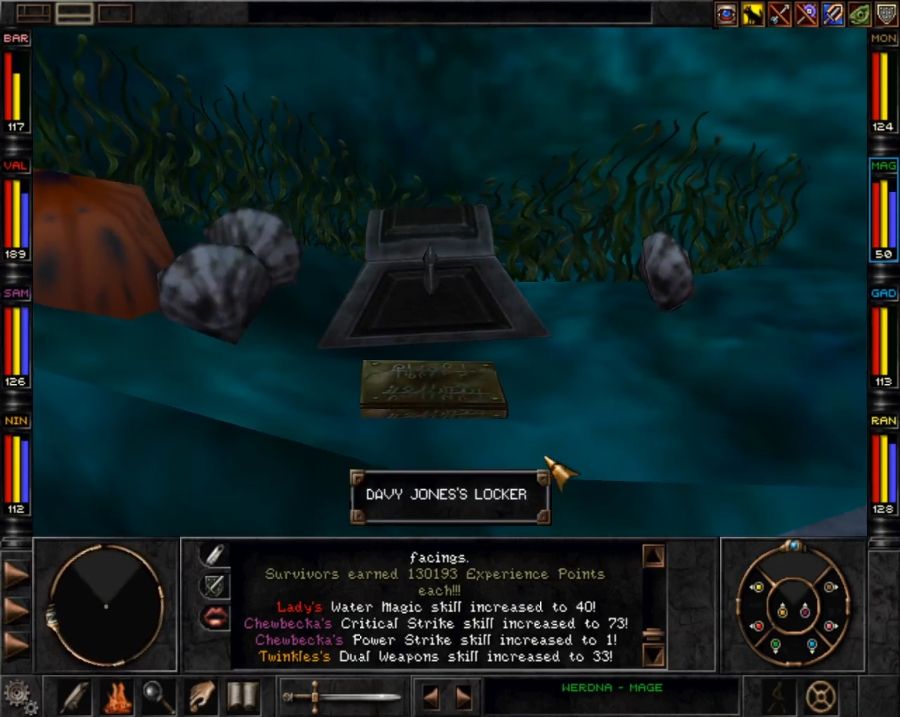
It's a high-level chest with its own chart of what you can roll up, stuff like Excalibur and such.
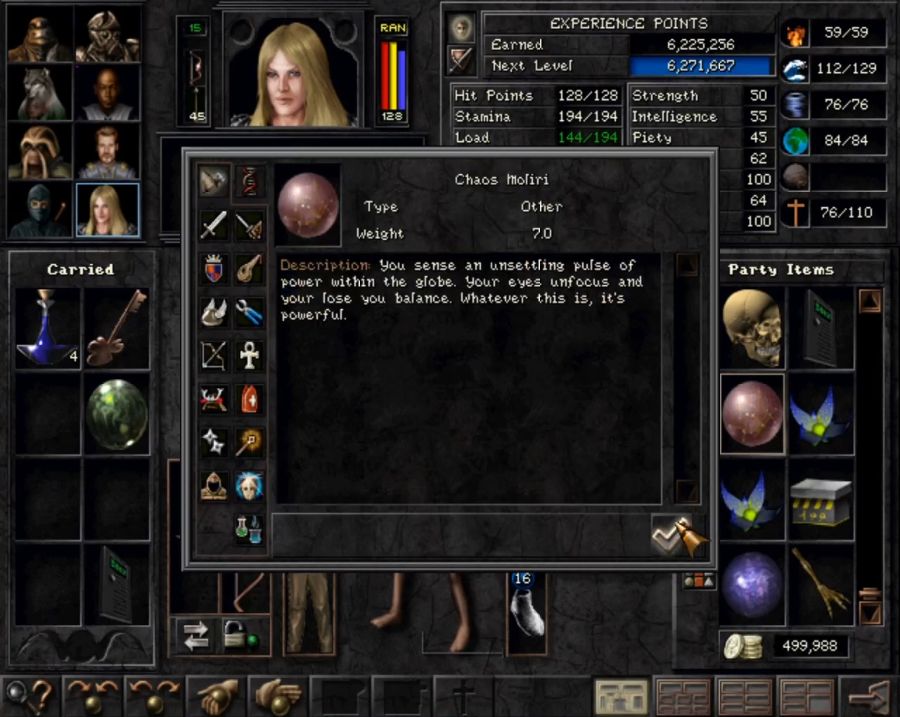
Let's see what I get, because usually I have about the same luck with this chest as I do with the Buccaneer Ghosts. And, sadly, chest drops are pre-rolled when you first enter an area, so they're not gameable like monster drops are(though reading some folks' attempts at getting a *LIGHT* *SWORD* from the ghosts it seems not uncommon for it to take upwards of 40 rerolls).
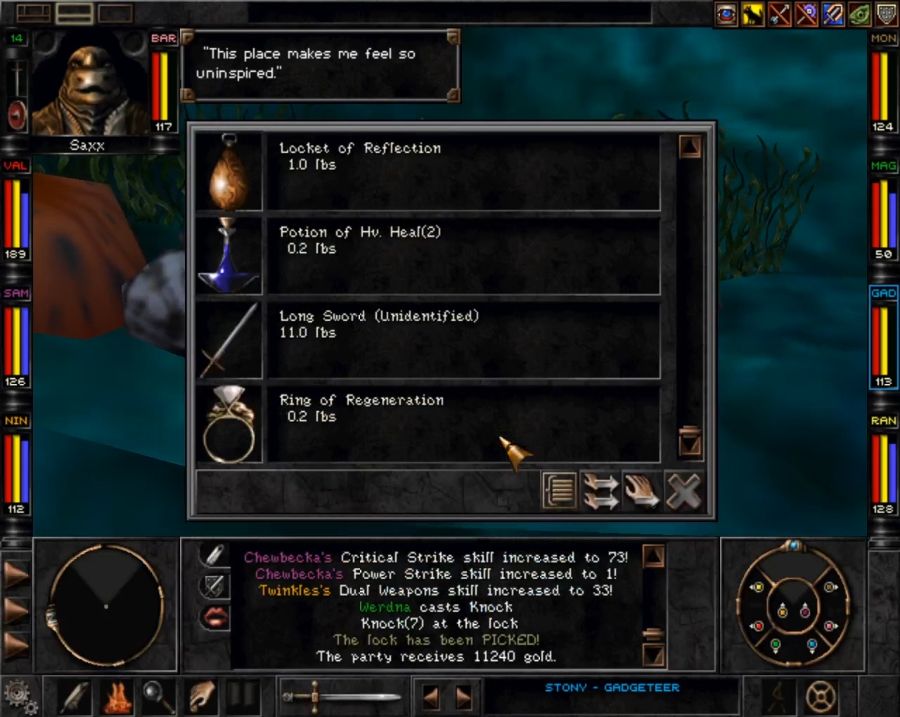
A lot of trash and ONE rare item!
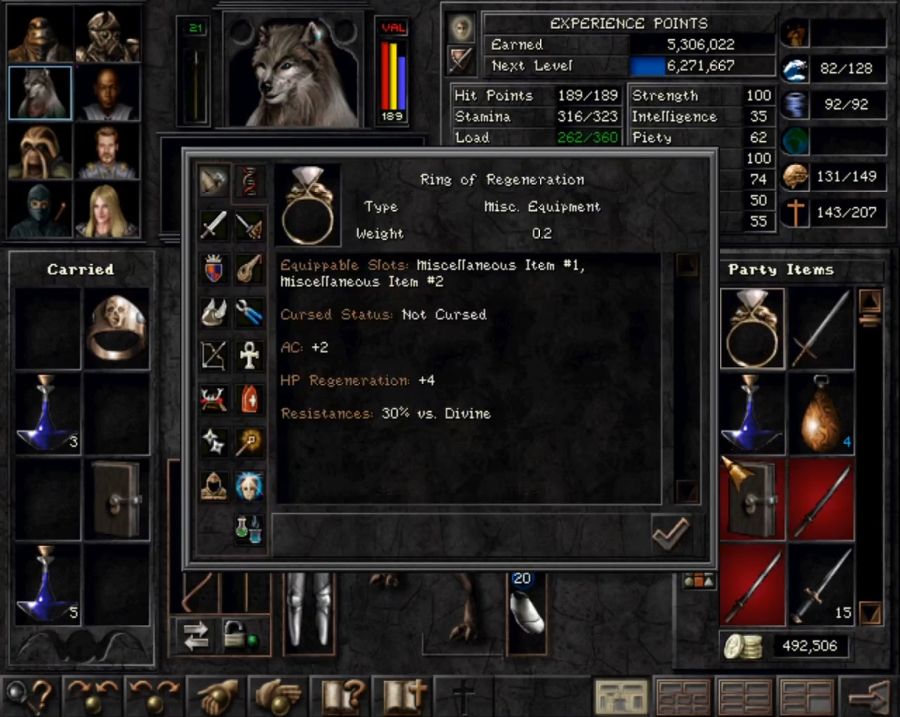
Actually a pretty excellent misc. equippable.
Then there's another shallow path up to the third exit from the Shallows. Nothing exciting happens along the way except that a random encounter finally gets Werdna to his level 7 spells. I've been saving picks so he now knows Nuclear Blast(high Fire damage to all visible enemies), Asphyxiate(attempt to kill all visible enemies) and Concussion(attempt to detonate one very specific enemy's brains to mush).
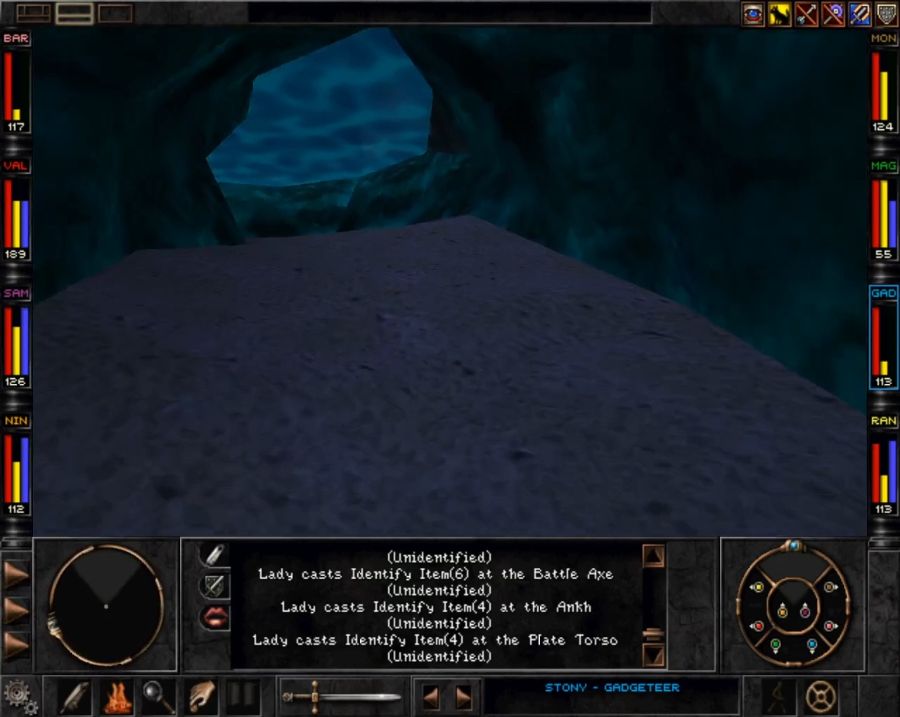
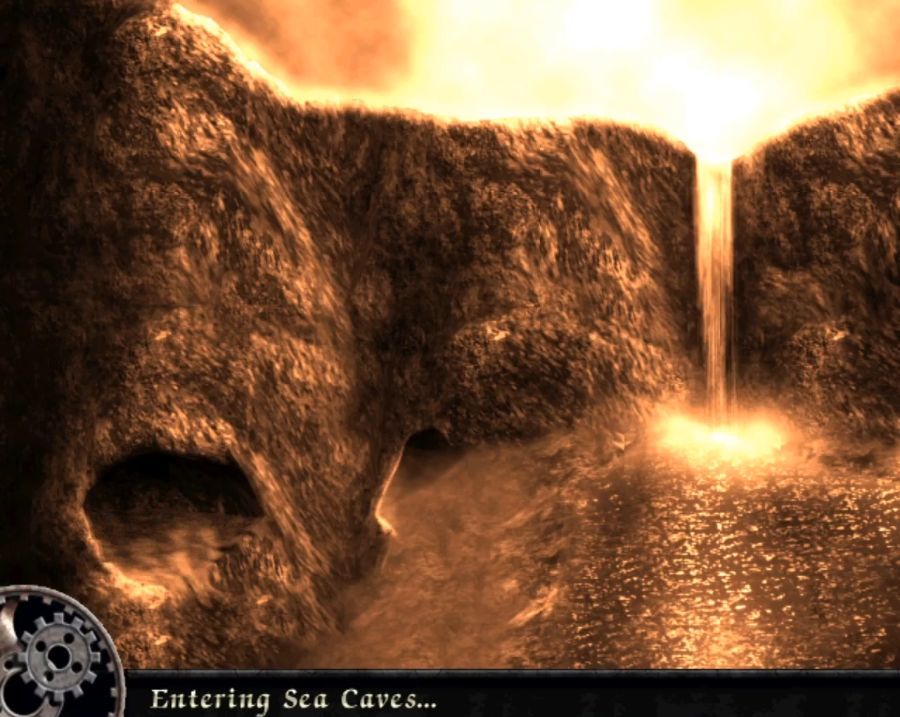
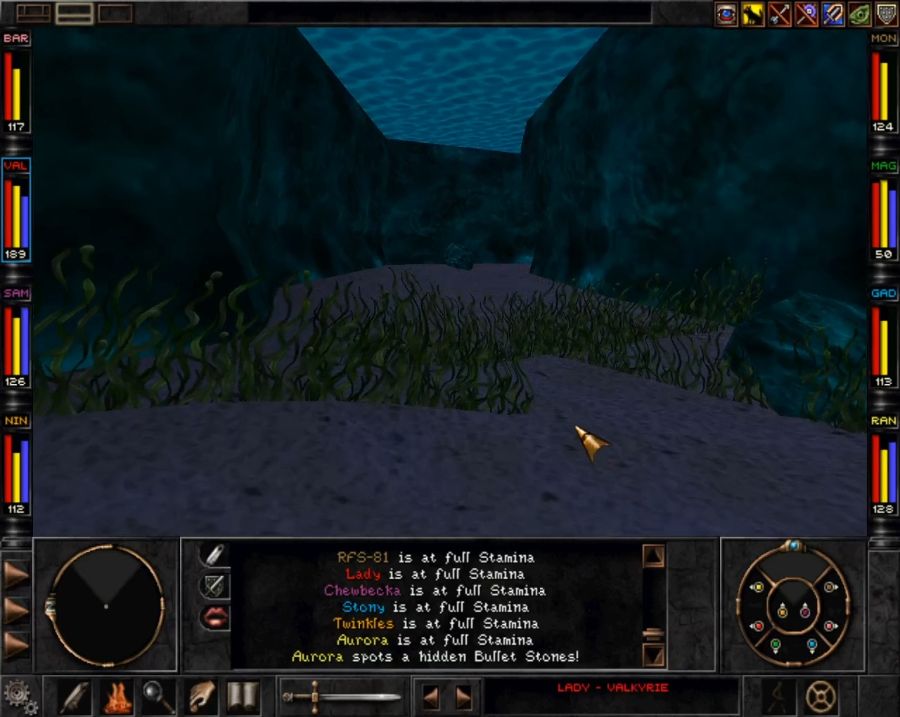
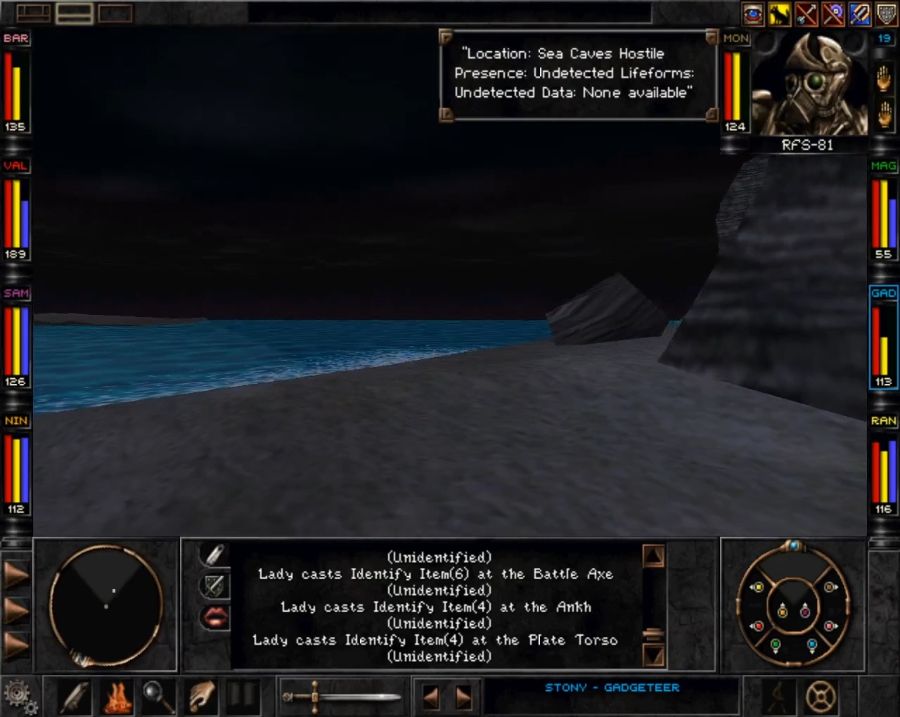
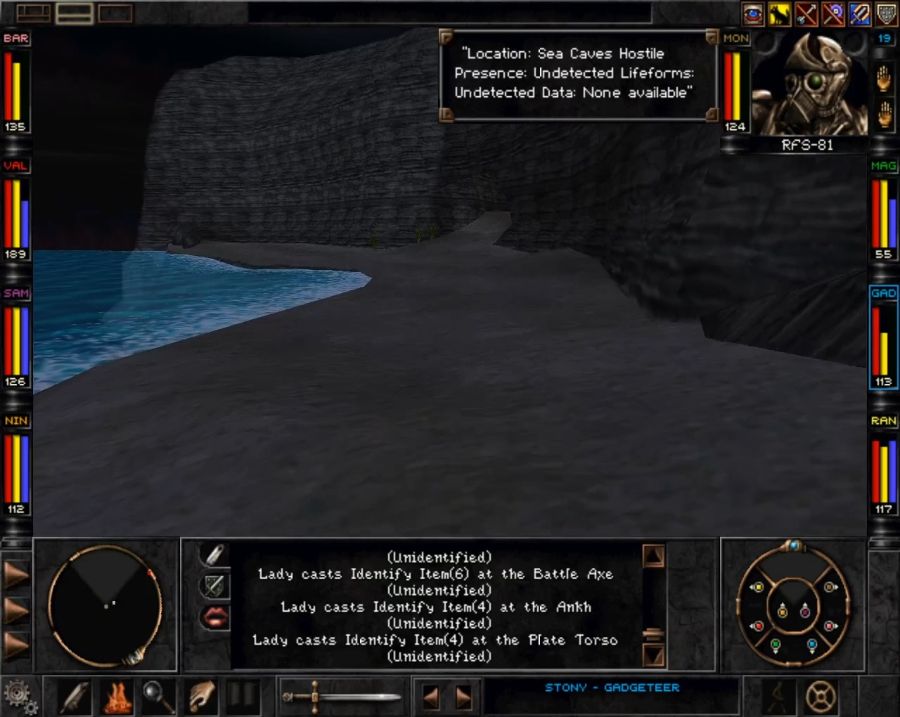
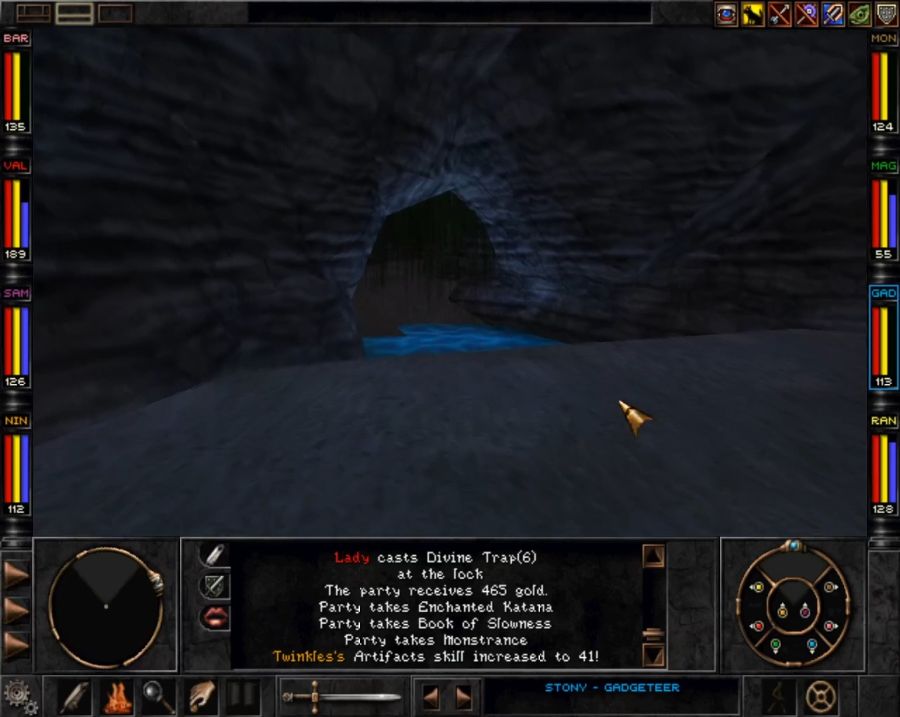
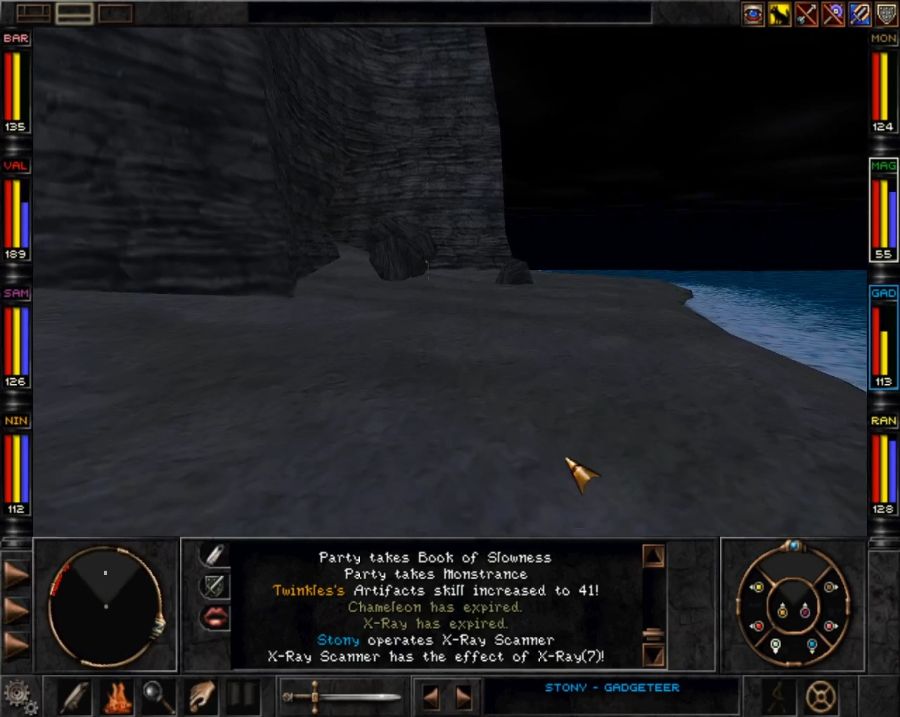
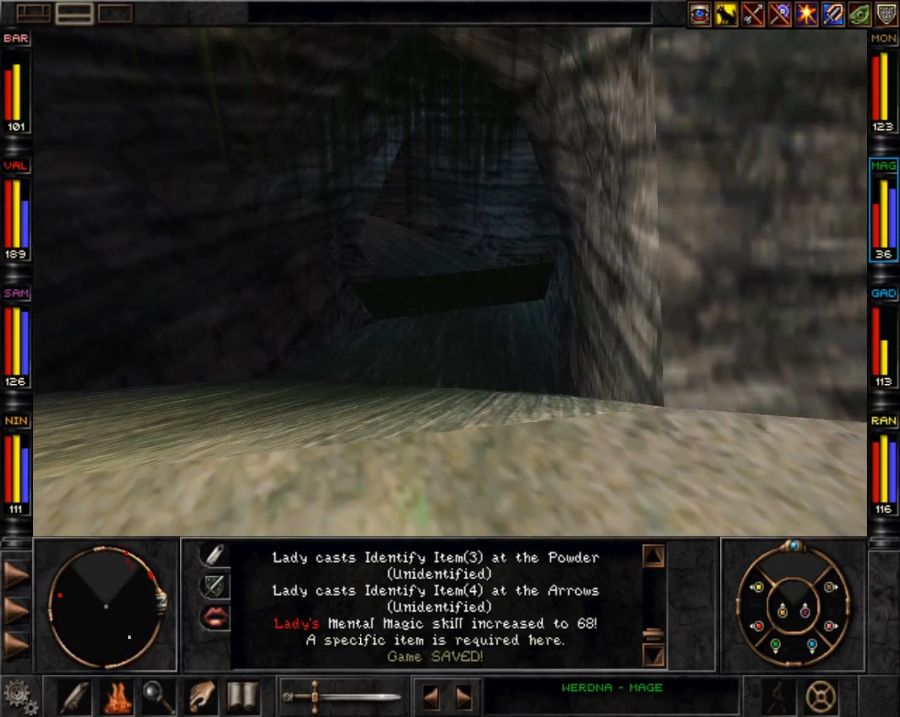
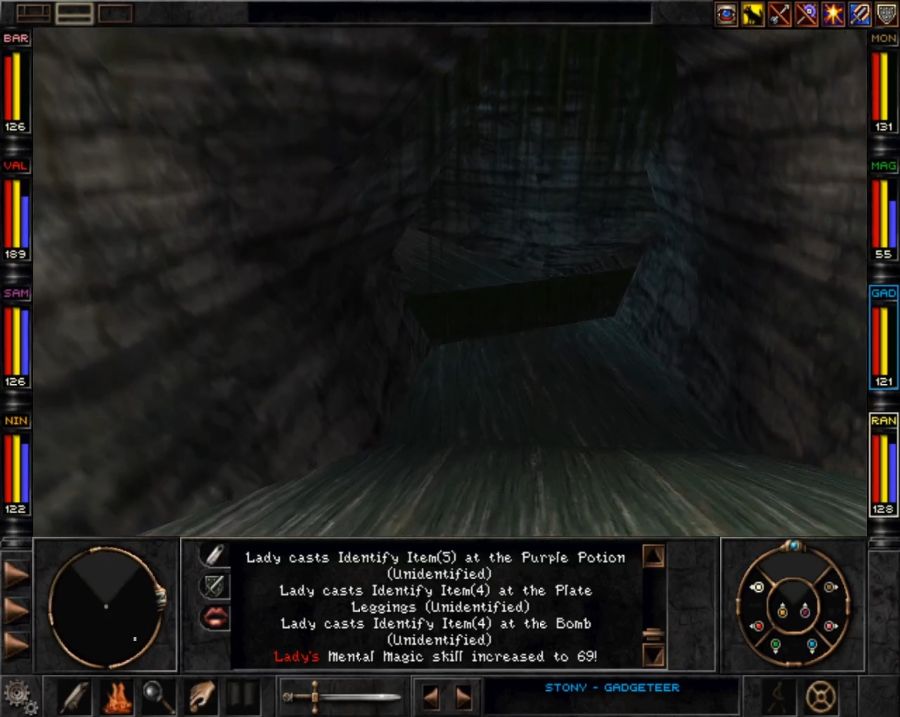
Welcome to the Sea Caves. They're... mostly alright.
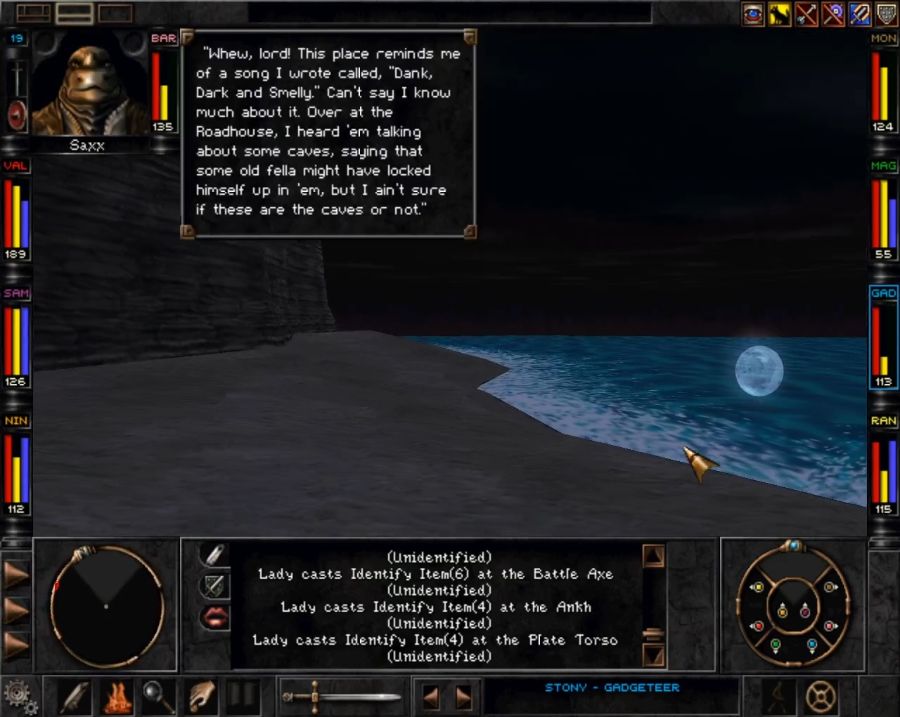
Now, funny thing. Every single guide, everywhere, says that Saxx will not go to the Sea Caves. This is theoretically correct as there's stuff between the Sea Caves and anywhere else that he does not want to go through. But once he's there? The complaining stops and the maluses vanish. He even has "welcome to the Sea Caves"-dialogue like RFS!
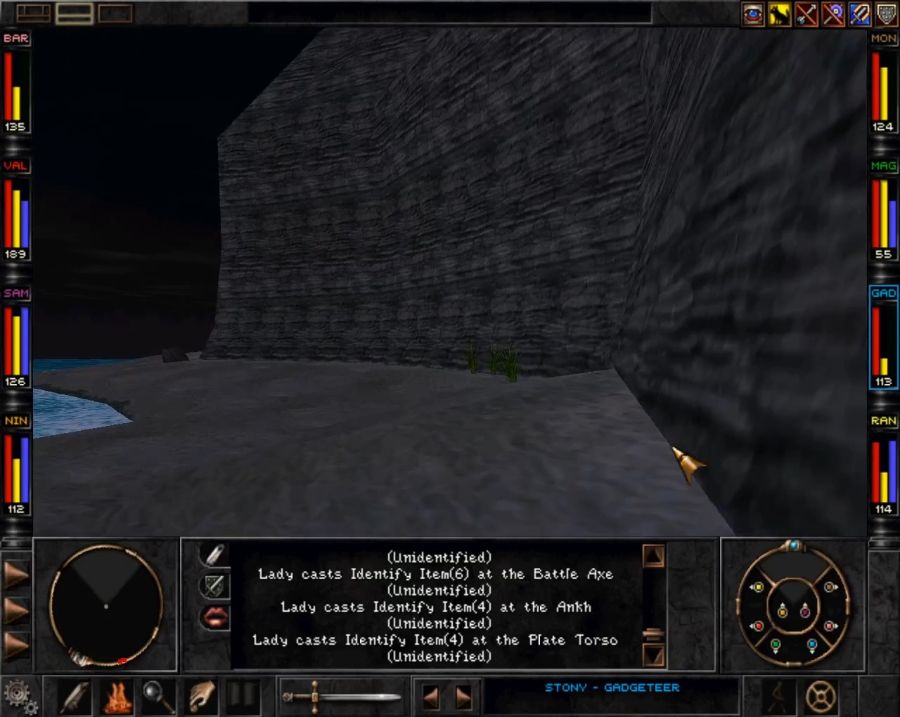
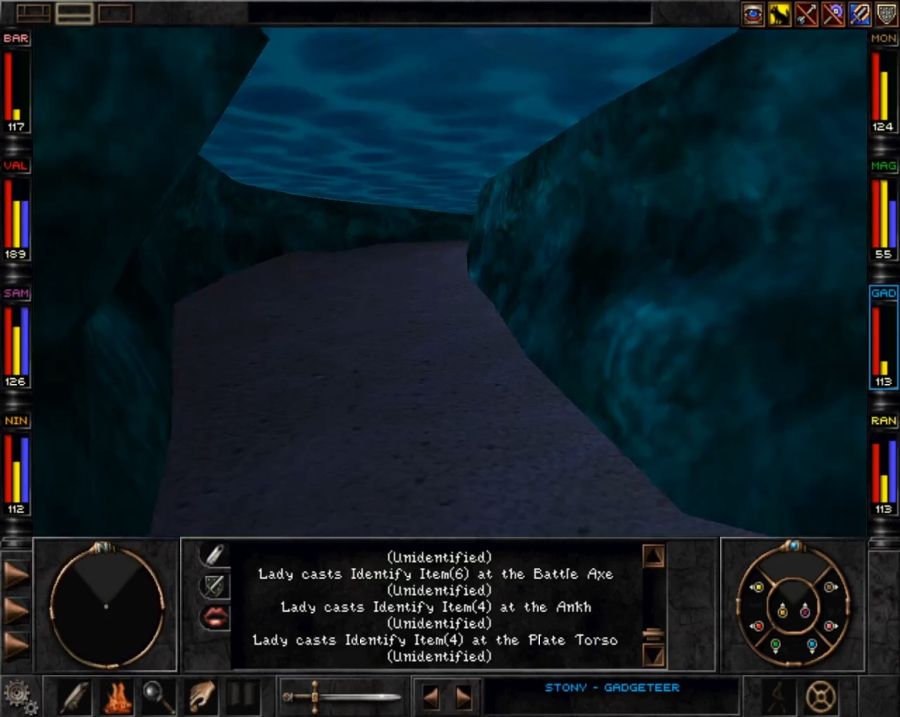
The Sea Caves really consist only of a long strip of beach, winding back and forth, and a cliff wall with the titular caves drilled right into it. If you start at the wrong end, you may well have some running back and forth to do. So go right, and left, and head to the very end of each side, before attacking the middle.
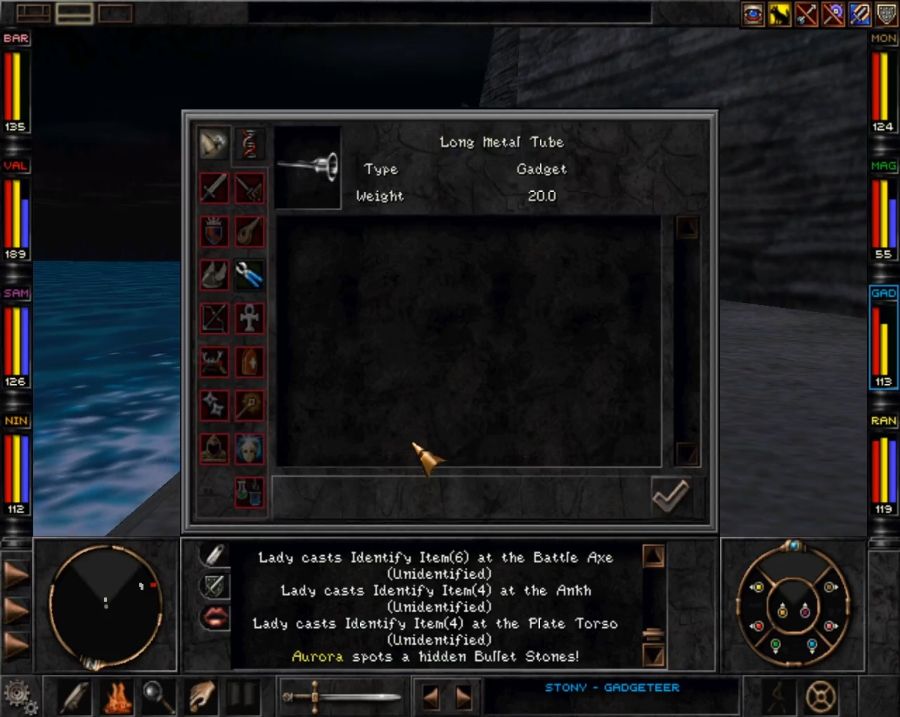
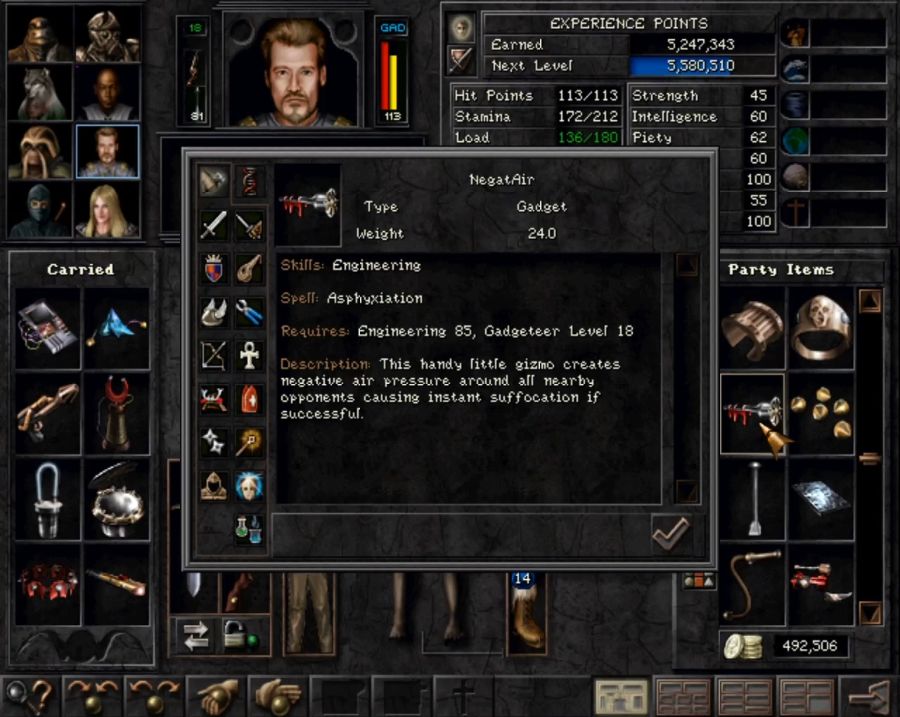
A theoretically powerful item, but I have no idea whether anything in the calculations for Gadgeteer/Bard toys functions as a stand-in for Power Cast. Some of the theoretical equations I've seen consider it to be the case, but I don't, as I've generally felt like their high-level functions are pretty unreliable.
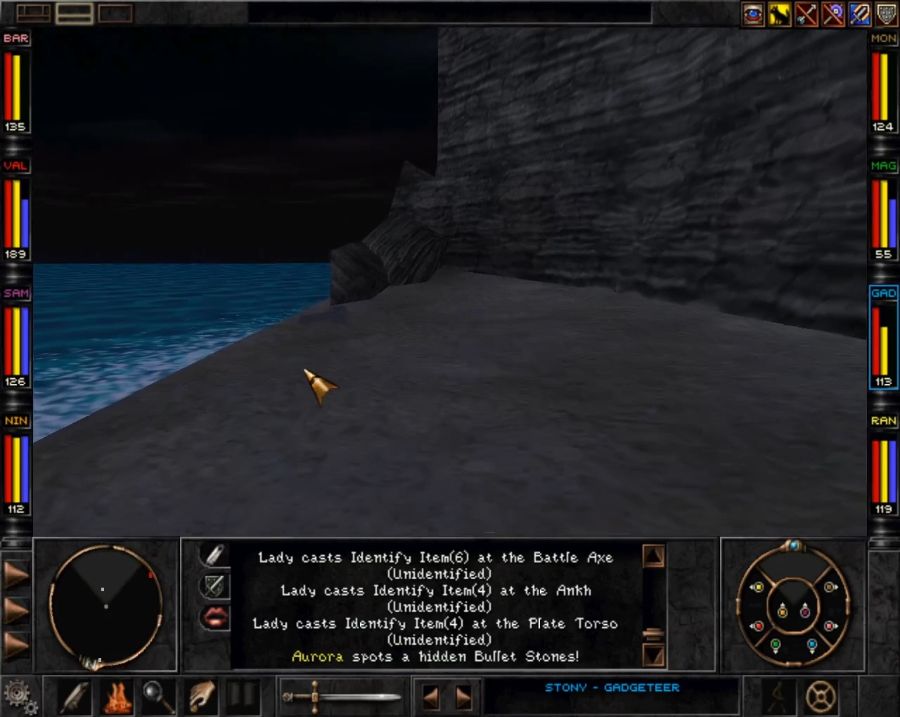
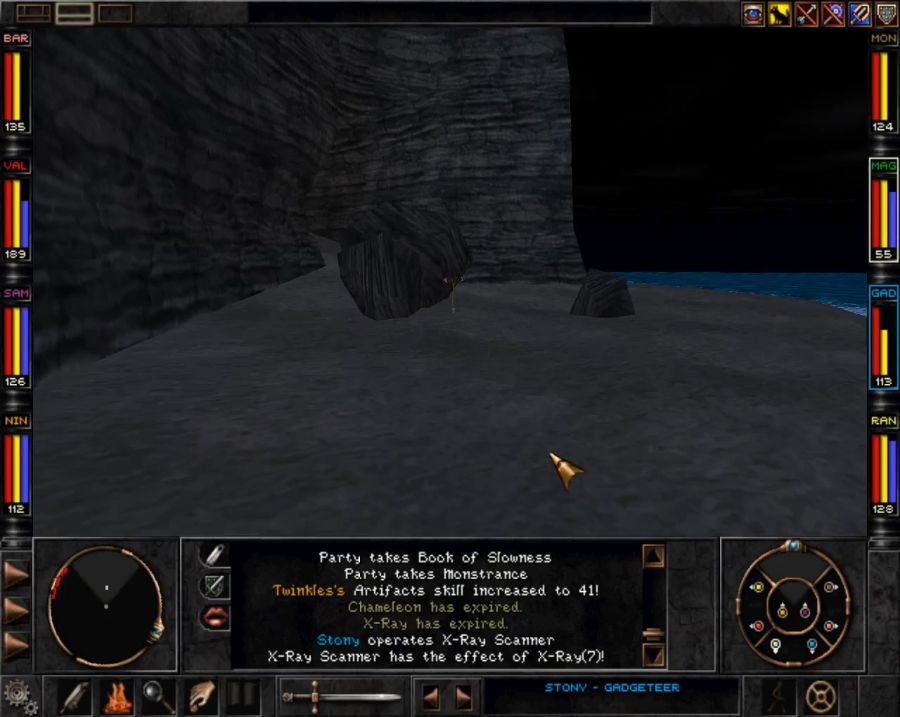
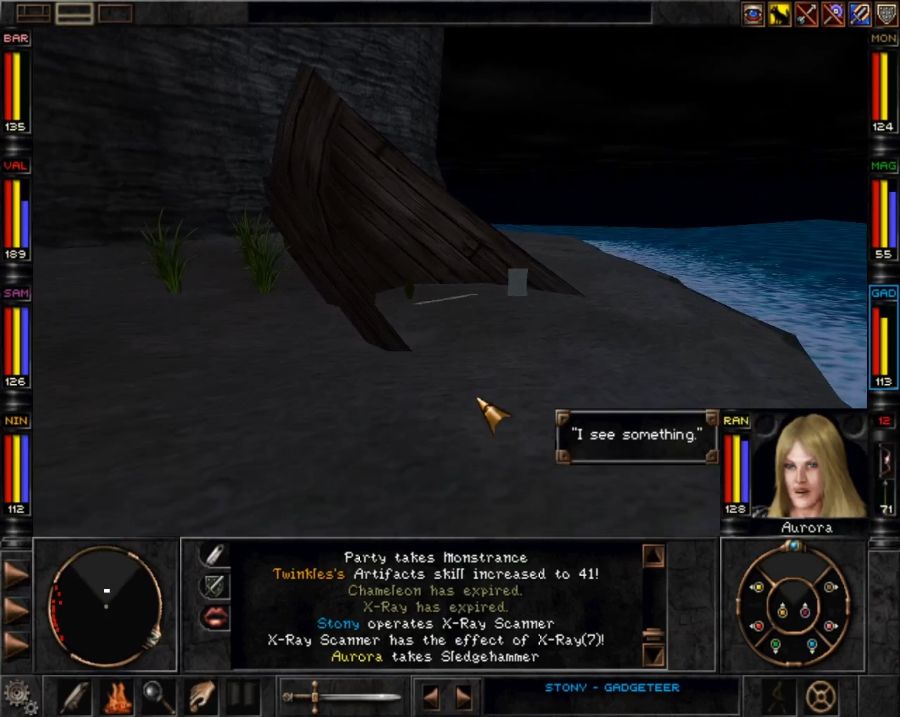
The reason you want to start at the ends of the area is because you'll have to trip back to them before you can finish the middle, as they contain some important puzzle-solving bits and bobs. For instance.
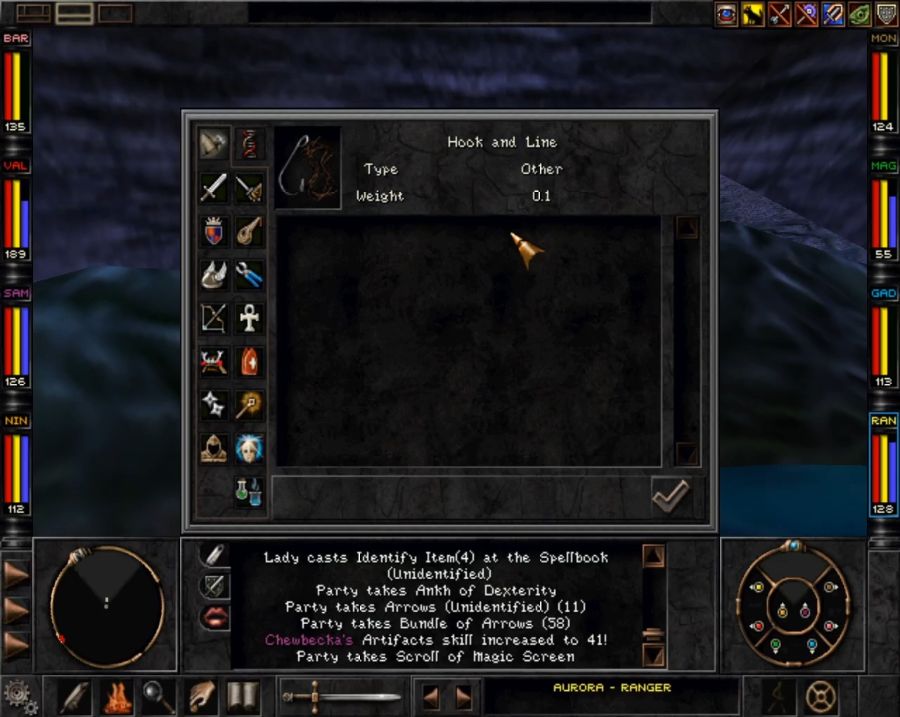
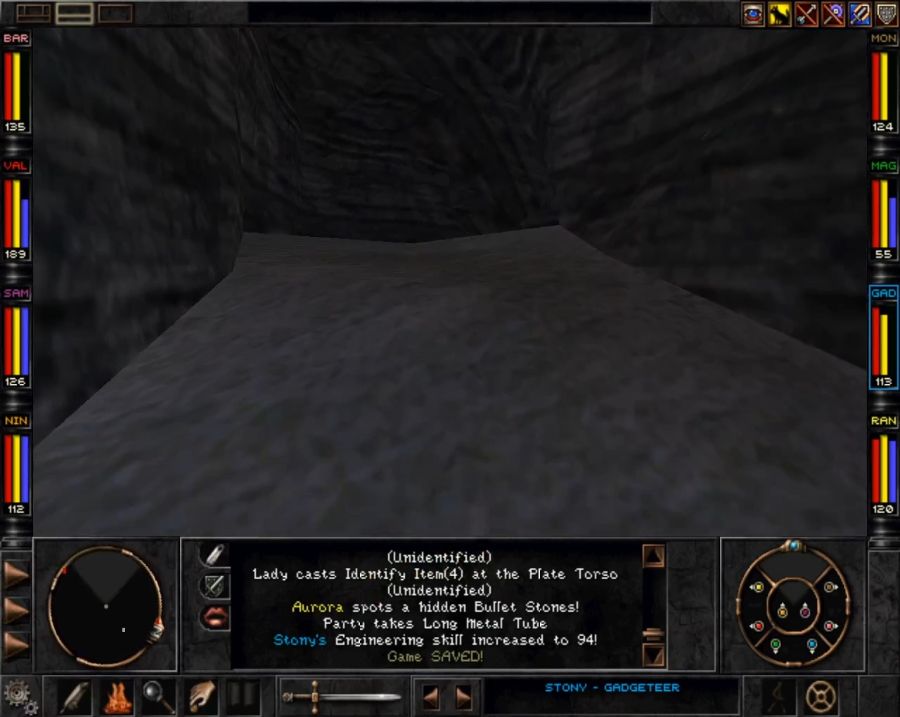
Next to this chest, a hook and line we'll need.
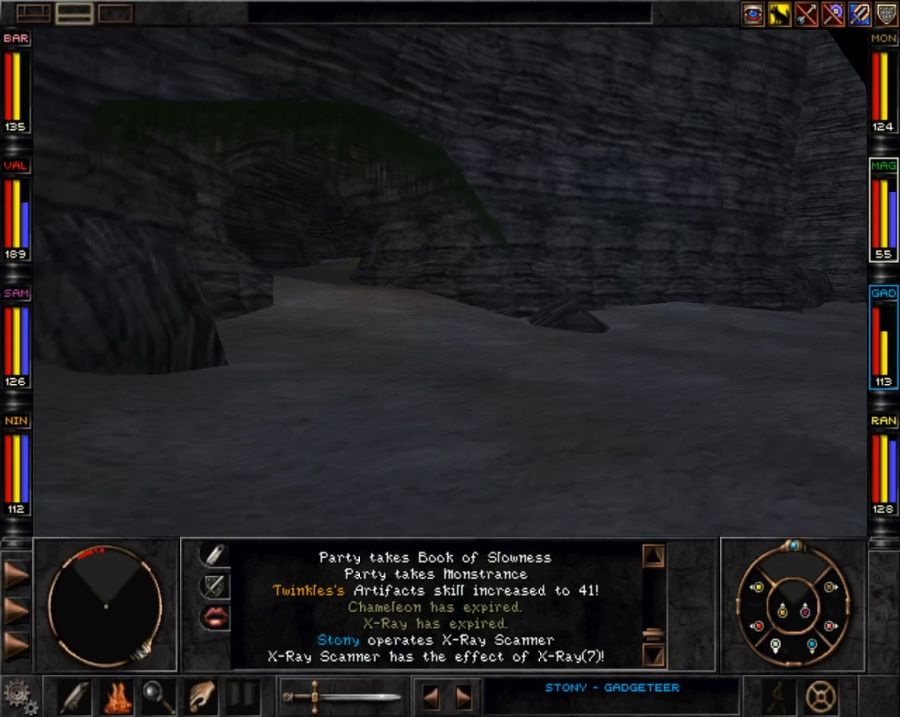
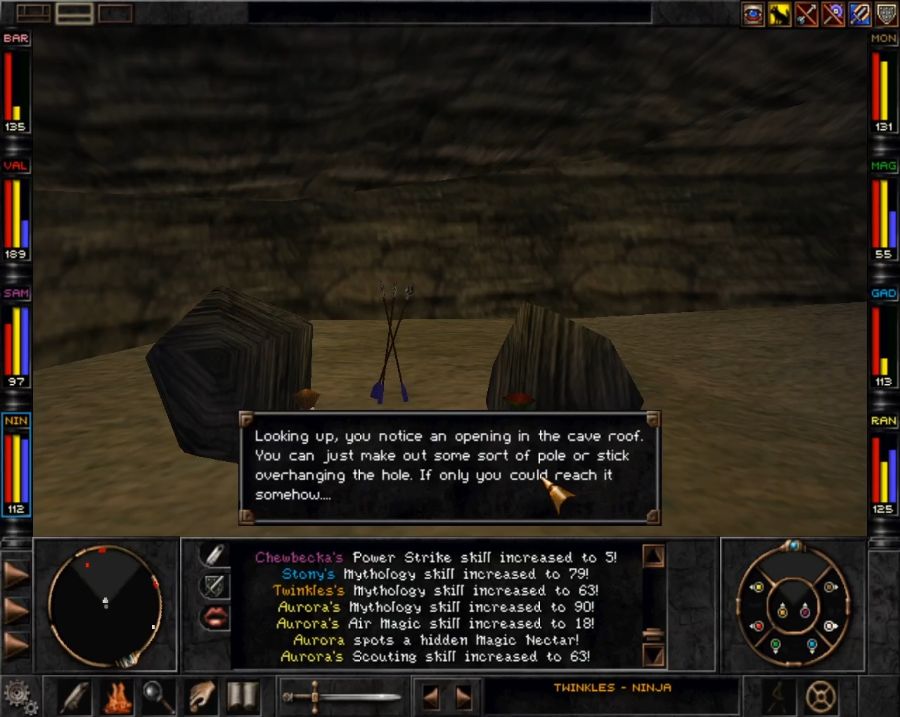
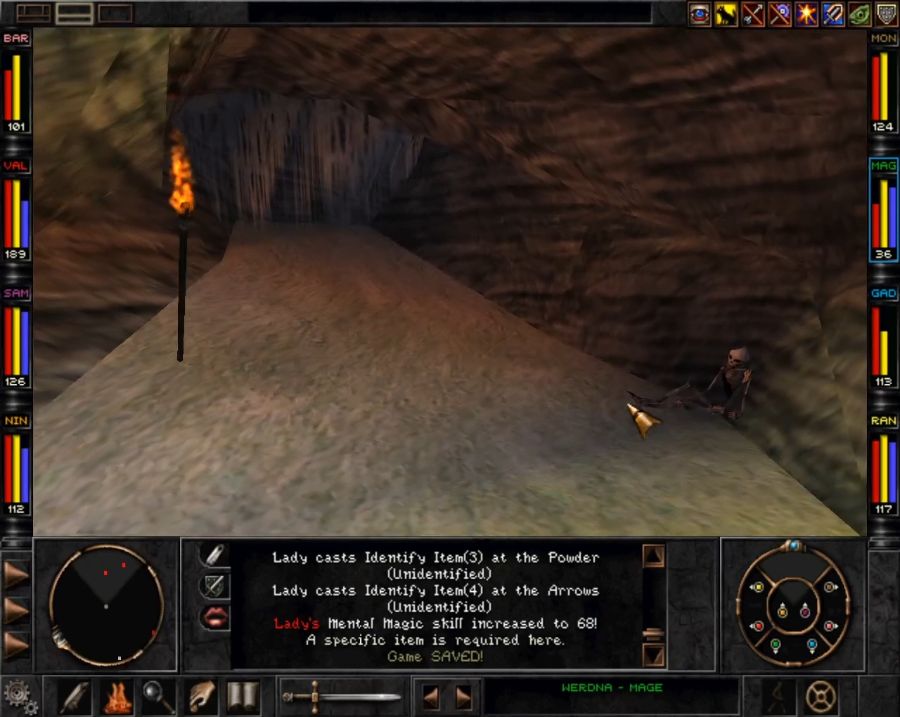
Also take note of these holes in the ceiling as you explore the outlying caves. That should indicate what the fate of the insufficiently supplied is: dropping down pits to start over again. Though in fairness to the game, the drops will generally deposit you near some of the items you need to complete the main cave.
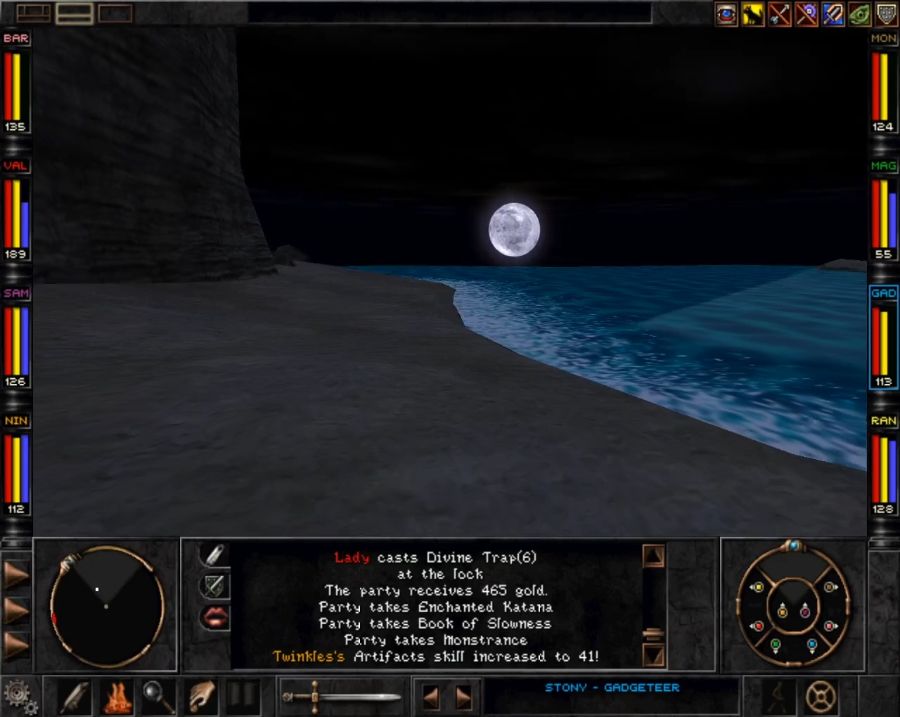
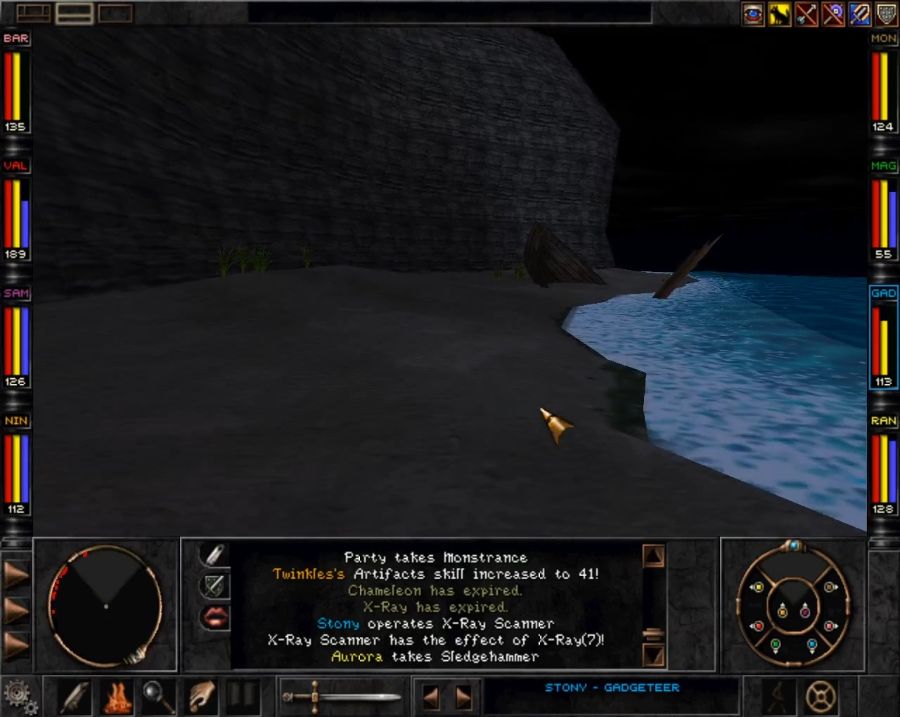
Also for some reason it's always night when I come here. I wonder if that's just a coincidence or scripted to set the time of day when you come up out of the shallows.
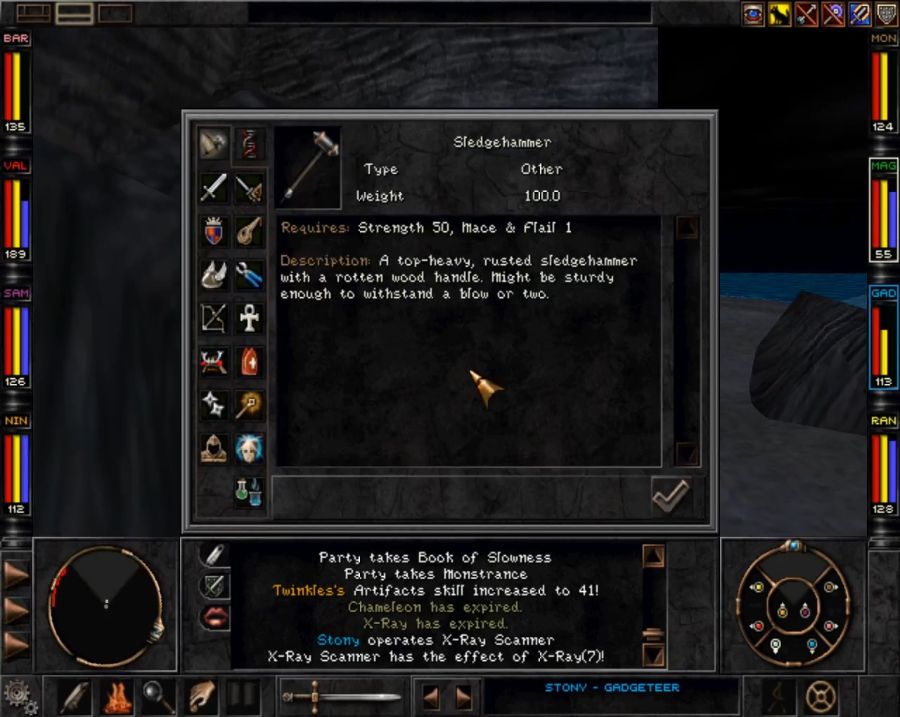
So that's a piece of string with a hook and a sledgehammer. We've just got one more item to collect further down the beach.
Time for an actually not bullshit puzzle. Which doesn't feel like something I need to praise, but videogames are generally bad at providing the player with puzzles that aren't somehow jackassery.
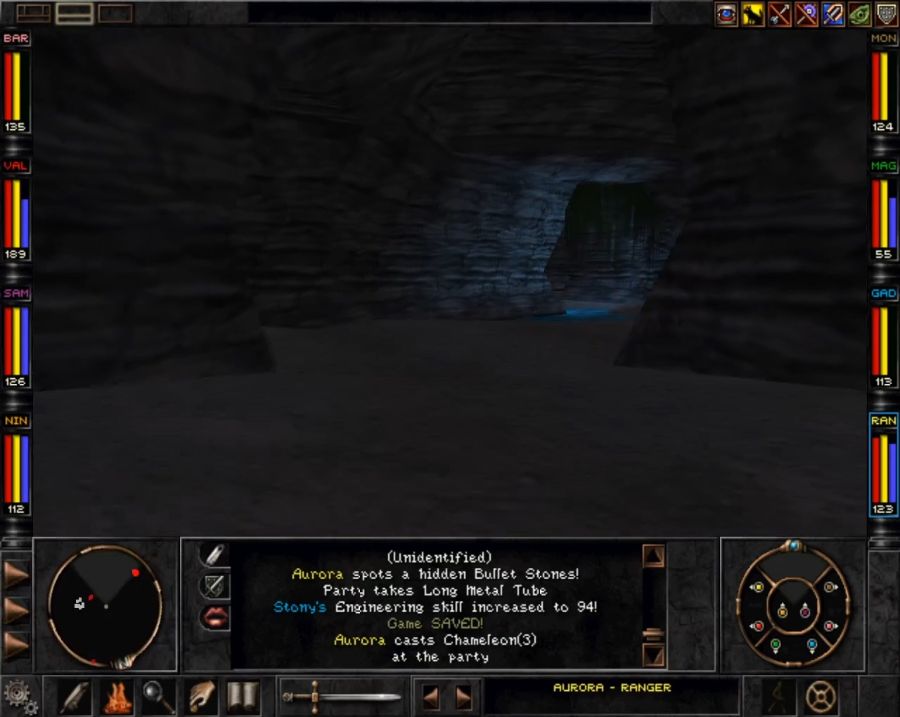
Reach the end of the beach.
Reach this cave that looks a bit more like a cleft into the rocks than a hole into the rocks, at least at first.
https://www.youtube.com/watch?v=kNiYlFqcwvs
So you don't really need to do this at all. In fact there's no purpose to it in any way, shape or form. Though bashing down that wall does feel somewhat cool.
Because you can never go this way. Instead what you need to do is go into the side tunnel and take the first branch...
https://www.youtube.com/watch?v=AOlrtgwX0h0
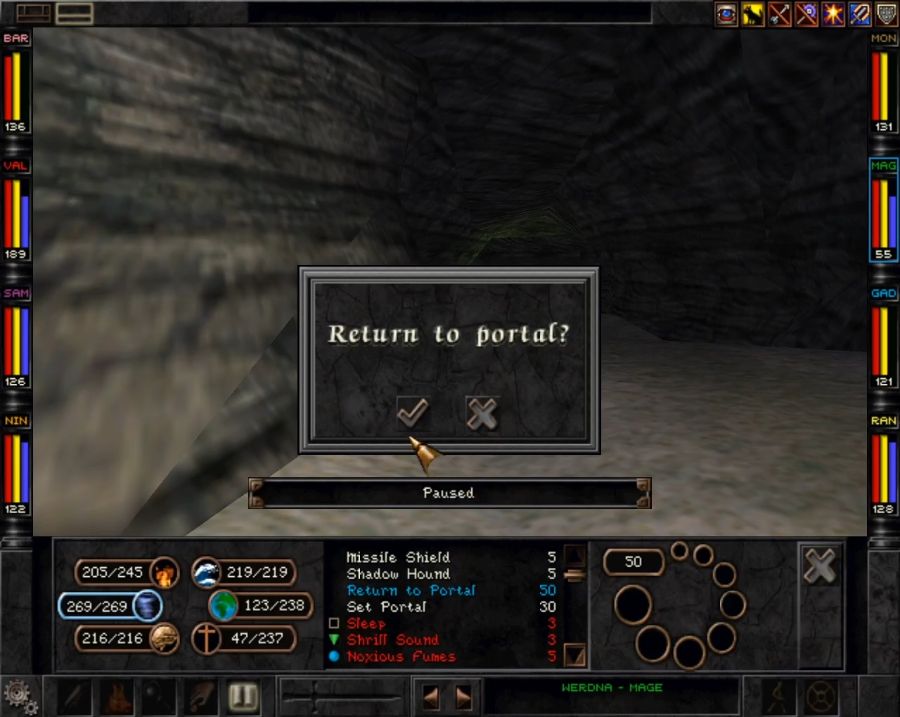
Don't mind me setting a portal as I'm unsure if I remember right.
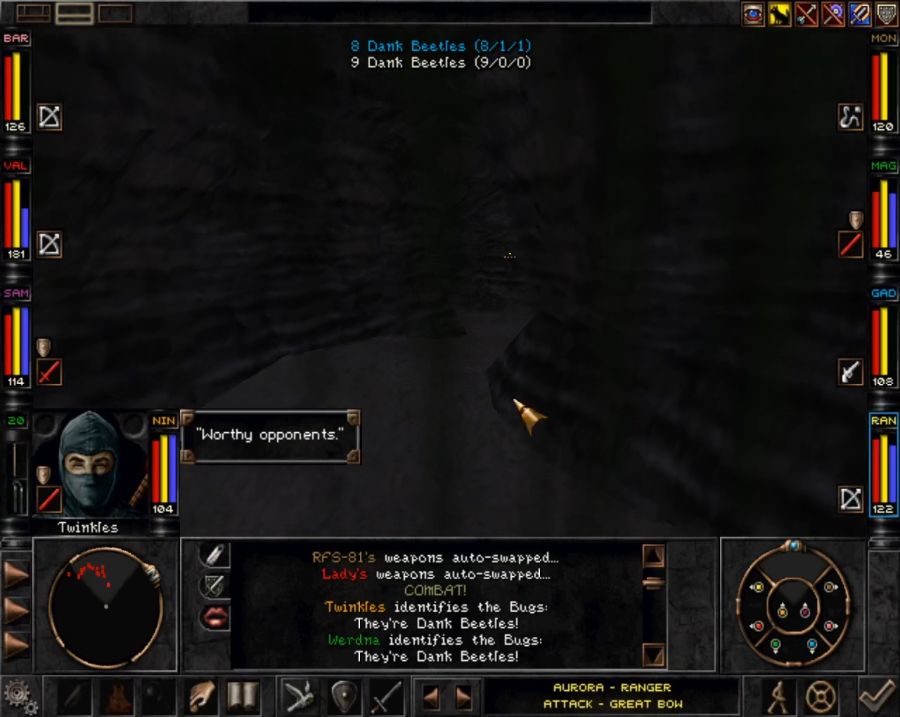
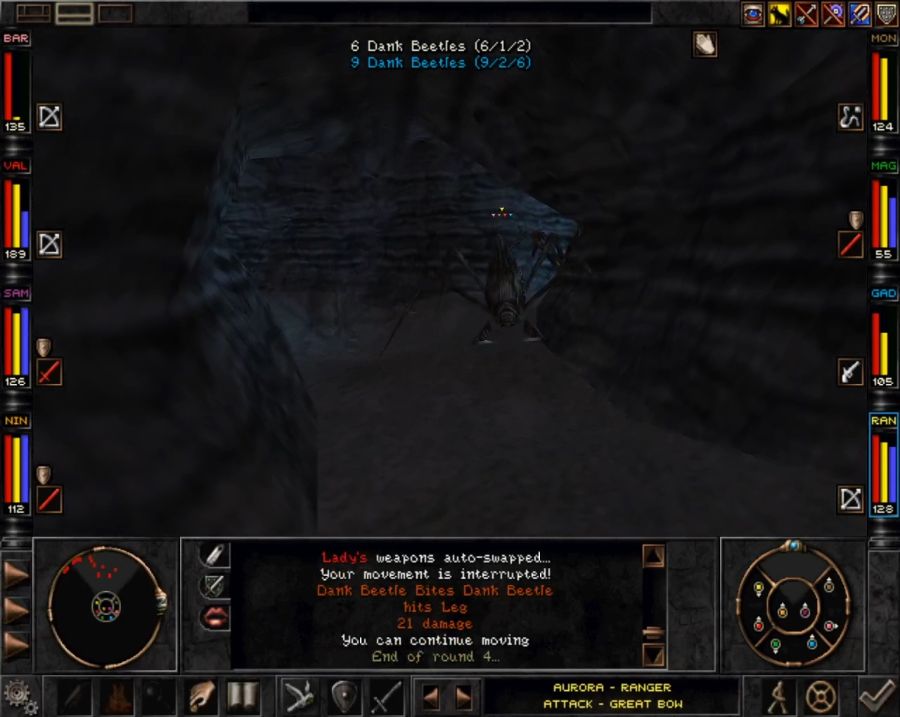
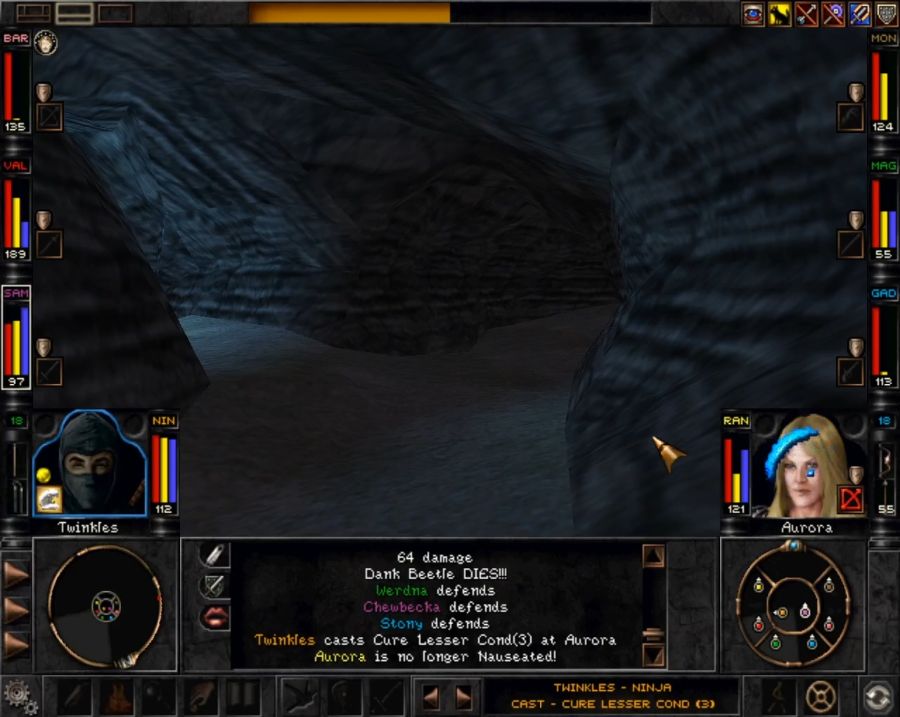
And then fighting almost two dozen Dank Beetles. They're just physical attackers with no real tricks, and, here's the thing: they're too big for the area. Only one of them can attack you at once. If they'd had the size of the small mites and bugs we fought back in Trynton, they could have hit you with multiple beetles and perhaps been a challenge. As it is, Chewbecka, RFS and Twinkles chew through them so fast that often one of the three will have no target in a given round because the other two already flattened whoever was in reach.
Meanwhile Werdna and Stony let loose with Asphyxiate after Asphyxiate which takes down three or four beetles in total.
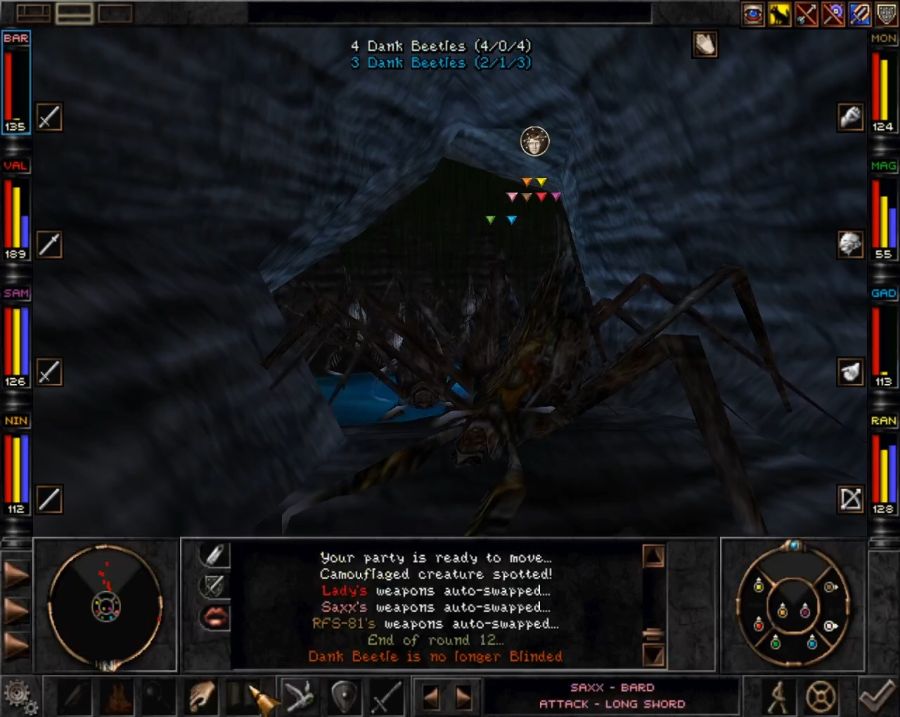
Just look at this!
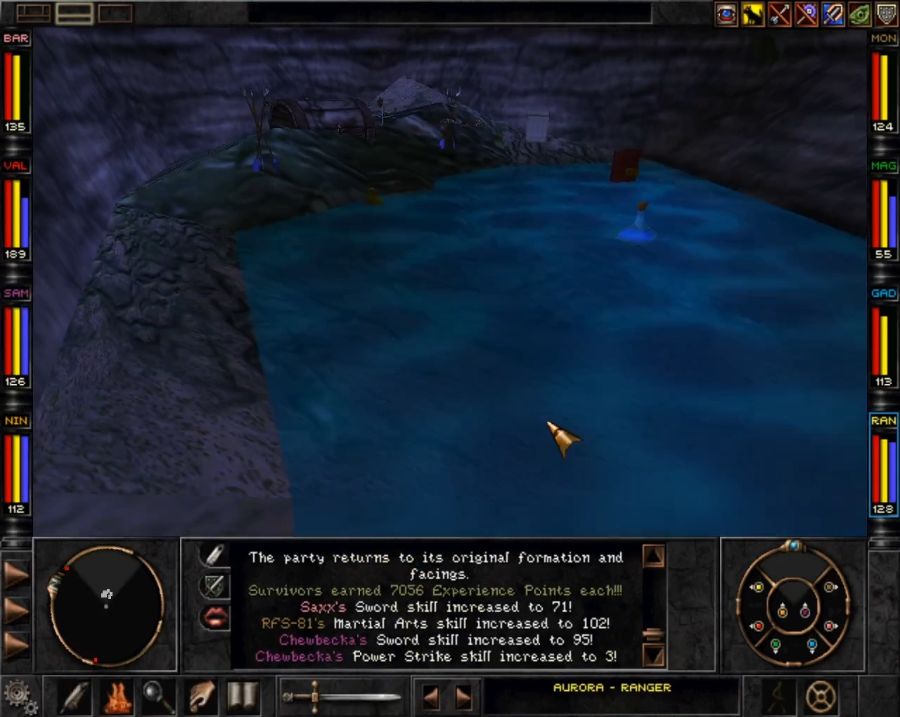
In any case, once I'm no longer hip deep in crushed beetle husks, I enter this little widening in the caves. On the right is a way to hop down to beach level, though it's raised just enough that you can't get up from down there without climbing the previous cave and dropping down. But it gives you a way out if you come here without the string-and-hook.
Enter the middle of the room and...
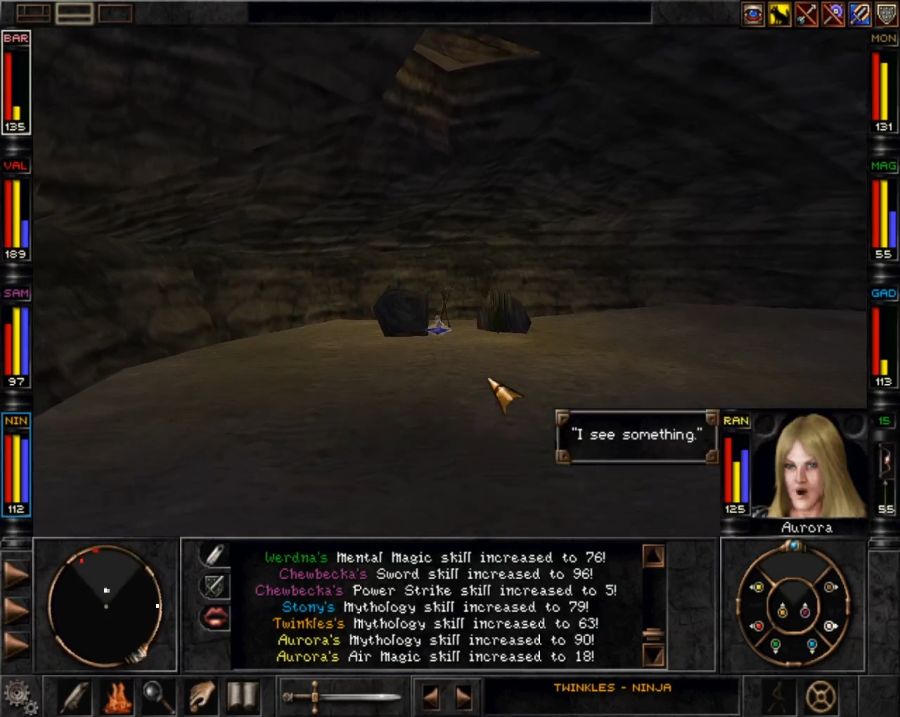

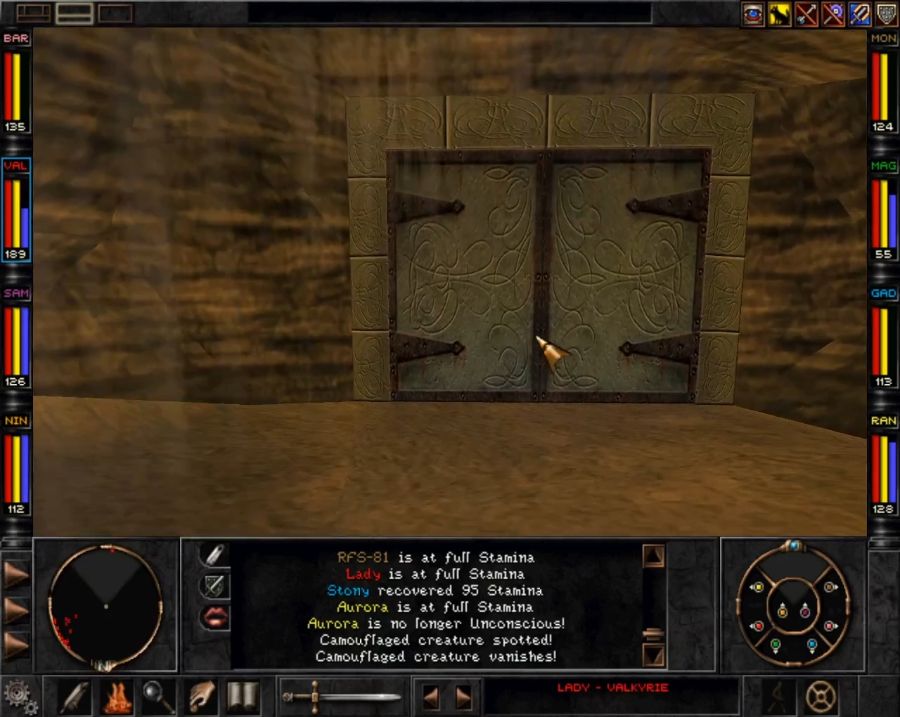
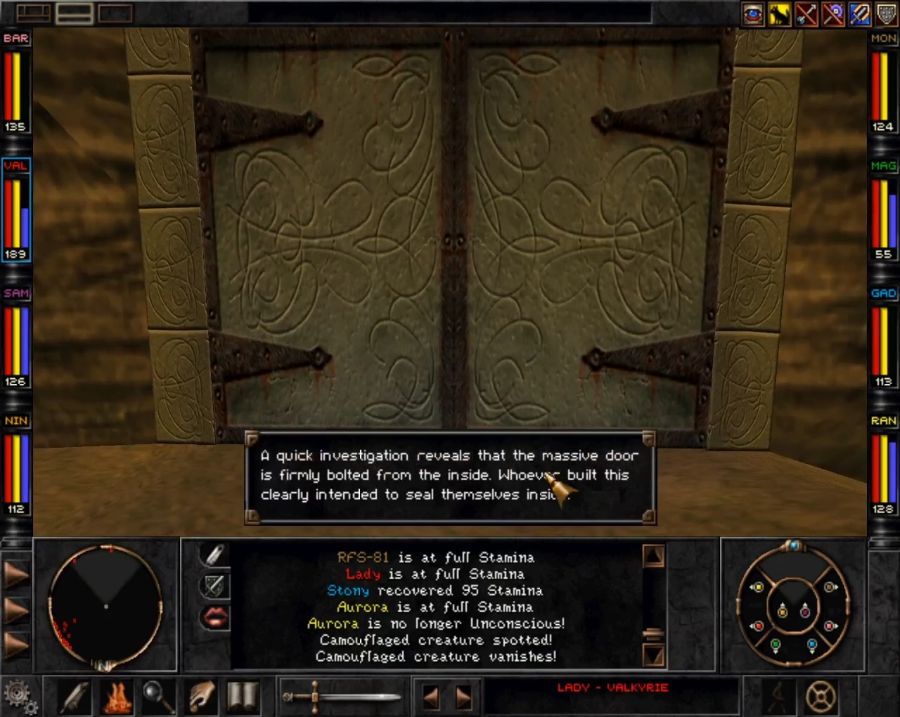
The game is pretty generous about giving you hints.
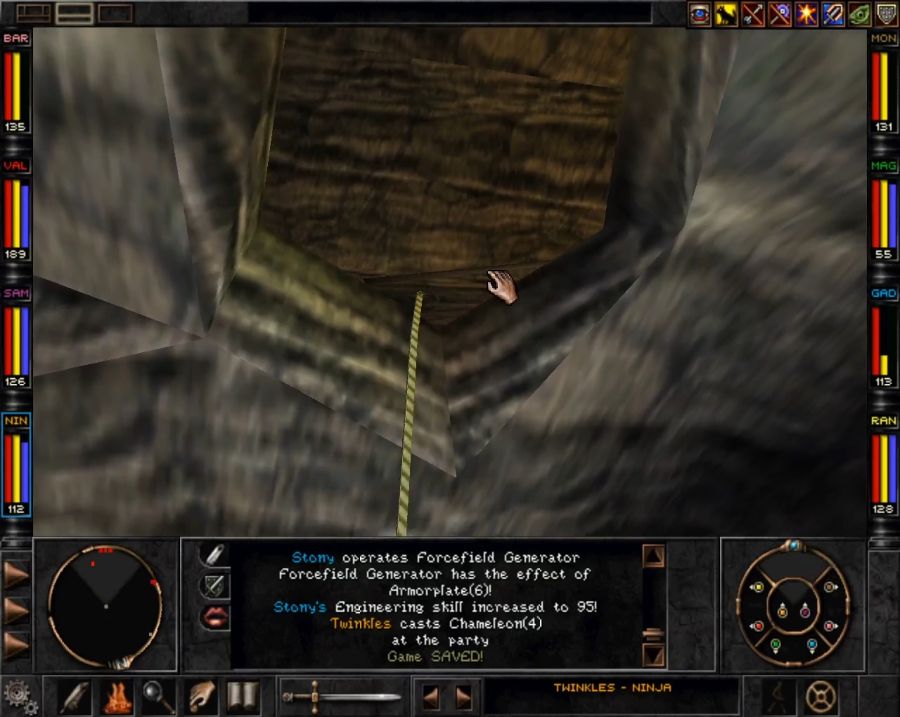

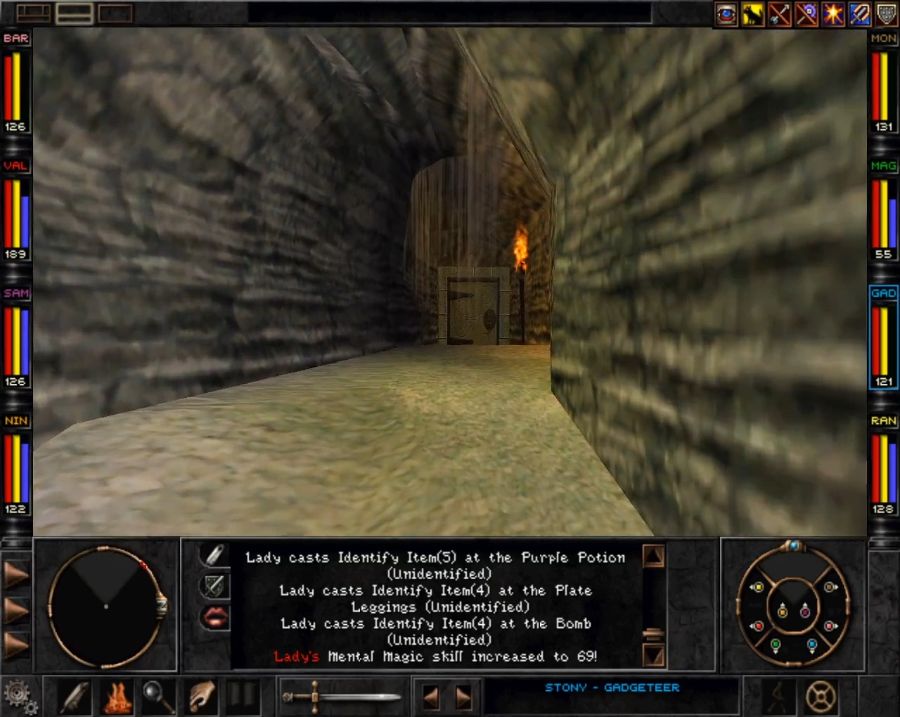
Climb up and you arrive behind the door that couldn't be opened from the other side.
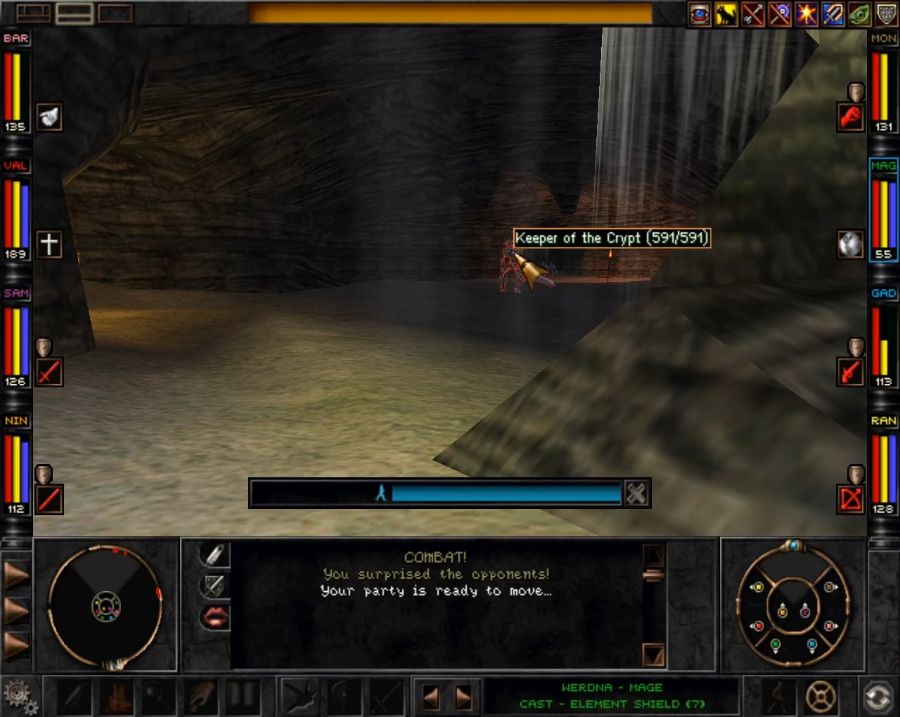
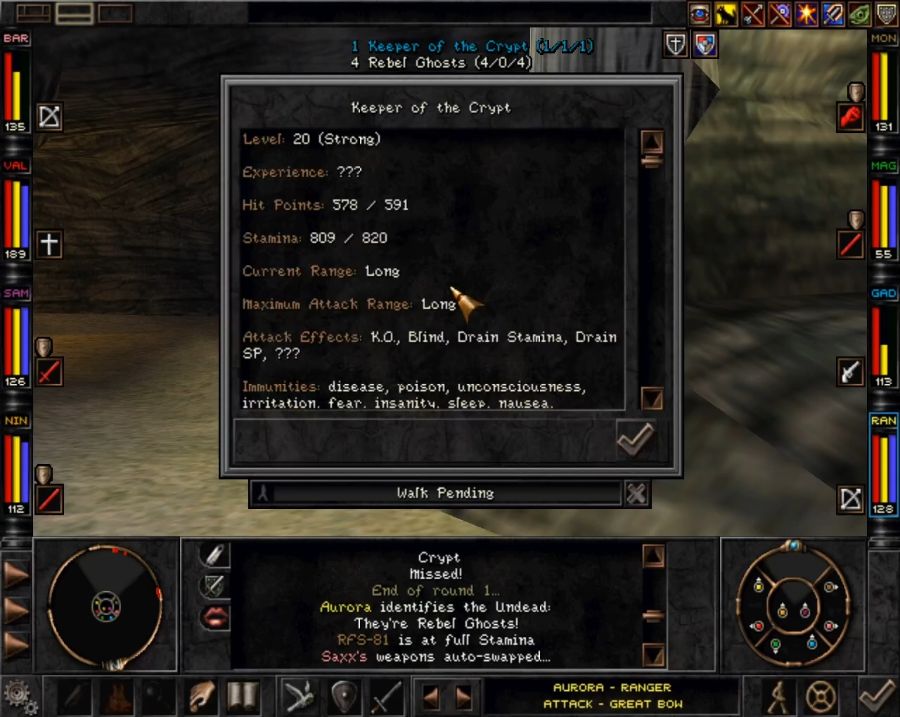
Also the sound behind you is just a powered-up Death Lord called the Keeper of the Crypt.
Despite his boosted stats and level, though, he lacks a lot of the nastier Death Lord tricks like casting Death Cloud and Death Wish. Which is pretty fair, considering that as far as I recall all Death Lords in the game are skippable while this fellow is not. He's backed up by a couple of no-account rebel ghosts.
This encounter is one of those that would be scary if you beelined here, but as it is, we bop these goons into the afterlife quickly and get to poking at the room. It's got five entrances, counting the locked one behind us and the hole in the floor. So let's look at the remaining three.
One would, currently, just slide us down to where we came in.
Across from that is the path we need to take, it's littered with these skeletons that contain a few items and spawn a ghost when poked at. Since it's a single ghost of the type we just effortlessly killed four of, it's not very scary, but...

The first one also aggros some nearby buddies.

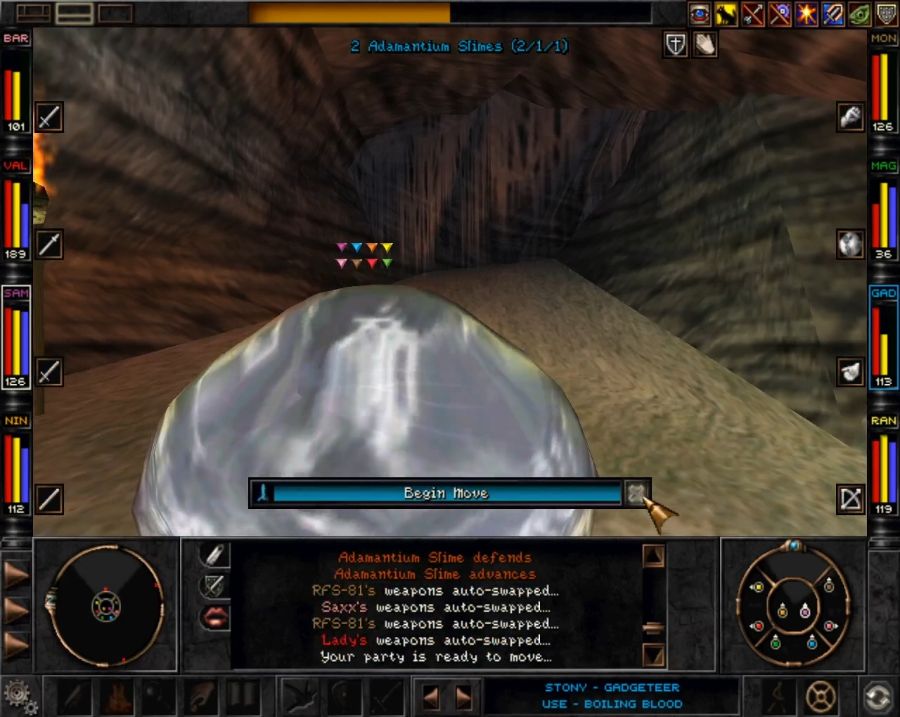
Fucking Adamantium Slimes.
I hate these things so much. They're no real threat, BUT, BUT.
They're 100% resistant to all elements except for fire AND they have a hidden 90% resistance to physical damage, too.
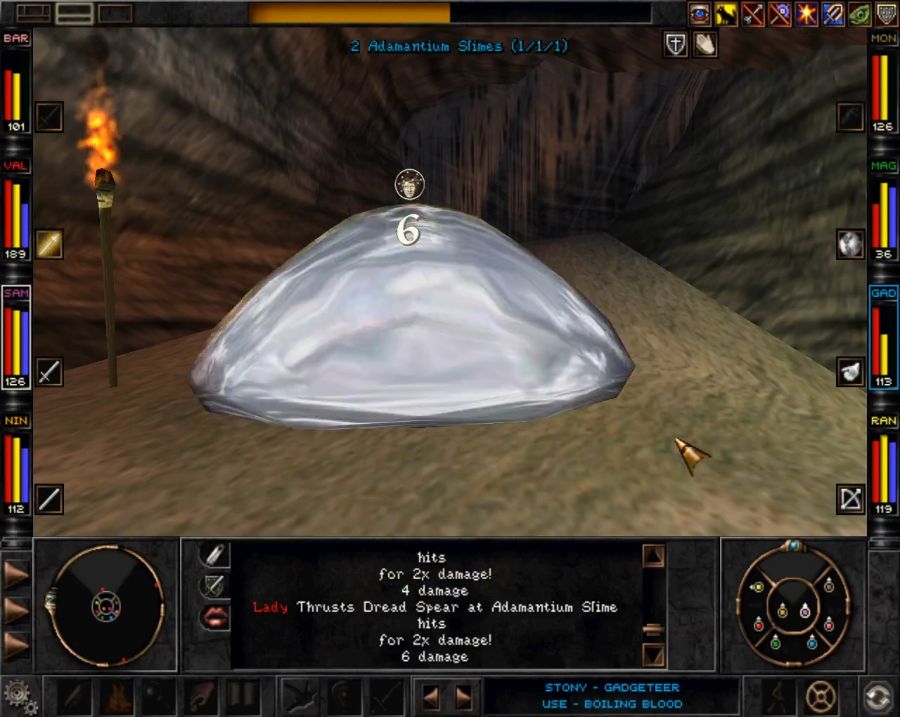
Look at what my beautiful damage numbers have been reduced to! It's a travesty.
Really the only way to wear these assholes down is lucky rolls on Boiling Blood from Stony's Microwave Ray or lucky instakill rolls from Chewbecka, Twinkles, RFS and Aurora.
Thankfully as long as they're by themselves they're just incredibly annoying, not dangerous. If they came in bigger groups in open areas, or as big globs of HP you couldn't safely turn your back on as smaller enemies flooded around you, they could actually be scary.
In any case, there are two skeletons we want to loot.
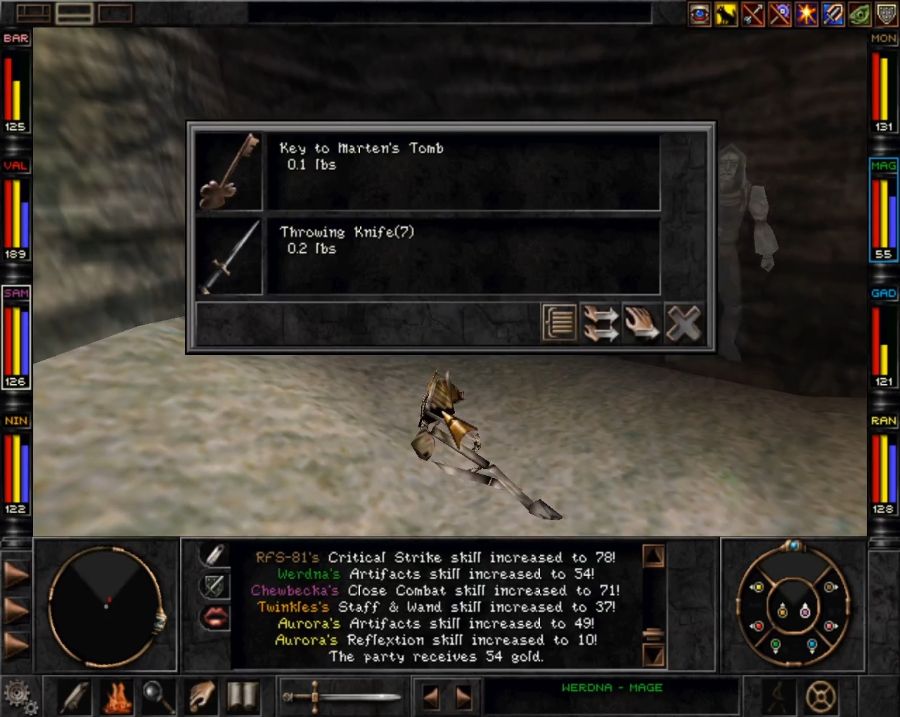
This guy for an important key.


Not this guy, though I'm amused by it spawning the resulting ghost literally on top of me.

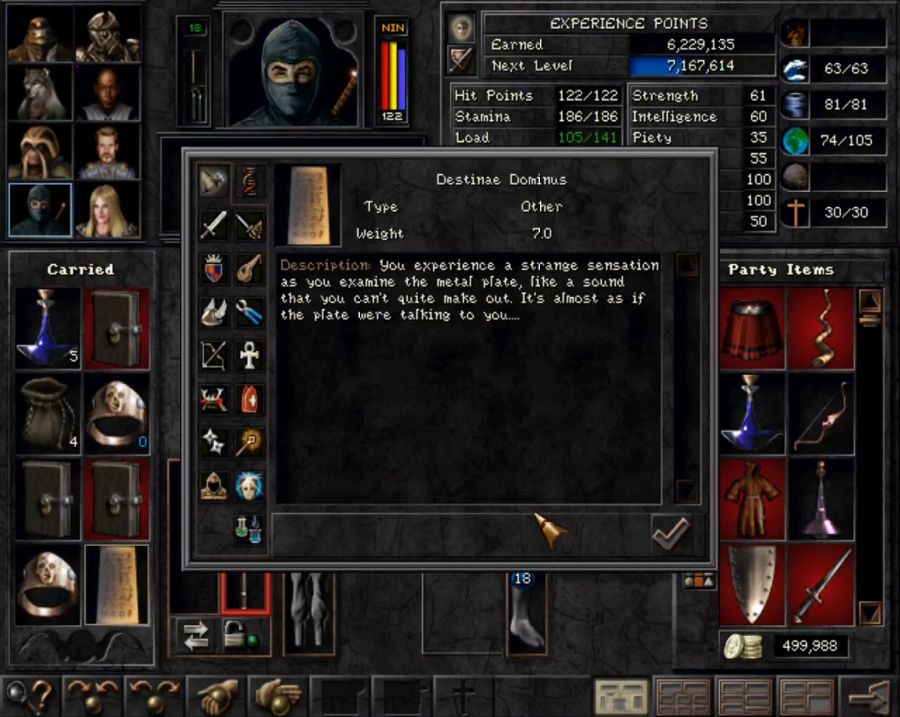
But this guy half-hidden behind the pillars. As long as someone in the party is wearing these boots, the sliding effect on the greenish floor textures is negated and we can walk across them safely. It allows access to a couple of chests(though of course they drop nothing nice for me, great stuff I had a pure Fighter along, though) and to progressing the game.
Back in the big room, I check out the last branch before continuing. It contains only one thing of note(though if we came here earlier it would also have had a nice bow upgrade for Aurora), which is another instrument for Saxx. This one casts Restoration, a cure-fucking-everything-except-being-dead single-target spell. Great in case one of your frontliners gets piled up with conditions.
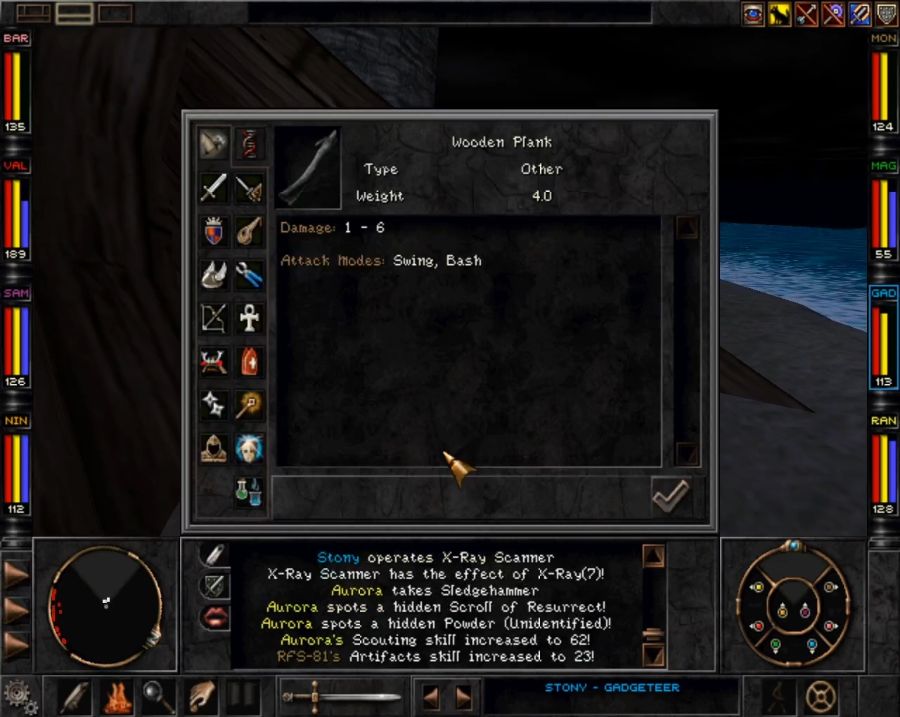
Now that we no longer slide into the chasm, we can carefully walk down to the edge and...

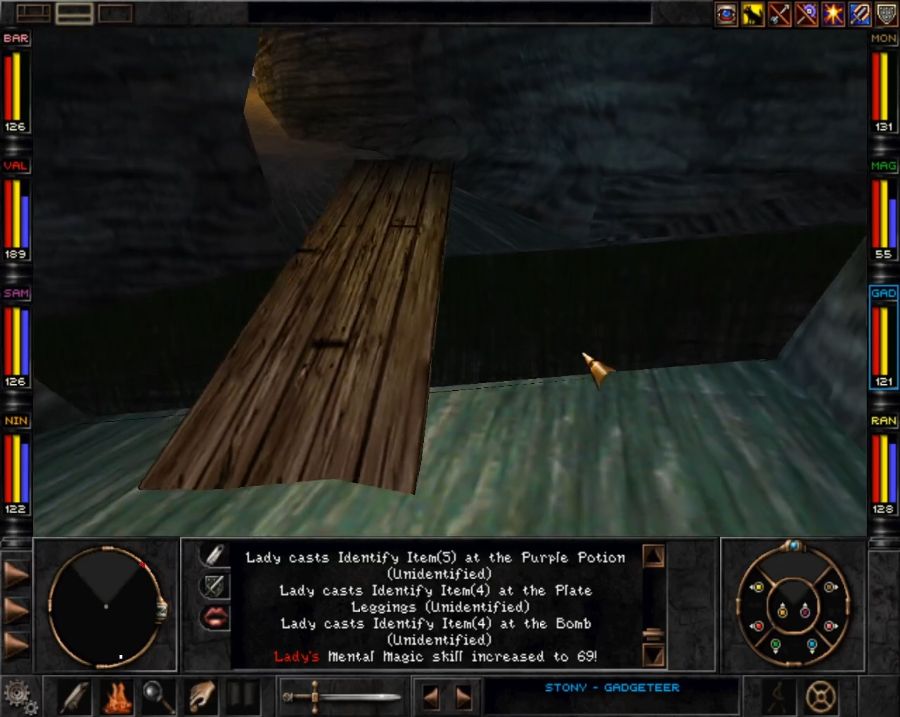
Make ourselves a bridge with the plank, then walk up the other side.
https://www.youtube.com/watch?v=1xnKHOyefbo
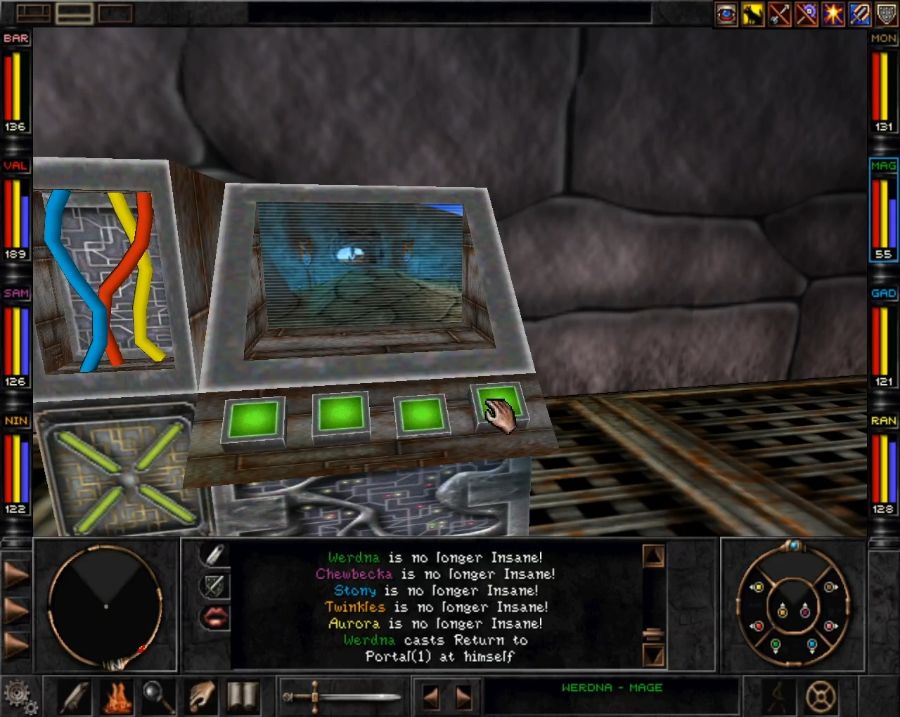
So this is why you need the Helm of Serenity. If you just drop it in the party inventory, it counts as "everyone" carrying it and everyone thus becomes insane. You could also drop it on a single character who would then become insane. The only person not made insane by it, is the wearer of the Helm.
Technically you could come here without it, if you didn't mind one character being permanently insane until you got your hands on it.
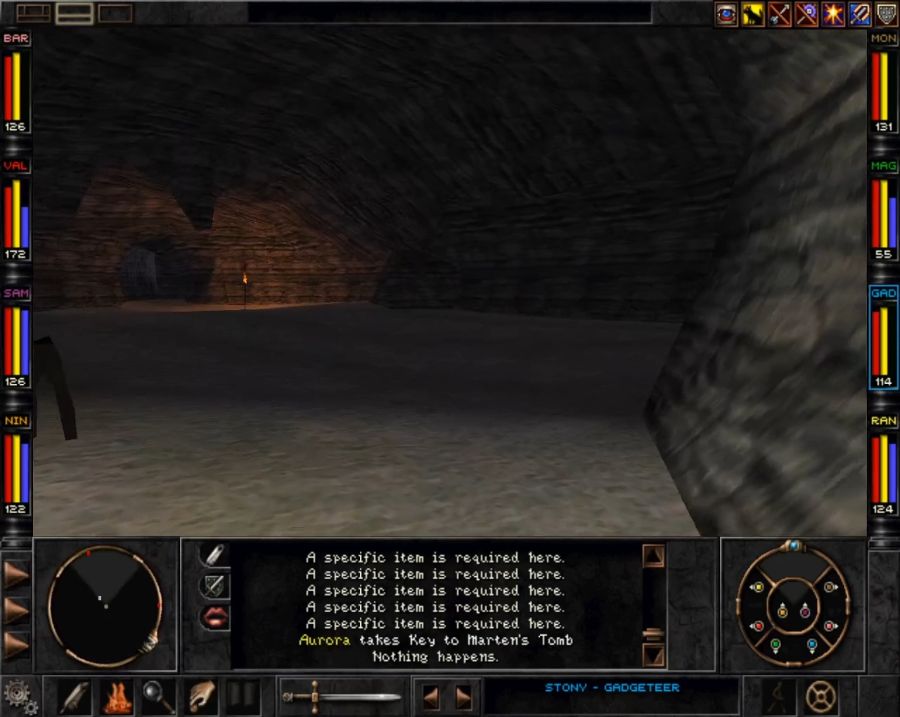
The key Marten hands us at the end of the conversation is really just for opening the door we saw the back of on climbing up earlier. Nothing prevents us from just dropping down a hole or using a portal to get the hell out of here. Before we do so, though, let's admire the collection.
Now we just need to be able to access Ascension Peak. If we've paid even the slightest bit of attention, we know what that means.

Welcome to the Rapax Rift. The second-to-last major area in the game, though it does have a pretty damn big sub-area attached to it.