Part 9: The Maze of Wandering
With B4F, the coffee break comes to an end.
I seriously don't mind the rest of the game (seriously!), but this level is nightmare material. In fact, it is probably the most difficult to map in any CRPG that I know of. I can almost picture Roe R. Adams going "you may have gotten this far but it will be as far as you go" and laughing maniacally when designing it.

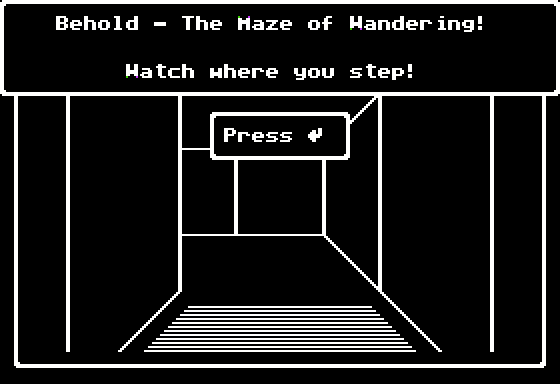
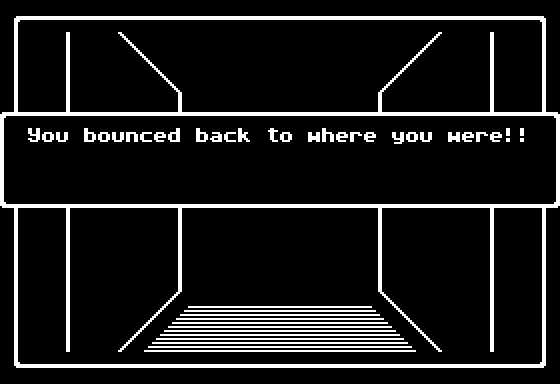
We start out at (0,2), and what follows is a maze of rotators and one-way walls that leaves you no chance not to be caught into a trap. The sign at the entrance tells us to watch our step, but unfortunately that isn't even possible. When you face the direction that it leads in, you never see a one-way wall as a wall; it looks to you as if there was nothing there. As a result, the one-way walls mess with the geometry of the level so that the twisty little passages that the maze consists of aren't even seen as such by the player, who merrily marches onward into what seems like a perfectly viable direction only for a wall to close in on her from behind. Take a wrong turn to the left, and you might never find a way out; stray a little to the right, and you might lose hours of progress. This level doesn't value your time.
Speaking of rooms with no way out, B4F features what is probably Wizardry IV's most infamous trap: the entire enclosed section to the south of the pentagram at (1,7) is one huge dead end. Once you're in, there's no getting out. No warning, no secret doors, nothing. You can reload, of course, and if you already know Malor, the 7th tier teleport spell that we will learn in this update, you can also teleport out of the room -- but only back to B10F, the starting floor, or B9F at most. Not much of a consolation, unless you want to go back down there.
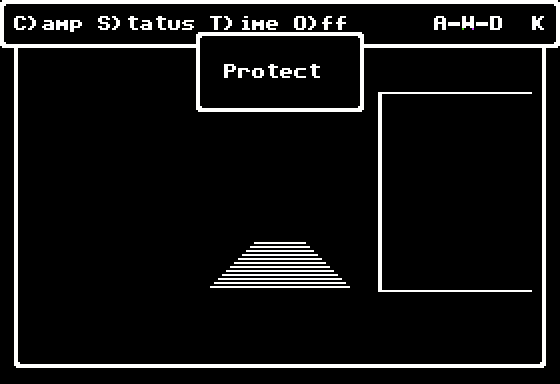
Apart from that, there are also several one-square trap rooms, or "cages", on this floor, such as the ones at (3,15) or (8,14). These do come with a message...
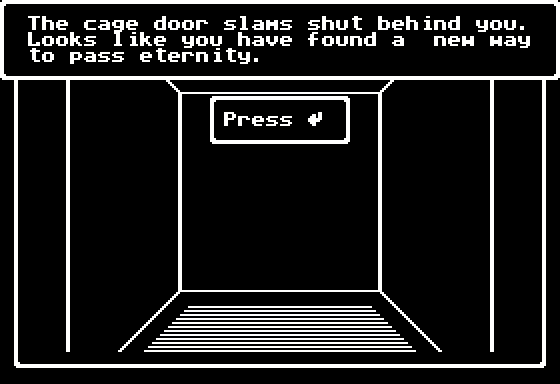
...and there is also one additional way of getting out of them if you're carrying a certain item, more on which later.
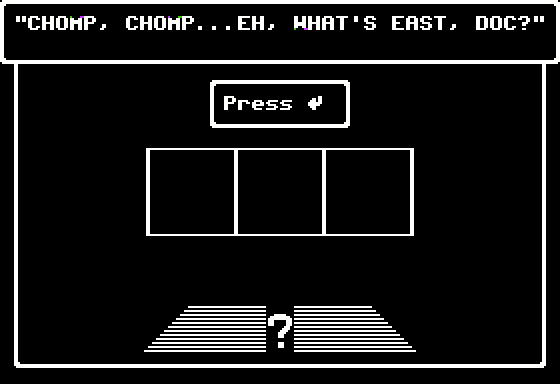
Rotator rooms are another challenge. They suck you in, spin you around, and spit you out in a pre-determined direction. When you enter the one at (3,6), for example, you end up at (4,6), facing east. On top of that, many of the exits from rotators are one-way walls, which makes tracking the rotations difficult. I'm not sure I've been able to convey the horror that is B4F in mere words, but neither words nor maps can do it justice; only first-hand experience can.
In case you haven't noticed, there's also what looks like a large letter K close to the center of the map.
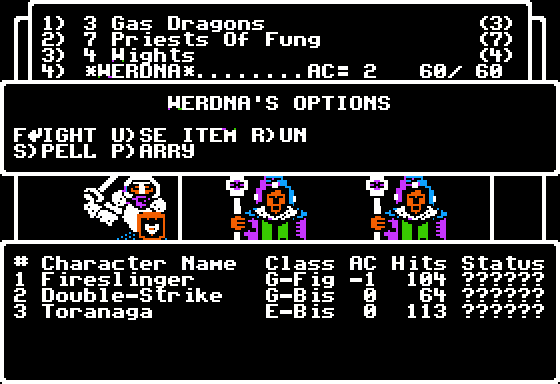
Many of the do-gooders have new portraits, which means they are considerably stronger again, also evident in their HP and AC.
(Toranaga is likely a reference to James Clavell's Shōgun.)
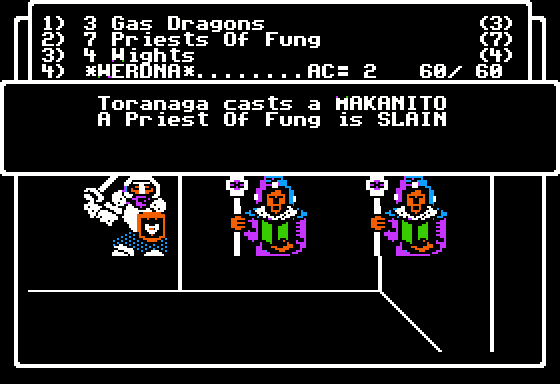
For the do-gooders around here, Madaltos and Makanitos are just your run-of-the-mill spells, which turns encounters into even more of a Russian roulette.
To give you a sense of this floor's geometry, in front of us is the pentagram at (1,7), to the right is a rotator room, and to the left is the huge trap room -- but you can never tell.
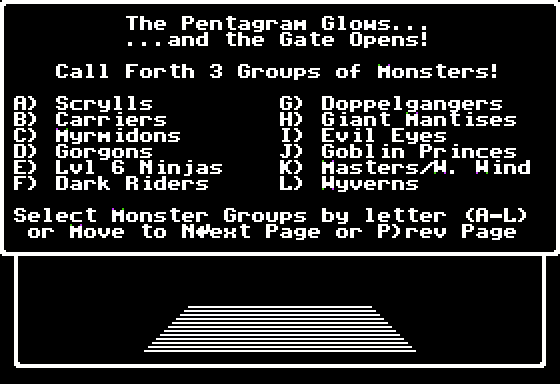
A new pentagram brings with it a new monster roster; let's see what they're worth.
Scrylls are Wizardry II's skull-like monsters, described as simply "Skulls" when unidentified, with AC of -1, weak regular attacks, 25% magic resistance, and the level drain ability. Their hit points cap at 60, and you can summon 1 to 3 of them. (I've been checking the bestiaries for the early Wizardry games, and I'm now pretty sure that all monsters are available to be summoned in exactly the same numbers that they originally appeared in when you faced them in Wizadries 1-3. Obviously, it is something of a rule that the more powerful a monster, the fewer of them tend to travel together.) Carriers, who appear as "Mottled Figures" when you first encounter them, also originate in Wizardry II (Apple II; IBM PC); their sole special ability is to cause paralysis, and they attack up to 7 times per round, but only for a pathetic 1d1+1. With their extremely high AC of 10, they aren't of much use to us at this point. Myrmidons, introduced in Wizardry IV for the first time, are a reference to the legendary warriors from The Iliad, led by Achilles and known for their loyalty and skill in battle. Later, "myrmidon" came to mean a follower who executes orders without question or pity, or even a "hired ruffian." Hence their appearance among Werdna's minions in this game. Here, they are strong Fighters of up to 82 HP who strike twice per turn for 1d16+3 points of damage, resistant to instadeath spells but incapable of inflicting any status or level drain effects. (They also look pretty impressive in the New Age of Llylgamyn remake.)
You might recall Gorgons from Wizardry I as "strange animals" that appeared on B9F. As is to be expected, they can turn their enemies to stone, but that is hardly a useful ability compared to level drain. Lvl 6 Ninjas were also a common sight in Wizardry I starting from B6F onwards. Decapitation is a wonderful thing, but AC of 6 isn't something to be proud of this far into the game. Dark Riders should actually be "Dark Rider," in singular, since he only appears alone when summoned, just like he did back in Wizardry III when you encountered him as a "Shadowy Figure" (Apple II; PC) with AC of 2 and 4d6+20 HP. He can, however, call for reinforcements, and is capable of using 3rd tier Mage spells, so he isn't entirely worthless.
In the next column we have Doppelgangers, another Wizardry III monster, its AC (-2) the lowest among this pentagram's summons. You can have up to 8 of them by your side at once, making them decent "tanks" at their 6d9 HP. Apart from that, however, they aren't particularly useful, poison being their only special ability. Doppelgangers are supposed to be completely transparent, which accounts for their low AC, and have the standard Shadowy Figure sprite when not yet identified. Next come Giant Mantises, insectoid monsters from Wizardry III. They are basically Ninja insects, with their ability to decapitate on a critical and their AC of 0. The downside is that their regular attack is weak and you can only summon no more than three of them.
Evil Eyes (there are unusually many Wizardry II monsters at this pentagram) are good to have around if you want more spellcasting power at your disposal. Known as "Glowing Eyes" when unidentified and having the same sprite as Scrylls, they can cast 3rd tier Mage spells, and their group-targeting poison breath attack comes as a nice bonus. You can only summon a pair of them, but they are eyes, after all, so what did you expect? From Wizardry III, there are also Goblin Princes available to be summoned here, their sprite the same as for other goblins. They are a bit stronger than your average goblins, but not worth talking a lot about. Masters/W. Wind are exclusive to Wizardry IV, and their name's spelling is silimar to that of the Masters/Dragons from the previous update. Just like the latter, Masters of the West Wind are humanoid warriors, their AC equalling 3 and their HP 10d5+5. They have a powerful regular attack, hitting 4 times in a row for 3d6+3/3d6+1 damage (the maximum damage per round being a whopping 82), and the petrification ability. You can have up to 5 of them in your party, so overall they aren't a bad choice. Finally, Wyverns are, like Gorgons, strange animals from Wizardry I, and are more or less lackluster.
EDIT: Prism knows a lot about AD&D:
Prism posted:
I missed this on Master/Dragons, but I'm pretty sure I've got it now that I've been reminded of Master/West Wind.
In first edition AD&D, classes had titles at each level. These are Monk titles; Master of Dragons is a level 8 monk, Master of the West Wind is 10.
Here's the complete list from 8 on, if you run into any more: Dragons, North Wind, West Wind, South Wind, East Wind, Winter, Autumn, Summer, Spring, and Grandmaster of Flowers.
As does Mordaedil:
Mordaedil posted:
Myrmidons is also a reference to a level title for Fighters.
To be more precise, "Master of the West Wind" is the title of a lvl10 Monk while "Myrmidon" is that of a lvl6 Fighter. Lvl10 Monks in AD&D have effective AC of 3, just like the Masters/W. Wind in this game.

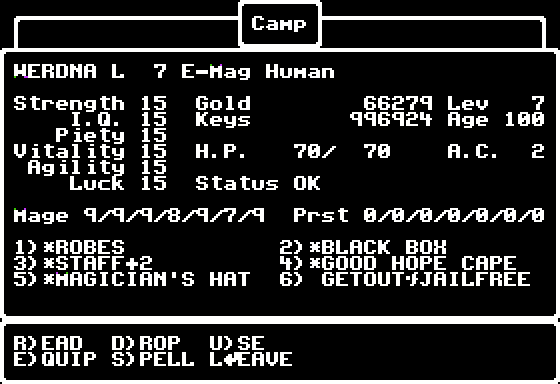
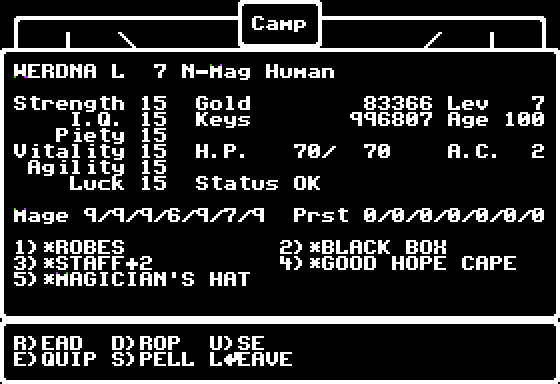
The pentagram also brings Werdna to level 7, giving him acess to the final Mage spell tier, consisting of just three spells. Tiltowait is the already well-familiar "Nuke 'em 'till they glow" spell that we could earlier cast with the help of St. Rimbo Digit, creating a large explosion that deals up to 100 points of damage to all enemies. Mahaman, or "Great Change", is the more powerful version of Haman, adding AC -20 and resurrection to the list of possible effects. Just like Haman, however, it is unavailable for Werdna to cast because the gods continue to "not hear you."
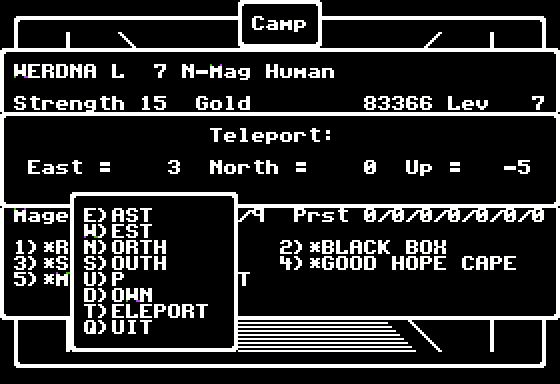
Finally, Malor, or "Apport", is the teleport spell that, when used in camp, lets you choose a destination to jump to by specifying its North, East and Down coordinates, even to the point of allowing you to jump between floors. When used in combat, however, it will teleport you to a random point on the same floor. Theoretically, we could use Malor to teleport Werdna to any point on any floor, which would make navigating the dungeon completely trivial...
In practice, however, Werdna's teleportation power has not yet fully returned to him, and the only floors he can currently Malor to are B10F, the starting one, and B9F, the Catacombs.
Well, one has to start somewhere.
The Wandering Oracle of Mron offers us another amazing piece of advice, and we continue to be on our way.
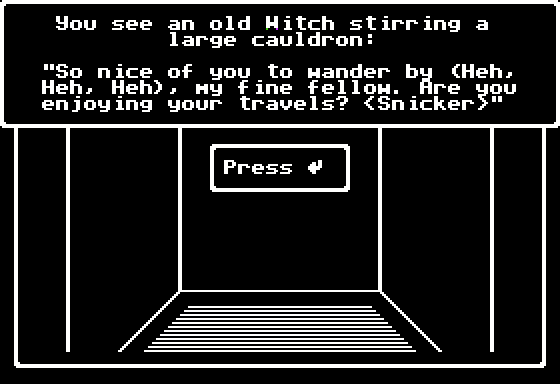
At (5,14) we meet this game's second and last in-dungeon NPC. (The first was the Oracle.)
As NPCs are wont to, the witch has a fetch quest for us.
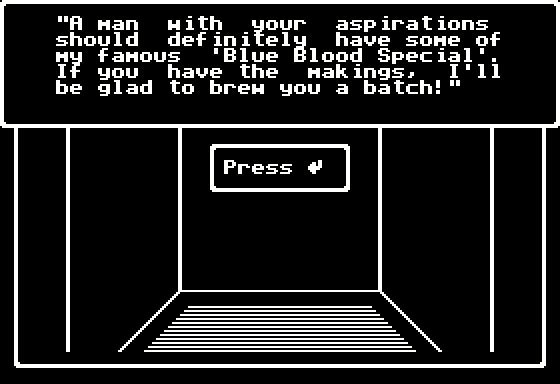
She offers to brew us her "Blue Blood Special," but as it turns out she's missing some ingredients.
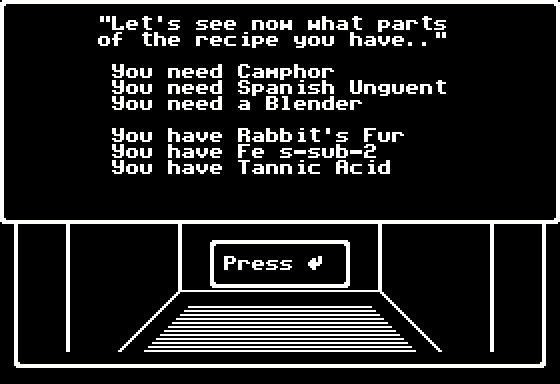
There are six ingredients in total -- Camphor, Spanish Unquent, a Blender, Rabbit's Fur, Fe s-sub-2, and Tannic Acid -- and it looks like we already have three of them, with three more to find. If you've been keeping track of our inventory, you may wonder where we got the Rabbit's Fur, Fe s-sub-2 (or should I say "FeS2") and Tannic Acid from. None of the things in our inventory are actually called "Rabbit's Fur" or "Tannic Acid," of course, and the list of ingredients is a riddle rather than a straightforward list.
In fact, "Rabbit's Fur" is the Magician's Hat (because every magician can supposedly produce a rabbit out of a hat?), "Fe s-sub-2" is the Golden Pyrite (FeS2 is pyrite's actual chemical formula), and "Tannic Acid" is the Witching Rod (because, if you remember, we lifted it out of a pool of tannic acid). The remaining three are anybody's guess, although in fact you can probably guess what "a Blender" is if you've been paying utmost attention to the updates so far.
Thankfully, the witch has x-ray vision and scans your inventory herself, including the content of the Black Box, so you can theoretically "solve" this riddle through trial-and-error by simply bringing her everything you find.
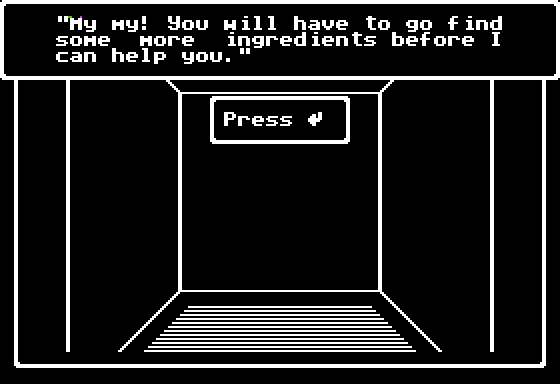
We aren't required to solve this quest until later in the game, so we'll have plenty of time to find the three missing ingredients.
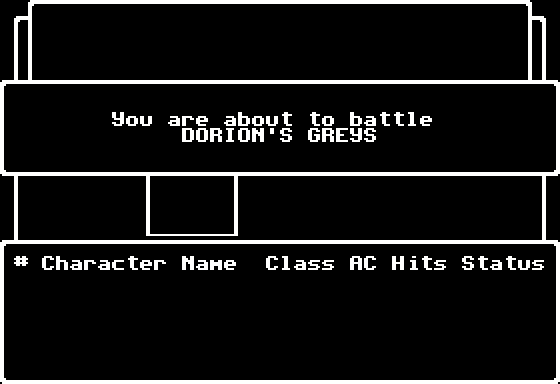
The first do-gooder party on B4F is Dorion's Greys, which is as terrible as puns come.
Their motto only serves to prolong the pun.
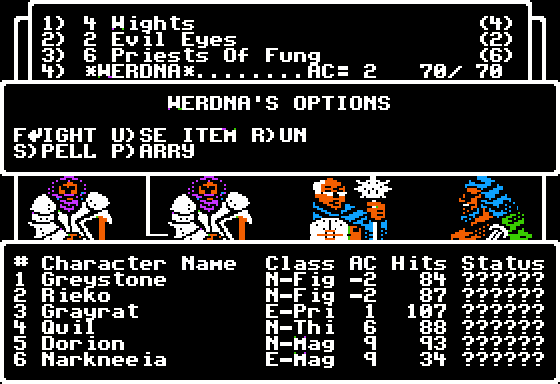
The Dorion's Greys is a fairly standard Evil/Neutral party consisting of two Fighters, a Priest, a Thief, and two Mages. Their HP isn't too high, but the spells the Mages have at their disposal are pretty deadly. Dorion can even cast Tiltowait, and has enough hit points to survive a not too powerful Tiltowait himself. (A Lakanito does short work of him, though.)
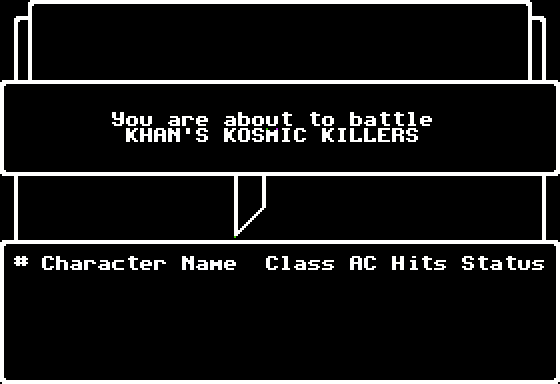
B4F's second do-gooding group is Khan's Kosmic Killers.
Werdna certainly does, so the Killers don't really fit into his plans.
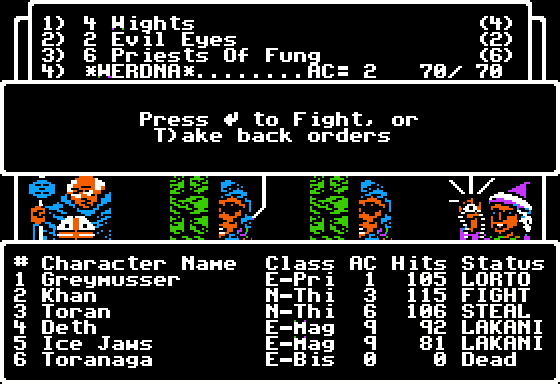
Luckily, they aren't too tough, and you can always equip the Oxygen Mask to counter their Lakanitos.
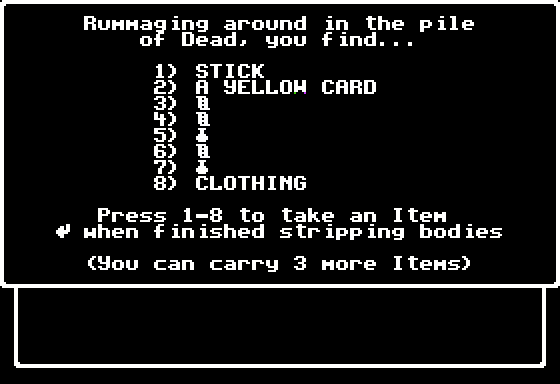
Among the items they drop is "A Yellow Card" that we would do well to pick up.
It is a GetOutOfJailFree card that, when used, lets you escape any of the 1x1 cages in a random direction. It is a one-use item, though, so it won't rescue you twice.
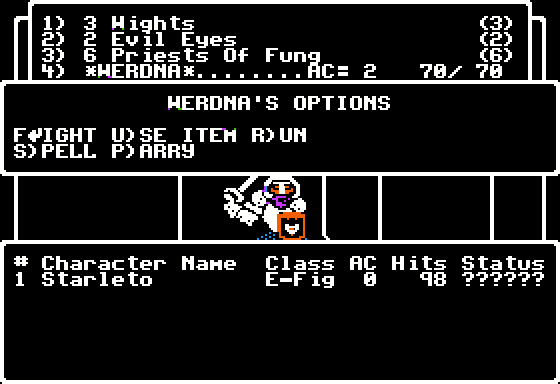
Other do-gooders on this floor include Dr X, Darwin and Starleto the Fighters, Shandra the Priest, Brud the Samurai, Swift-One and Trueno the Mages, and Deadly-Hand and Demonslayer the Ninjas. Quite a company.

Pick up a marble (Y/N)?
We can also pick up a marble at (14,9).
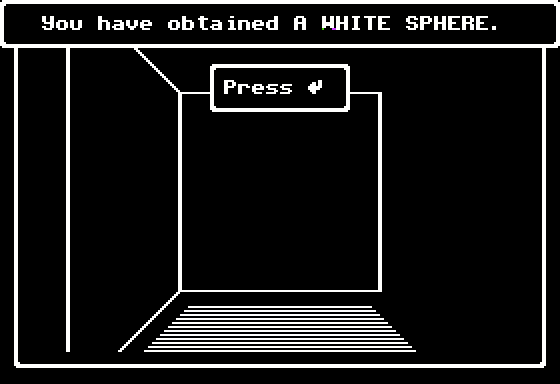
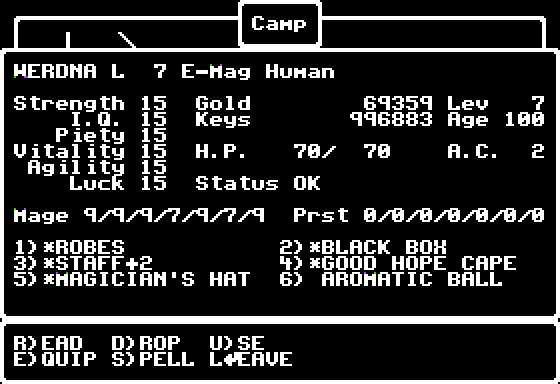
The "White Sphere" shows up as Aromatic Ball in Werdna's inventory. We're going to need it later.
After that, we make a detour to (6,5), marked by a water symbol on the map.
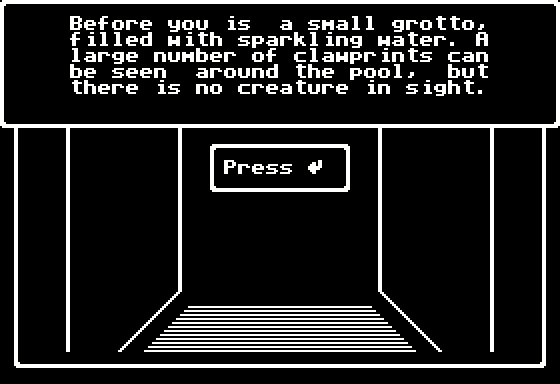
There is a pool here. We could ignore it and still beat the game, but it is very important for plot-related reasons nevertheless.
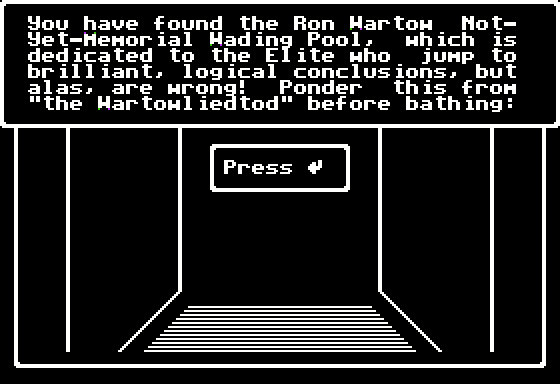
Oh Wizardry IV.

(Ron Wartow was a SirTech employee, a playtester on Wizardry IV, The Magic Candle II, and Might and Magic III, and a contributing editor of the Questbusters magazine. Speaking of M&M III, there was a Ninja by the name of Wartowsan you could hire in that game, also a Ron Wartow (self?) insert. I don't know the story behind his cameo here. "Lied" and "Tod" are "song" and "death" in German, by the way.)
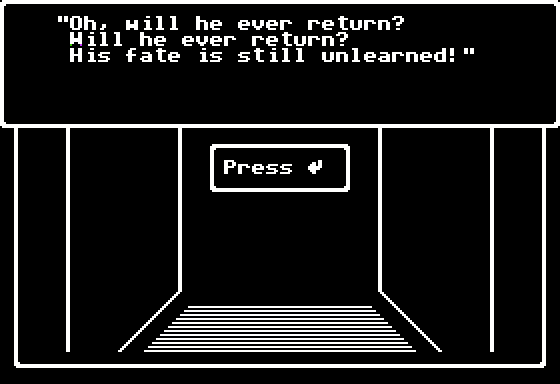
I guess this is supposed to be something like the death song of Ron Wartow?
Still, "his fate is still unlearned" has as much to do with Werdna as (supposedly) with Wartow, as we'll be sure to learn in due time.
EDIT: Narsham has it:
Narsham posted:
Or it's a reference to the MTA song:
http://youtu.be/3VMSGrY-IlU
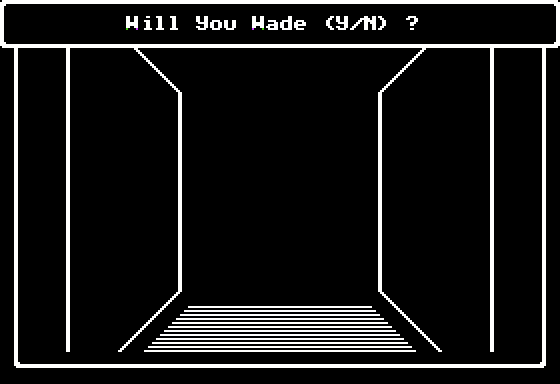
We choose to wade; a nice bath can sometimes do wonders.

Werdna is now a bit less evil than he was previously, but this won't have any actual impact on the gameplay.
Except that his alignment is now Neutral.
In the first three Wizardry games, you switched alignment by choosing whether or not to fight friendly monster groups. Wizardry IV has pools.
We could now proceed straight to the stairs leading further up, but let us first revisit all the previous floors...

... to see if we have perhaps forgotten something.
Next time: to Hell and back. Be there.