Part 9: The Vampires Aren't Horny This Time
Update 009: The Vampires Aren't Horny This Time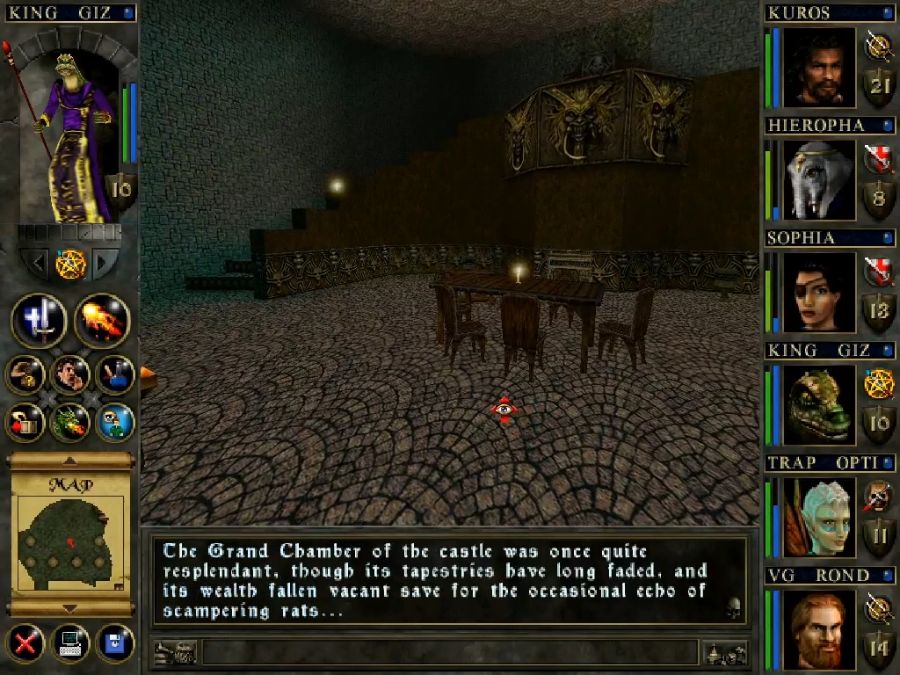
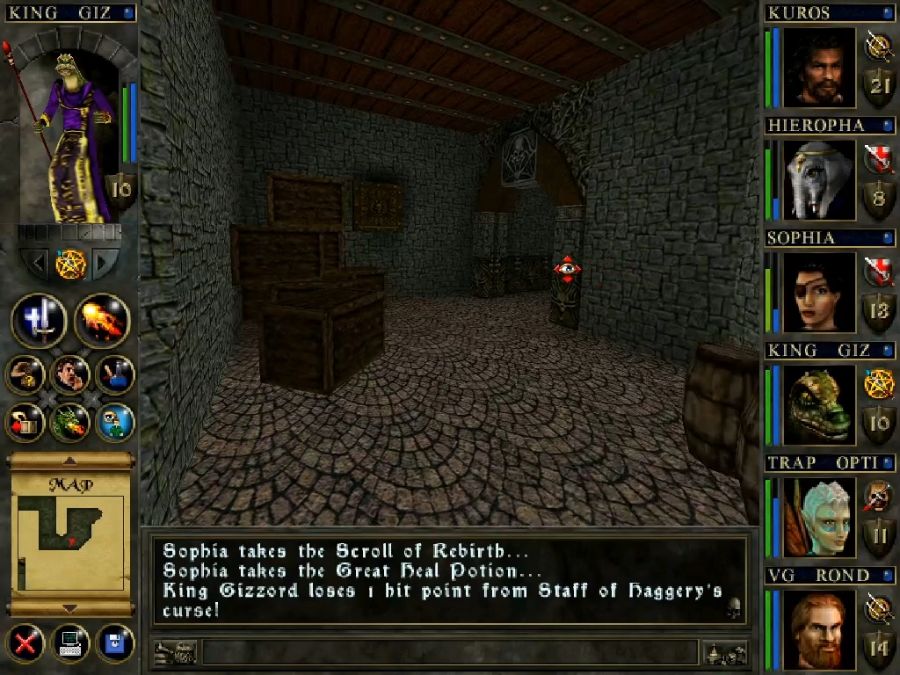
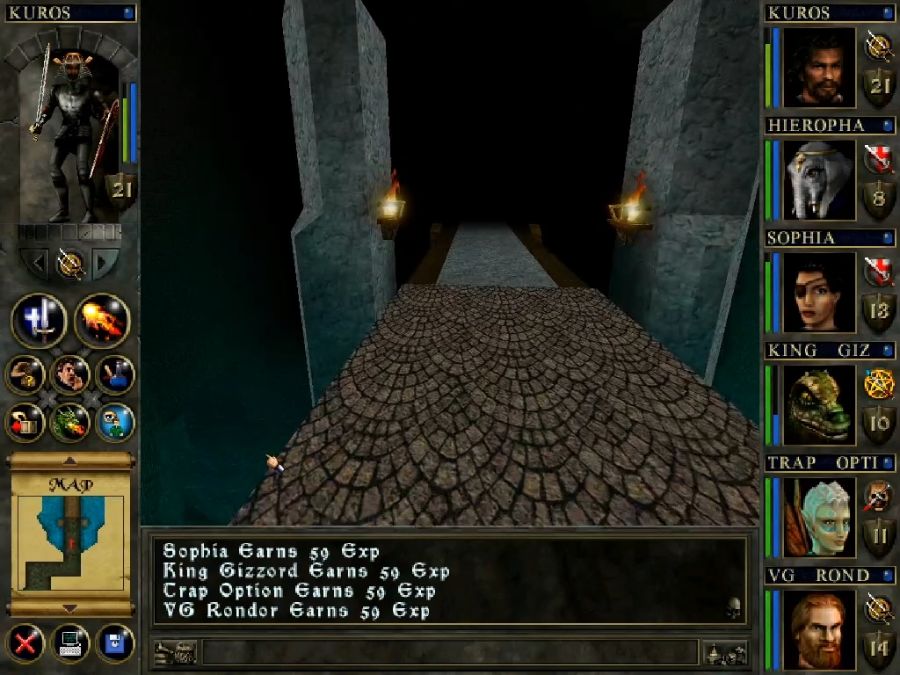
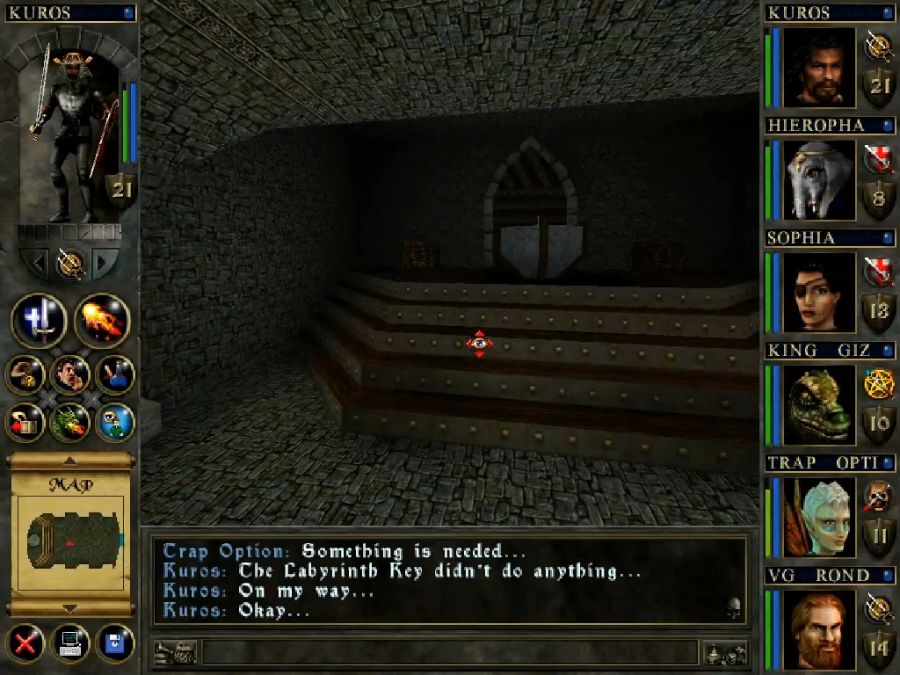
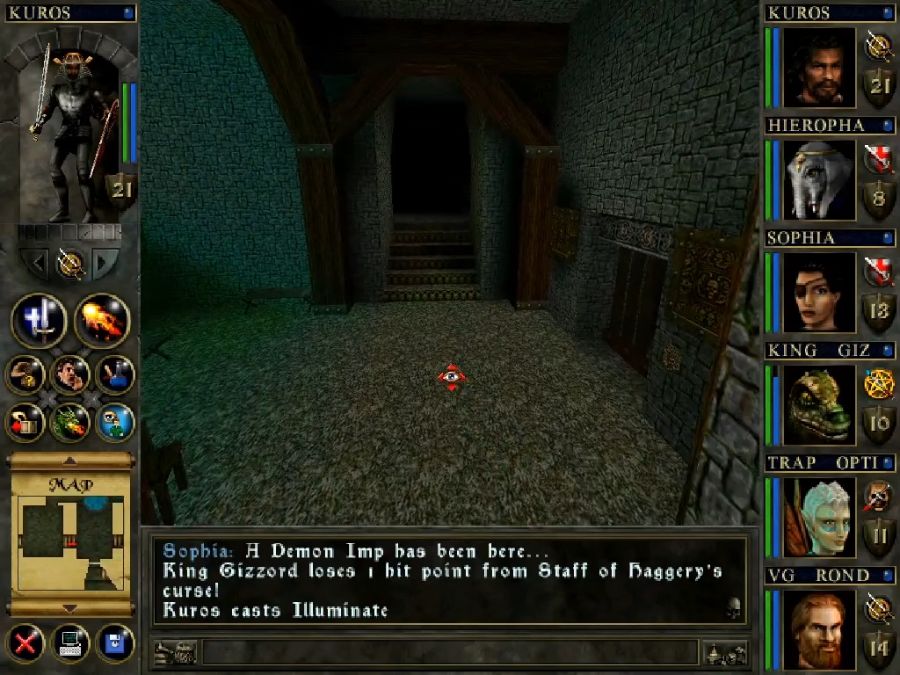
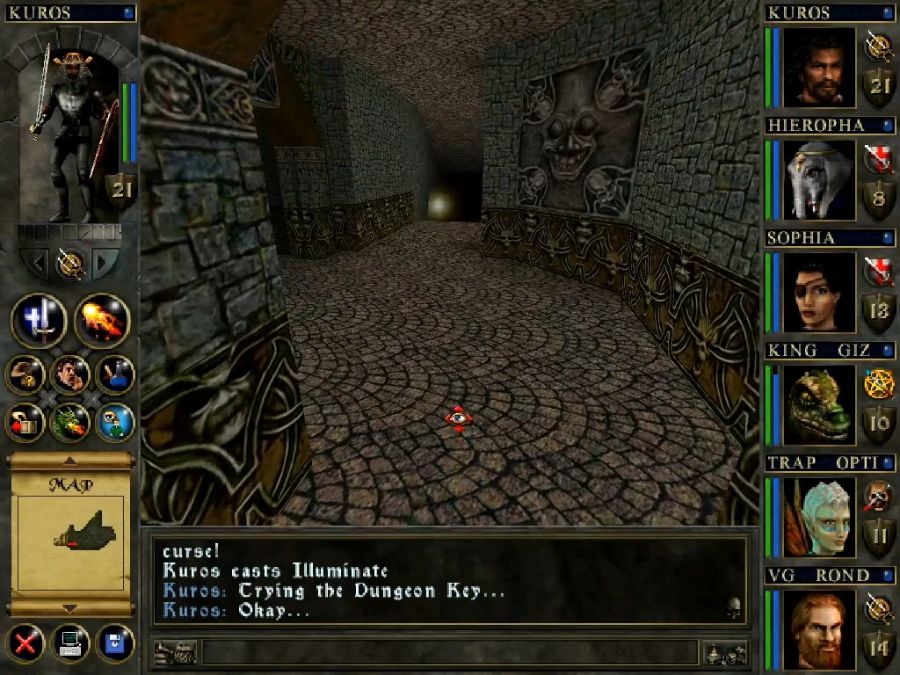
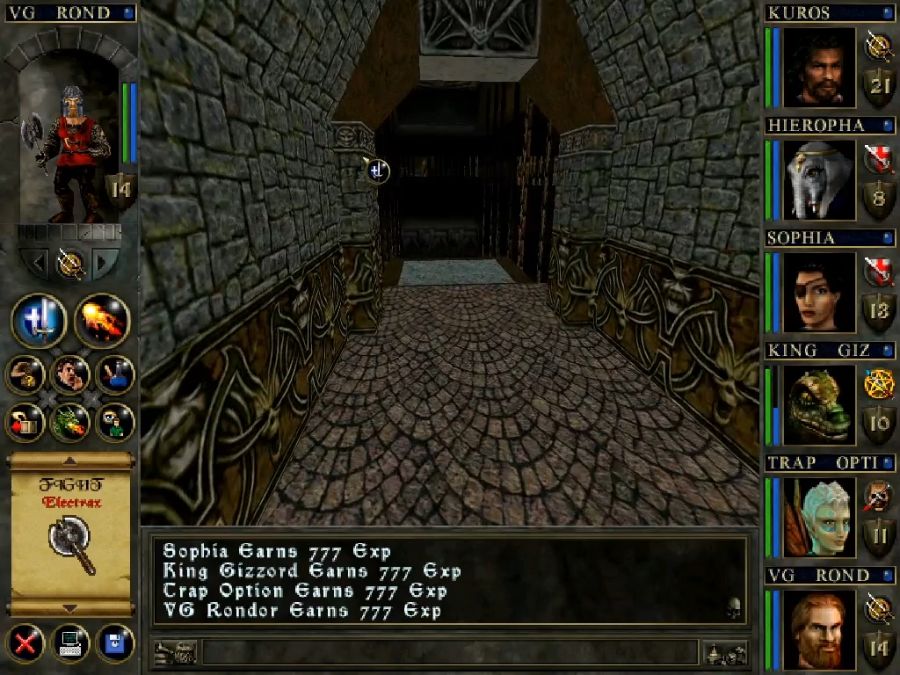
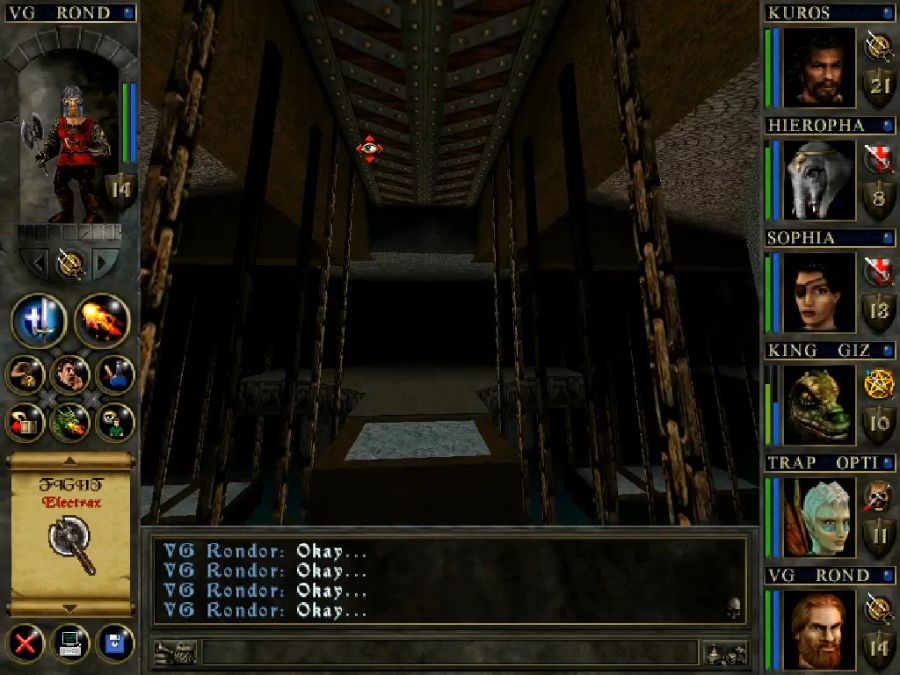
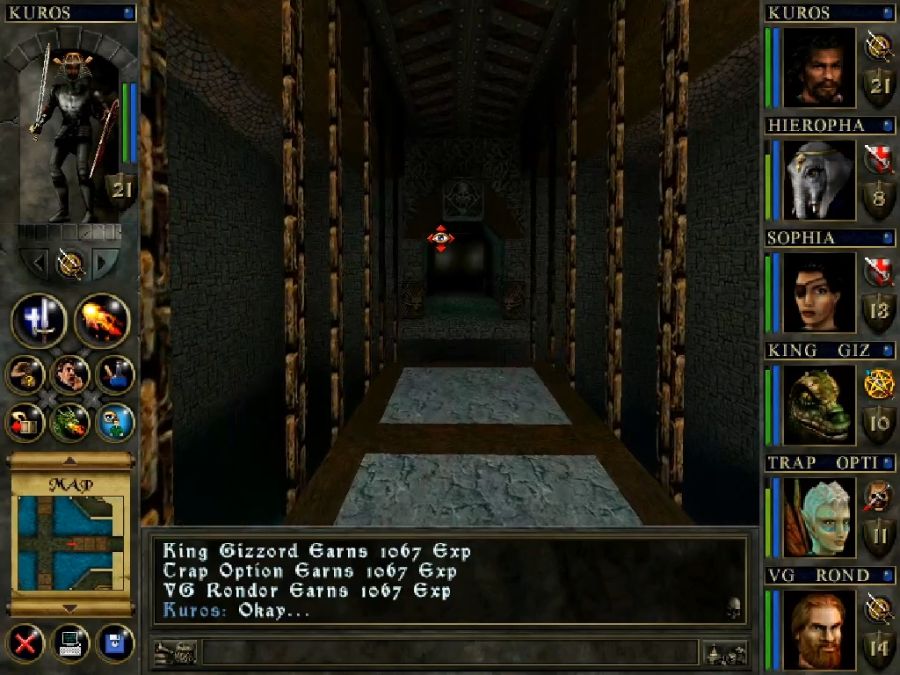
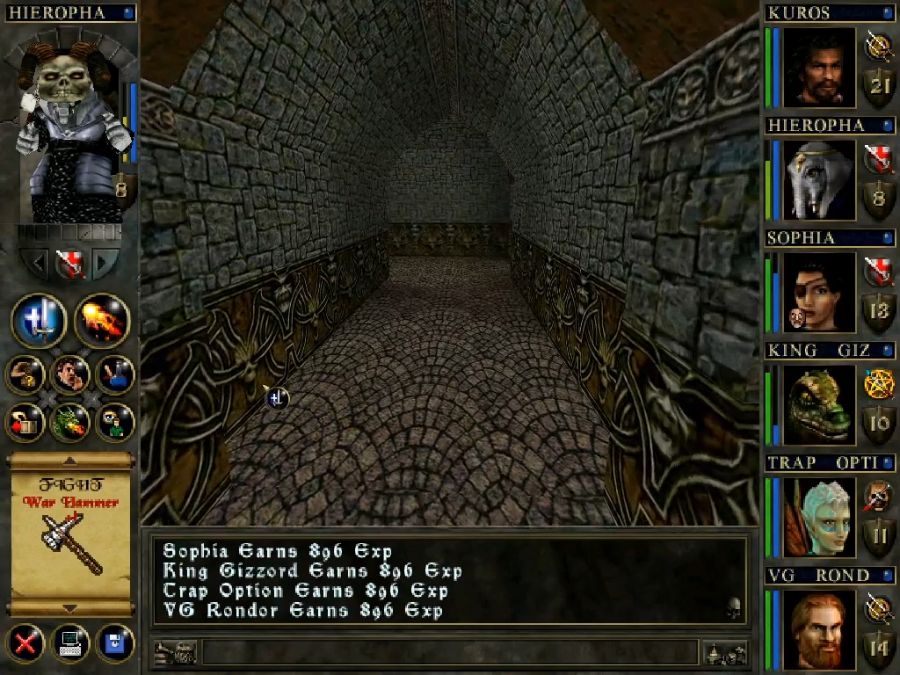
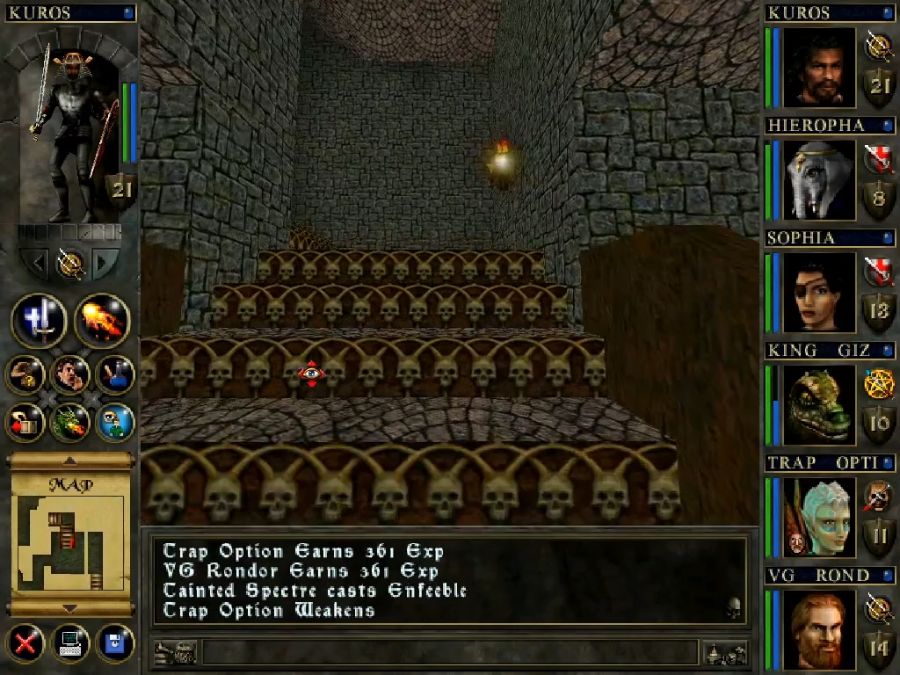
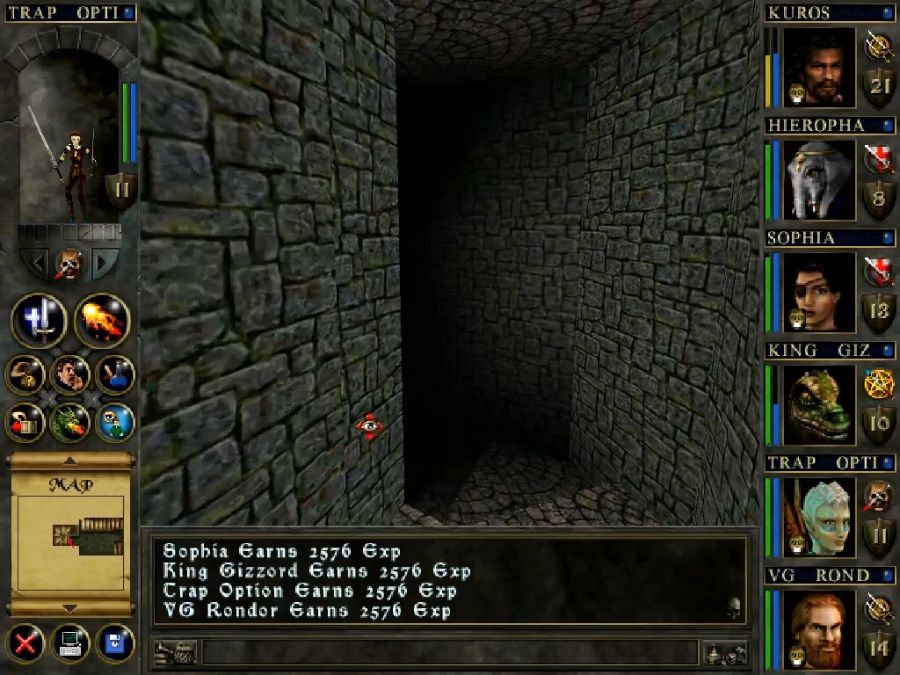
Ah yes the fabulous grand hall with [checks] what looks like enough chairs and table space for a poker game.
I also like the implication that this was a fancy place once. I kind of get that working for Shurugeon Castle, but why would a castle shaped like a skull, made entirely for locking up miscreants in, ever have been fancibly outfitted on the inside?
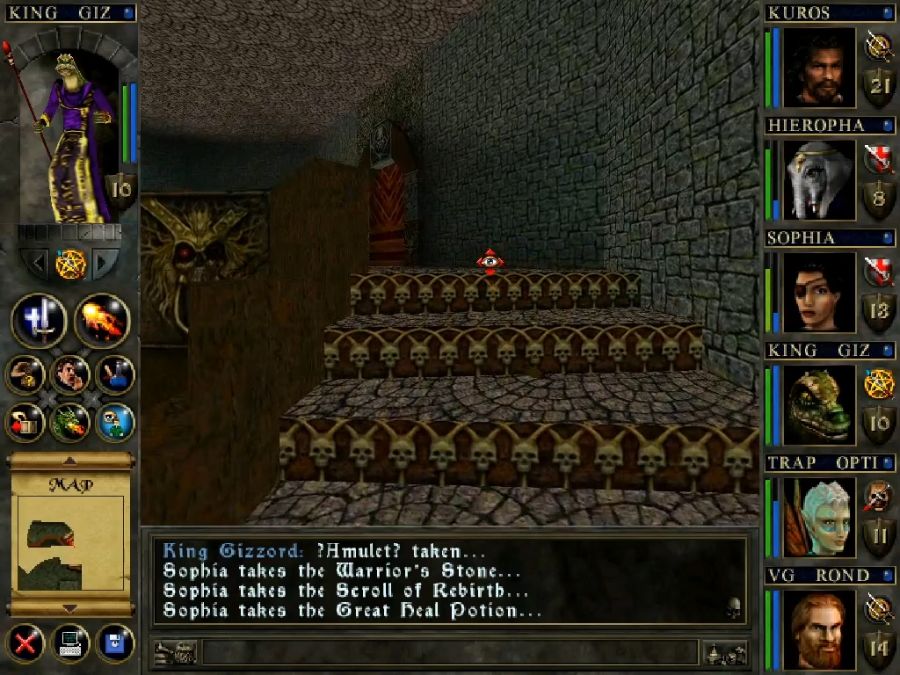
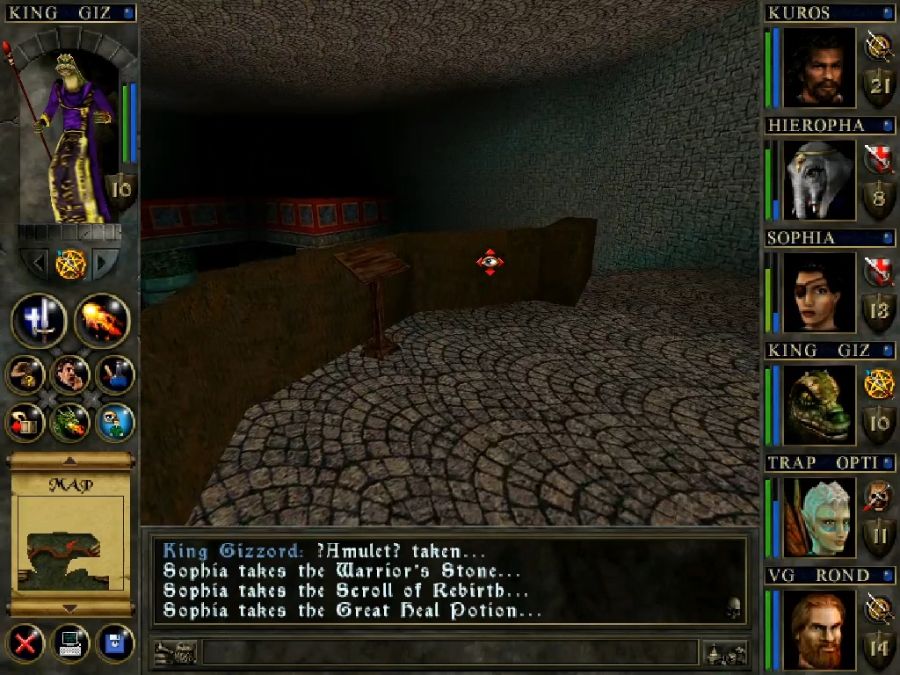
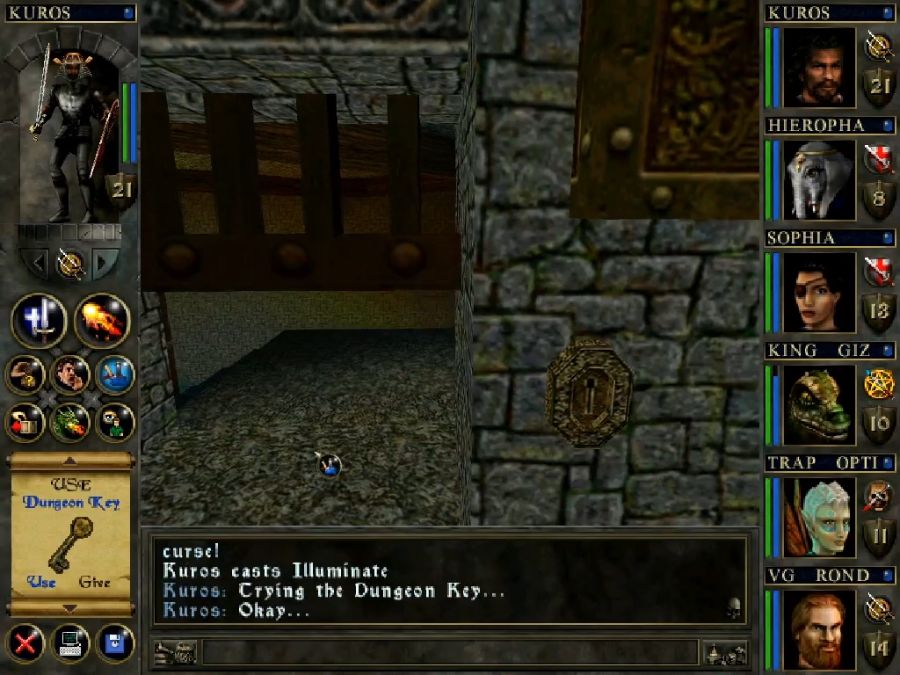
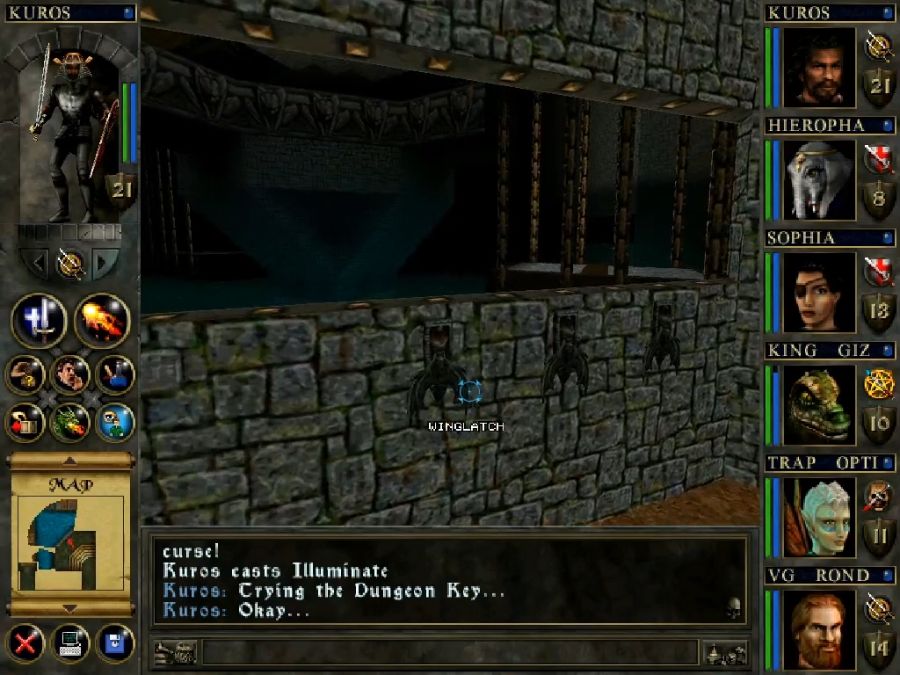
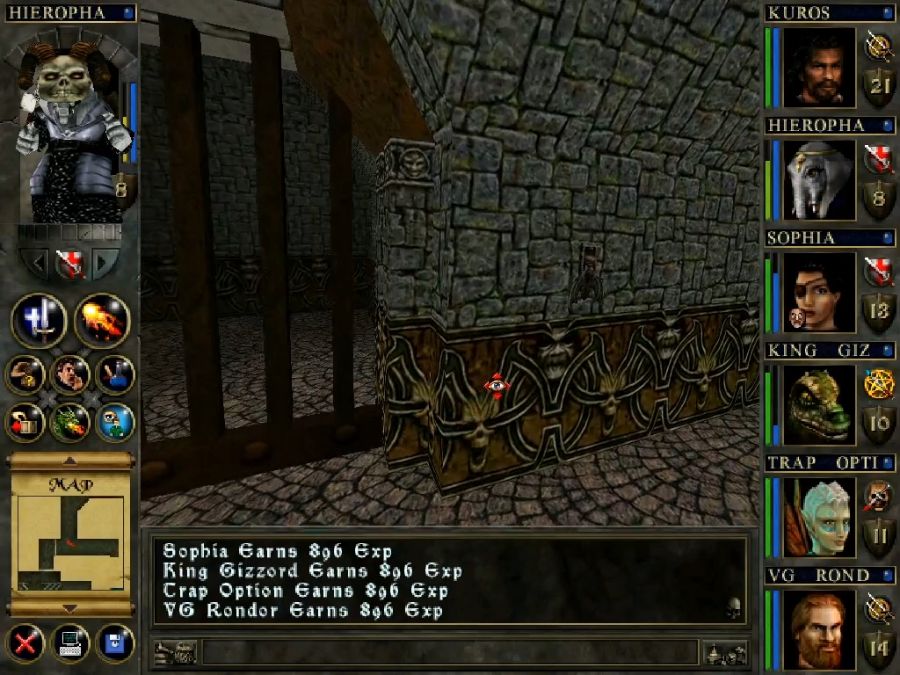
If we go forwards and down here we just reach a locked door, so instead we have to go right, the only area we've yet to explore.
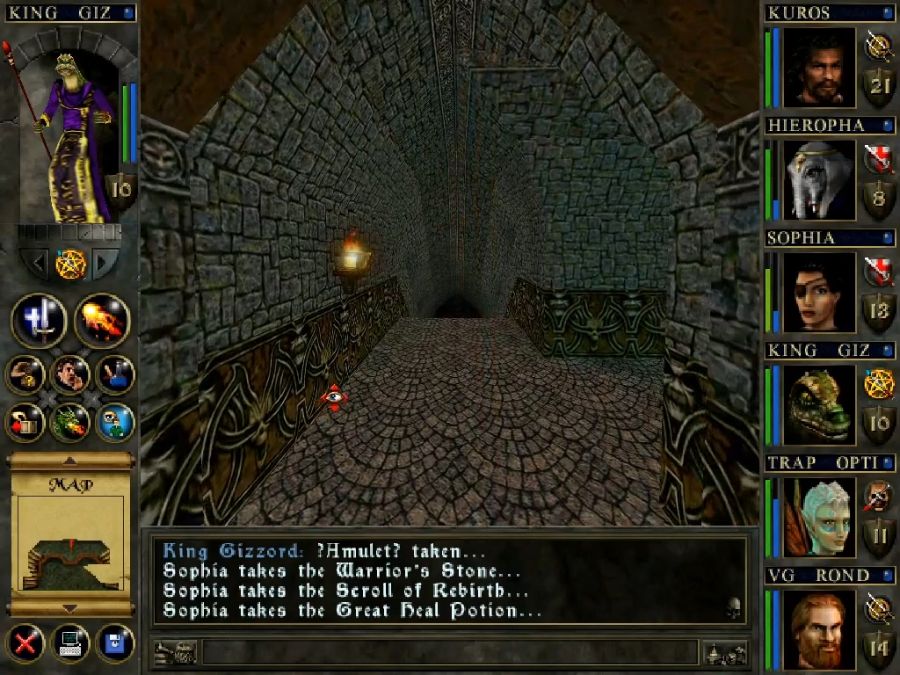
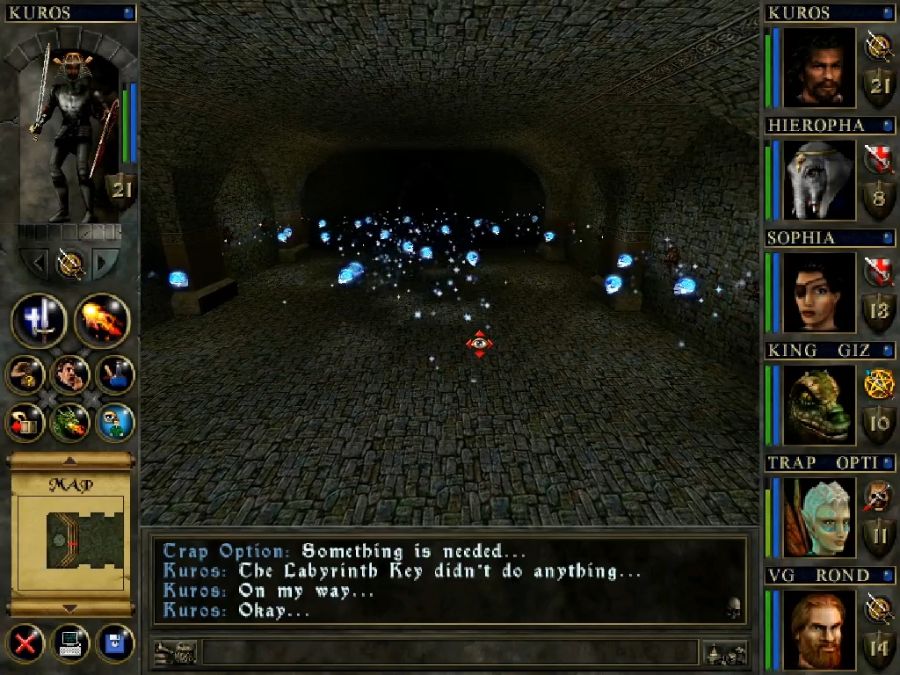
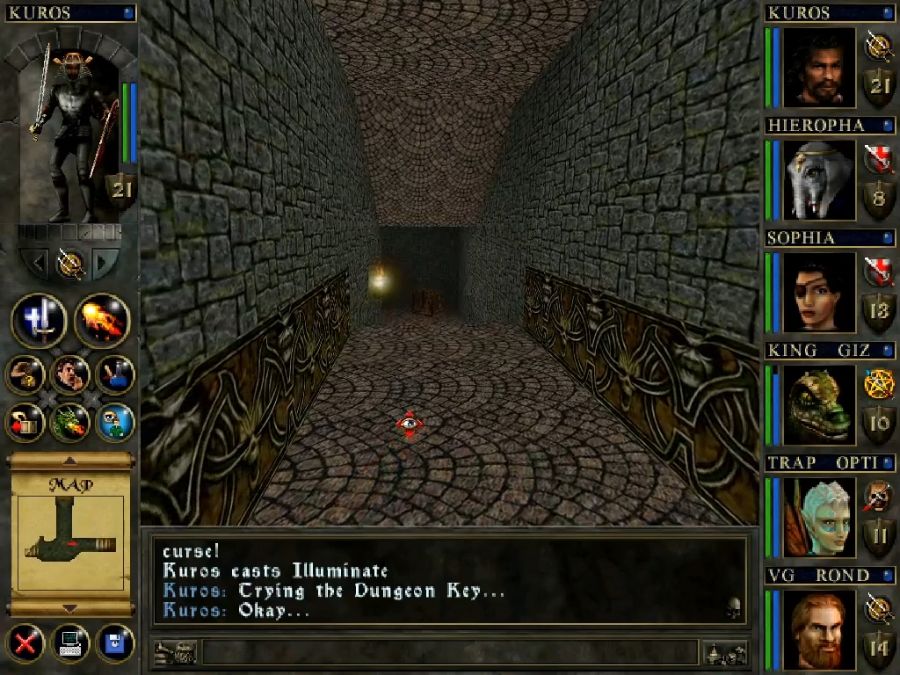
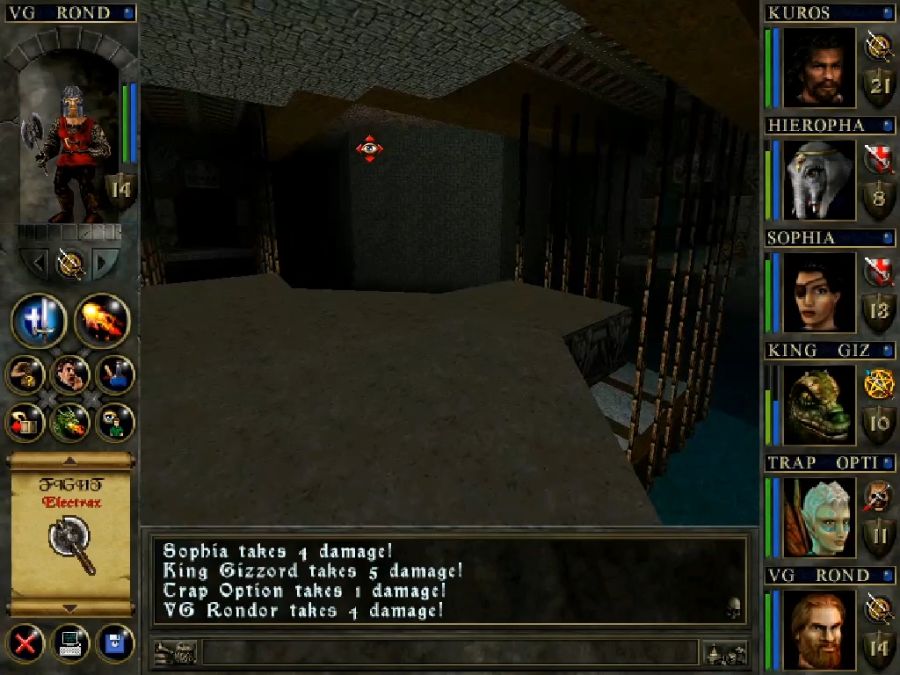
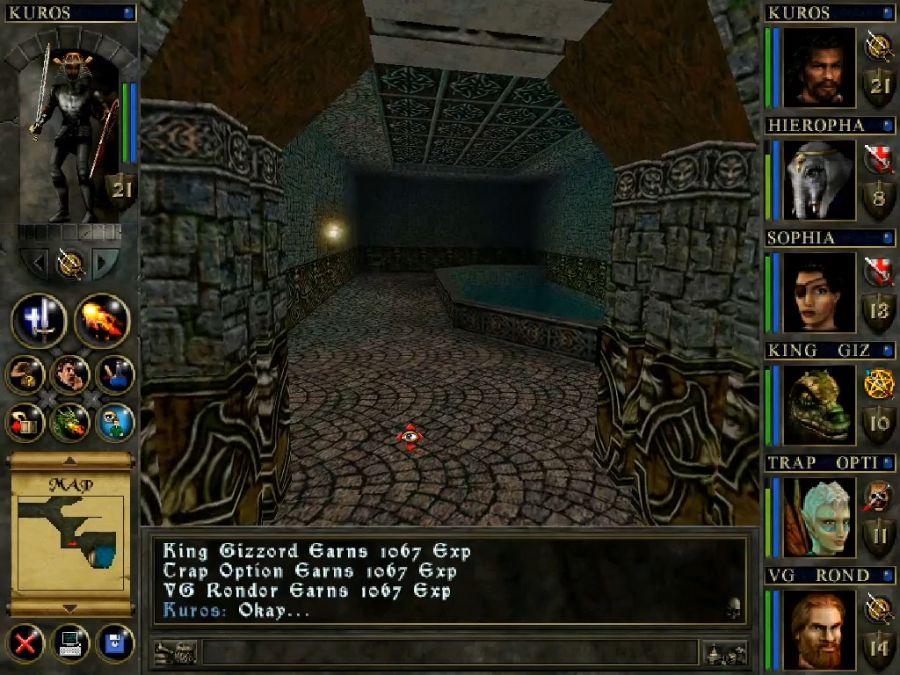
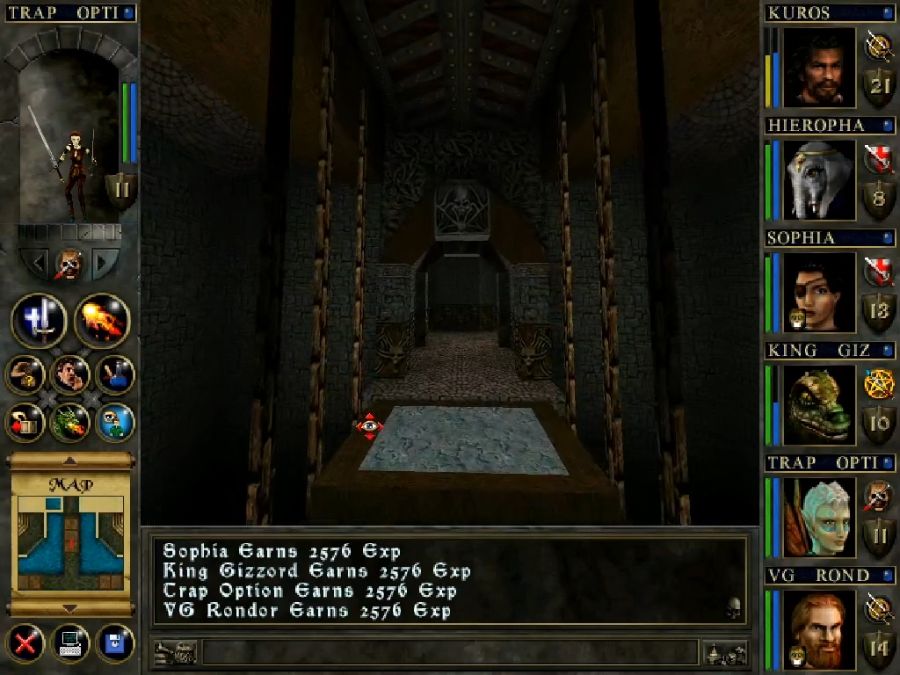
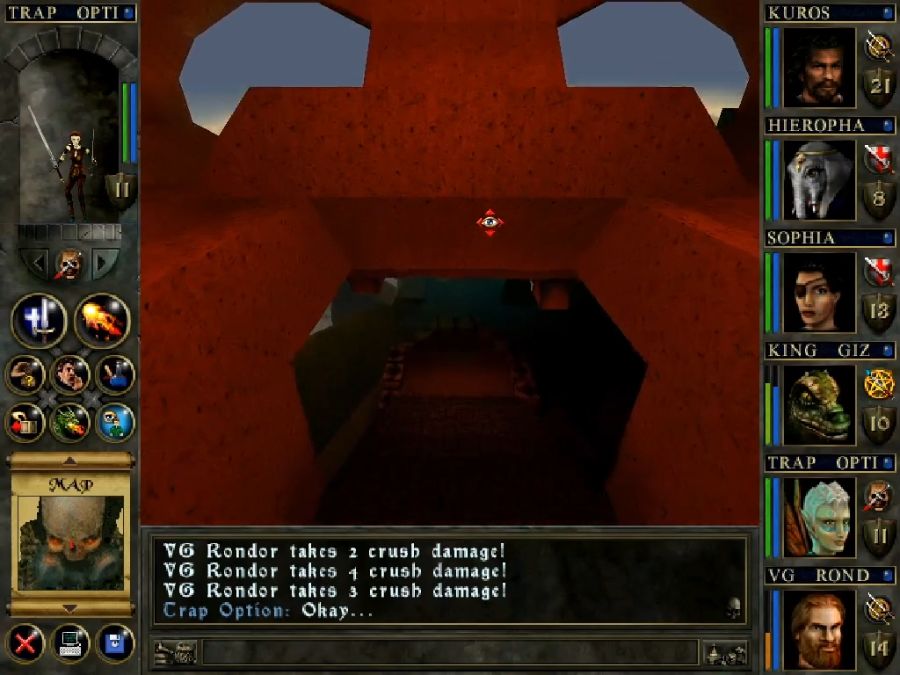
I'm going to spare you all, but I want to make everyone aware that this room has a constantly repeating "creaky metal" sound effect that gets spammed every half second you're in here and it's driving me insane.

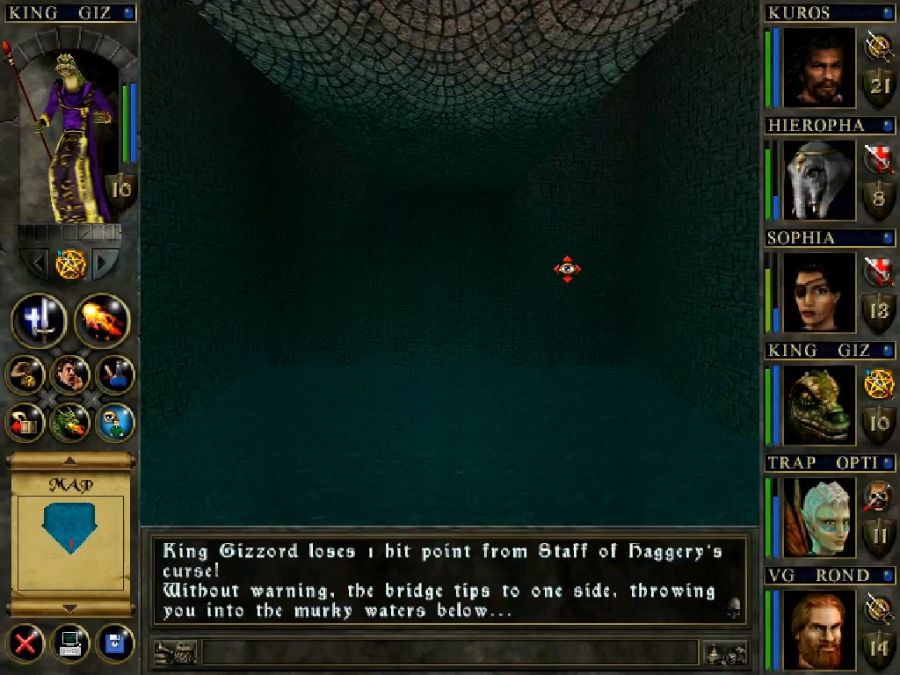
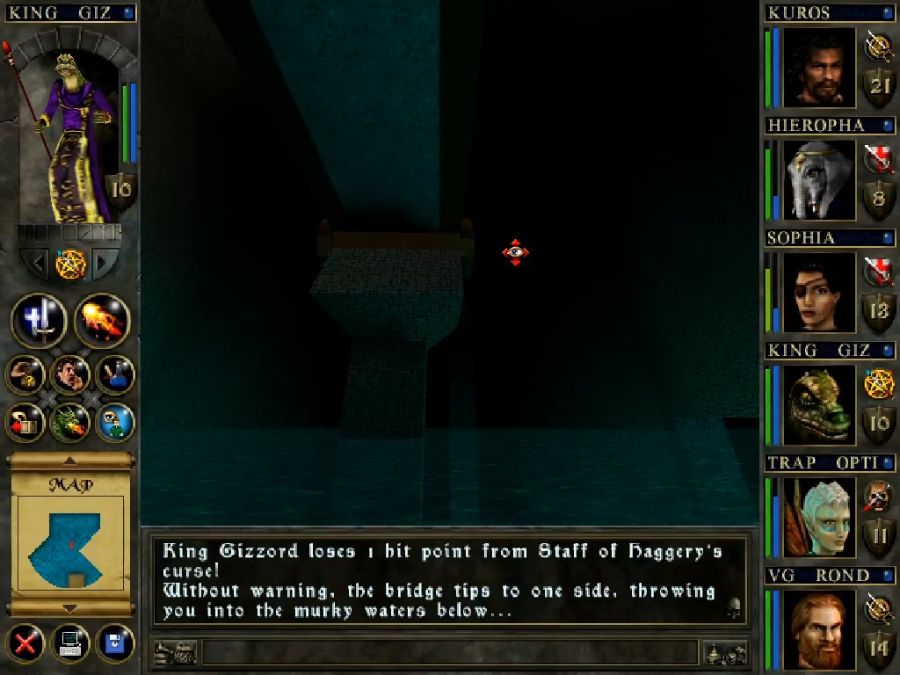
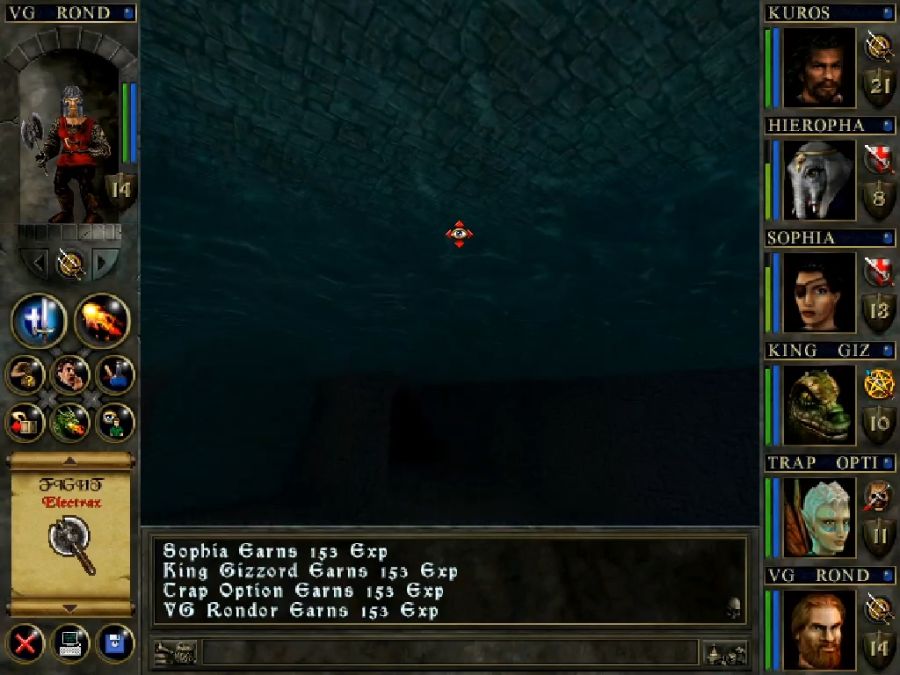
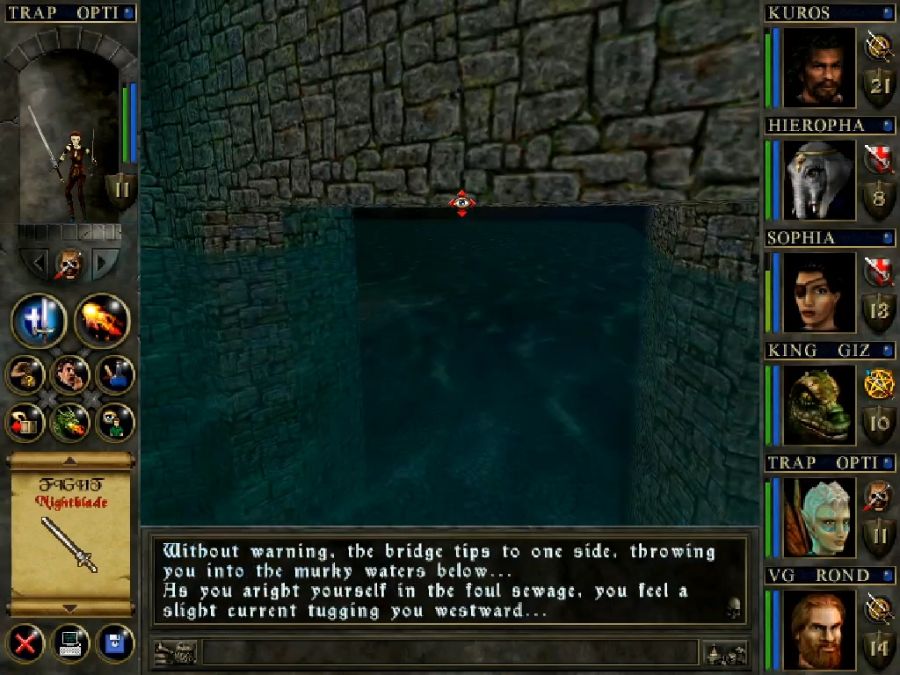
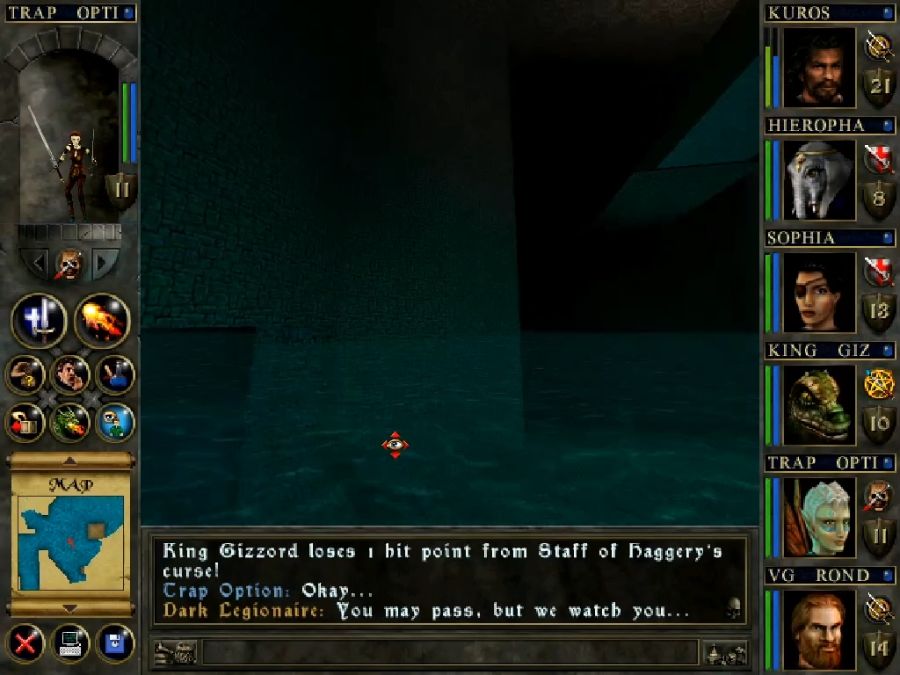
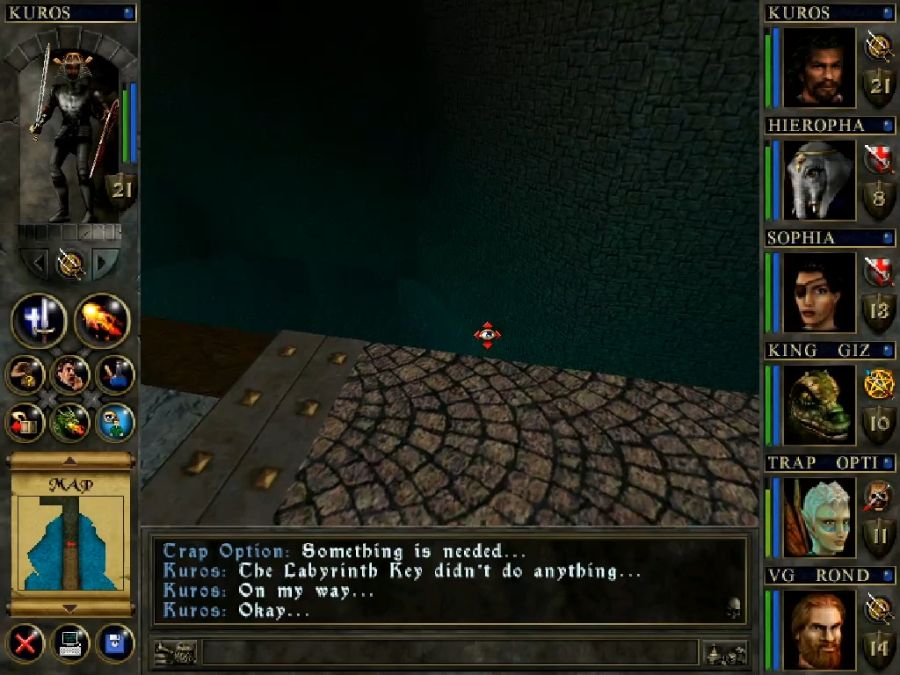
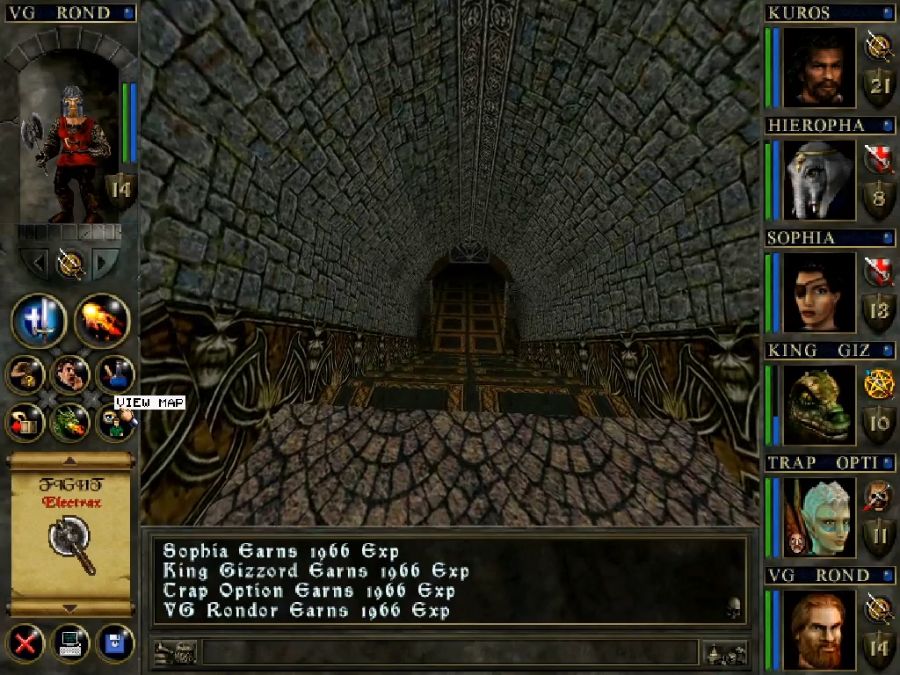
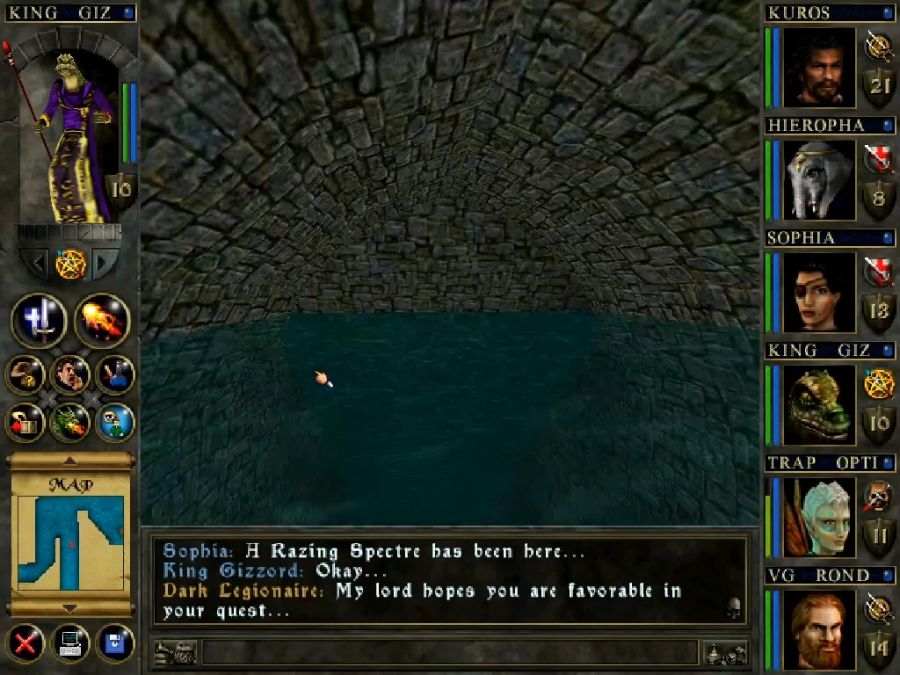
Our goal for now, with regards to completing the dungeon, is to find a key and cross this bridge and then use the key. But surprise! The creaking was because the bridge is actually a teeter-totter, and I don't think that even with W&W's jank-ass physics, it's actually possible to run across and make the jump. You're gonna get dunked in the drink on your first crossing.
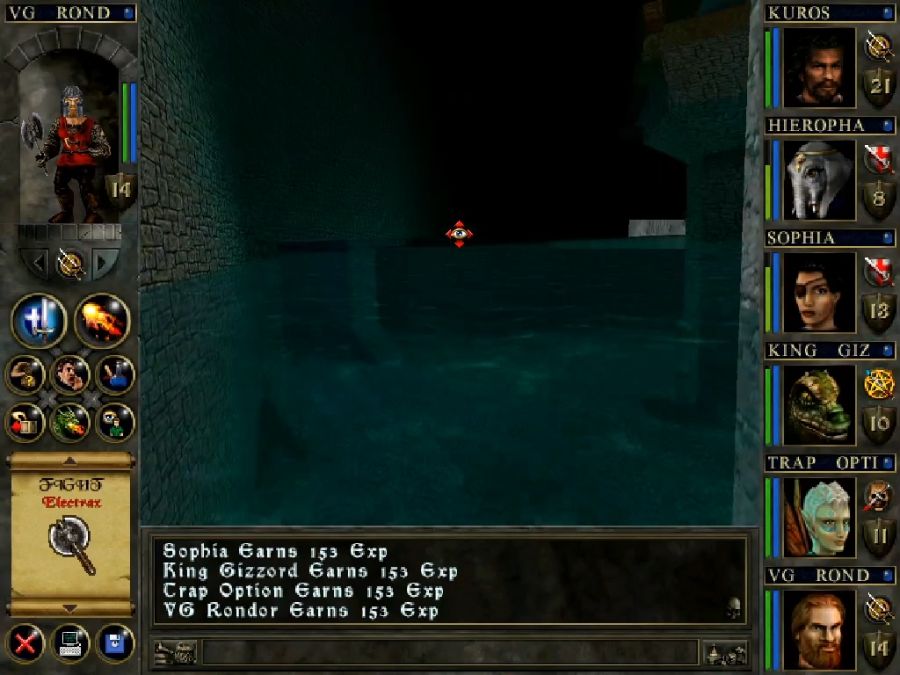
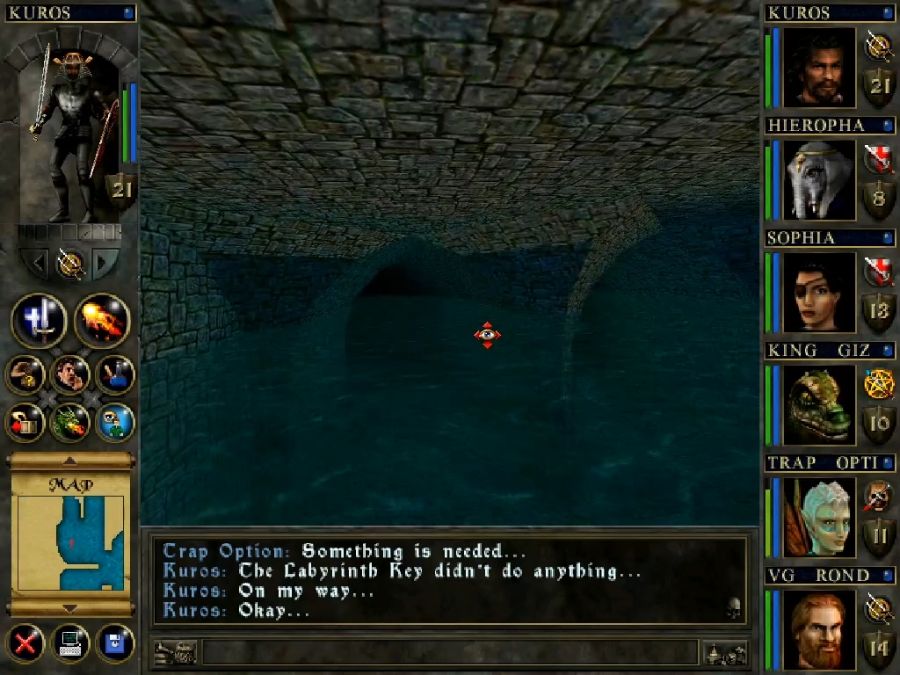
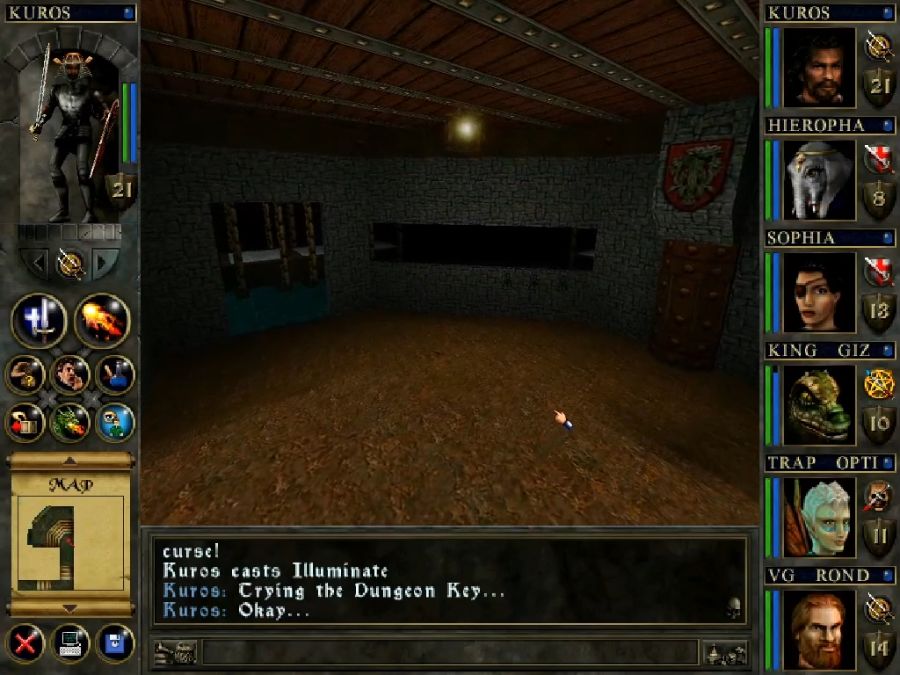
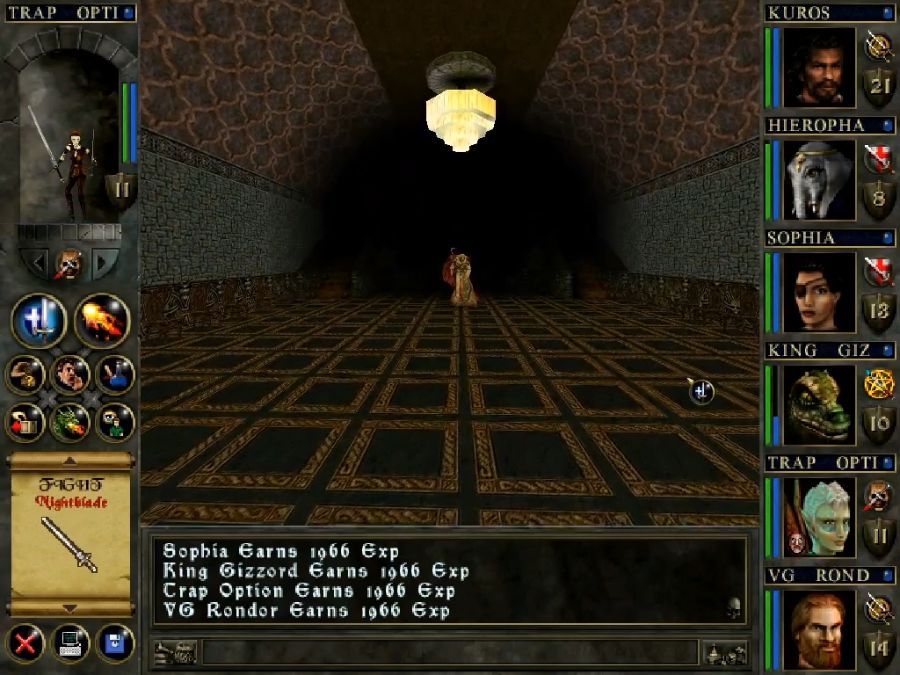
This presents you with two channels to swim into(no ladders or ramps back up), each of which further split in two. The two on the left are both for sidequests, while the two on the right are both for progress. You know where I'm going first.
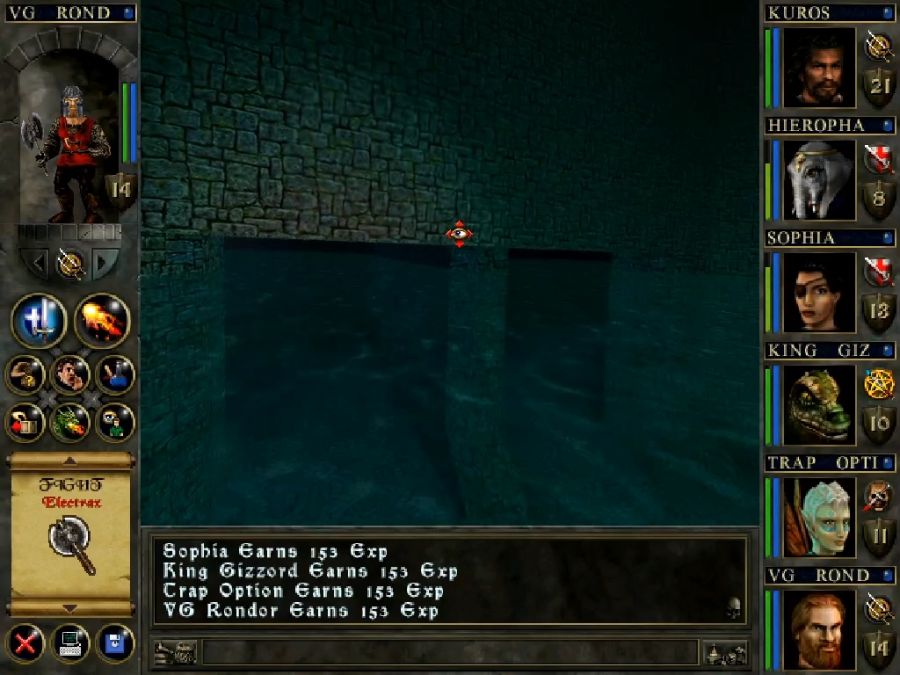
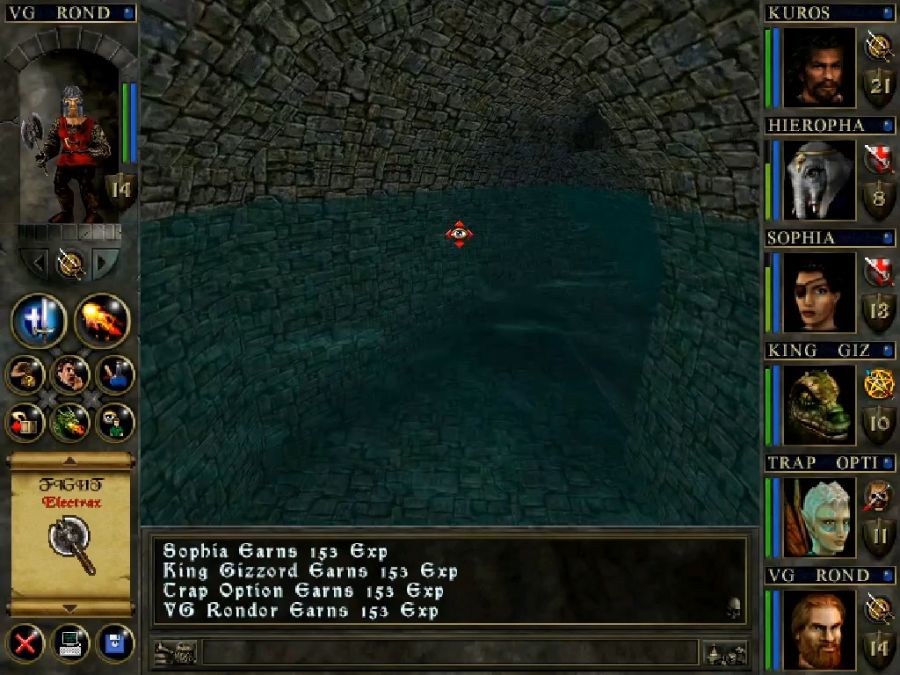
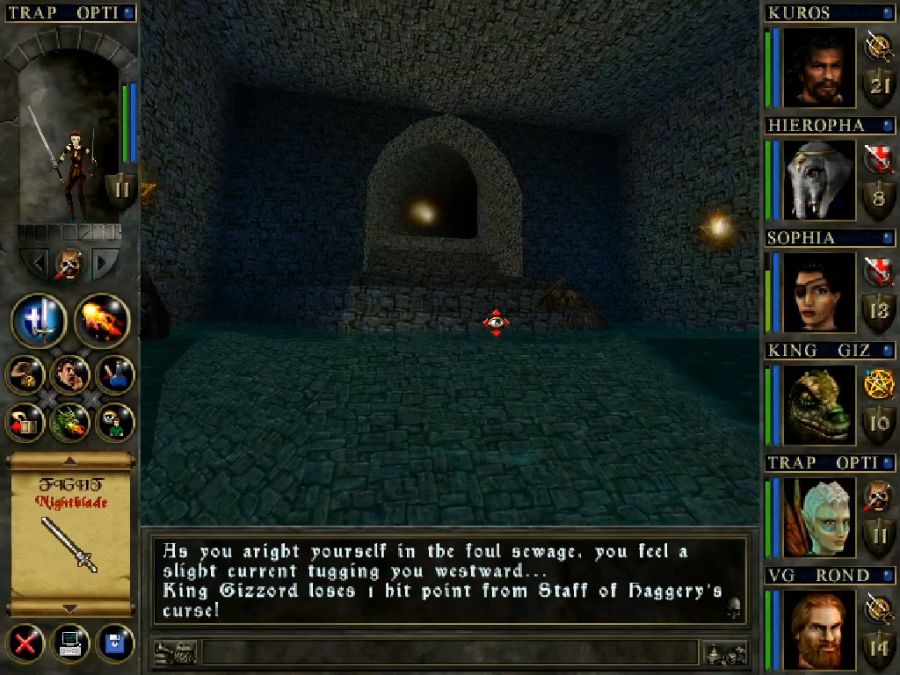
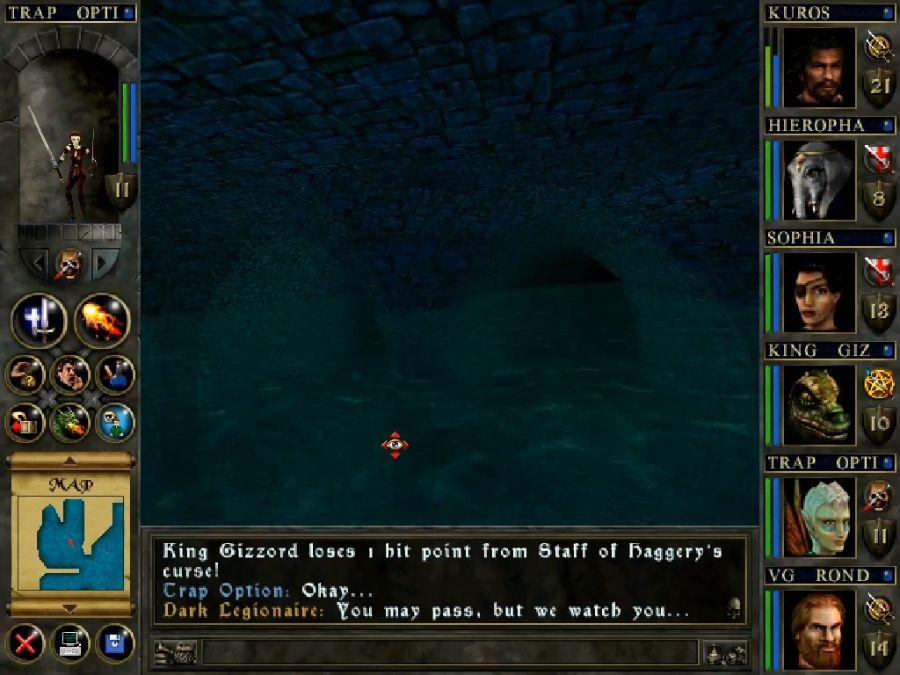
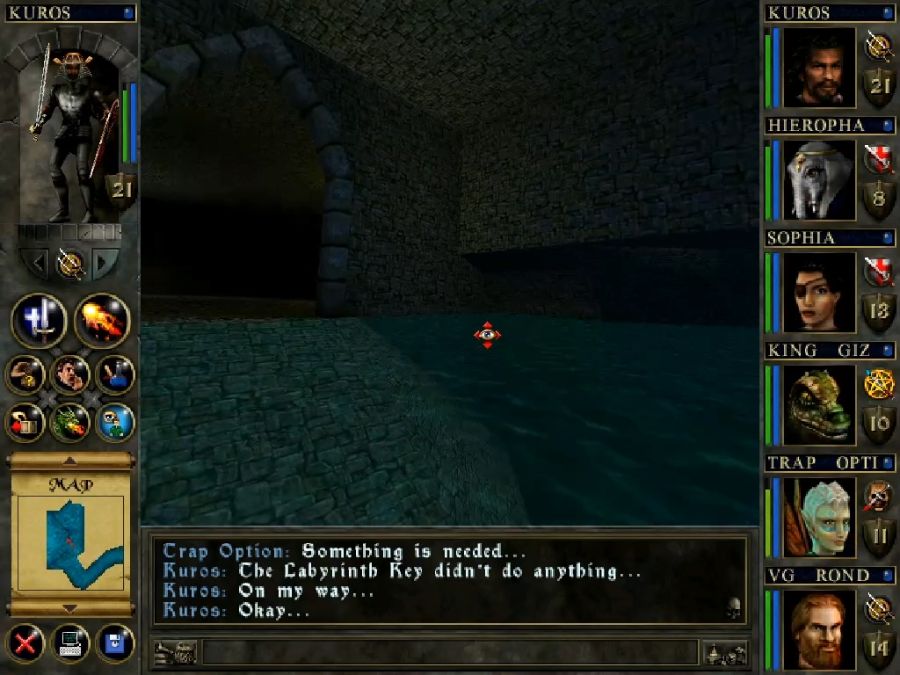
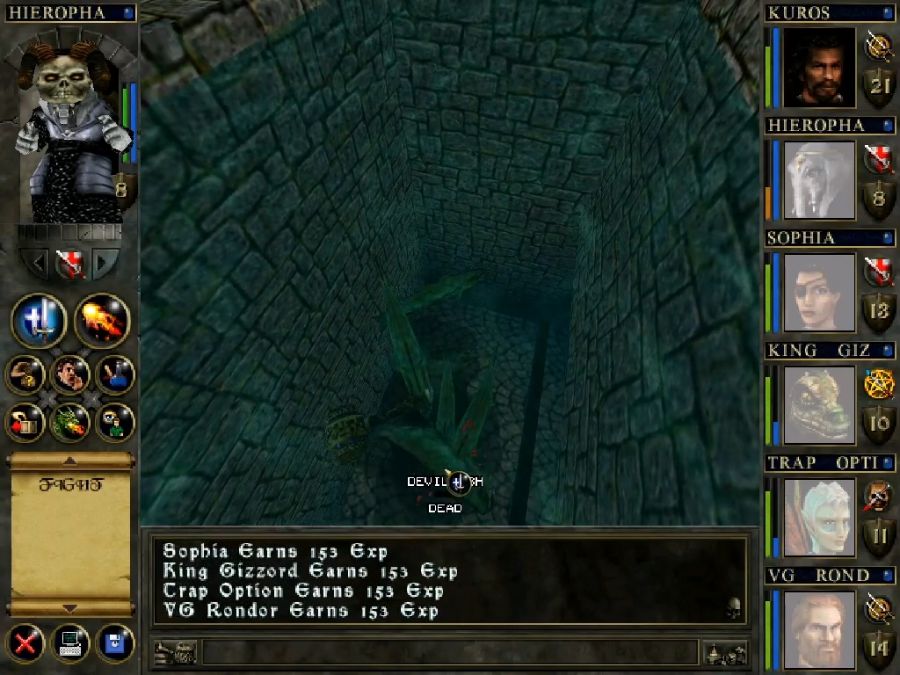
Get too close to one and the current grabs you and drags you in, just so you have to circle back to the bridge every damn time, you can't just swim back out. The first one I pick is the left "main" entrance and then the right sub-entrance.

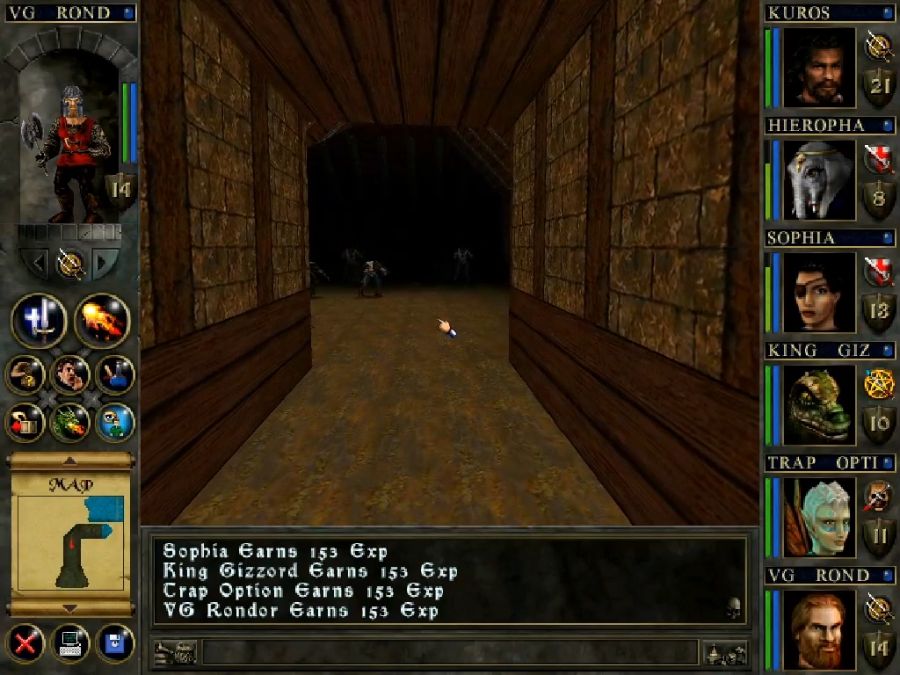
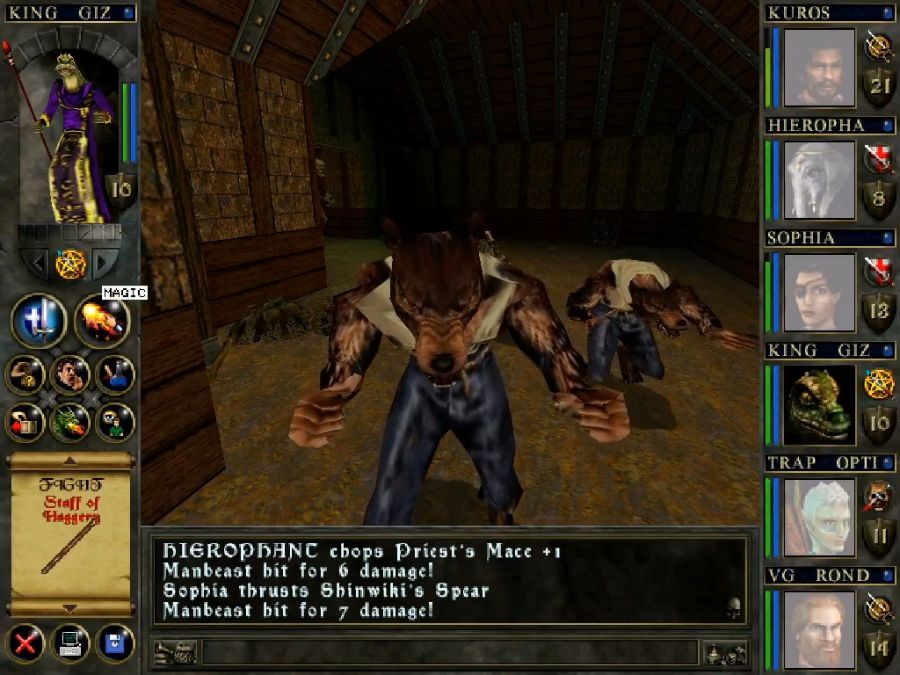
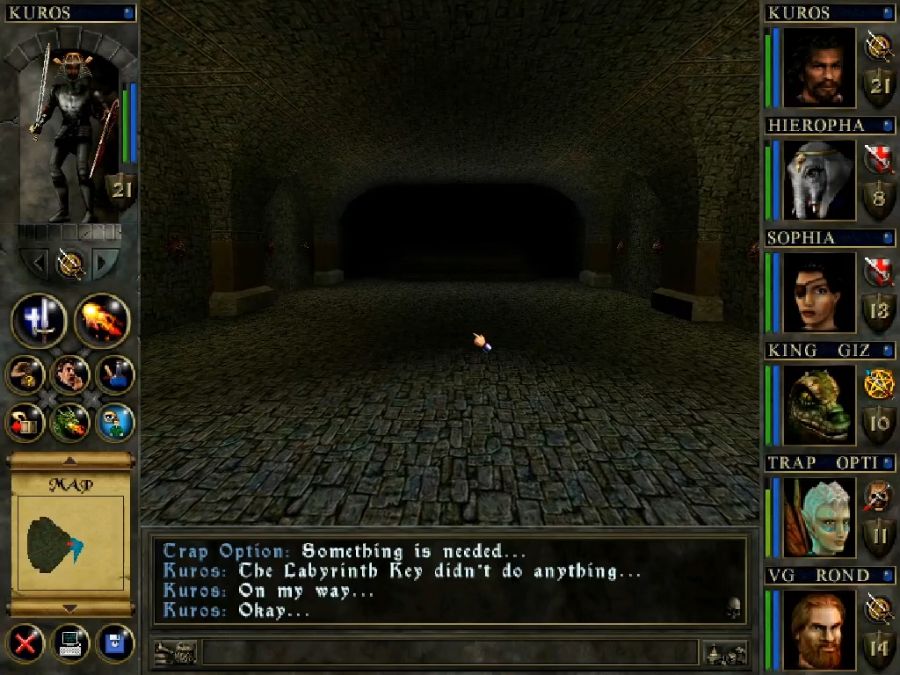
At first, it's just a room full of chump change werewolves(sorry, "manbeasts"). You wade in and you start slicin'.
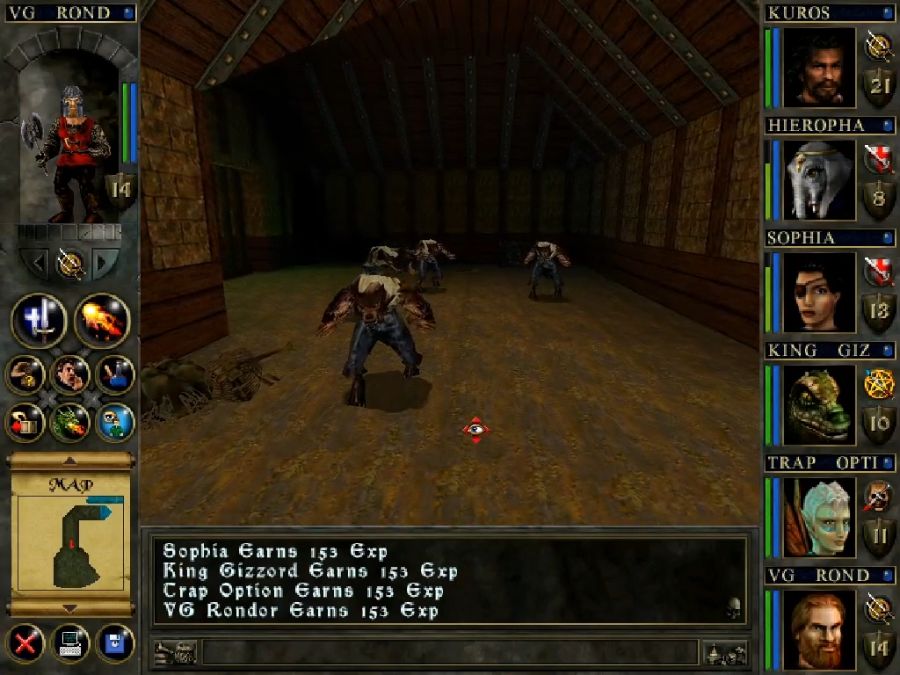
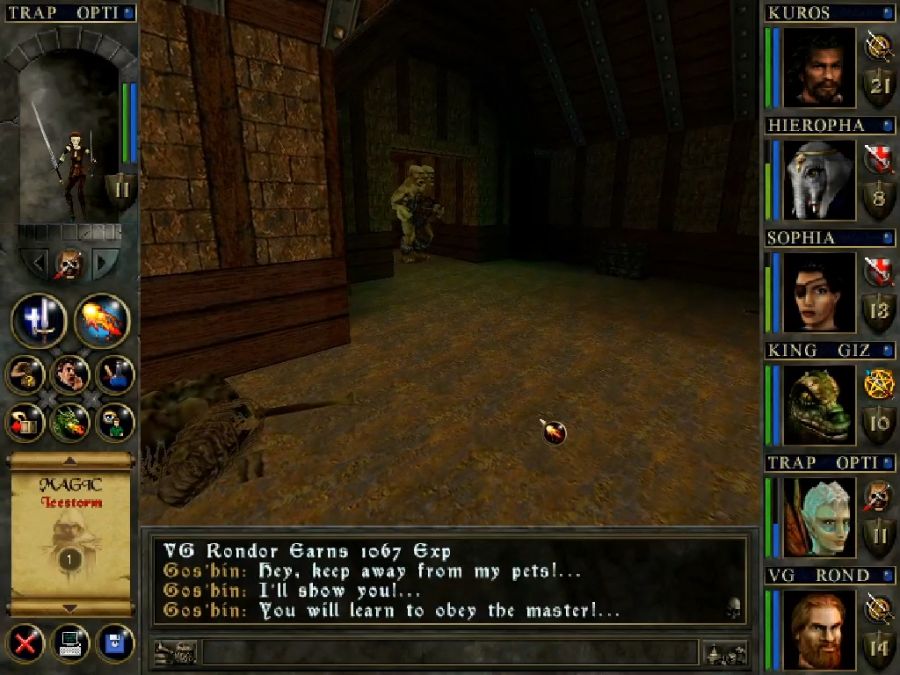
Then the gate on the left opens and Doshin walks out and go "hey you keep away from my pets! rar!" and you go "har har, we've seen this before with Doshi-Gin, get ready to get owned, nerd
 "
"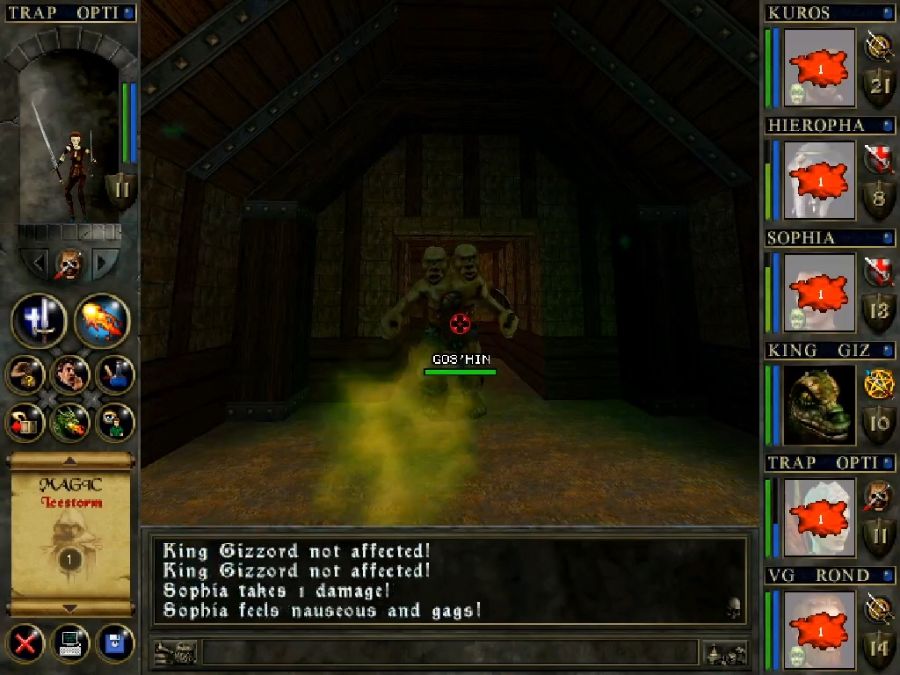
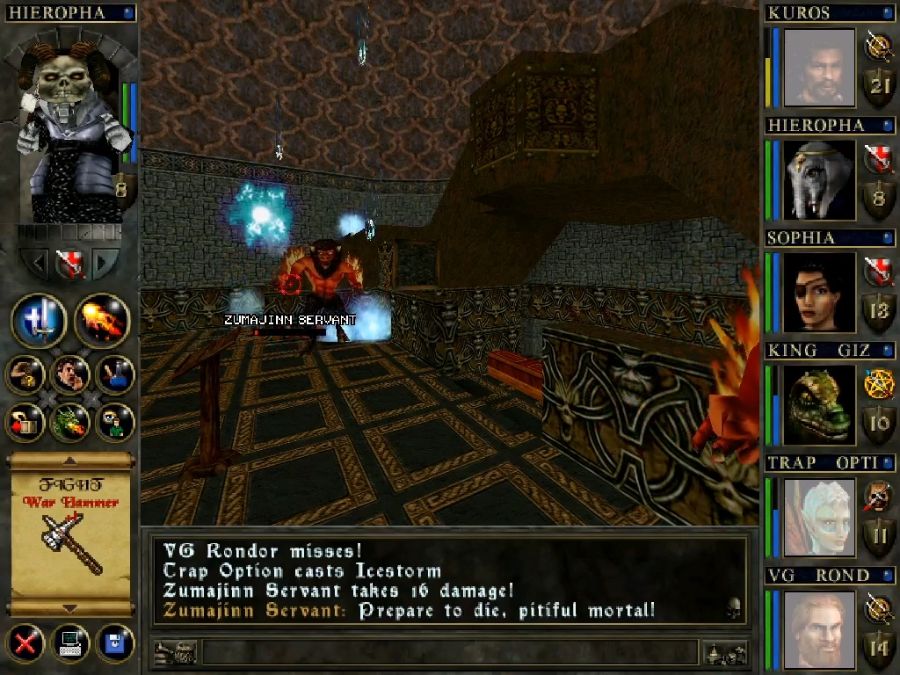
Then you learn that Doshin has poison gas potions that each hit as hard as a Jungle Lily, and he's not afraid to dump two or three of them on you at once. Time to reload.
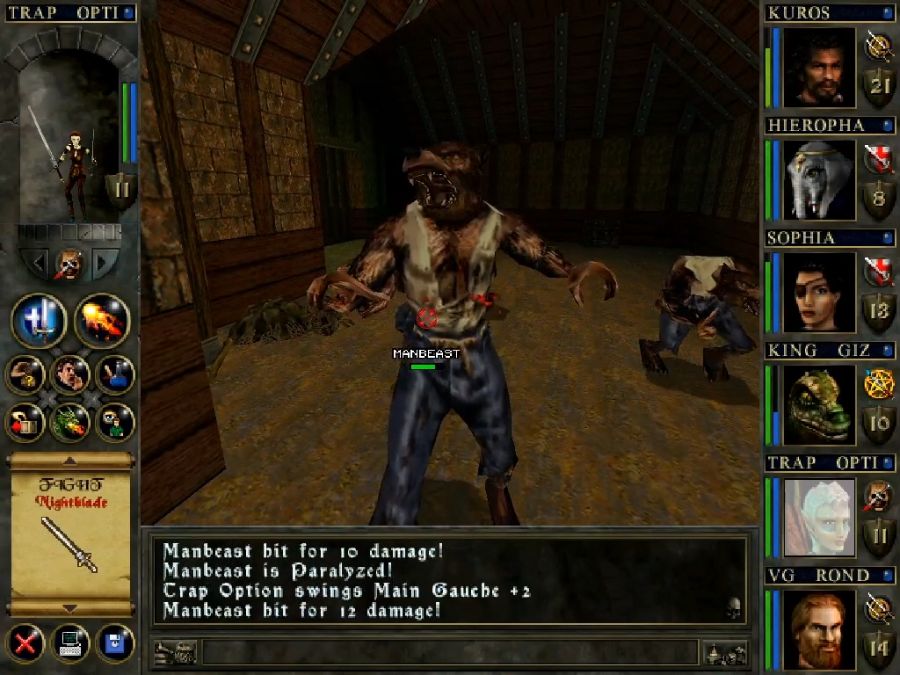
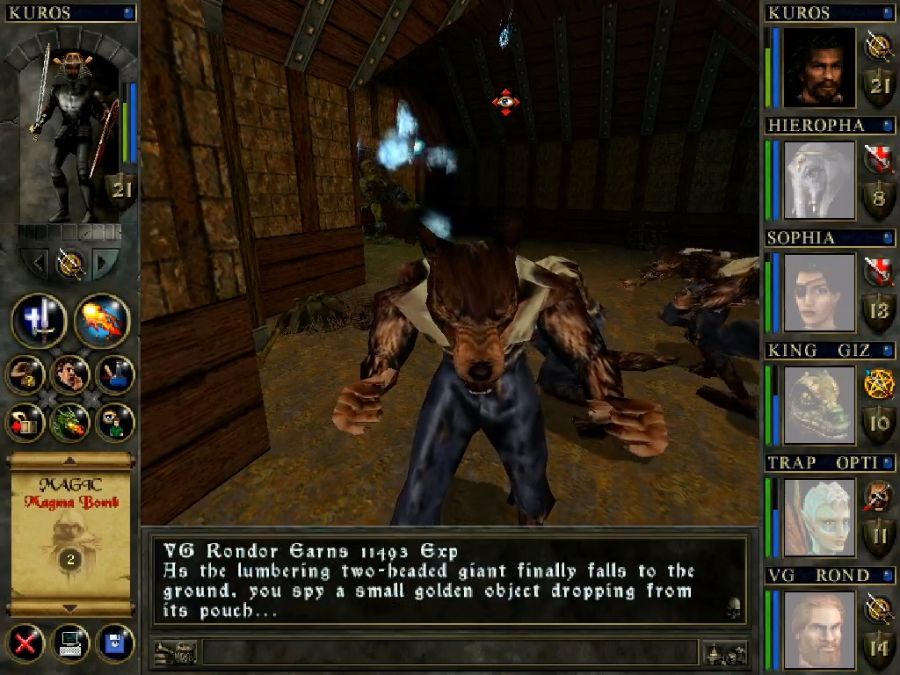
Second time around, wait until he opens the gate, but before he has a direct line of sight on you, and then use a few pixels of his model to throw meteor storms and ice storms at him until he dies. He doesn't drop anything special, sadly no more magic lamps, but it's a completed quest, at least. I don't get why the flavour text mentions him dropping a "small golden object" because literally all he drops is his club, the blacksmith's shield and some of his own poison gas bombs.
Time to head back out and loop around to the bridge again so we can take the left-left connection.
https://www.youtube.com/watch?v=P0erR5sd5kY
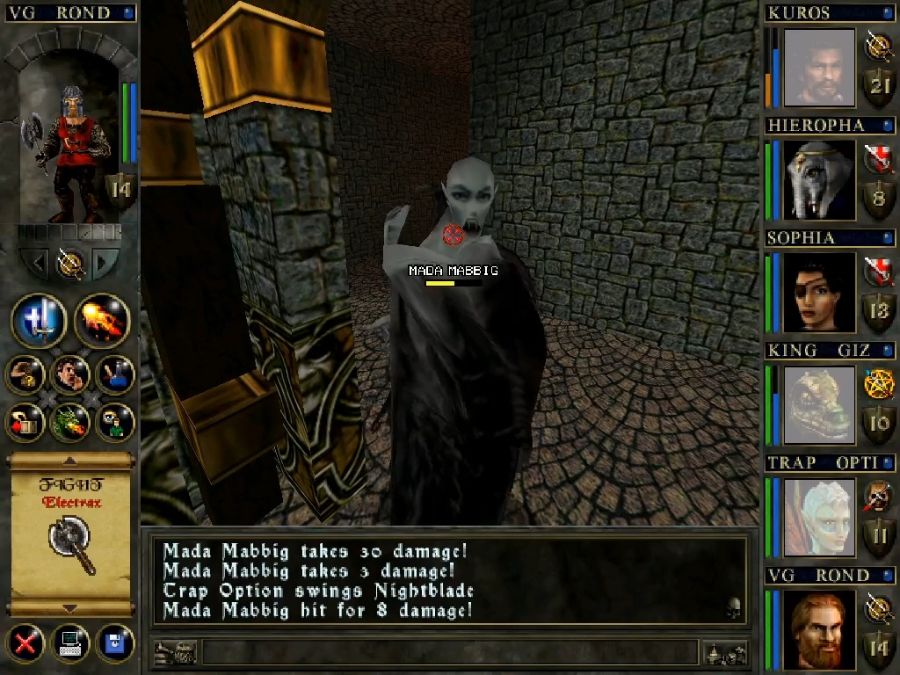
So it turns out Mada Mabbig just kind of locked the rest of her vampire coven here in Skull Castle's bathtub once she got to hide in the basement with her boy toy, rather than keeping her promise to have all of them teleport off to another dimension. Who would have thought that a predatory creature that needed to eat people to live would ever betray us.
In any case we're gonna kill Mada anyway and the reward for this is nice, so may as well. Also I would've exhausted her dialogue except I got the bug where she started ignoring dialogue prompts and just could not be bothered.
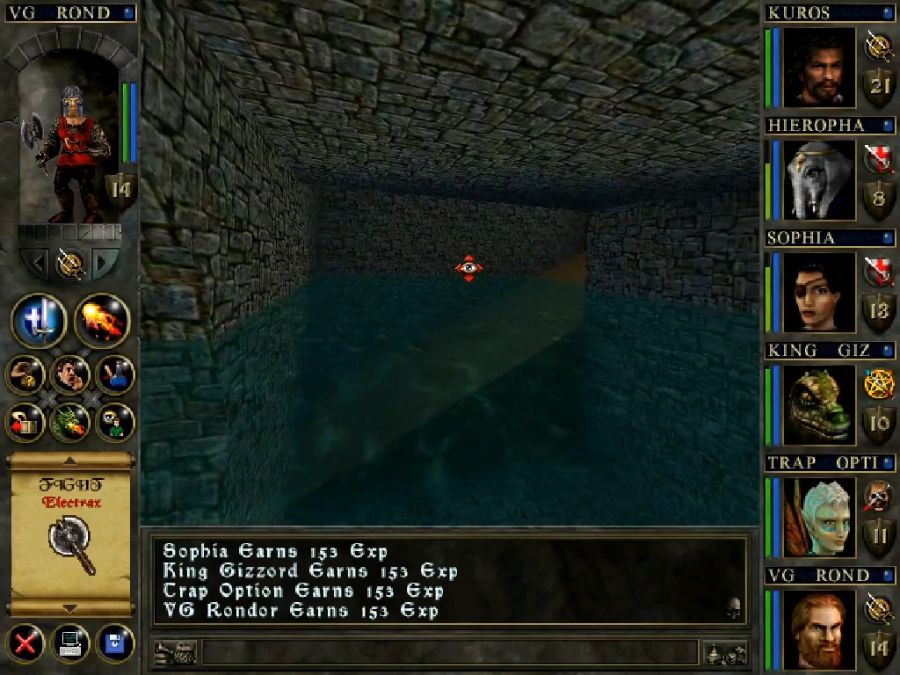
As an interesting note, the exit from this area is the round tub of water we saw earlier in the dungeon.
Back into the drink again.
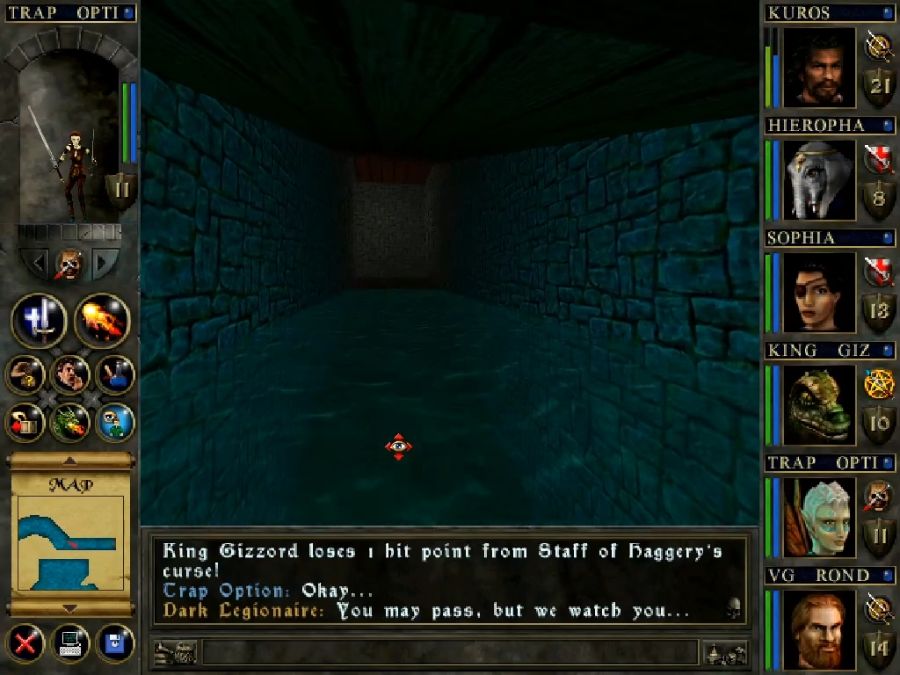
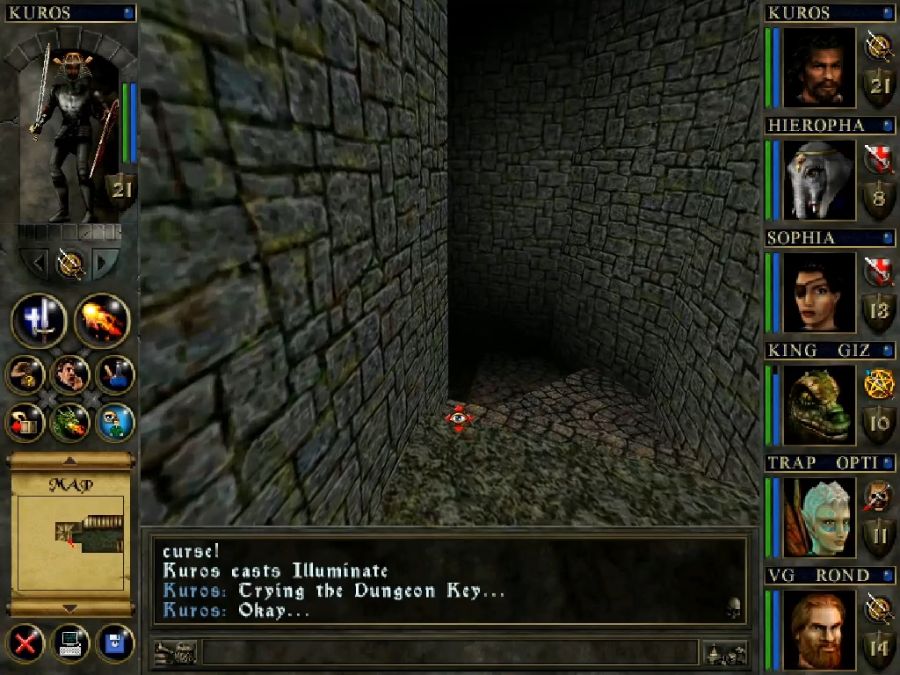
And into a maze that's the result of picking right-right. And not an interesting maze, it's just ghosts, mummies, other generic enemies and trying to find a single key lying on the ground in a corner so you can get out again. Just hug the left wall and you'll get everything and get out safely.
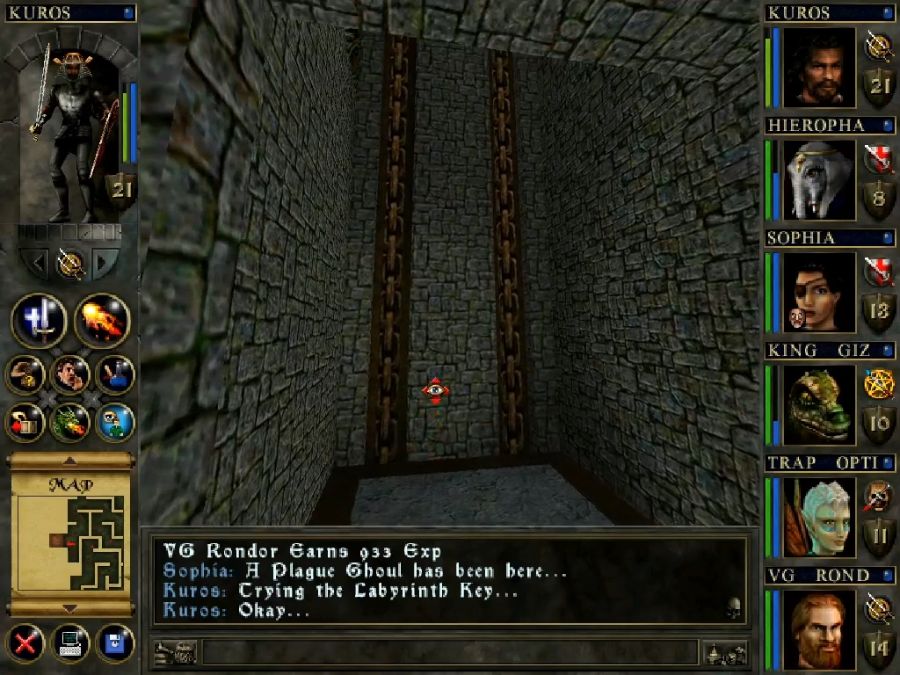
This, sadly, dead-ends you and forces you to loop back since you need to pick right-left to get the key that actually lets you get anywhere from here(you can still get out and loop back to the bridge, just not progress), but it does let you get back and "set" the bridge so it doesn't tip you down and can actually be used to move back and forth.
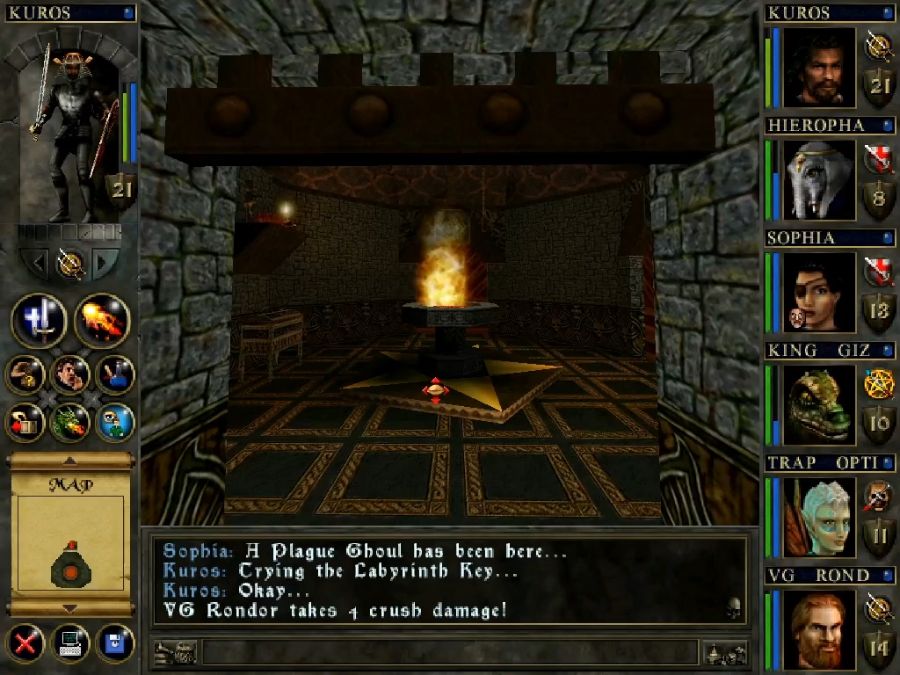
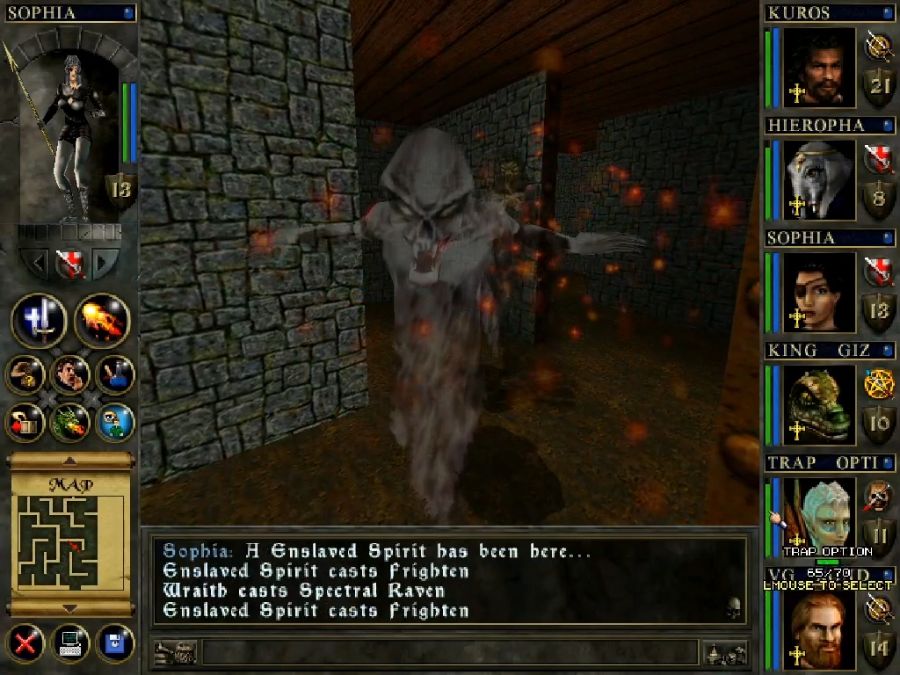
This doesn't look suspicious at all. So for no reason at all I'm going to sprint across this room at the highest speed possible for the party.
And this is what I see when I look behind me.
Those are all Face of Death projectiles, i.e. save-or-die bolts in the most literal sense.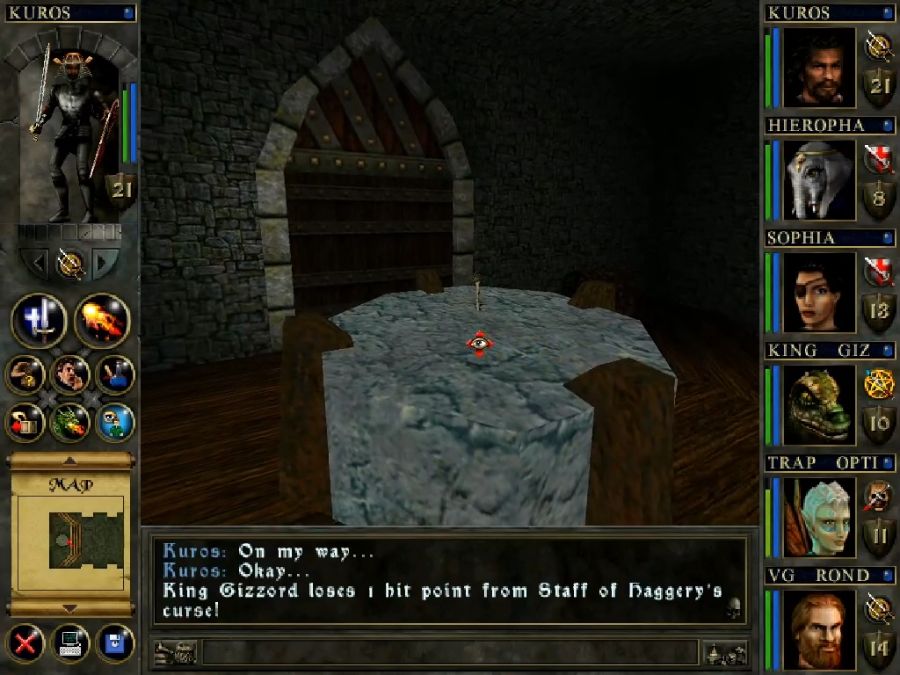
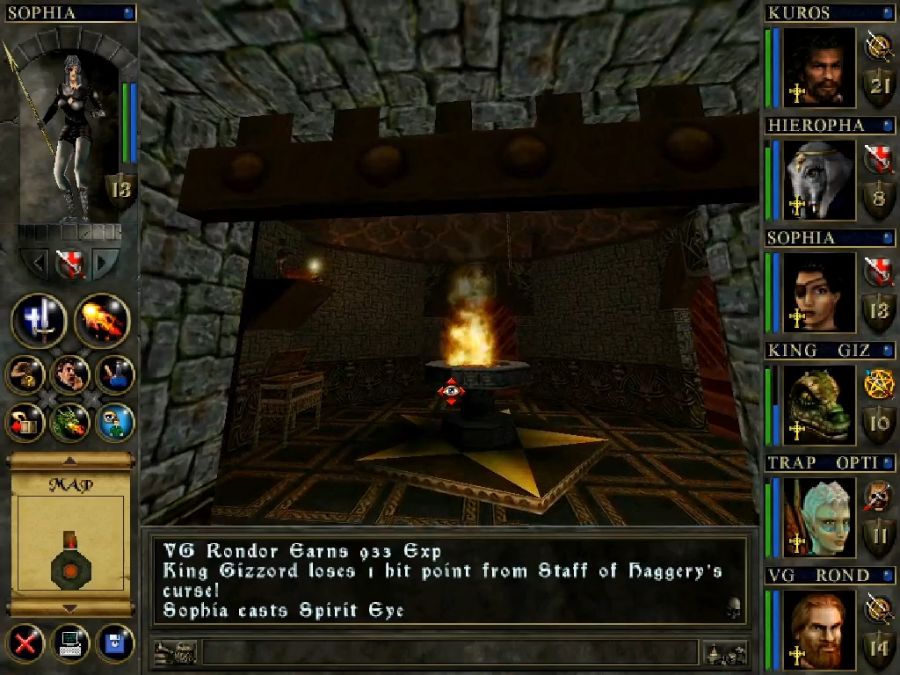
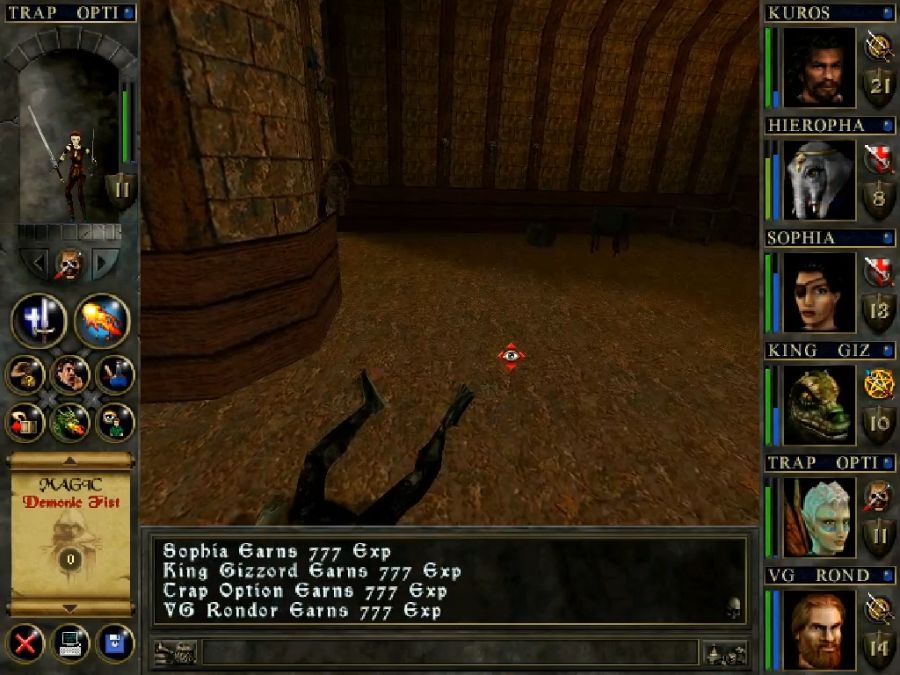
And here's the key needed to progress, lemme just-
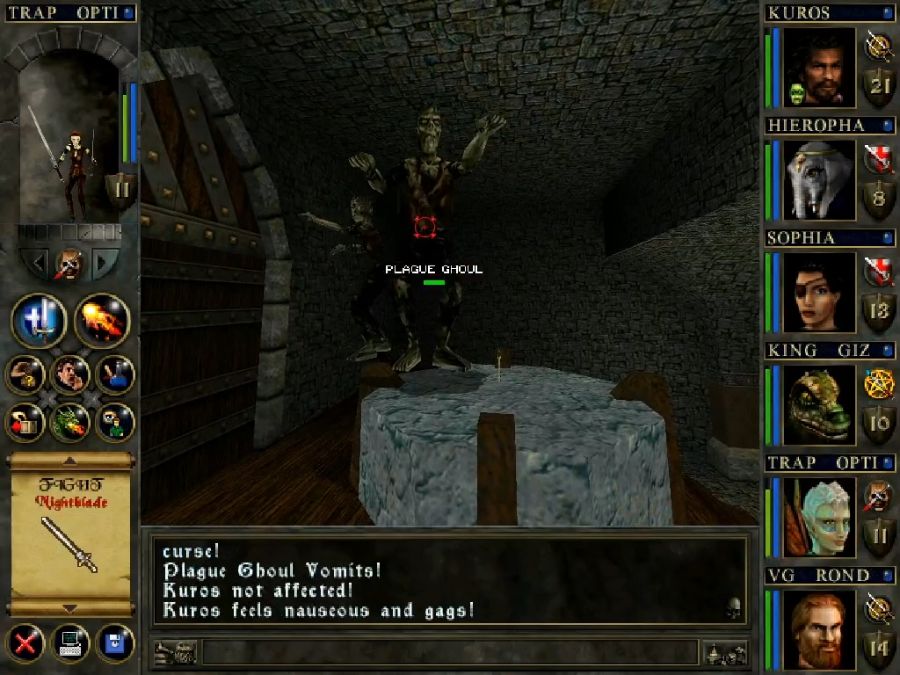
Fundamentally I don't mind a "you grab the important item, enemies attack"-trap in dungeons, but at least make it an interesting attack. Don't just spawn two incredibly low-level enemies right out of thin air on top of the altar. Have them teleport in or drop down from the ceiling or come out of a literal monster closet.
Anyway, they eat shit and it's back to a pair of locked doors I haven't been able to mess with yet.
First back through the labyrinth...
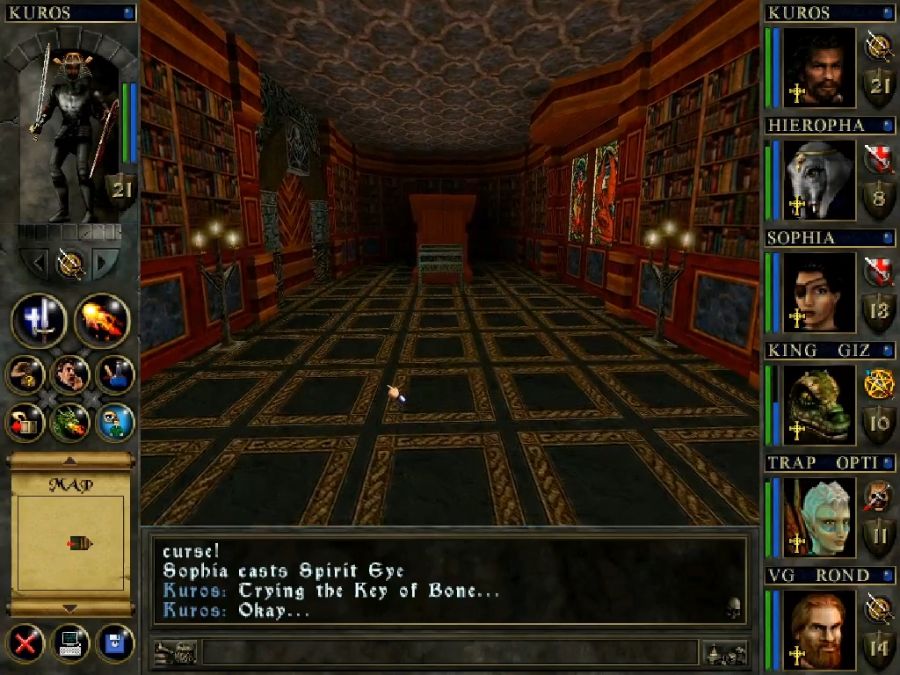
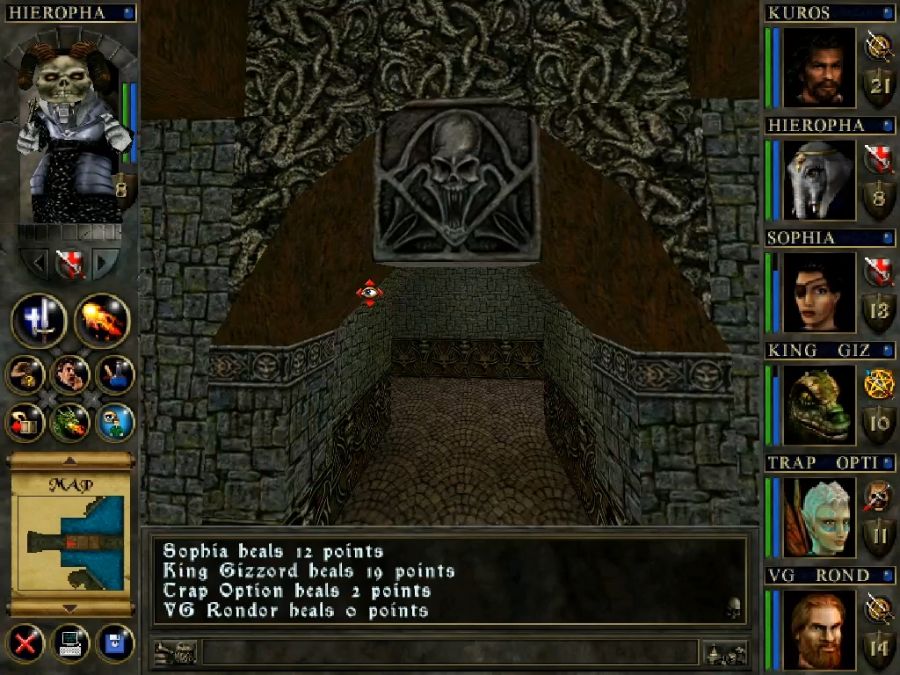
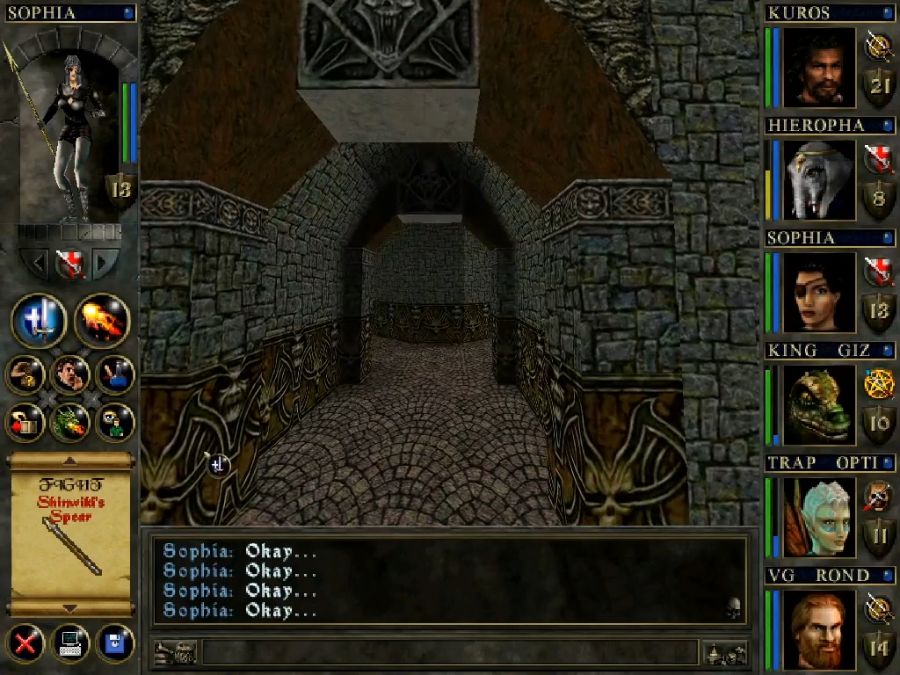
Here's more of those "rich" textures I enjoy, because they give the dungeon a different feel. Maybe it should've all been like this, a mouldering ancient library or something, instead of going with the generic dungeon stuff or it should have gone full dungeon and had every room have spinning blades, tipping bridges, sliding platforms, etc. rather than pretending some parts of it are a castle.
But, anyway, at first glance this library is lame. There's a single chest in front of the fucking HUGE chair-and-lectern up ahead, so let's go poke at that.

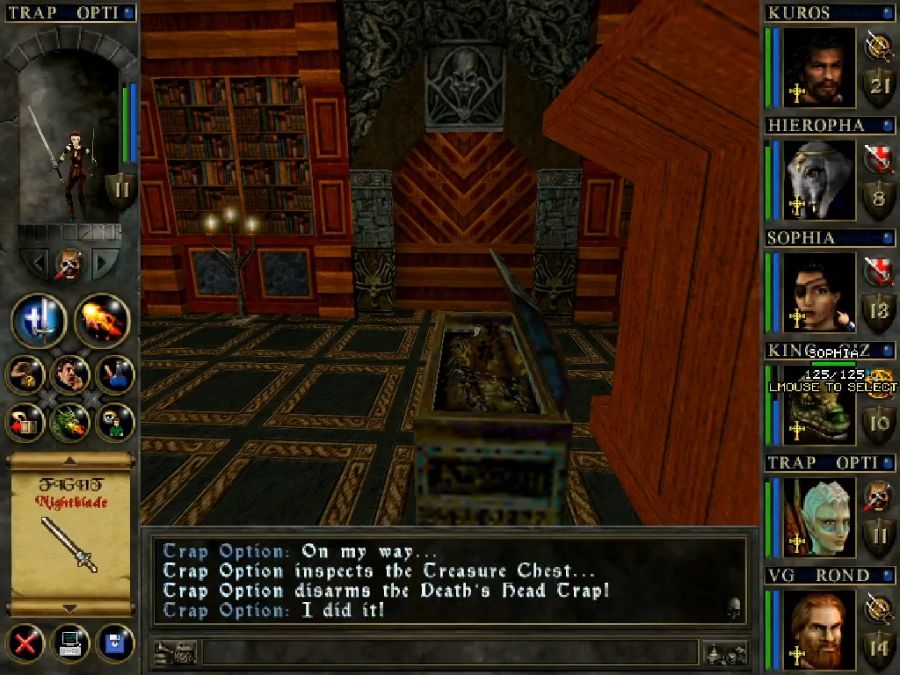
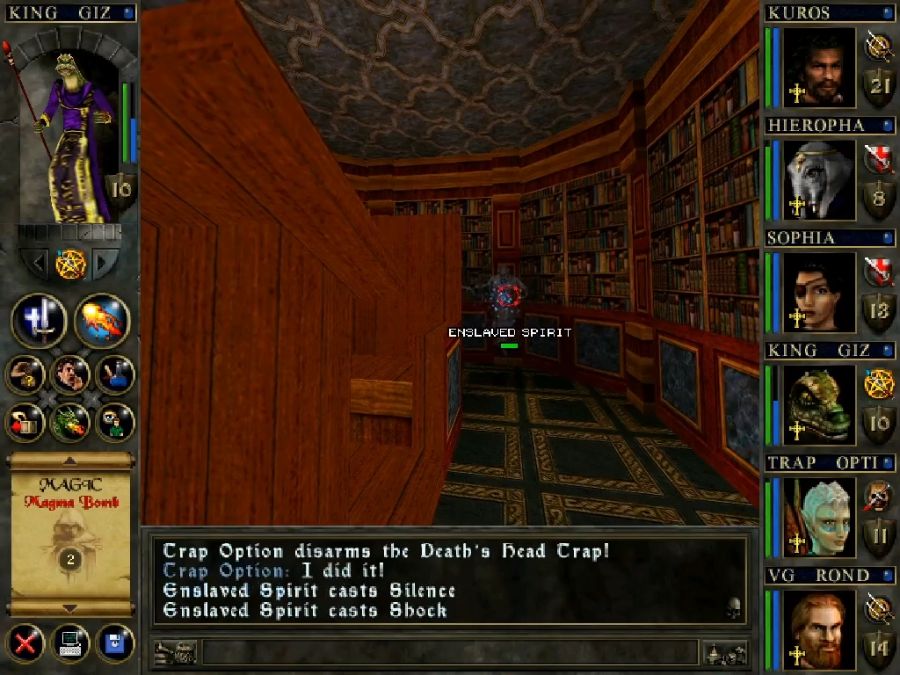
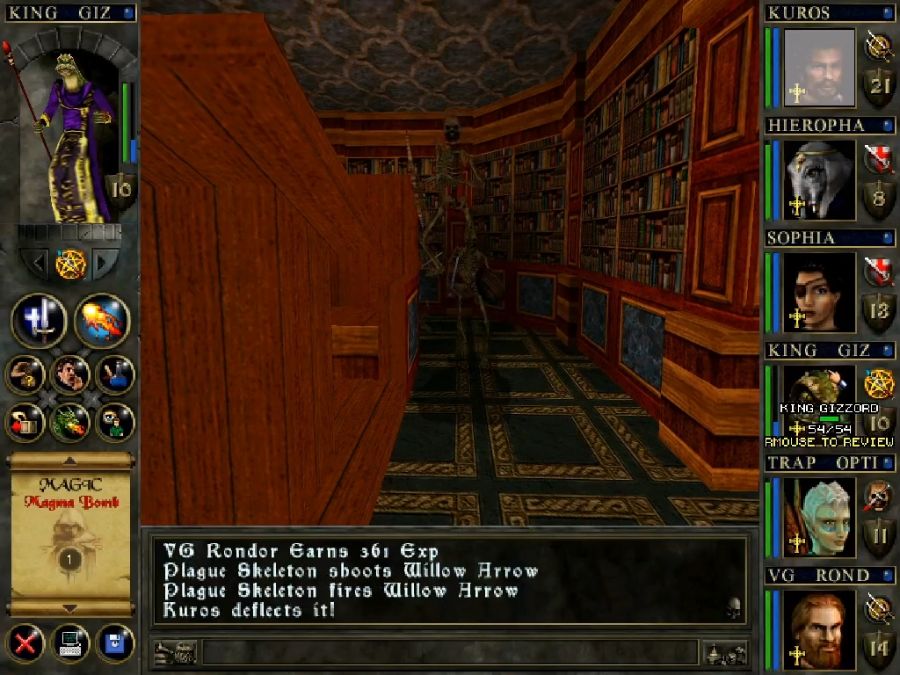
The moment I pop the lock, though, ghosts and skeletons spawn in. They die easily, but the chest is just another container full of lame random loot. What is up with this, I ask, this isn't very cash money of you, W&W.

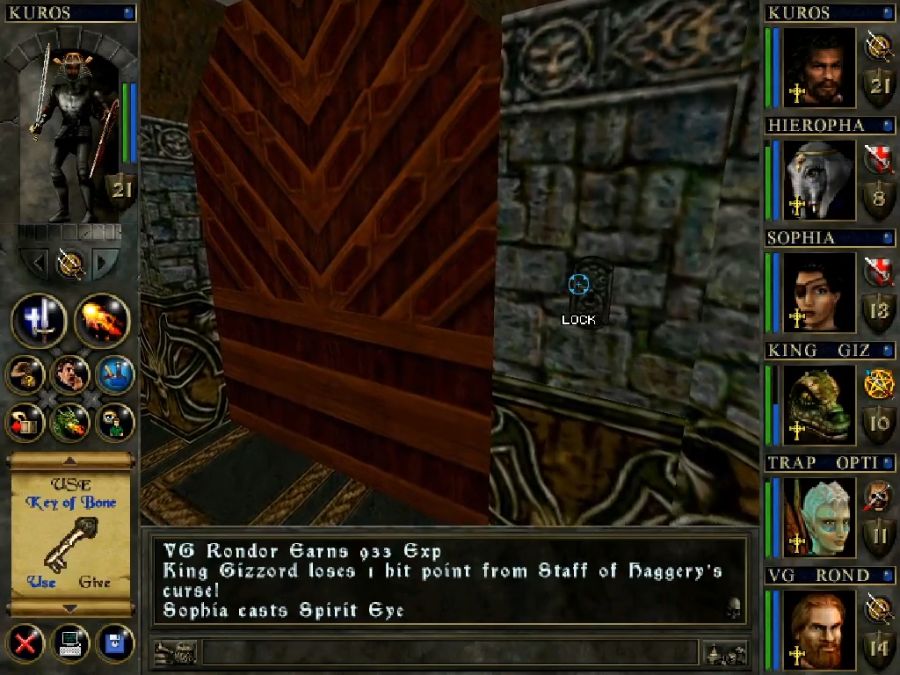
Then I find this well-hidden little lock on the wall(the actual door opposite cannot be opened) with an INCREDIBLY difficult lock, thankfully Trap Option can still bust it open with a high-level, single-use lockpick even though his basic lockpicking skills can't open it.
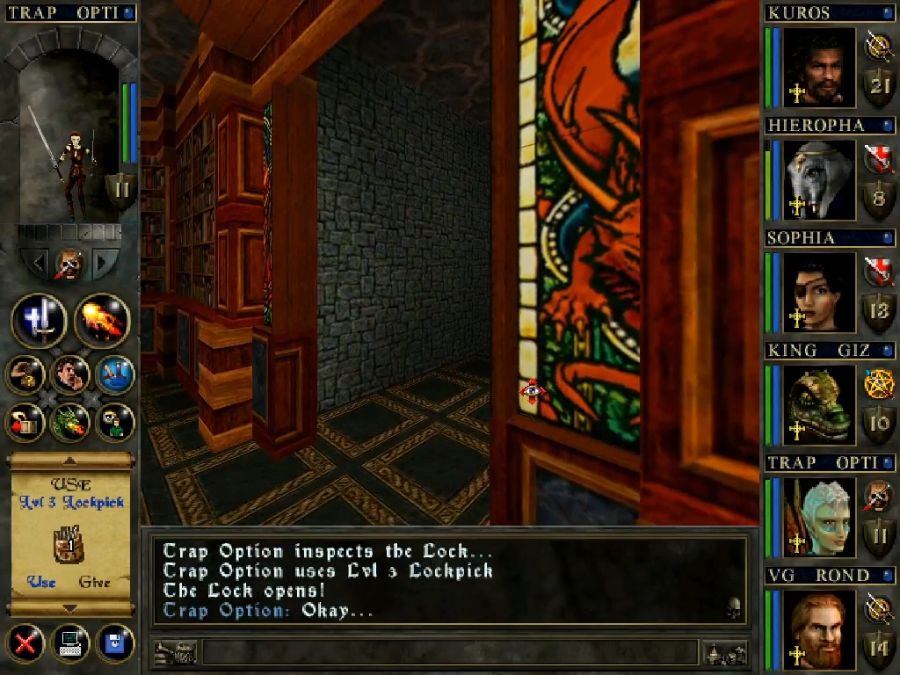

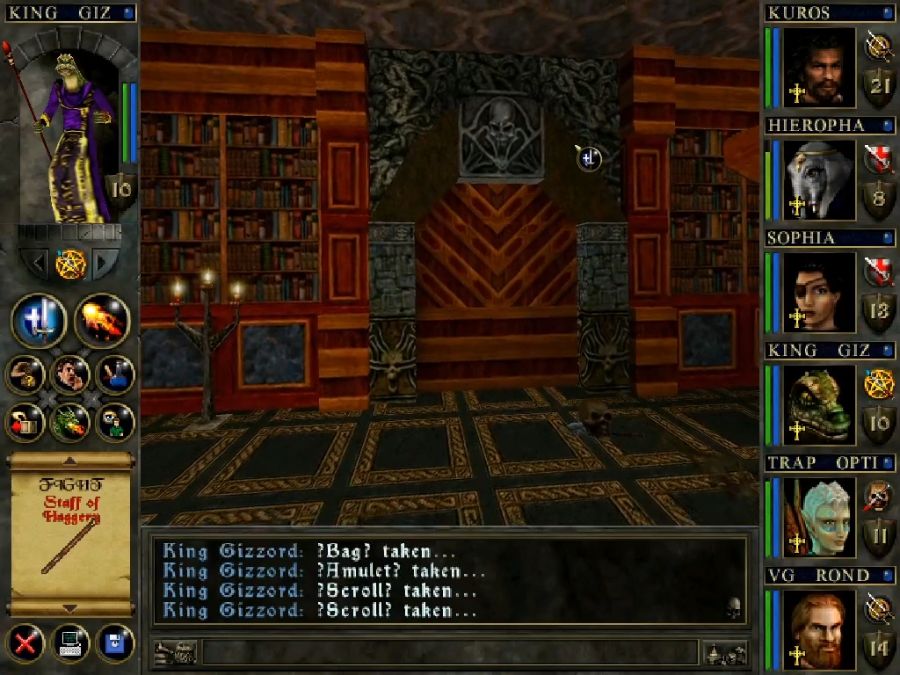
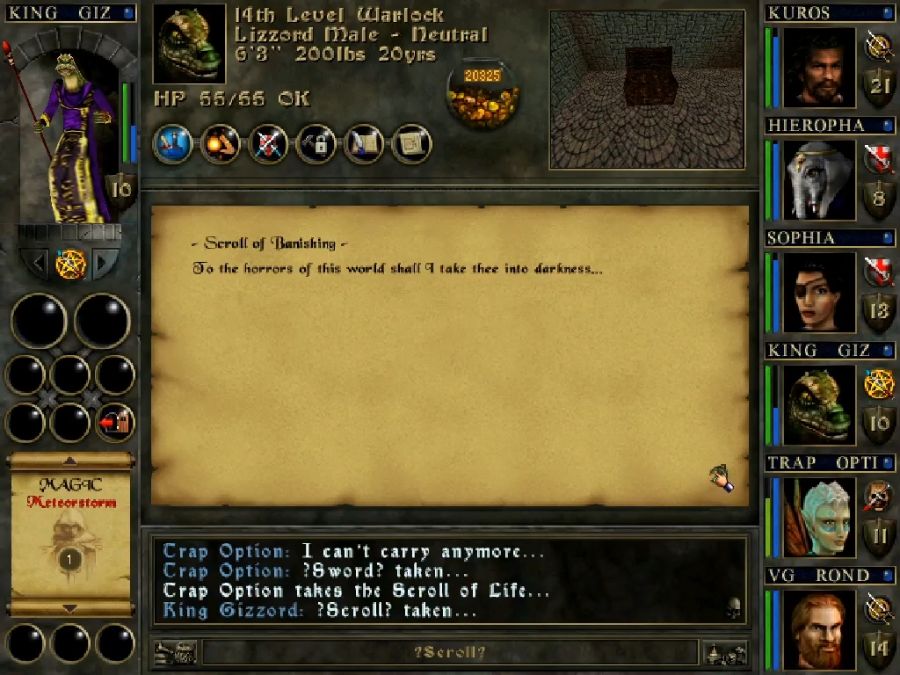
It's still just random loot, but it's higher level random loot, producing several spellbooks and one of the books for reaching the Zenmaster class(I've found one other in the Snake Temple and in the Boogre Lair so far, the last one is in, of course, the last fucking dungeon.
) and a nice robe upgrade for Gizzord.With that done, though, it's back to the grand hall and down the corridor that doesn't lead to the bridge.
https://www.youtube.com/watch?v=cE_0oEyrRjU
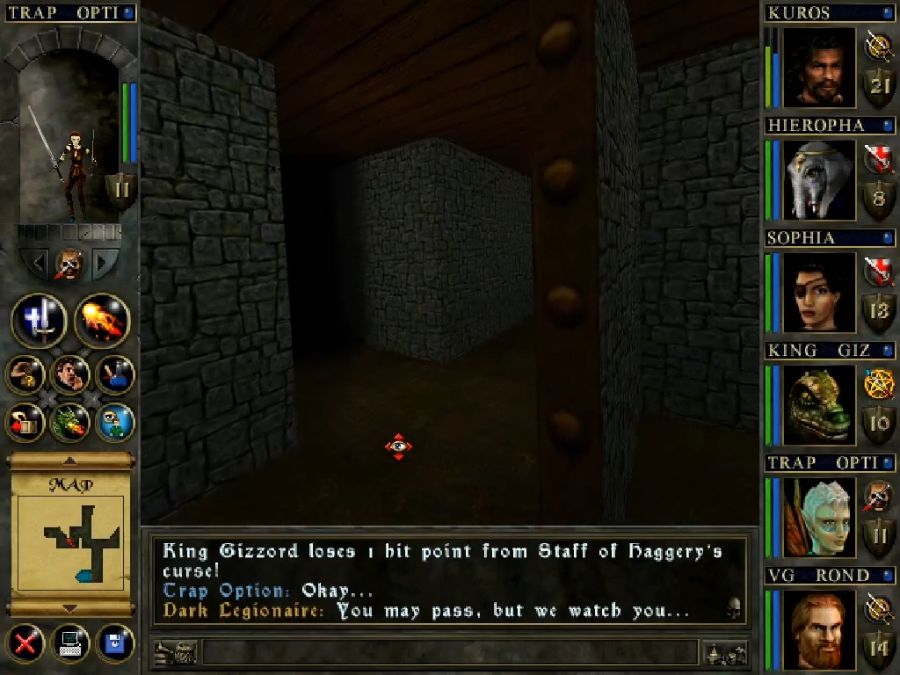
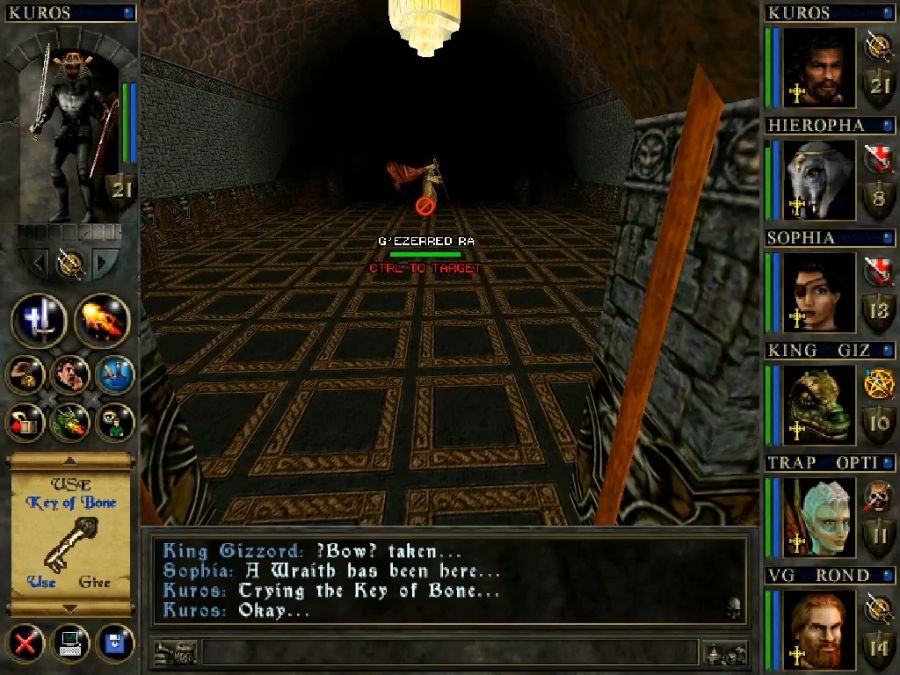
Welcome to G'Ezzered Ra(who keeps going on about music we can't hear.
), who's somehow a good guy because he wants to fuck up Cet even more than we do. It's also worth noting that his huge, permanently flapping cloak has a MASSIVE hitbox. When he's looking right, I literally can't get up the stairs on his left because it fills up the room all the way to the wall! Anyway, long story short, he accidentally killed the setting's Jesus analogue(Anephas) when he tried to wake him up, to get help getting revenge on Cet, so now we need to find the AA batteries for his magic staff so we can bust open the seals of Anephas' tomb and try to unfuck Ra's mistake.
Said AA batteries are in the basement where Ra cannot, for undefined reasons, go himself. I suspect he's just afraid of the dark down there.
Also the orchestra pit has like two enchanted instruments and four or five of the generic "casts a spell" kind which all turn out to be useless because what they cast is basically level 1 spells I will never have a need for. Contrast this with Wizardry 8 where instruments and gadgets could replace a lot of your most vital spells for buffs, utility, heals AND offense.
With regards to this game's design it's also worth noting that the grating we opened at the start to reach this part of the dungeon can't be opened again from the inside, and the only way to get to the other side of it is to go back to the tippy bridge, hope into the water and swim out through Doshin's hideout.
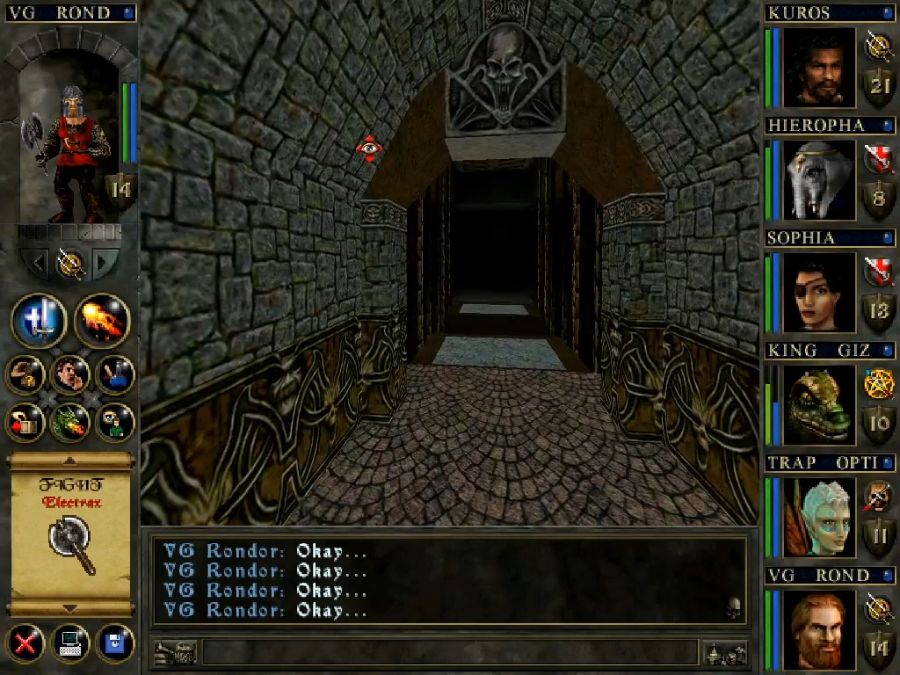
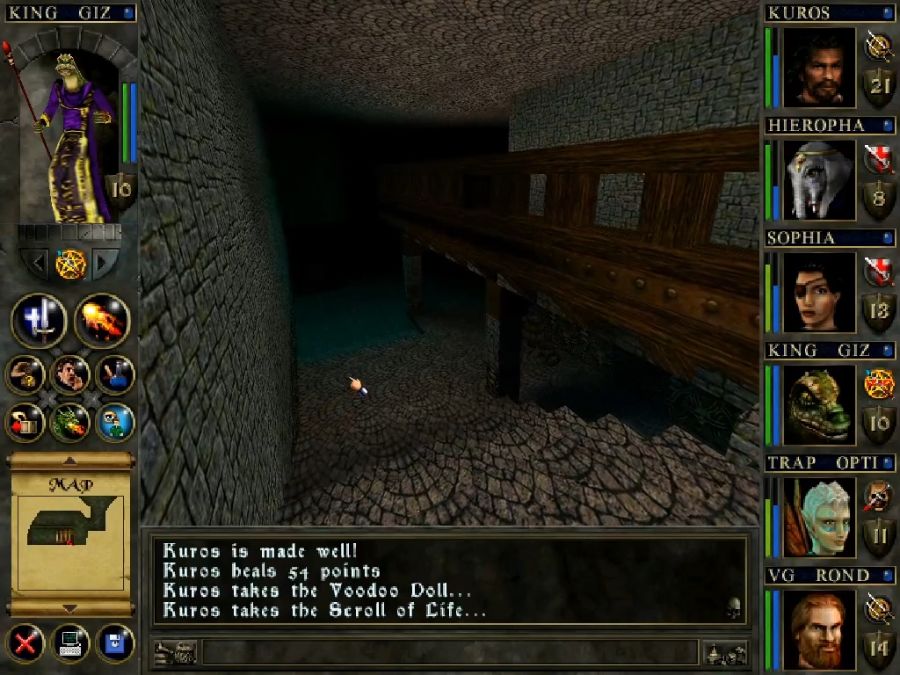
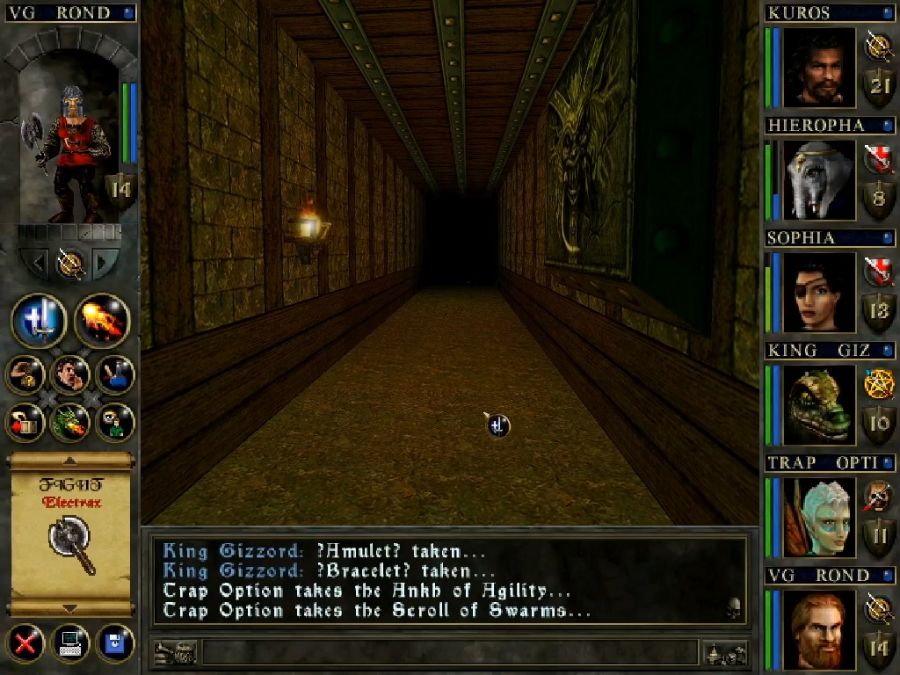
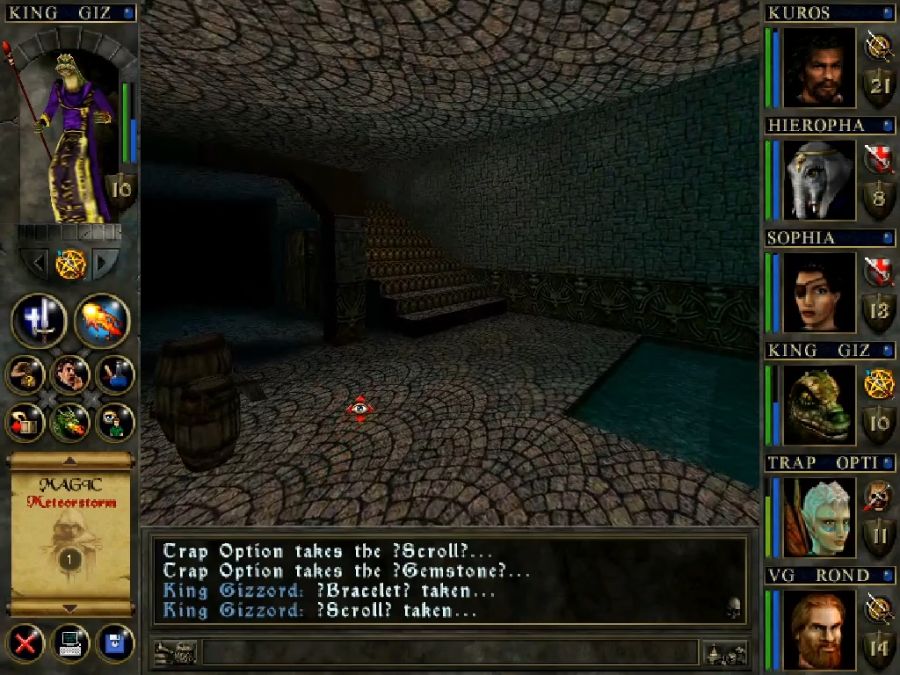
Anyway, we use the lich's basement key and get to the last part of the Skull Castle dungeon.

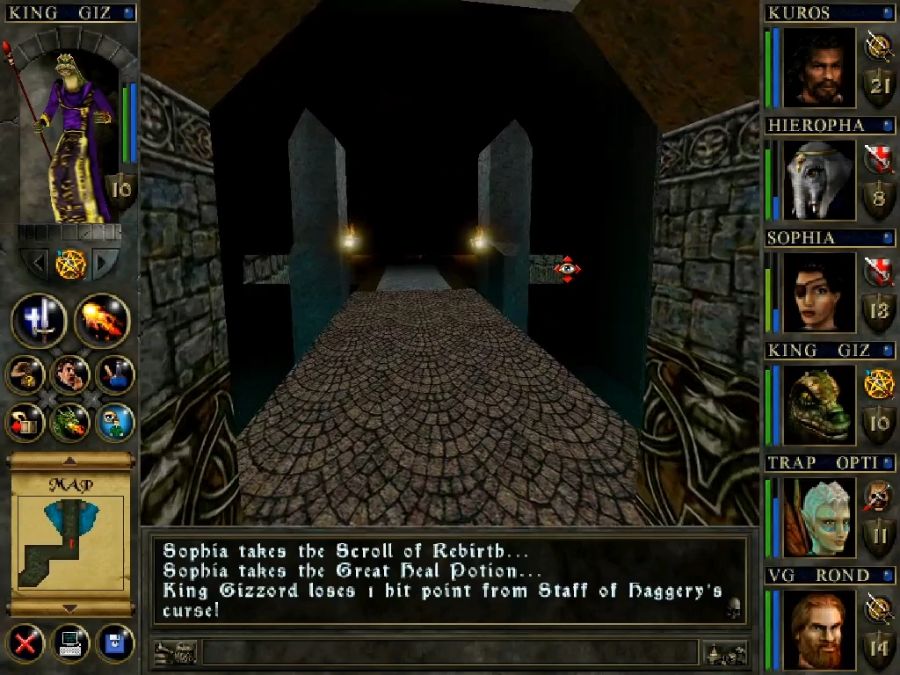
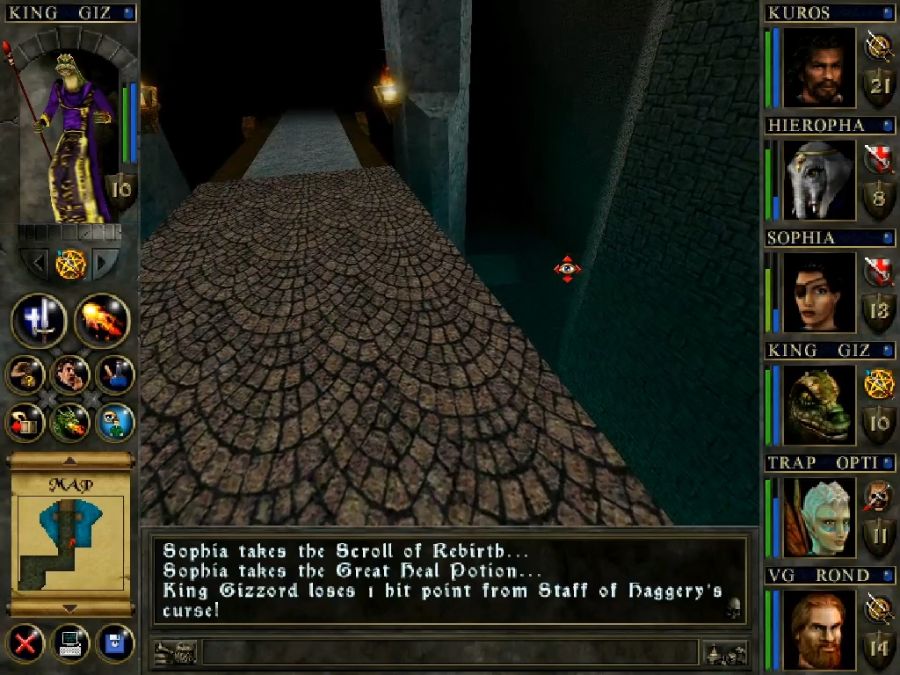
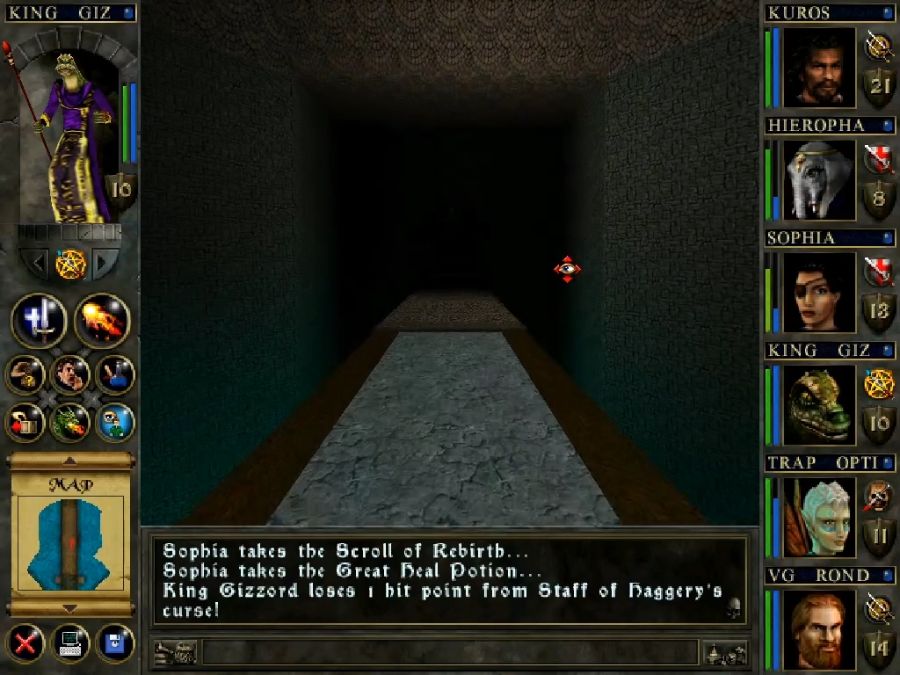
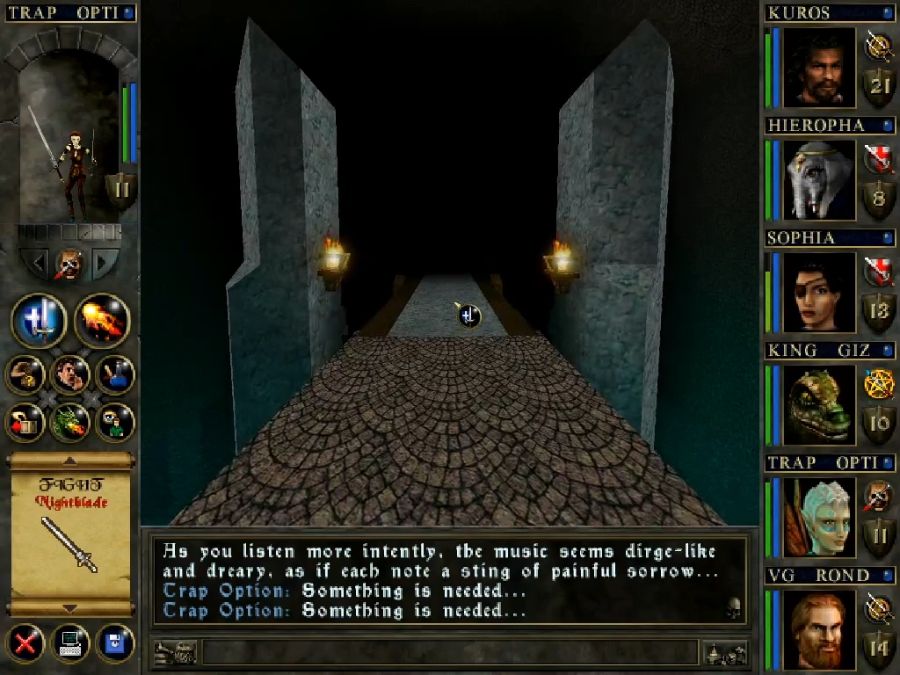
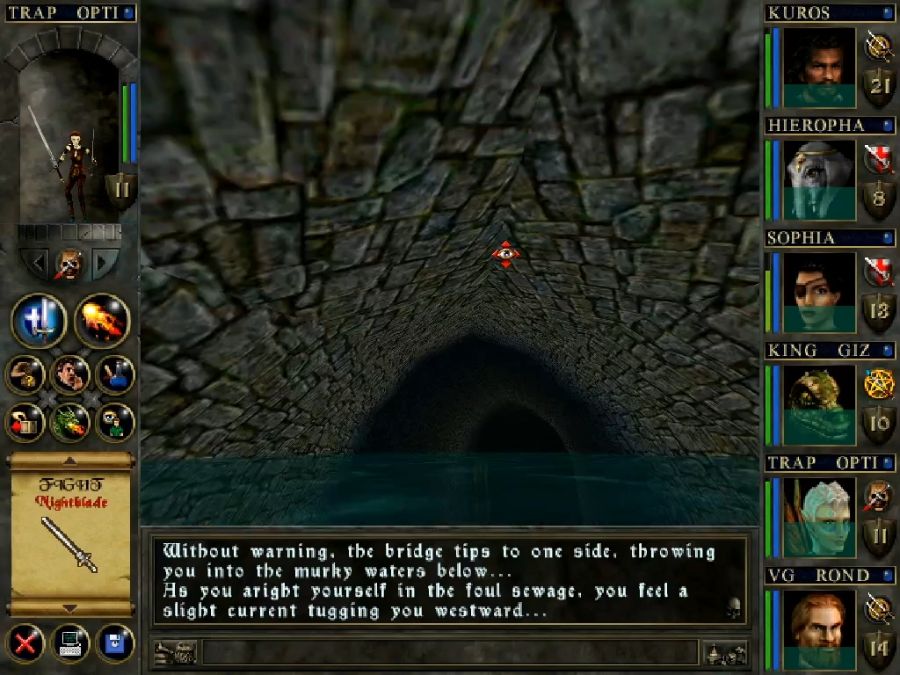
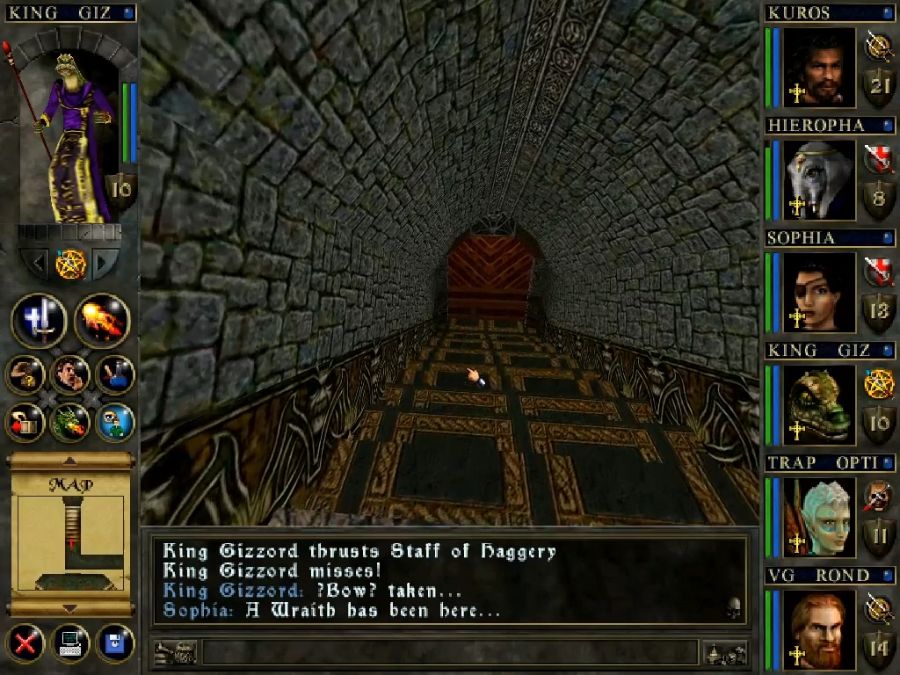
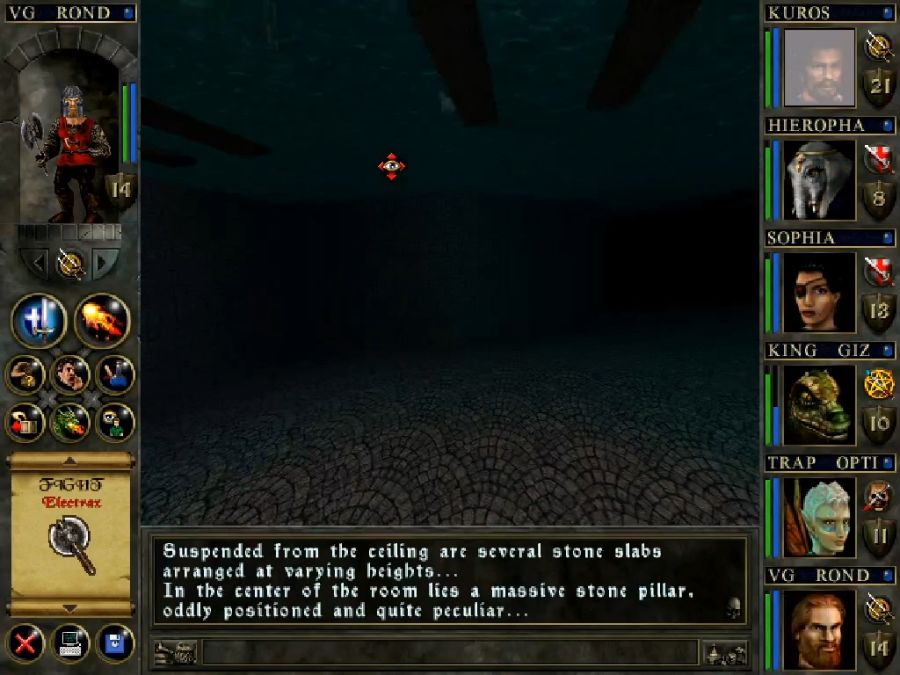
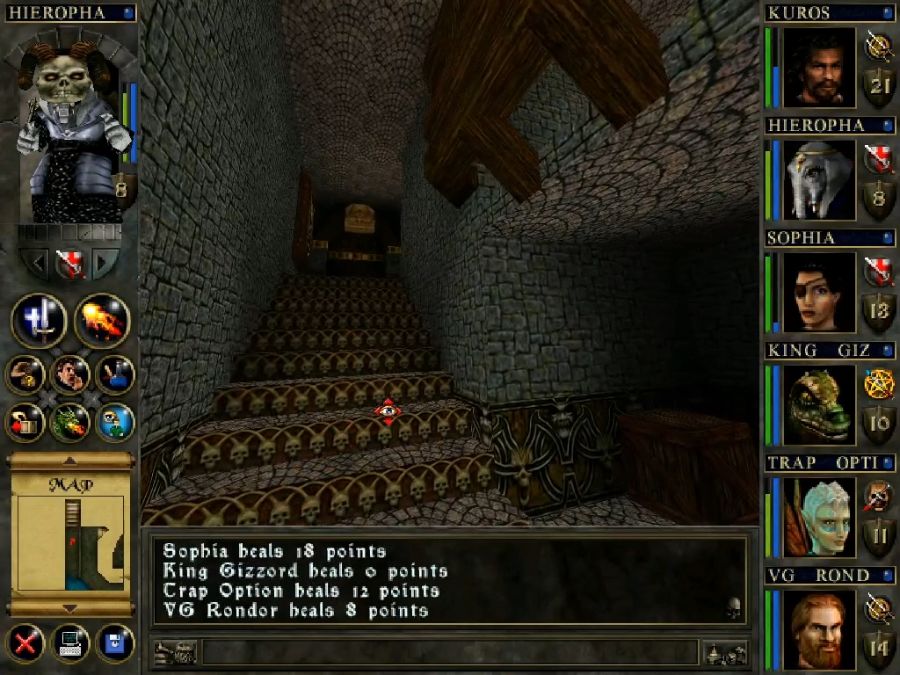
I enjoy the ominous descent, makes it feel a lot spookier than it actually is.
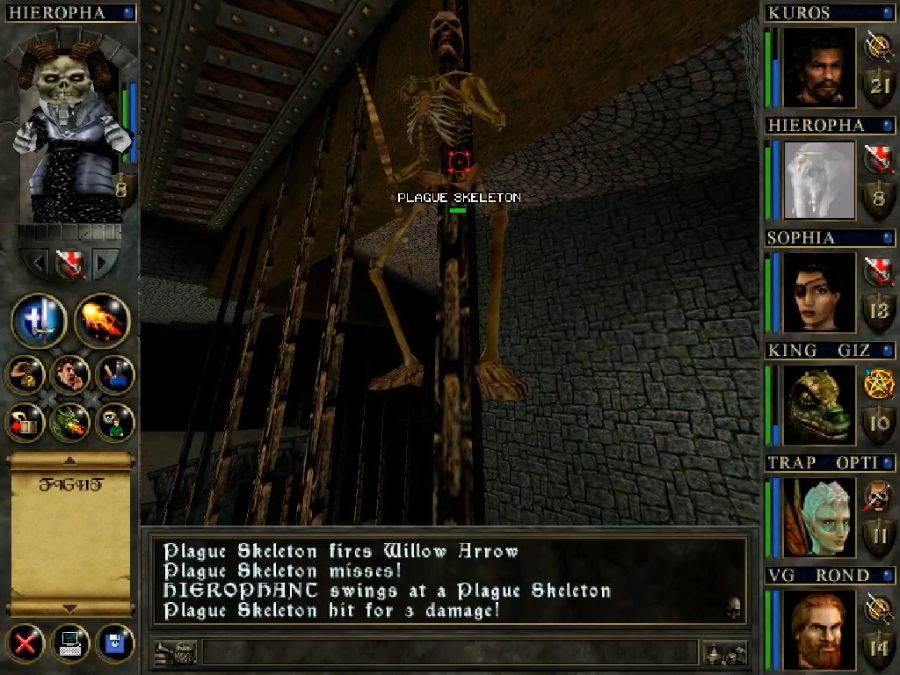
Descending through narrow, windy corridors and the monster spawning actually fucks off for a bit to give the place some haunted ambience.
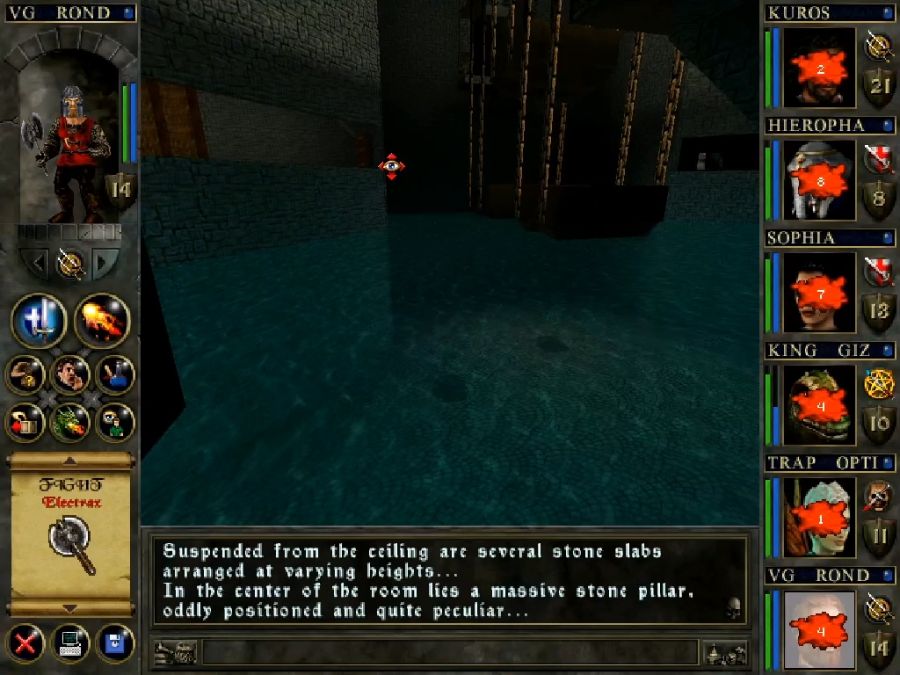
Okay so let me explain this. Down here, we've got a central room full of water, where we gotta raise/lower four sections of bridge to allow us access to the central pillar, so we can get to each of the four basement sections. Each section has its own little "control room" like this with three levers to pull, each of which raises and/or lowers sections of the four bridge parts. Where this gets cursed is that inevitably because of the shitty visibility in the game, you can only see two, or at most three, of the four sections you'll be influencing.
You don't need to raise any of the bridges fully to cross them, thank God. Two chunks raised makes it an easy jump, and if you've just got one bit up it's still possible if you jump in the exactly right way on exactly the right pixel to get across.
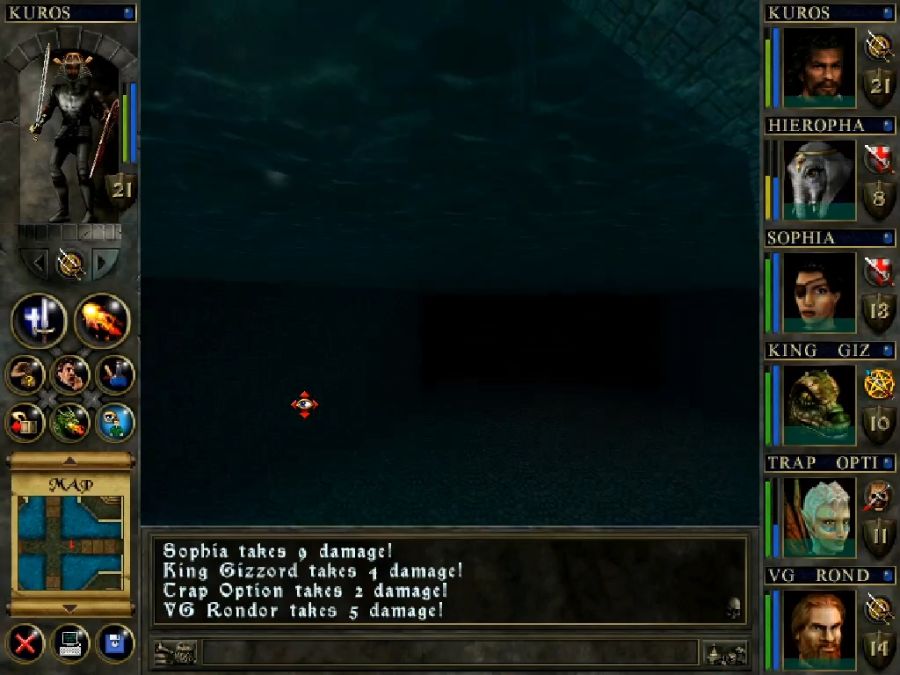
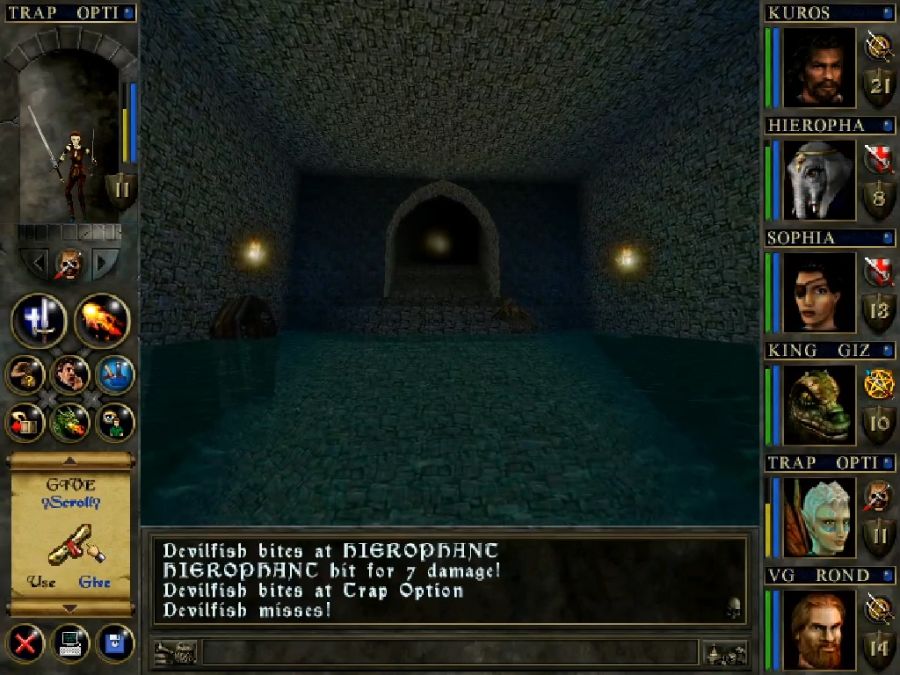
I fuck up the first jump and end up in the drink. Nothing interesting down here except for flesh-eating fish and a fuckup of the shader engine.

This is still a solid wall, but I think it's not hard to guess that some lever or button later will open this bit.
Also if you can raise the middle platform, you've made your two-gap jump into two one-gap jumps, which also makes them easy peasy to get over.
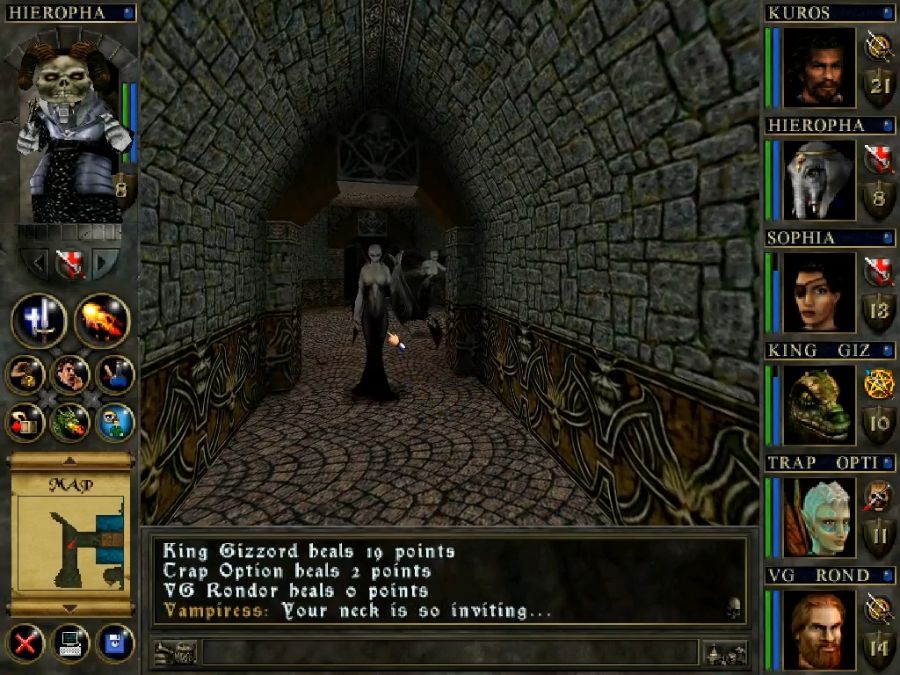
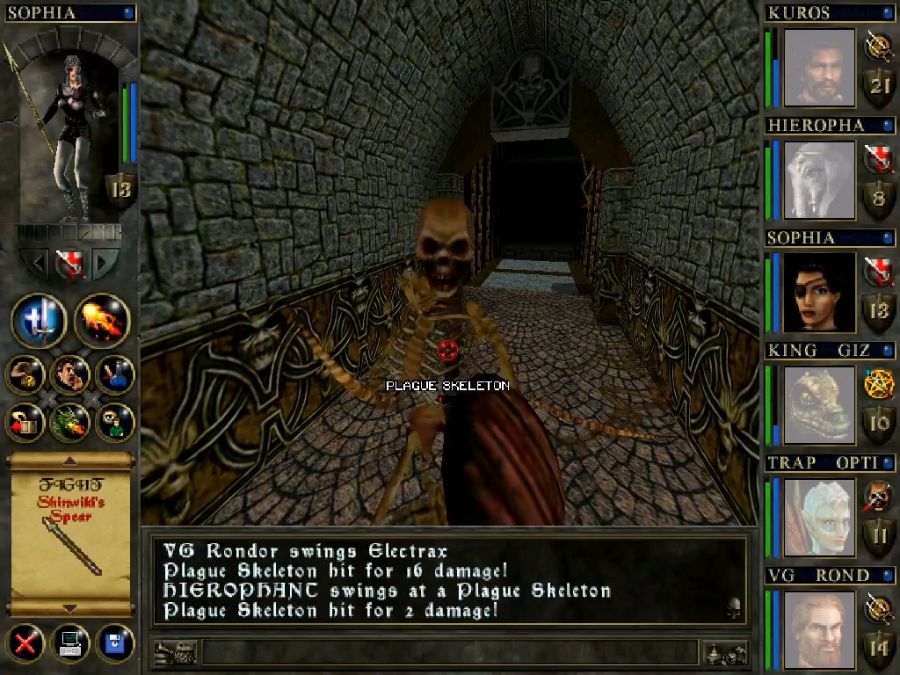
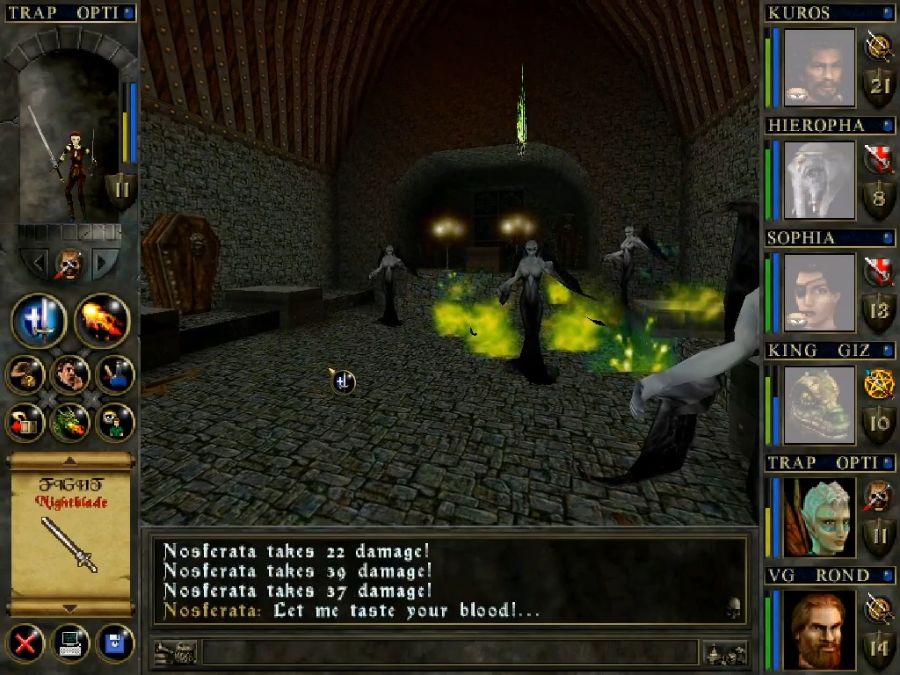
Around here we also start getting vampires as standard wandering enemies. They're actually slightly dangerous in groups because sometimes they all choose to use their AoE cold breath rather than attacking, or start putting party members to sleep, and if they get Gizzord napping it can slow my ability to nuke them to ash.
Dust to Dust, our biggest undead-smasher, of course, never affects them, nor does Dispel Undead, because why would anti-undead spells work on the biggest undead threats you have. Silly, right?


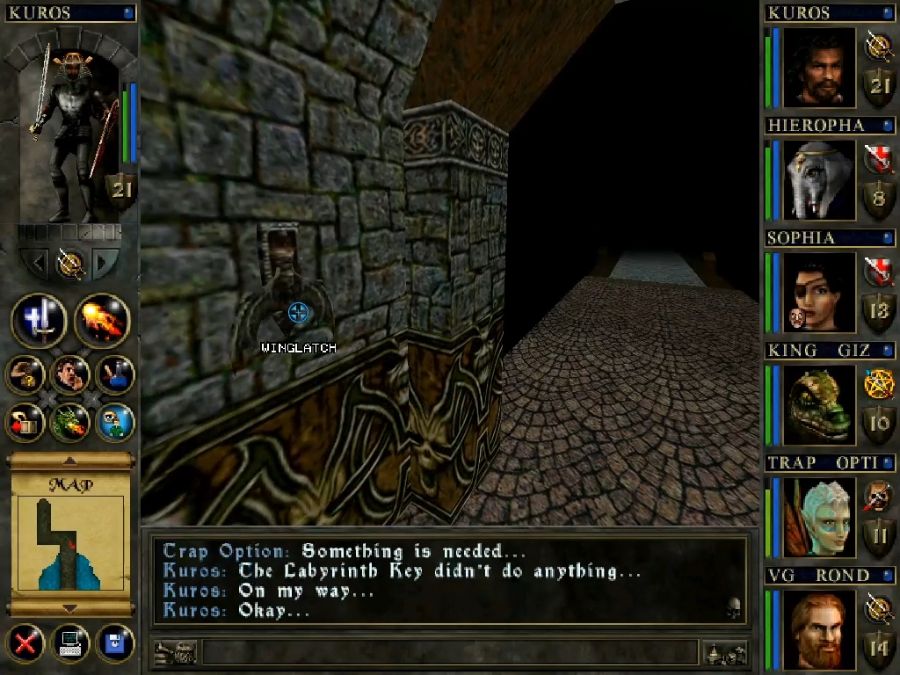
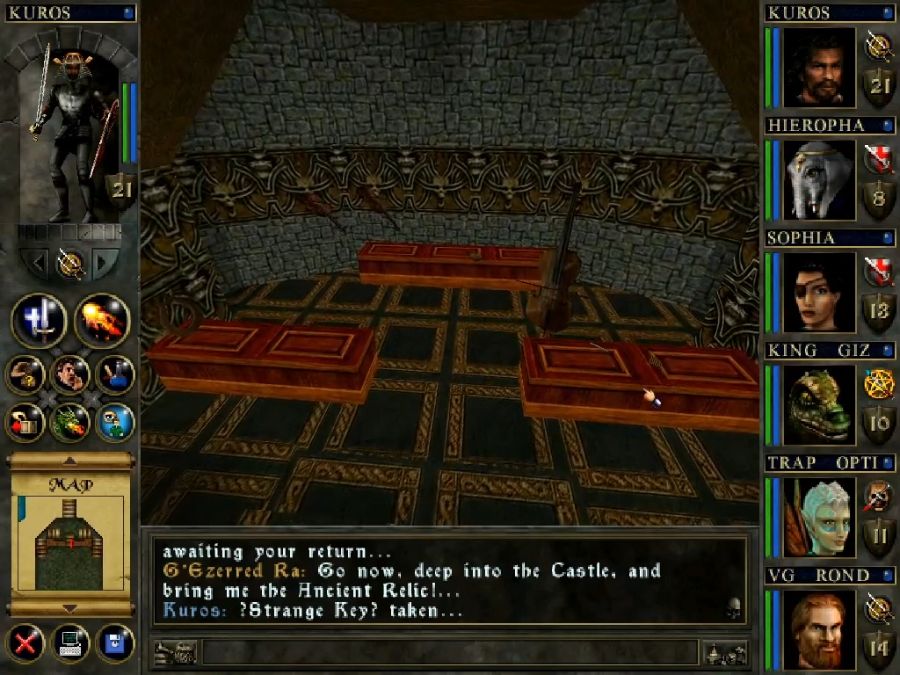
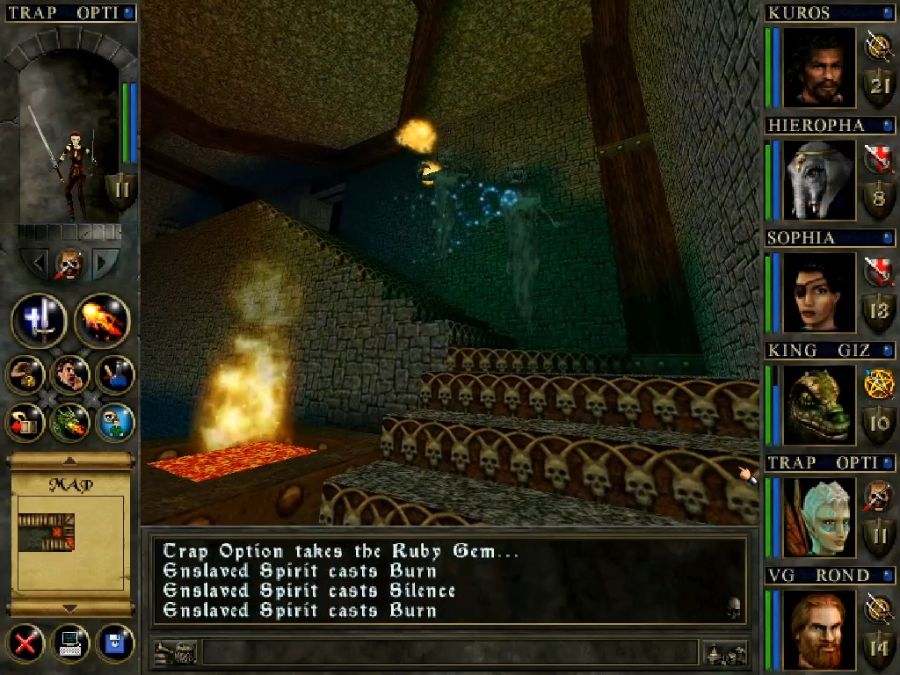
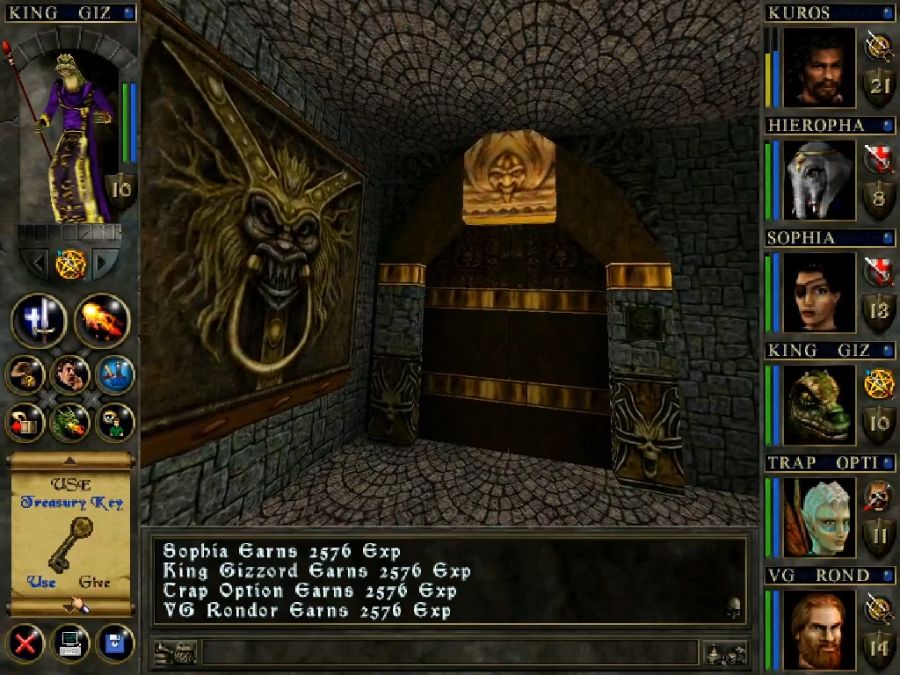
The first and third dungeon sections are the only ones that really contain anything of interest besides a room o' levers and random loot chests. Here in the first section, we come across this mysterious door that's much fancier than any of the others and approach it...
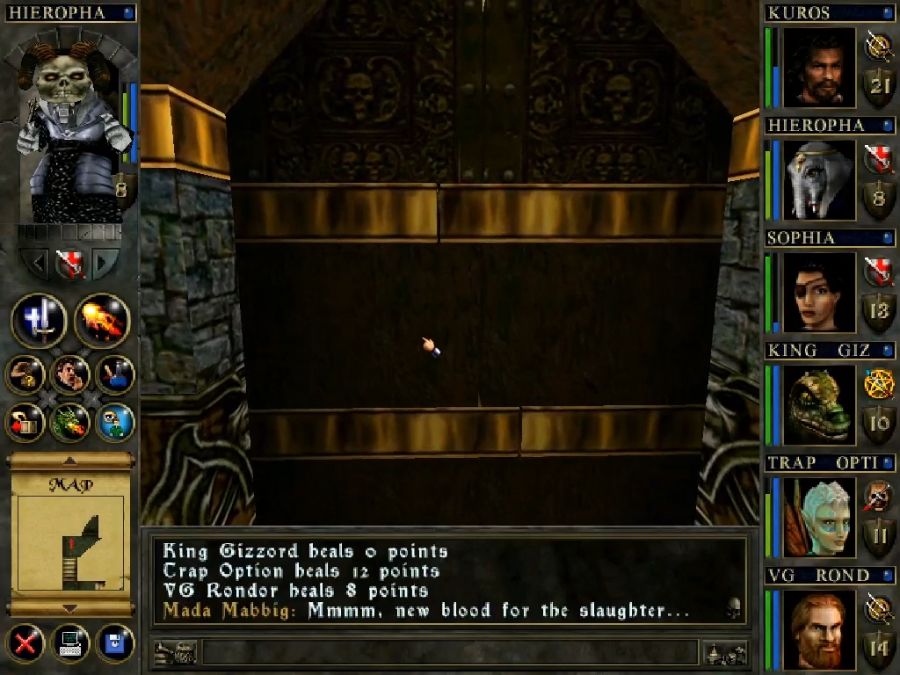
It's Mada Mabbig's lair! Sometimes she clips through the doors partially and can hit us with spells(though we can't hit her back with anything), and we can't open her door yet. This is the door I had to find a guide for, btw, because the lock next to it is "a stone face," and I assumed, like a fool, that the key for said lock would be down here, in the basement section. It is not.
The key is G'ezerred Ra's staff. Because yes a staff is logically what you would use to unlock a stone face with, right?
This also raises the question of who's actually been eating the downsfolk of Brimloch Roon. The other vampires can't leave because of the water, Mada Mabbig is locked somewhere that can only be opened by something she very clearly doesn't have herself. What gives, game?
The second section is pretty unimpressive except I yank about a dozen levers and push a dozen buttons with no indication what any of them really do, but I strongly suspect one of them at least opens the door underwater in the big pond out by the main pillar.
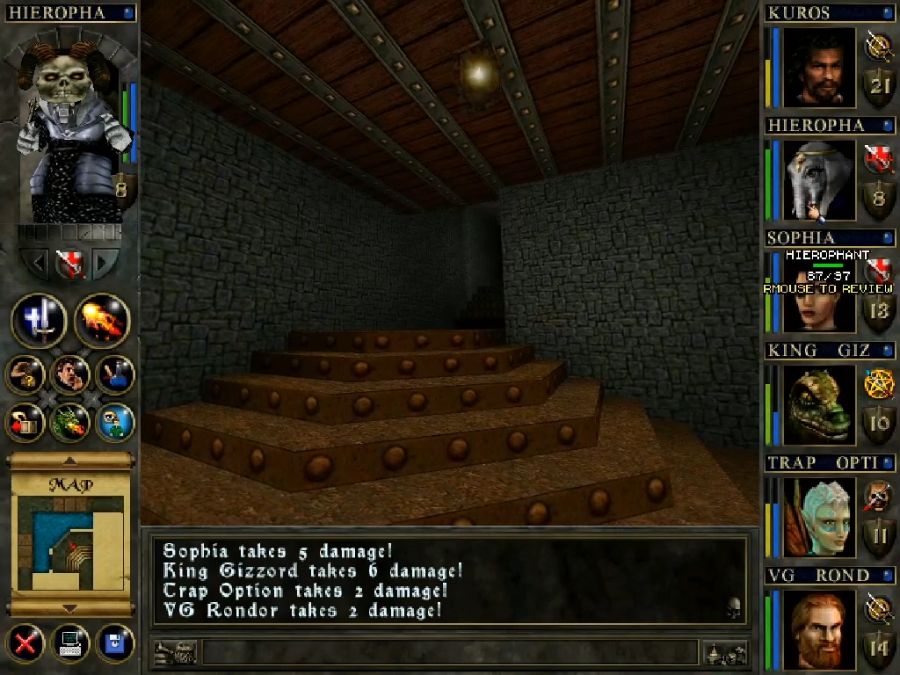
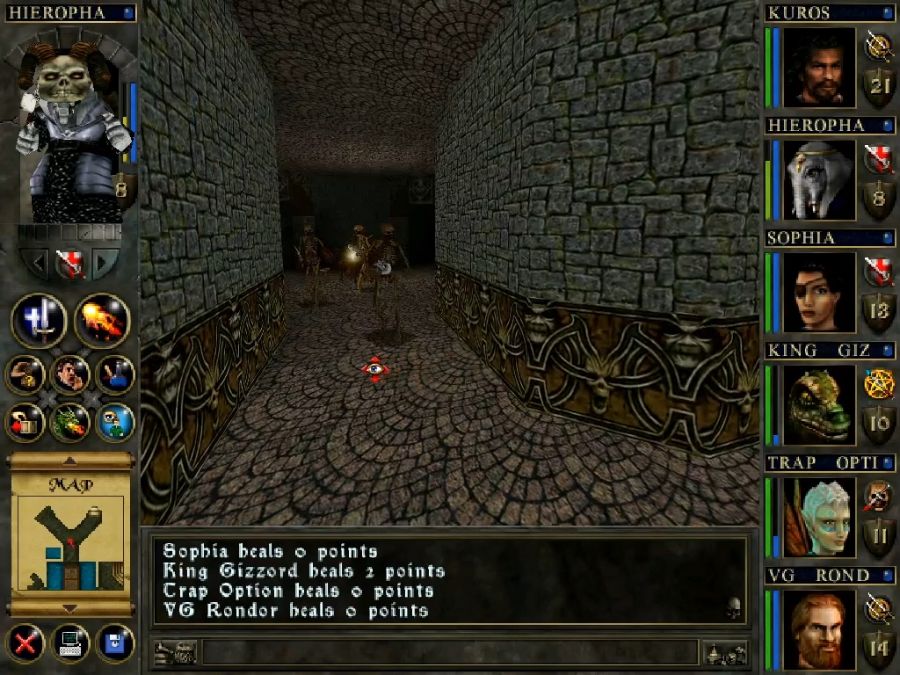
And as I fend off another pack of ghosts while pulling levers for the main platforms, Hierophant gets a level-up I've been waiting for...
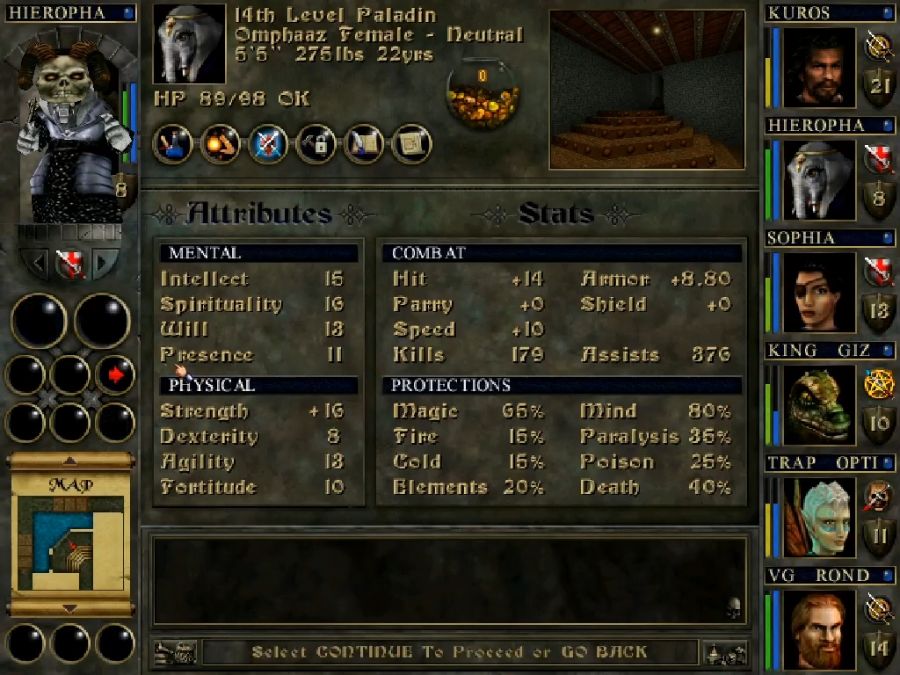
16 strength


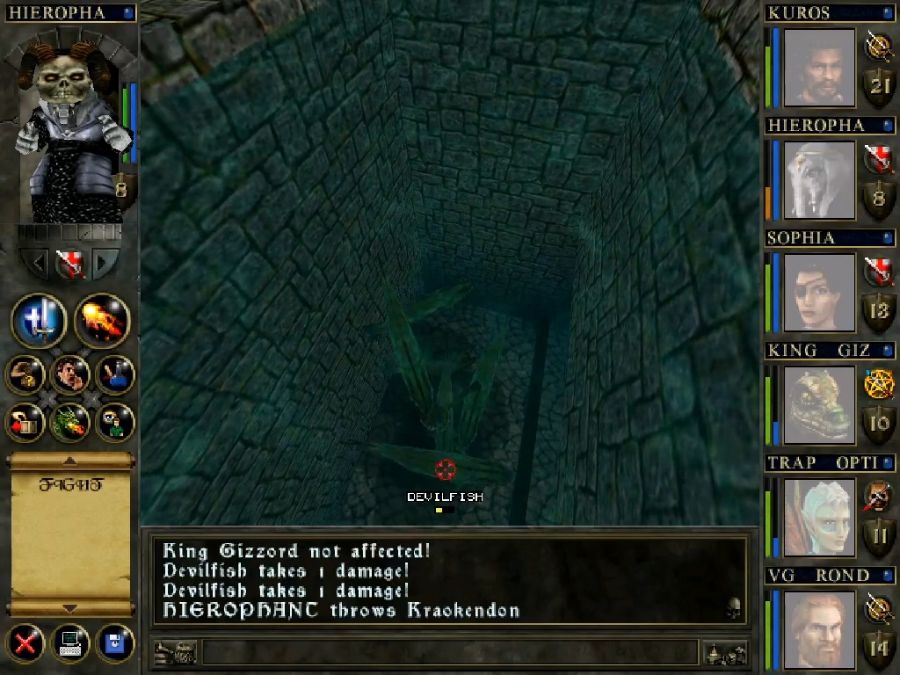
Behold! The mighty power of KRAOKENDON is in his hands!

Hm, it doesn't show in his hands on the model. But whatever, the models in this game are already wonky.
Let's test this sucker out!
...2 damage?
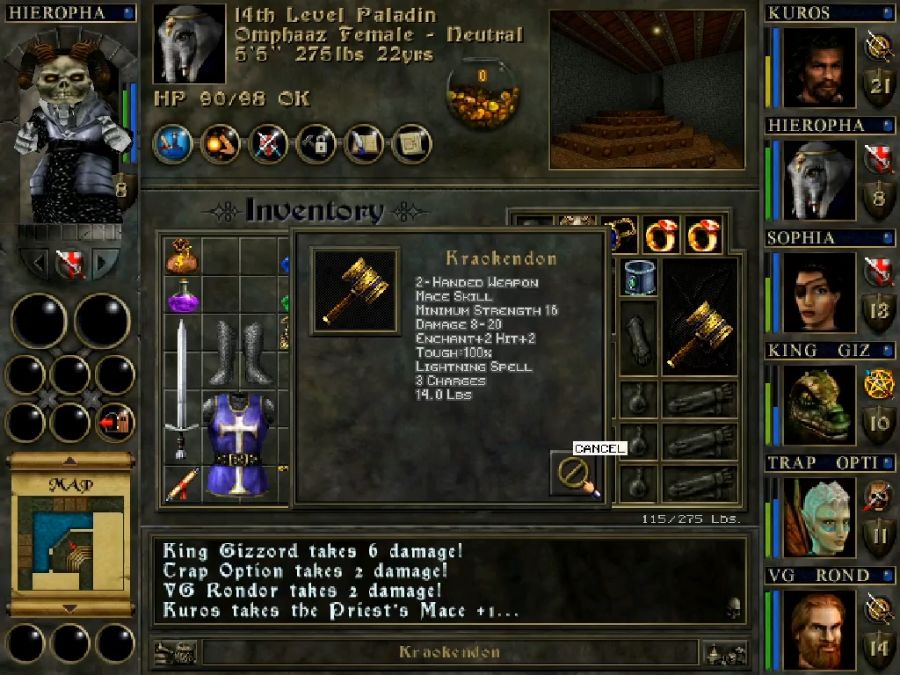
That certainly doesn't seem to be in the 8-20 range.
I'm sure it's a fluke.
Nope! He attacks as if unarmed when he's using Kraokendon!

This fucking game. This fucking game.
Whatever, he's here to heal, not to hammer, I'll just leave it in his hands and figure out what's up at some later point. Now let's check out that underwater loot chute before doing the last bit of the basement.

So just a single random loot chest, a bit of a letdown.
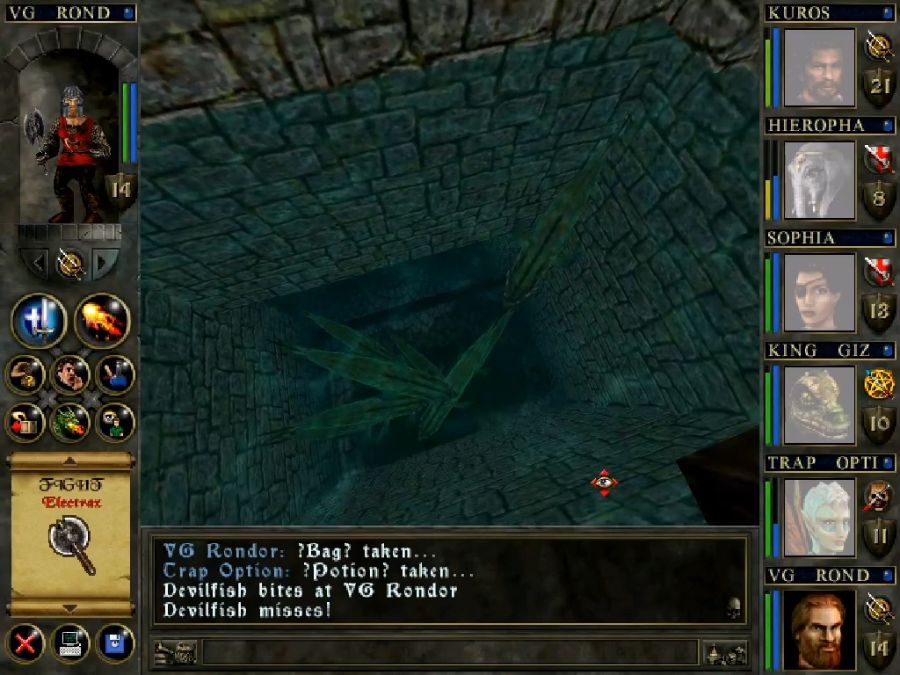
But I get ambushed by FISH on the way out.
Forgetting briefly that Hierophant's weapon literally doesn't work, I attempt to melee attack an out-or-range target with him and now he fucking THROWS the hammer. It's a fucking RANGED weapon.
And as soon as the hammer model shows up on screen it hard crashes the game. Surprisingly enough, the first crash during this entire LP. There's been jank and moments where I EXPECTED the game's physics to lead to a crash any second, but it never actually happened.
After a reload, I carefully put it at the bottom of Hierophant's backpack for immediate selling when I get back to town. That fucking thing is cursed.
On later reading up on it online, I also found out it's not just a generic throwing-weapon-of-returning, it dumps itself in the thrower's pack after every attack and needs to be re-equipped, which may be the reason for the crash, as Hierophant's pack was full to bursting.
One reload later...
And it's time to deal with the last section of the basement(aside from coming back here later to dunk on Mada Mabbig).

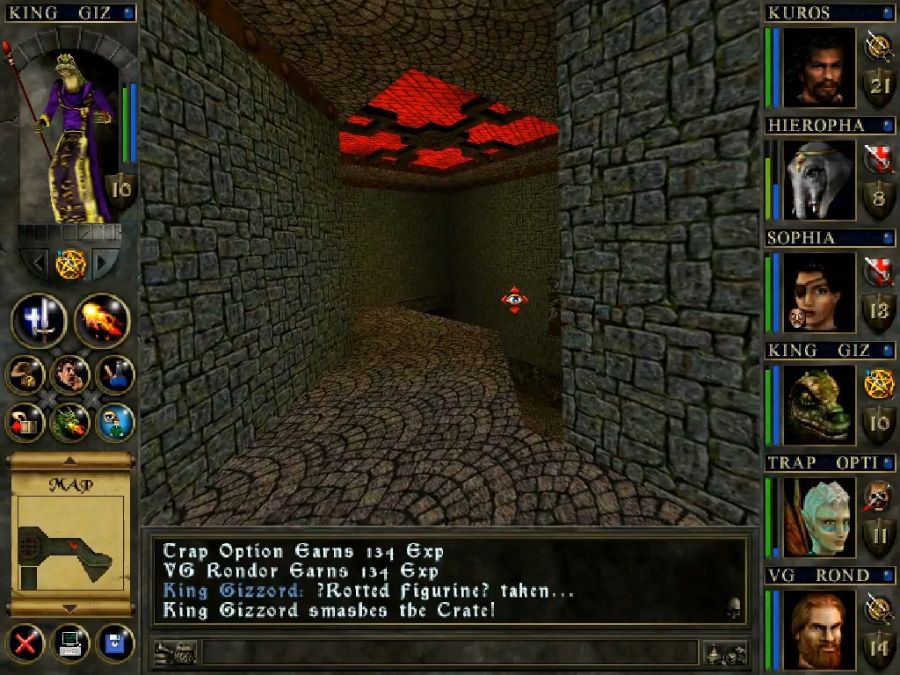
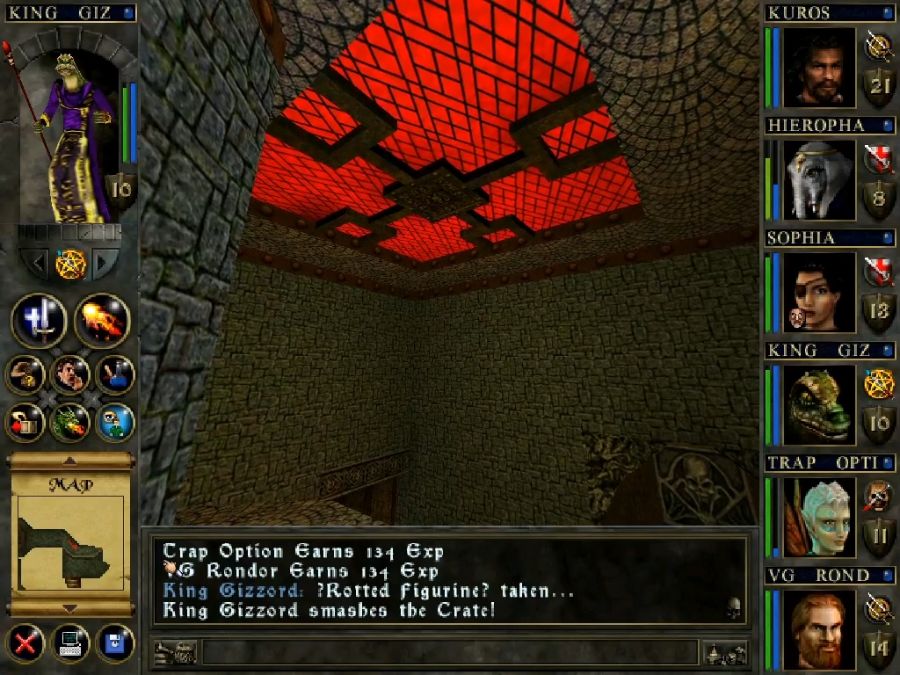
I really like this weird red glowing stained glass(?) ceiling. Like, they should've gone all in on that and made the place look like a goth techno cathedral, blacks and glowing reds and the more bubbling magma. That would've ruled. It would've been completely over the top, but it would also have ruled.
So once you see this guy, thankfully a pre-placed enemy and not something that can just randomly spawn on your ass, you want to haul down the corridor and close with him as quickly as possible, because everything he can do at range is worse than what he can do at melee and you want the melee options to have a chance to roll out of his AI script.

This is what his first fucking spell cast did to the party, goddamn.
And this is what his second cast did. It fucking huuuuurts. Also note that Gizzord is eating this kind of damage with like 75+% fire resistance from his equipped items(not to mention Sophia and Kuros who both have 80% resistance from their Dragon Plate armor), so I don't really think that elemental resistances work as they're intended to in this fucking game. Or rather than being a % lowering of the damage, they're a % chance to take no damage at all, or not all fire damage spells are actually coded as doing fire damage or something similarly fucking stupid.
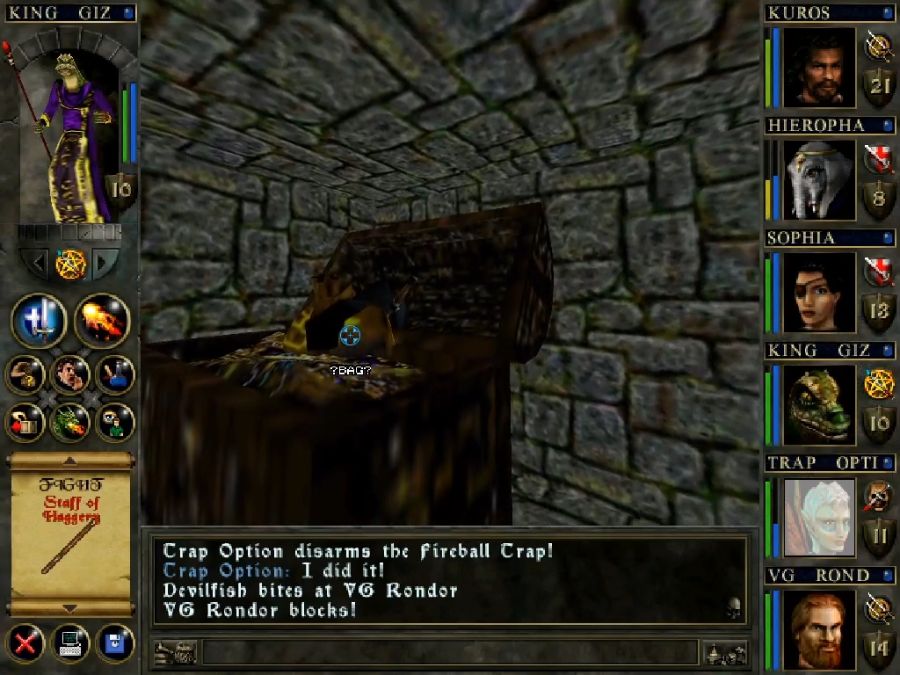
Whatever. He eats shit and I put the meat back on Trap Option's bones so he can continue making the party obscenely rich by cracking every vault we come across.
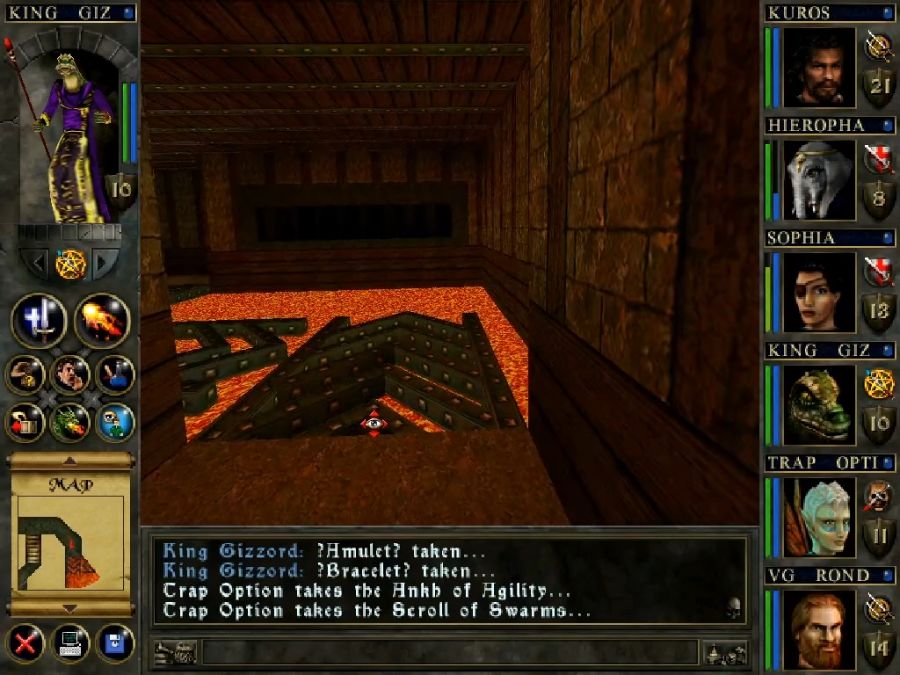
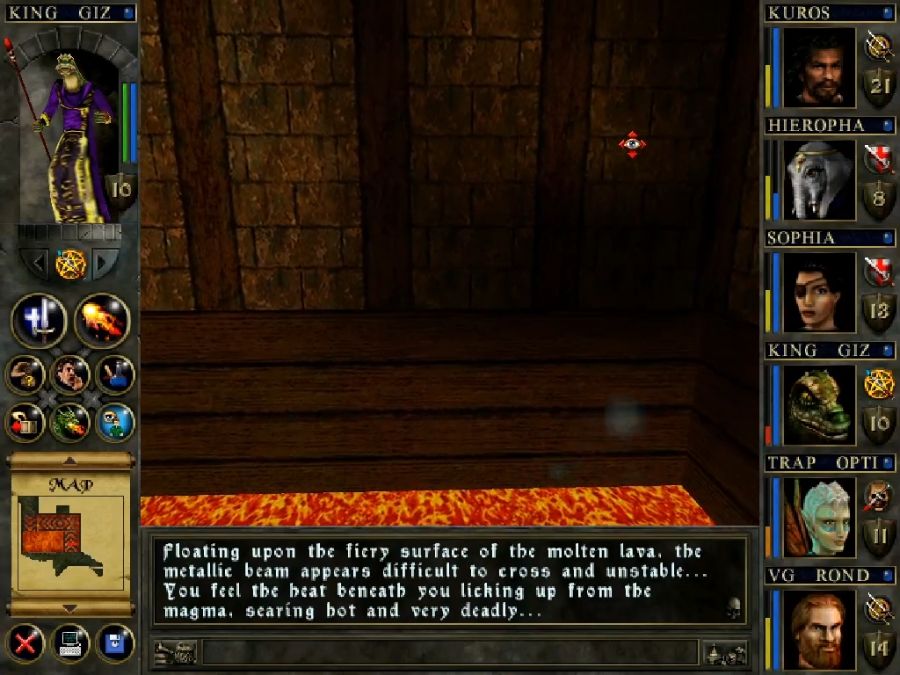
"Really, just a walk across lava? Do the developers think I have no fine motor control and will just walk off the edge of these platforms into the magma and kill myself?
"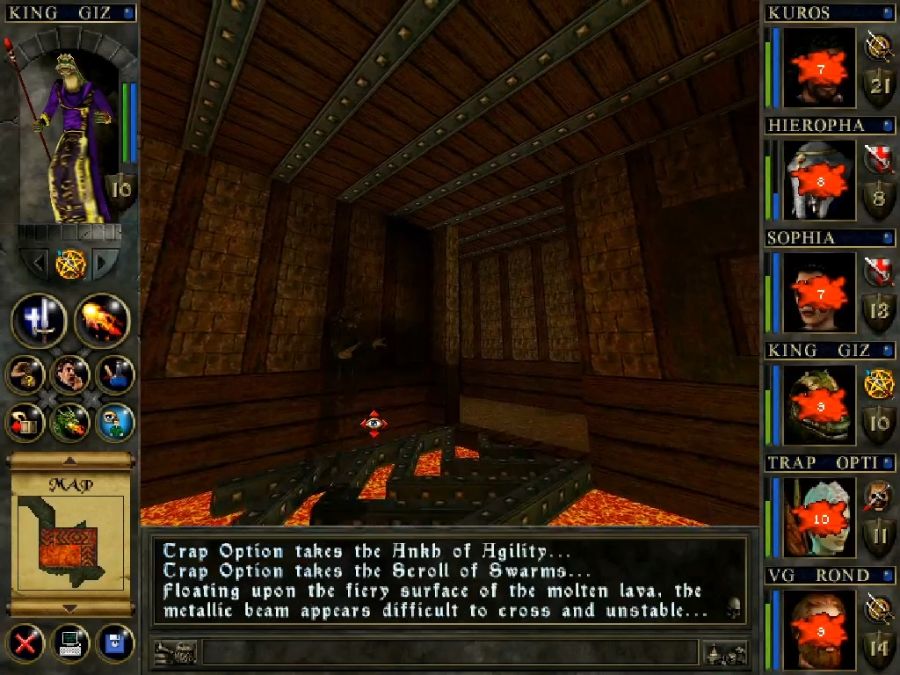
No, what they know is that I'm a moron and won't realize the middle platform is rigged to sink into the magma when I step on it.
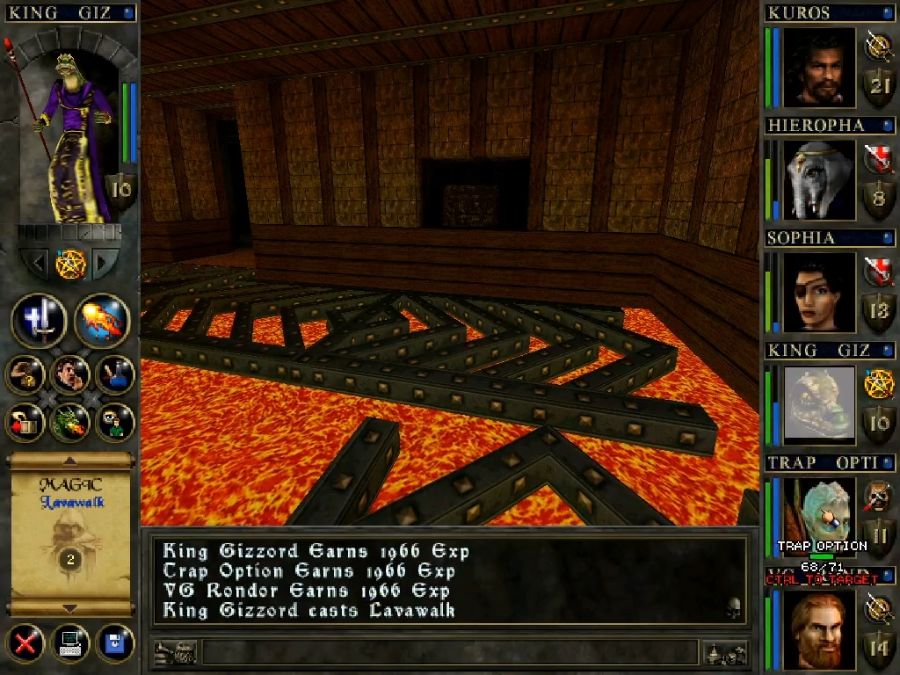
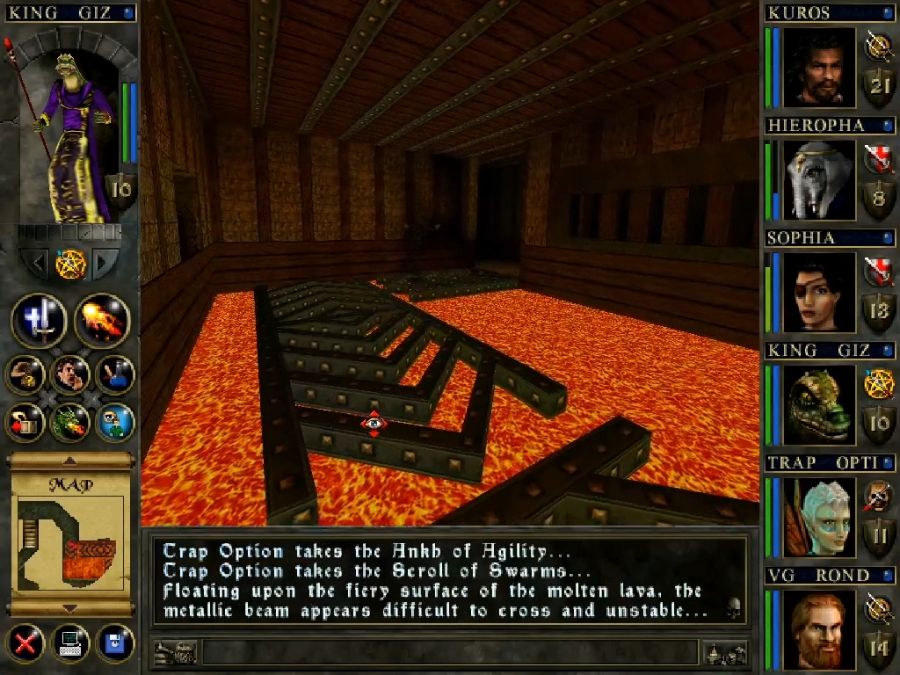
New plan: Cast lava walk and THEN do that. Especially because this completely fucking anonymous chest is the one that holds the quest item needed to actually progress the storyline.
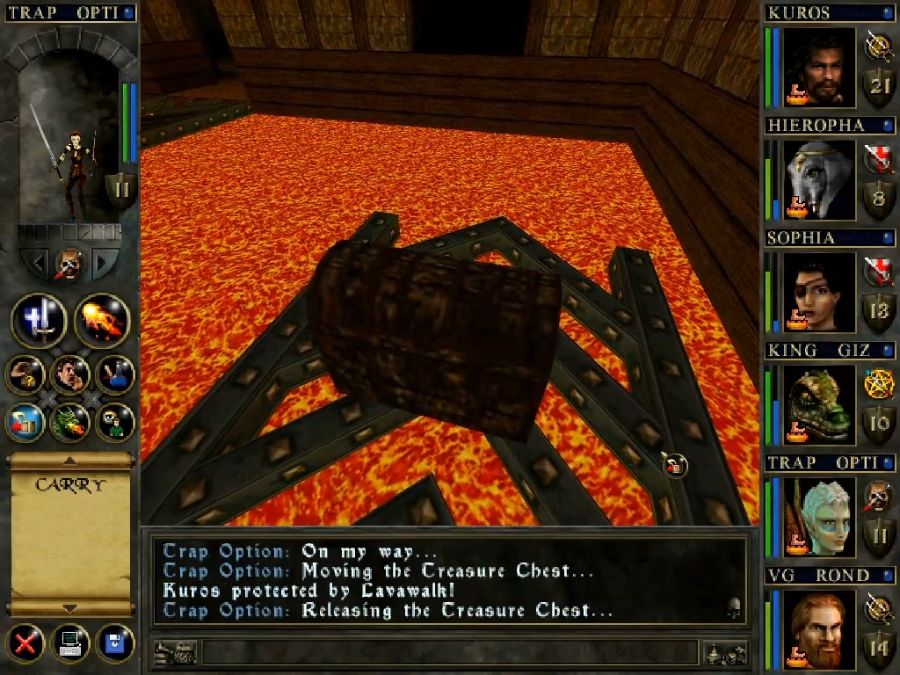
Good thing its flame retardant and I can just haul it across the magma and on to "dry" land and crack it in peace.
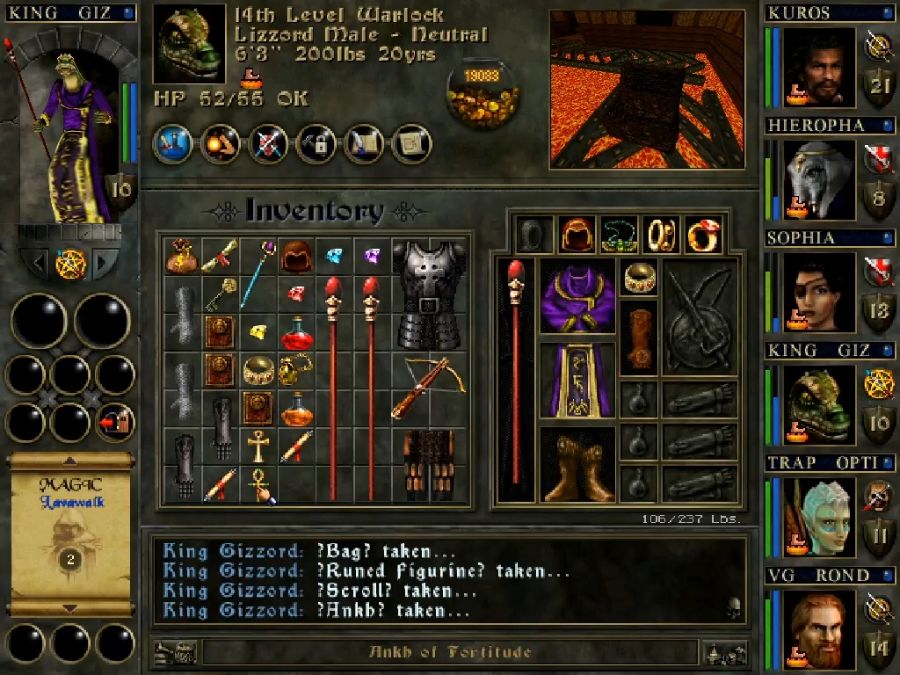
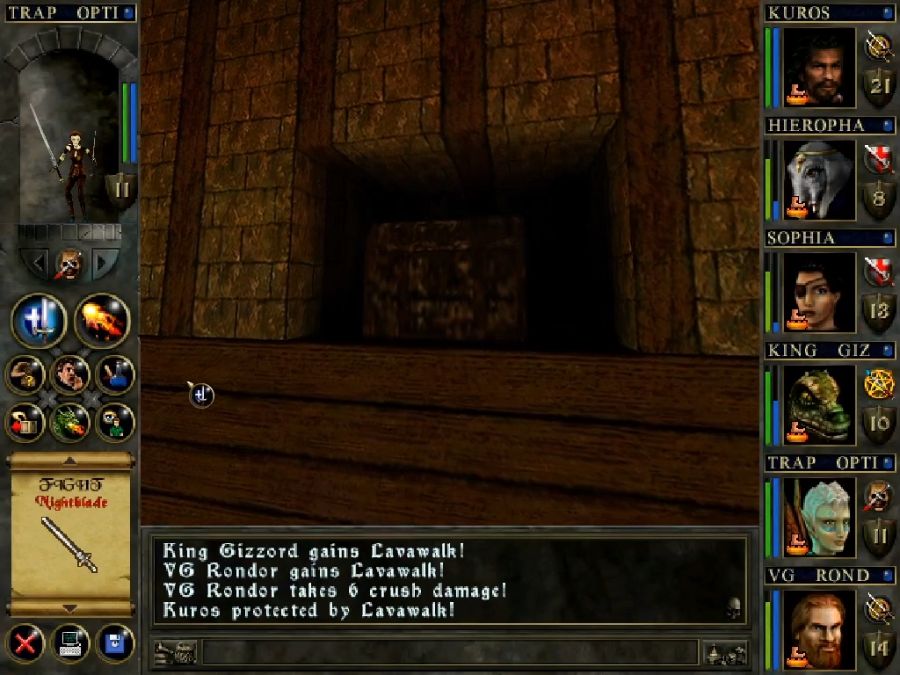
The anonymous, slightly chonkier ankh above the ankh I've got the cursor on is the one we came here for.

The trip back upstairs is only notable for the fact that the singular ones of these knights are, themselves, named Ethereal Knights, in the plural.

https://www.youtube.com/watch?v=clMgKW8U8zQ
So, I'd like to point out that W&W makes one of my "favourite" game mistakes of all time, or story mistakes in general, when it comes to villains, which is keeping the final villain too much at arms length. Like, do we really have a reason to hate Cet? To want to own his ass and fuck him up? This is literally the first time we've seen him, or even see him directly do something evil. He could've summoned badmans to eat Erathsmedor, or own Hephaestus, or demons to drag D'soto and Ardibren to hell, or any one of a thousand evil things. Maybe a note in Freyedies' lair saying: "Hey bud, make sure these adventuring fucks waste their time getting burned by magma in the deep mines while I rig up a surprise to own them on the road." So far this is the first time we've seen him do anything we can really put our finger on as "yes, this is Cet fucking things up," and even then, we really only have Ra's word for his quest being an honest one and Cet not just doing this in self-defense because this crusty old maniac wants to fuck him up with a magic staff.
Anyway, for this, we get his staff which, gasp, lets us advance the plot. Also lets us let out Mada Mabbig and complete our vampire quest for both the town and Adrianna. It's also quite a powerful weapon in its own right, and since staves and polearms fall into the same skill category, it's the first weapon upgrade for Sophia in a long damn time. She's still using Shinwiki's spear which is superior to even the +1 pikes the centaurs outside tend to drop regularly.

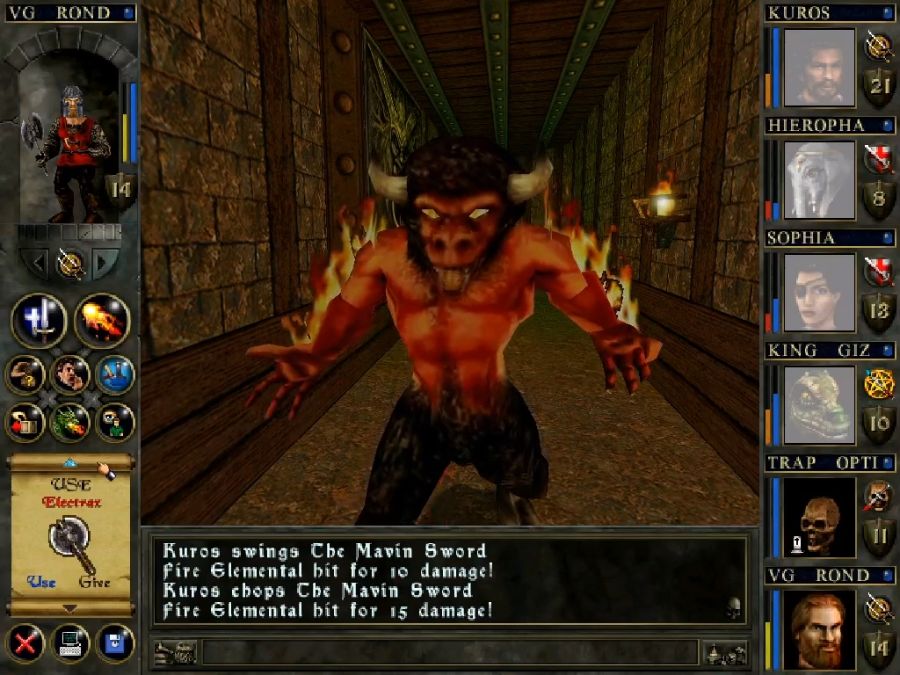
Oh right and we gotta beat up these guys. They may look like the Fire Elemental downstairs, but they have nothing on him. I don't think they even cast a single spell, they just try to punch us.
This works out poorly for them.
Time to go wrinkle Mada Mabbig out of her monster closet with the staff.
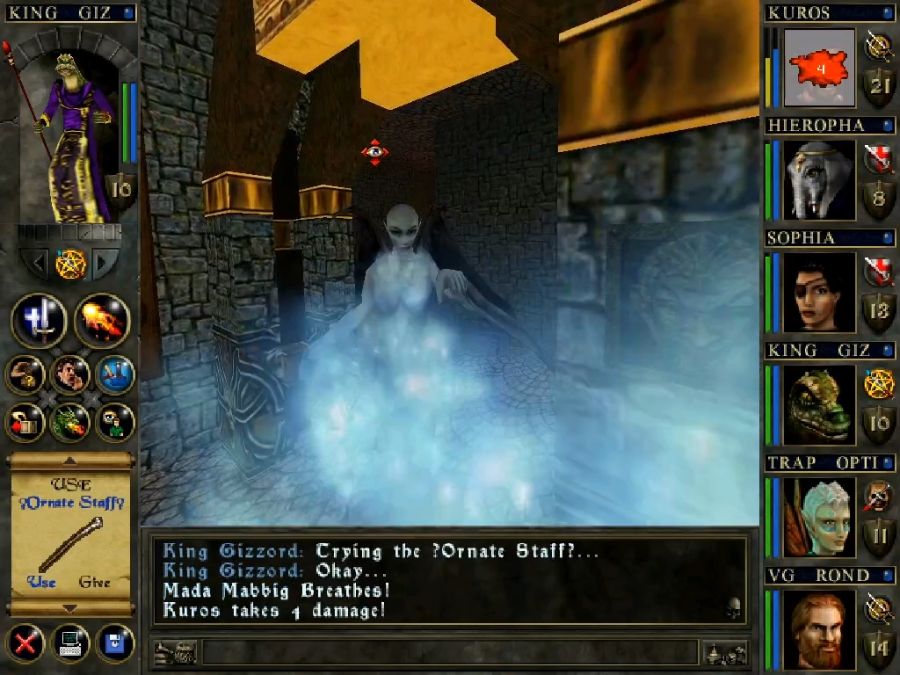
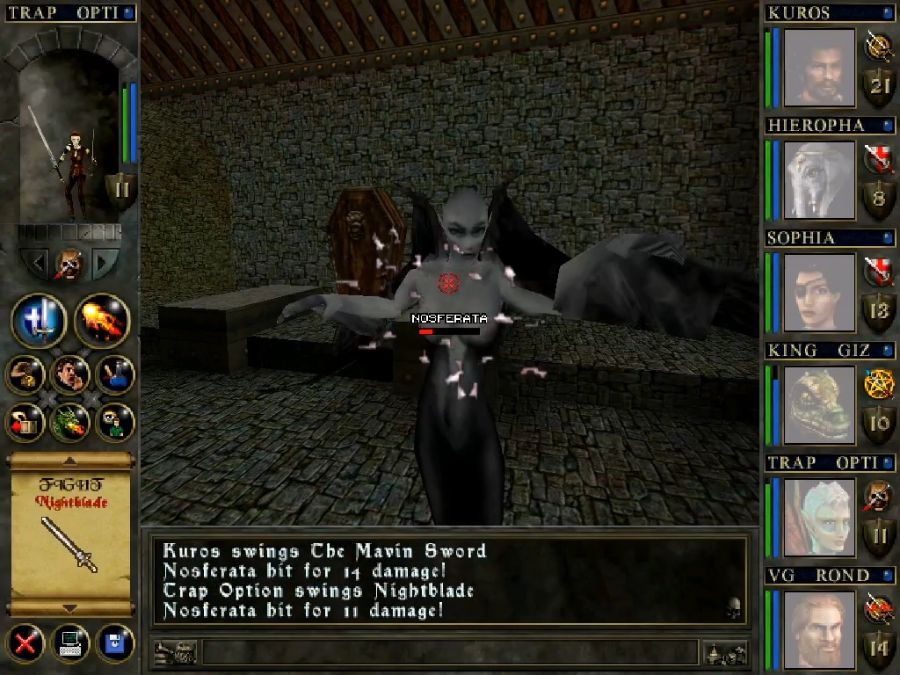
90% of the time she's just a higher-HP vampire, but occasionally she busts out some all-party status effect spells(I know this because she hit me with them as I was walking past her door earlier.
), thankfully I avoid those and beat her down. Also the second screenshot is just to show some of the sillier between-frames on the vampire animations. This complete's the town's quest. Now we gotta find her scroll of Vampire-B-Gone.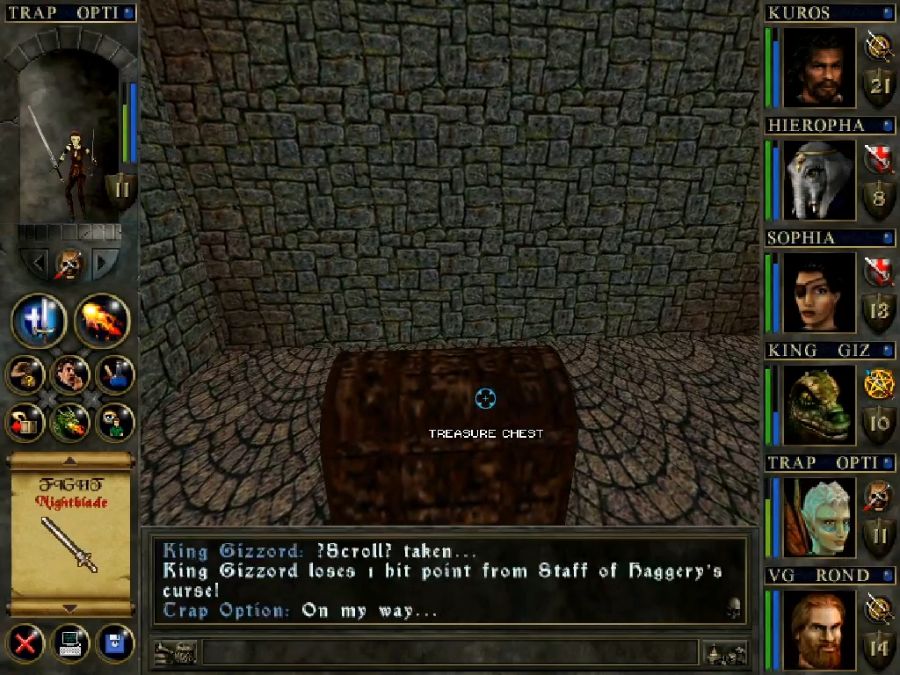
Thankfully it's literally just in an unadorned square room behind her. Now to get back to Adrianna with this.

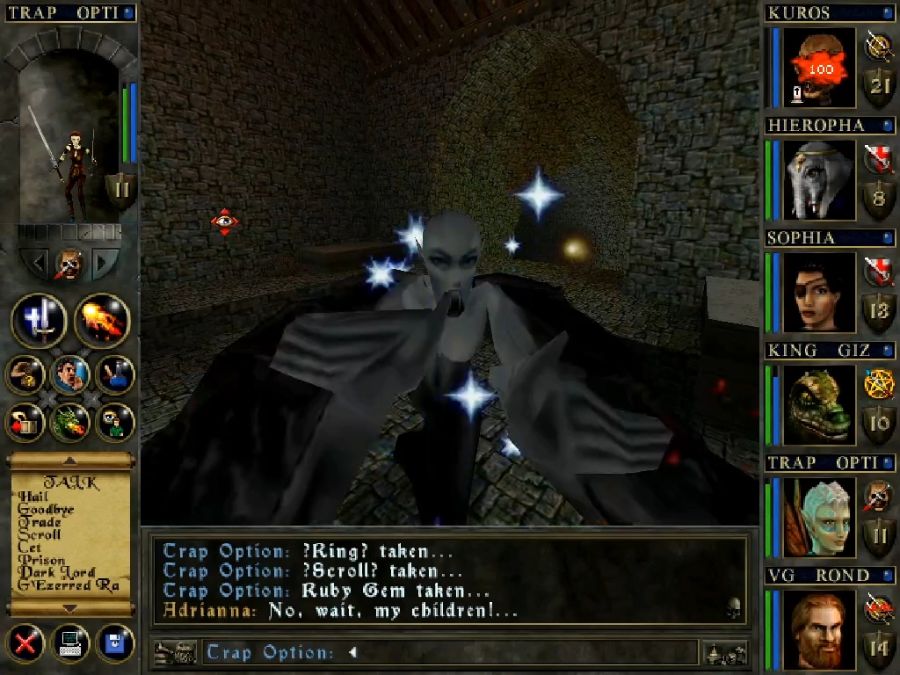
https://www.youtube.com/watch?v=6P-5DGvqe6M
So I guess that sucks for Adrianna, or would, if she wasn't completely immune to the other vampires' frost breath bullshit.
I decide to help her out because I'm a nice guy. Not that I understand why the scroll failed for her. Was she the wrong user? Did it never work?Also I took the ring rather than the key, because the key would just have opened that locked closet in the lich's library that Trap Option cracked a while back.
I also can't find anything that details what the "power of the succubi" is, but I suspect it's literally just a second chance to get vampirized if you really liked getting fucked over by Lysandra.
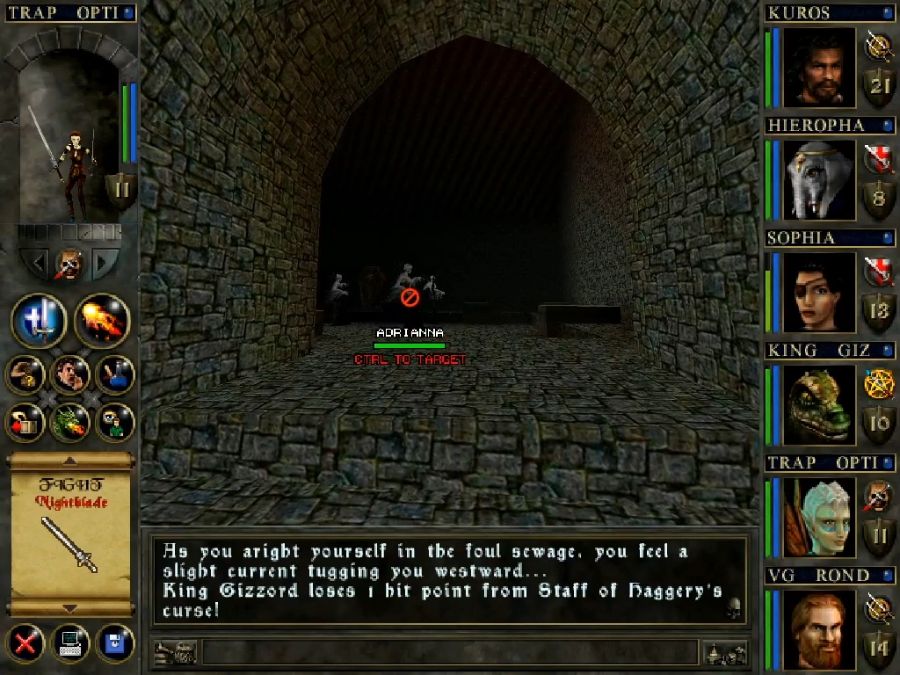
Since they waste their first attacks on Adrianna, I can get off some cheap shots on them before they attack me and the vamps go down easily. I then go to check on Adrianna.
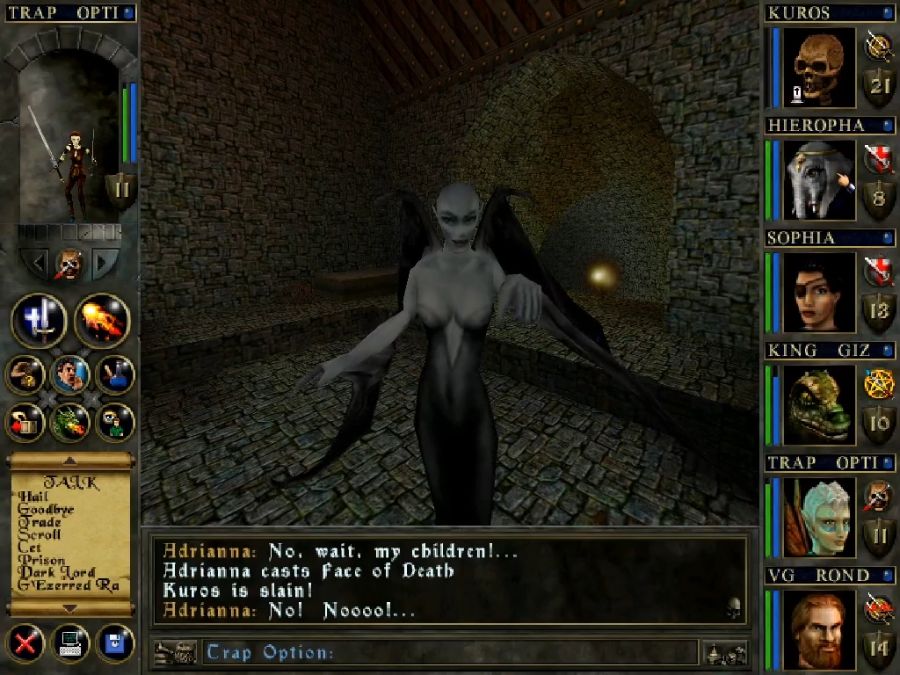
This prompts her to immediately blast Kuros with a Face of Death, where he flubs his save and gets owned. Goddammit, lady. Guess we gotta stencil one more little vampire head on the Mavin Sword's hilt.
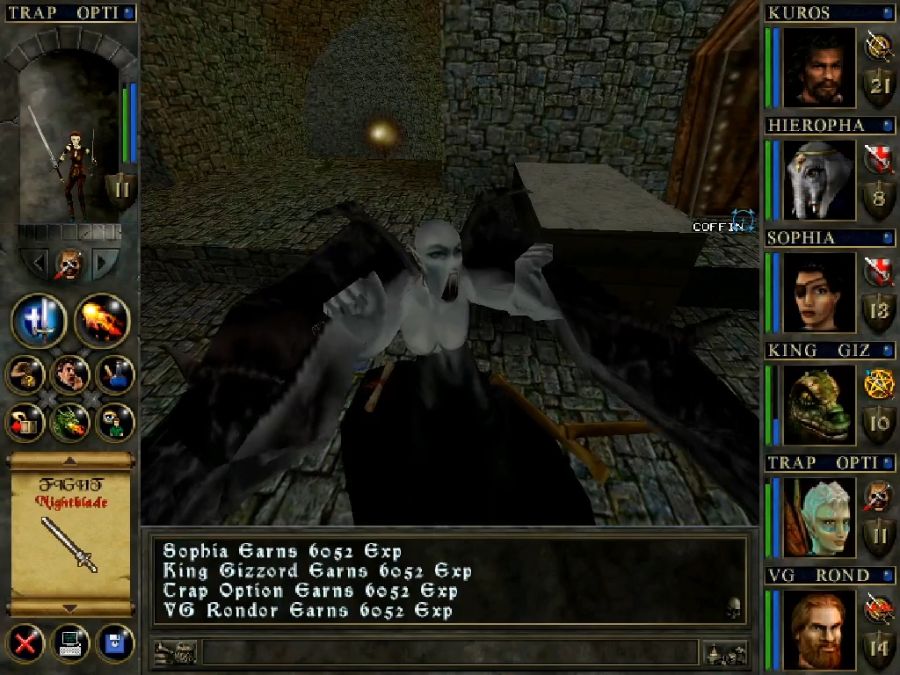
This intermediate frame on her death animation is pretty funny to me, though.

So that was Skull Castle, and now we're off to parts of the game I haven't even seen before. This should get exciting.