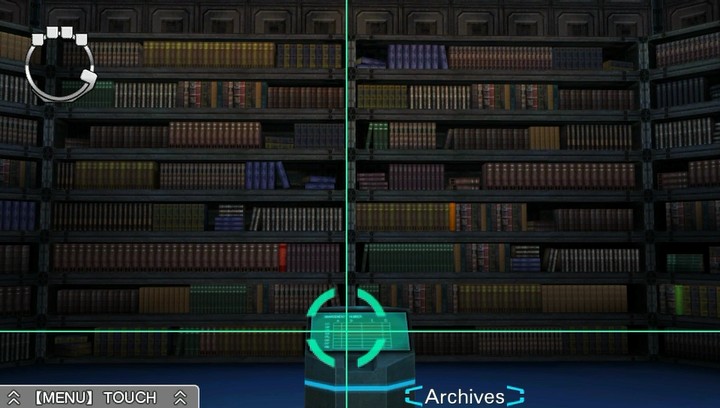
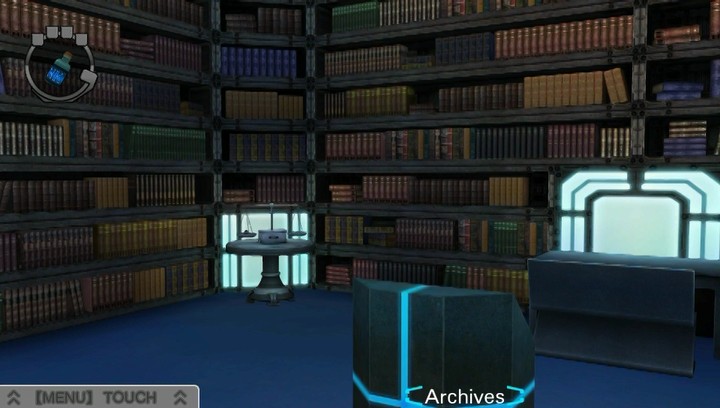
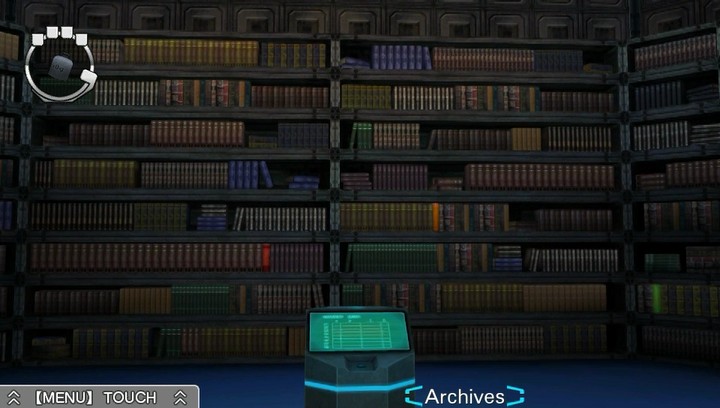
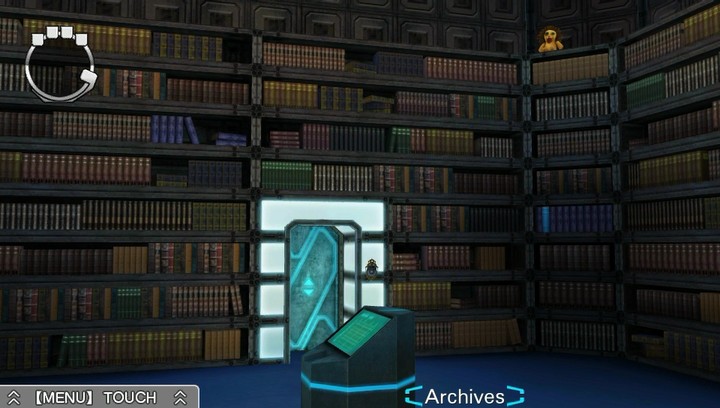
Part 175: Escape: Archives

The Archives is one of only two remaining escape rooms in the game!
Sigma (6BP, Yellow Pair) and Luna (5BP, Yellow Pair) are stuck in here with Clover (6BP, Cyan Solo).
VLR OST: [Data]
This is what's going to be in your ears for all this time. It's the only escape track that gets reused outside its original room... once. That's the most immediately notable thing about it. It's... some noises. It's... very ambient. I'm reaching here.
Archives is not a complicated room, or a long one, or one very full of meaningful content. It is, however, high on a lot of peoples' lists of unfavourites, for one very particular reason that we will get to.
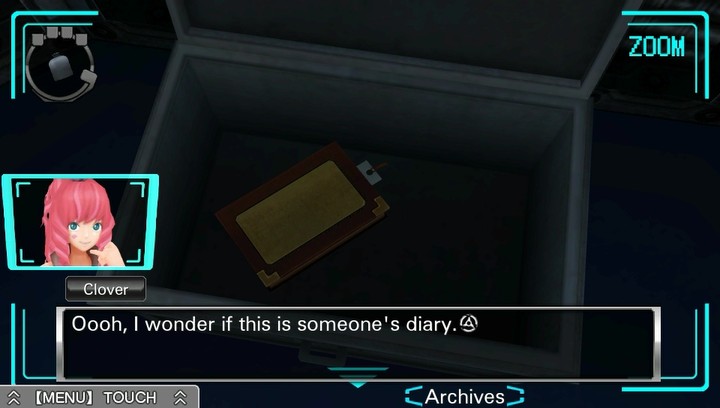
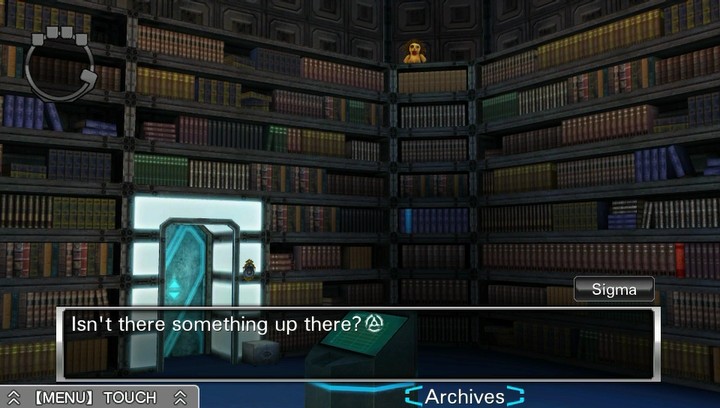
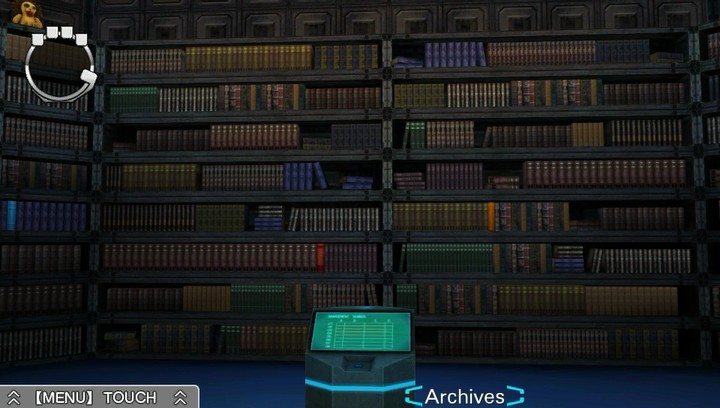
This seems an obvious start.
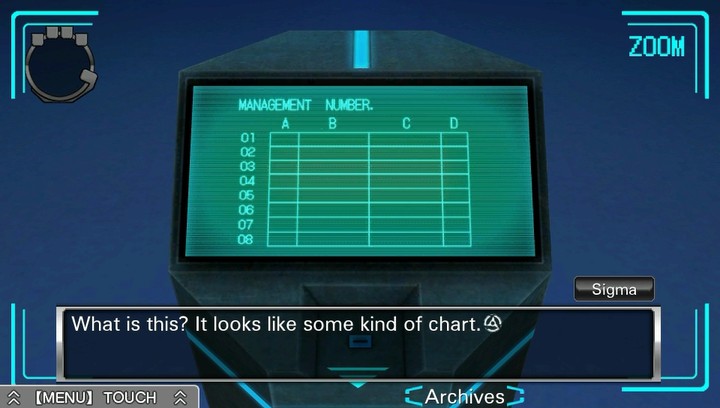

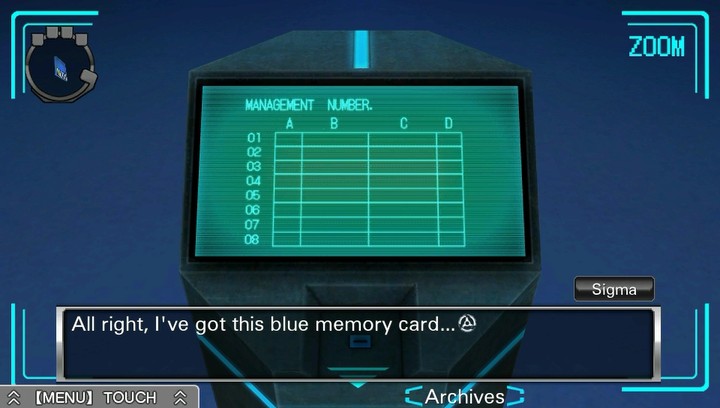
It says "Management Number." What do you think it means?

Well, pretty much the only thing anyone's gonna manage in this room is books...
It's got the letters A, B, C, and D, and then the numbers 1 through 8 running vertically.

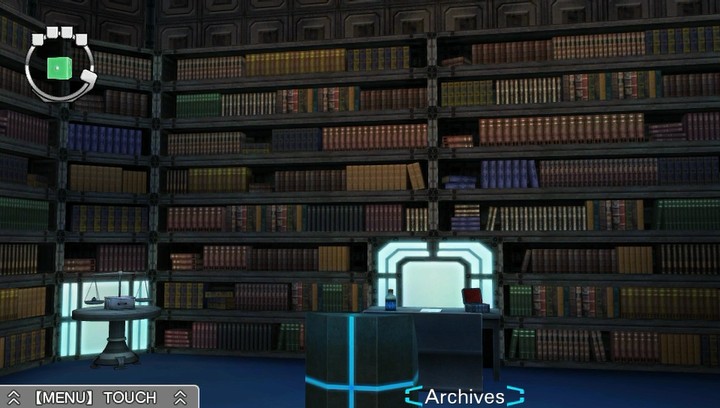
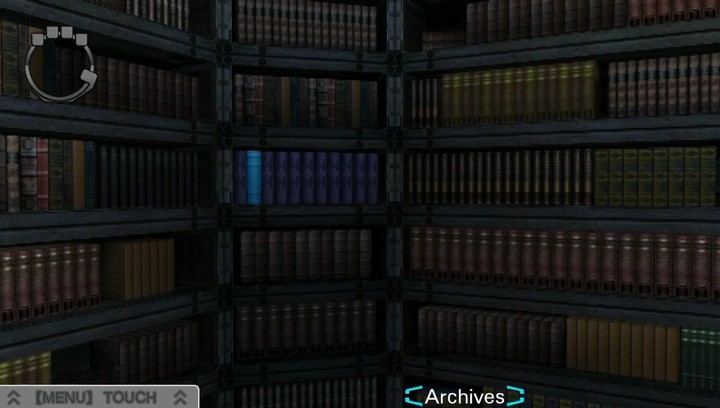
Maybe it's referring to the bookshelves in front of us?
Hm...
Well, the bookshelf has 8 rows, and so does this chart.
There's a narrow bookshelf on either side, and wider ones in the middle.
Yes, they're shaped just like the diagrams on the chart.
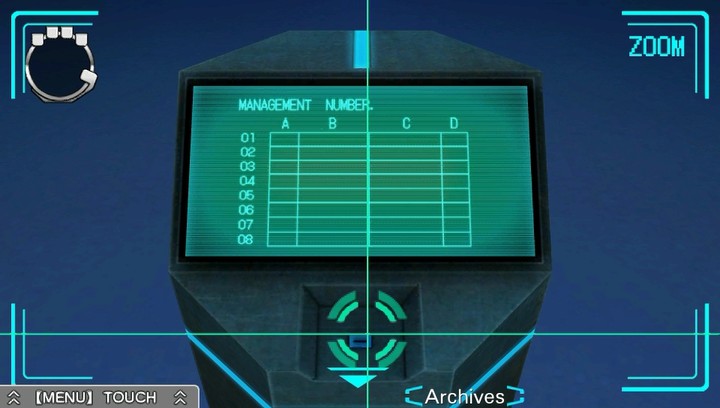

Hey, there's a blue slot here.
You think we're supposed to put something in it?

It's an awfully small hole... What would we be putting in it?
There comes a point where this not being obvious stops being believable. But here we are.

Then the bookshelves from the left would be A, B, C, and D, right?
That would make the thin one on the left A, and then B, C, and D as you go to the right.

Yeah, and I think the numbers are the rows, counting from the top.
So the top left shelf would be column A, row 1.

I think it'd be easier if you just call it A-01.
This little barrage of hints, it turns out, is almost entirely unnecessary. But we'll get to that.
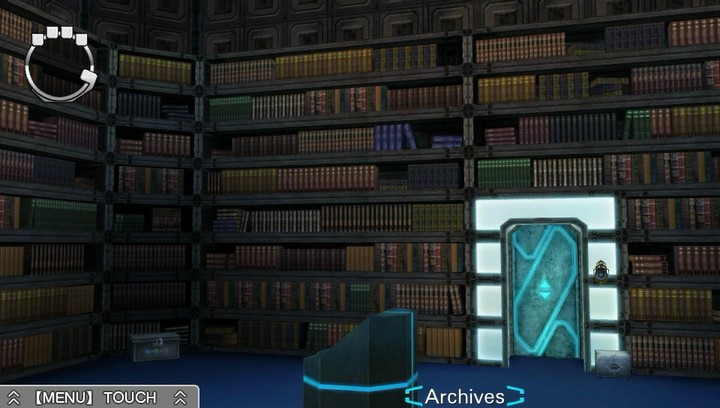
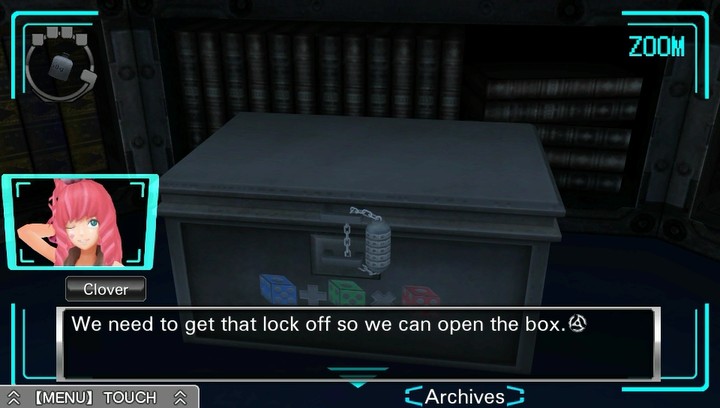
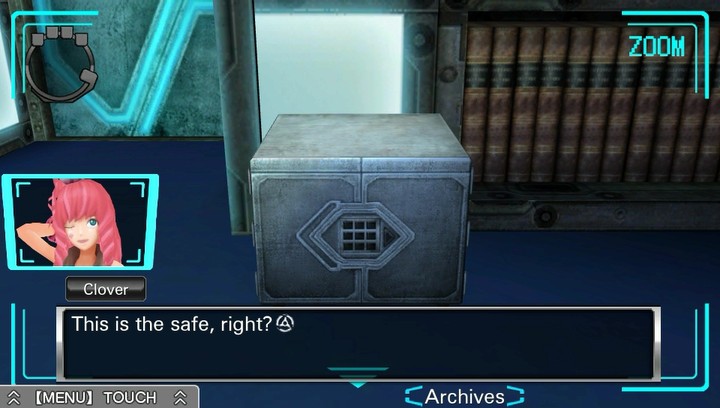
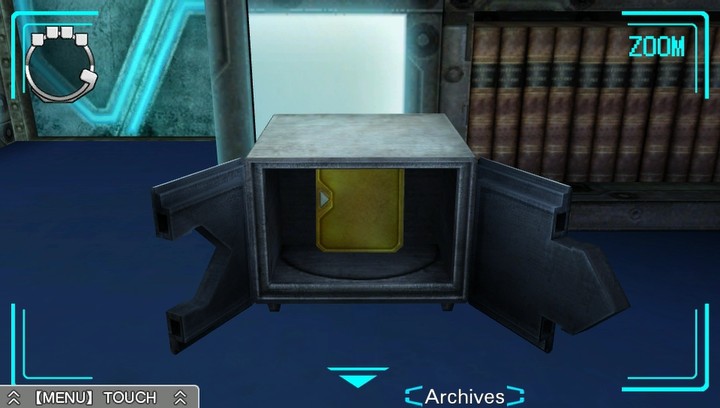
Let's take a little spin, literally, around the room. Note the safe on the floor by the exit door. It's surprisingly easy to miss, especially on the 3DS's tiny screen.
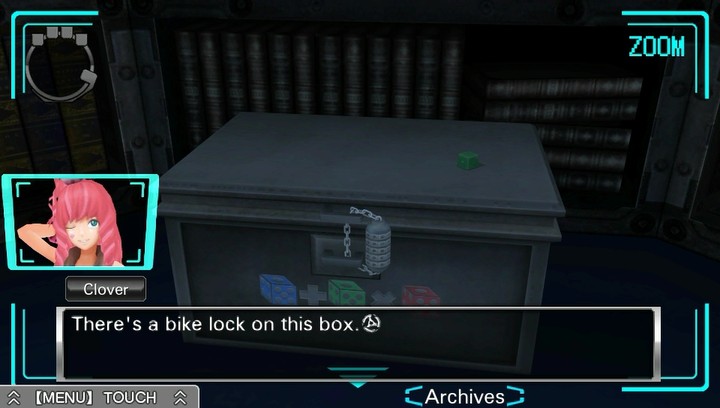
I don't think we'll be able to force it open, but... No harm in trying.
*rattle*
...Nope. Well, I didn't think that'd work.

I guess we'll have to open the lock if we want to open the box.
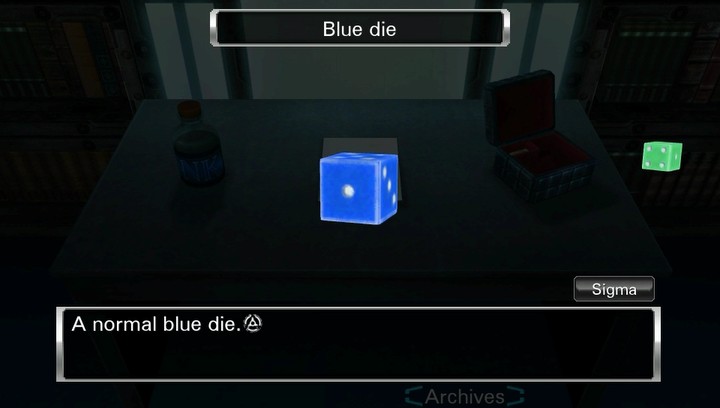
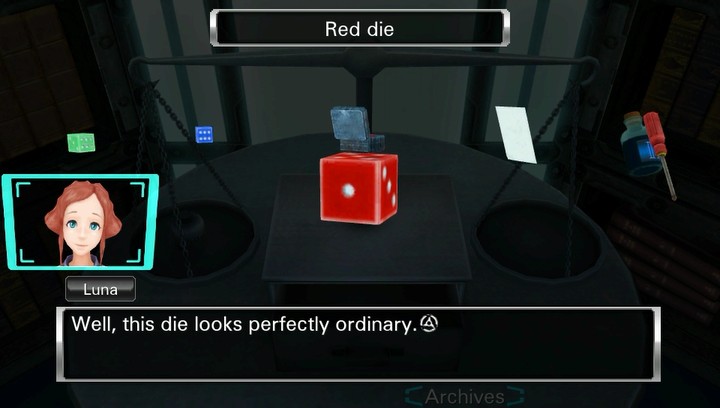
Uh, well... Did you see this die on top?
Oh. Yeah, that is...totally a die.
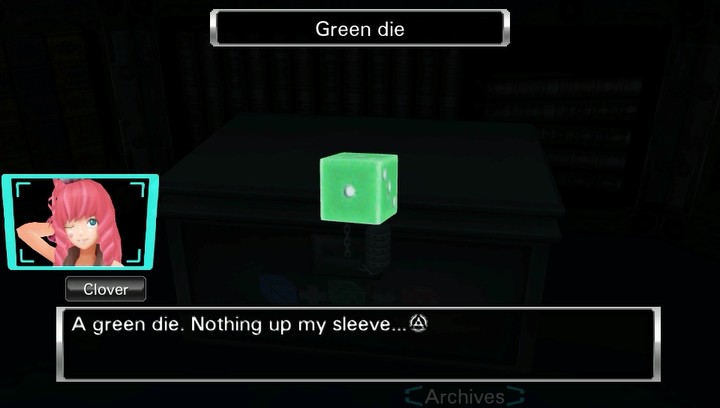
You're not making it sound any less suspicious.
Well it's perfectly ordinary.
Moving on.
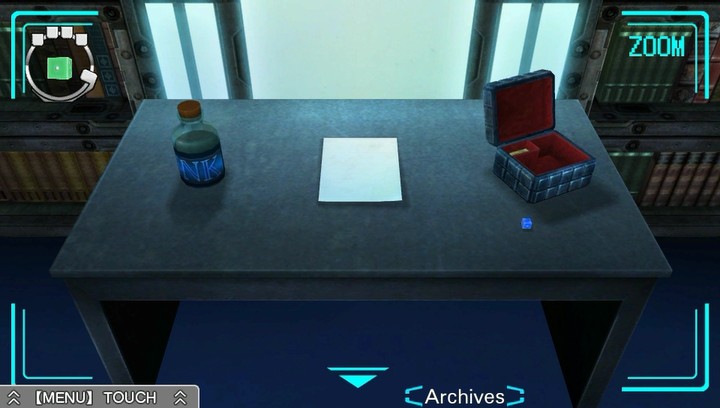
This sure is a desk with things on it.
Yup.
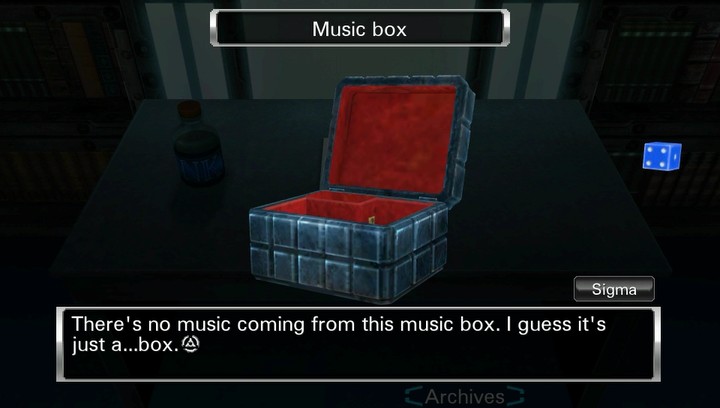
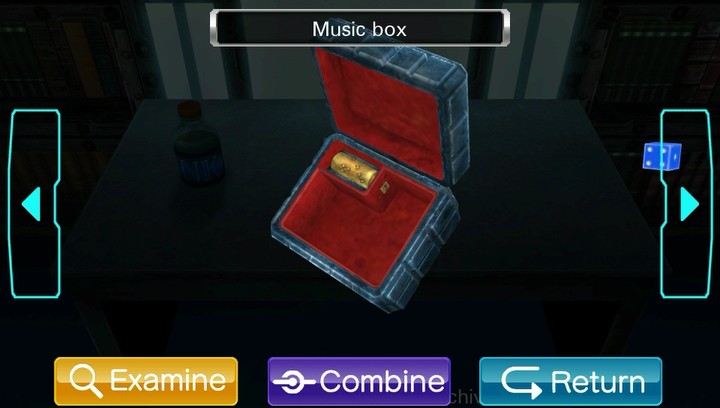
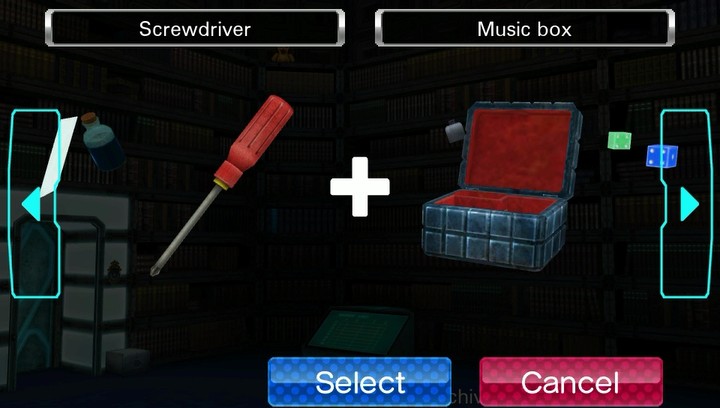
I don't see a spring... Maybe we should check the movement...
The movement...?
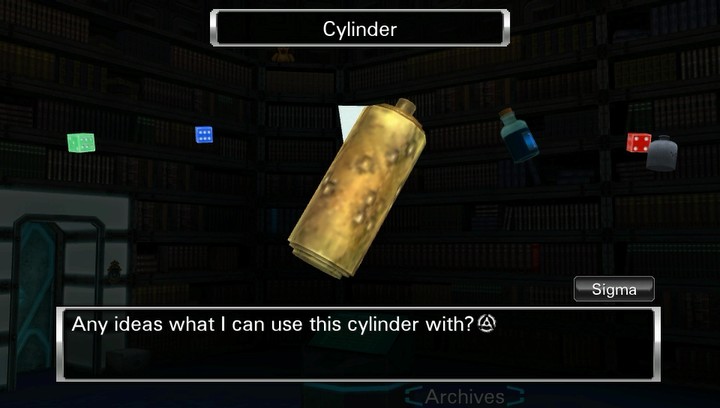
Sorry, "movement" means the internal pieces that actually make it work. Like the cylinder here.
Unfortunately it looks like it's been fixed in place with a Phillips screw.
Lady it looks like there's a helluva lot more missing from this music box than a spring.
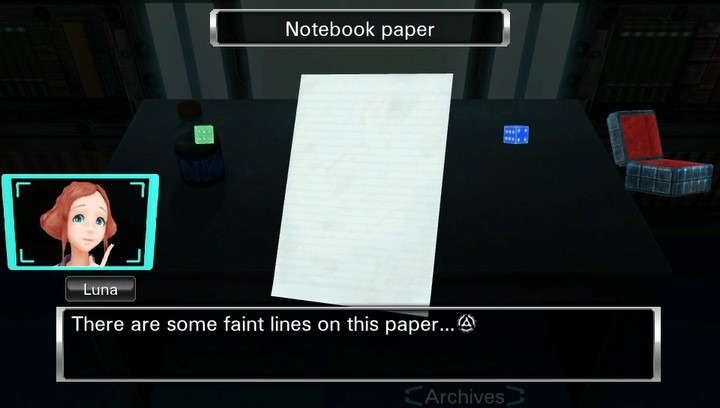
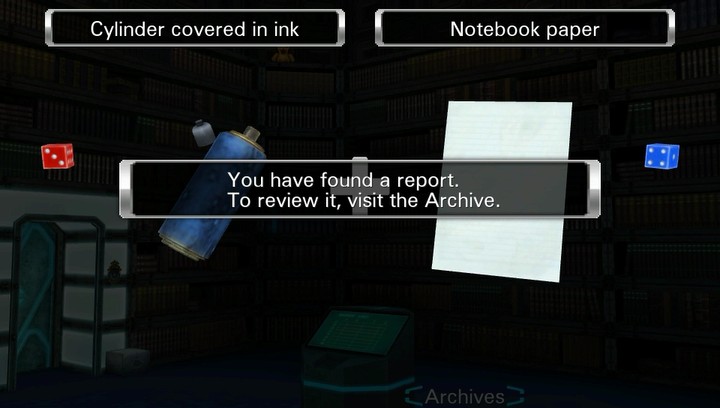
Oh, must be notebook paper.
I don't see any notes on it, though...
It kinda looks to me as though this paper has indents of something written on it, but I guess it's likely just coincidental. It's definitely not part of a puzzle, in any case. Well, I mean, the paper is, but we're not gonna be doing the pencil rubbing trick on it or anything.
One last thing on this desk...
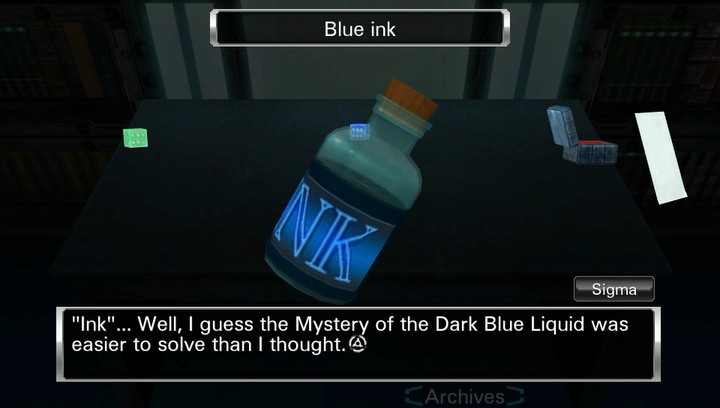
This looks like the sort of ink you'd use with a dip pen, but... I don't remember seeing anything like that.
Then again, I suppose you could use it for a lot of different things.
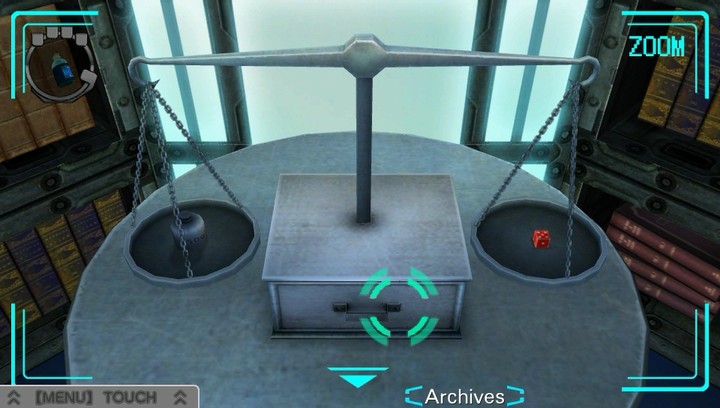
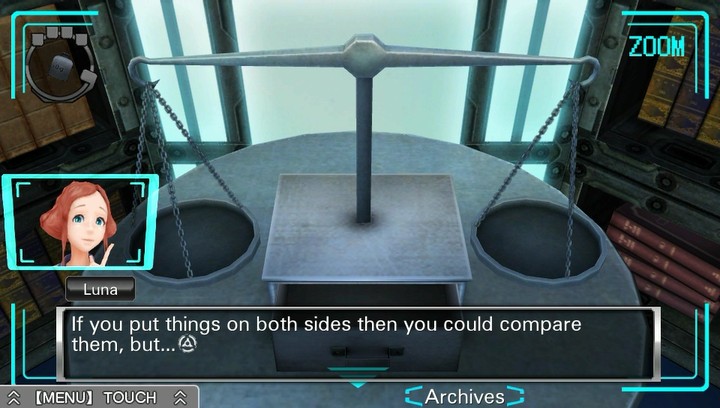
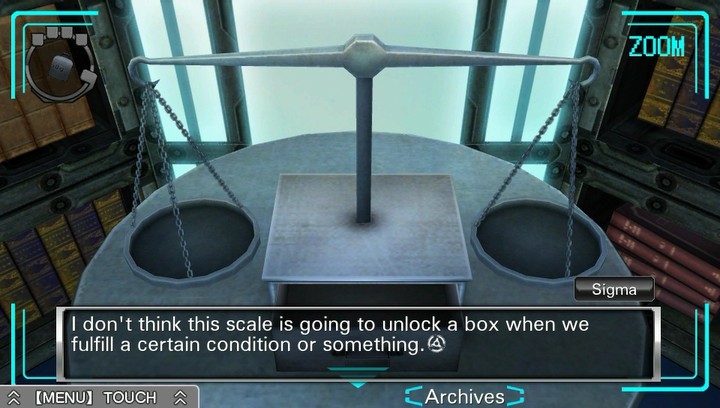
Continuing our tour... some scales.
Time for an elaborate puzzle!
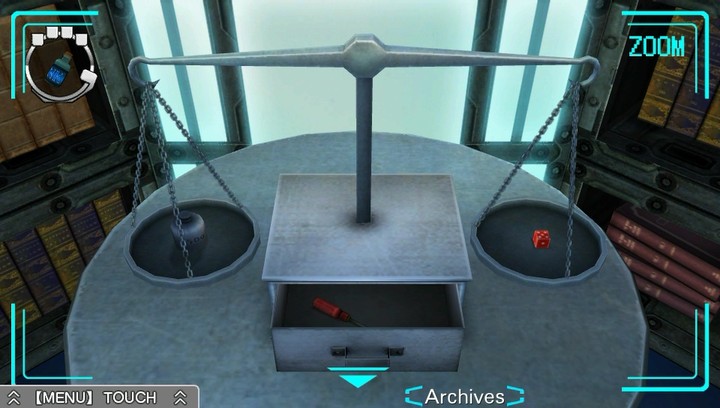
lol j/k you can just open the drawer.
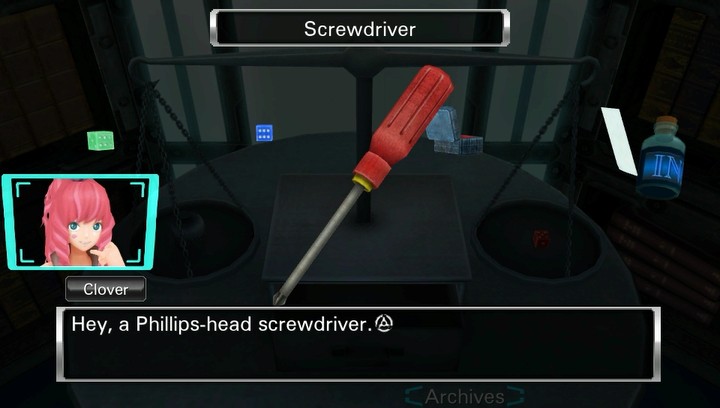
Why would you have a screwdriver in a room full of books?
Maybe it's useful if you're reading some deconstructionist literature?
...What?
What a coincidence. We'll get to all that in just a bit, after we poke at these scales and the stuff on them.
Quite.
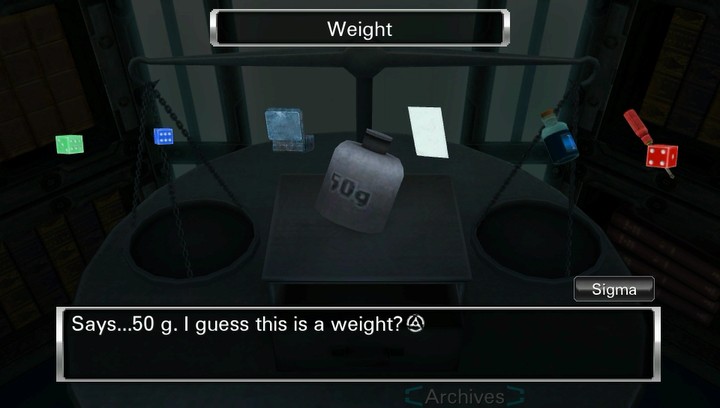
Yes. I think you usually use weights like this to weigh things, but I suppose you could do other things with it.
If you put it in a snowball, you could get a little extra oomph.

That's not what I meant!
Do we actually have anything to weigh?
Well, the scale had a die and a weight on it when we found it.
We've got three dice. I think we should be able to figure out what they weigh using this weight.
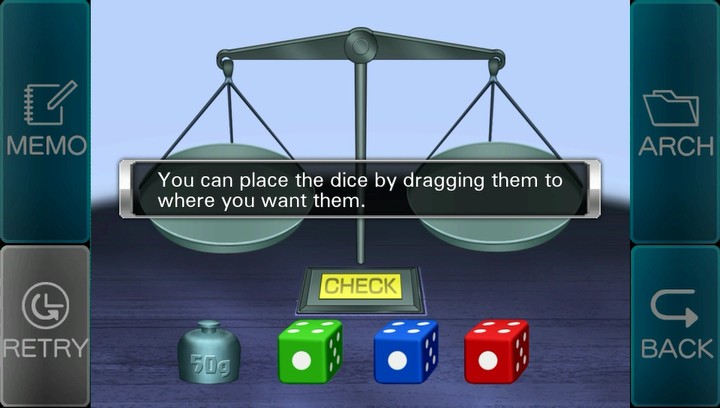
Puzzle time! I won't bore you with the instructions. It's a scale.
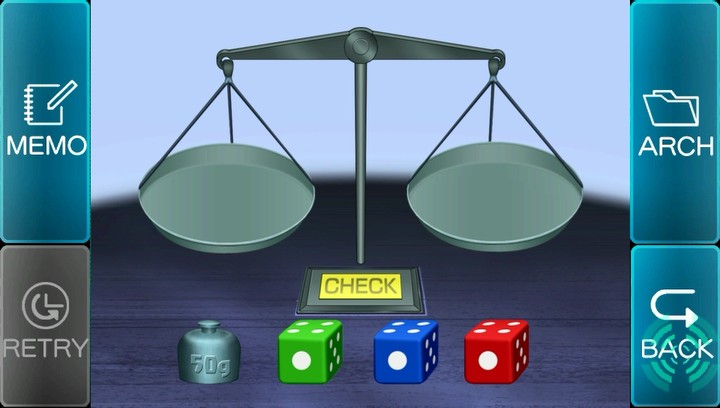
Buuuuut I think we probably need more hints or--
It certainly doesn't look that way.
I think all we're supposed to do with it is weigh things.
Oh.
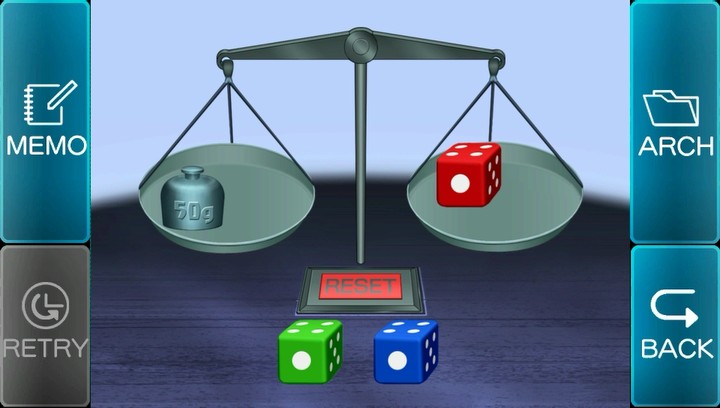
Well, as we've already seen, the red die weighs 50g.
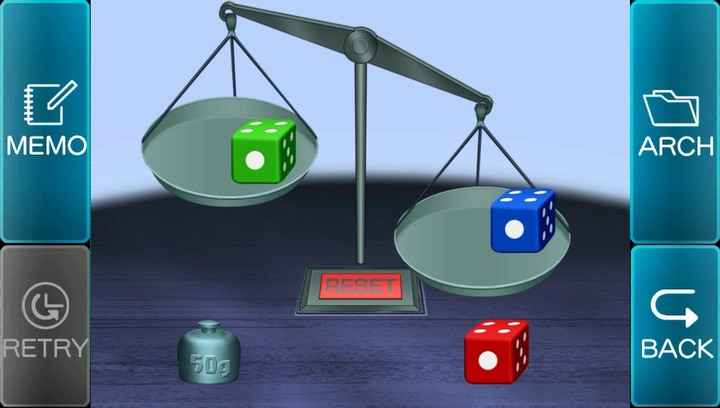
We can also see the blue die weighs more than the green.
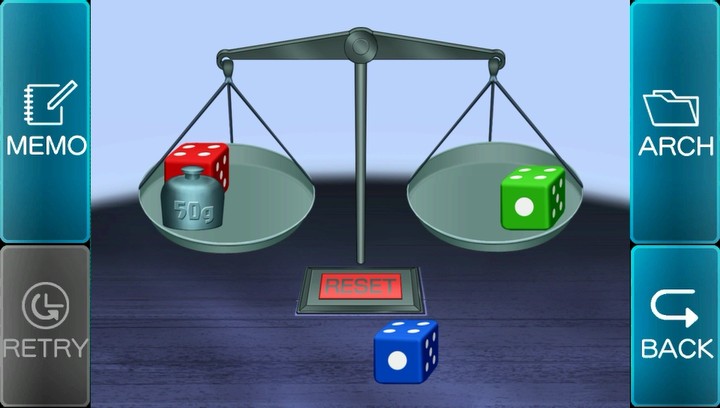
The slightest experimental spirit will show that the green die weighs 50g more than the red, or 100g. There's really only two possibilities for the weight of the blue at this point...
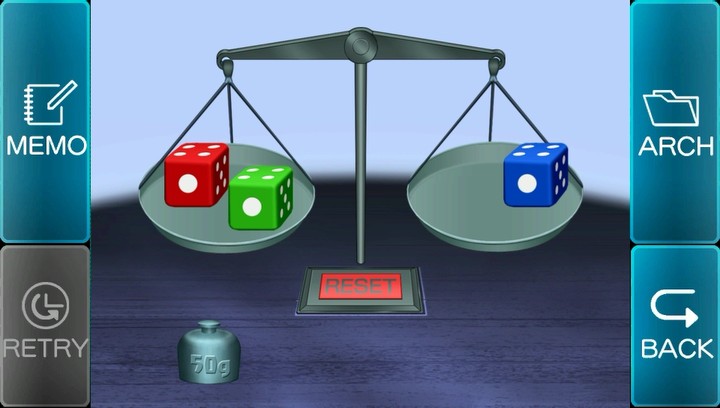
...And we guessed correctly that it was 150g. Well, that was hard.
If you want, you can back out repeatedly and Luna will exhaustively walk you through the whole thing. But honestly I imagine most people will probably figure it out faster than it would take her to say it all.
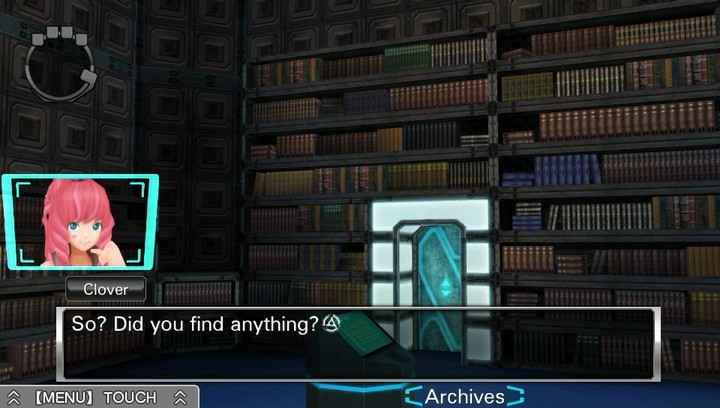
...and that's everything! There's not much in here. Let's start working these leads.

As puzzles go, it's pretty straightforward. We just need the right five-digit number.
As you may have suspected, what we need here is the weight of the dice, and it is just a math problem. As long as we remember our order of operations and don't add before we multiply, like some sort of chump, we can very easily arrive at the answer...
Good job! Let's open it!
Heh heh. Sounds like fun.
Let's open it up.
*rustle* *rustle* *rustle*
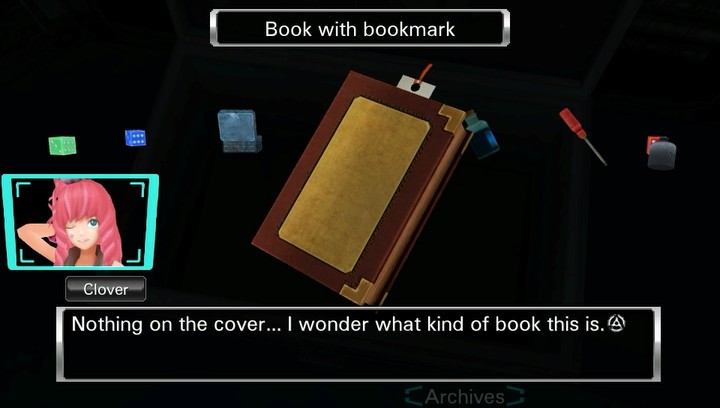
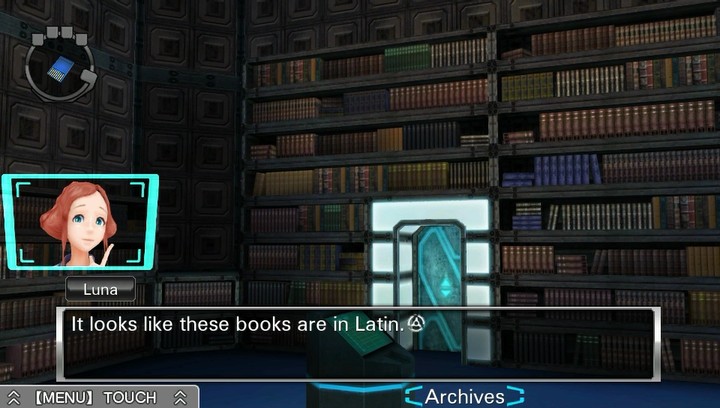
I...I can't read it...
I think this is Latin.
Looks that way.
Well, it's not a total loss. There's a bookmark at least.
Hm... Maybe we should take that.
The bookmark, obviously, goes in the archive. That's, the archive, singular, to differentiate it from the archives, plural, which is the room we are in. Yeah.
Yup.
Well, that's... everything.
We've missed something.
What is it? I can't see from down here.
We should probably poke at the bookshelves, but let's pare down our inventory a bit first.
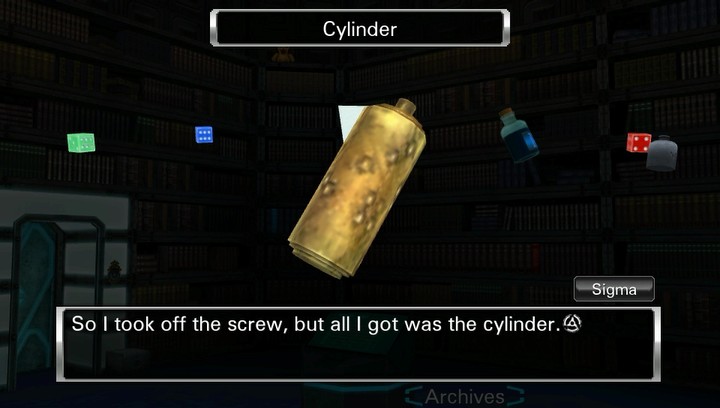
Then maybe the cylinder is what's important.
Even by this game's standards, this is some undue strain on the fourth wall.
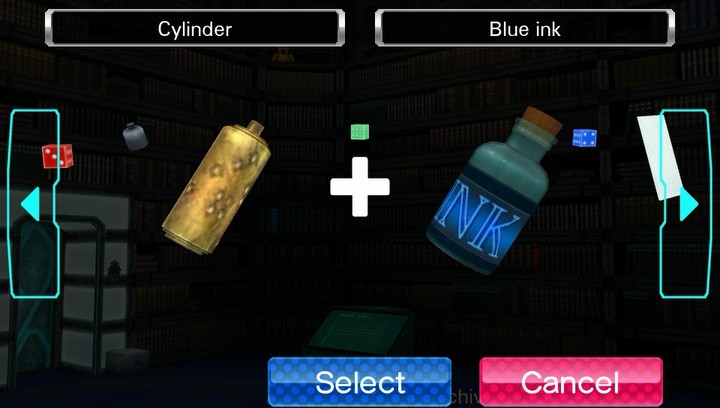
Why don't you try putting some ink on it?
...Ink?
Just do it.
I hope you know what you're doing...
Of course! More. Put more on. Slather it on.
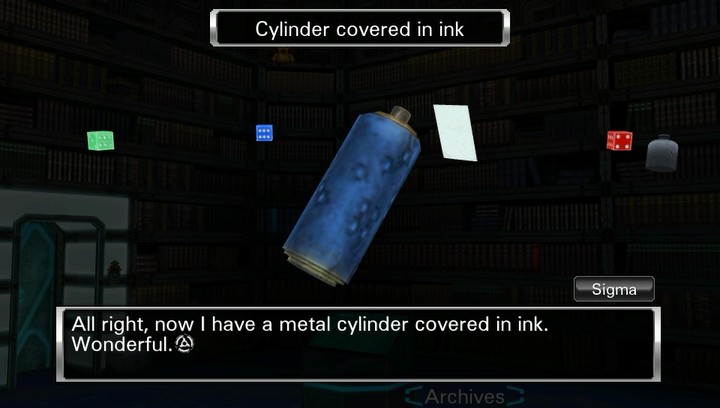

What are you going to do with it?
Um...
Uh, Clover? What am I supposed to do with it now?
You're gonna roll the cylinder across the paper. Make sure you press down!
What the hell is that going to accomplish?
The ink on the sticky-outy bits will get pressed onto the paper, right? We can see what the pattern is.
Sticky-outy...?
Just do it!
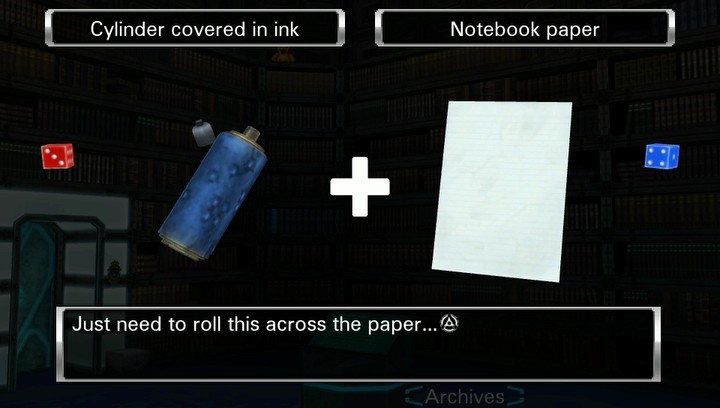
And there we go. Pattern transcribed.
And that's four items abstracted into a file.
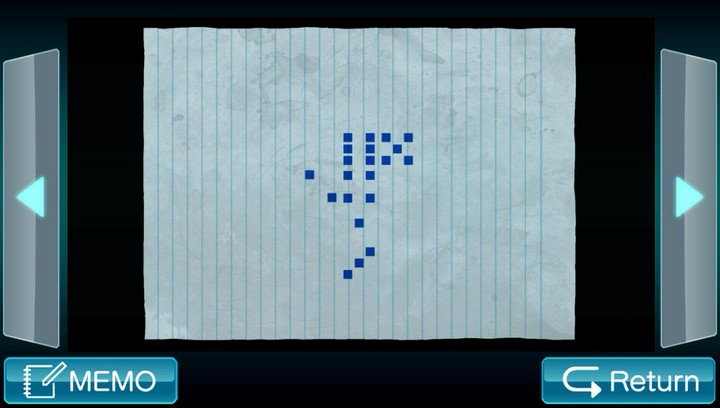
Here's the finished project and a better look at the indentations in the original page. I wanna say it's a bunch of equations. It looks equation-y.
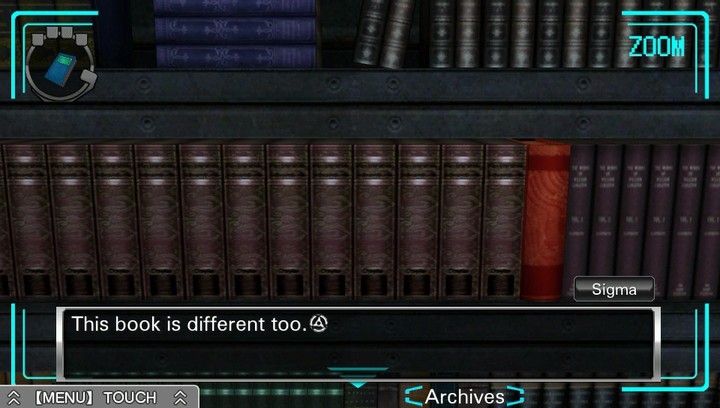
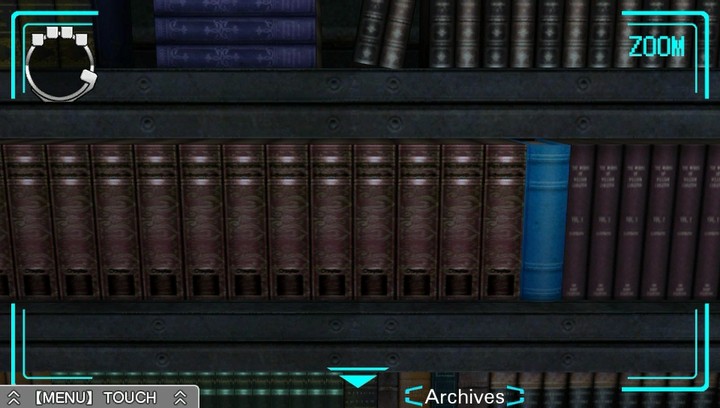
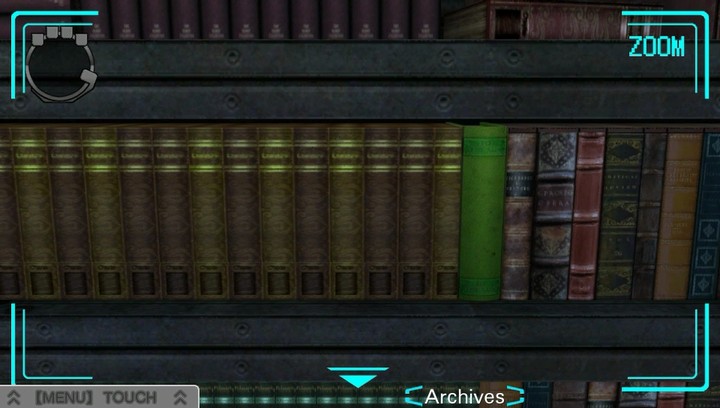
Anyway. The shelves.

You're right, it's a different color.
Let's have a look at it.
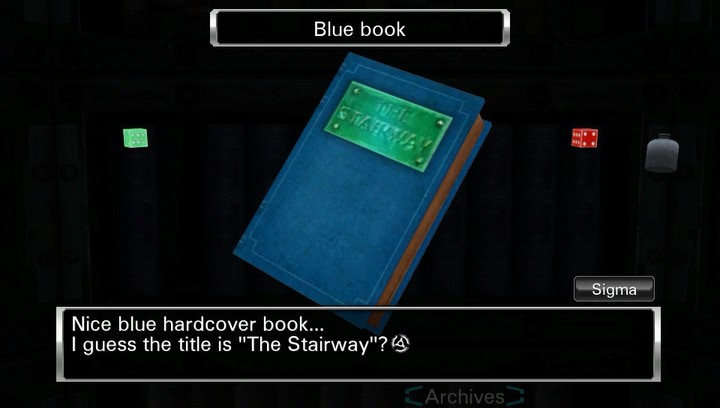

Hey, there's something written on the back cover of this book!
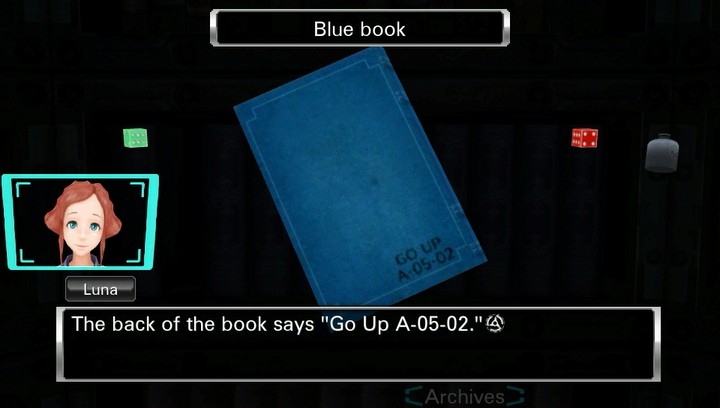
I won't bore you with the transcription of all the text for all the books we're going to be picking up, but suffice to say they all have titles, and stuff written on the back.
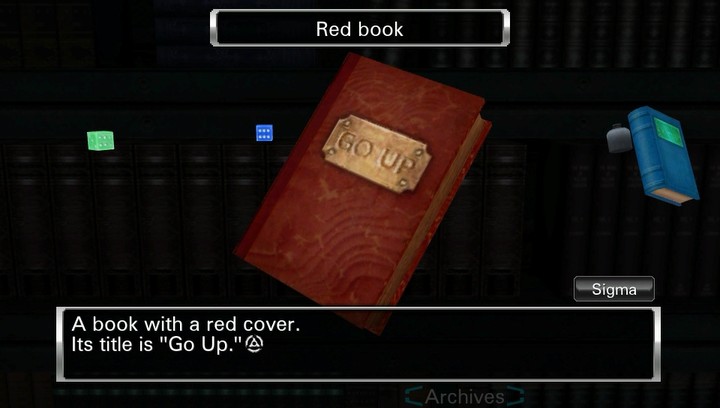
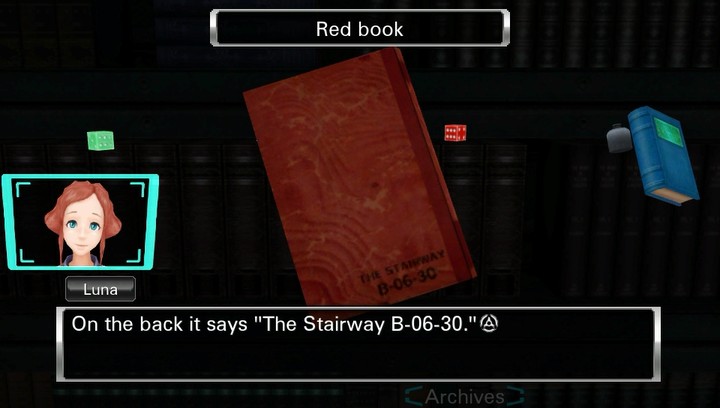
So I'm not sure how coincidental any of this is, but. In theory, the puzzle here is that the notes on the back of these books tell us the correct positions for the other books according to the referencing system laid out on the central computer thing. But as it happens, it's much more satisfying to go for the intellectual sledgehammer approach and observe that the labels on each book just so happen to all refer to the same locations those books were found in, and thus the title scrawled on it is the title of the book that needs to replace them. When you do that it turns out that the books are just pairs that need to be swapped.
And it's just a matter of doing the gruntwork. If you really want you can also interact with the shelves to learn the label of each shelf.
Let's just skip over that mess. The titles of the four books are, when arranged in order, "Go Up", "The Staircase", "To The Sun", "And Lion". Cool.
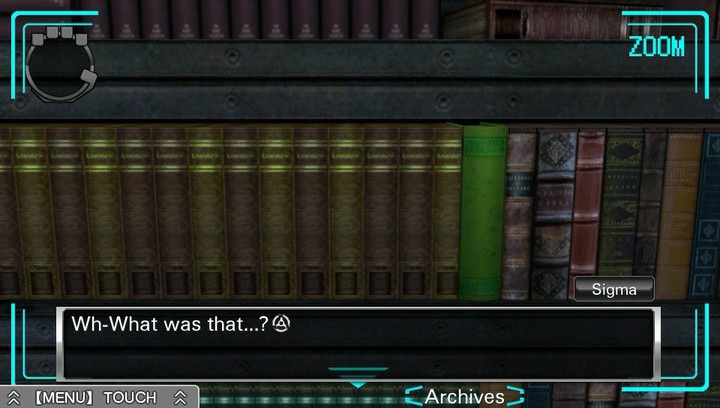
I think it came from the other side of the wall.
No, that wasn't the wall... I think it came from the bookshelf.
Wh-What's happening...?
I guess it was one of those trick bookshelves, where if you put the right thing in the right place it does stuff.
It's like a staircase...
Well, if they were nice enough to give us stairs, I guess we should climb them.

Should I go?
Well, with a big skirt like that it might get kind of dangerous...
Oh. If I just hike it up, I think I should be—

And, uh, I think there's somebody down on all fours, trying to not to look like he's staring up toward the bookshelf...
S-Sigma...?
What are you doing?
I, uh...lost a contact...
You don't wear any!
*violence*
Ow!
You climb.
Okay...

Okay... That's the only thing that's up here.
Guess I might as well take it.
Huh.
Can't really go any further... This is a dead end.
Are you done yet?
Was there anything up there?
Yeah. I'm heading back down now.
No puzzles or anything like that.
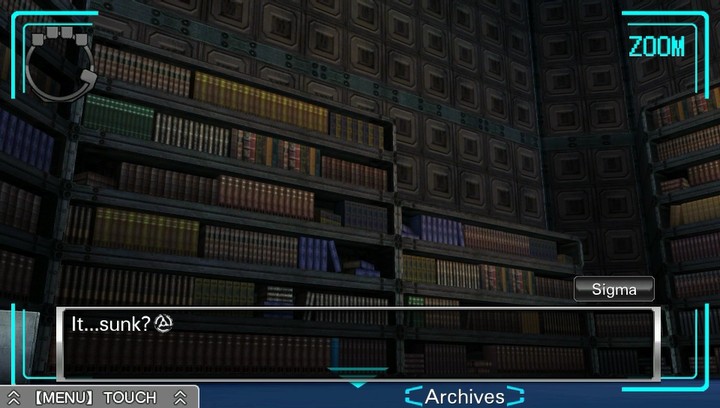
Just that stuffed animal?
Yeah.
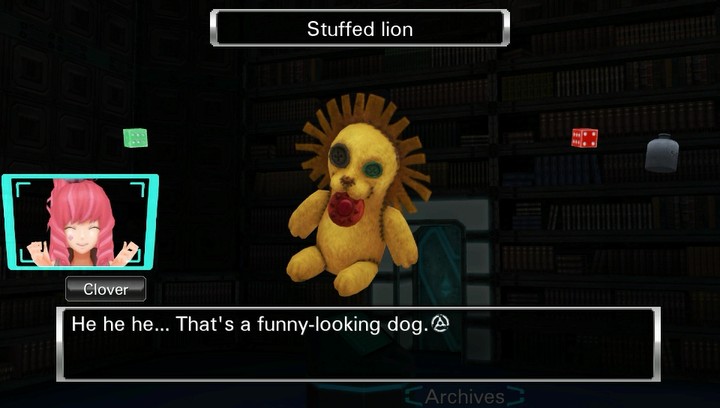
Dog...?
I'm...pretty sure that's a lion.
This is a lion? It doesn't really look like one...
Nah, it's a lion.
Oh, hold on... There's a zipper on its back.
Let's see what's inside!
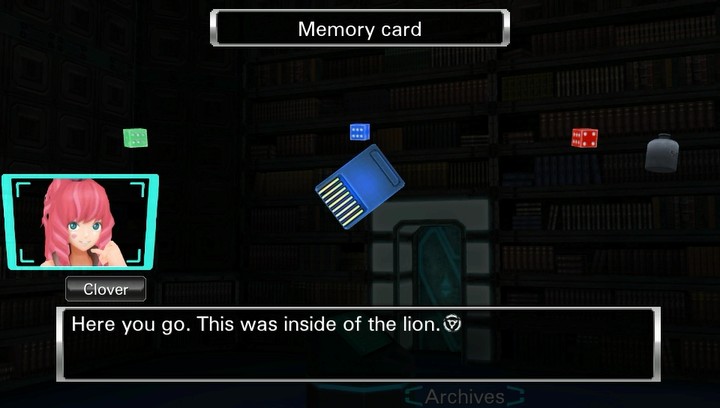
Well then.
Incidentally, if you examine any of the other bookshelves in the room;
Can you read it?

No... I'm sorry.
You, uh, don't need to apologize for that...
What about you, Clover?
Of course not.
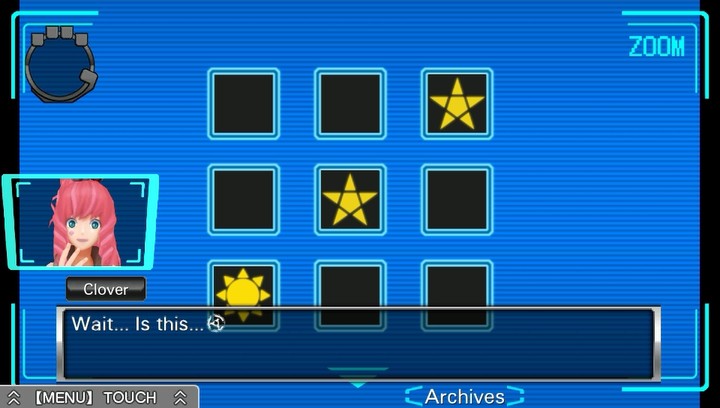
And there's a blue slot in the stand...
Let's see what happens when I put it in, then.
Is anyone else's Final Room Puzzle sense tingling?
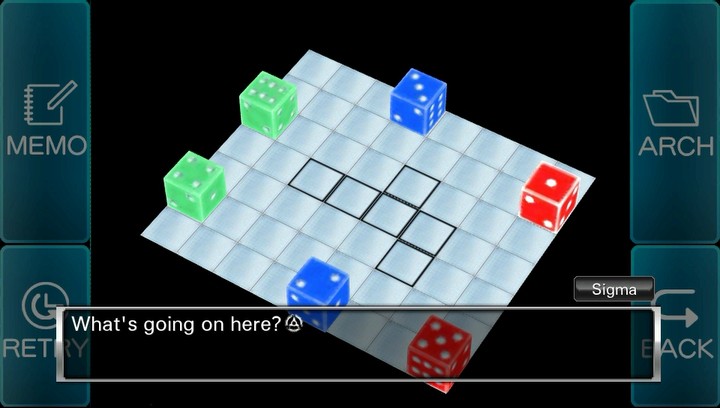
It's showing...the dice.
I wonder what the puzzle is...
Well, there's only one way to find out!
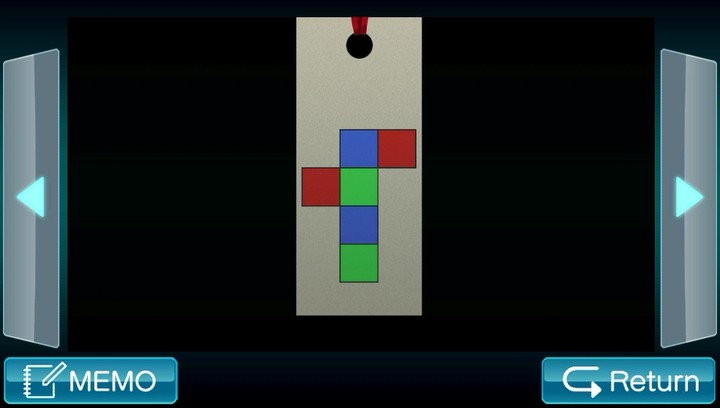
Obviously, there are two possible ways of going about this, because there are always two ways of going about these.
The first is to refer back to our handy Bookmark, and line up some colours.

It's not much of a thing.
Good work, Sigma!
That was amazing!
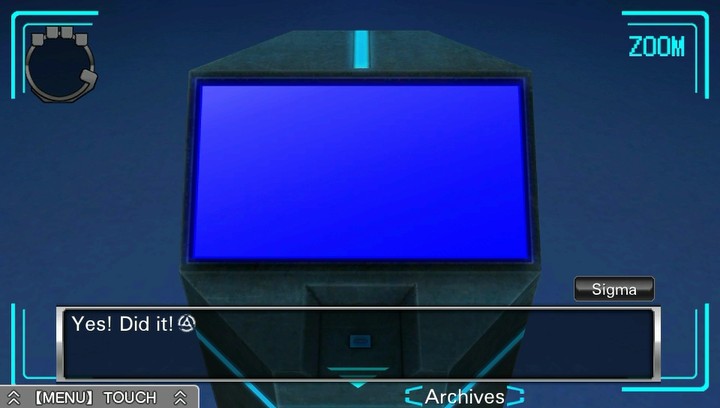
The color's changed.
Do you think...?
Let's take a look!
Yeah. It's the password to the safe.
Hell yeah.
Unfortunately... that entirely reasonable puzzle solution only gets us the optional combination.
The solution for getting the required combination requires us to match both the colour key and the number key we got off the music box cylinder. This is a weapons-grade motherfucker.
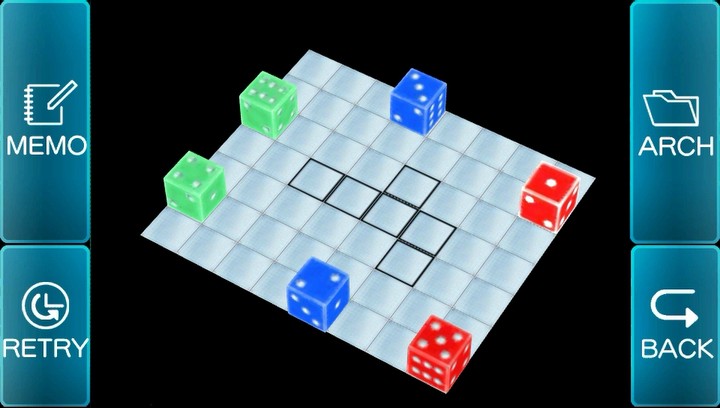
I mean, even if you have the nicety of being on the 3DS version and thus being able to have either (not both!) keys displayed on the top screen, you've still got to worry about the rather abstract spatial and numerical reasoning puzzle of getting each die into the required space with the right number facing up. This here panel represents a brick wall for a lot of players.
Except... what if it was actually not very hard at all?
Retry the puzzle enough times on Easy mode, and once Clover gets bored of reminding you about the bookmark and the cylinder, as though those are the details you're struggling with, the game will break character and straight up tell you The Secret;
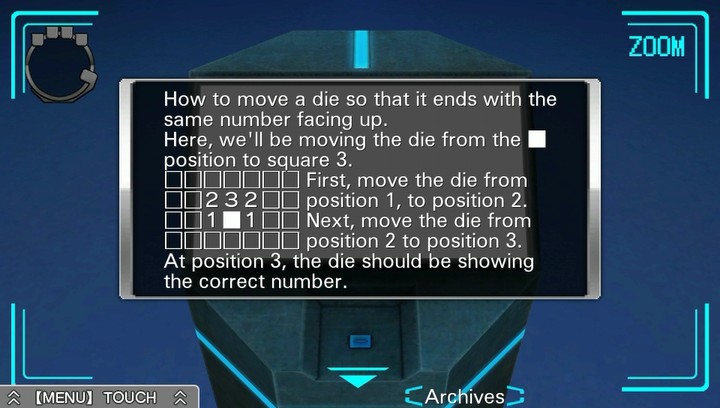
Retry once more, and they'll lay it all out;
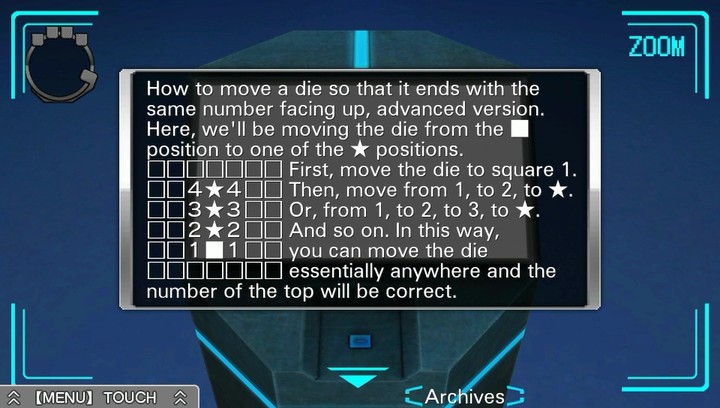
And that's pretty much the ballgame; get some die set to the number you want, then finagle it on the X axis, then finagle it on the Y axis. There's enough room that this instantly becomes a nonproblem.
...of course, there remains the small issue that in order for this incredible piece of Actually Useful Advice to be received, a player needs to a) be playing on Easy Mode, which the game very aptly shames most people into not doing, and b) needs to repeatedly enter and exit the puzzle, which there isn't really a lot of reason to do if you don't know it gives you escalating hints when on Easy mode. The whole thing is a very nice little trick, but not really a great puzzle.
Anyway.
Excellent work!

Thanks Clover.

And that's it. That's the whole room. I dallied for like three months writing this shit up and it's only barely longer than some of the meatier plot updates. But hey, we've officially escaped the archives now.
Yeah. It's just like the ones I saw in the AB Room and the crew quarters.
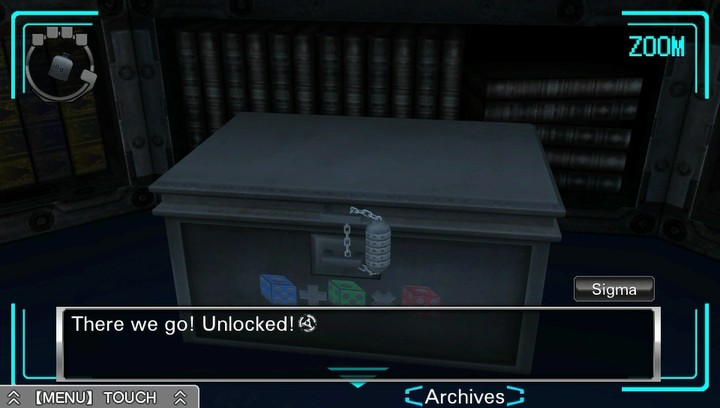
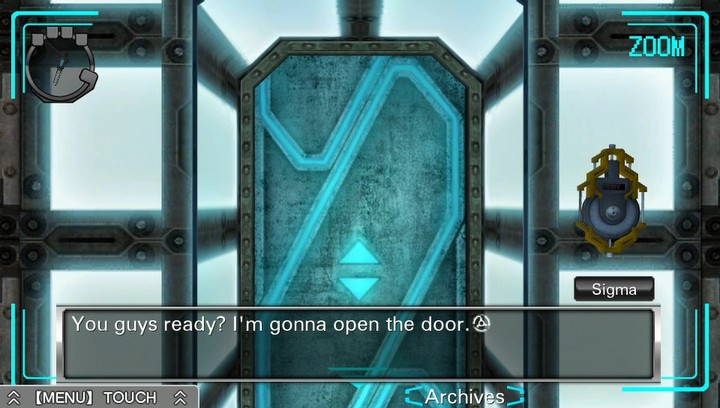
If we enter the right password, it should open up. I think.

Good job, Sigma!
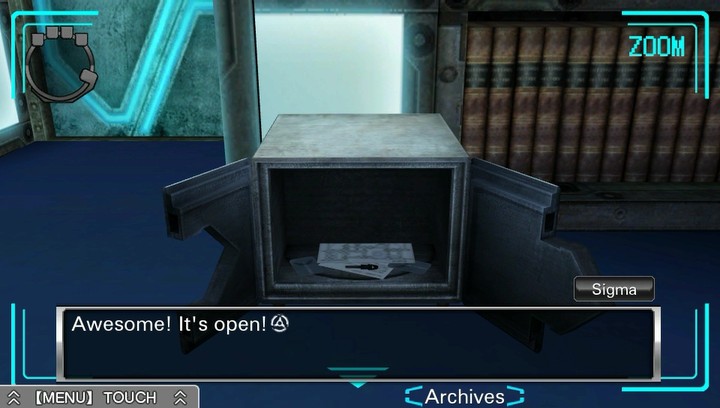
So, what've we got this time?
First...
A map.
It says "FLOOR B."
The one we found in the cabin said "FLOOR A."
(Localisation whoopsie! "Cabin" was the name for the Crew Quarters in the Japanese version.)
So did the map in the infirmary.
Then that means floor A must be the top floor, right?
We did come down here on the elevator, after all...
So it would seem.
There's more stuff in there.
Oh, I know what those are.
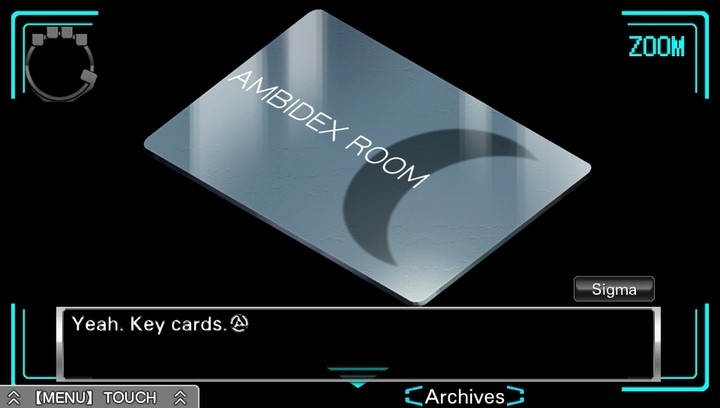
These ones have moons on them.
They must be the moon keys the announcer was talking about, then!

That means we can play the AB Game!
We got two, just like with the sun keys.
As a pair, Luna and I should only need one.
Then I'll take the other one.
So... What's next?
A piece of paper. It has something written on it...
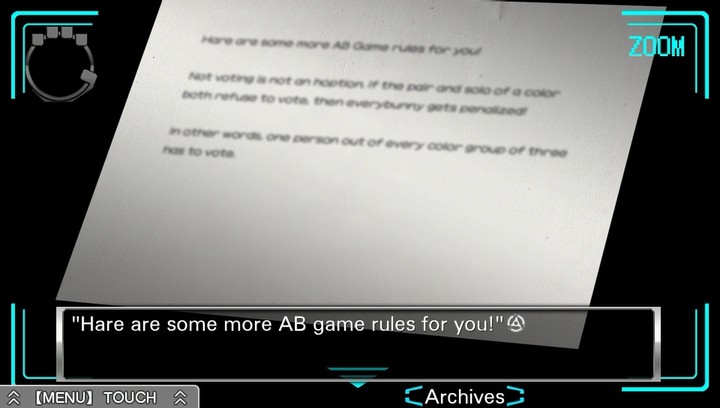
"Not voting is not an hoption.
If both parties refuse to vote, then everybunny gets penalized!"
"In other words,
one person out of every color group of three has to vote."
In other words, we can't all abstain...
We have to vote...
...
A-Anyway, what else is there in the safe?
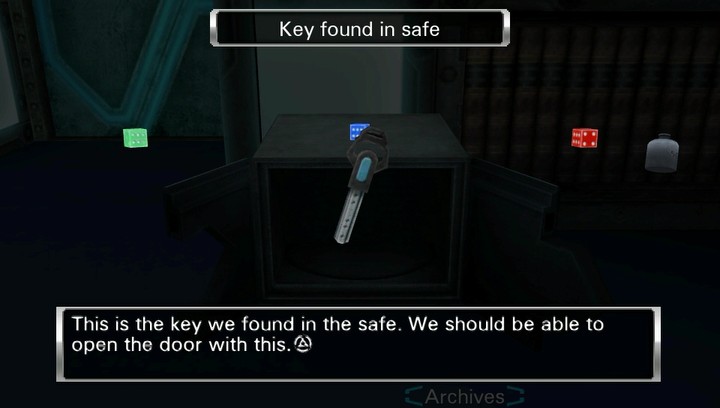
Only one thing...
...A key.
Is this the exit key?!
Looks like it.
We can open the door!
Let's go!
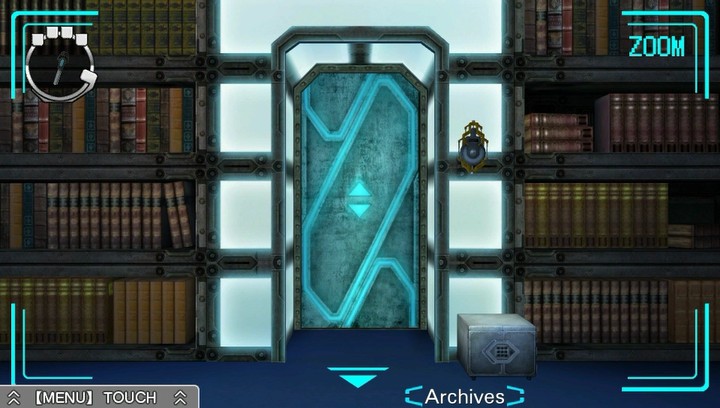
Hold yer' horses.

Ha! It opened!
Good good. Well done.
Now we go.
Go ahead!
I'm all set.
Then here we go.
Three... two... one!

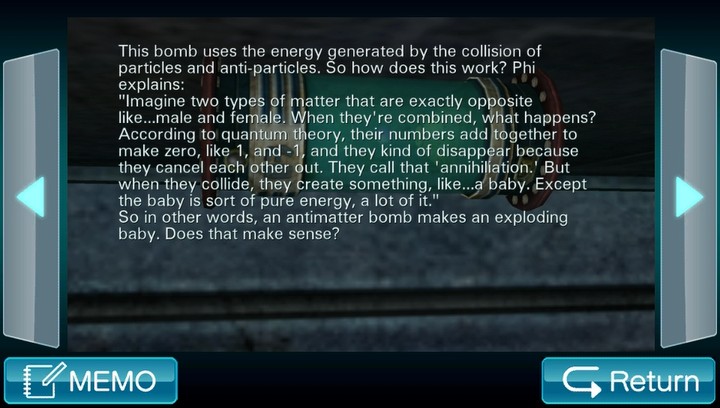
And for our trouble, we of course have a fresh crop of Secret Files;
Antimatter Bomb:
Detonator:
Cybernetic Arm:
Luna's Necklace:
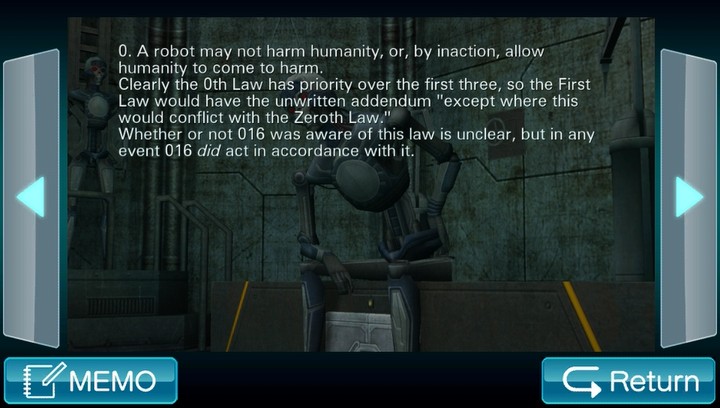
The Three Laws of Robotics:
The Zeroth Law: