Part 3: Mission 2: Orange Dawn (or "The long and winding road")
Mission 2: Orange Dawn (or "The long and winding road")
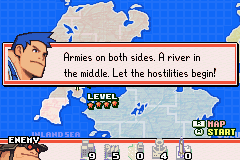
Flak has an important announcement for you all:

 Um... Lord Flak... The microphone?
 Shut up! Too complicated!
That. That line there is why Flak is comedy gold.
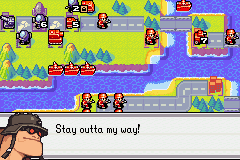
Anyone there? Or are you too scared to face me?!? Hah! Look! A gorilla!
 What did you say?!? If anyone here's a gorilla, it's you, ape-man!
 I'm no ape! I'm Flak!!! (You started the name calling, Flak...) Flak? What's that, some sort of code name? Listen up, Flak. My name's Max. Now tell me what you jerks are doin' rampaging through our country? YOUR country? Orange Star belongs to the Black Hole Army now! You complain, you get hurt! Oh, you think so!? Give it your best shot!
 Nell?!?
 To lose your head is to lose the fight. I taught you that, remember? Yes, but... I... It's just... I understand your anger, Max. No one likes seeing his homeland ravaged. All the more reason to proceed calmly and rationally. Use your head, and drive these fiends from our borders! OK?
 You got it! Let's roll!
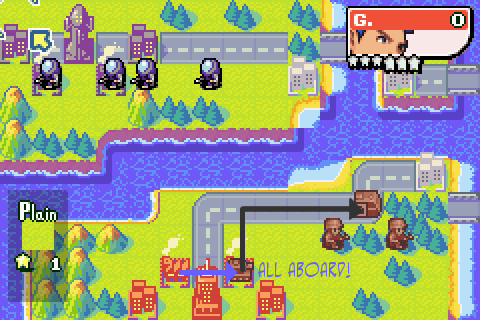
Day 1

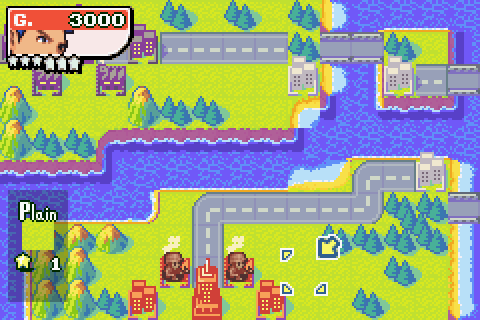
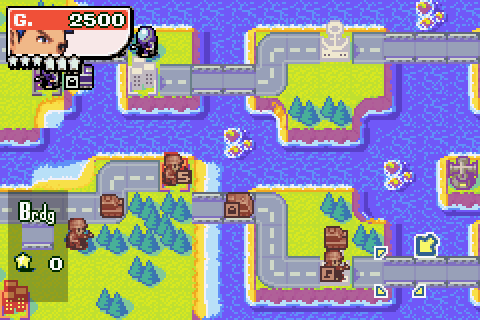
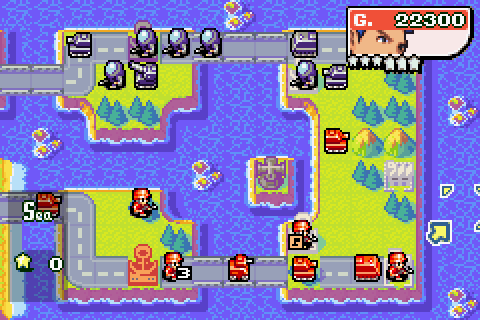
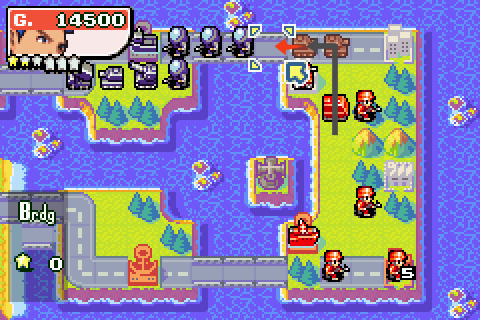
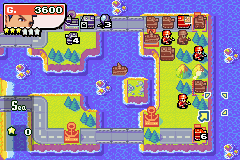
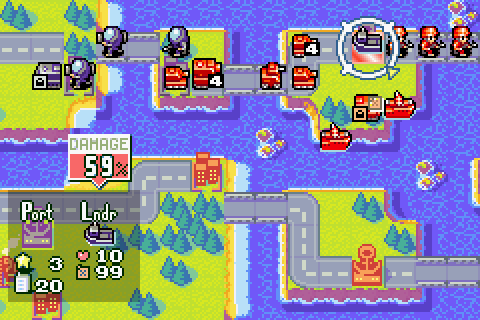
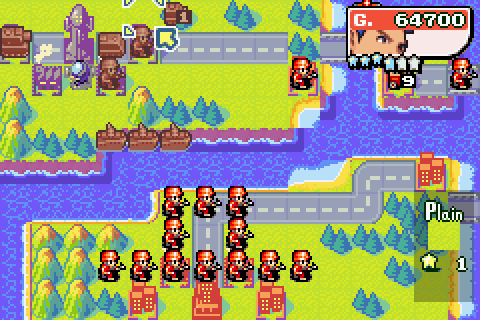
This is a pretty big map, so here's a quick overview. We've got to go the long way round to reach Flak, over all these winding bridges and stuff. There's a bunch of new things to talk about, but I'll bring up each thing as we get to it.

Let's start here with the first new thing: we now get bases to play with (the little factories). Bases are places where you can build new ground units from, if you have the funds to do so. Each property you own (HQs, cities, bases, ports and airports) gives you 1000G in funds per turn, which you can spend on building (and sometimes repairing) units. So let's open the shop door and see what we can buy.
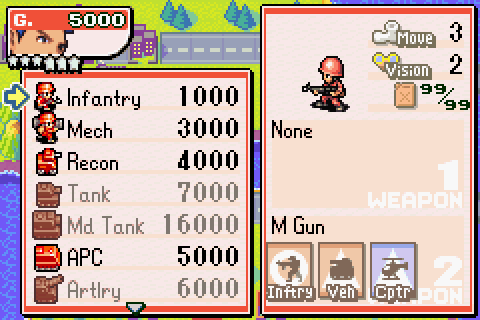
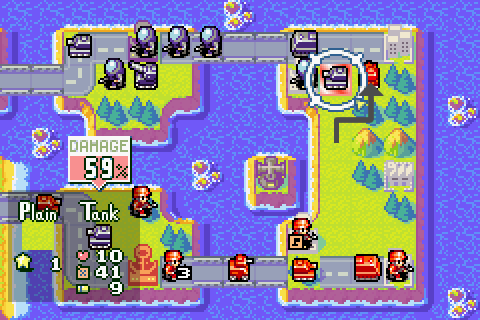
As you can see, most of the units from the previous mission are here, although a lot of them are outside our price range right now. Let's start off though by producing a unit we haven't met yet: the basic Infantry unit, a snip at just 1000G. The ultra-low price makes infantry a staple of any army. They may be slow and weak, but a mass of infantry makes for a very solid defence, and of course, like mechs, they can capture properties. We'll be seeing a lot more capturing in this mission than last time round, so watch out for it.
Okay, nothing else to do now we've built those, so let's end turn.
You know, this Max guy kinda reminds me of me... except... I'm me. Hmmm... This should be fun.Well, that's lovely, Flak, but let's just...

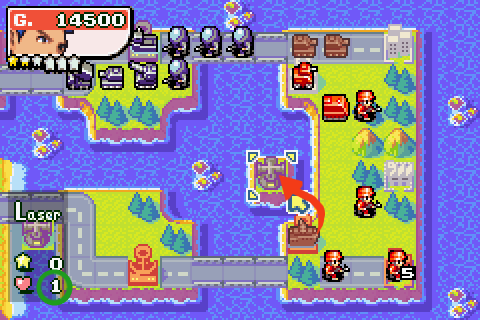
Whoa, what the heck was that? Oh, wait... it's just a laser. Lasers are a special Black Hole invention. In Normal Campaign they don't appear until a good while later, but now Black Hole inventions start appearing all over the place. At the start of every Black Hole turn (except when they don't), they shoot out beams of energy in the four cardinal directions, dealing five damage to any unit - friend or foe - in their path. They can't kill a unit outright though. So a unit on 5HP or less will just get its health reduced to 1HP (nothing will happen to a 1HP unit. Then again, if you're a 1HP unit, you've got enough problems).
Day 2
Moved my two infantry, and build another infantry and an APC. Not much else to say, so let's talk about the COs in this battle. Flak we already know, but what about the guy we're playing as?
Paul.Power's CO Notes: Max
 Theme
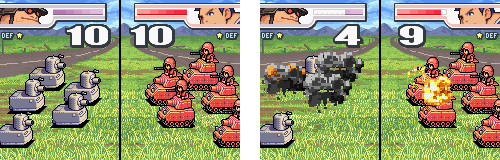
ThemeMax specialises in direct combat units: all of his direct combat units (bar infantry and mechs) receive a 20% attack boost. As the vast majority of units in the game are direct-combat (from tanks to bombers to submarines), this can be pretty handy. But his weakness is pretty crippling: his long-range units (artillery, rockets, missiles, battleships) have a range penalty of -1. So while most artillery can hit 2 or 3 squares away from them, Max's can only hit 2 squares away from them. This can be very awkward - especially against, say, Grit (who we'll see more about when we get to his missions).
Background/personality: A hard-hitting, rough-and-tumble kind of guy, Max much prefers brawling at close range than standing back and shooting from a distance. He can be a little bit proud at times, but his heart's in the right place. He's sometimes a little bit sceptical about Andy and Sami's ability in combat, but this mostly stems from a desire to keep them safe.
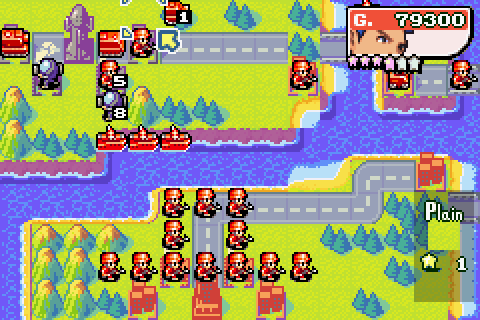
Day 3
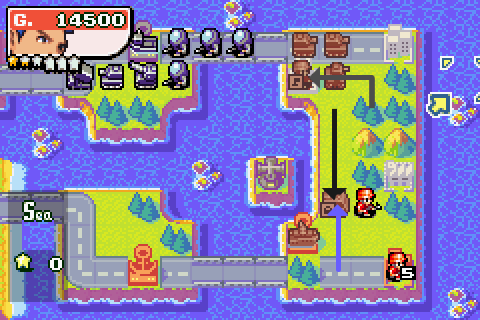
More basic troop movement, including loading and moving an APC and building a Tank. Next turn we'll be in range of our first city!
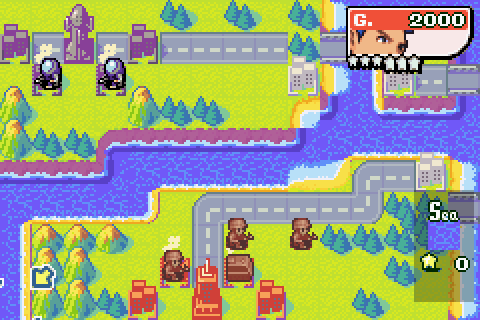
Day 4
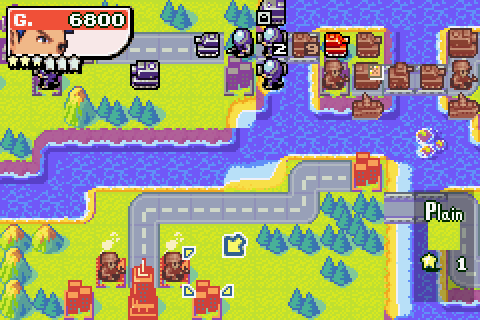
Okay, we have a problem.

That city's on the path of the laser cannon, and any unit capturing is going to get fried. I could just leave the city for now until I destroy the laser cannon (yes, they can be destroyed. Stay tuned for days 12 to 14), but if I do that, then Flak'll get a funding advantage for several days. So it looks like one of my troops is going to have to bite the bullet.
Yes, yes you should.
Day 5

I'm a monster
 .
.
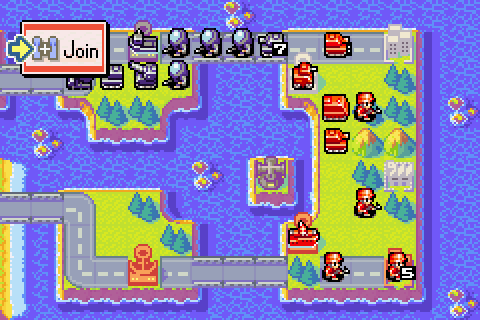
Okay, 10 capture points removed on the first turn, 5 on the second, so that's 5 left over. Trouble is, if the laser hits me again that infantry's going to be down to 1HP, and it'll only be able to capture the last five points one at a time. I don't want to wait five days for that, so instead I'm going to show you a new trick.
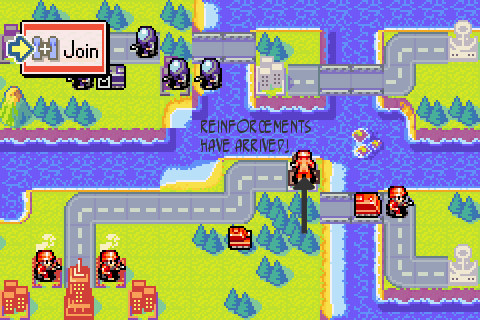
Joining units allows you to take two damaged units of the same type and recombine them into a single unit, with the total HP of both (if it goes over 10HP, the excess is converted into funds proportional to the cost of the unit. So we got 500G from doing this: 10 + 5 = 15, so 5 left over. 5/10 x 1000G = 500G. Talk about liquidating your assets...).
But think of the freedom of all the people you're fighting for! Or... something. Anyway, the rest of my units mostly just move forward (apart from the APC, which moves back so it can ferry another infantry forward). And that's day 5 over and done with.
Day 6

Hooray, that city's finally captured. Unfortunately, we can't move that infantry off that square until next turn. Sorry, dude.
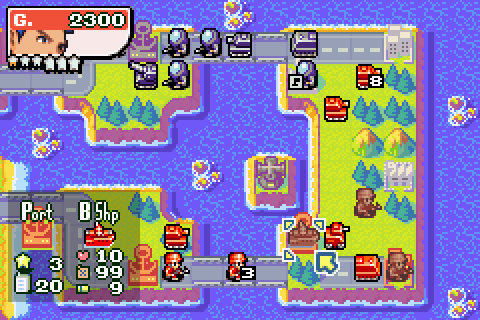
Meanwhile, another infantry starts capturing one of the ports (the building with an anchor). Ports, unsurprisingly, are where we build ships from.
Day 7
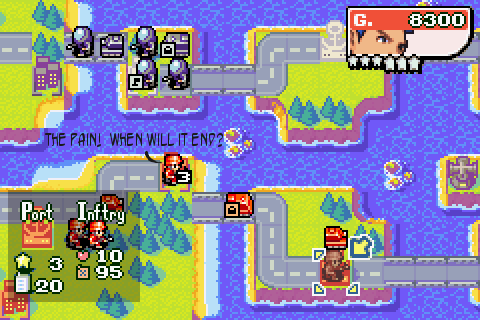
That poor infantry gets zapped down to 1HP before the city heals him back up to 3HP. Now, we've got to be careful with troop movements here, so that units don't get accidentally zapped by the laser cannon.

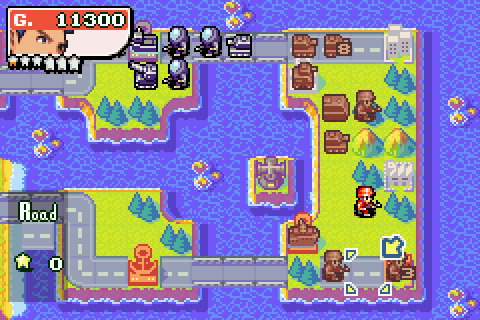
Moving the tank to here should be fine.

Moving all the other units up, including finally getting that infantry off of Deathtrap City. I wonder how the people who have to live there every day feel about that cannon...
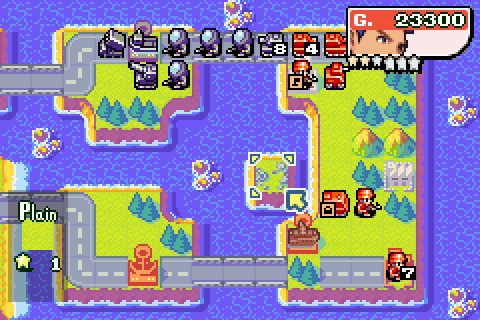
Day 8
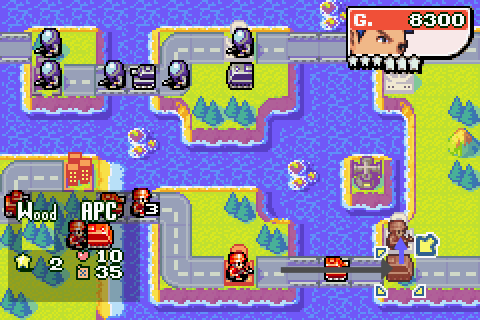
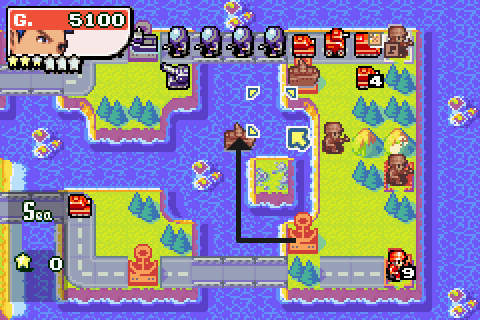
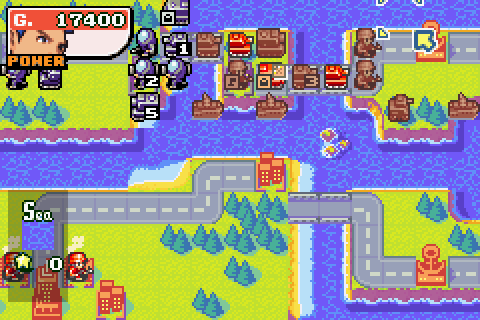
The APC moves up and drops its passenger off on the next port. Speaking of which, what can we buy from our shiny new port?
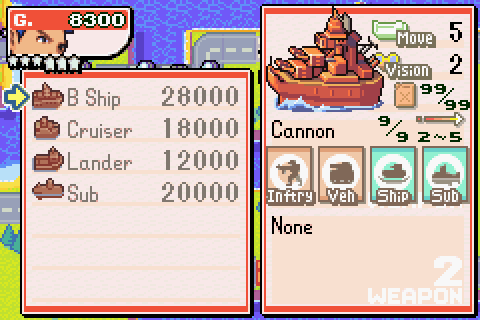
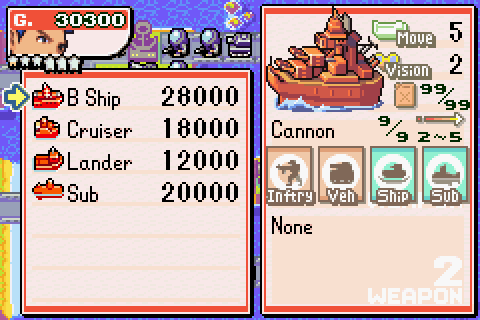
Well... nothing, yet. Navies are pretty darn expensive. But this gives me a chance to briefly explain what these four ships do. Battleships are powerful long-range units that put rockets to shame: their normal range is anything that's two to six squares away, although with Max that becomes just two to five squares. Landers are the transport unit for navies: unlike APCs, though, Landers can carry two of any type of unit, not just footsoldiers. Just as well, really, or island-hopping missions would be very tedious. Submarines are stealth units that prey on Battleships and Landers. Subs can dive: while dived, they use up fuel faster, but can't be seen unless you're standing right next to them and can only be attacked by Cruisers and other Subs. Cruisers are the escort vessels: anti-sub and anti-air, their job is to protect Battleships and Landers from Subs, Bombers and B-Copters. They're helpless against enemy Battleships, though.

Arranging my vanguard units so they don't get lasered.

And once more, moving everything forward.
Day 9

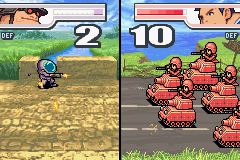
Here I'm checking the range of this enemy tank. I want to move to just outside his range: inside it and he'll attack me, and in tank vs. tank battles it's typically "first strike wins".

This looks perfect. Equally importantly, it isn't in the laser's path.
Day 10
It took ten days to beat Border Skirmish. After ten days on Orange Dawn, we're finally getting to see our first combat this mission. Hoo boy.
Chaaarge!
Oh yes.

That went pretty well.
My other tank rolls up and finishes him off. Meanwhile, the other units move up, and my infantry continue to do some capturing. You may have noticed that I've been saving up some funds over the last couple of turns. Have a guess why.
Day 11
Yep, I want a battleship.
Oh boy, oh boy, oh boy, my very own battleship...

Of course, since it's Max's battleship, it doesn't have the same firing range as a normal one (only five squares away instead of six), but it's good enough to finally rid the world of that pesky laser.

Meanwhile, my tanks in the north continue their attacks (including an important attack that stops Flak's infantry from capturing a port up there) and the rest of my army continues its journey forwards.
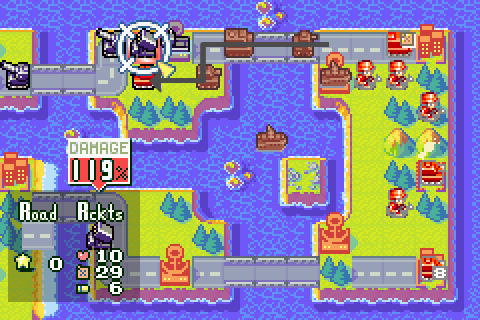
Day 12

Right, let's start to take down this laser. This turn, we'll be able to knock off 49 of its 99 hit points.

50 hit points to go.
More general attacking with my northern tanks. I don't want to start capturing that central base yet, though, as it's in the laser's path ("oh, sure, you're not sending that infantry unit into the firing line of a laser cannon...")
Day 13

Owch, one of my tanks in the North just took quite a hit.
Well, let's join him up with this other tank here.
Meanwhile, a third tank pops up and dishes out some revenge on the aggressing tank. That'll teach 'em!
My battleship continues to attack the laser, and aargh, it's got 1HP. One lousy hit point. Oh well, guess I've got to wait another turn before I can finally finish it off.
An infantry starts capturing the next port, and my APC backtracks to pick up another infantry.
Day 14

Another one of Flak's tanks comes up to attack me. More on that story later, but first:
With its final crucial hitpoint removed, the laser spontaneously explodes.

Now I can finally start capturing that central base. In the north, I cycle out my damaged tank and bring in a fresh one to deal with that upstart attacker. I would move my recon forward to take on that infantry on the bridge, but...

... there's a rocket unit waiting for me to fall into that trap. So I won't.
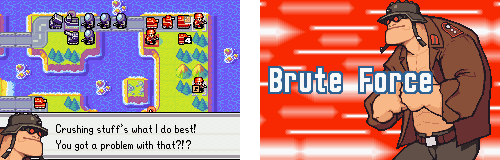
Well, Flak's using his CO Power. You may notice that the background's a little different from last time: that's because he's using his basic CO Power (COP) rather than his Super CO Power (SCOP). Flak's COP, Brute Force, is like Barbaric Blow but a bit less extreme: his damage spread becomes greater than normal, but not as big as it does with Barbaric Blow.
Day 15
Flak uses Brute Force to...

... do pretty much nothing. He doesn't even try attacking my tank with an infantry. I thought that was the whole point of Flak's CO Powers, to do crazy stuff like that in case you got lucky? Nice one, AI.
Okay, I've moved up my battleship up, and built a second one. Flak's artillery there is under a lot of pressure now, in range of two battleships.
Random shot of one of my tanks doing serious damage to one of Flak's infantry. Why not, indeed.

A couple more unit movements: my 4HP tank retreats, and in the South a fresh one gets closer to the battle front.
Day 16

Yep, that artillery - faced with the idea of two battleships raining down on it - is forced to retreat. Oh well. Time to start shooting some fish in a barrel - or at least, infantry on a bridge.

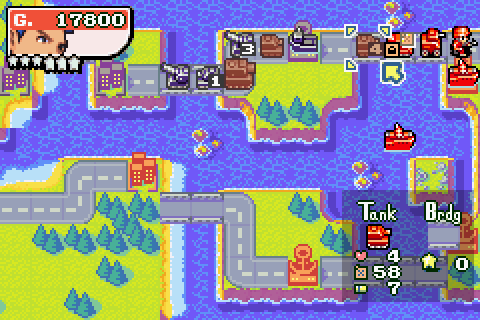
Okay, my battleships are doing their job well enough. But it's time to get some serious firepower from a unit that Max is actually good with. Let's buy...

... a medium tank.

What do you mean, it's not awesome?
Day 17
Dum de dum, blowing up stuff with battleships...

Oh hey, that's Max's CO Power (but not his Super CO Power) charged up.
Not much point in using it right now; I've got to get my units into position first. But next turn, maybe.
Day 18
 Probably the most exciting day of the battle, for those just skimming through
All right, let's do this.

Max Force gives all of your direct combat units an attack boost and 1 extra move point for a turn. We should be able to use it to cause serious damage this turn.

Okay, our priority target is the rocket launcher, circled in green. Taking that down will free up our troop movement significantly. To start us off, the battleships are going to do some softening up.

Now, in a hail of confusing arrows, the recon, the medium tank and one of the small tanks are going to take out the three units blocking my path to the rocket launcher.
My other small tank drives along the now clear path to the rockets...

... and fires.

See Flak, that's how you use a CO Power.

Okay, sure you can have another try at it, why not.
Day 19

Well, at least he did some damage this time.
Just keep rollin' along. Although I've admittedly just put my medium tank in range of a full-health Flak artillery. Probably not the smartest move ever.
Seen as I've just put my middie in harm's way, let's build another one.

You know you've got an AI running scared when it starts mass-producing mechs. Actually, this is a fun quirk of the AI that if it has less than 5 footsoldiers on the field at any time, it will pretty much always build more to compensate. This can of course be exploited mercilessly when you're trying to shut an AI opponent down.
Day 20

Yep, my Md Tank got hit by artillery fire. Kind of inevitable really.

Fortunately, my battleships are here to serve up a tasty revenge with a healthy side-order of high-explosive shells (I think my witty banter circuit is broken).

My tanks move up to fill the gap left by those artillery...

... and the rear of my column continues to work its way forwards.
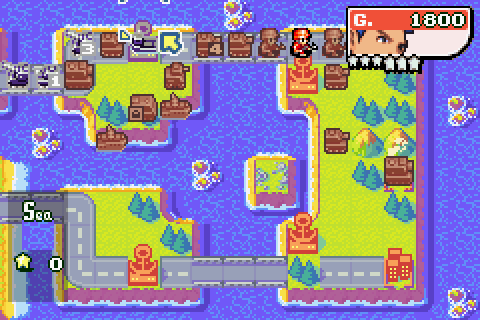
Day 21
You may have noticed that there's been a Black Hole Lander sitting in this port for a good long while. This is another odd little AI quirk: if the AI builds a lander, and there's nothing they want to load into it, that lander will just sit in port forever, blocking it up and preventing the AI from building anything useful there. That was kind of neat for a while, but I think it's time to claim that port for my own.

Now my battleships have cleared the lander out of the port, I can start capturing it.
Day 22

Not much going on now.

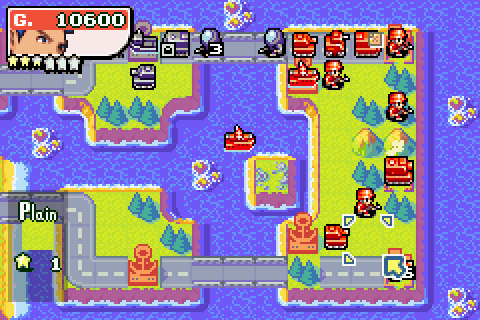
A port to capture, and I think I'll build a third battleship. I wonder how my status report for this battle's coming along?

Not bad at all; I haven't lost a single unit so far. Sure I've taken damage, and I've joined a few units together, but that doesn't count towards units lost - and it's units lost that determines your technique score.
So although it's taking a while and it's gone a bit quiet lately, we're definitely doing a good job of this. Just in case, though, I'll start spamming some infantry from the starting two bases: as technique is decided by units lost/total units made, a good way to guarantee a good technique score is to spam infantry once you know you're en route to victory.
Day 23

Oh hey, a medium tank has wandered into battleship range.

Oh hey, more CO Power shenanigans.

Well, why not.
Because it's a waste, mostly. I don't quite manage to take down the tank guarding the bridge, and this little 1HP tank is going to hold up my entire restless army. Such is life.

Sure Flak, you can have a CO Power too. You can even attack my tank with your damaged middie, if you like. Although it hasn't done a great deal for you.
Days 24 to 27

Okay, so not much exciting happens on these four days. I break into Flak's final island, and start mopping up his final forces, while also building a hat out of infantry (well at least they aren't being burnt by lasers). He's struggling hard, and delaying me pretty well, but there's only going to be one winner. The only reason Day 28 isn't a part of this is because...
Day 28

... I screw up. Well, a bit. It's not massive, but it is a tactical blunder and I lose a unit from it (and I was so cherishing that "no units lost" thing). See if you can spot it:

Did you spot it? Yep, I left that 7HP tank in range of an artillery. Whoops.
Alas, poor tank. You nearly made it through the battle, but with victory so close at hand, I slipped up and you paid the price. Oh well.
Day 29

Nearly there now.

What I've done here is block up one of Flak's bases with my Md Tank, so he can't produce units from it. An important little trick in endgames, to stop your opponent from continually replacing the units you kill every turn.
Flak has one last throw of the dice...
Day 30

... and again, doesn't do much with it.
One pesky unit still hanging on, but next turn should be the last.
Day 31
Two units to go. I'll leave cleanup duties to my battleships and medium tank.

gg, next map.
Aftermath
 ...Hah! Hah? Don't hah me! You just got beaten! This was just a test. Next time is for real. Like I've never heard that before! I'm gonna make you regret ever showing your ugly mug around here! Max, or whatever you said your name was, you're mine! Before this is over, I'll crush you like a bug. So long. Wait! Wait, you dirtbag! Shoot! He got away! Black Hole... Deplorable characters. All of them. You said it!
Even taking 31 days, I still got 100 points for speed. This shows just how much speed varies by map: recall that on Border Skirmish, I took 10 days and it still penalised me for speed. With Power, I took out about five units on the turn where I first used Max Force, which was plenty. And with Technique, again I only lost the one unit - easily within the requirement.

What? No he isn't. Anyway...
Tune in next time for...

Big cannons!

Little cannons!

Airports!