Part 49
Music
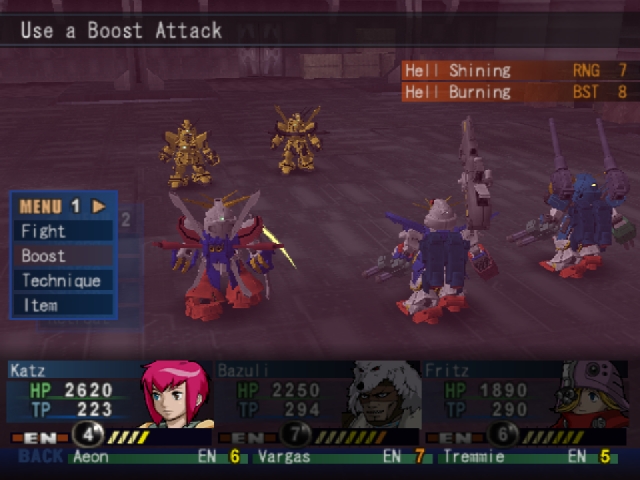
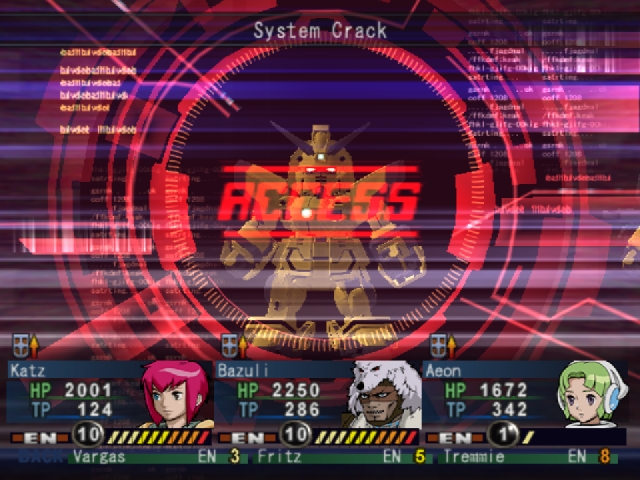
Fighting these guys is pretty similar to fighting the Burning Gundam at the Coliseum.
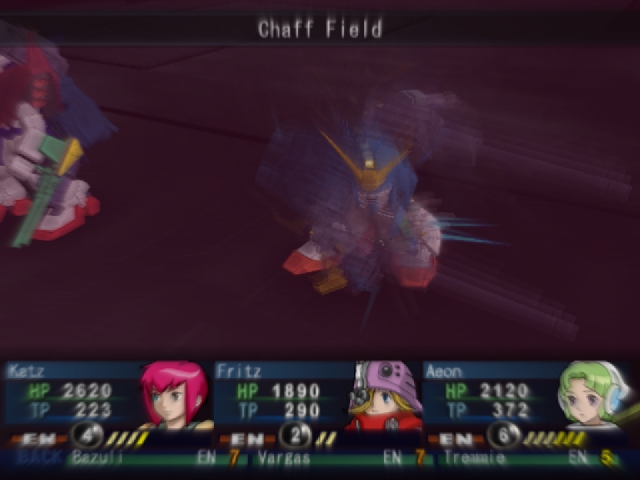

Throw up a Chaff Field at the beginning of the fight, since the Burning Gundam will use Shot Burst.
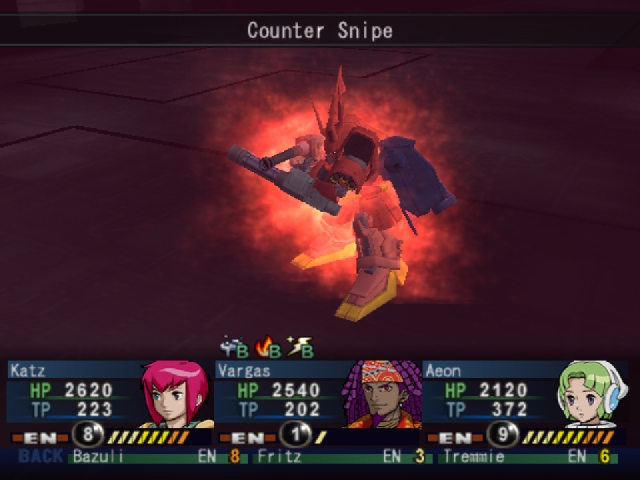

On the second turn, bring out Vargas and use Counter Snipe to block the Shining's Shin Hosho-Ken.
Afterwords, stick to the usual strategy of Debuff and Destroy and you're golden.
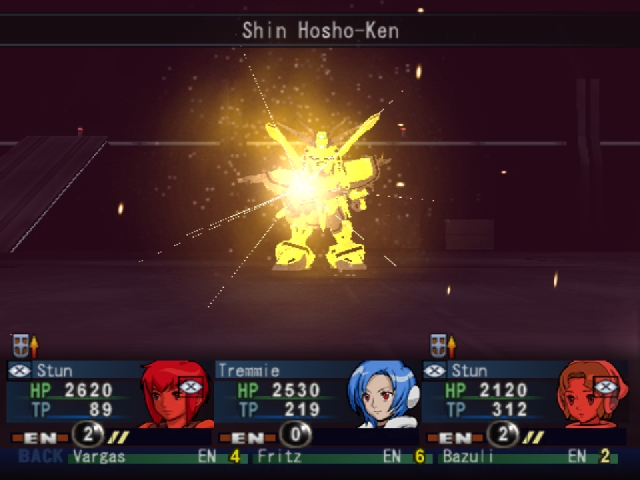
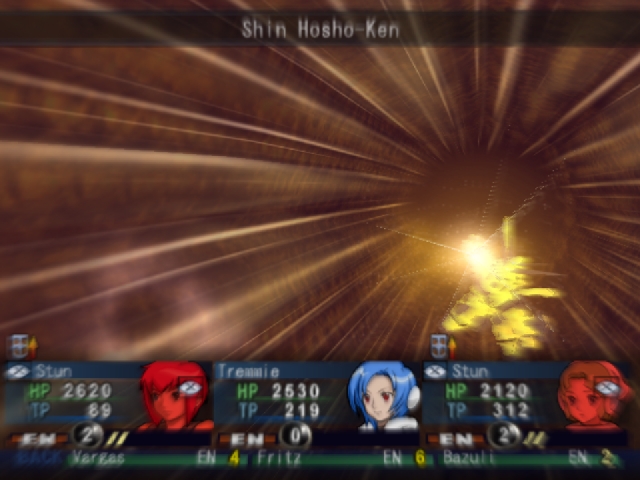

Try not to let yourself get hit by the Shin Hosho-Ken, because it hurts.
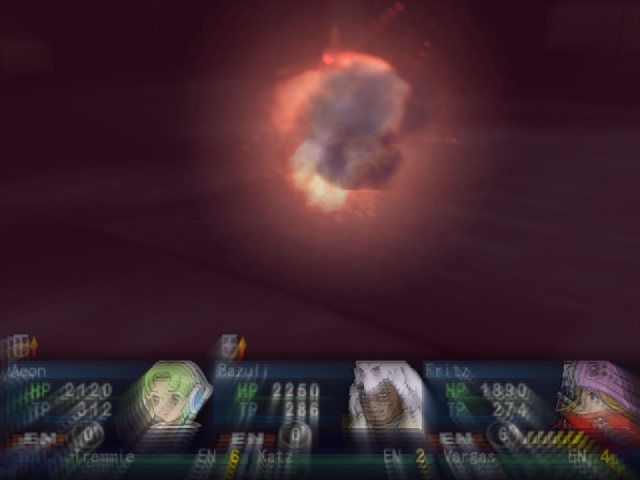
As usual, once one of them goes down, than the battle is yours. I recommend taking out the Burning Gundam first.

And so ends the battle.


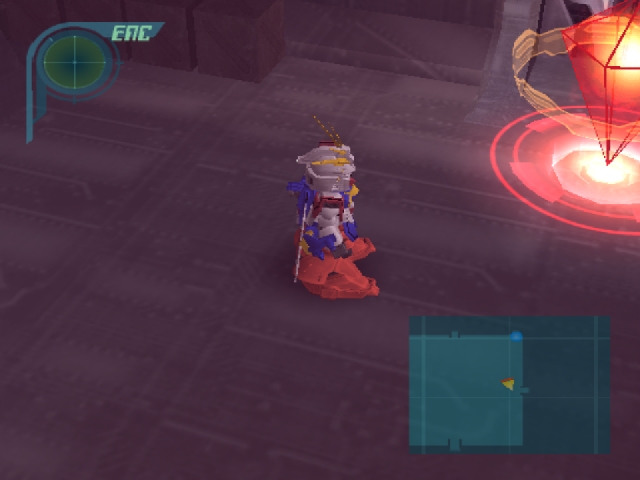
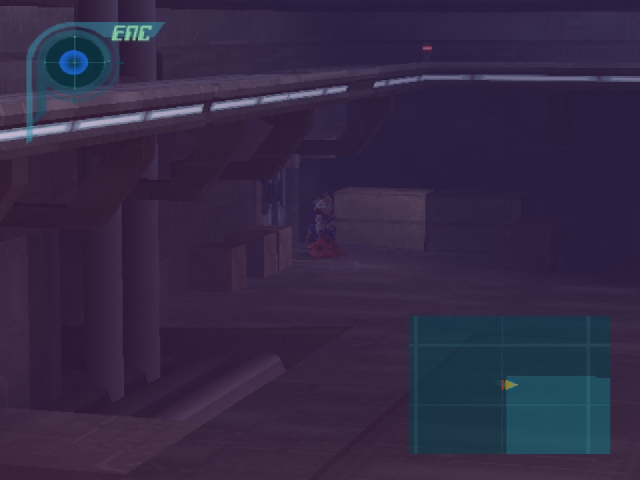
Oh boy, switches!
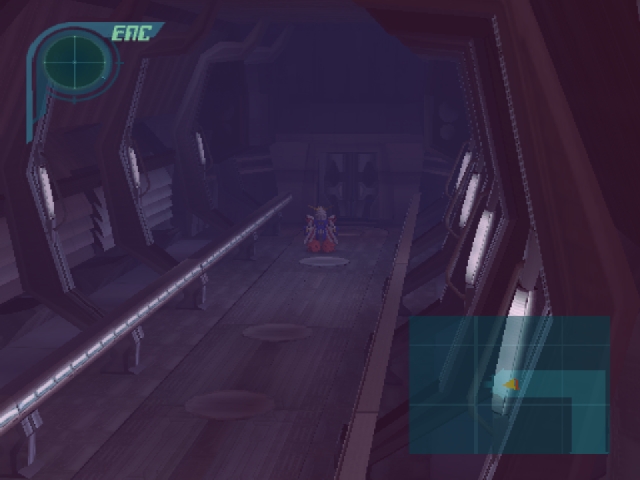
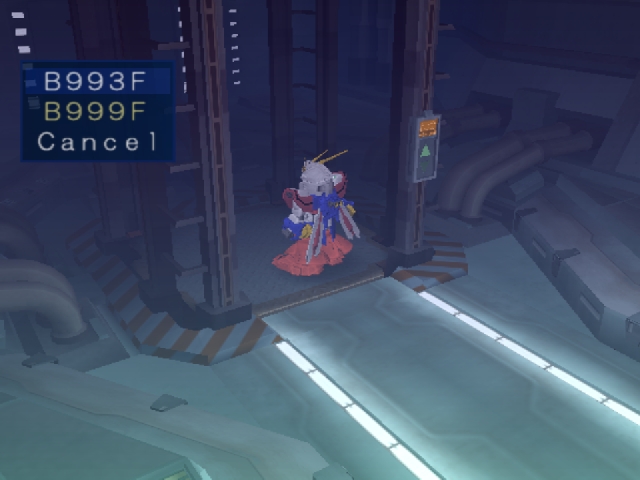
We have to go all the way back up to the top floor and head for this second elevator.
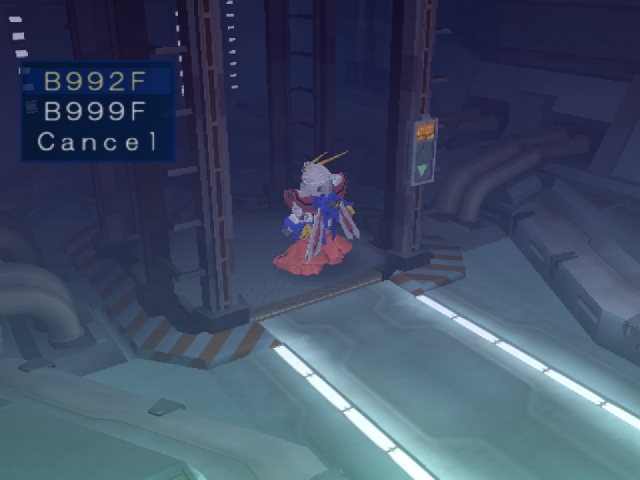
Floor B999 is now unlocked.
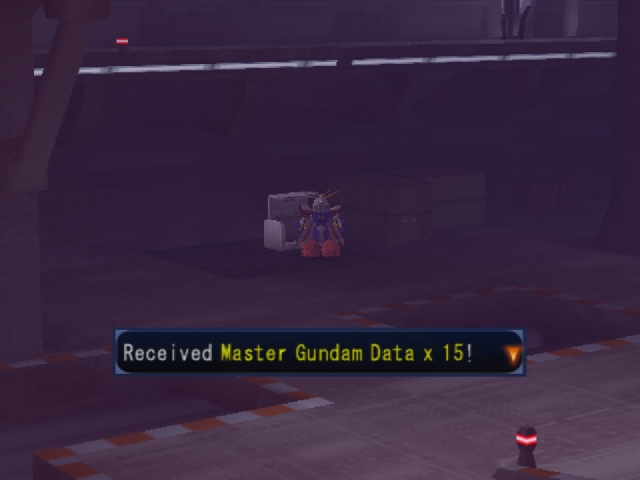
There's a bunch of goodies down here, like this stash of Master Gundam Data.
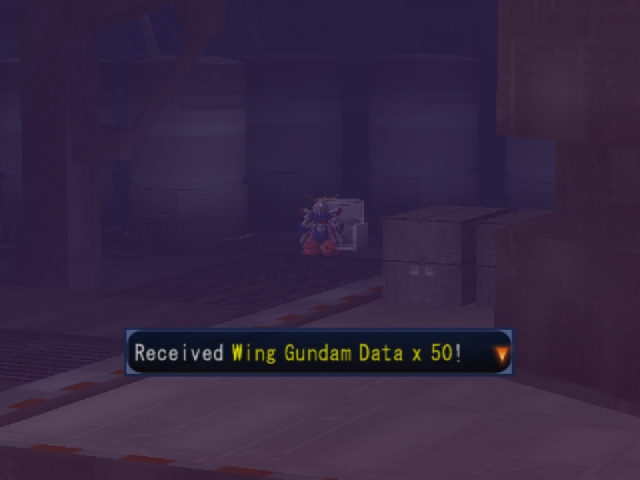
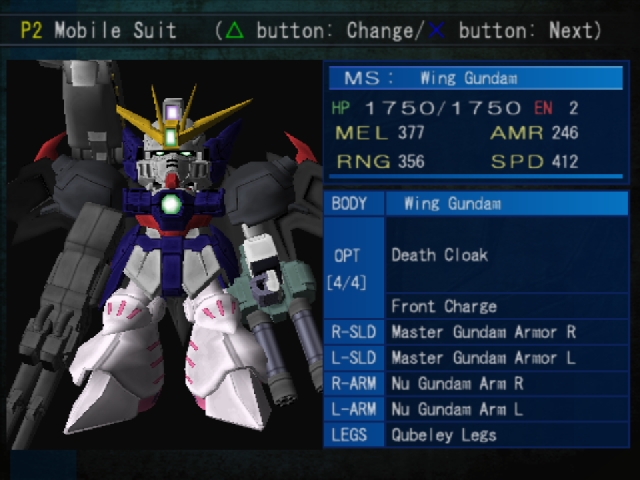
As well as this stash of Wing Gundam Data.
There was also a Mega Beam Cannon and two hacking tools down here.

I gave the Mega Beam cannon to Tremmie.
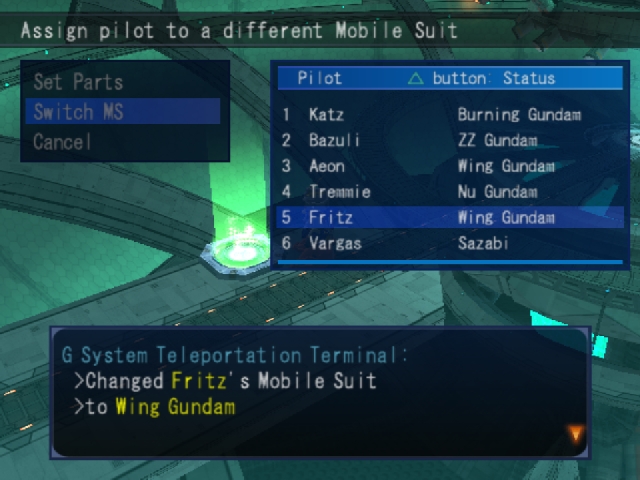
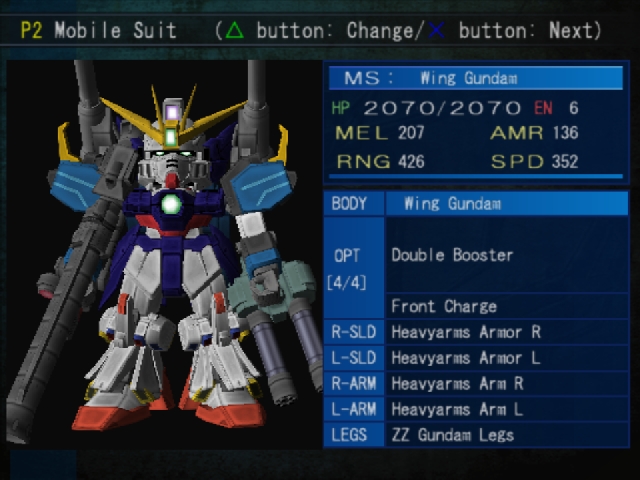
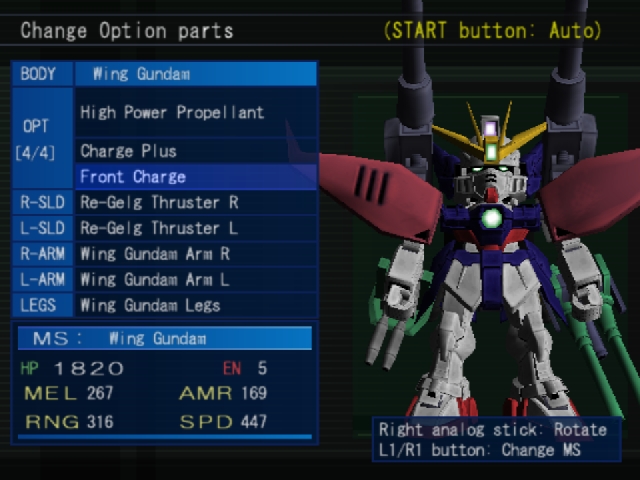
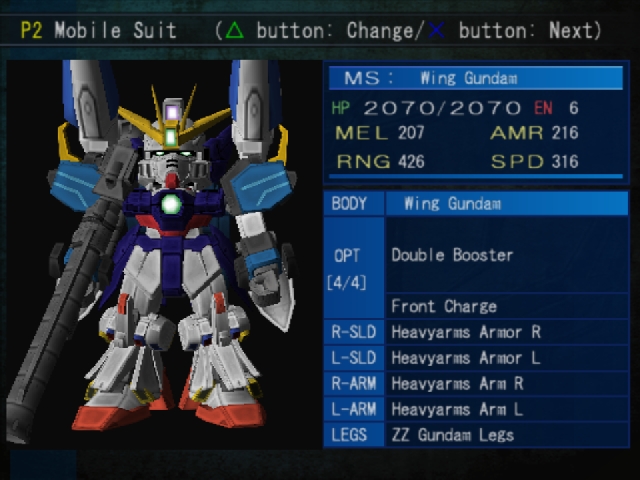
at this point, I used another flare so I could make the Wing Gundam.
You've served us well, Heavyarms.
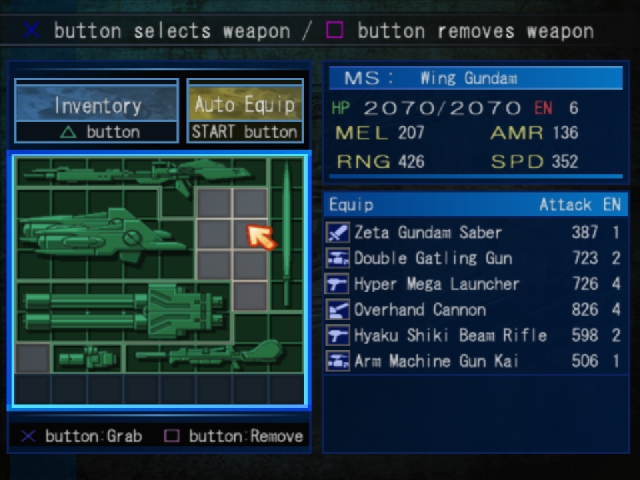
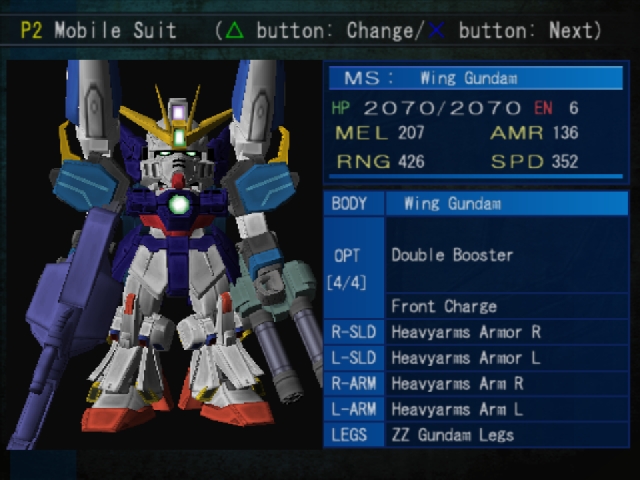
Of course, I'm still gonna tear you apart and stick your parts onto the new suit.
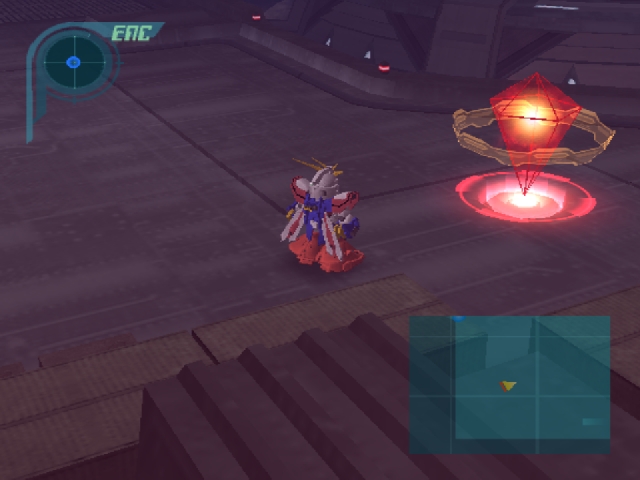
Anyway, back to floor B999, it's time for another mini-boss.

Music
You might think that just because he's alone, he'll be pretty easy.

Unfortunately, you would be wrong.
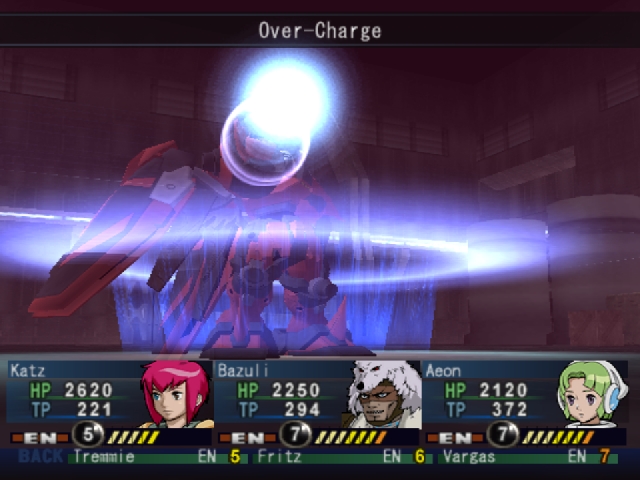
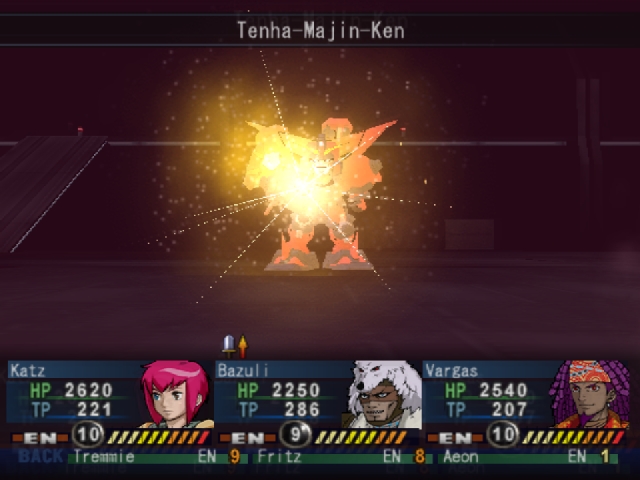
On his first and second turn, he'll Over-Charge and then use Negative force to get rid of any buffs and debuffs that happen to be around.
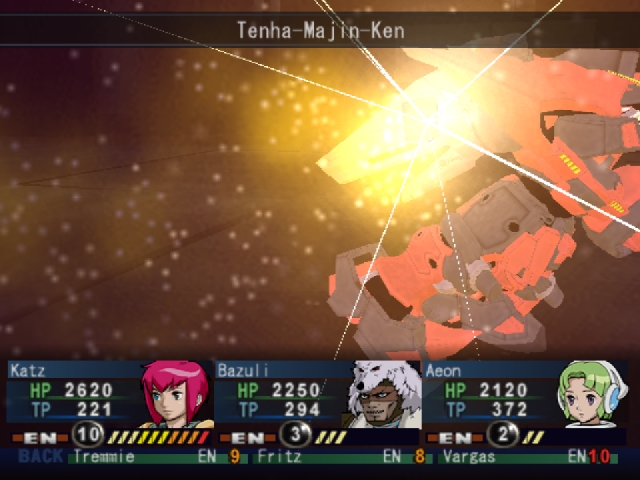
And then he brings the pain, using Tenha-Majin-Ken twice in a row.

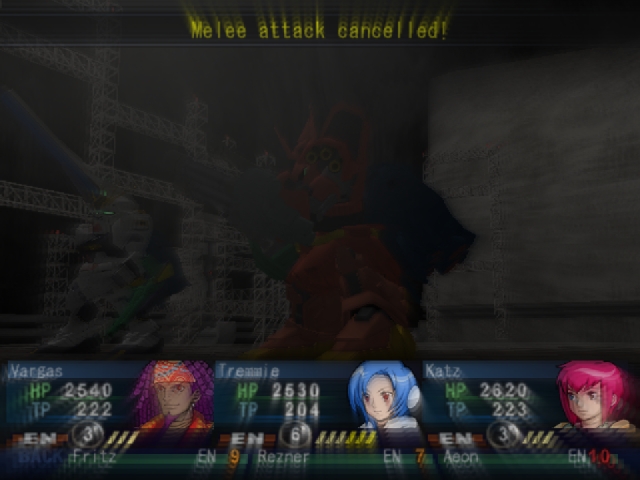
followed by Majin-Ranbu, which can be blocked by Counter Snipe.
After the brutal start, the Hell Master takes a bit of a breather for a few turns before using his Boosts again, so hit him hard during it's short break.
And so falls the Master.

Switches!

Ramps!
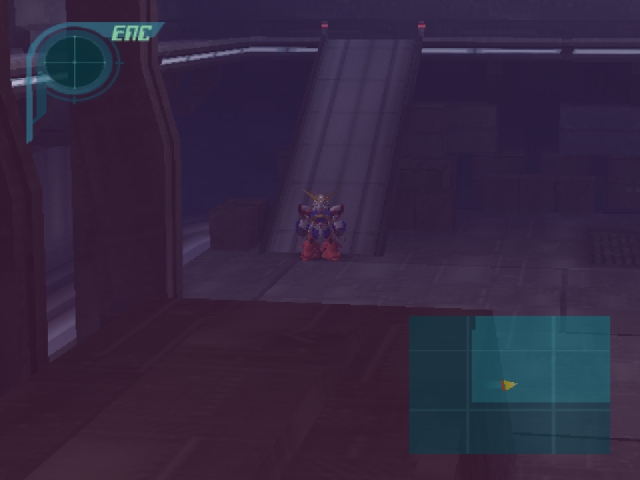
More ramps!


Music
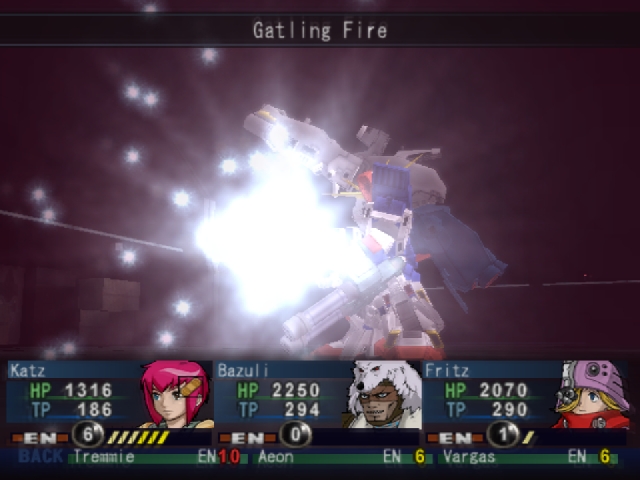
Oh dear. the Hell Devil Gundam can catch you off guard real quick and take you down.
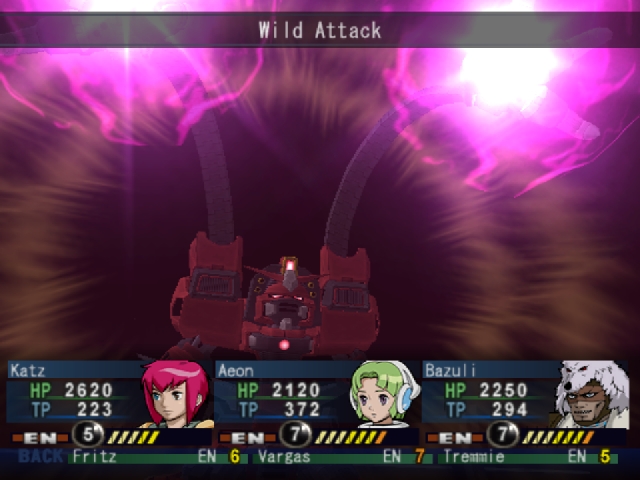
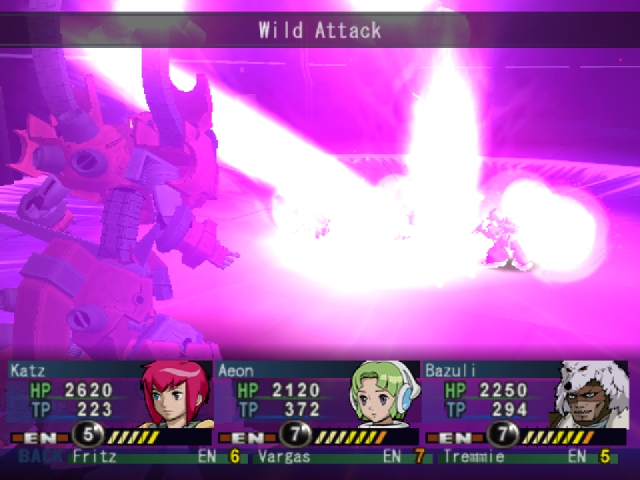
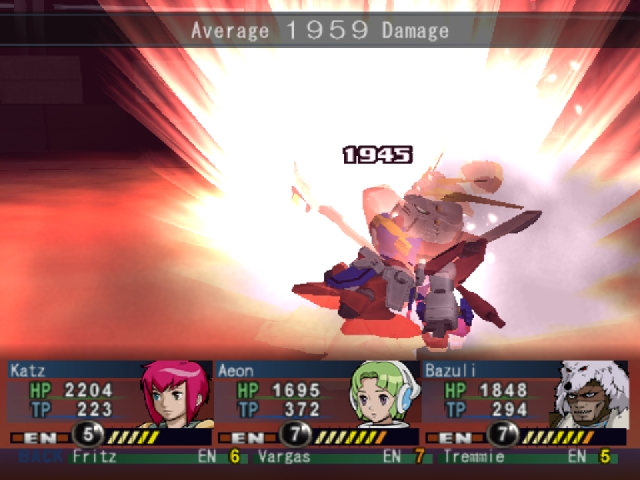
It's main boosts being the Party damaging Wild Attack.
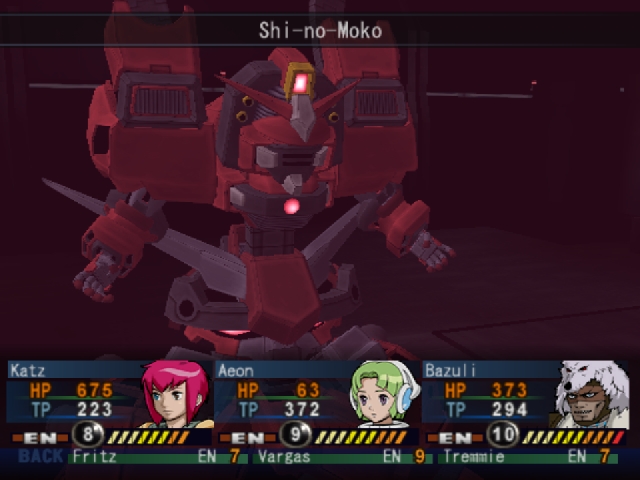
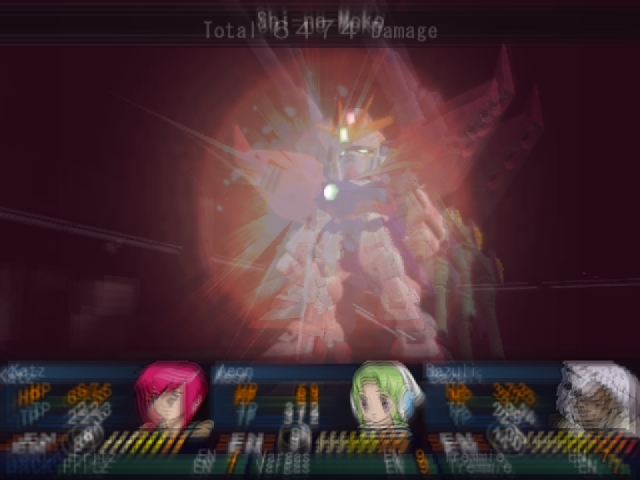
And the quick Shi-no-Moko which will kill one of your dudes.
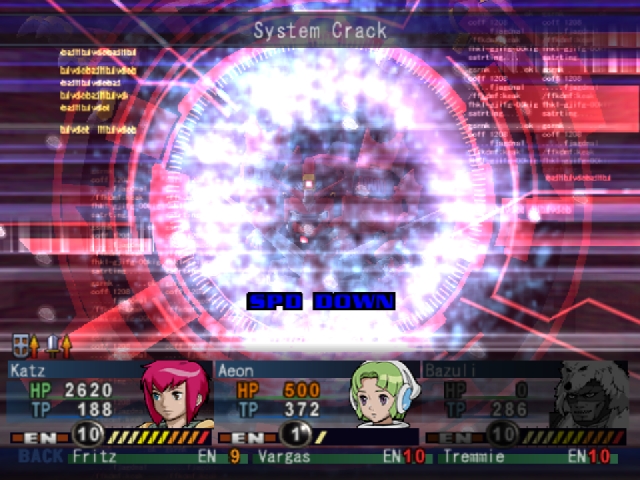
Dubuff him as soon as you can, and as long as you keep your health up (Full Repair All is you best friend) so you can survive the Wild Attack, you will win.


Be prepared for a long fight, because the Hell Devil has an absolute ton of HP.

Switches!
Elevators!

Shortcuts!

Have to head back here, because there's one last bit of treasure we need to get.
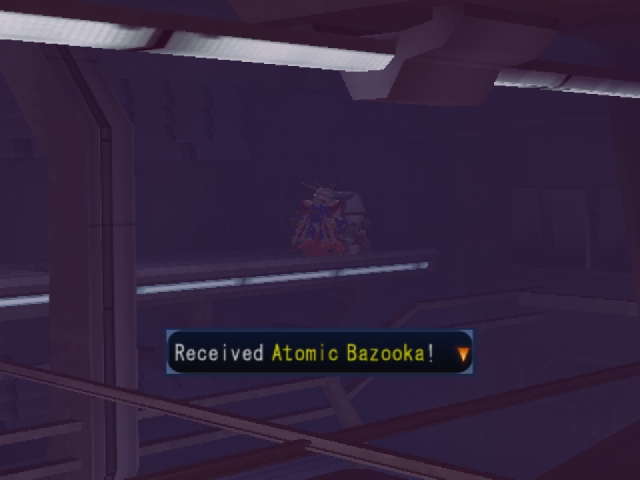
Holy shit.
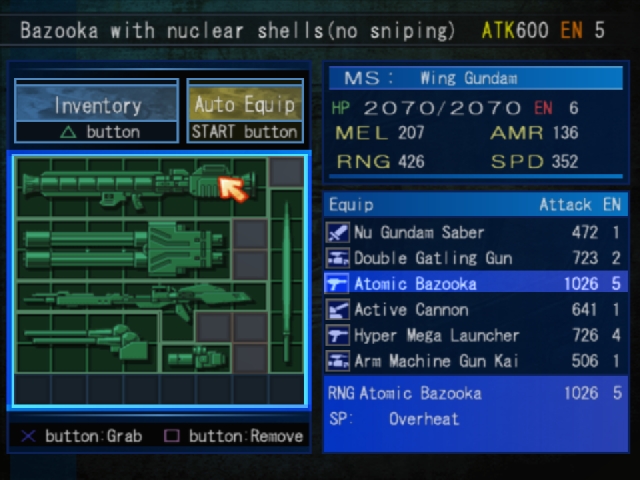
Yeah, that's the GP02's Nuclear Bazooka. The strongest weapon in the entire game.

Time for the home stretch.


Music
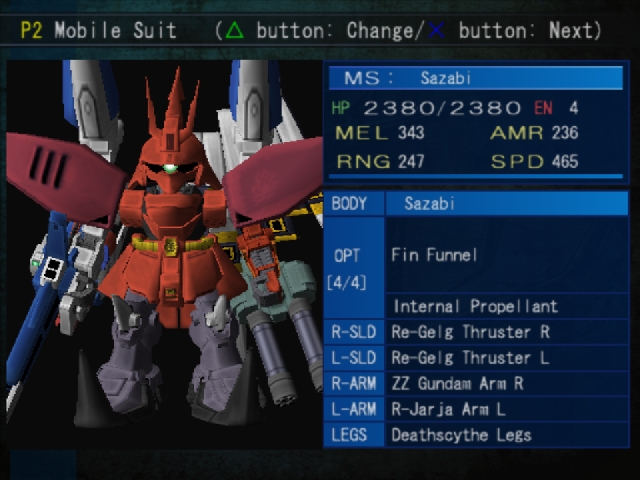
The Pen-Ultimate Battle! This fight is similar to the Tallgeese and Wing battle in that the two suits act like a team.
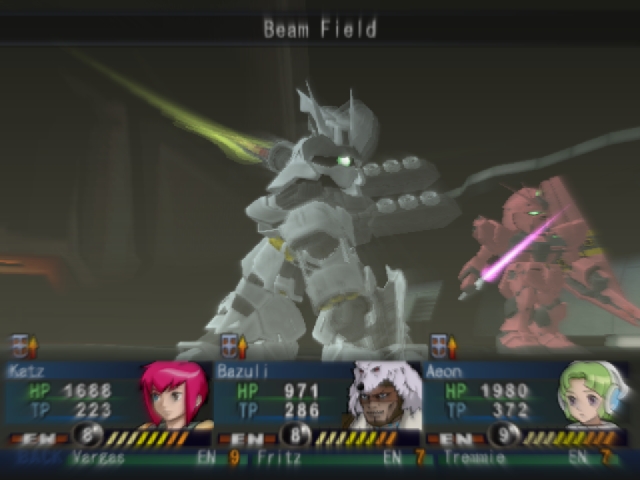
In effect, the strategy is the same as the one in the Tallgeese and Wing fight. Debuff them both and then focus on one suit at a time in order to break up the team.
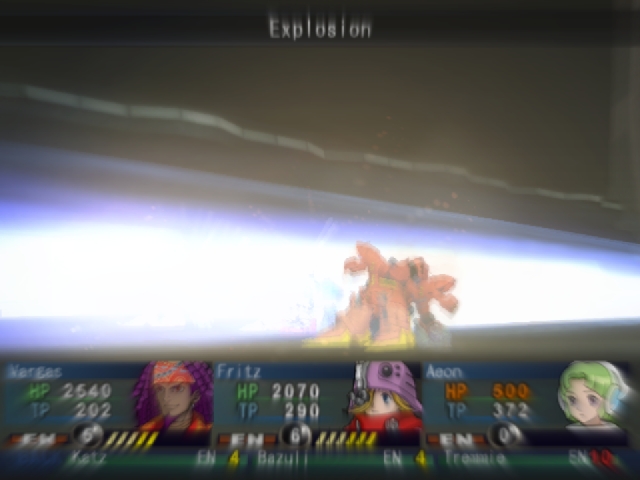
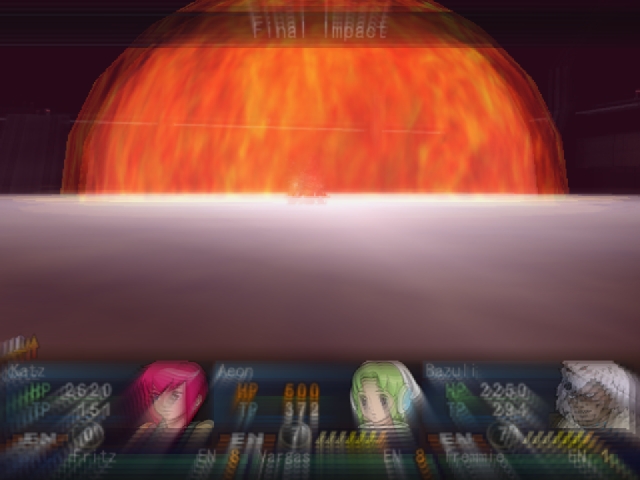
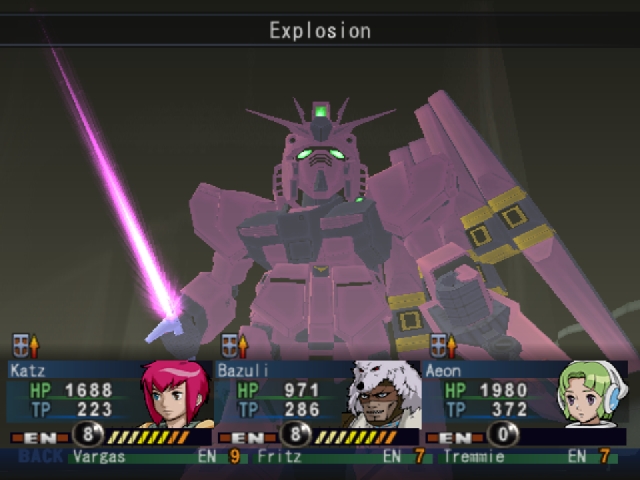
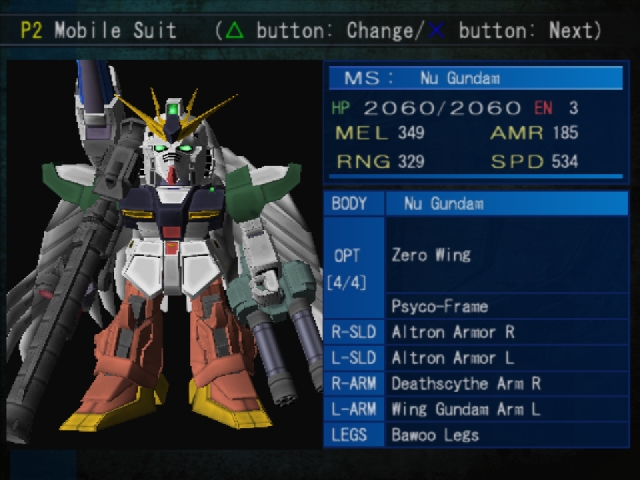
A note about the Nu Gundam's explosion. he'll switch off from using his Bazooka and Beam rifle, so if you aren't sure as to which one he will use, throw up both just to be safe, or defend.

Kill the Nu Gundam first, since he's the only one who will use Explosion. Once he's down, the Sazabi will soon follow.
Only one fight remains.

Music
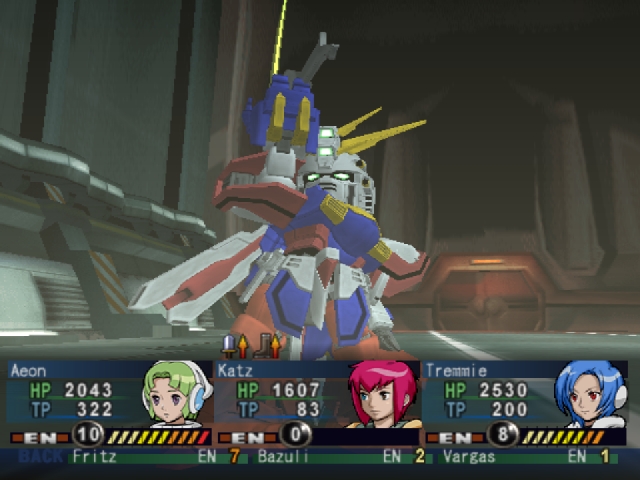
THE FINAL BATTLE!
This is the hardest battle in the entire game, and I will tell you why.


Both the Ultima and Omega Gundam will constantly use extremely powerful boosts, although the Omega Gundam will occasionally use Fields to protect itself from your attacks. Almost every one of these attacks will one shot you, no matter what.
There are also very few opening in which you can safely attack the two without getting yourself killed in the process.

They are also in no danger of running out of EN, so they have no problem just constantly using their boosts over and over again. They are also immune to debuffs, so don't even bother.
Get used to seeing this screen, because you will see it alot.
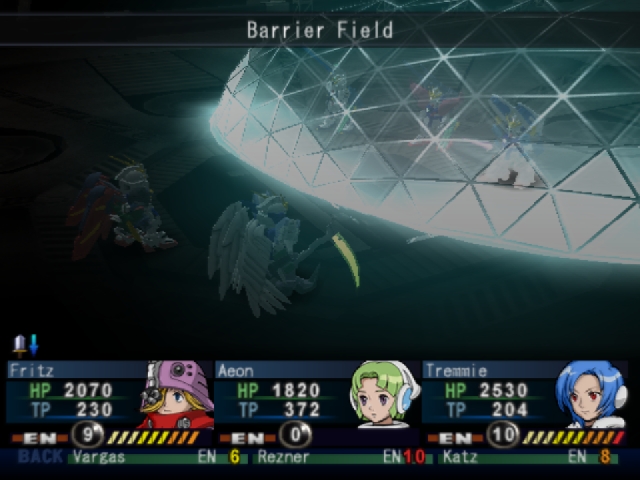
After the first fight, I tried changing things up. Since Aeon will be spending most of the battle using Barrier Field, I gave her as much EN boosting parts as I could.

That didn't really work out either.
After the third death, I decided to sit down and think about the battle instead of run headfirst into another death.
While the Ultima and Omega Gundam seem insurmountable, they do have a few flaws that you can exploit. Quite a few of their attacks can be countered by Vargas and Aeon's Barrier Field is great for giving you opportunities to do some damage.
However, the biggest disadvantage going for the two overpowered gundams is that they follow a very rigid attack pattern.
Here is the pattern, more or less:
Gamefaqs posted:
Omega Gundam, Ultima Gundam
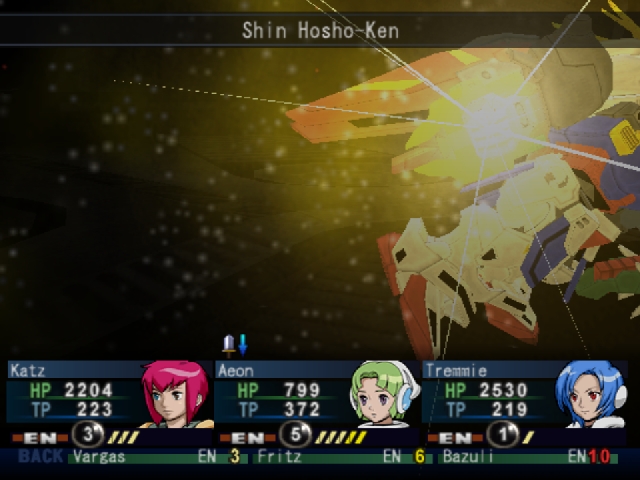
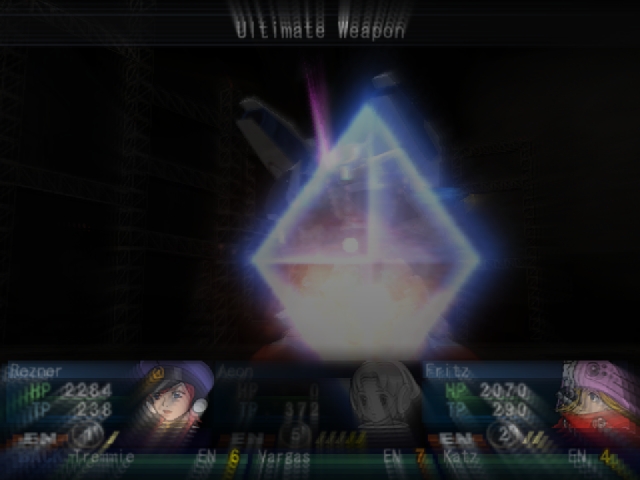
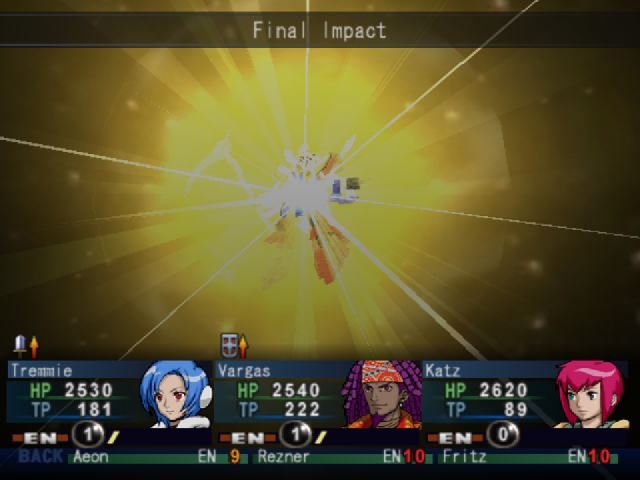
Turn 1 : Ultimate Weapon, Shin Hosho-Ken
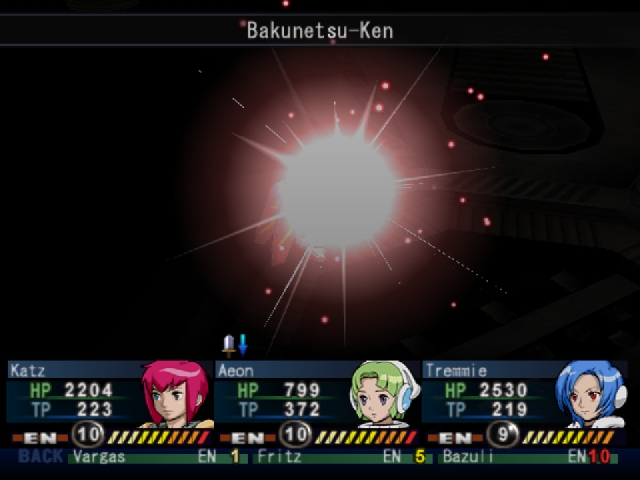
Turn 2 : Sonic Boom, Bakunetsu-Ken
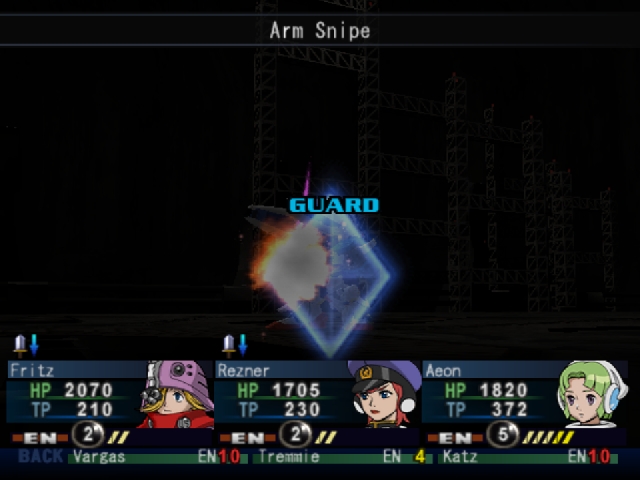
Turn 3 : Arm Snipe, Counter Zone
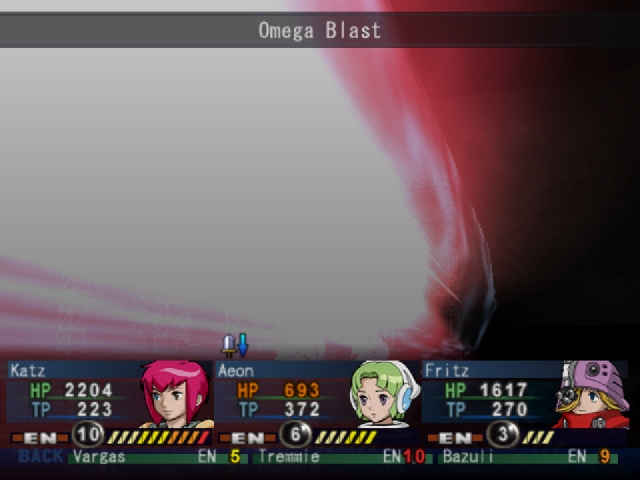
Turn 4 : Omega Blast, Shot Burst
Turn 5 : Beam Field, Deadly Assault
Turn 6 : Sonic Boom, Bakunetsu-Ken
Turn 7 : Ultimate Weapon, Shin Hosho-Ken
The Omega Gundam will cycle through different Fields as the battle goes on, and they will occasionally switch things up here and there, but this is the pattern that the two will more or less stick to for the entire fight. Now, while you may know the pattern, that doesn't really help you unless you know how to counter the attacks, and the turns where they use Ultimate Weapon are the worst because there is no way to keep it from doing damage.
Well, except for one way.
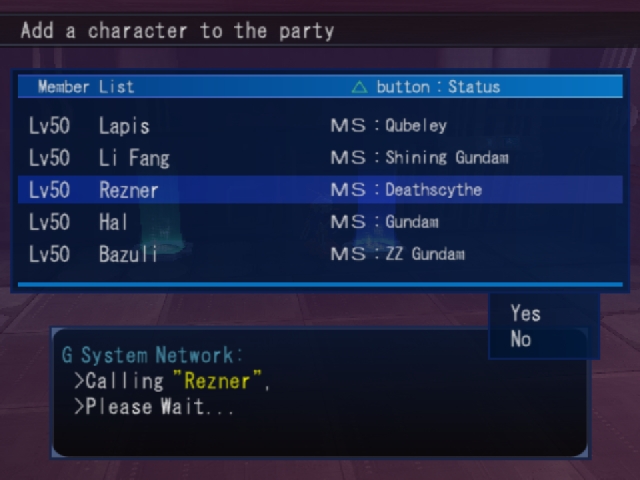
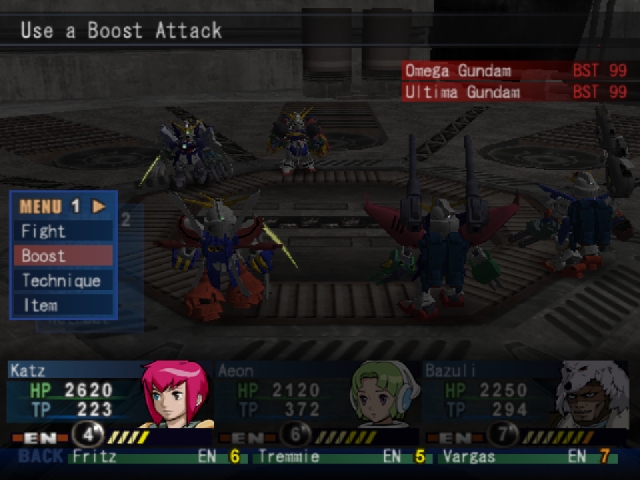
First, we kick Bazuli out because he's more or less useless for the fight, and bring in Rezner.
I also take off the arm mounted guns from Fritz' suit and give it shields.
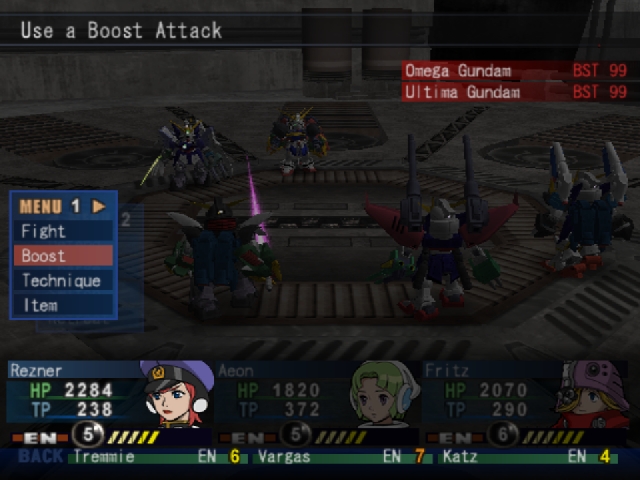
You see, both Rezner and Fritz have the boost Double Shield. Double Shield will completely protect from every attack aimed at them. So now my basic strategy has boiled down to this.
Omega Gundam, Ultima Gundam
Turn 1 : Ultimate Weapon, Shin Hosho-Ken (Rezner and Fritz use Double Shield, hope for the best)
Turn 2 : Sonic Boom, Bakunetsu-Ken (Barrier field, or just ignore and heal it back later)
Turn 3 : Arm Snipe, Counter Zone (Beam Field)
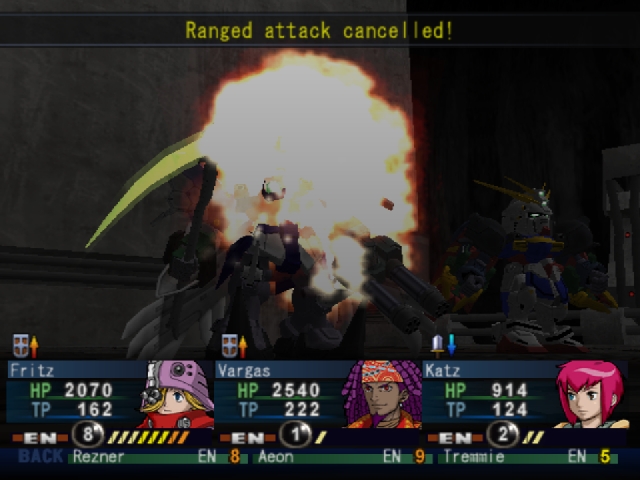
Turn 4 : Omega Blast, Shot Burst (Intercept Snipe)
Turn 5 : Beam Field, Deadly Assault (Counter Snipe, Barrier Field, or Double Shield and hope for the best)
With my new strategy in hand, it's time to bring this battle to an end.
Music
Let's do this.
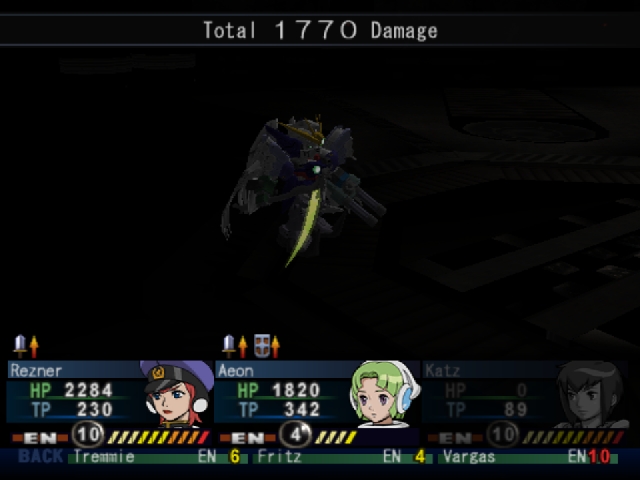
Unfortunately, these guys are extremely good at taking down the unprotected party member. Fortunately, reviving them next turn with Fritz' Full Regenerate is a simple matter.
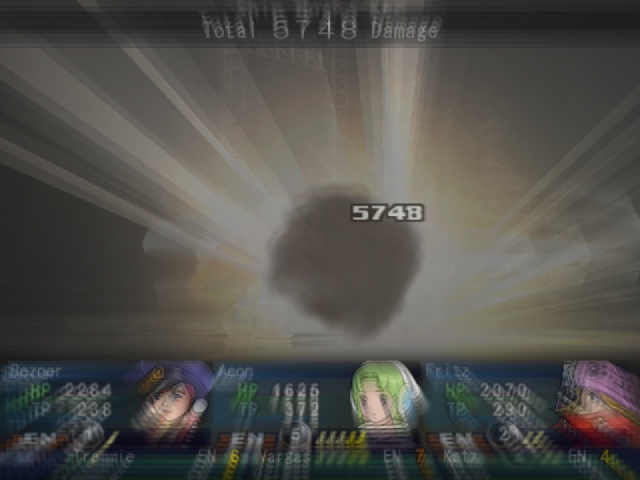
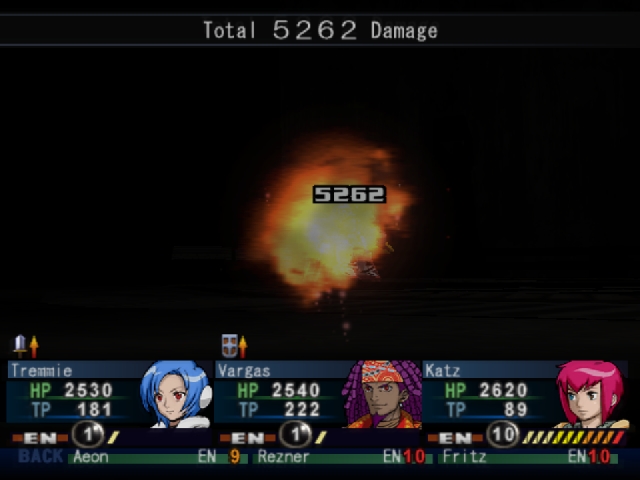
Suck it!
You know all of those EN items that you have been hoarding throughout the entire game? This is the battle to use them on.
Attack opportunities are few and far between, so you more or less have to make those openings yourself.
In fact, this whole battle is basically just a test on whether or not you know how to manage your EN properly. One false move and you leave yourself open to a devastating attack that you could have easily prevented with either Vargas or Aeon.
Just keep a cool head...
Never try to force an opening that isn't there...
And above all, don't panic...
And eventualy...

You Will Succeed.
With his brother dead, the Omega Gundam is a simple matter. But still, don't get cocky. His offensive boosts will only ever target one person at a time, so you can easily recover from the losses thanks to Fritz' Full Regenerate or the multitude of regeneration kits you no doubt have in your inventory.

VICTORY
IS
MINE!
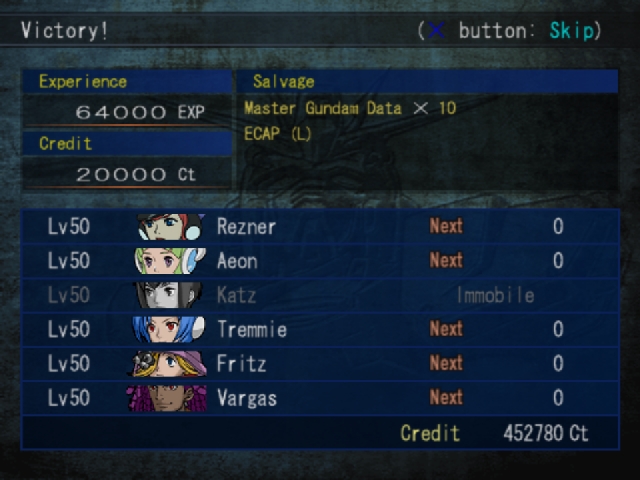
And DAMN does it feel good!

After the blatant sequel hook, we get the fuck out of here.

And receive our prize.

It's actually... pretty disappointing. It's basically a souped up version of the Death Army suit.
Now, you may be wondering what I'm going to do with this suit, I mean, I've beaten the hardest boss in the game, what is there left to do?
This

That's all, folks! Thanks for reading.