Part 10: That One Mission
There's only mission for today's update, and that is the final mission. Not the last one for the LP though, remember that this is still a 100% run. Now, before starting this mission, we've made a little preparations to ensure things don't go horribly wrong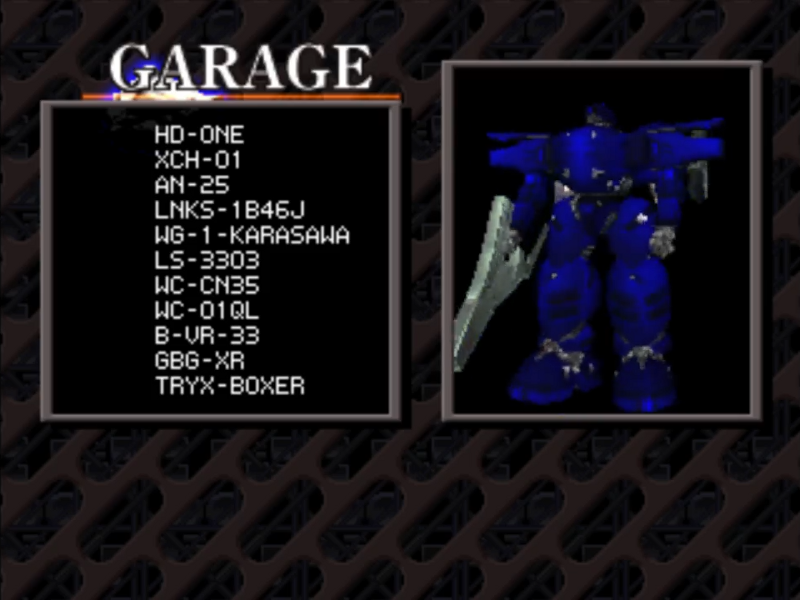
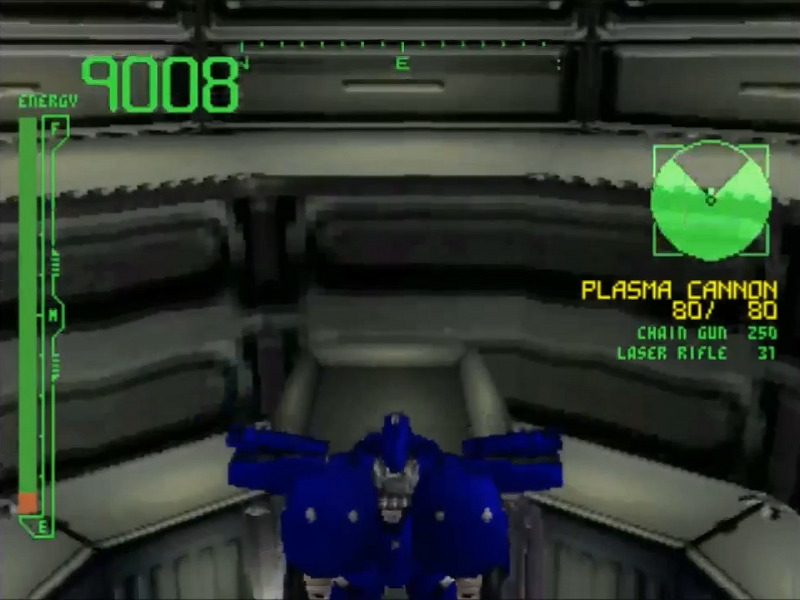
Our AC now has three new parts added. The first and most noticeable are the legs. They're a lot bigger and not as tall as the previous ones we were using. The LNKS-1B46J is heavier and slower, but it's necessary to facility the extra fire power om top. The second part is the back mounted chain gun, the WC-CN35. Yeah, I know, it goes against my all energy build, but for what this mission has in store, more guns the better. Last but not least, we've switched our horizontal FCS out for a vertical one, the TRYX-BOXER. Very useful again for what this mission will put us through.
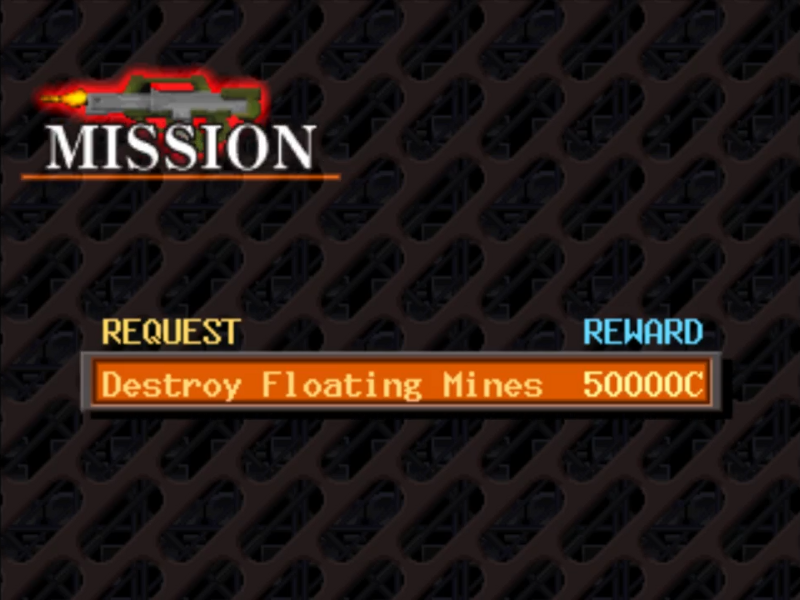
With that said, let's begin our mission, Destroy Floating Mines.

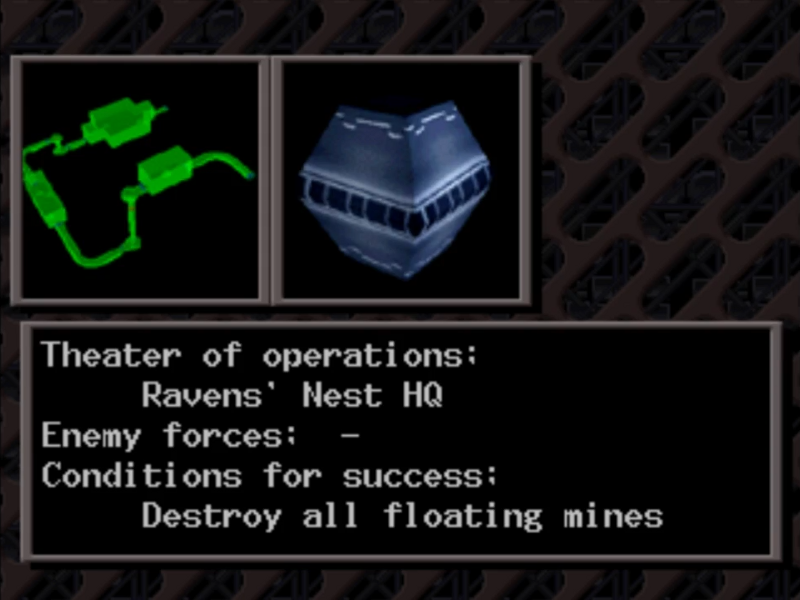
An armed band of unknown affiliation broke into the Nest HQ and destroyed part of the facility. The security corps quelled the disturbance without incident.
There is one problem: the floating mines left by the band. Normally, our corps would deal with them, but the mines are numerous, of a special structure and very powerful.
We want you to take care of these mines. Just blow them up as you find them. You will be paid well.
Well...here we go.
Destroy Floating Mines
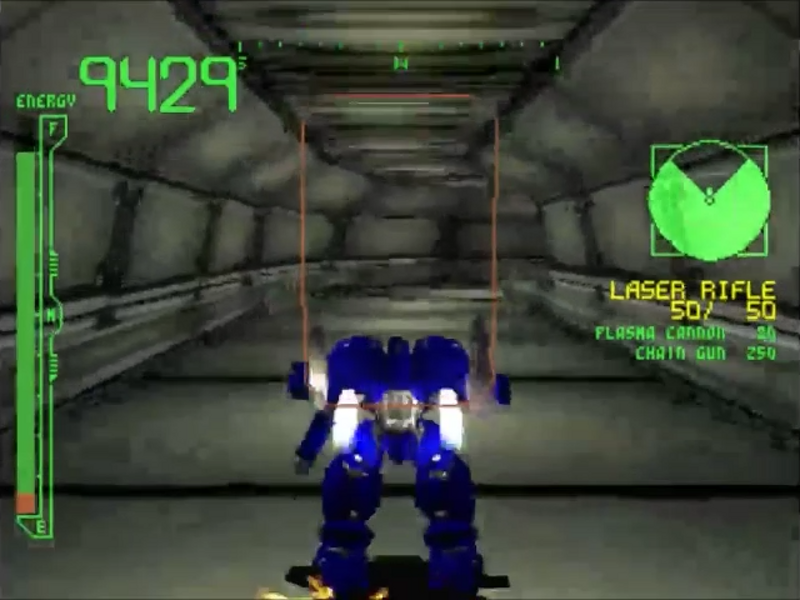
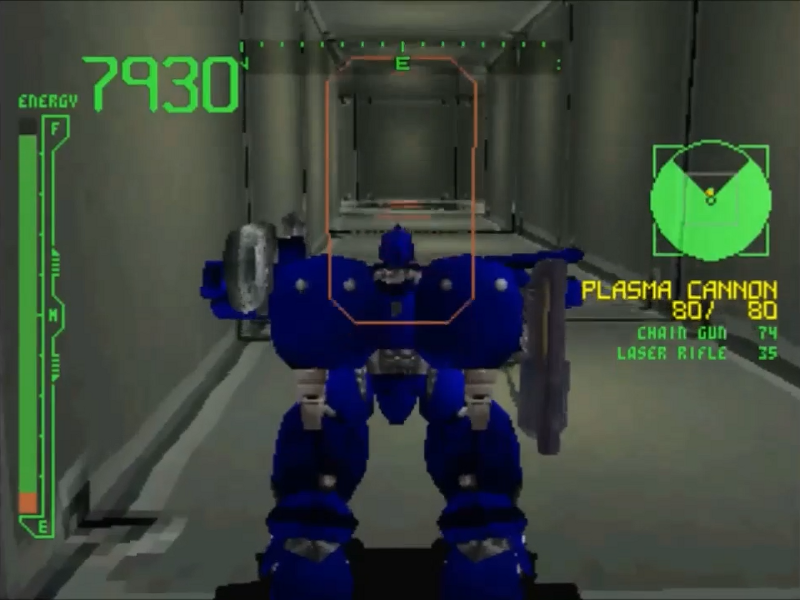
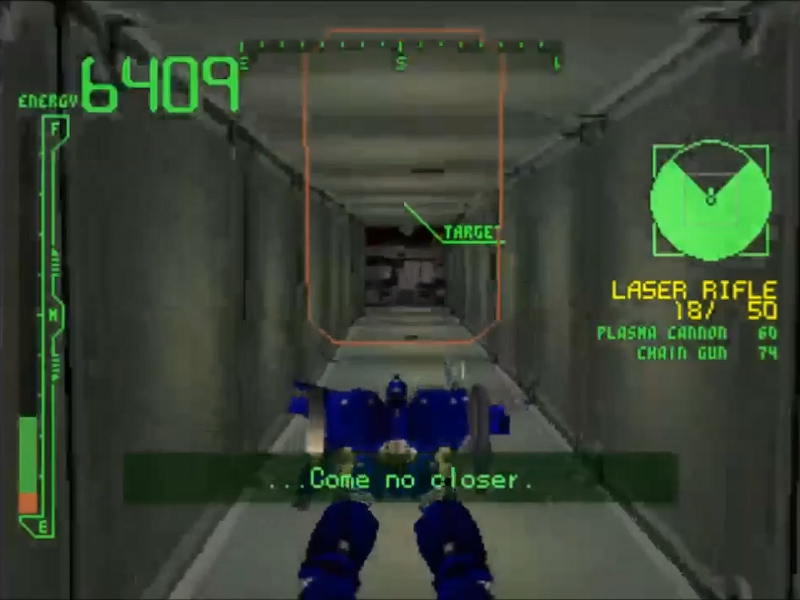
Things start out simply enough, just gotta go down this hallway into a room.
Where several enemies are waiting for us. And they're pretty aggressive. It's best to hang by the door and fire your most powerful weapons at them. Don't worry about conserving ammo, this section of the mission doesn't last too long.
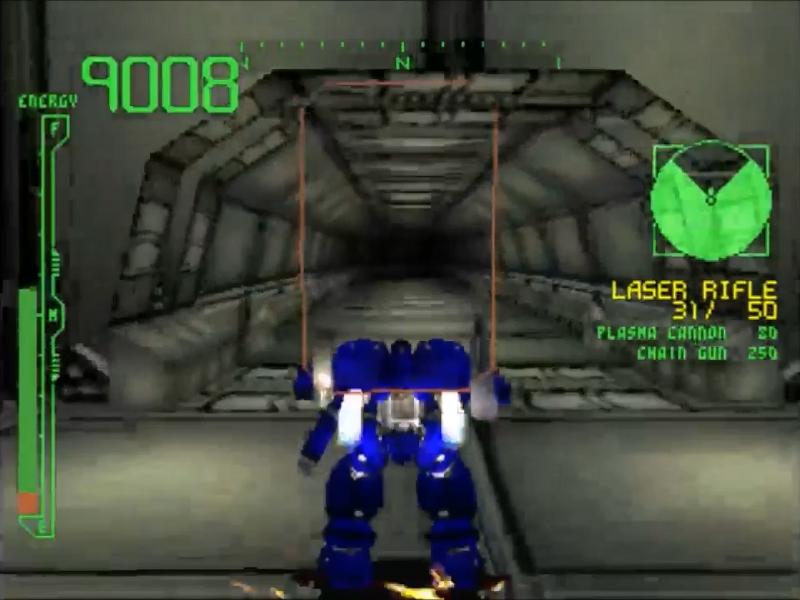
Once the room is cleared, continue down the next hallway, which leads us to...
An elevator ride. Still a ways to go till we reach the actual mines that need clearing.

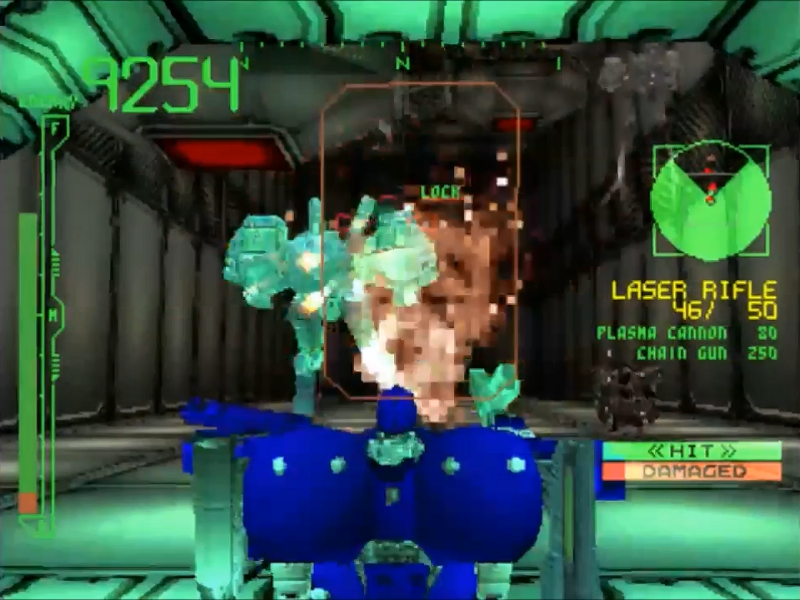
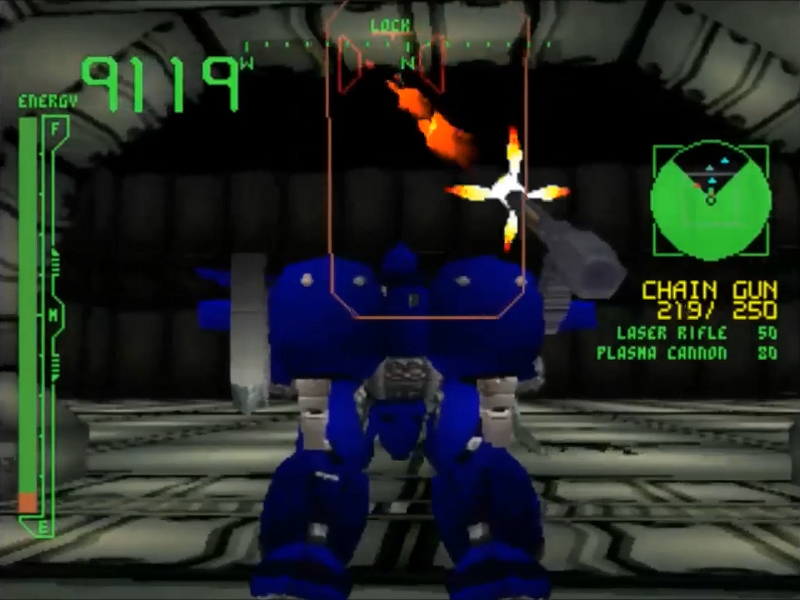
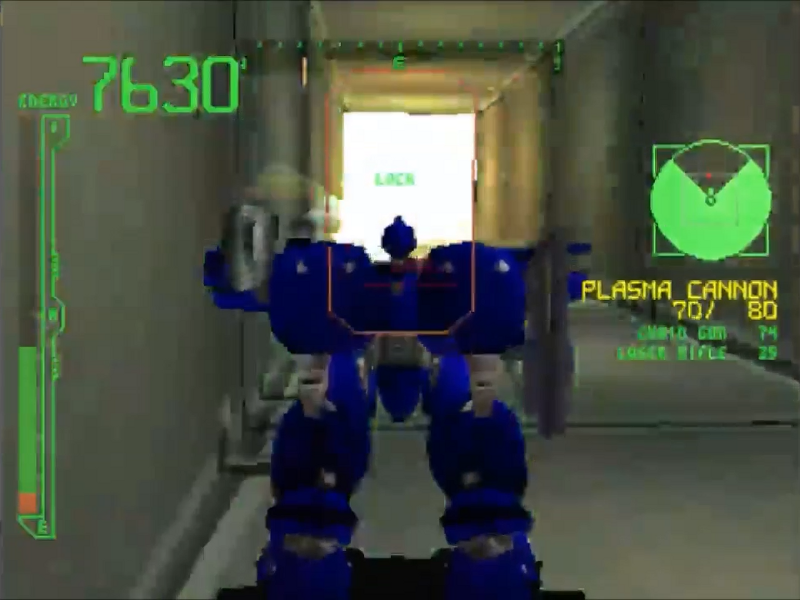
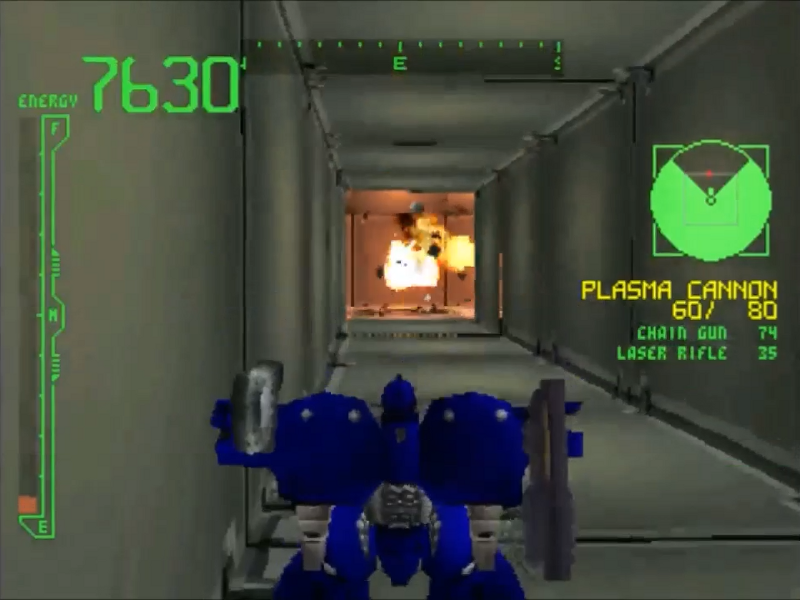
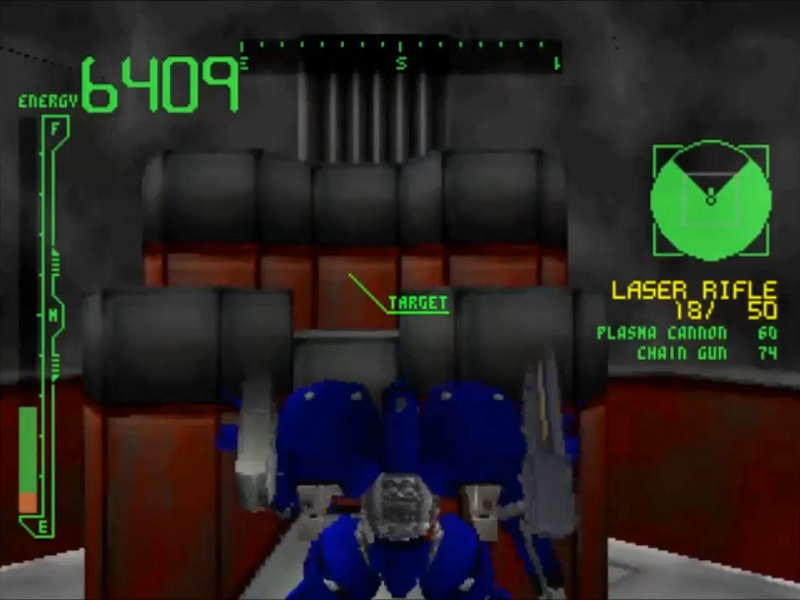
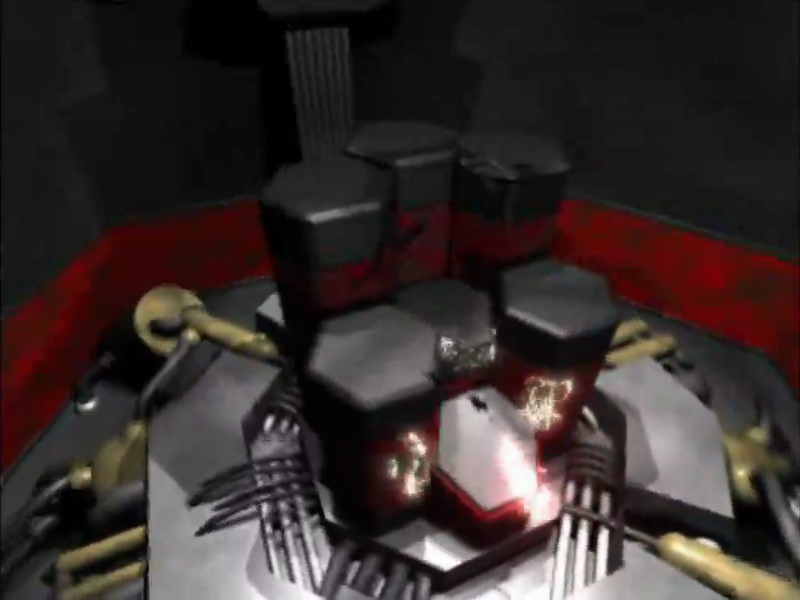
This is the room with the mines. We were told to destroy them, but I'll let you in on something: It's a lie. You only need to get rid of the enemies to move on. And similar to the last room with enemies, just hang back by the door and blast everything that you lock on to. The enemies all come to you eventually so there's no need to move around with all the mines.
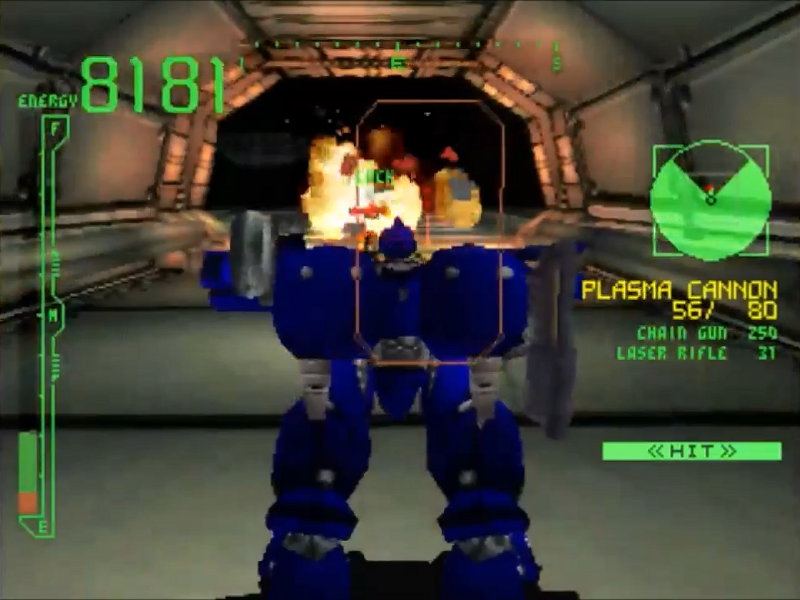
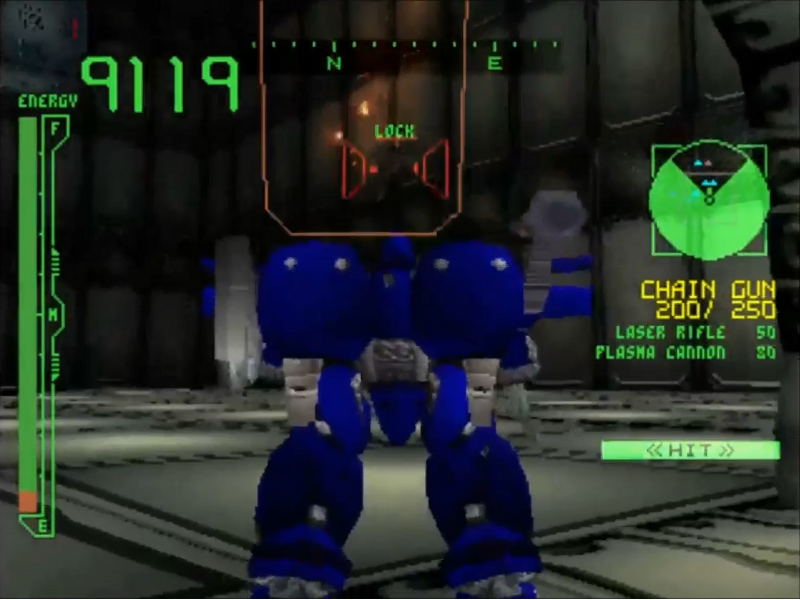
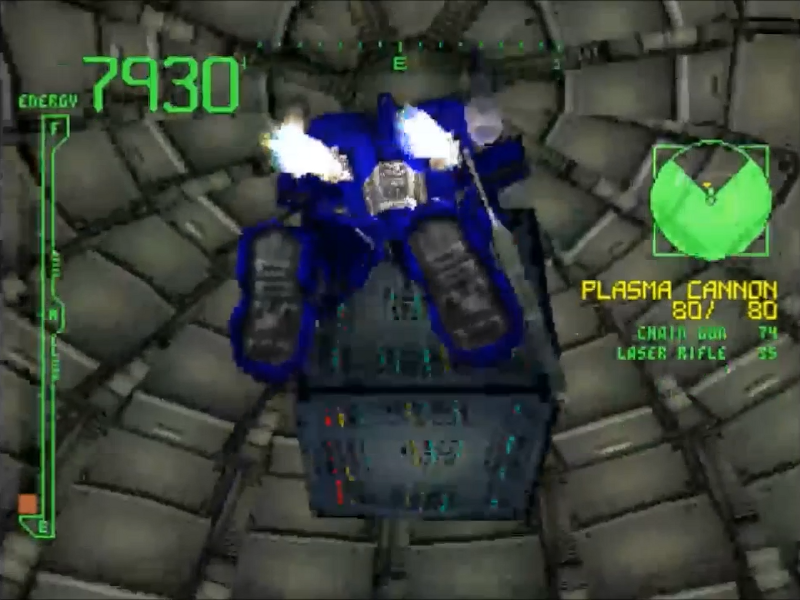
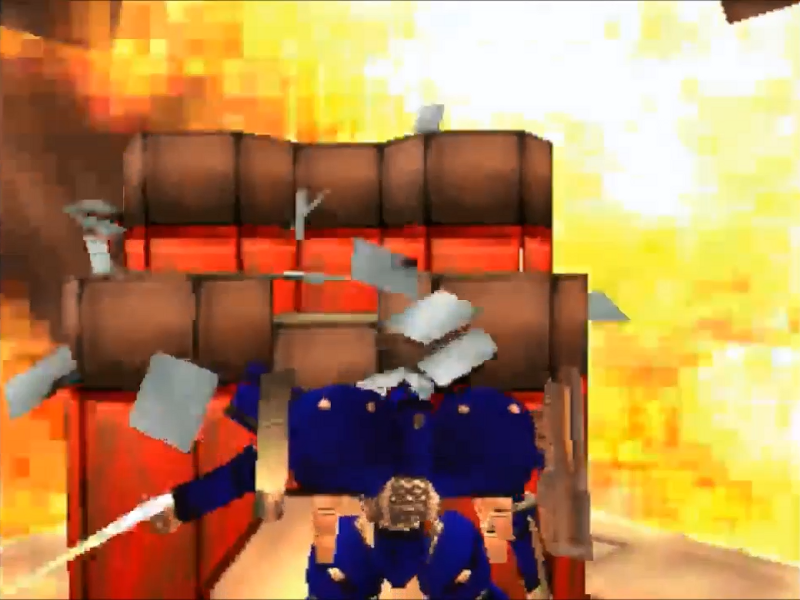
The recoil from the plasma cannon mixed with impact from enemy shots knocks us quite a bit back, but that's the last of the enemies.

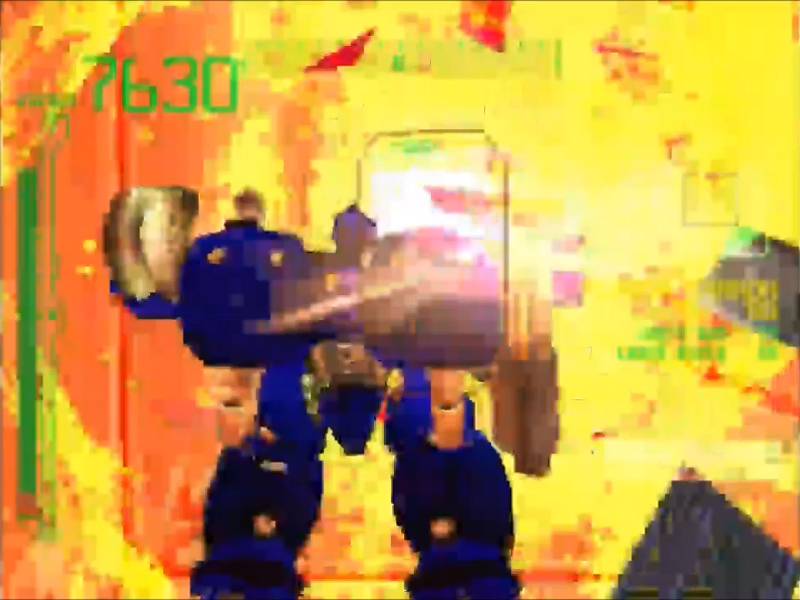
We get a very brief cutscene of the door at the other end opening up, followed by a fade to black as the second half of the mission gets loaded.
Get ready folks. This is where the game starts to go "fuck you."
Some good news first though, all our AP and ammo has been refilled in the transition. There's no real explanation for why that happens, but this part would suck if it didn't happen.
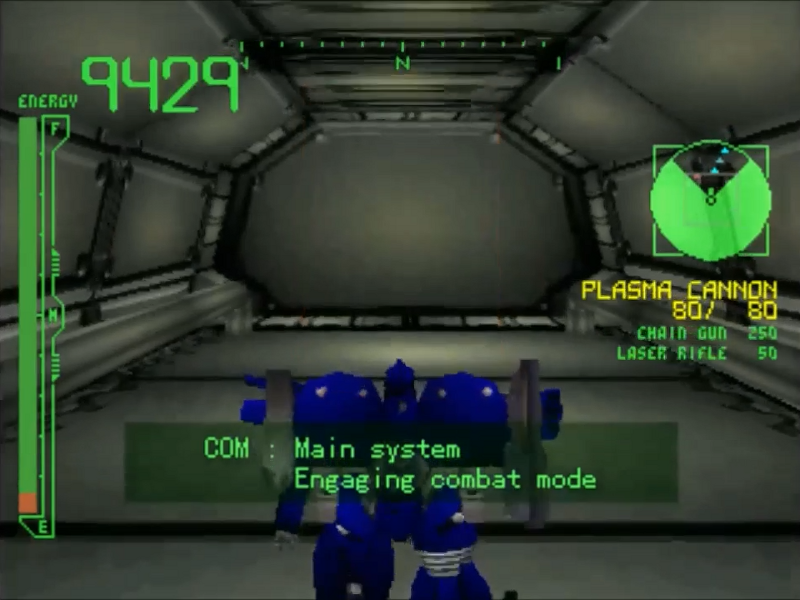
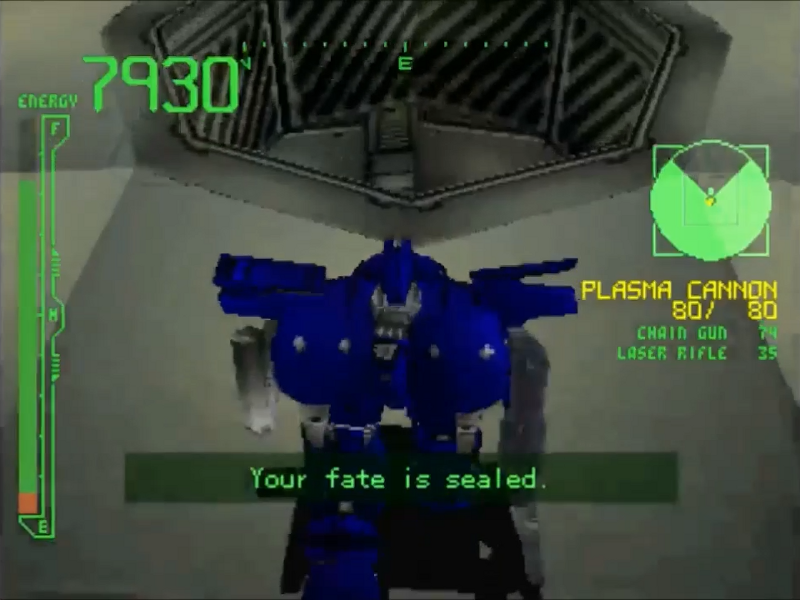
And this is the first of many warnings given to use by someone. They'll continue as we make progress.
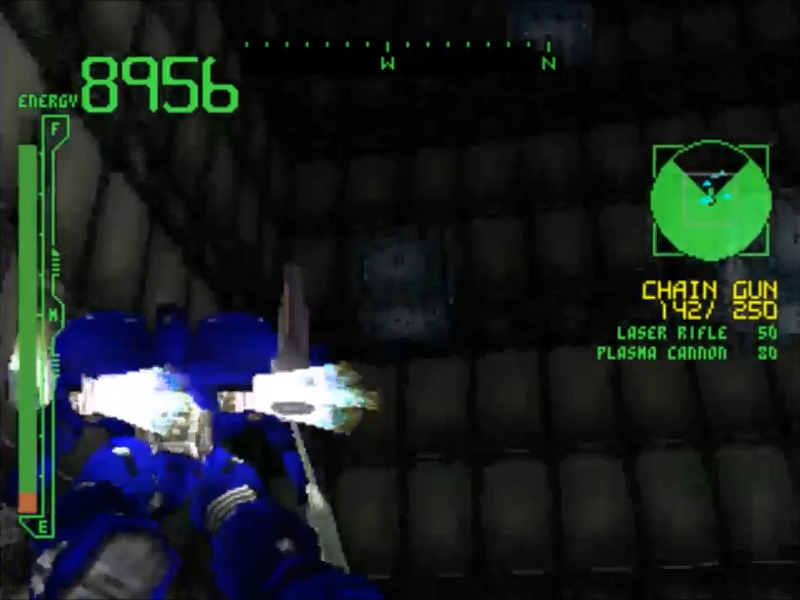
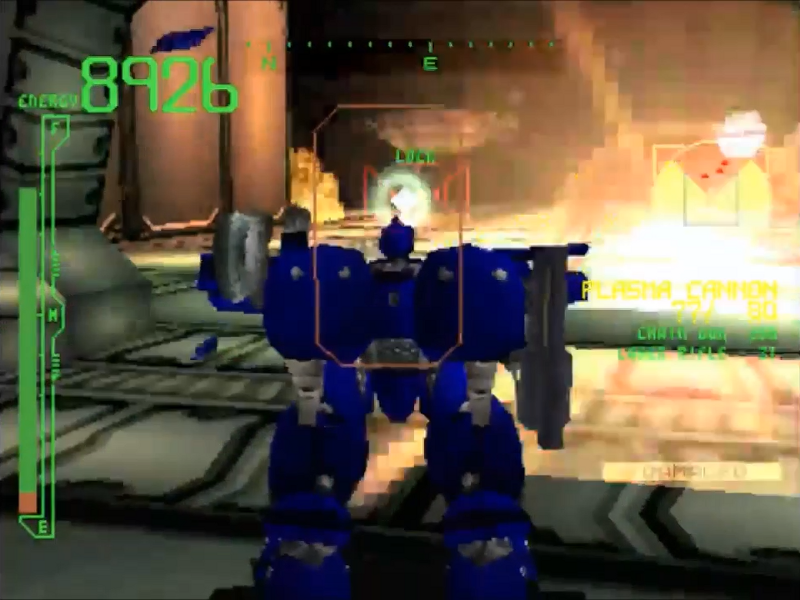
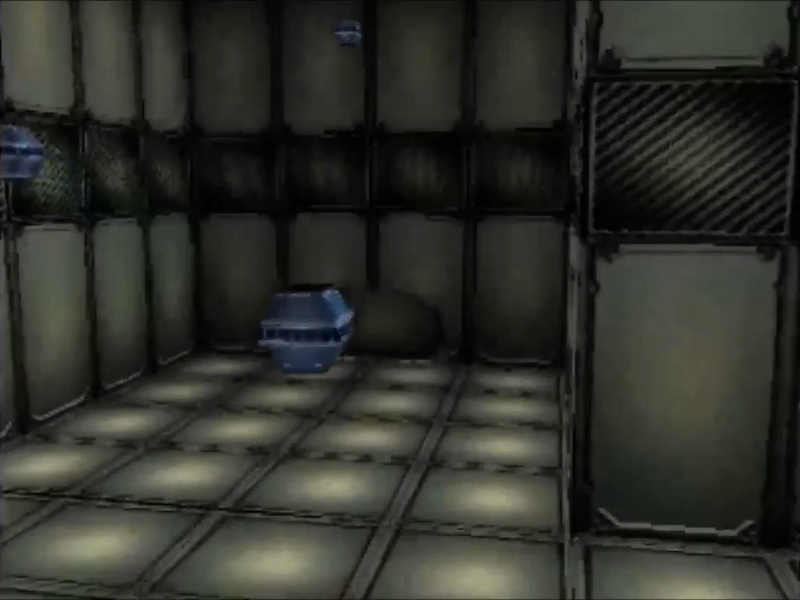
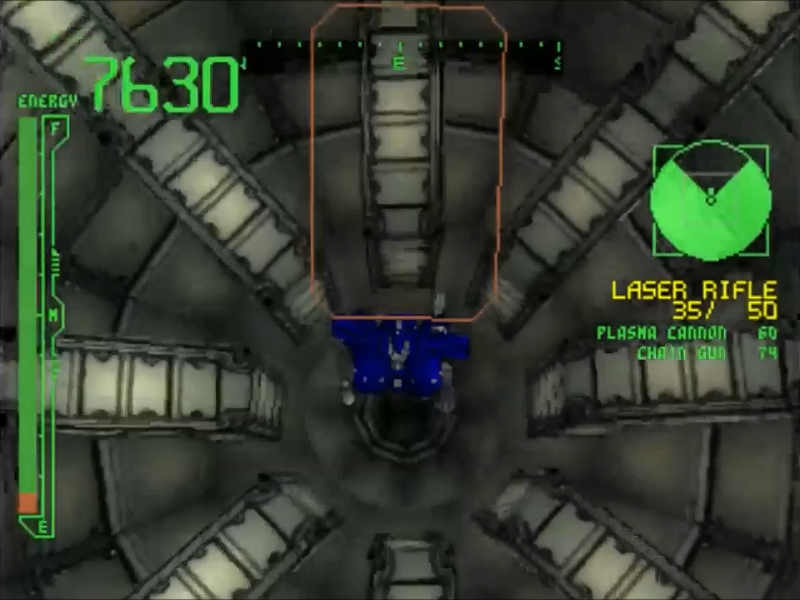
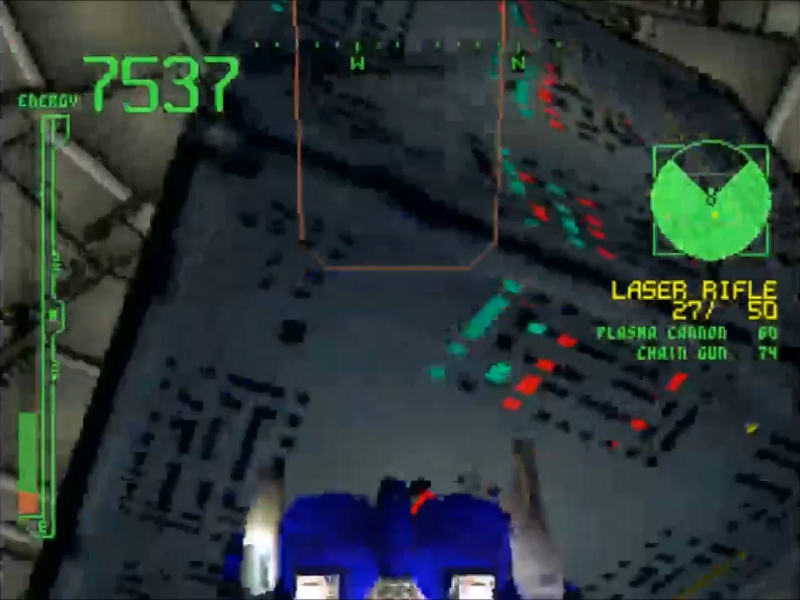
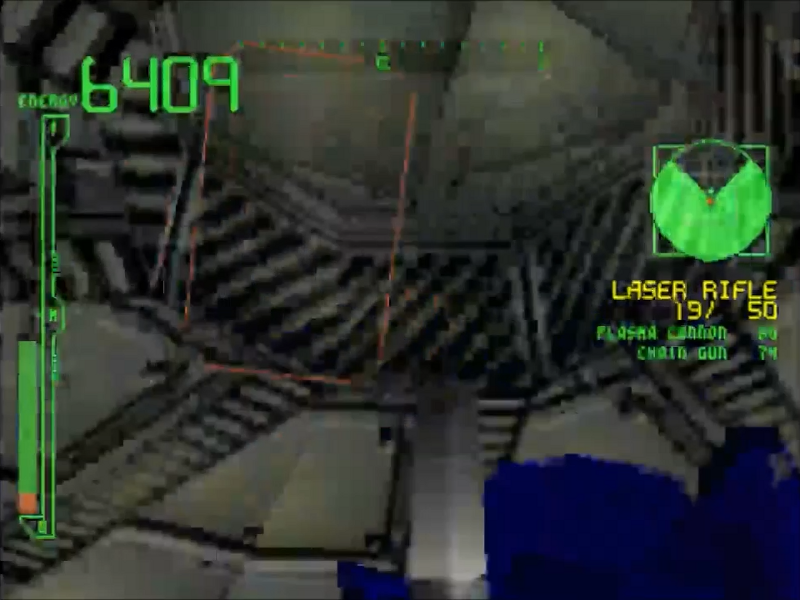
This area right here is one of three really, REALLY tall vertical shafts, and this one is quite possibly the worst of them all. The idea is that you use your boosters to ascend the shaft, landing on the floating, moving blocks with turrets mounted on the tops and bottoms of them, as well as dealing with Storks flying around taking shots at you trying to knock you off. Bringing the chain gun to use on these enemies was smart as it deals with them quickly and has a fast fire rate, but those aren't the things that will be able to save this mission.
Now why is this awful? Well, a major part of the problem comes from the game's camera. As shown at times, the camera won't clip through geometry to keep a set distance from your AC, and can cause it to cover up the entire screen and make things hard to see. The camera also does not allow the AC to look completely vertically. It's always at an angle, and this makes it especially tough when facing enemies at a higher altitude and they're just out of your FCS field of view because they were directly above you instead of above and to the front (this is why it's best to bring a vertical FCS as covering that space is necessary). Lastly, because of movement being digital, ACs in the air either move not at all or move at max speed, and depending on the build positioning it can be very finicky and you can overshoot your landing.

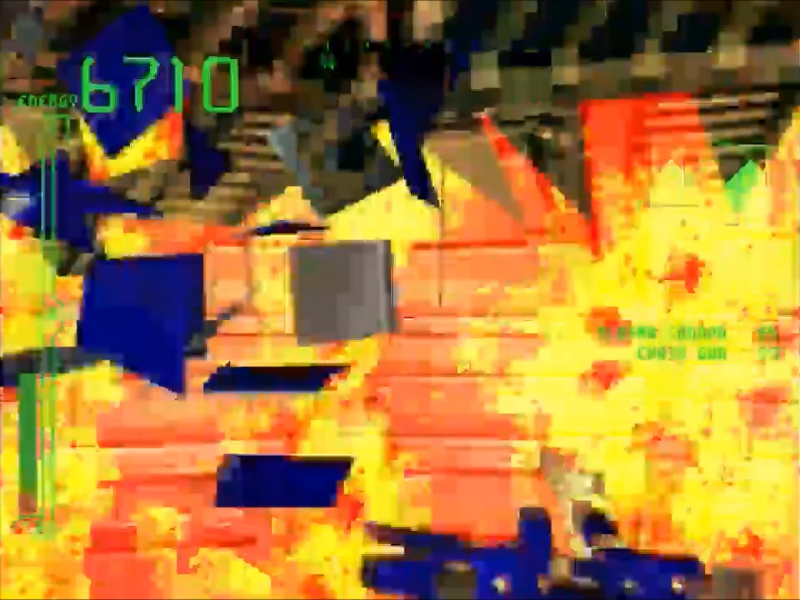
As demonstrated here, I overshot my landing on a cube and ended up falling back to the bottom. You can see why this can be a real pain in the ass. Just keep at it, destroying any turrets or Storks targeting you, and get to the top.
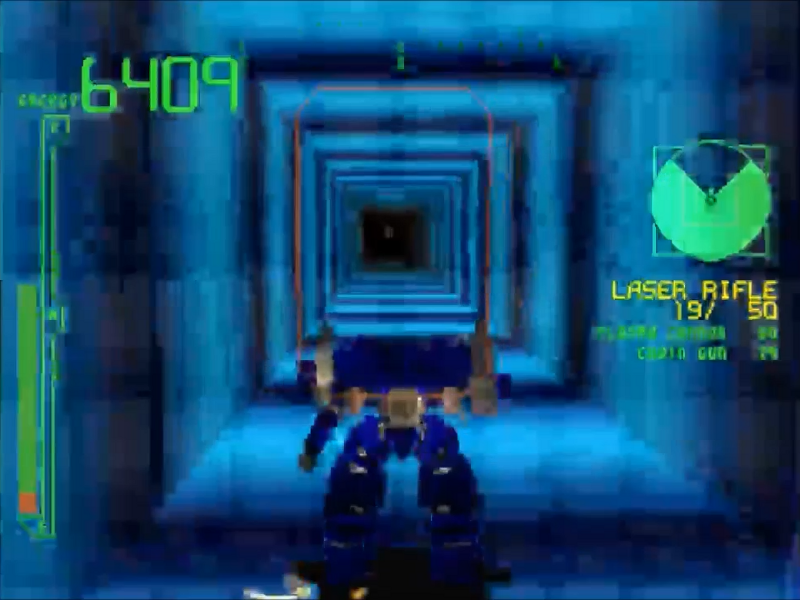
That blue tunnel is a sign of relief as it means you've made it to the top, and have a platform bigger than a cube to rest on.
There's an opening in the wall denoted by glowing blue arrows. This is where we need to go.

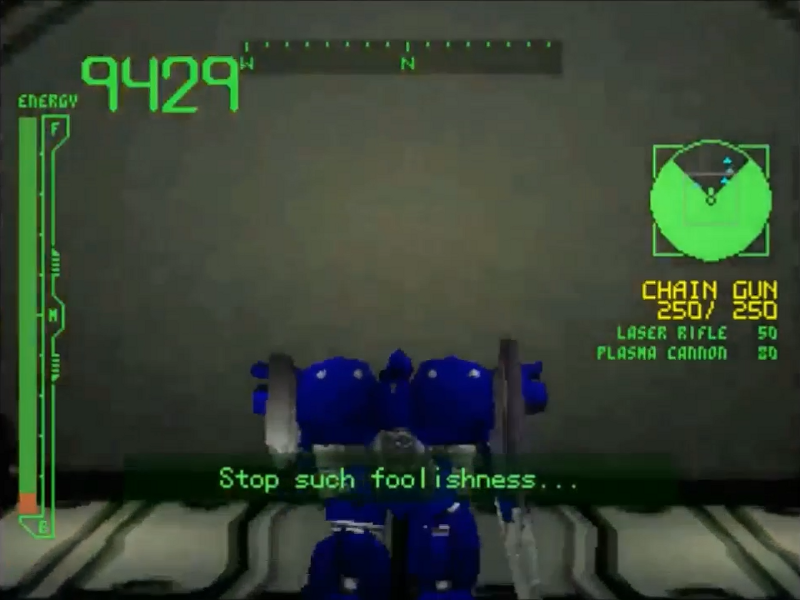
And another warning from the mystery person. And we'll get another one as we reach the end of this hall.
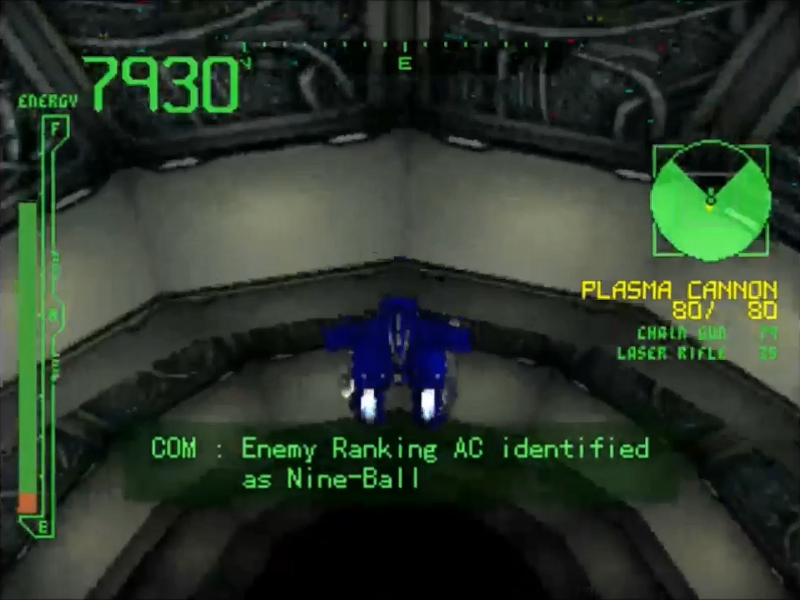
We're at the top of the second vertical shaft, featuring the top ranking AC and one of the hardest motherfuckers in the series: Nine-Ball.
Now, I'll be honest, this debut of the character isn't the reason why he's as memorable as he is in the entire franchise, though the encounter with him here is still pretty challenging. Even if a player were to build their AC exactly like Nine-Ball's, it still would compare. For reference, this is the specs for Nine-Ball:
- Head: HD-X1487
- Core: XCL-01
- Arms: AN-K1
- Legs: LN-1001B
- Generator: GBG-10000
- FCS: TRYX-QUAD
- Boosters: B-VR-33
- Back Weapon L: WC-GN230
- Back Weapon R: WM-S40/2
- Arm Weapon L: LS-2001
- Arm Weapon R: WG-XP2000
Along with those specs, Nine-Ball has Human PLUS enhancements, which allows him to fire back weapons while moving on the ground or mid air. Especially devastating as he uses the grenade launcher. However, the player can use these same parts and get all the Human PLUS enhancements to be on par with Nine-Ball, right? Well, not quite. There is actually a difference in Nine-Ball's favor that is only available to him in this game out of the PS1 games he appears in, and that is his arm weapon.
The WG-XP2000 still looks the same, but the firing mode is completely different. While the player can only use that weapon as a single shot energy weapon, Nine-Ball's version is a three shot burst, and taking three energy shots in quick succession can deal quite a bit of damage. In a more fair environment for fighting an AC in, Nine-Ball would still have an advantage other ACs wouldn't have access to, and in this mission with how the game is not designed well for vertically oriented combat, Nine-Ball becomes to dangerous to fight in this shaft.
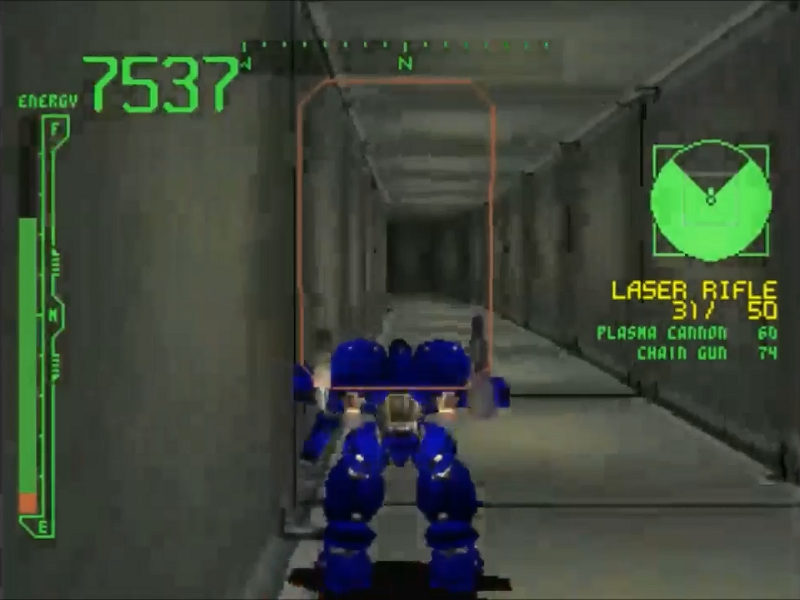
Now, at the start I fell down a little ways into the shaft to get Nine-Ball's attention. What we're going to do is head right out the way we came and lure Nine-Ball into a more confined area where we can keep him in our sights.
And now to wait, plasma cannon at the ready. Any minute now...
Nine-Ball's not completely stupid as it still gets a shot at us with a grenade besides being fully prepared for him to come out of that hole.
And down goes Hustler One. Let's move on with the mission. Surprisingly, I didn't lose as much AP in this part of the mission compared to previous playthroughs. It's either my skill genuinely improving or I just have luck on my side.
And down the shaft, into another hallway with two Storks, and we reach a hole in the ceiling leading to ANOTHER vertical shaft that is identical to the last one. Also we get another warning message which we can't really abide by at this point, why leave now?
Oh, and there's another Nine-Ball. Yeah, you fight him twice in the same mission almost back to back. While it was easy to deal with the first Nine-Ball by luring him out of the shaft from the top, doing the same from the bottom, in my experience, isn't really possible. As such, we're gonna have to do something very risky.

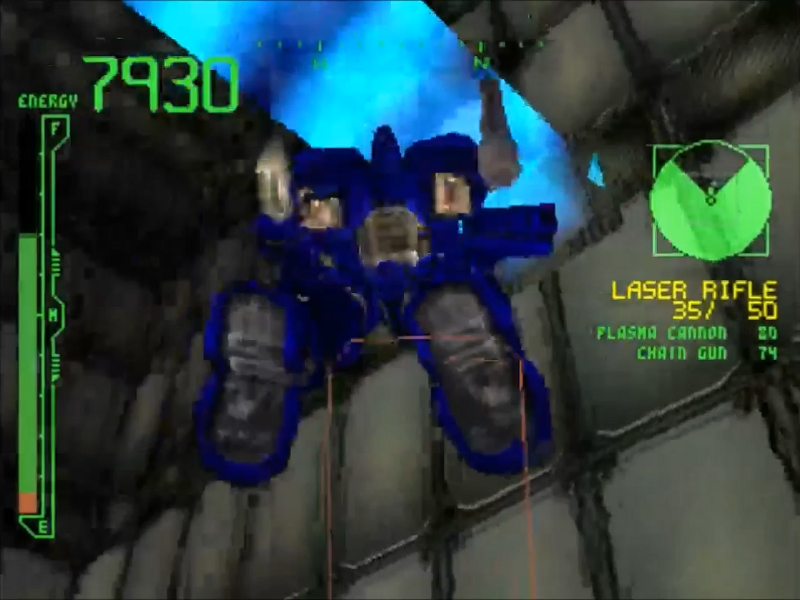
Yep, we're going to repeat the same thing we did before but fly all the way up to the top while staying as far ahead of Nine-Ball as humanly possibly. It's very intense to go through, given you have to stop every now and then to recharge your meter, but I reach the top...
...but I push forward too soon and bounce off the bottom of the cube, sending me back downward toward my doom. This is the part where I actually begin to panic and think I would have to record the damn thing all over again.
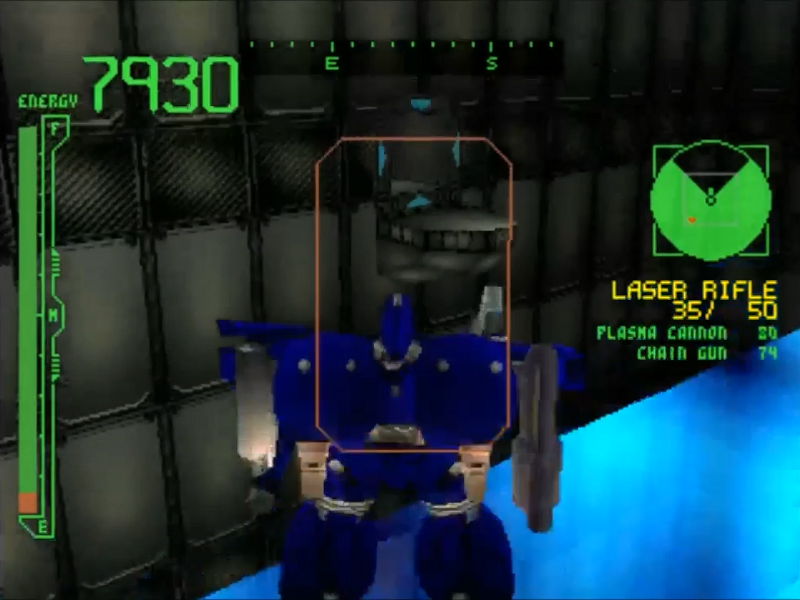
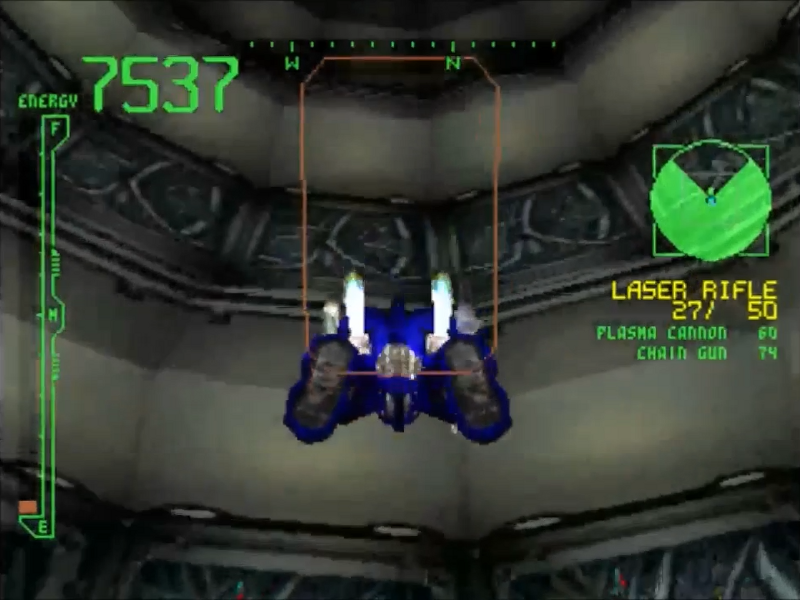
I make my way back up and get very close to making it through the hole...
But Nine-Ball denies by exit with a grenade in the back. Here things start to get really worrying.
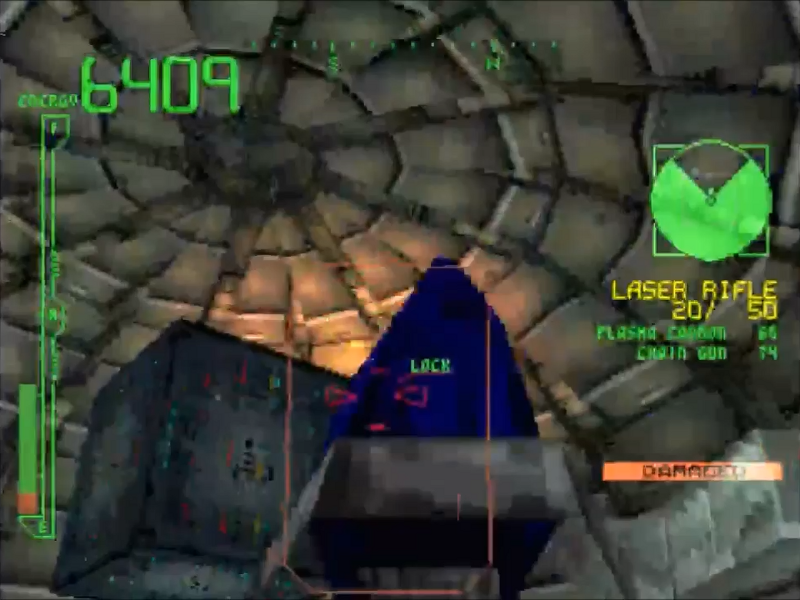
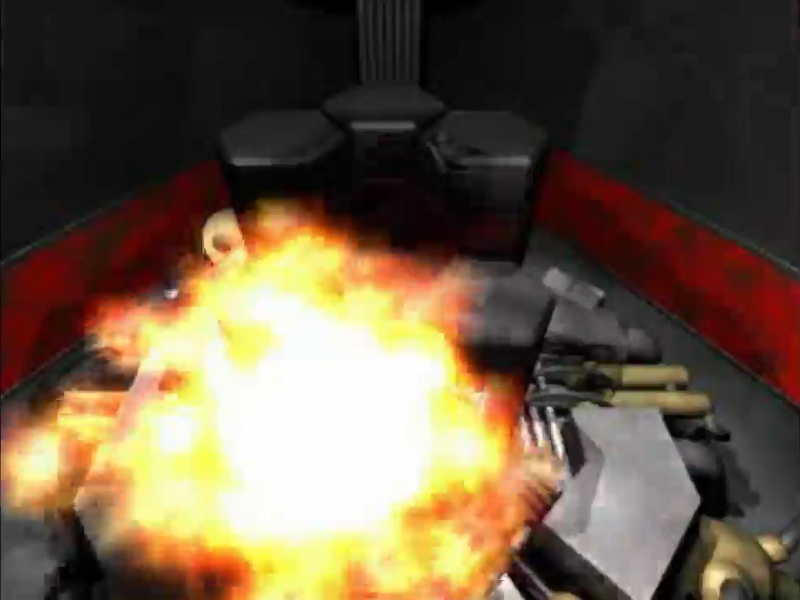
BUT WAIT! Despite getting pushed against the wall and the camera not being able to do a thing, I fire my KARASAWA at the target in my FCS' range and destroy the son of a bitch. Like Joseph Joestar, in a battle with the odds stacked high against me, Nine-Ball left himself open just as I had planned. And also like Joseph Joestar, the stuff about it being my plan all along was total bullshit and my victory was just luck.
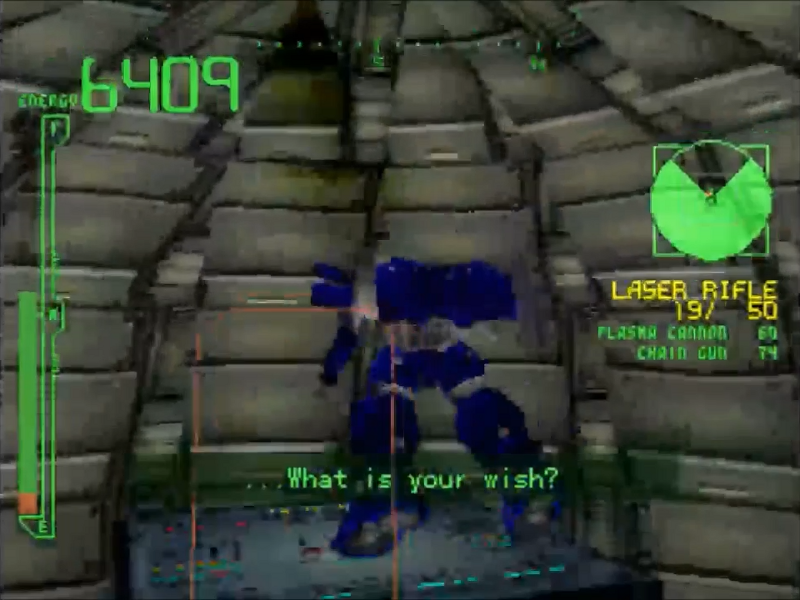
Anyway, destroying Nine-Ball gives us yet another message, this time no longer telling us to leave but asking what the hell we want. Well...
How about letting me get through this goddamn hole already.
Hey, remember this thing? Yep, we're back in the first vertical shaft, but thankfully we don't have to worry about falling. Just boost our way to the end.
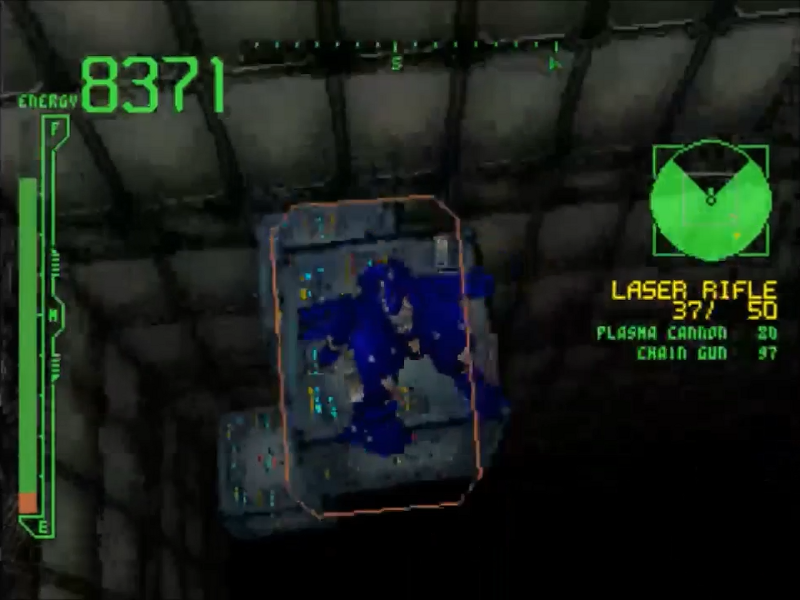
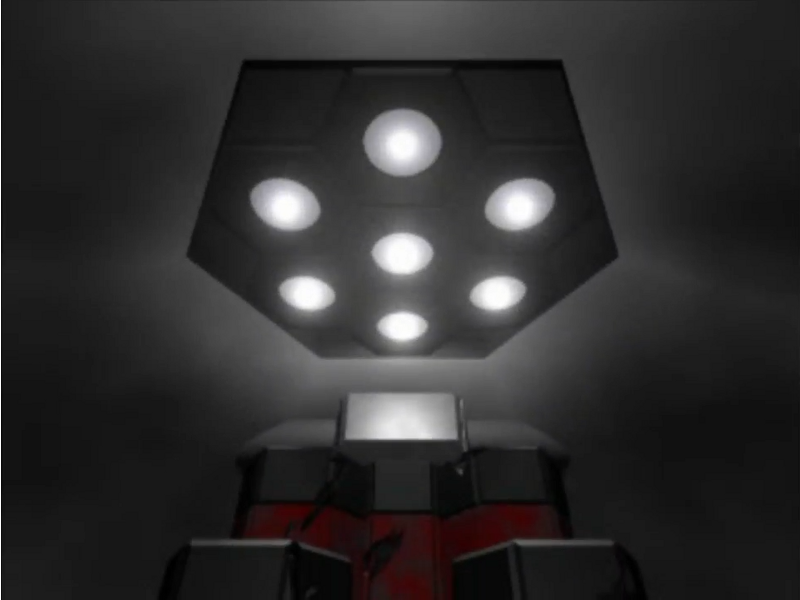
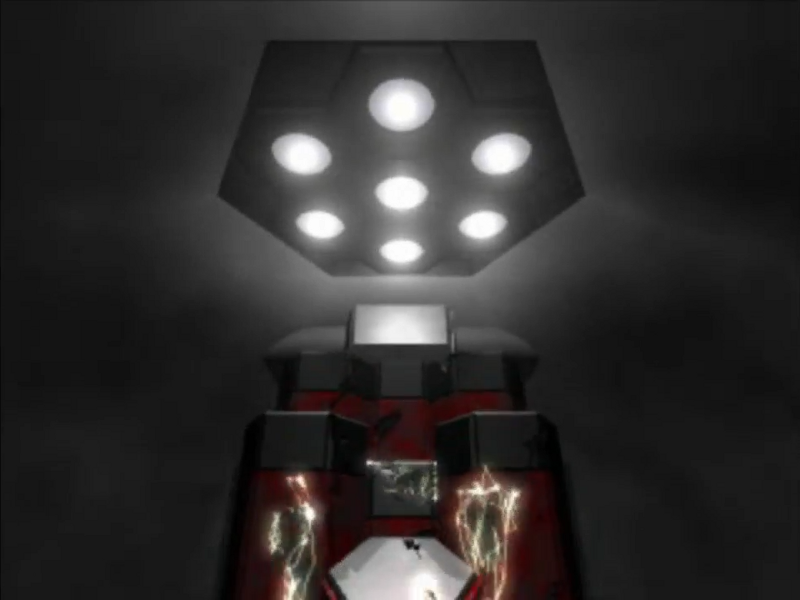
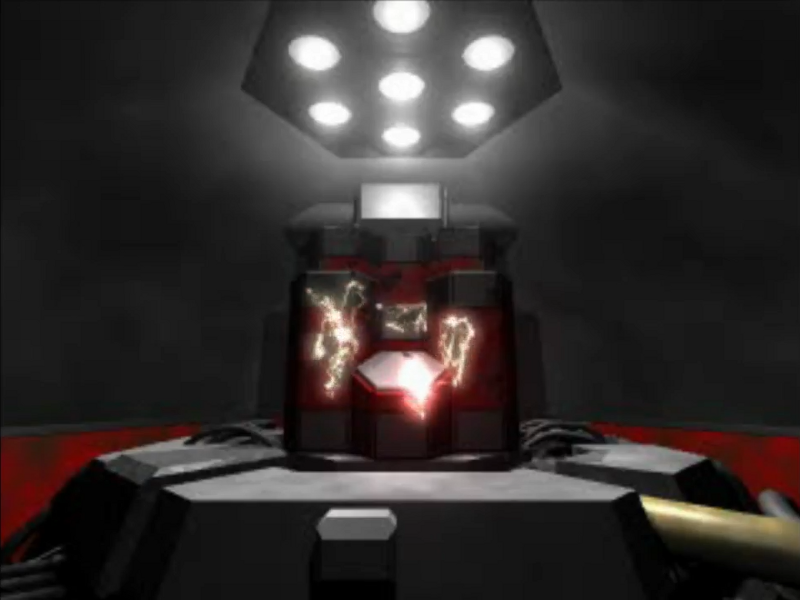
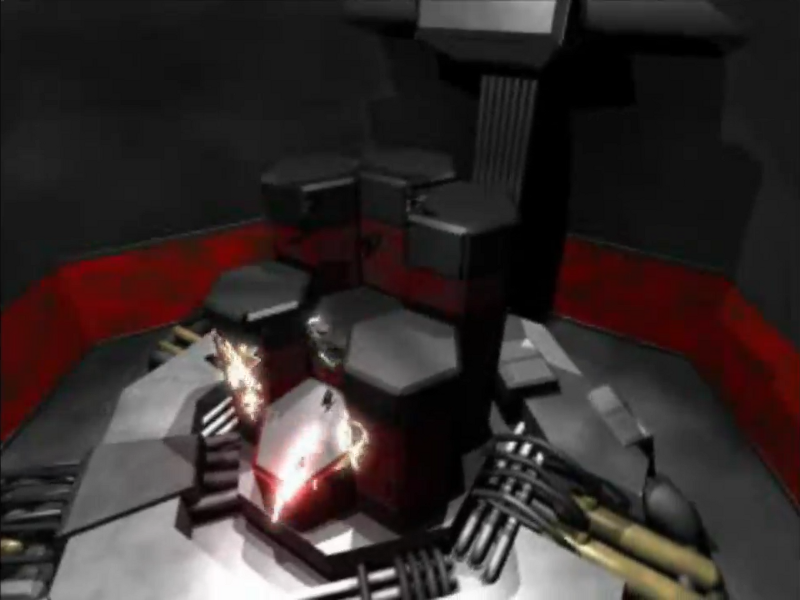
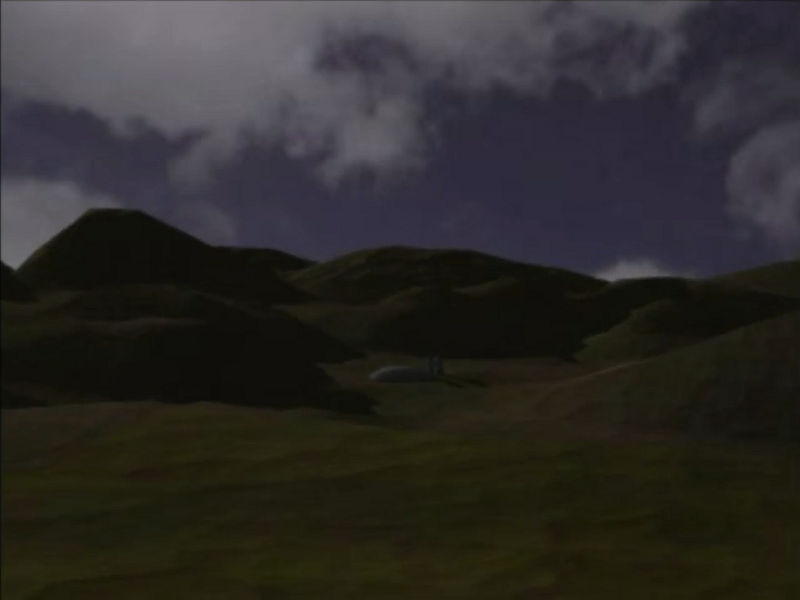
We reach our target for real, and it appears to be a mainframe. No doubt the one sending us those warnings.
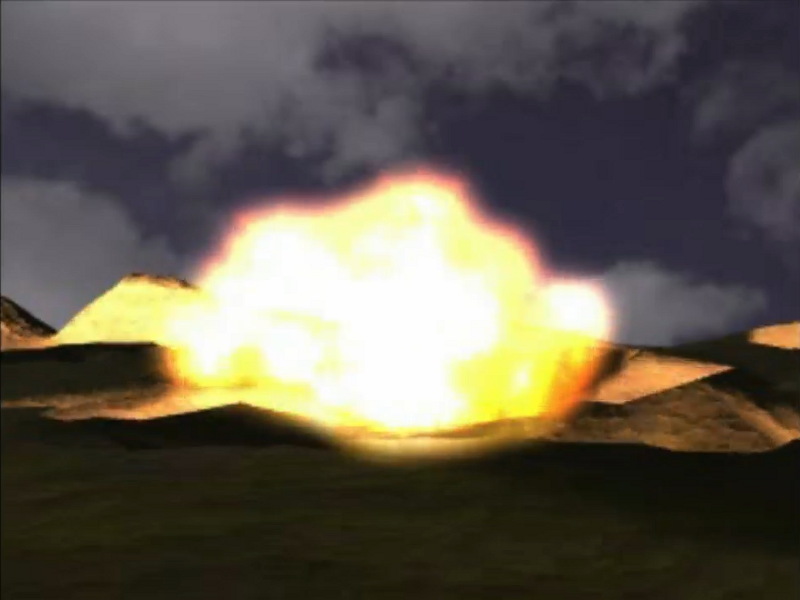
But destroying it is the only thing that will get us out of this mission, so we shall do just that.
Ending + Credits (Definitely watch this)
A familiar voice is heard, the voice of someone we know as "R."
"Are you satisfied?"
"Do you want to destroy order?"
"Destroy the world, is that what you want?"
"We were needed. That's why we were born."
"People cannot live without order...even if it is a lie."
"Go on living, Raven."
"You or I...which one of us was ultimately right?"
"You have the right...the duty to find that out..."

Well, that mission went smoother than I had expected, but we have now beaten Armored Core. That is quite a weird, if not sorta haunting, ending to the game. Although what is implied to have happened as a result raises some questions in regards to what is shown in later AC games, which I will only get into when I start LP them.
Well, that wraps up this part, and with that done we can move on into the post game. We'll return back to our all energy build and do the last dozen missions we need and find the last few hidden parts to achieve 100% completion.
I'll be in touch.