Part 21: Chapter XIX: Don't Deny Your HP, Defy It!
Update XIX: Don't Deny Your HP, Defy It!Welcome back! Last time, we reached the Desert of Death, one of the final barriers between the party and Myria, and probably the most difficult to overcome for most people. The desert is where a lot of people give up on the game. It's a fairly boring place, made all the more annoying by the fact that you have to be careful where you go and when.
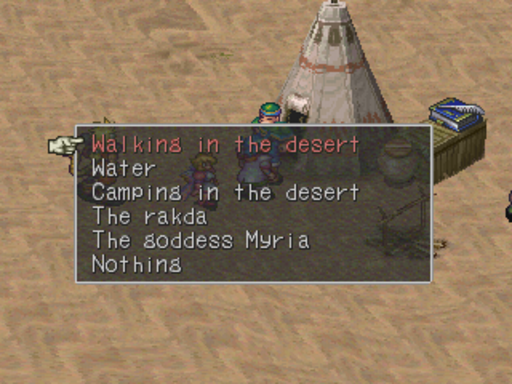
Let's go over this one by one, shall we?
Walking in the desert
Unlike everywhere else in the game, time passes in the desert. It's divided into a 12 hour day and a 12 hour night. However, time doesn't pass normally, it passes as you walk. 40 steps = 1 hour. And at the end of that, the sky goes through 16 shades changes while it transitions from day to night or vice versa for those last 16 steps. At the end of said transition, you'll get a message saying it's now day or it's now night so you don't miss it. So basically, 40 x 12 = 480 steps per 12 hour period. It should also be noted that that the directions the game give you tell you to walk x direction for x amount of night, so all the directions are based on 12 hour periods. Keeping track of the days is important to find your way out.
Water
Periodically, the game will tell you your throat is getting dry and prompt you to drink some water. You fill up your canteen at the jug next to Horis here. It holds 16 servings, and one serving fixes the entire party. You'll have more than enough to get through the desert if you walk at night, but if you walk during the day, like I will, you'll run out fast. After the prompt, every few steps the screen will flash red. The fifth flash will be a lot bigger and lower the entire 6 person parties max HP by 10%, all the way down to 90% of their normal max HP. Fortunately, this is fixed normally, by resting in a bed, which there are none of in the desert. Obviously, you consume much more water during the day than you do at night.
Also a nice touch is that as this happens, your parties camp messages get more and more desperate. It's pretty neat dialogue most people won't see, but I'll try to transcribe it all for the post-game update.
Camping in the desert
At the end of a 12 hour cycle, you'll get a prompt saying the sun has risen or set. Resting will move time ahead 12 hours.
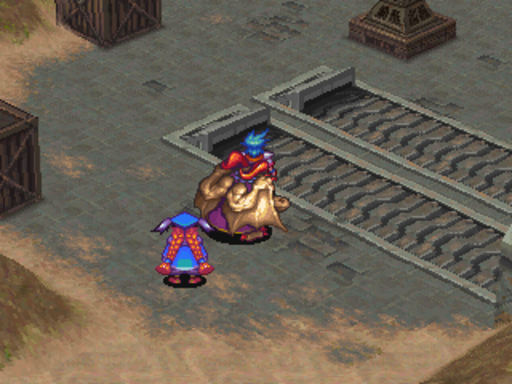
The rakda
The rakda is your escape button. Examine it in camp to return to Horis and try again.
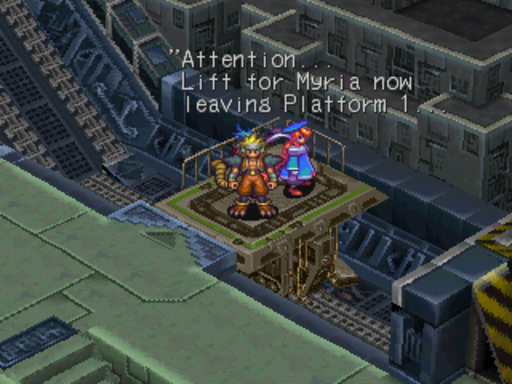
The goddess Myria
Horis doesn't really care. He doesn't harbor any hatred for anyone. He just wants you to do what you think you should do.
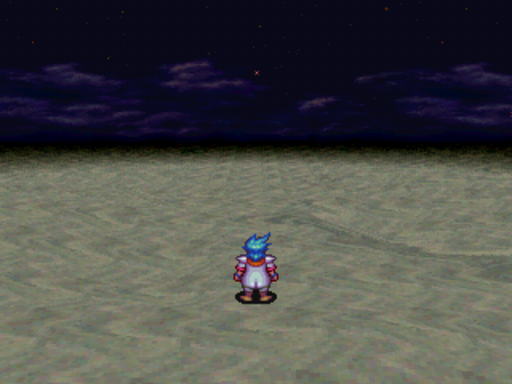
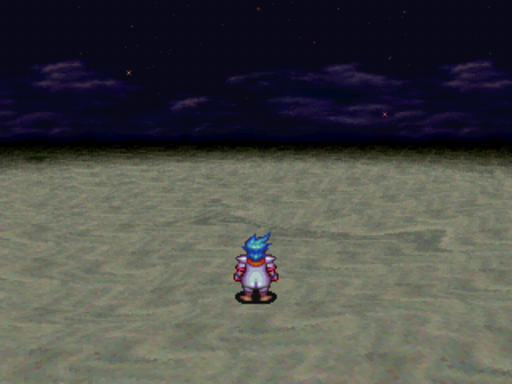
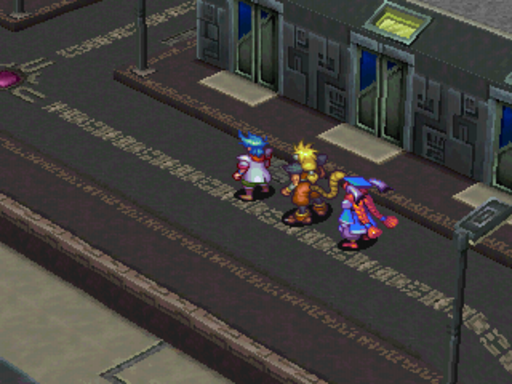
And this is the Desert of Death. This is the North Star. The North Star never moves, and serves as your orientation. It will always be directly above Ken's head.
This is the Evening Star, and is your main point of navigation. It's to the west. It DOES move as you do.
This is the Fake North Star, and it serves as a distraction. It moves, and occasionally, a mirage of the Oasis will appear under it. It's a trap, ignore it.
Traveling in the desert is different than anywhere else. It's a grid-type dungeon. Pressing left and right will turn Ken and pressing up will move him forward. The positions are set up exactly like a clock, with the North Star being at 12, the Evening Star being at 9, and the Fake North Star being at 2. None of the stars van be seen during the day.
So with all this info, how are we supposed to get out? Here are the directions Horis gives you.
Here's how to get out of the desert... First, follow the North Star to the north ... Then, when you can see the Evening Star directly to the west, head east... Keep going east until you can no longer see the Evening Star... and then head north again...After walking north for three nights or so, you should be able to see the oasis. I'll write this down for you, so you can look it up later...
He gives you a note that can be read next to the diary in camp, but it says you should go west when you should go east. IGNORE THE NOTE. IF YOU'RE WORRIED ABOUT GETTING LOST WRITE DOWN THE DIRECTIONS HORIS GIVES YOU
But after this update, I guarantee you'll never get lost between the Factory and the Oasis again.
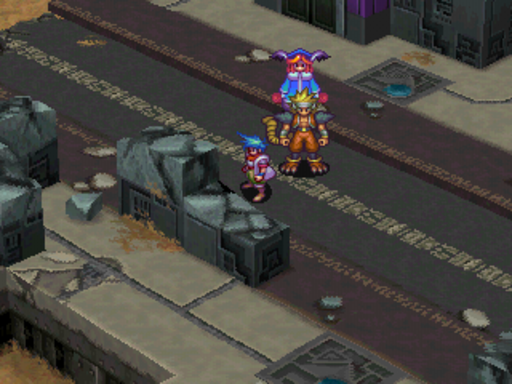
As mentioned, the Desert of Death is a grid type dungeon. That means the game doesn't keep track of how you get there, it just cares that you get there. So simply turn to 1 o'clock (1 turn right from the North Star) and just keep going forward.
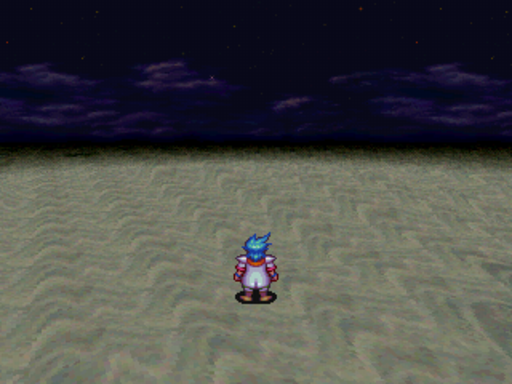
BUT one thing the game doesn't mention is that once you leave a battlefield (just like ones with the ! on the world map, you'll normally enter two of them per 12 hour period, and the game automatically throws you into them here), the game tends to position you differently from where you were before you entered. As I'm traveling during the day and can't see the stars, I had to keep track of the clouds and the pattern of the sand around me. If you're doing it during the day like I am, make sure your clouds and sand match up with this picture and you'll be fine.
Yep. Camping at night, walking during the day.
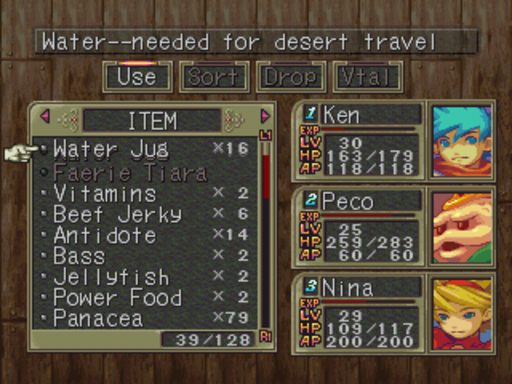
And the Water Jug goes into your inventory. I usually manually move it to the top for convenience.
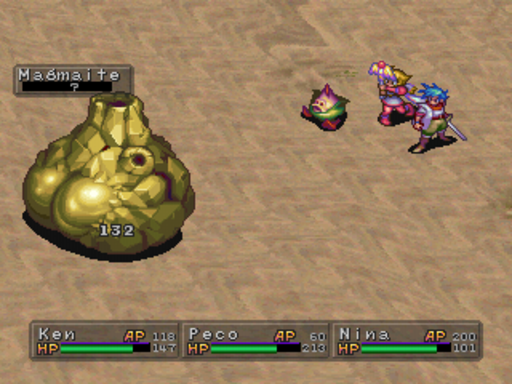
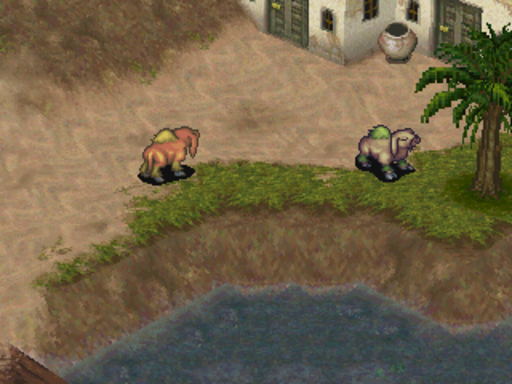
And in my first battlefield, I run into the Magmaite, the palette swap of the Vulcan from Mount Zublo. They're weak to earth attacks (which is why Peco and his Rockbreaker are here). They can also teach you Lavaburst and Air Raid.
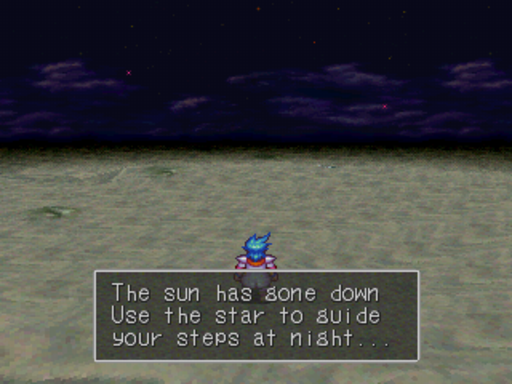
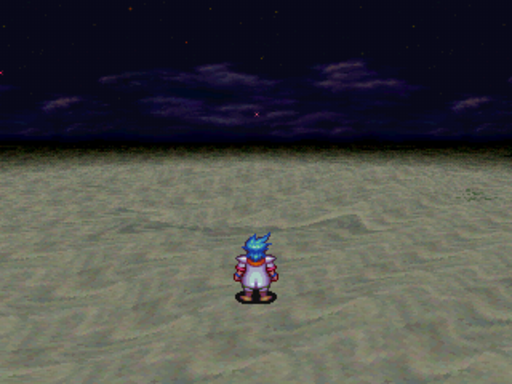
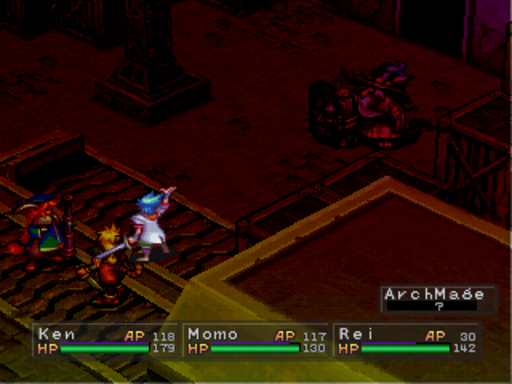
This is the message you get when the sun sets. Not a bunch of people see it.

Everything else in the dungeon is absurdly weak to ice spells. Nina's Blizzard spell can OHKO whole groups of enemies, and Momo's Quake or Peco's Rockbreaker can take care of the Magmaites. Really, this place is much easier than people make it out to be. On the off chance the Scorpions get to move, they like to poison your characters.
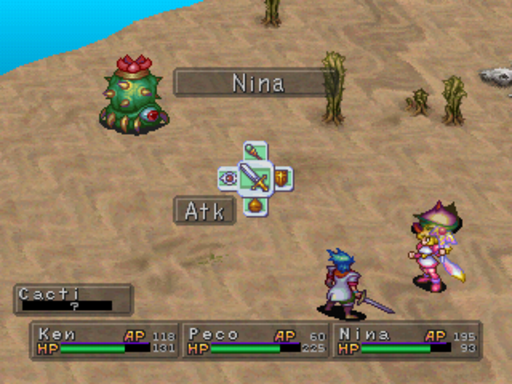
I actually don't know what these guys do, I've never seen one last long enough to do anything. I think they cast Pollen to blind your party.
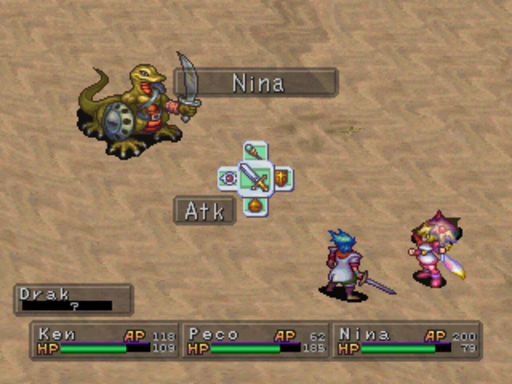
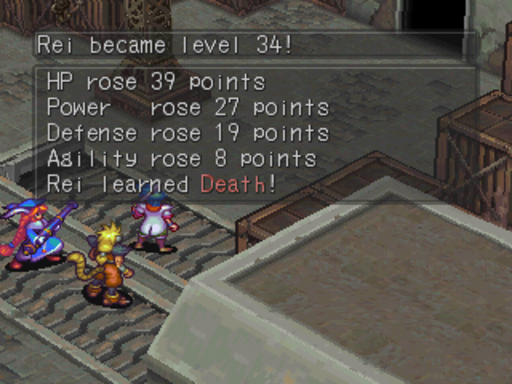
These are the real prize here. Draks start off the battle paralyzed. If you fix that, they cast Cure on someone in your party. Cure is a learnable Skill that fully restores 1 persons HP and status for 18 AP. It compliments Nina's spell list nicely, no matter how you're playing.
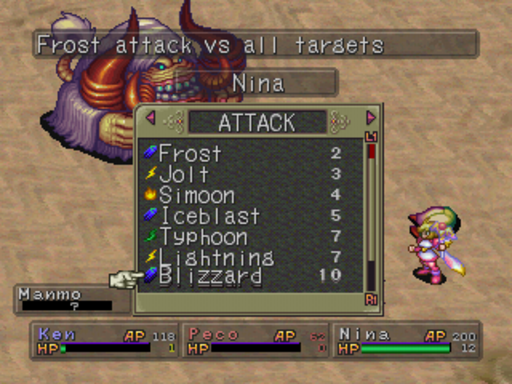
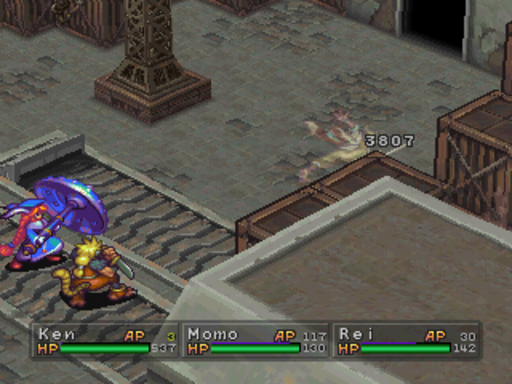
This place is fairly uneventful, so let's just cut to the boss. There's a small scene before it, but I was incredibly nervous about this fight and forgot to take pictures. I mean, look at Nina's MAX HP. I had every right to be nervous. 12 HP solo against a boss.

Barrier was step 1. Combined with the Robe of Wind, it made Manmo's one magic spell, Quake, do absolutely no damage. After that, I cast Shield 3 times, Blunt 3 times, and rendered everything Manmo had useless.
And then Nina just went to town with Iceblast. I really shouldn't have been worried. It was much easier than I thought.
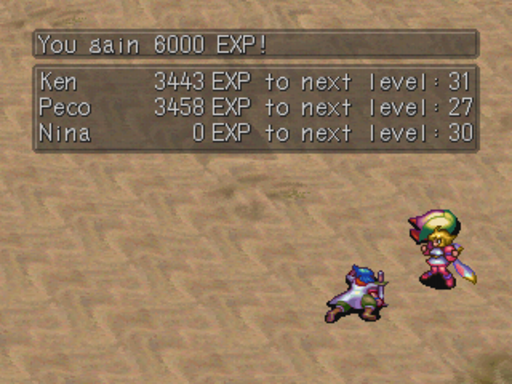
That's right. A Nina with 12 max HP just fucking soloed a boss without taking damage. Bite me haters.
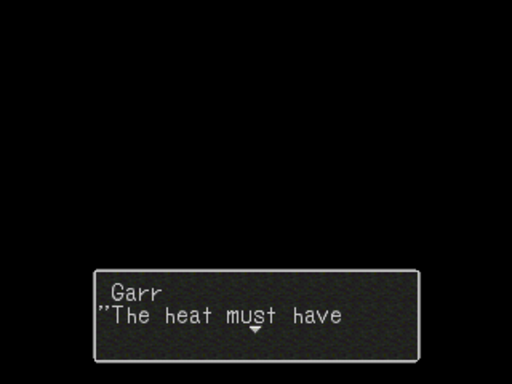
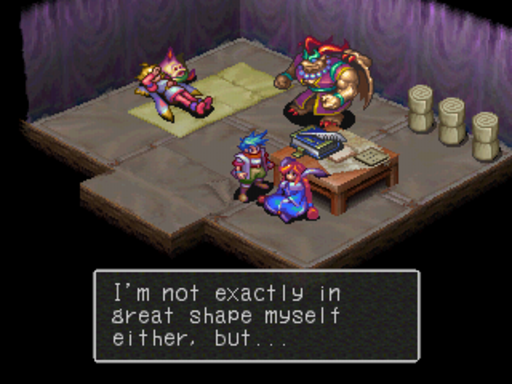
 : The heat must have been too much for her...
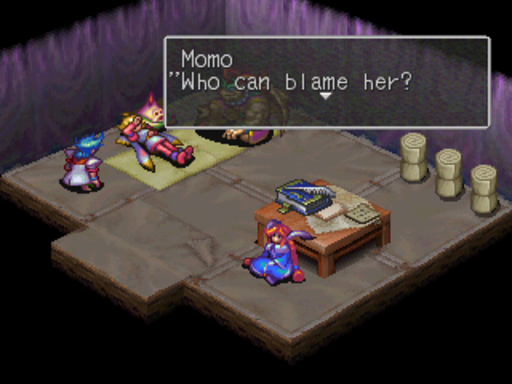
 : Who can blame her? Having to fight that monster after walking for so many days...
God Momo. It's not like I did it on purpose!
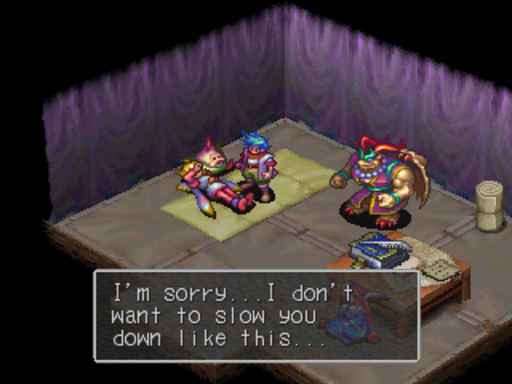
 : I'm sorry, Ken... We're so close...: We won't be able to go any further with her in that condition What should we do, Ken?
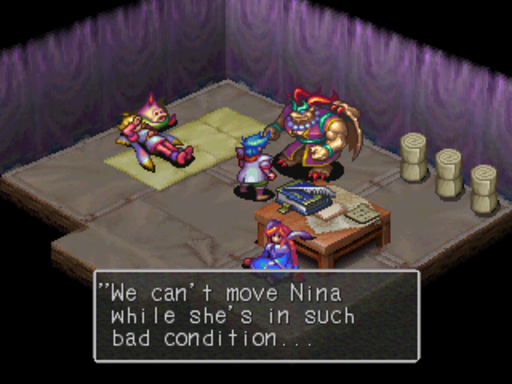
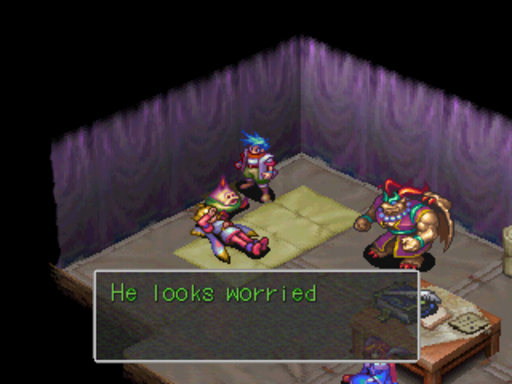
It's moments like this where the party really seems like a family. Everyone, even Peco, is concerned for Nina, and no one has any idea what to do.
The party has never been lower than this.

 : How bad is she, the princess? Right... And we were so close, too...! I suppose... we could just use the rakda and start over-- I mean, we know the way by now, right?
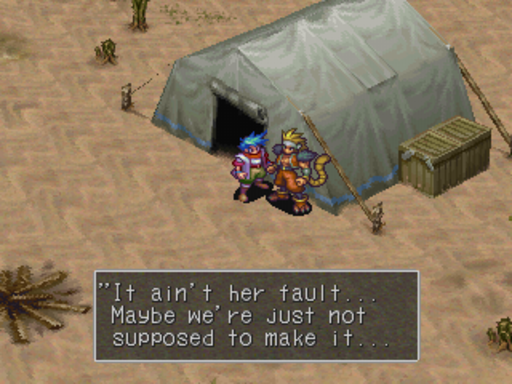
Even Rei is upset by the situation.
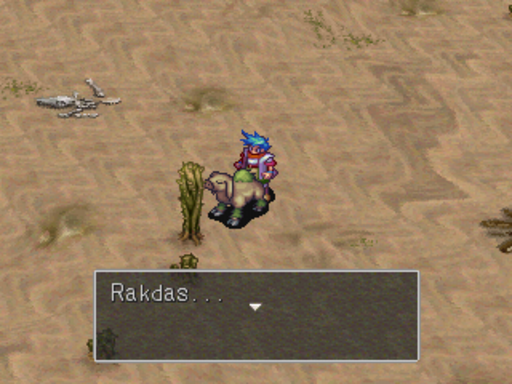
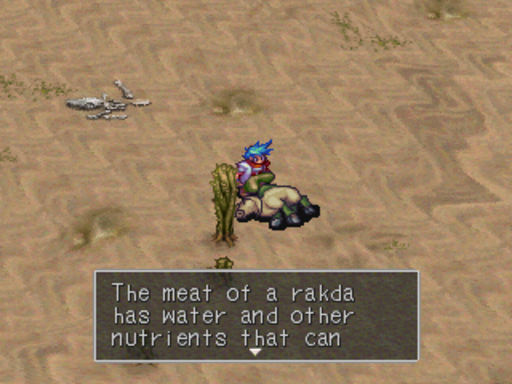
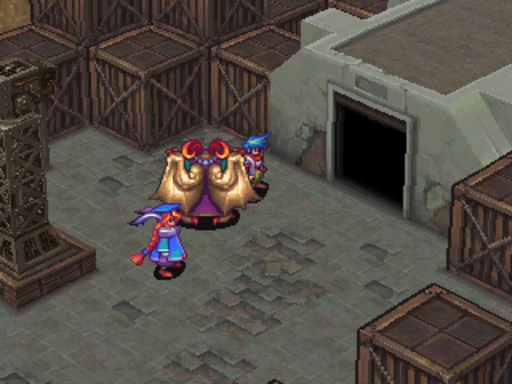
Rakdas... Strong, sturdy, and able to live in the desert, they can take anyone lost back to base camp... But rakdas have another talent as well...
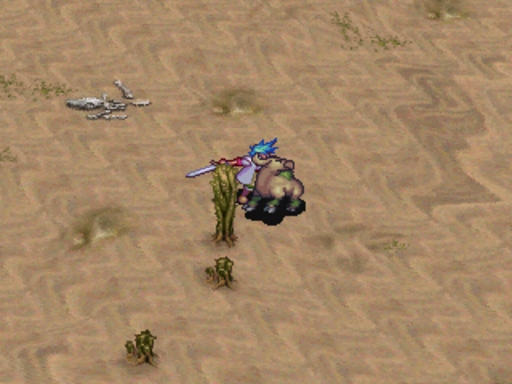
Just to make this harder, you have to slash it yourself, and the rakda makes a despairing yelp when you do it...

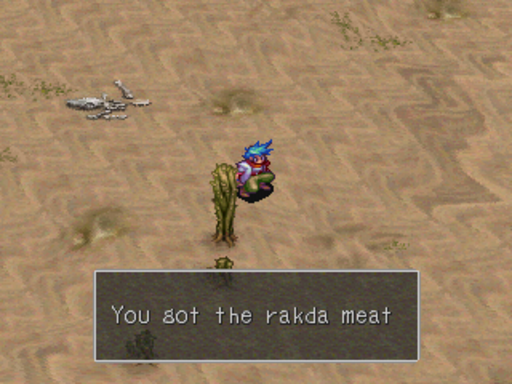
A minor thing, but also worth noting. Most every other time we got a plot item, there's an ! at the end of the sentence. Ken isn't thrilled about doing this, but he doesn't see another way.
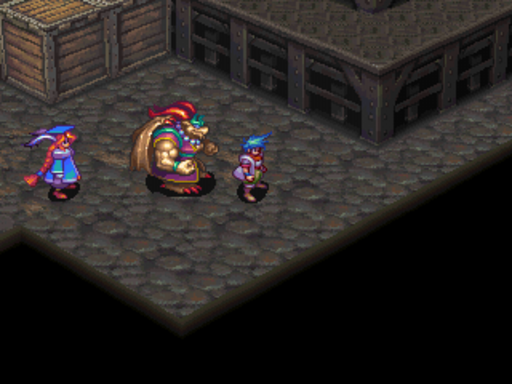
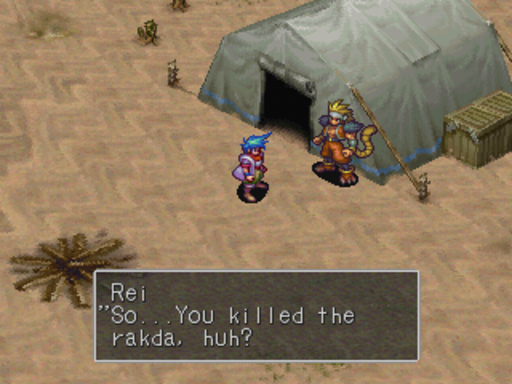 : So...You killed the rakda, huh? We won't be able to get back now... I'm impressed, Ken. I didn't think you had it in you... Well, hurry up and get that meat to the princess. Don't worry...We'll make it. We're not gonna die in a place like this... not as long as you're around, at least...
Talking to him again triggers another of my favorite lines.
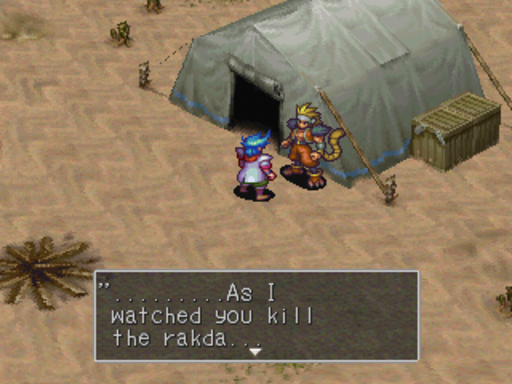 : ........As I watched you kill the rakda... For some reason, I thought of. that time we fought the Nue together... Funny, huh?
Yeah, it is kinda funny you thought of that. It's a parallel that answers Rei's question to Bunyan after killing the Nue. Whereas the Nue gave up everything, even her life, for her cubs, Ken is risking their lives, and sacrificing the rakdas (who is essentially the guardian for the party here), for his friends. They have no way to start over now, and for all Ken knows, they're hopelessly lost. He could very well have doomed the party with his actions. And Rei isn't upset. So I think he finally got his answer years later, across the world.
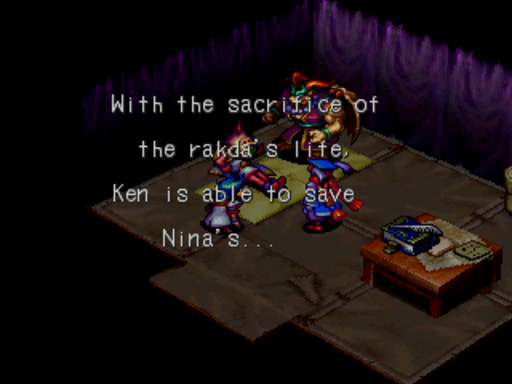
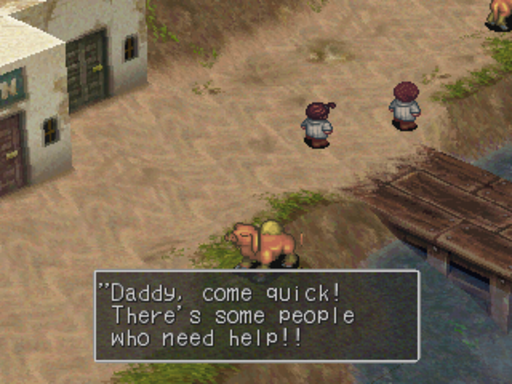
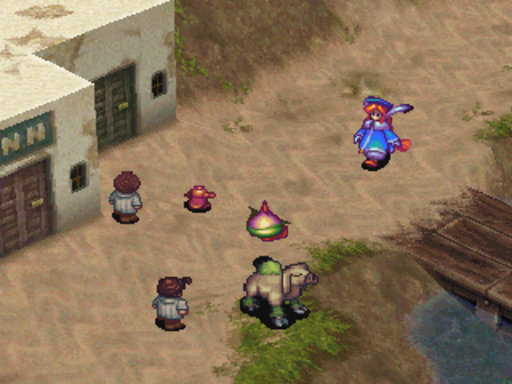
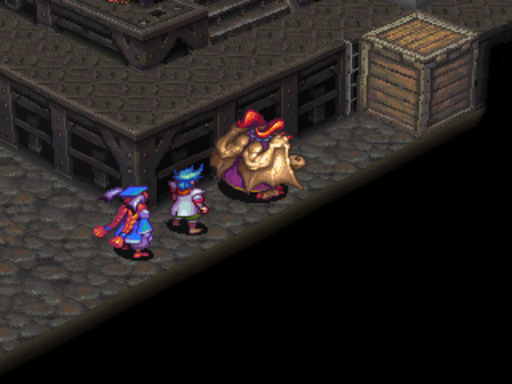
And Ken's gamble pays off.
I know I'm saying this a lot, but how is Peco not the cutest mascot character ever?!
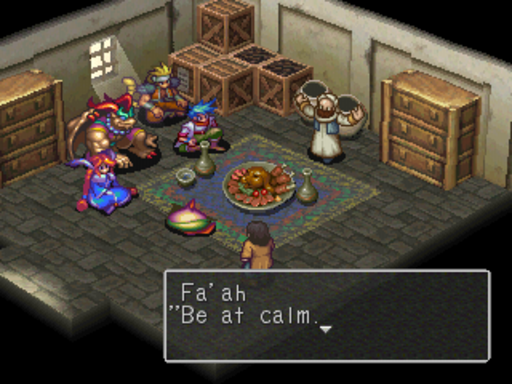
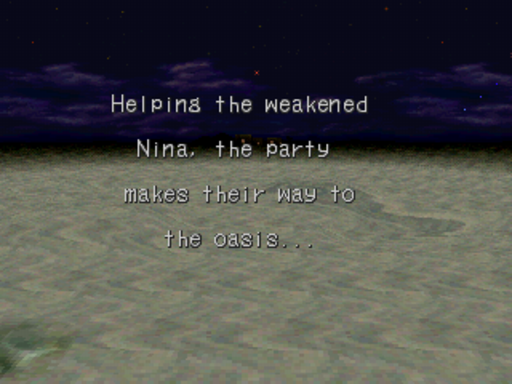
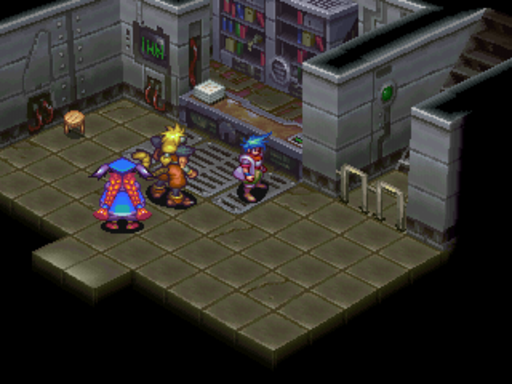
Fa'ah: Be at calm. Your lady friend is caring for by my wife. Please... Until you are being fully rested... We want you to stay and having our good hospitality!
GODDAMMIT I'M POSTING MY NEXT UPDATE AFTER LUNCH INSTEAD OF BEFORE.
While Honey and Peco play with the kids, Momo goes to check on Nina.
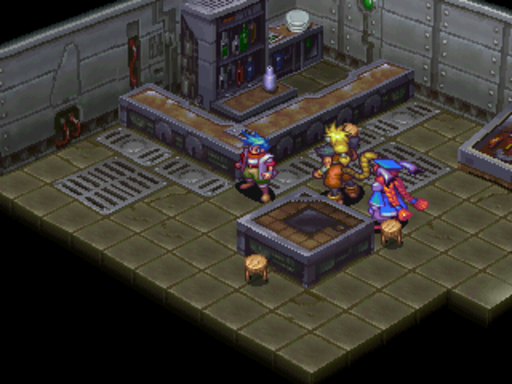
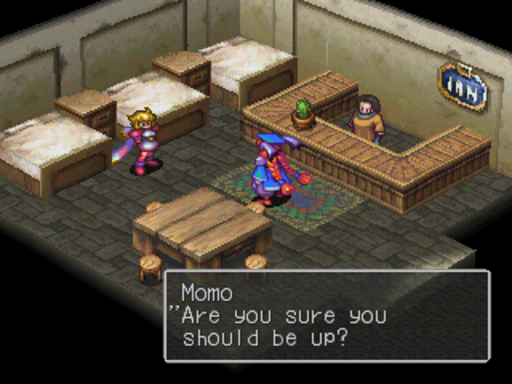 : Are you sure you should be up?: It's all right, I'm fine now... I'm sorry I worried everyone so much. What is Ken and everyone else doing?: They're over there, talking to the chief, Fa'ah... About where we're headed...
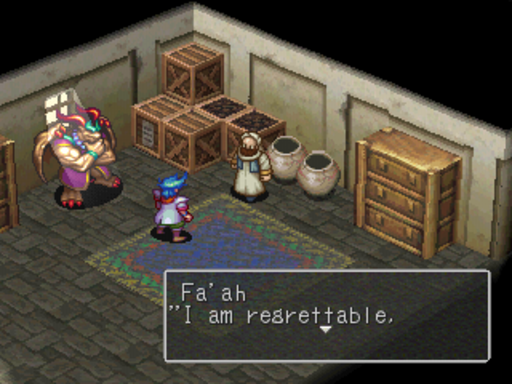
Fa'ah: ...God? I am regrettable, but I know not of this that you seek...
: Honorable Fa'ah... Do you know of any ruins or something similar nearby?Fa'ah: Ruins it is you are looking for? Then we are having! To the north, over the hill... There is being a place very old that we are calling Caer Xhan. It is the ruins of very, very olden city.
: We should go check it out, hm?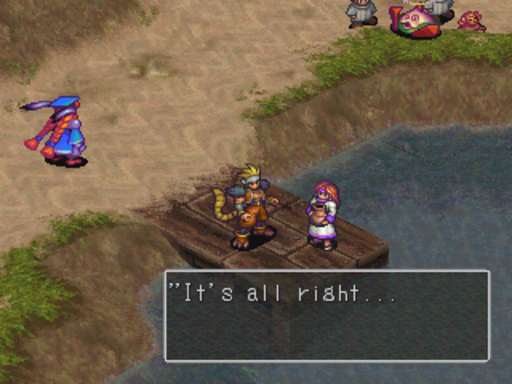 : You've done so much for us... Thank you for everything...
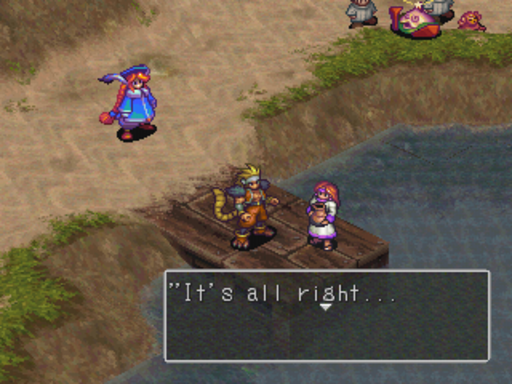
It's all right... Since the desert gives us so little, we share what we have with each other.
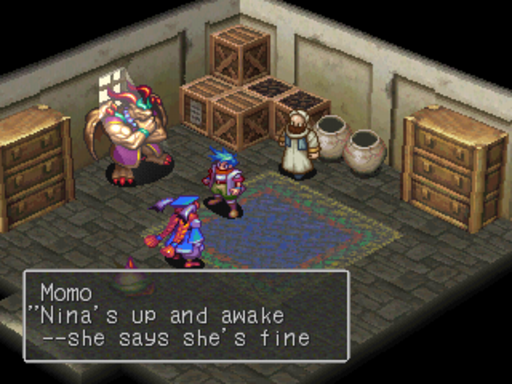 : Nina's up and awake --she says she's fine
Fa'ah: Ah! So this is meaning you are leaving then, yes?
: Thank you so much for all you've done for us, Fa'ahFa'ah: It is being no bother... I am hoping that you find soon that what you are seeking!
And now we're back in control.
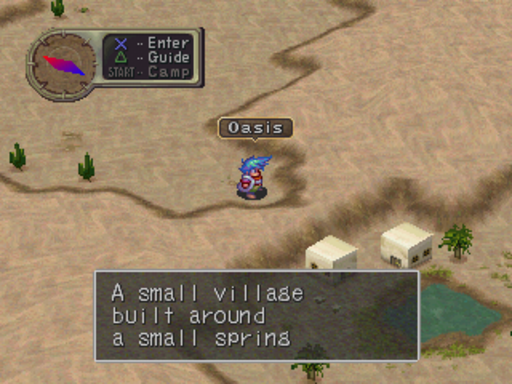
And this is the final chunk of the world map. There's only 3 things here.
This is an important place.

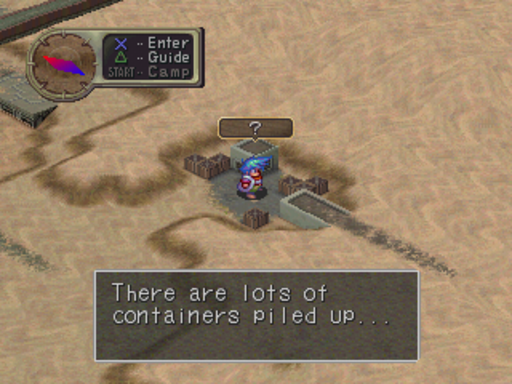
Bring Garr to smash that box the first time you're here and...hey what's that?!
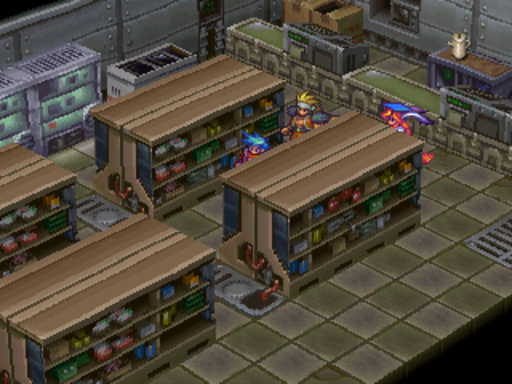
This is the Container Yard, where we got the Radiance Gene after fixing the Portal Drive. Using this, we can now get back to the world, check on C-Bo, Masters, and whatnot without re-crossing the desert.
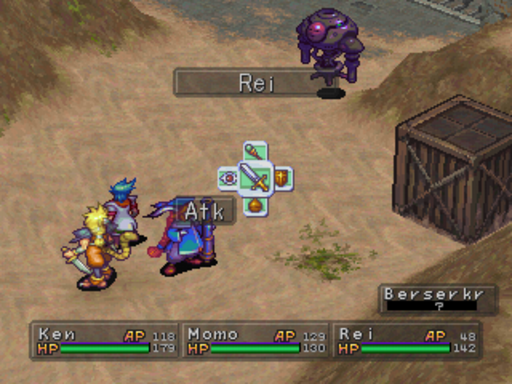
The Container Yard has 3 enemy encounters. Tank Bots, from the Portal Drive Tower, are far and away the most common. The other two are rare, and serve as the games superbosses. This is the Berserker. Stealing from the nets you the Aries Gloves, the ultimate gloves for everyone that also up attack power.
Berserkers start off battle confused. They have a ridiculously strong attack (as in, no one in the party can survive it as of now, not even most dragons). They also have a skill called Fire Whip
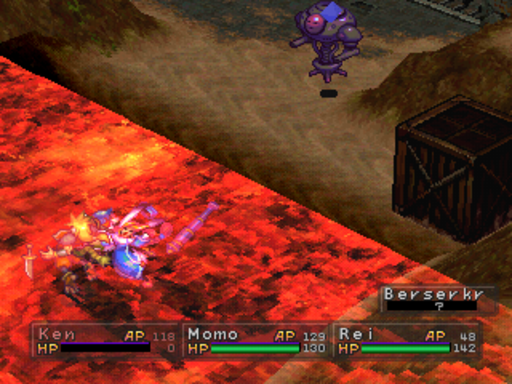
Give everyone a Ring of Fire and it's a non-issue. That's the key. With the right set-up, it can only KO one person at a time. It's till got over 10,000 HP and incredibly high defense though.
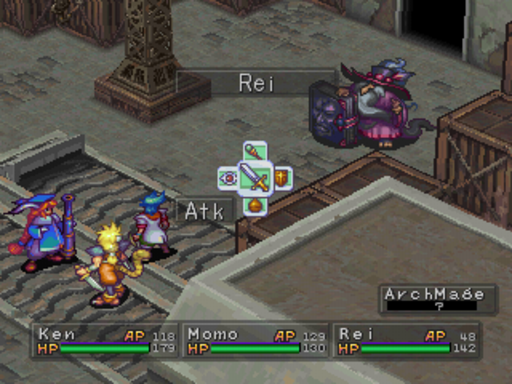
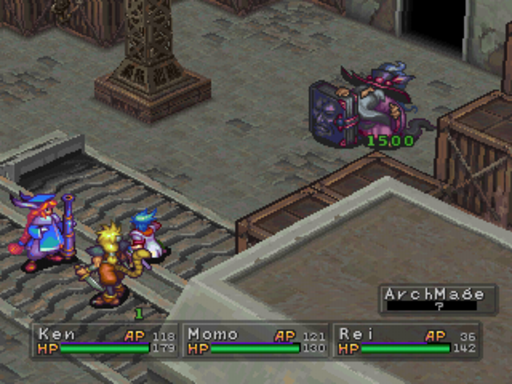
The Arch Mage is the other one, but he's pretty easy. He has Myollnir, Mind Sword, and casts Benediction on you if 2 of your characters are knocked out. Mind Sword is the real worry here, but it can be dodged.
HOWEVER, every round, he recovers 1500 of his 3000 HP. We're gonna cheese this thing because they drop Rei's ultimate weapon every time you beat one.
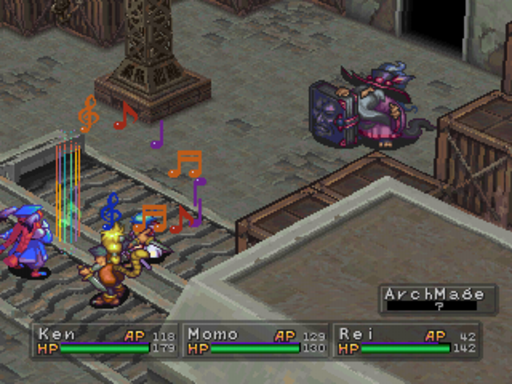
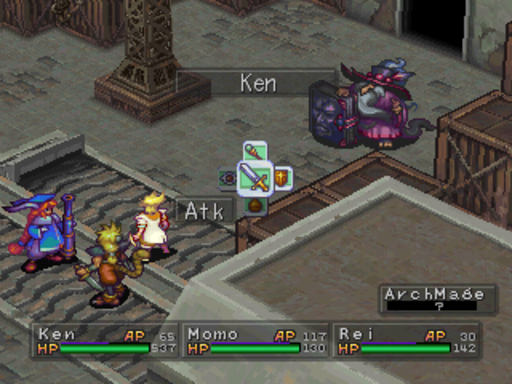
To do it at this low level, we're gonna need to boost Ken's attack as high as it'll go. This is War Shout.
Thought I was joking about that 1500 regen didn't you?
Now, have Ken use one of the Hourglasses. This stops time for everyone except him.
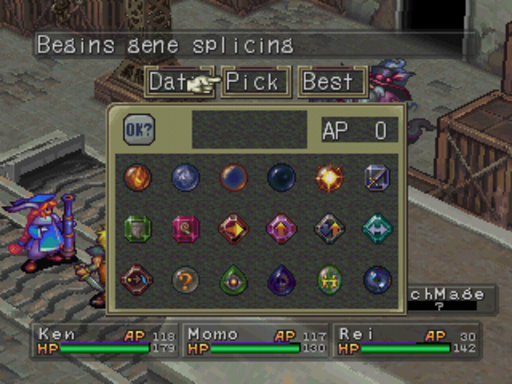
And now, combine the Infinity + Radiance + Trance Genes to form True Kaiser.
The Inifnity Gene is special. Normally, it creates an uncontrollable Kaiser form when combined with anything. However, combined with the Radiance and Trance Genes, it creates a controllable version. And this thing is a beast. HP is raised by 300%, Attack by 450%, and Defense by 170%.
Another controllable form can be created by combining the Infinity and Failure Genes, but the stat gains are 120%, 150%, and 110% respectively.
The observant among you will notice a controllable Kaiser can only be formed with Genes found on the Lost Shore.
And here's the Kaiser form. It's special because you have access to each of Ken's normal abilities and Skills. A double round of Focus, followed by Shadowwalk results in...
BAM.
Rei absorbed all the experience with Monopolize because his cage match is next.
I forgot to get a picture the first time, so this is after my second Arch Mage fight, which happened to be at the same place which is why Momo is knocked out. This is Rei's ultimate weapon, and it's holy elemental, and casts Might when used as an item.
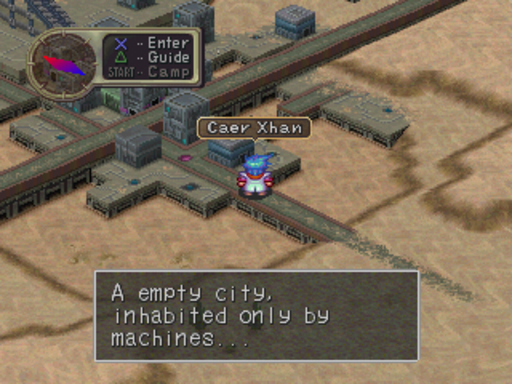
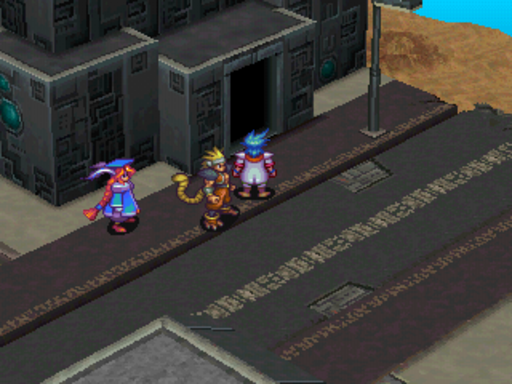
Caer Xhan...our final destination. We are officially in endgame.
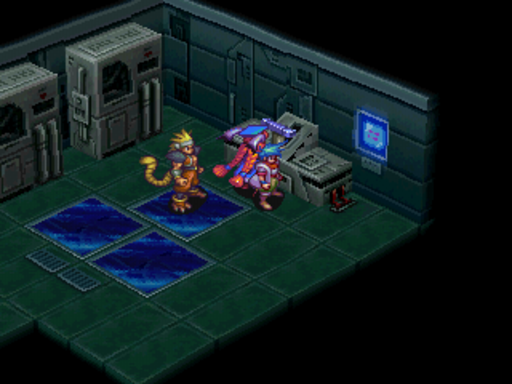
This place is totally abandoned, save for a few machine soldiers scattered around.
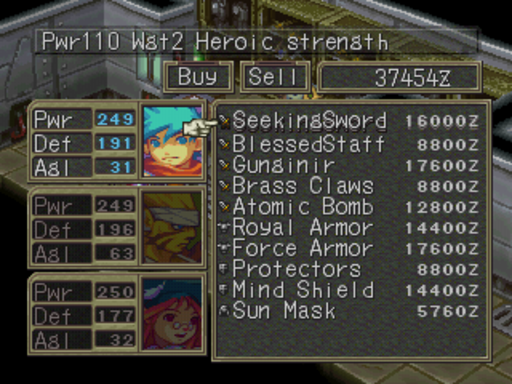
And this is the final equipment shop. The Atomic Bomb is Momo's ultimate weapon with a whopping 198 power. Everything here is worth buying, except the staff if you already have Nina's best weapon.
There's no one here. At all. It's kinda spooky.
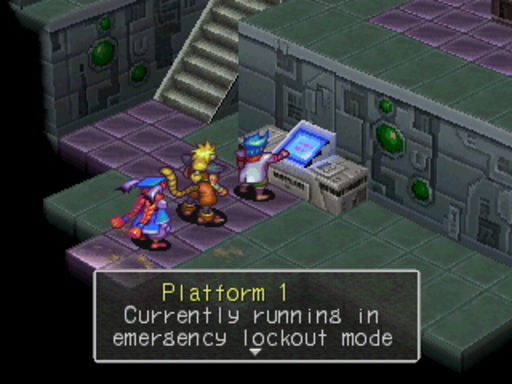
We don't know what this means, but being locked out can't be a good thing at this stage of the game.
Go in here to unlock it.
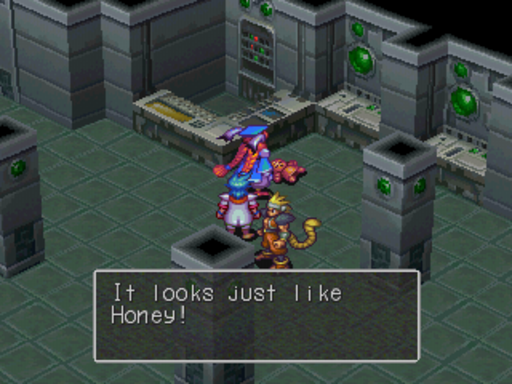
And find a Honey look-alike. Could Honey come from here?
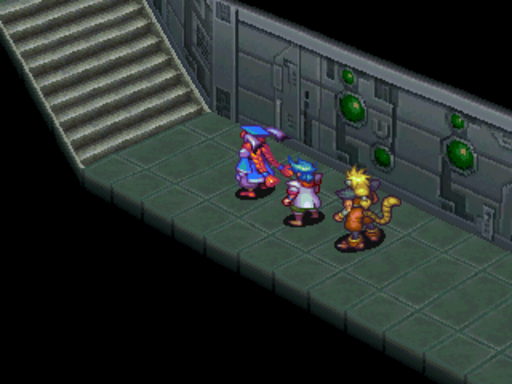
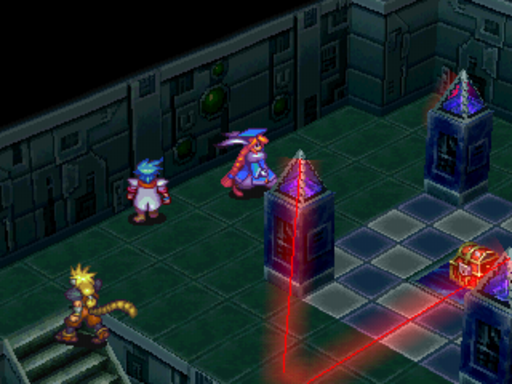
This area seems to be in better shape than the rest of the city.
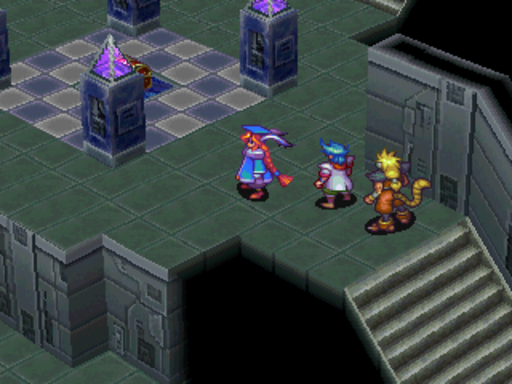
There's a treasure chest being guarded by laser beams.
But in a nearby room, we can dim the lights...
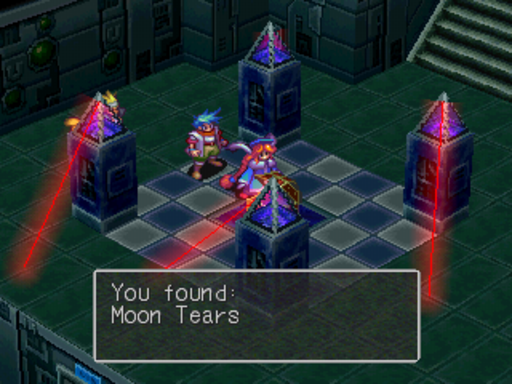
And maneuver around them for a much welcome Moon Tears.
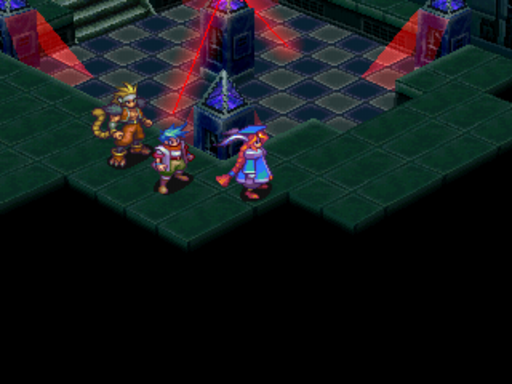
One more laser beam area.

And we're back outside. There's a nearby door.
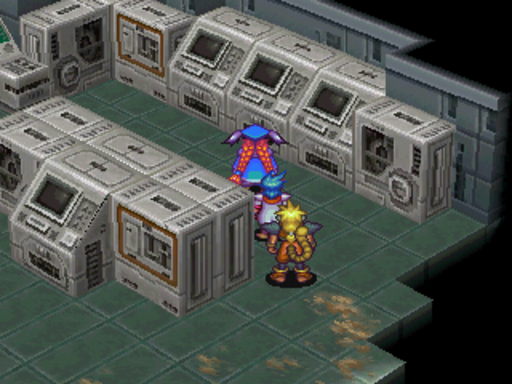
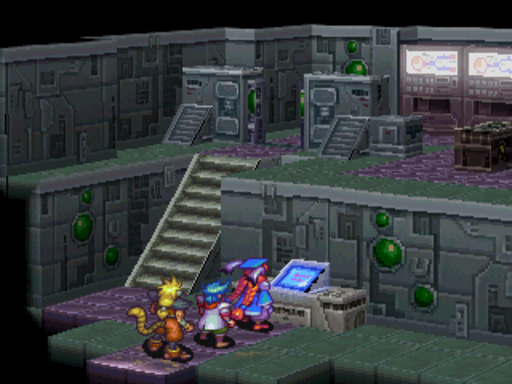
This room reminds me of the Techno Drome.
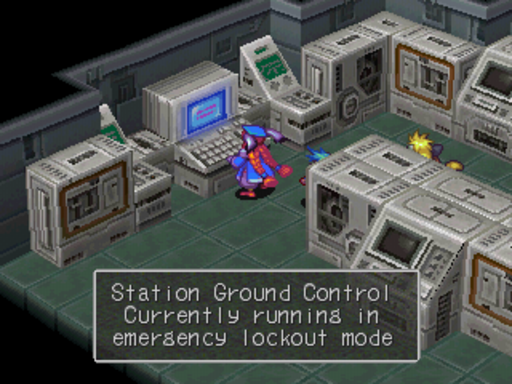
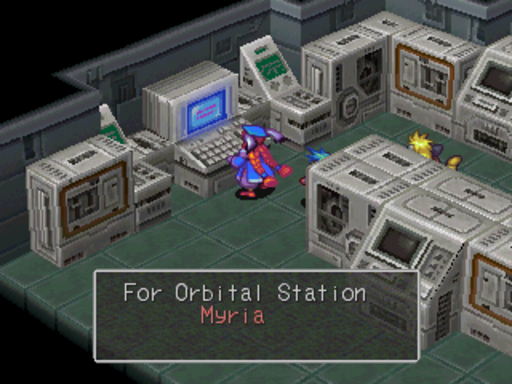
Orbital Station Myria?
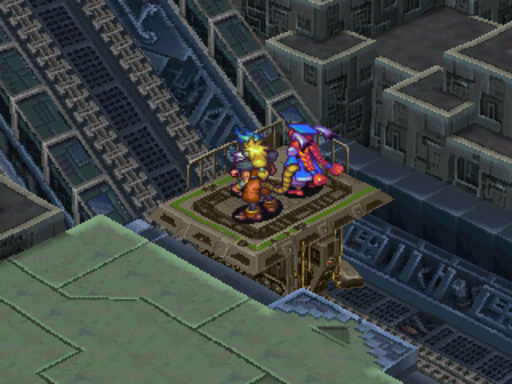
Well now the gate is unlocked, so let's go back.
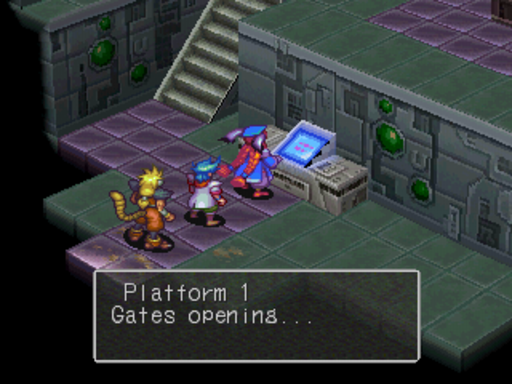
And now the gate is open.
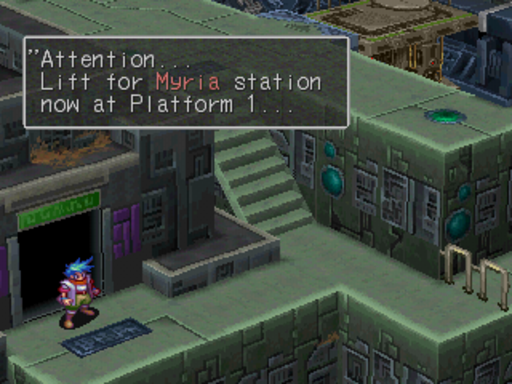
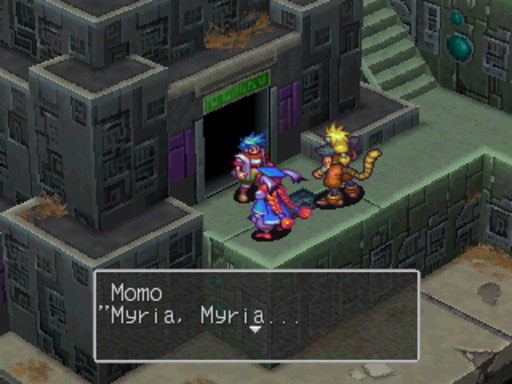 : Myria, Myria... I keep hearing that name... Is that supposed to be God?: I guess we'll find out soon enough, eh?
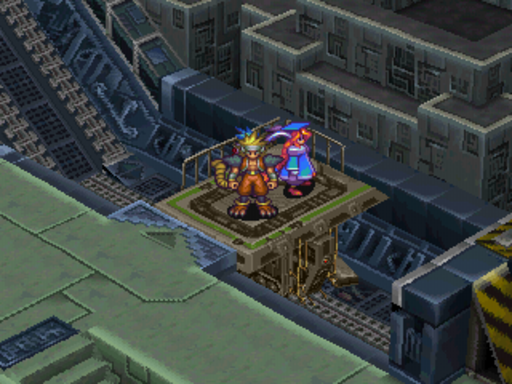
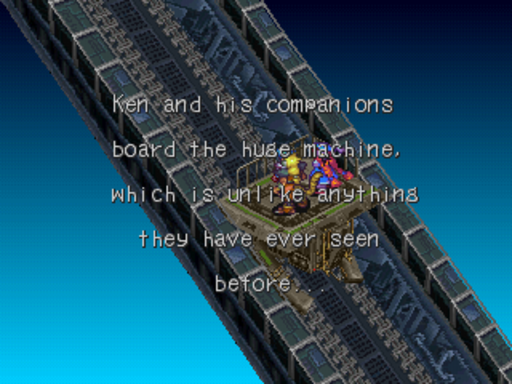
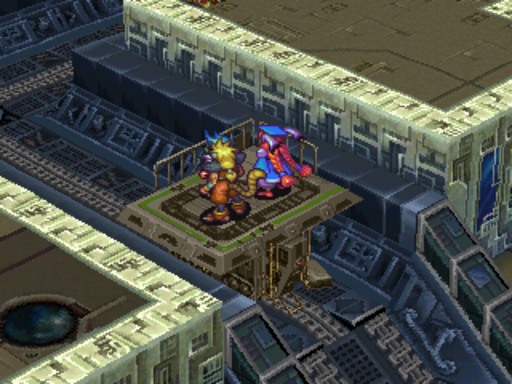
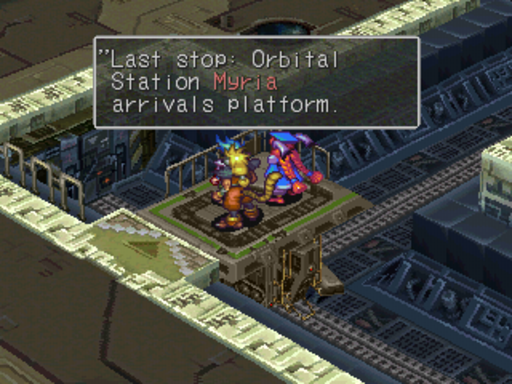
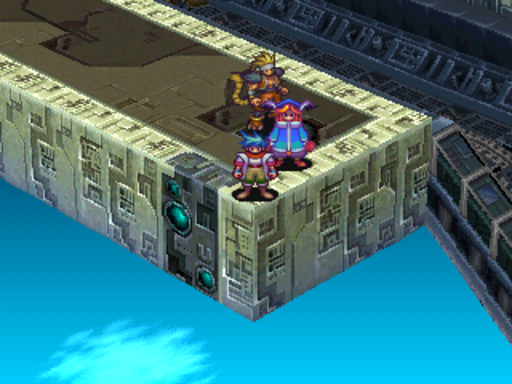
...We are really, really high up. But now we're at Myria Station, the final dungeon of the game.