Part 97: There's no Time to Waste! (Finishing Up)

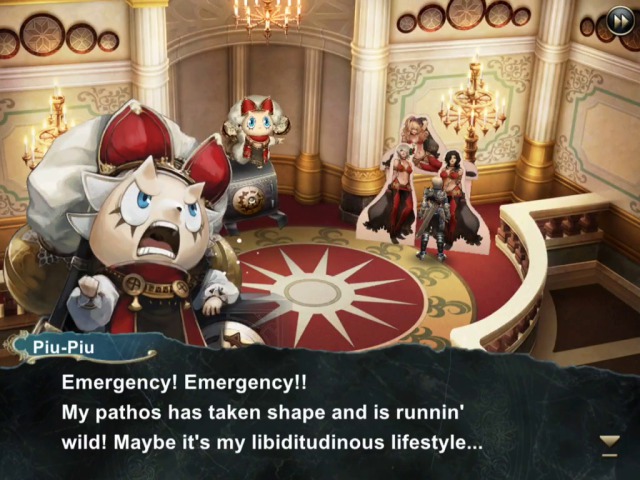
Last time we did more sidequests, most of which seemed to involve Piu-Piu in some way or other. This time we'll finish the few that still remain; they are all fights against strong bosses, but wrapped in nicely humorous vignettes, in my opinion. As before, the friendly warning about Piu-Piu perv levels, which are still at DEFCON-1 for this update (wait till you see the boss of the last sidequest!).
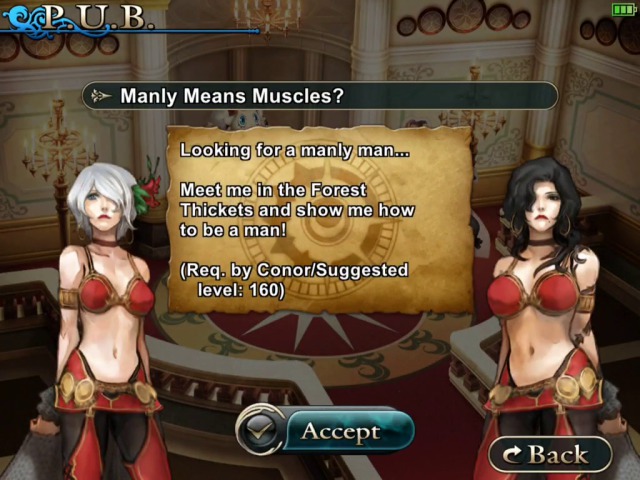
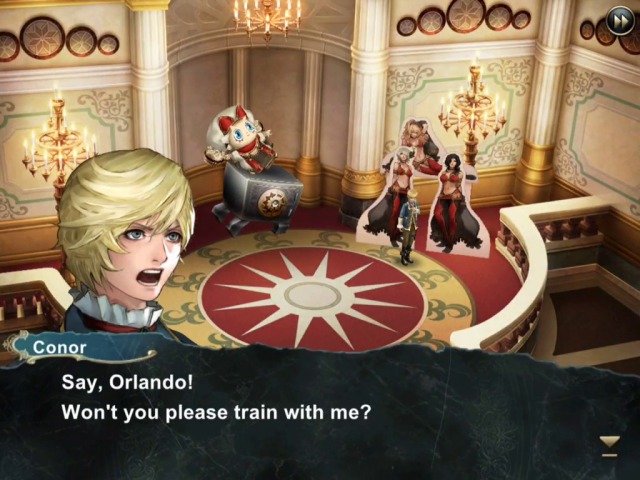
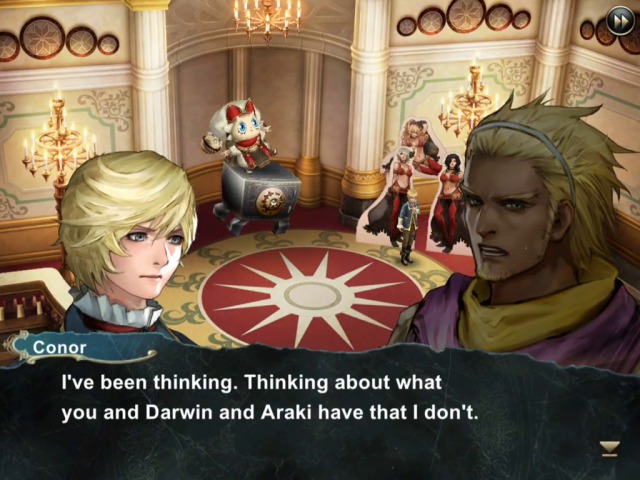
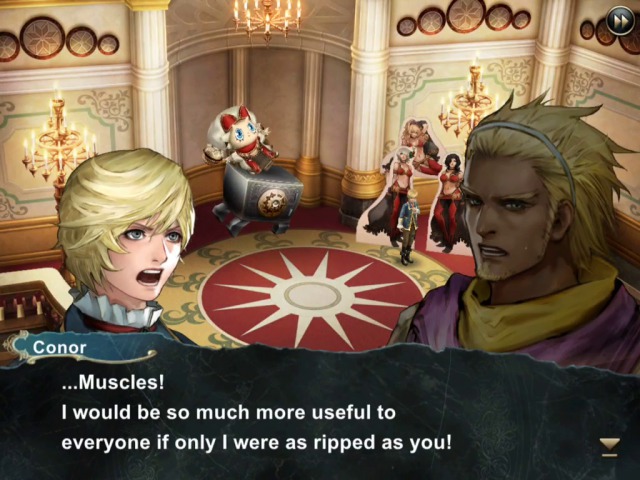
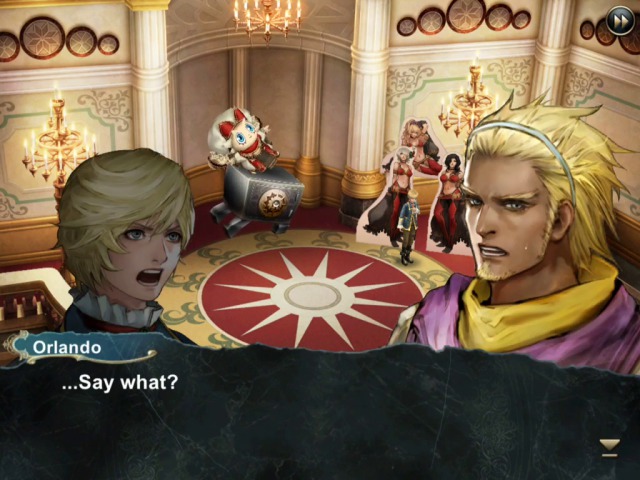
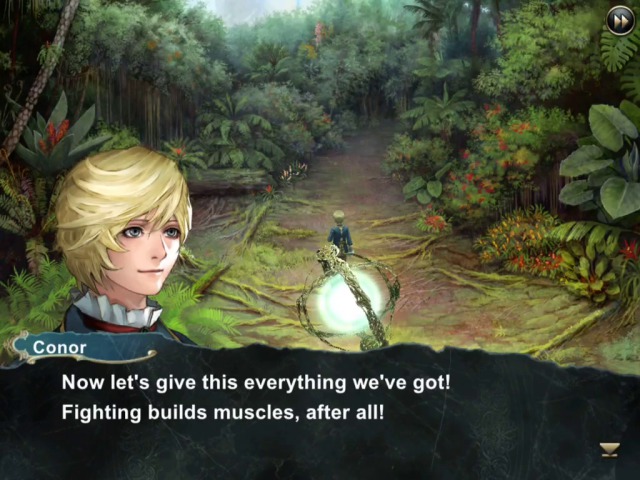
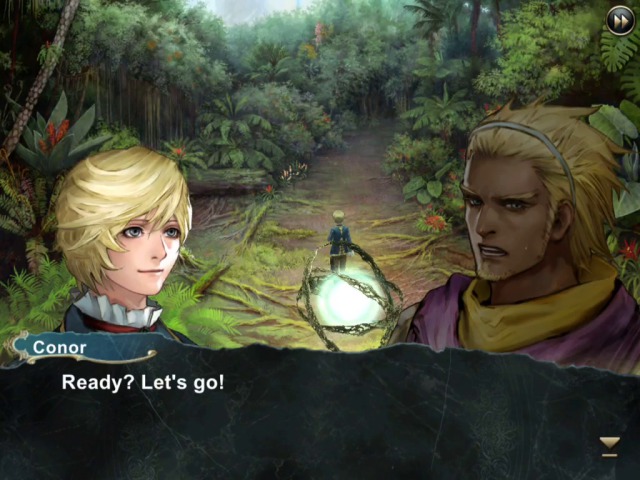
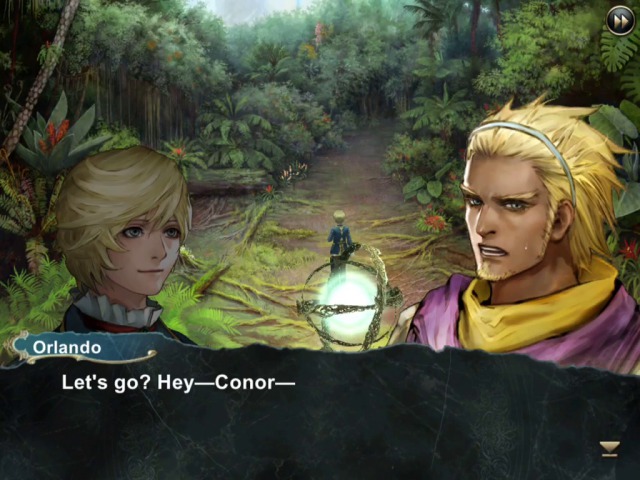
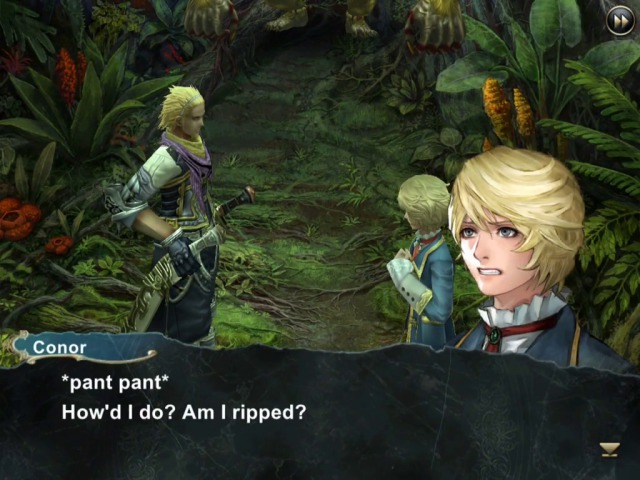
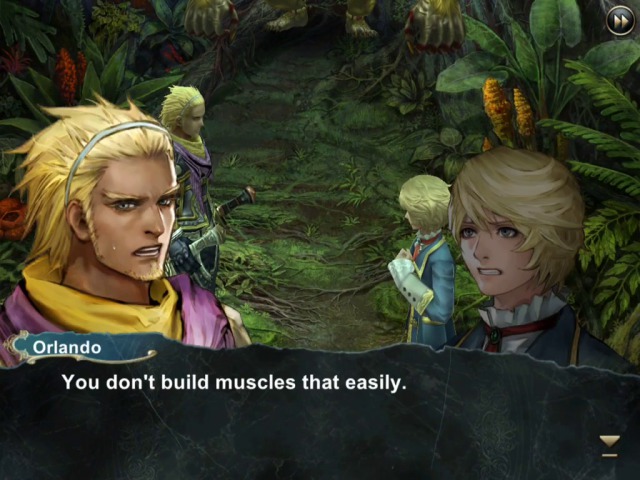
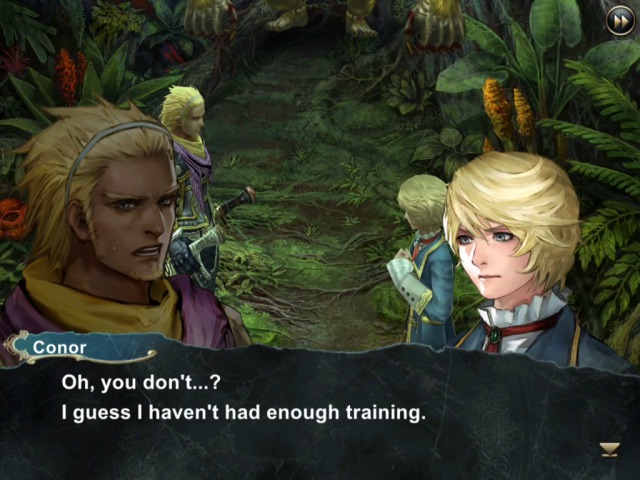
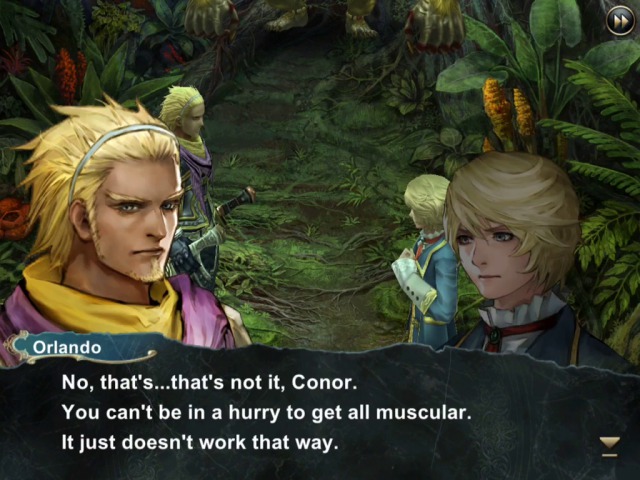
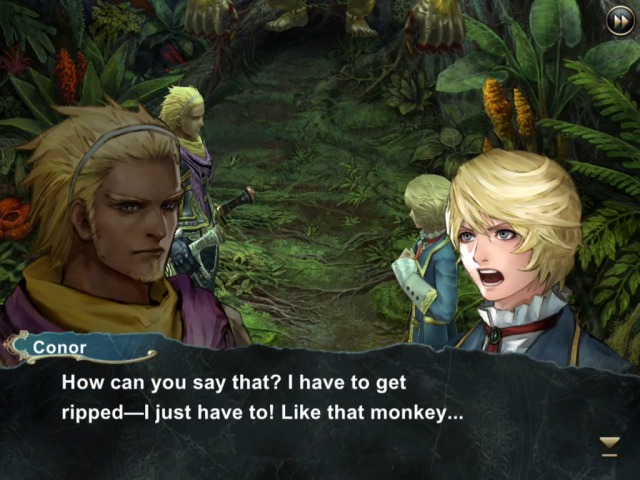
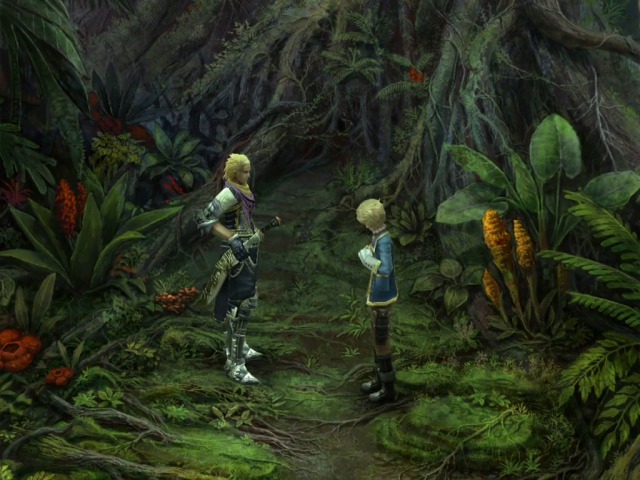
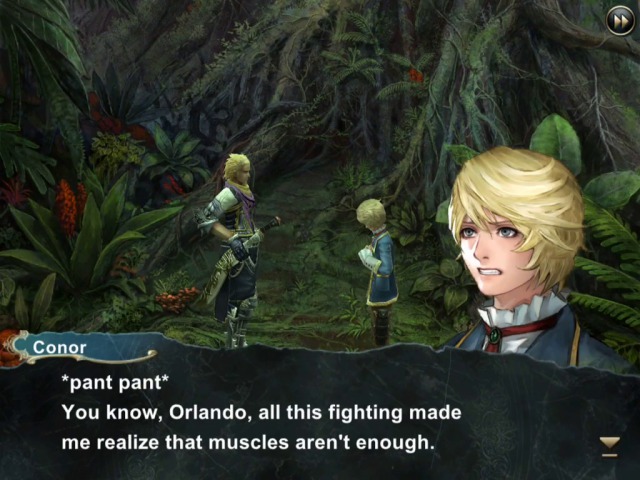
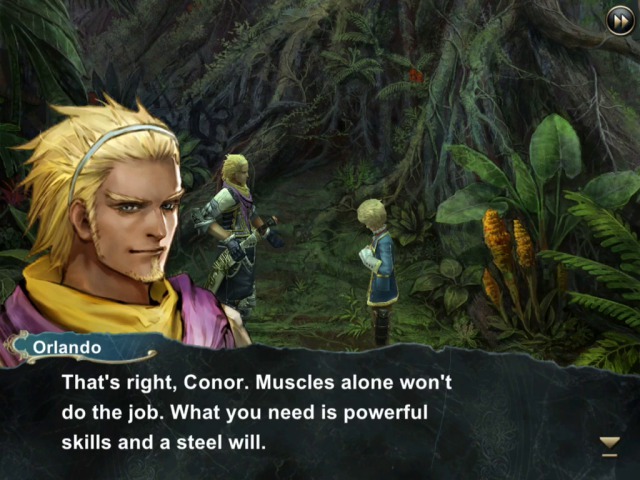
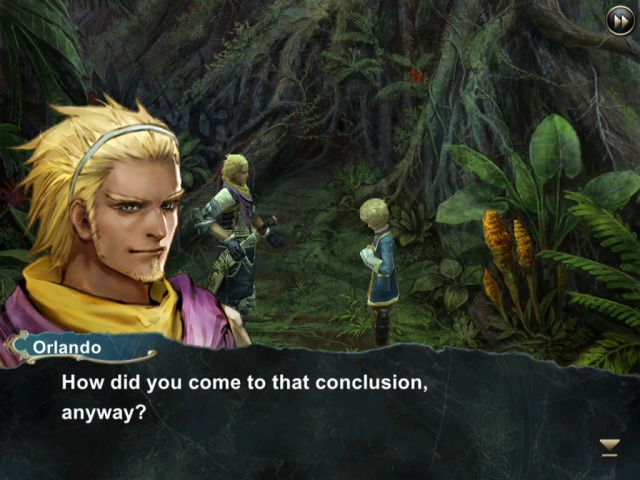
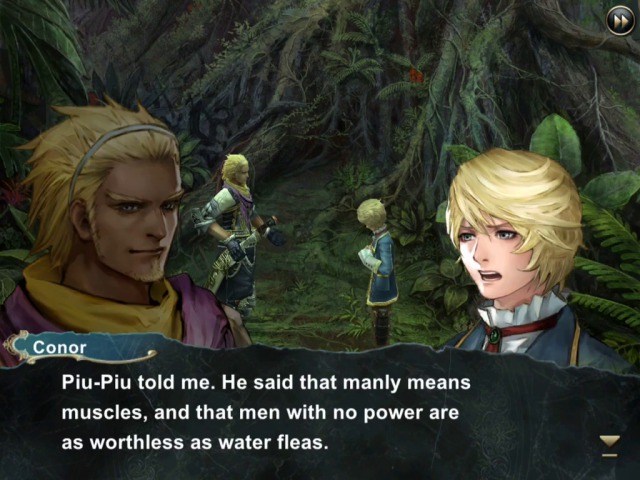
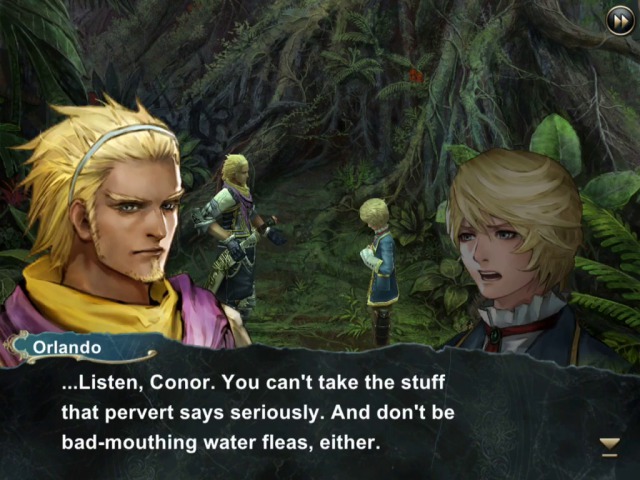
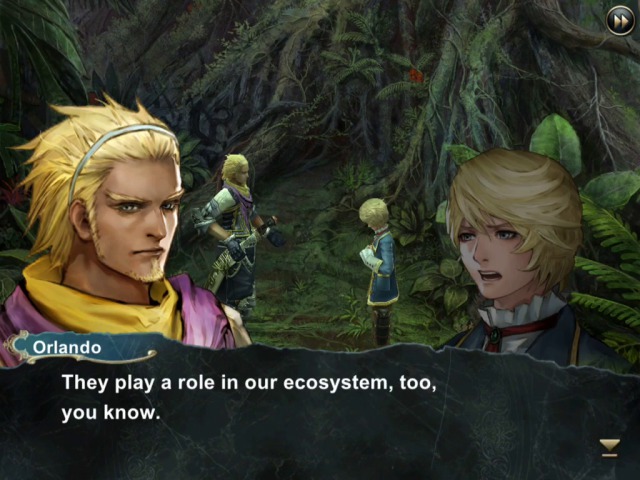
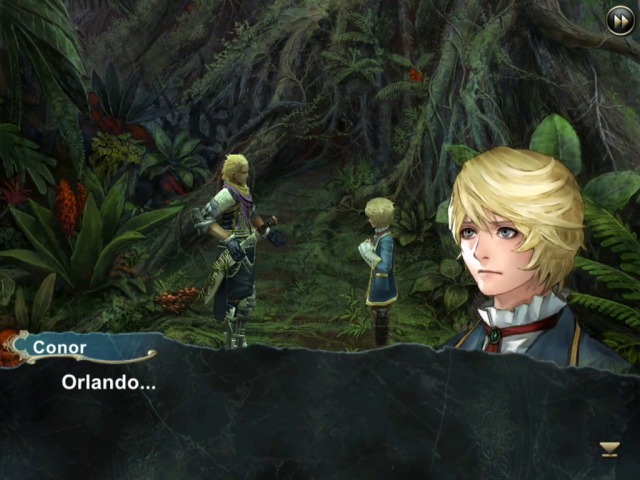
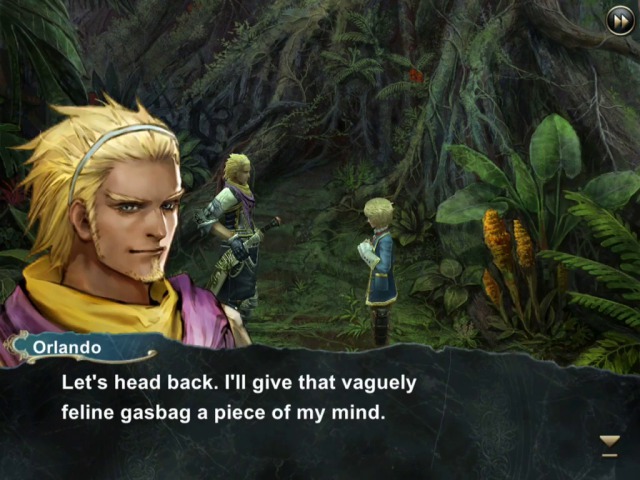
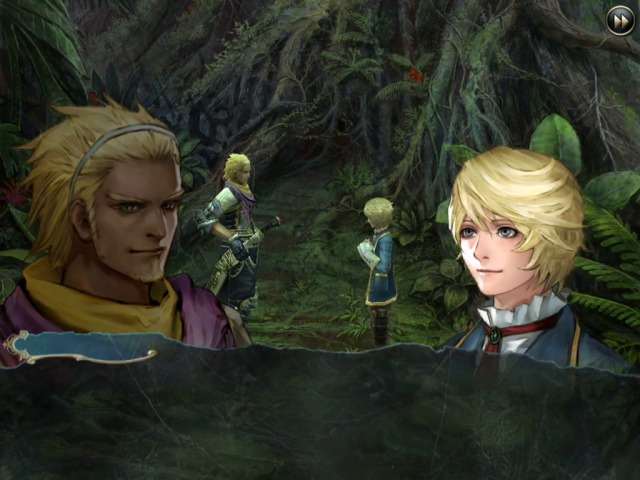
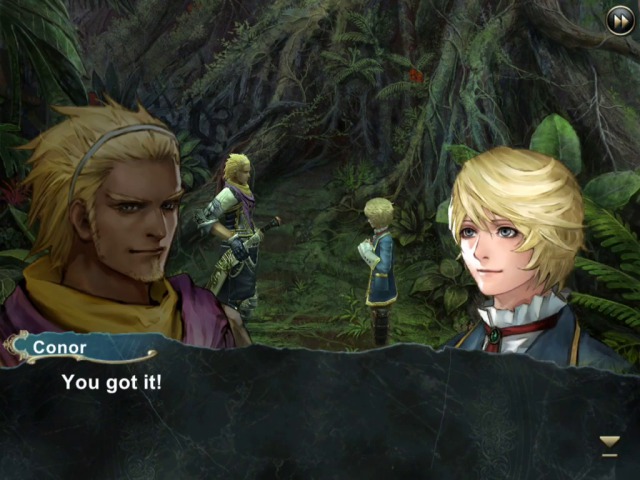
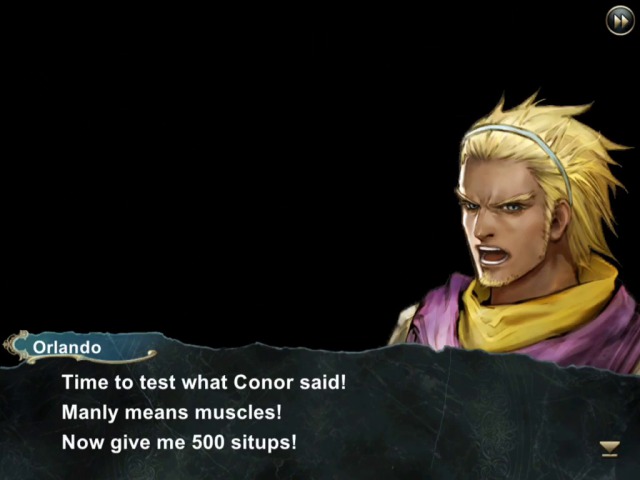
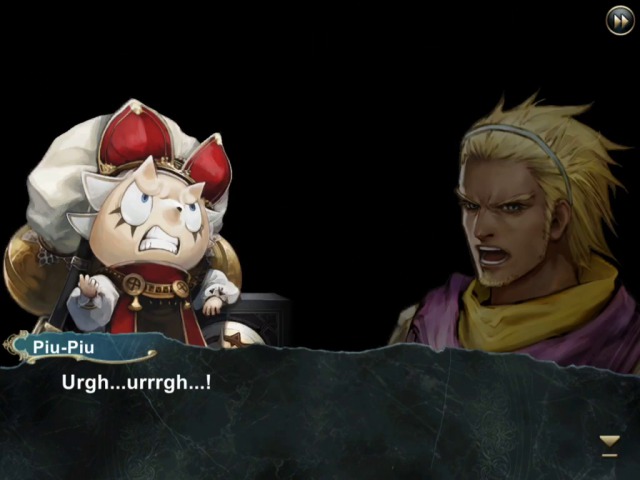
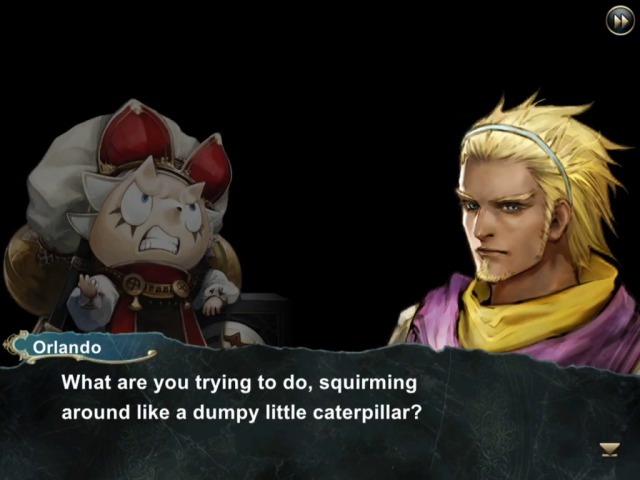
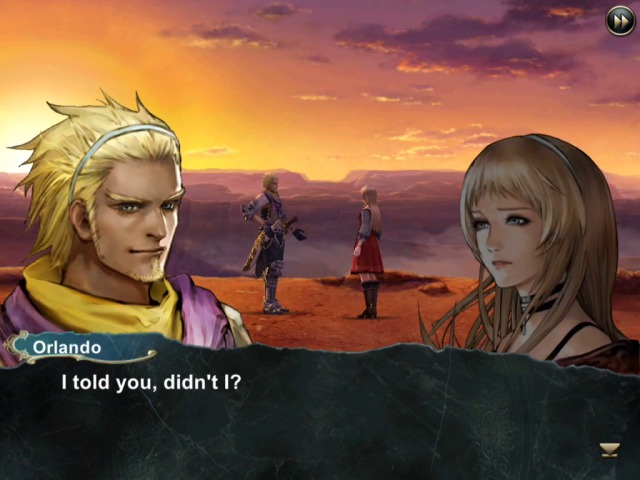
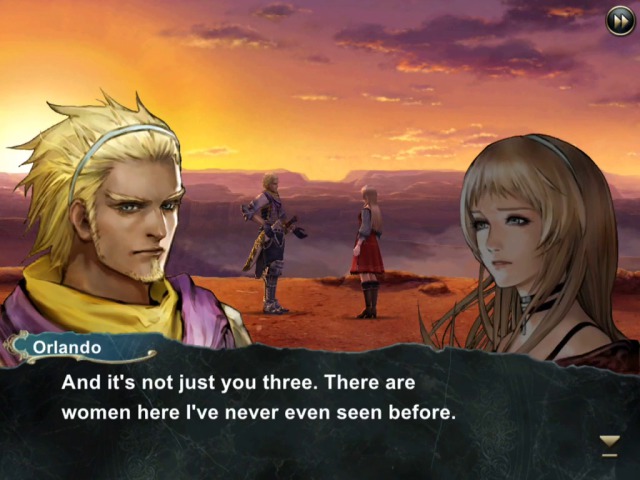
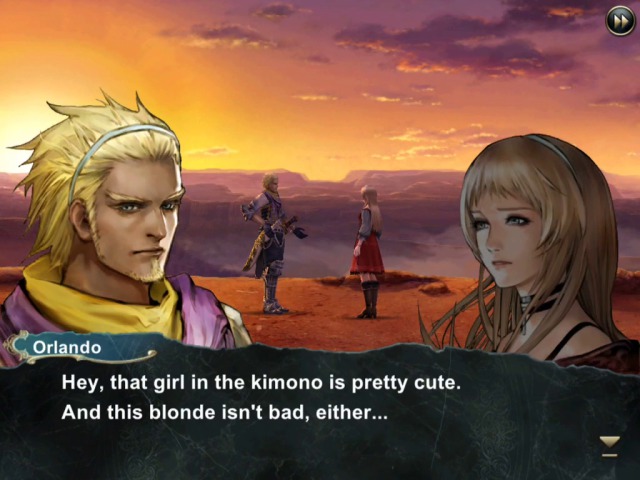
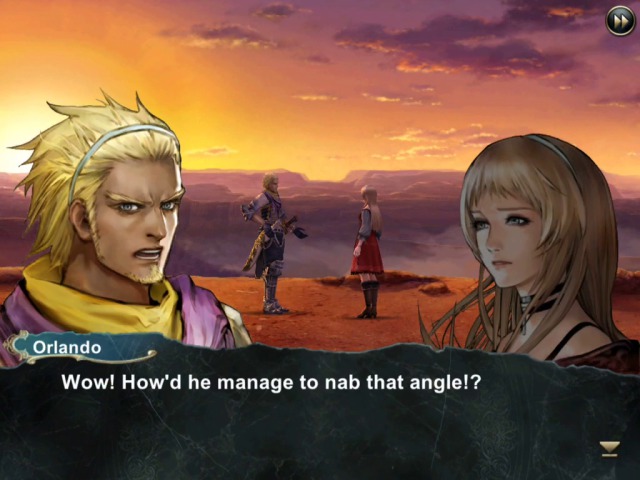
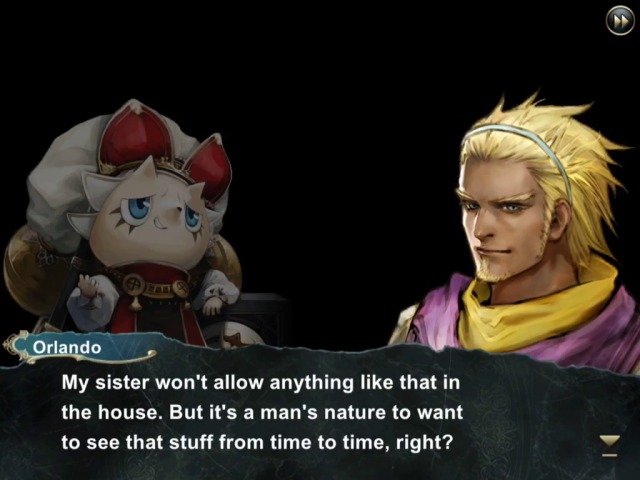
The first one involves Conor wanting to be a manly man. Helping him is Orlando, of all people (this is another one where we can't choose which characters we use).
For the record, in all quests in this update, Marie and Darwin are at level 200 (the highest you can achieve in this game) and other characters are around 180.

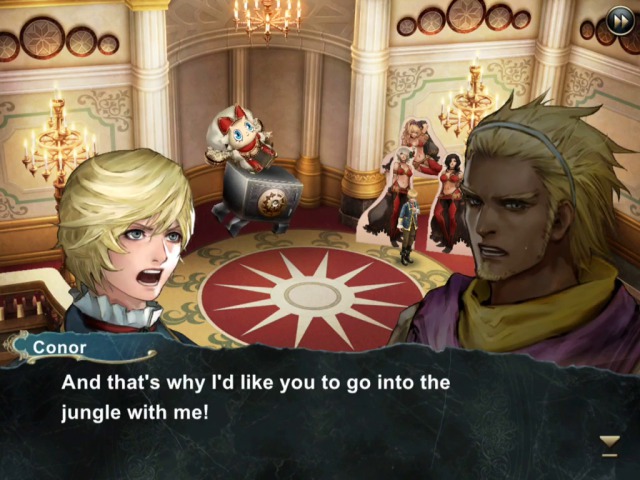

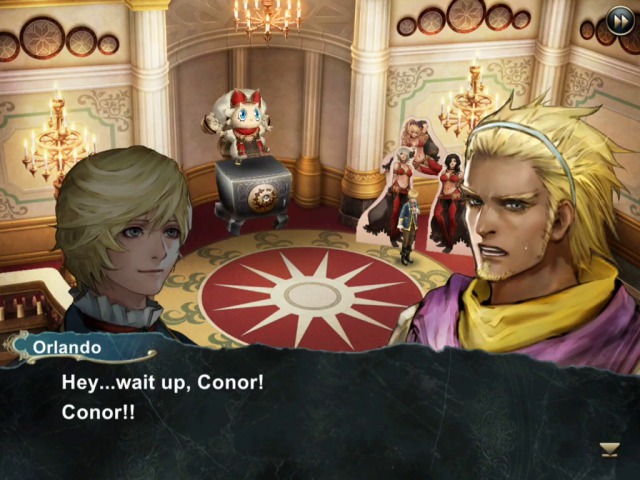
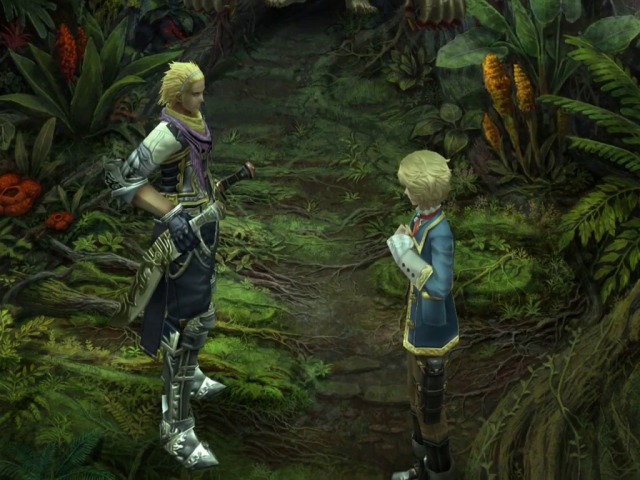
This kid has a tendency to run off!

And again.
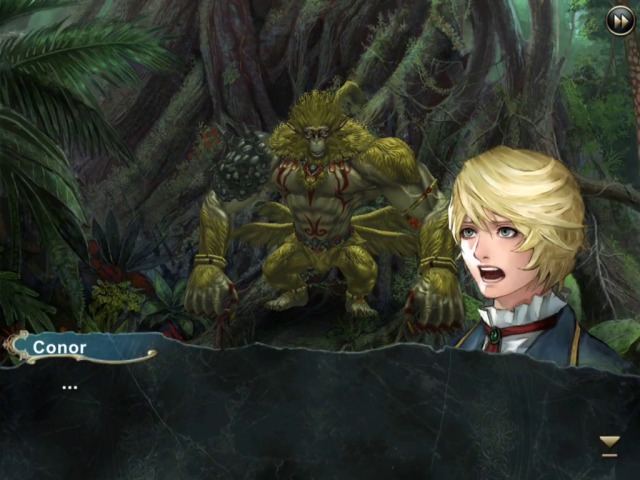
Which monkey?
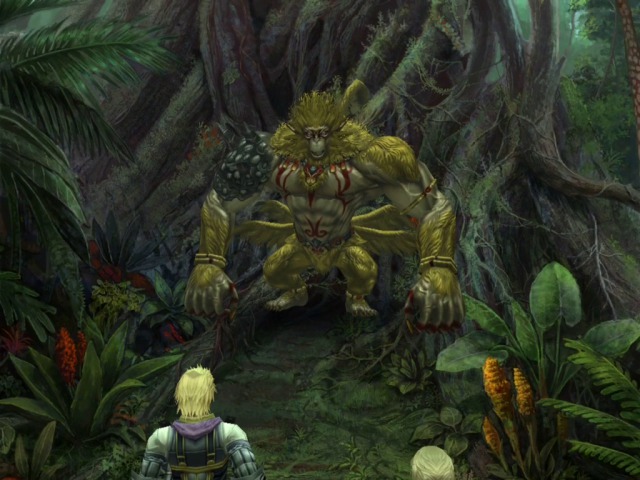
Oh, that one.
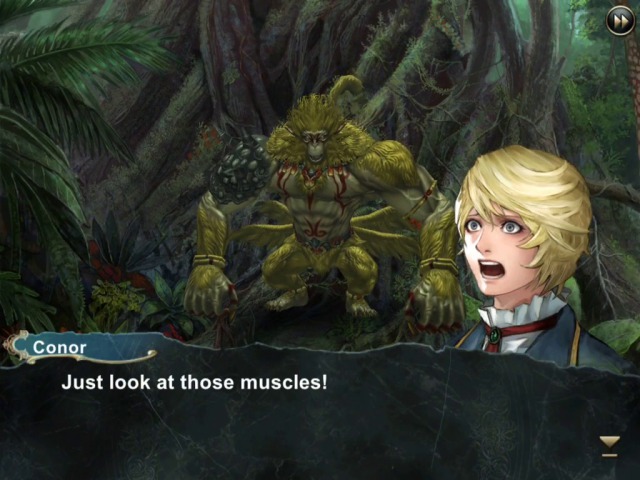
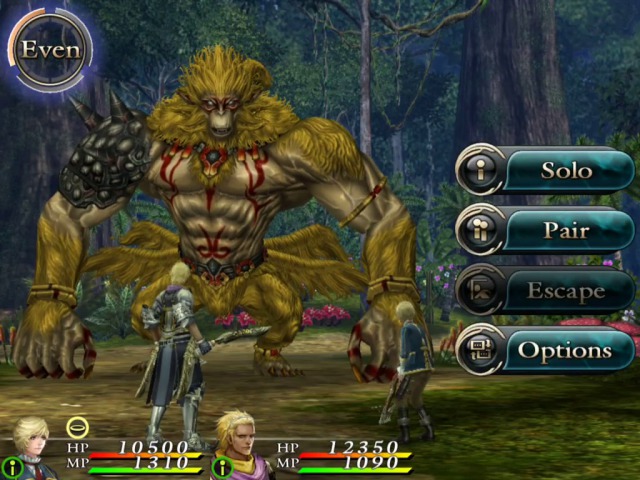
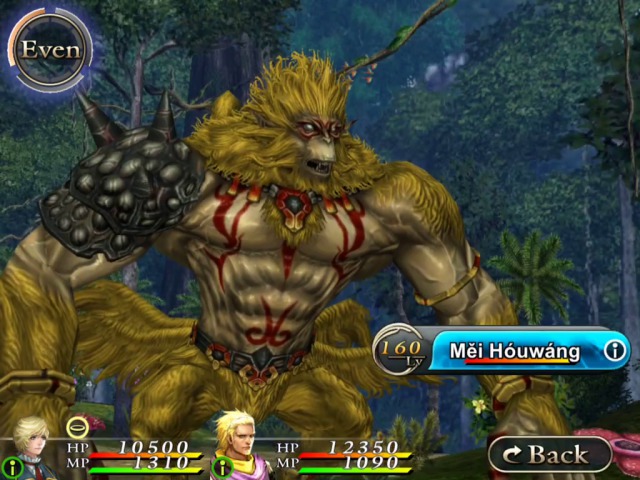
Well, nothing to do but to fight him.
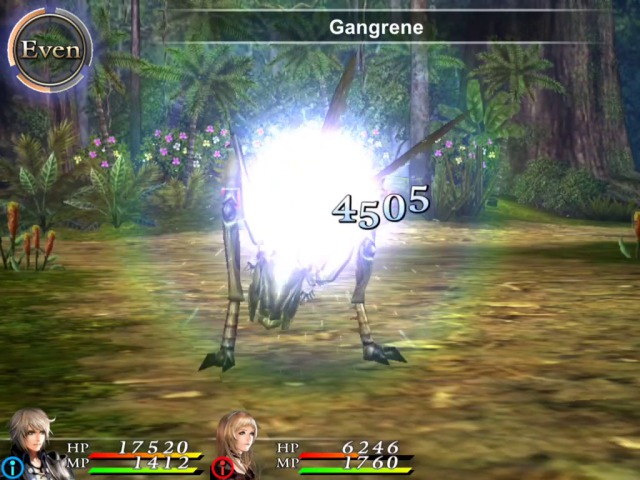
He hits stupidly hard, but doesn't have any special magic powers, like all monkeys we encountered so far.


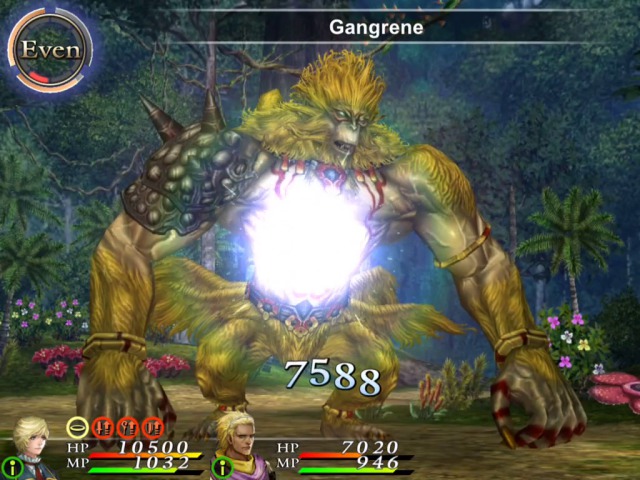
Obviously the best way to start is to spam Gangrene (this is a stronger version of Necrosis, which comes on one of the Horsemen sopia--it deals 20% of HP damage as opposed to 15%, so not bad, especially on high HP bosses!).
When he's not being pummelled, Conor will be (trying to) help with healing and assorted duties, I don't even bother trying to attack with him.
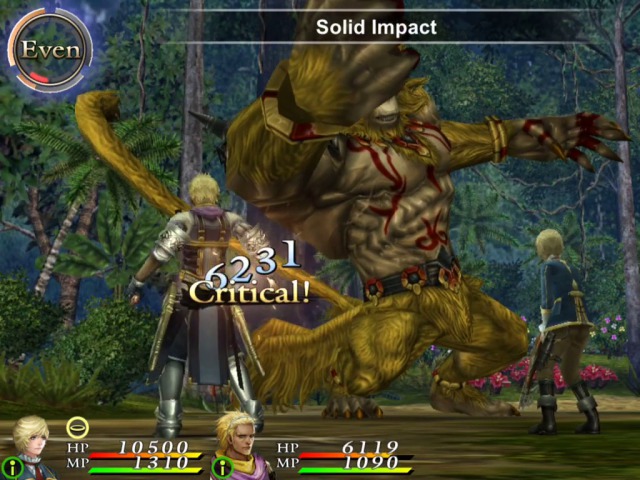
Orlando's limit break can finish this nicely.
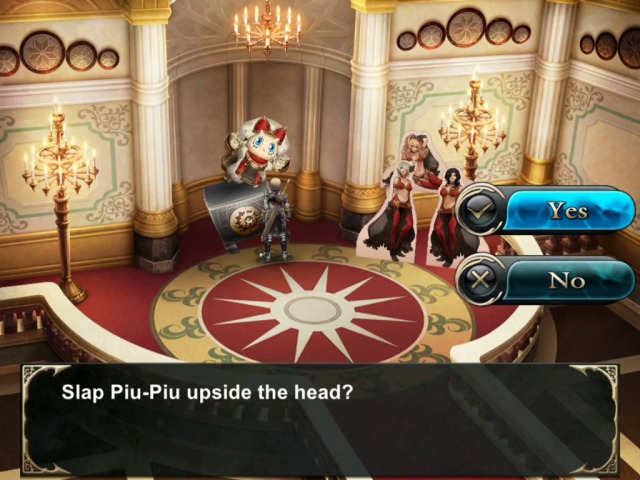
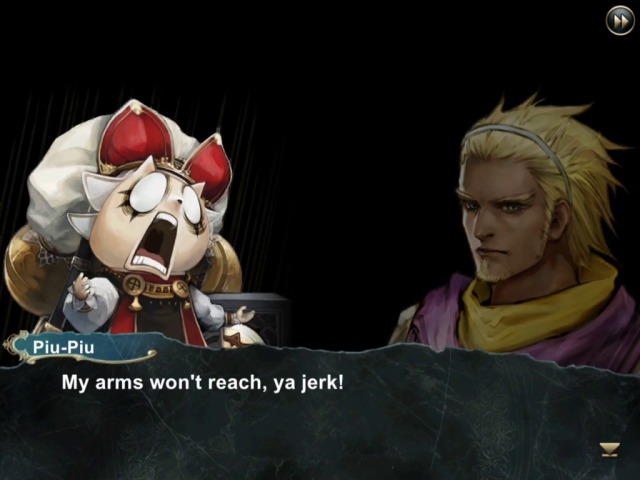
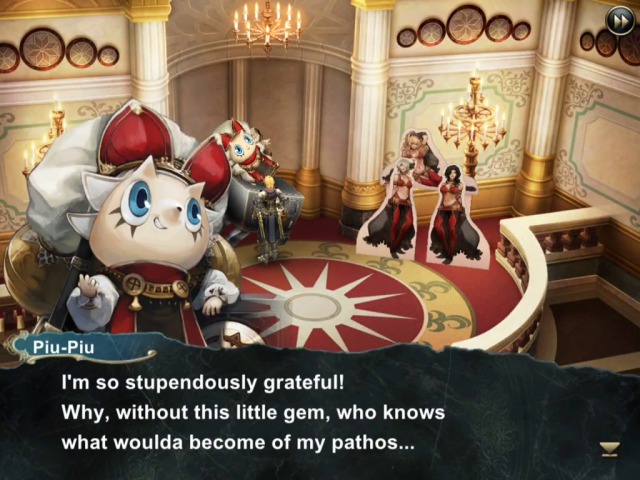
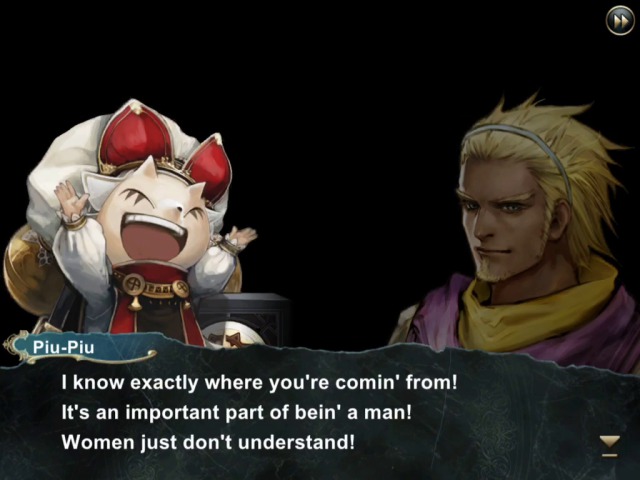
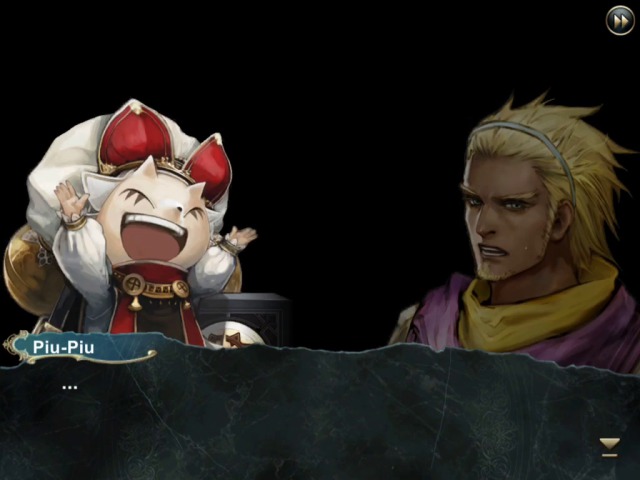
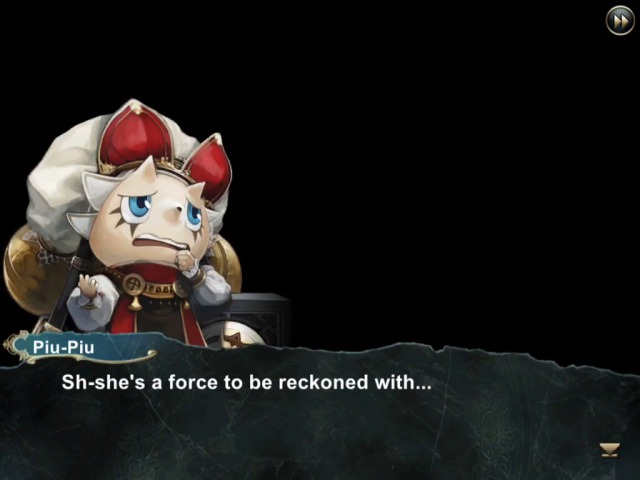
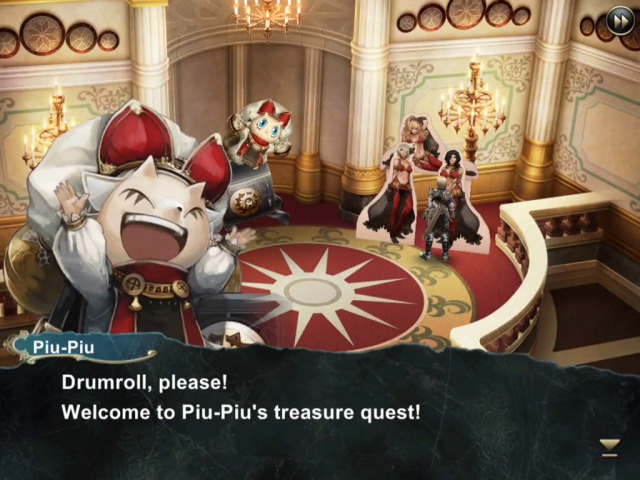
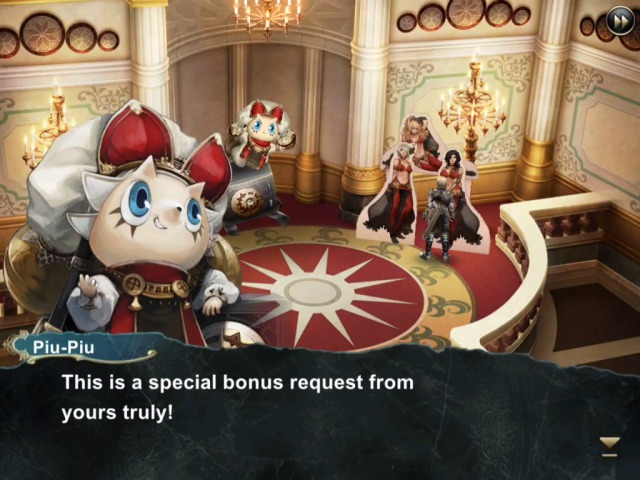
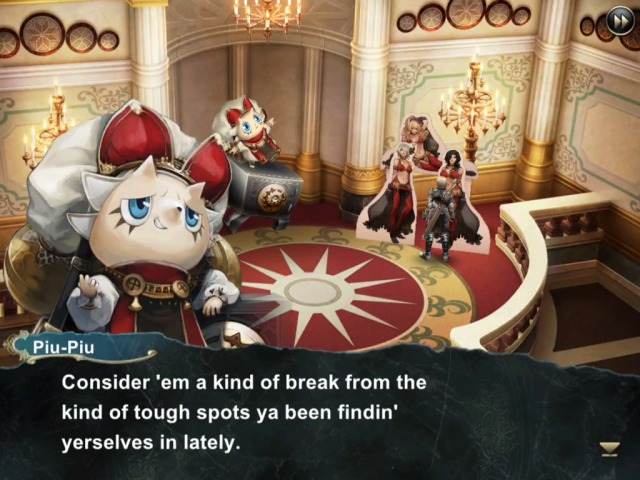
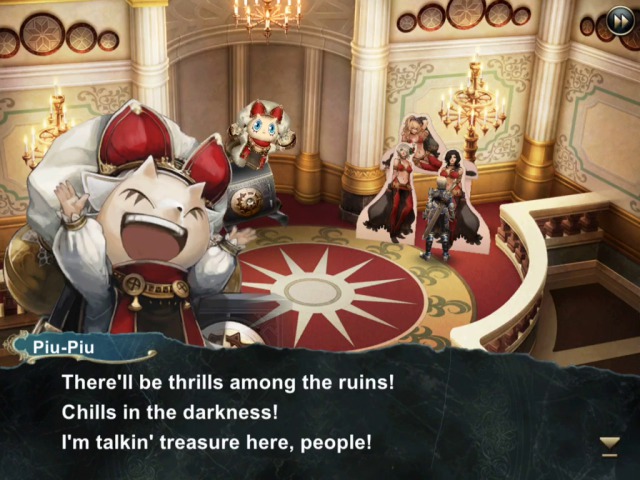
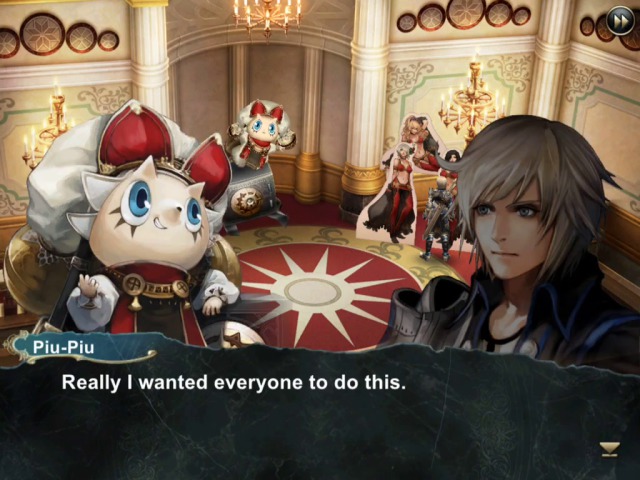
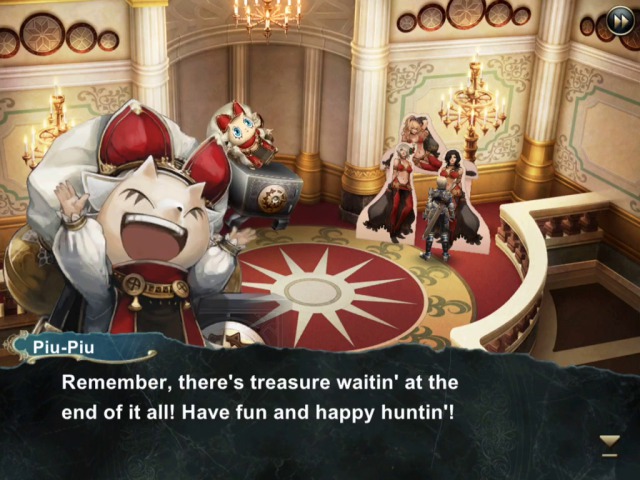
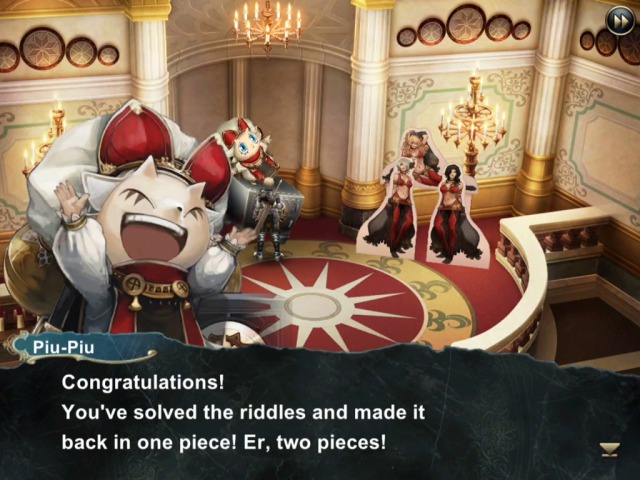
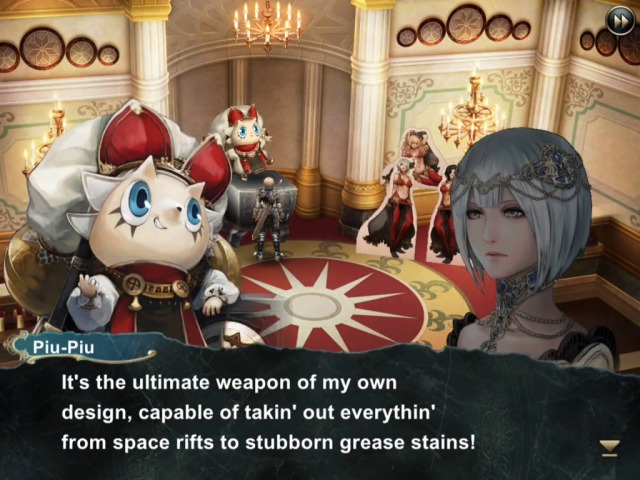
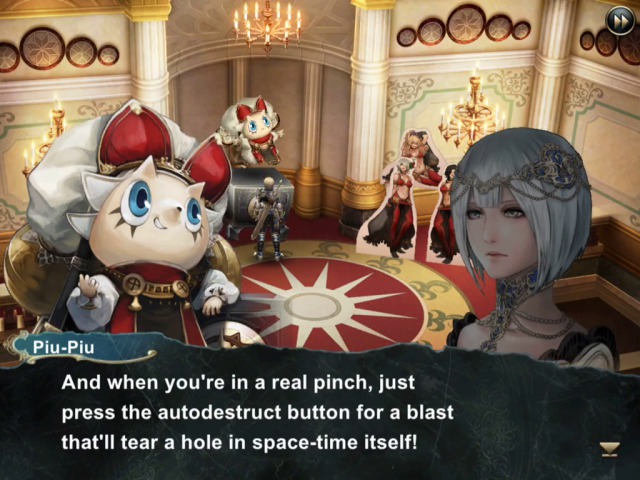
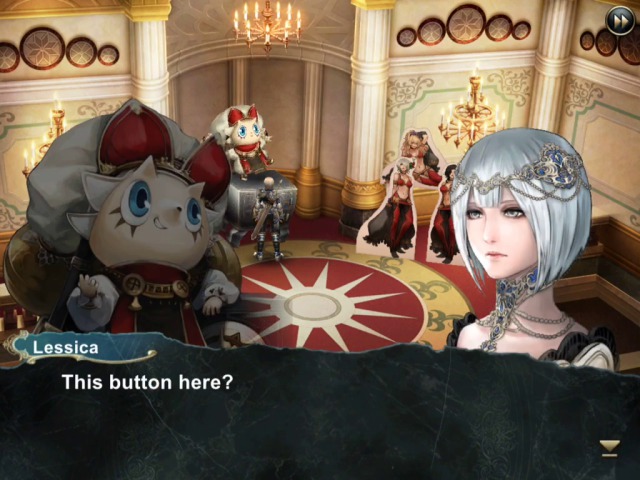
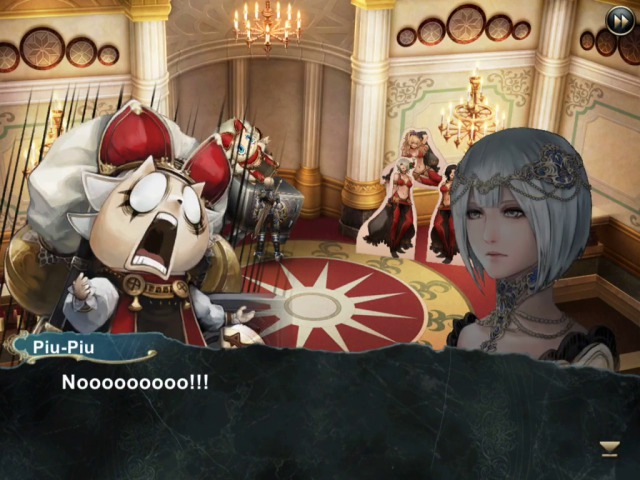
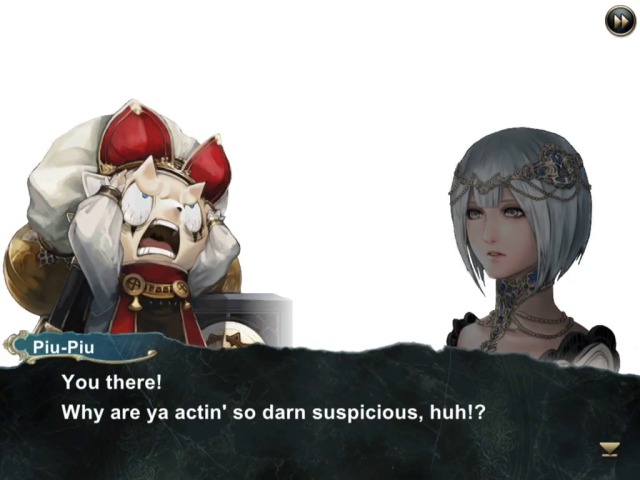
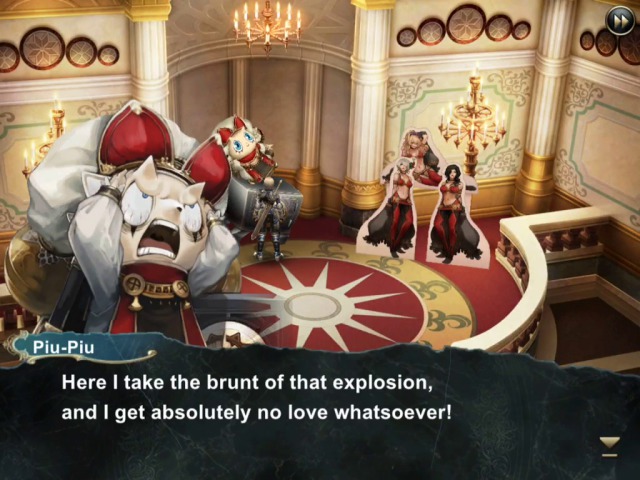
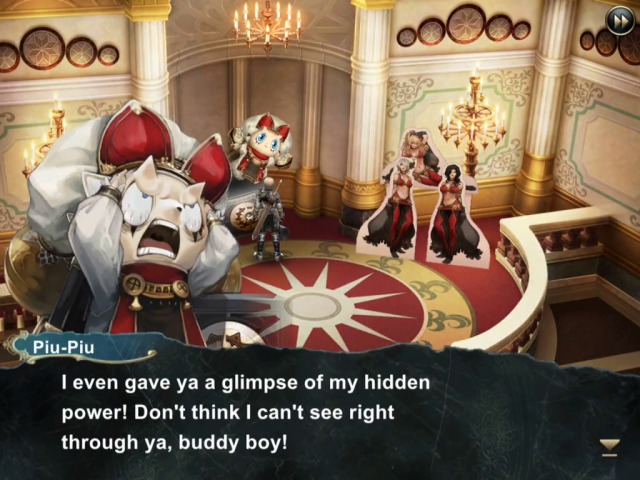
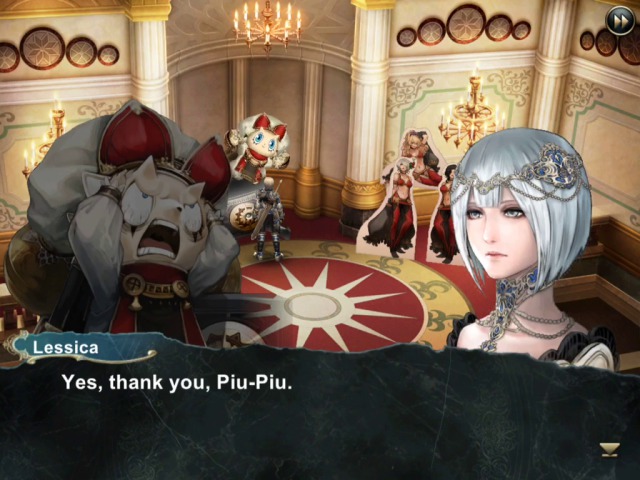
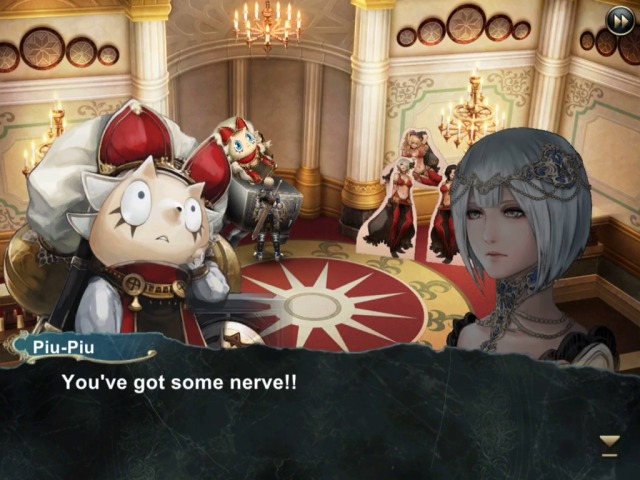
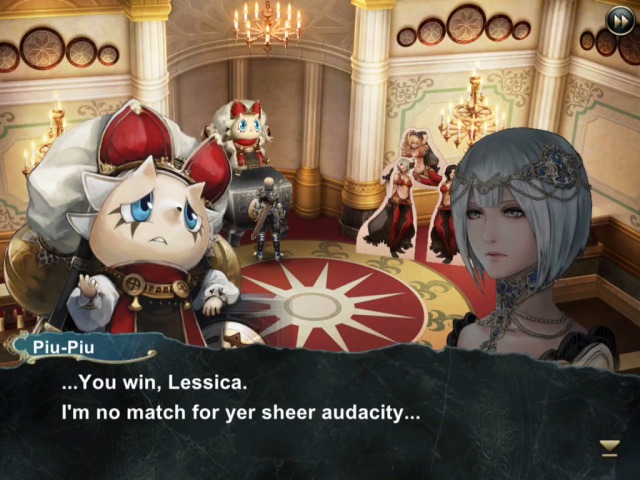
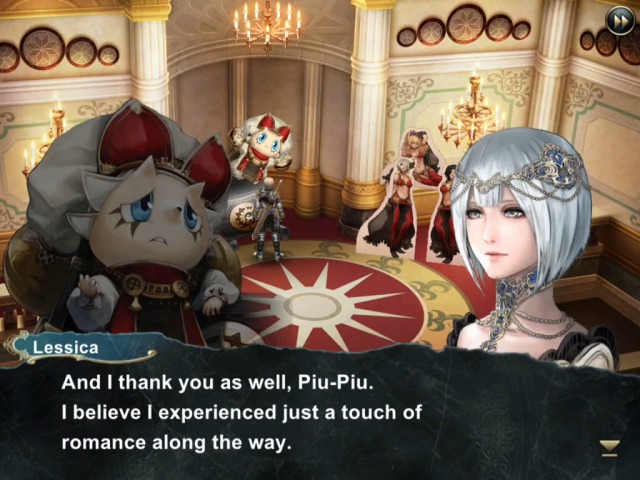
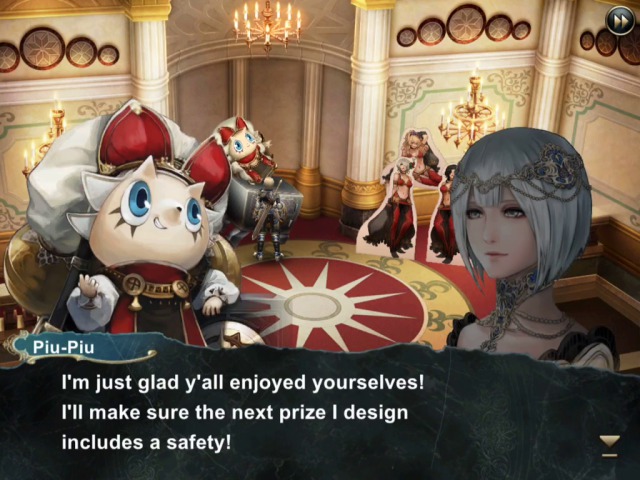
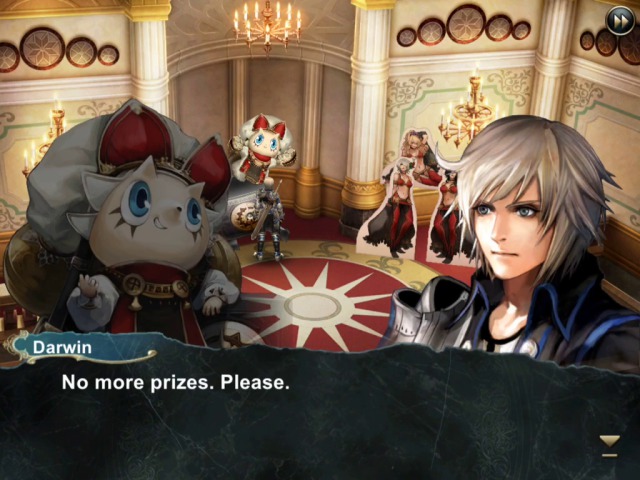
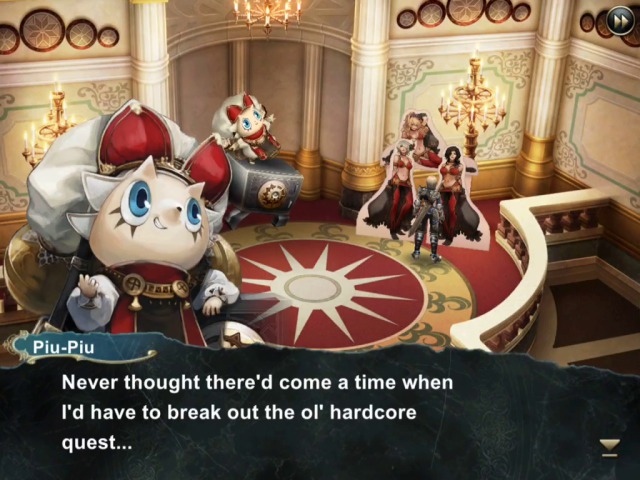
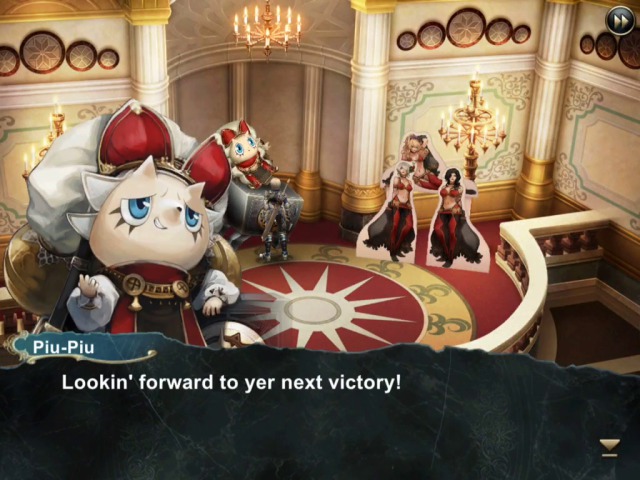
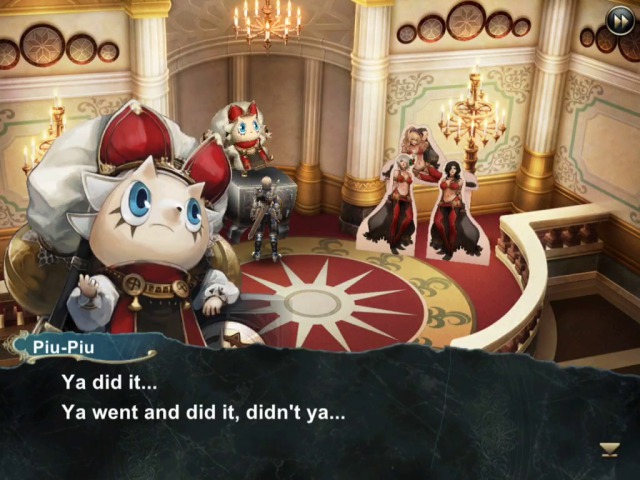
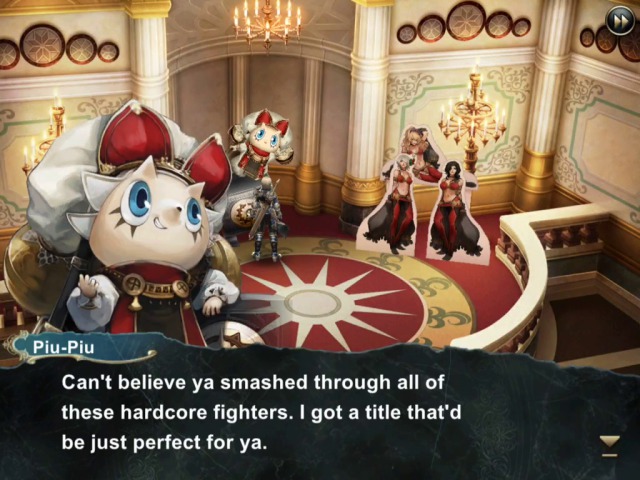
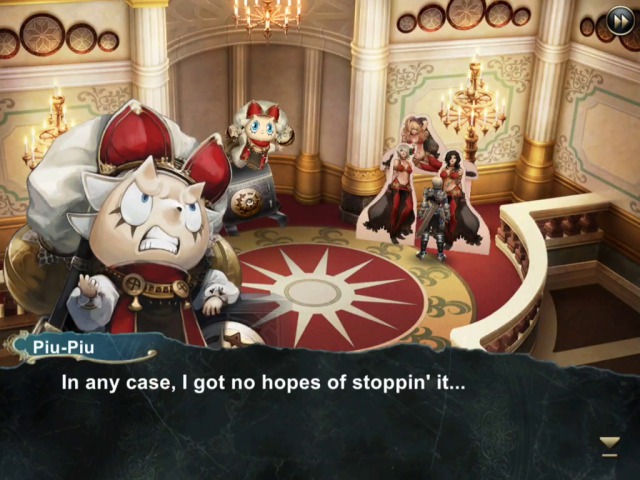
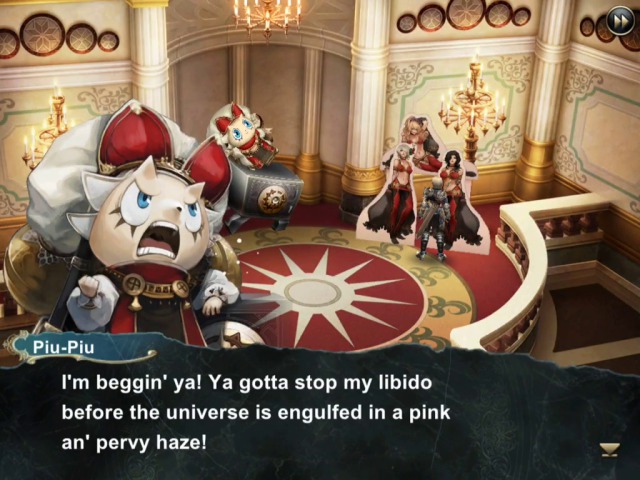
Let's just quickly discuss this situation with Piu-Piu...
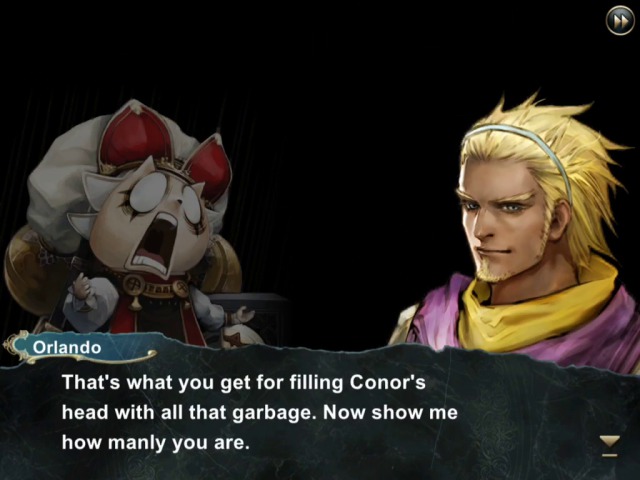
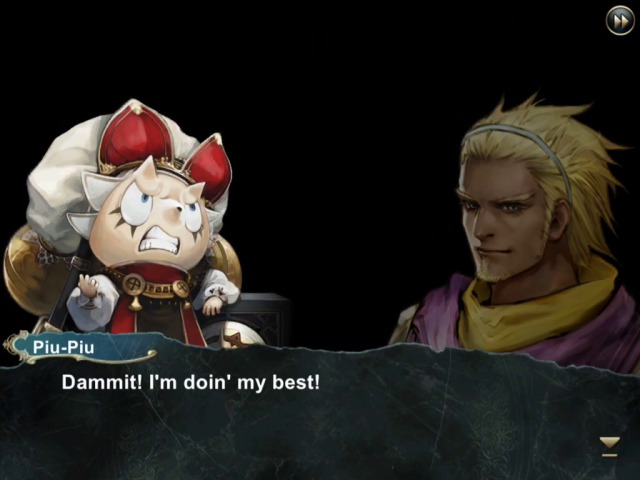
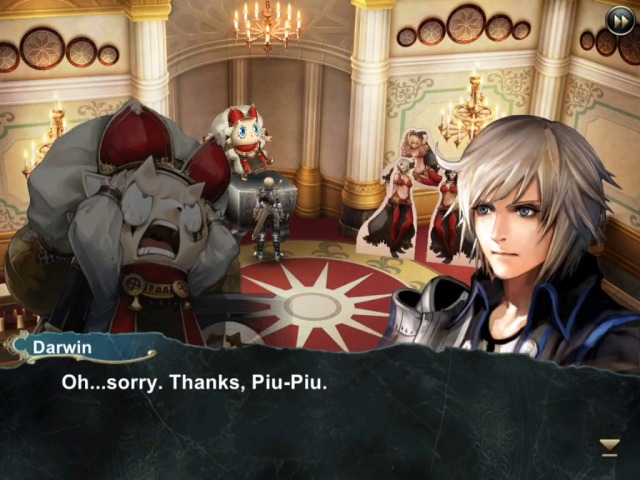
Awesome.
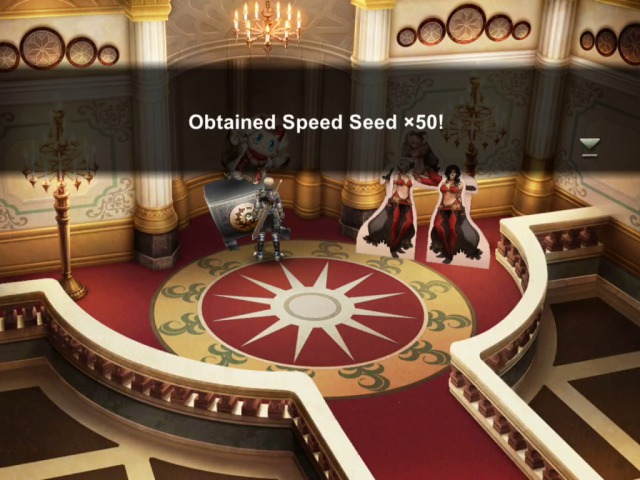
This is our reward. Each seed is +3 in the corresponding stat, so this is in total +150 which I immediately give to Darwin, of course.
* * *
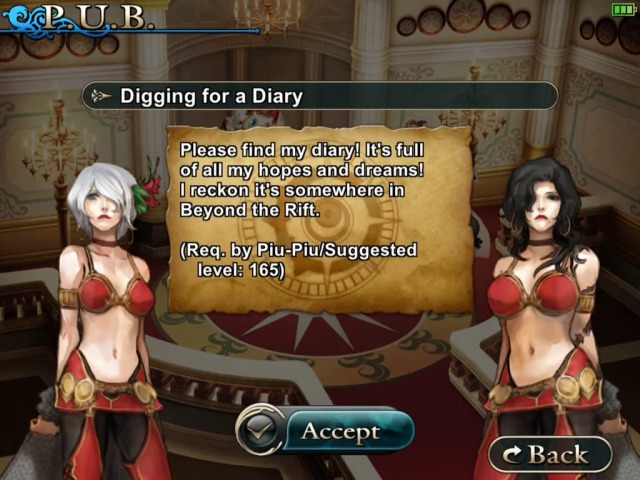
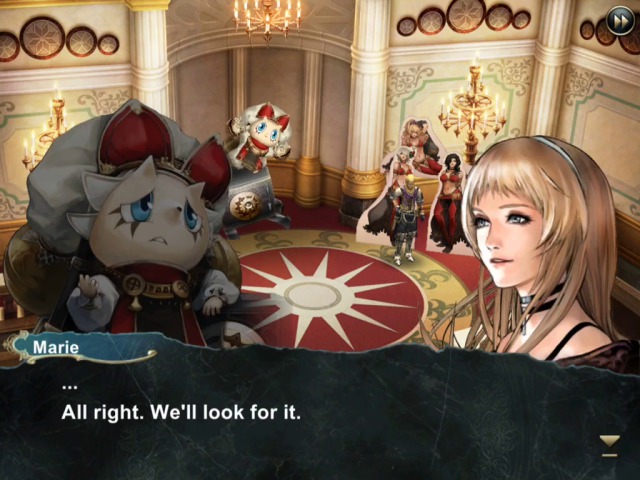
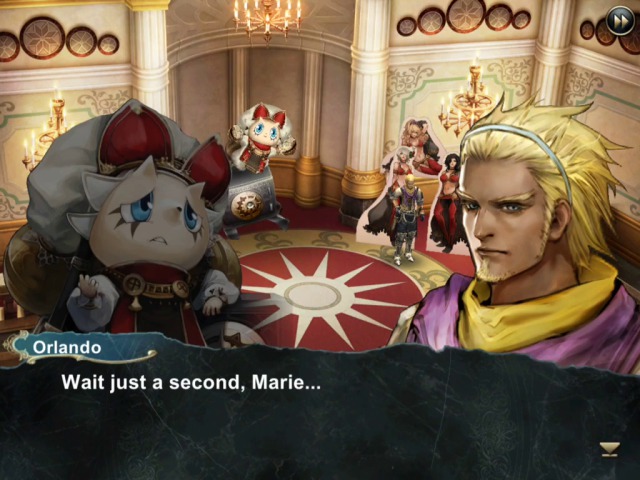
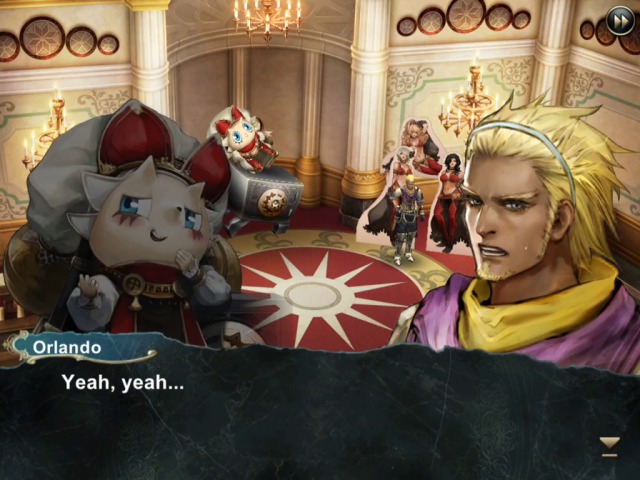
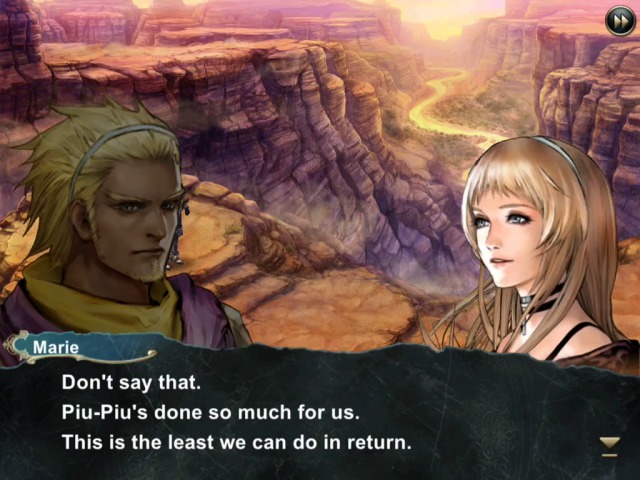
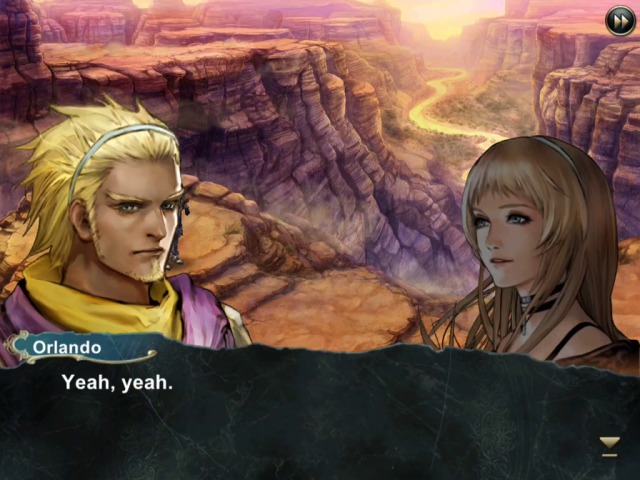
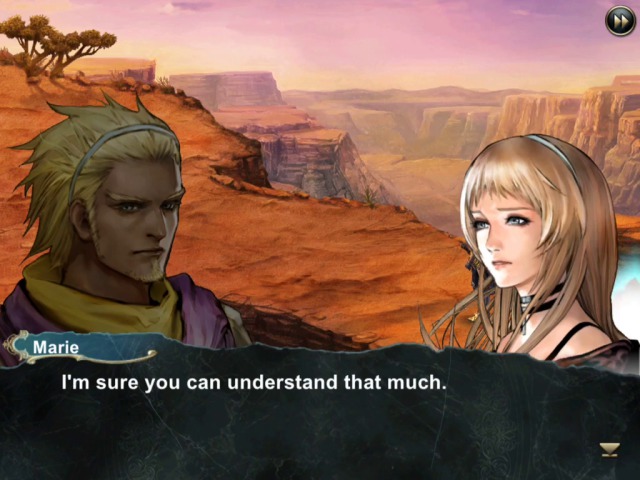
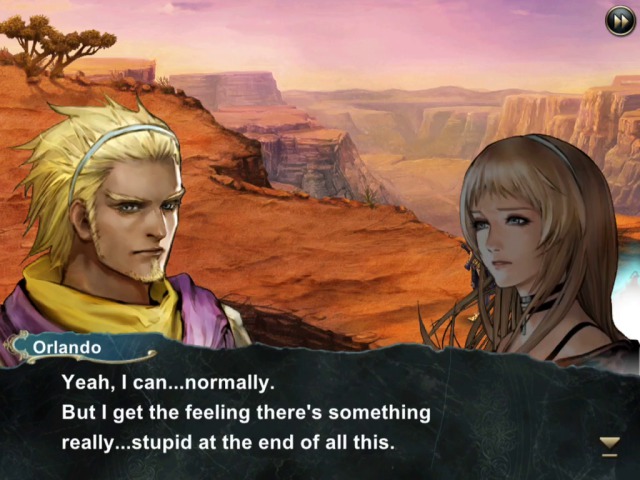
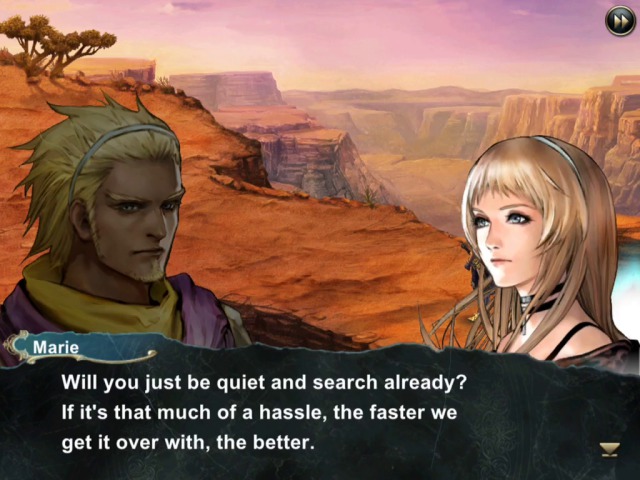
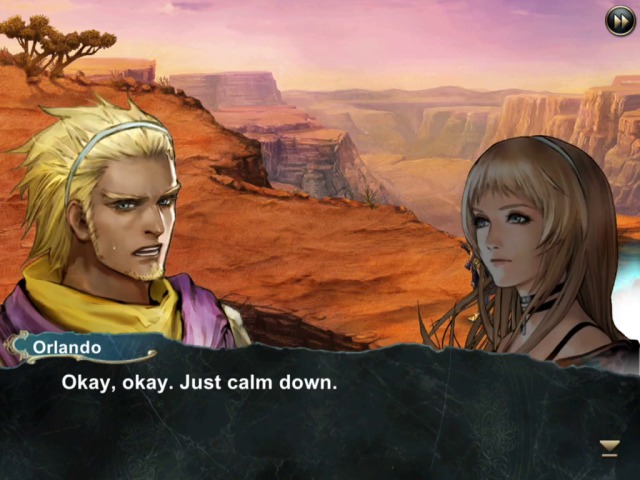
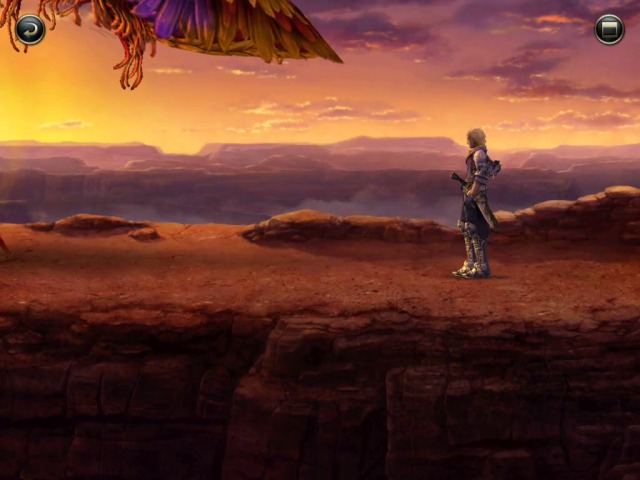
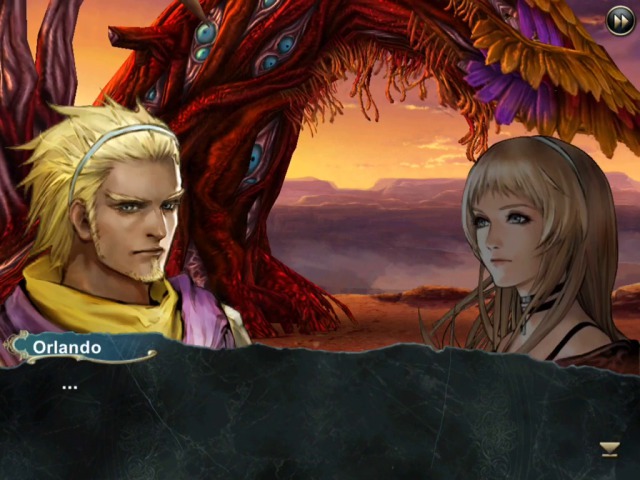
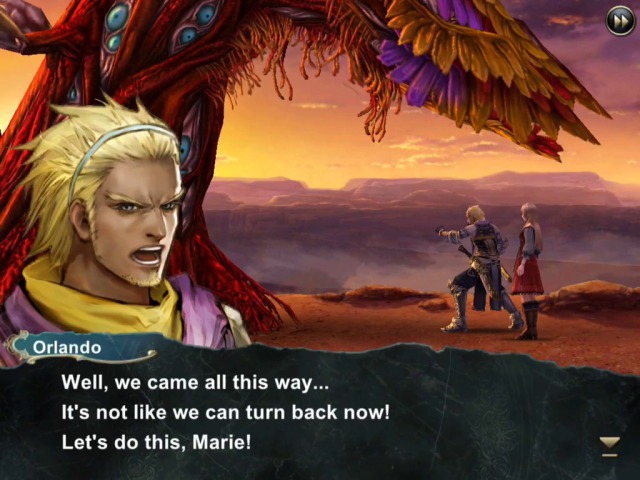
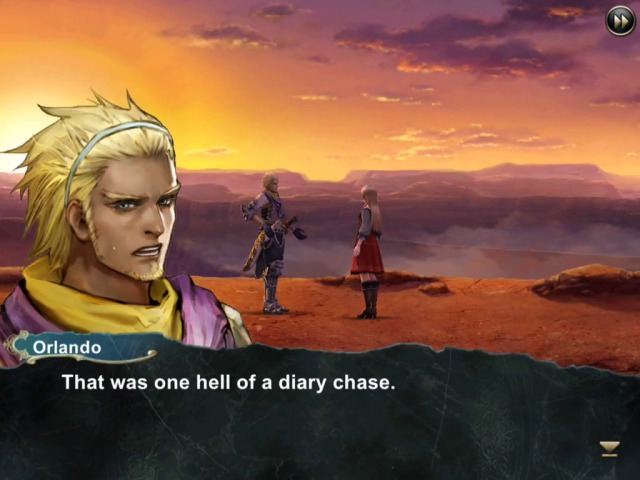
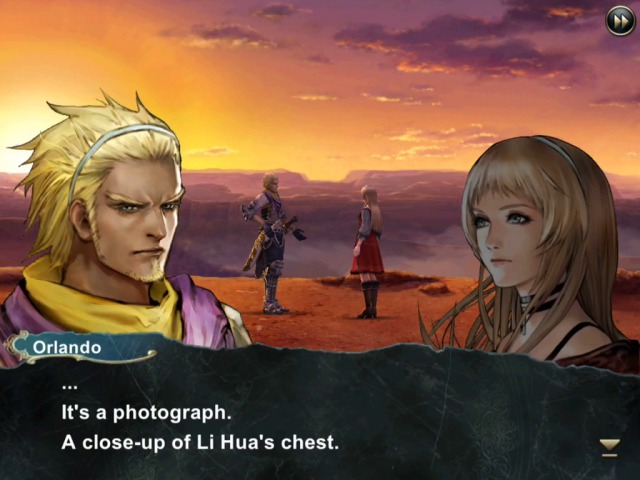
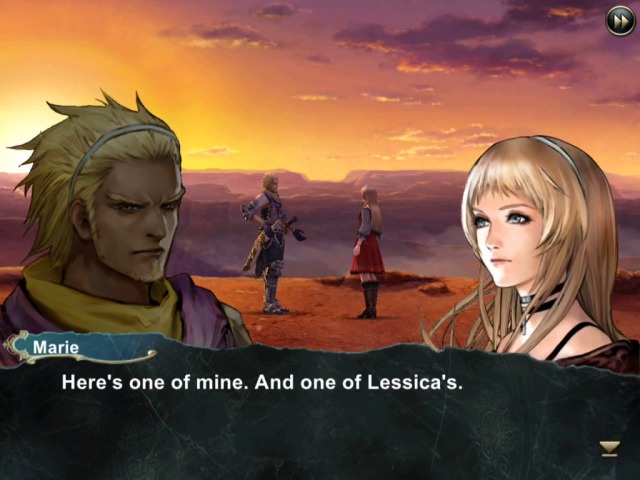
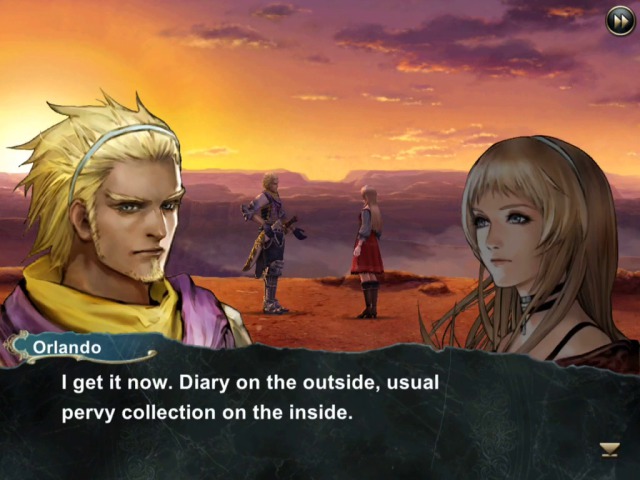
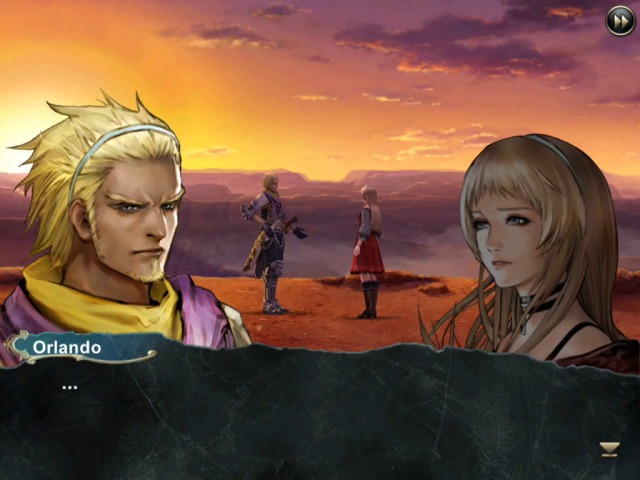
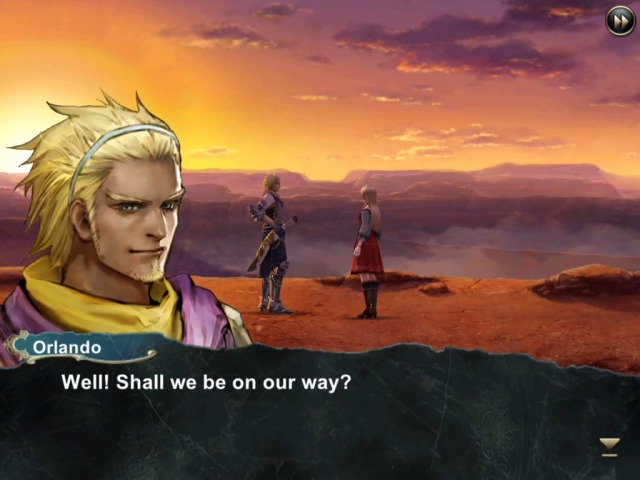
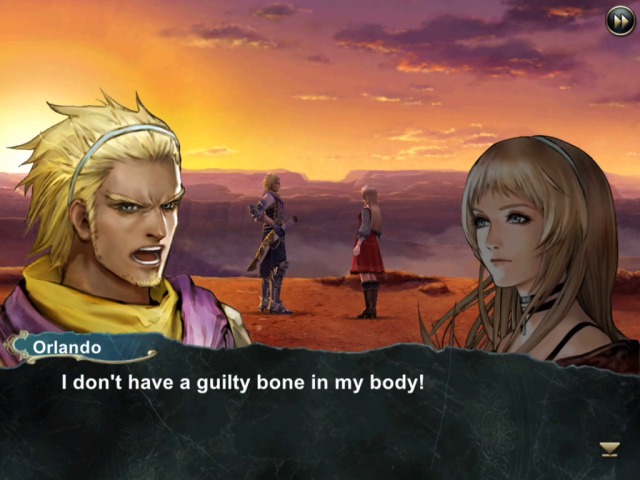
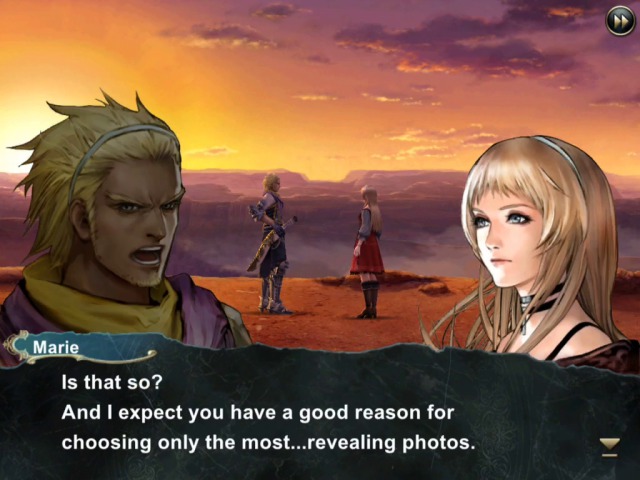
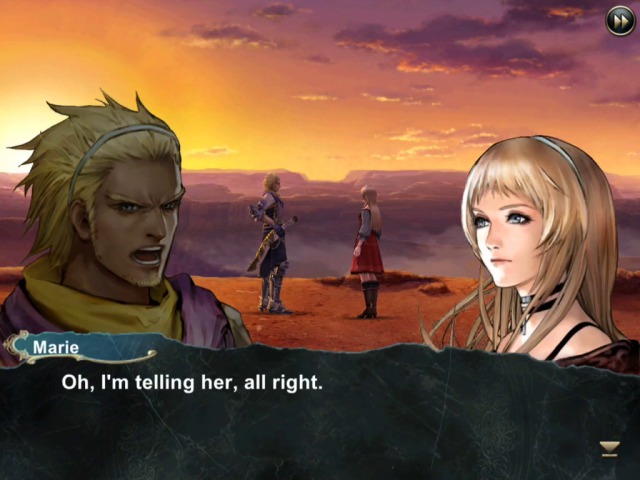
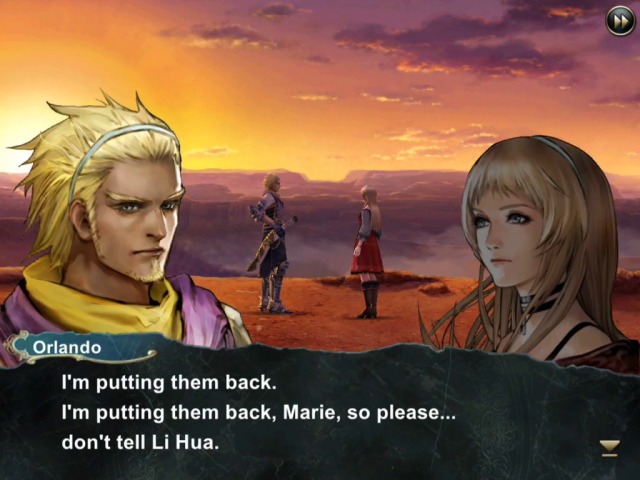
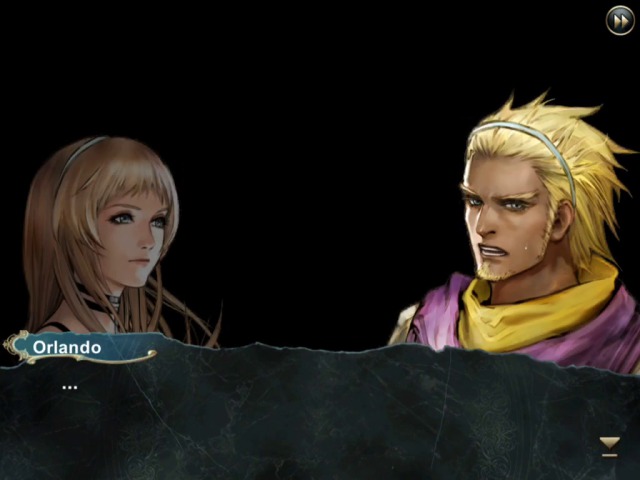
Next up, it appears that Piu-Piu has lost his diary and we need to help him find it. The searchers will be Orlando (again) and Marie.
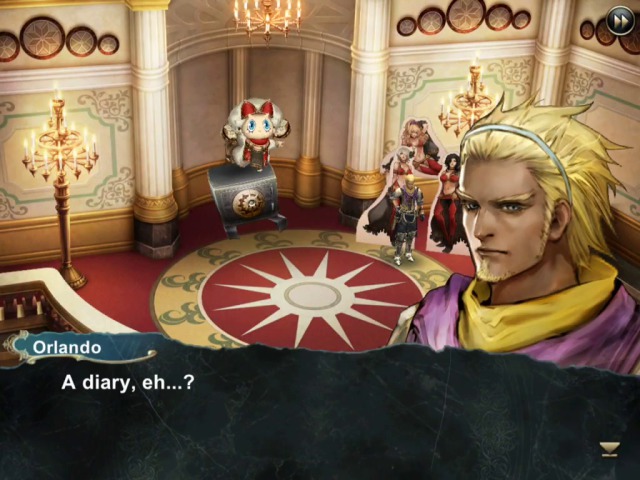

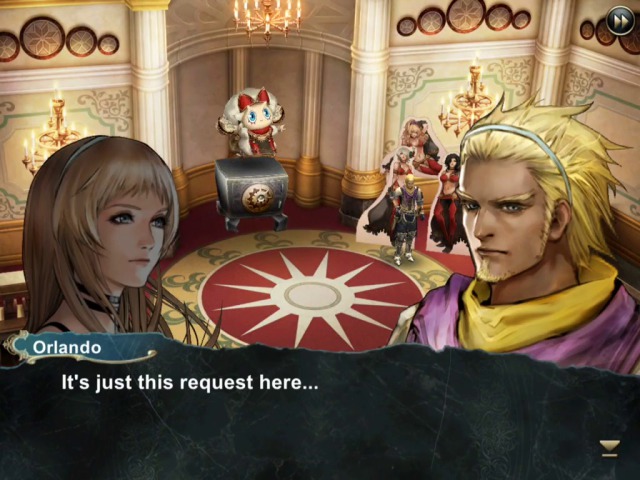
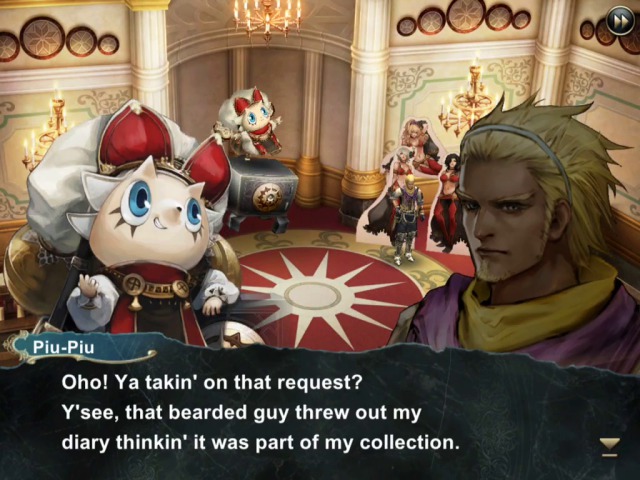
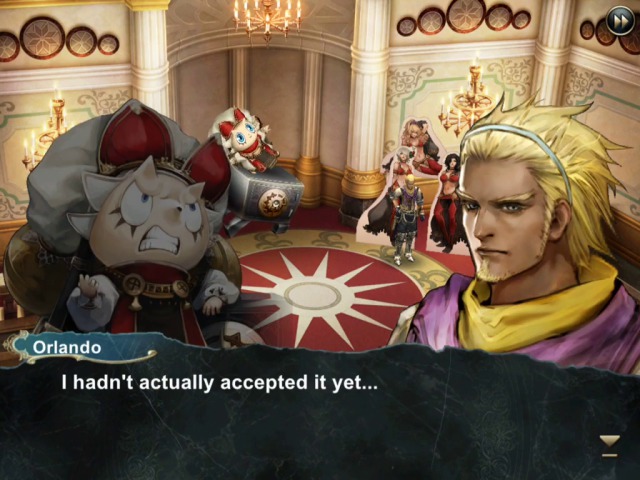
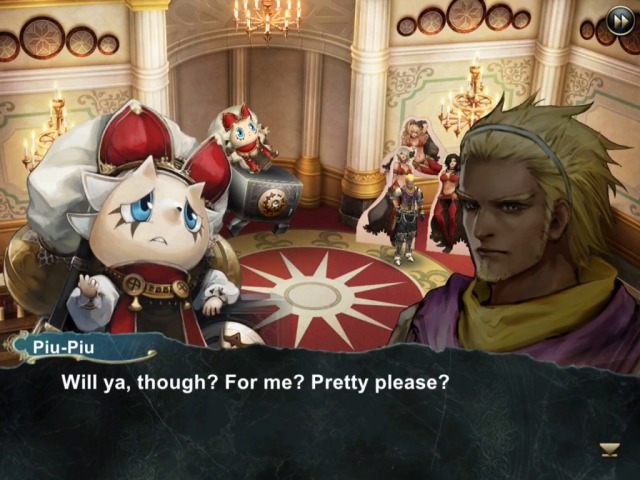
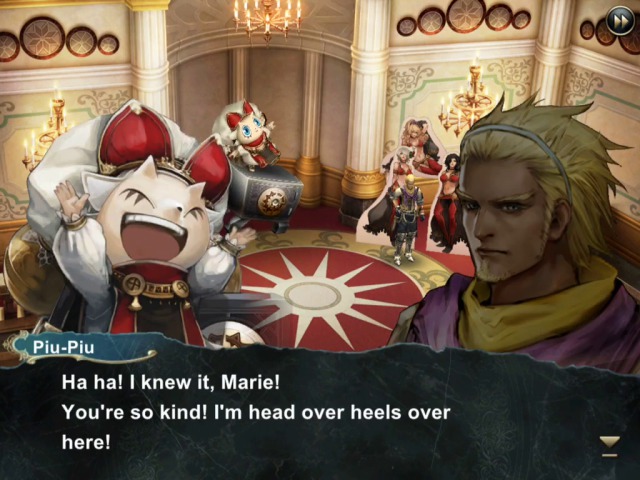
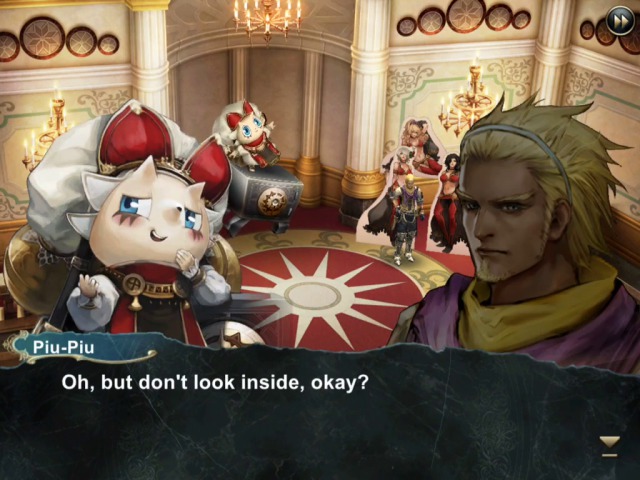
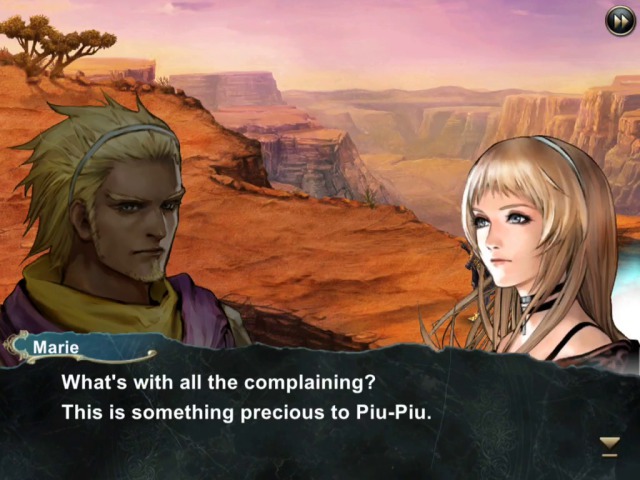
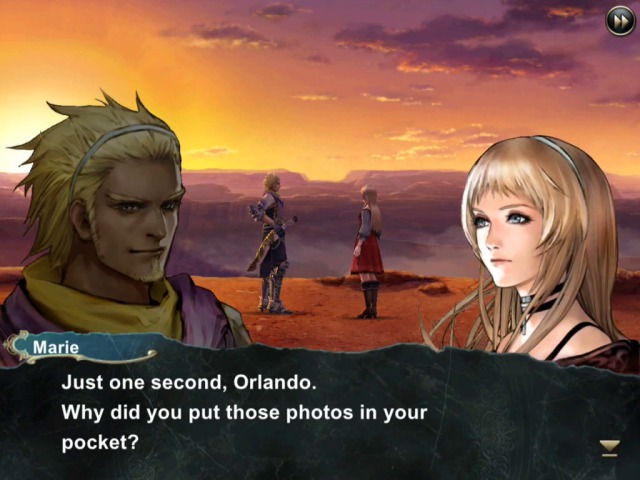
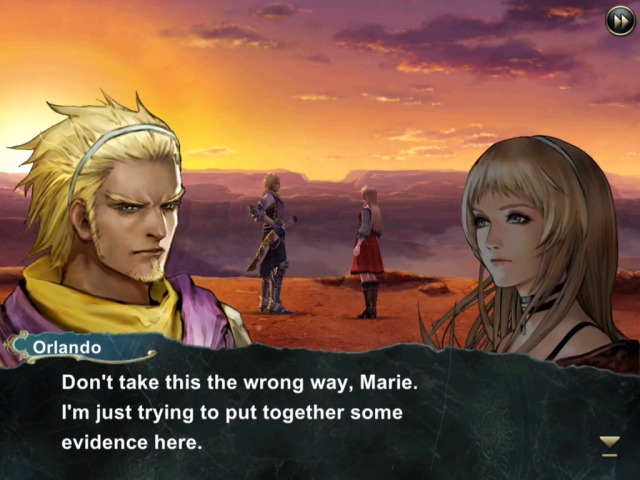
Why, what's inside? Actually, don't answer that.

...a little later...
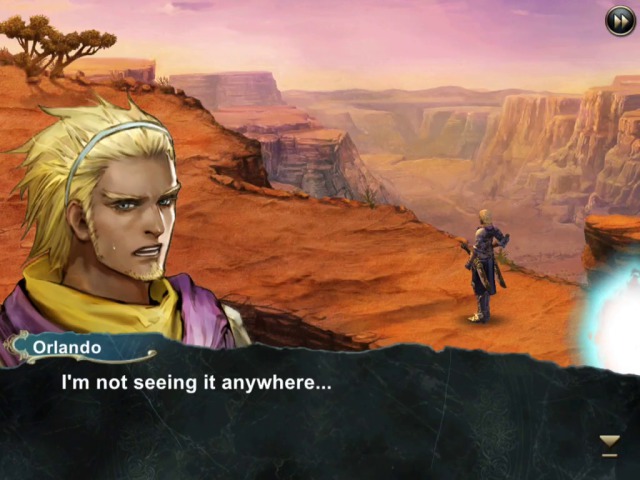
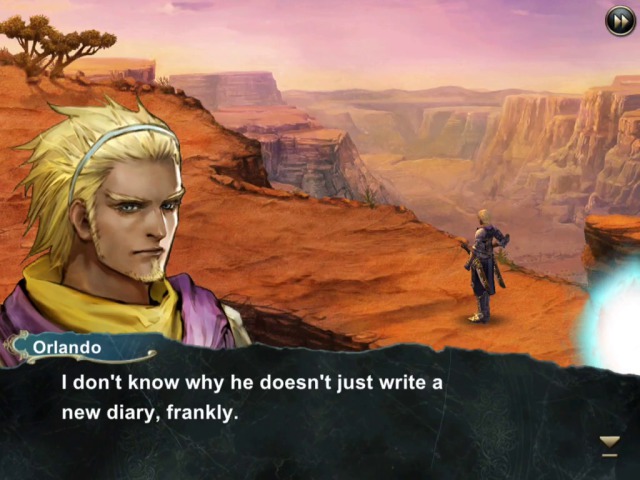
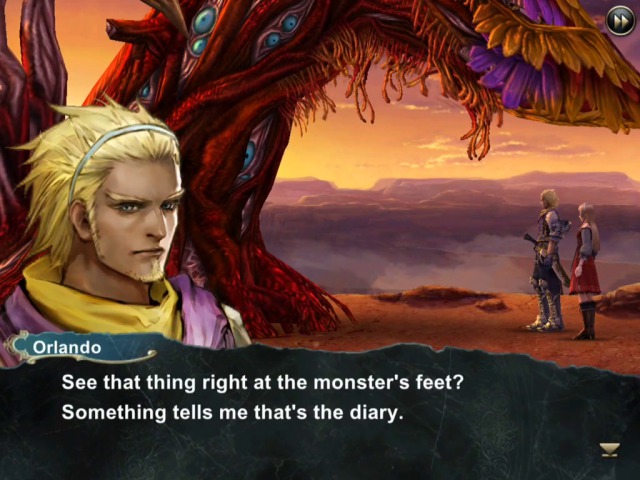
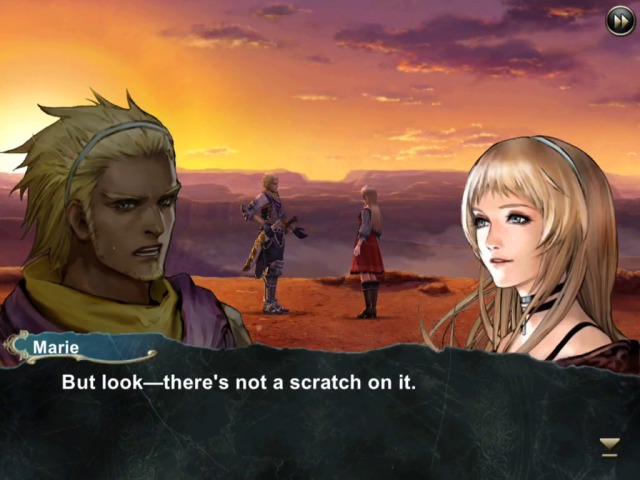
What's that there?
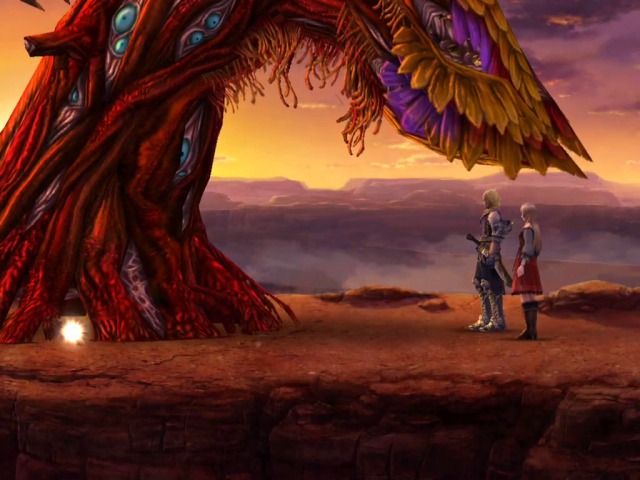
Oh, it's one of those trees, with what I assume is the diary, just under it.
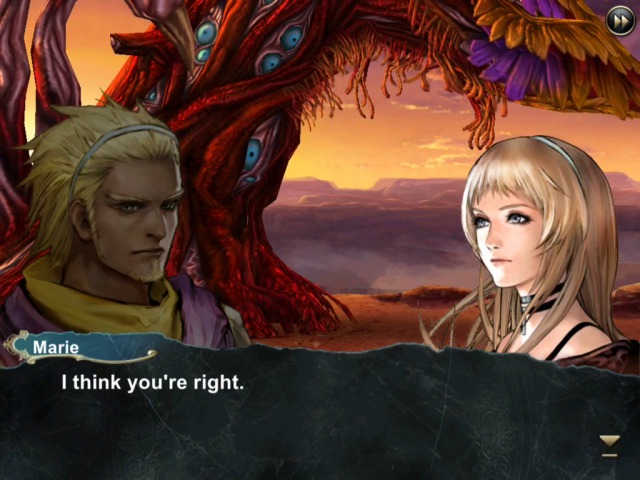
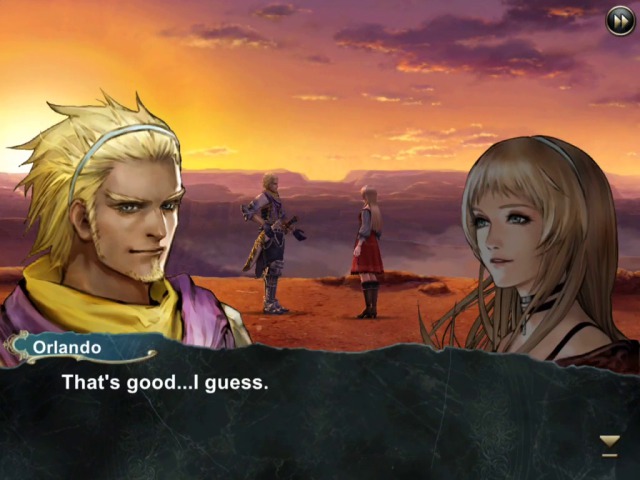
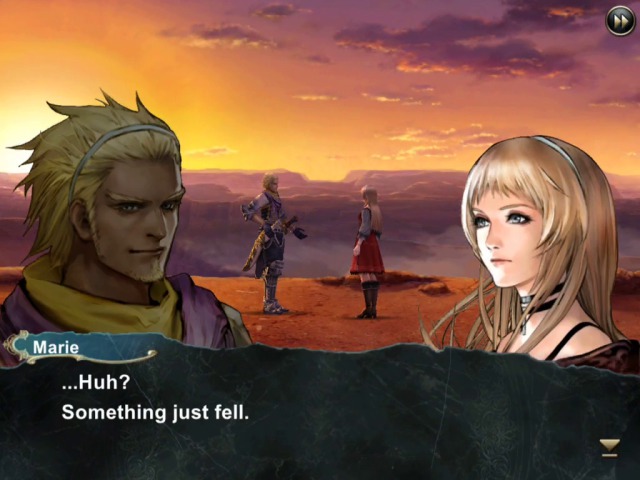
Well then, let's fight him.
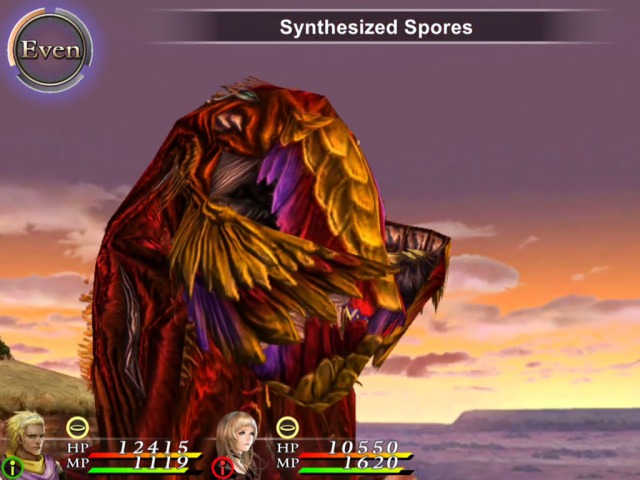
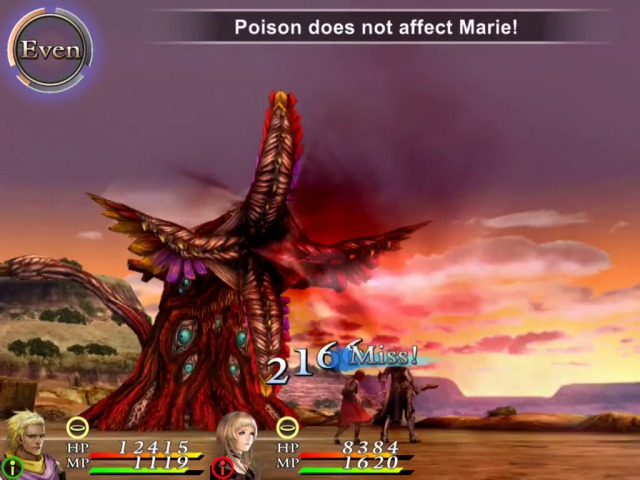
He likes to do this, but it's easily solved by equipping a pair of Auryns.
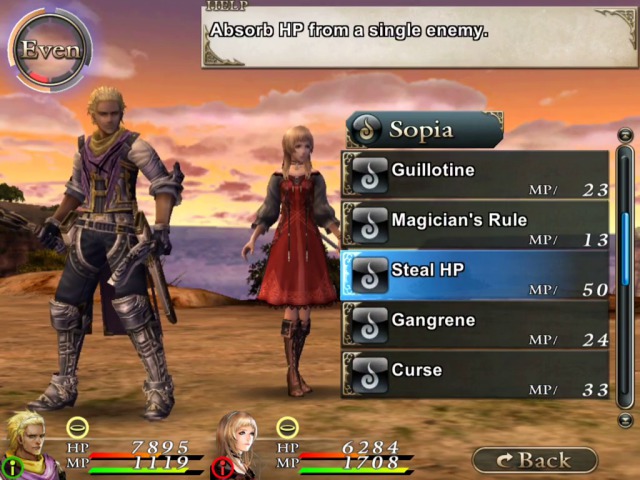
Other than that, this battle is extremely easy, because for some reason he's highly susceptible to this particular spell.
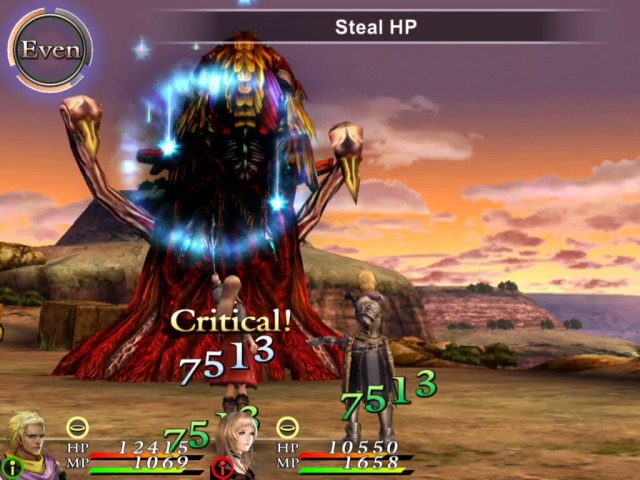
In fact, simply doing this every turn will heal us for more than the damage he's doing! So we do not actually need to do anything else, but repeat this action!
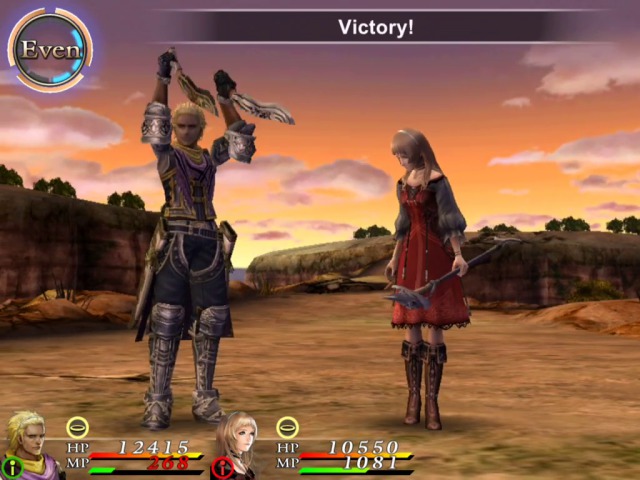
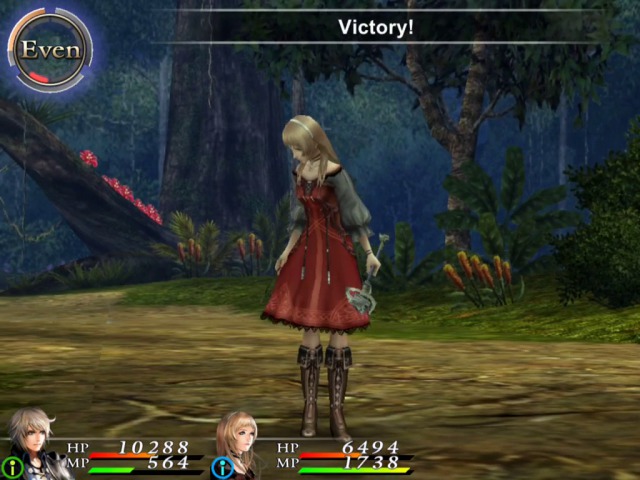
And so we win.


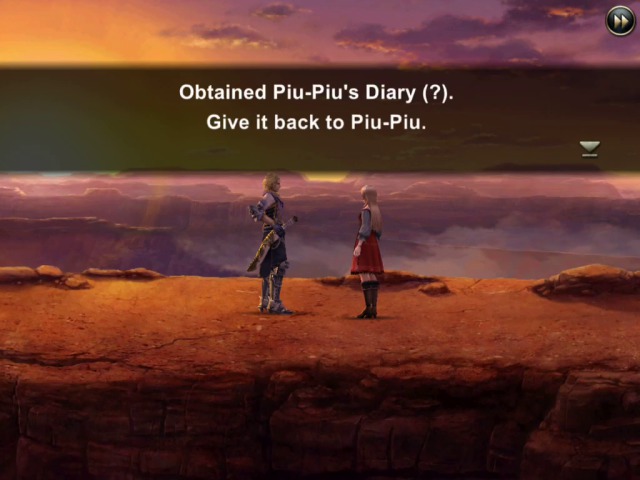
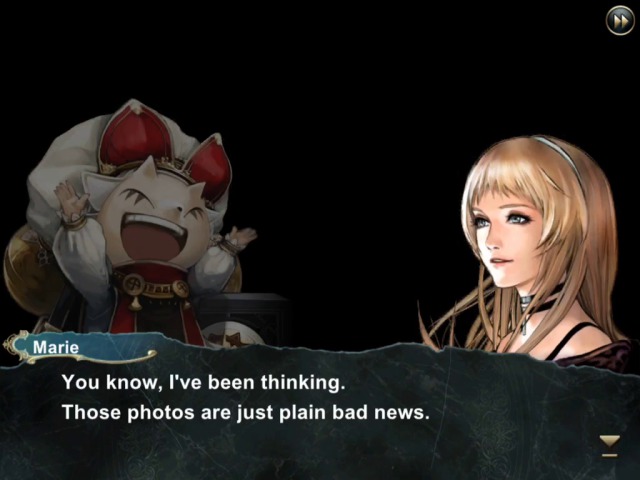
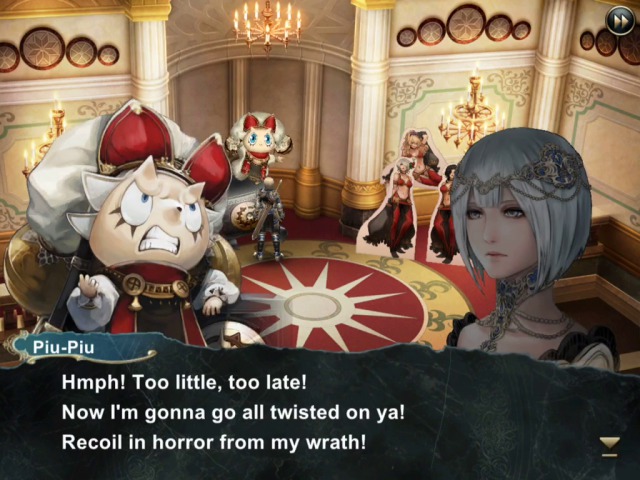
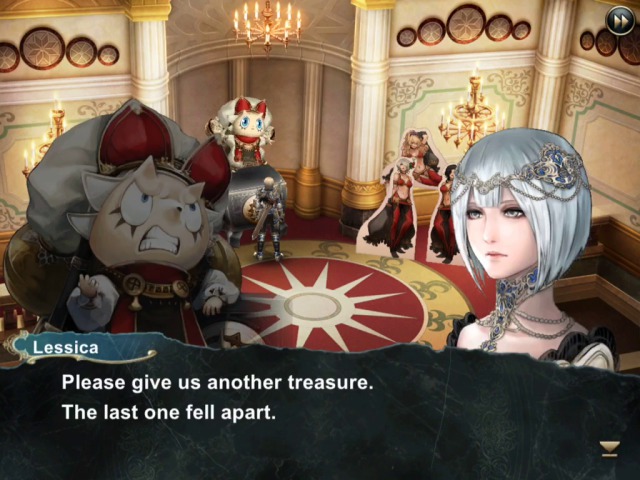
Yeah, ok. Let's give the "diary" back to Piu-Piu.
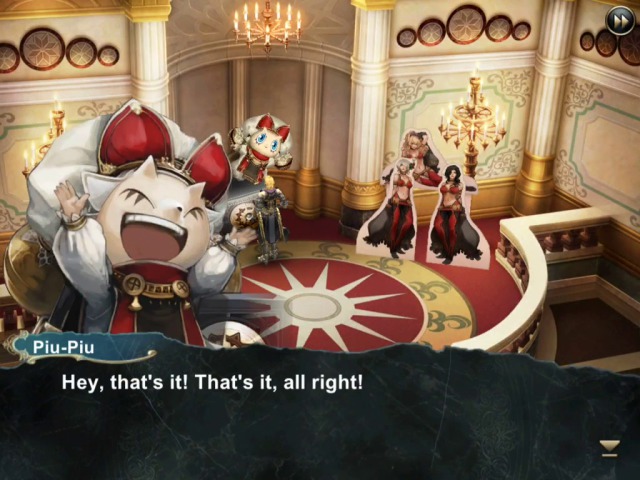
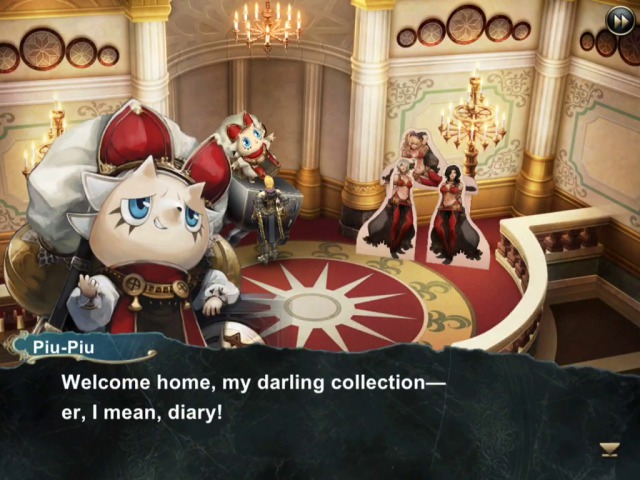


Not a bad reward. It goes straight to Marie.
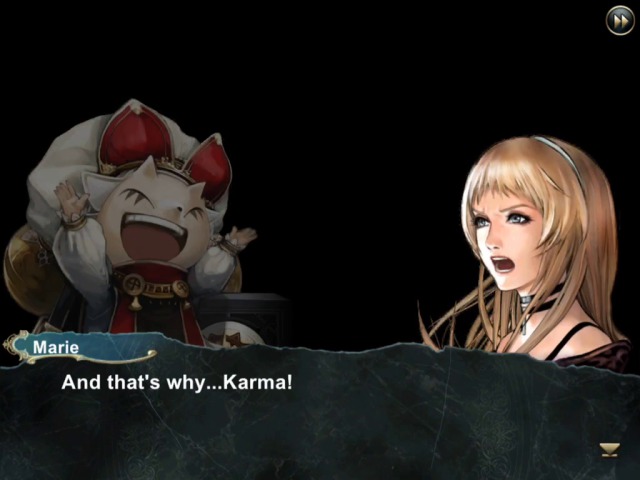
Karma is an all-enemy Fire attack spell.

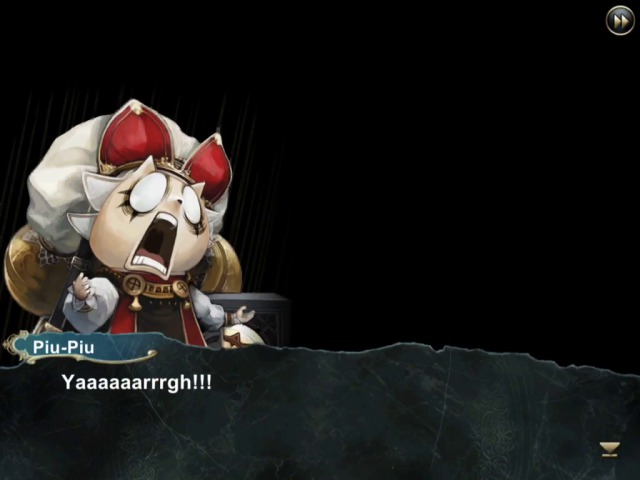
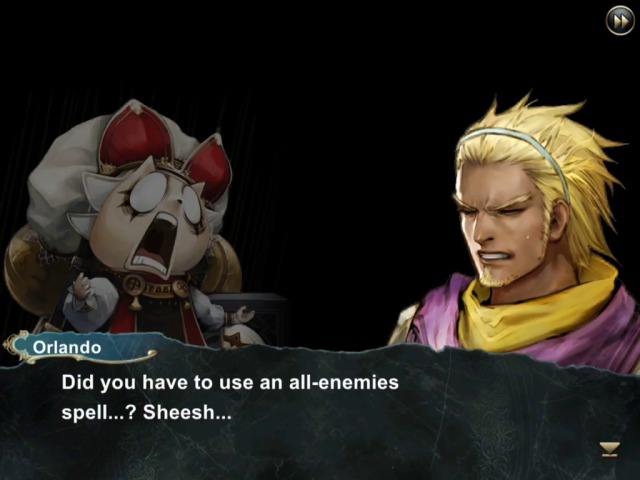
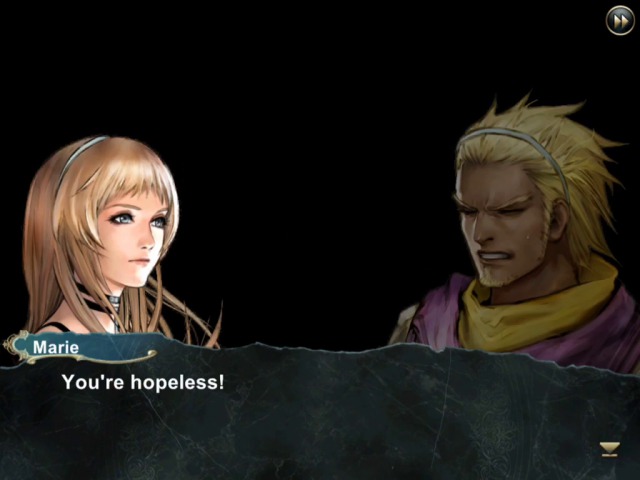
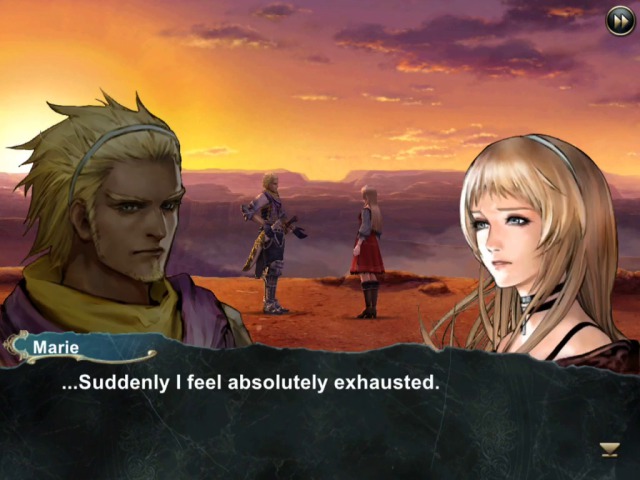
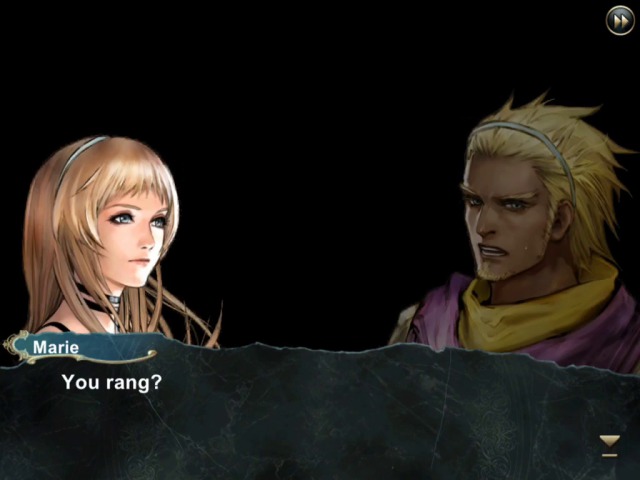
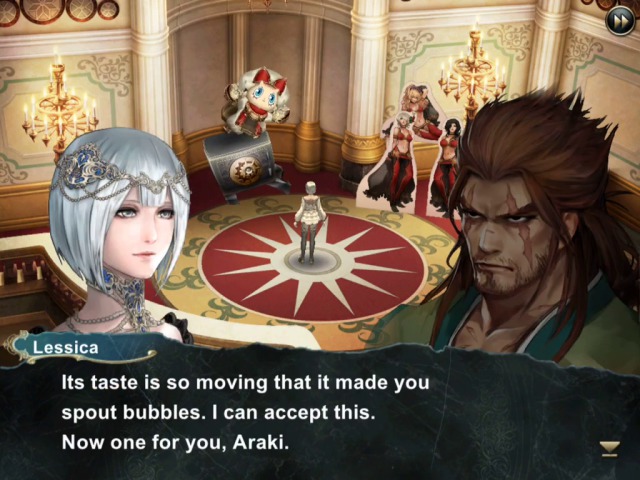
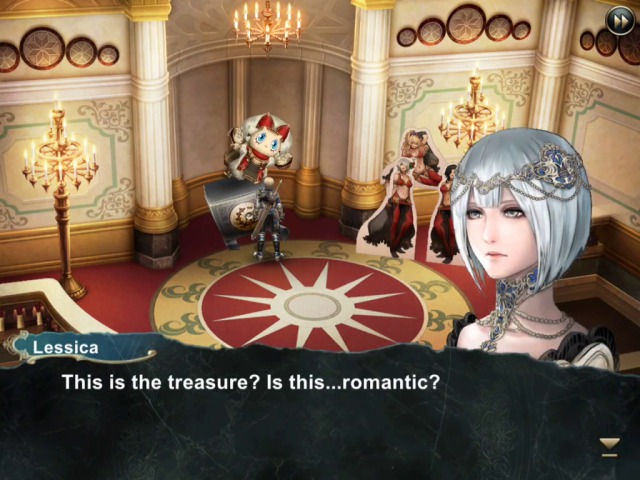
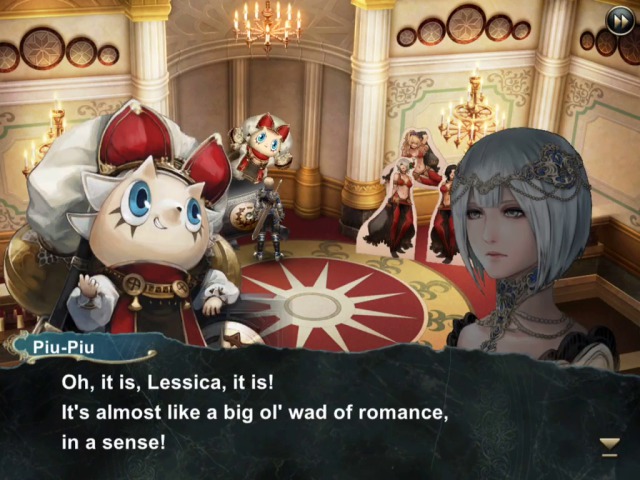
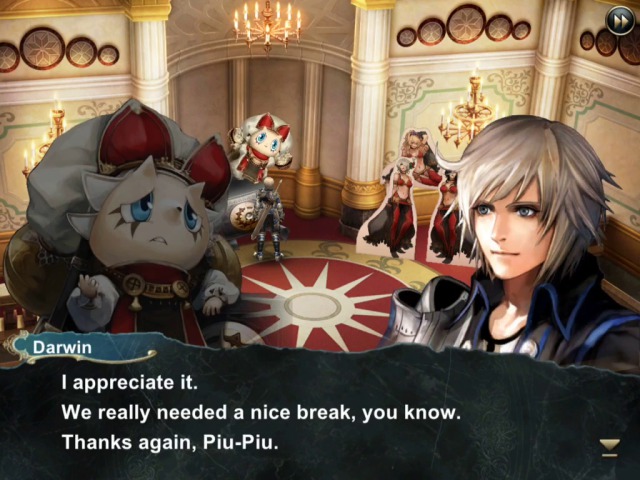
I told you these are pretty funny.
* * *

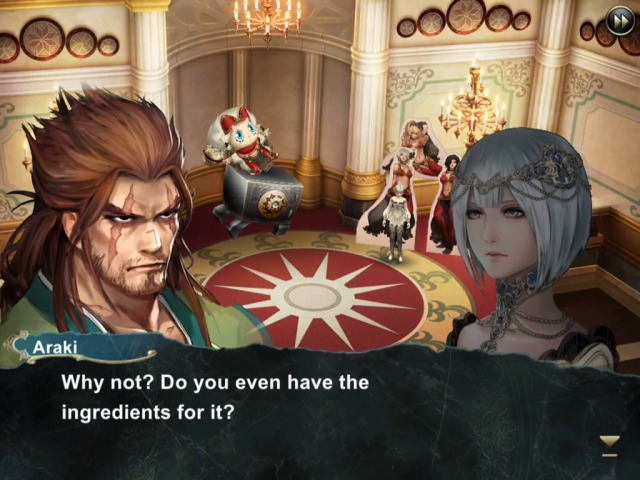
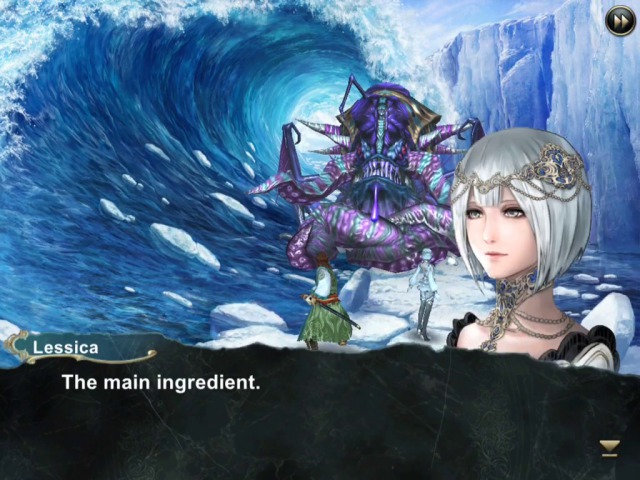
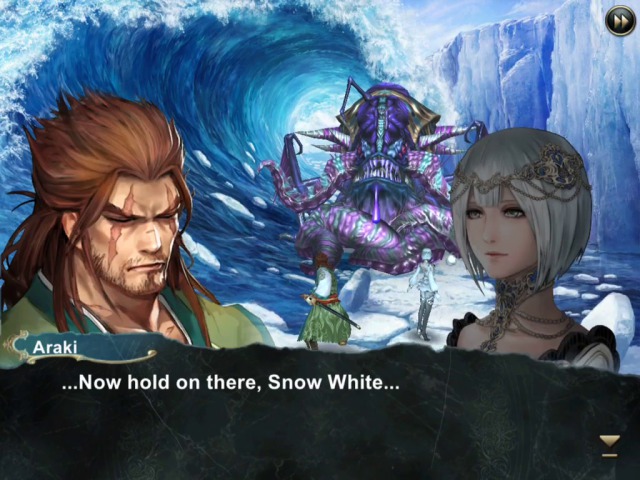
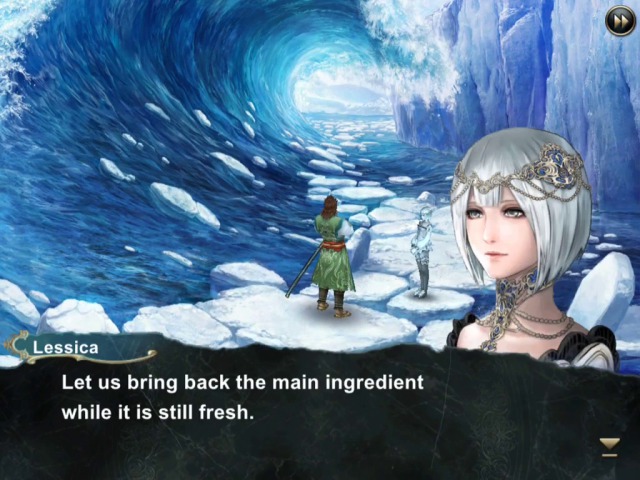
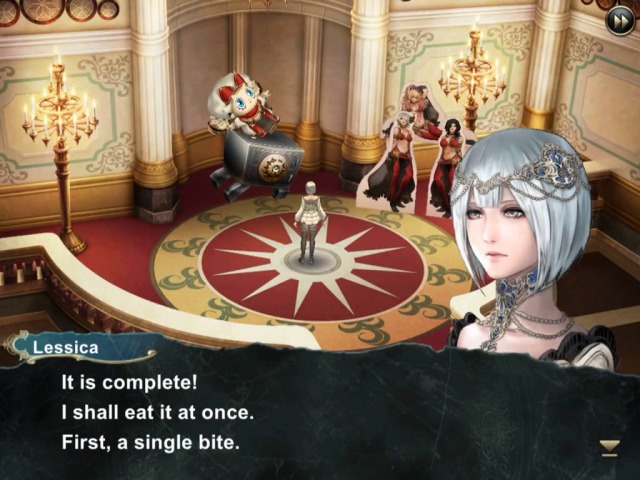
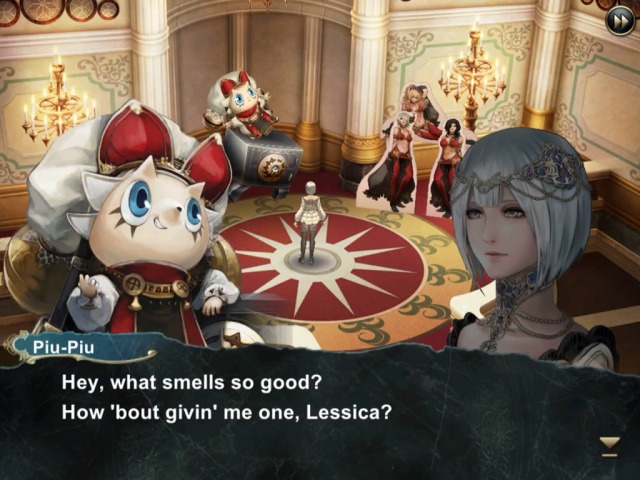
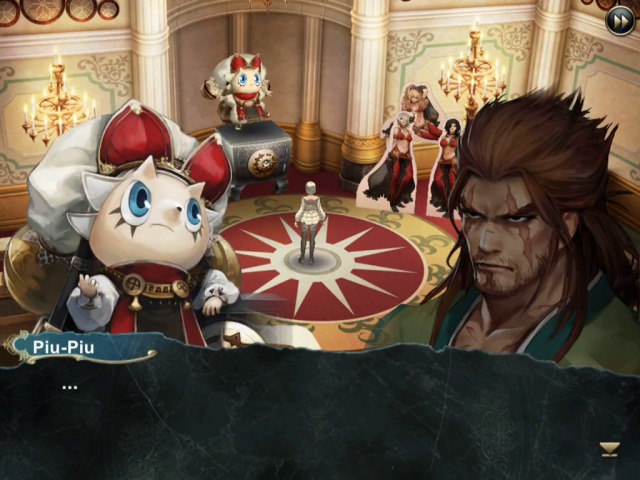
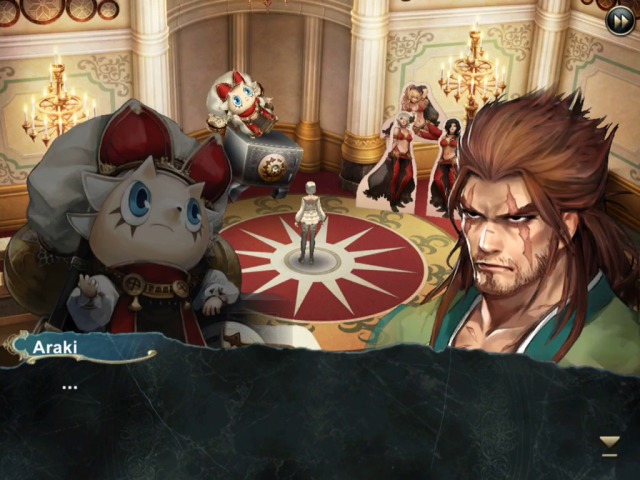
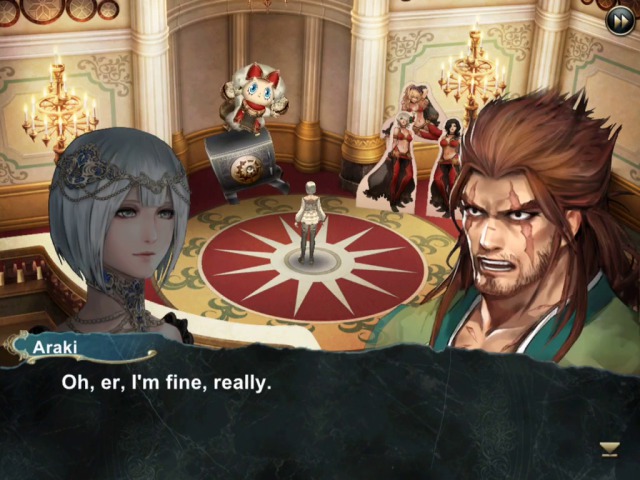
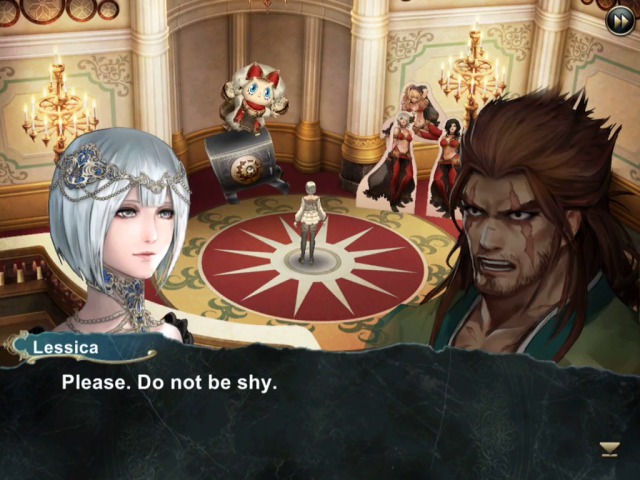
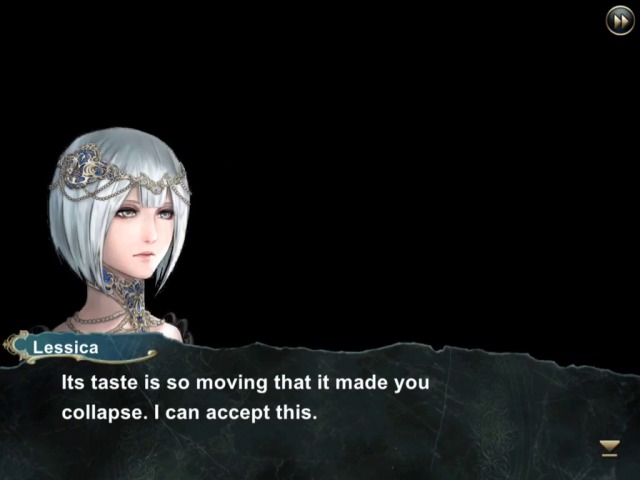
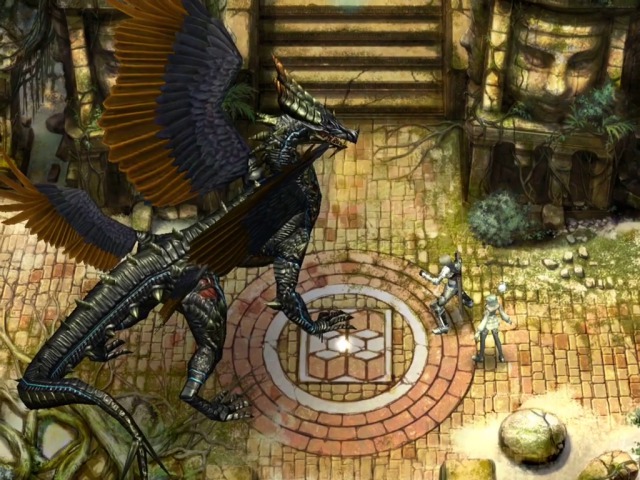
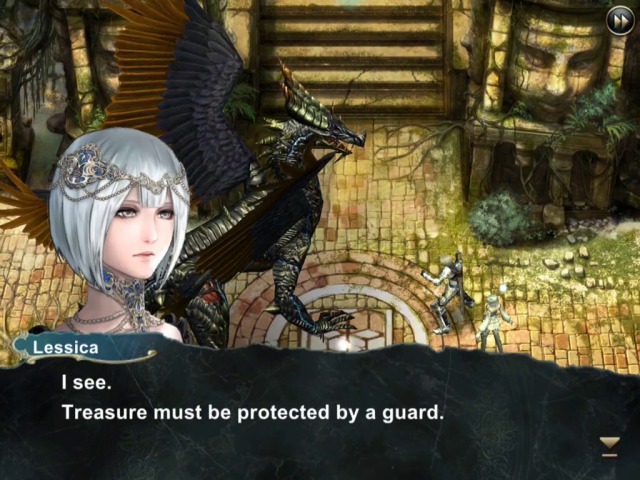
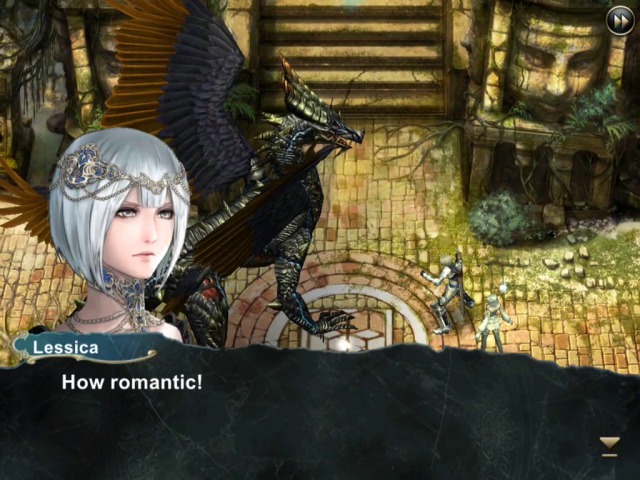
Next up, a bit more of a culinary quest, so of course it's Lessica (and Araki who will be helping).
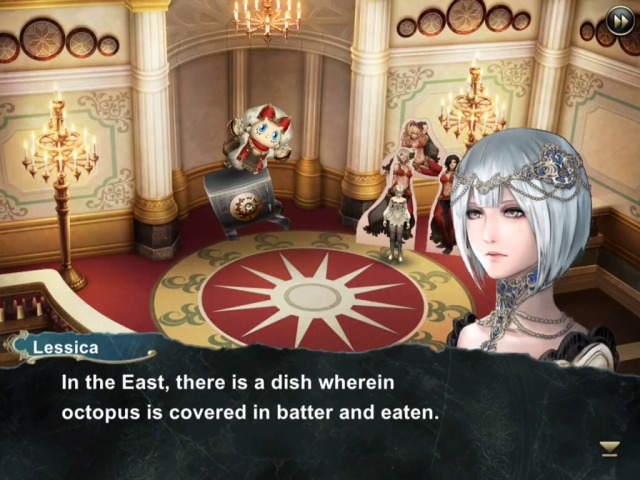
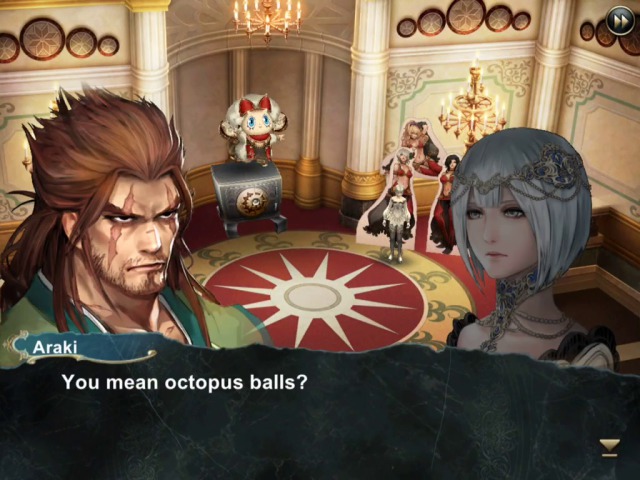

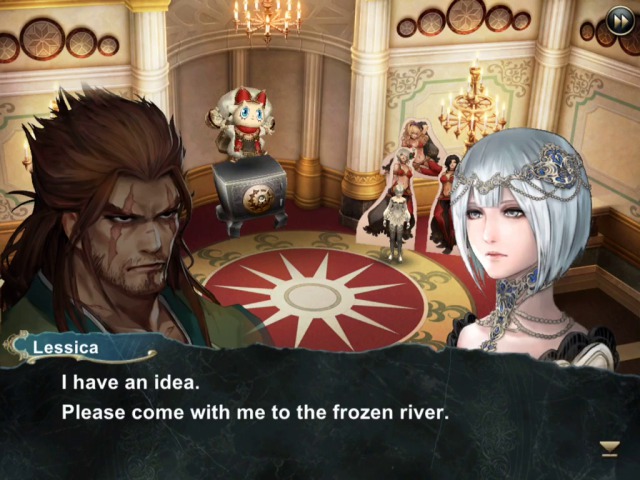
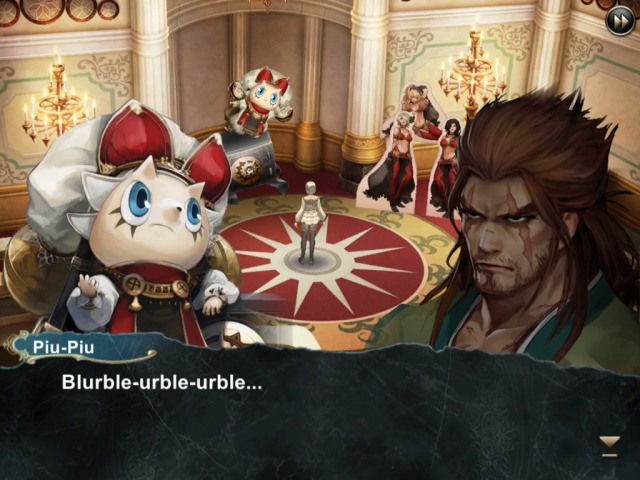
And there we find...
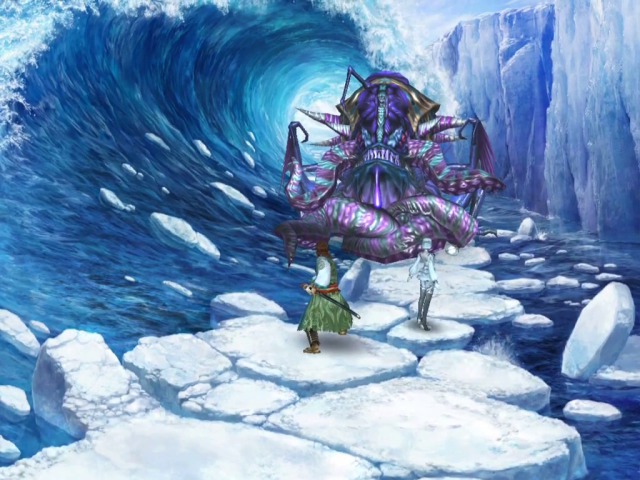
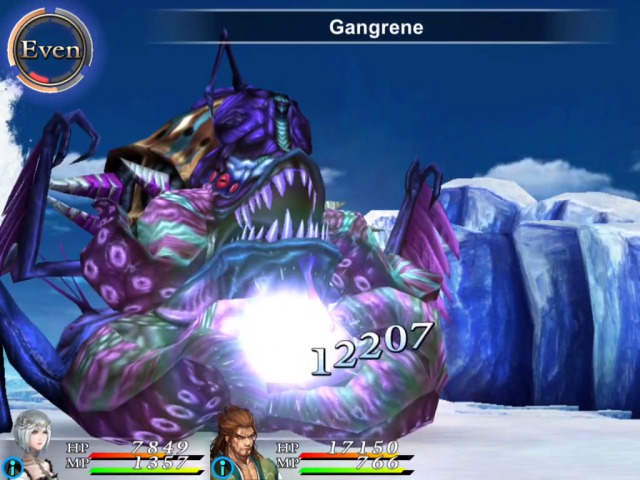
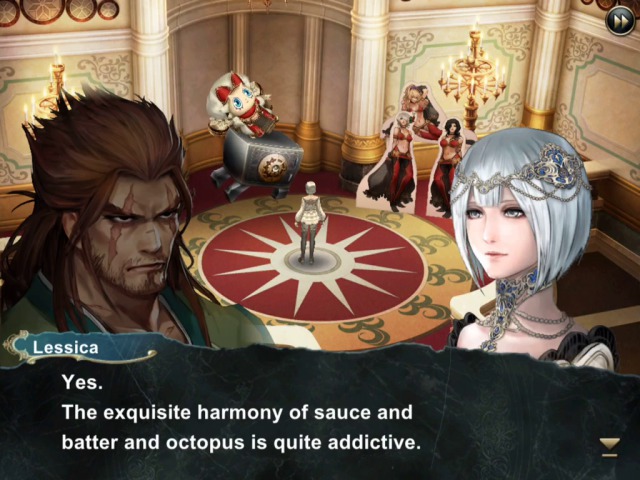
...well, I guess it's an octopus(?).
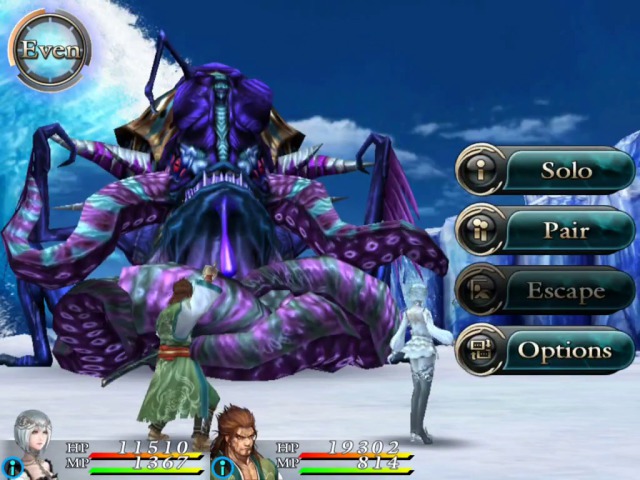
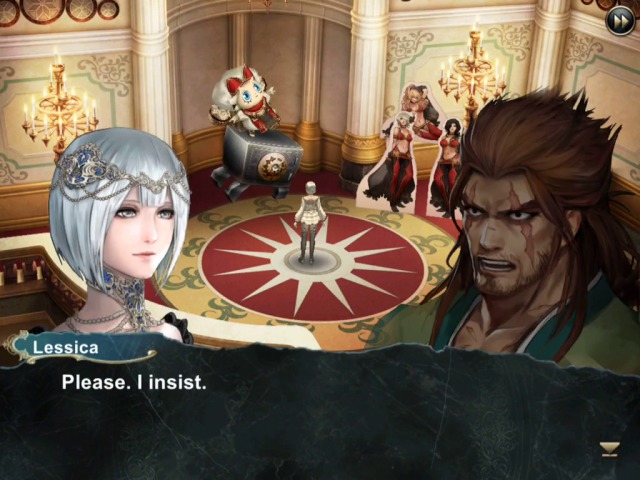
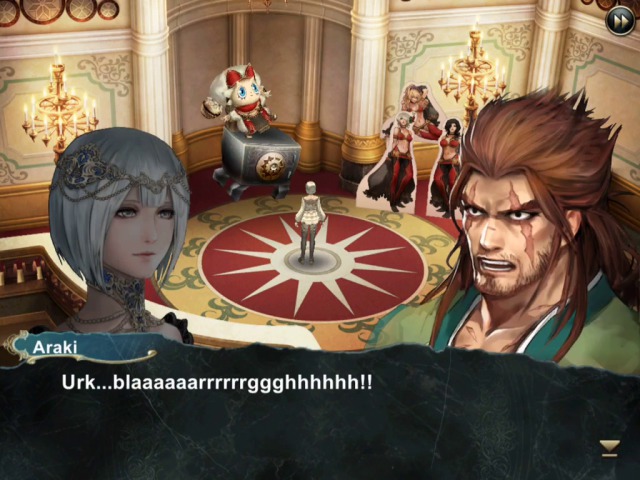
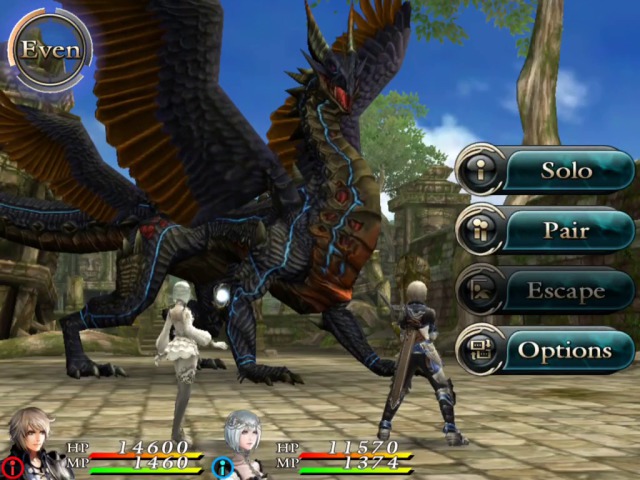
I'm sorry about this, but it's just soooo effective to use at the beginning!
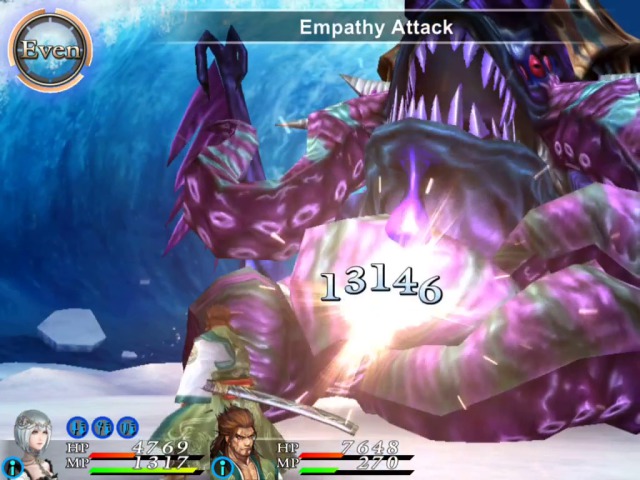
Later we'll of course switch to Empathy Attack.
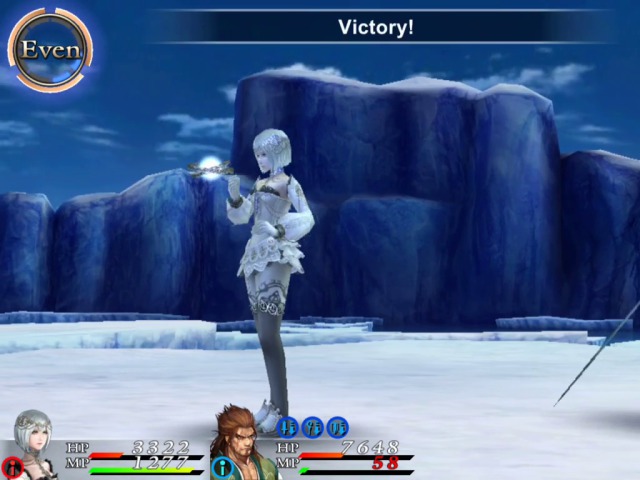
So this one doesn't last very long at all!
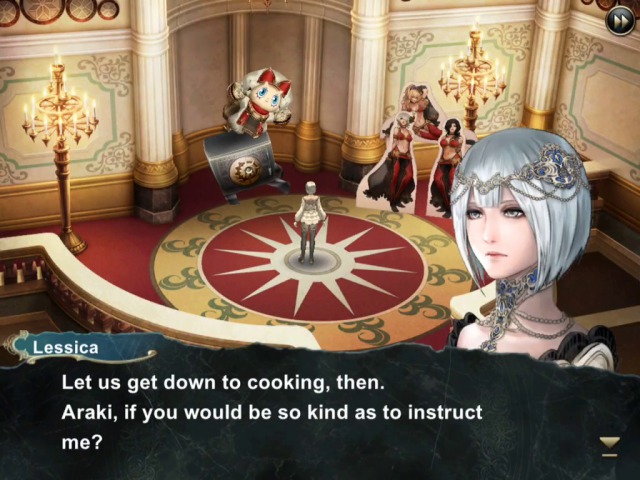


Well, you know who will be taking these. Unfortunately this is the last bit of Lessica's culinary exploits. Oh well.
* * *
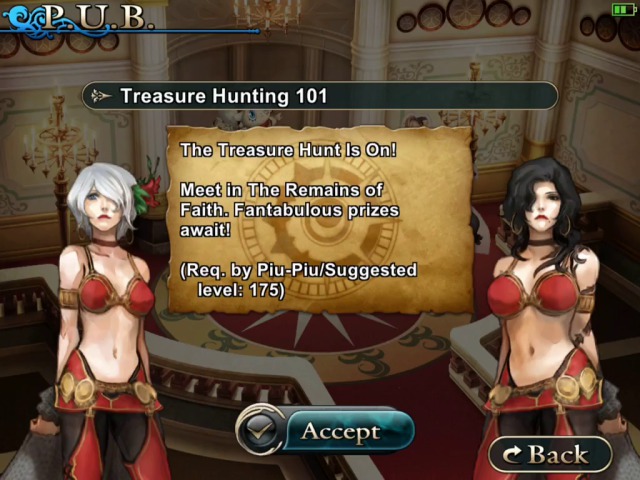
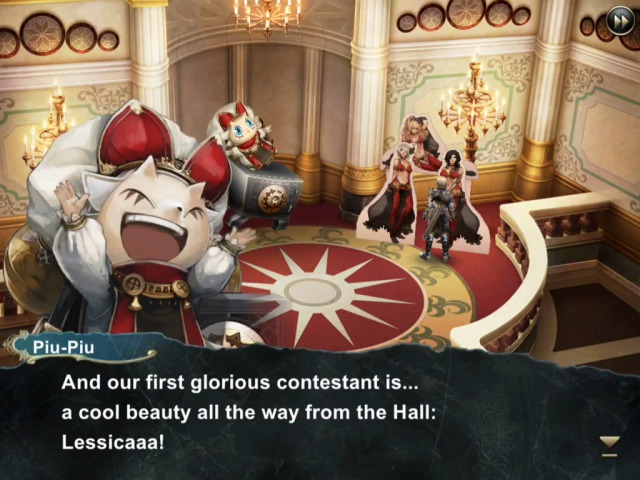
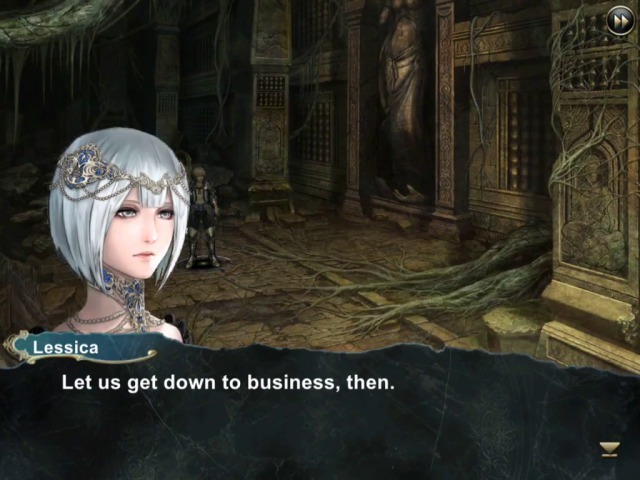
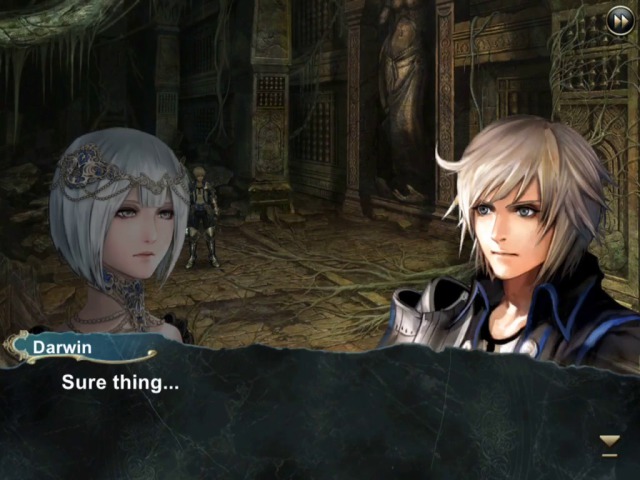
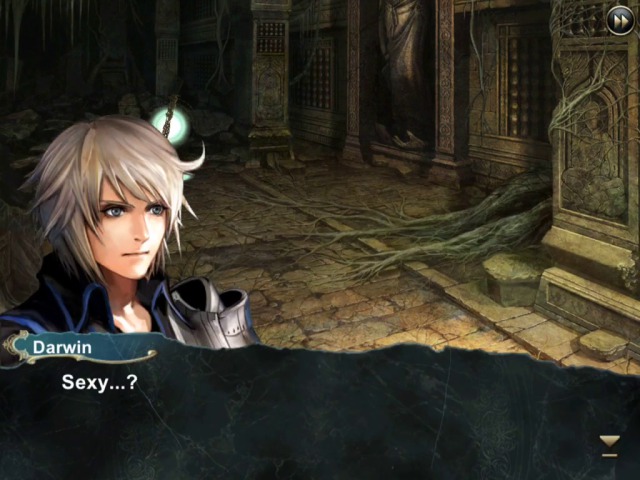
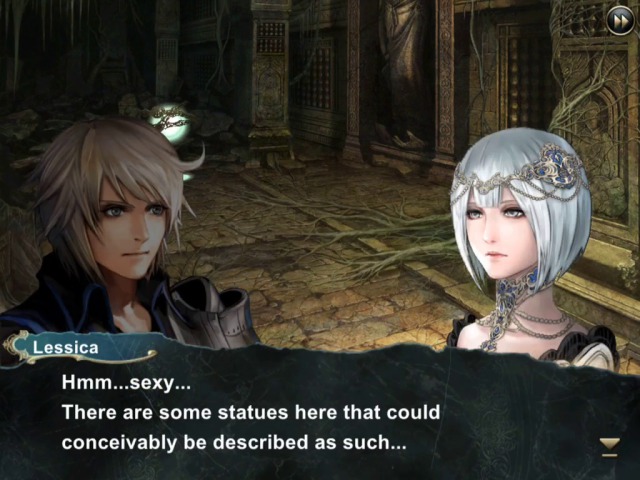
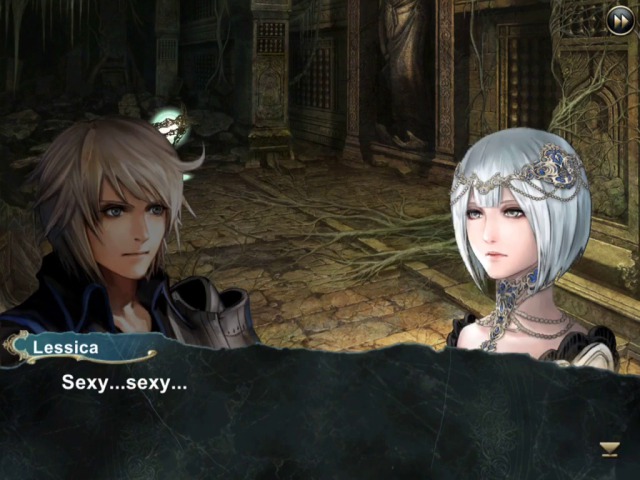
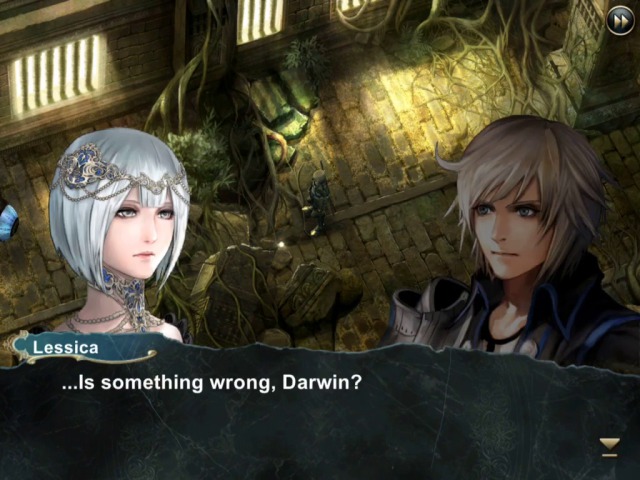
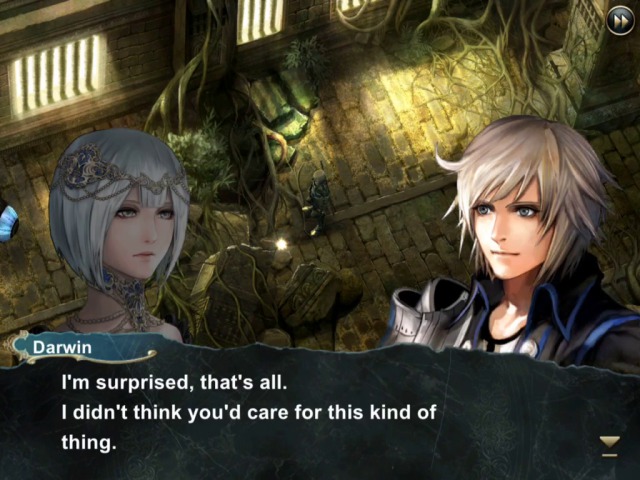
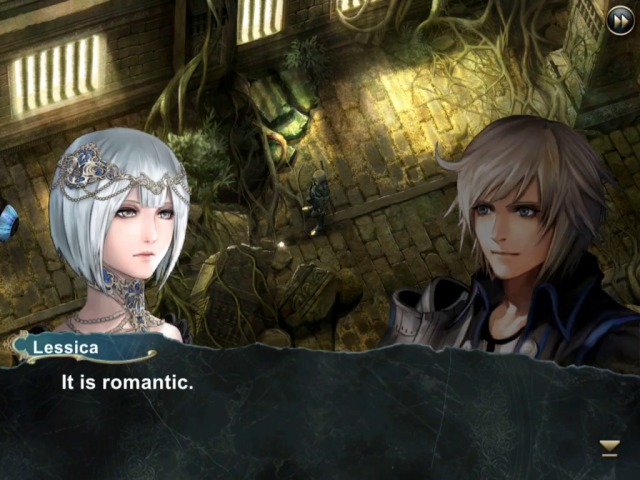
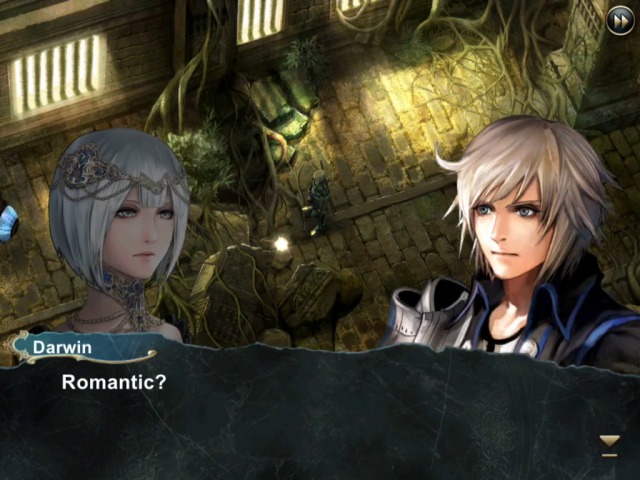
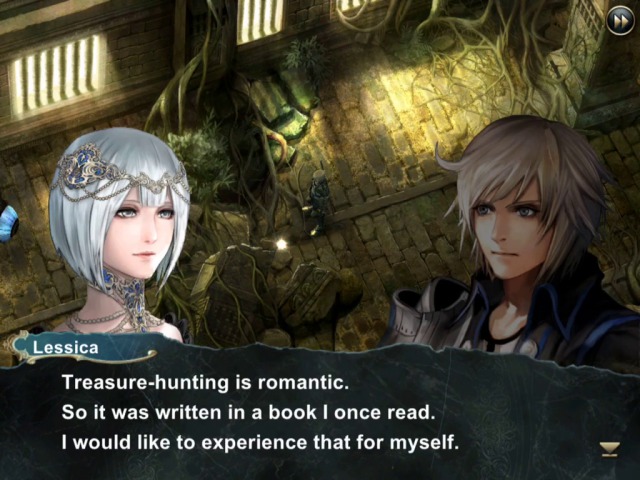
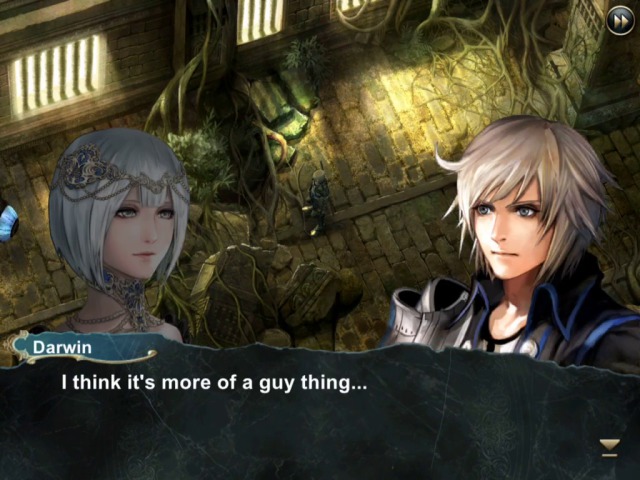
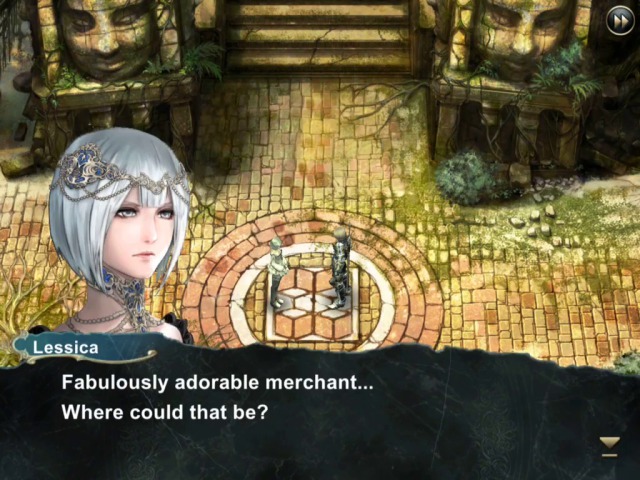
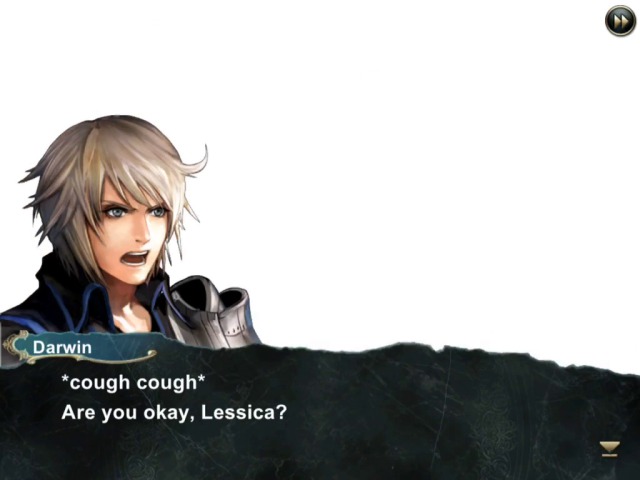
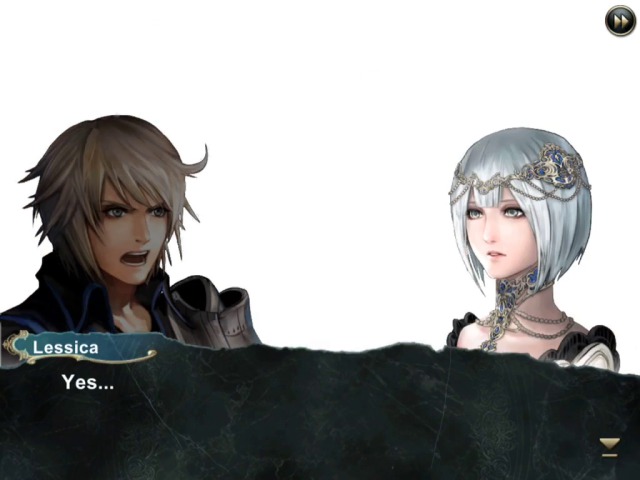
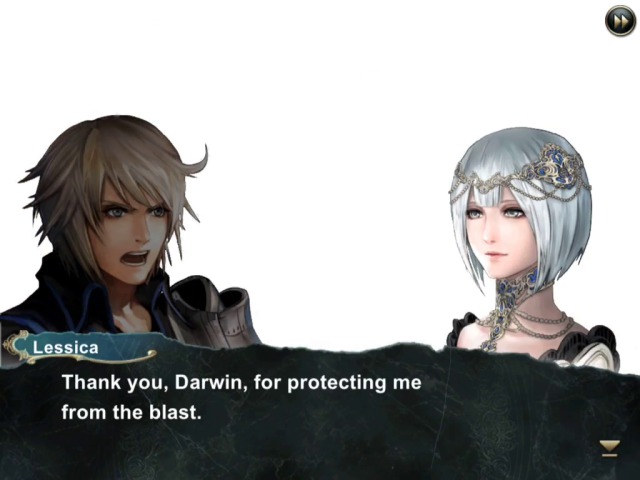
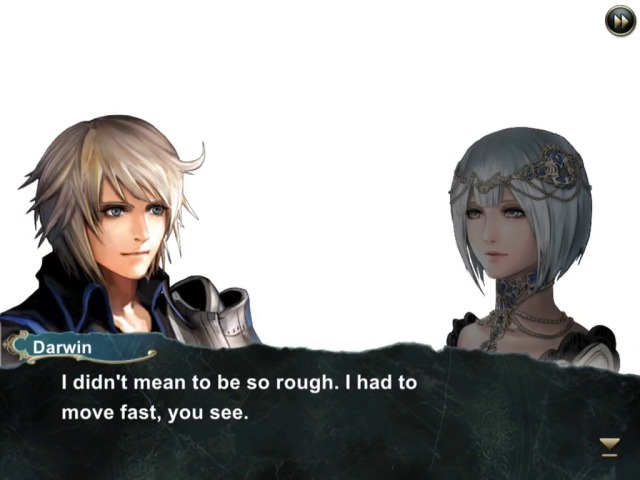
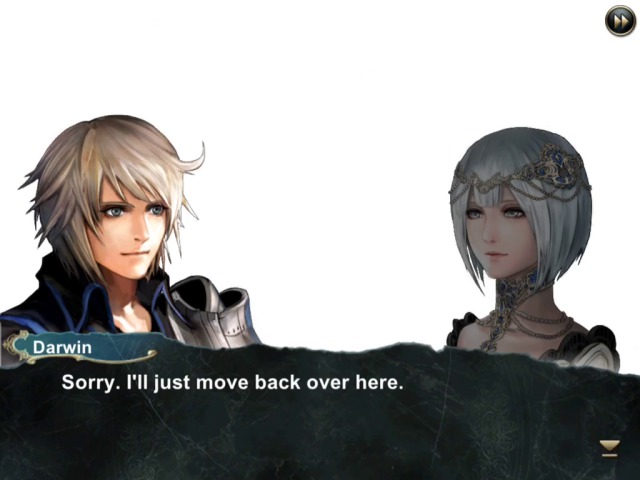
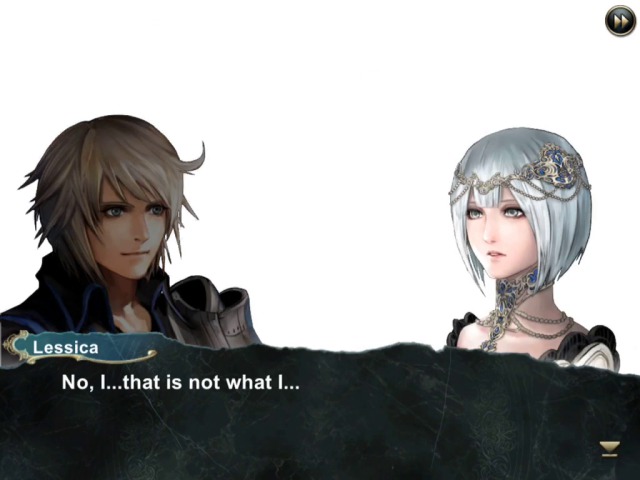
In this one, Darwin and Lessica will be heading out.
This is pretty funny once you find out that this quest features probably the hardest boss fight of all in this update!
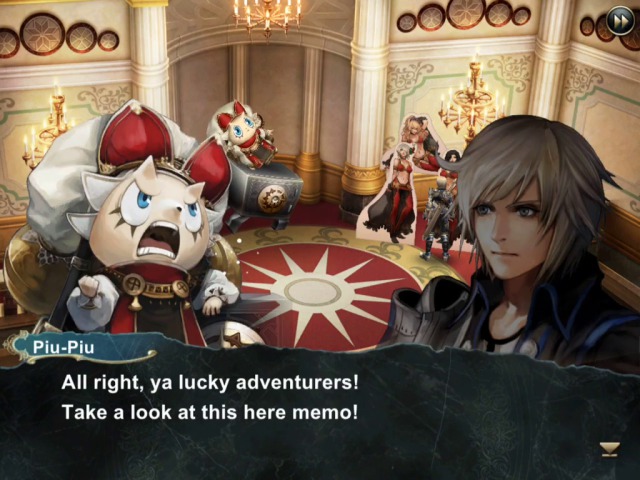
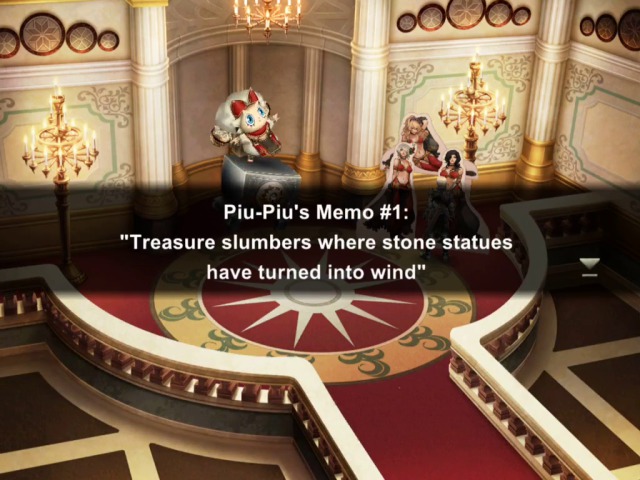
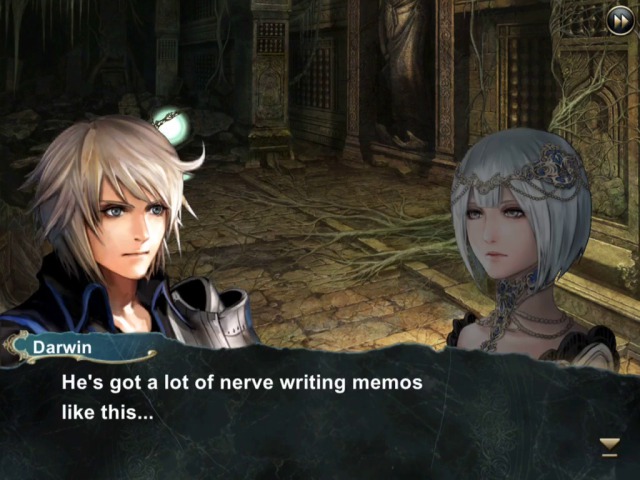
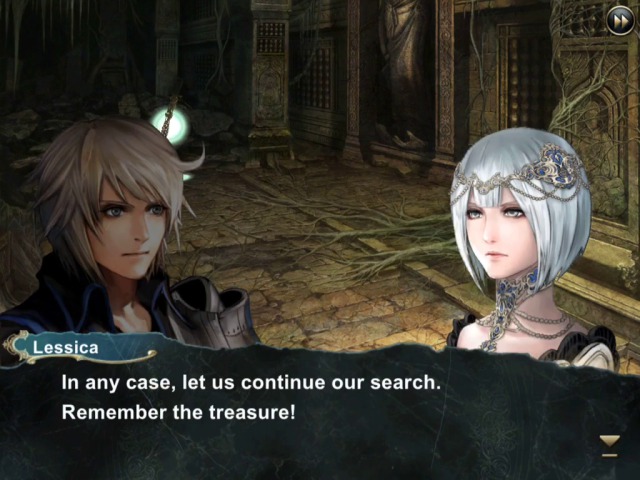
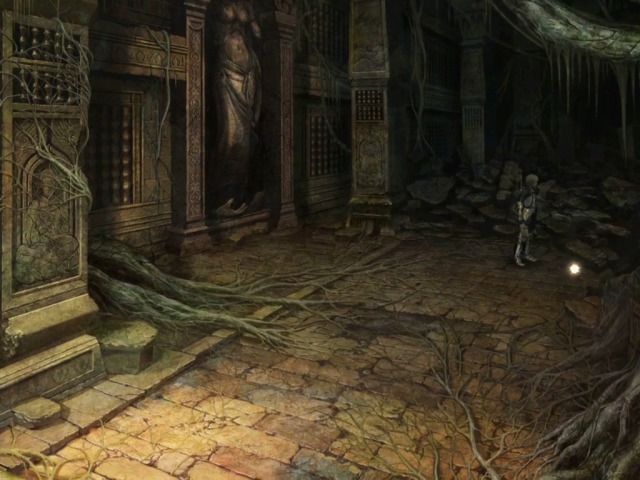
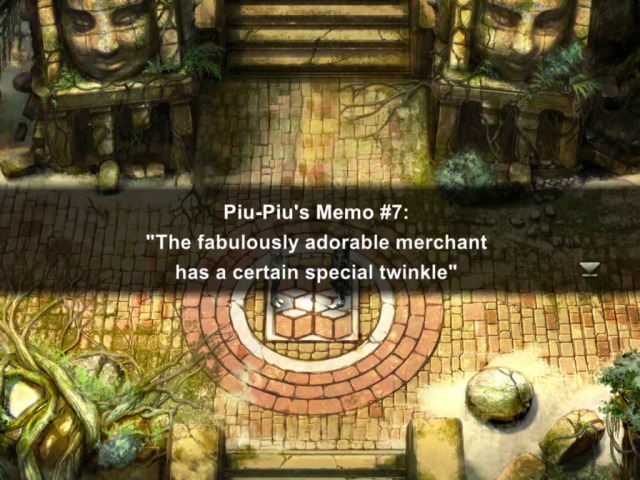
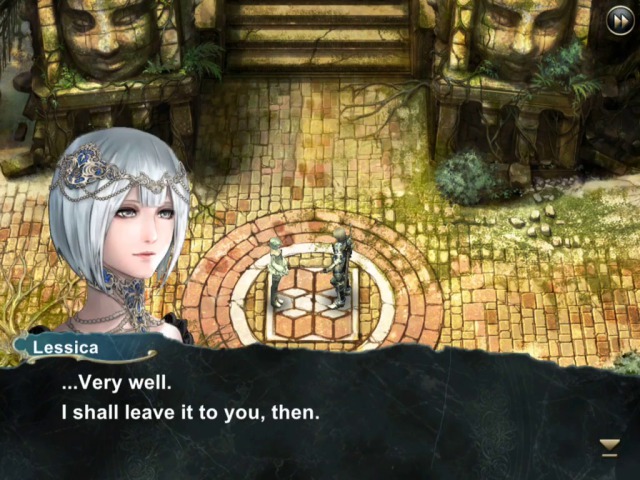
Yeah, so this one is just slightly different in that we have to go through the dungeon, looking for these memos in order, before the boss will appear. Memos are supposed be like small hints where to find the next one; luckily the dungeon where this happens is not huge, so if you get stuck you can simply go around looking for the next one.

The very next one is at the starting location.
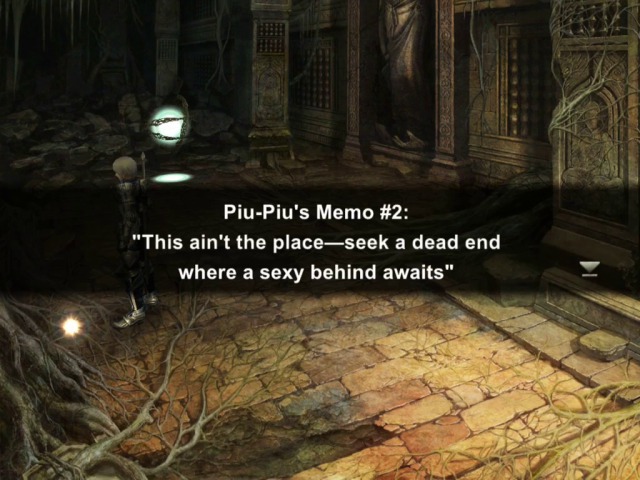
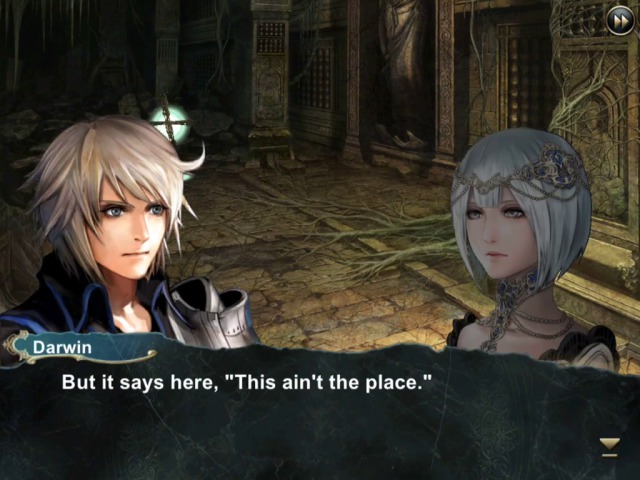
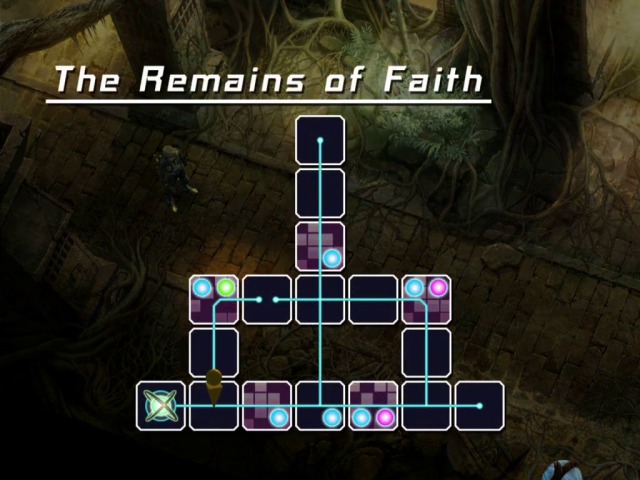
Well, it says "dead end", so let's head over to the eastern edge of the map.
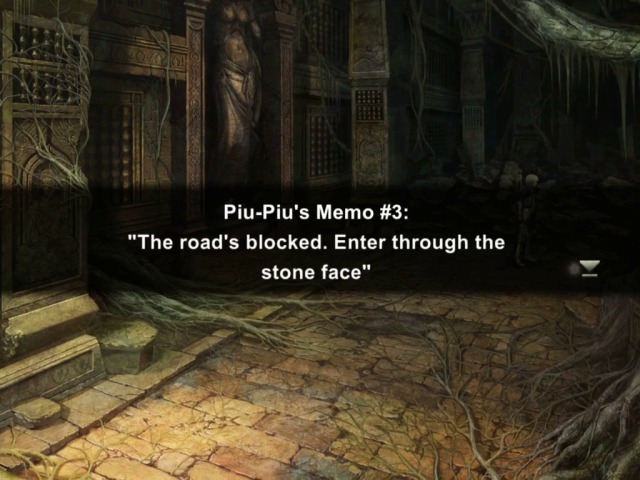
And indeed.
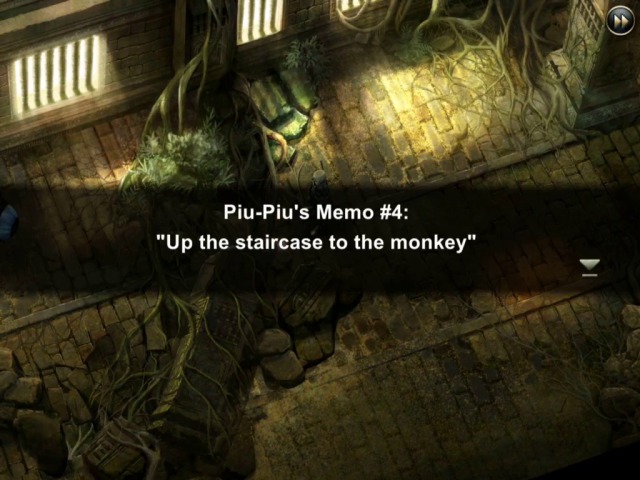
Number four.
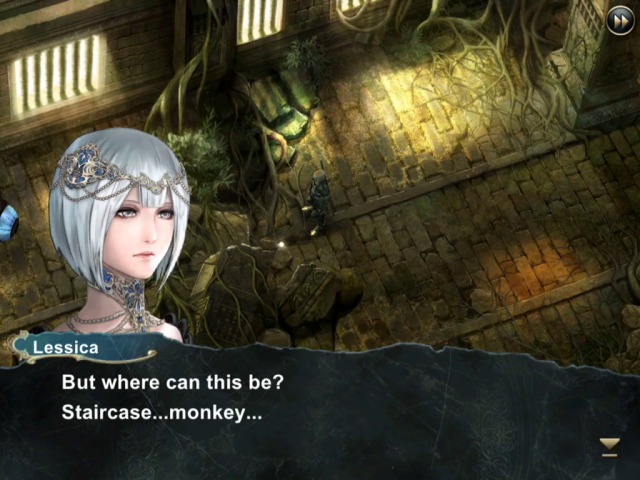
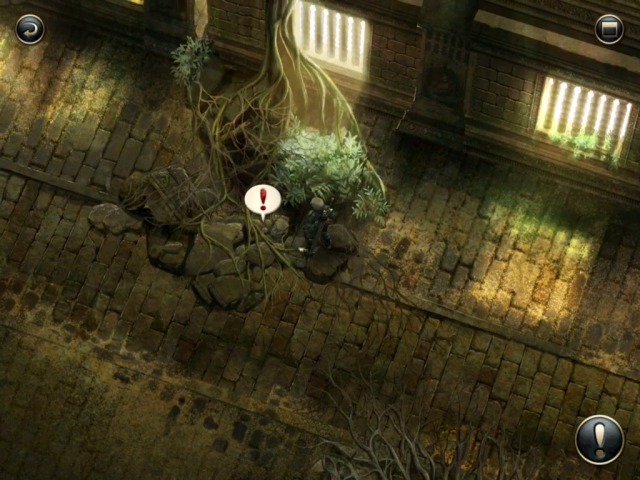
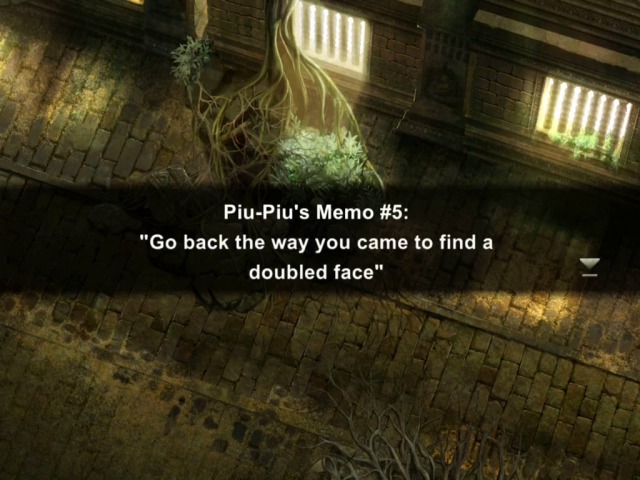
Number five.
And that finally leads to the boss.

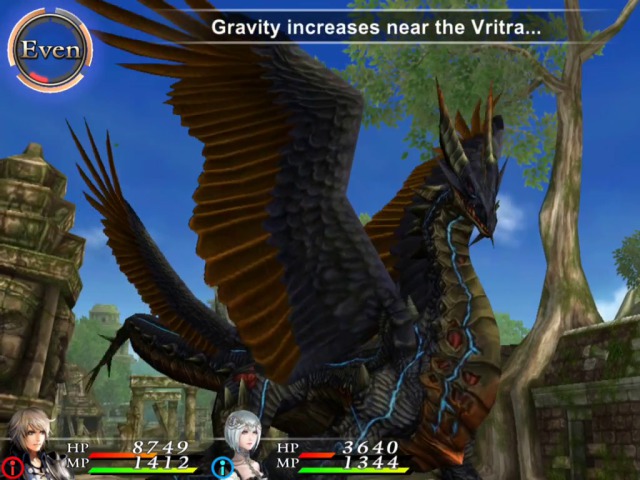
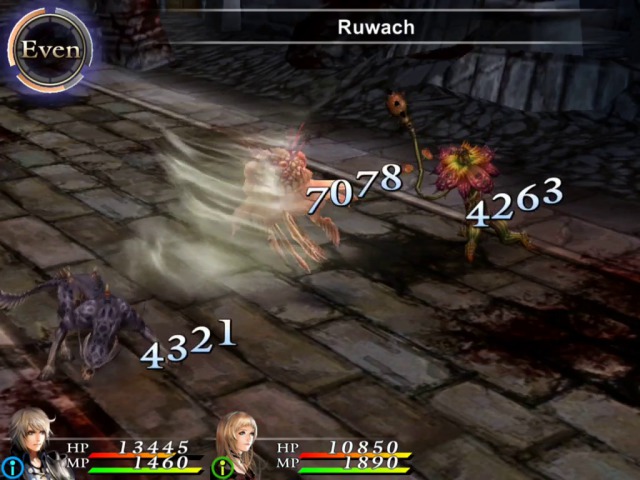
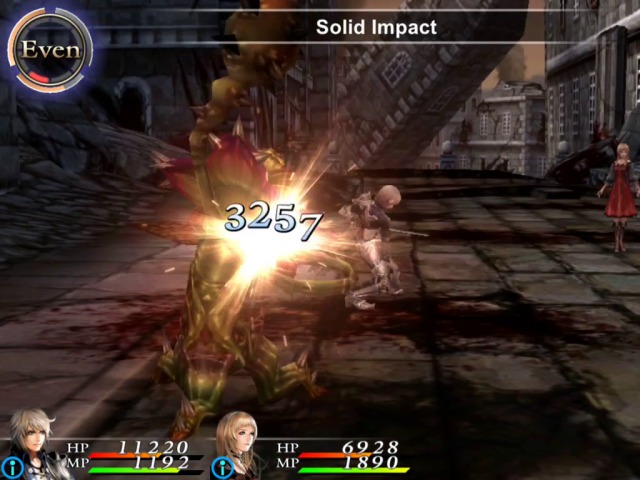
This guy is a bit dangerous.
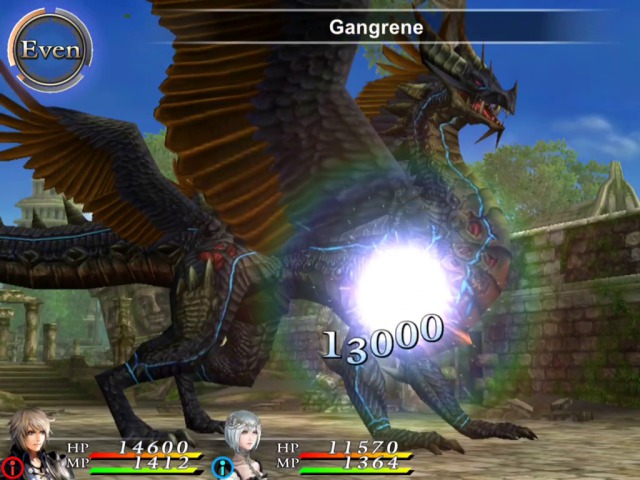
We'll of course do this--by they way, in this manner you can tell that he has 65000 HP, which is nothing to sneeze at.
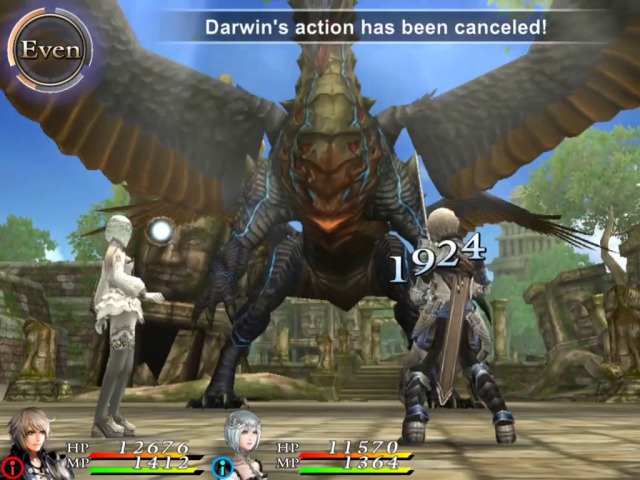
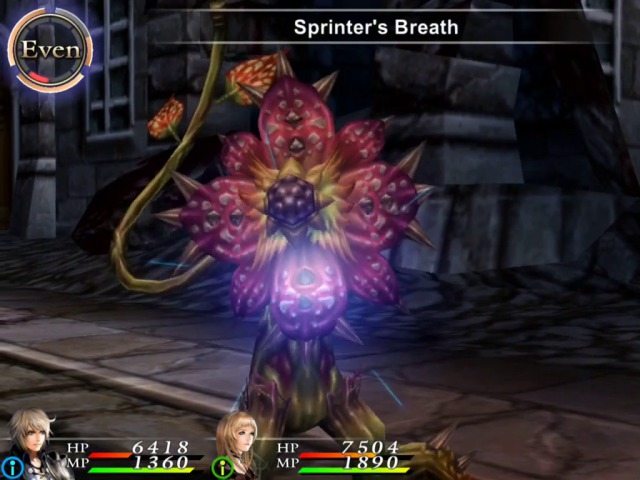
You really need to be faster than him, because otherwise he'll be doing this to you constantly. Luckly our characters are doing well on speed.
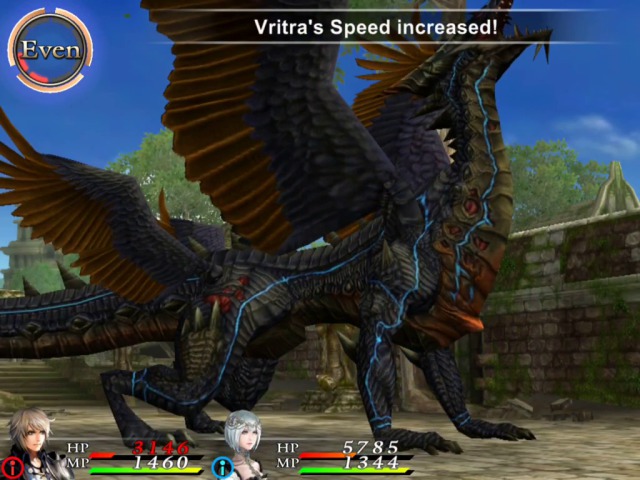
That is, until he does this. But ok, we can use a speed increasing item to keep it level.
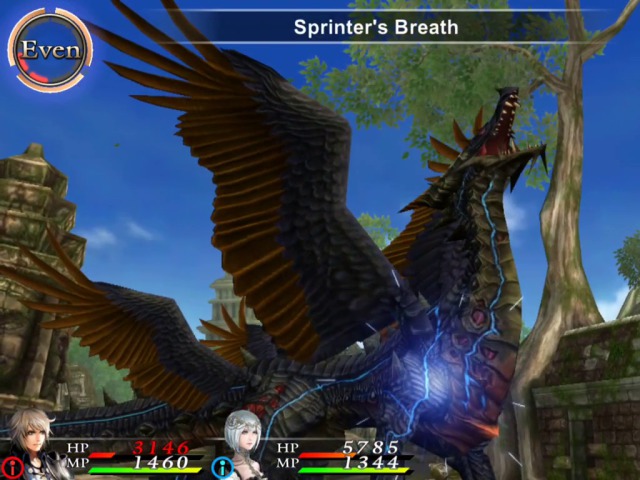
Sometimes he'll do this.
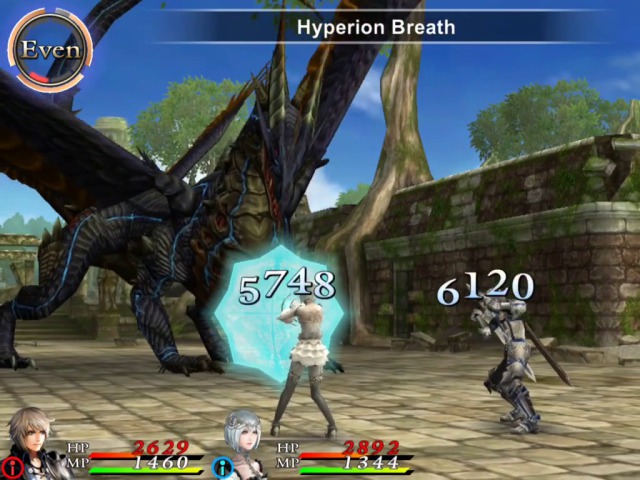
You better defend, because it's going to hurt!
He's actually weak to holy, so Lessica's limit break does not do badly either.
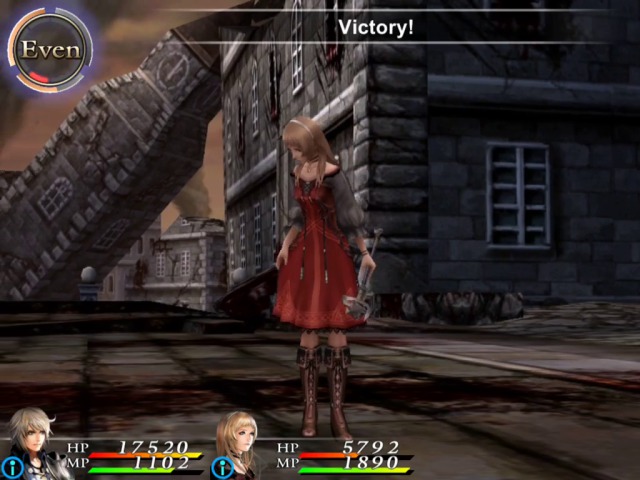
And here is the last memo. No, I don't know what happened to number six.
Oh, come on.

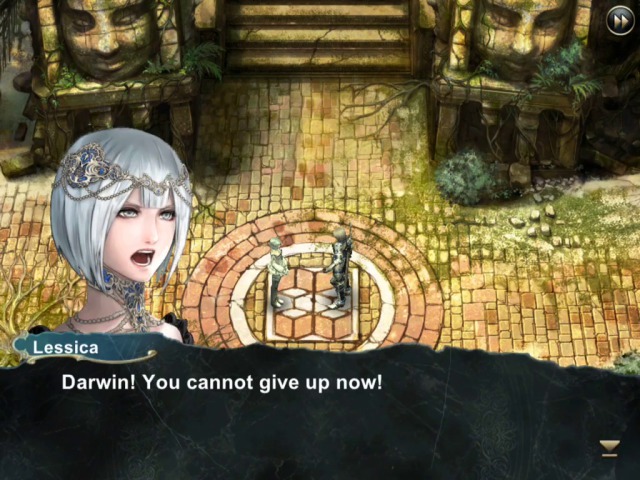
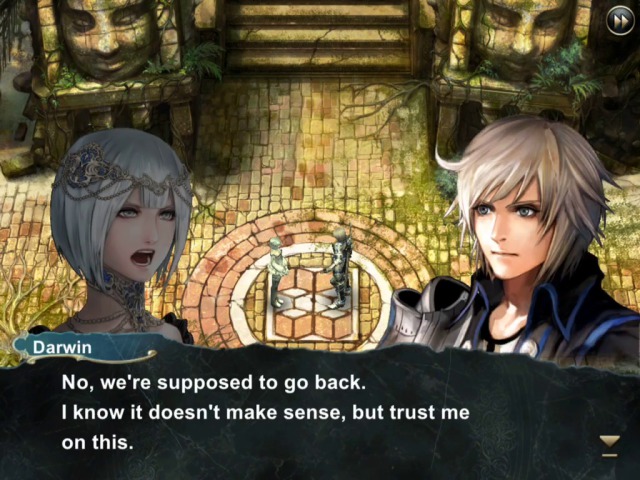


We'll split the speed boost between Marie and Darwin.
* * *

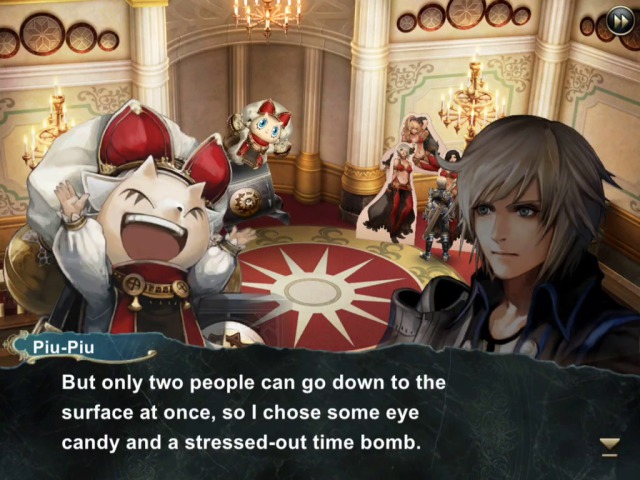
For the remaining quests, we are free to choose the characters ourselves, so of course we'll go with the tried and true pair, Darwin and Marie. Marie is so overpowered it makes no sense not to use her when you can.
Also, funnily enough, despite being at very high levels, all of the remaining quests give joke rewards which are basically useless.
In any case, this quest involves Orlando and Darwin's old buddy Rick, who you might recall got devoured by some bugs in the very first minutes of this game.
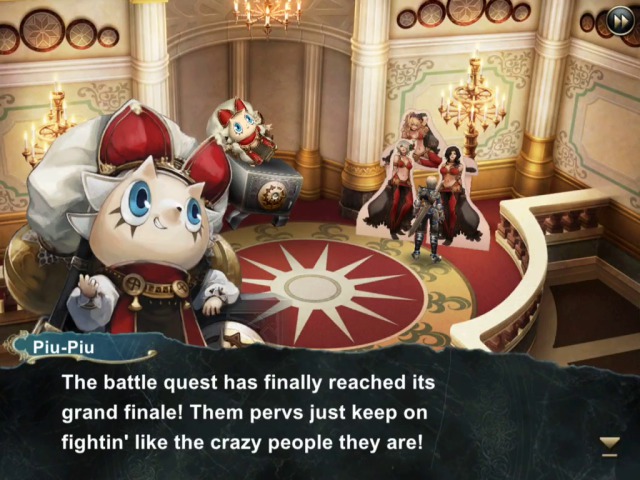
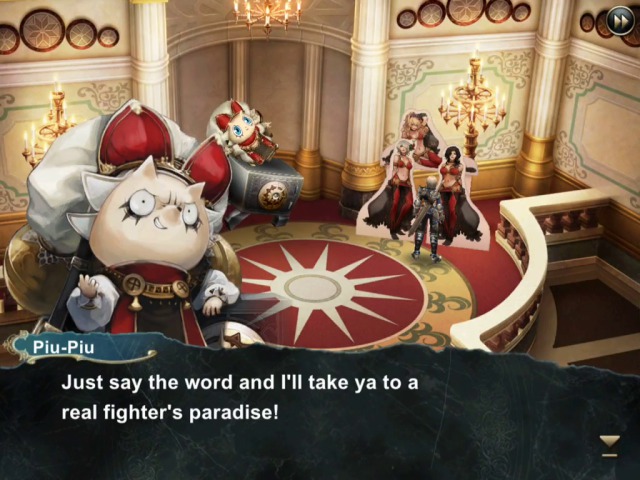
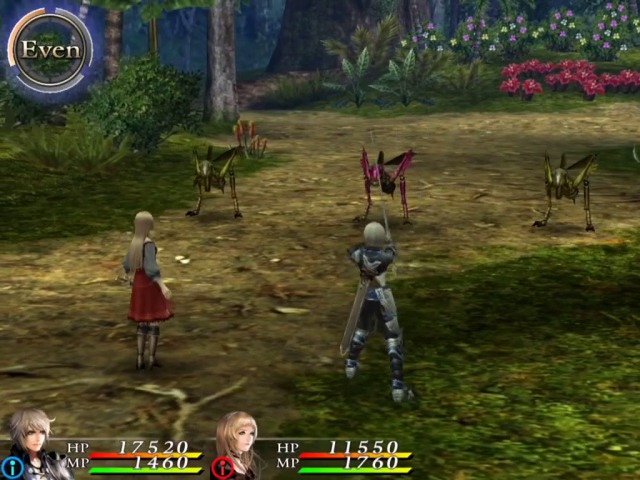
Well, guess what, he got reincarnated as a bug apparently and acquired two new buddies in the process.
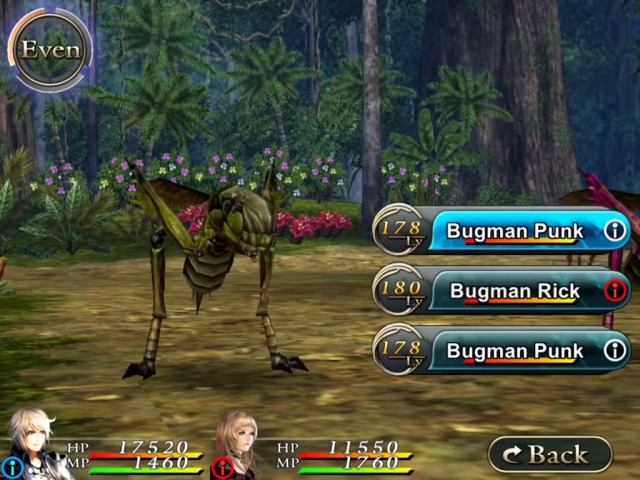
Yeah, yeah. Individually they have around 20000 HP each and no real special attacks, so...
...this is over fast.

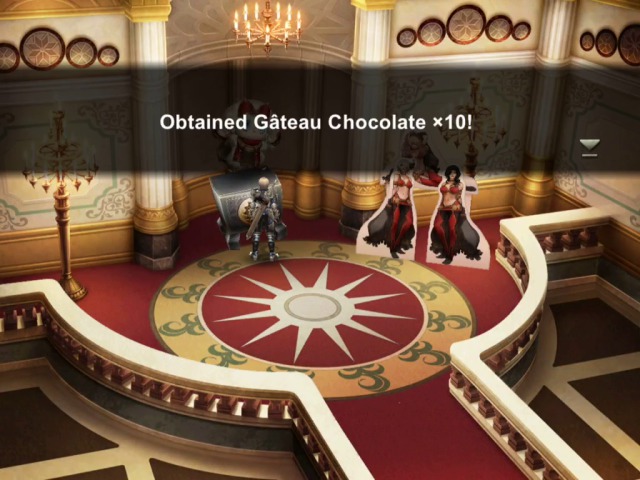
This reward is silly, as Piu-Piu actually sells them for no real money at all, so we can obtain as many as we like. True, he does also sell those seeds, but they are much more expensive.
* * *
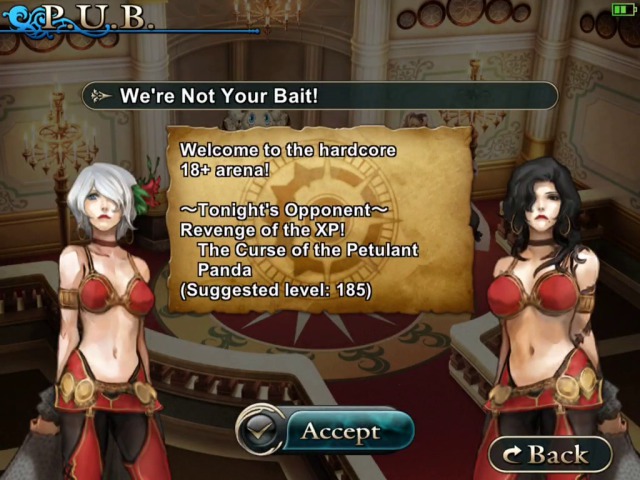
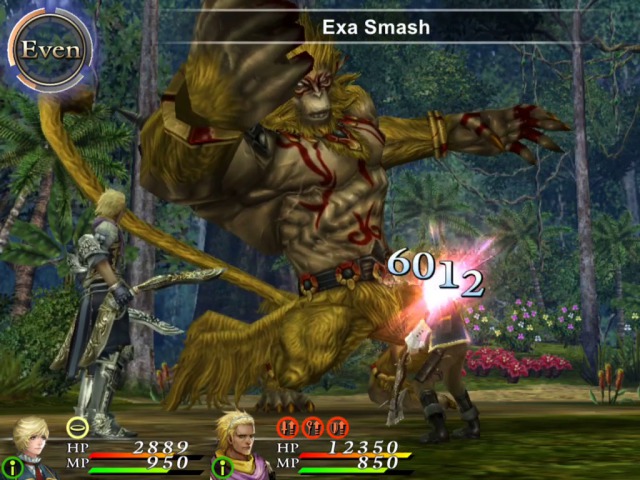
One last time against a panda!
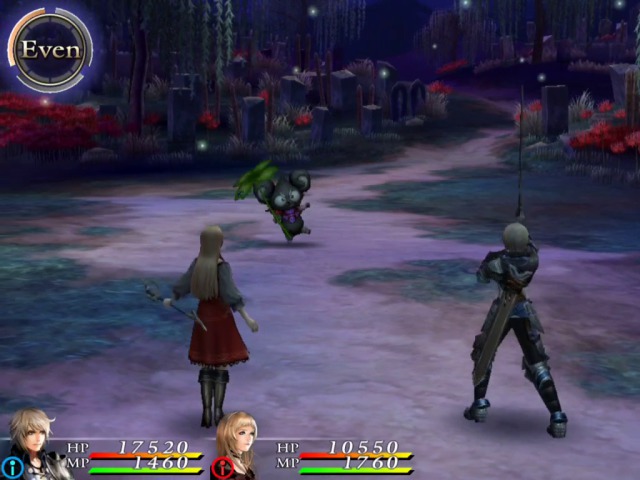
This one looks pretty nasty.
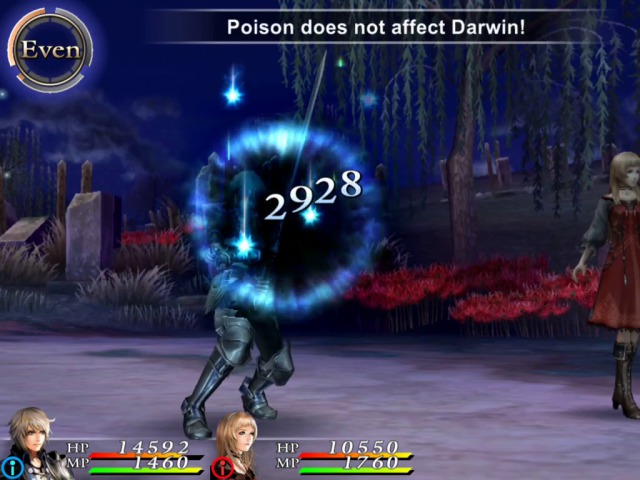
Auryns are a must as he will be trying to poison you.
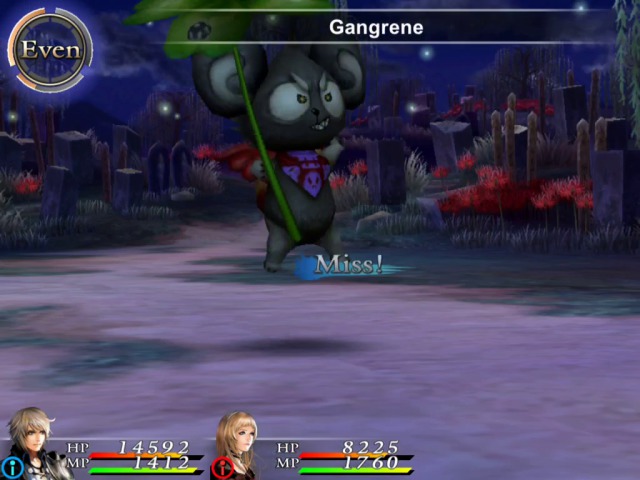
His Luck stat is high, so our attacks often miss.
The items don't, however!
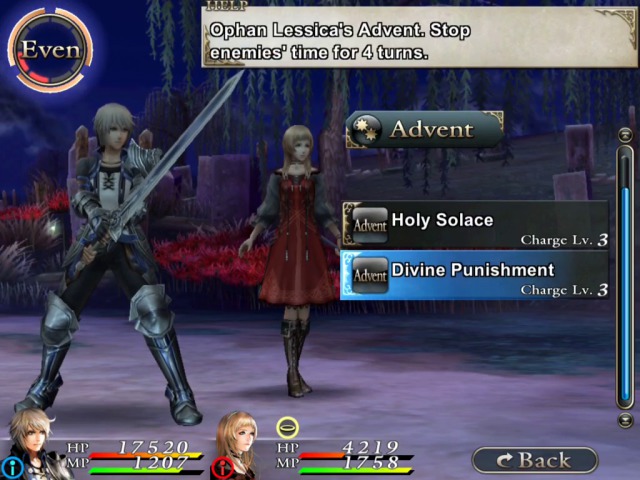
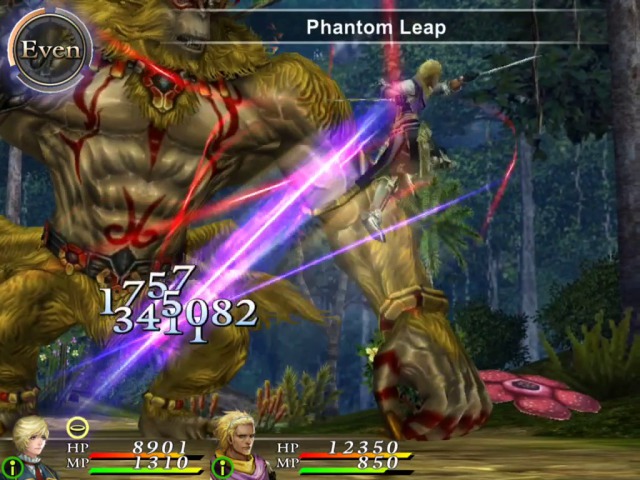
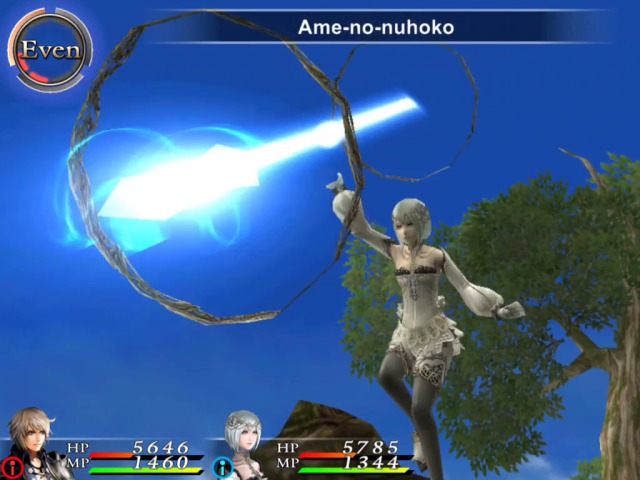
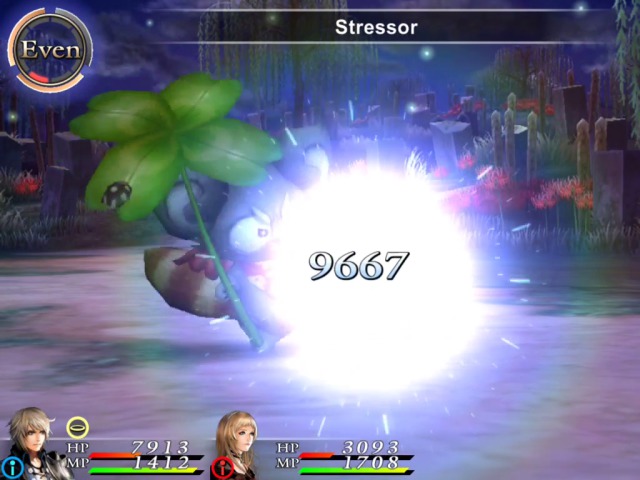
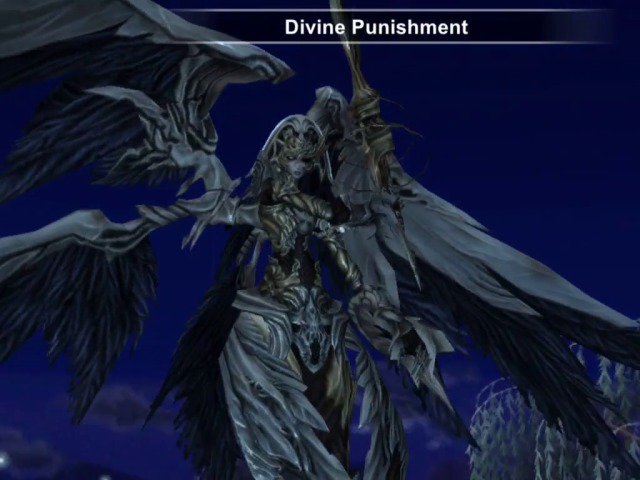
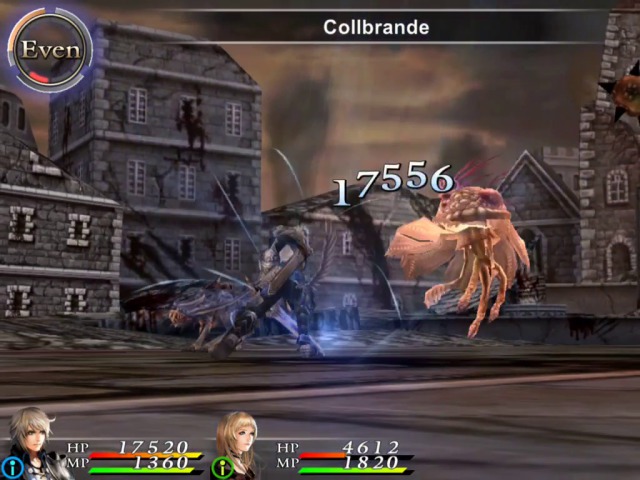
I decide to try something else this time. You would be forgiven if you forgot that this game has summons (because I never used them)! Once your charge gauge is full, you can either do a solo attack and use a limit break, or you can do a pair attack and call a summon for something special.
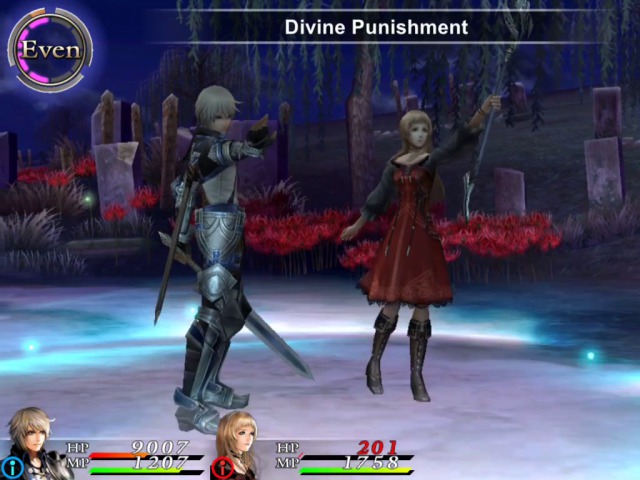
As you can see above, Lessica summon has a very interesting ability (which is why I equipped Darwin with Lessica's sopia for this fight). It deals heavy damage, and puts the enemy to sleep for four turns!! This game does not actually have a Sleep spell like in Final Fantasy, so this is as good as it gets. It's a level 3 attack so it takes a while before you can use it. So, we will use it now.
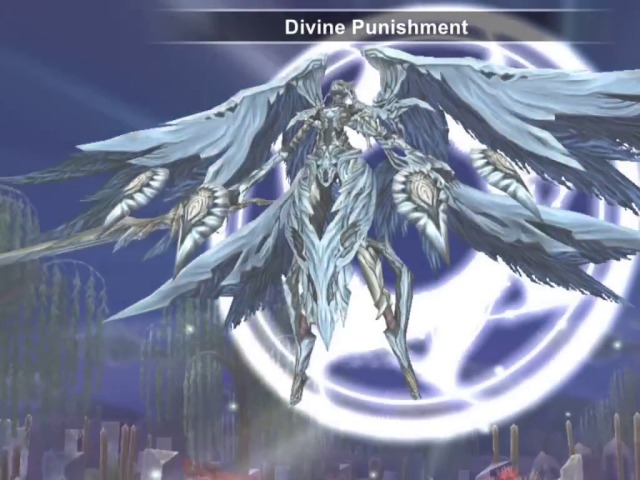
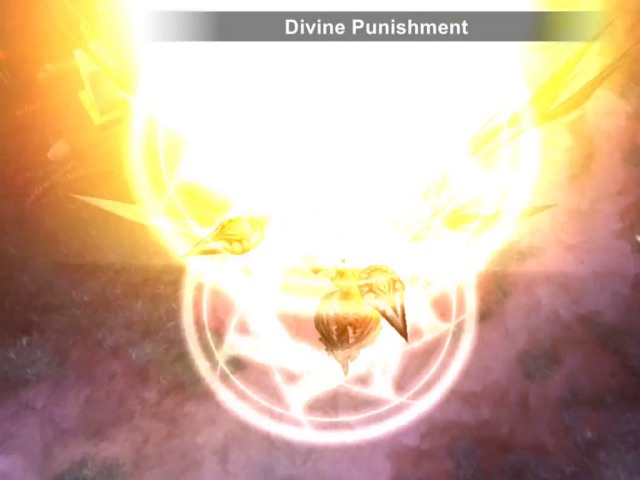
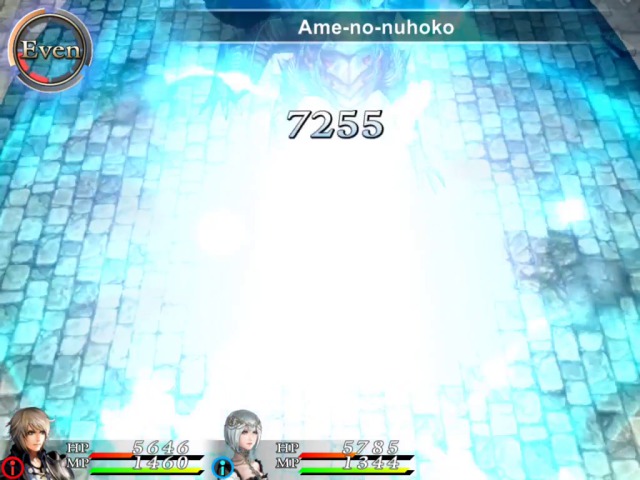
Look at that crazy damage!
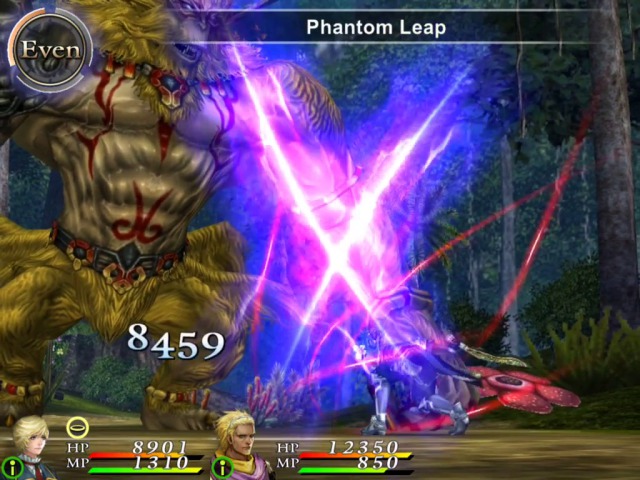
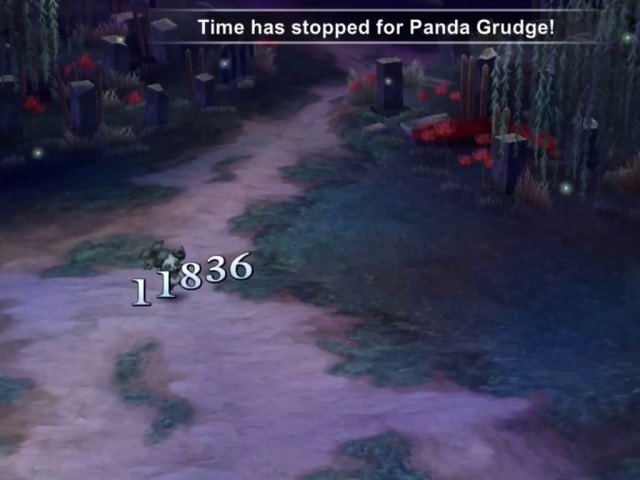
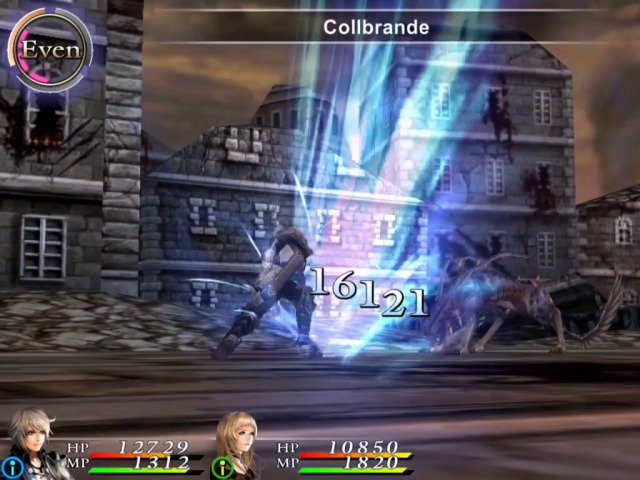
Now we can pound on him in absolute safety for a couple of turns!
And this is pretty much what this battle is all about, pounding.
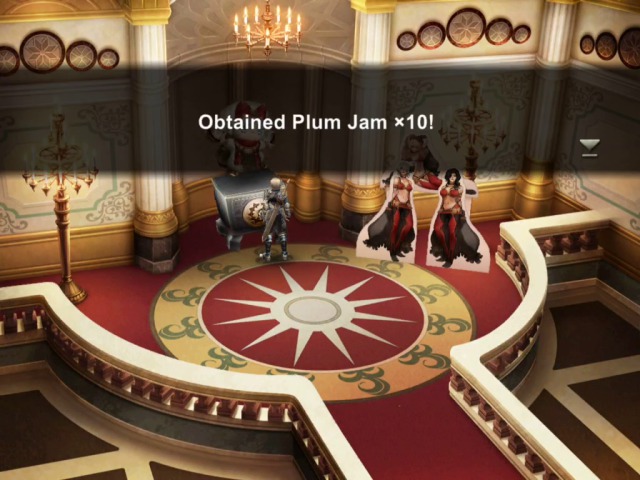
Another useless reward. Plum Jam recovers like 100 MP. Marie has a skill that recovers pretty much that amount EVERY TURN. Yeah.
* * *
This one is nothing special. It's just high HP palette-swaps of ordinary enemies.
The basic strategy is to first kill Black Mage as he is pretty squishy. Monk uses support spells 90% of the time, so he is pretty harmless, and can be left for last.
This is monk, and pretty much what he will do most of the time.
And here we kill the black mage.
Soon after the knight is a goner too.
Finally, the monk.
* * *
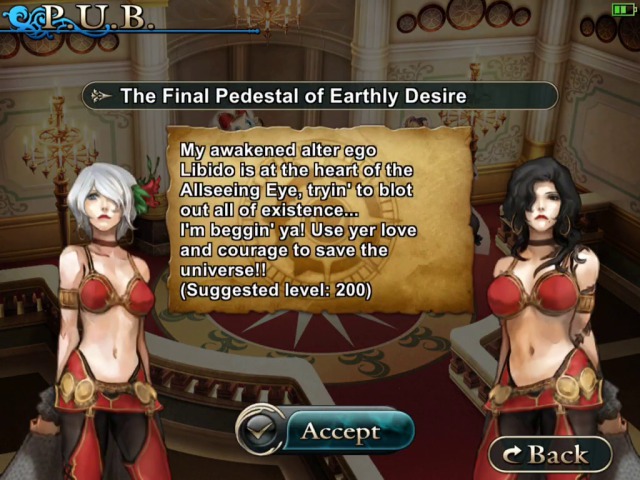
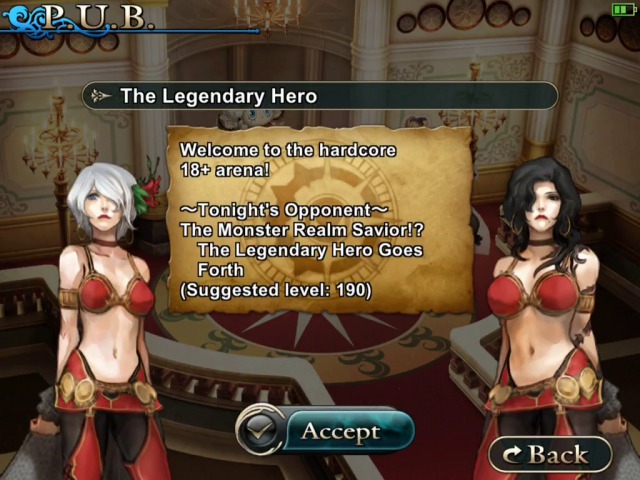
Ah, yes, the one we've all been waiting for. It is very much worth doing all the rest of the quests, just so you can see this one--you can't do it until you've done all the others. Seriously.
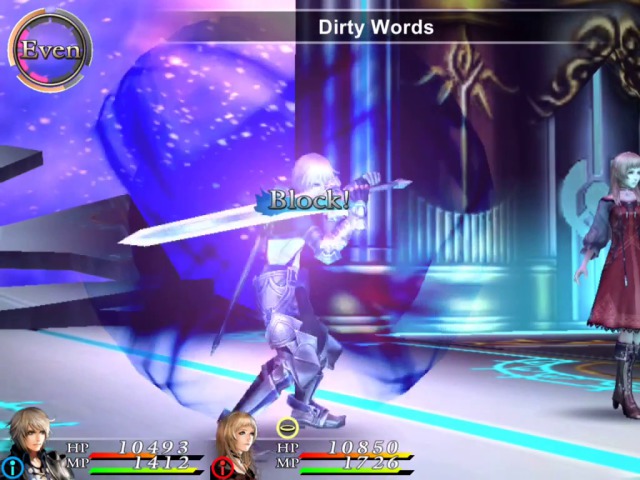
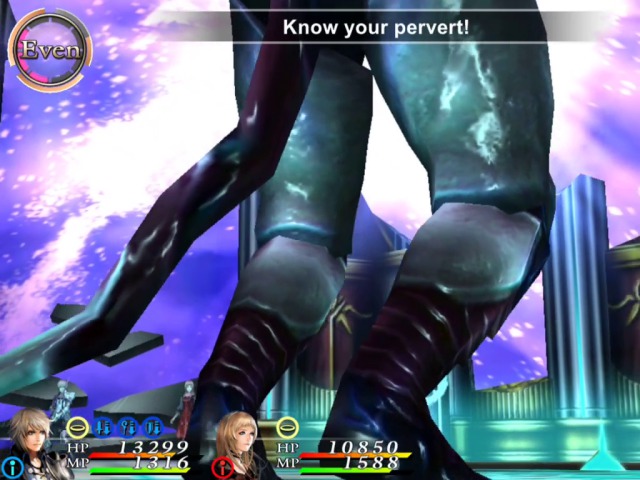
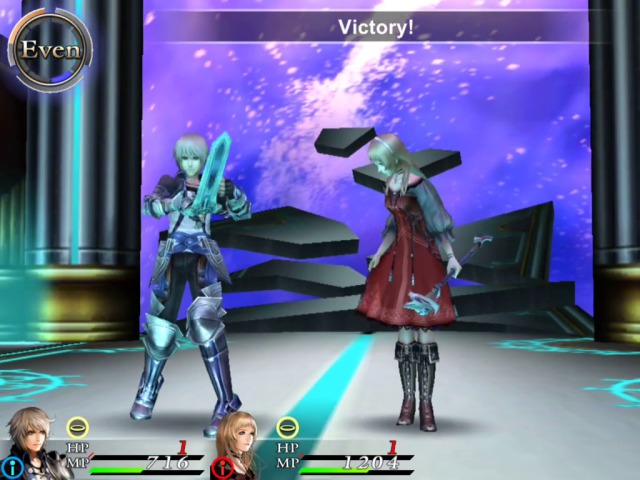
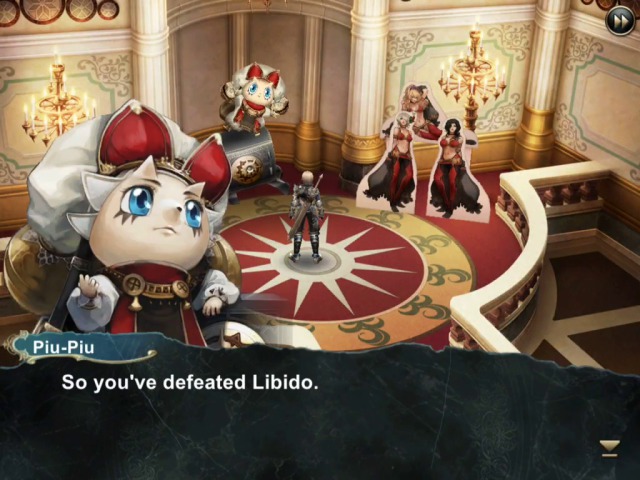
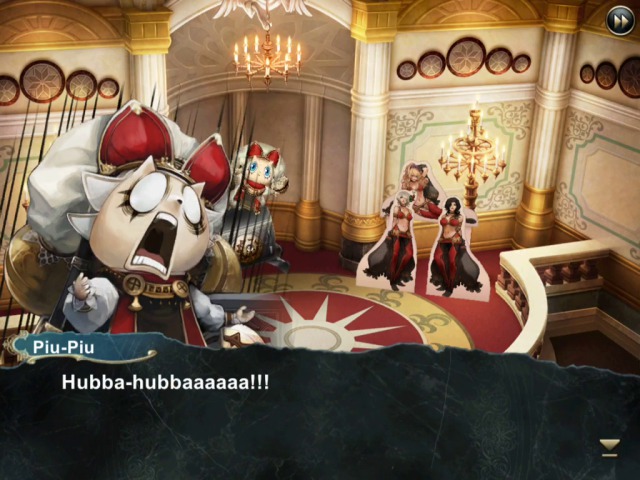
Notice that the name of our enemy this time is Libido. You might remember him from the first game where he was a pretty nasty character. He's mellowed down considerably, as we'll see.
Ok, let's head to All-seeing eye.
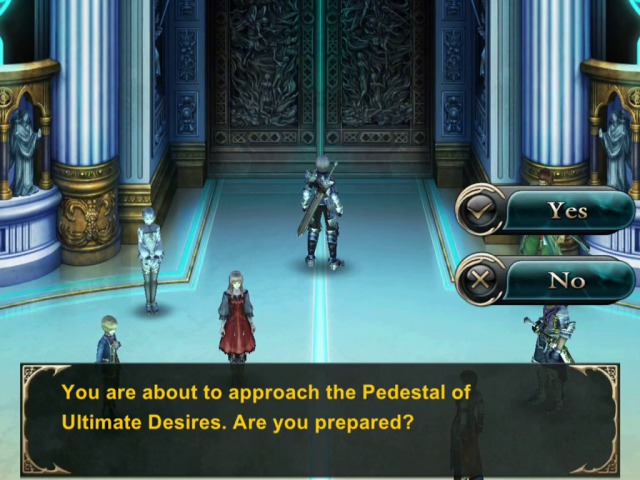
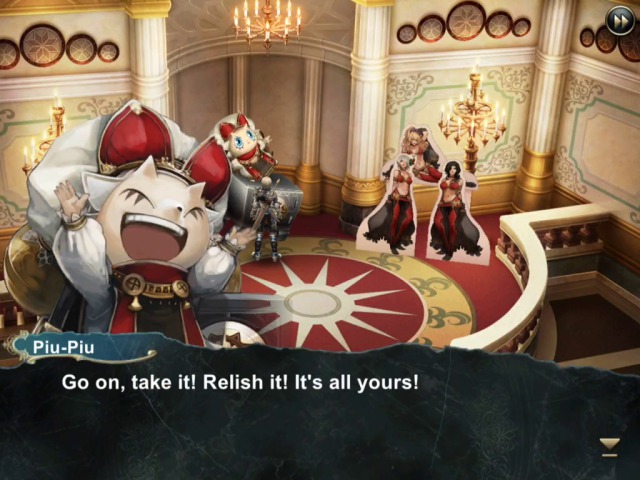
NOTHING can prepare you for this. NOTHING.
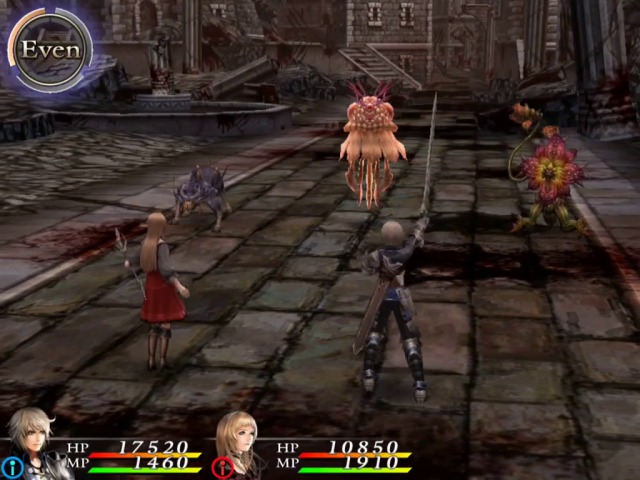
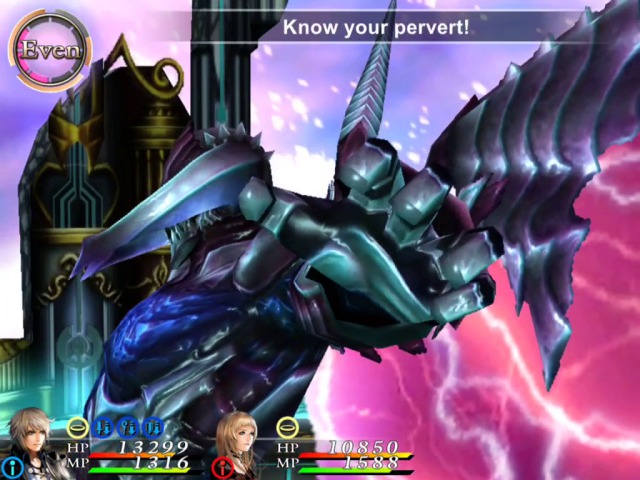
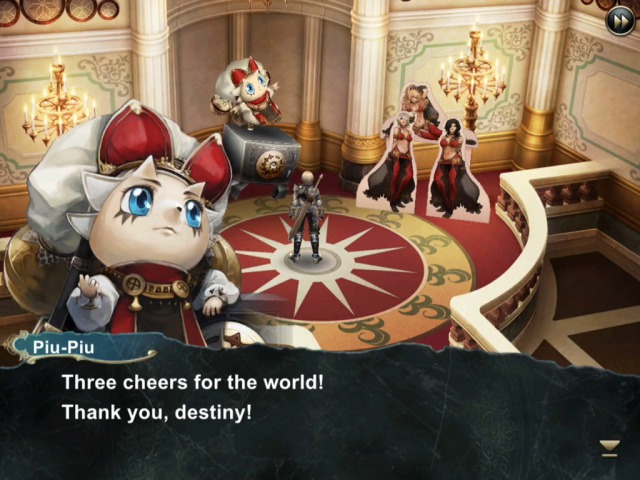
And here he is, in his full... uh, glory.
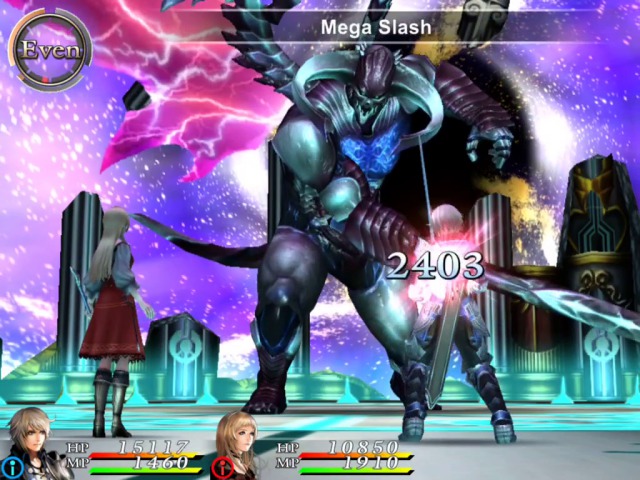
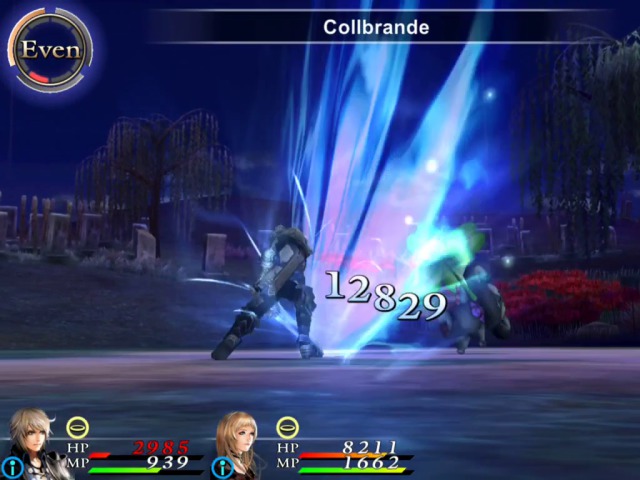
He really doesn't hit that hard.
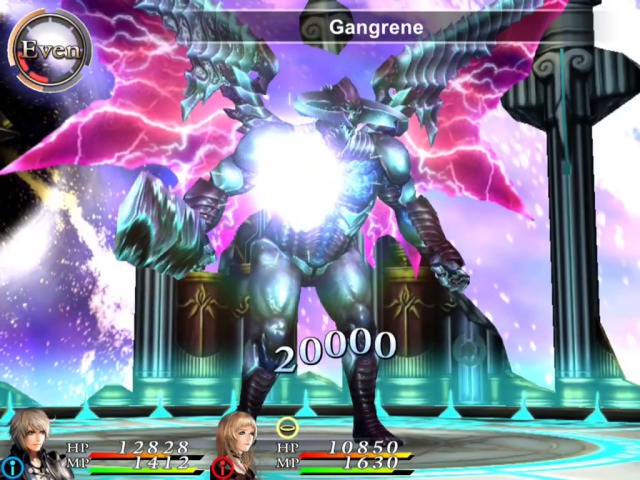
But he does have 100000 HP, so Gangrene does extremely well.
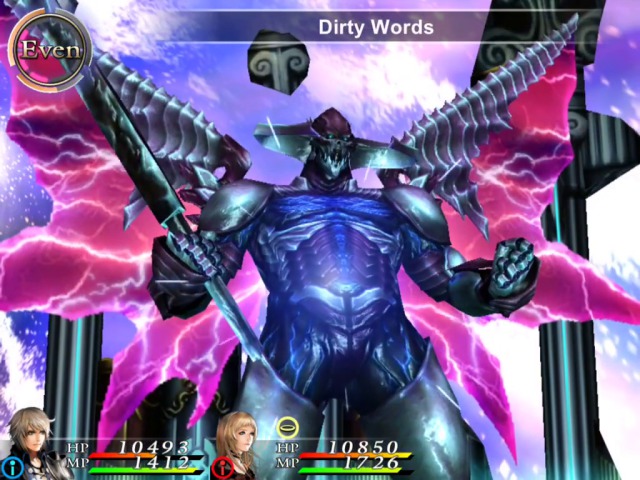
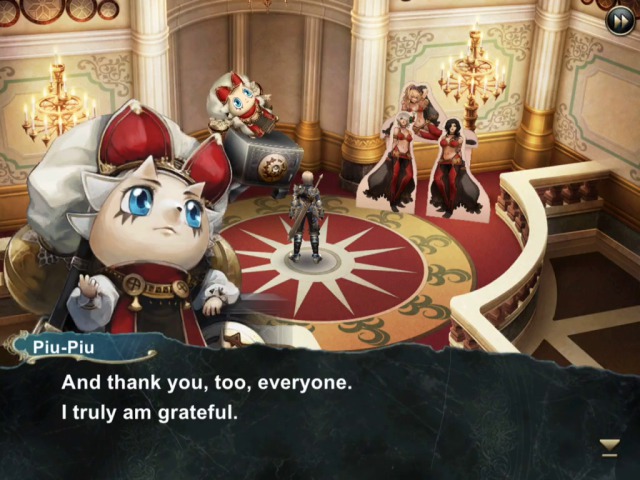
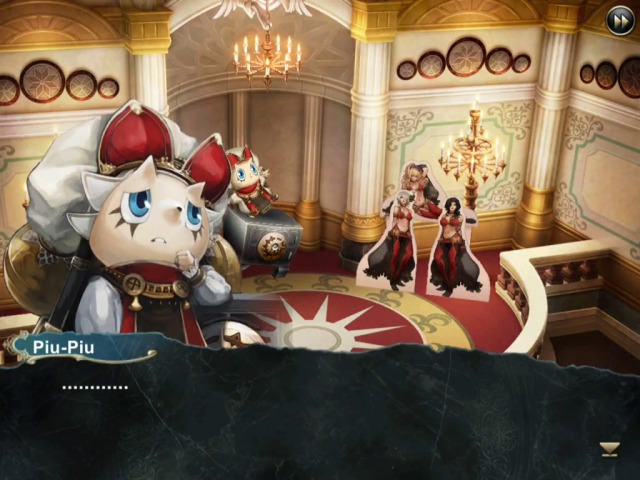
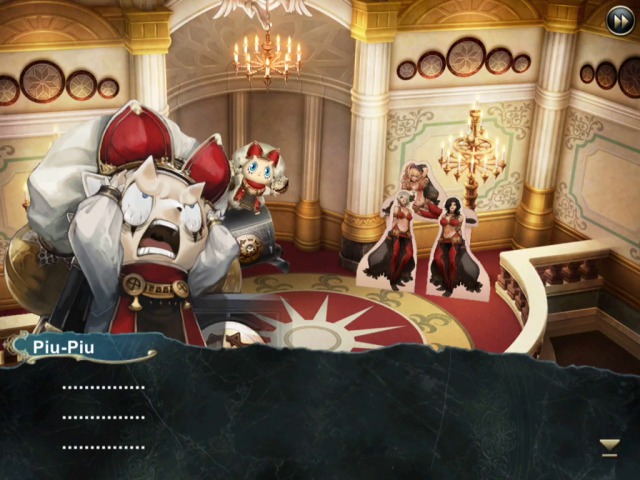
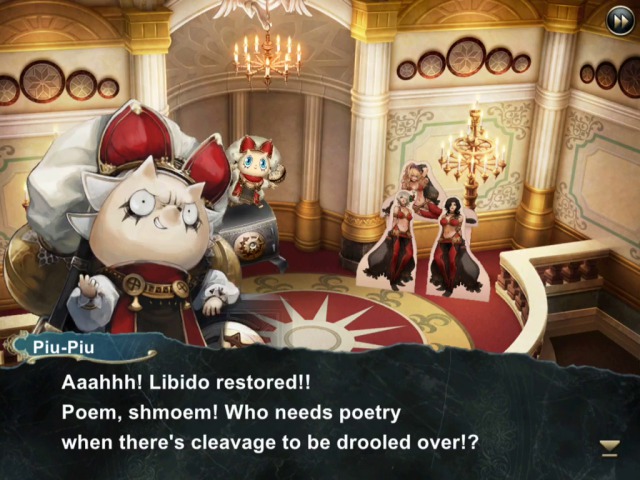
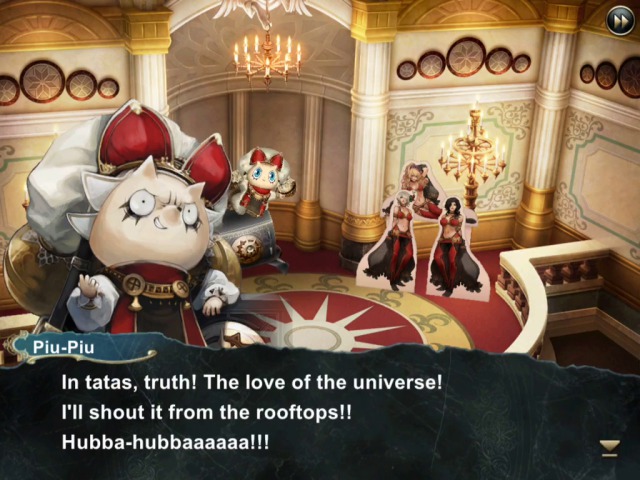
His attacks are very silly looking.
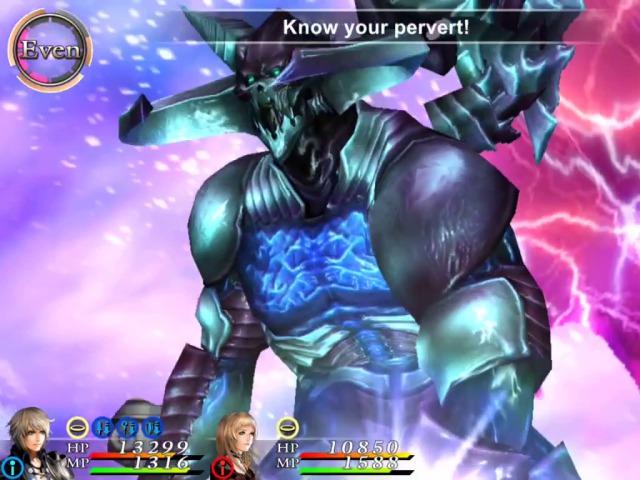
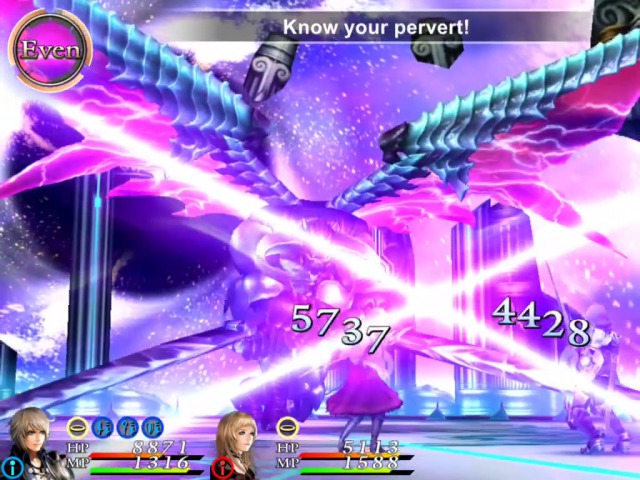
Yeah.
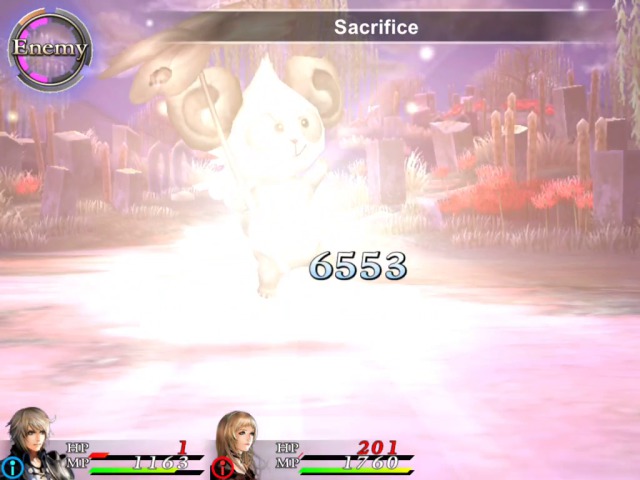
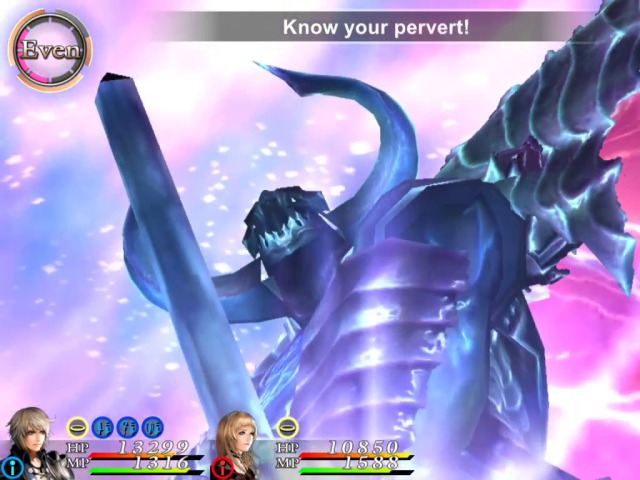
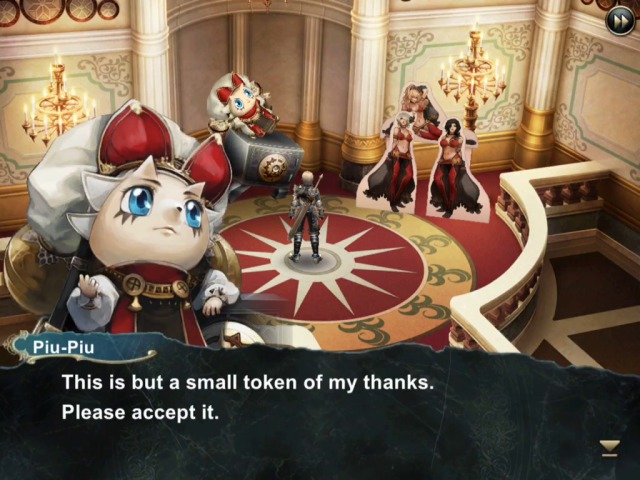
Eventually, we use this...
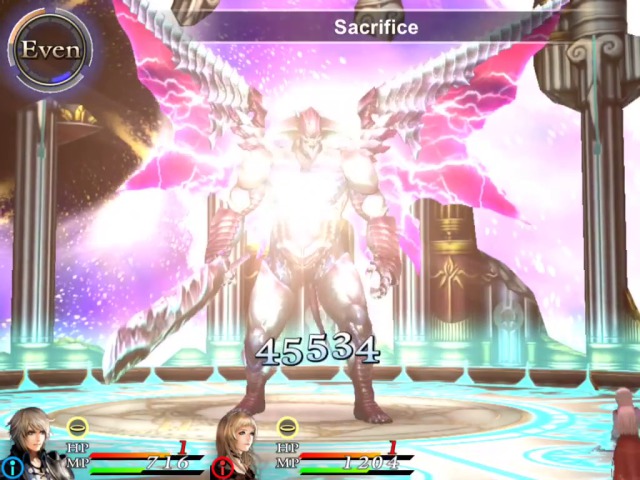
...and then finish him off with pair Sacrifice spell. This is actually quite an easy fight, not nearly as hard as he was in CR1--but he had totally different attacks then.
You should really, really, check out this fight in video format--his attacks are really funny looking plus you get to see Lessica summon in action!
VIDEO: Piu-Piu's Libido! (make sure to switch it to 720px HD for much better quality!)


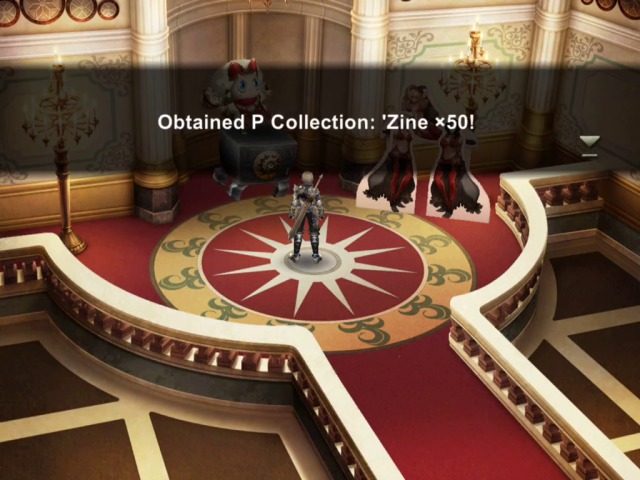
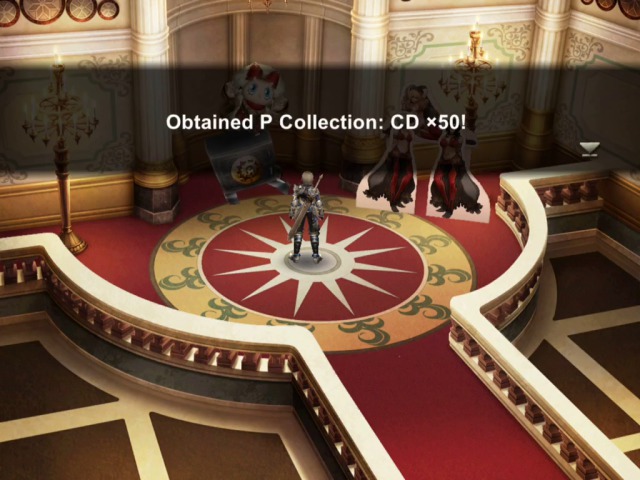
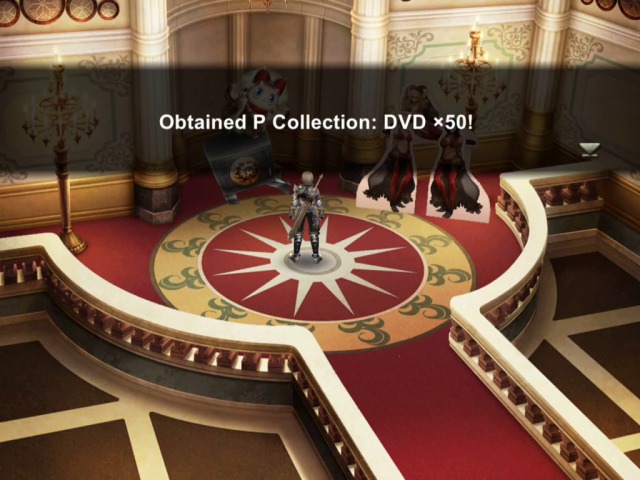
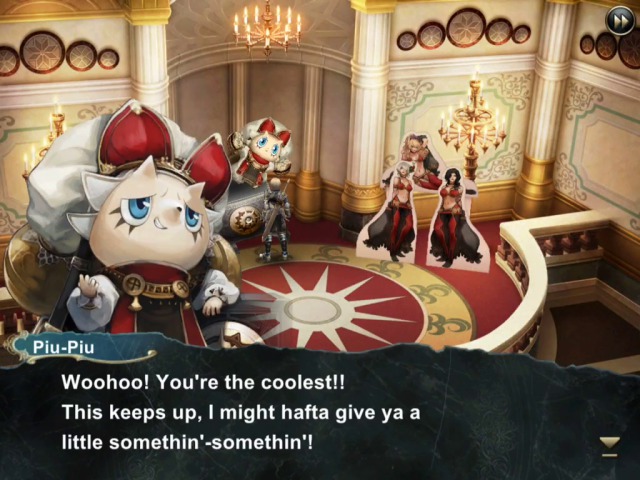
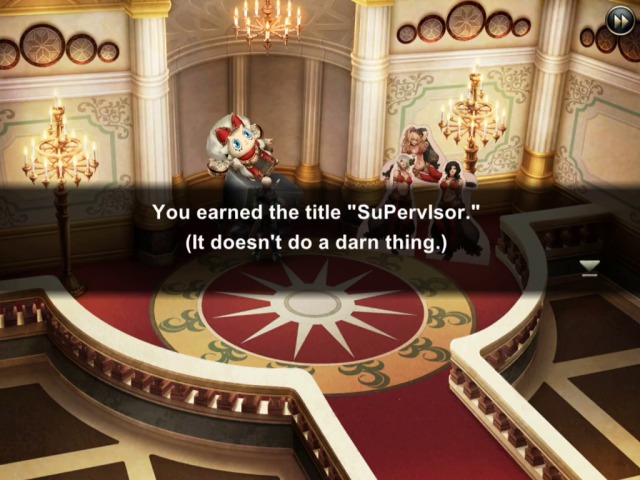
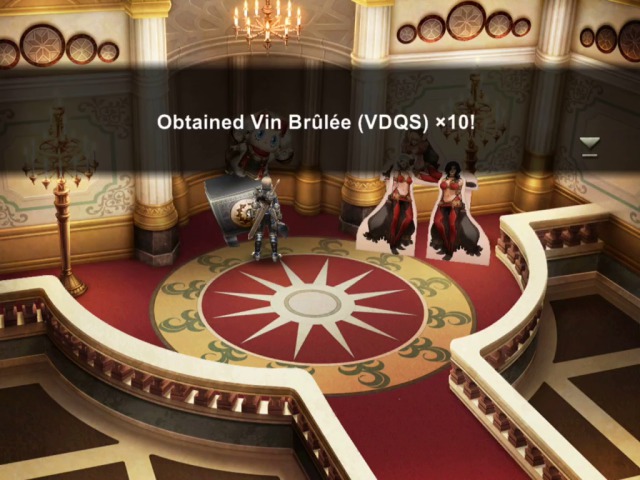
So as a reward he gives us his porn collection. Seriously, though, as you will recall, these are the items that we can just sell back to him for some money. But we have more money that we can count at this point, so... into the trash they go.


* * *
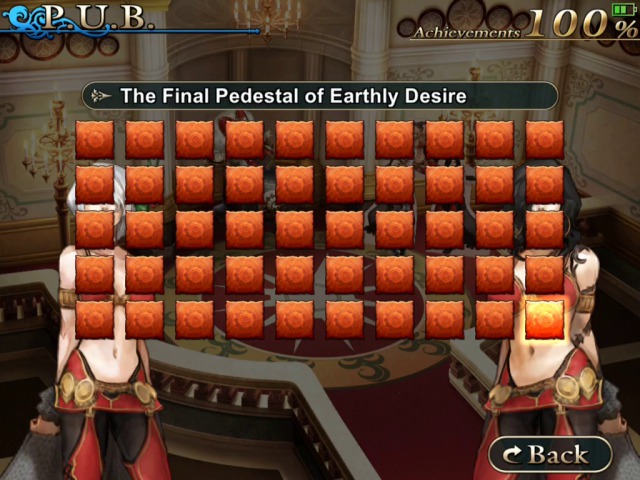
Well, that's all the quests done then (well, technically, there is one more, but...). Generally I think most of them are fun to do, slightly challenging, but not too much, the balance is just right I think. If I had to say which ones were the hardest, then without question, the fights against shadow characters. Those are really not a joke. There are hard ones and easy ones among the rest, but these really stood out to me as difficult fights. Obviously, there are a lot more quests on that screen than I've shown you, but that's because a lot of the early ones are just stronger versions of ordinary enemies, with no dialogue or anything else interesting really.
So, what's next?
Next time: THE END!
And to whet your appetite, here is a small preview: