Part 102: Meso(Apexian)
Meso(Apexian)Video
This will be shorter than most since we've already seen this mission. I was going to save this until after completing the Story proper since only one person said 'yeah, I'd like to see that' but then I had technical difficulties which screwed up the next story misson. Specifically, when I beat it the first time ... nothing recorded *sadface*. That's going to seriously impair the quality of that mission which I apologize for, but there's nothing for it. I must have just hit the wrong hotkey or something even stupider like not having OBS running -- haven't had any problems recording CW3 before or since.
Anyway, as mentioned before the Apexian achievement is about beating the pyramid level of Meso with no weapons built other than Nullifiers. The only way of doing this that I know of was mentioned in the thread. I actually found it harder the second time I tried, deleted that recording and did it a third attempt. Here's how that went.
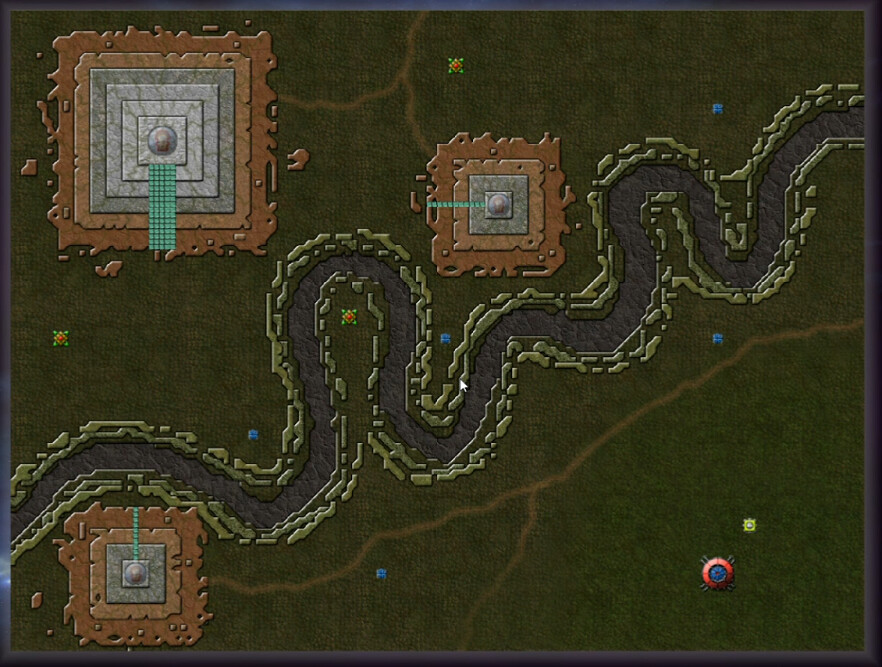
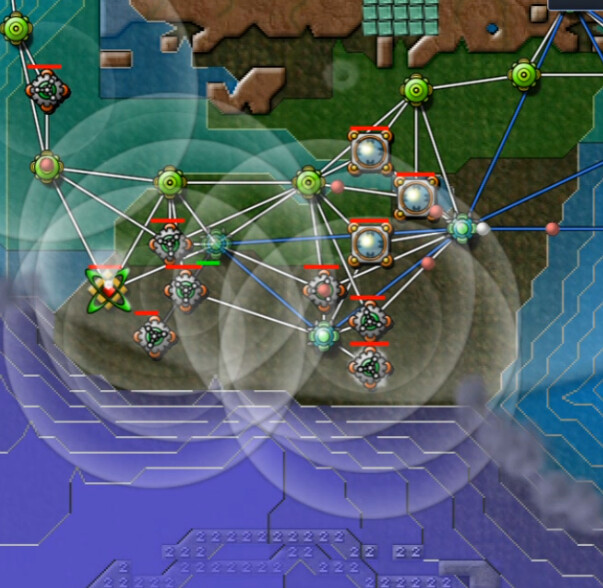
The Meso overview, in case you've forgotten it. Once powered up, the top-left pyramid puts out a big shield, and small, sporadic amounts of AC. The small one in the north-central area is the most important, putting out enough creeper to roughly match four of the six emitters. It has a small shield as well, as does the one in the southwest which produces 'golden men'. That's a lot harder to get to though.
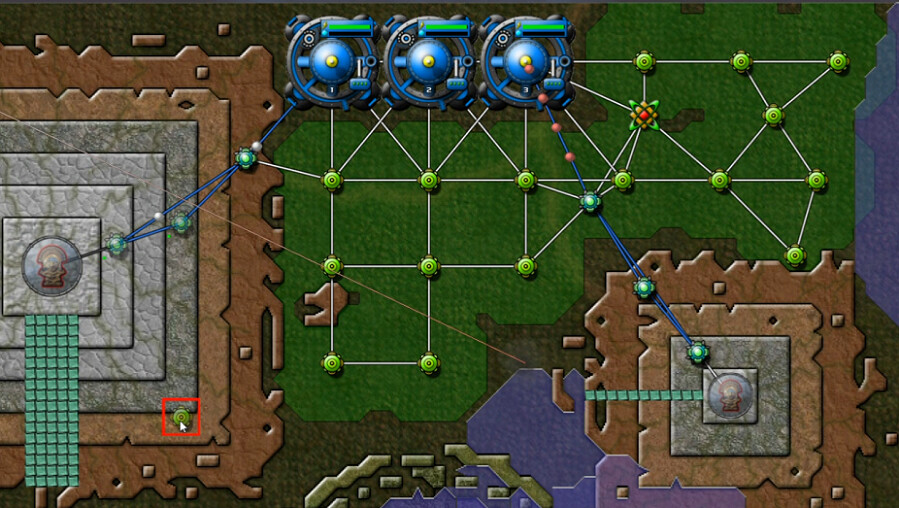
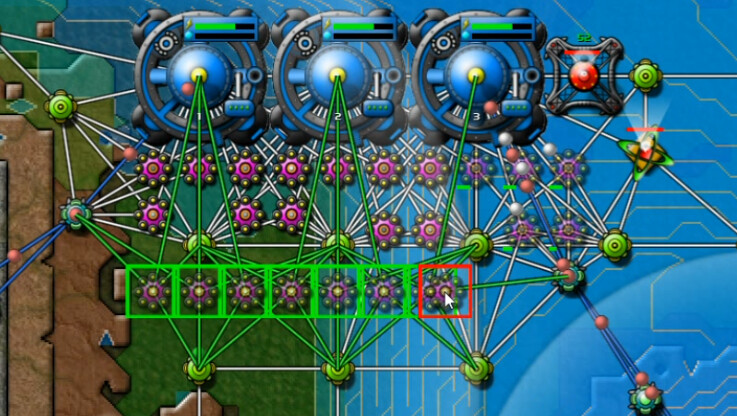
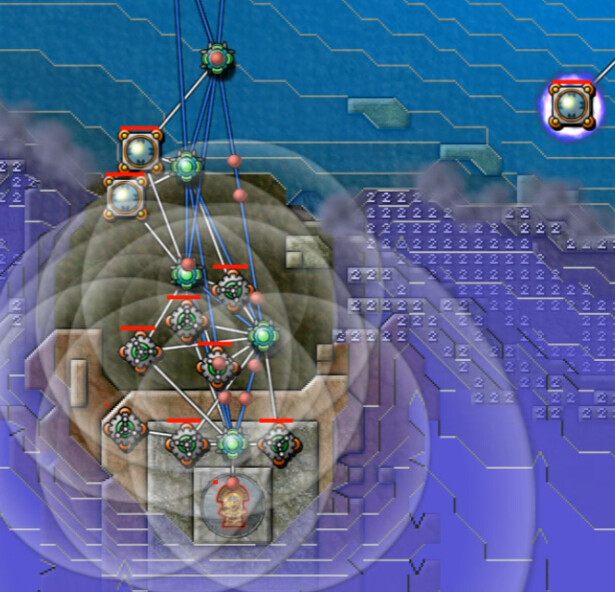
I lost a couple of collectors early on and you can see others are already in trouble. I should have built a few less, but the main thing I wanted is to get all the nodes down, some basic energy, and hook up to these two pyramids with relays. That's all pretty much mandatory. If you aren't going to build any weapons, the creeper will overwhelm you if you do anything else.

I lost a couple more collectors here, but the anti-creeper has started flowing and basically informed the Creeper that all this nonsense will now stop. The shields at those pyramids will now flash and flicker, because they don't have nearly enough energy to function consistently. Next job is fixing that. The big pyramid on the left controls enough room to place more collectors.
You probably think Reactors are next, but actually no. I go with a Forge here. Aether is vital to the winning strategy here, and the sooner you start it the faster you get it, due to how the totems gradually ramp up their production of it as long as they are connected to a forge. Then I start building reactors, two at a time. I want as much Aether for later purposes as I can get, but at this point to speed up the buildup I spend some on energy efficiency. We have two Totems operational, the one nearby and the one by the large pyramid. A third is just out of reach for the moment.
As soon as the AC has created enough room to do it, I place this nullifier to take out an emitter. The faster you get them taken out, the more effective the AC can be and that's literally the only thing we have access to right now that can destroy creeper at all. Massive amounts will build up but the lower we can keep that, the better. This also lets me get to the third Totem pictured here shortly thereafter, so how quickly you can get this first nullifier up is a huge factor in the build for this achievement.
Energy is looking better now, so I start spamming entire rows of reactors. I'm going to want a big energy surplus. Aether is only at 52 but I can start gathering more of it now. Then I start deploying some Terps to be used soon. Mostly they are for that riverbed that winds through the map ... creeper and AC tend to pool in that, and the various ridges in the terrain around it make placing things troublesome. I don't want either one of those things ... I want to flatten in out as we advance.
Now someone may say ... why not use shields to push back the creeper to get in range of the emitters? I tried tha the first time. I made shields. I made LOTS of shields. As in, I made enough shields to get the Shield Lover achievement. And it works up to a point, but it will only push back creeper up to a certain density and then they sort of hit a stalemate. To reach that point I needed a long, dense wall of them, which not only blocks the creeper, but it also blocks anti-creeper from attacking that creeper. So as a general way to push against an entire front, it really wasn't effective.
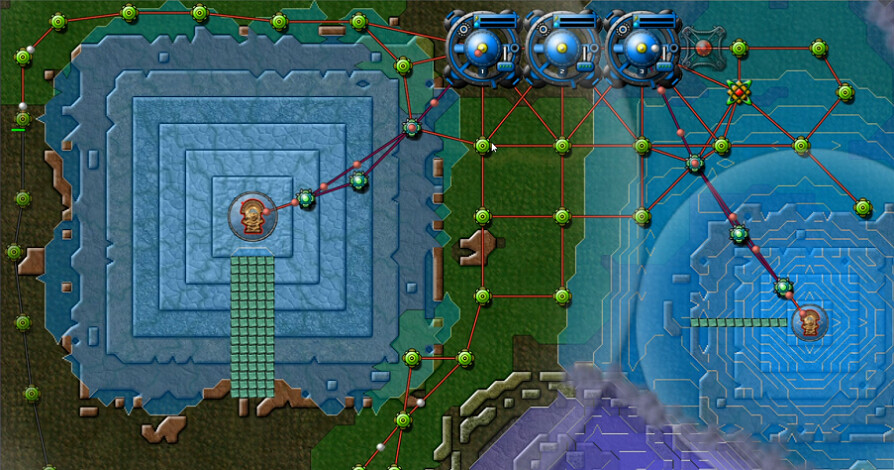
I terraform a bunch of stuff, basically wanting to flatten everything in this area because I want to 'attack in this direction. We haven't reached equilibrium yet; the AC is still slowly pushing back the creeper. It's not going to get me close enough to the emitters, but I'm preparing the way here.
It's time for the key to this approach, which is the Singularity Weapon. And as has been said, yeah no weapons but the Singularity Weapon is not a weapon for the purpose of this mission. The verboten items are those in the Weapons tab of the control panel. Singularity is a Forge doo-hickey and therefore exempt. So that's some definite sleight-of-hand, but it does make a certain amount of sense; the Singularity doesn't actually destroy any creeper. It just moves it. In experimenting with this, I learned two important things I didn't know:
** Singularity requires 100 Aether, roughly at least, for a 100% charge.
** Every time you fire it, it will use up whatever Aether you have saved up ... and most importantly, the duration of the effect is proportional to how much Aether is available.
While I save up Aether, I position a SuperTerp. Never thought I'd use one of those. Better range and I think it works faster also. The others move to work in another area. We need several hundred Aether at a time for this approach to work, which is why it was so important to get the forge up ASAP. So right now I'm just waiting on it. I grabbed a few energy storage upgrades for some leeway, and a couple energy efficiency ones at the start. The part I forgot, which is also critically important, is packet speed. We'll see why soon.
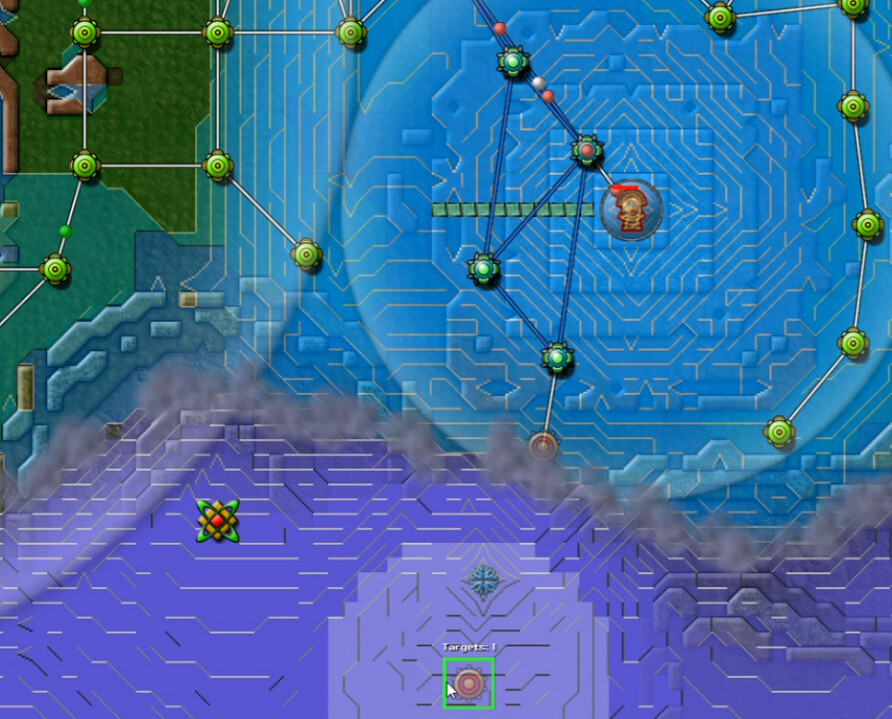
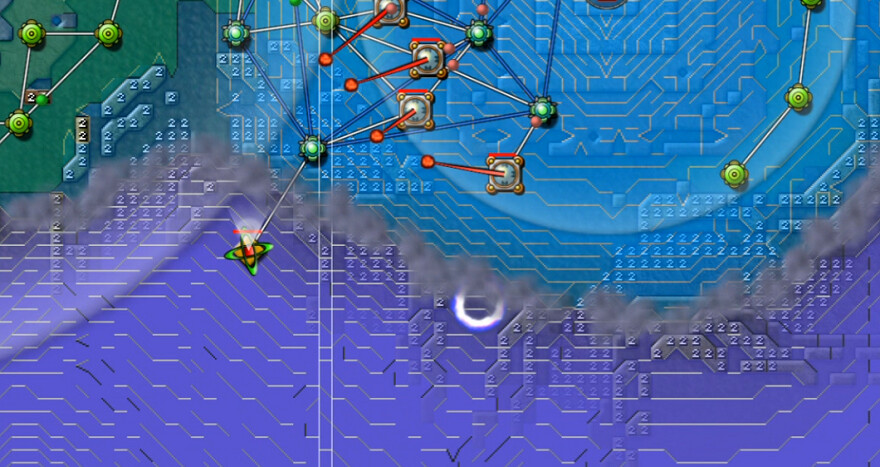
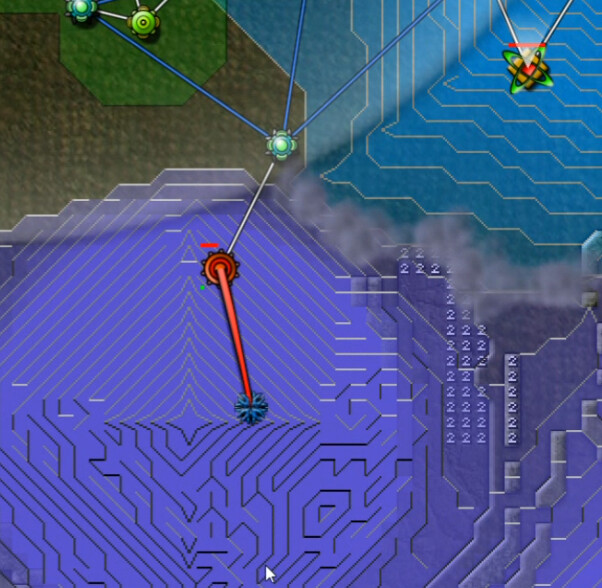
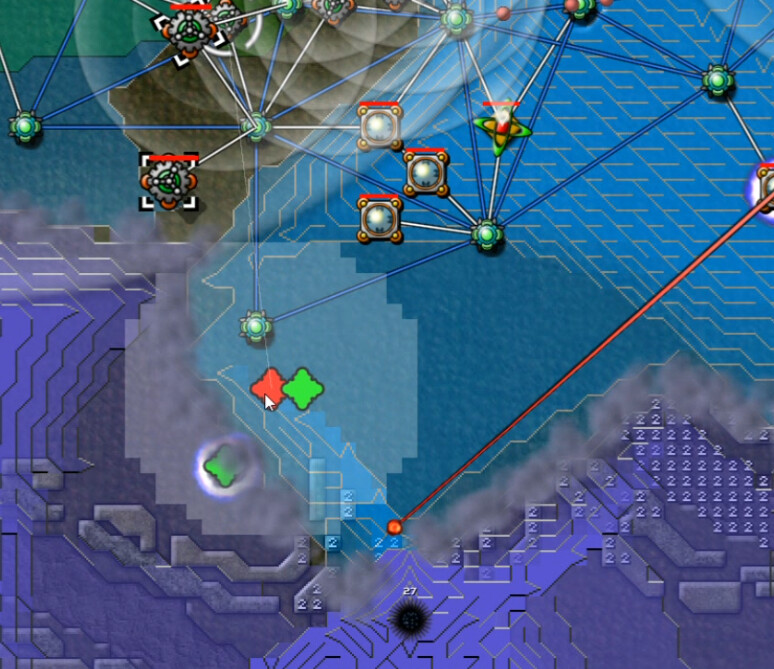
The first time I fire it, it gives me a 61-second timer. This is after several seconds. I've found it's usually best to target it near the emitter, sometimes offset in one direction by a bit depending on the situation. The idea is that it's going to suck up the creeper near the emitter, giving me time to get close enough to it to deploy and fire a nullifier before the timer expires, the creeper releases, and my whole operation gets flooded and destroyed. Then lather, rinse, repeat.
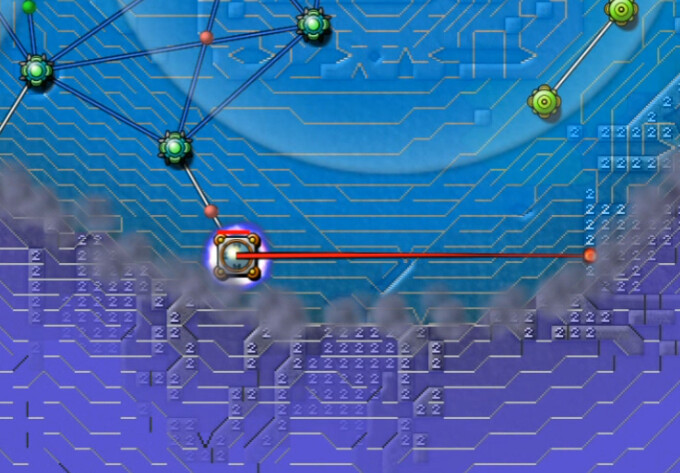
I moved in the terps to flatten stuff out, extended relays, built a nullifier ...
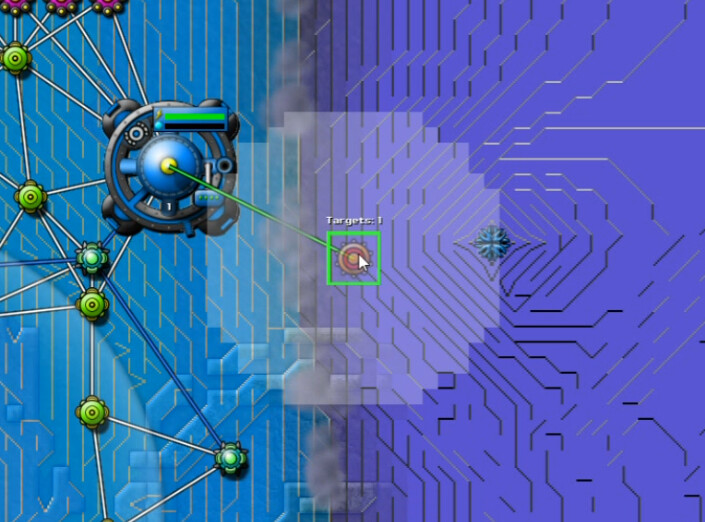
You can't get any closer than this and still fail. It was literally in the process of firing when the nullifier was destroyed. Everything I just did? Almost a complete waste of time. Now go make a sandwich and wait for more Aether to be stockpiled, while that emitter merrily produces 300 more creeper a second. There's a bit of an art to this, and if I'd remembered to upgrade packet speed earlier I would have had enough. During the waiting periods, I used the 4x time compression since there's really nothing else to do.
After getting a little over 700 aether saved up, I fire again. 71 seconds. Seems to be real close to a second of duration for each 10 aether, and this time I have an addition 10 seconds. That's about how much time is left on the singularity when the emitter goes down. Ok. At this point the anti-creeper/creeper balance is going to be about equal. I could let it run as long as I want, and neither side is going to gain a significant advantage.
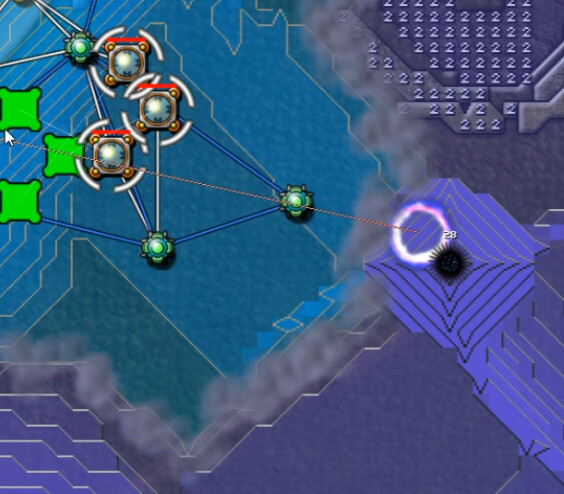
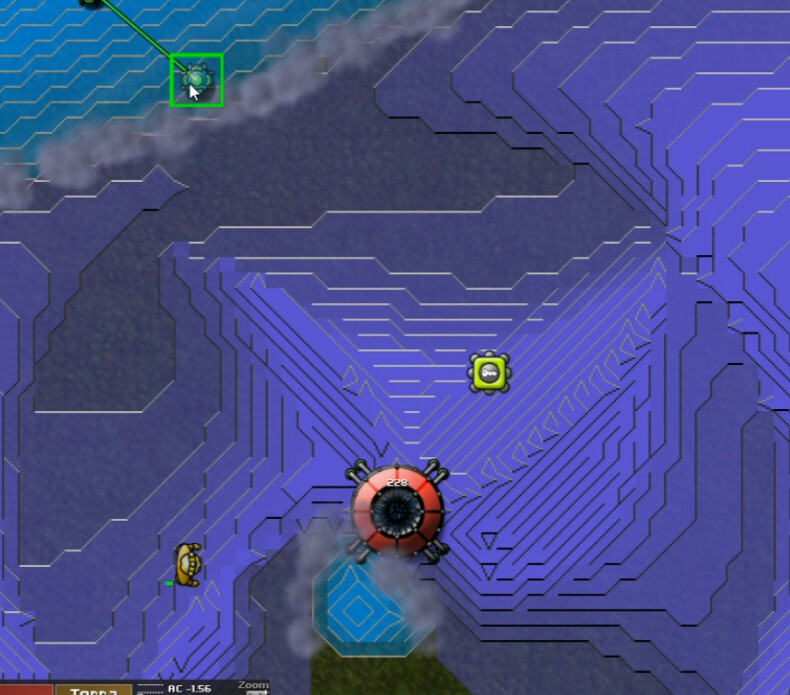
Now I move to the easiest one to get, in the northeast. I move a command node over here for faster supply, and you can see by this prospective nullifier that I don't need to push things back far at all to place it. I fire with 650 Aether, and once again have some time to spare. Three down. At this point, if I'm ok with playing this till my hair turns grey, I could just let the AC do the job of gradually wearing down the creeper. Nah.
The next one I save up to almost 100 seconds duration, and as you can see I didn't need nearly that much. Better safe than sorry but I went a bit overboard there.
Now it gets a bit more difficult. There's a lot more creeper to get through to reach this emitter, and the inhibitor is at least as far away.
I try using the singularity to clear enough room to get a SuperShield and some friends in this area. I ended up nearly, but not quite, getting parity in that area as my shields slowly got chewed up and retreated. They do have a limit, my friends, no matter how much energy you give them.
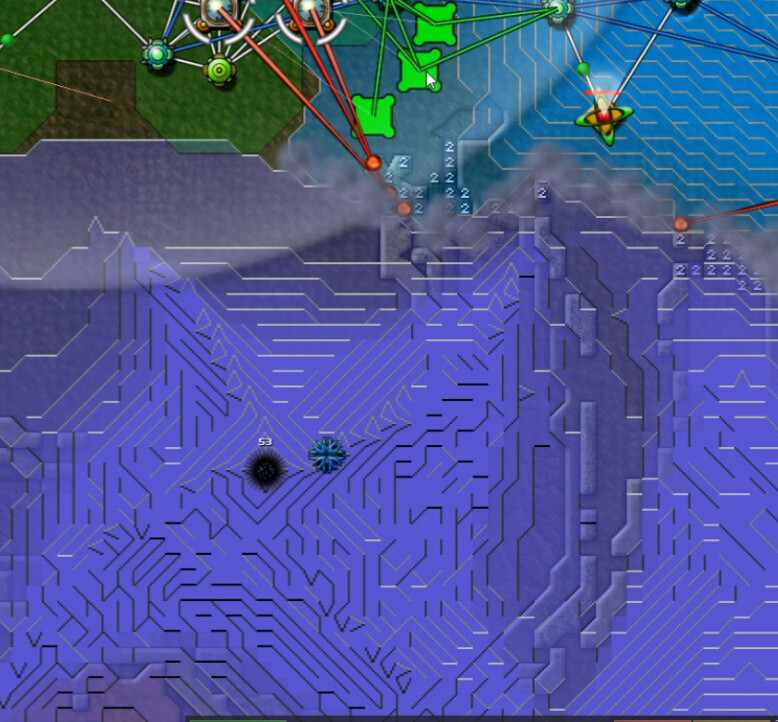
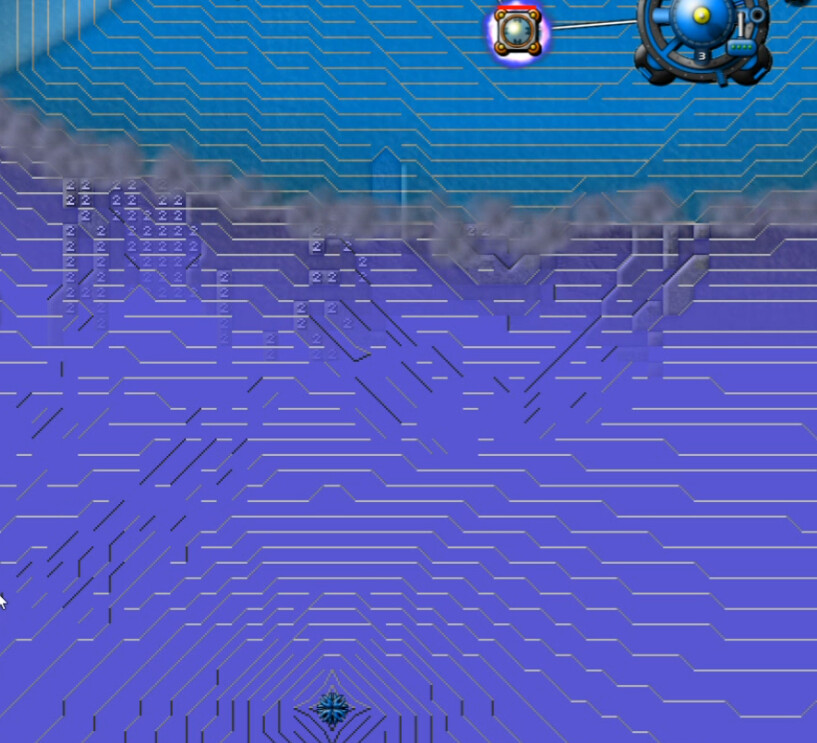
Not really sure what the best thing was to do, I saved up Aether while the AC slowly ate it's way through the creeper. If you look from about 28 to 32 minutes into the video, you can clearly see that the turquoise tide is winning over the dark blue. I then unloaded 1,372 Aether into a singularity over that western emitter. This gave me over two minutes ... it was gone with over 40 seconds left. Whatever, it worked. I could have gone with a similar approach towards the inhibitor, perhaps. But I didn't feel right not getting that last pyramid. It's one of those things where it helps a lot, but I don't know a way to get there reliably early enough for it to make a big difference.
Together with the AC's efforts, I started a Shield Cordon pushing towards the pyramid. Leapfrogging the shields forward with the occasional relay and terp interspersed, I spent far more time(nine minutes that felt more like 29) making my way until I could hook it up ...
By this time the AC had pushed more than close enough to the inhibitor to wrap this mission, esp. considering that I had well over 2000 Aether saved.
A four-minute Singularity combined with golden AC men exploding around it and my own AC bearing down on it? Yeah, I think I can make that work.
Hopefully this was worth the admission price of absolutely free. The story will continue in the next update.