Part 119: Bardel
BardelAnd now, witness the mission that smashed my longest-mission record into tiny little particles. At least for now. Thanks redlemon. Thanks a whole heap.
Video
Less than half of the well over five freaking hours of footage I accumulated when playing this is presented. And it's still longer than most feature-length movies. Viewer discretion - or better, liberal use of skipping around - is advised, but I did try to remove anything superfluous.
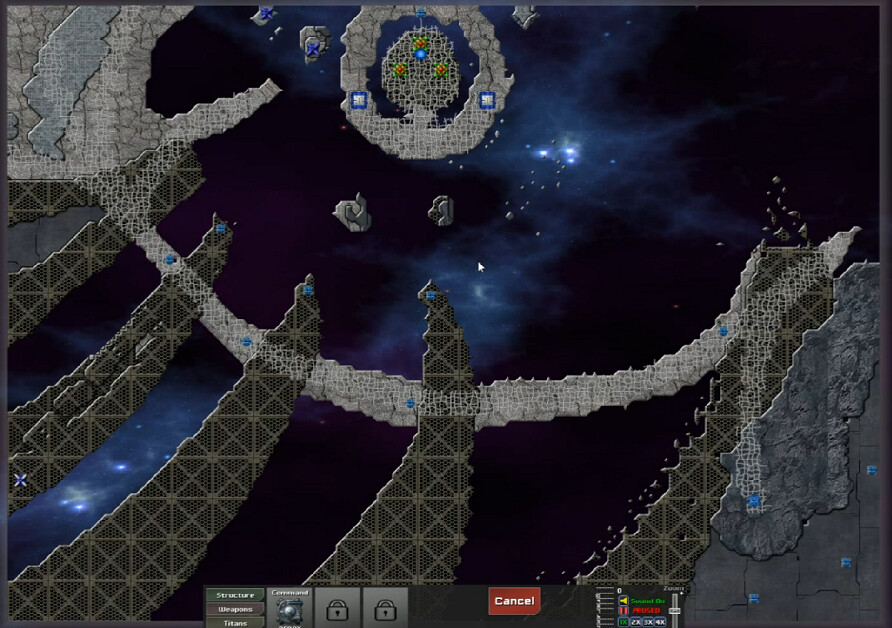
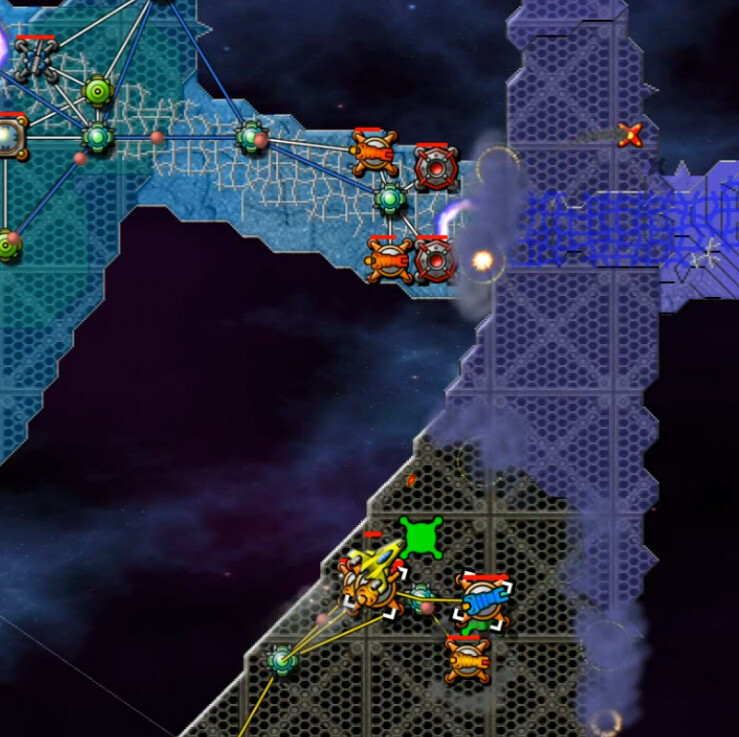
Goons and goonettes, I present Bardel, a moderate-sized map that, like RunnerUp, is clearly designed with a great deal of purpose. We have a trio of Totems in the north, but with the Digitalis and Runner Nests up there there's no way to make use of it. I toyed with the idea of a quick Guppy strike but I doubt that's possible.
Emitter strength ranges from 40 to 400 per second, about half of them at the lower end. The high-end one is on that eastern landmass, and also houses a considerable AE Tower. It's a big billboard saying 'GO AWAY' more or less.
After noting the interesting texture on the 'fingers' in the south, I opt for a northwestern start to get more territory. I didn't realize yet how nigh-irrelevant territory would become in this level. This puts me face-first into a fight with the digitalis.
Which I promptly lose in less than a minute. I gave up on this location, which may or may not have been a mistake. It can be done - photographic evidence is available in the thumbnail for the video of this planet. But I don't know that it is necessarily any easier. The same problems, from a slightly different angle, that I eventually had to solve would still be present.
Take 2 - 3:43 video
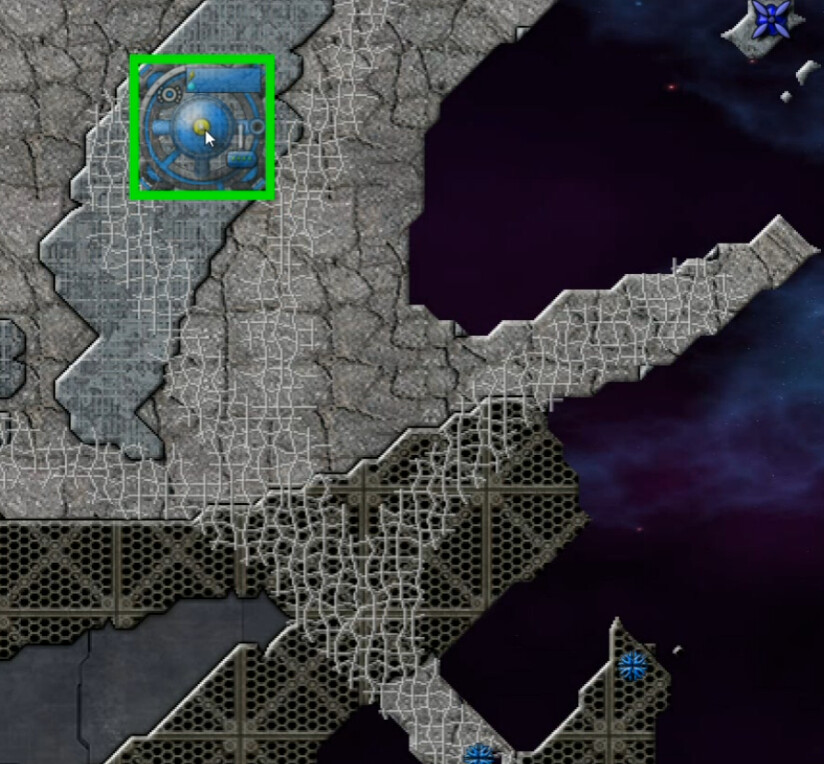
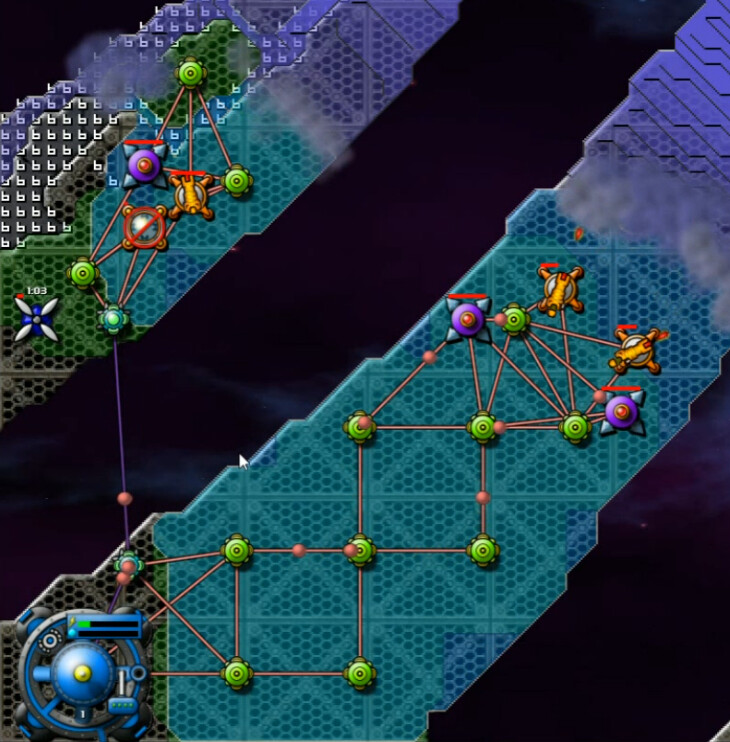
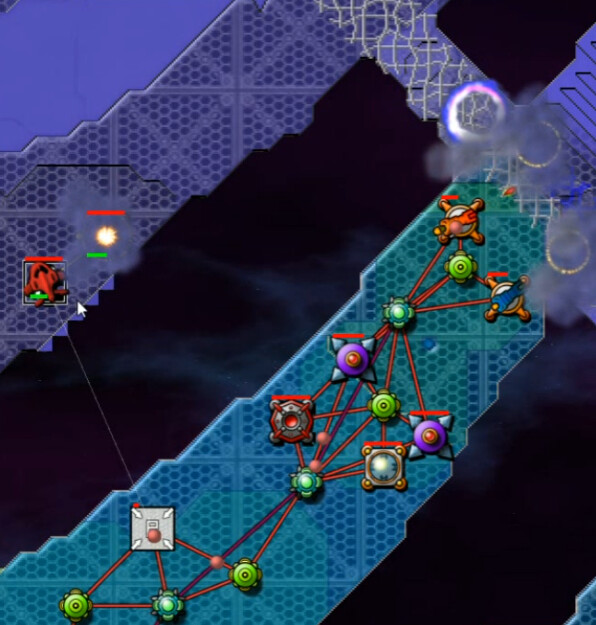
I chose this as the area with the next-most territory. It's easier to get a foothold with no digitalis. These two Pulse Cannons will be sufficient for a while. It has another drawback that I had not yet considered as strongly as I should have, however.
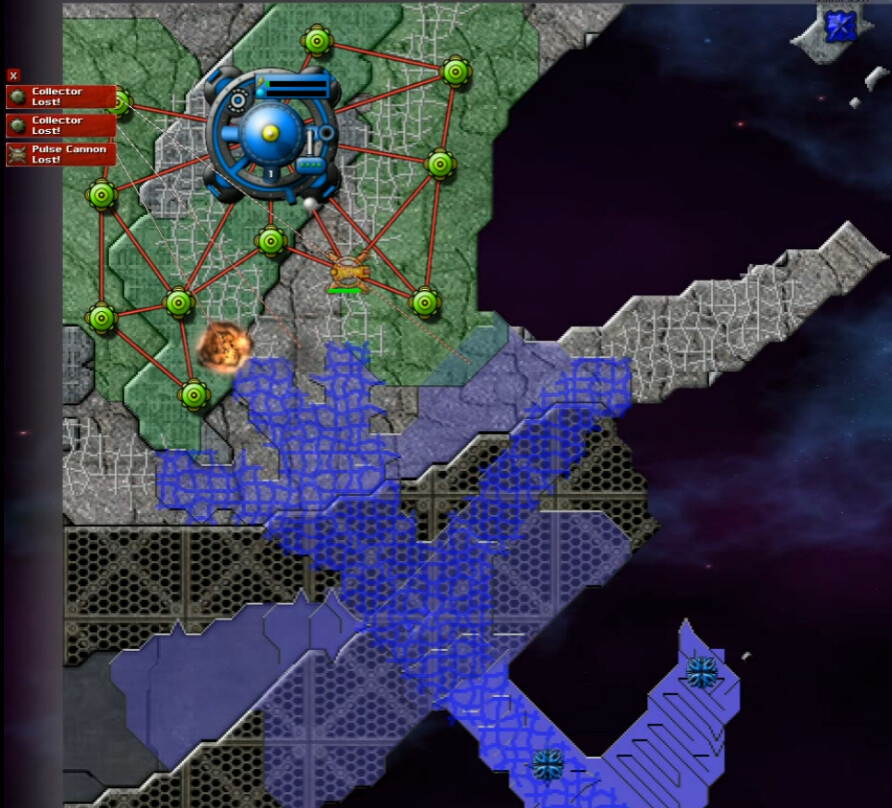
After almost three minutes the spore tower on the western finger attacks for the first time. I was ready, and indignant that my Beams did not fire at them.
Oh. Anti-Creeper Spores are a thing. Righty-then. This was the first surprise of the level. It would not be the last.
Ten minutes into this 'interesting little misadventure', as I termed it at the time, I'm approaching the main east-west boulevard. The emitters on it are of the weakest variety; those on the tips of the fingers are stronger. Still, 20 creeper less every half-second would be nice. It would be something. But I struggle trying to get close enough.
One of the reasons is that I can't just get more energy going. This mission:
** Outlaws Reactors completely. *sob*
** Only allows a dozen collectors, period. *lolwut?*
** Bans Berthas/Thors as well - not that it matters since who can power them with 12 puny collectors?
** Limits Cannons to six, and Mortars to three.
** I can have all the air power I want, except that AC is limited to what the spores drop off, and the eastern landmass along with that island up north up with the totems are completely air-excluded.
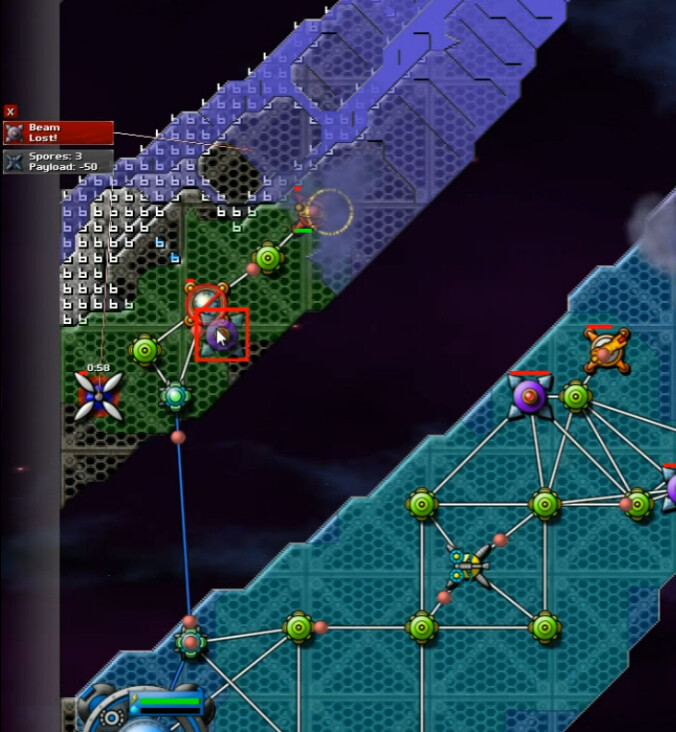
Conclusion: this REALLY sucks. My next try was to 'vacuum' up as much AC as I could with the AC Collection Field option from a couple of Sprayers, then use that to buy myself enough space for a Nullifier. I got it built, but couldn't power it and the weapons I needed to hold off the Creeper. I tried again after having adjusted the positions of my weapons. Got it most of the way there, but once again was pushed back and lost it. A shield was the next try, which was doomed to failure. I did learn a lesson from that; never go with a shield when you are low on energy. Really that's something I knew before, but hadn't tried in a long enough time that I'd forgotten. After further review, it's still a highly ineffective tactic.
I was flummoxed and befuzzled at this inopportune juncture, declaring that "I'm not seeing a lot of other options". So then I gave this a shot:
Yep, it's the good old terp up a platform strategem. Naturally I've carefully calculated the maximum distance I can be, and am looking to get a max-height 3x3 pillar. The fingers themselves are a height of six, so that gives me a +4 on the surrounding terrain. If I can defend the position. IF.
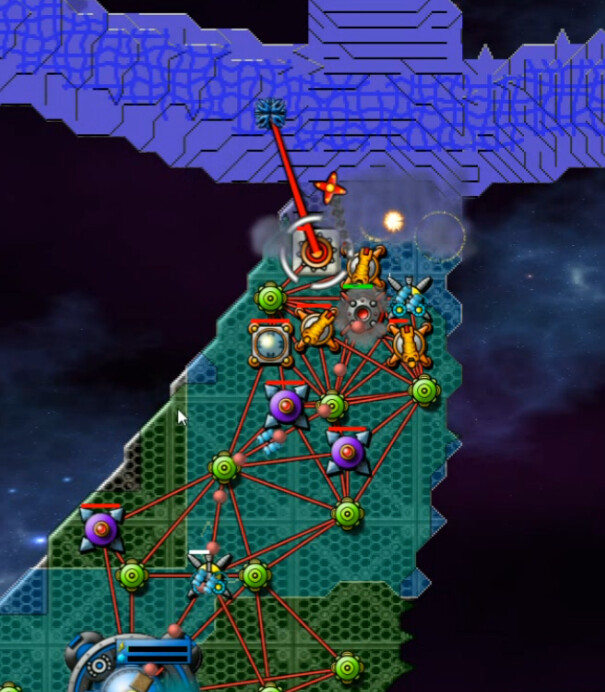
A solid ten minutes later, if not more. Over half an hour into this attempt, and I've gotten ONE emitter. A tiny one. But doggone it, it's something. For reference, energy income is a whopping 3.3-3.4 here, and with that I'm trying to hold back a veritable tide. A few minutes later, it becomes obvious that I'm going to make no further progress; trying loses me most of my force. I throw in the towel, deciding I need to find a way to start better.
Take 3 - 34:45 video
In a matter of speaking, I decide to give this planet the middle finger - or rather take it away. The left-most one has a tip emitter at 50 per 0.5s; this one is 70, the one on the right I just tried is 100. So the idea is take a path of lesser resistance, but the left-most path isn't flattened out. It's got a lot of undulation and I can't set down a Command Node over there. So this is the best I can manage.
I get too cute and don't get the Cannons up in time. I know better than to accept such a substandard start by now.
Take 4 - 36:24
I do the exact same thing again.
Take 5 - 36:36
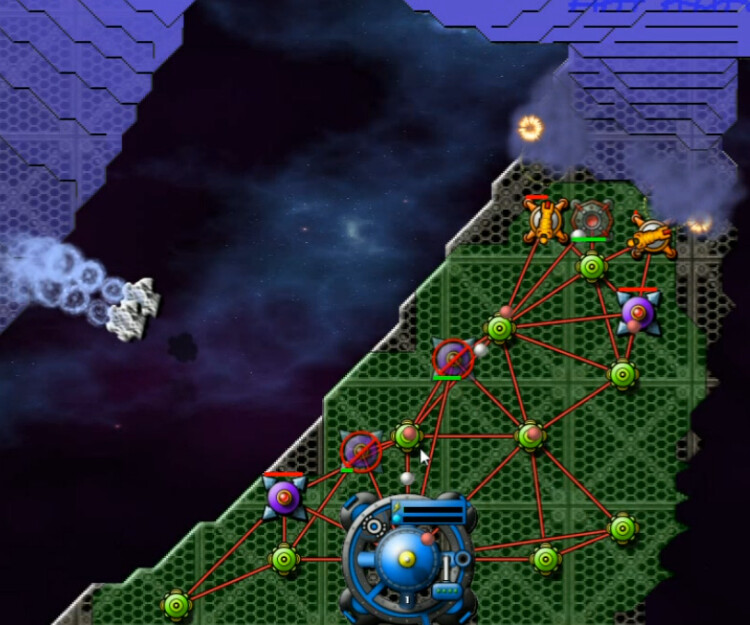
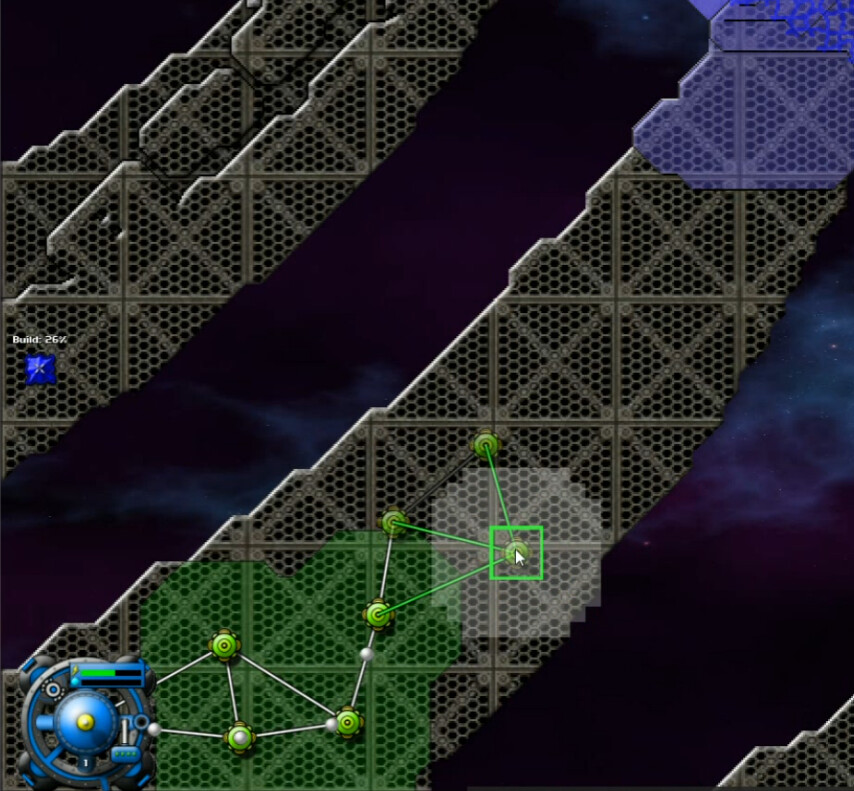
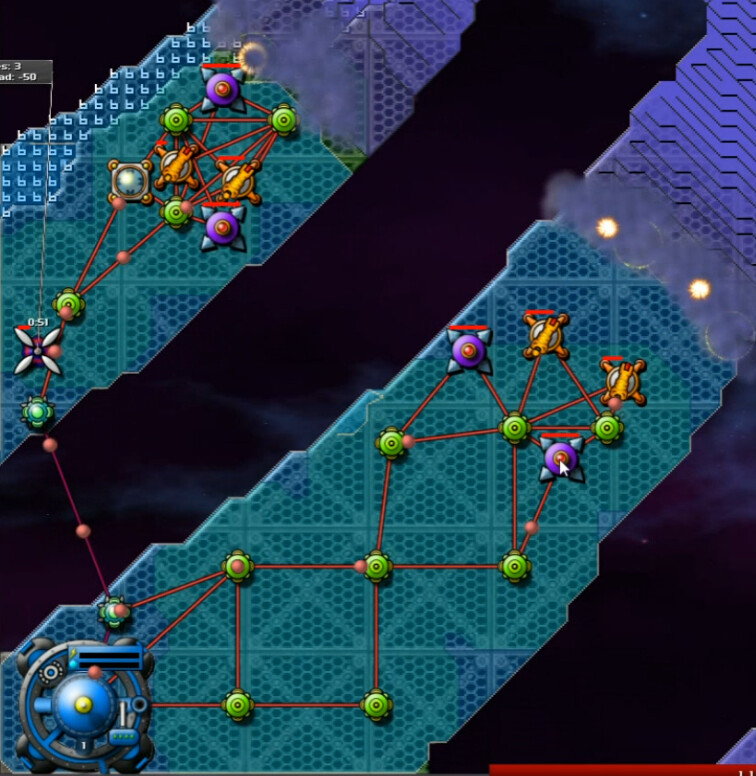
This time I forego the last pair of Collectors at first to make sure I'm up with defenses in time.
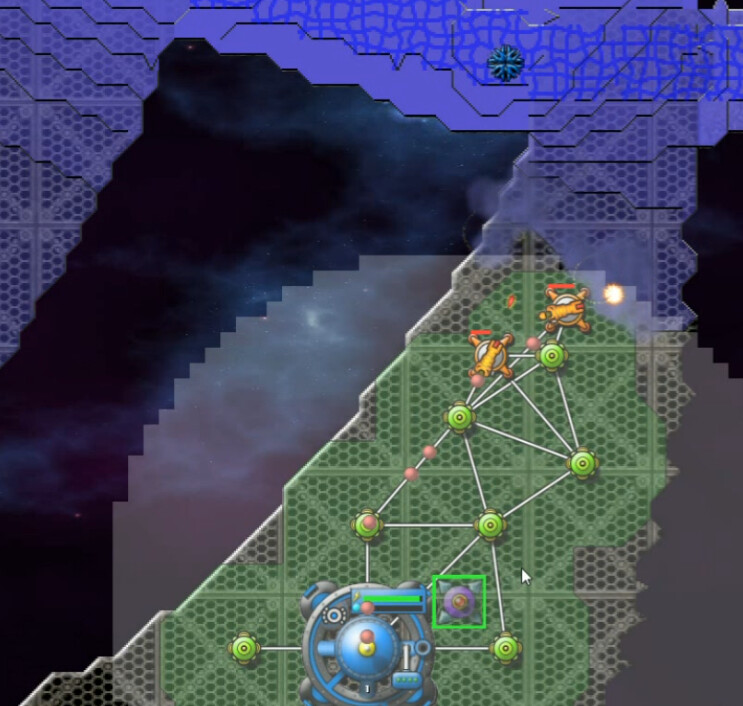
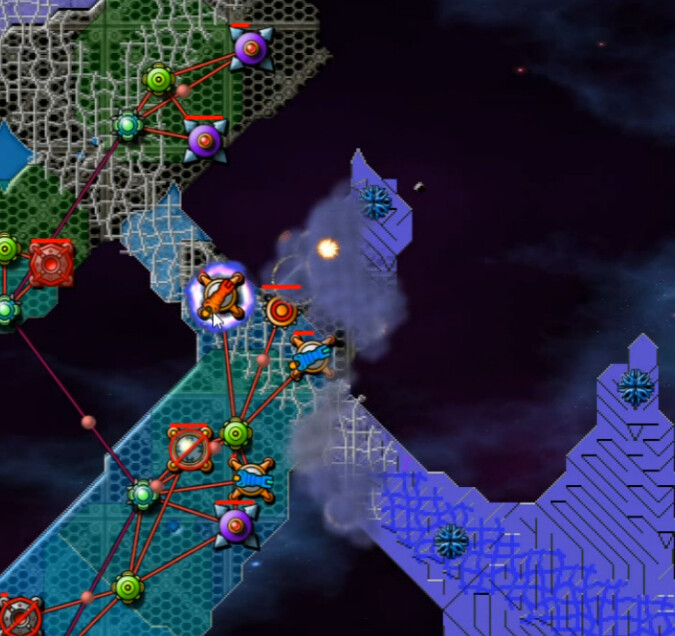
I also discover that I can Relay over to the left side here - or up if you prefer, it's kind of both but I'm calling it left. The plan is visible here; flatten out the terrain over there with a terp, getting more valuable fractal energy-gathering territory against relatively manageable resistance from the creeper.
This is the early stages of a plan I'd be working out for quite a while. Beams on both sides, Terp progress starting to be shown, and I have all 12 Collectors in place now. Some of that aren't doing a great job, but they are all down. Energy is 3.9, a full half-point at least up from what I had in my right-side attempt. The Terp gets deactivated when we start firing on a wave of incoming spores, then reactivated when the Beams have re-supplied. It is slow, it is tedious, and it requries discipline. It's also the best I got in my cranium to try.
I get too aggressive moving things around on the left, and pay the price. In a sequence starting at 40:50 in the video and lasting for about three and a half minutes, I frantically move things around to try to salvage the position, but it's clear that I can't save that side of it. A self-inflicted failure, and I restart again.
Take 6 - 44:35 video
I'm convinced that I've found a way to play this that can potentially be successful; I just want to stick with it and refine it.

I stick the Terp in the very corner here to limit what it will work on. Later I would discover and switch to the Nearest First option on the control panel, a much better way of managing its activities.
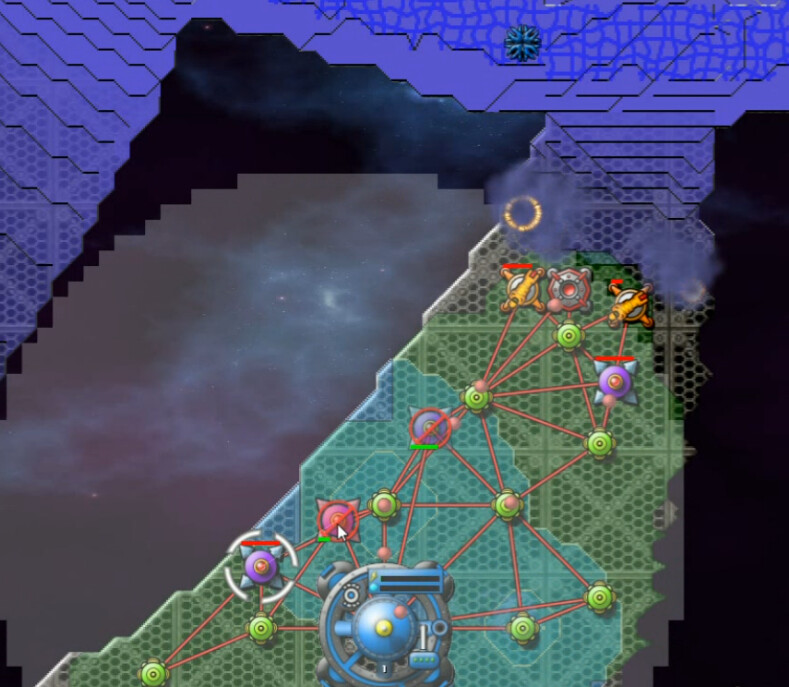
Here's more evidence that it's working - the before-and-after shows that I've regained some territory and expanded collectoring. 4.0 isn't a lot more than 3.9 -- but it is more. Again and again on this level I would have a freaking party over gaining 0.1 in income.
It took me a bit to realize it, but it was then that I made my fatal mistake for this try. I put up a couple of sprayers, one on each side; the right one vacuumed while the left one sprayed to help give the Terp more room. Good in theory - except that it was removing the help my Cannons on the right needed to hold off the creeper advance. By the time I realized what was happening, I wasn't quite able to salvage the situation.
Take 7 - 1:01:32
I've now been playing this map for well over an hour and a half total. This starts a few minutes into the next attempt, as the start has become routine so far. Nonetheless, I've barely taken out one minimal-strength emitter in that time, and never come close to the point of equilibrium.
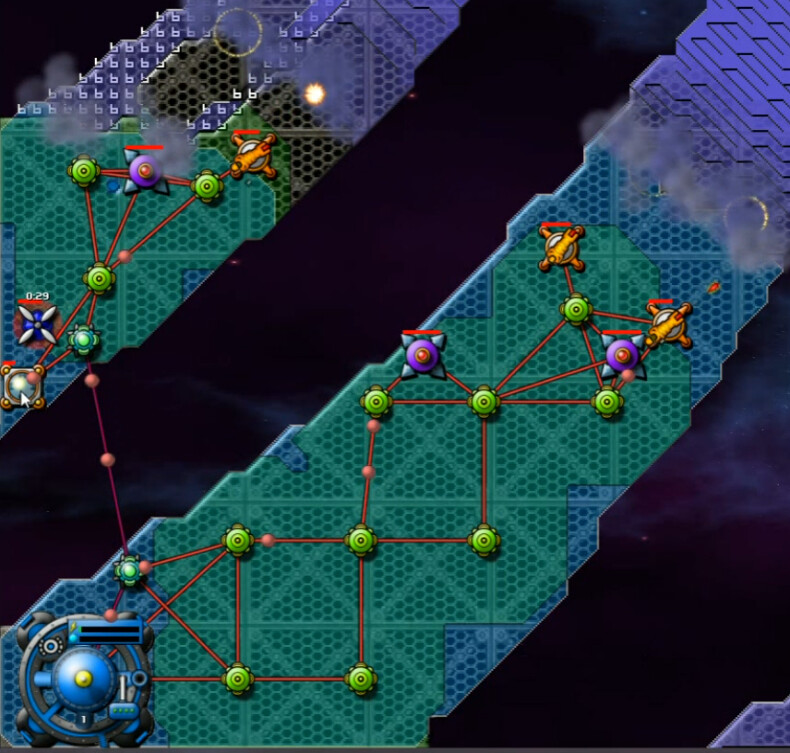
I do get a little better with each attempt at this method though. This time I swear off the Sprayers, and get two Beams on each side; the left was barely holding on before. Rather than try to control where the AC goes, I'm going to 'trust the Force, Luke' and just utilize what it decides to do on its own. Having this kind of balanced approach between the two fingers really helps in creating space for collectors and seems to work better overall.
This ought to be familiar. I lose it a couple times, but don't have to make a pillar - ultimately moving stuff around and throwing in a second Mortar, which at 4.3 income - then repositioning of Collectors gets me to 4.5 - now I barely have enough to support without completely tanking everything, proves to be enough. It took careful timing, building up a max reserve - a whole 25, but still - and waiting till after a spore strike.
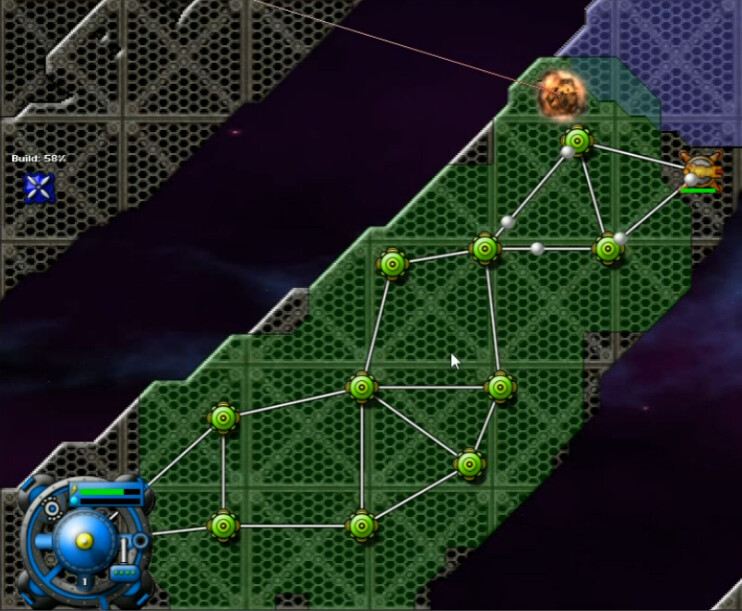
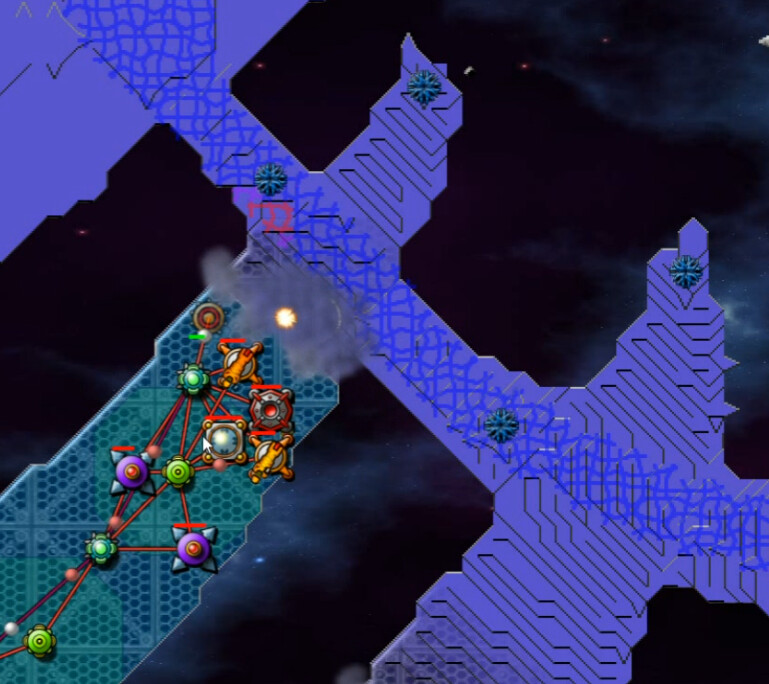
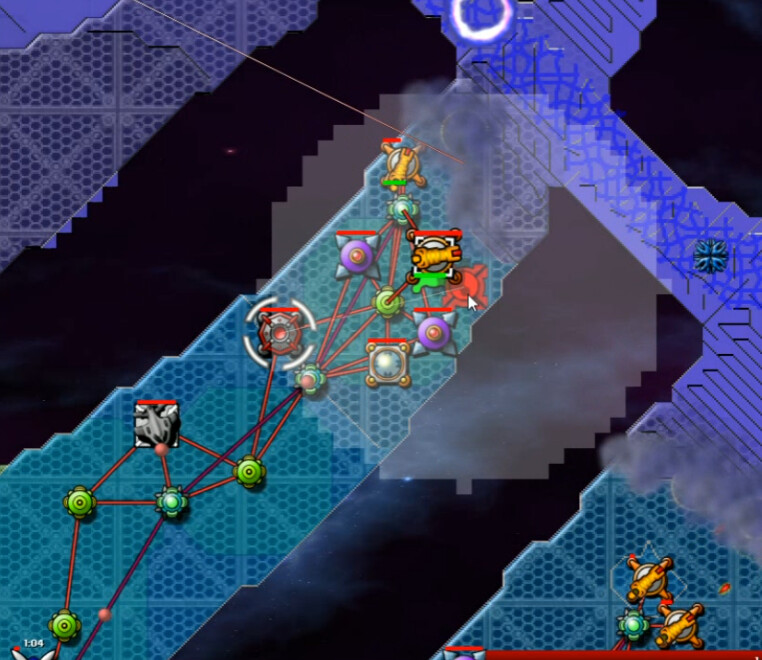
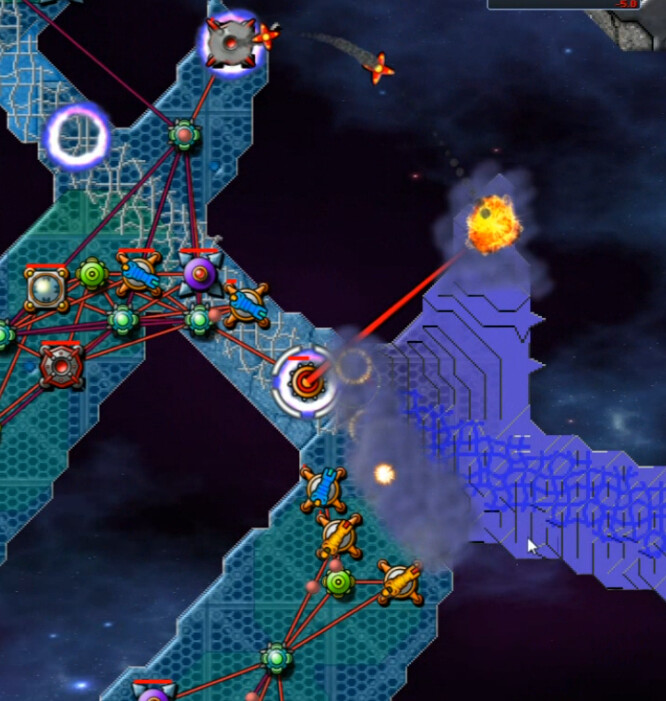
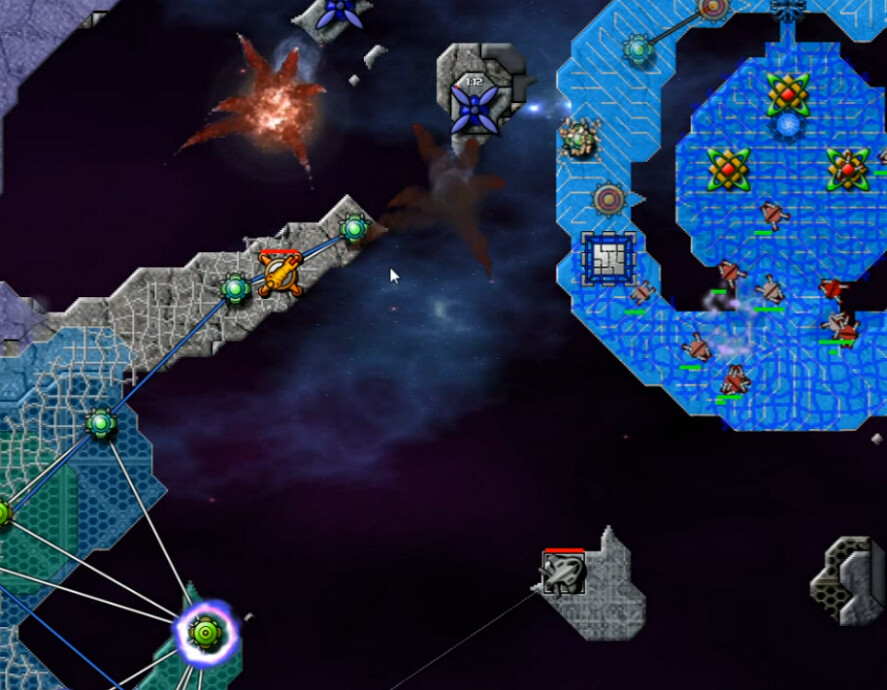
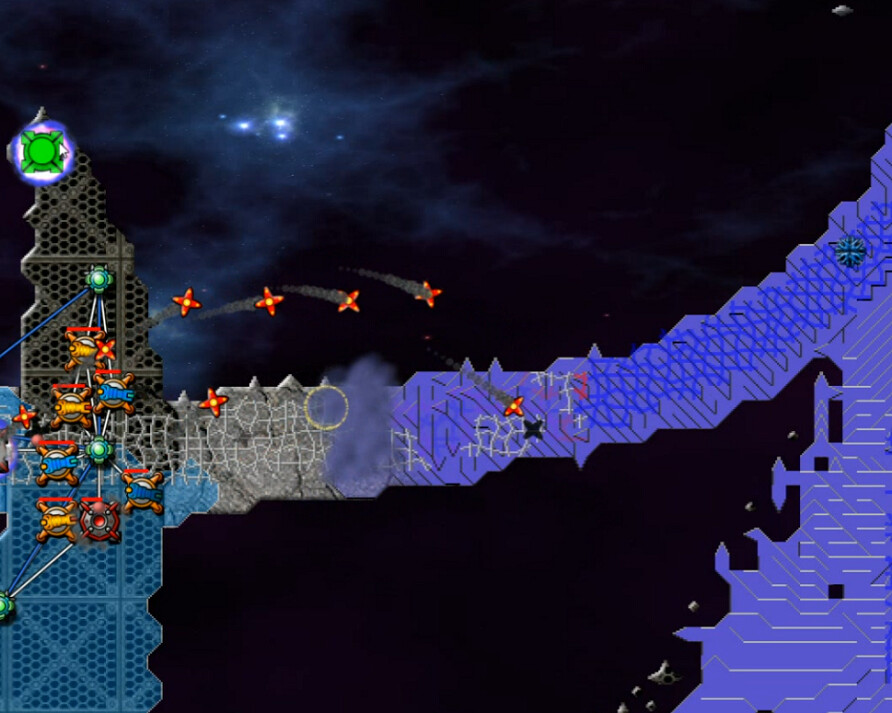
This is when we can first see the impacts of our efforts. The northwest landmass here has a depth of about 10 creeper throughout roughly, all carried there by the Digitalis. But you can see a depression is starting to form where it is flowing back into the main thoroughfare. I'm accomplishing something!
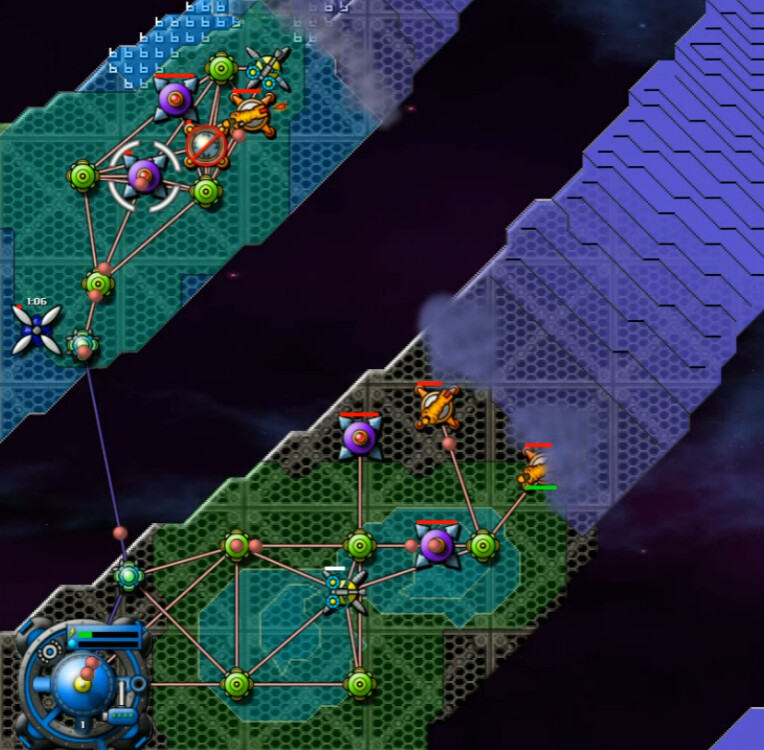
And then I was able to cut it off, leading to this always-cathartic sight. Pushing forward to the fingertip proved ineffectual, so I tried moving more on the middle one. I couldn't get close enough over there while splitting forces; the flow is still stronger down that way. I got close ... but not quite there. And that's when I decided it was GuppyTime.
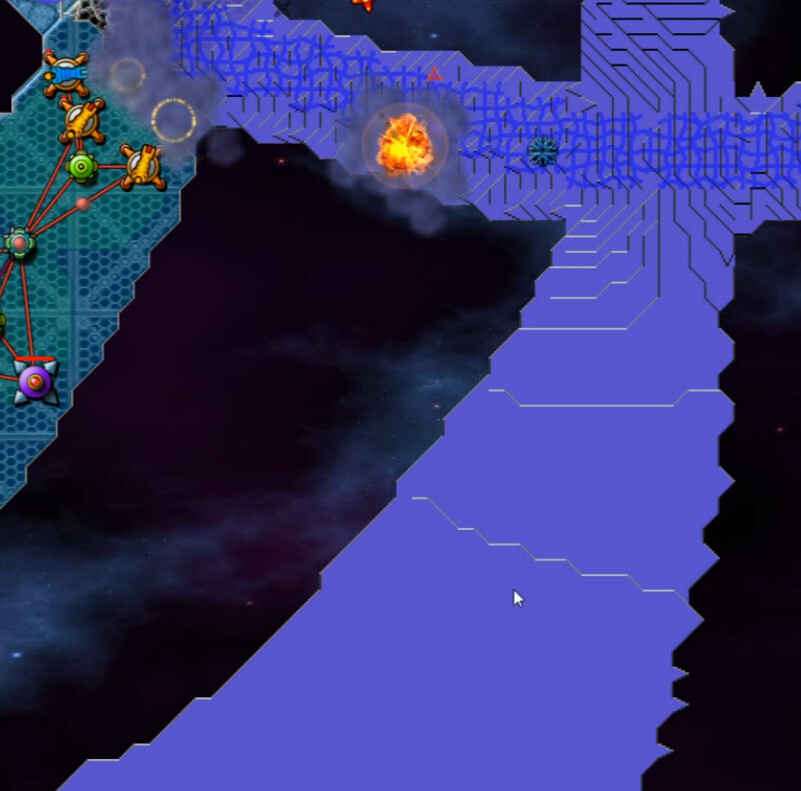
The depth over there was less than two, partially thanks to a couple of brief runs by a Mortar over and back. And once not back because I let it blow up. But anyway, this didn't work, but it was helping some and was a starting point. I just wanted to clear enough space to get another foothold. Anything to accelerate what was otherwise progress -- but really, really slow progress.
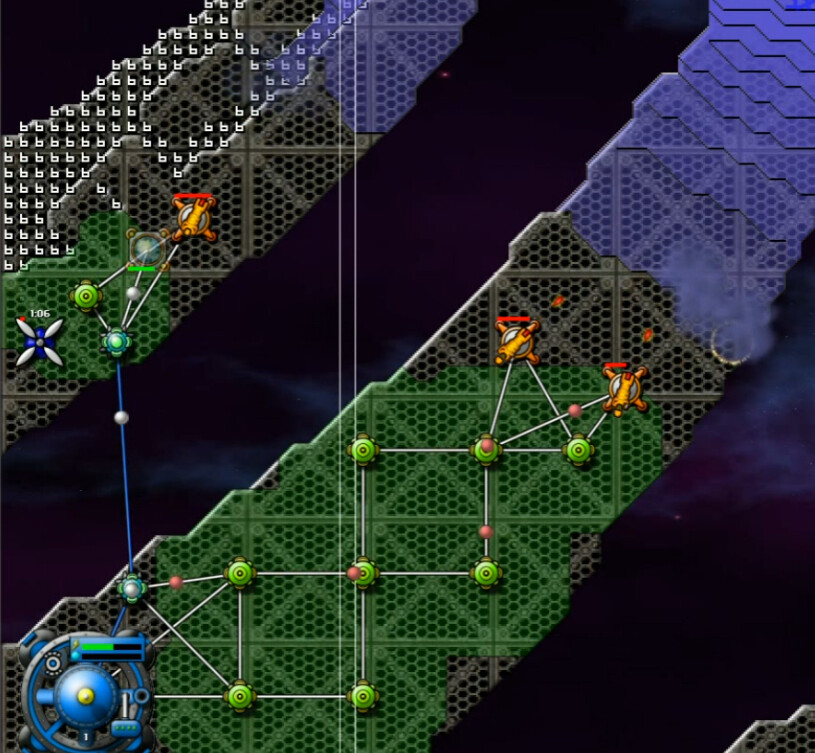
In the process, I lost my eye on the ball and maintenance of the overall energy situation at our Digitalis Blockade. I'd like to say this only happened once. This is at 1:21 and change on the video - you can verify there, as I kept it for all posterity, that I did this I think four times, or some version of it. Which of course let the digitalis take more creeper up to the northwestern area, meaning I not only had to reconstitute the Blockade but then redo lost progress, etc.
The margins were small enough yet that doing this half-right meant failure, but I did eventually make it happen. Here I have a secure Cannon, barely enough energy for everything that I need, and a Beam moved over in place. It's a mere hour and thirty-five minutes in, and I've still taken out one small emitter and that's all. So I'm not turning cartwheels, but I've got a grip on more of the map.
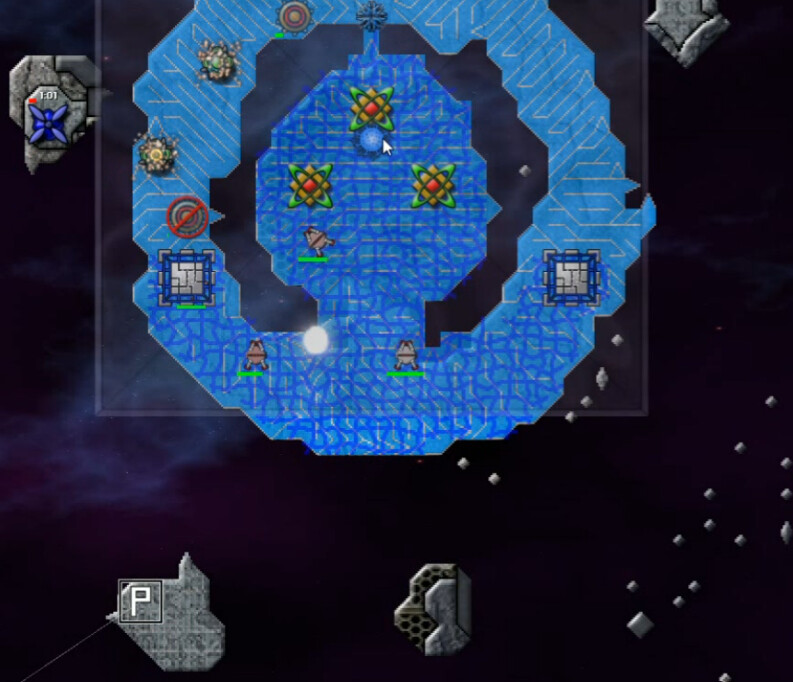
Still can't use the PowerZone, but I've learned for sure why. These 'between-fingers' sections of the main drag are lower - 3 elevation compared to 6. So the Terp has a job again.
I tried going with a SuperNullifier again, but putting the cannon there and the nullifier to the side proved more effective. This was a more significant blow, a modest-sized emitter and it gave us firm control of a significant minority of the map. I was sure now that I had a winnable position.
Mission Time: 1:49:51.3. Just sayin'.
I tried SuperCollectors but they didn't help - they basically give a much larger area of effect, and most of the land around these zones is just the void of nothingness.

A pair of SuperMortars did just fine though, helping wear down the depths to the east and south much more quickly.
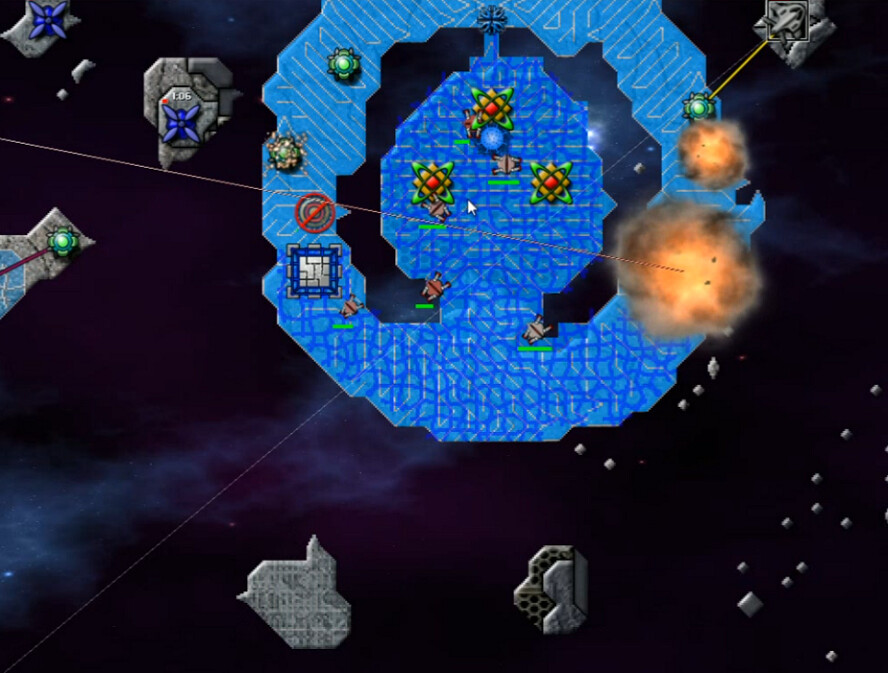
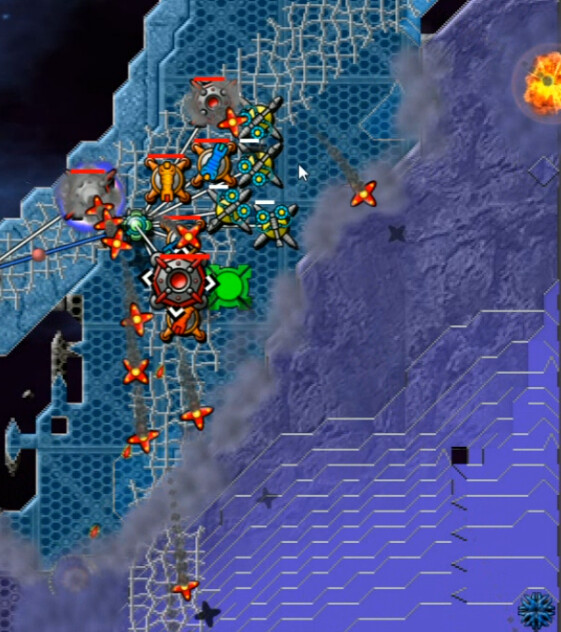
There we go! We put it to use with weapons pounding from three of the four directions. That's two fingers down, and more importantly a vaguely strong - 70 per half-second - emitter biting the dust.
The plan was more of the same, but there was just one small little issue. The right-side finger is covered in creeper to a depth of 65. We can't push up it like we did on the others, so that limits our offensive capacity. We've incrementally improved collector positioning, but energy is more or less stuck at 4.8. It's not going much higher with 12 Collectors. That means a couple of weapons are always going to be out of the fight. I've conserved more by moving a couple of SuperBeams onto the out-of-range PZs, but that's another thing that is just playing with margins.
It didn't take too long to make our way to the small, main-path emitter, and then we did a bunch of this; brief mortar runs to the power zone, then retreating to repair, lather-rinse-repeat. And repeat. AND REPEAT.

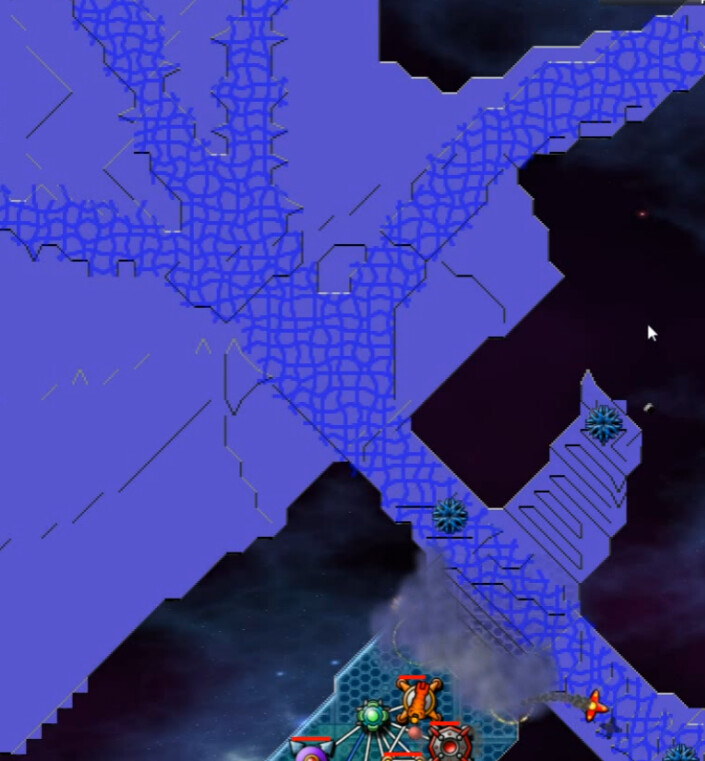
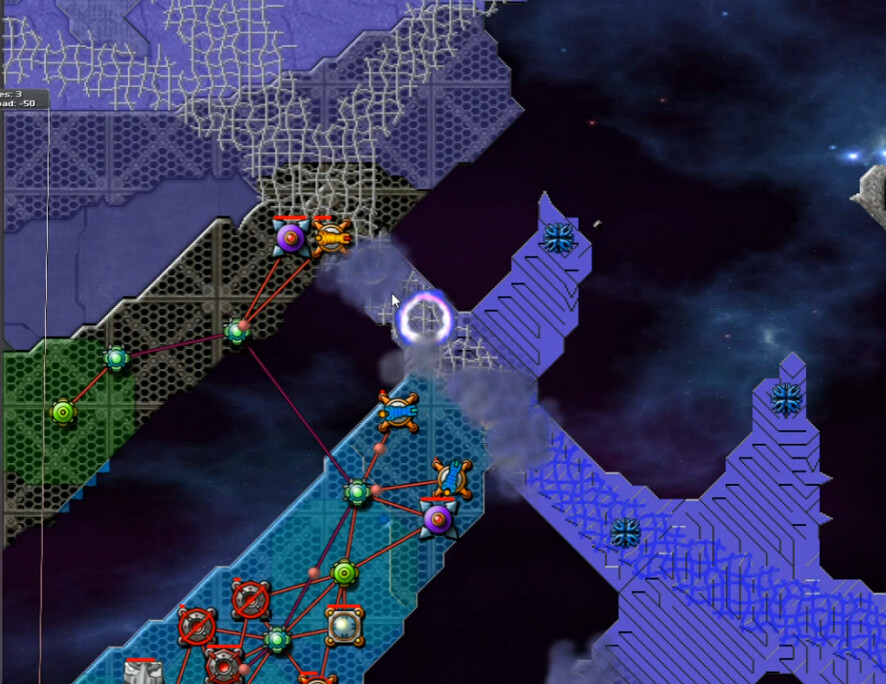
After a while of this, I noticed that depth on the right finger was all the way down to 59. A 10% reduction, basically. That means we are still winning. At a speed that continental drift would be ashamed of. Bored, I put a SuperSniper on the middle fingertip ... and just about lost my freaking mind when I saw this.
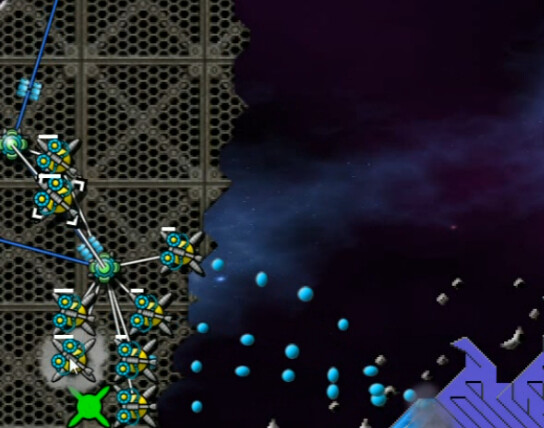
The Runners are Anti-Creeper Bombs. Redlemon you sneaky, conniving bastard! That's cool - but there was no indication of this previously.
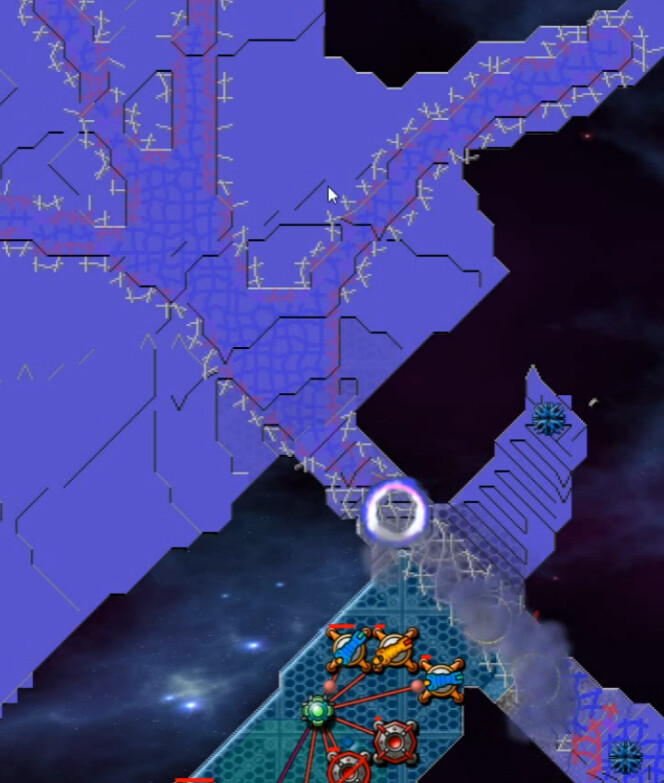
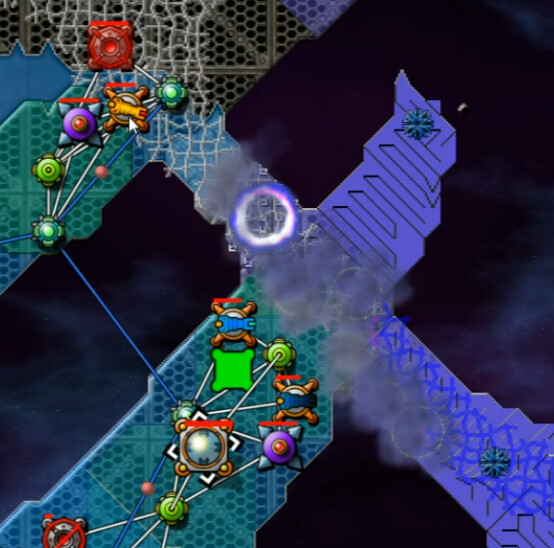
I worked my way around from the left to relay onto the now-AC-covered ring ... but the runners kept stunning the relays. I didn't have enough energy to keep enough weapons going to hold the creeper back on the right, keep the sniper supplied, and fuel this building operation as well. So the runners started to recover from basically being extinct, and gummed up everything.
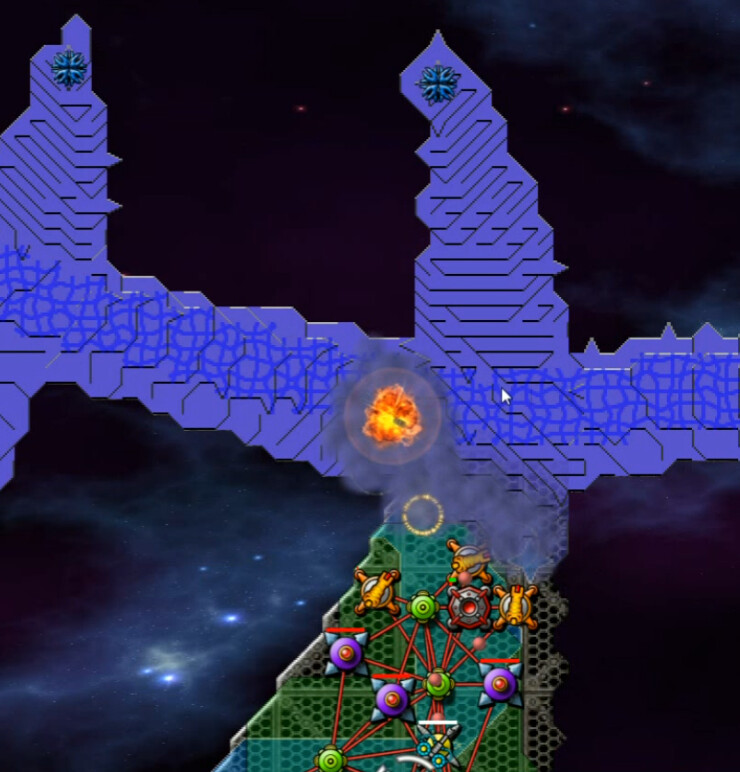
However, while the ring itself was a no-fly zone, that tiny island at the top just to the right of it is not. So once again the guppy was called forth.
It had to endure the stunnings as well, but with a faster and closer supply rate they didn't grind things to a halt, merely slowed them down in this case. Once this first Nest went down, it was just a matter of time before the other one fell, along with the emitter and nearby spore towers.
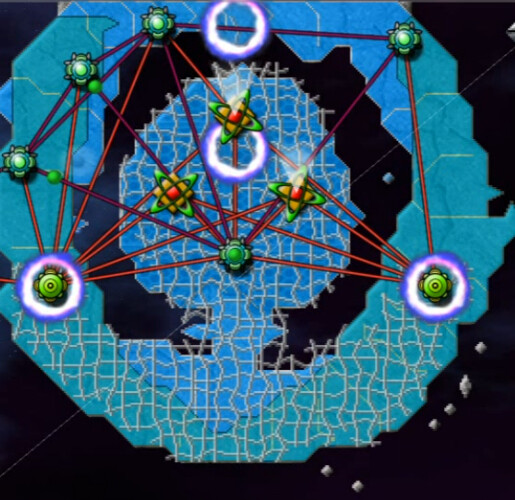
Now I had a couple of spots where SuperCollectors could get enough territory to be useful, and of course Totems! Energy efficiency was first up at the Forge. The paradigm had shifted; it was time to seriously take the battle to the creeper as the third hour of the struggle came to a close. No, that's not a misprint.
At first, I couldn't even power the Totems fully, so they started and stopped. After a couple of upgrades, they gradually started to run steadily, then the Aether came in faster which led to more upgrades - the snowball took a bit, but it definitely started to come.

Over 40 minutes of the standard pounding plus a couple of weapons upgrades had the creeper resistance weakening at this next intersection. I'd also built a couple of nearly-pointless Strafers, but we are almost to the exclusion area on this side now. Still, I started experimenting with hit-and-run tactics.
I had enough cannons available to rotate them in on a basically constant basis. It accelerated the process some, but honestly it might have just mostly given me something to do to occupy my time. Eventually, the bottom of the third finger fell.
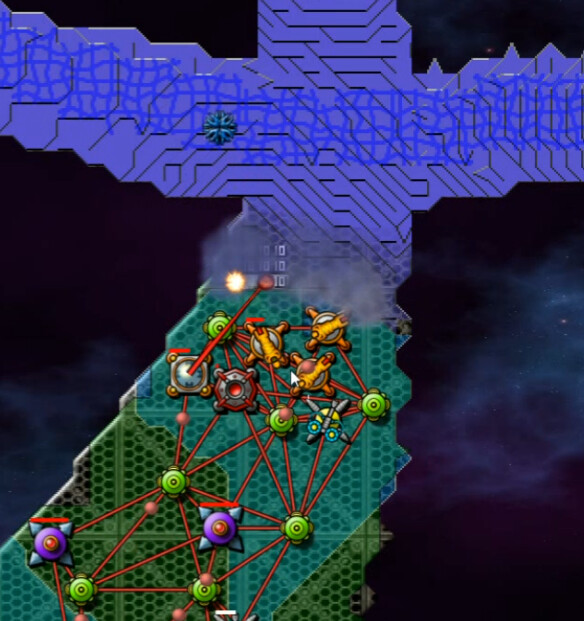
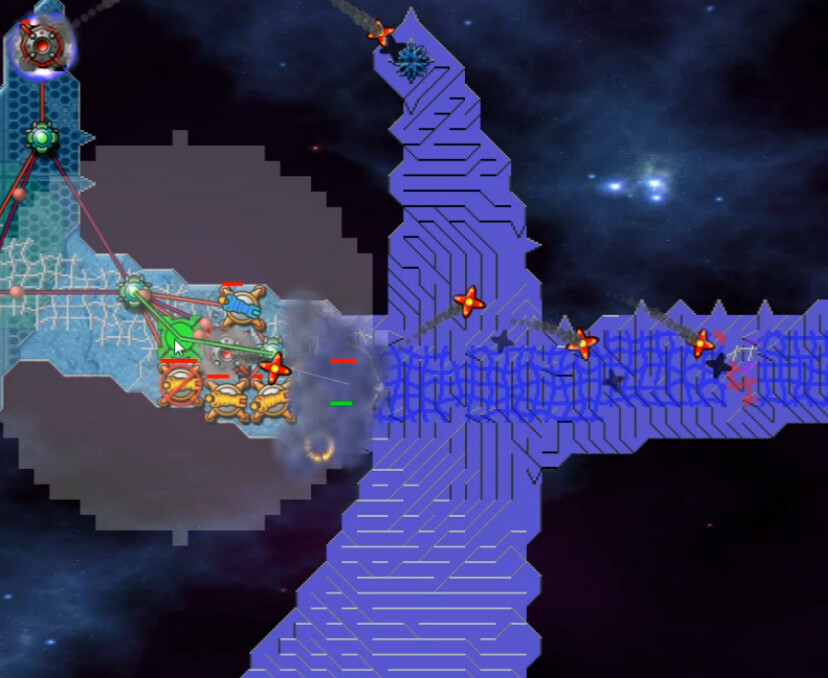
The good news is the emitter on the tip is the second-strongest one on the map, a significant blow. The bad news is this long, narrow stretch we must traverse next has over 100 depth at the top and is getting fed by several more emitters. This is the battle of Helm's Deep, CW version.
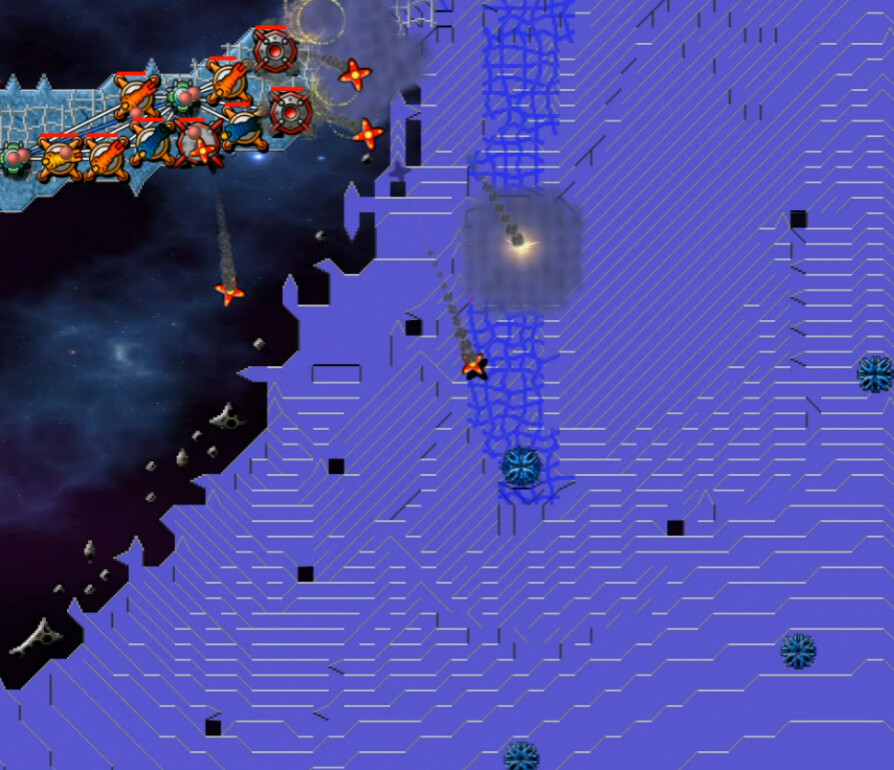
Here's a better look at what we're facing. Didn't take long to get this far down the path, but it'll be tough work getting any further. At least the mortars can target the mainland now. Upgrades are mostly finished. Depth in the lower-right corner? A mere 160+.

With no air or artillery beyond mortars available, I reached into the bag of tricks to go with the sprayer-bombing idea. Except -- it doesn't really work. With maxed fire rate, they shoot off all their AC before dying. The source of course was collected areas on the map from the spores - and mostly from that ring up top, which had well over 100-depth itself. Collection Sprayers were deployed in these areas.
So I built more of them, and did a more hit-and-run approach ... until I noticed something.
We had just enough range from here to target across the gap with a few of them. That'll work. I left some here to do that, though it was too far for a relay ...

And sent the others here on more hit-and-run efforts, with the creeper significantly weakened by another 20 minutes or so of constant pounding.
Eventually we did enough to maintain a foothold. From here we could spread out enough to bring everything to bear more effectively. It only took a few minutes longer to wrap things up.
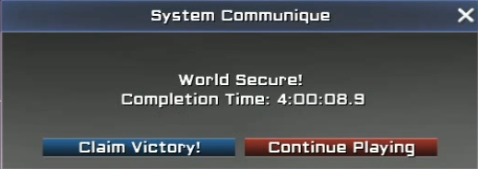
*Ahem*. Not bad for a dozen Collectors ...