Part 129: The small one & The Gatekeeper
The small one & The GatekeeperVideo
These two, combined, took me just over half as long as our last adventure in the Gorge of the Void. We begin with the aptly if simply titled The small one, wrapping up ShadowDragon7015's contributions.
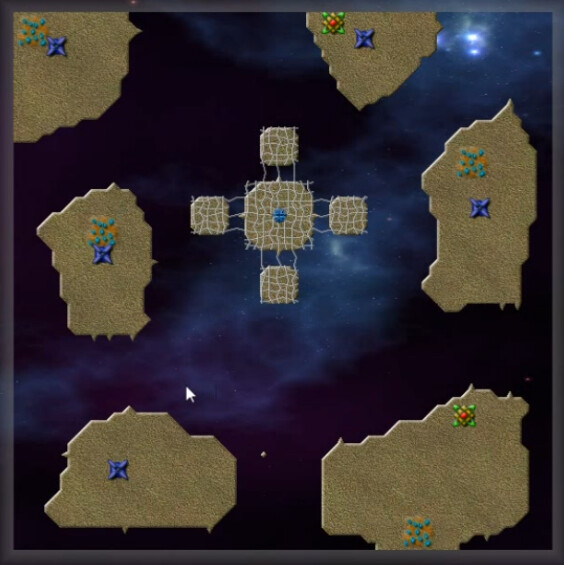
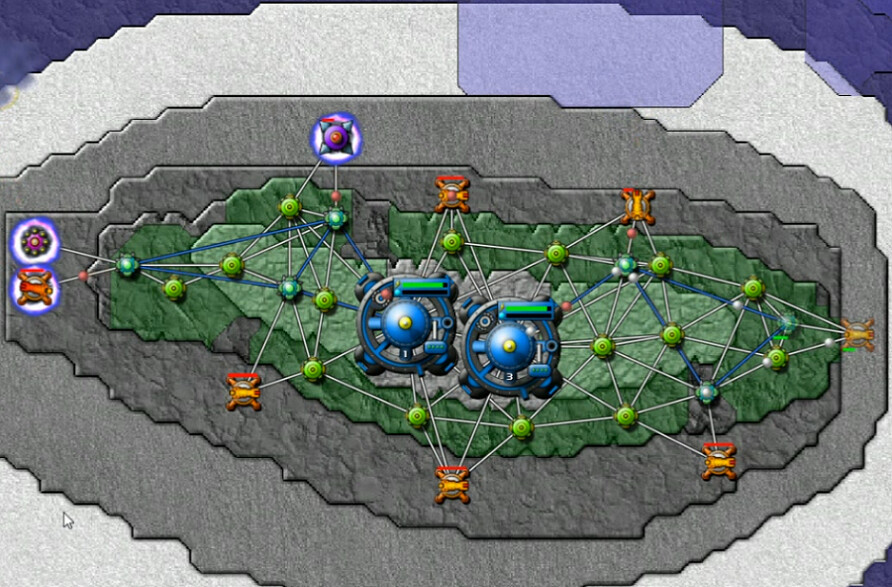
An island planet, Digitalis in the middle with the lone emitter, Spore Towers on the perimeter, except for the one bare island that also afford an Ore Deposit and a Totem. At first I figured it'd be childs play to clean out the outer islands at least, even if that central emitter is a big sucker at 200 creeper every 0.03 seconds. But then I noticed when checking the spore towers that the mouse-over read "Amount: 20 Interval 0.5". That's emitter data. So they have an emitter underneath them. Heheheh. That's one of my least favorite tricks in CW3, albeit a common one. I admit it, I'm biased; I dislike structures on top of structures chicanery.
We have the ability to deploy all three Command Nodes, which I think is pointless on this map. If you do that, you don't have room for anything else - I stick with the one and put down the Forge too early. Deactivated it though until I got basic energy and beam defenses going. This is three minutes in, with the first wave of spores about to be released. There's plenty of time.
I went into this knowing that this might well be too many Beams for what we need, but I wasn't sure how many were coming; better safe than sorry I thought.
It was easily enough as we only get a single spore from each tower. Next order of business was cramming in Reactors, then activating the forge. After that, a couple of Mortars here on the western bank - it appeared to be a slightly smaller gap that way than to the north. The primary, and most challenging, question this map asks the player is this; how are you going to conquer one of the other islands with the limited space you start with. In some ways similar to the last map, how are you going to balance energy and firewpower within your allotted starting space? We are limited here to two range upgrades also; I got those pretty quickly, but I still can't hit most of the target island from here with mortars. Berthas are possible - but the space needed for those and energy to power even one is I think prohibitive.
Other upgrade limitations are 3 for Fire Rate, 7 for Energy Efficiency, 4 for Ore Efficiency. IMO the range one is the biggest hurdle though. At this point I had one energy storage and one range.
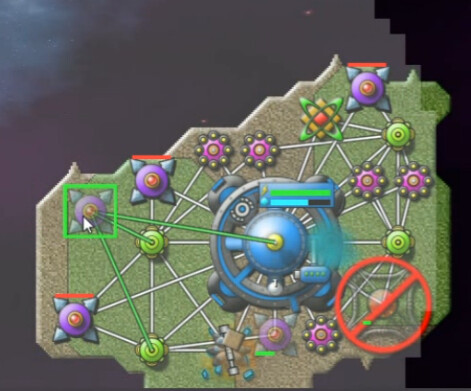
My first expansion idea was a Sprayer-suicide bomber followed up by a Mortar and two Pulse Cannons going over. With a relay on the very coast, we can build another one on the other island ... if we can clear the area. I messed around with this for a while, but it didn't get me very far. It's also worth noting that the creeper depth limitation on this map is 20, so you can't get too far behind by screwing around.
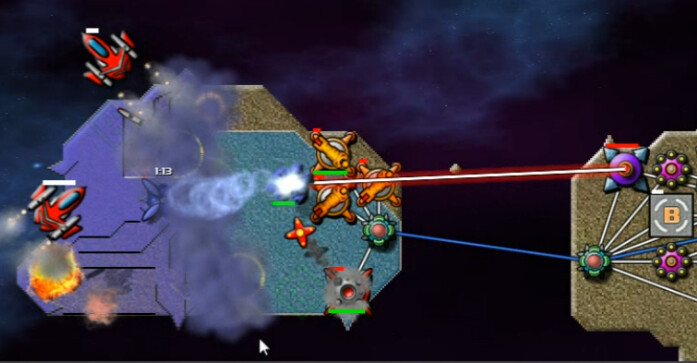
After a few minutes, I realized that it made more sense to use Bombers instead of dumping resources and micro into doing the sprayer route. I managed to create room for two of them - I've gotten rid of a few collectors to allow room for all the weapons, but energy supply hasn't been an issue. It's putting the energy to work more effectively.
Combining this with repeated raid-and-repair tactics by my two cannons and mortar combo, the level of creeper on the western island slowly decreased. I didn't manage to clear out quite enough space for the relay over there though - I was consistently getting it down to 0.1 - 0.15 depth, but not a totally clear area to build on.
Finally, about half an hour into the effort, I decided I needed to sacrifice another collector for a third Cannon. And on the first try with that included, it was a pretty easily successful attack. The 6.3 energy I still had coming in proved plenty, and I could have probably gotten rid of at least one of the four beams I still had out of a starting five. So there's definitely some margin to play with, but not a huge amount.
Deploying the Nullifier over there sent the energy supply negative, but it was a manageable and temporary amount.
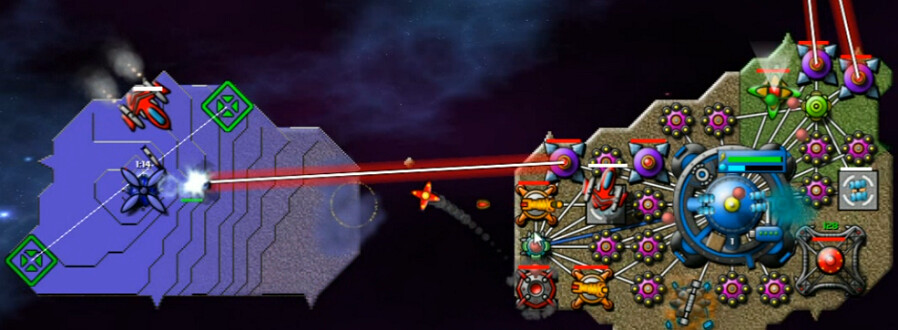
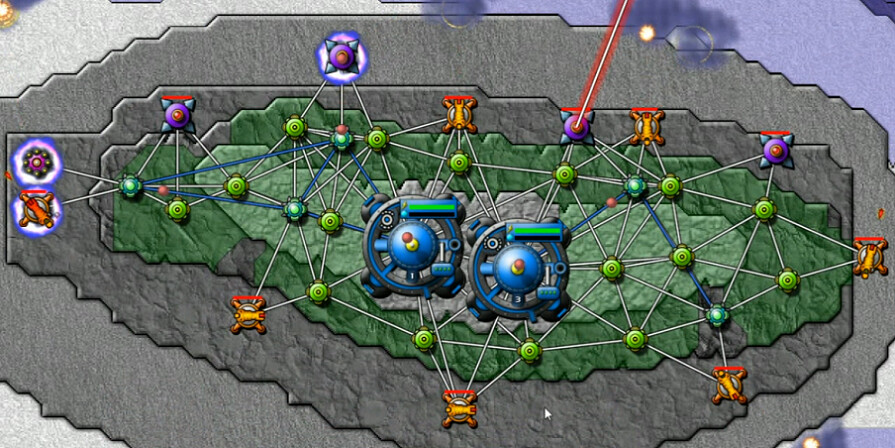
Eventually, after utilizing the time-dishonored tactic of not protecting my newfound gains with beam defenses and losing half of them, this is more or less what I came up with for the new space. An expanded Reactor Farm, fueling a SuperBertha. Which, by the way, is the only one you can build. Also thankfully the only one I need. Here I've switched artillery and bombers to targeting the island to the north. Once it was activated, it decimated the buildup there quite quickly and I could really start getting things moving.
From then on, even with a couple of hiccups, a new island and spore tower fell every couple of minutes.
From here, it was just a matter of keeping that jerk in the middle under control. Everything I had was thrown at it; bertha, bombers, whatever mortar fire I could generate. Once I discovered that the range was just close enough to put up a nullifier on the western one of those square pads, this ended pretty quickly.
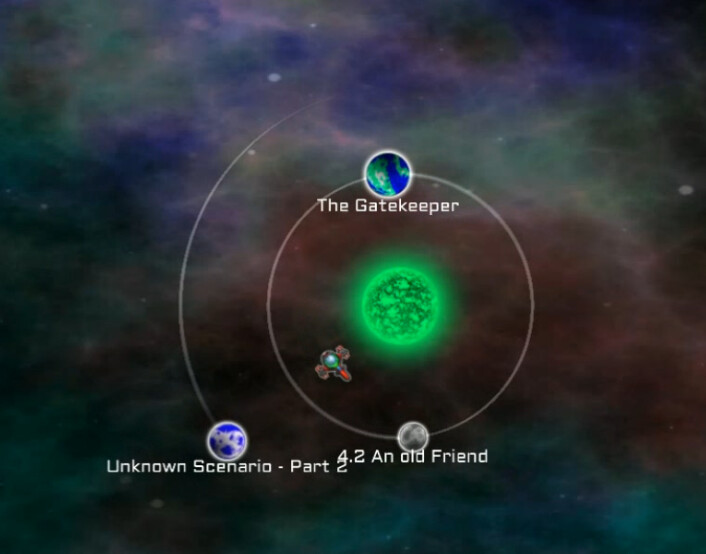
This is the Link327 system, which in this case appears to have nothing to do with Zelda. We've got another trio of planets here, and the names are a bit interesting. I assume the 4.2 refers to the version of the game - it was released at like 6 or 7 or something. And 'part 2'? Where's part 1? Is it somewhere else in the Alpha Sector by another author and I should have played it before coming here or something? In any case, those mysteries will have to wait. Following the largest-first mantra, I went to The Gatekeeper.
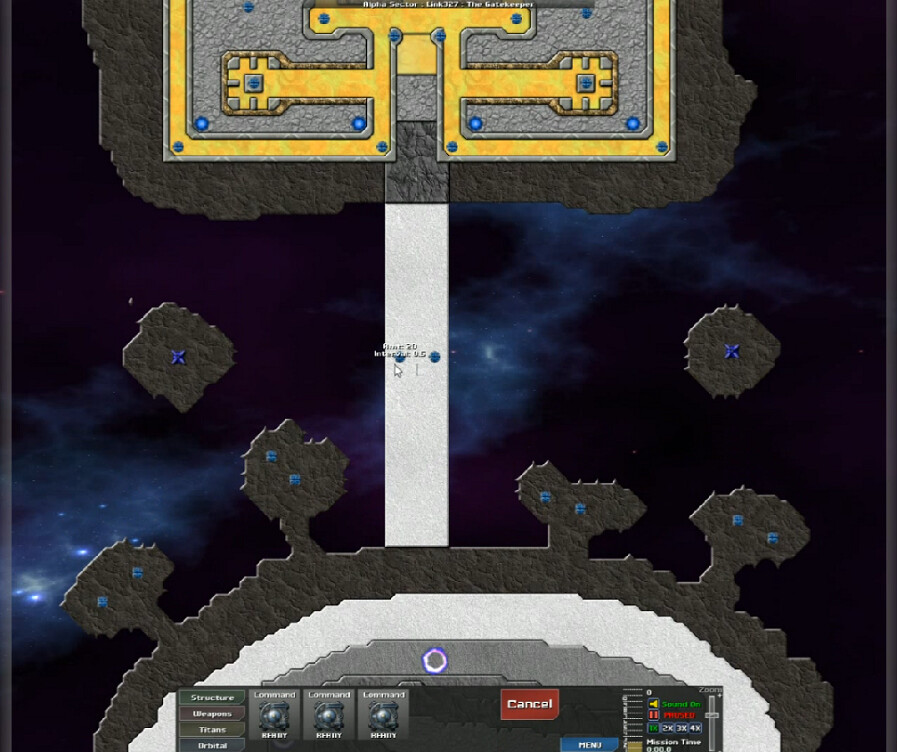
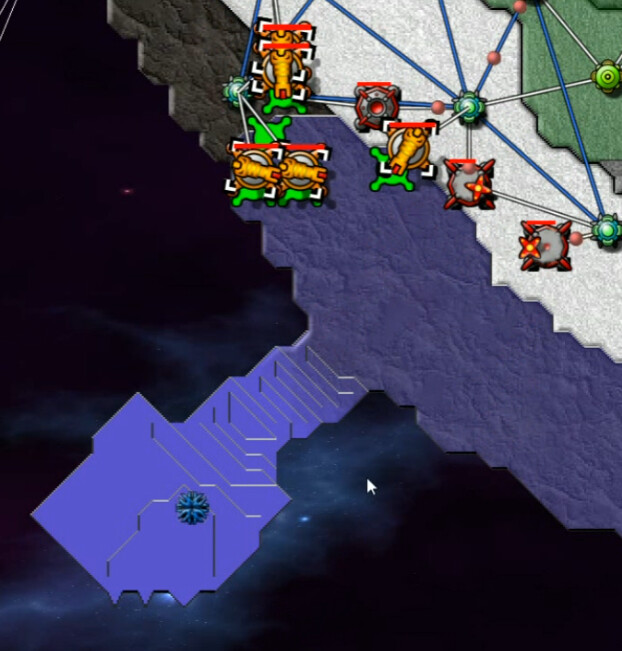
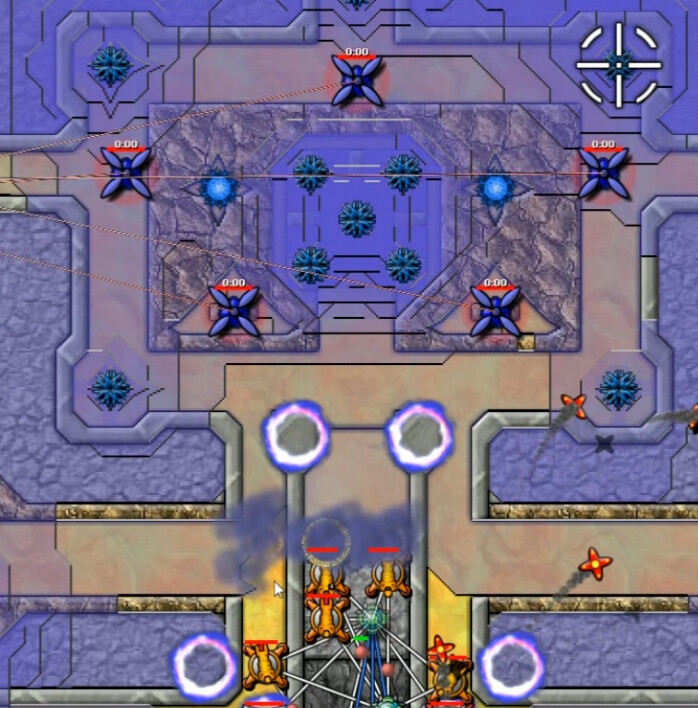
It's not a tremendously wide map, but quite tall, extending both above and below this image. Standard-strength emitters and nothing seems to be special about the spore towers. With those exclusion towers covering the entirety of the northern island, the map rather obviously is forcing us over that long white bridge. And that leaves only the southern island to deploy on.
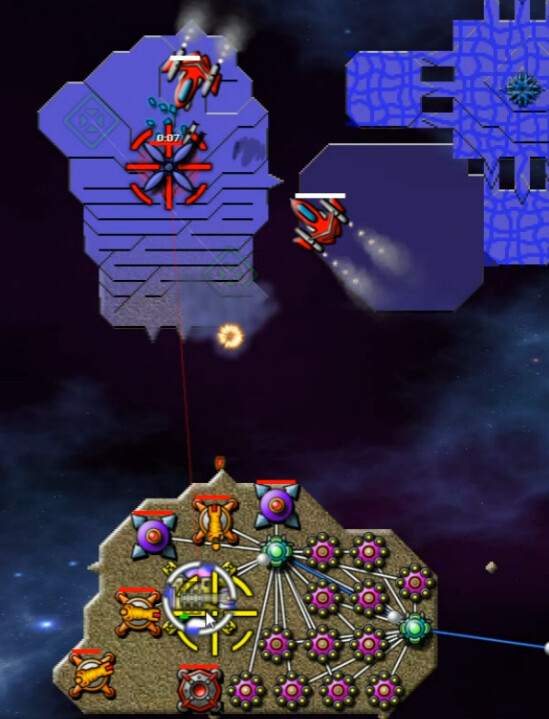
Emitters surround this position on lower terrain in all directions. That SuperReactor starts pre-built, which combined with the elevation here makes this deployment obvioius. I couldn't find a way to get all three Nodes down. I didn't realize how fast the spores were coming though; the first impact, even traveling from the northern island first, is at a whole 53 seconds in. Gotta get your game face on quickly in this one.
Take 2 - 40:40 video
That SuperBeam in the northern PZ is basically a must on this level IMO, at least at first. As we will see, that thing is freaking hero. But I had the effrontery to get the SuperCannon started and build a few collectors before I connected the relay to it. FAIL.
Take 3 - 41:40 video
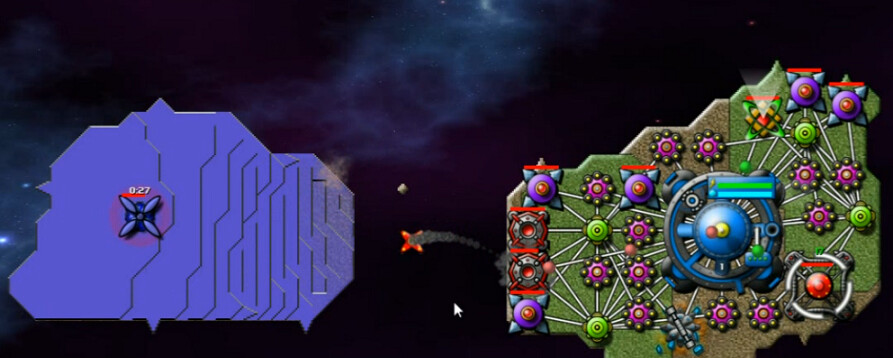
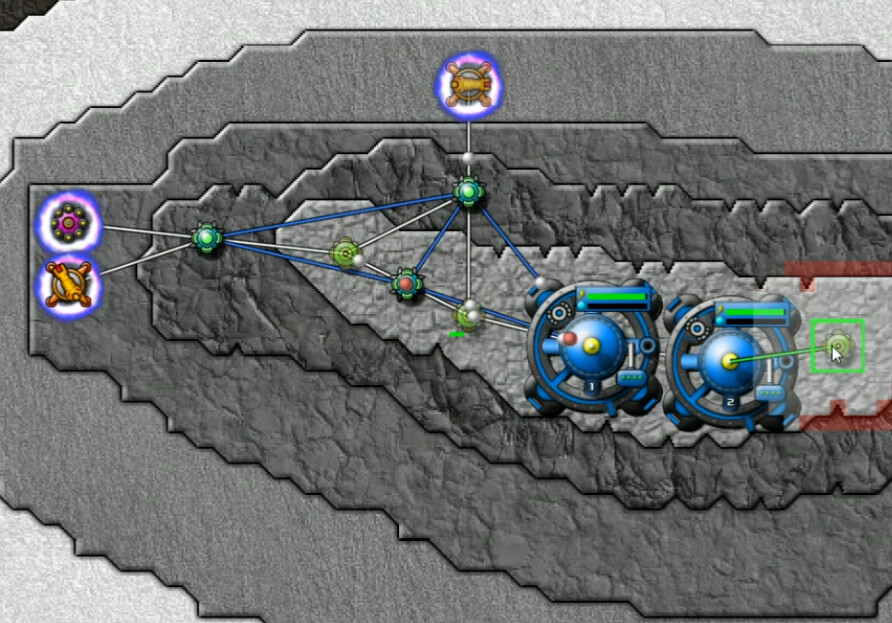
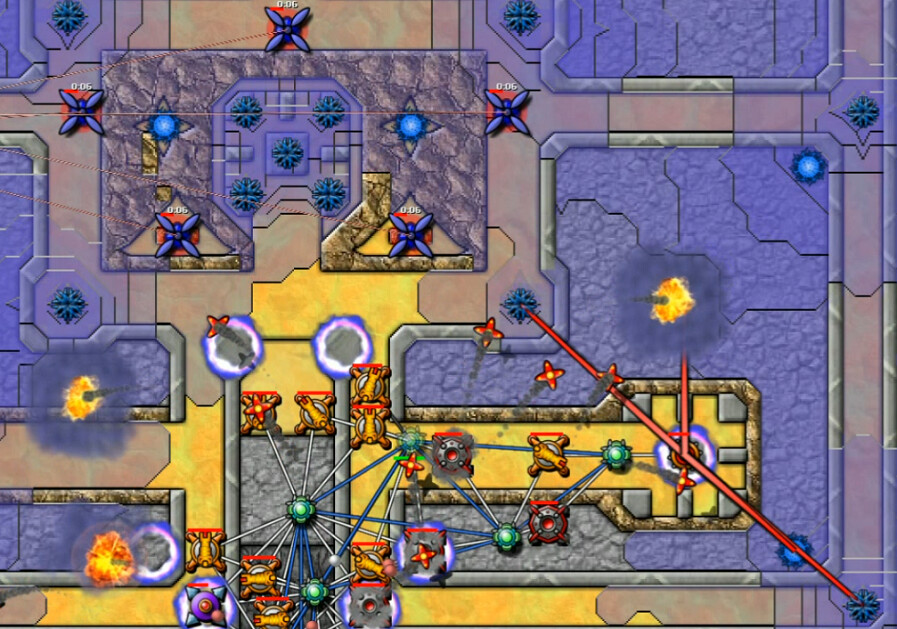
Having properly prioritized this time, I reached this position at almost a minute and a half in. The SuperBeam is holding its own, I've got some collectors and cannons surrounding my position with the creeper starting to approach on all sides. There's a bit of a Shallow Moat vibe here, only it's not as painful. But the same approach applies; do not run out of energy. Don't. Just don't. It's not a good idea.
More Beams is the next necessary step. I did this pretty quickly, which limited casualties to a single collector beforehand. I have plenty of energy, it's just that the Hero SuperBeam is literally needing to shoot faster than I can possibly resupply it. The rate at which the nodes send out energy packets is not sufficient. And with no Totems on this map, that isn't changing at all. There's really nothing I can do to make things better except add more anti-air defenses to take down whatever gets by our front line there. Still under 2.5 minutes, and the escalation of hostilities has not finished yet.
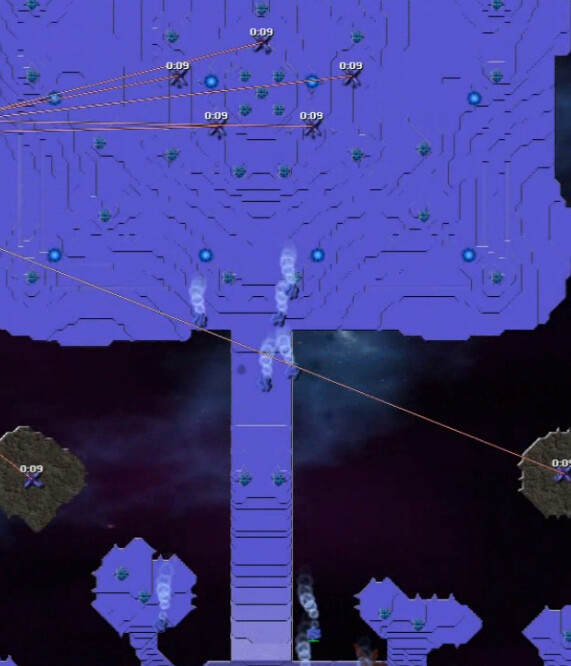
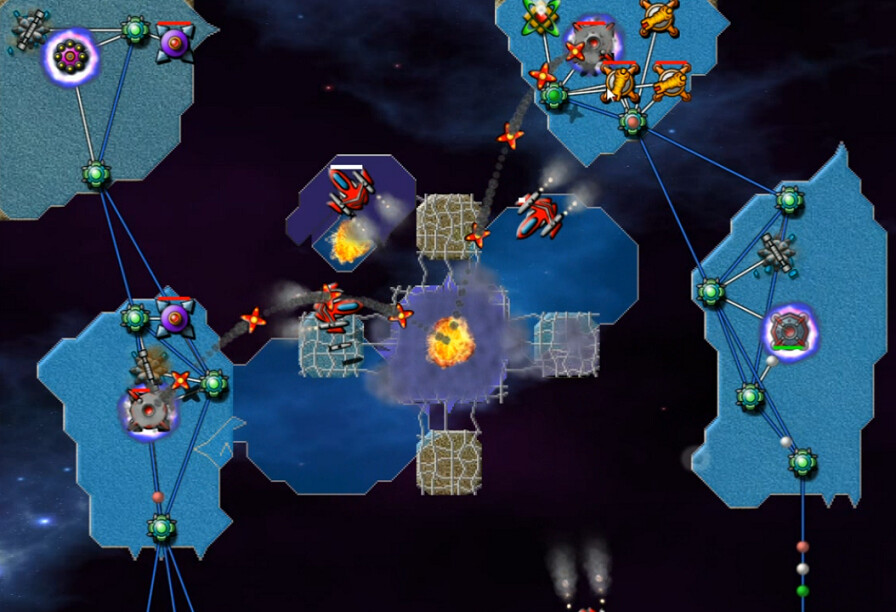
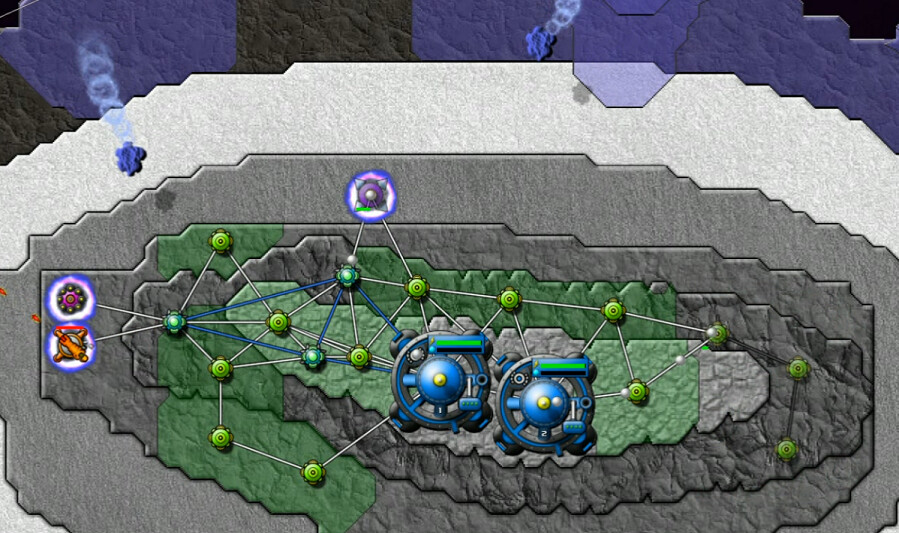
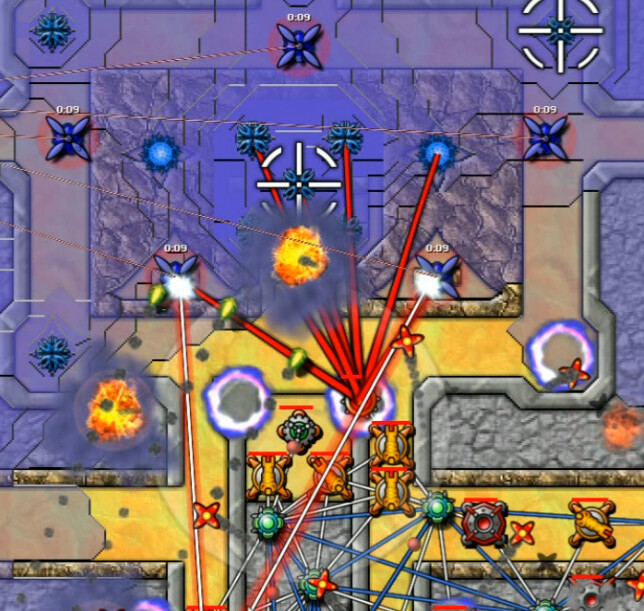
This overhead shows the next, and really final attack in this map's bag of tricks. Creeper from the northern island is starting to flow over that bridge in significant quanitities. Soon holding that back will become an increasing concern. There's, uh, a few emitters up that way.
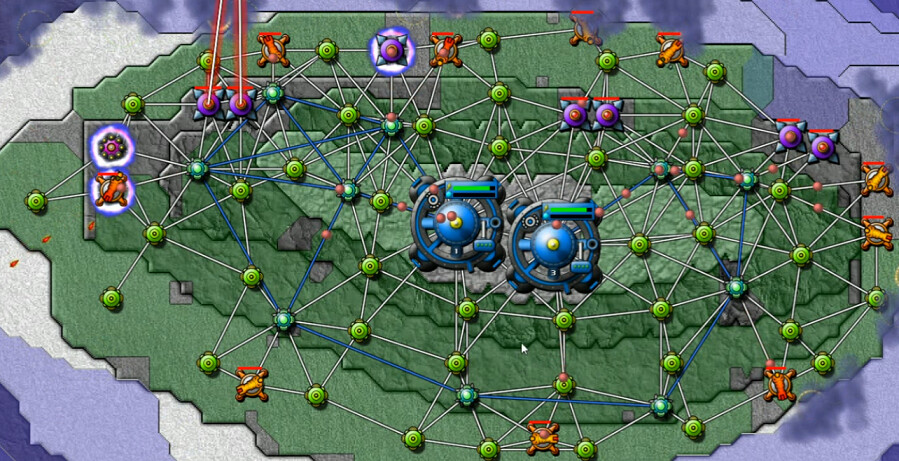
After gradually adding more cannons and collectors, I've now reached the point where I'm out of room. It's time for Reactors, Mortars, and that final Command Node. I ended up in a moderate deficit for a while and the balance on what to build when you can't stockpile more than 25 energy is definitely tight. At first I could only run a couple of mortars and was only building a single reactor at a time, but even those two took some pressure off the cannons, and it wasn't long before I was able to lay down a lot more at once.
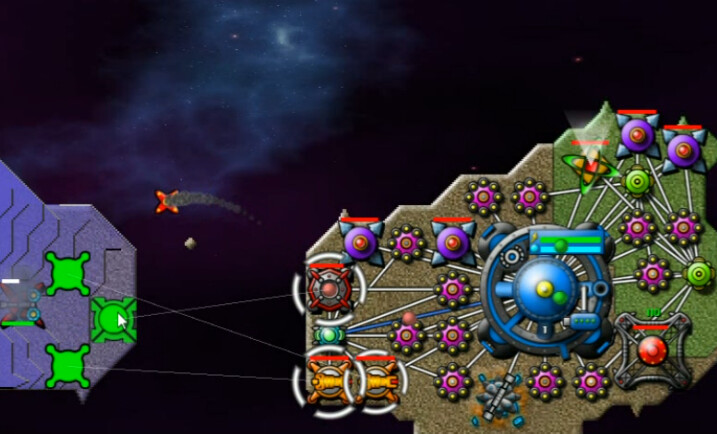
20 energy was enough for defensive purposes. Once I got above 30 income, I started moving outwards, claiming more territory, and heading for the first of these peninsulas which are the closest targets. Positioning is important with no upgrades available; a mix of cannons and mortars in order to clear out enough creeper and keep immediate space open for the necessary.
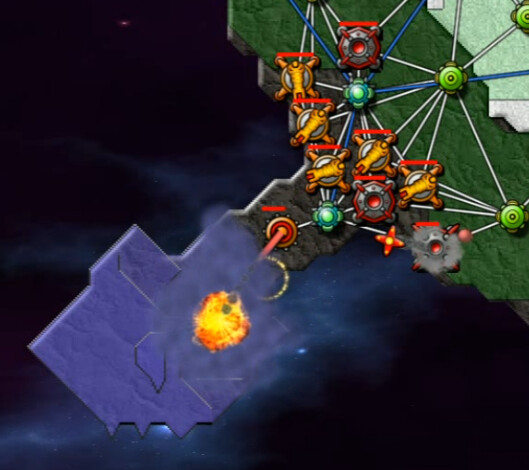
Relocating once you've done this to the other peninsulas is also pretty painful, with no way to improve how fast things move. Naturally it was now SuperBertha time. Might as well start clearing out the buildup now.
Overall the southern section here has 10 emitters; two in the south, eight on four more peninsulas in the north. From the first one to the last one took over 15 minutes, but it seemed a lot longer.

I used a shield on one of them that proved a particular pain, and also as seen here did some guppy-nullifying on a couple of nearby islands with spore towers. It was time to move across the bridge.
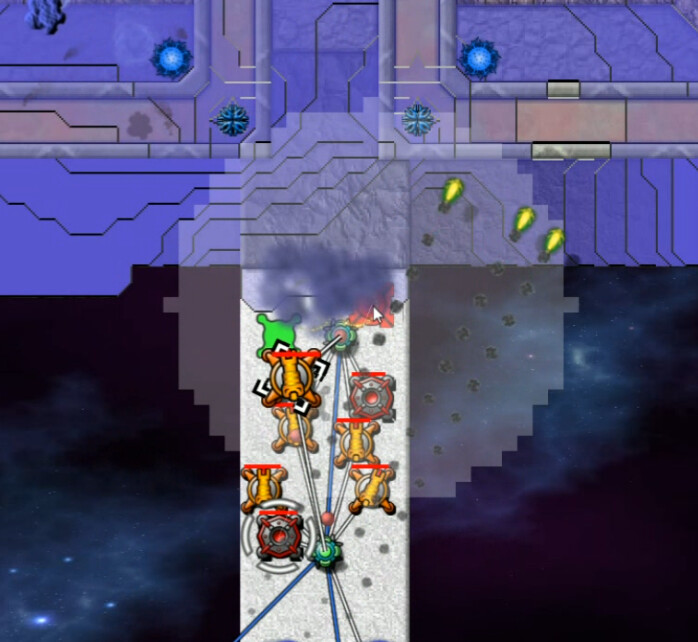
Getting across the bridge isn't hard; just a pair of emitters halfway to guard. At the far end though, elevation increases, and keeps going up as you approach the central plaza that has five emitters producing more to rush down at you. So this is a little different. Terps are available, but I did it the old-fashioned way.
After a bit of pounding, the shield method cleared just enough to get the first nullifier in. This chokepoint is probably the biggest key to the level after the first few minutes of defending. The further you progress into this northern section, the easier it is to find something useful to do.
This took down those two nearest emitters, cannons went on those powerzones, I moved a bit more forward, and so on. Meanwhile to keep supply flowing, one of the nodes followed behind on the bridge.
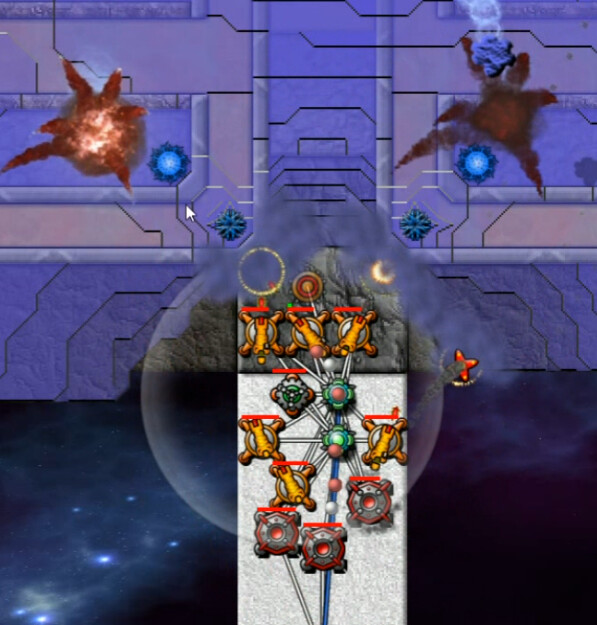
Things got a little iffy here. I tried to just push forward and take out those five emitters in the middle, but as you can see they are designed to dump all their creeper straight down in this direction and it was enough to disrupt things.
I moved forward in more force, i.e. greater numbers, and started clearing away space on the right flank. It all had to go anyway, and this reduced how much opposition I was dealing with.
Combined with moving the shield forward, that got me this beautiful result. Eight at once I think. A few minutes of mop-up later, the Gatekeeper had been pacified.