Part 138: Mini Arena, Trae Noria, & Twisted Island
Mini Arena, Trae Noria, & Twisted IslandVideo
Three more planets of varying challenge. A longer video as the third of the trio proved the most resistant to my efforts.
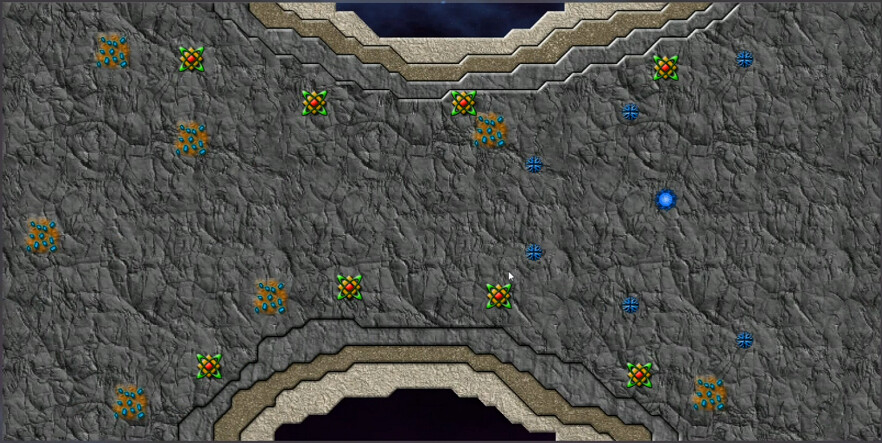
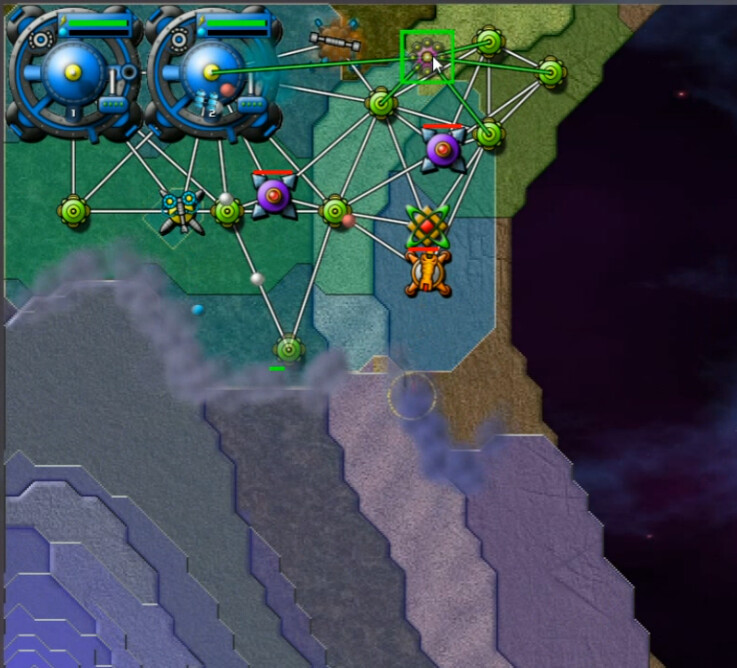
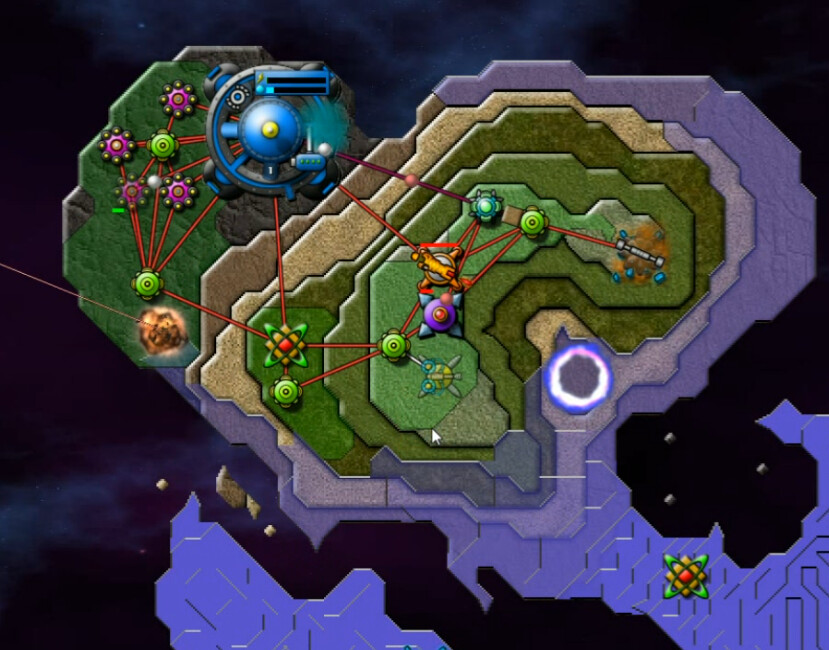
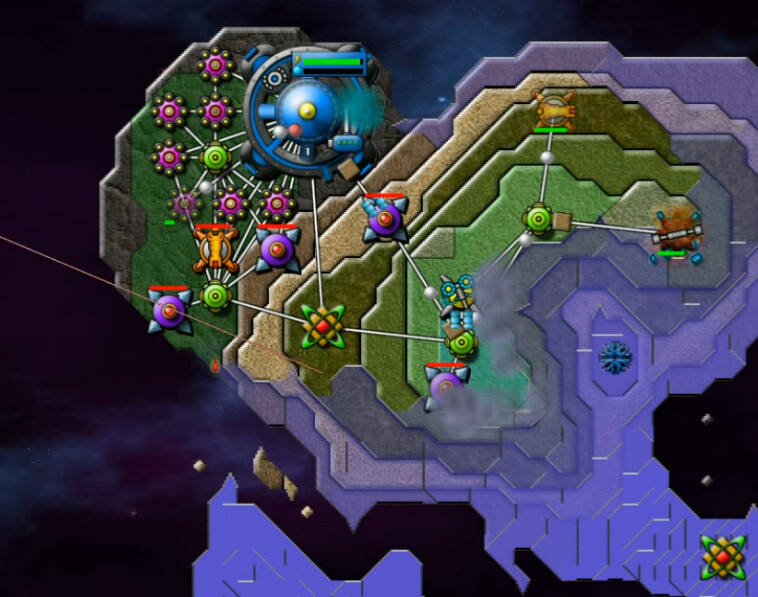
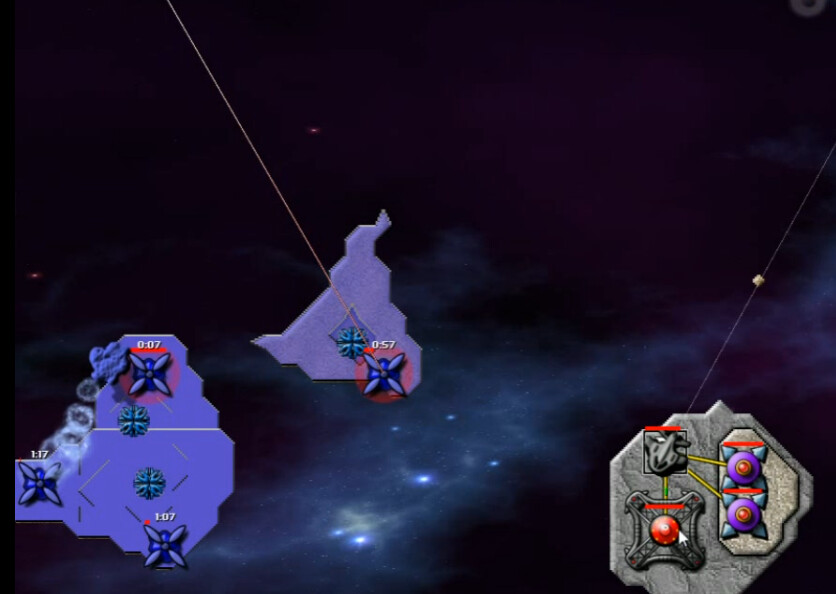
Mini Arena, the final planet in the Fisherck system, is well-named. Clearly we are going to begin in the west and fight to the east. There are no spores, and Totems/Ore aplenty to aid us.
Although it's not difficult, I was more pleased than usual with the way I began this planet. Three rows of Collectors, grabbing the Ore first, and always-on Sprayers spread across the front in order to slow down the Creeper. That'll give me time to organize a more substantive resistance.
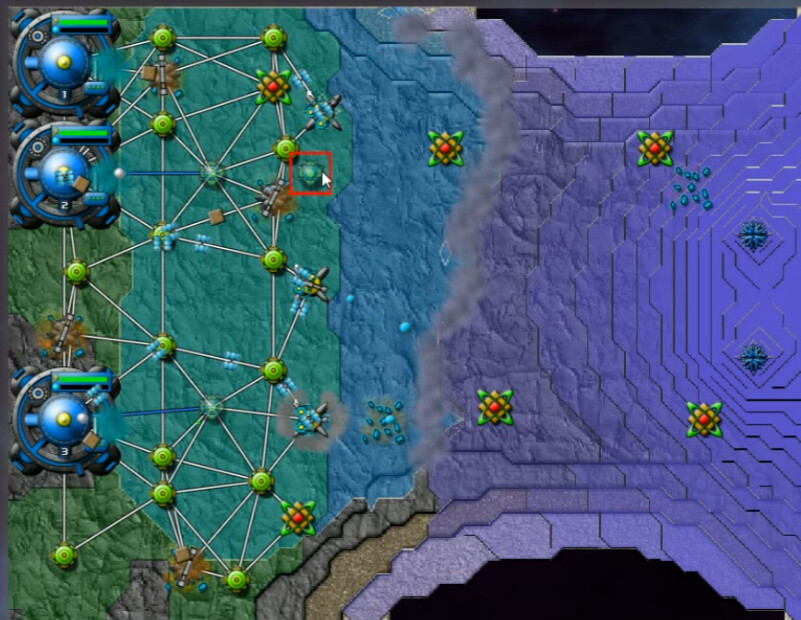
After taking several minutes to get some of everything going and fill my end of the map mostly with Reactors, I was ready to attack.

Three minutes later the enemy had been crippled, and victory came not long after. A small map on which superiority is easy to establish, lending itself to a quick success.

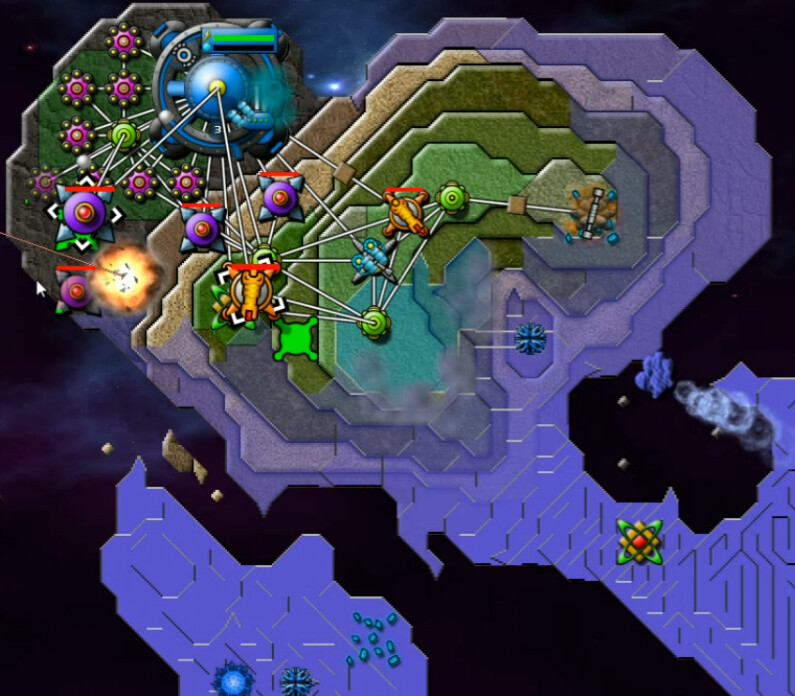
This is Michionlion, which you'll hear me pronounce various ways, all of them probably wrong, during my time in the system. It is also the last of the 4-planet groupings. Trae Noria is up first.
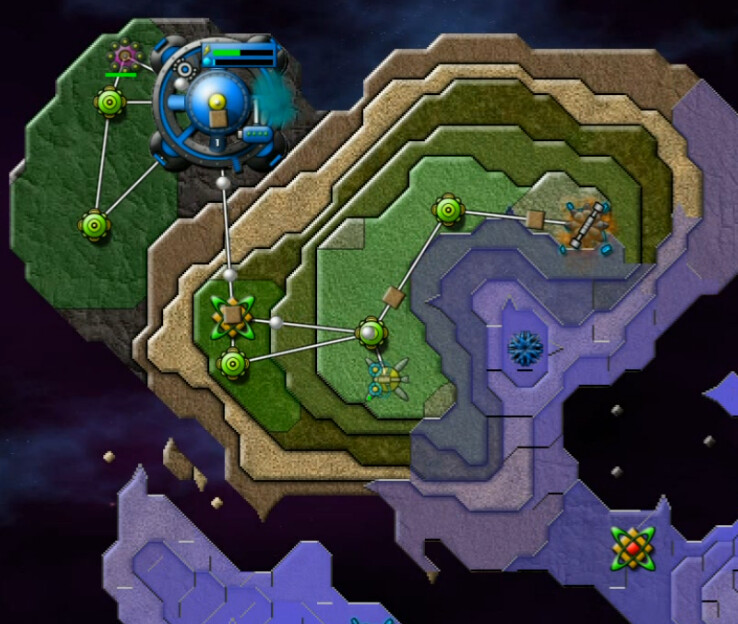
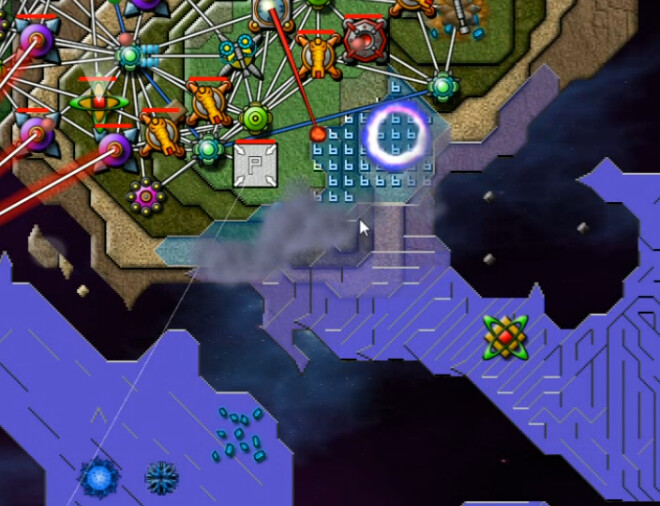
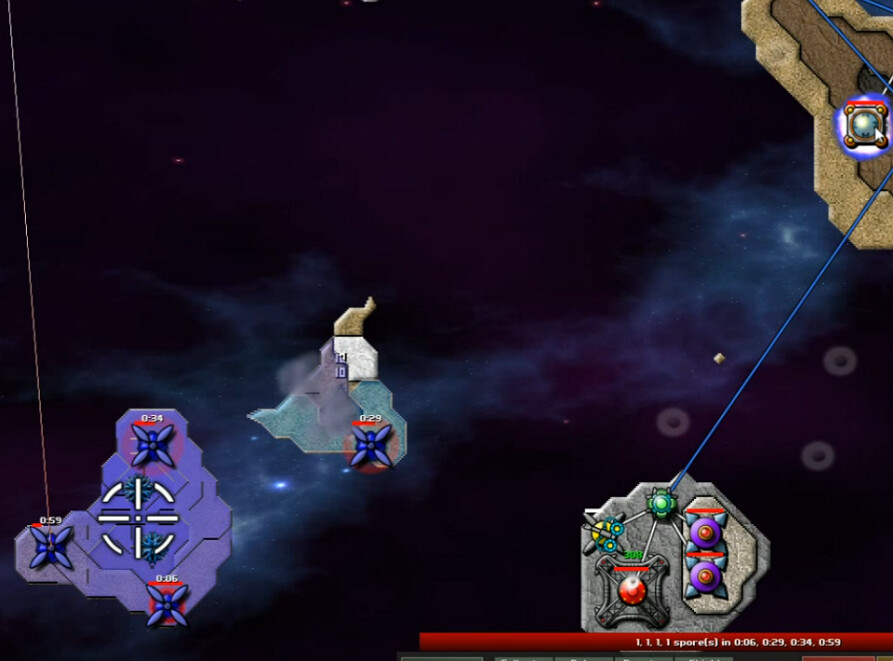
Three landmasses, but only the largest, western one is amenable to landing. Another little-bit-of-everything map, including Spores.


That briefing refreshingly doesn't even pretend to provide substance, existing soley for the purpose of poking fun once more at Lia's responsiveness - or lack thereof.
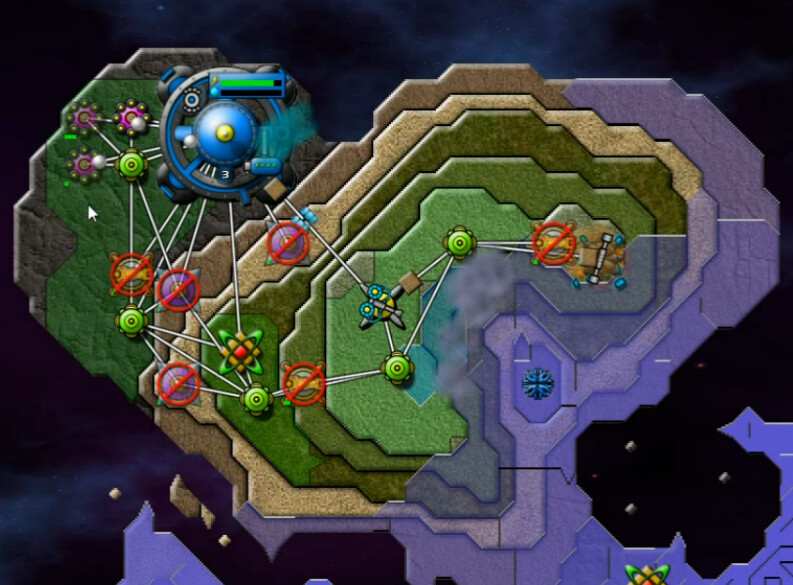
Beginning in the north, we are essentially forced onto low ground and don't have a great deal of time. This is definitely the toughest part of the level. It's not a super-difficult start, but it does require a solid beginning. Grabbing the ore to limit energy use, I set about the task.
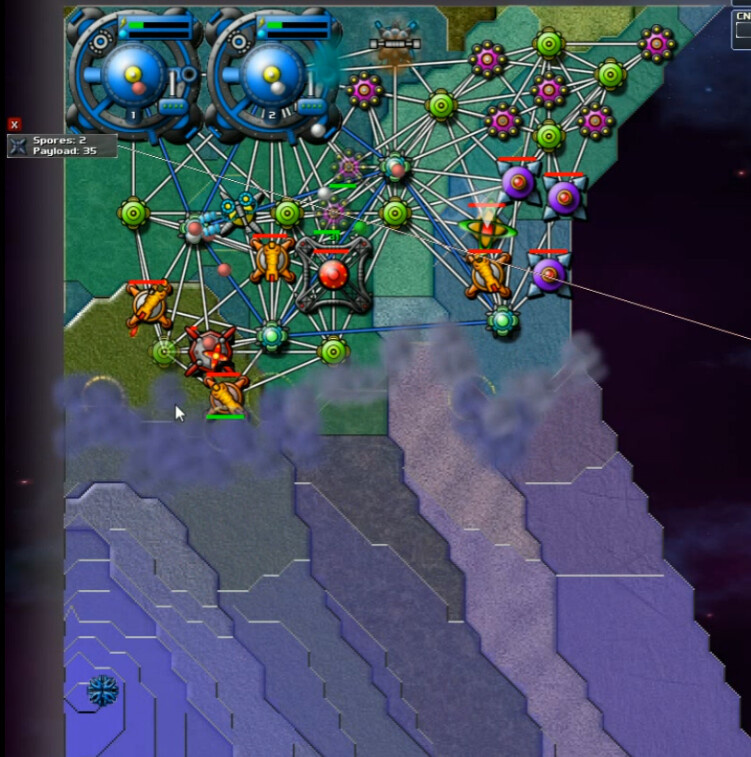
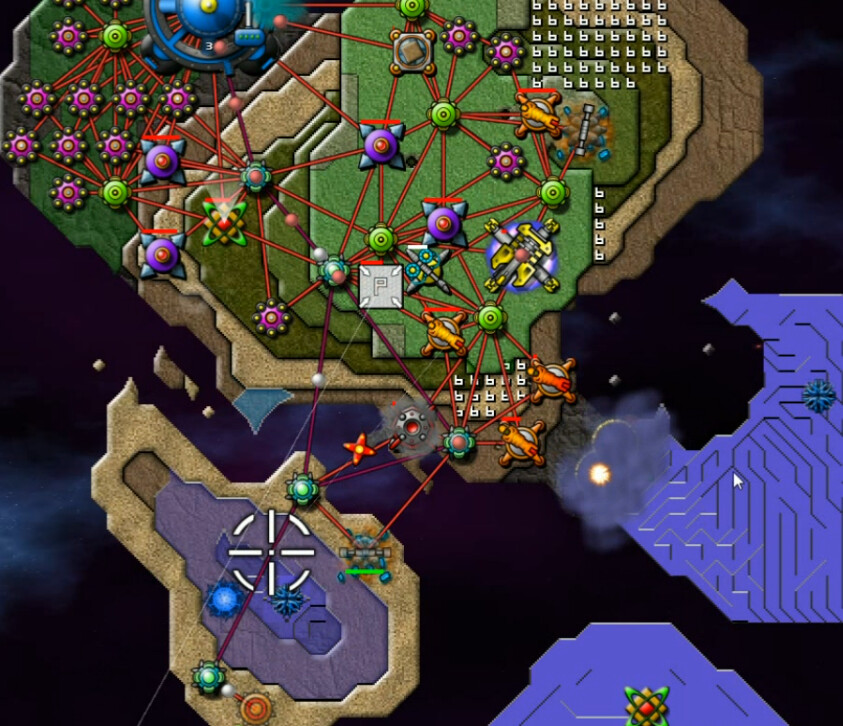
2-3 Beams are needed to deal with the spores. Once a handfull of Reactors are up I can afford more weapons to start expanding and upgrades start to come in from the Forge.
Once I reach the caldera, a Mortar fires into it, then I'm able to get up on the rim and start eliminating threats. This assures control of our starting land area.

An ultimately unnecessary Guppy Landing secured the middle island - I later discovered that it was close enough to do a relay connection. Naturally the way was cleared with SuperBertha fire from the caldera.
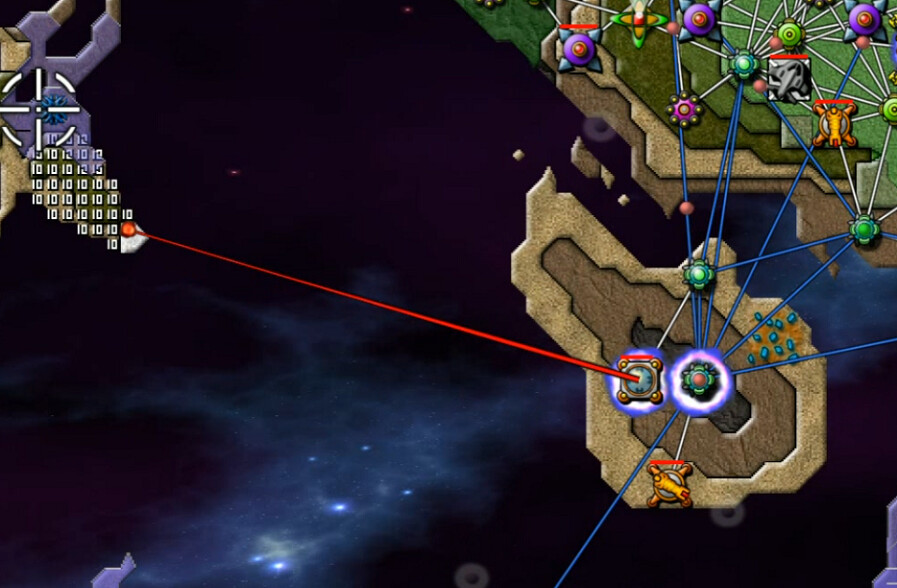
The AE Tower here doesn't cover all that much. There's more room in the southeast, but the northeast is much the easiest spot with less creeper and emitters.
I gave the artillery some time to clear out the worst of it, then put our sprayers to good use again in securing our foothold. Better late than never on the beam here.
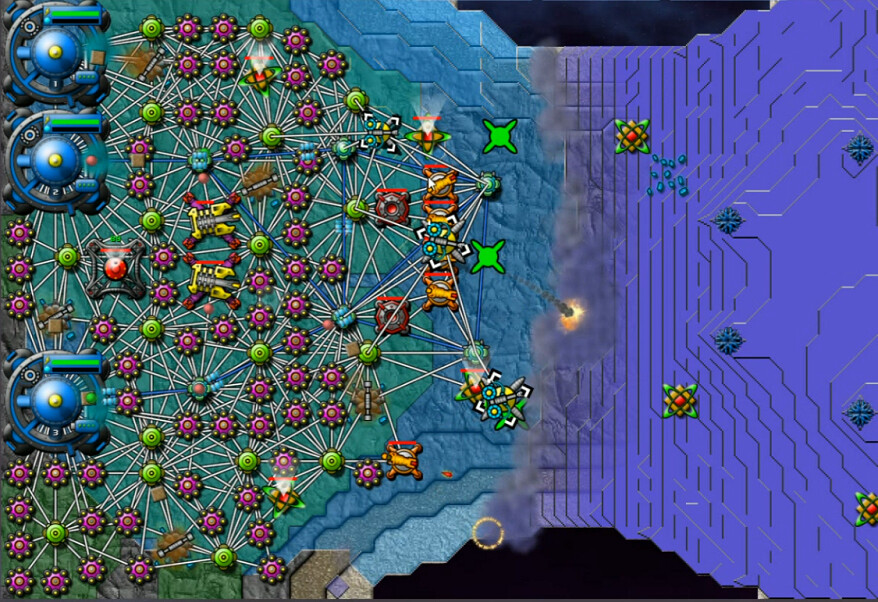
This SuperRelay hookup hastened the end, and put the guppies out a job once more.
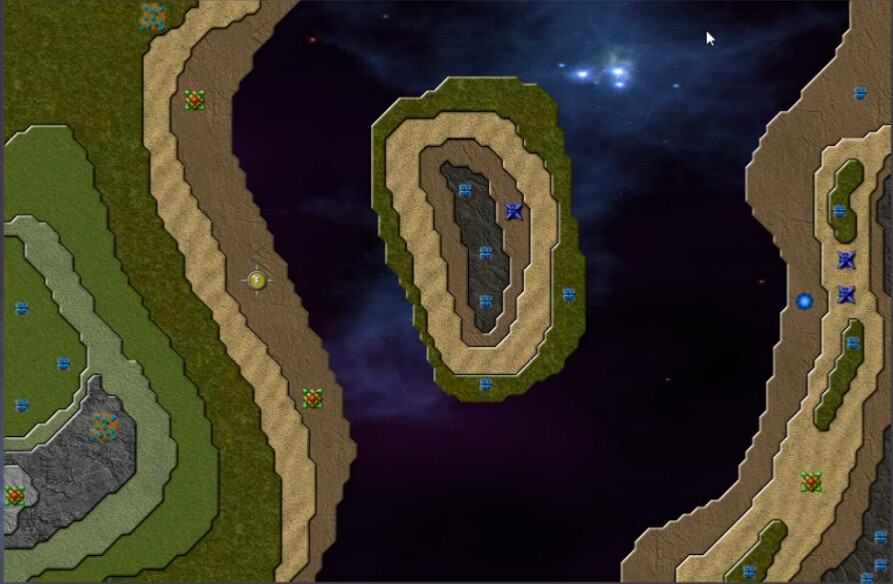
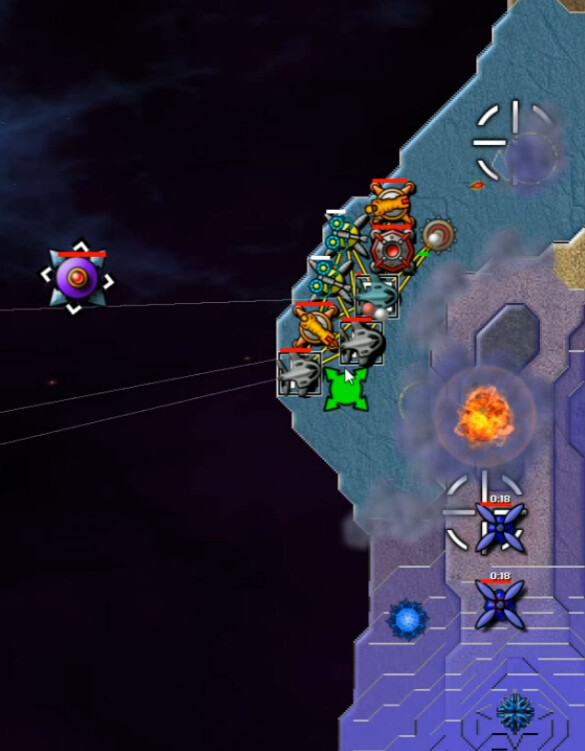
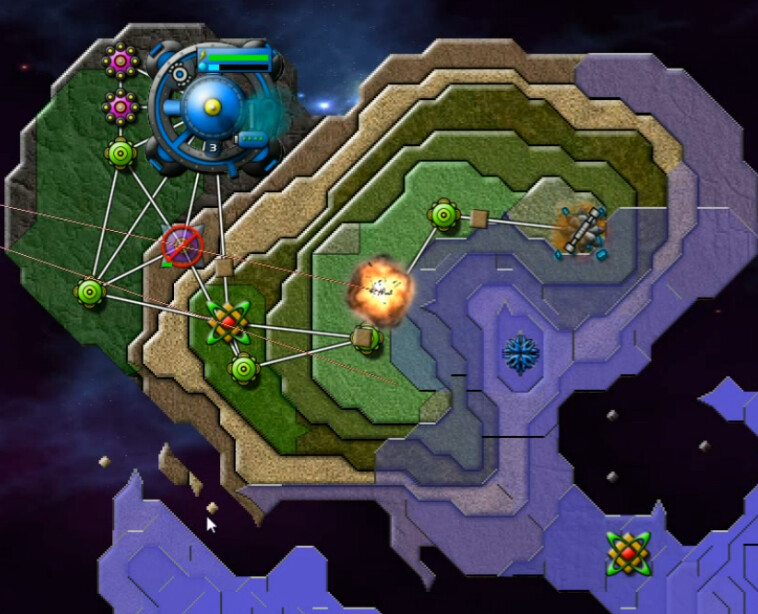
Twisted Island is well-named. This is the first worthy challenge I've seen in a while. Lots of elevation changes guarantee the one north-central starting location, and that Forge in the south looks inviting. It only looks that way though - it would be some time before I would actually get to use it.

I get a kick out of the really big numbers on some on these.

At just after 50 minutes into the video, I get this show on the road. The emitter closest to us on the other side of the hill only outputs 8 every 0.4 seconds. It's a wimp, the ones in the east are stronger. A key factor here though is there isn't a lot of places for it to go. We can also see that while we have multiple Command Nodes available, we might as well only have the one. There's no room for more.
Due to the Ore and Totems available, I understimated this level at first.

That miscalculation can be seen in the fact that my initial goal was to Nullify first and also get a quick Guppy for the forge. A spectacular fail, as the nullifier blows up while it's charging and I never finish the guppy. 1:28 mission time here, showing that you don't have the time to dilly-dally.
"Oh that SUCKS! ... I'm just going to do a better build order. I'm gonna restart cause that's annoying me."
Or because you had no chance of winning at this point. I was still overconfident.
[]b]Take 2[/b] - 52:09 video
This time I just barely get the nullifier built in time. The creeper works its way around the coast of the island, killing a Beam which I was putting in position here. Almost three minutes in and the Spores are coming soon.
Take 3 - 53:36
"This is more challenging than I gave it credit for". I'm finally giving Twisted Island it's due respect.
First important strategic adjustment. I forget the nullifier for now, it's not worth it given how weak that emitter is. I would follow roughly this pattern of five collectors from here on out as well, getting the Ore Mine and a Reactor up right away, and then a Sprayer to start slowing down the Creeper advance. Gradually more reactors and weapons after that.
This time I still wanted a nullifier next, and the creeper got around the island and up in my business again. By the time it gets there, it's too late to do anything about it.
Take 4 - 55:40
The slightly lower positioning of the collectors on the left is important - they're spaced better to allow for maximum reactors to fit in around them. Also, I made the mistake of delaying the sprayer a bit. The creeper is already coming up on the summit at 1:23 mission time here. I pretty much have to build that thing right away, or else I lose the high ground and with it the whole shebang.
Take 5 - 56:28

My best effort yet. This is at 3:25 mission time. I've got two beams built, two more on the way, only one has much energy at all. This is not enough with several Spores in each salvo. I still went for a too-early nullifier, but I did manage to get a Pulse Cannon to protect the southern coast. That's what allowed me to get this far. This is progress, but those spores totally ruined my day here.
Take 6 - 58:08
I put one of the initial collectors in the wrong place, and quickly abandon.
Take 7 - 58:20
I forget to actually build the cannon until it is too late. I get aggravated at myself at this stage - I'm forgetting different things each try, and there simply isn't the margin for error for the mistakes being made.
Take 8 - 58:58

I decide that I just don't have the energy to go for a nullifier quite as early. You can see what is pretty much what I would go with in terms of beam placement here as well, including the two in the notches on the hillside, and I've moved the cannon back some so it isn't firing at that nearby island to the south.
More importantly, I've done well enough here to survive the initial spore salvo for the first time. If you look closely at the sprayer though, you'll see that all is not well ...
I don't have the guns to combat the pressure on all fronts, and soon my ore mine goes kaput. I last over four minutes this time before everything starts going sideways - but I still need more.
Take 9 - 1:02:33
This time I got a second cannon in place, but it still wasn't enough to cover everything. I ended up saving the ore mine but then couldn't stop stuff from creeping around the sides. I needed a third one, which means I still needed to be a bit faster with things.
Take 10 - 1:04:02
Once again I didn't get things up fast enough. I did experiment a bit with placement though, and hopefully that would pay dividends.
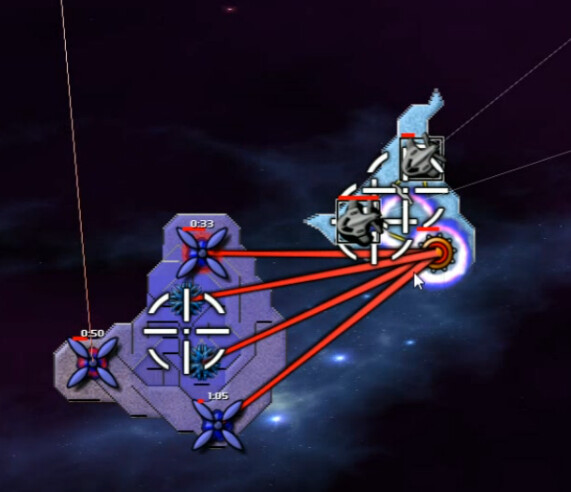
Take 11 - 1:06:15
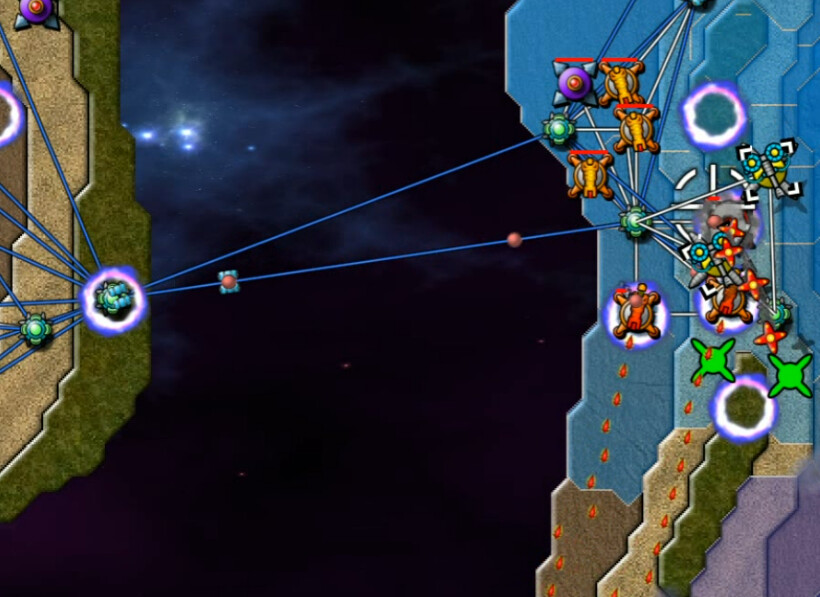
As you can see here, I'm trying only building three beams here, three cannons in place, and I'm building two reactors at the moment. Timing is tight enough that I was only able to build two pairs like this, and that just barely, but hopefully it will accelerate the buildup just enough to get this in place. The three beams ended up being enough.
And this time, potential success. 6+ minutes in, I have a stable defense up and an 'extra' beam and cannon each. First emitter nullified as well. Spacing wasn't perfect so I'm short a couple reactors of where I'd like to be, but still 6.7 energy is better than I've had on any previous attempt.
Couldn't get the Forge going too soon. This proved an effective defense for it. Maybe only needed one beam, but safety in numbers.
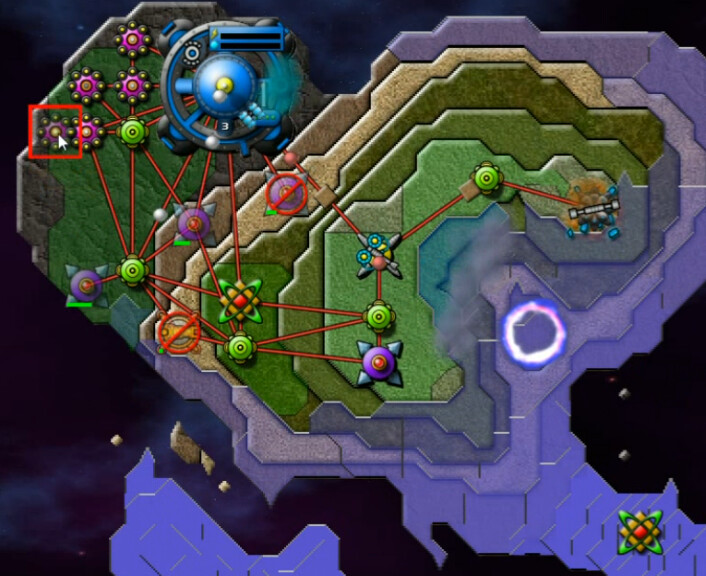
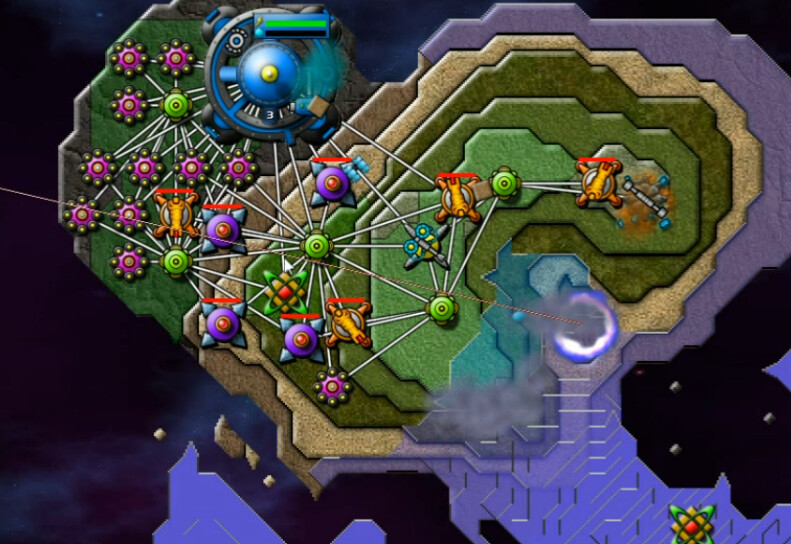
Next, a Terp joined the fray to flatten out our initial hill. I'm sure I didn't need to do as much of this as I eventually did, but I wanted room to build more stuff before going on the attack.
After a while, I was able to get a SuperBertha in place, then move to the south and take out the emitter and AE Tower there, along with getting more ore.
A similar approach claimed other nearby islands. Here in the west, long-range SuperTerp application created a landing area to knock out that Emitter.
The last couple of islands proved trickier than expected. There's just not much room on them, and they are far enough away that most weapons couldn't reach them. I ended up terraforming the snot out the smaller one in order to be able to land.
From there, this wasn't quite the killing blow - but it guaranteed being able to easily land and finish off the final tower. Applause must be given to the well-designed challenge of Twisted Island, and I'd finally conquered it.