Part 153: WarZone Classic
WarZone Classic
Typos aside, this is interesting info from the bowels of CW3 history. Pure chaos, you say?
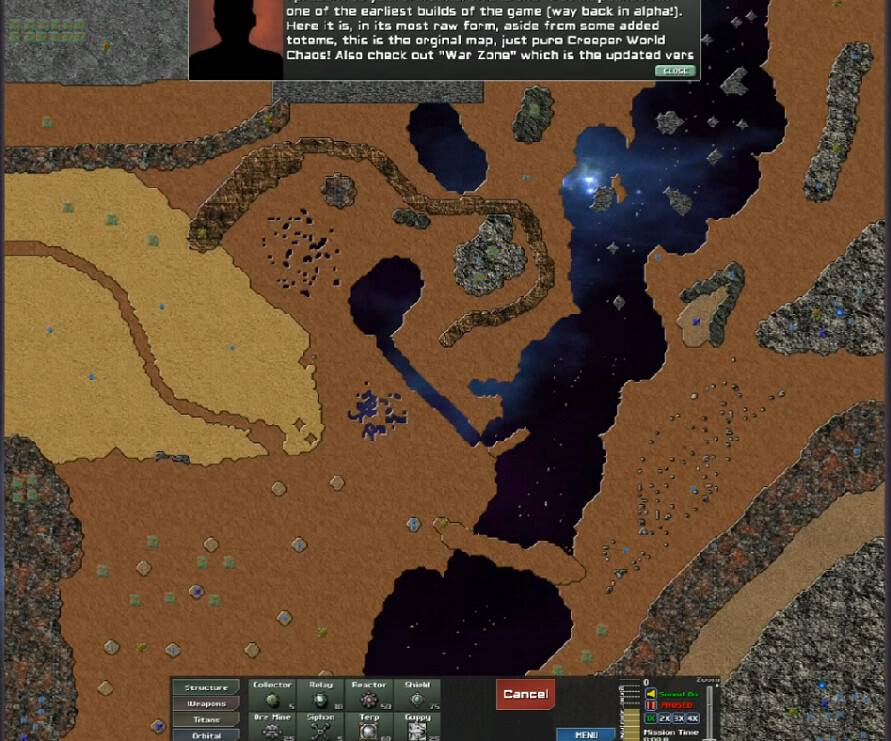
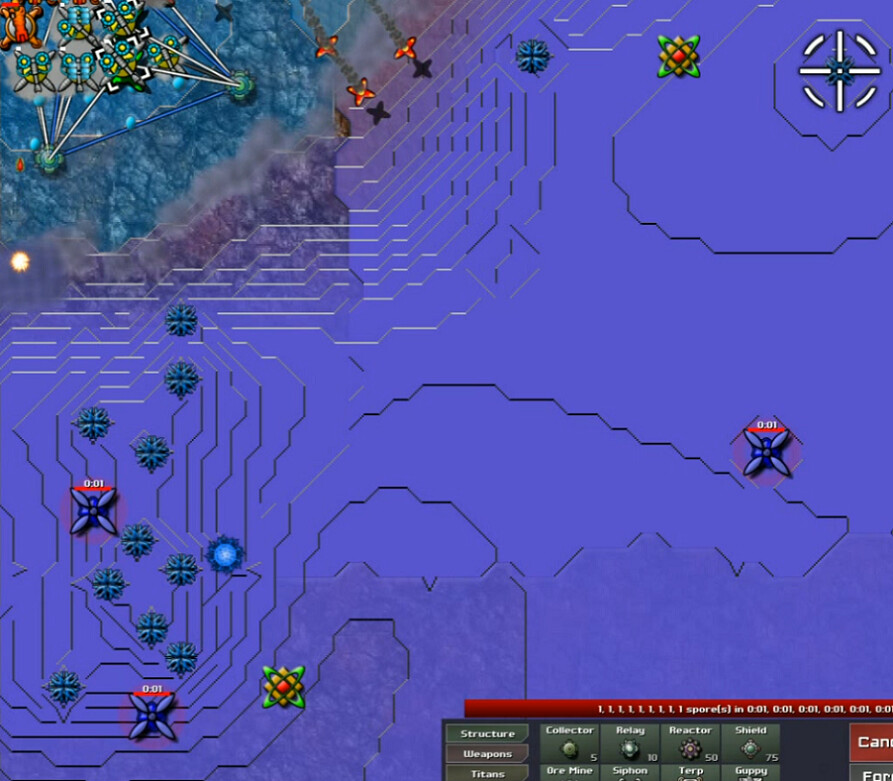
It's a big sucker, extending a little bit more north and south. This is too far out to see much, but there's lots of everything that was available at this point in development. Which does not include Digitalis or Runners - those were apparently added later in development as well as the Totems that were put into this one.
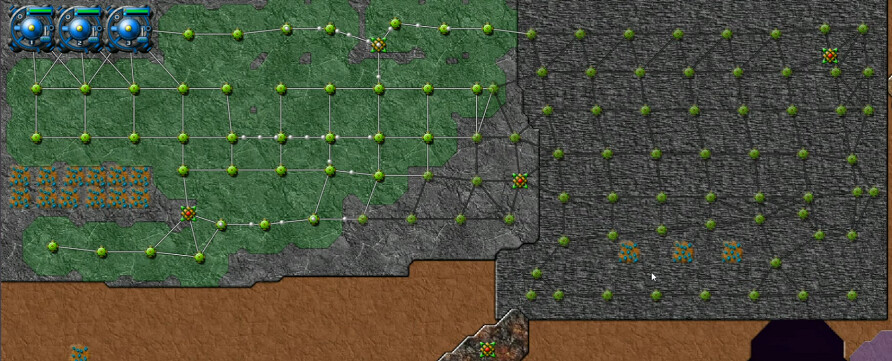
Northwest of the map. One of the Command Nodes was already in place. Add in the flatness and ore deposits and it was clear what needed to be done. This big collector farm would soon be followed up grabbing the AC goodness. For anyone watching the video, my condolences as you are putting up with my cough a lot for the first part of it. I was still getting over being ill-sh.
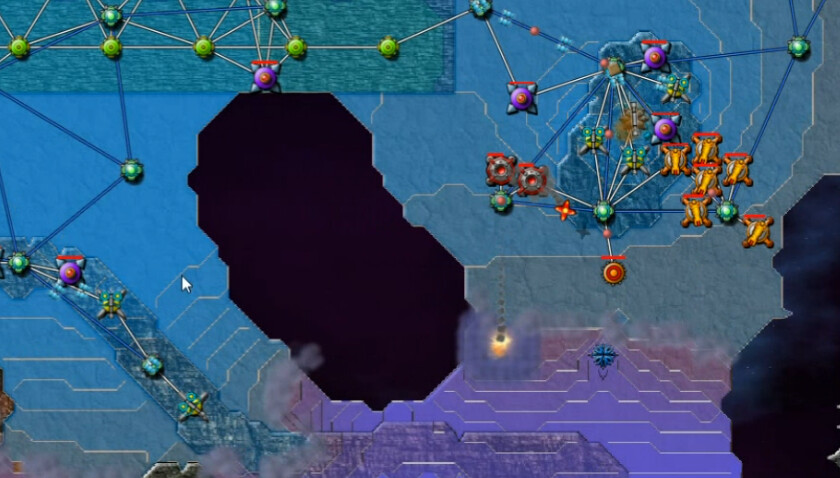
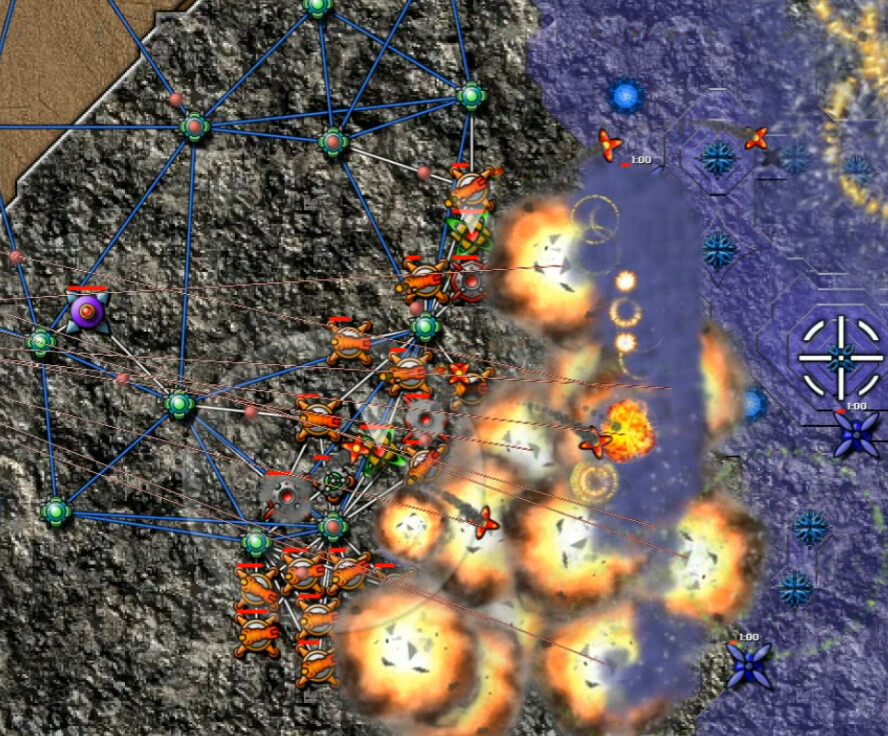
Beams and always-on Sprayers for the perimeter are more than enough to form an impregnable defense. As long as you don't dawdle, it is not difficult to avoid any problems. The first Spores do arrive inside of four minutes though.
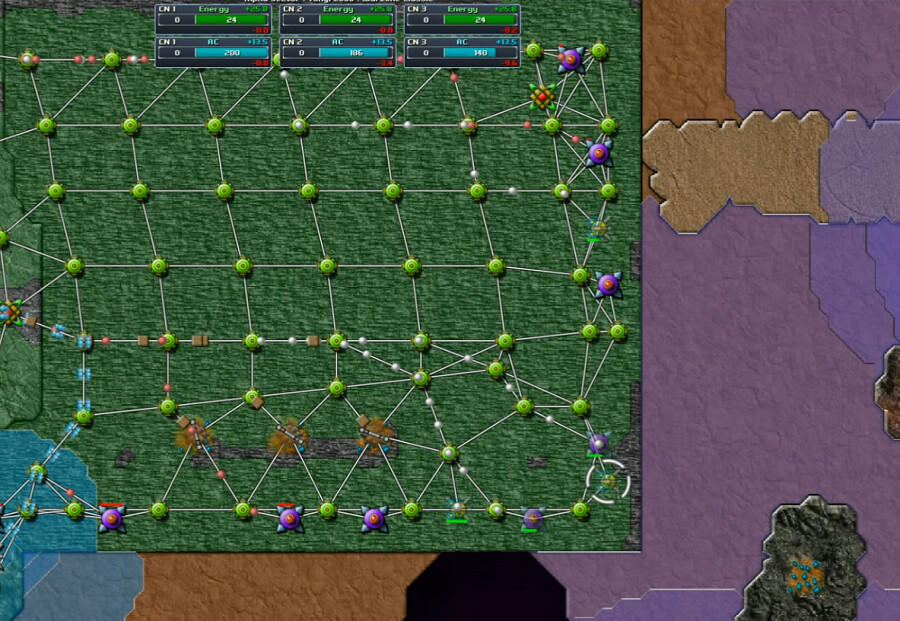
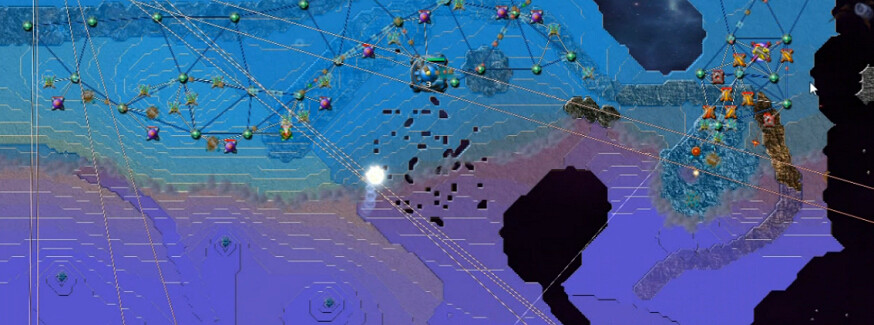
To show anything on the 'big-picture' level, zooming out and shrinking down is necessary for this scale. I first claim the ridge to the south - high ground is particularly vital when utilizing this volume of AC. Next, I use the pier-like formation to the east along the top edge of the map, pushing my way towards the void chasm and knocking out that emitter first.
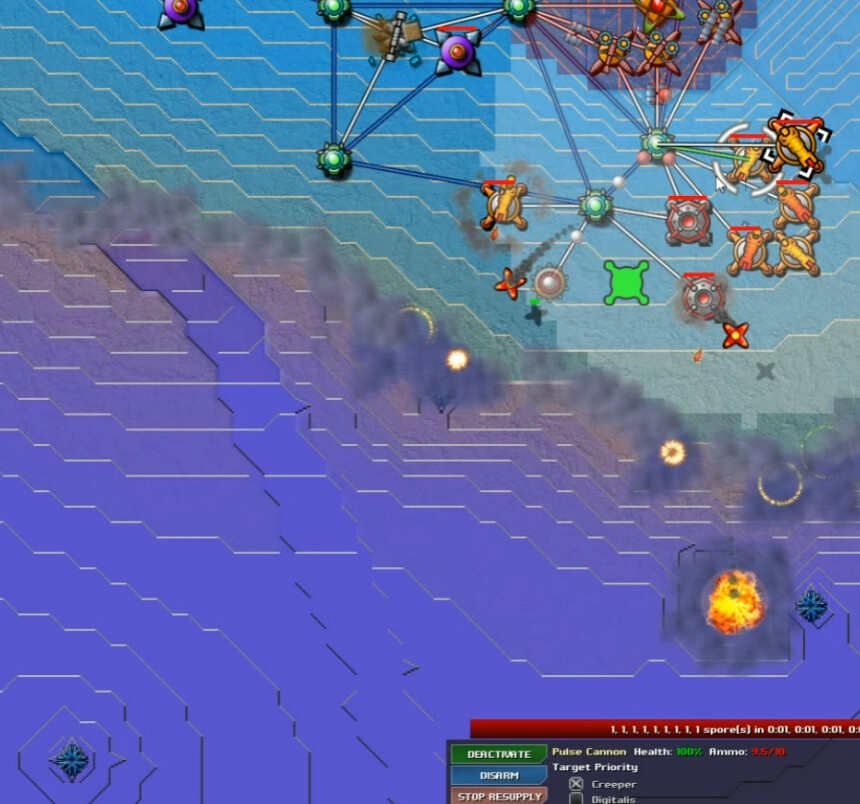
Then I push to the south, with a handful of standard weapons deployed. Slow advance is also made further to the west, thanks to the volume of AC we are pushing out.
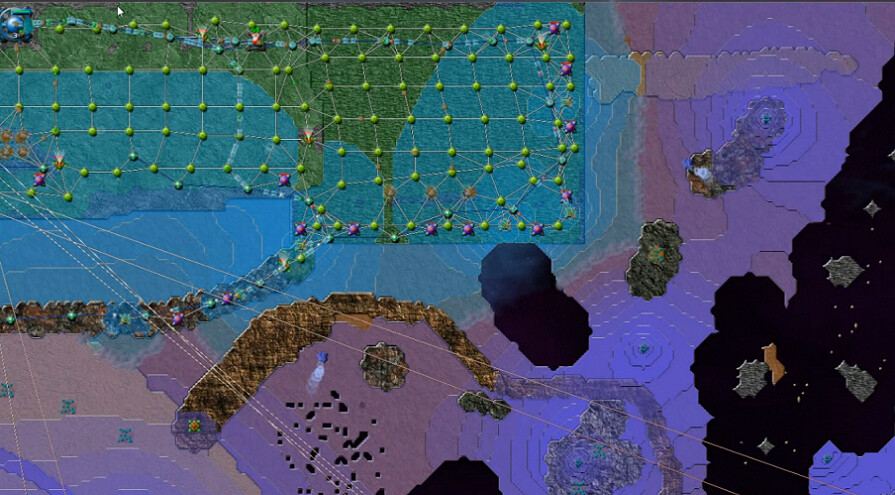
With a few SuperBerthas in place now to handle any problem spots, I am unquestionably on the front foot. Keeping up with reactors and the logistics of moving things around are the main concerns.
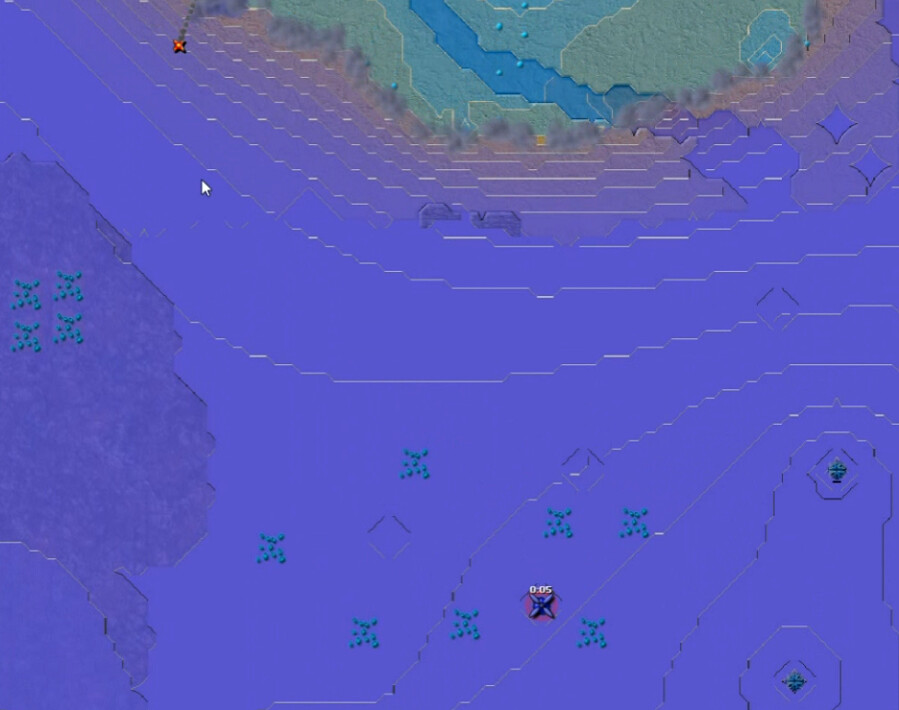
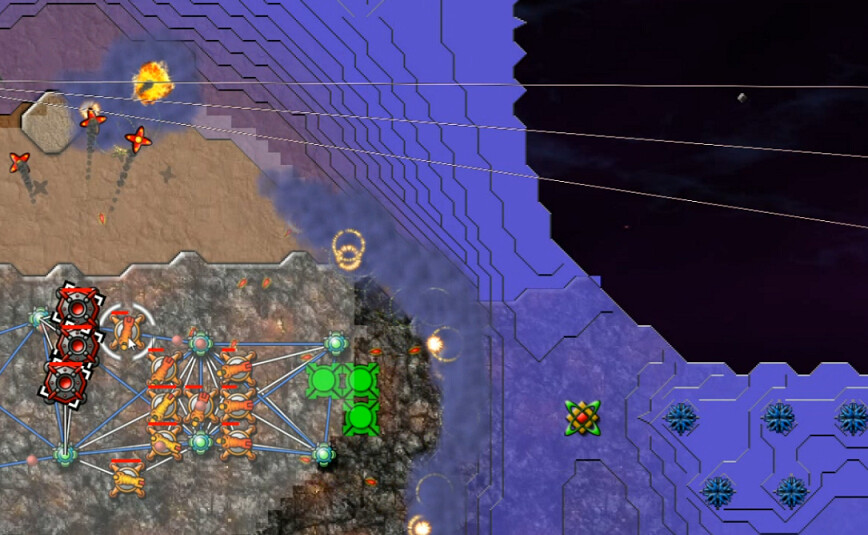
This 'flatland' area has to be crossed to get to the juicier territory further south. There are a few emitters here, but nothing else other than wide swaths of Creeper to be exterminated. A bit of a 'river' there slows both us and them down.
Here's the next section. Lots of ore as can be seen, but my immediate target is that shelf on the left. There's more enemy presence further south and I'm cognizant of the importance of keeping my Sprayers on high ground.
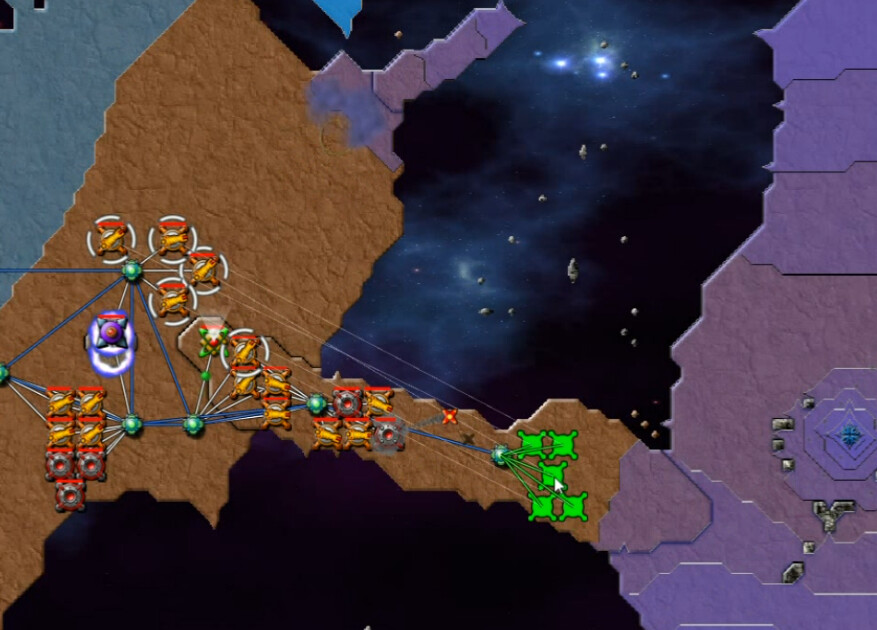
Leaving the ore in the lowlands for the moment, I make my way towards this cluster in the southwest. One SuperNullifier drops eight buildings at once.
Staying on the narrow strip of elevation, I push along the southern edge to the middle of the map. There, just on this side of the chasm, is another Emitter Cluster. Then its time to eliminate all resistance on this side and reap the rewards of that ore.
Then we cross the land bridge. Even with 89 AC income, the sprayers can't produce enough for it flow fast enough to keep up with us. No matter.

This corner holds the largest cluster on the map. We have plenty of artillery support to keep it all at bay by now, and work our way through the undulating terrain.
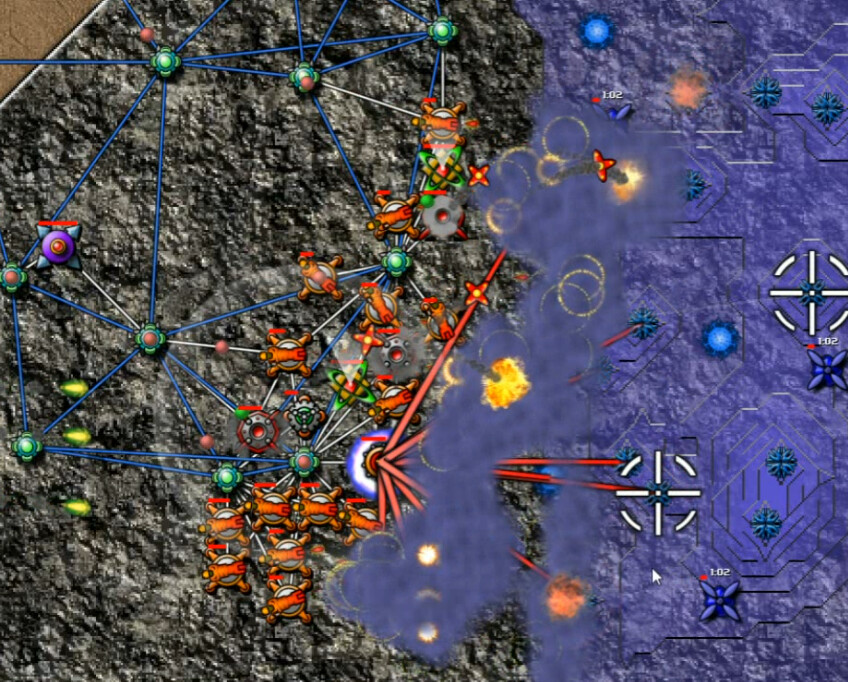
I lose this nullifier several times, but insist on getting it up and not doing this piecemeal. Even put up a Shield to ensure the success. It's not every day you get to take down 13 creeper structures at one blow.
A lot of carnage. Then it's back up the east side of the map for the mop-up.
WarZone Classic marks the midway point of the Alpha Sector for us. 62 planets down, 62 to go. From now on, every mission takes this journey closer to the conclusion than the beginning.