Part 155: Conquest & Conquest 2
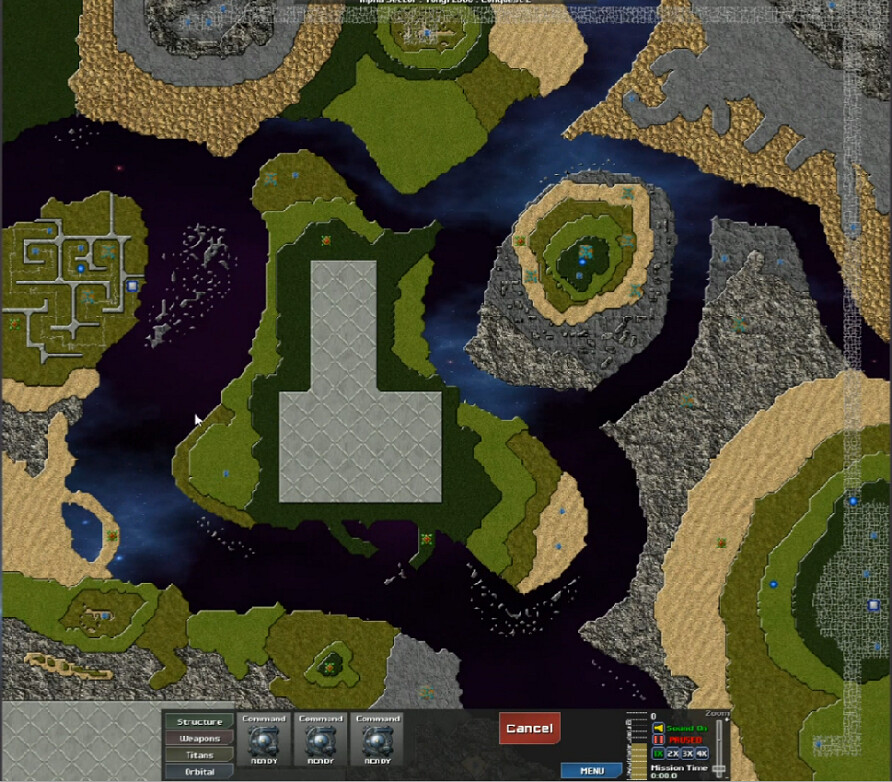
Conquest & Conquest 2The first one is blue planet, just below average size; a large green one for the second.
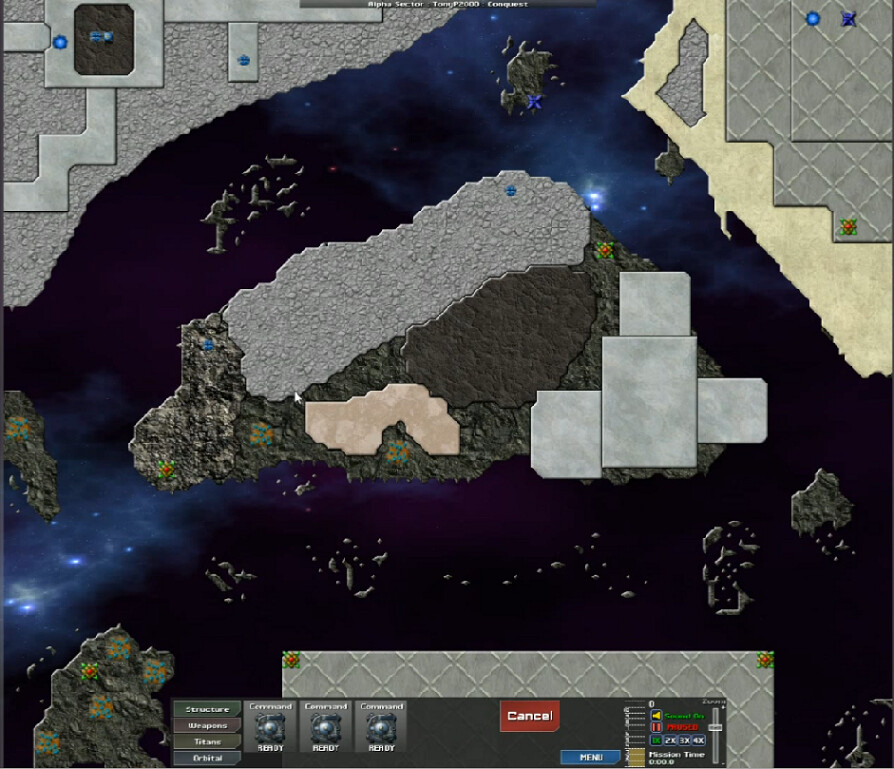
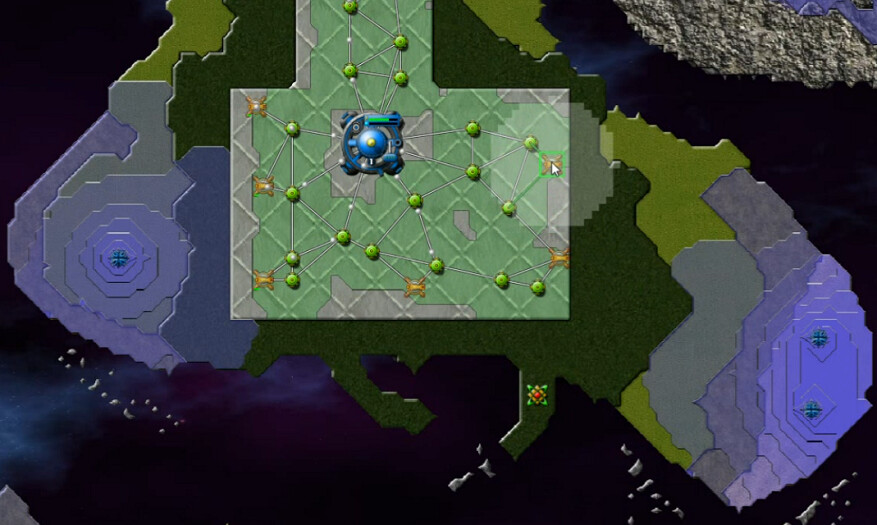
Quite the 'constructed' look here, with a few different places to hop around and some nice flat areas.
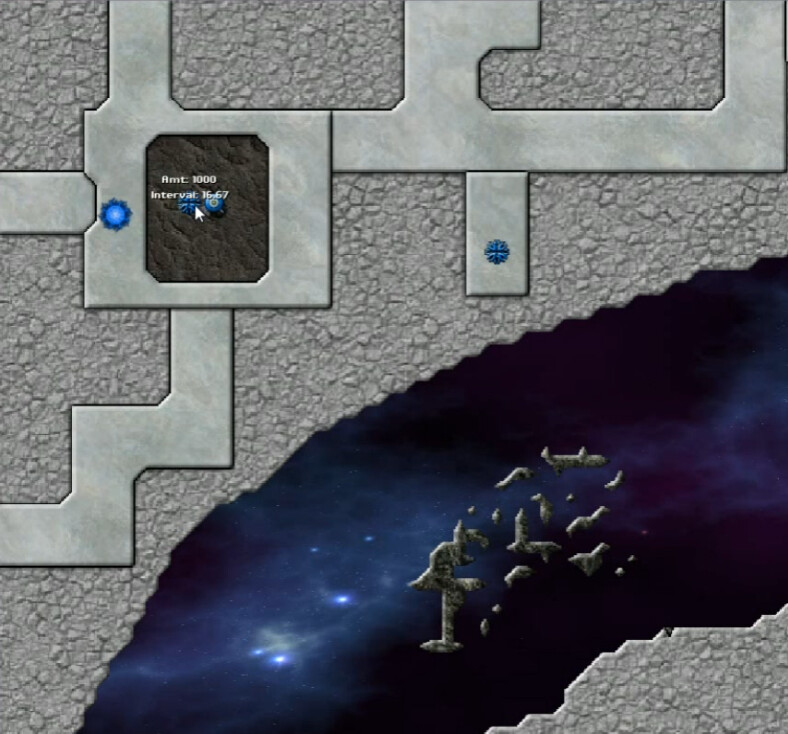
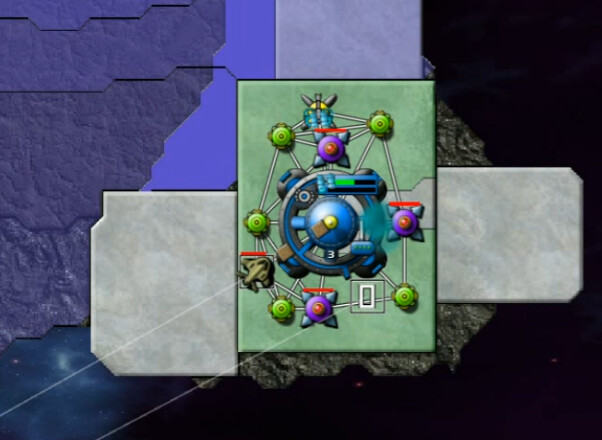
Most other structures are standard. This is not. 1000 creeper every 16.67 seconds. That's only about 1.5x the normal amount over time, it just sounds a lot worse because it all comes at once. And then one of those mysterious, does-this-actually-do-anything-or-not knob thingies.
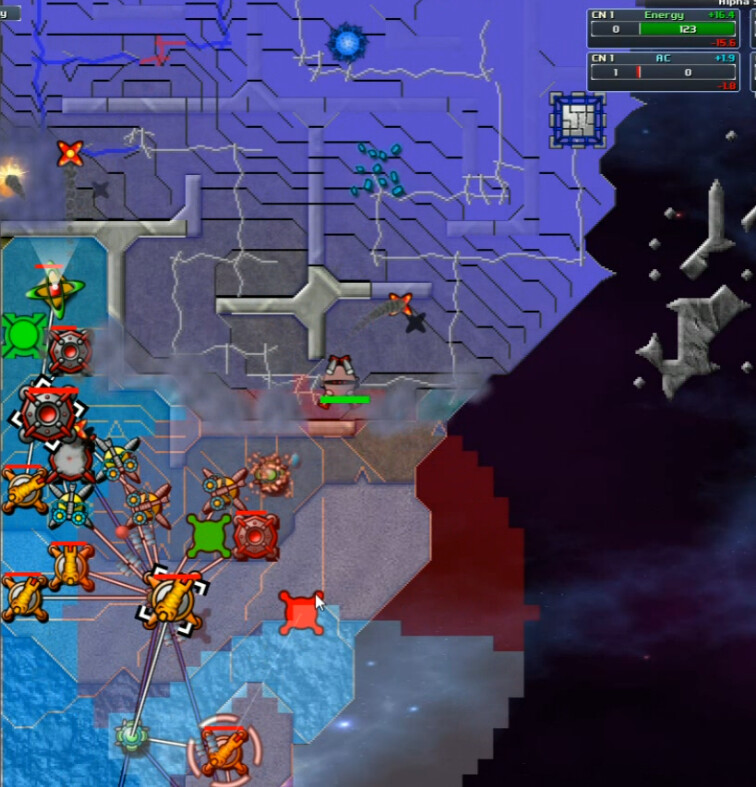
Meanwhile I start in this nice area in the south, get all set up, start building Guppies ... and then oh yeah, spores are coming, get Beams goin--- too late. Sigh.
The next time, without the fail, I get to that island to the west with the ore deposits and easily secure a starting position.

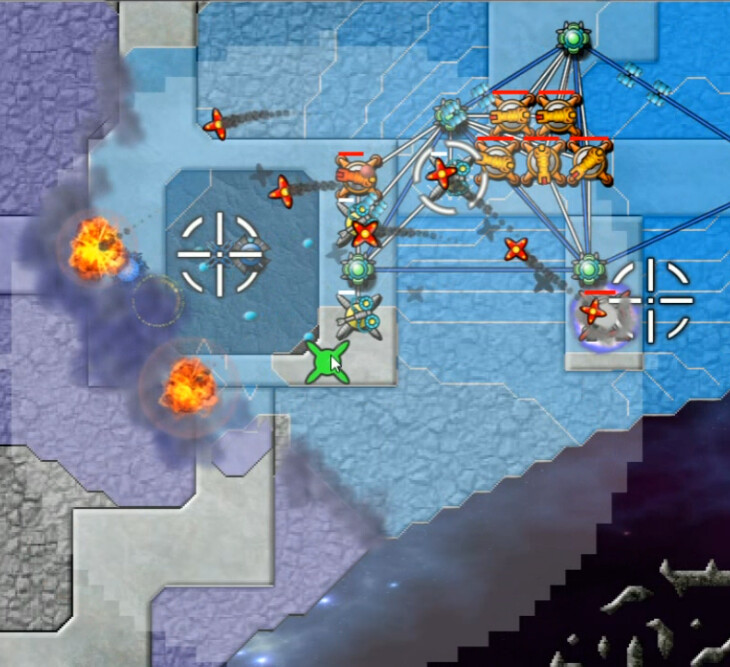
There is a better excuse than usual here though. Notice the Spore Tower on the right of this shot. It's only half built - 52% to be exact, hard to see here. That spore came out of the surprise structure. With no warning or indication that's what happens. I think they launch from there when there's a certain amount of Creeper around in that area. That's just a guess, it doesn't seem to 'suck up' any of the creeper or anything. This isn't a major dirty trick, just one of those - oh look, you're so clever, threw a curveball at us with no way to know that's what's coming, heh ... excuse me while I restart things. By the by, the standard spores on this map have extra-large payloads; 100 each.
That island I mentioned. It's a bit too far for Relays and has no room for a Node, so I use the GDS (Guppy Delivery System) to get the Ore back for conversion.
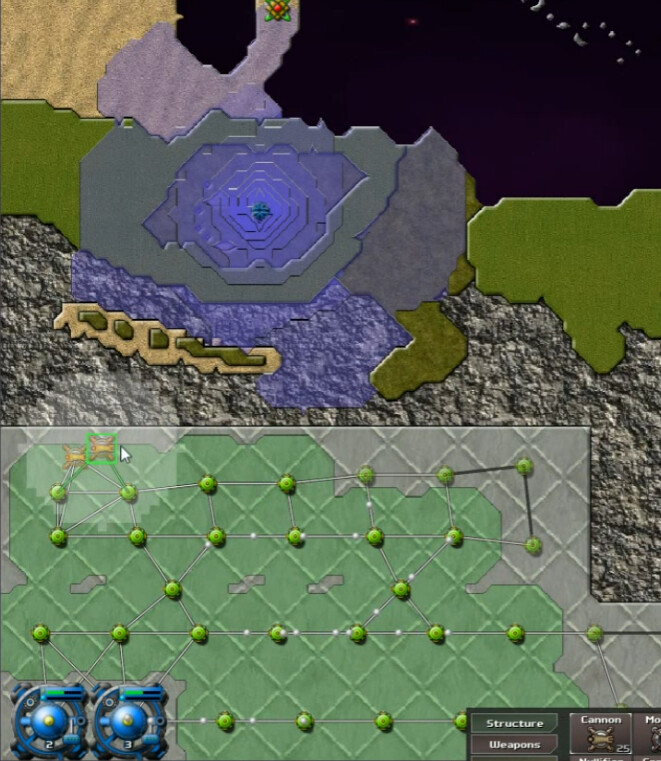
Then I just land here, which I could have done quite a bit earlier. This is the middle landmass, and this elevated are survives the surrounding lake of creeper for a while. A gradual buildup and takeover here ensues. Largely powered by ore imports at first, with the energy going to beams and reactors while I ramp up this network.

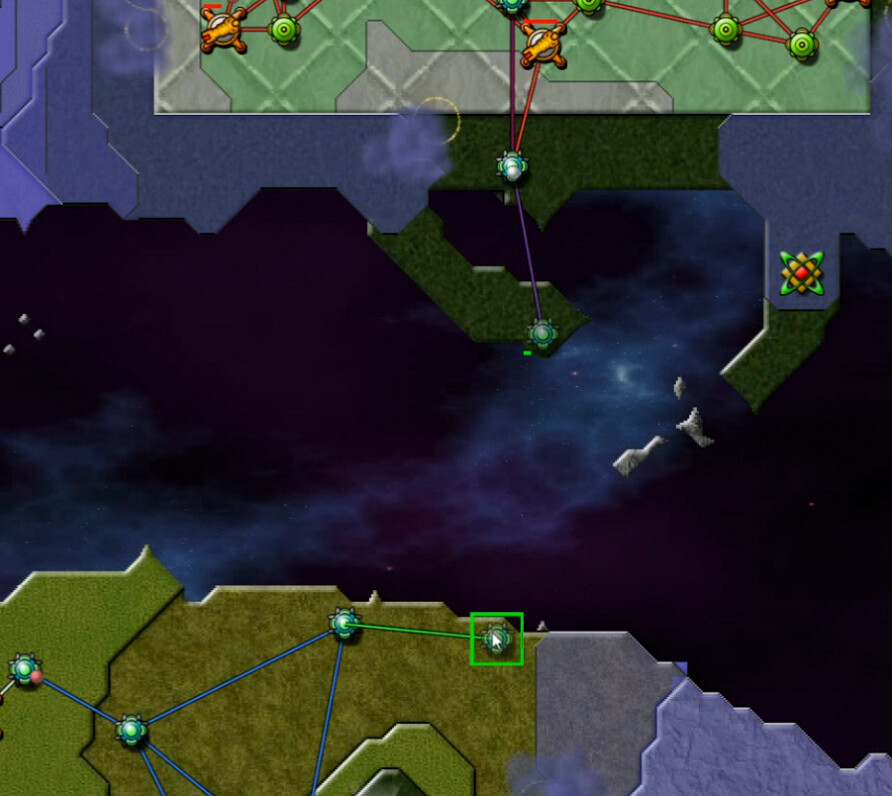
Then an unnecessary guppy landing in the northeast after a unnecessarily long energy buildup phase to support it. When, as I eventually realize, I could have just used this SuperRelay. That simple change would have saved quite a bit of time on this mission by itself. But you know people are always saying, or were, to use more guppies. So there you have it.
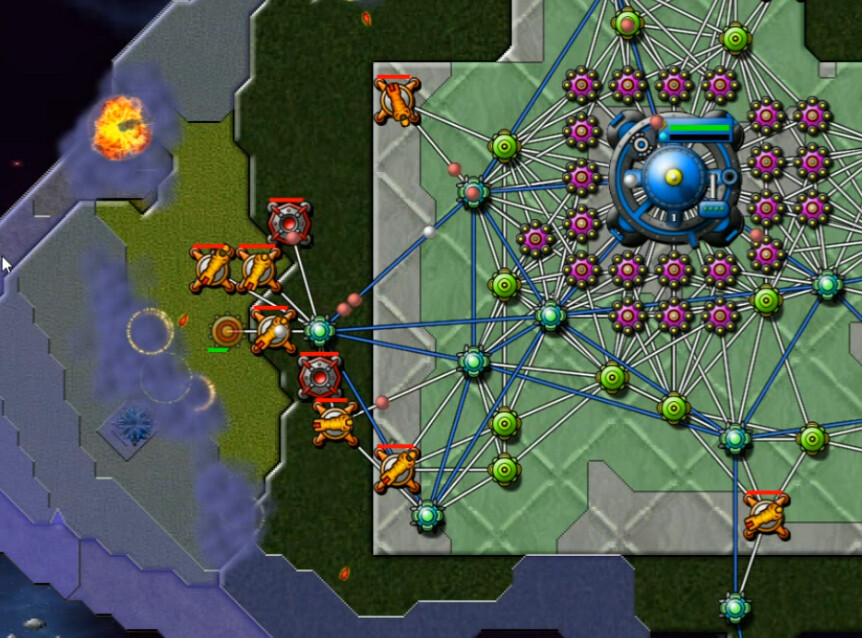
And we end up at the device and the big emitter, keeping to the elevated walkways or whatever they are. Took a bit to get enough in place to handle the 1k eruptions. Lots of AC with some help from the SuperBerthas and a SuperMortar proved more than sufficient.
Begins just before the 36-minute mark of the video. At first glance, Conquest 2 looks like 'what if Conquest, but more?'. However, there are some additional wrinkles here.
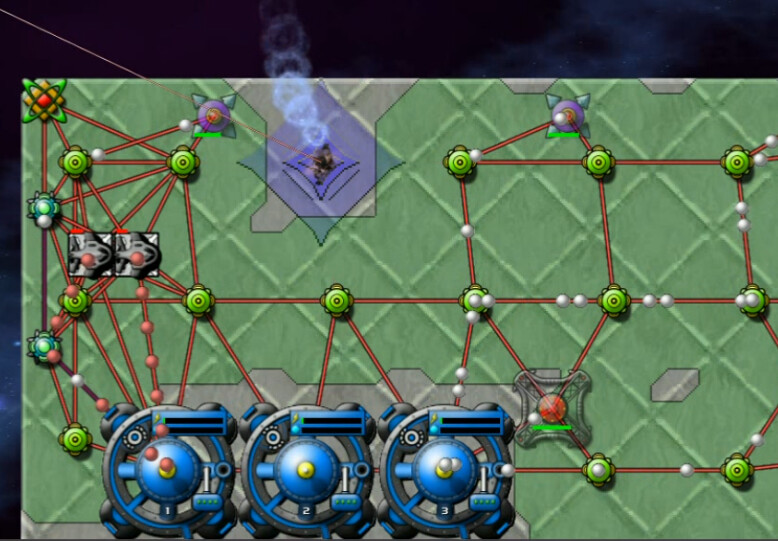
I go with a multi-network start, not wanting to cede control of either of a couple of sizable areas. Here in the south, two Nodes and clearly there's enough space that I should be able to defend myself.
This is a little more cramped, and a bit slower, but I'm getting up and running on the central area also.
I spend some ultimately fruitless time getting to the coast, only to find that the distance was just a bit too far for a connection.
Energy buildup then continued, followed by clearing out the emitters around the secondary network.
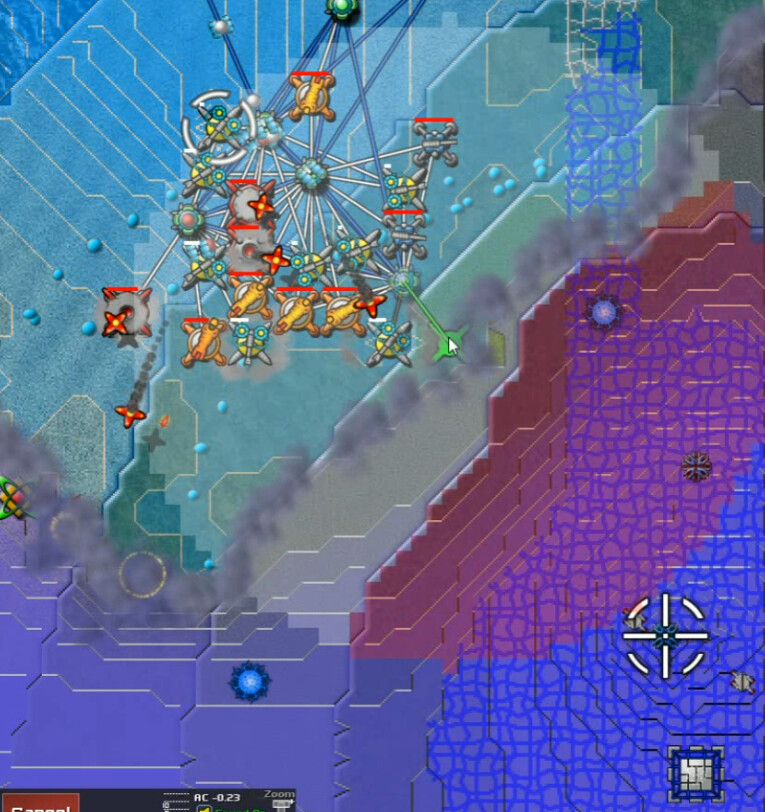
Then I set to work clearing out the area around our primary setup. I went east first, in no small part due to these waiting Ore deposits.
Doubling back, I found this part along the edge of the map to be an interesting setup. The runners here stun stuff from behind walls, making them hard to get rid of with cannons/snipers that can't shoot through the barriers. Building up sheer AC which overflowed the walls and cleared out resistance seemed to be the most effective way of combating this, combined with Mortars keeping the emitters under control. Still, an interesting idea.
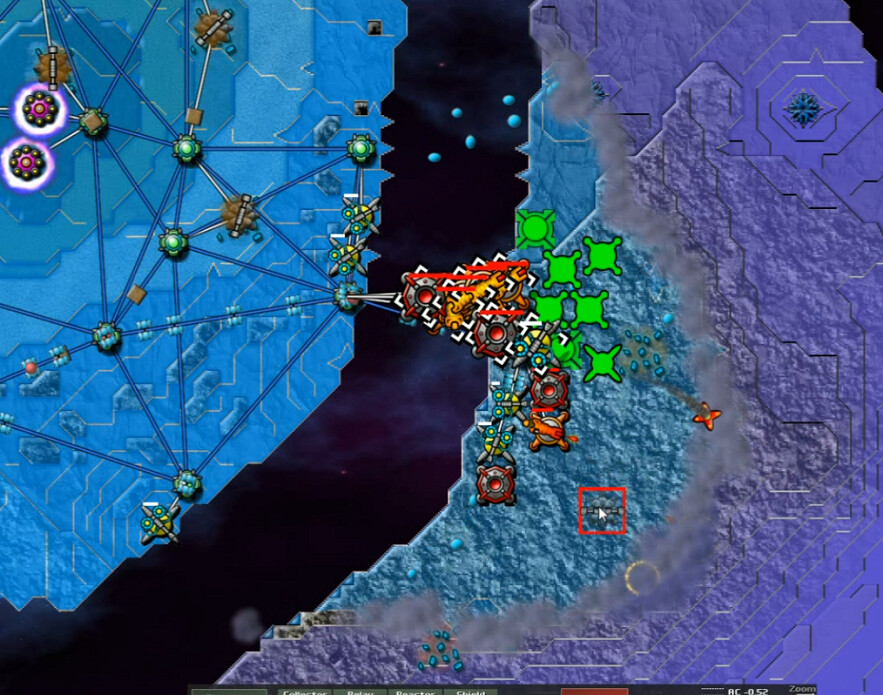
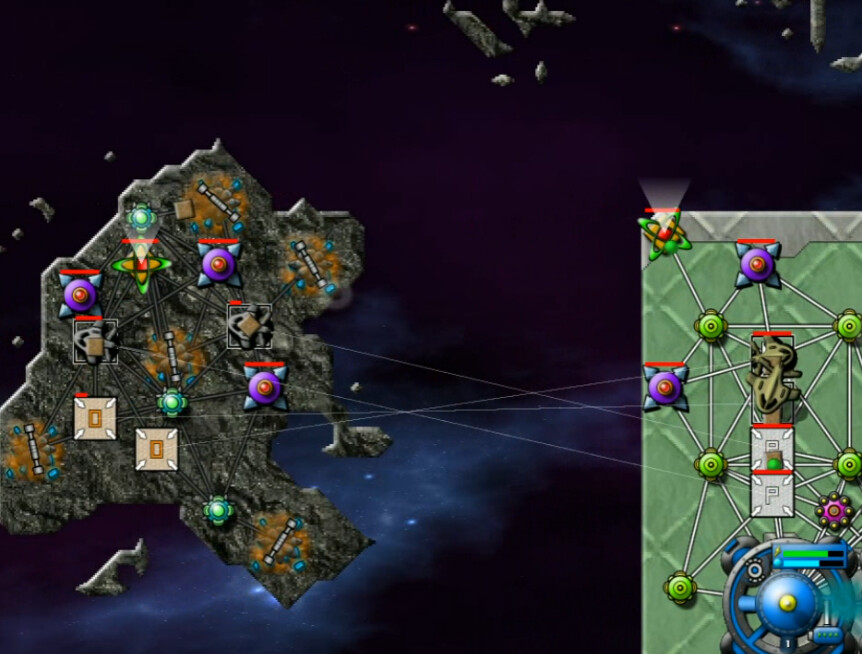
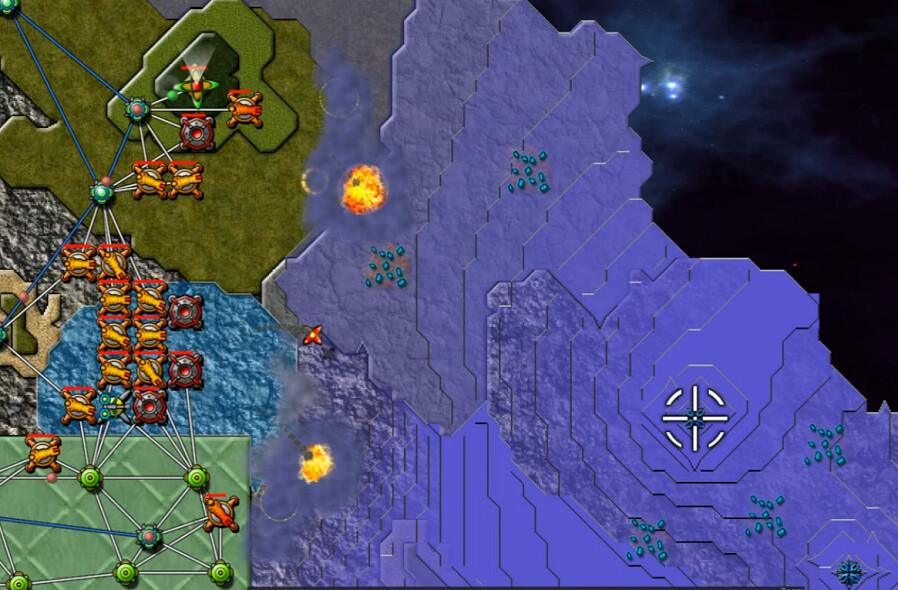
On the left here is another island near the middle of the map which I took next. Then, placing all the weapons on the coast, I crossed again using Sprayers as the spearhead. It was time to plow through the final part of the map, the digitalis ribbon along the west and northern borders.
Much like the WarZone maps, this uphill climb was done largely with the aid of a whole lot of anti-creeper. Not as much here though - income is a little over 20 at this point. It was a bit of a struggle getting up high enough for the Snipers to kill off their Runners. Once that was done, this whole area went away reasonably quickly. There were more clusters in the northeast and northwest, but they were not as strong or as well-situated.
Overall, this map took just over an hour while the first one about half that.