Part 161: spore spam & point to point
spore spam & point to pointWe made it to a new page! I was going to activate the test-poster method if we didn't since this one is rather lengthy, but thankfully that ended up not being necessary. Anyway, if you love spores this is the update for you. It's becoming increasingly clear that our intrepid author teknotiss loves them very much indeed.
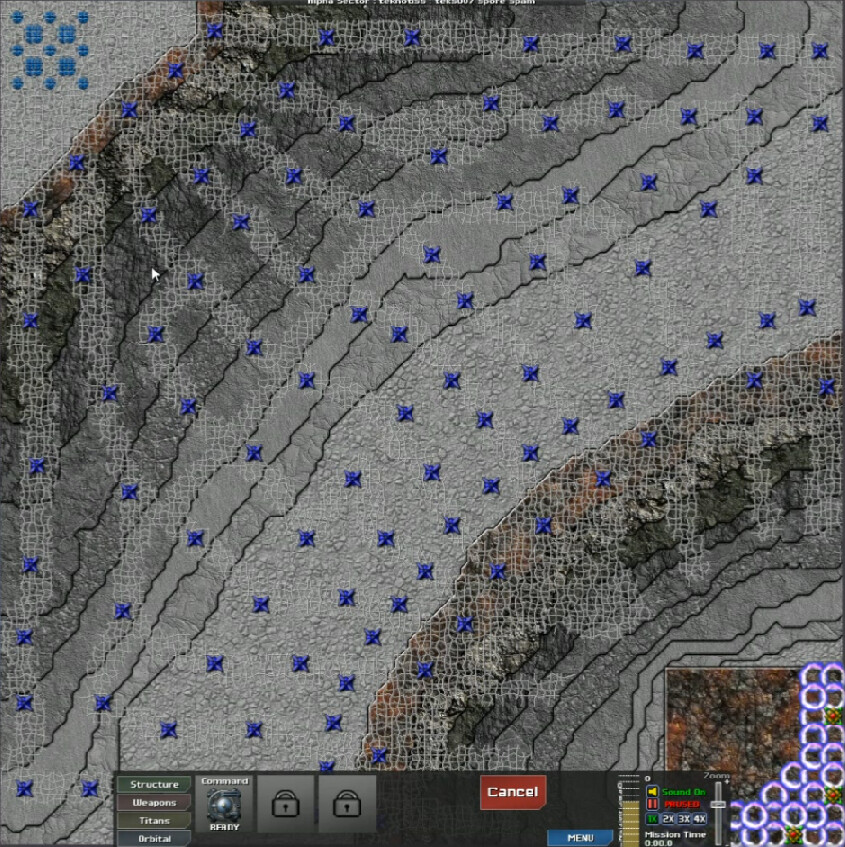
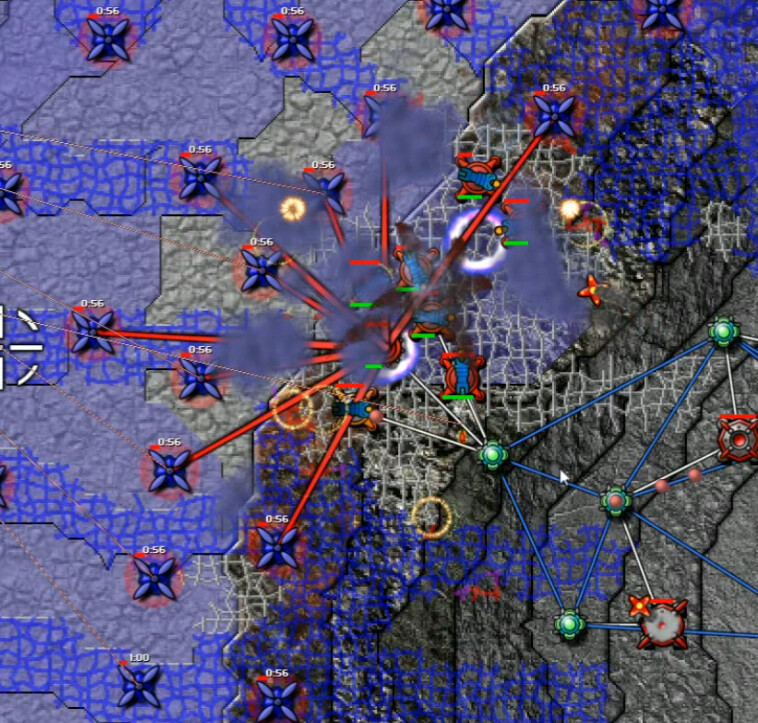
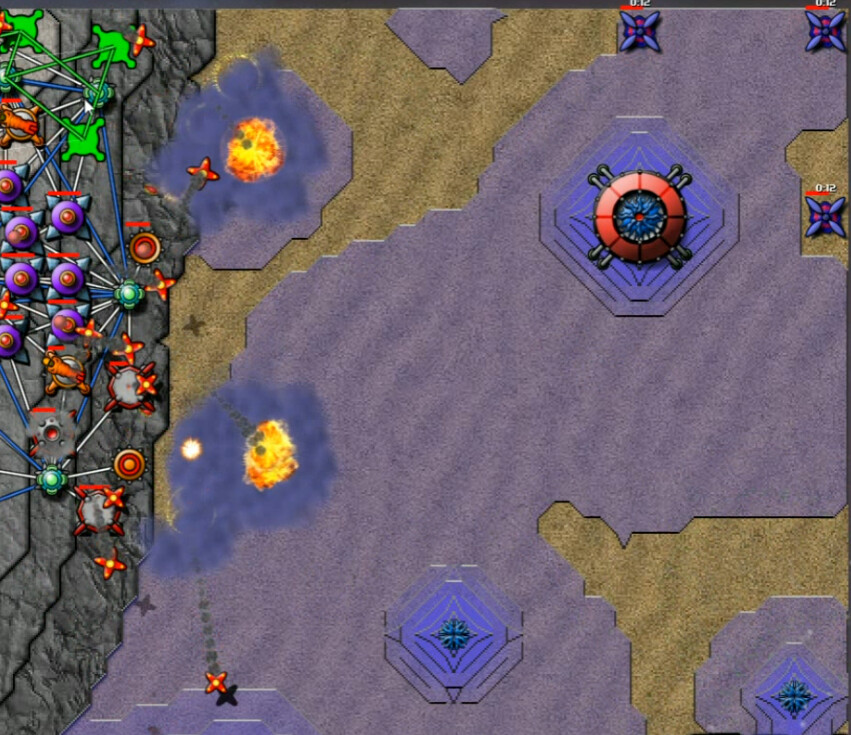
My verbatim response to this when I saw it? "Ohhhhhh Myyyyyyyyy". All those spore towers. With digitalis. Coming downhill towards me. Eeek. Thankfully, it's not as bad as it initially looks. Each of them only spits out one spore, and we do start on an elevated platform so that the creeper will pool around that plateau initially.
But yeah. Still pretty darned intimidating.
We have over three minutes till the first wave. SuperReactors on the power zones, then SuperBeams, then Mortars to deal with any creeper that gets down here. There's plenty of time to get set up as long you get the energy going right away. We've got four Totems around, so I'm getting a Forge going next.
One thing I didn't notice right away is this valley here - creeper pools there and needs the digitalis to propagate it up and down the final slopes. So that also gives me a reprieve.
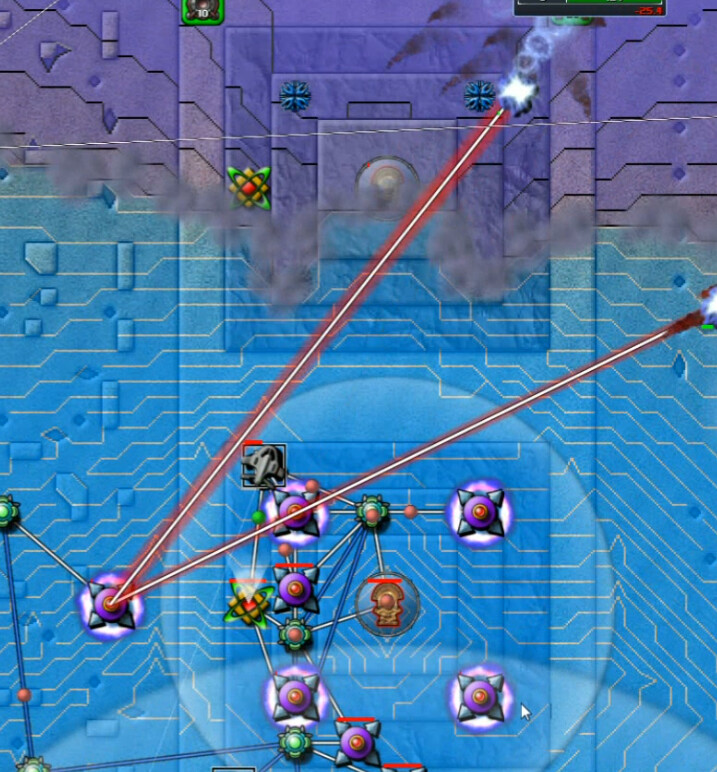
We are allotted three Berthas on this map, so I'm getting those going to make sure the creeper doesn't overflow that valley. After building a small ring out with relays and a few weapons, I'm using the space between the fingers of digitalis to eliminate what spore towers I can reach.
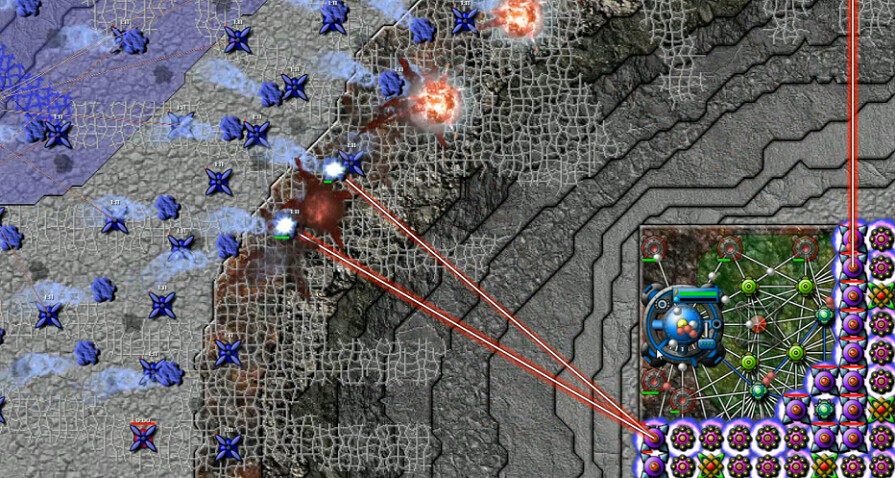
The next goal was to take this ridgeline before pushing into the valley. It's easier said than done to get enough Digitalis Cannons up there, esp. since it's far enough from our our starting area that the SuperBeams can't help defend much against the spores. So the more we get up there, the more we also need air defense and clearing out all the digitalis and there's only so much space. It was a gradual, two steps forward one step back kind of deal. This SuperNullifier eliminated several obstacles though.
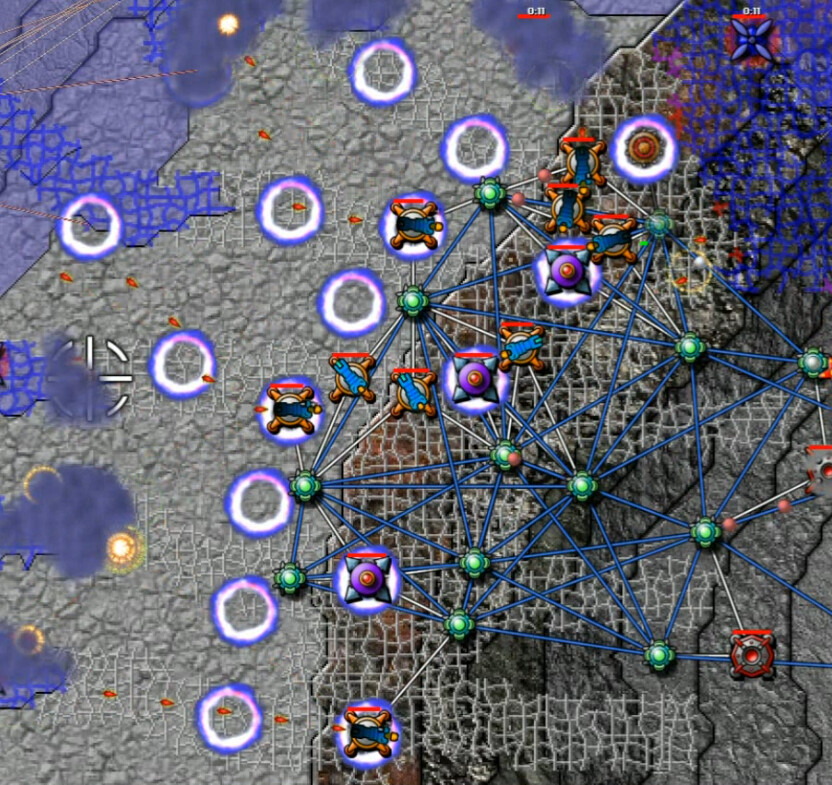
I started moving up beams to blunt the incoming salvos, then was able to put them on dedicated power zones as we cleared out more of the resistance. By this point I had a secure grip and just needed to expand further around the ring.

Once that first ridge was ours, moving into the valley and clearing that out was a simple matter. The final hillside to the emitter stronghold would be a little more troublesome though.
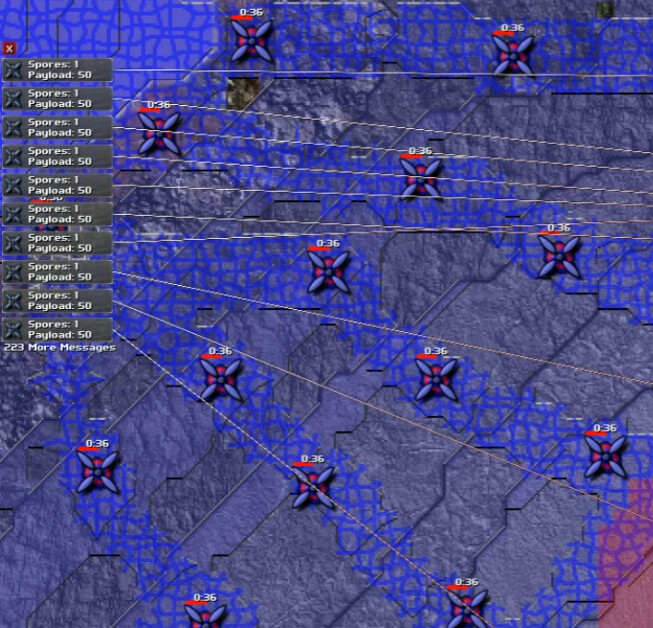
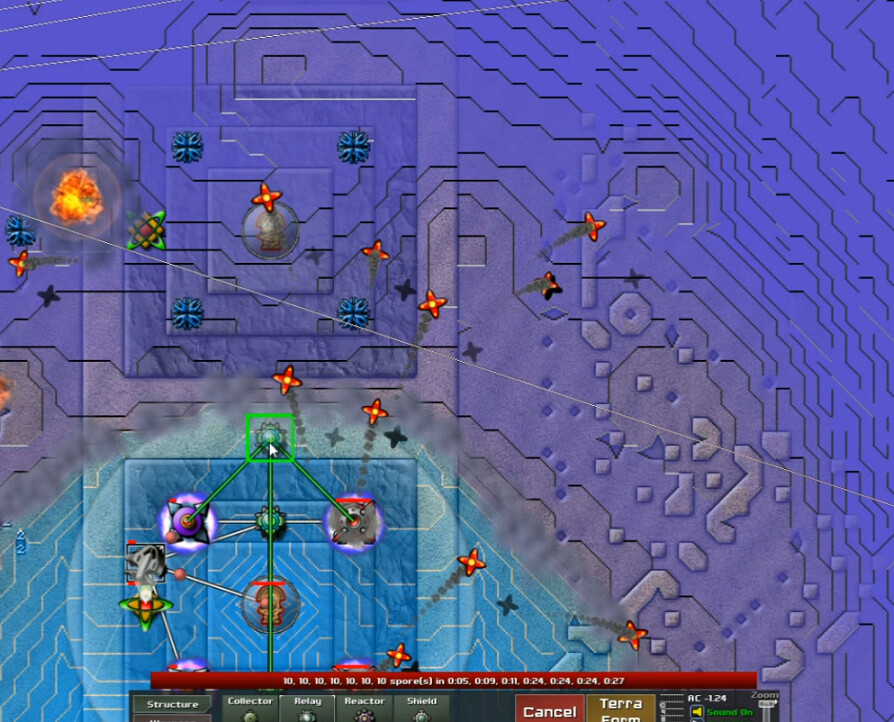
By the way, there are so many Spore Towers that it overloads the message system. Earlier in the level there was well over 300, perhaps more before I noticed it, listed here. Most of them obviously not displayed. They don't time out as fast as new spores are launched, so until you eliminate a certain amount of the towers the list just grows and grows and grows, making the notifications entirely pointless except as a thing to be amused by.
I wasn't really sure how I wanted to deal with the approach, but eventually I settled on pushing up the left flank. It worked well enough, but it had some hitches and mistakes for sure.
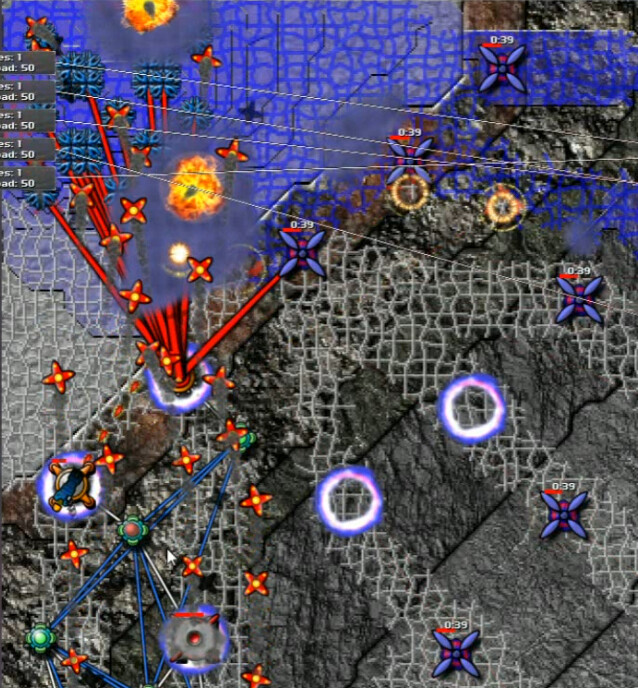
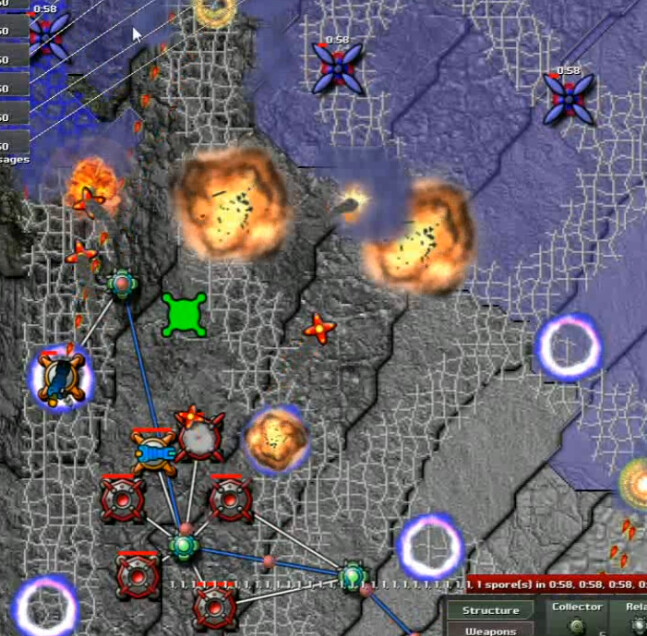
At the top, a new nullifier record. Could have made it more if I really worked at it, but this is 20 at one blow. Two and a half minutes of spam-nullifying spore towers later, and we're done.

Eh, not really. point to point actually requires you to do both. But it is better to one before the other.

Heh. Tek tip. Get it?
This is good advice on this map.
Quite a big map which extends a fair bit to the north and a little east from here. We'll need to start in the big pyramid in the southwest. From there, the north or east instruction correspond to rows of smaller pyramids which are surrounded by Emitters but which also have Totems and limited-number Artifacts. Regardless of which direction you choose, you have these pyramids in no-man's-land in between, and then these fjords or whatever jutting out in your path once you reach east or north. And did I mention spores? Yeah, there's lots of spores.
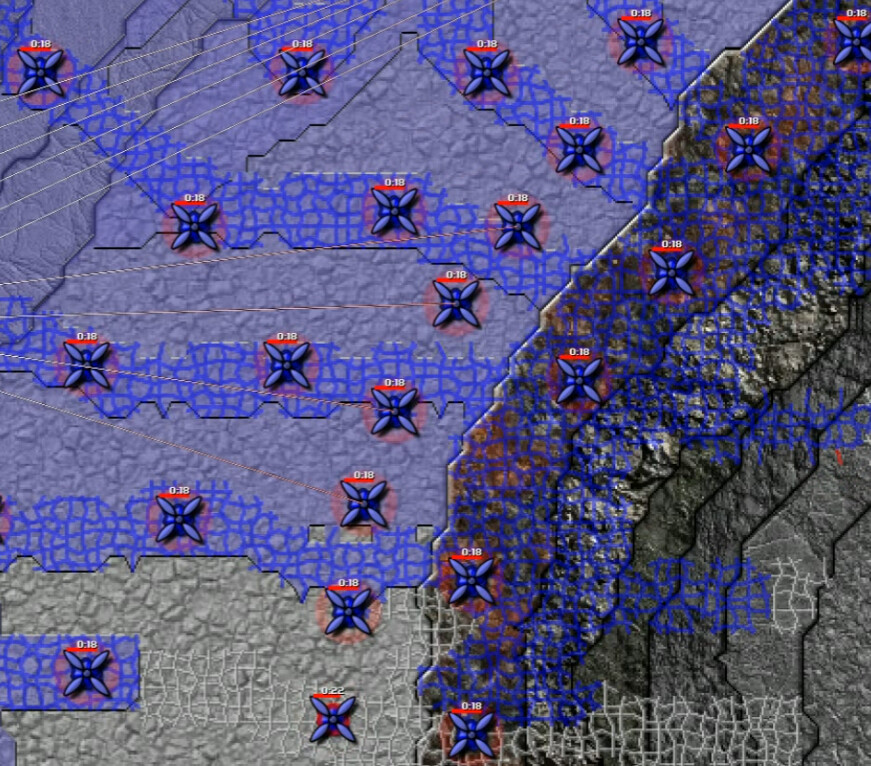
So here's the rest of the map, not long after starting. Each Spore Tower sends out a salvo of 10. And an Inhibitor! So the briefing was right, you just have to go smack that, pick one direction. Well yes ... and no, since all maps requiring getting all the artifacts. Anyway, piece together the two images and you should have a good idea of what we're up against. You can also see by this point that some emitters are stronger than others. Basically, gets worse the closer you get to the inhibitor. Time here is 1:42, so it floods pretty quickly.

Here's our starting location, with Strafers - which I'll ignore as usual - and Sprayers nearby. Utilizing the Power Zones for energy and air defense is of course essential, much like the last pyramid level.
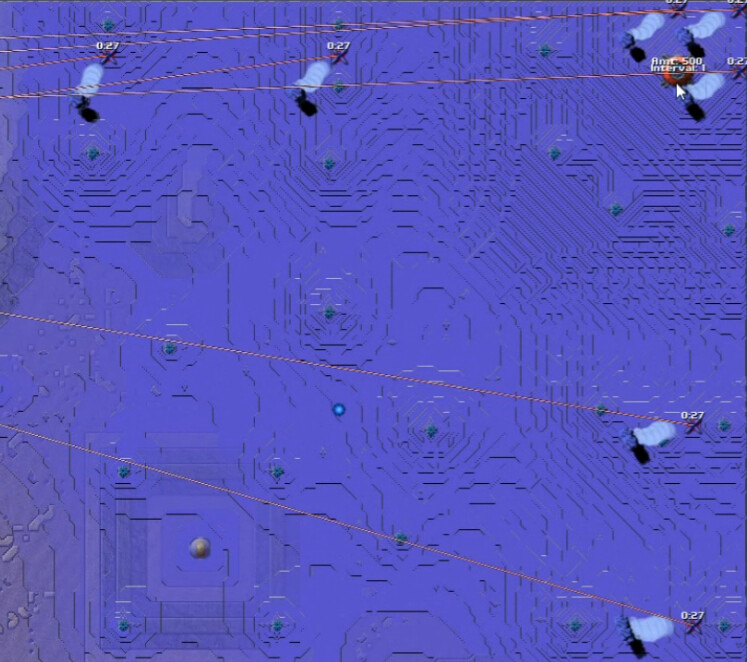
Using the AC that our initial big pyramid pumps out, I start to move north and grab the next artifact. 20 more Beams. Ok now we're in business. And then I see this. The spore towers have a half-minute cooldown. Combined with the number of them around, we're looking at about 200 spores a minute. And as we'll see in a later map, this is what teknotiss considers to be a 'measured response' by the creeper.
My exact words at the time were 'every 30 seconds? Are you kidding me?!?'. No, they are not.

I lose several things in the first wave, but the AC helps minimize the damage and only stuff like relays goes down easy. Here's that next pyramid to the north - each is surrounded by four weak emitters which ultimately helps us more than anything by giving easy-to-acquire PZ locations. SuperBeams are your friend early on, and I gradually improve how I'm handling the air attacks. I've got a Forge up, and I throw most of the Aether into energy upgrades to power these things, along with a couple of packet speeds.
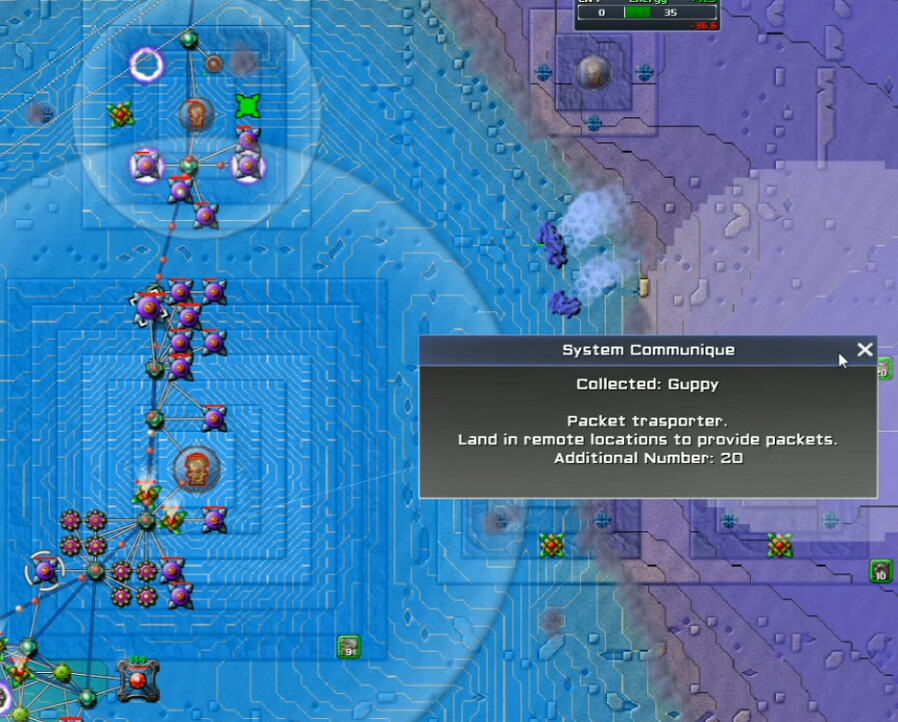
At first I was a bit flabbergasted by this next acquisition. Why do I need guppies on this map? Well, I'd soon discover the answer.
Even packet speed doesn't suffice to get energy out to the beams fast enough to deal with the spore barrage. So I used the guppies as a way to get more energy there, faster. And we're also given more strafers, which could be useful in clearing off the tops of stuff like the pyramids but I think there are better ways to do that.

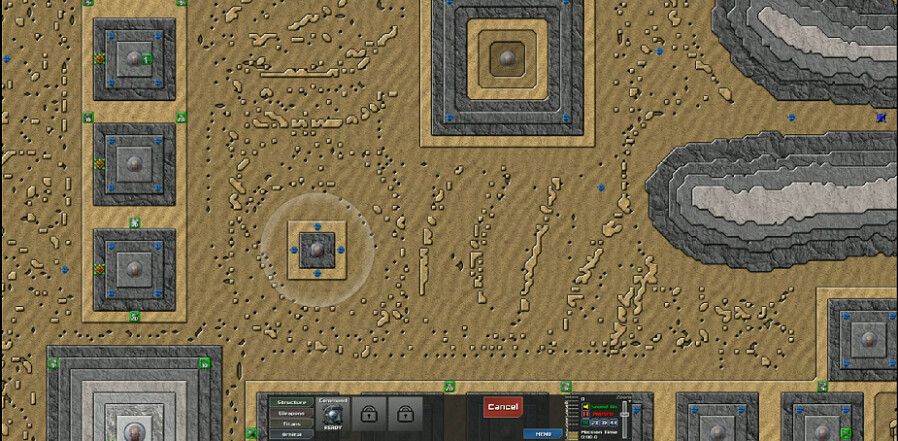
As we moved north, we eventually hit an artifact for 10 Mortars and another for a Command Node, giving us another local source of output to play with. The AC also started pushing out more, and we gathered this small pyramid in the middle of clear space.

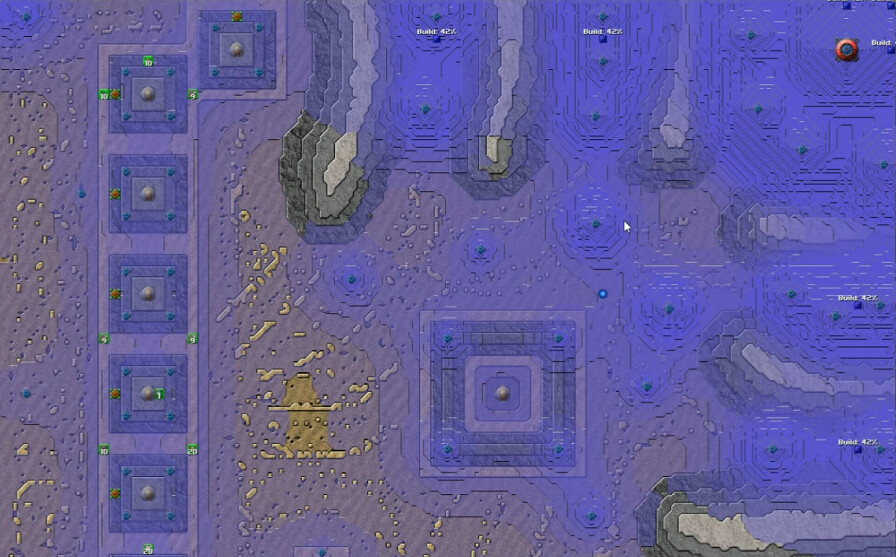
Terps leveled out the terrain to the west, allowing for more room and ease of placing things like more reactors and this node. Meanwhile even more aircraft that I wasn't going to use was coming soon ...
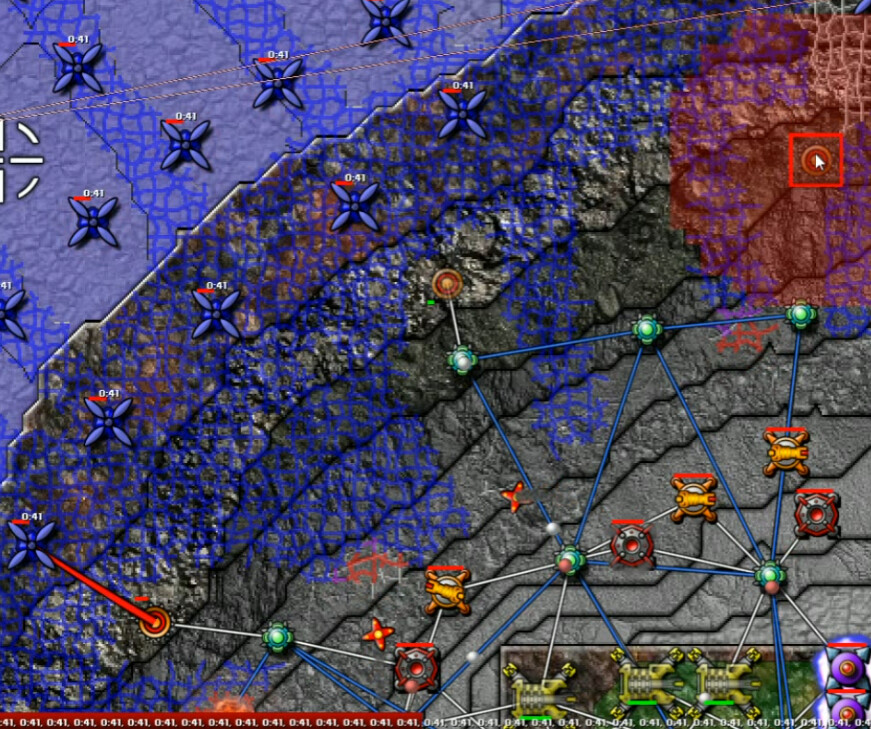
As we approached the end of the north-south pyramid row, I started deploying SuperMortars to aid the effort. The AC-Creeper clash was becoming more violent and stacking up deeper depths on both sides, while the spores were now spreading out more to hit our expanding network, allowing lower density of beams to deal with them.
The very north end gives me a couple of things I'm much more interested in: Sprayers and Berthas. Particularly the latter. Don't mind if I do.

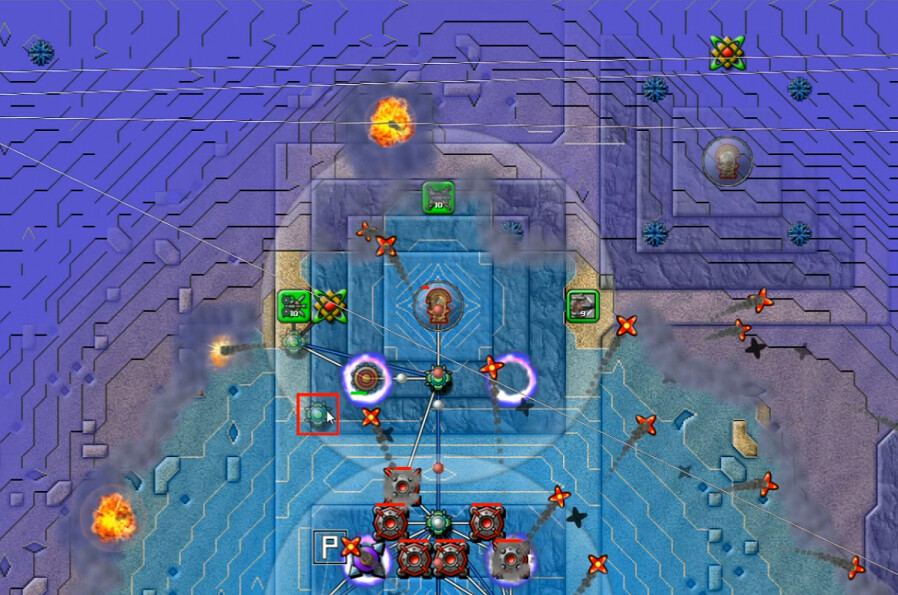
Combined firepower of artillery and mortars begins to reveal the fjords once again. Crossing on the tops of them as much as possible is the best way to advance, but there are more emitters in between them. That's both annoying and a good spot to put SuperMortars.
The emitters around the inhibitor are at 5x strength, so it takes a little extra care to approach them. Inhibitor itself is more like a dozen times at 500 per second. Once they are cleared out, all the emitters/towers everywhere go poof per usual, but there's still residual creeper to clear out enough of to go collect the remaining artifacts.