Part 164: Beau Jest
Beau JestThere's an explanation of the title at the start of the video ... but the author ends up doing a much better job of explaining it than me.


So combining those ideas, we get this.
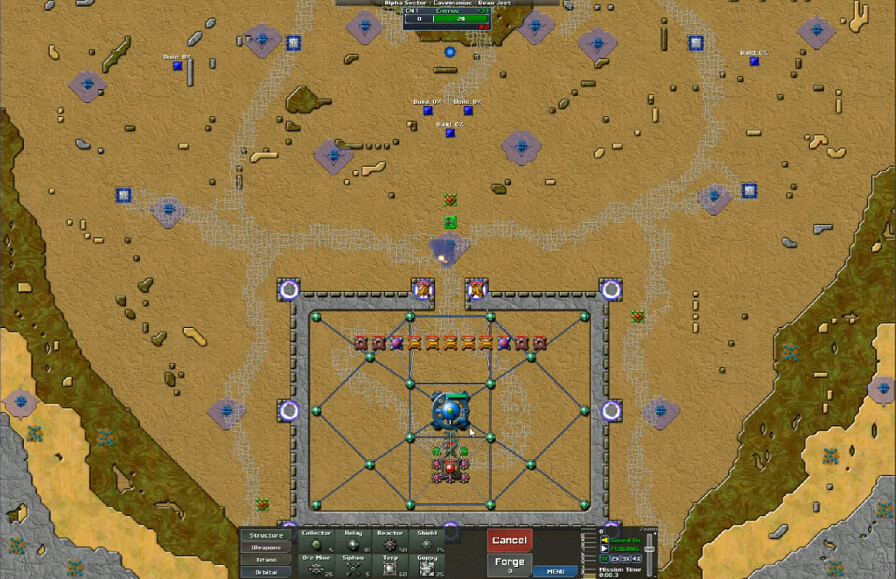
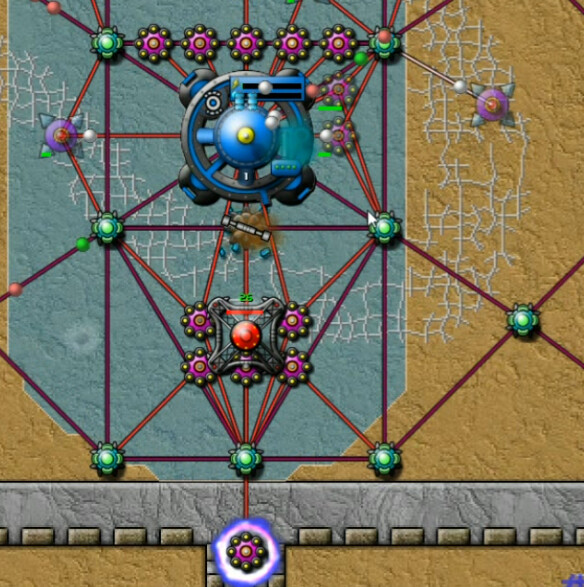
We do indeed have a desert fortress to defend. And it's easier said than done. That artifact just to the north is a Thor. Unfortunately you don't have time to grab it until you've already successfully defended. It's just out of reach.
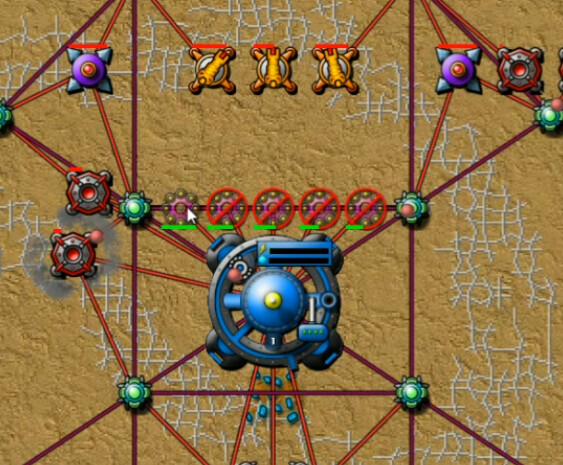
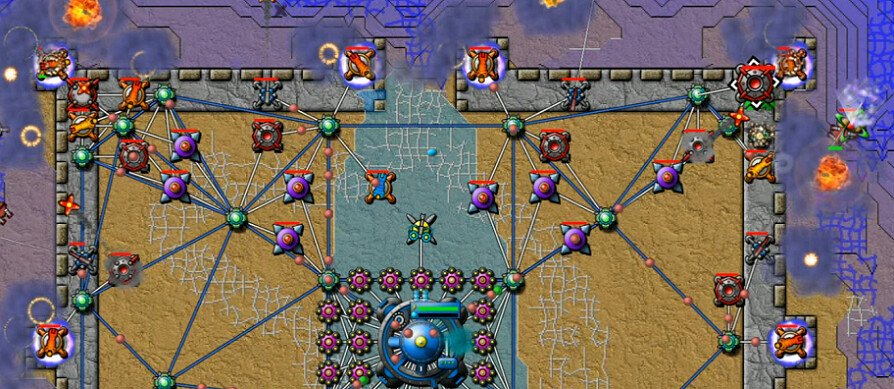
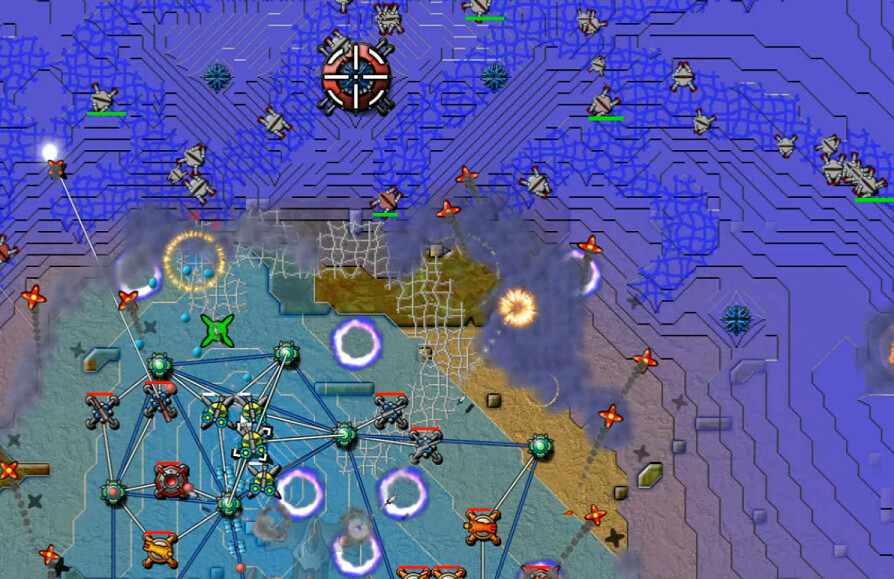
Hopefully this is a bit better range to show the immediate threats and what all we have going on. My first attempt here was to take out one nearby emitter - to the east - while getting SuperCannons up on the PZ/tower positions to defend.
Let's take a moment to note the Siphons (you actually start with three spots, but they don't hold much), Ore Deposit, Reactors, and Forge all located just south of our Command Node. I quickly realized I needed more energy, and tried to build a couple of reactors.
There just wasn't enough to go around what with all our weapons firing, and soon the Digitalis came through the front door, the only open spot in the north of the keep. This shot is at 1:33 mission time, and it's already a hopeless situation.
Take 2 - 3:07 video
I spend a minute or so looking about the map a bit more closely and collecting my thoughts. Both of them. It's around this time I first notice that the Inhibitor at the top of the map belches out a thousand Creeper. So that's fun. Thankfully it is a ways away.
I go for the siphons first, then a row of reactors, soon realizing I can't afford that many. I don't recognize right away the fact that I've already lost here - you can't afford to waste that much energy early on.
Take 3 - 6:19
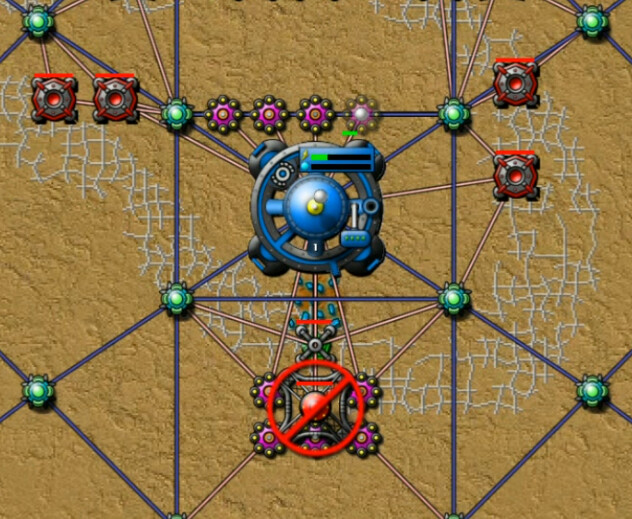
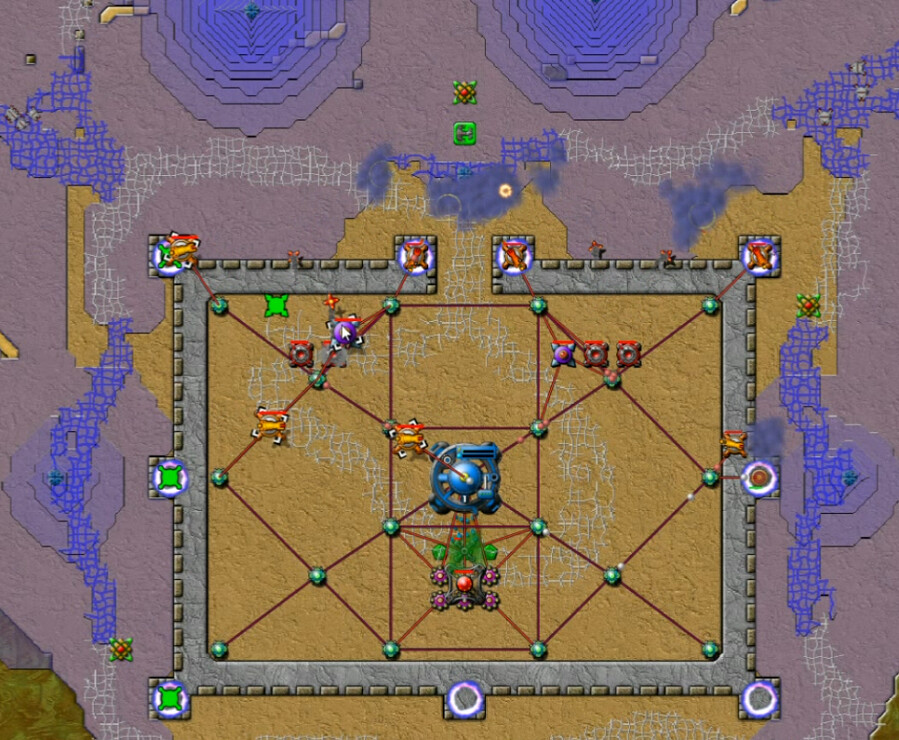
This is better. We aren't connected to any Totems, so I deactivate the Forge. Also notice I've moved the Mortars back so they don't fire and use up energy. I've got enough for three reactors, and then I start building a fourth next to it here. An appropriate amount of expenditure on the buildup.
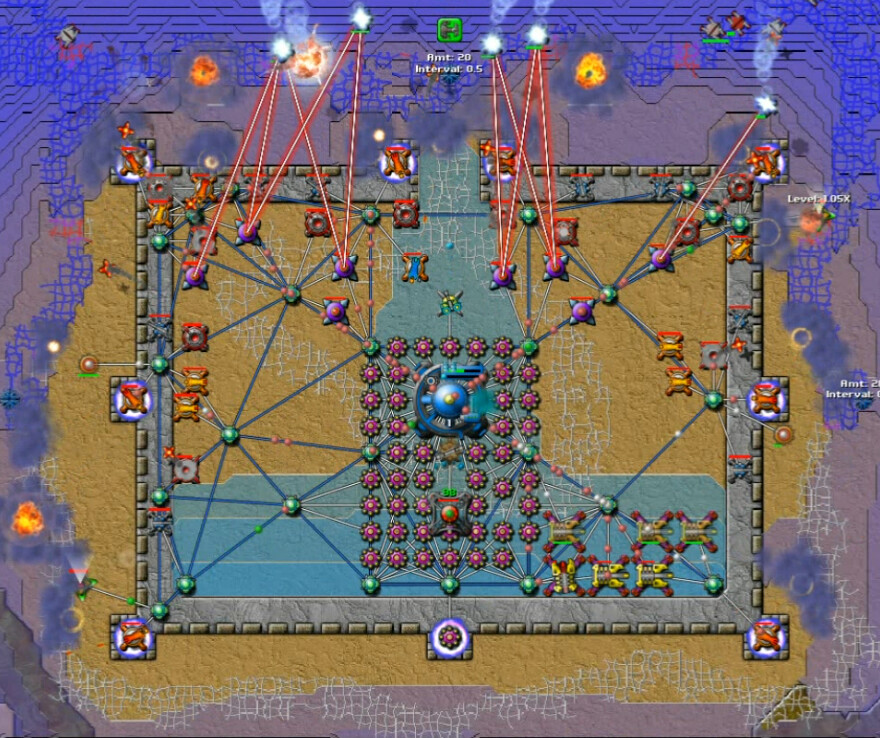
I clog up the entrance with a couple of Cannons, only to have the northwest tower overflow with creeper. The walls aren't super-high - a height of four I believe. Mission time in 2:16, so I've made it to the next fail point. I hold on to the 3-minute mark, at which time the first wave of spores show up. Estimating that I'll need four or five Beams in place to deal with that, I have a target to hit now.
Take 4 - 9:23

Now it's time for the next problem. I get enough weapons up to stop that initial overflow and handle the Spores. Which means the Runners become more of an issue, esp. since Snipers can only fire through the gaps in the 'battlements' or whatever. But I do get a couple of them up. And of course, whenever they do take down a critter, they explode in creeper which often overflows a tower if one is nearby. So that's a nice little ancillary benefit. It's not long after this that the overall pressure of all these factors overwhelms my defence.
Take 5 - 12:27
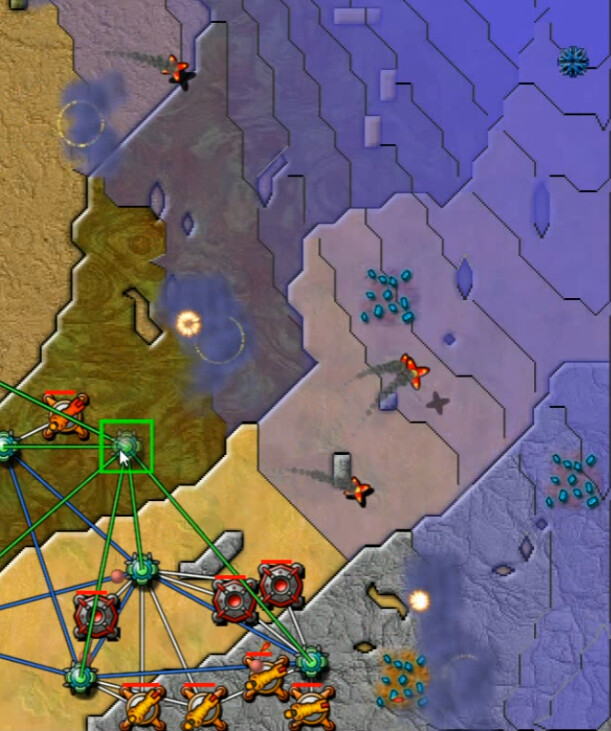
We do have ore deposits on elevated terrain in the corners of the map SE & SW, but there isn't time to go grab it. The terrain is pitted there to prevent a wholesale relocation to high ground.
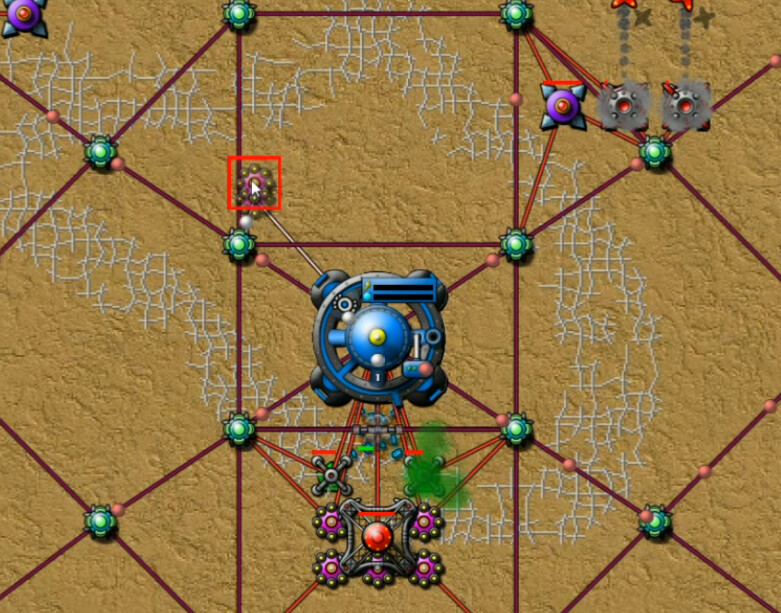
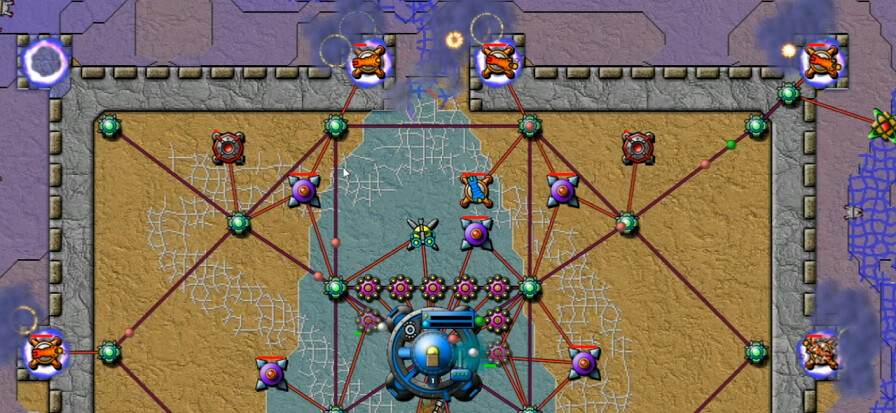
I did a couple of important things in this attempt. One is here - there's a Totem at two different corners of the fortress that you can get access to with properly placed relays. That allows for some vital early upgrades. Also, I started getting an always-on Sprayer up for defensive purposes at that northern entrance.
A couple more rapid-fire failures, but I started using Pulse Cannons on all the tower positions and moving up the Mortars behind the walls at the right time to guard against overflow. Timing it right so you aren't wasting energy but have them when you need them is quite tricky, but I would get the hang of it. Eventually.
Take 7 - 14:53
Another part of what I was working out here is using a SuperReactor on the one PZ due south. I found that any other location really didn't work due to runner activity stunning them and the need for defensive weapons. There's just a narrow digitalis band back there and large amounts of creeper don't collect. It'll still get stunned sometimes but not that often and really adds to the initial energy push. And then all available Aether getting shoved into energy efficiency upgrades was becoming a clear part of the plan as well.
Take 8 - 15:34
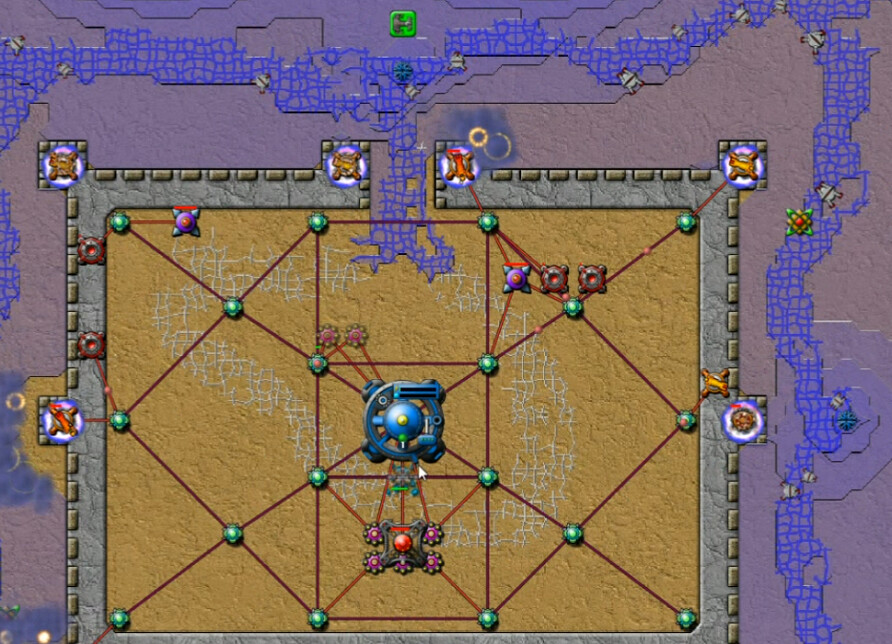
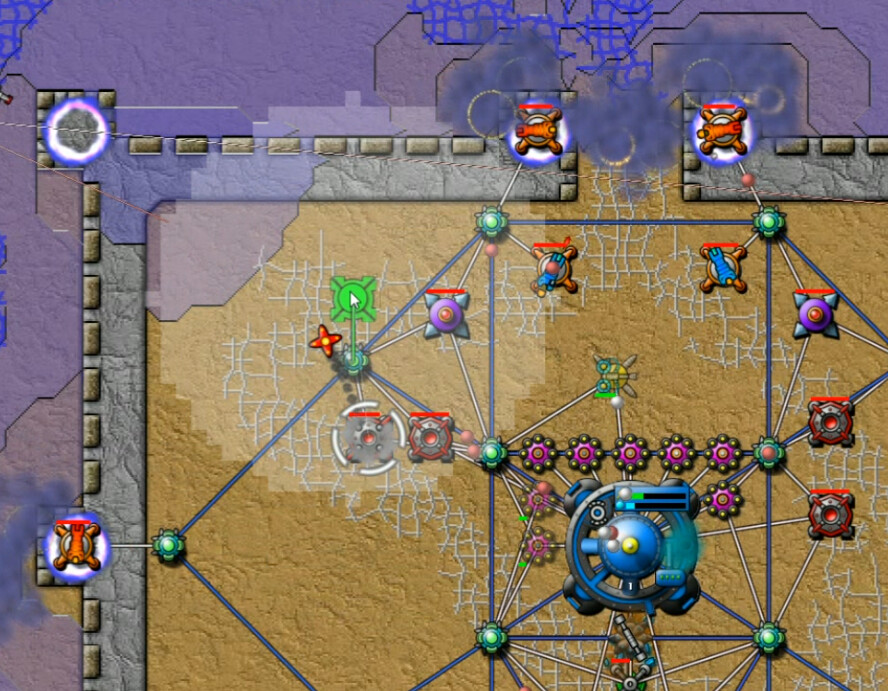
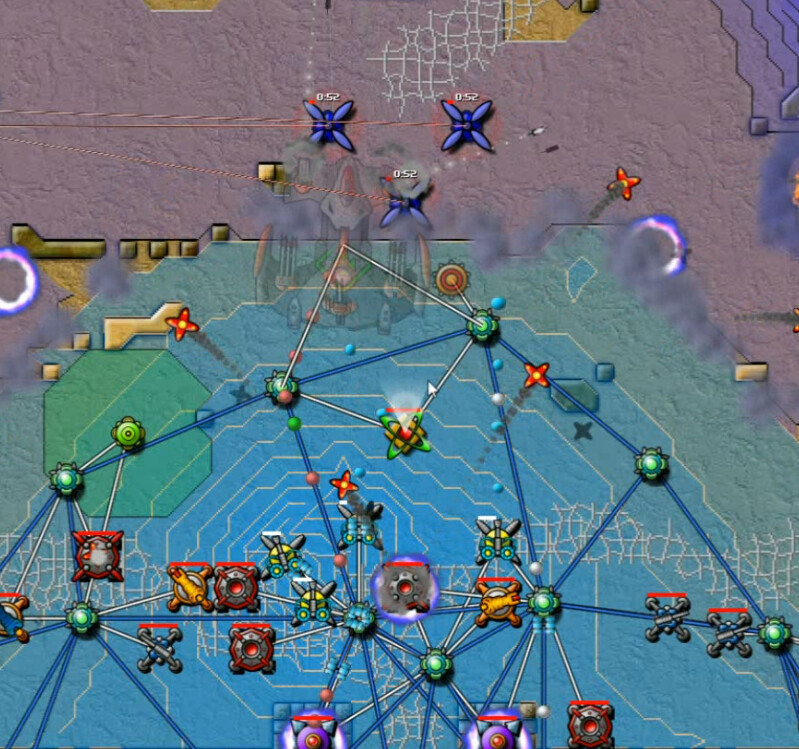
I did manage to get up five beams this time, which is adequate spore defense. They are too clustered in the middle though, allowing spores to easily strike the towers in the corners of the keep. but it's still progress and all of the other elements of the defense are in place, we're clogging the entrance effectively, etc.
Take 9 - 16:56
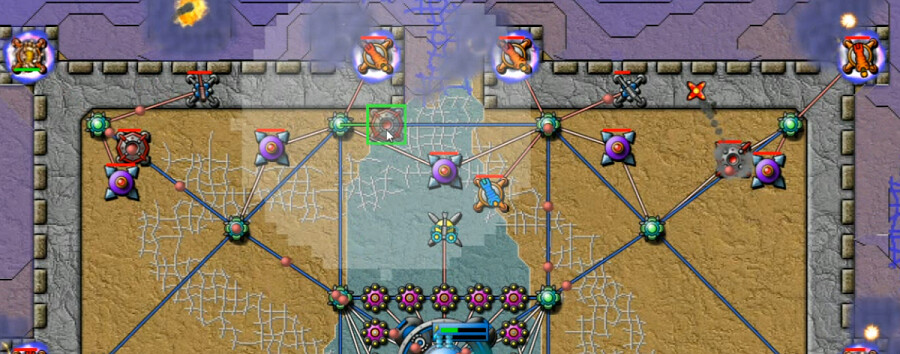
This is better. A spread out line of beams now for anti-air protection over everything. Also a couple of snipers to start thinning out the critters.
I was now on to the final challenge: establishing equilibirum. The pressure of the rising tide of creeper from the north was more than my buildup could match, and eventually a general overrun of the walls happened. This is just the early stages of that really. I still wasn't there yet - I needed to ramp up our firepower more quickly after we get the basics in place. I did make it to about 13 minutes mission time here.
Take 12? - 29:43
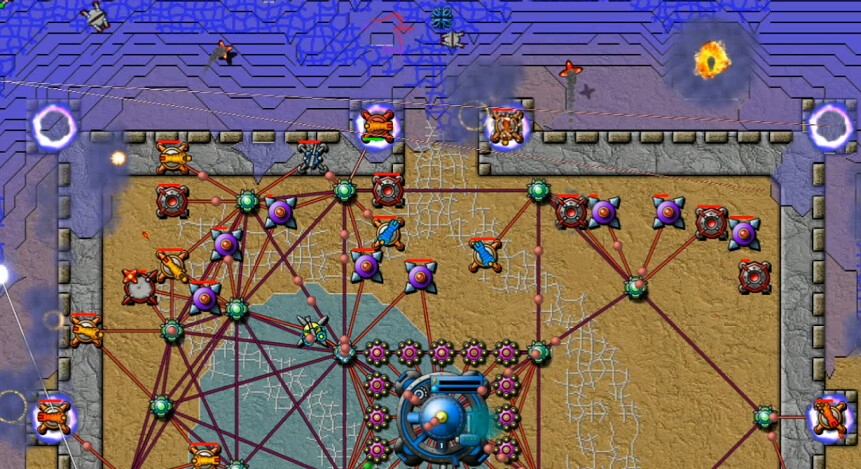
After a couple-few more fails, I got another good beginning and went to this. Basically we now have snipers on the wings as well, more mortars along the main front, and I've just started moving a couple up on the wall itself right by the corner towers. Soon I started putting some standard Berthas up by the rear of the fortress to hit further away as well, along with getting some weapon upgrades.
It wasn't until energy expenditures approached 50 per second that I was able to roughly equalize the situation and start knocking out the nearby emitters.
Then I pushed out to the sides to claim the ore deposits on the heights. It was a fairly gradual progress, but being over the hump and starting to push the enemy back was nice nonetheless. There is only one weak emitter over here. As the overall levels receded, I was able to push out and grab the Thor schematic. Now it was time to get serious.
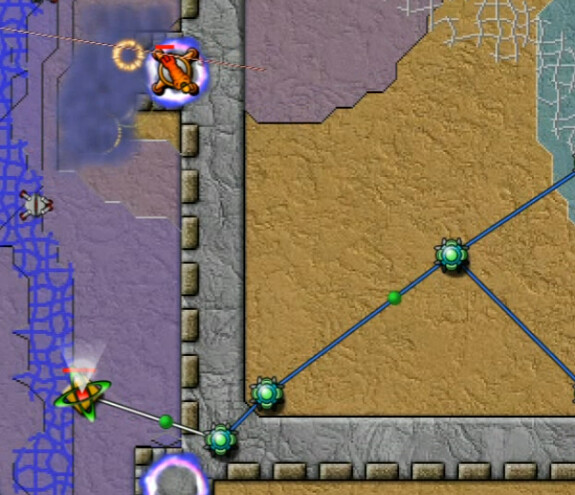
I pressed straight up the gut towards the inhibitor. Here the next obstacle is a tripod of Spore Towers.
Nearer the target, which is on high ground and protected by increasingly concentrated and dense numbers of creepy crawlers as well. It took a bit of doing to get close enough to make the final kill, but eventually we were able to get it done.